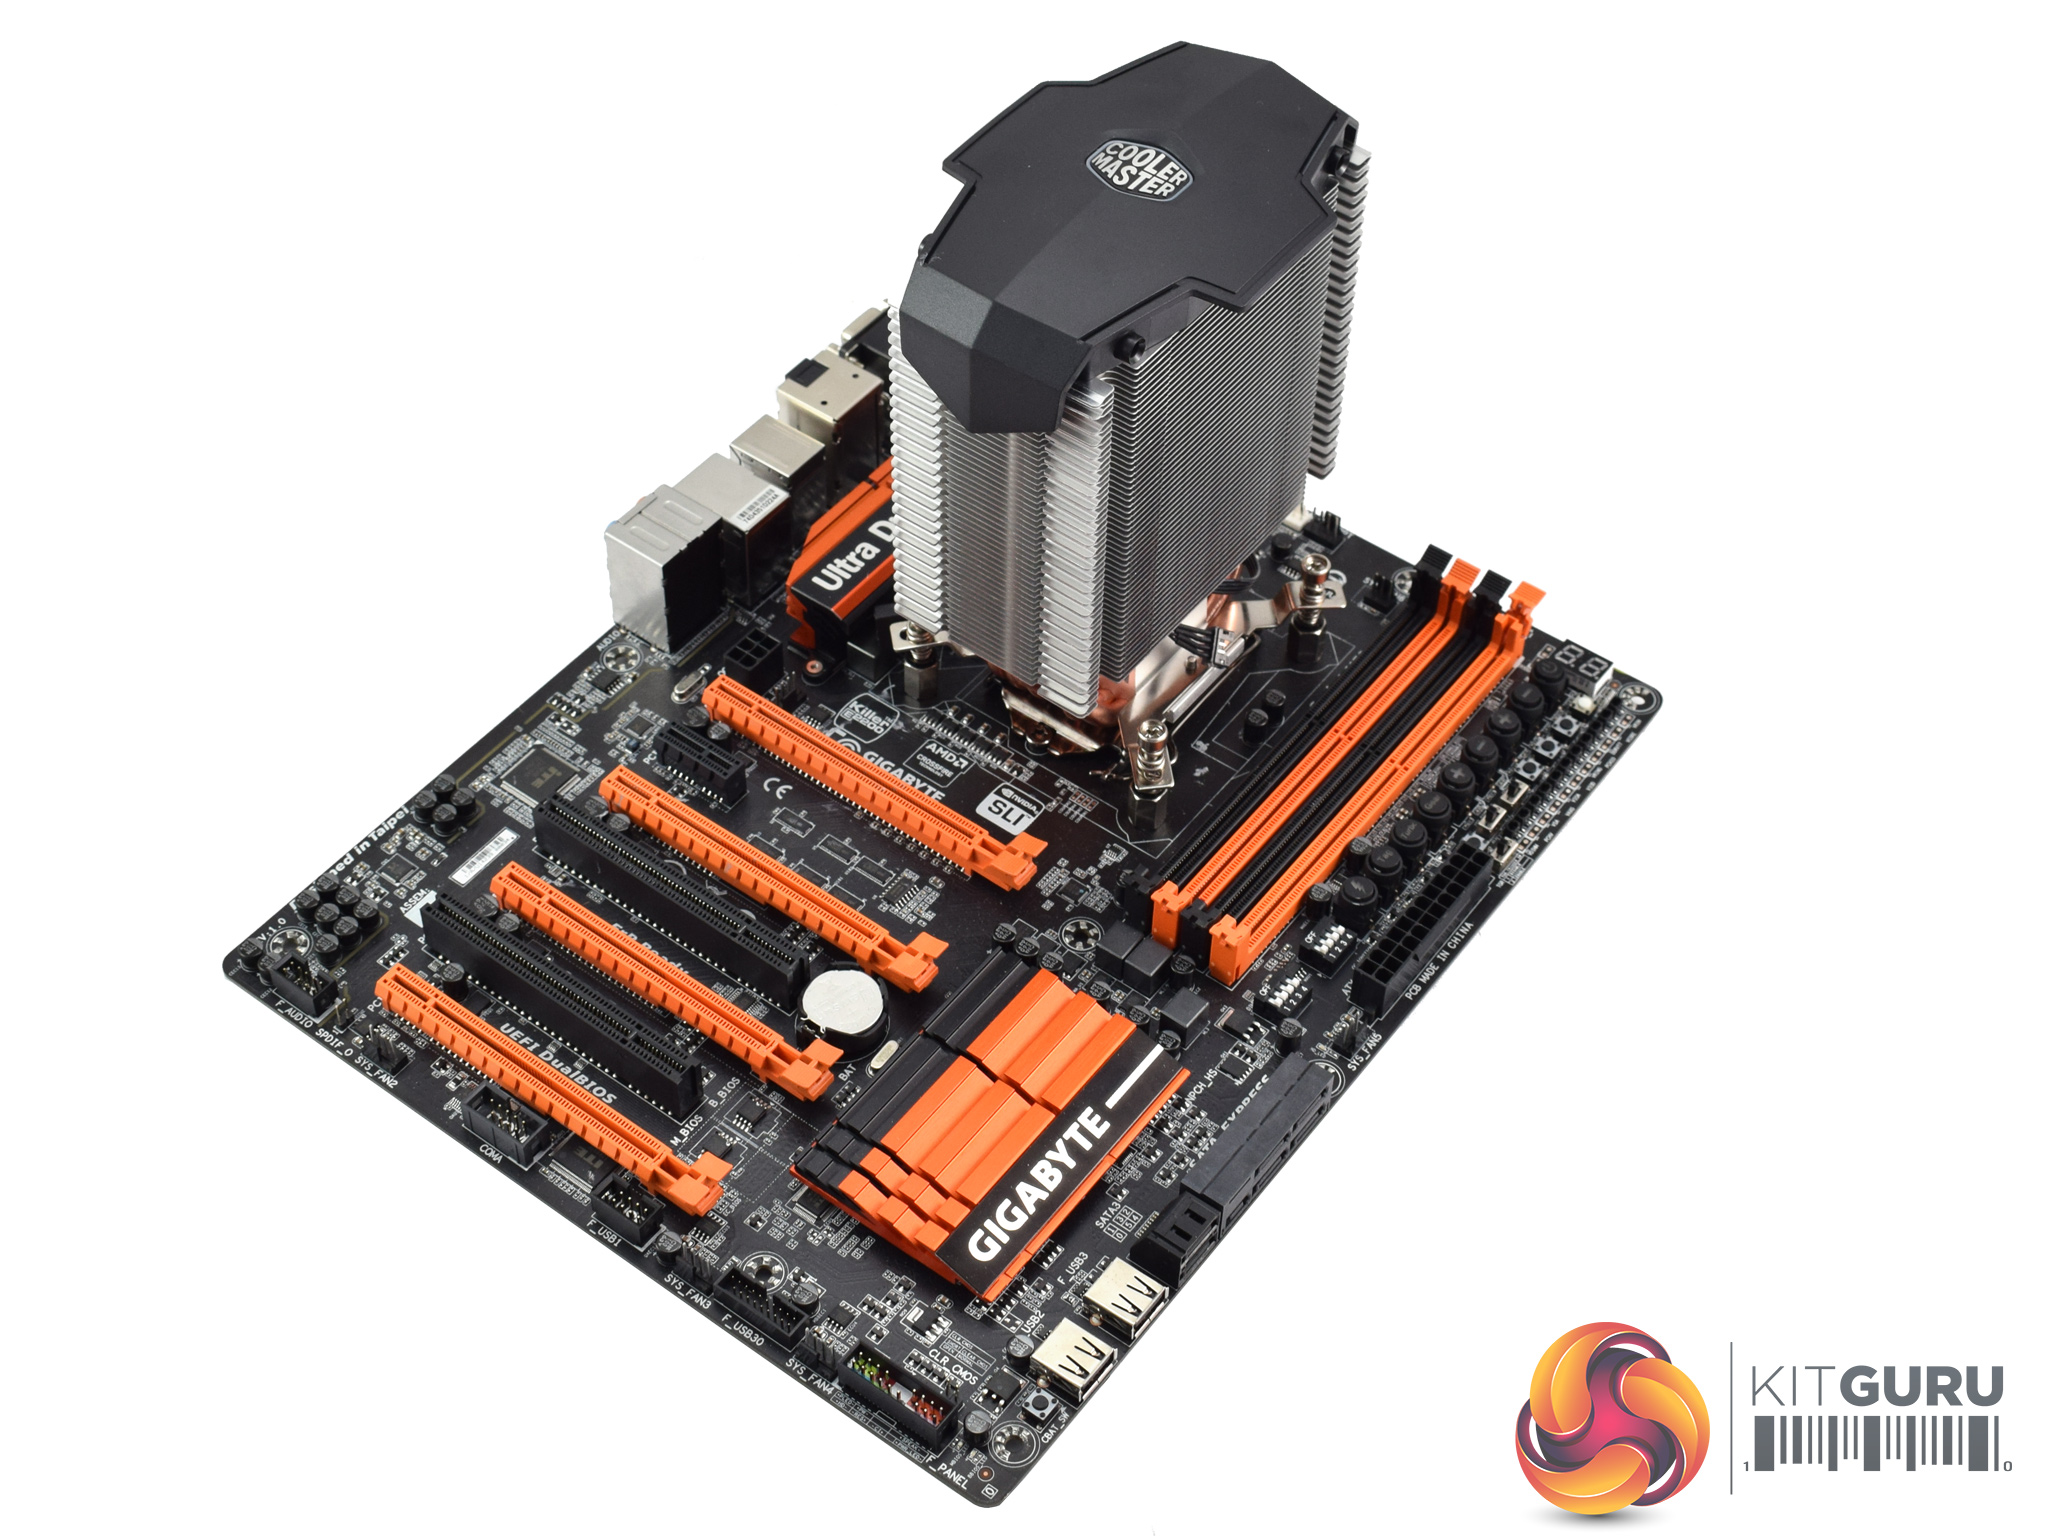
Here I will walk you through the installation process. It is worth noting we test using a Z97 motherboard – socket LGA 1150. The process below reflects that.
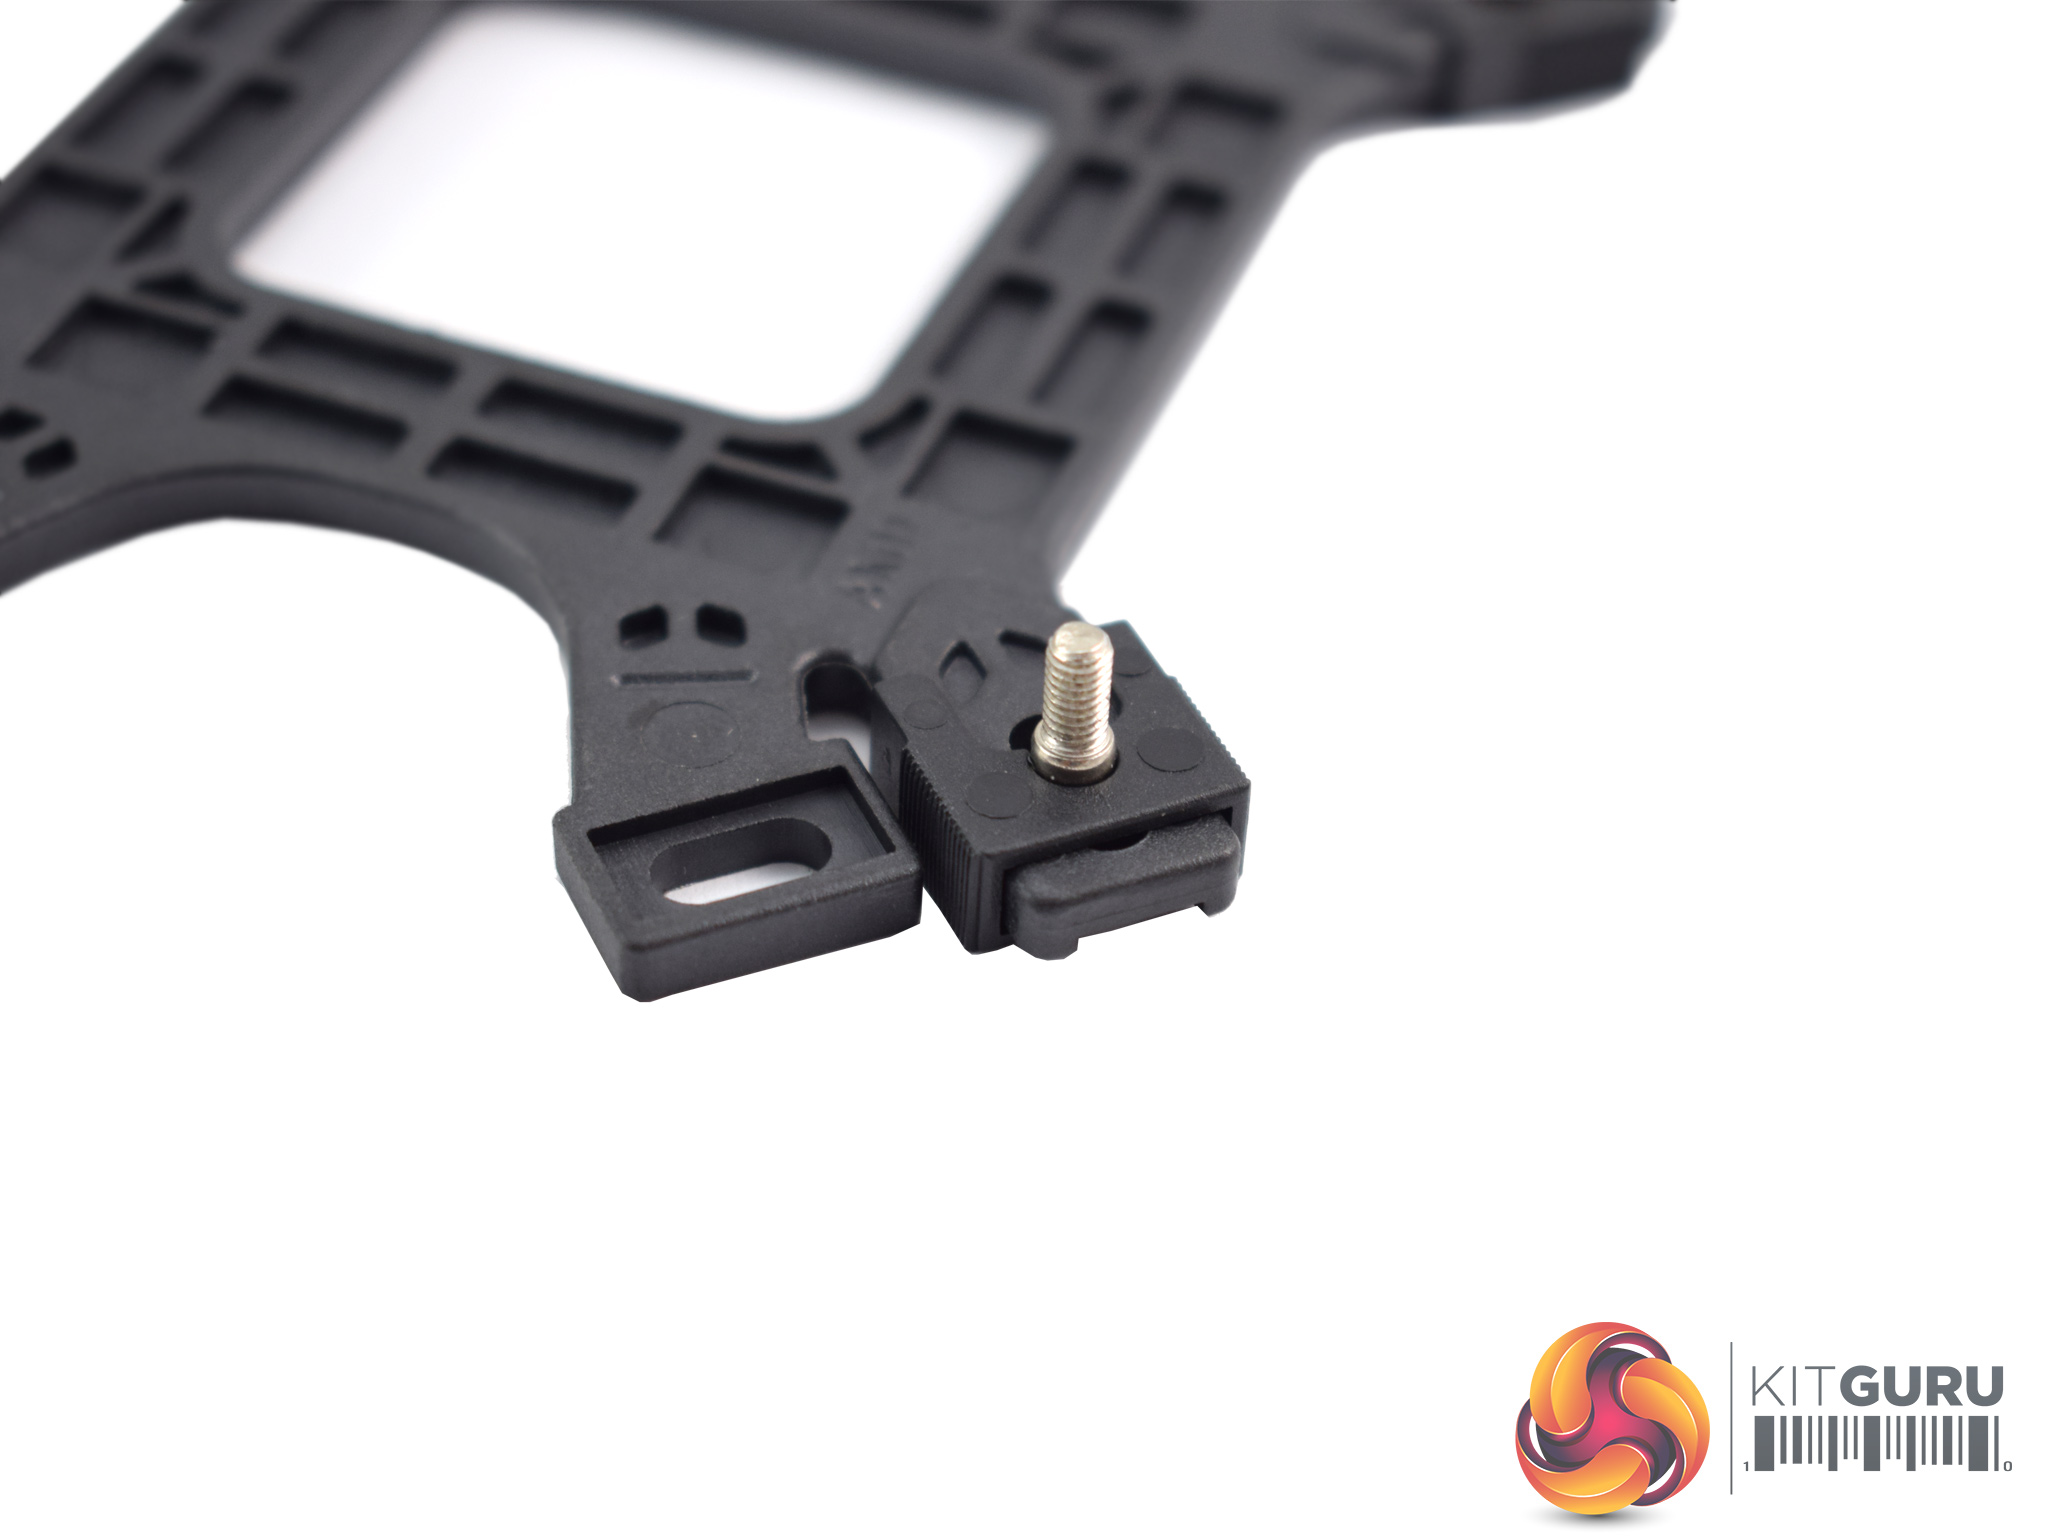

First of all, prepare the backplate by sliding four screws into each mounting hole. Each screw is secured with a plastic clip.
With that done, place the backplate behind the motherboard socket area so the screws slot through the motherboard's mounting holes.
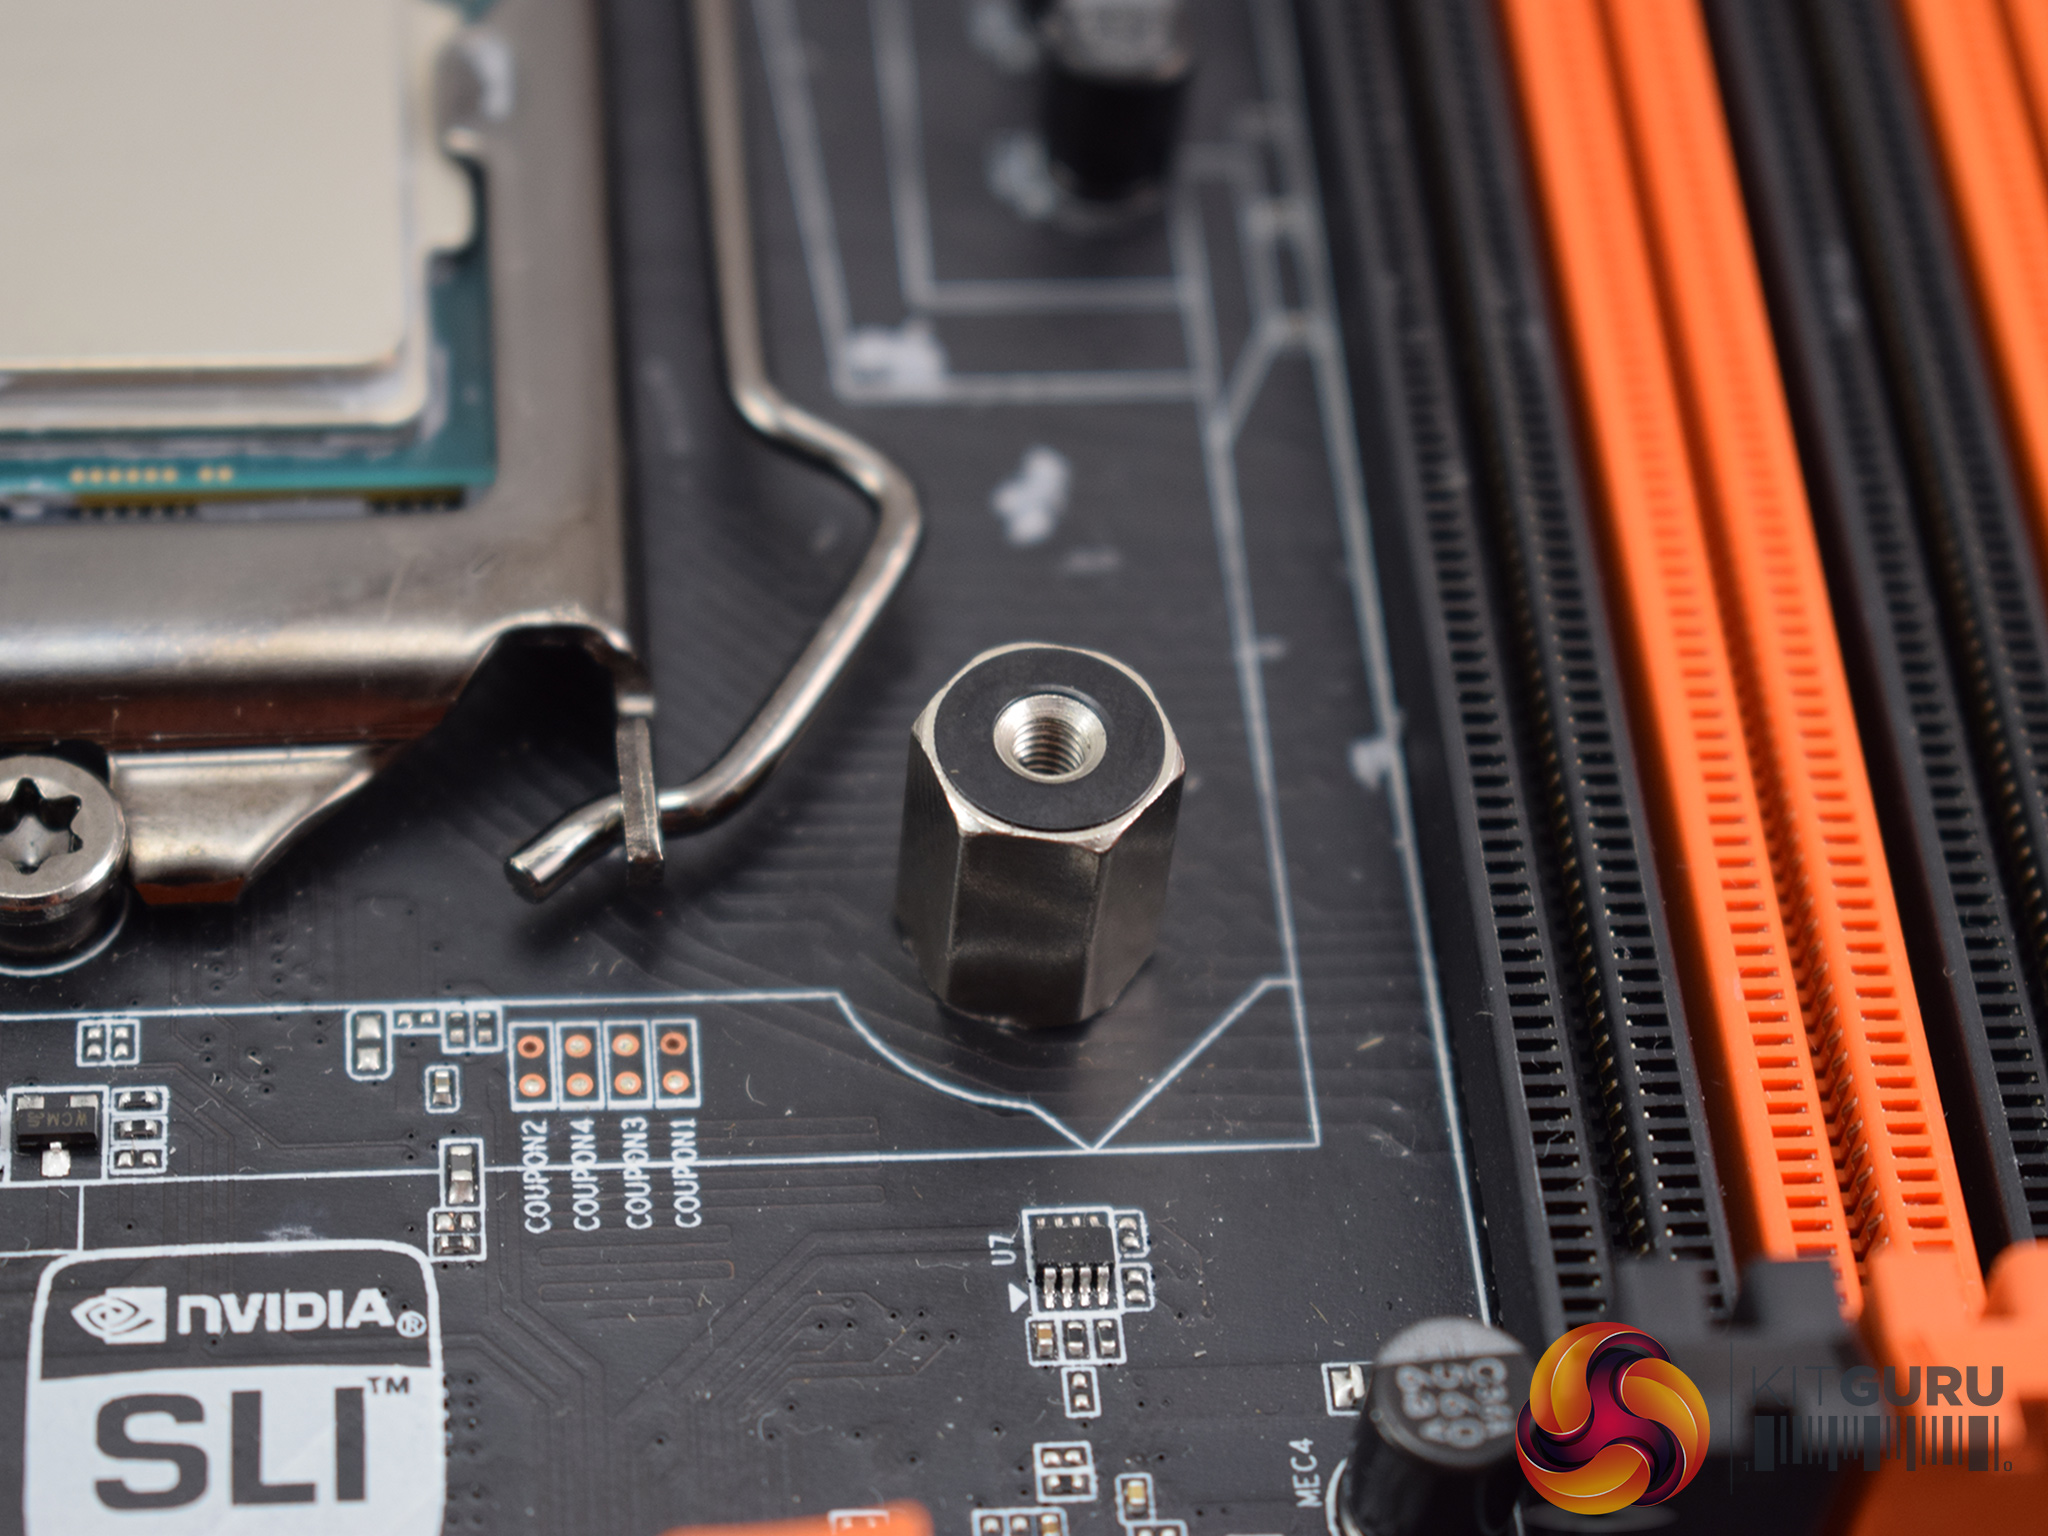
Each screws is then secured with a metal nut.
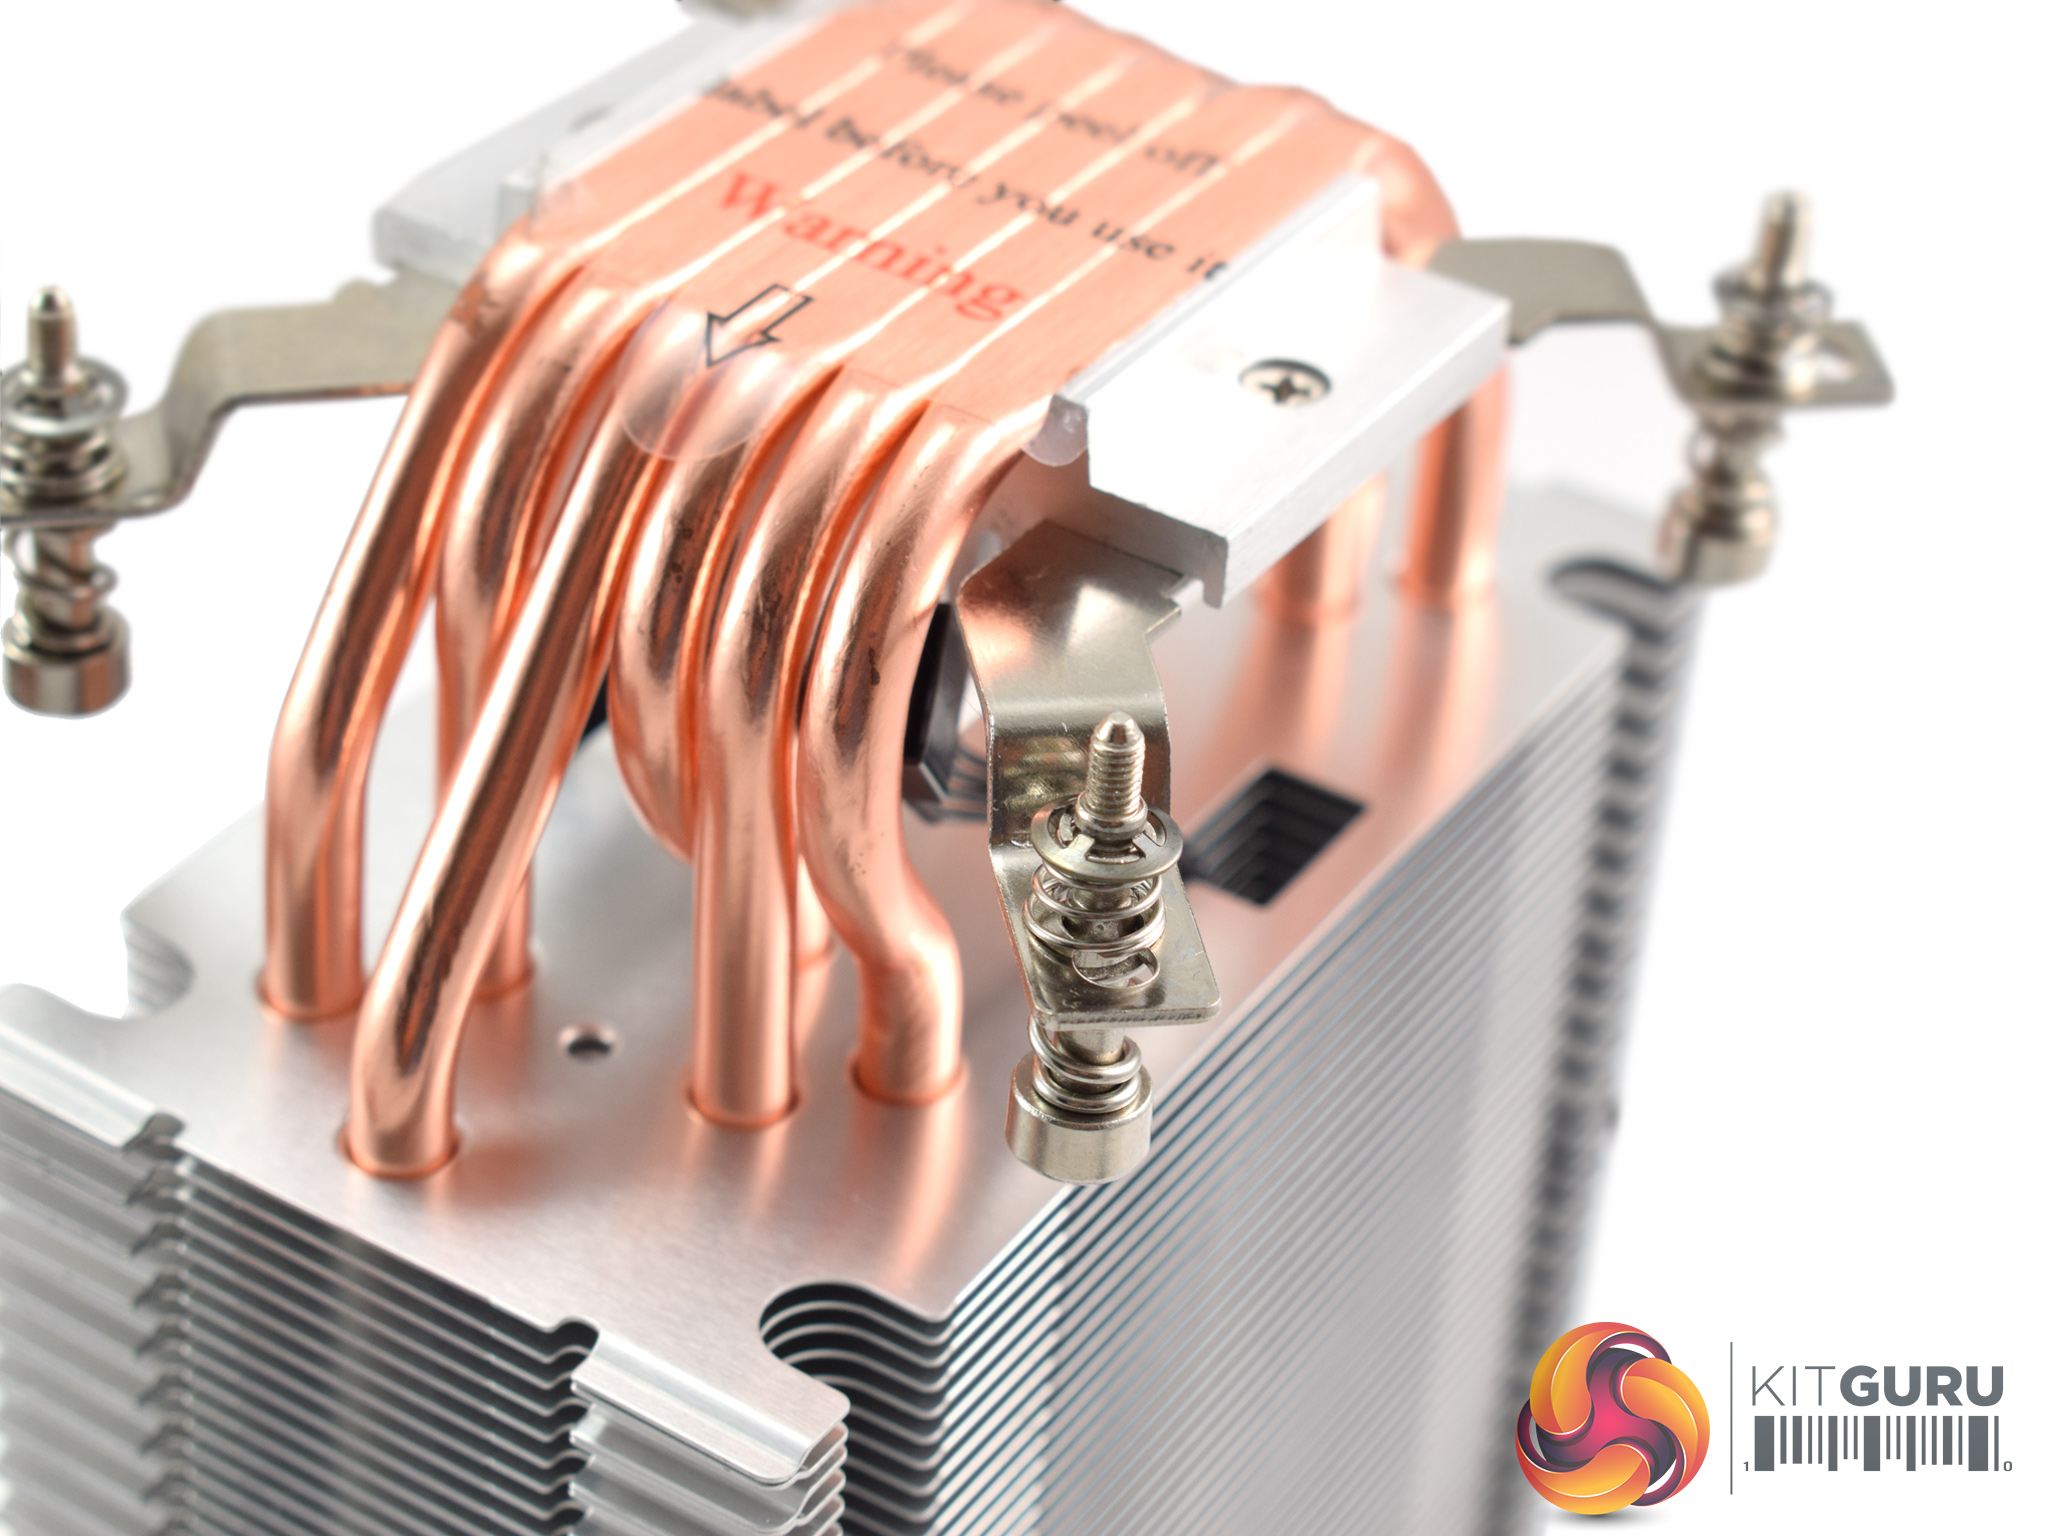
Moving on, two mounting brackets then need to be secured to the cooler itself – each bracket requires just one screw, so line them up and tighten them down.

Having removed both fans, the cooler can then be mounted and secured to the nuts we installed previously.
Re-attach the fans and the process is complete. It is another dead-easy installation process and I am certain even the most inexperienced of PC builders would have no trouble here.
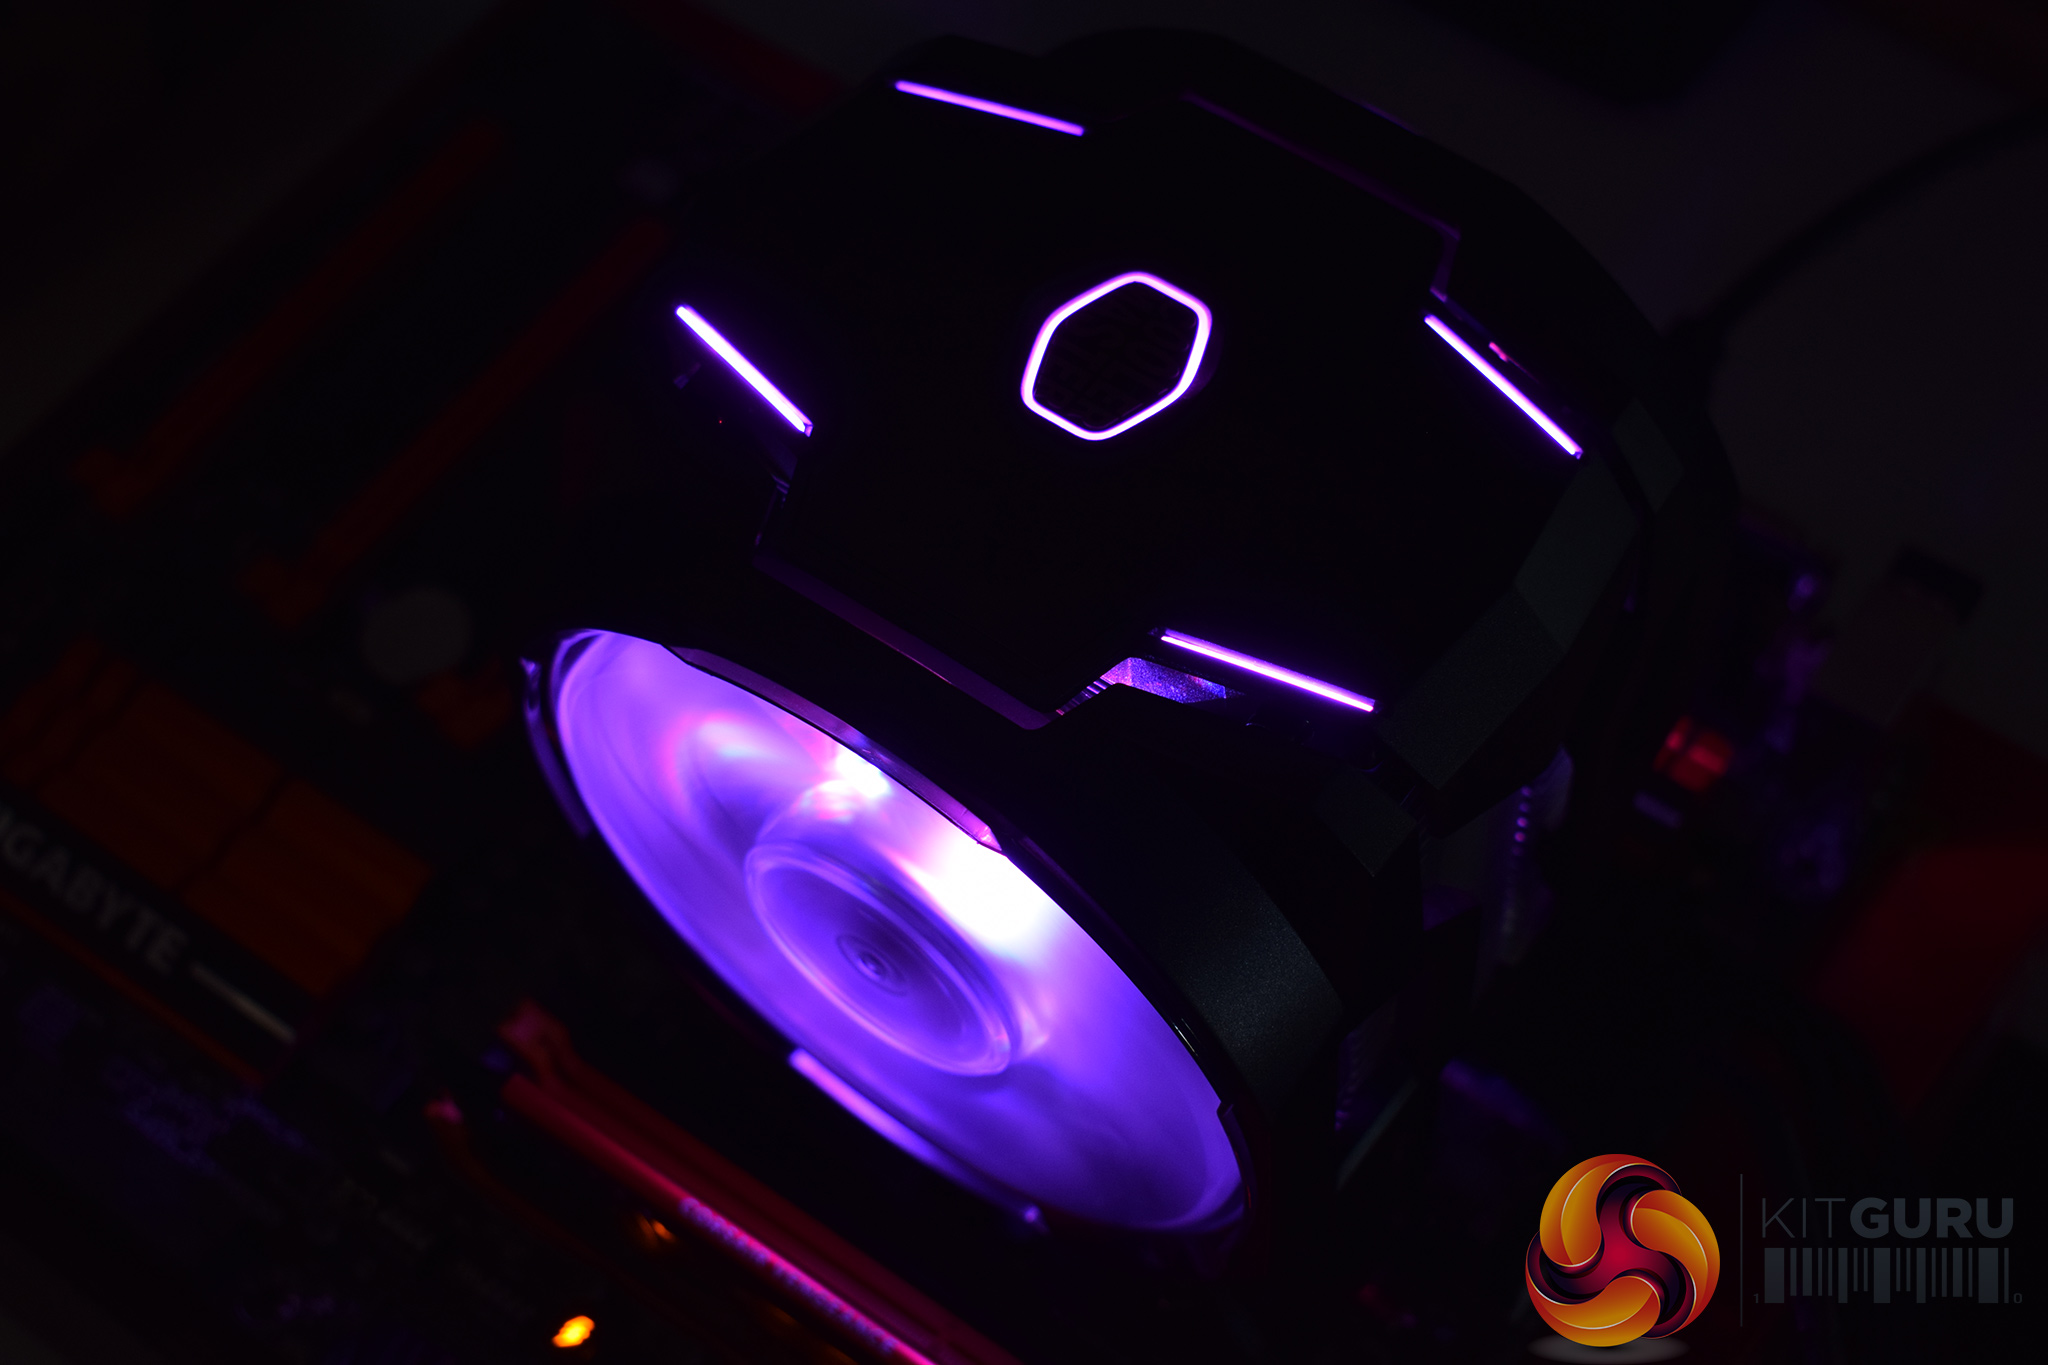
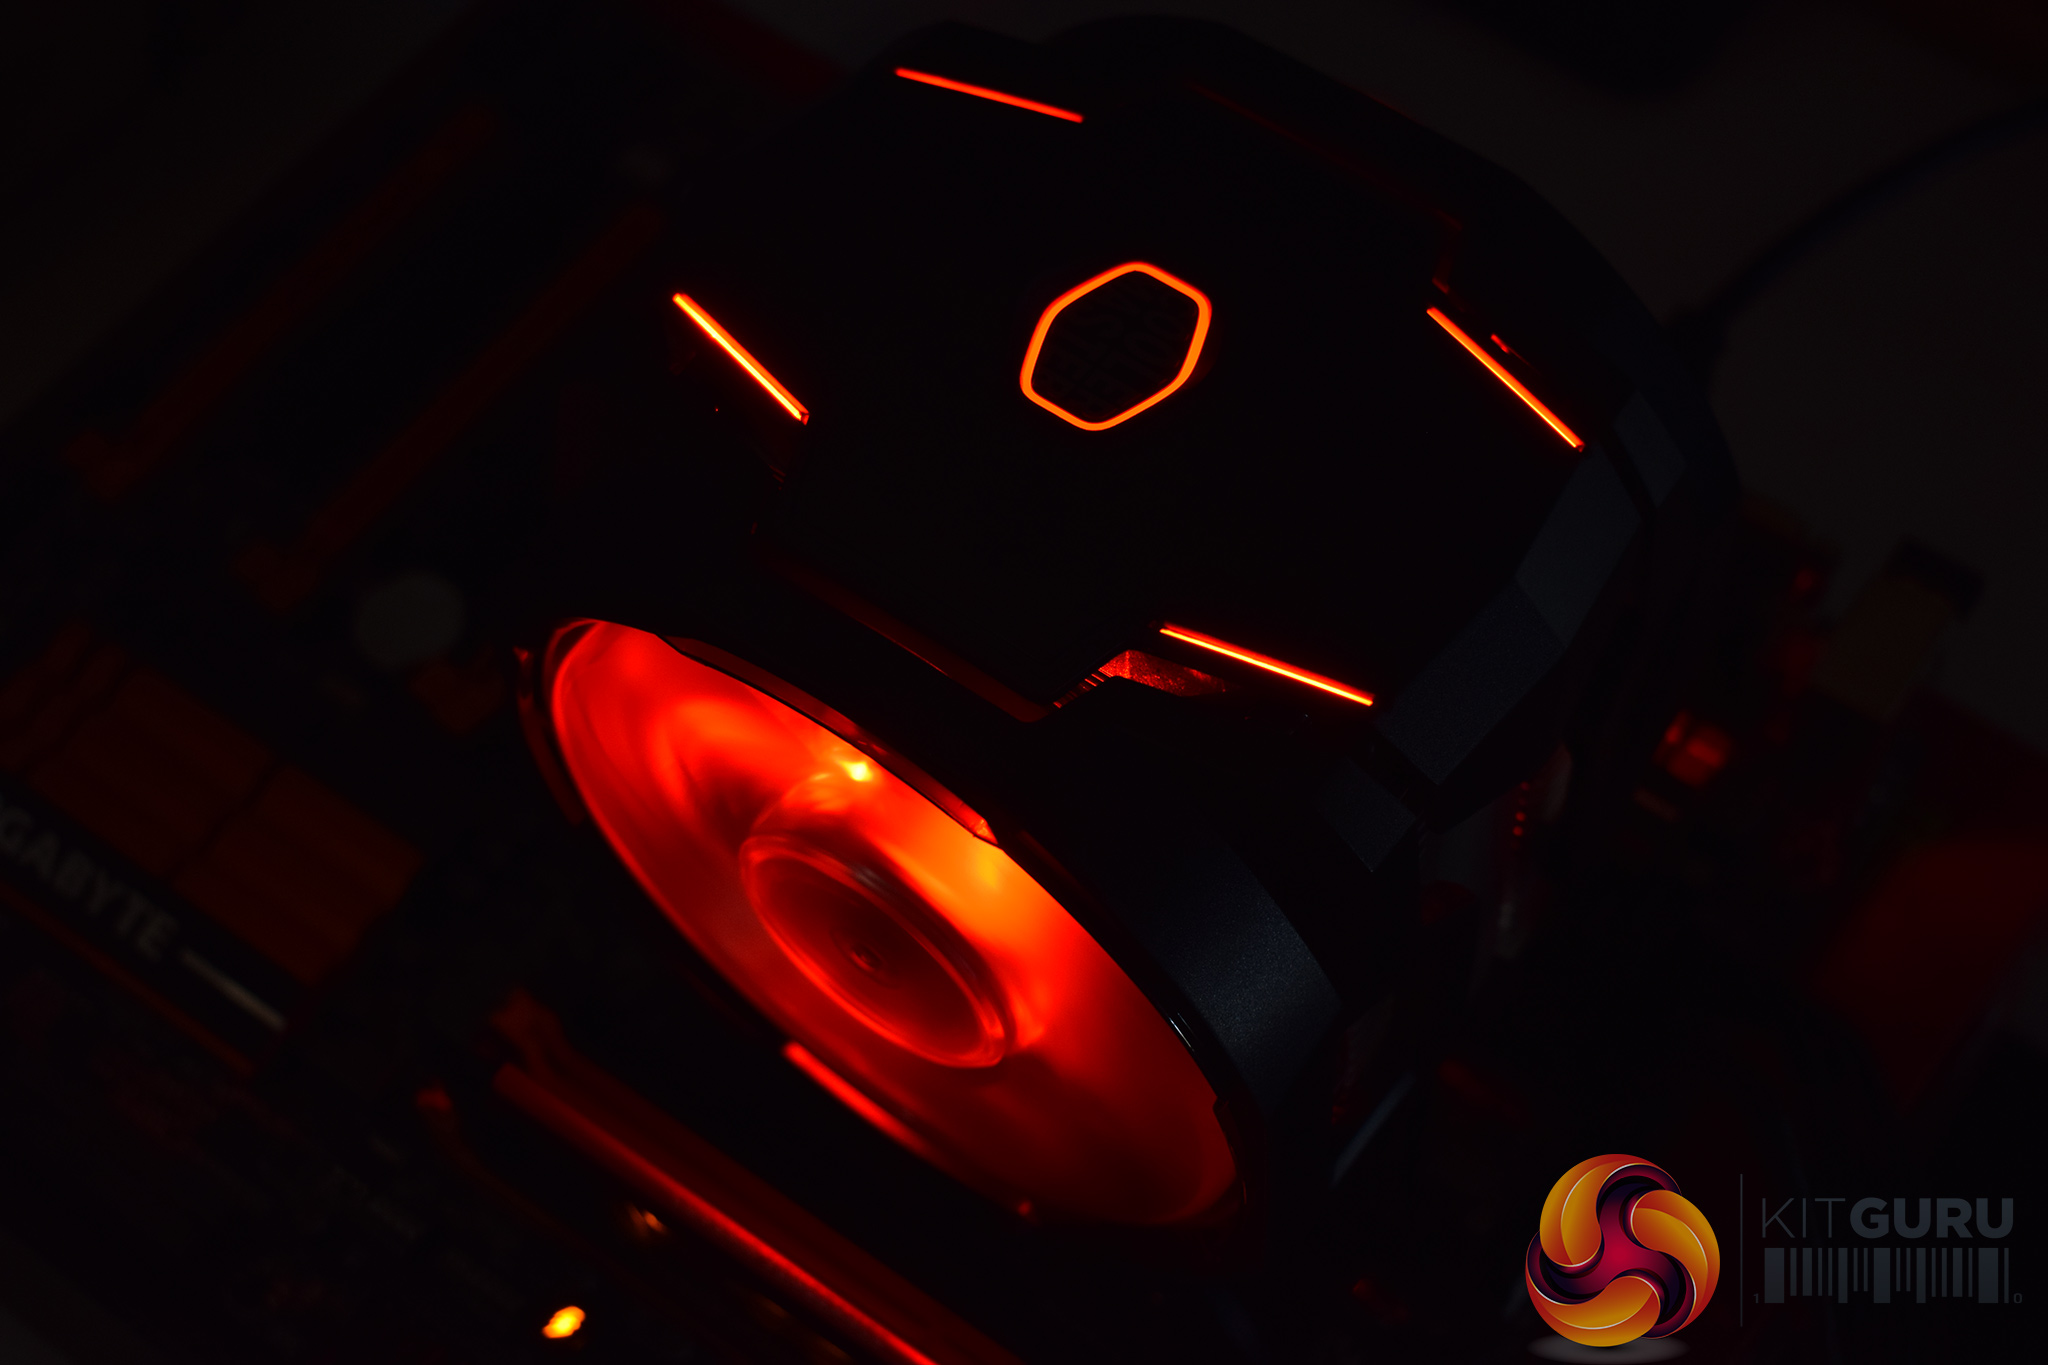
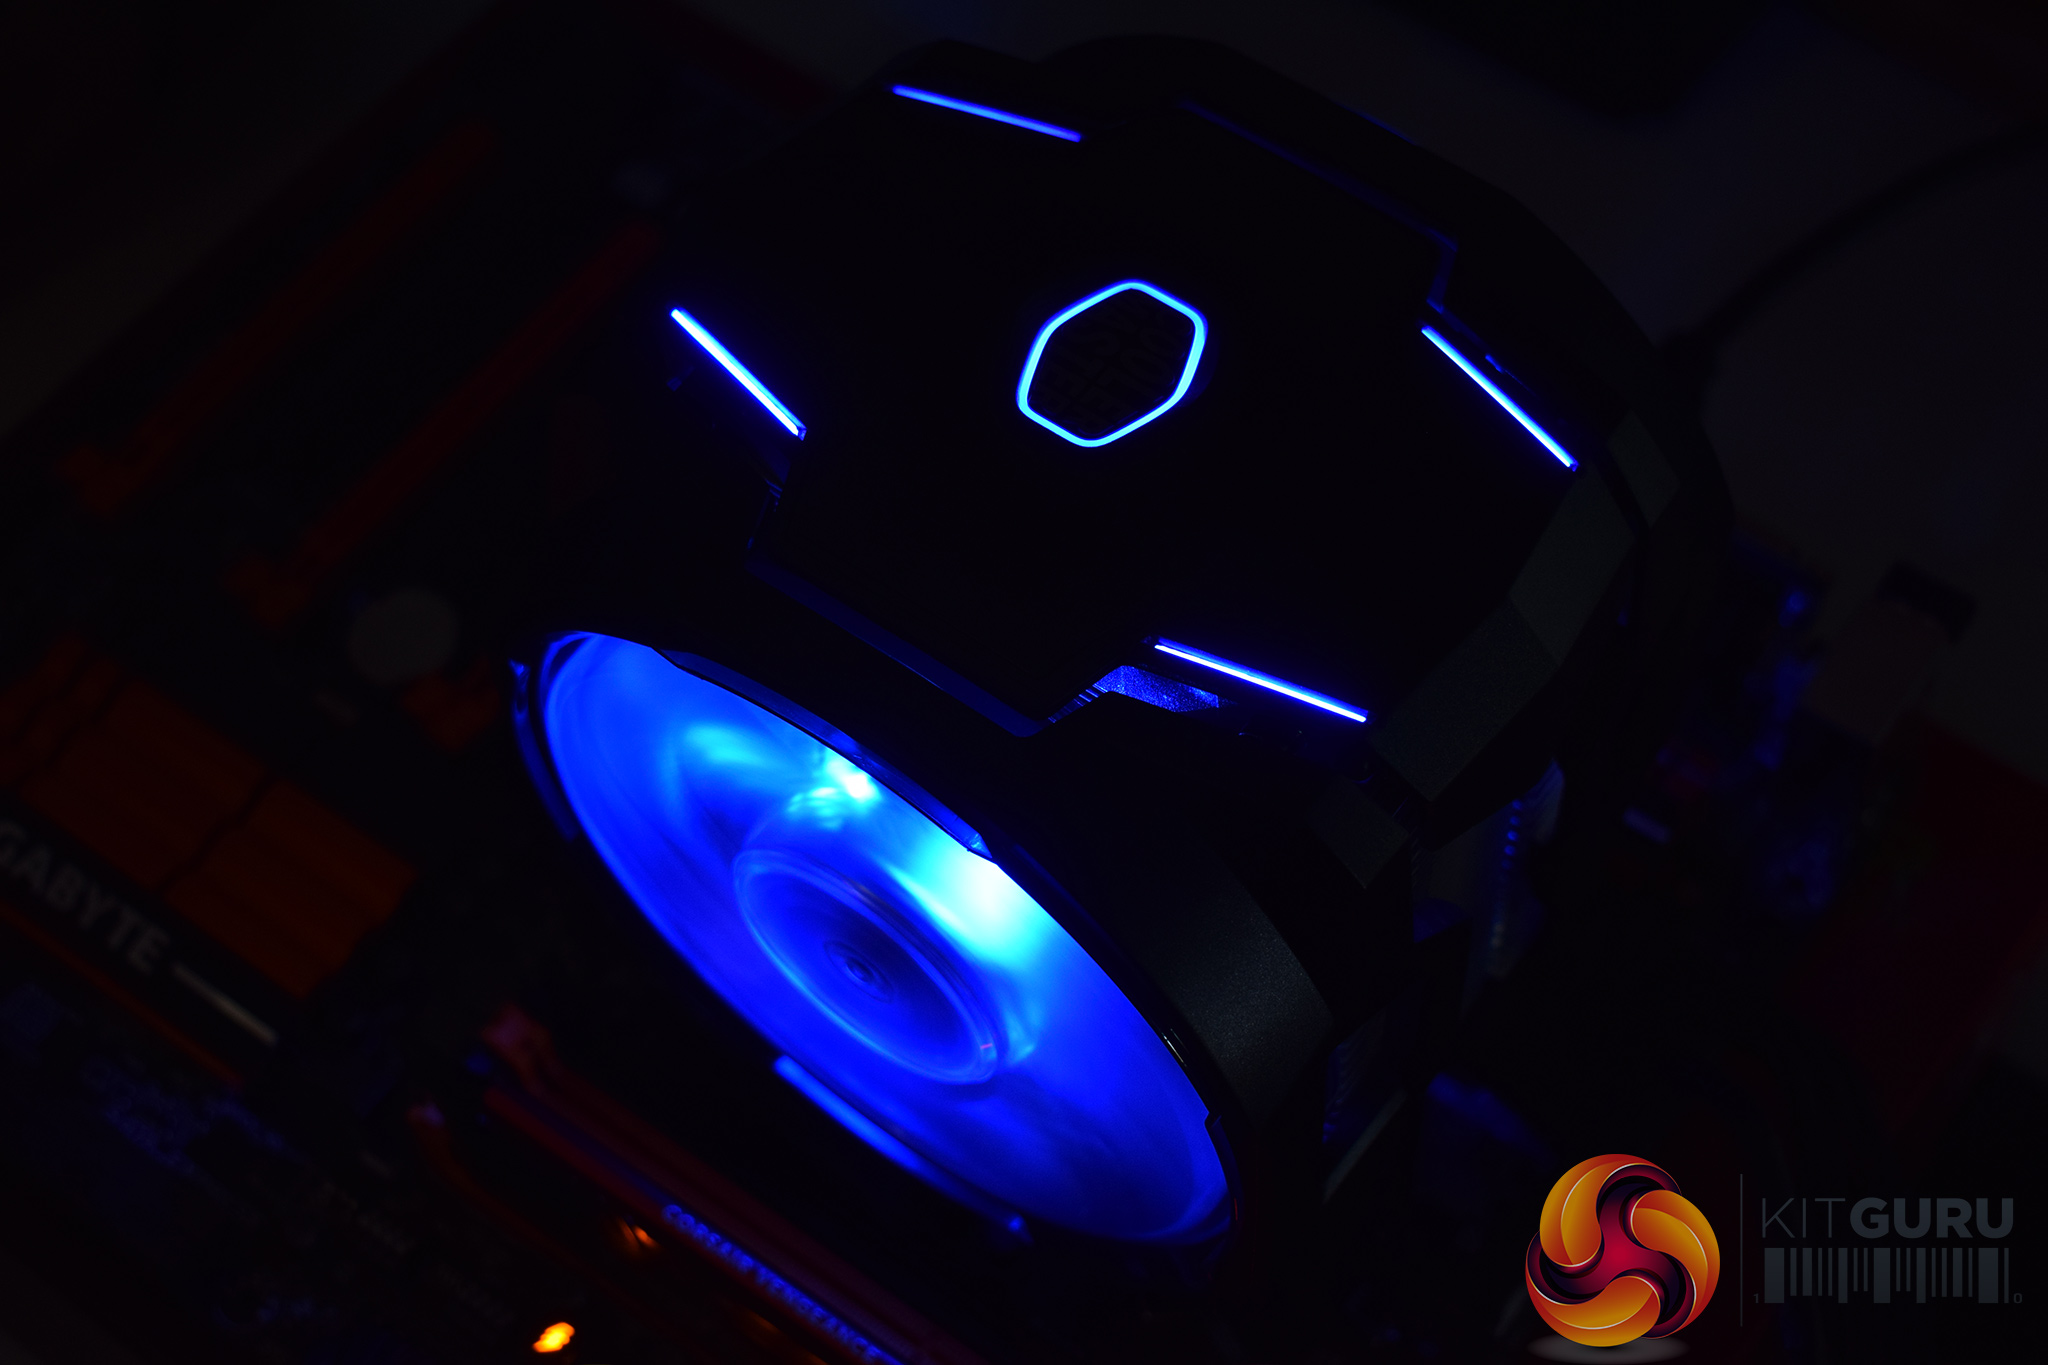
Moving onto the RGB lighting, both fans as well as some accents on the cooler's top-plate get illuminated by the RGB LEDs.
Users can either control the lighting via a small hardwired controller or use a 4-pin RGB header on their motherboard (if it has one).
Given the price of £64.99, I would've like to see software control supported for users who don't have a RGB capable motherboard – this is something the Cryorig H7 Quad Lumi does excellently. The bundled controller does the job, but it is not overly sophisticated.