

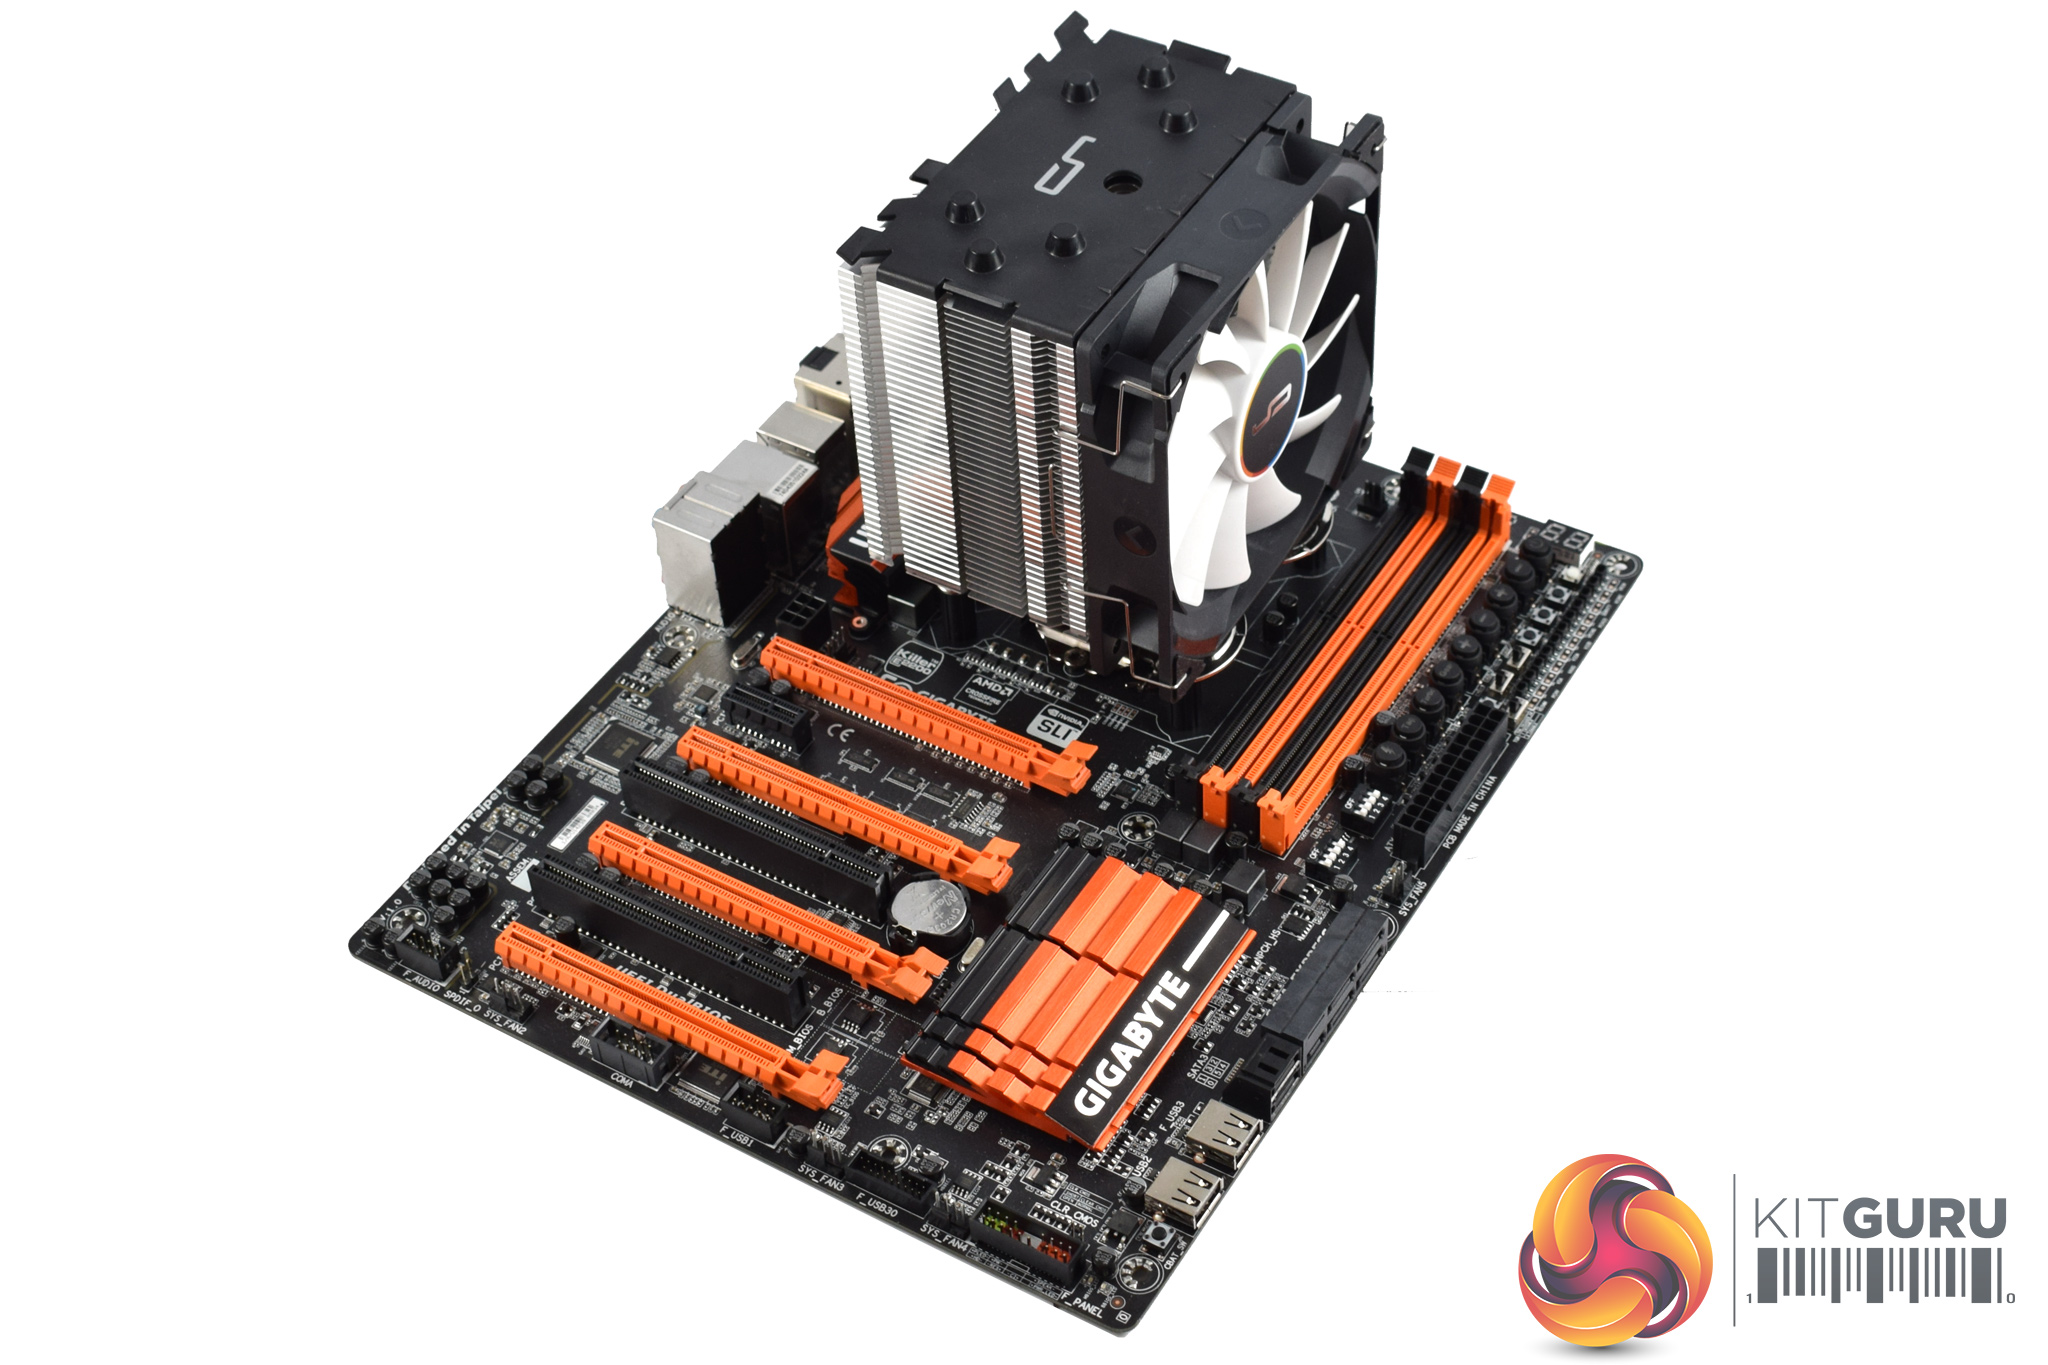
Here I will walk you through the installation process. It is worth noting we test using a Z97 motherboard – socket LGA 1150. The process below reflects that.
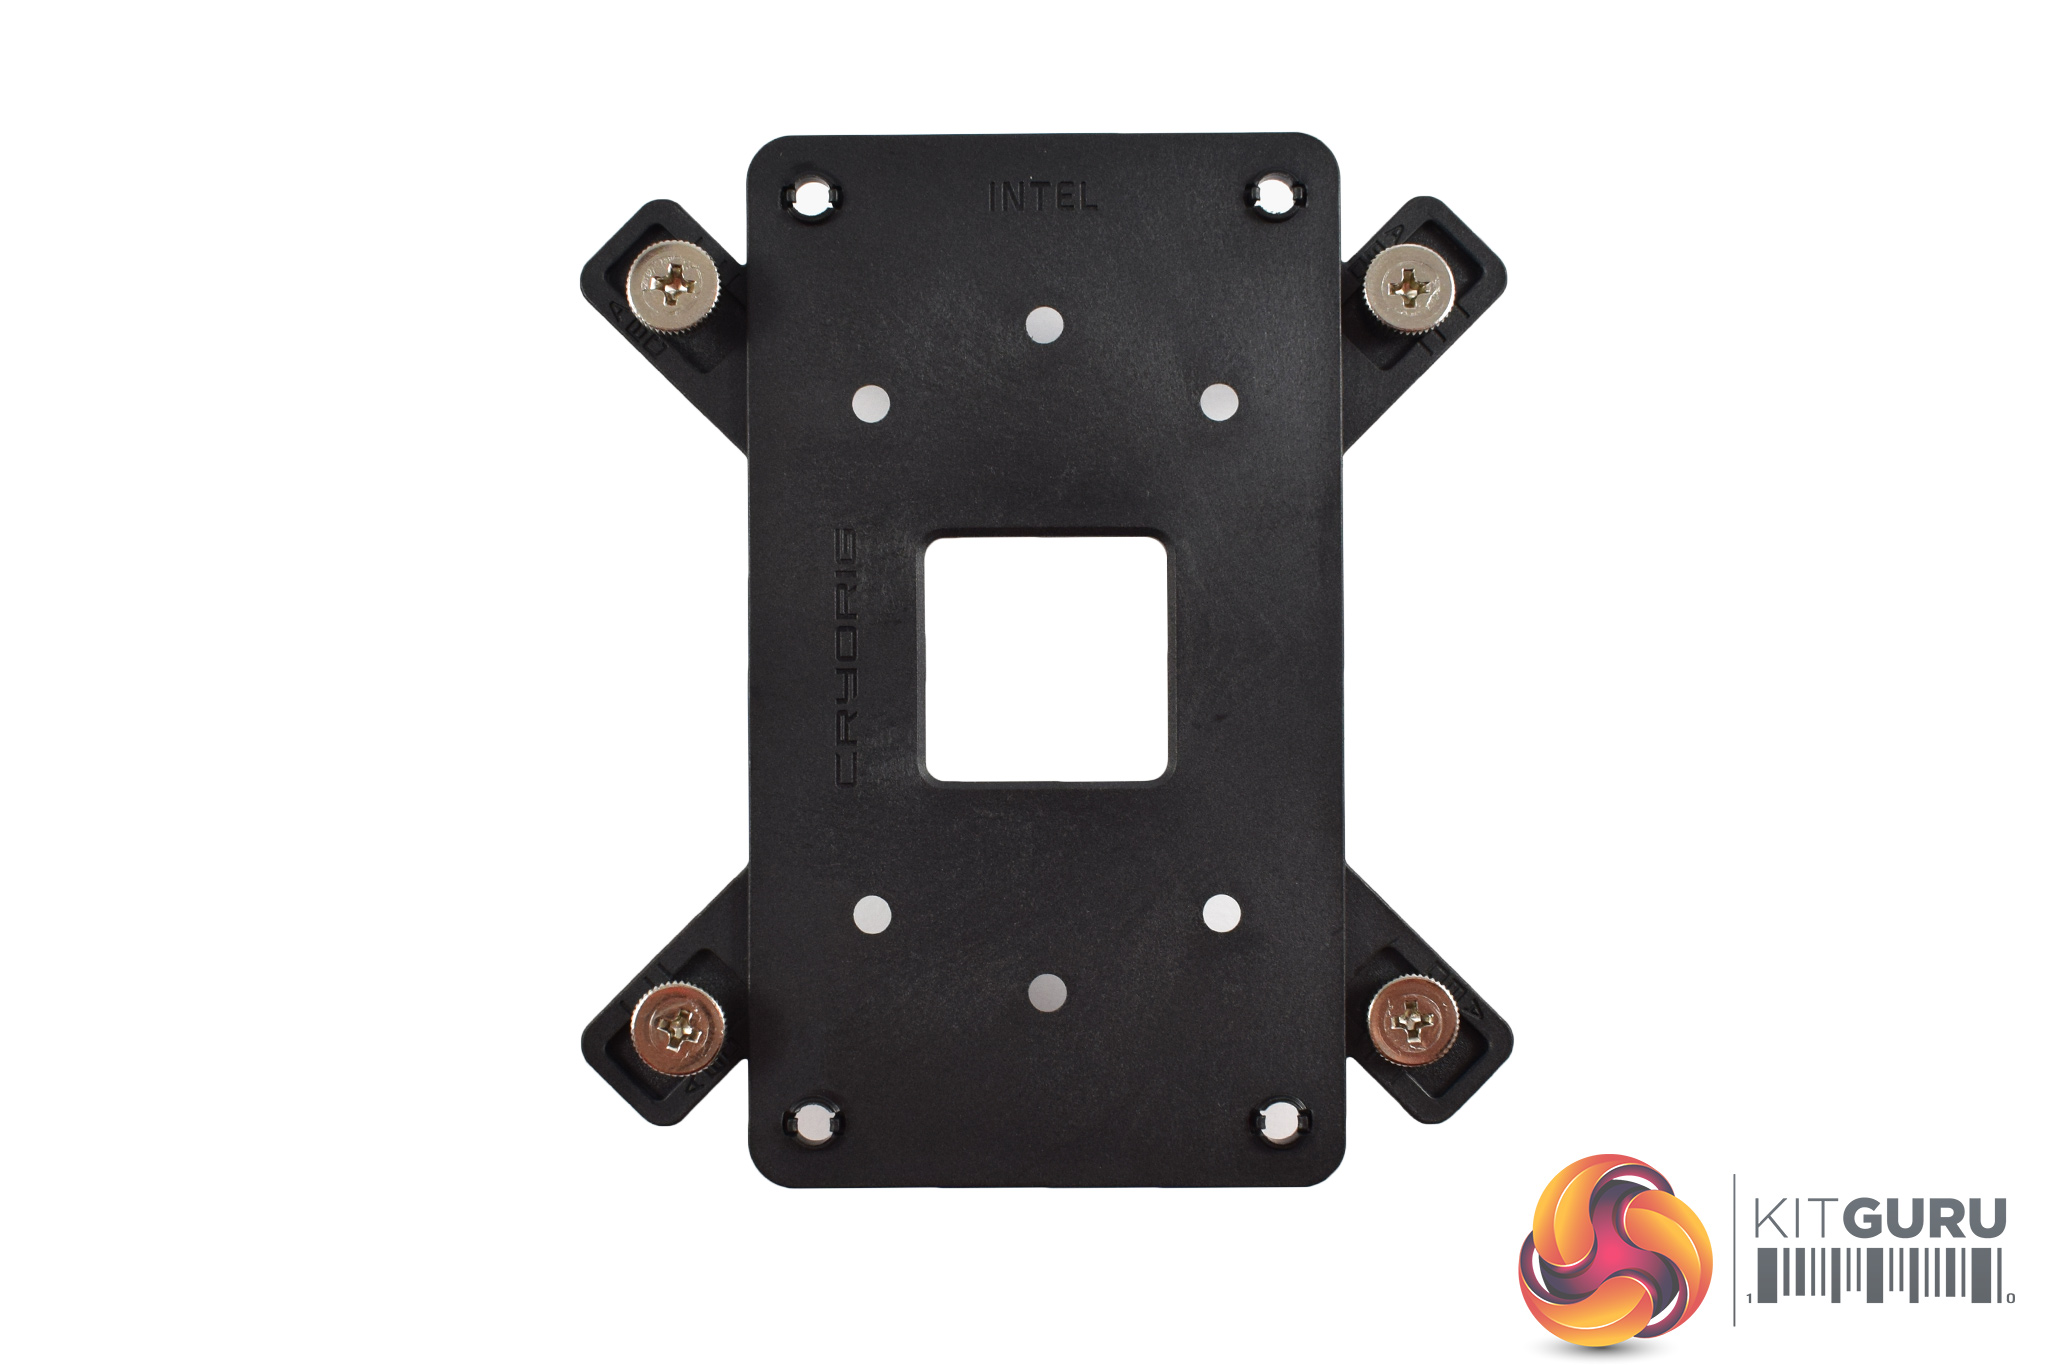
The first thing to do with the H7 cooler is to get the backplate ready: for a Z97 motherboard, push the screws into the correct ‘115x' slot.
Once you've done that, go ahead and slot the backplate into place – the screws will come through the motherboard's holes (as you can see in the image above, left.)
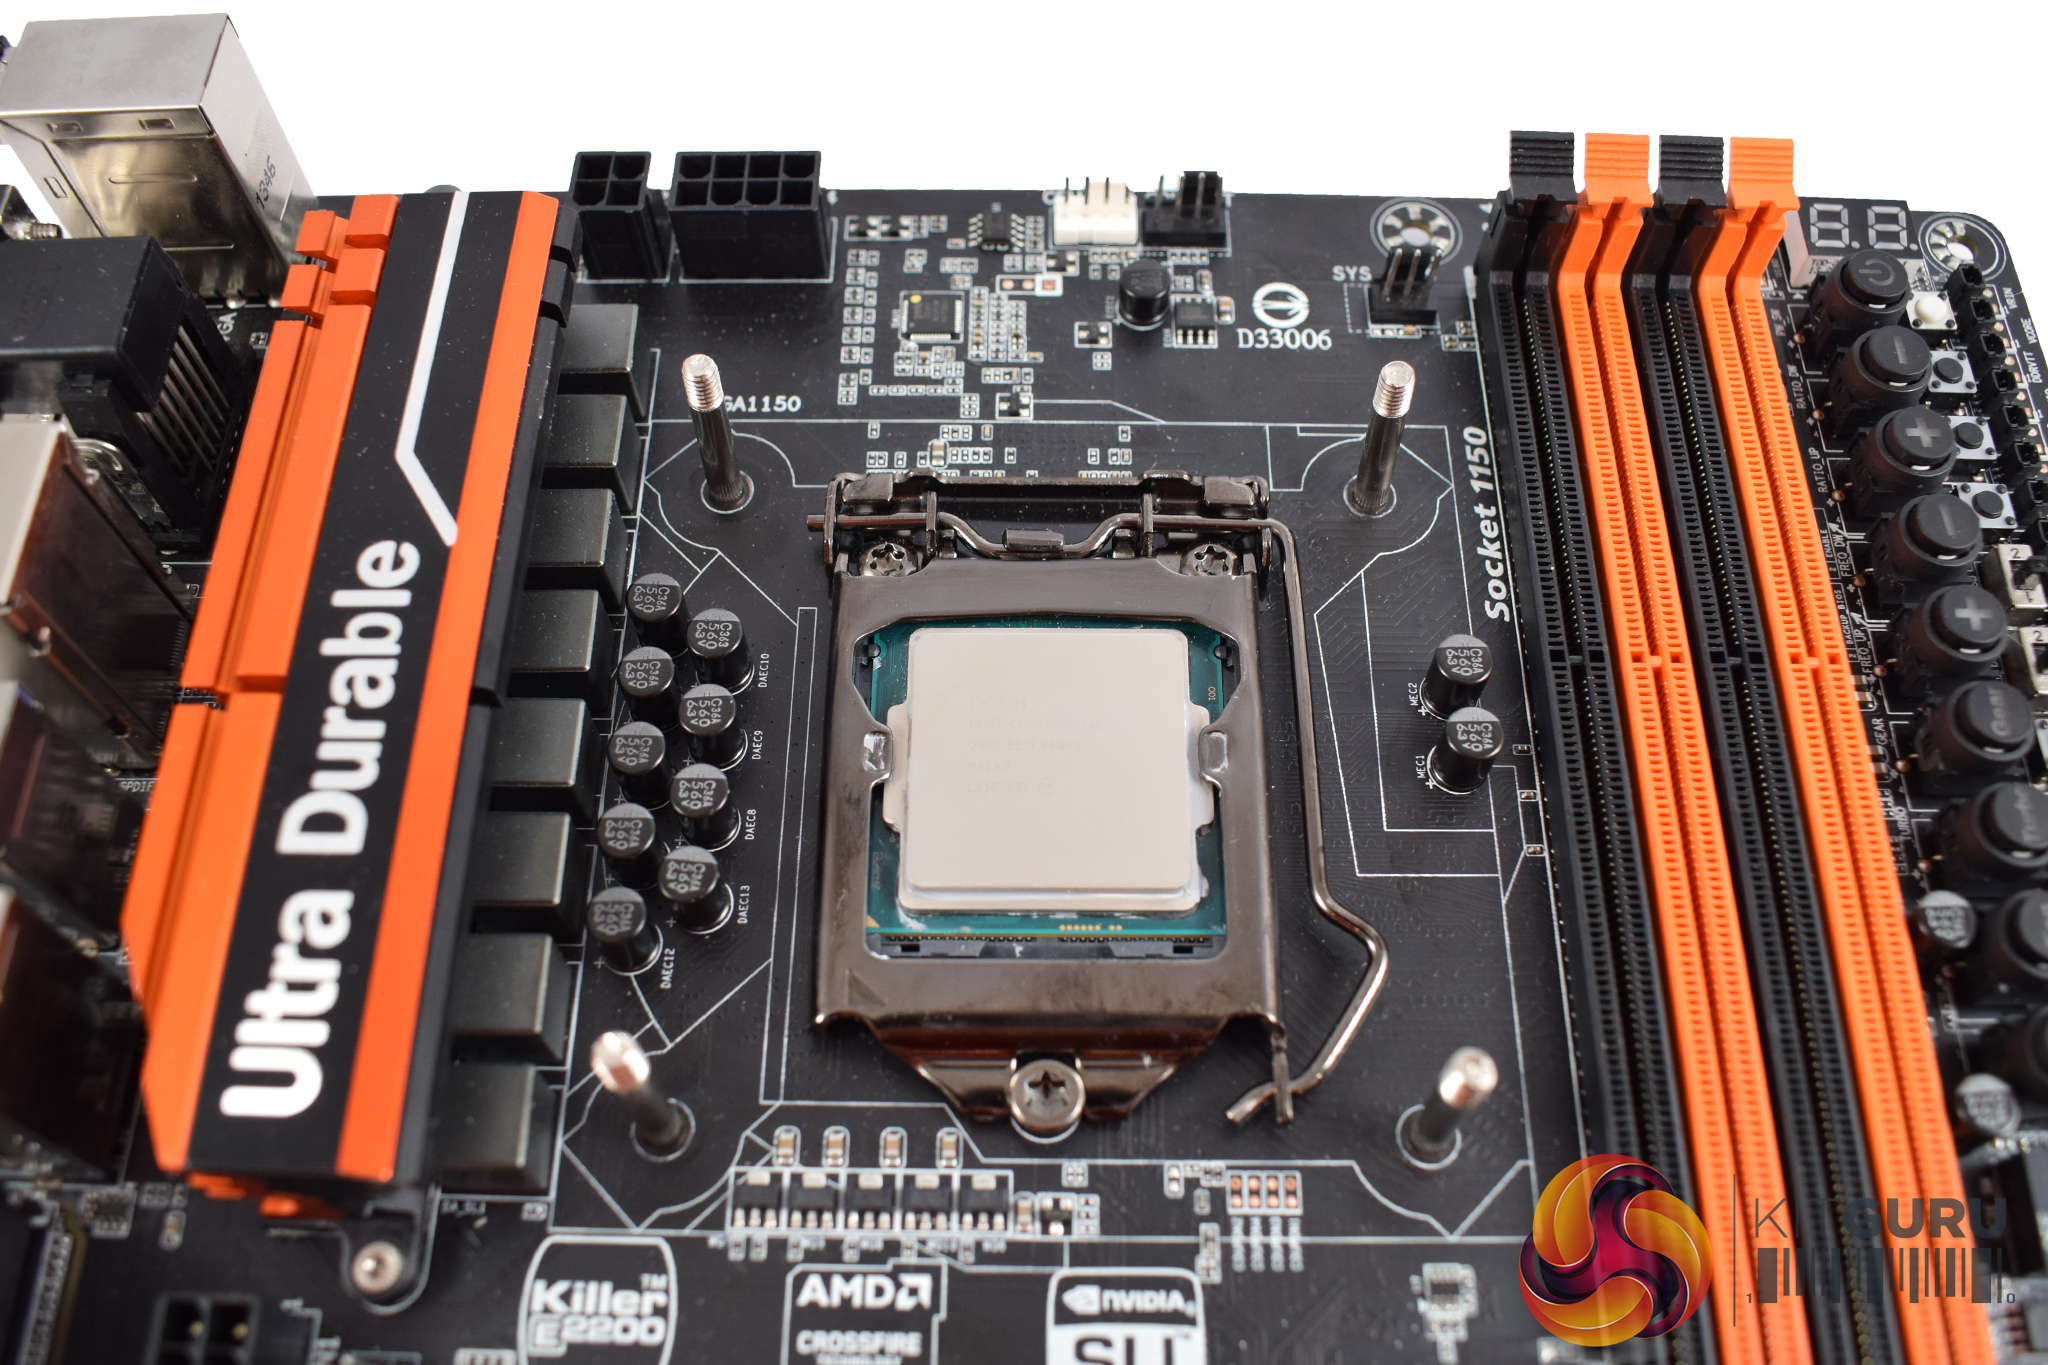
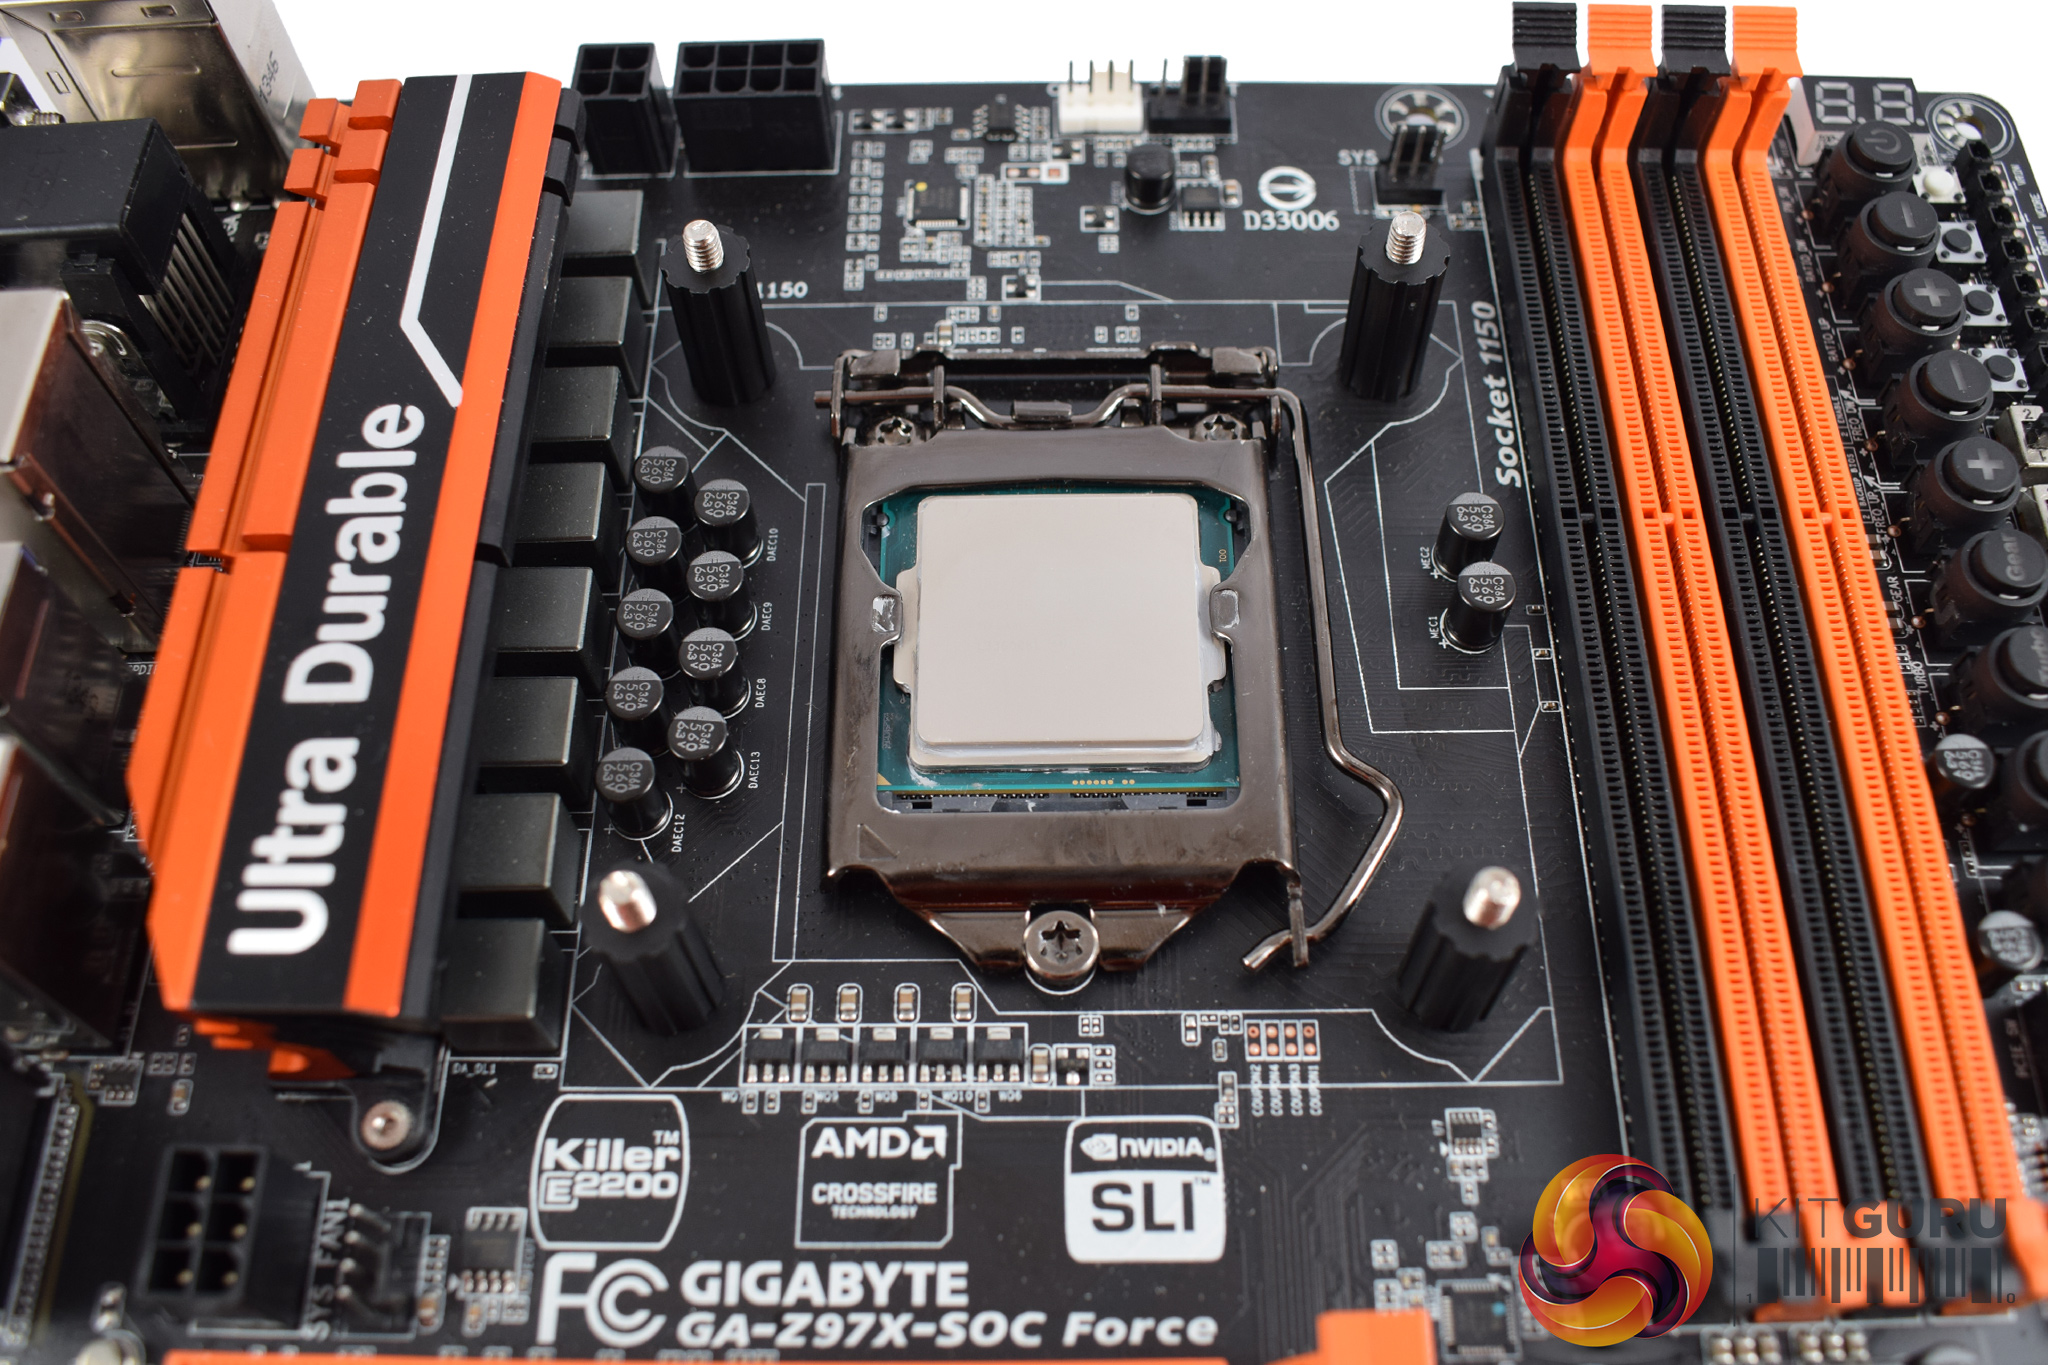
Next, four plastic spacers need to be placed over the screws, ready for the cooler to be mounted.

After that, the cooler can be mounted. The screws coming through the motherboard should line up perfectly with an x-shaped bracket on the base of the H7.
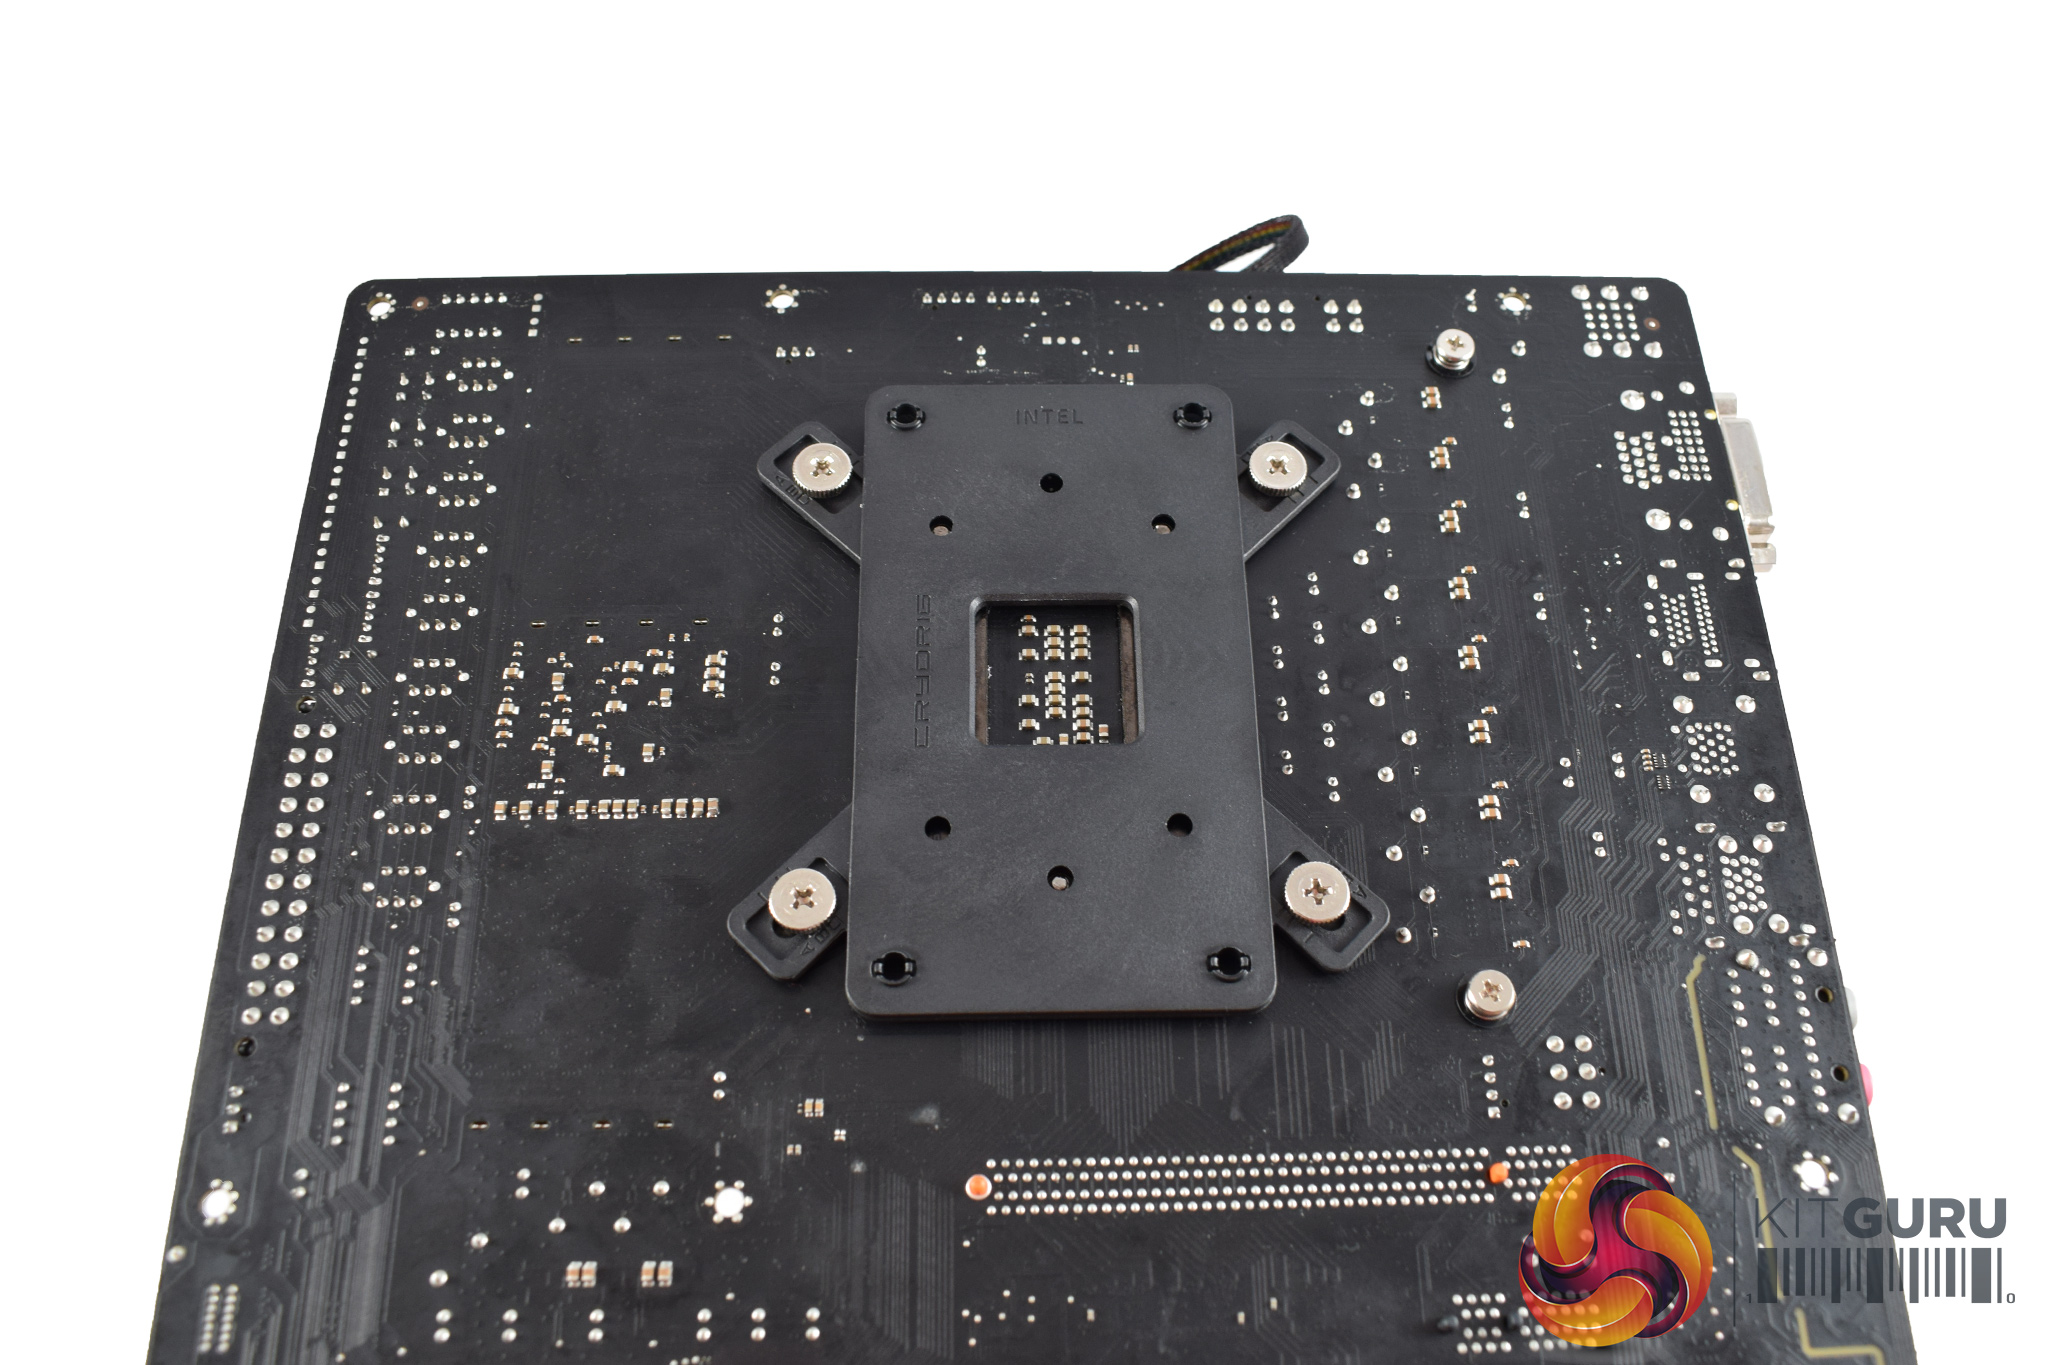
The next step is slightly unconventional as the cooler gets secured to the motherboard by tightening the screws on the underside of the motherboard. This is a bit tricky in practice as you have to flip the motherboard over and then tighten the screws while holding the cooler in-place. However, Cryorig do recommend tightening the screws a little bit by hand first, as you are then able to lay the cooler down on a flat surface and finish tightening the screws with a screwdriver.
Once you have fully tightened the screws, the H7 is installation process is complete.
All-in-all, the process is simple because there are so few steps to complete, but the hardest thing is tightening the screws while holding the cooler in-place. That being said, if you follow Cryorig's advice and tighten by hand first, instead of trying to do everything while holding the cooler up-side down, it is not that difficult.
Over the last year I have rediscovered my love for big air coolers and huge mechanical hard drives. I think the next thing on my list is replacing my mAtx Z170 gene board with a full size ATX. Maybe it’s because I turn 40 next year and I’m trying to hold onto my youth lol.
this thing is the truth. I’ve built 4 PCs with it and it is so much easier to work with than the EVO and does a better job at cooling. With the credit card thermal paste technique you are saving a ton of money vs liquid. Oh, and the PCs I get with liquid cooling gone bad. Air cooling is where it’s still at.
nice review!
Cooling performance is very good – no doubt about it. The fan om my H7 Lumi Edt. broke down after only 6 months tho` so that was a let down. I`ve replaced it a Fractal Design Venturi HP12 and now it works even better 🙂
Running this on an open test bench somewhat skews the results doesn’t it?
99% of people will have their coolers in a closed case so shouldn’t expect the same temps as portrayed here.
Are you an actual winner of the contest?
Yeah, those limited edition gifts were hand made or one of a kind early sample parts.
If you are indeed one of the original winners, we are more than happy to send you a official LED QF120 once they are on the market.
Yes. I did win the Frost White Lumi Edition H7 on your year end giveaway. I won the 2nd prize..not the RGB-version, but the white-led one and thank you I could always use a 120mm RGB fan 🙂 contact: [email protected] Youll find that adress corresponds with your list of winners. Best regards John-Ivar Rubach
CRYORIG H7 Tower Cooler For AMD/Intel CPU’s vs COOLER MASTER HYPER 212X
Which one is better?
It is a frame of reference.