

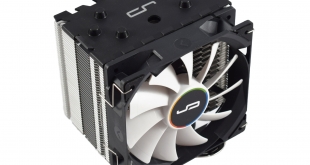
Billed as a ‘Hyper 212 EVO' killer, I have been itching to review the Cryorig H7 for a long time now. On the face of it, it does not look that special, measuring just 145mm tall and utilising a mere 3 heatpipes. But is its appearance deceiving? We will find out.
The ‘budget air cooling' market segment is a competitive area, and manufacturers have long been trying to hit the price-to-performance sweet-spot. Previously, we have seen the Cooler Master Hyper 212 EVO dominate in this segment, but today we assess the performance of the Cryorig H7, priced at £36.95. Read on for the full review, where we look at the cooler's features, installation process and performance before giving our final verdict.
Specification
Heatsink:
- Dimension (with fan): L98 mm x W123 mm x H145 mm
- Weight (with fan): 711 g
- Weight (without fan): 577 g
- Heatpipes: 6mm heatpipe x 3 units
- Fin T: 0.4 mm ; Gap = 2.2 mm
- Front Fin: 40 pcs
- Copper Base: C1100 Pure copper nickel plated
- RAM Tolerance Height: Limitless
- TDP: 140 W
Fan:
- Dimensions: L120 mm x W120 mm x H25.4 mm
- Weight: 134 g
- Rated Speed: 330 ~ 1600 RPM ±10 %
- Noise Level: 10 ~ 25 dBA
- Air Flow: 49 CFM
- Air Pressure: 1.65 mmH2O
- Ampere: 0.16 A
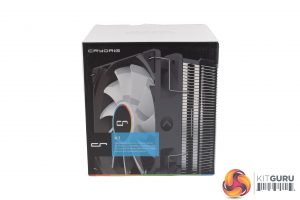
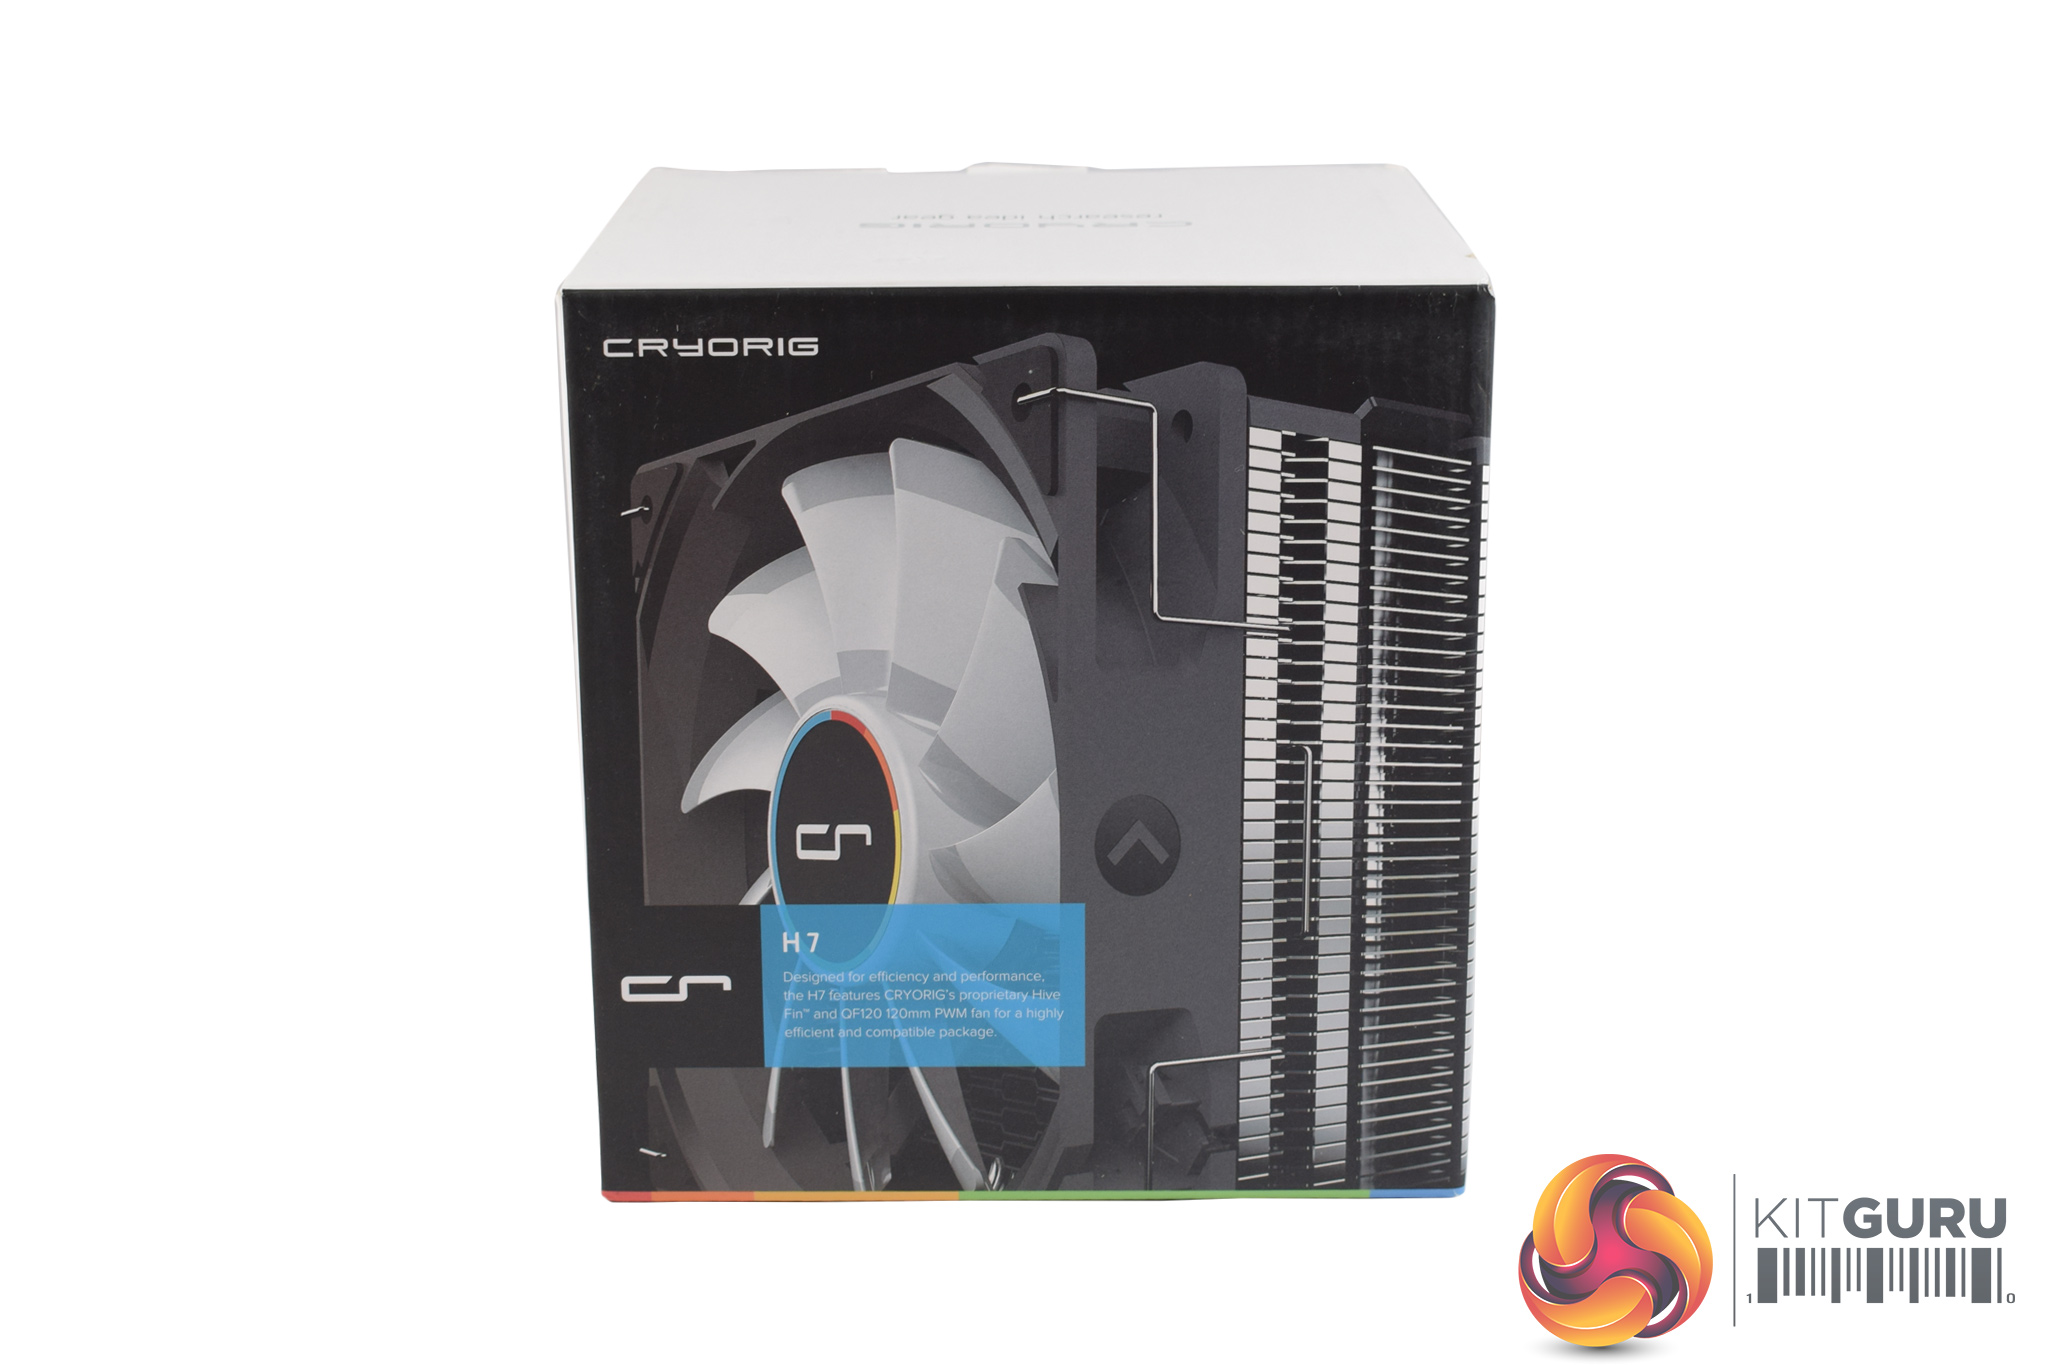
The Cryorig H7 ships in a stylish black box, with a large photo of the air cooler being visible from the front.
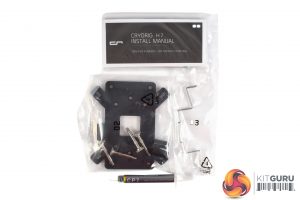
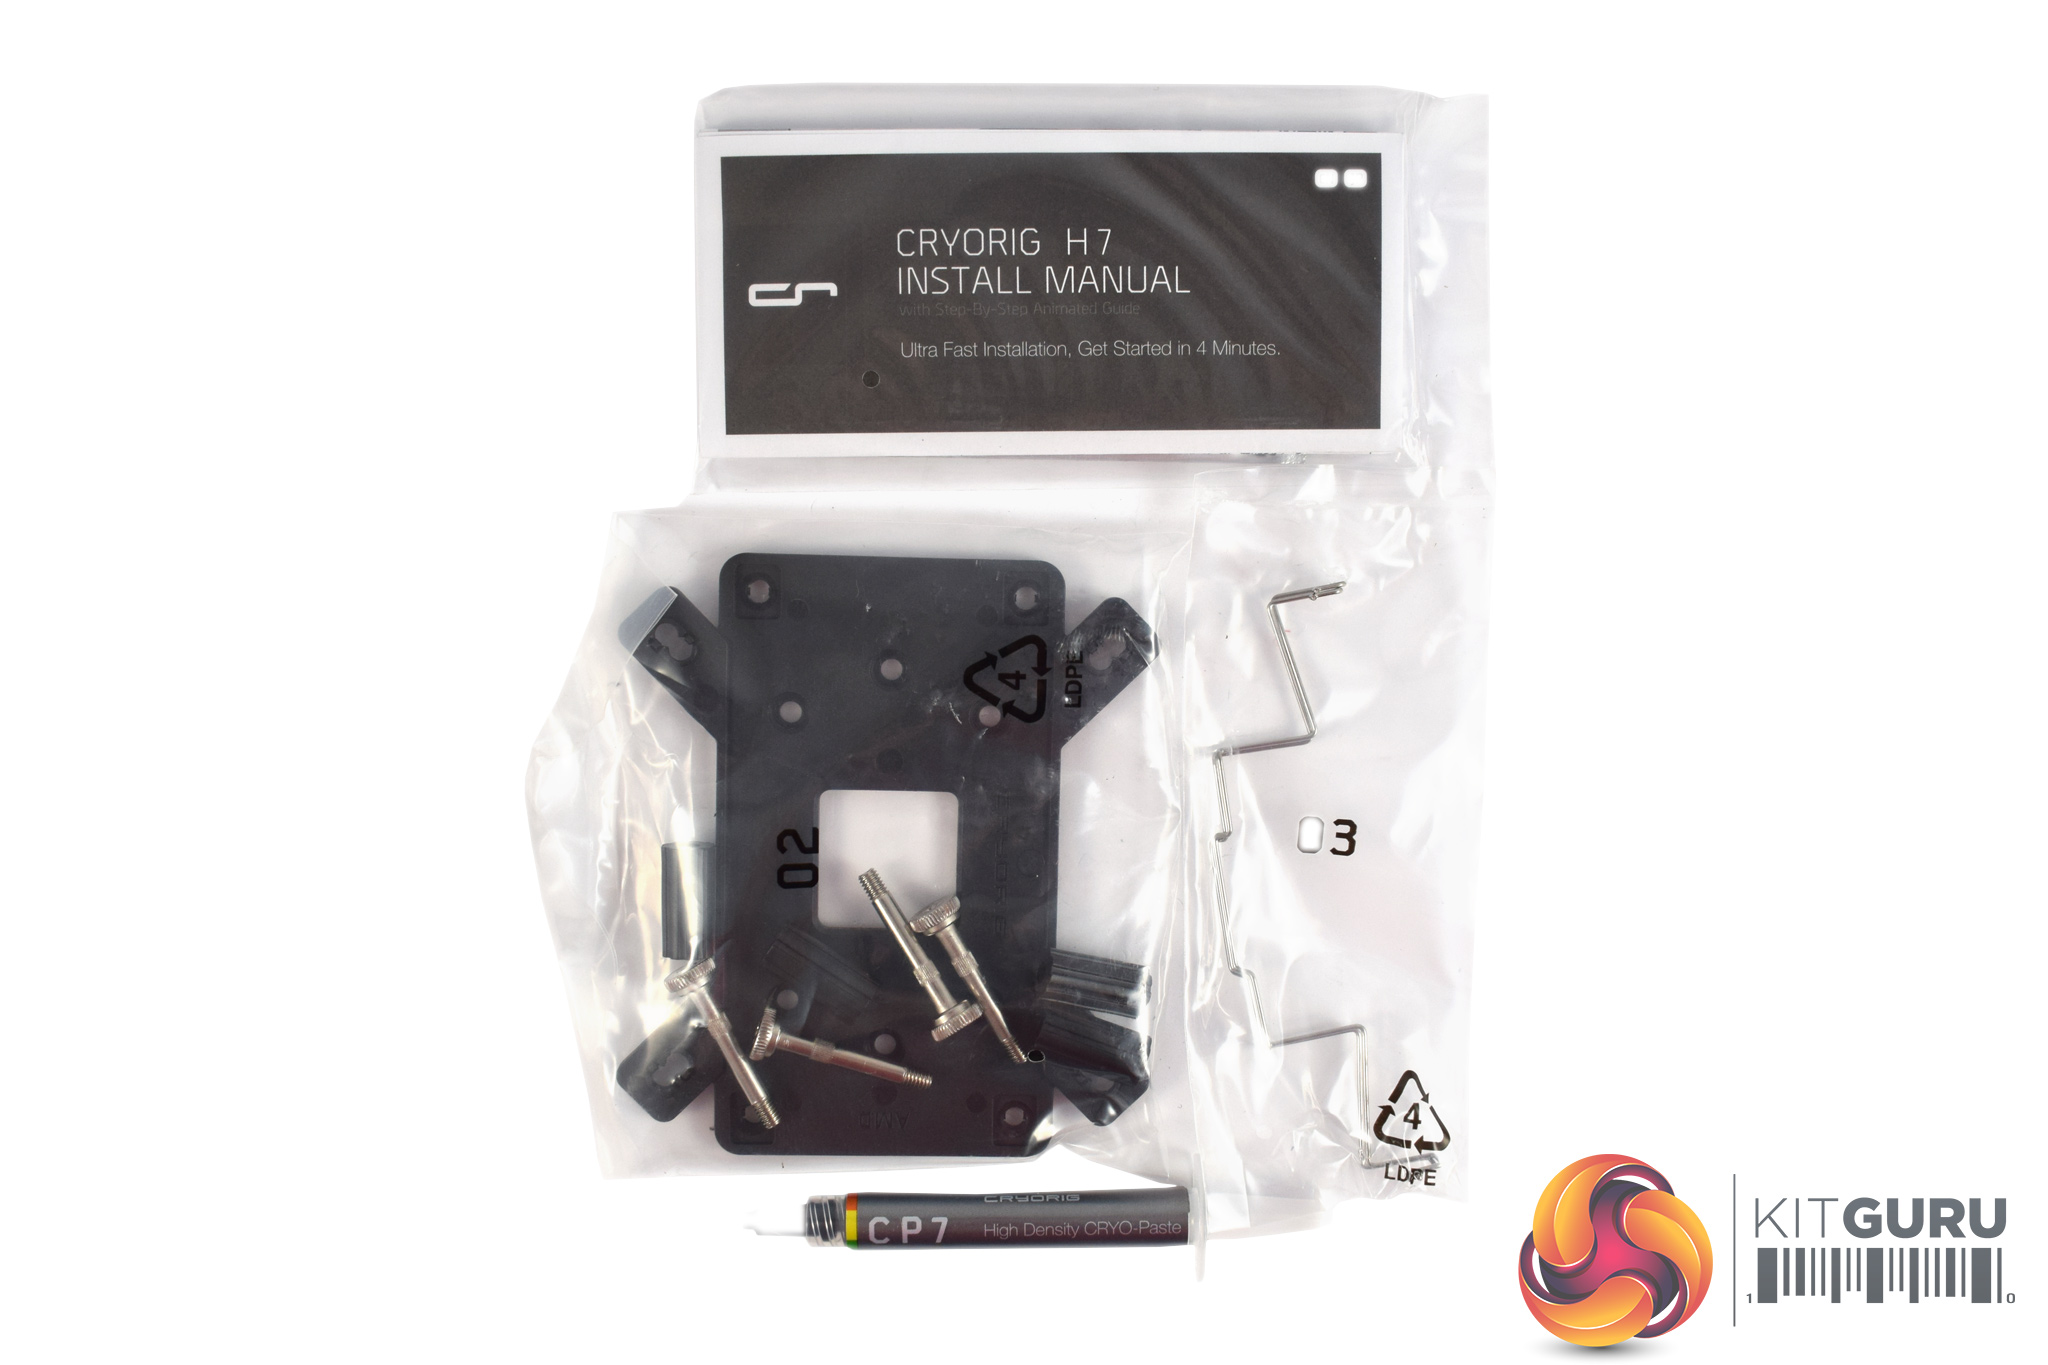
Inside, all the installation hardware is supplied in labelled bags, and this is something I love to see – it just makes installation so much easier if you know exactly which screw or which washer is required.
The manual is comprehensive and straight-forward, although Cryorig have done something pretty helpful here: every step of the installation process has its own QR code. Scanning the code from your phone will take you to a video demonstration of how to complete that particular step. This is great for beginners, or even experienced users, who may get stuck while installing the H7.

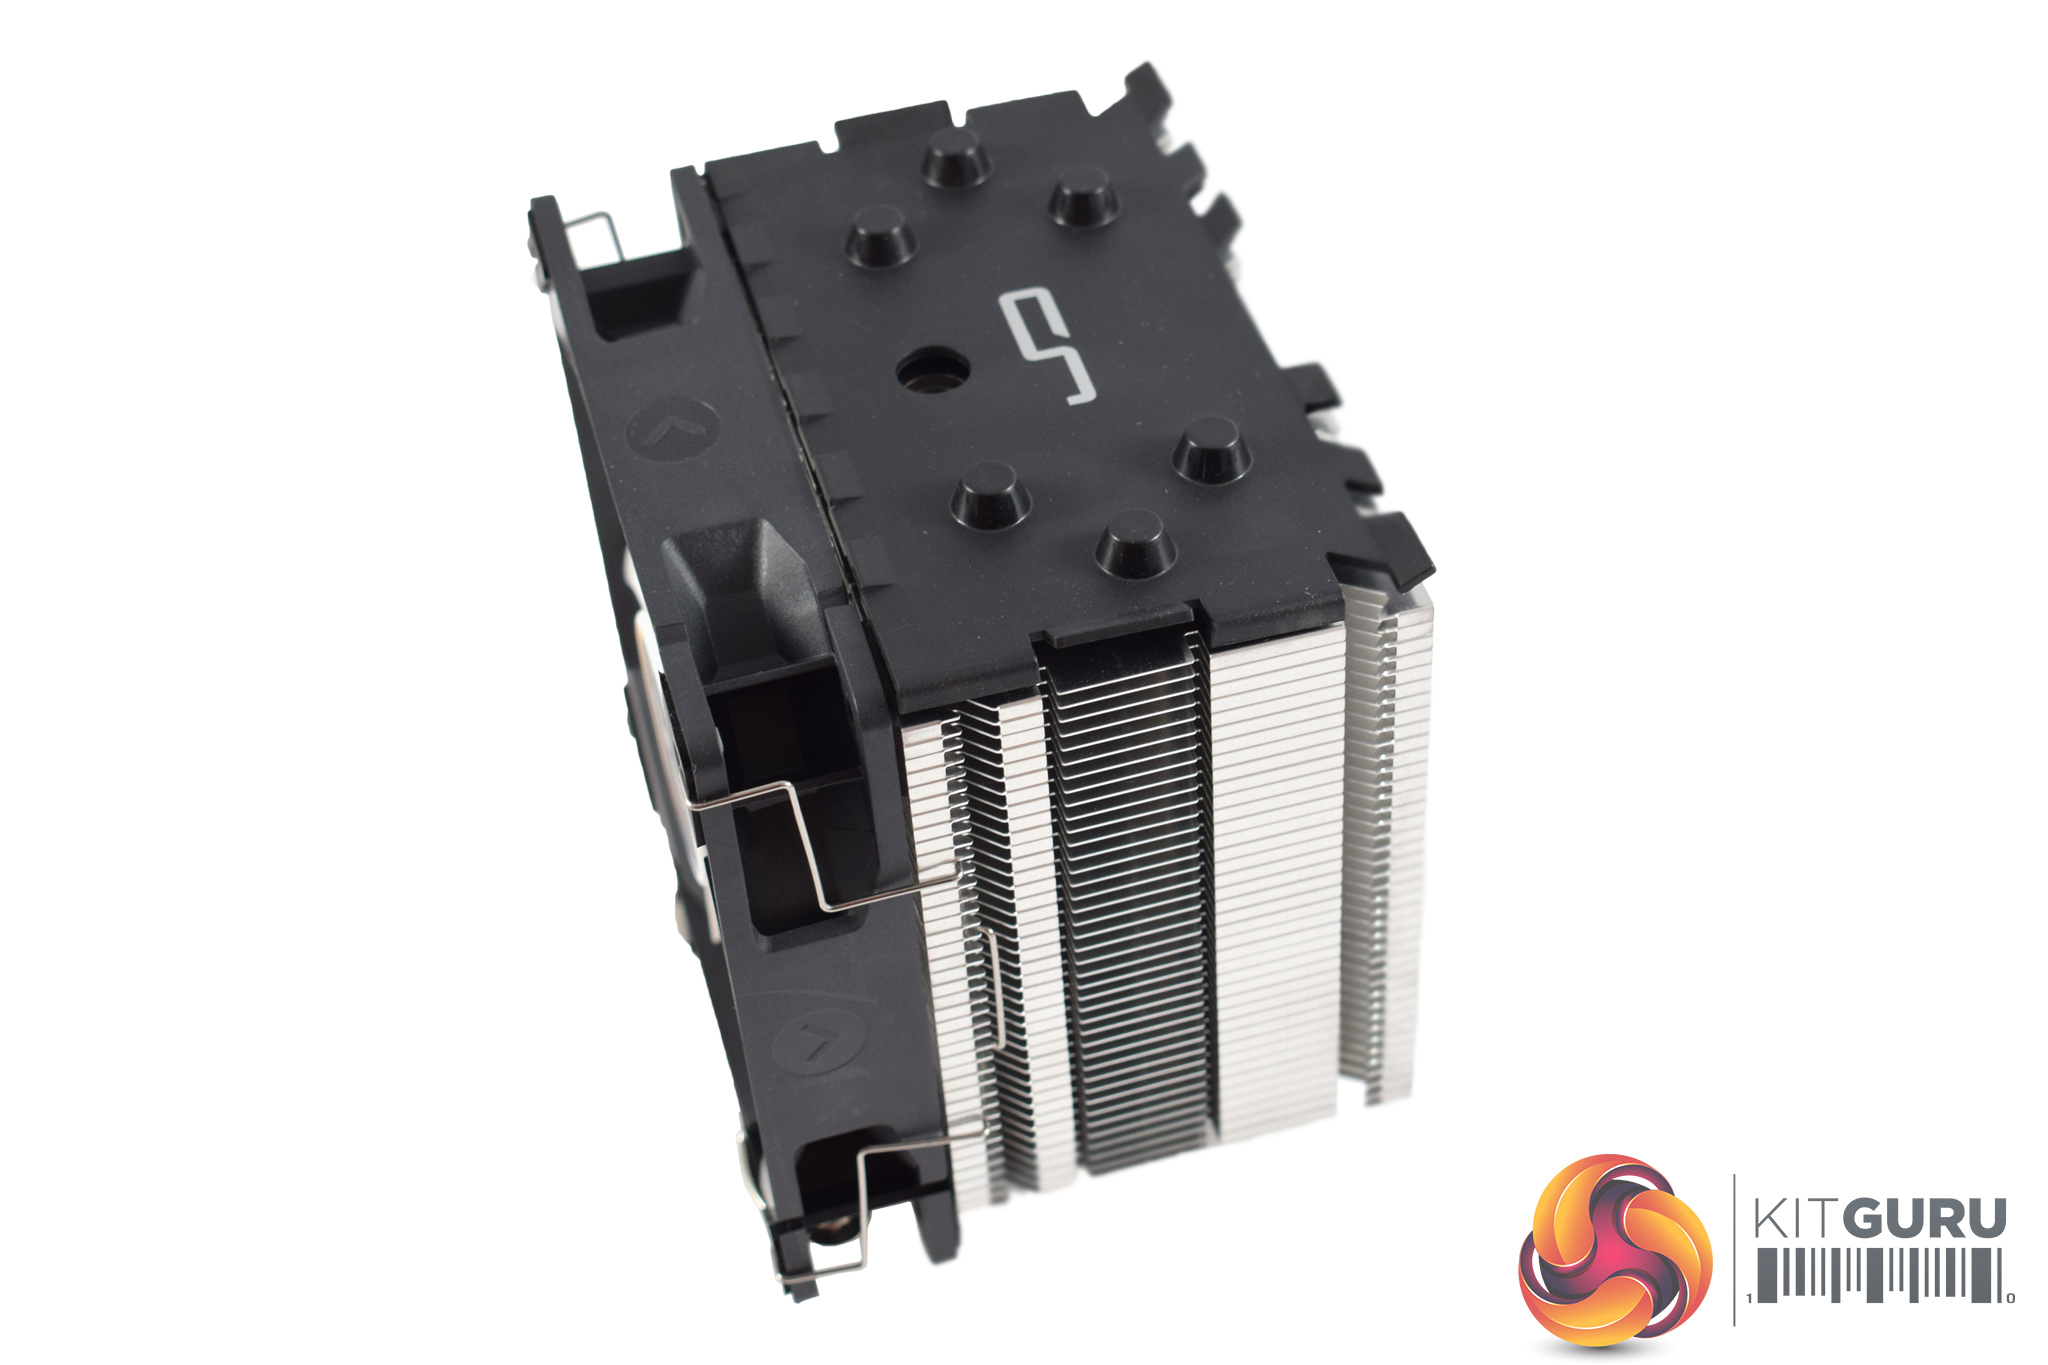
After that, all that is left is the cooler itself.
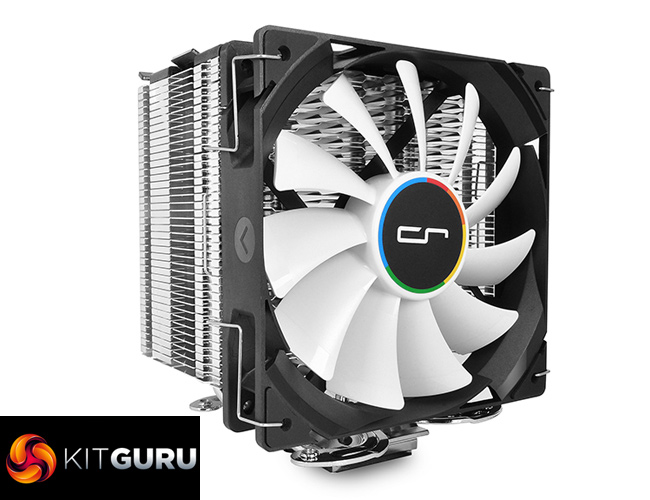
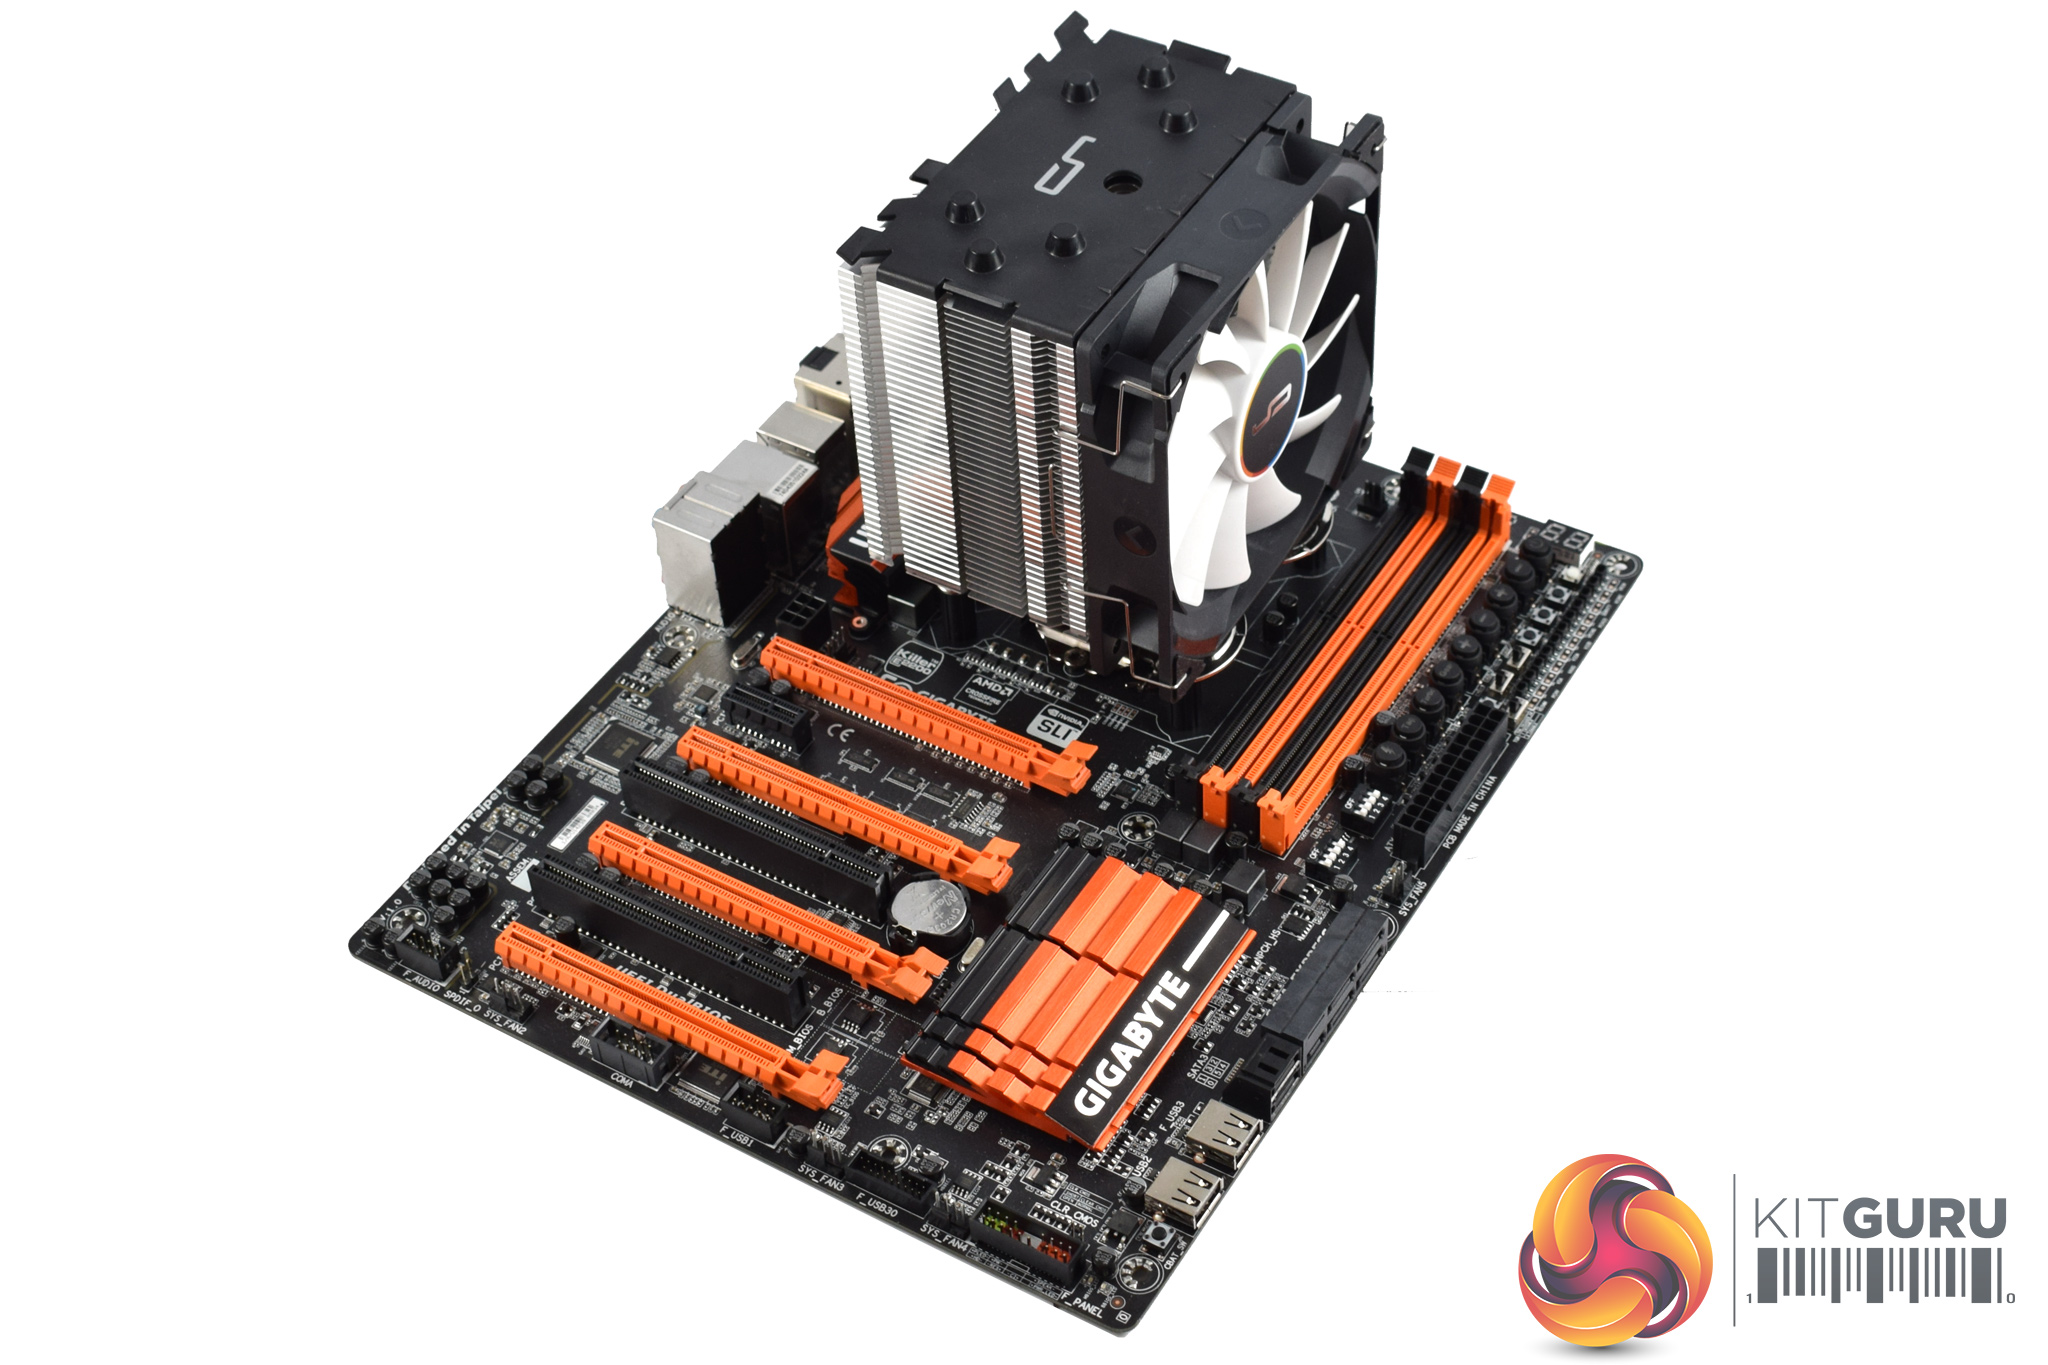
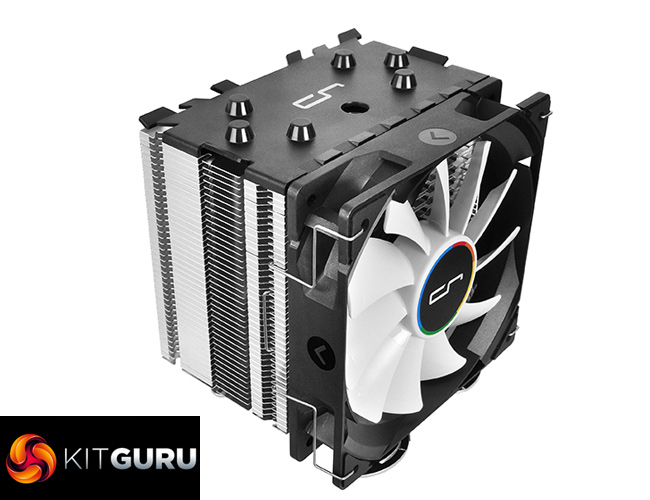
The H7 ships with the fan pre-installed, so there is no need to faff about with the wire clips here. It is also a modestly-sized cooler, measuring just 145mm tall and 98mm long (front to back), including the fan.
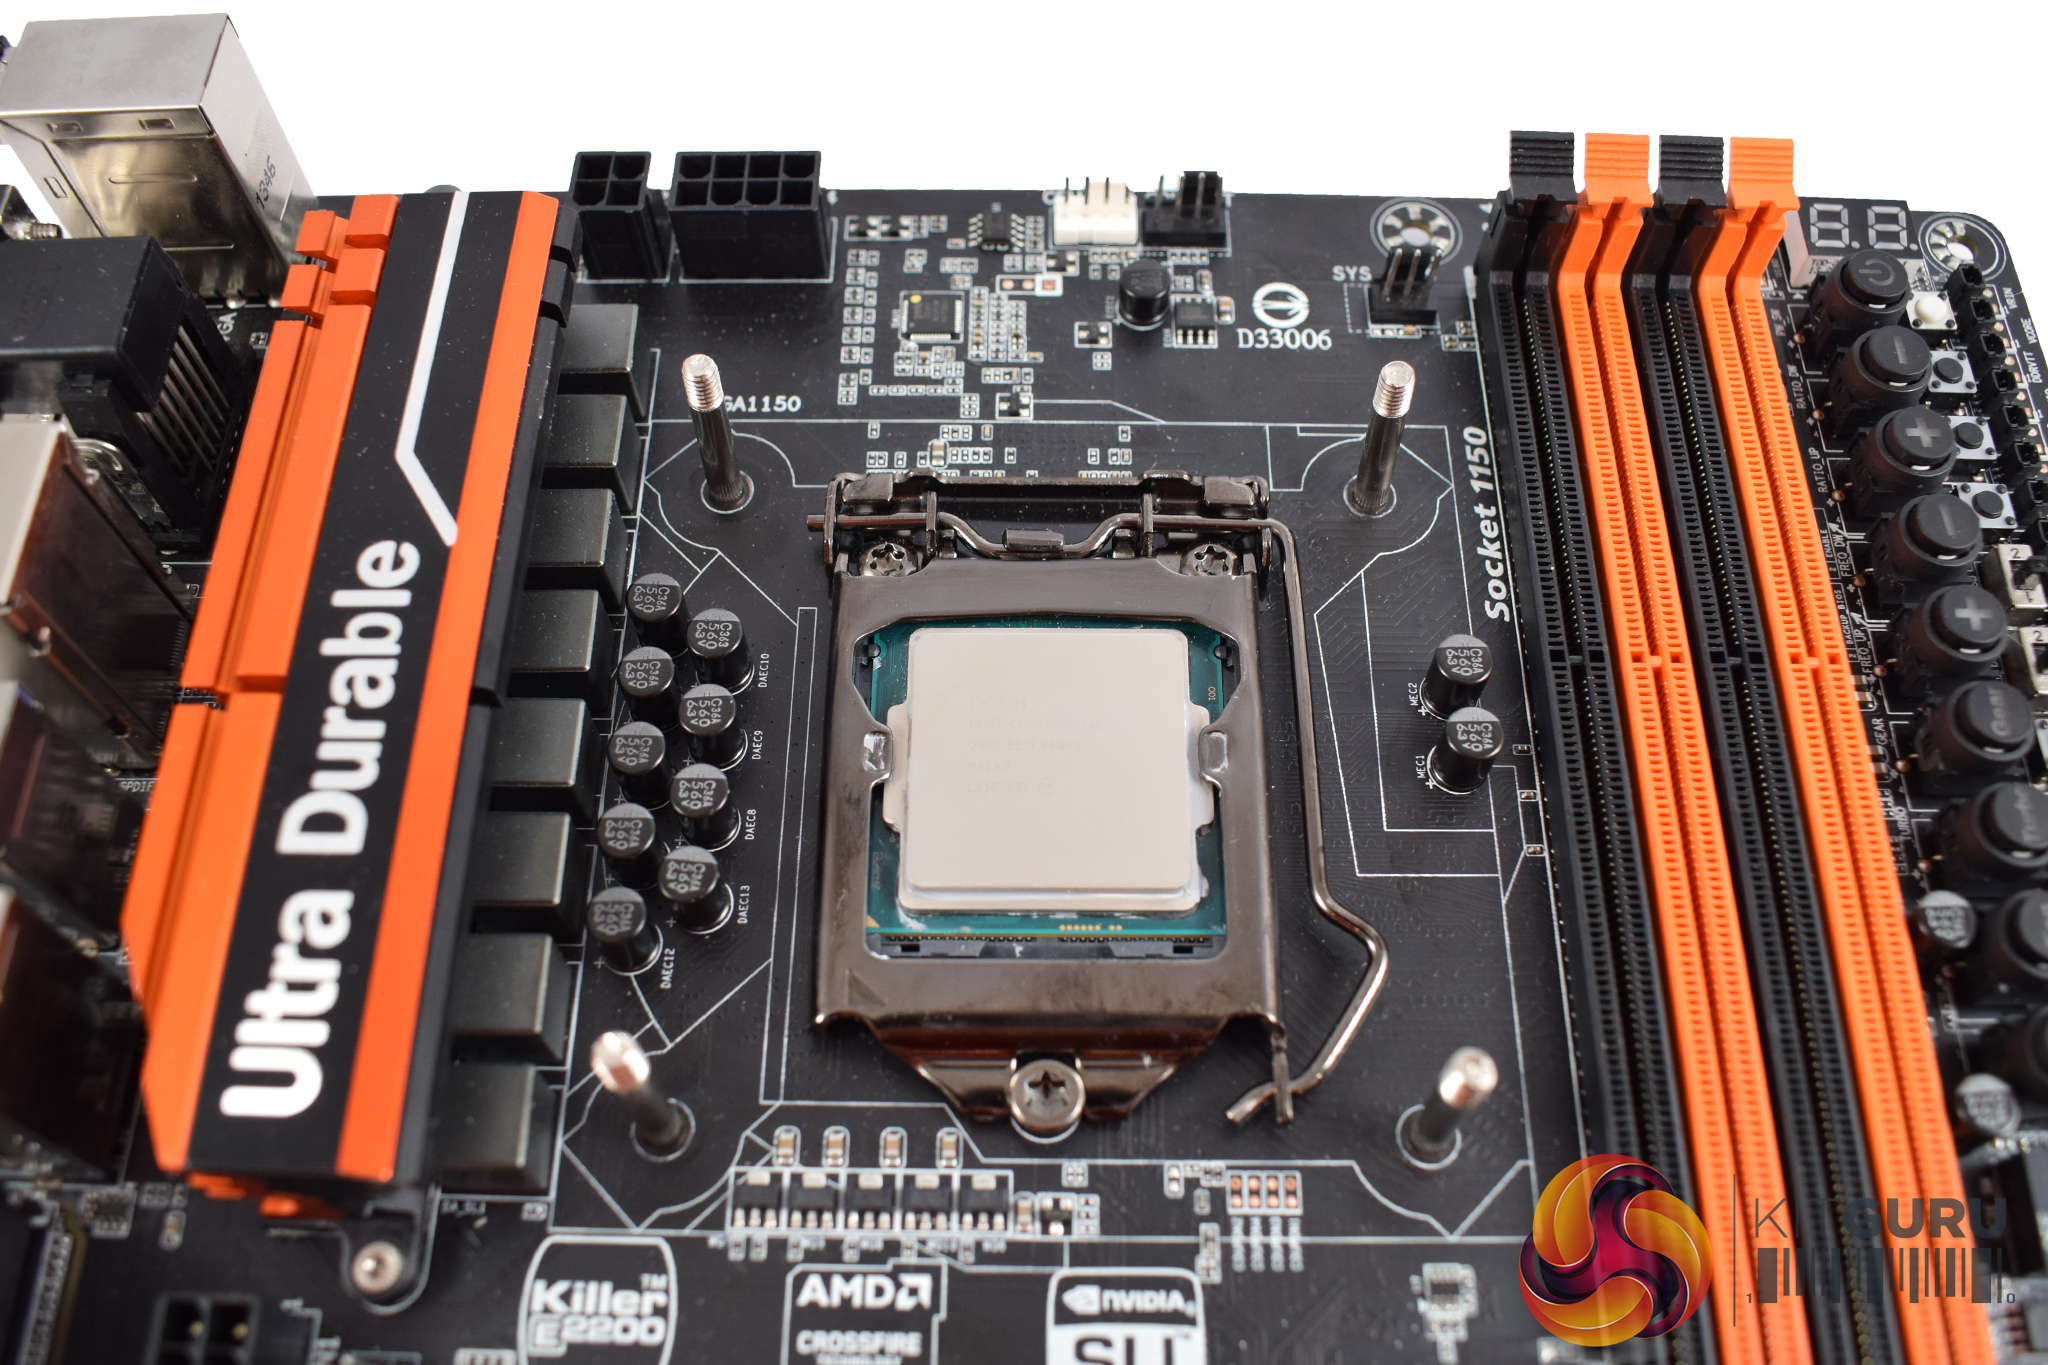
That being said, I do think the H7 is very good-looking – it has a svelte black top, while the heatpipes have also been covered to make sure there is no unsightly copper on-show. The QF120 fan also has a small splash of colour around the middle which adds some interest to an otherwise monochrome cooler.Here I will walk you through the installation process. It is worth noting we test using a Z97 motherboard – socket LGA 1150. The process below reflects that.
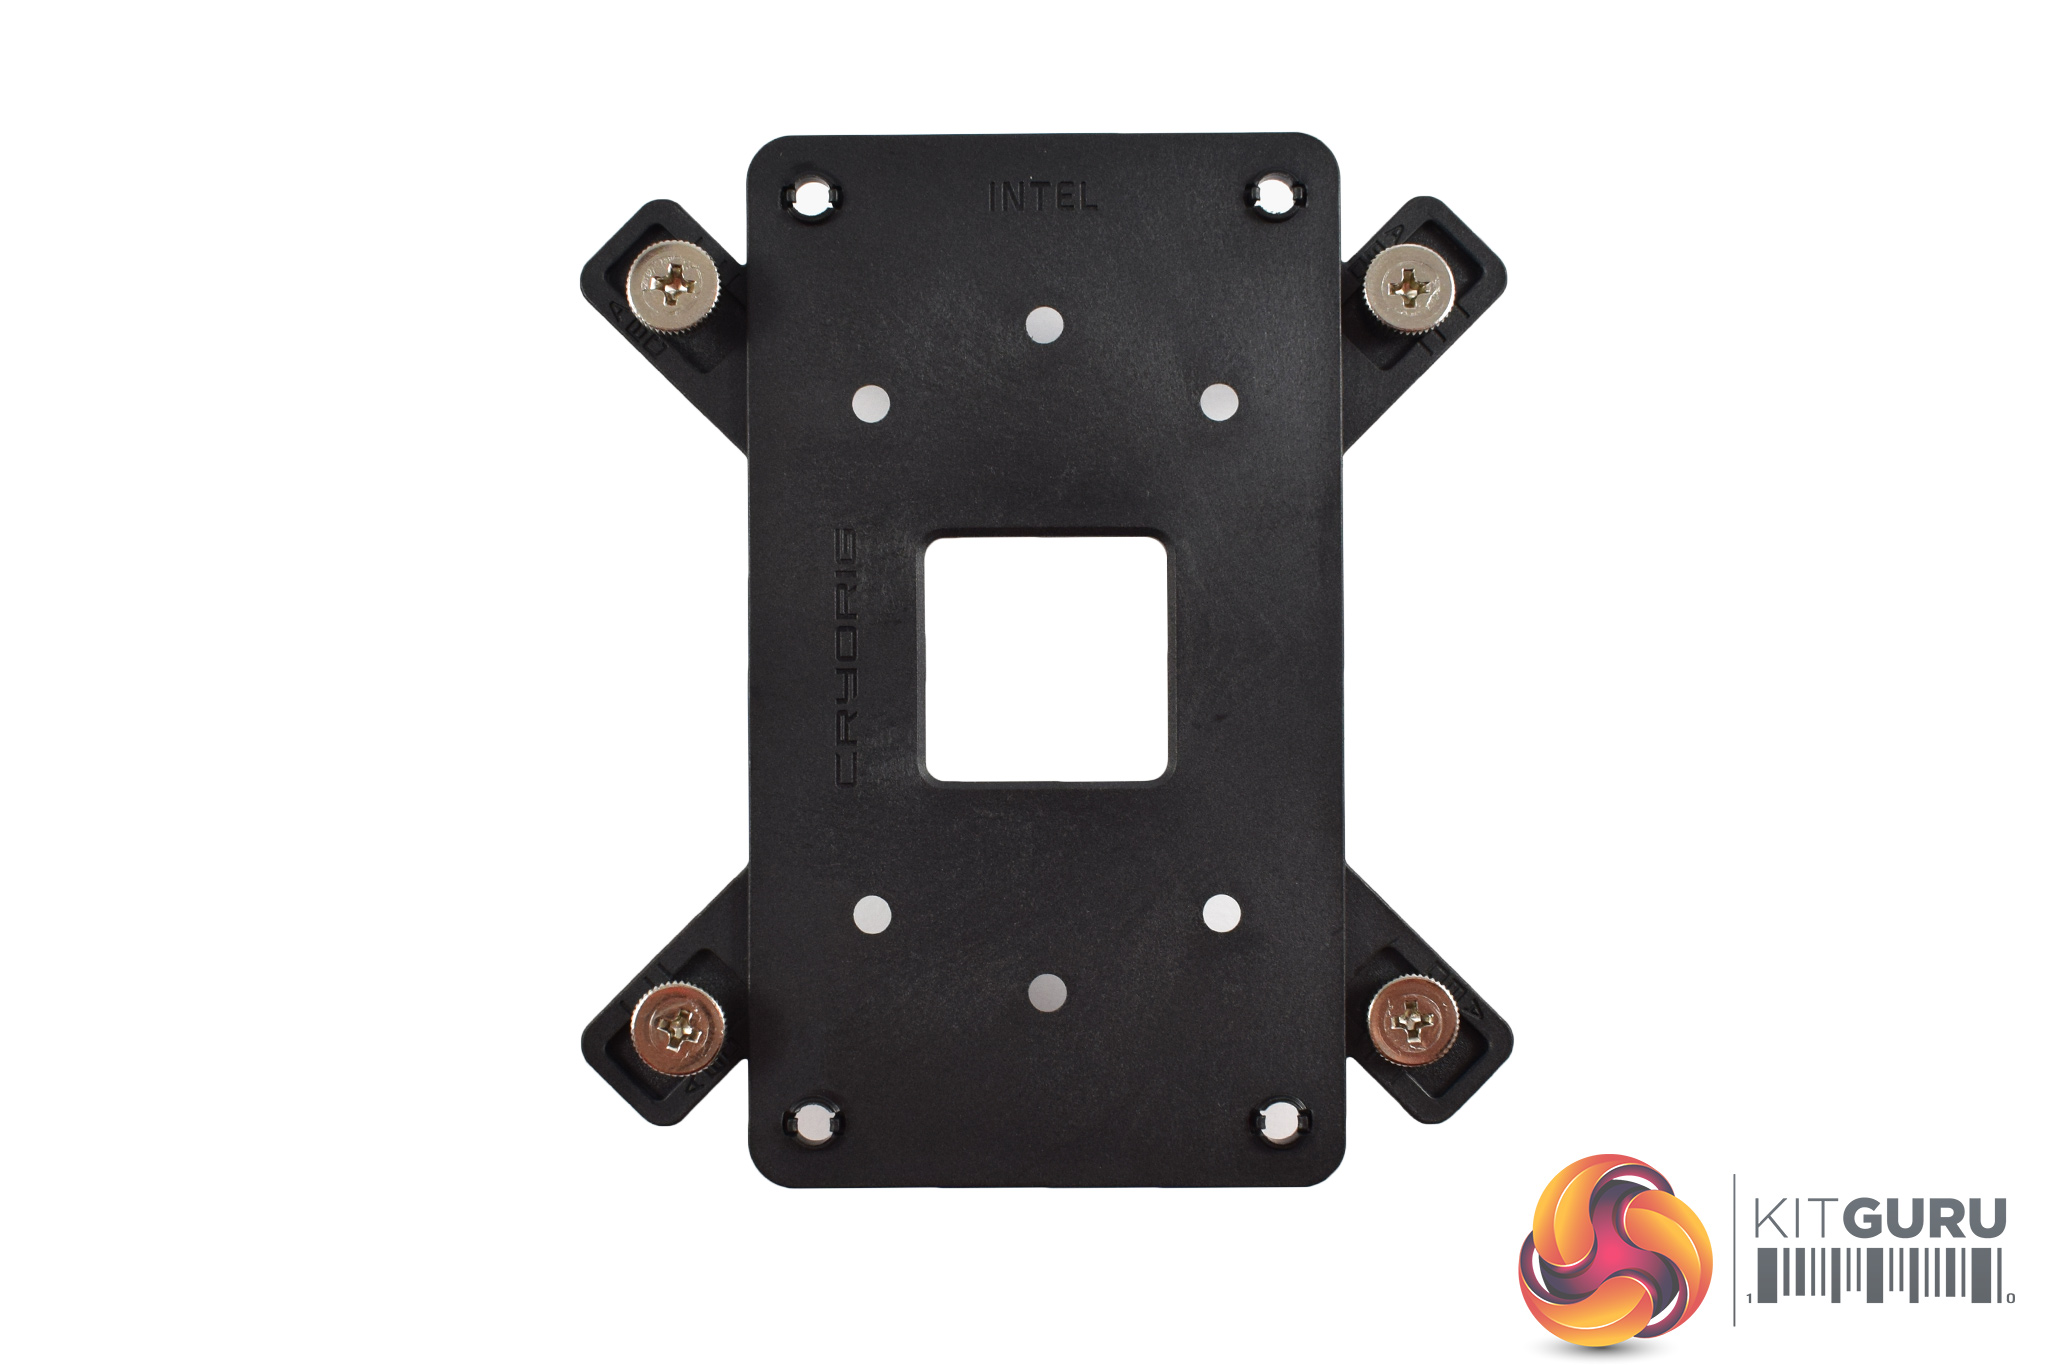
The first thing to do with the H7 cooler is to get the backplate ready: for a Z97 motherboard, push the screws into the correct ‘115x' slot.
Once you've done that, go ahead and slot the backplate into place – the screws will come through the motherboard's holes (as you can see in the image above, left.)
Next, four plastic spacers need to be placed over the screws, ready for the cooler to be mounted.

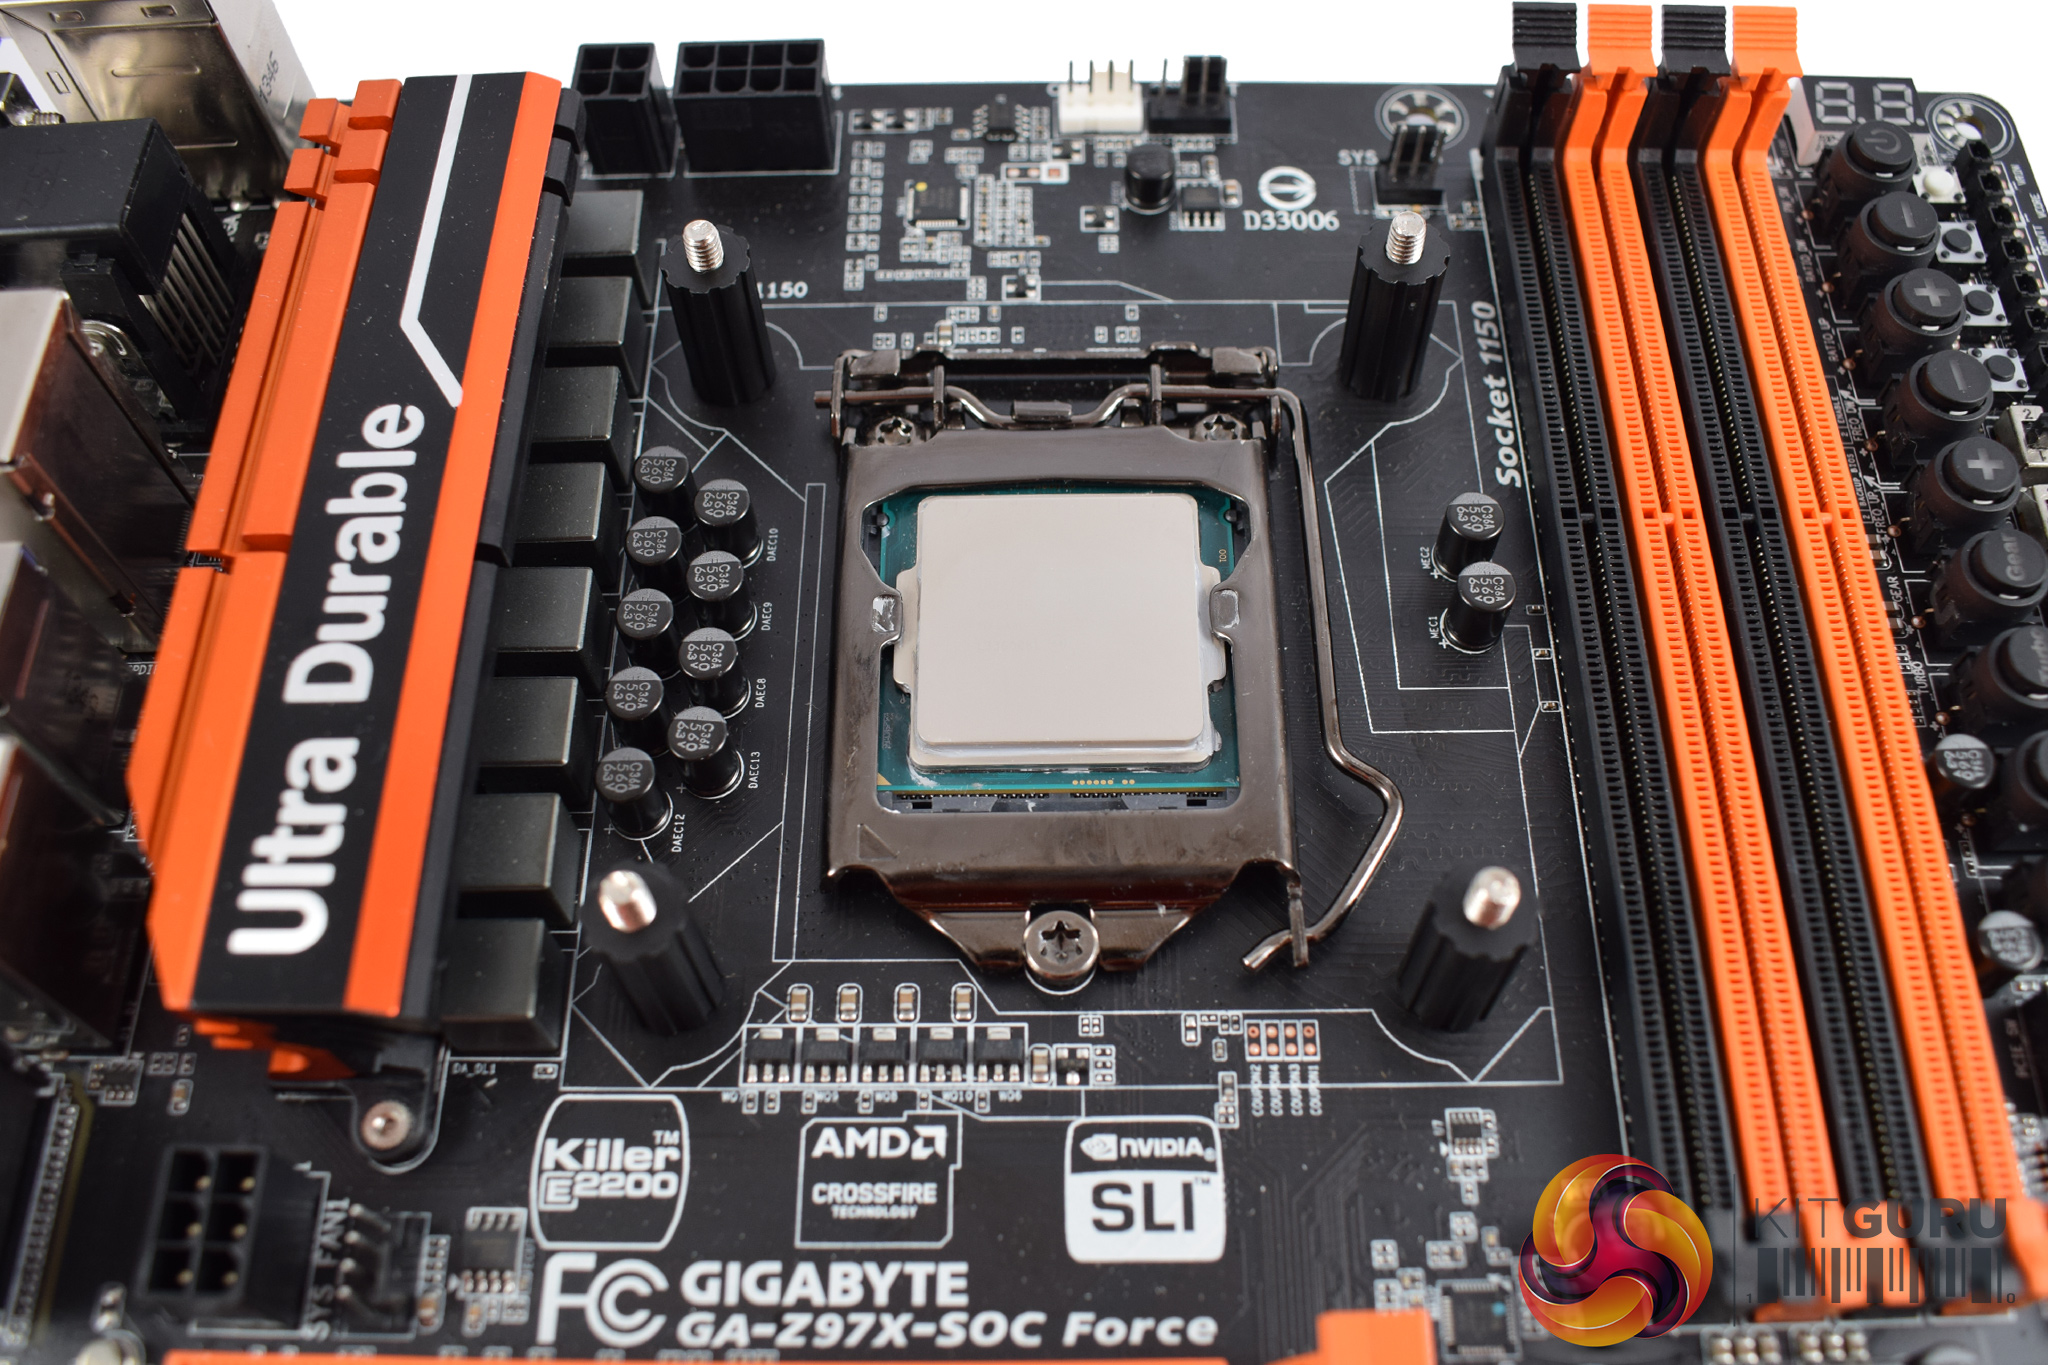
After that, the cooler can be mounted. The screws coming through the motherboard should line up perfectly with an x-shaped bracket on the base of the H7.
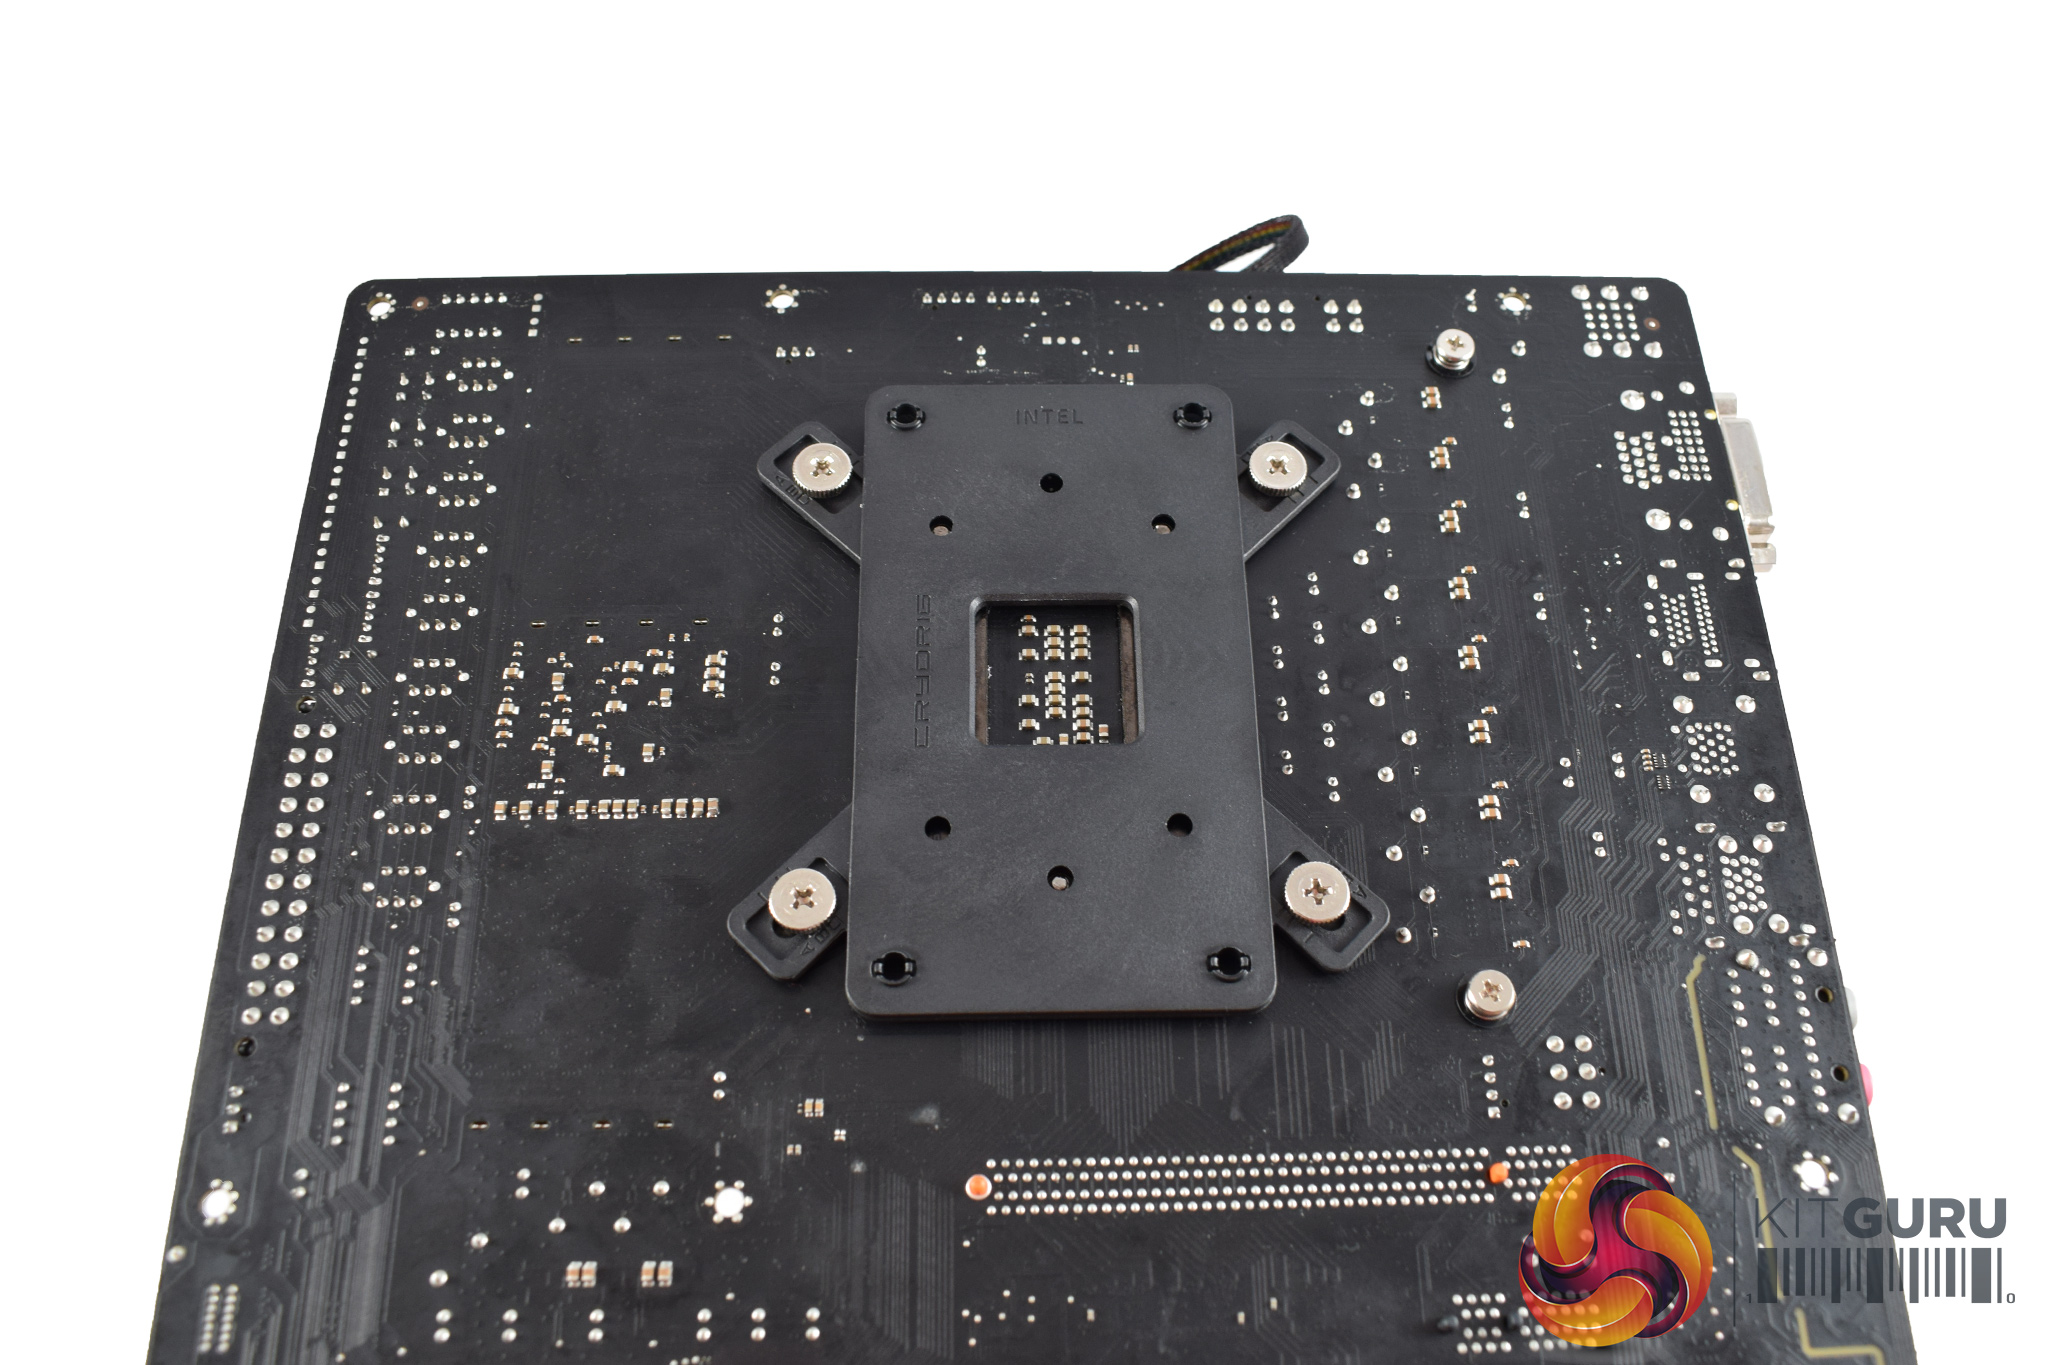
The next step is slightly unconventional as the cooler gets secured to the motherboard by tightening the screws on the underside of the motherboard. This is a bit tricky in practice as you have to flip the motherboard over and then tighten the screws while holding the cooler in-place. However, Cryorig do recommend tightening the screws a little bit by hand first, as you are then able to lay the cooler down on a flat surface and finish tightening the screws with a screwdriver.
Once you have fully tightened the screws, the H7 is installation process is complete.
All-in-all, the process is simple because there are so few steps to complete, but the hardest thing is tightening the screws while holding the cooler in-place. That being said, if you follow Cryorig's advice and tighten by hand first, instead of trying to do everything while holding the cooler up-side down, it is not that difficult.To test all CPU coolers, we devised an easily repeatable test with no variables other than the coolers themselves. This ensures that figures from every cooler we test are comparable with each other.
Test rig
Using an open-air test bench, we deploy an Intel Core i7-4790K plugged into a Gigabyte Z97X-SOC Force motherboard. Alongside this is 16GB of 2400MHz Corsair Vengeance DDR3, as well as a 120GB OCZ Trion 150 SSD. Powering everything is a Corsair RM750x PSU.
The test process
Testing coolers involves taking a total of 4 temperature readings per cooler. First, we measure the idle temperature of the i7-4790K at stock speeds (turbo boost disabled), before measuring its temperature under load at stock speeds. Next, we overclock the CPU to 4.5GHz using a 1.3 Vcore, ensuring greater heat output. In its overclocked state we then measure the idle and load temperatures of the CPU again. The figures we present are temperature deltas – meaning we take each temperature reading and minus the ambient temperature from it. This allows us to test in an environment that is not temperature-controlled.
To ward off potential comments or questions, we know 4.5GHz using a 1.3 Vcore is not the ‘best’ overclock – this particular CPU could reach that frequency at closer to 1.25 on the Vcore, which is more efficient. That is not the point, however. We are trying to stress the coolers to see how they deal with excess heat … hence the higher than necessary Vcore.
Where possible, each cooler’s fans are plugged directly into the motherboard using the CPU_Fan or CPU_Opt headers. Some AIOs, however, ship with their own fan controllers or PWM hubs. If we are unable to plug the fans directly into the motherboard, it is specified in the performance section of the review.
An idle reading comes from leaving Windows on the desktop for 15 minutes. A load reading comes from running Prime95’s (version 26.6) Small FFTs test for 15 minutes – enough time for temperatures to plateau.
Noise output
Unfortunately I am unable to properly measure the sound output of CPU coolers using a digital sound meter. This is because I am based alongside a busy road (with high ambient noise levels). Using a sound meter is, as such, not possible as there are variables out of my control. However, I will try my best to subjectively describe the noise output in a helpful manner.Temperatures
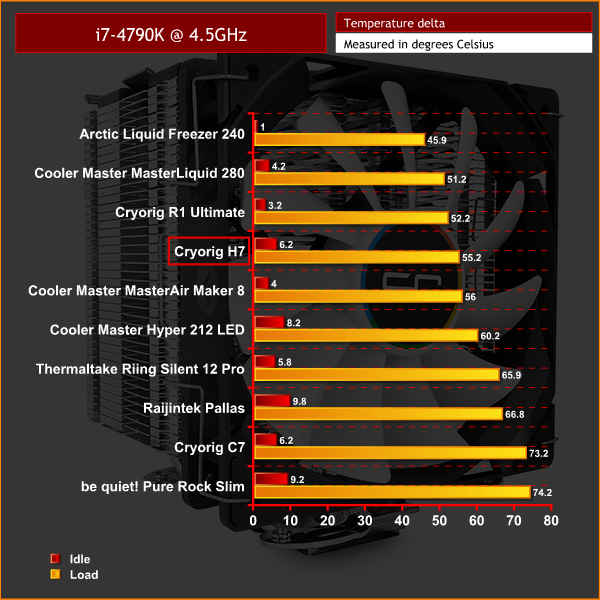
All temperature charts are sorted with lowest load temperatures at the top.
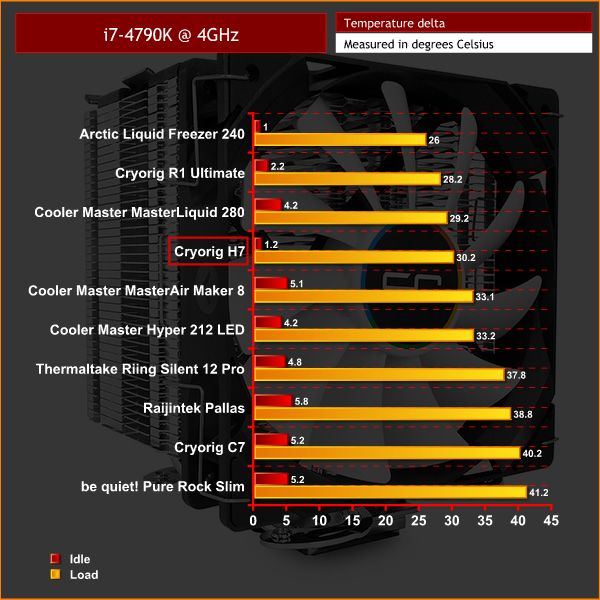
Thermal performance of the H7 is incredible – at stock clocks, it is just 1 degree Celsius hotter than a 280mm liquid cooler from Cooler Master, and only 4 degrees away from the chart-topping Arctic Liquid Freezer 240.
When the CPU is overclocked, its performance is still very strong – it beats out the much larger (and more expensive) Cooler Master MasterAir Maker 8, while it also cools significantly better (5 degrees better) than the Hyper 212 LED.
Considering its size and price, these are some amazing performance results.
Acoustics
Noise levels are another strength of the H7. When idling, it is simply not audible – I put this down the the QF120's fan, which is rated to go as low as 330RPM, give or take 10%. Needless to say, a high-quality fan like this spinning at 330RPM is essentially ‘off'.
It does, of course, ramp up once we overclock the CPU, but even then, the noise is not more than a quiet, steady hum. The fan also benefits from the fact that its speed increases very slowly – it does not suddenly roar into life at high speed. This slow and steady increase of speed tricks you into thinking that the fan is barely any louder, as the noise increases gradually.All-in-all, the Cryorig H7 is a mightily impressive cooler.
For starters, it looks great – the top of the cooler is covered by some svelte black plastic which keeps the H7 looking sleek, while it is also very compact at just 145mm tall.
Installation is straightforward, though at one point you do have to hold the cooler in-place upside-down while tightening the four screws. It sounds harder than it is, but if Cryorig tweaked the process to mean you didn't have to flip the motherboard on its head, that would be a plus.
However, the H7's performance more than makes up for the slightly fiddly installation. Simply put, for a £37 air cooler, the Cryorig H7 is fantastic. We saw it go toe-to-toe with much more expensive air and liquid coolers, even coming out on-top when compared with the MasterAir Maker 8 from Cooler Master. It also beat the Hyper 212 LED by 5 degrees.
Acoustically, it is just as impressive. The fan is simply not audible when the system is idling, while under load, the noise is far from intrusive.
As such, I feel obliged to give the Cryorig H7 our highest, ‘Must Have' award. If you are looking for a simple, compact and affordable air cooler, you won't find one better than this.
![]()
You can buy the whole Cryorig range from Overclockers UK, and you can find the H7 for £36.95 inc. VAT over HERE.
Discuss on our Facebook page, over HERE.
Pros
- Looks great.
- Nice and compact.
- Beats out similarly-priced competitors by a significant margin.
- It even challenges much more expensive liquid coolers.
- Very affordable.
Cons
- Installation process requires you to hold the cooler in-place while tightening 4 screws.
KitGuru says: For such a small, and affordable, air cooler, the Cryorig H7 is mightily impressive. If you are in the market for a new air cooler, this one is seriously competitive.


Over the last year I have rediscovered my love for big air coolers and huge mechanical hard drives. I think the next thing on my list is replacing my mAtx Z170 gene board with a full size ATX. Maybe it’s because I turn 40 next year and I’m trying to hold onto my youth lol.
this thing is the truth. I’ve built 4 PCs with it and it is so much easier to work with than the EVO and does a better job at cooling. With the credit card thermal paste technique you are saving a ton of money vs liquid. Oh, and the PCs I get with liquid cooling gone bad. Air cooling is where it’s still at.
nice review!
Cooling performance is very good – no doubt about it. The fan om my H7 Lumi Edt. broke down after only 6 months tho` so that was a let down. I`ve replaced it a Fractal Design Venturi HP12 and now it works even better 🙂
Running this on an open test bench somewhat skews the results doesn’t it?
99% of people will have their coolers in a closed case so shouldn’t expect the same temps as portrayed here.
Are you an actual winner of the contest?
Yeah, those limited edition gifts were hand made or one of a kind early sample parts.
If you are indeed one of the original winners, we are more than happy to send you a official LED QF120 once they are on the market.
Yes. I did win the Frost White Lumi Edition H7 on your year end giveaway. I won the 2nd prize..not the RGB-version, but the white-led one and thank you I could always use a 120mm RGB fan 🙂 contact: [email protected] Youll find that adress corresponds with your list of winners. Best regards John-Ivar Rubach
CRYORIG H7 Tower Cooler For AMD/Intel CPU’s vs COOLER MASTER HYPER 212X
Which one is better?
It is a frame of reference.