

Here I will walk you through the installation process. It is worth noting we test using a Z97 motherboard – socket LGA 1150. The process below reflects that.
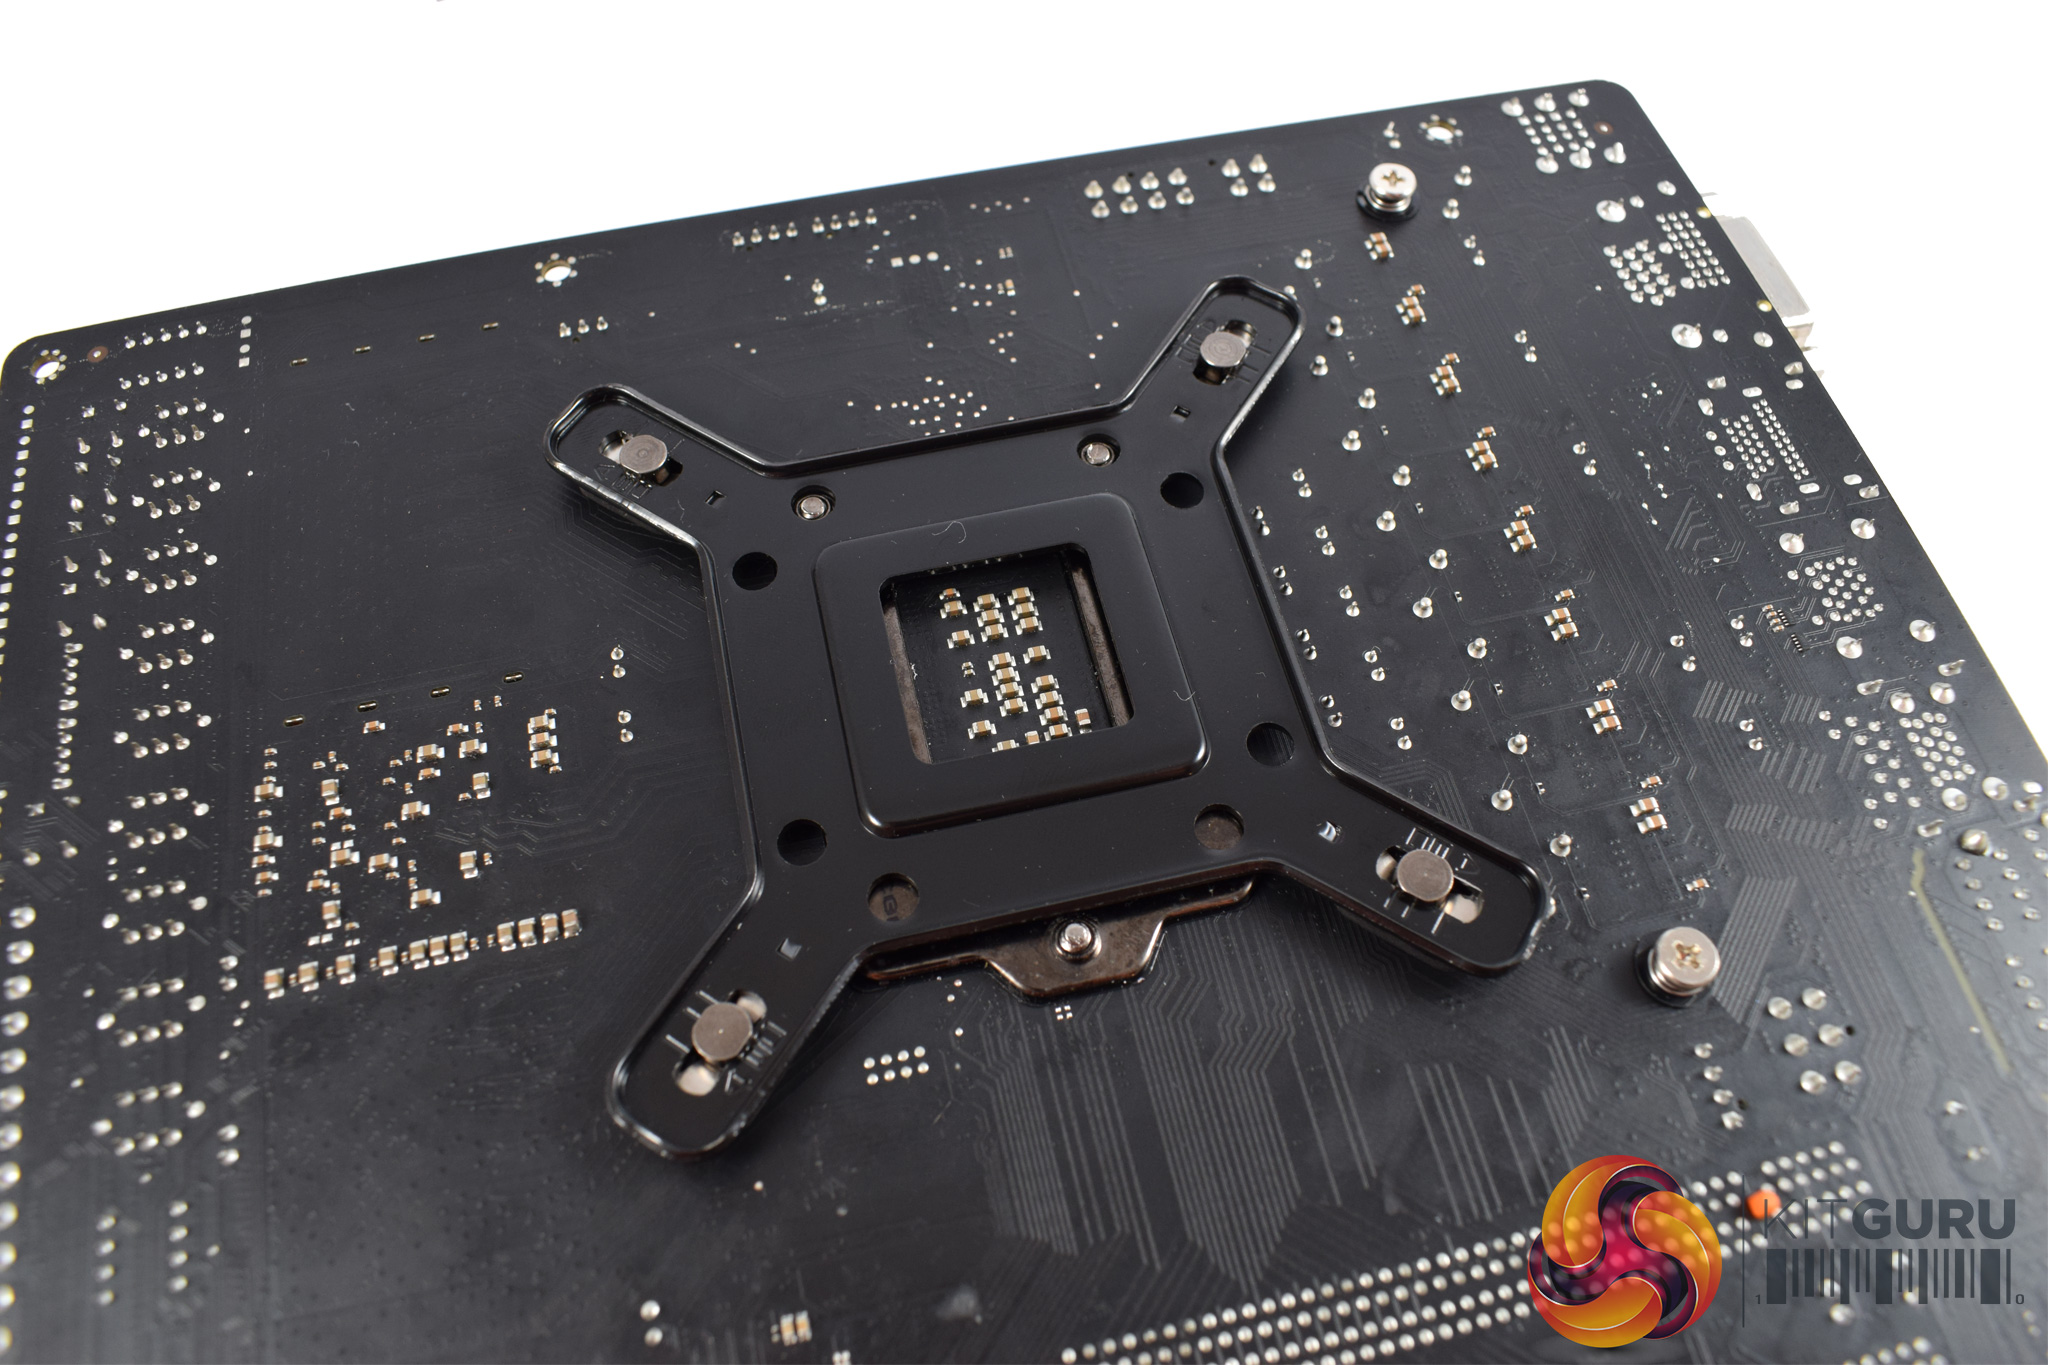
The first thing to do is prepare and install the backplate: move the four pre-attached screws to the central position (for LGA 155x systems), and then slot the backplate into place behind the motherboard.
After that, four standoffs need to be installed to the backplate screws, as above.
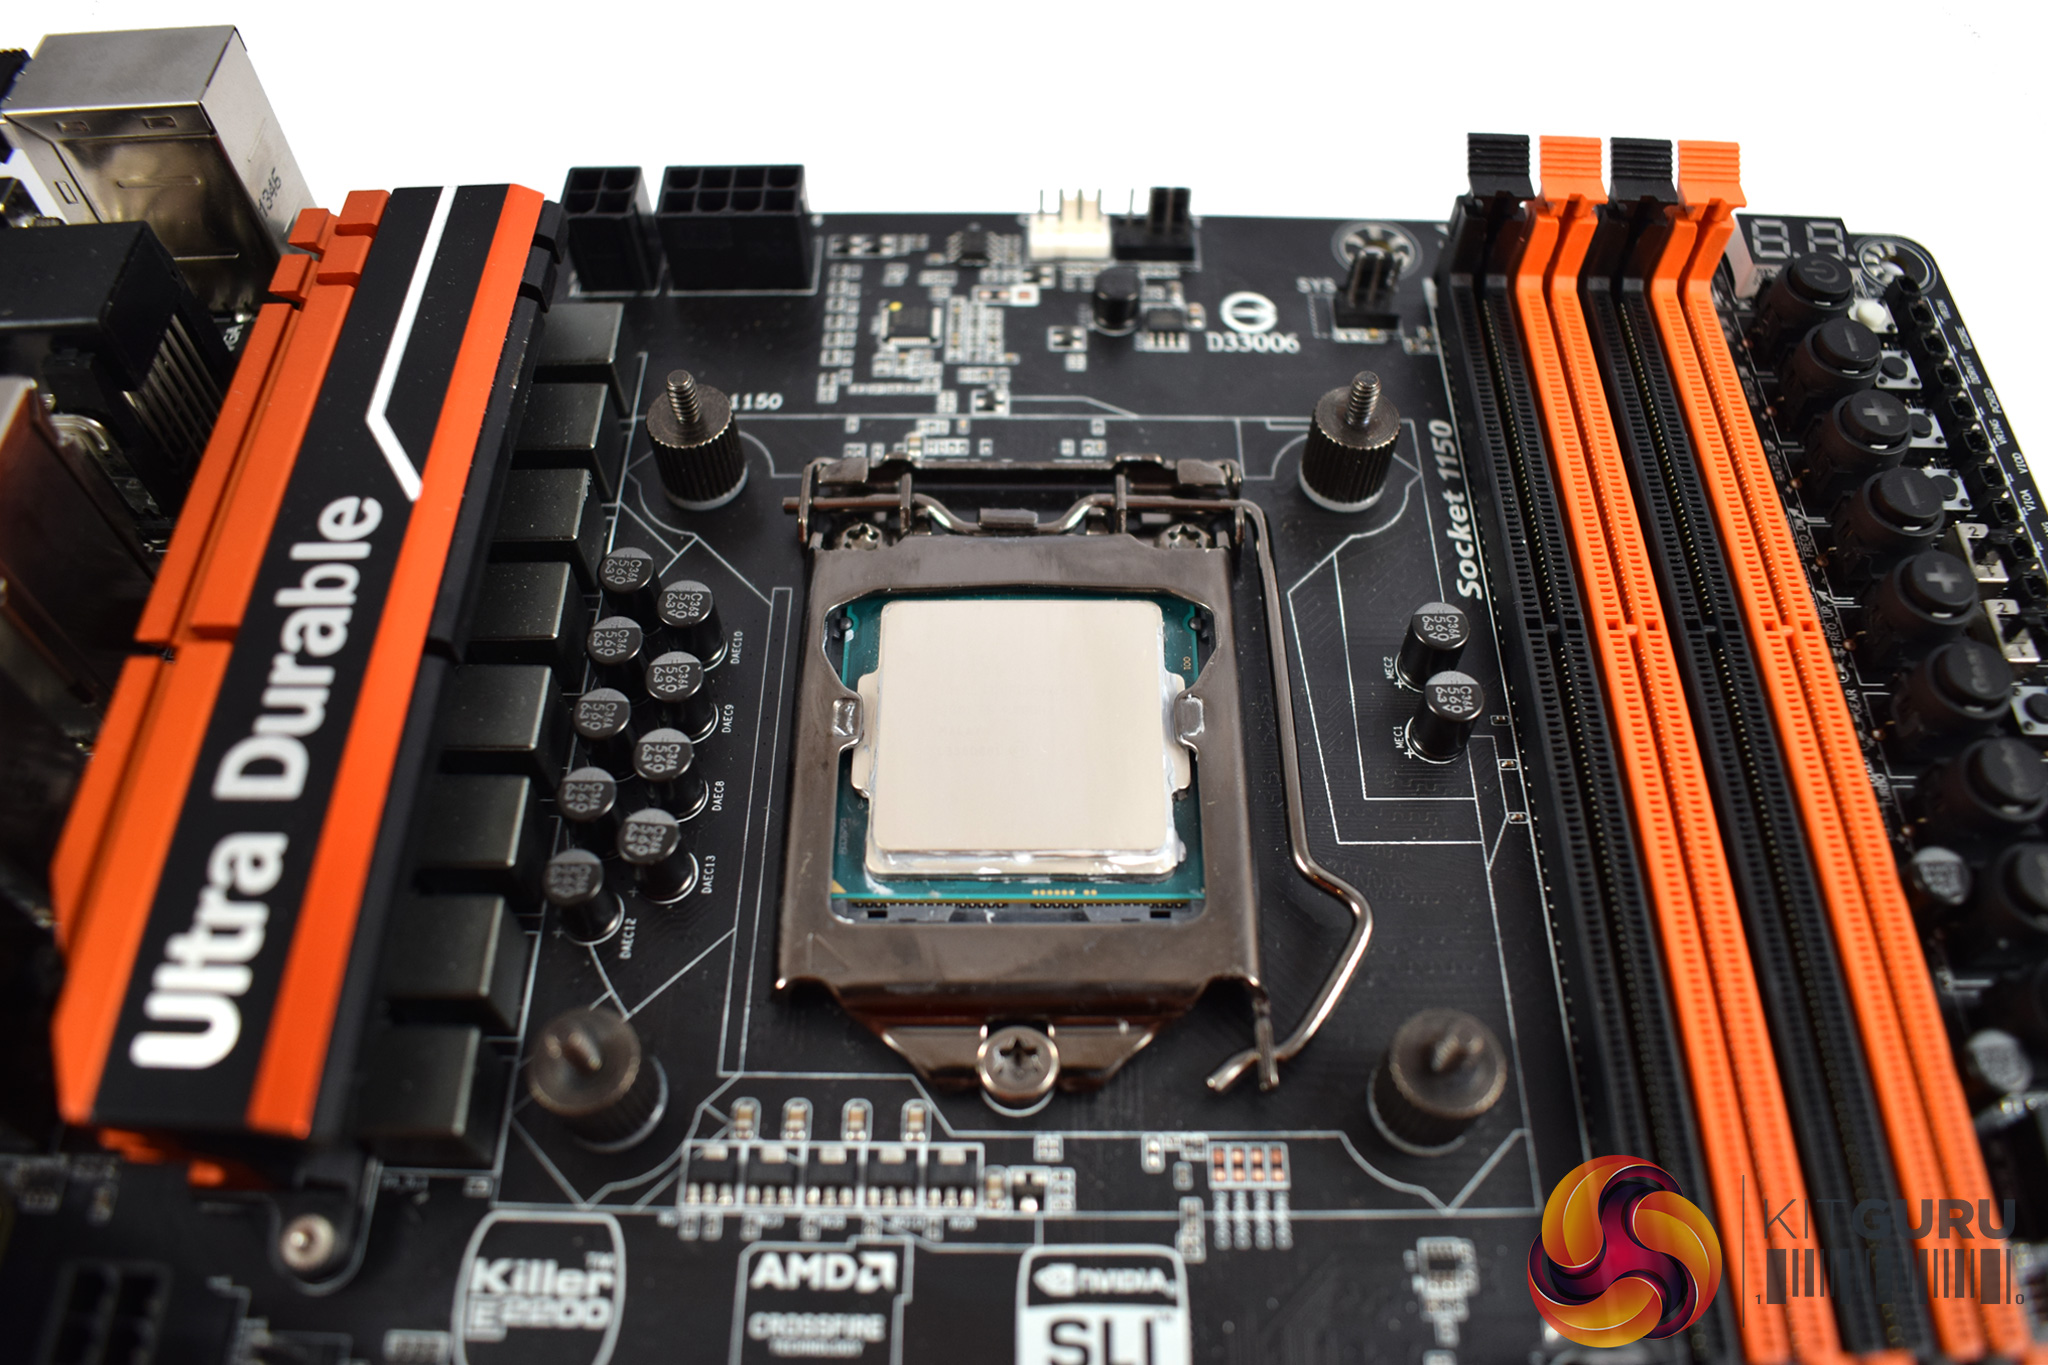
Next, the Intel-compatible rails should be mounted on-top of the standoffs. If you want the R1 Ultimate to be mounted horizontally, position the rails parallel to the DIMM slots. However, if you want the cooler mounted vertically (as we are doing here), the rails should be mounted as shown above.
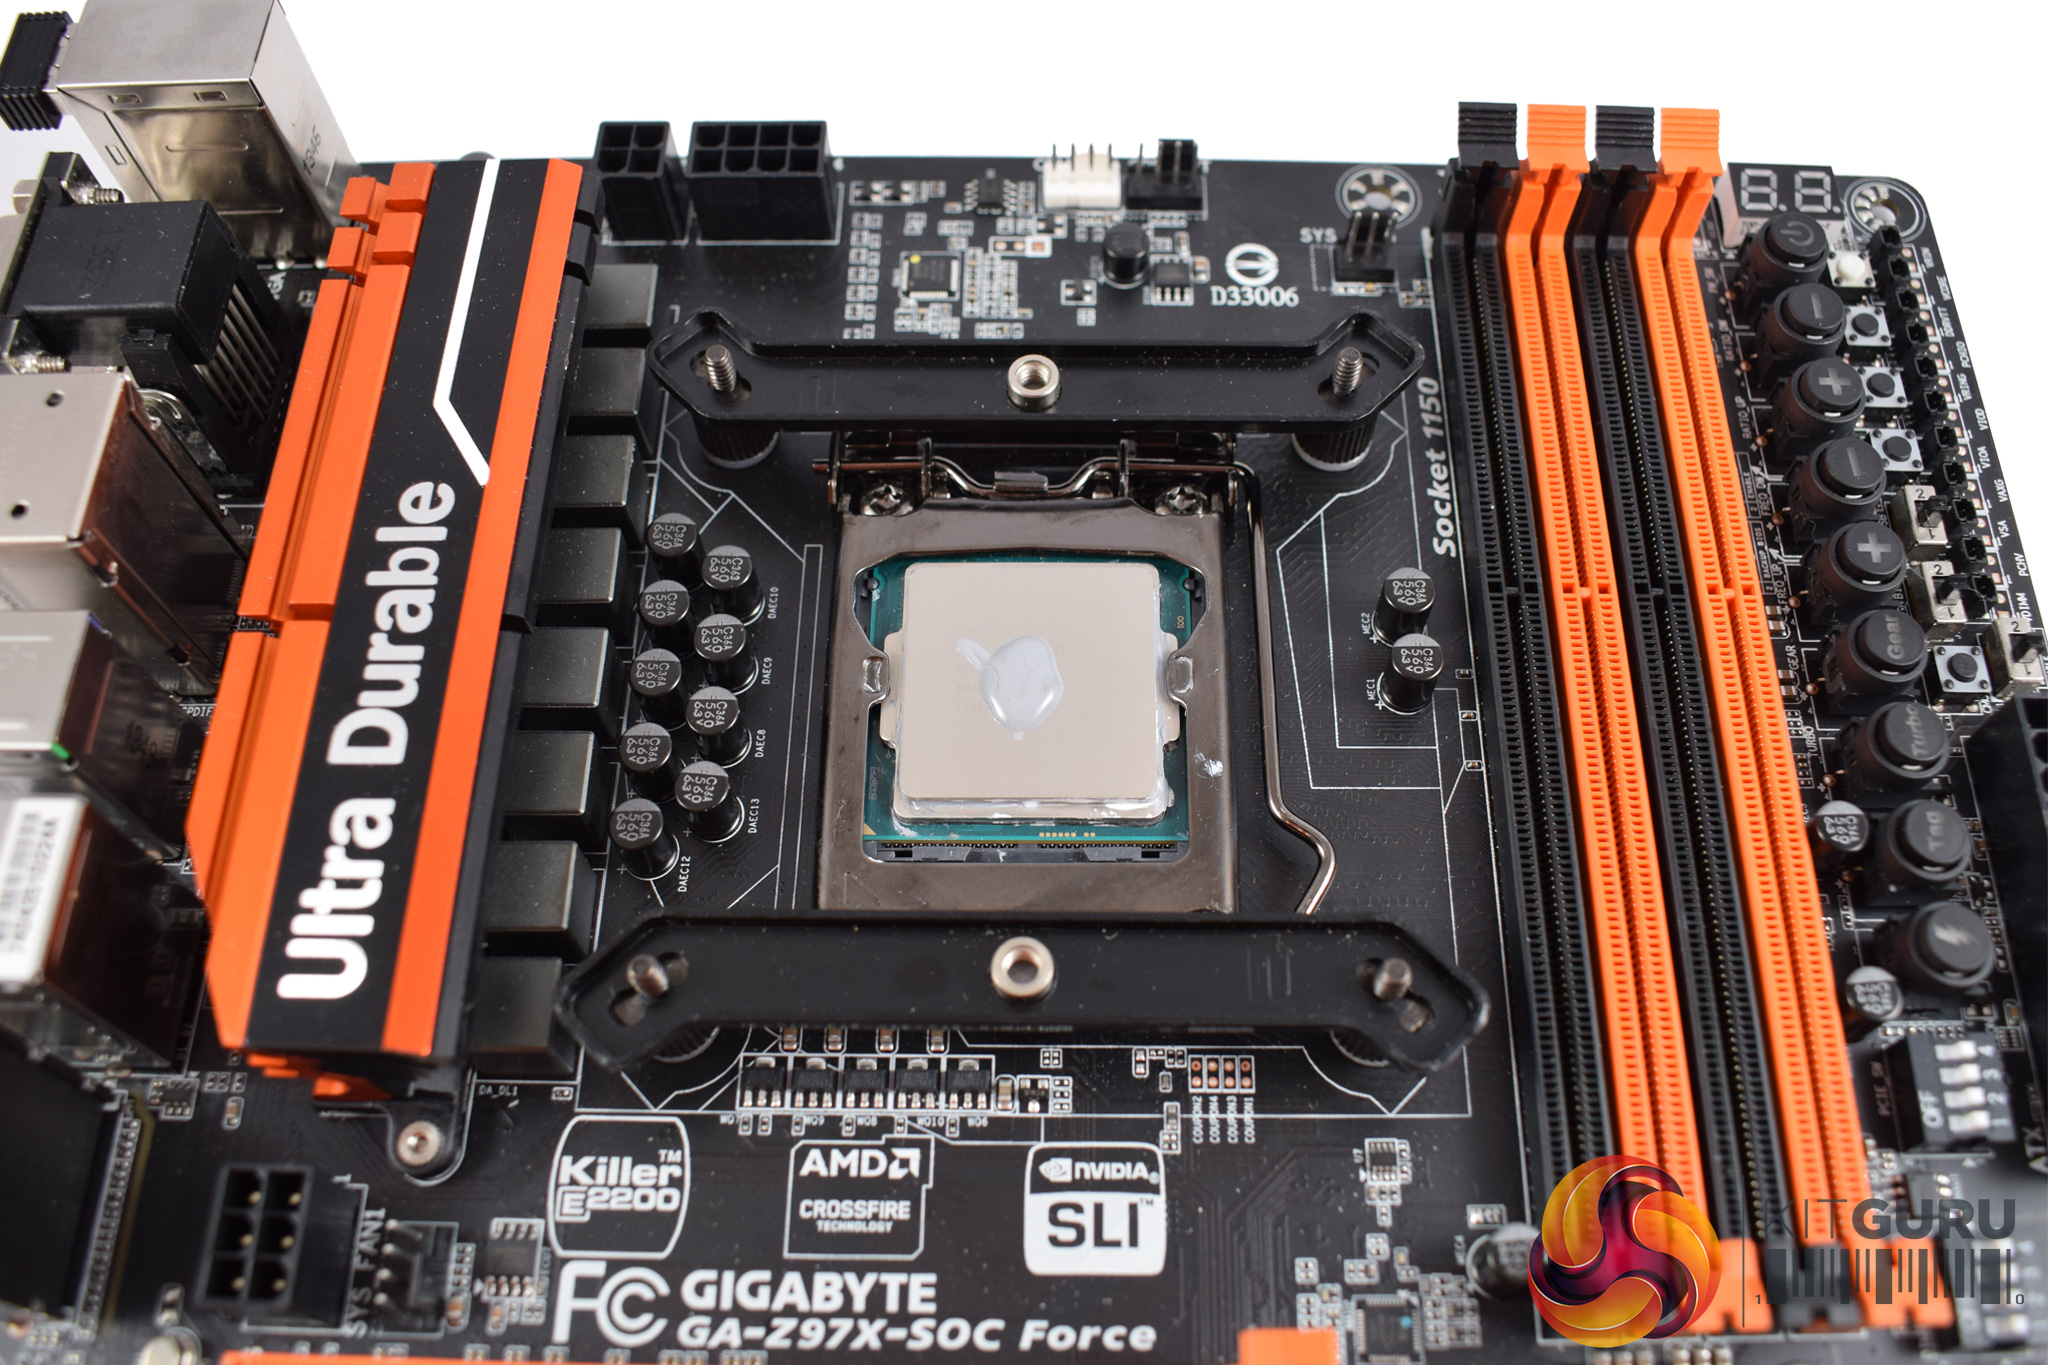
Once the rails are on, secure them with four small thumbscrews.
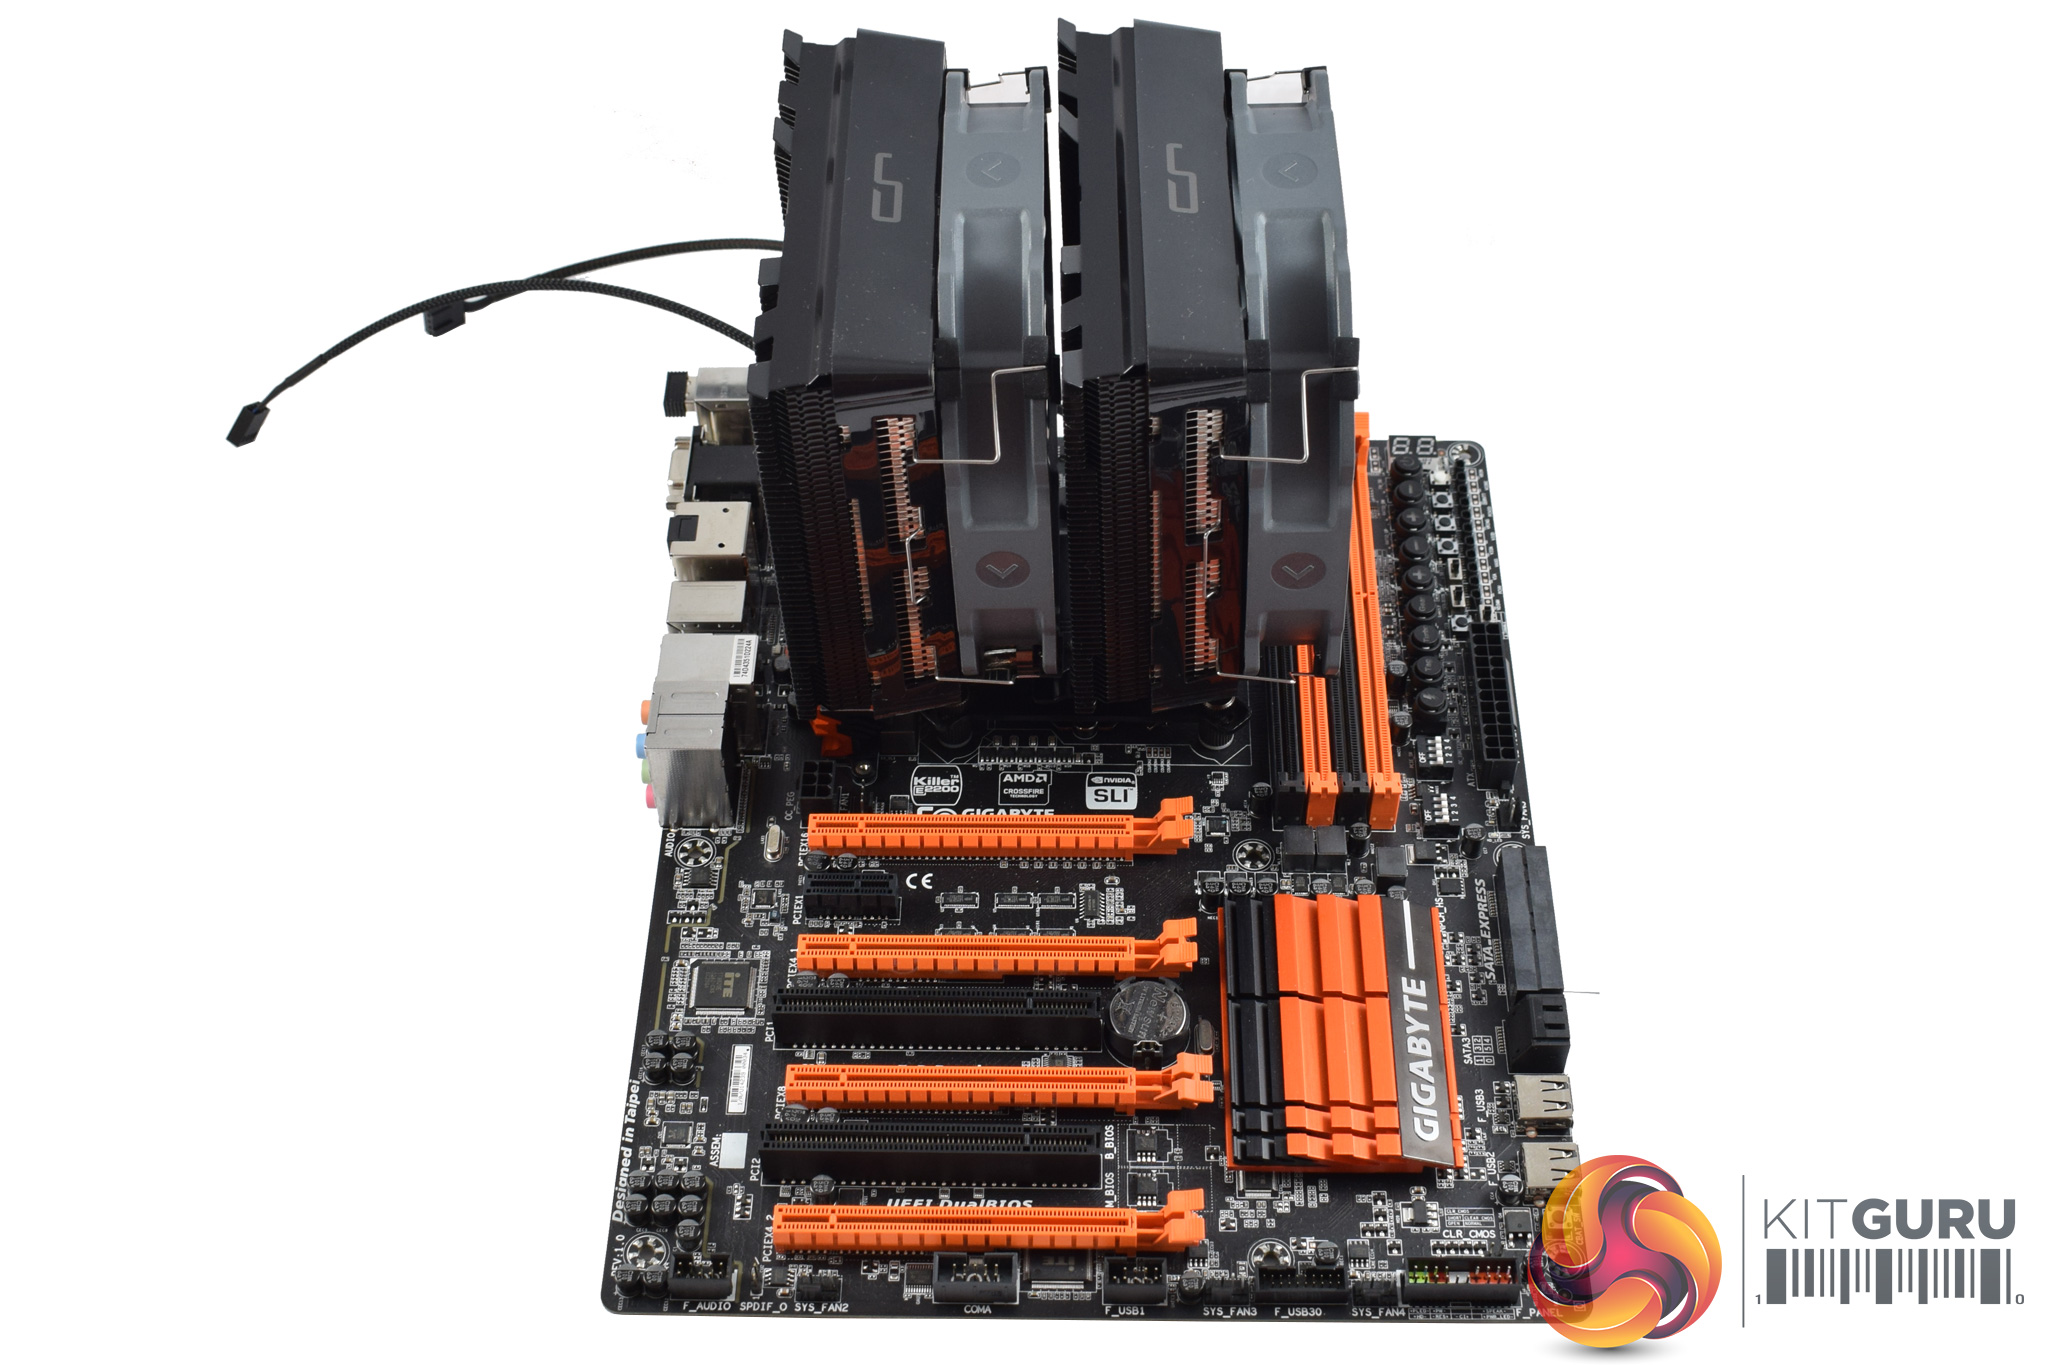
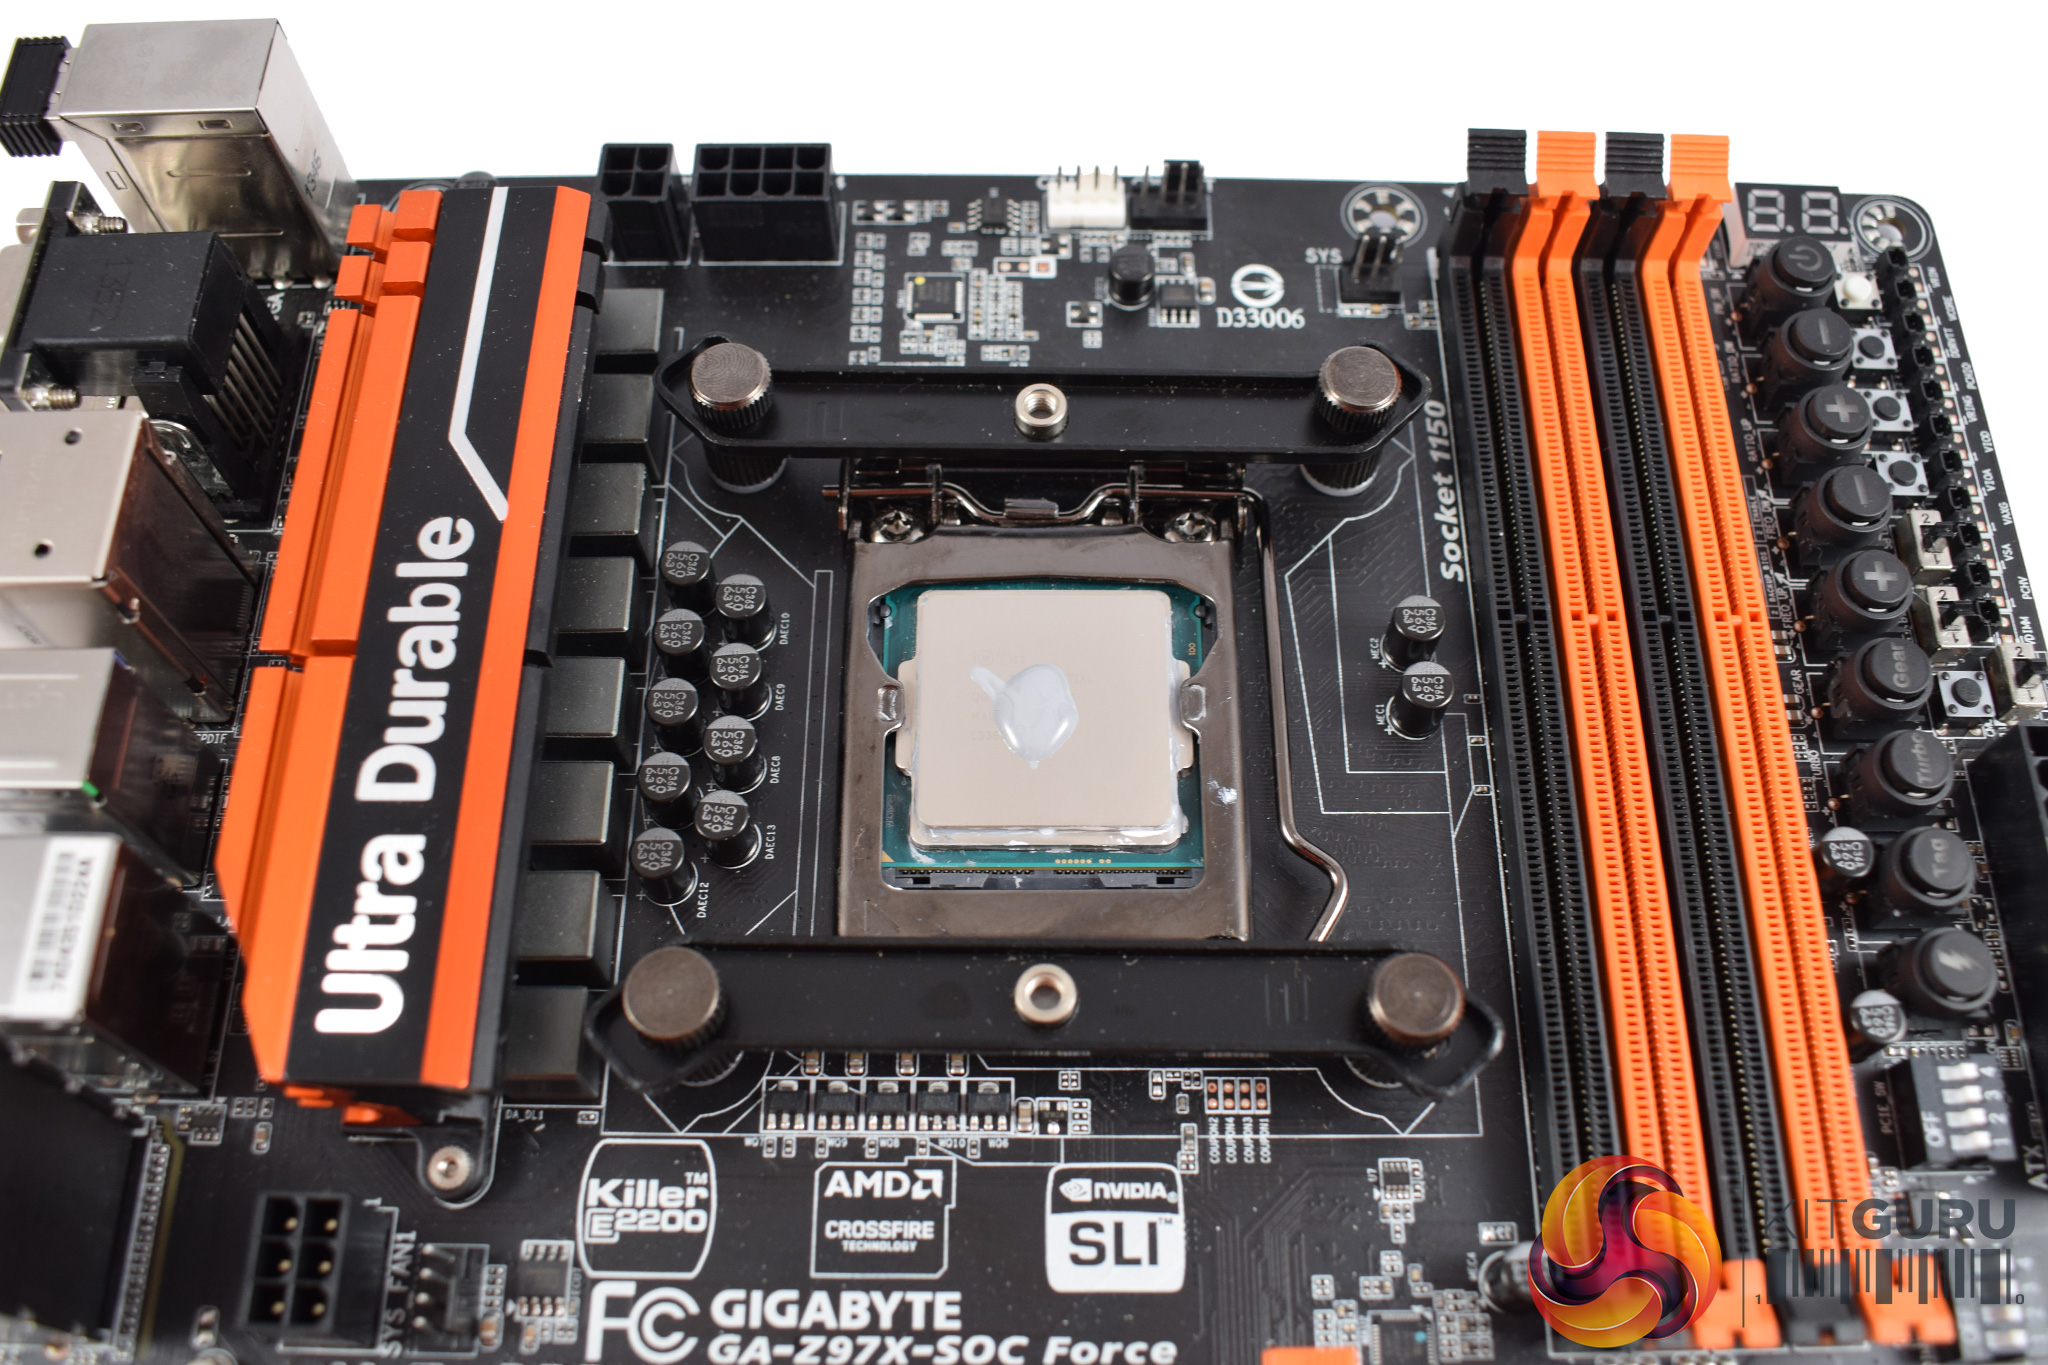
Next, you can go ahead and mount the cooler. All that's left is to secure the pre-installed heatsink screws to the rails.
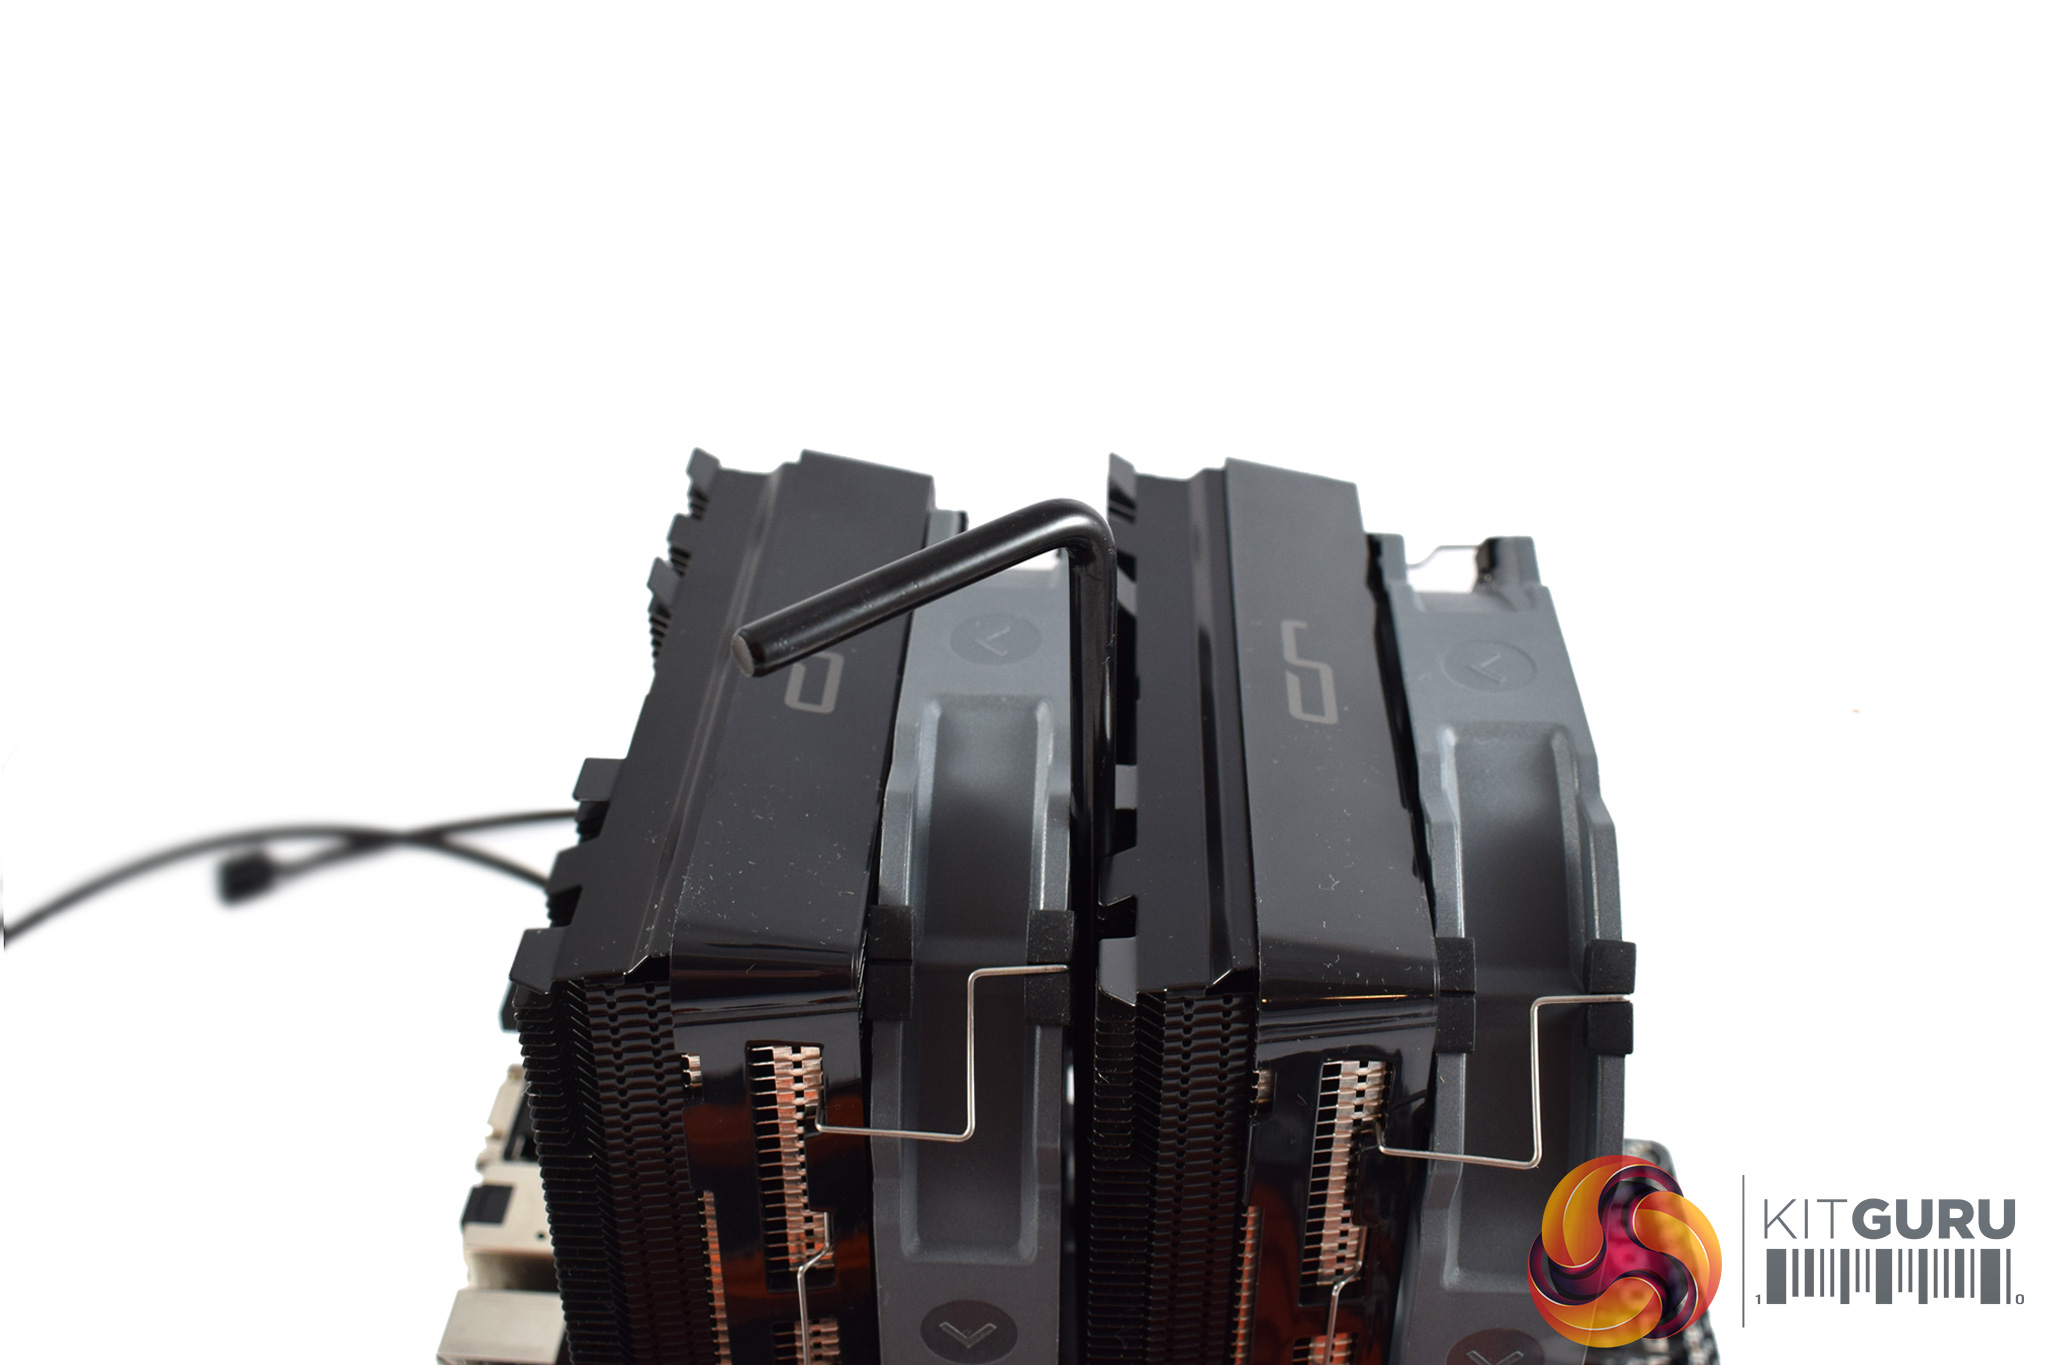
To help with this part, Cryorig have actually supplied a screwdriver to allow you to easily reach the heatsink's screws. It simply slots in-place in the middle of the cooler and provides easy access to the screws at the bottom.
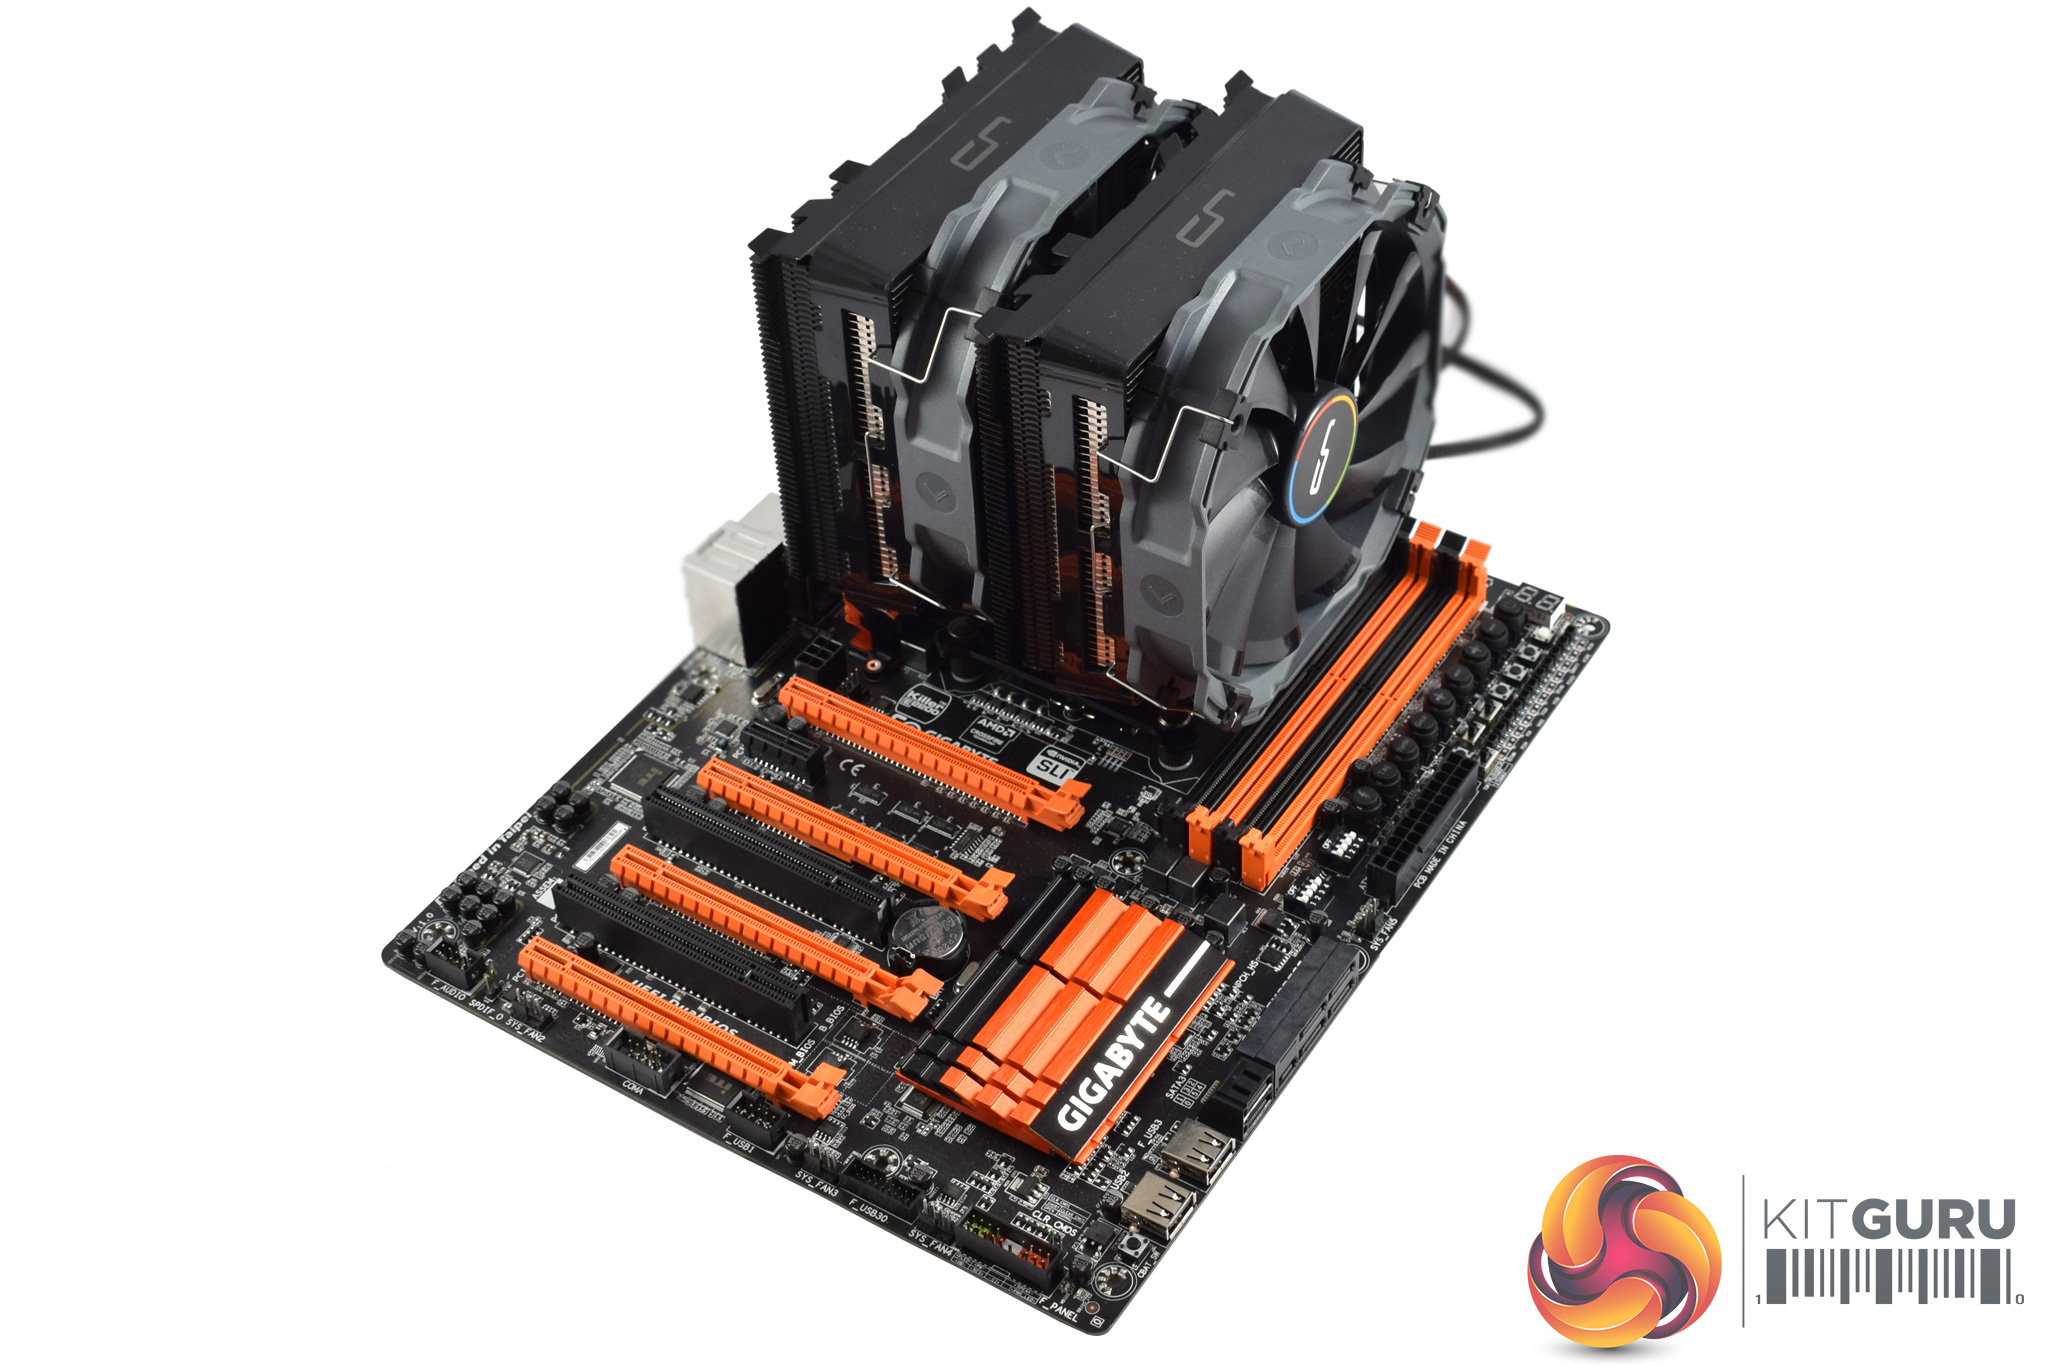
After that, installation is complete. It is a very simple process and having the right size of screwdriver supplied means there is nothing fiddly about the installation at all. Good job Cryorig.

Im thinking to buy the R1 since a lot, but im concerned about the noise.. My alternative would be a corsair h115i. Do you know wich is louder?
I’m guessing this air cooler is quieter under load, but the water cooler is quieter when idling. Just a guess, though. My H100i V2 is basically silent under idle.
I’m afraid I’ve never used a H115i so I couldn’t tell you. The R1 Ultimate isn’t hugely loud, it is just not as quiet as some competing air coolers I’ve tested recently.
buy grand macho.
Owner of Facebook!, is giving advice folks to get started with “Work at home” method, that Loads of people have been doing more than 12 months now. This season alone, I generated around $36k presently with no more than my laptop or computer and some extra time, even though i have a full-time 9 to 5 job. Even most people new at all to this, can make $50/per h easily and the earnings may go much higher as time passes… This is how i started >> http://urlfat.com/4BH
cryorig-r1-universal-vs-ultimate which one is better??
@Kitguru: cryorig-r1-universal-vs-ultimate which one is better??