

Corsair supply the H105 with an installation manual which guides us through the process. It's fairly simple, though, and we managed to install it in about two minutes, without even looking at the manual. We will be documenting the installation procedure on a Socket 2011 system.
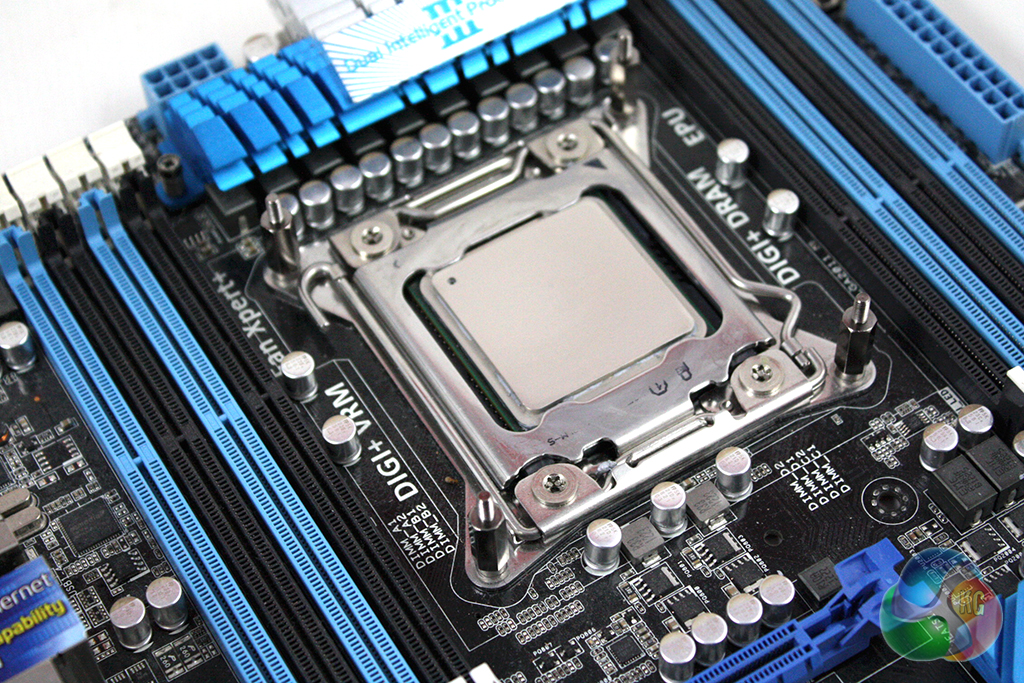
First of all we are instructed to install the stand-off screws into the CPU socket. If you have a socket 1150 or 1155 motherboard, you will need to install the back-plate at this point as well.
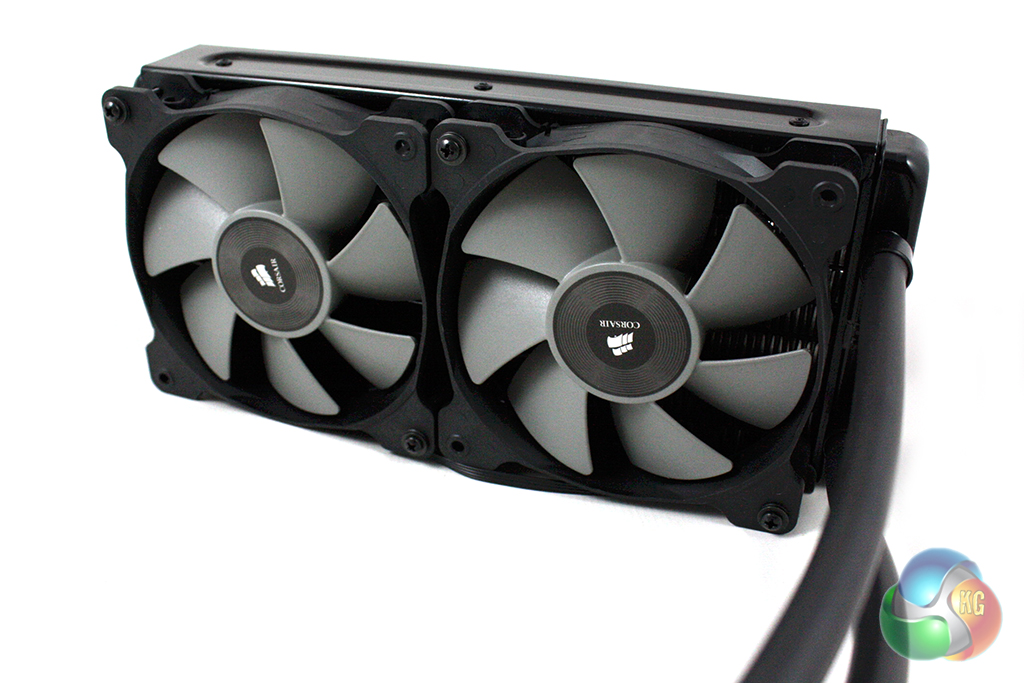
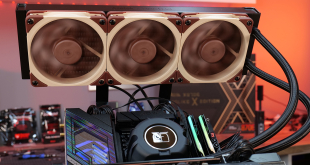
Next, we can attach the two fans to the inside of the radiator, and then screw the radiator to the case. The cooler could also be installed with the fans in a pull-configuration, so they are located between the radiator and the case.
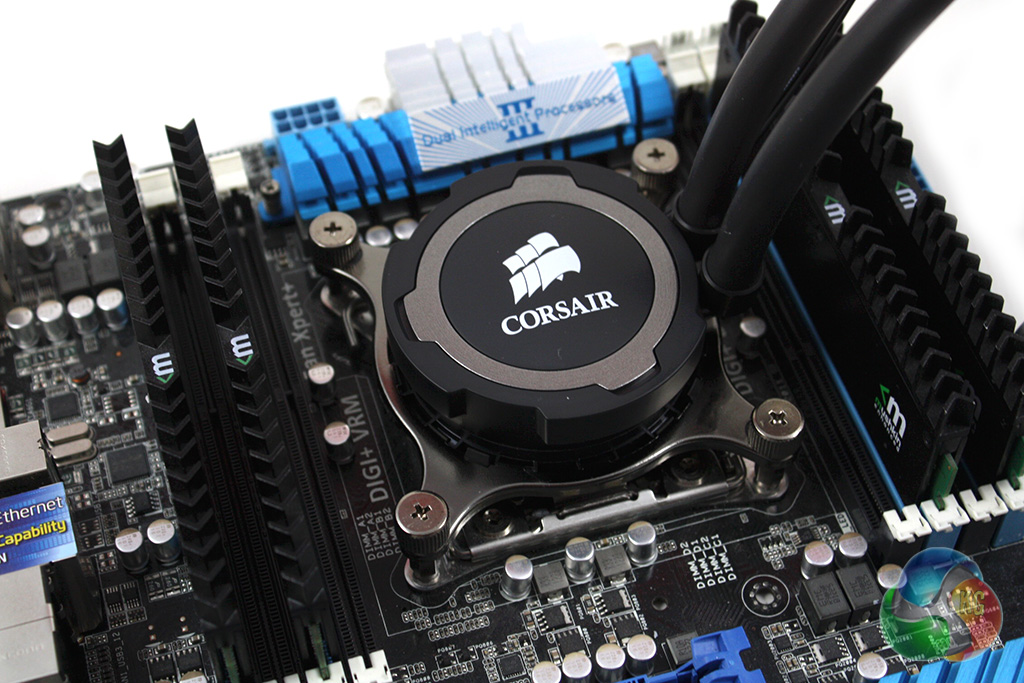
The CPU block can be easily secured down onto the motherboard, using the four thumbscrews provided. It is easy to get these tight enough without resorting to a screwdriver, which helps prevent you from over-tightening them too.
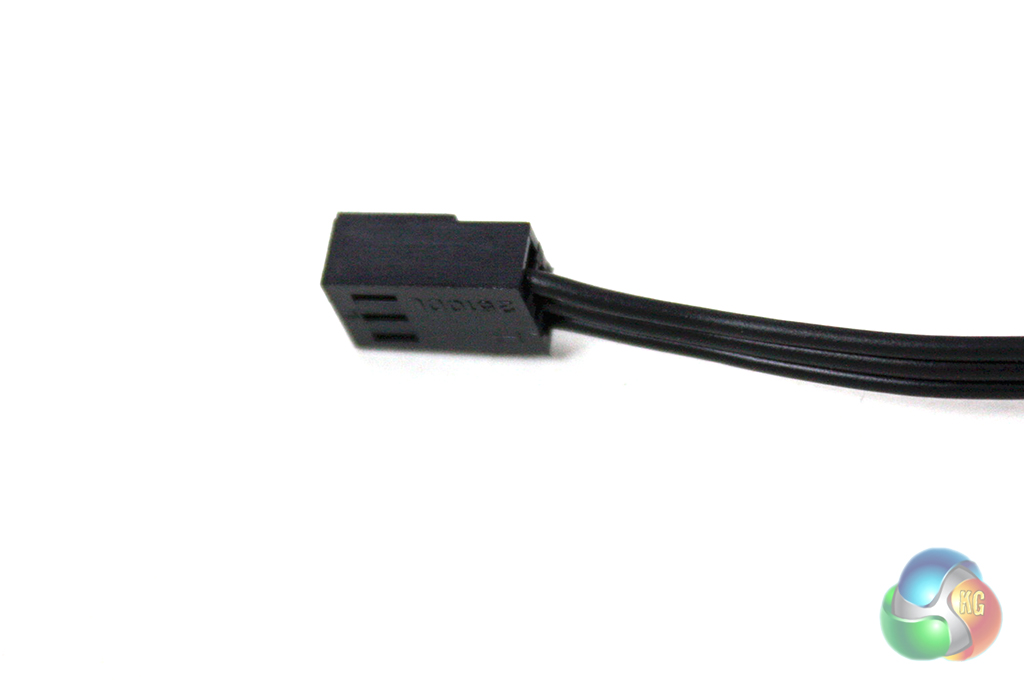
Finally, the pump and fans can be connected to your system using the 3-pin and dual 4-pin headers respectively.
38mm thick v 27mm is a big difference, good job, although I think it might have fitting issues in some cases.
I dont know why they only stock those fans in the US, I can’t get them here either. stupid stupid stupid.
I love my H80, but would like to upgrade it this year, this is now top of my list. Just need a new case to handle it as well. bleh.
You can get the SP PWM fans from overclockers. Weren’t hard to find 🙂
The only reason this was released is for Corsair to be an option when considering coolers for the NZXT Kraken GPU cooler
@ Aron – where can you get the SP120L fans? I only see the SP120 fans on OCUK 🙁
will the pump work on a molex to 2 pin fan adaptor??? i cant find molex to 3 pin adaptors anywhere to run the pump, i dont really want the pump to spin up and down
I love your blog, It is really informative and unique. I am looking for this blog for a long time. Liquid cooling removes the heat from computer. As a result, it runs fastly without any problem.
I have a H105 too. And It’s really a great CPU cooler. This is actually target to those who doesn’t do much tweaking. It’s basically unbox, install and you’re good to go. It like the thick radiator too.