Installation of the ML240P Mirage is quite simple – Cooler Master has provided easy to follow directions with simple to understand diagrams. Our test system is Intel Z390 based, so we will be following the Intel 115X installation procedure.
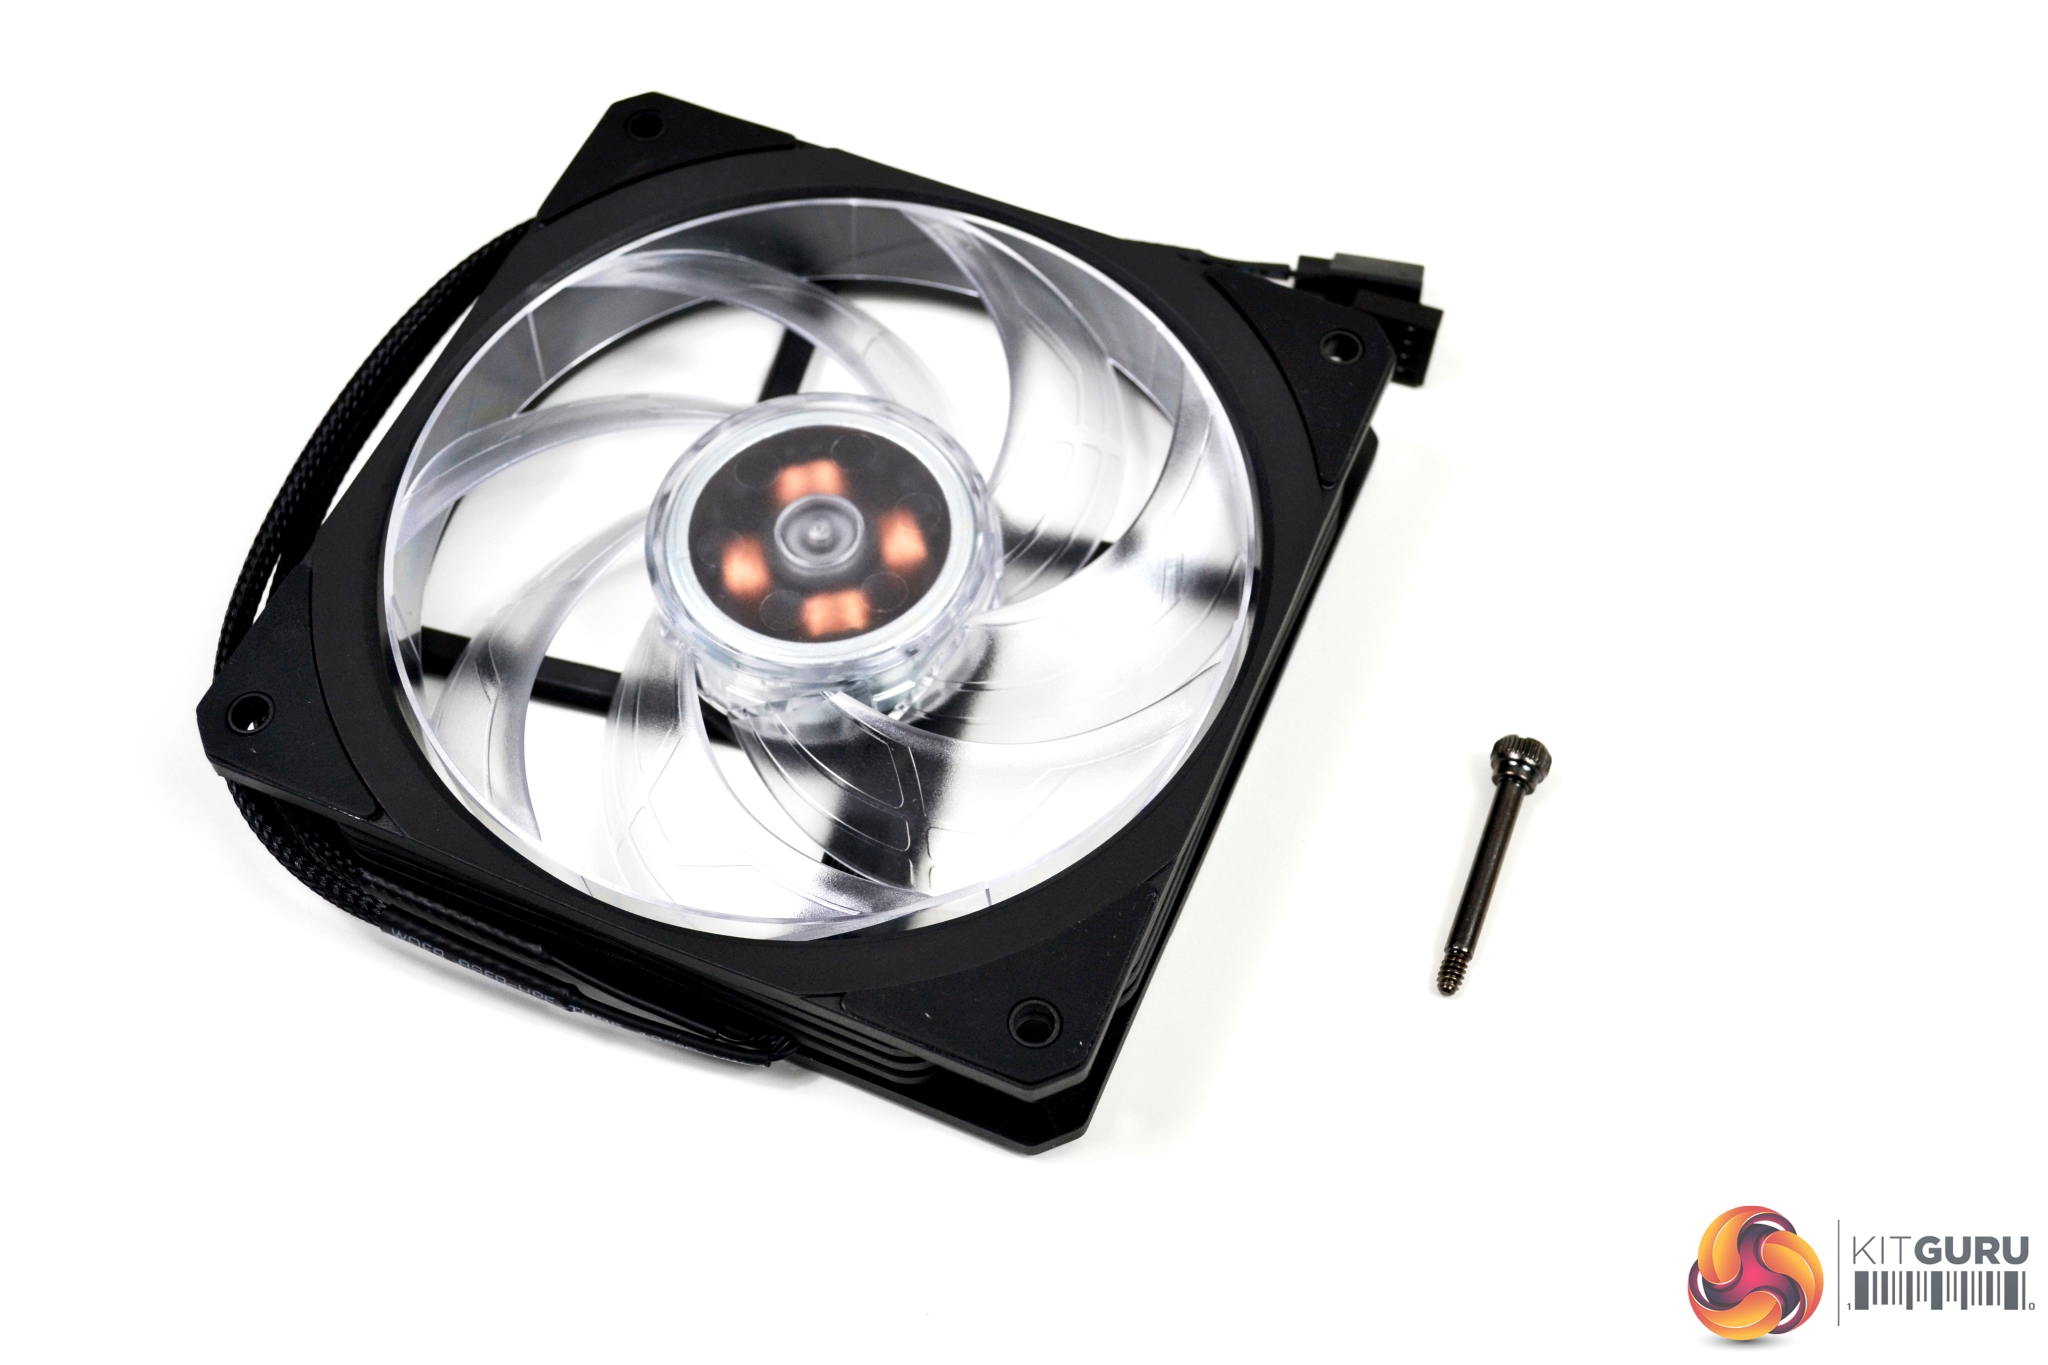
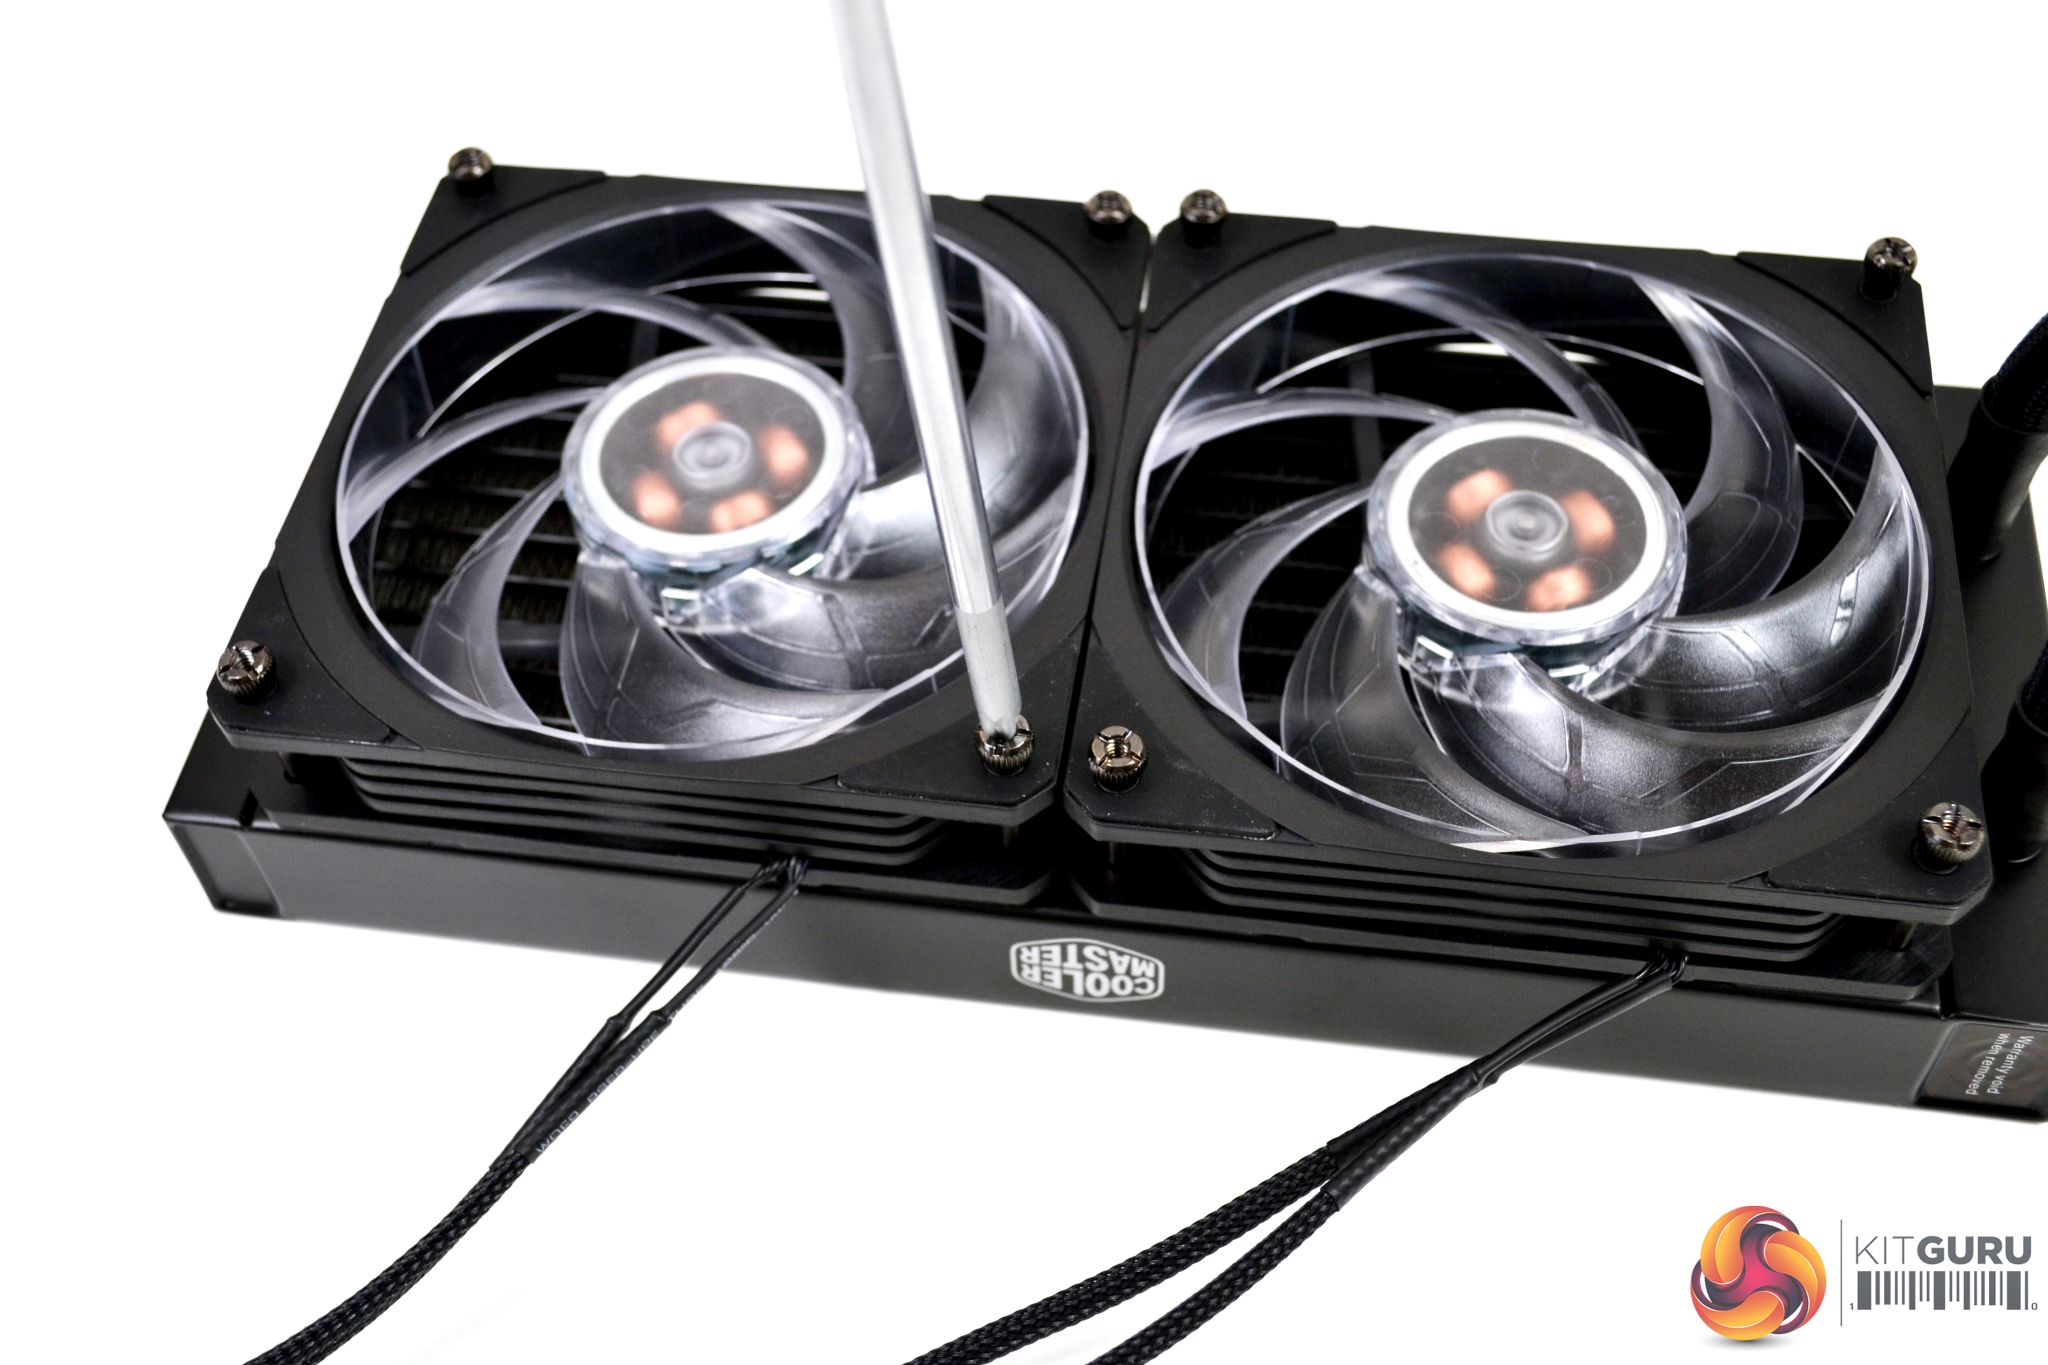
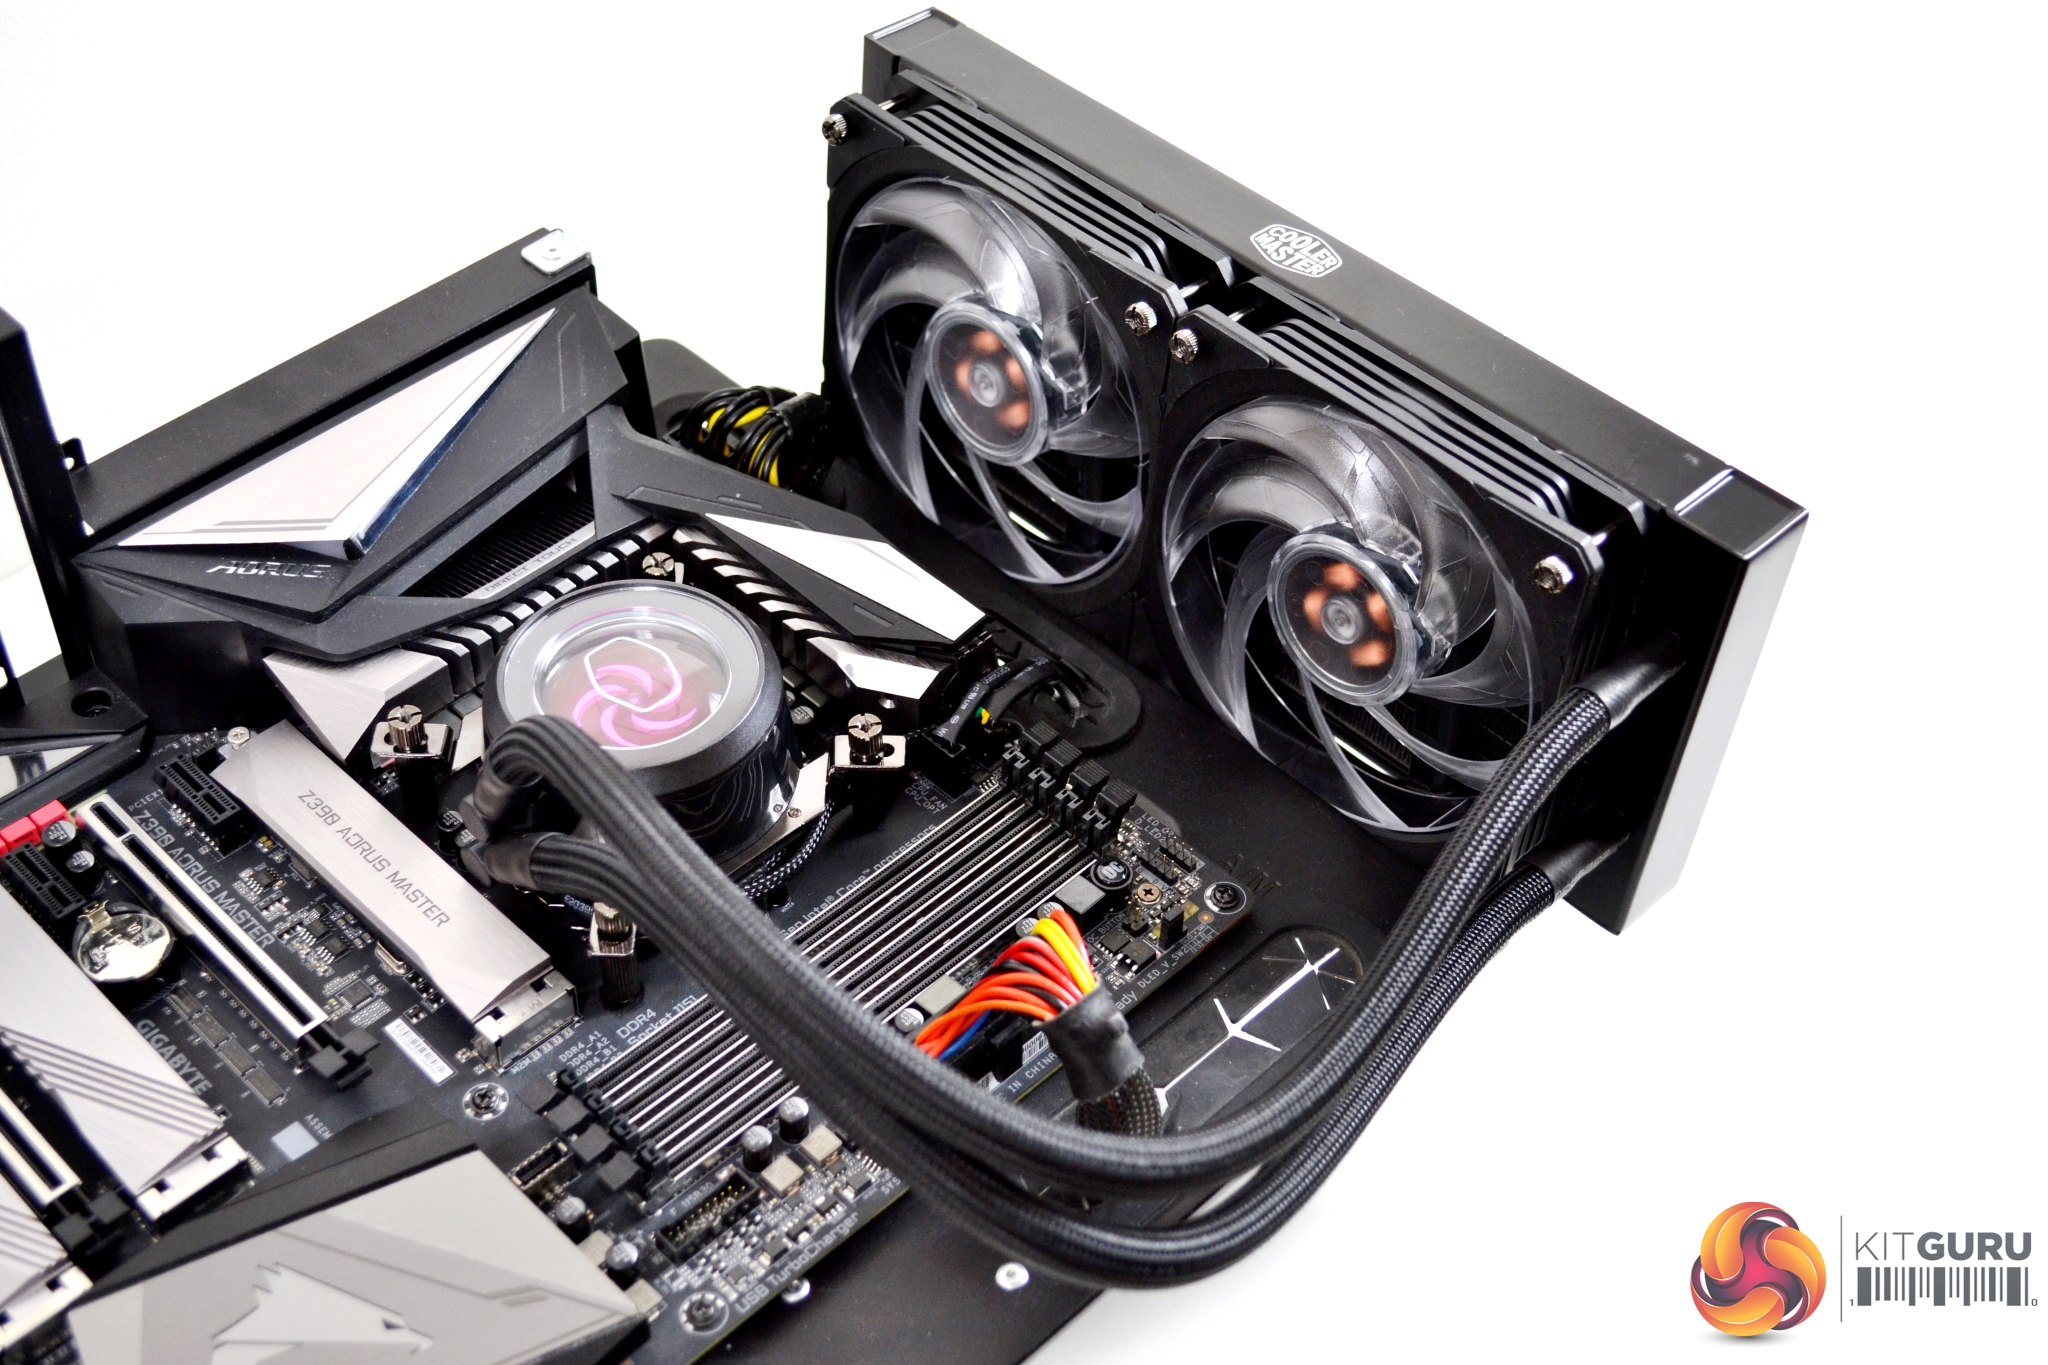
The first step is to attach the fans to the radiator. There are eight long thumbscrews, which have an attractive black chrome finish and Philips screw head for final tightening. The direction to install the fans depends on whether you are using a push or pull air-flow configuration. We have fitted them in a push configuration, as shown in the images.
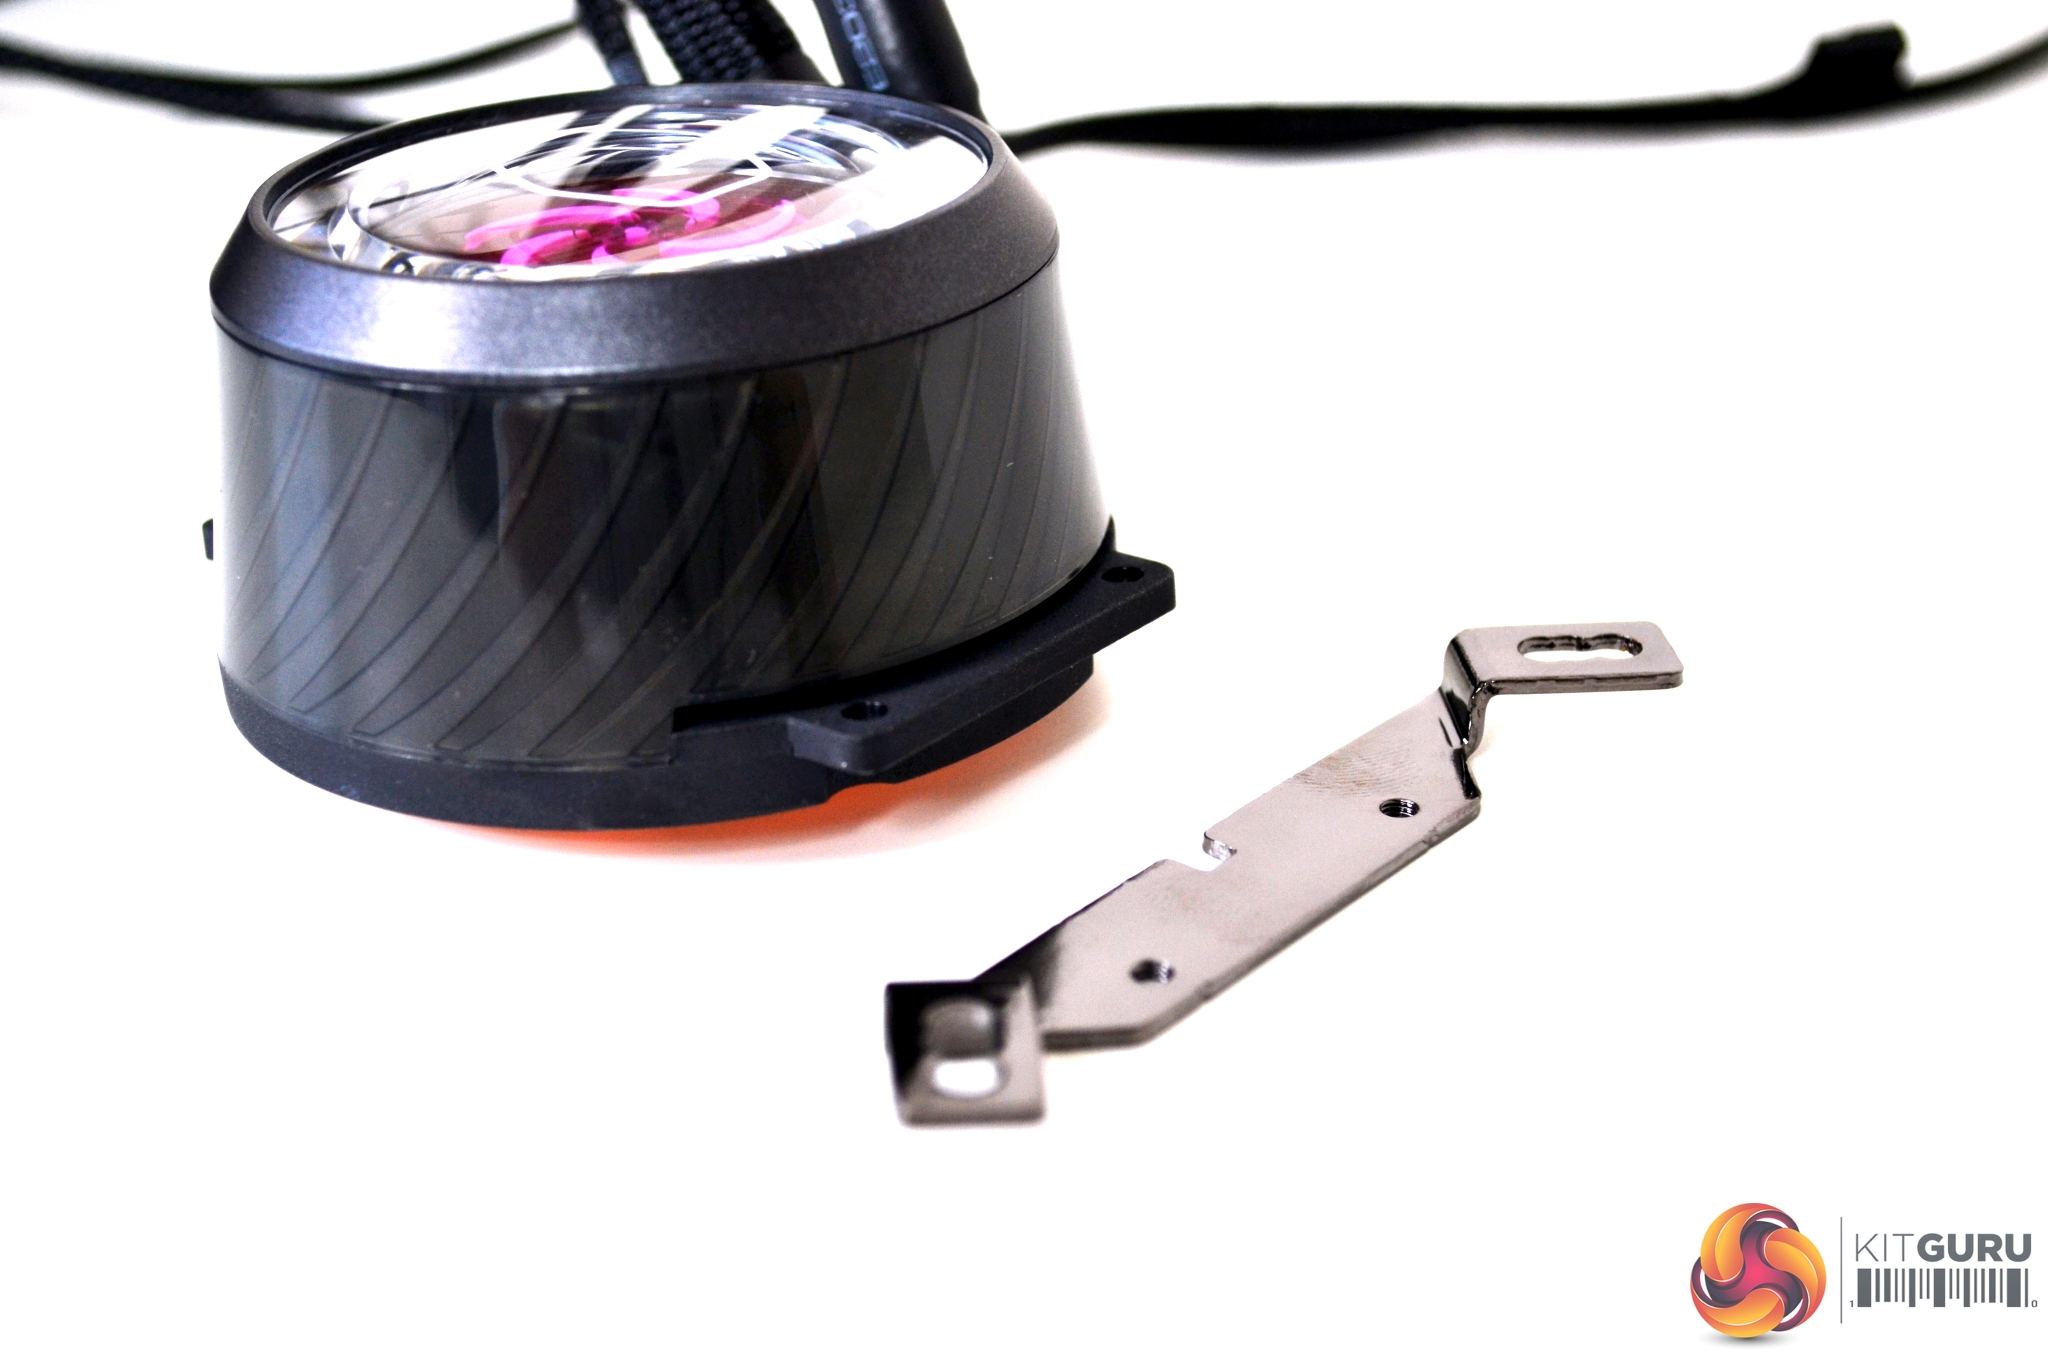
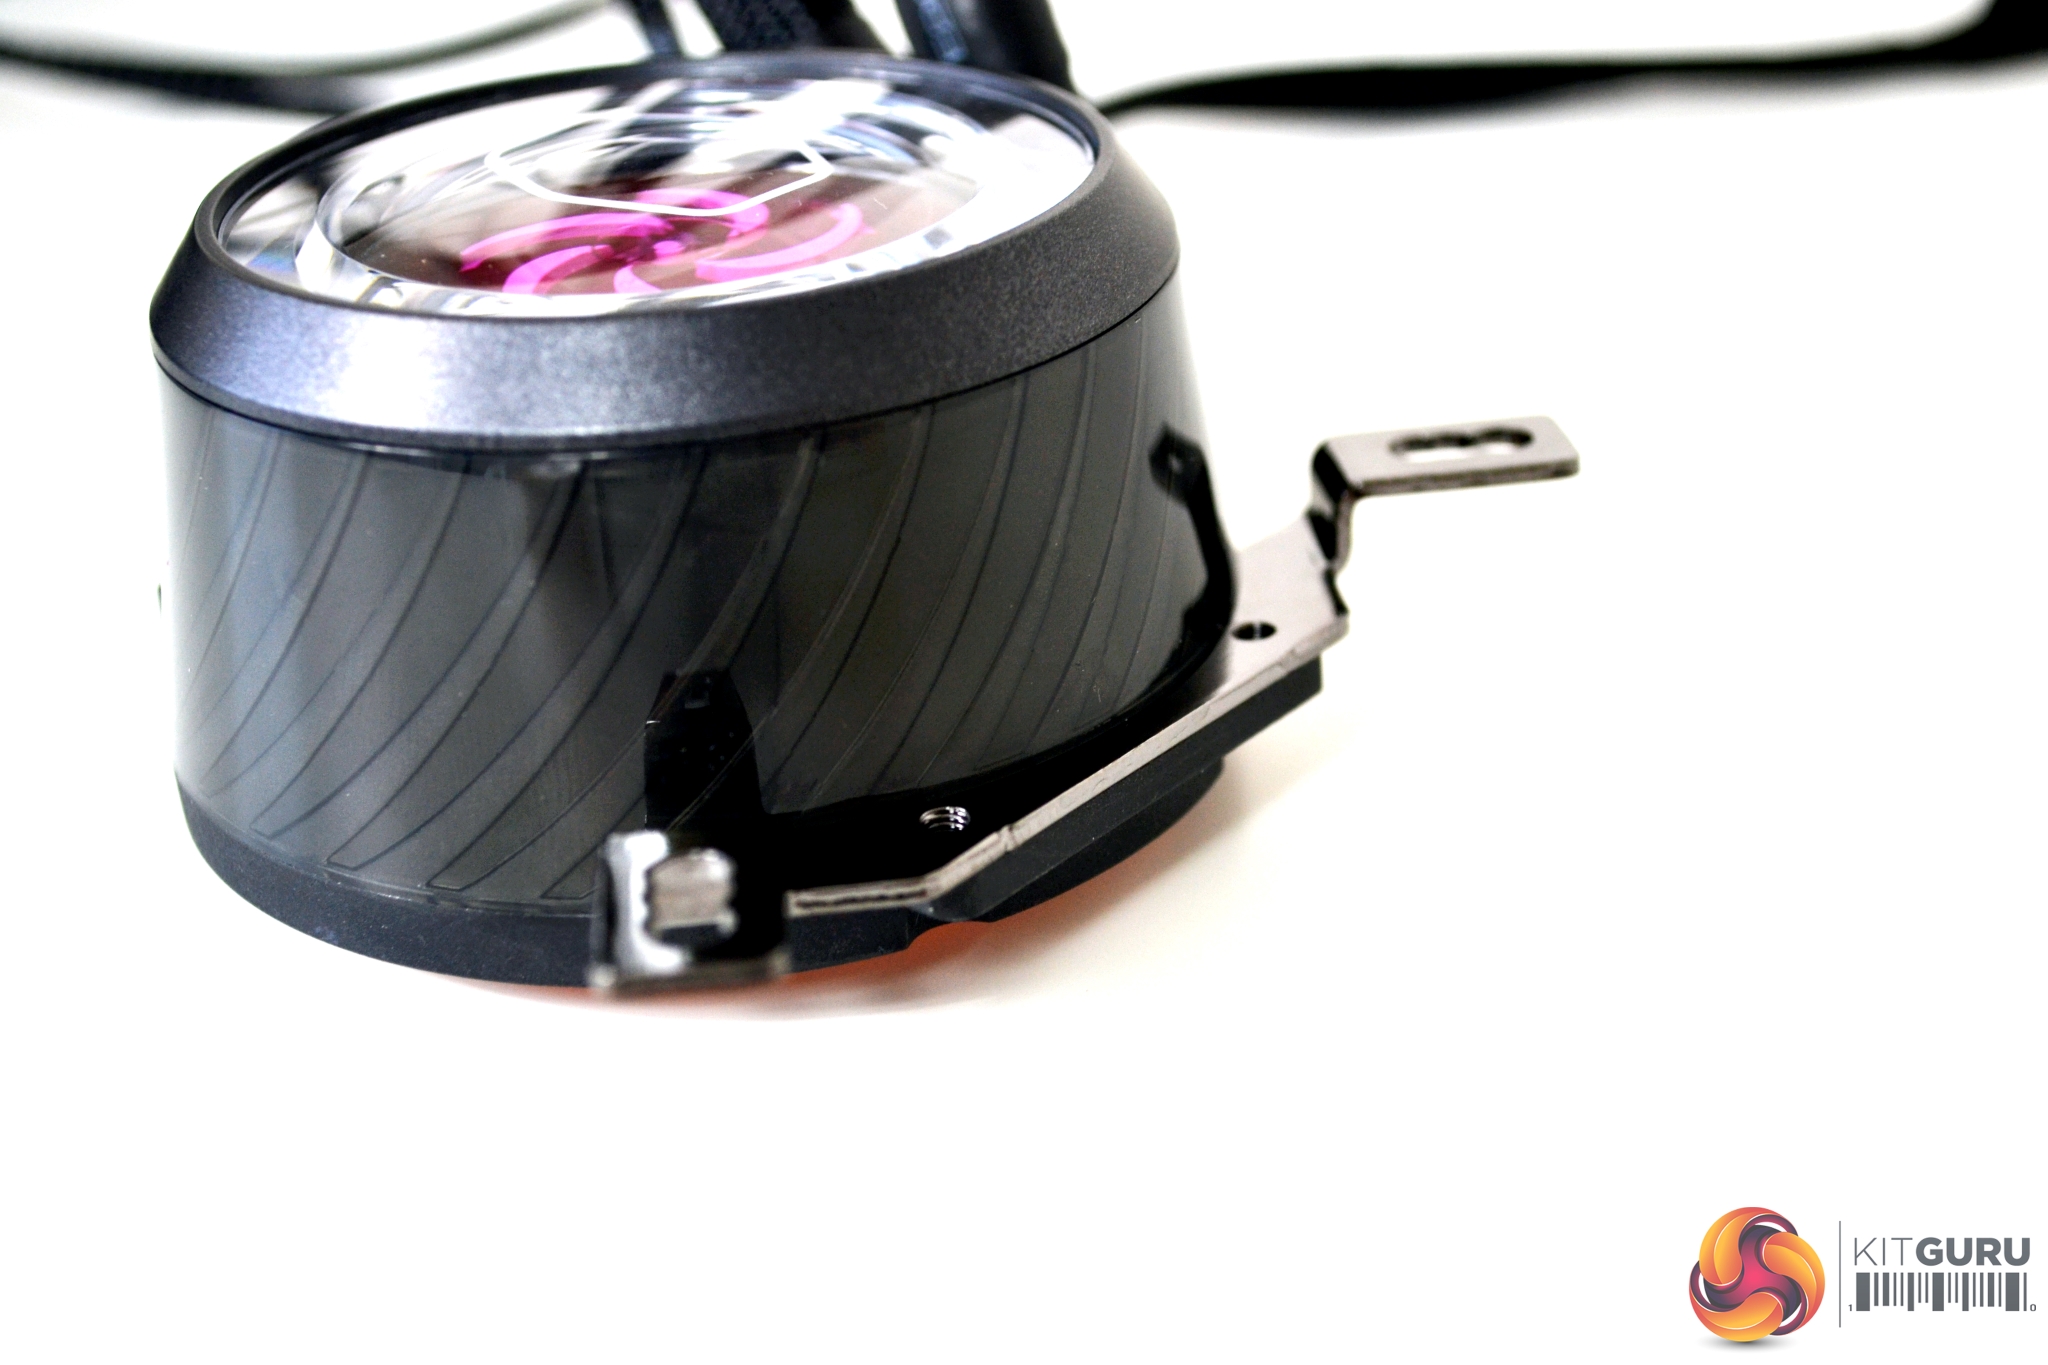
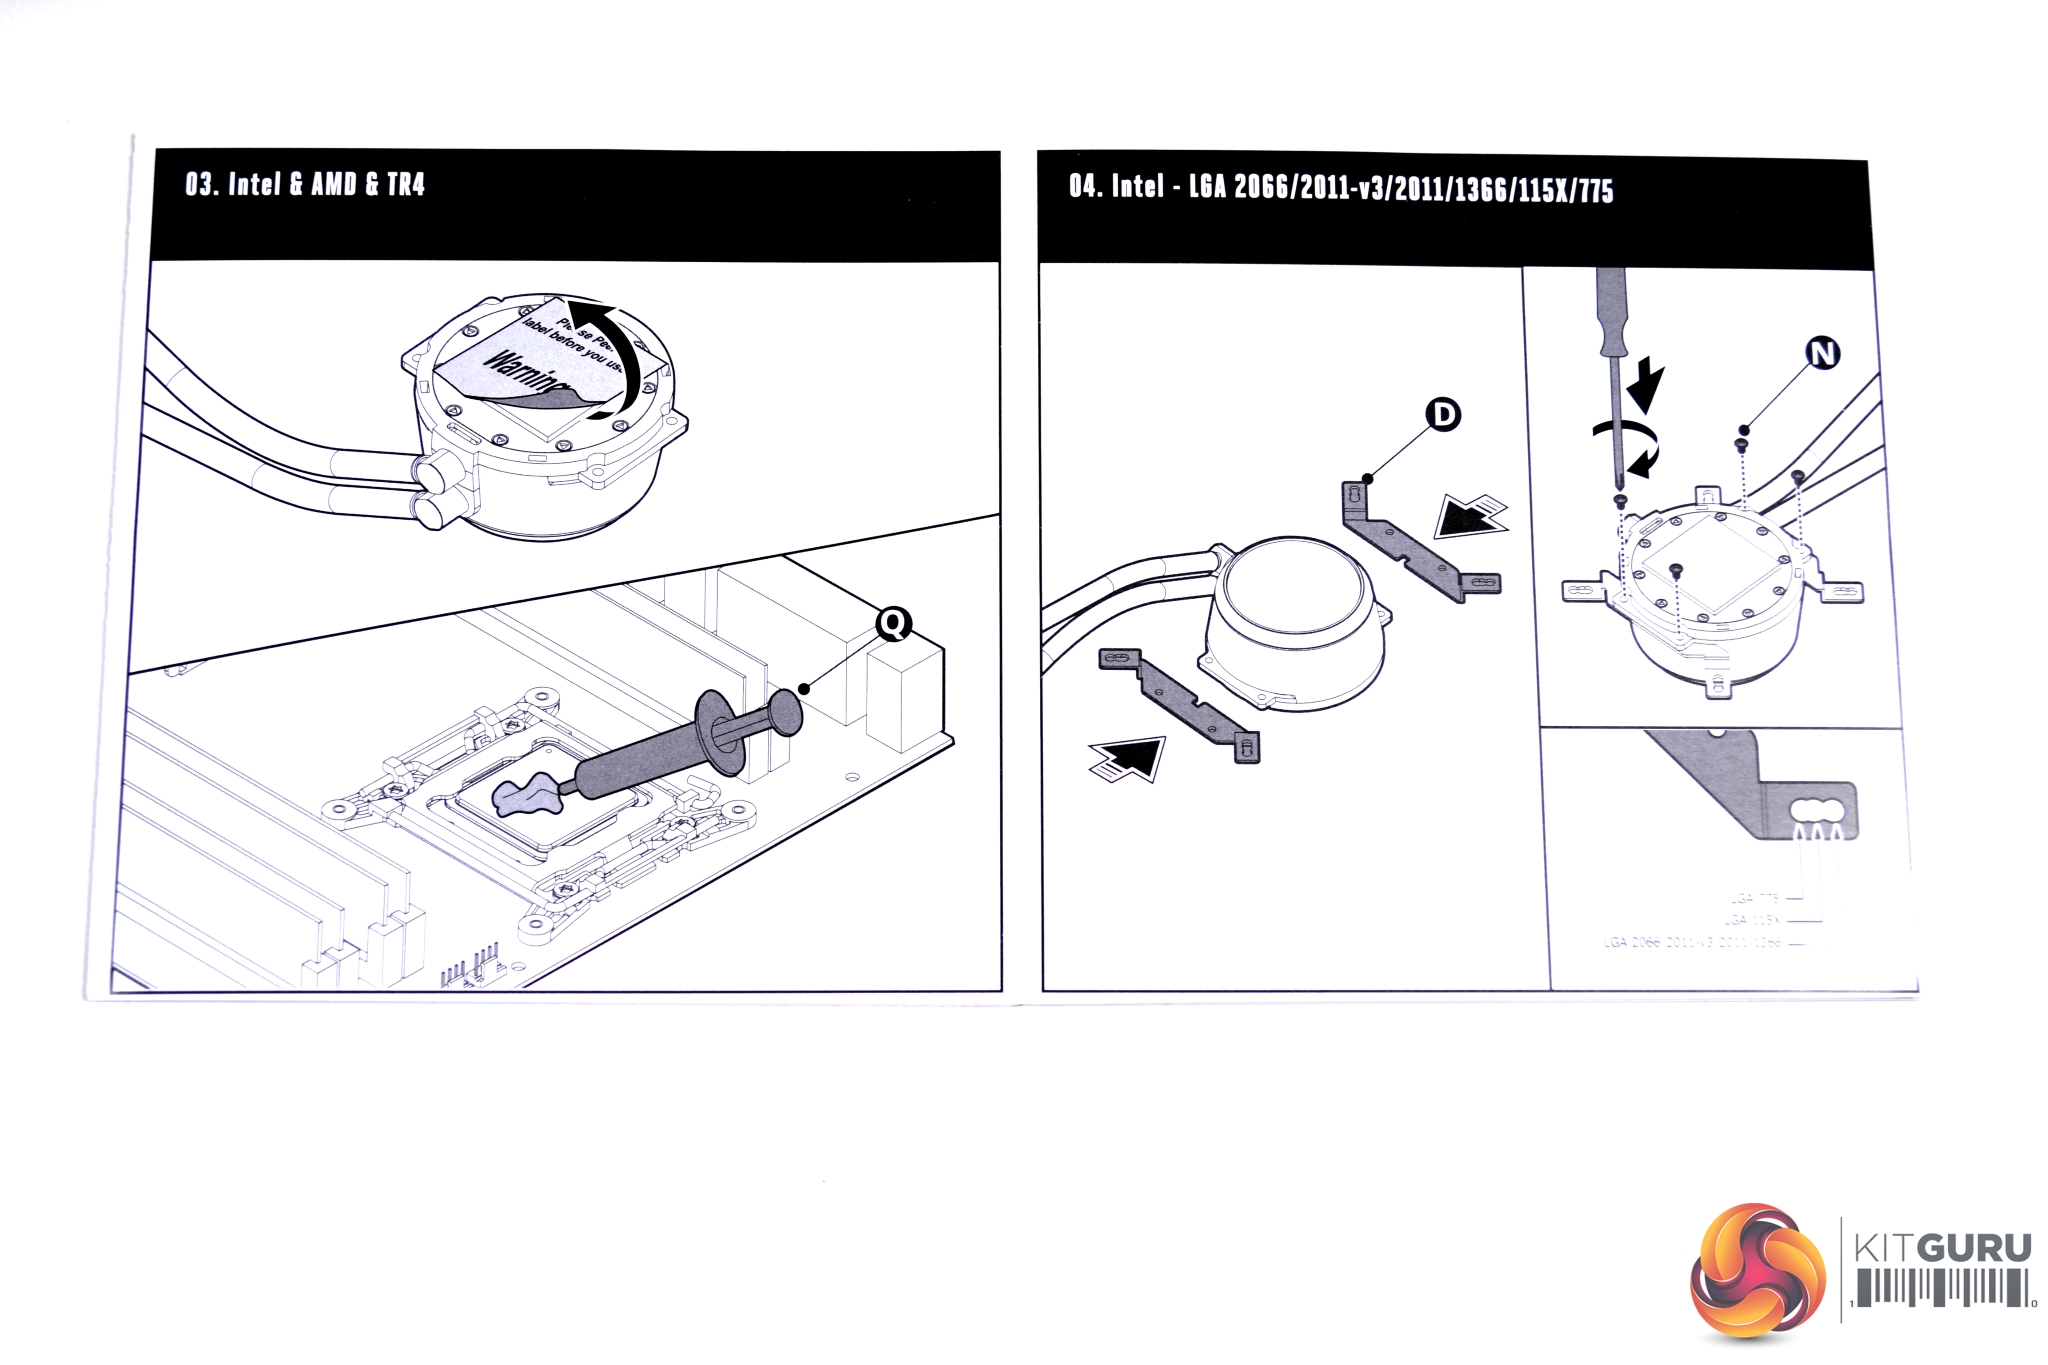
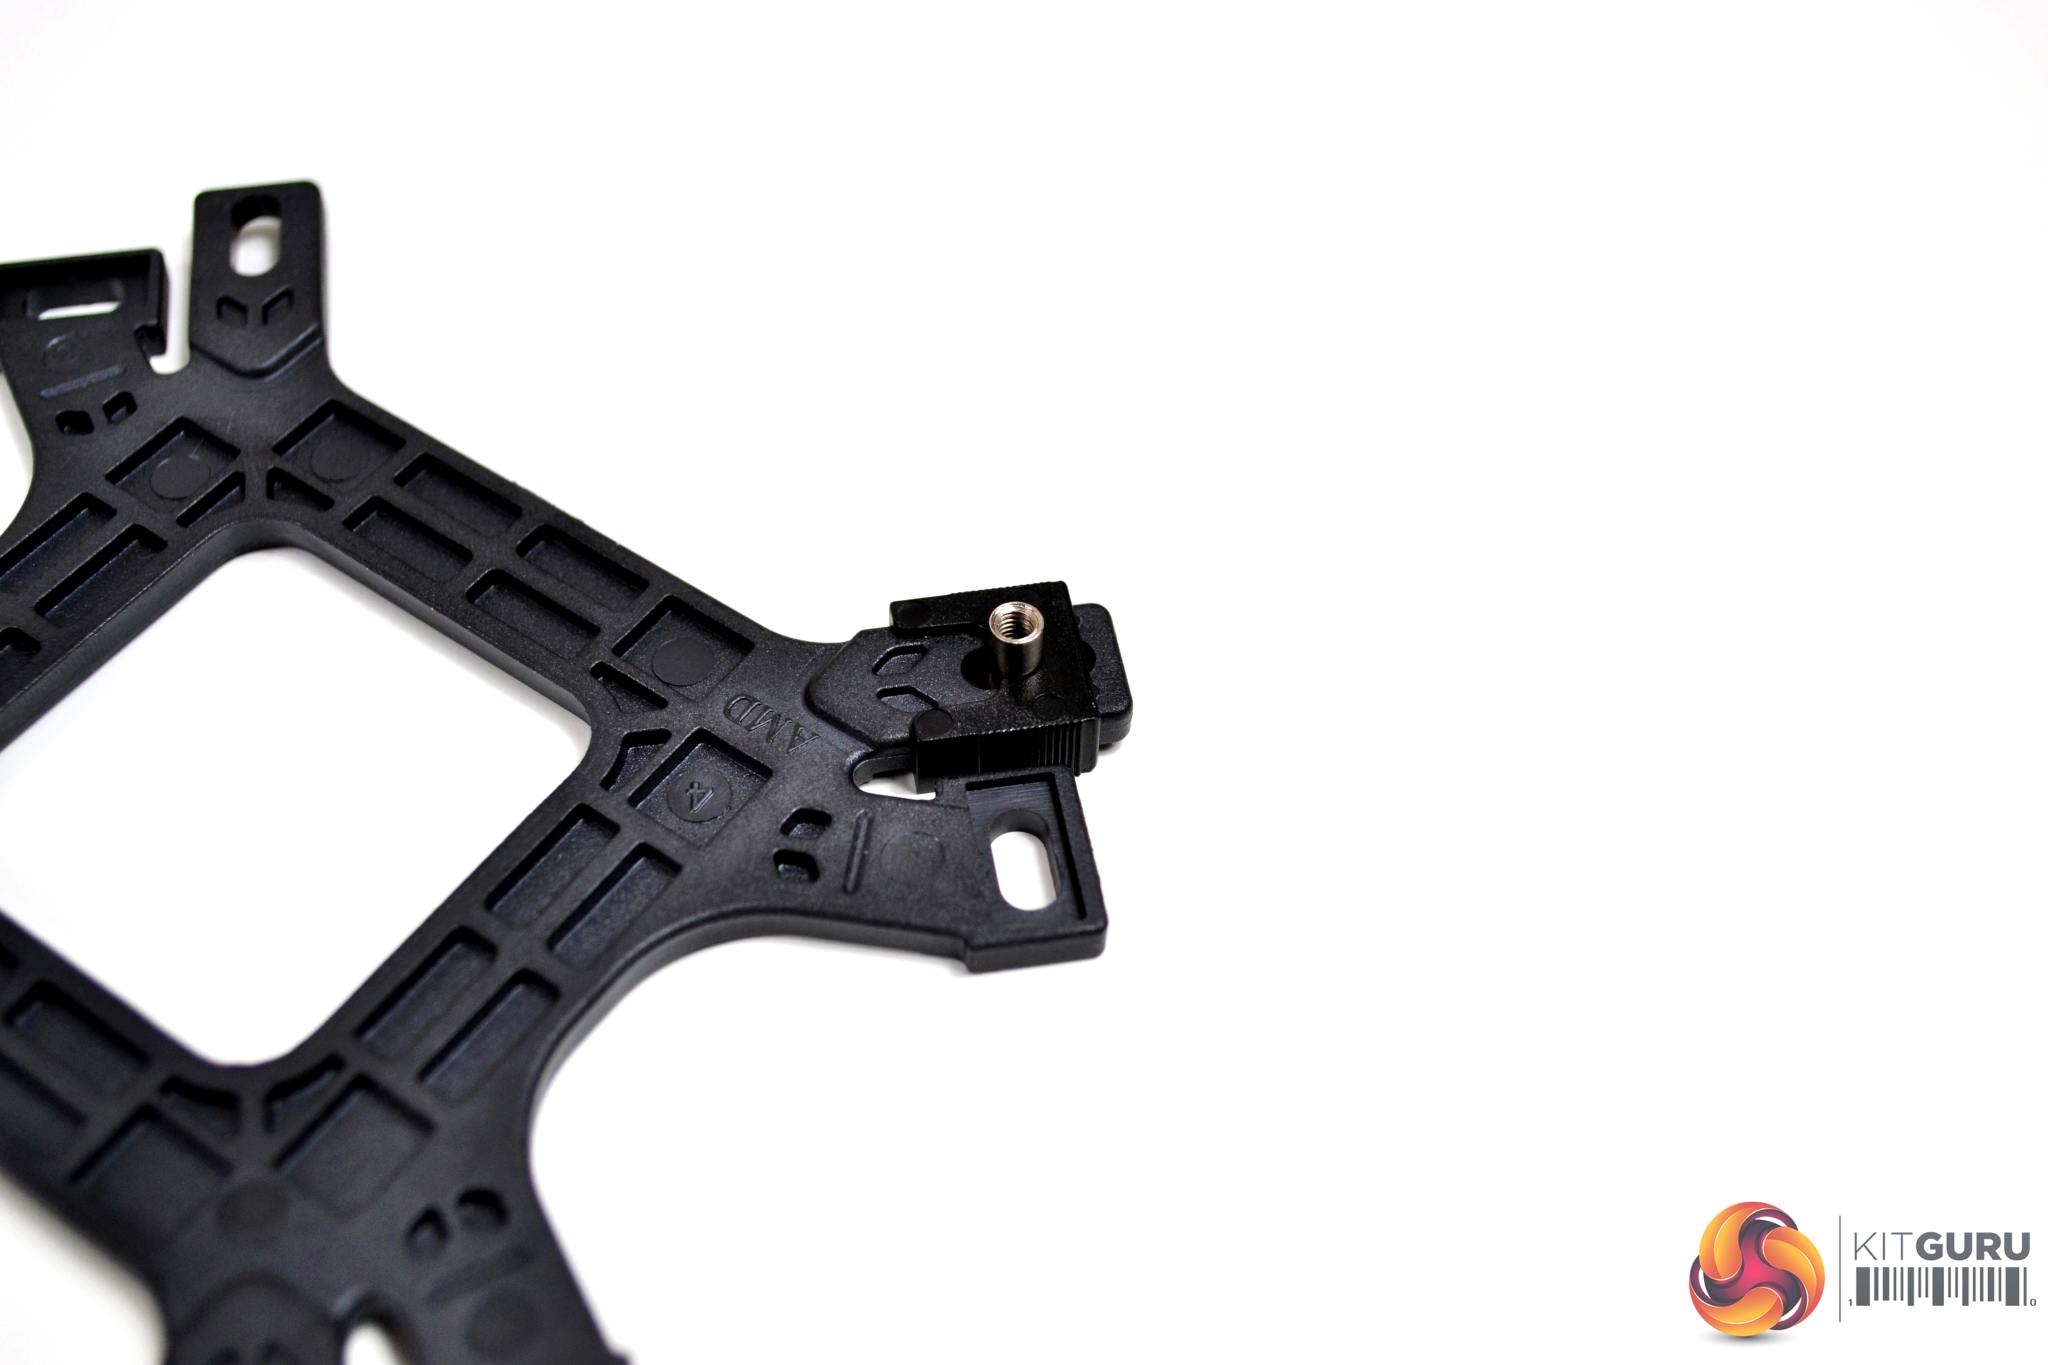
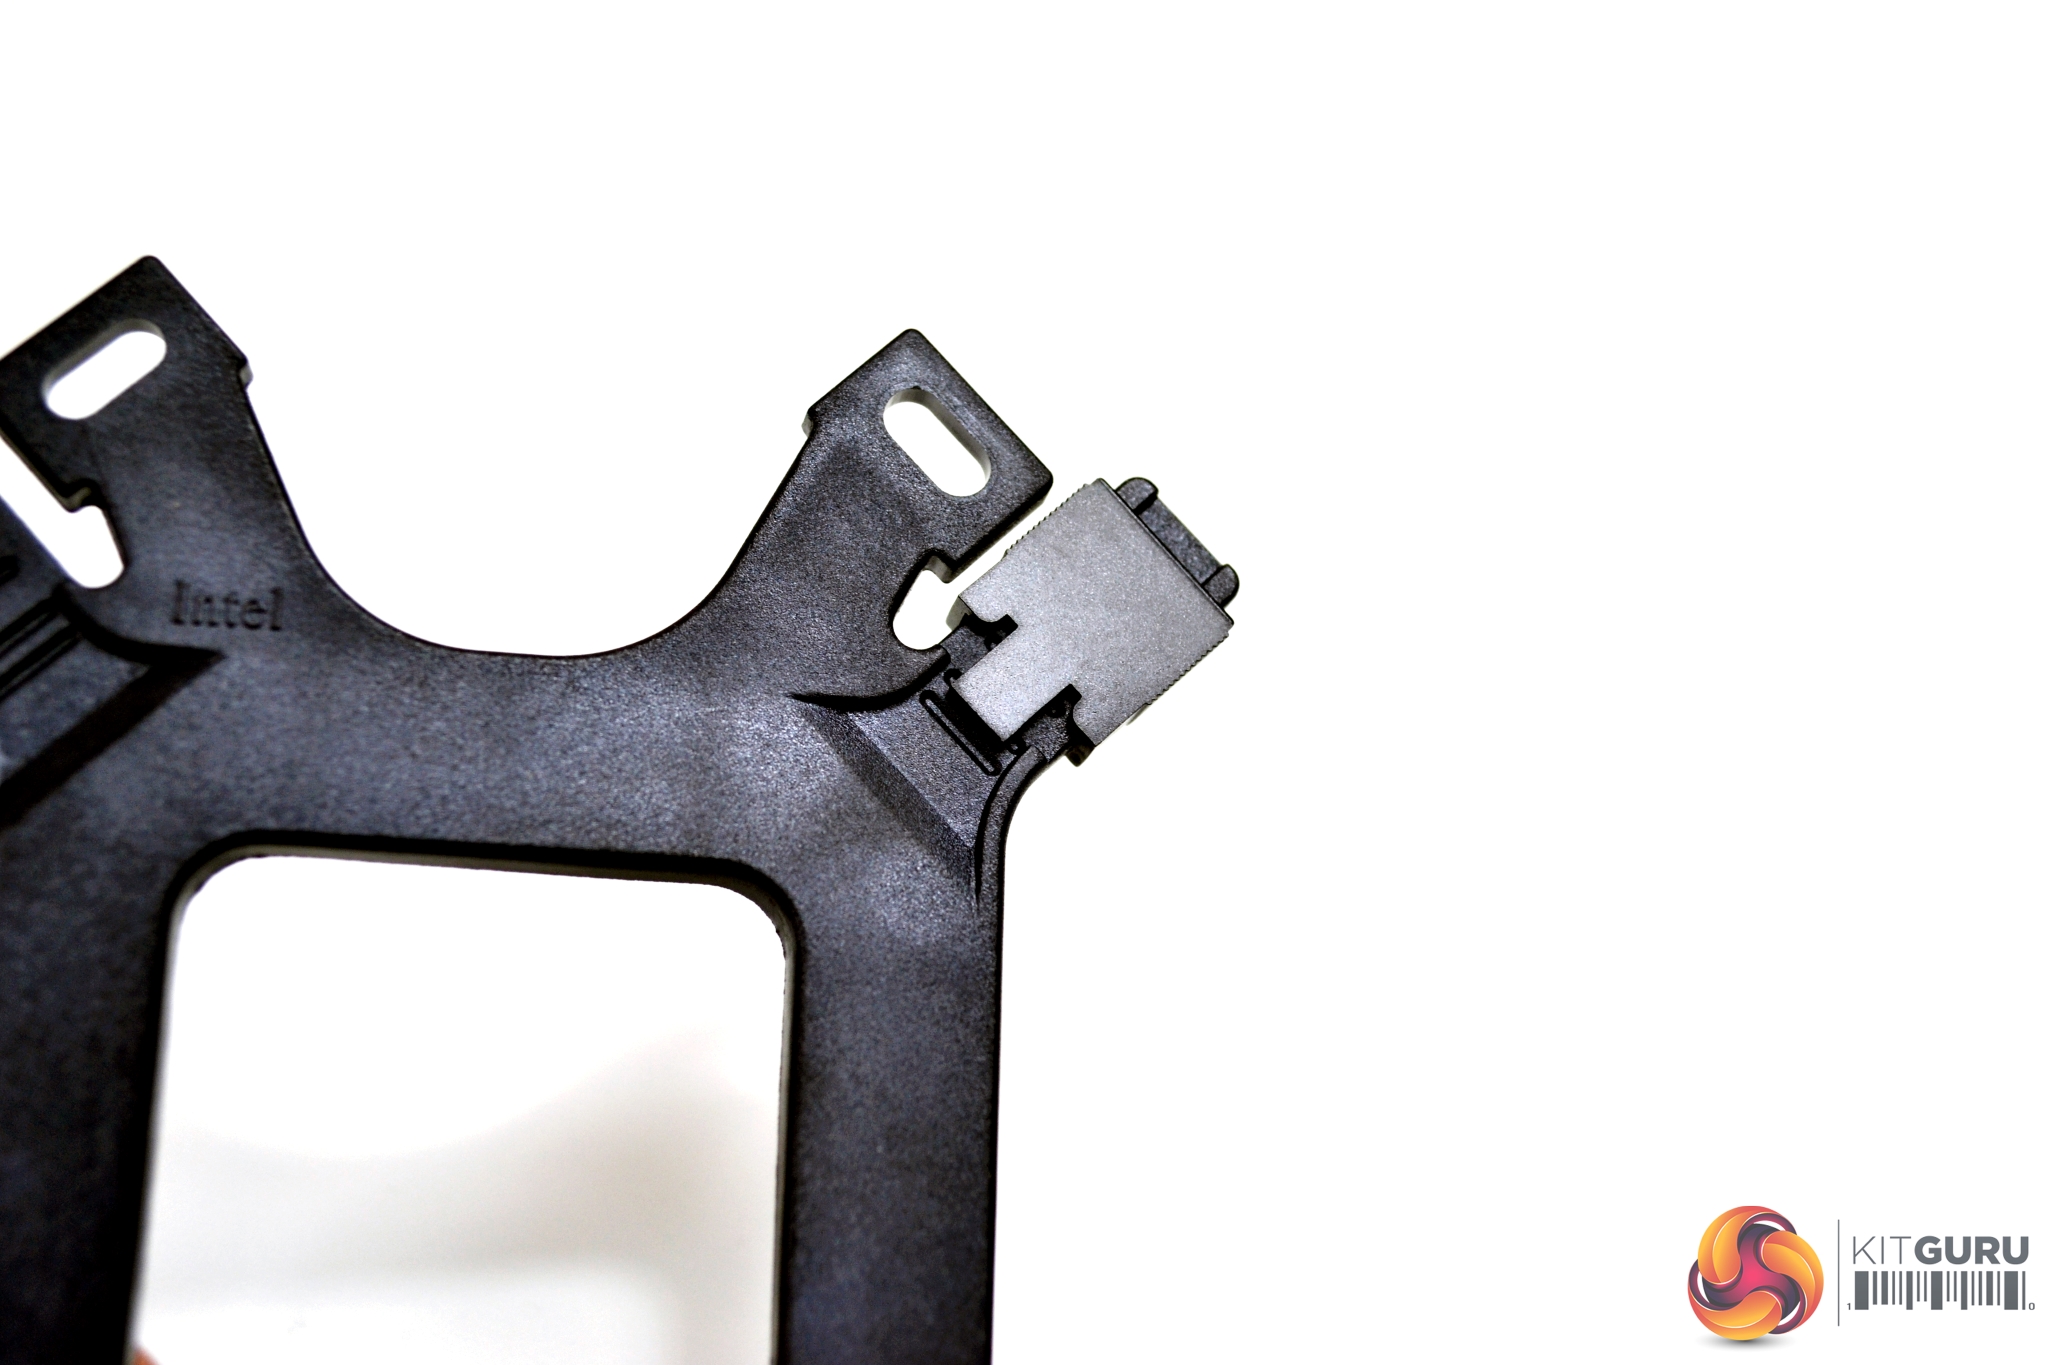
Next, we prepare the pump/block for installation by taking the relevant Intel retention brackets (also a black chrome finish) and inserting them into the notched slots in the side of the housing.

They are then tightened in place by four, fine thread Philips screws from the underside. Make sure the brackets are fitted in the correct orientation, as shown in the installation documentation. If not, the pump will not make contact with the CPU IHS, when offered up to the motherboard.
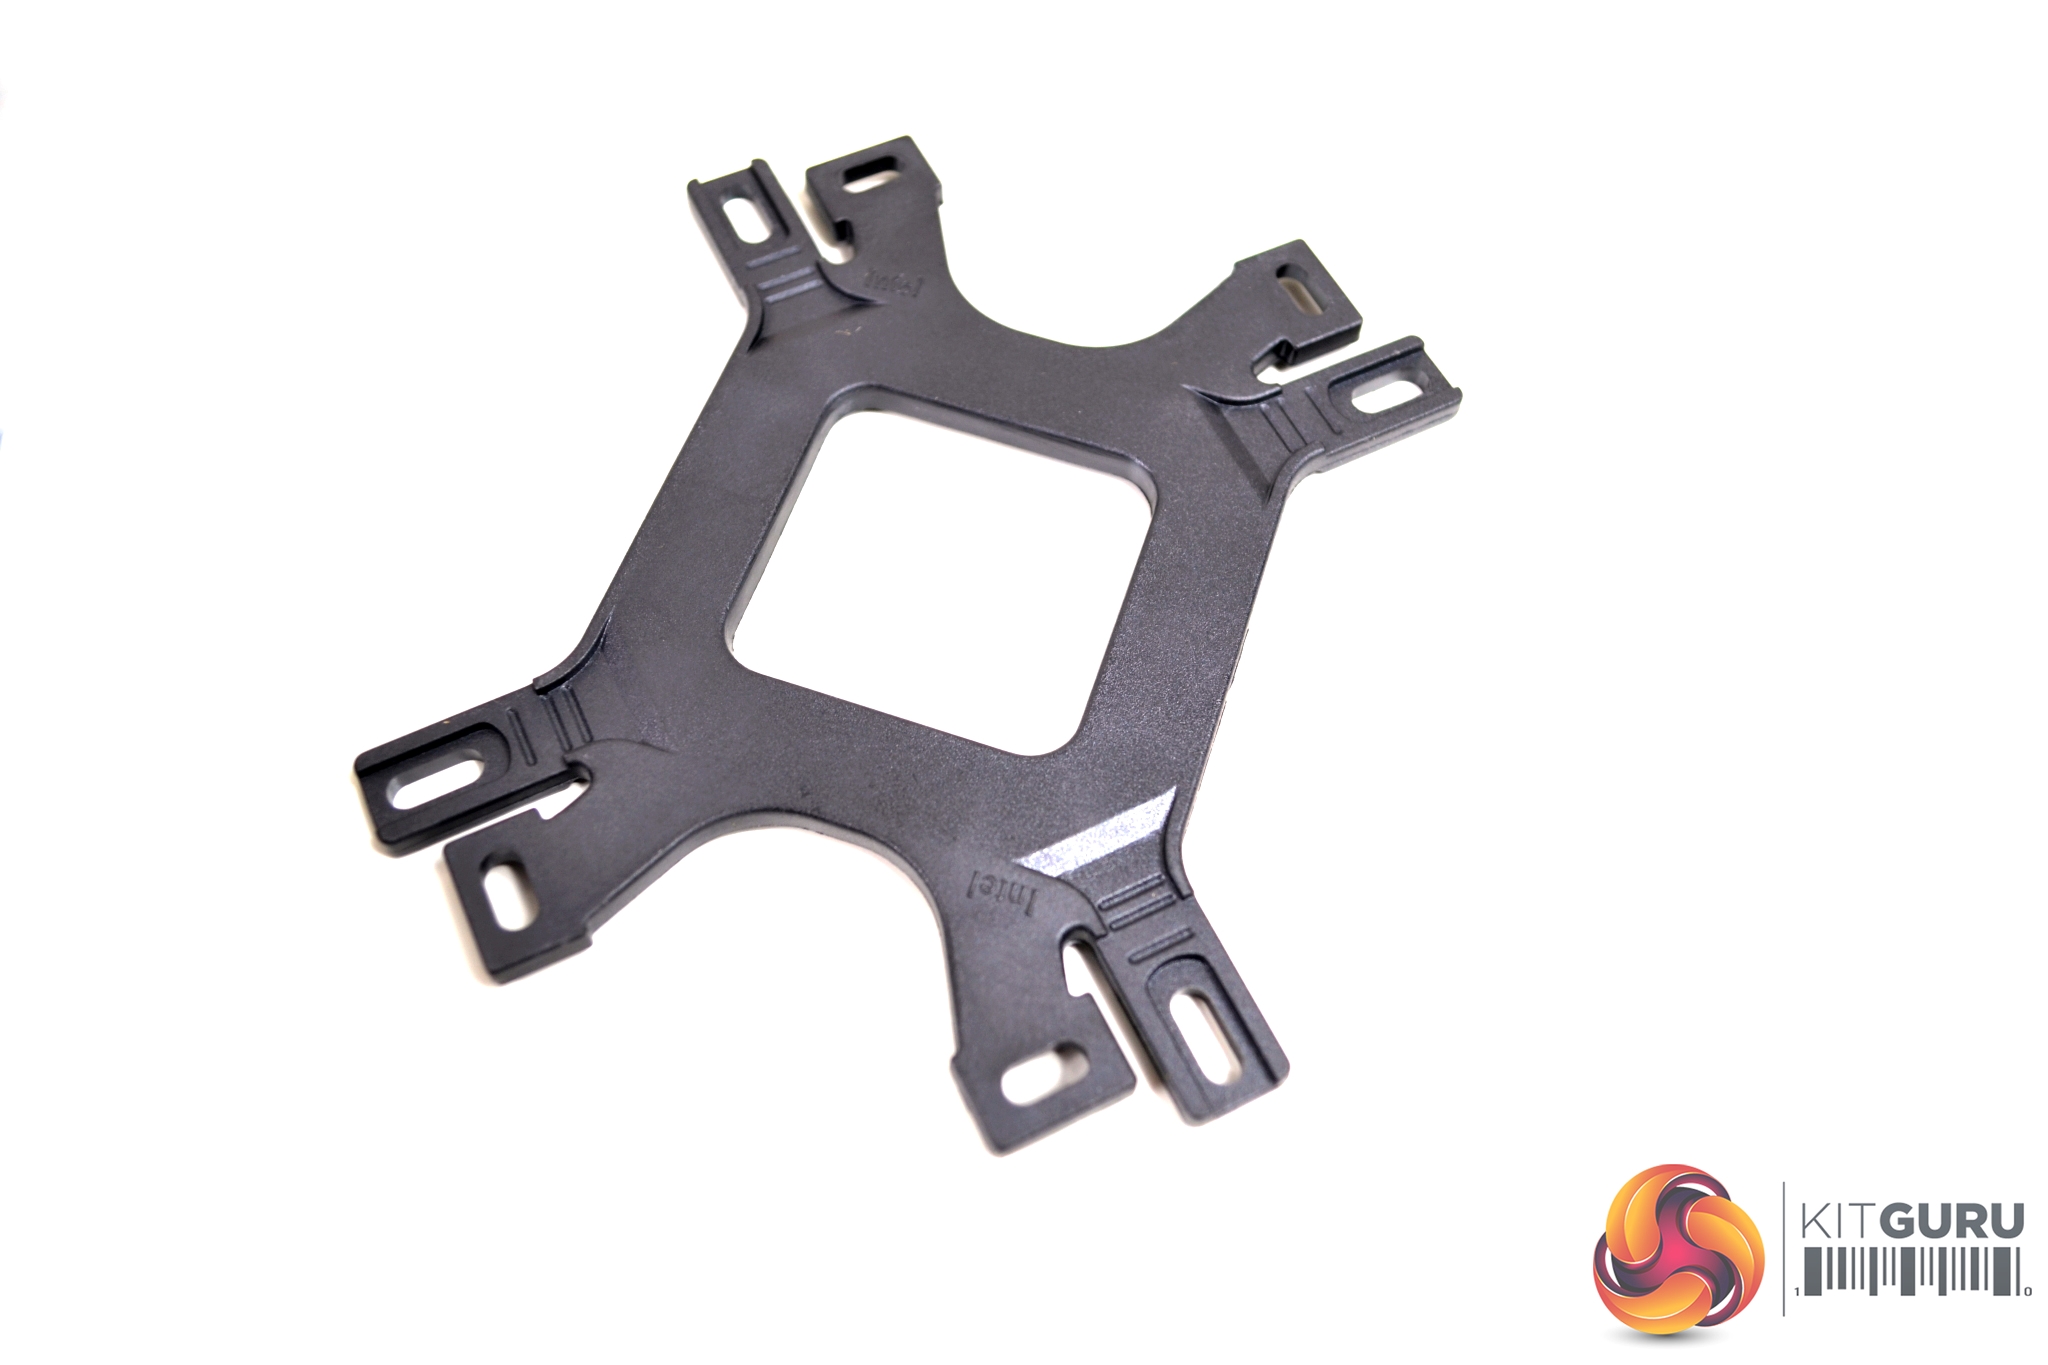
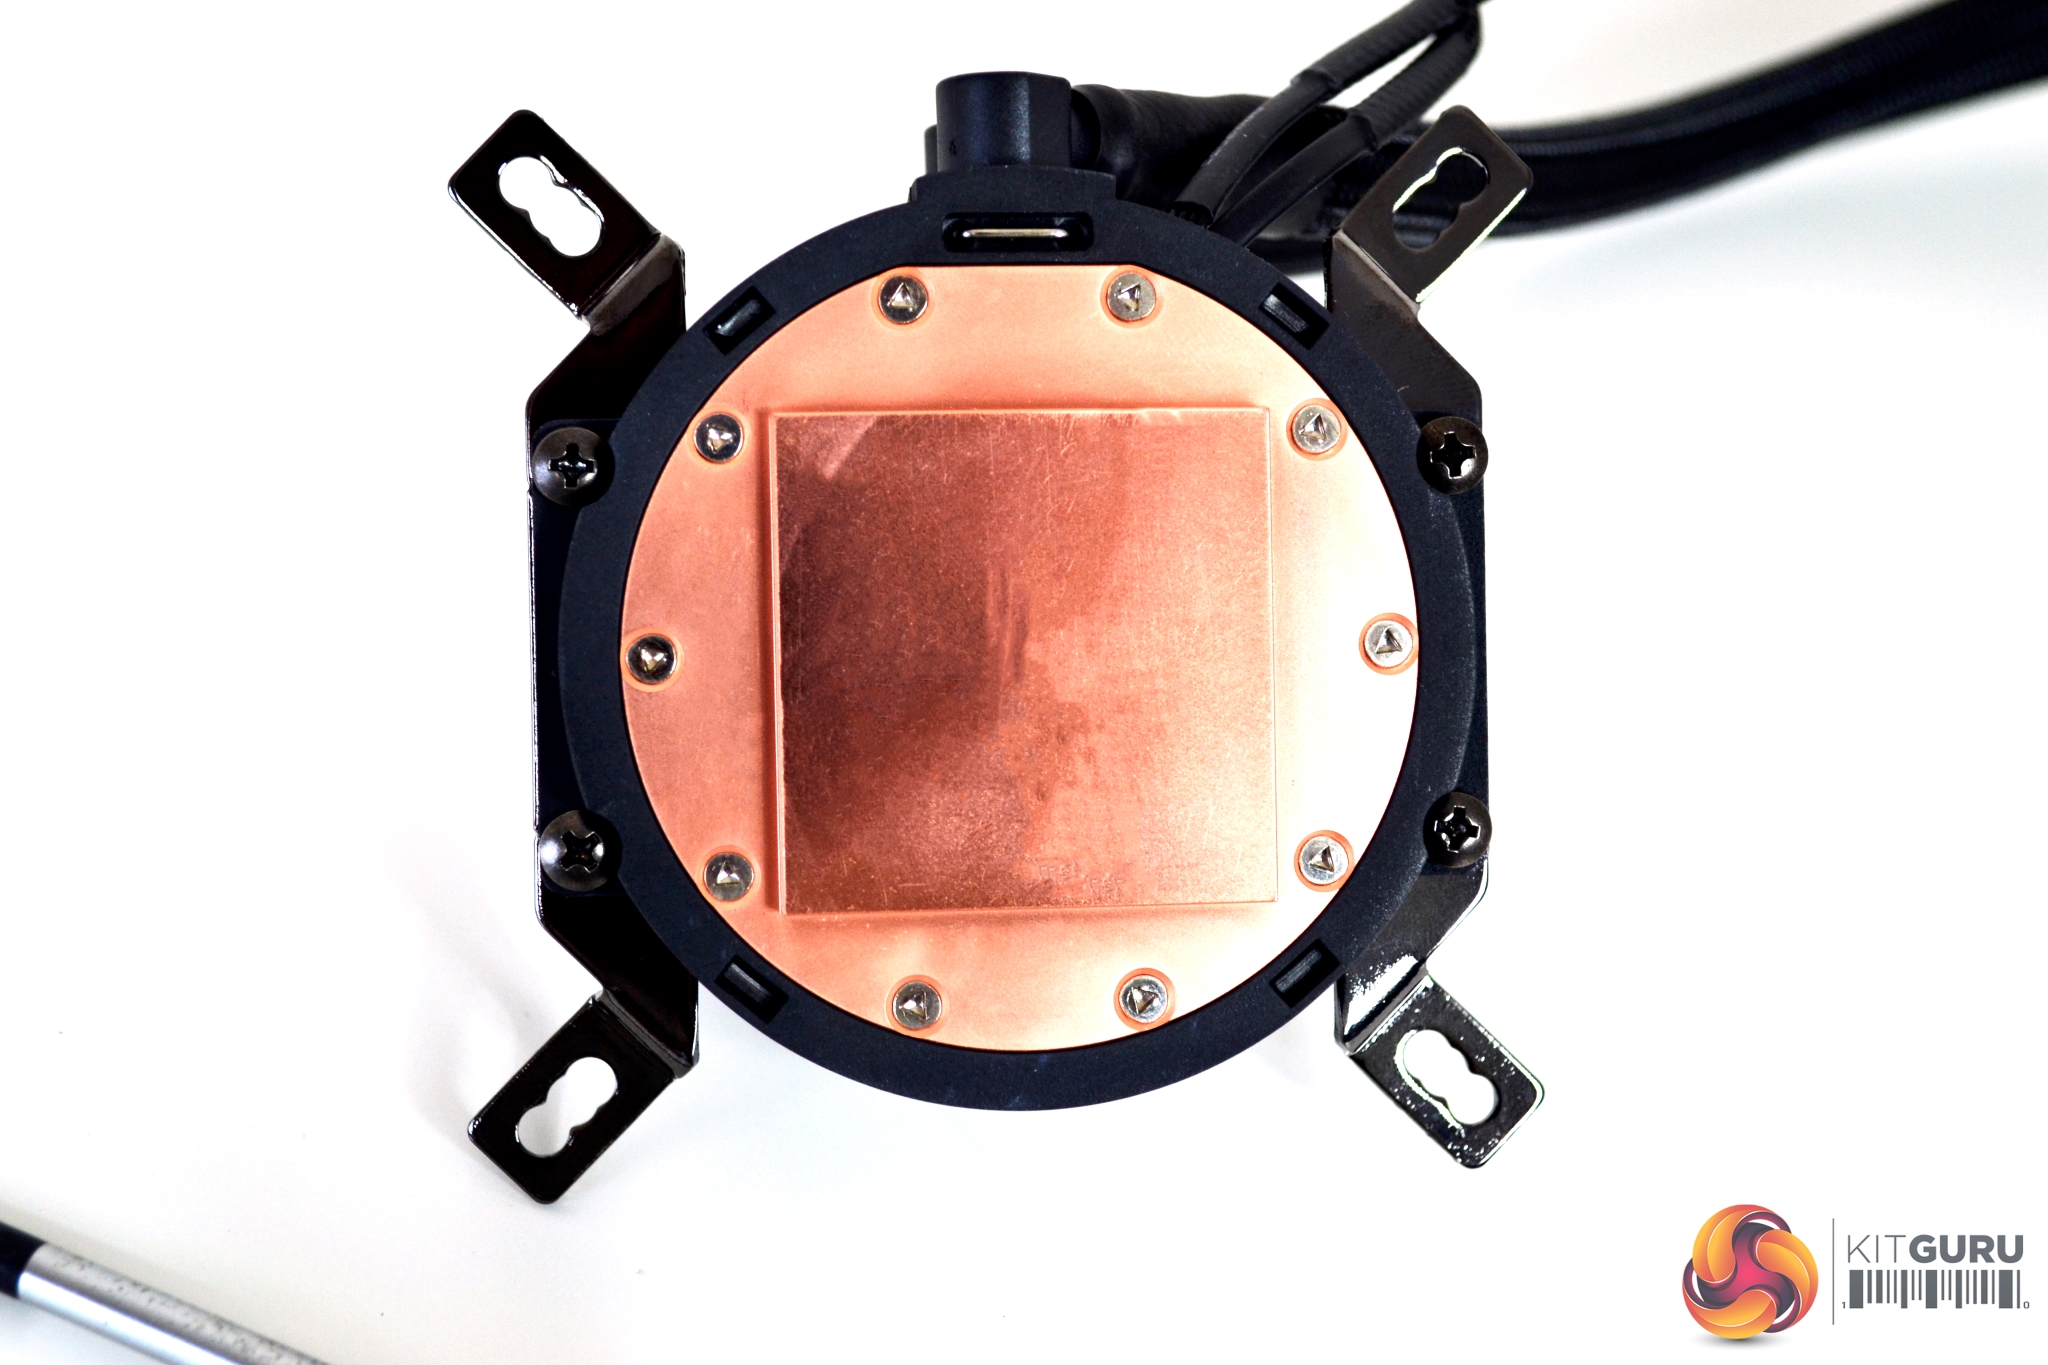
For both Intel and AMD platforms, there is a single retention bracket for mounting the cooler, which is marked on either side. When installed, the manufacturer's name should be visible from the back of the motherboard to correspond with your particular platform.
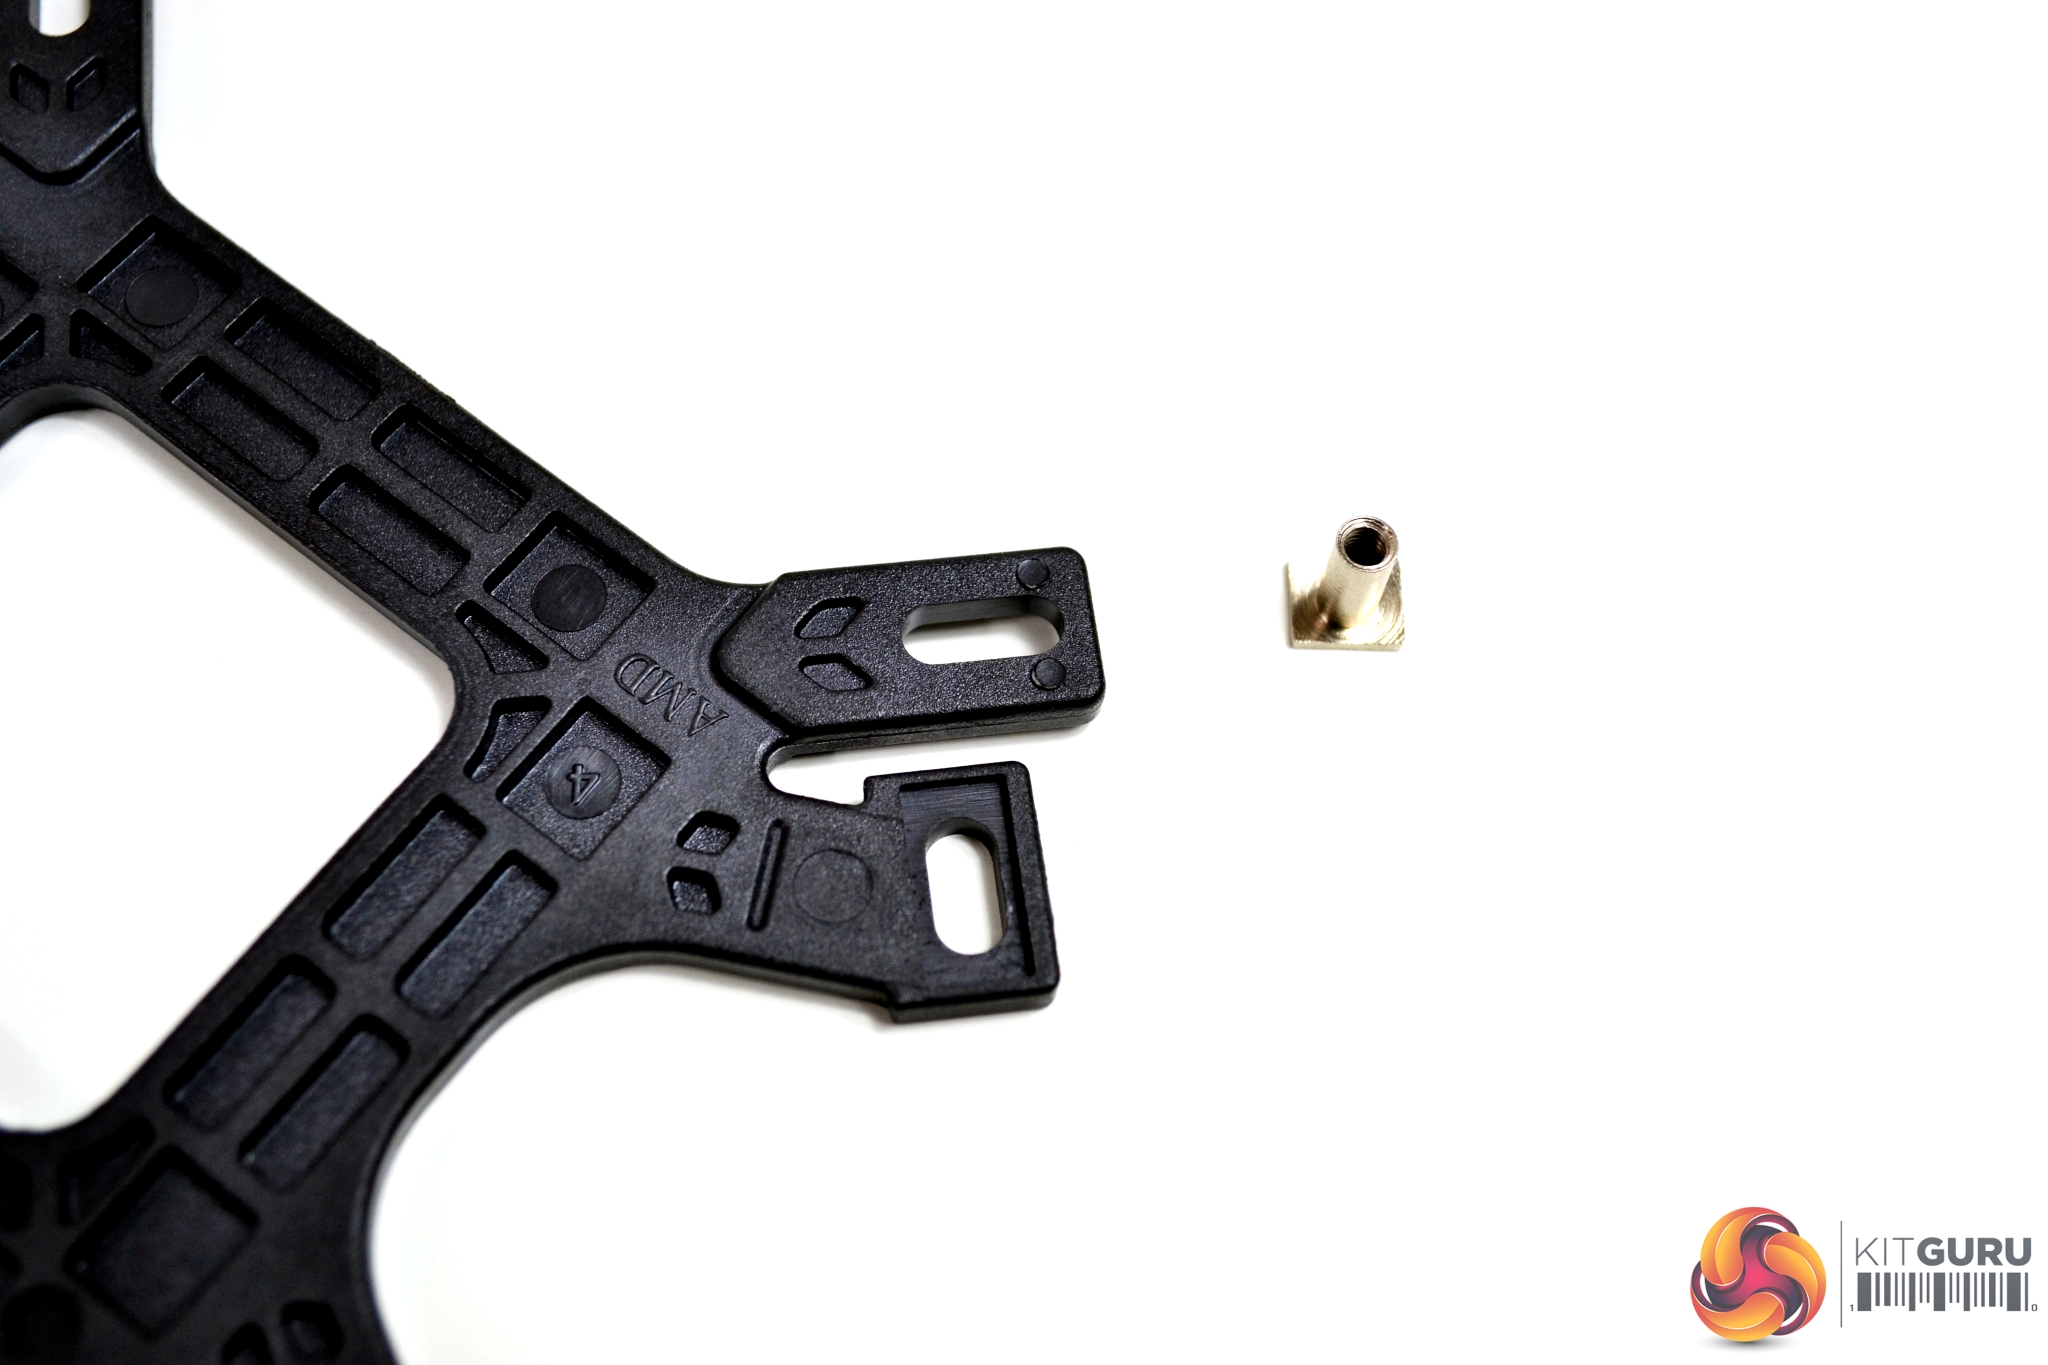
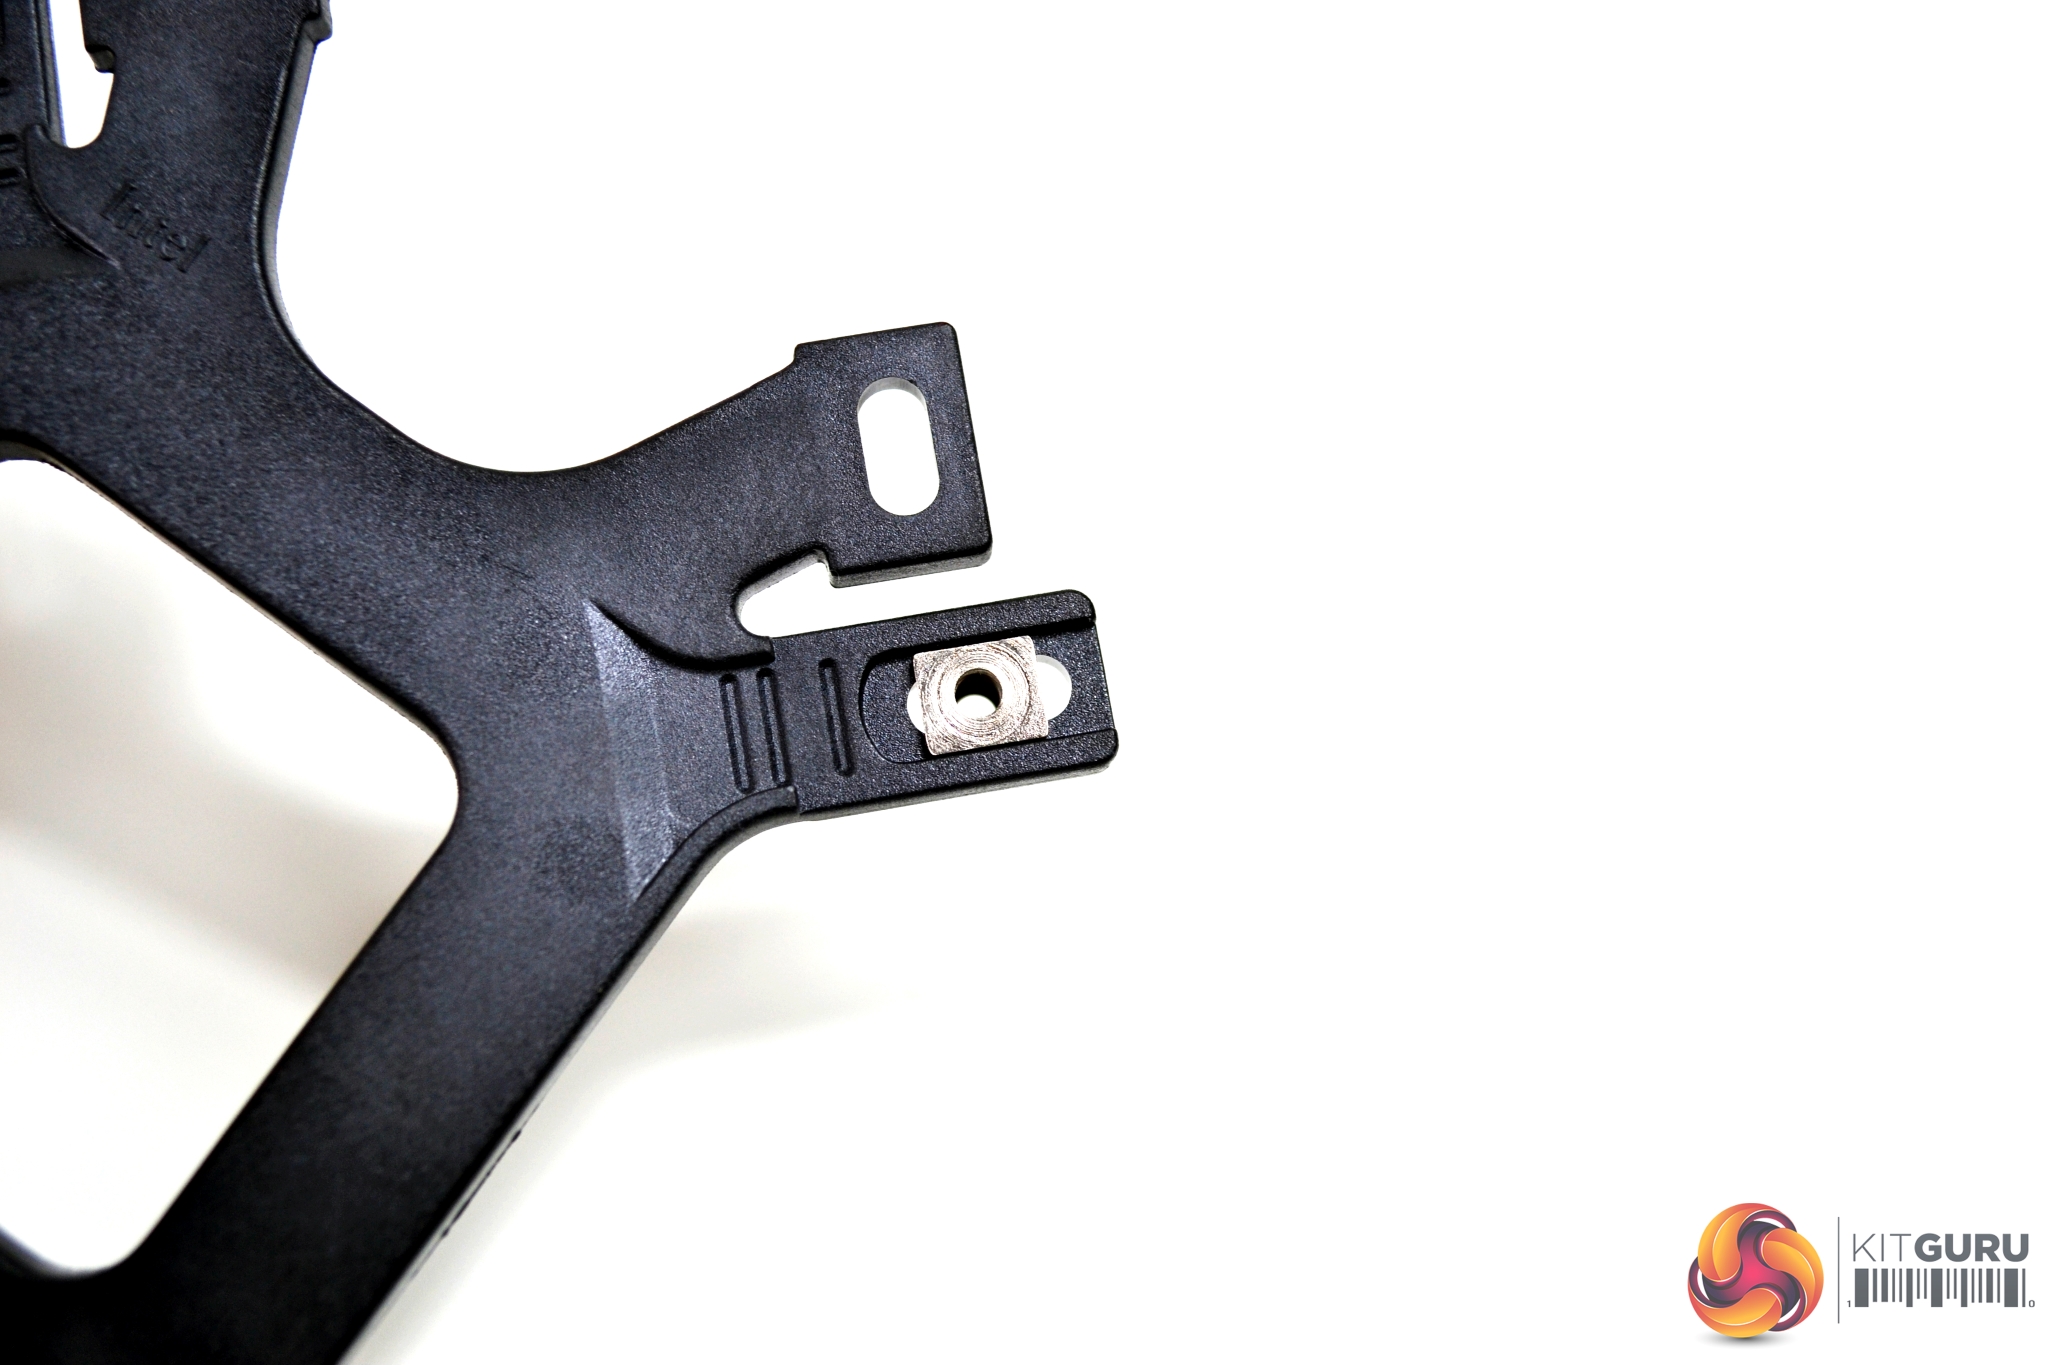
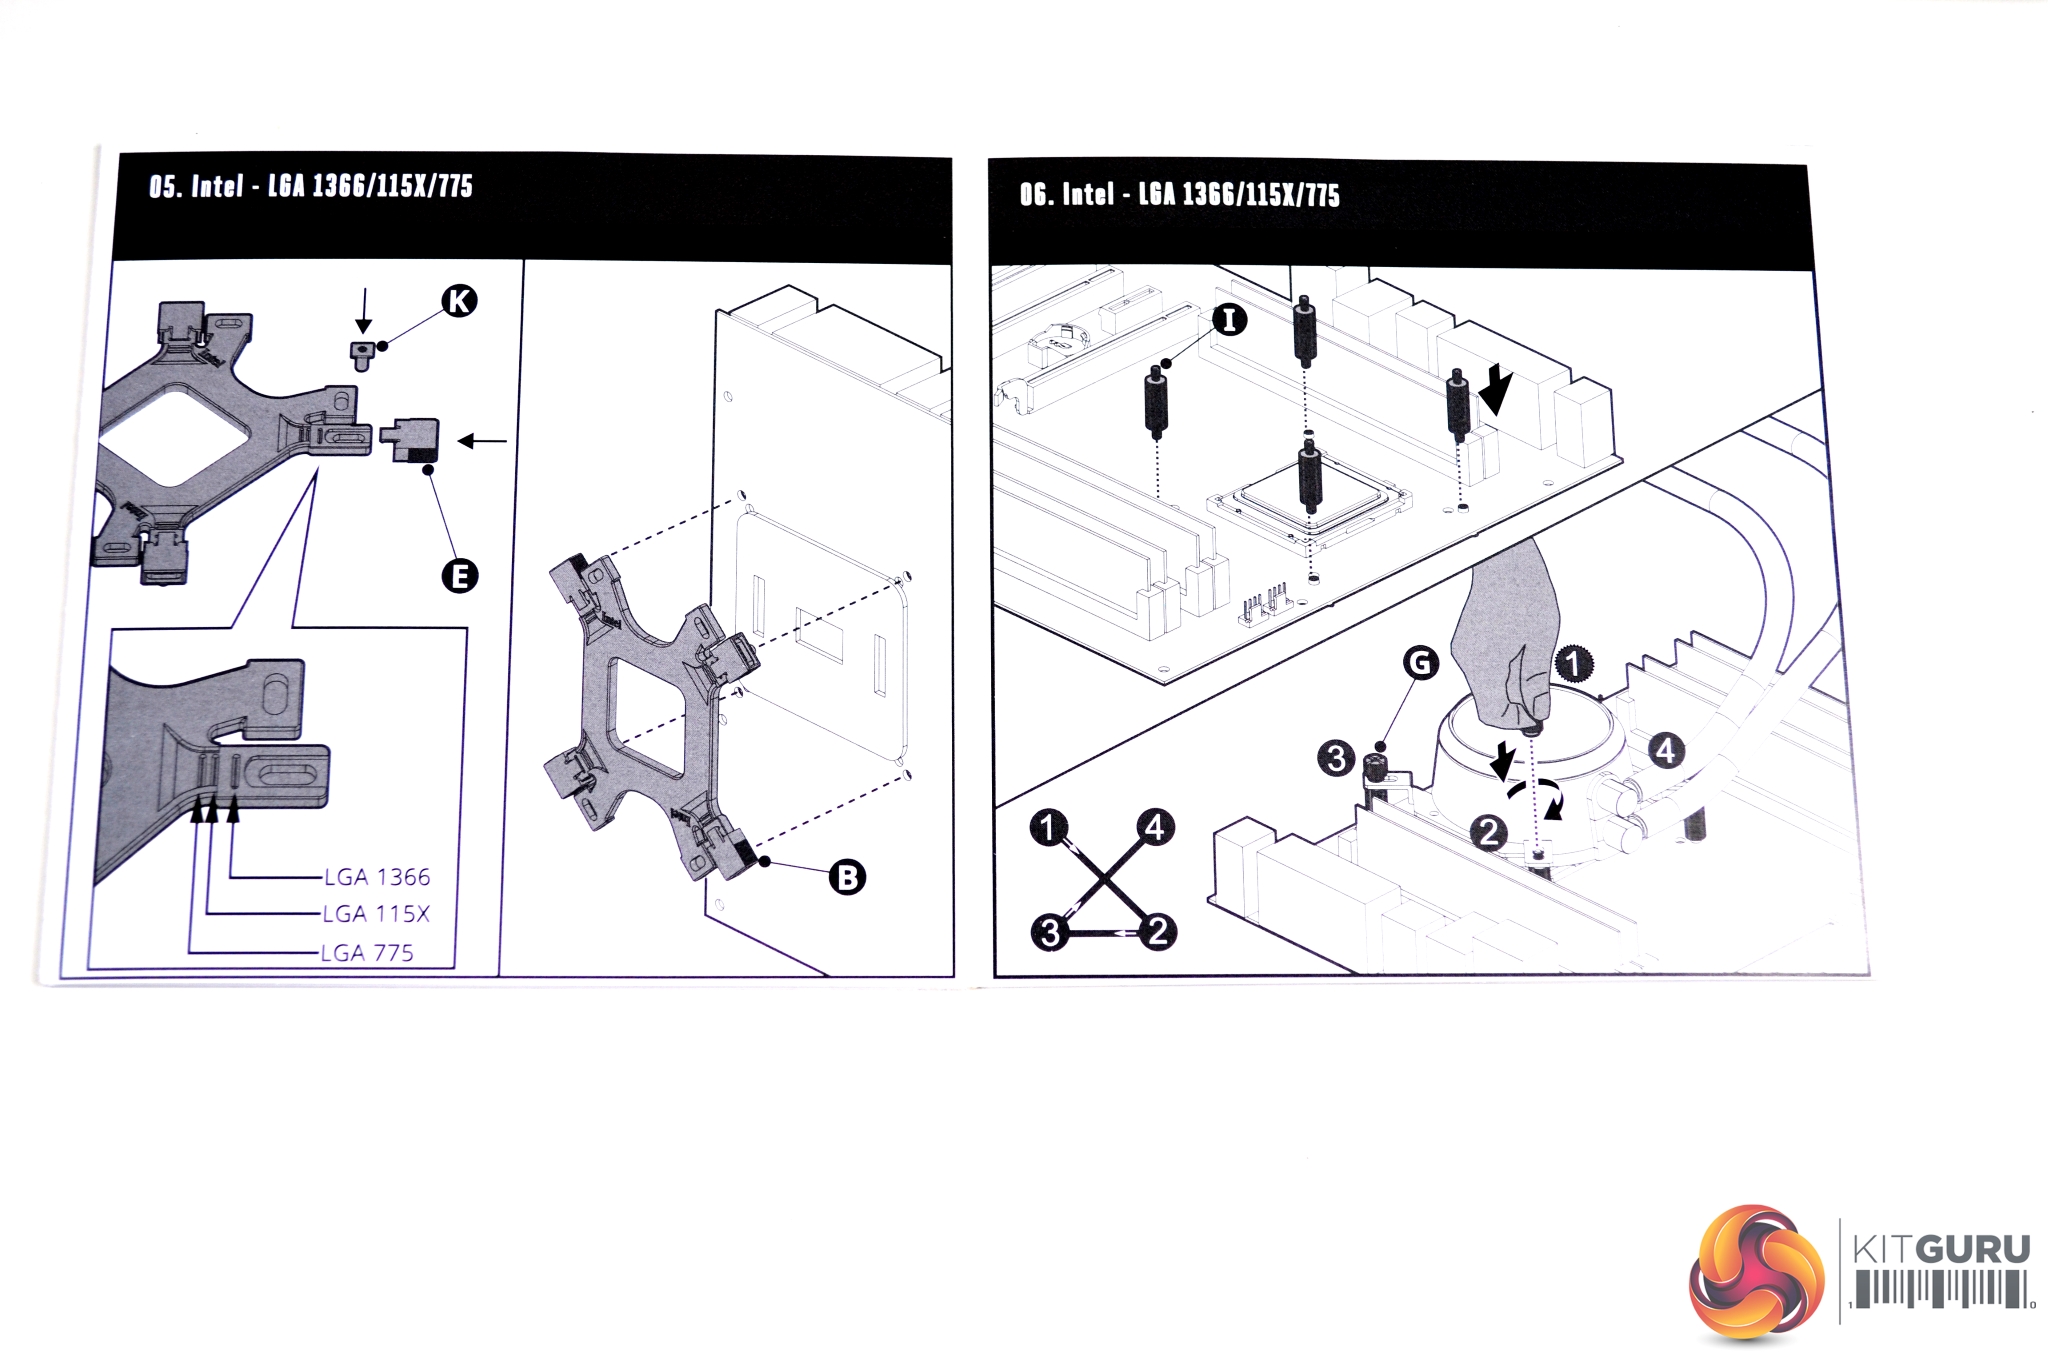
Four silver mounting nuts are pushed through the elongated holes on the bracket and then held in place by a plastic clip.
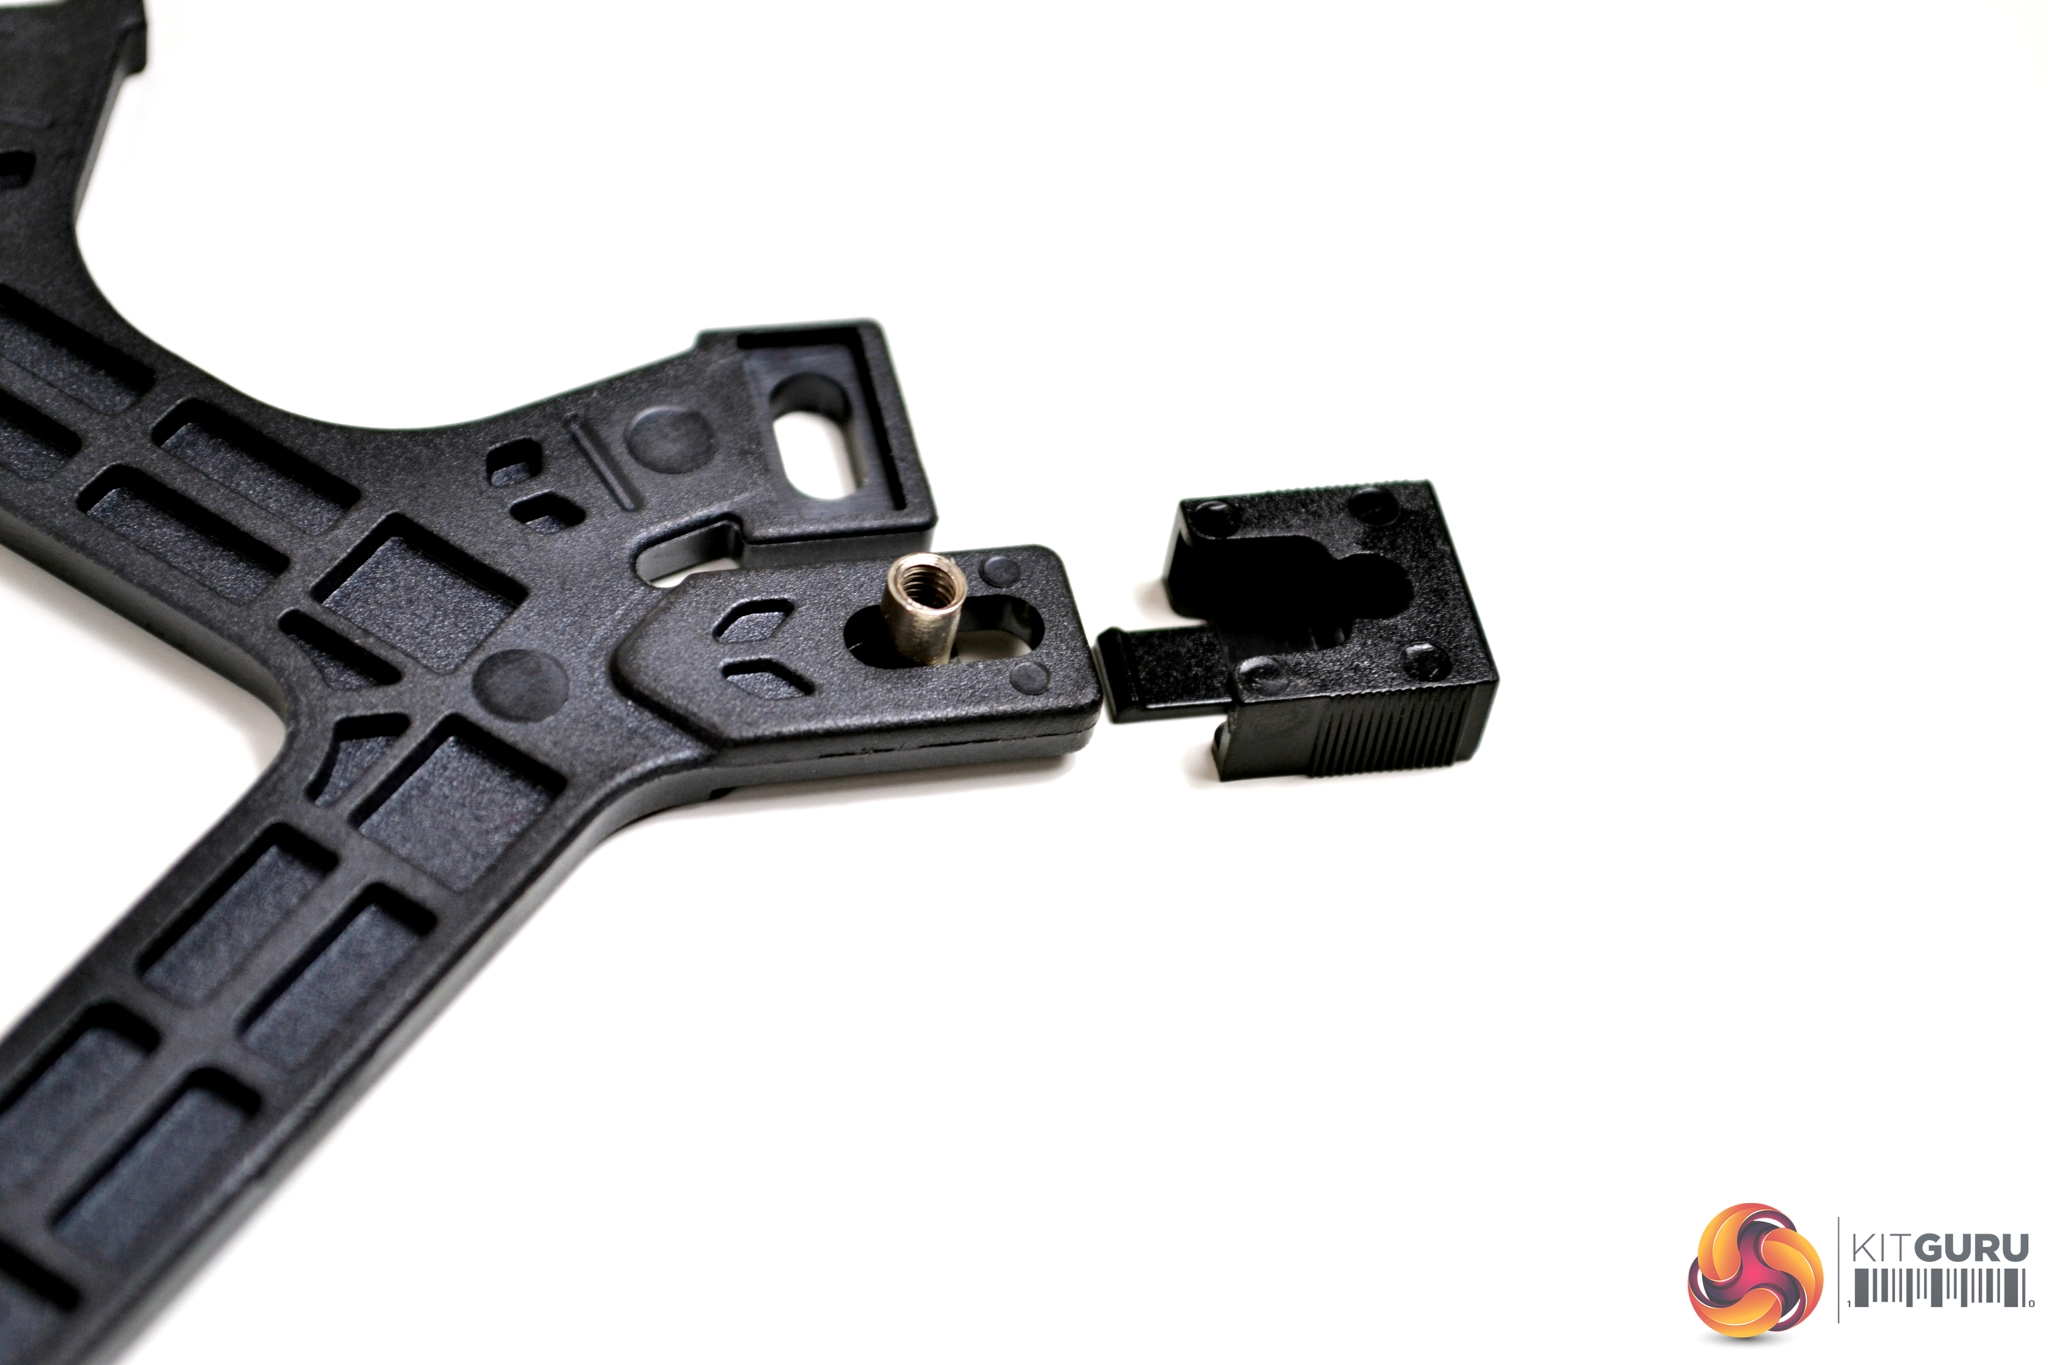
The retention bracket has a series of notches which represent the positioning of the nuts, depending on which Intel platform you are installing on. Sliding the clip to the correct notch, will lock it in place. These plastic clips are a great solution to stop the problem of the mounting nuts falling out during installation.
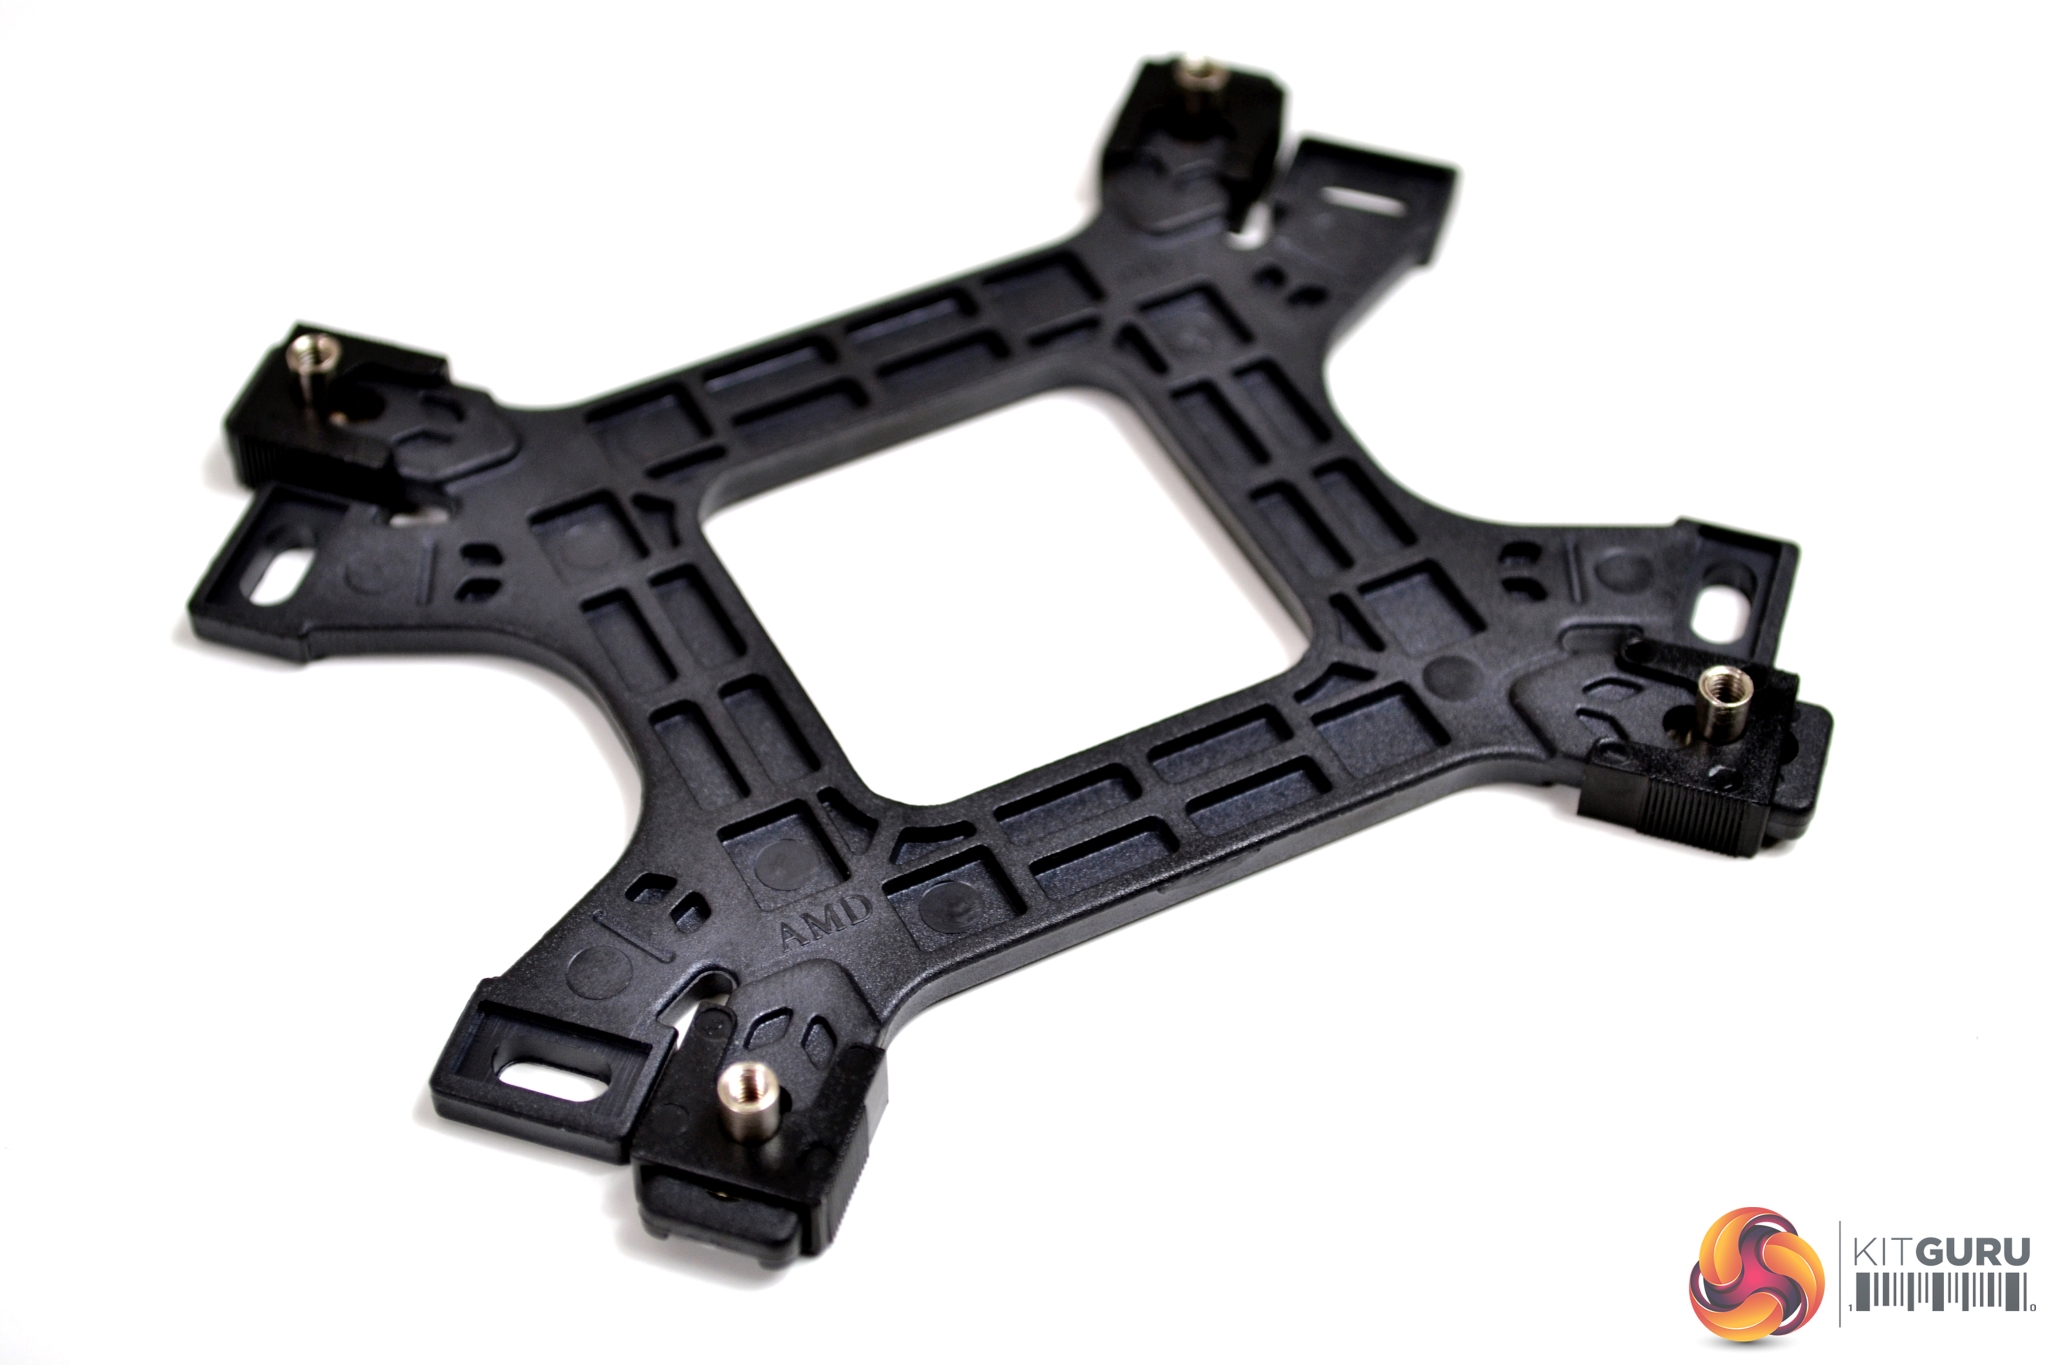
Once all four nuts are fitted in the correct position and held in place with the plastic clips, offer the retention bracket up to the four holes on your motherboard. They should line up with the motherboard mounting holes, with minimal effort required.
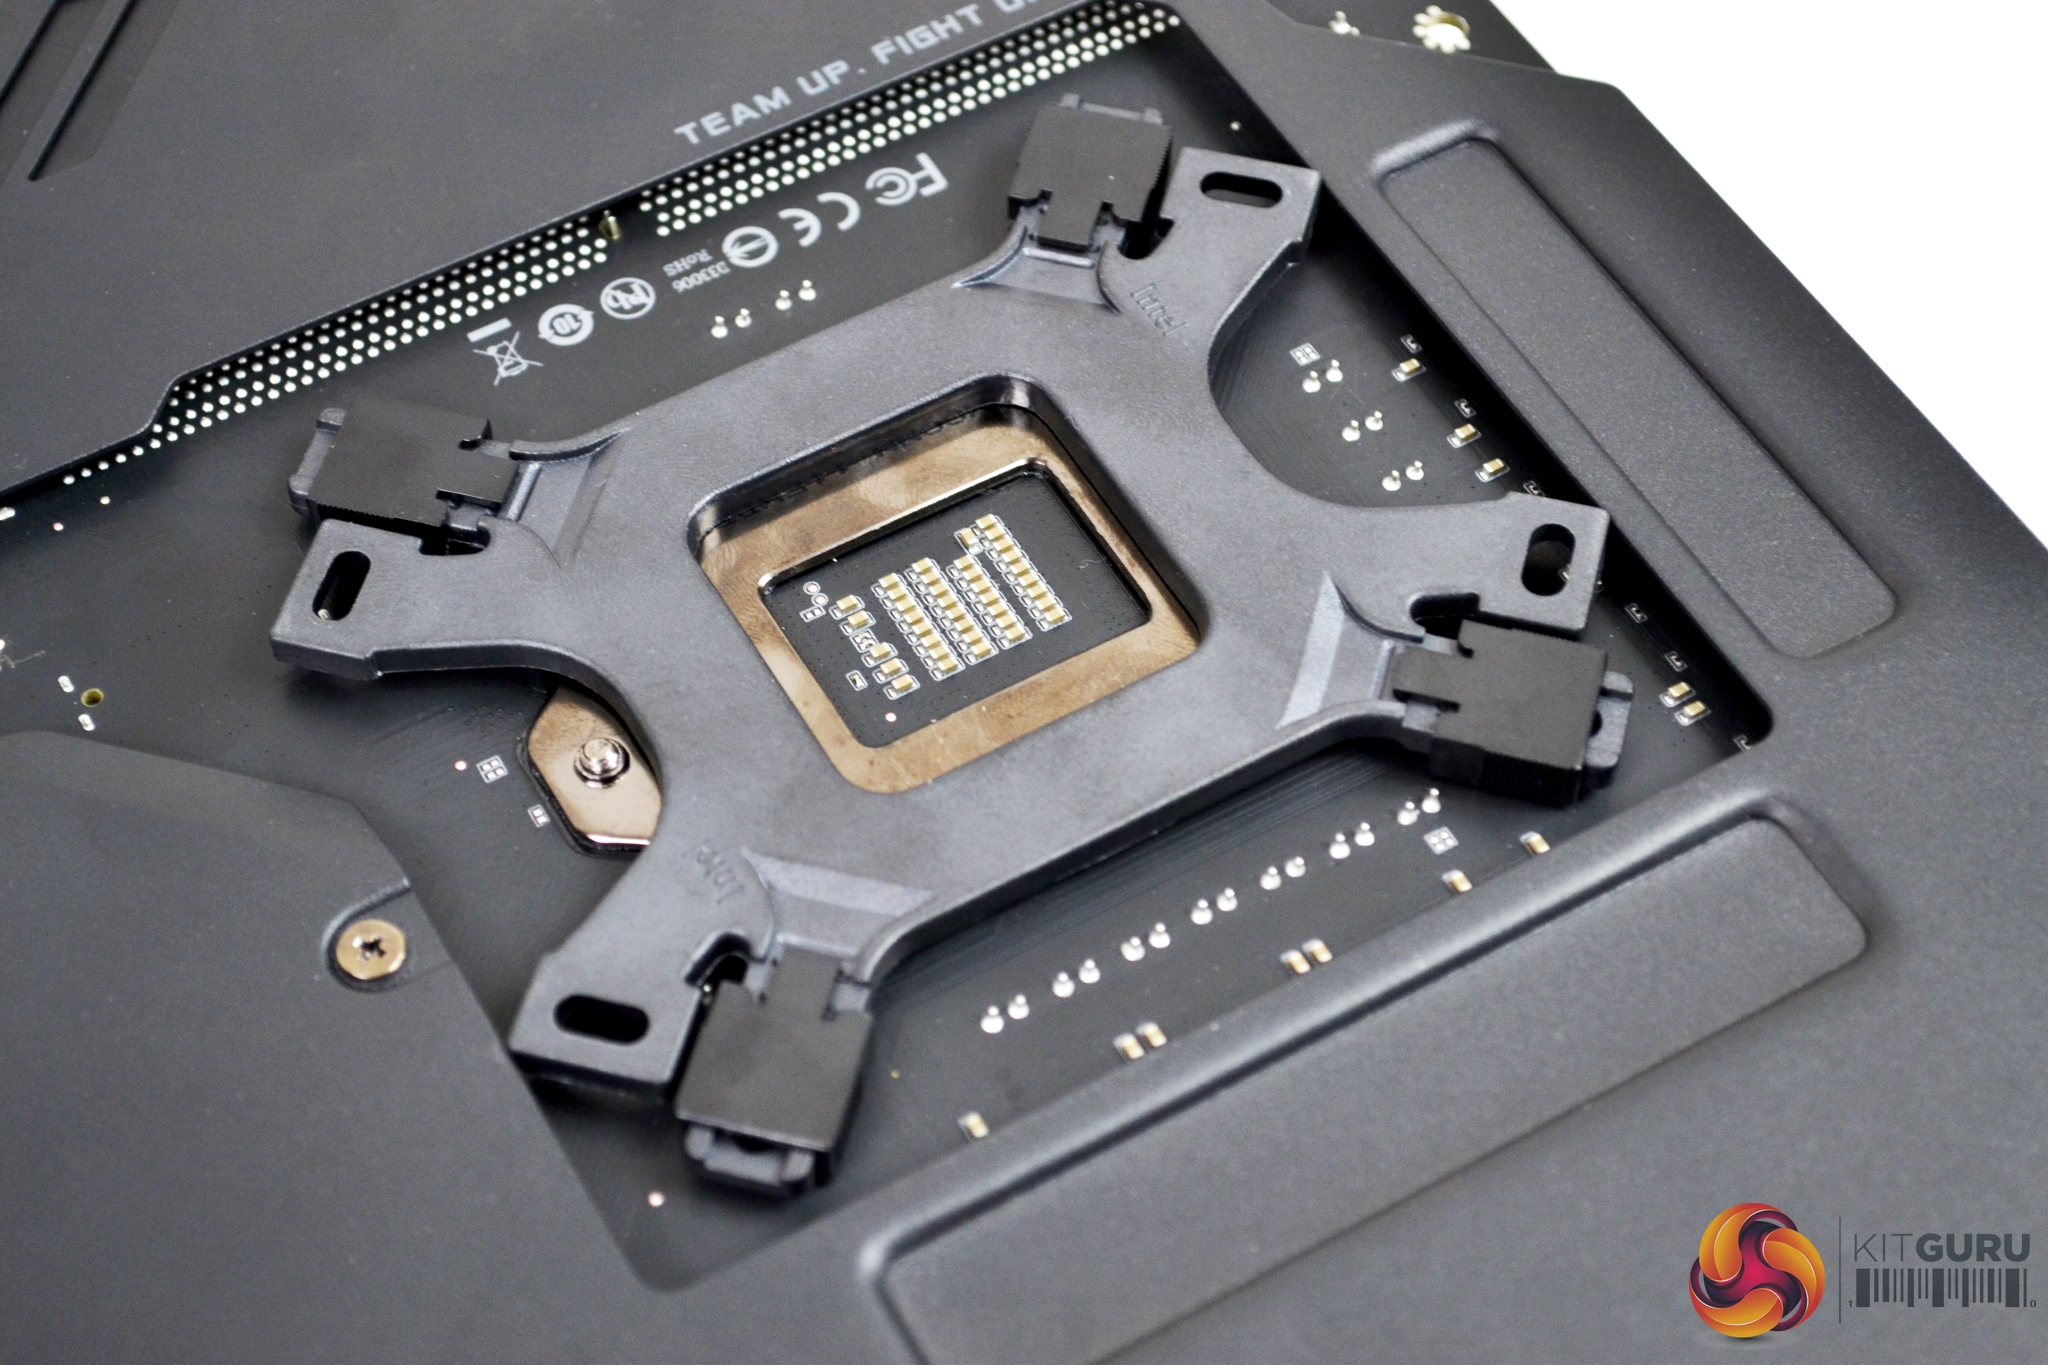
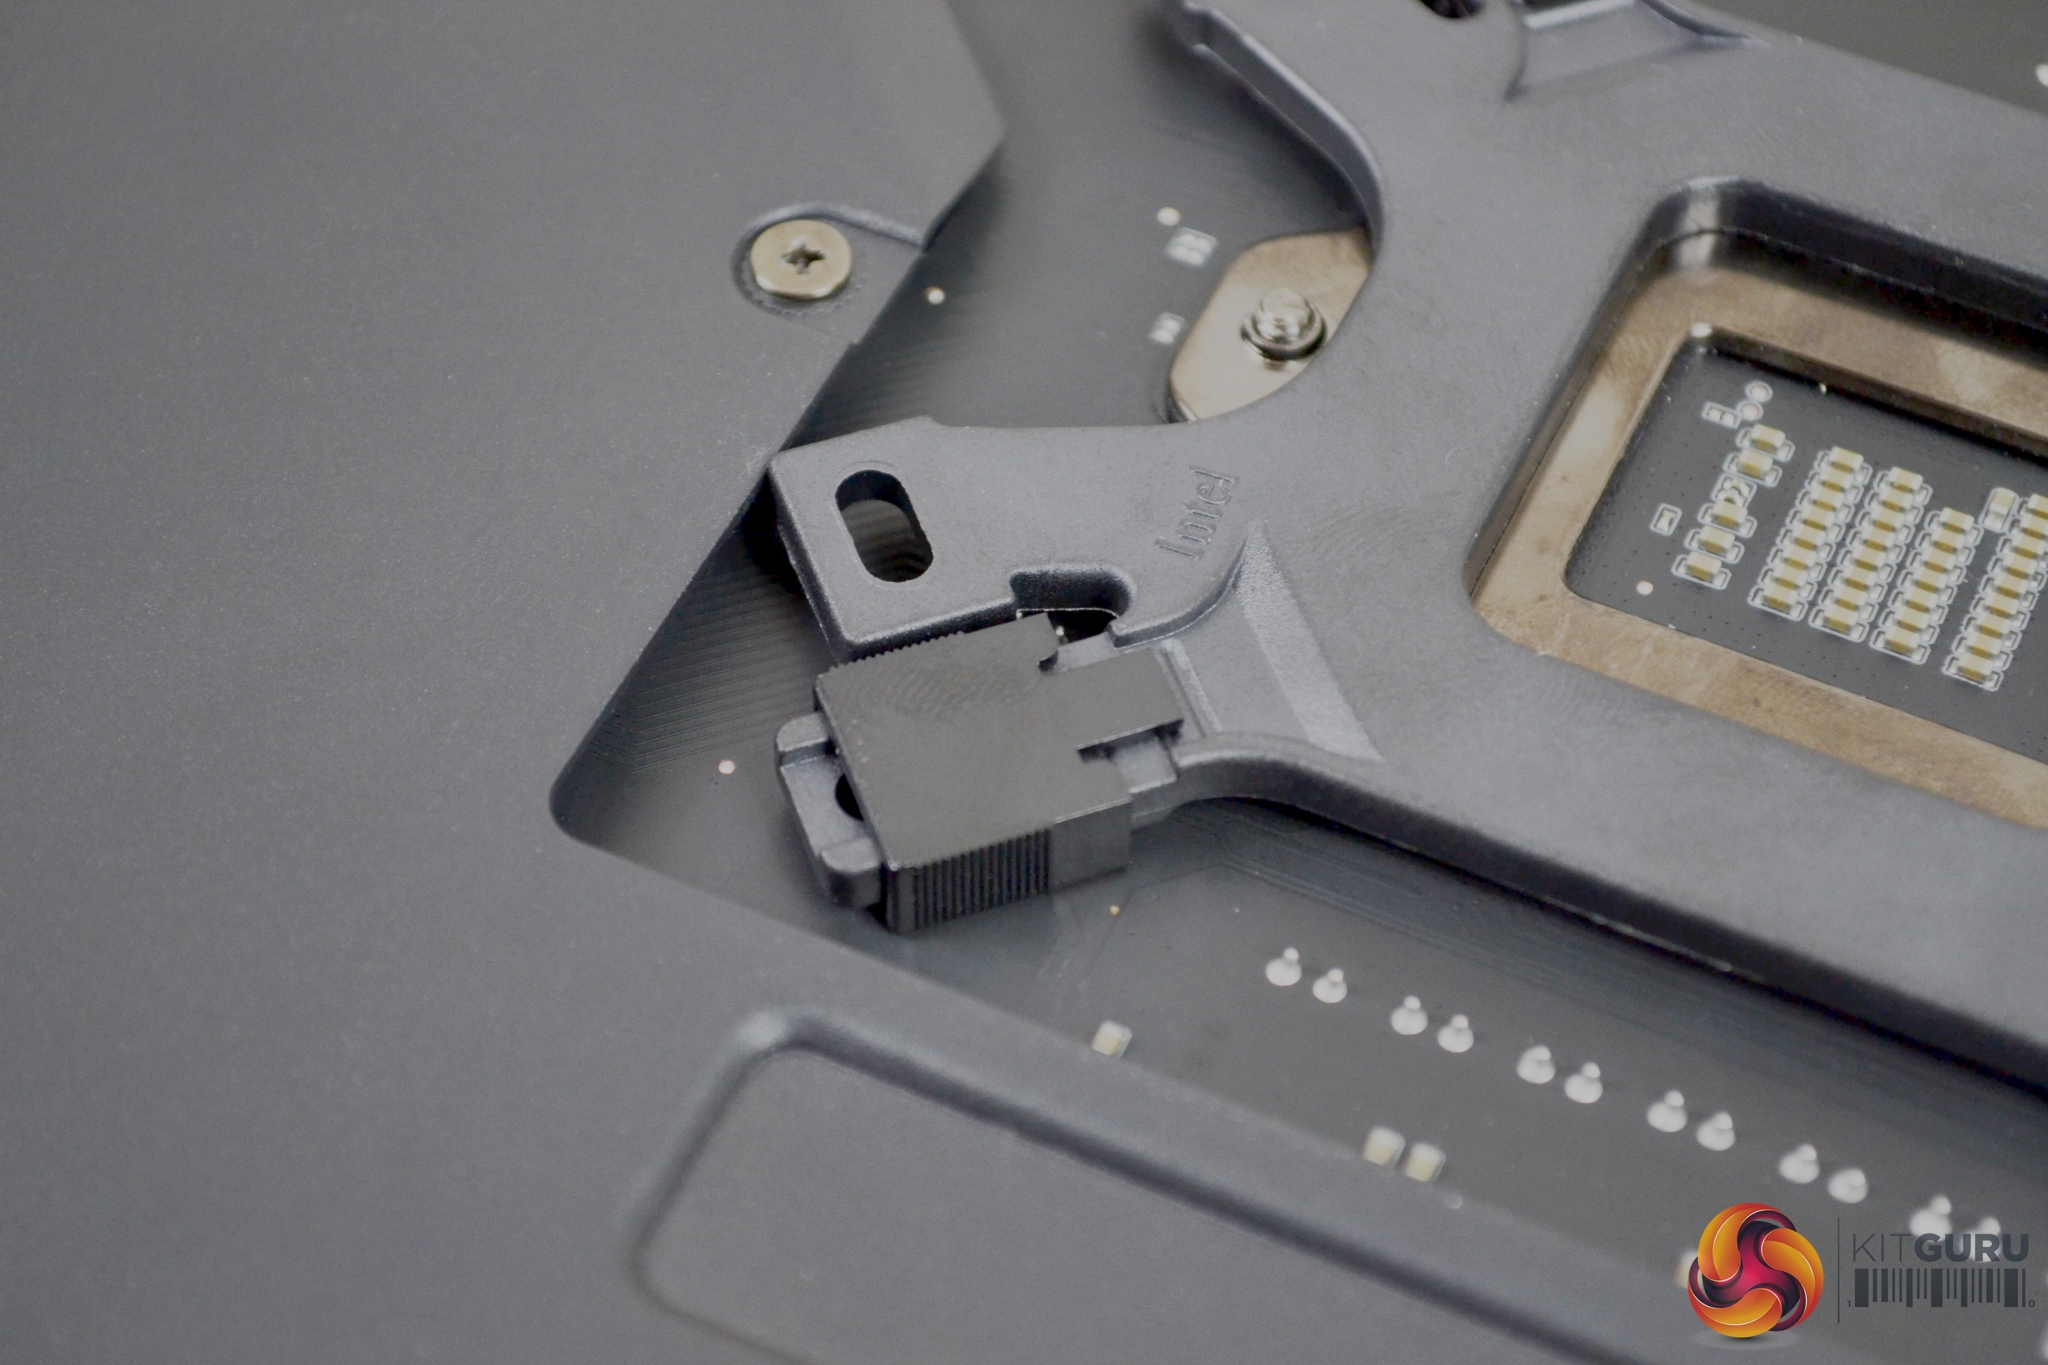
It is worth noting that motherboards which have a plate covering the back, such as our Gigabyte Z390 Aorus Master, may conflict with the Cooler Master retention bracket. As can be seen in the above image, ours is so close, it is touching.
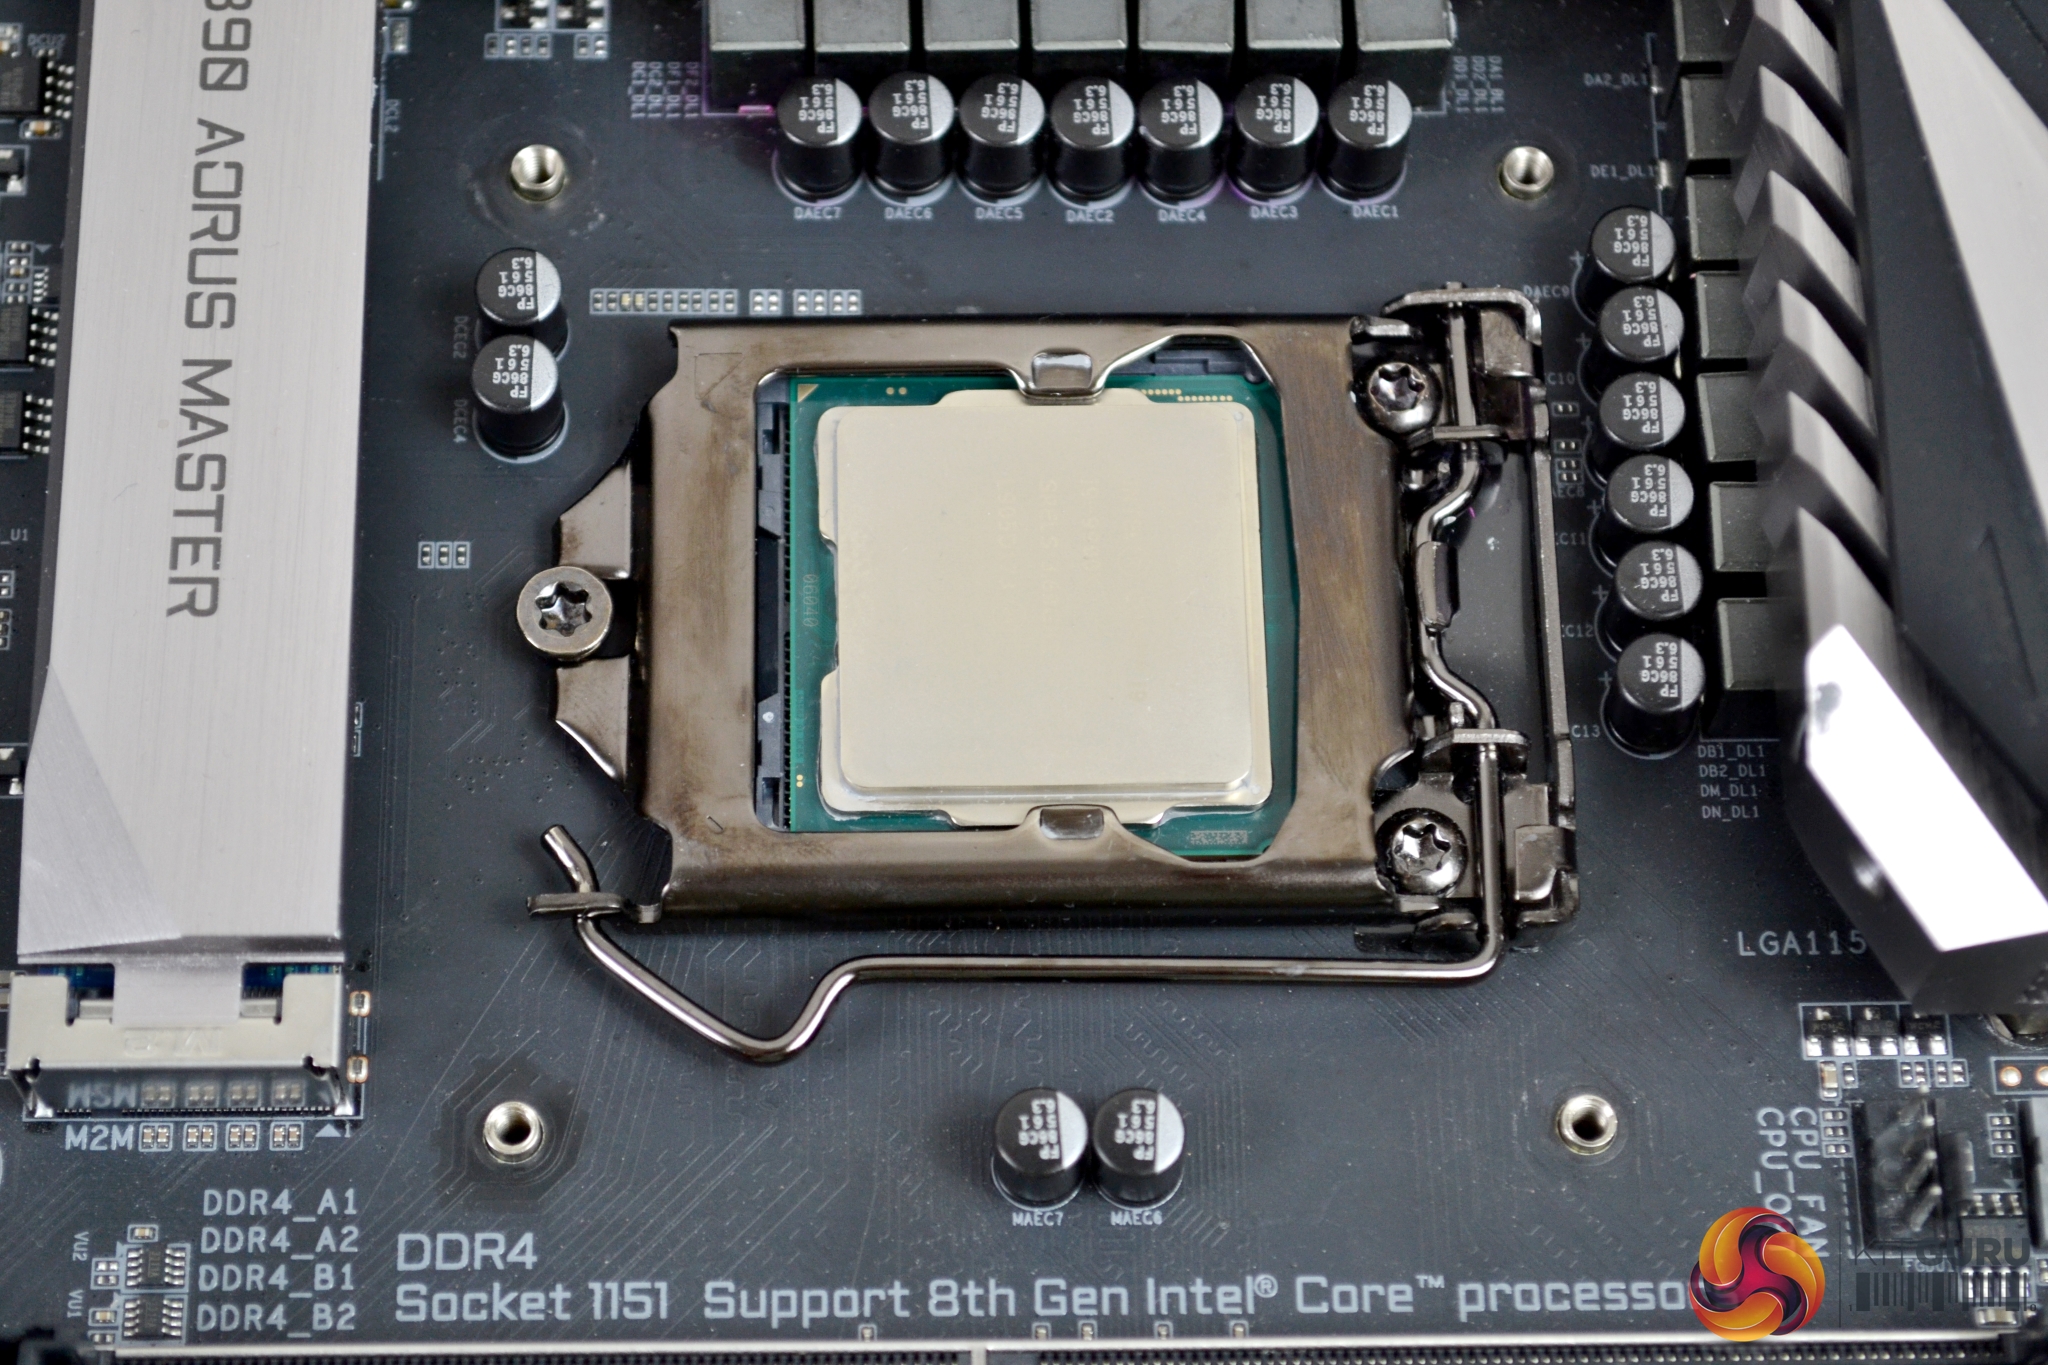
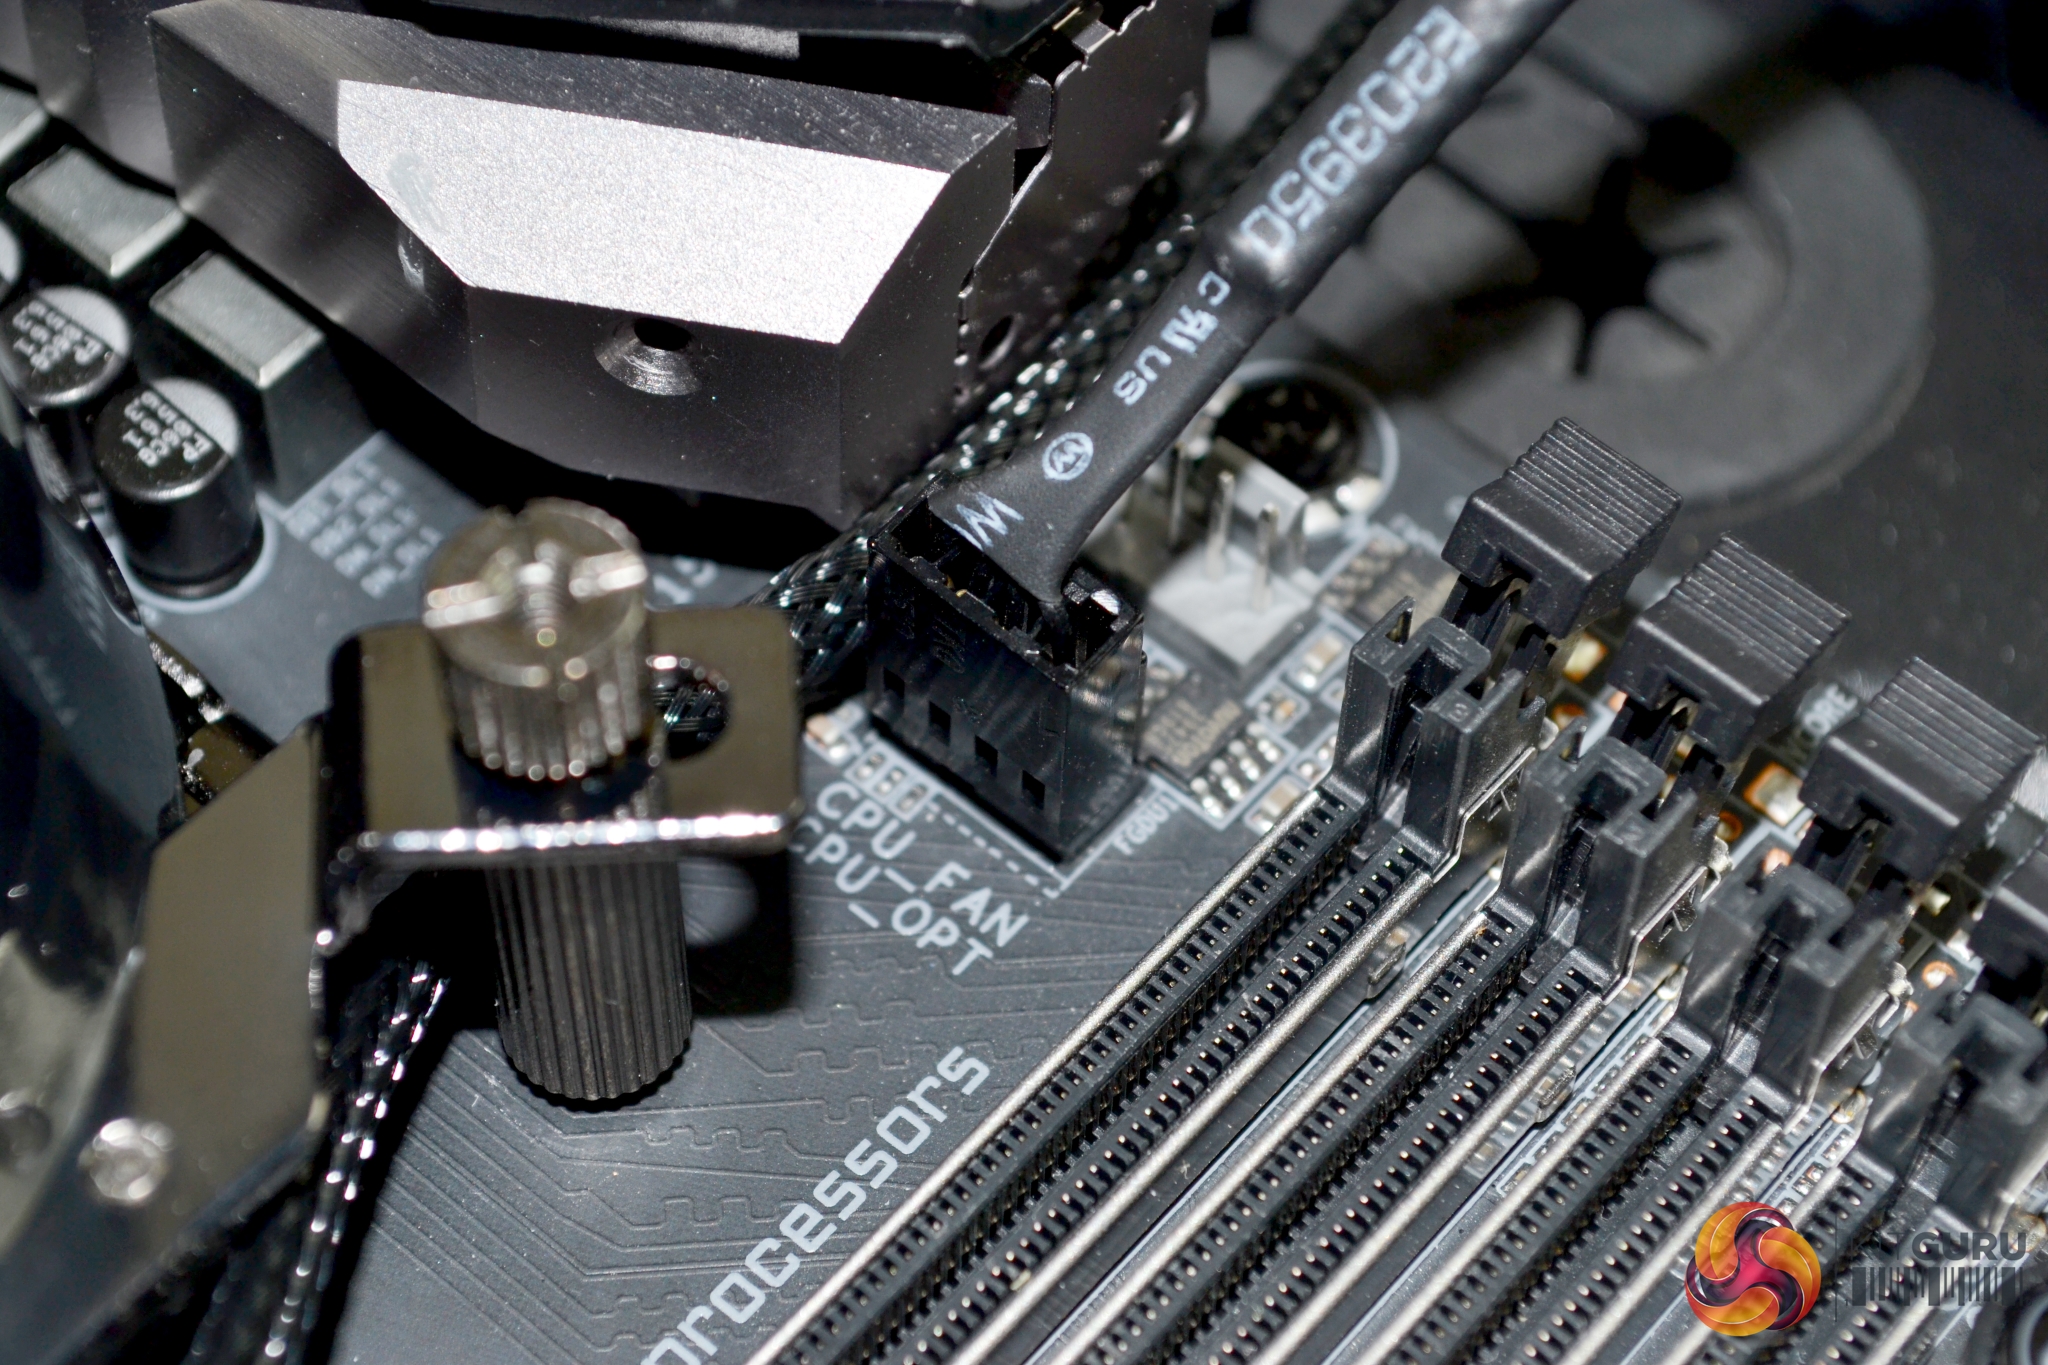
Now, we can install the Intel mounting posts, which have a fine thread on either end. By hand, they are tightened down to the retention bracket nuts, which should be slightly protruding through the front of motherboard.
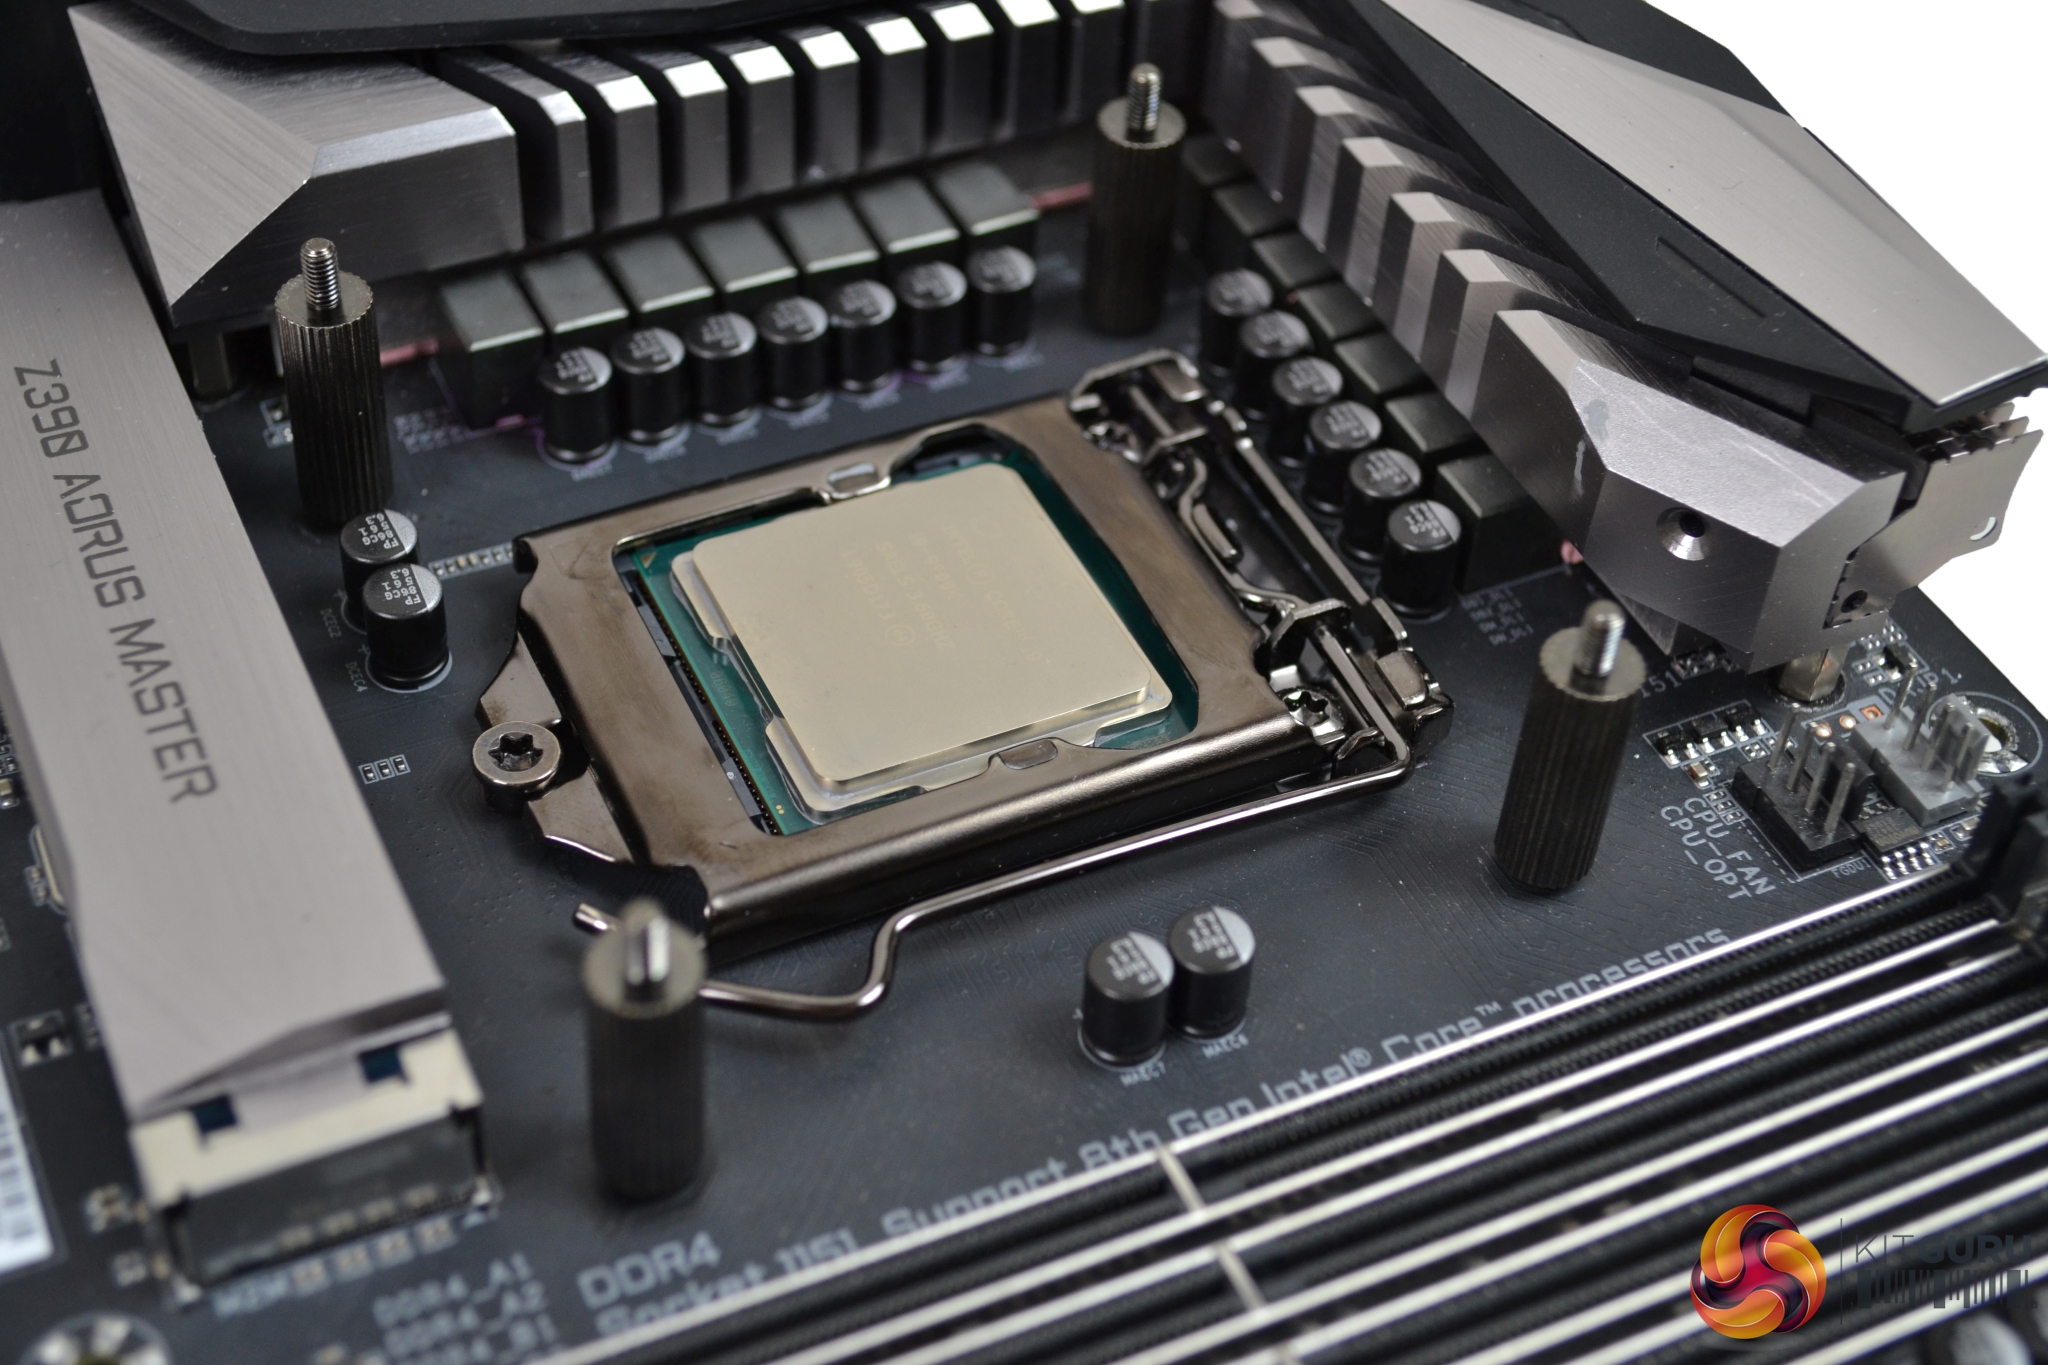
Once the mounting posts are tightly secured, offer up the pump assembly with the holes on the bracket aligned in the correct orientation. There is a triple hole arrangement, which platform you are using determines which holes the threaded posts poke through. Our Intel 1151 platform uses the central holes.
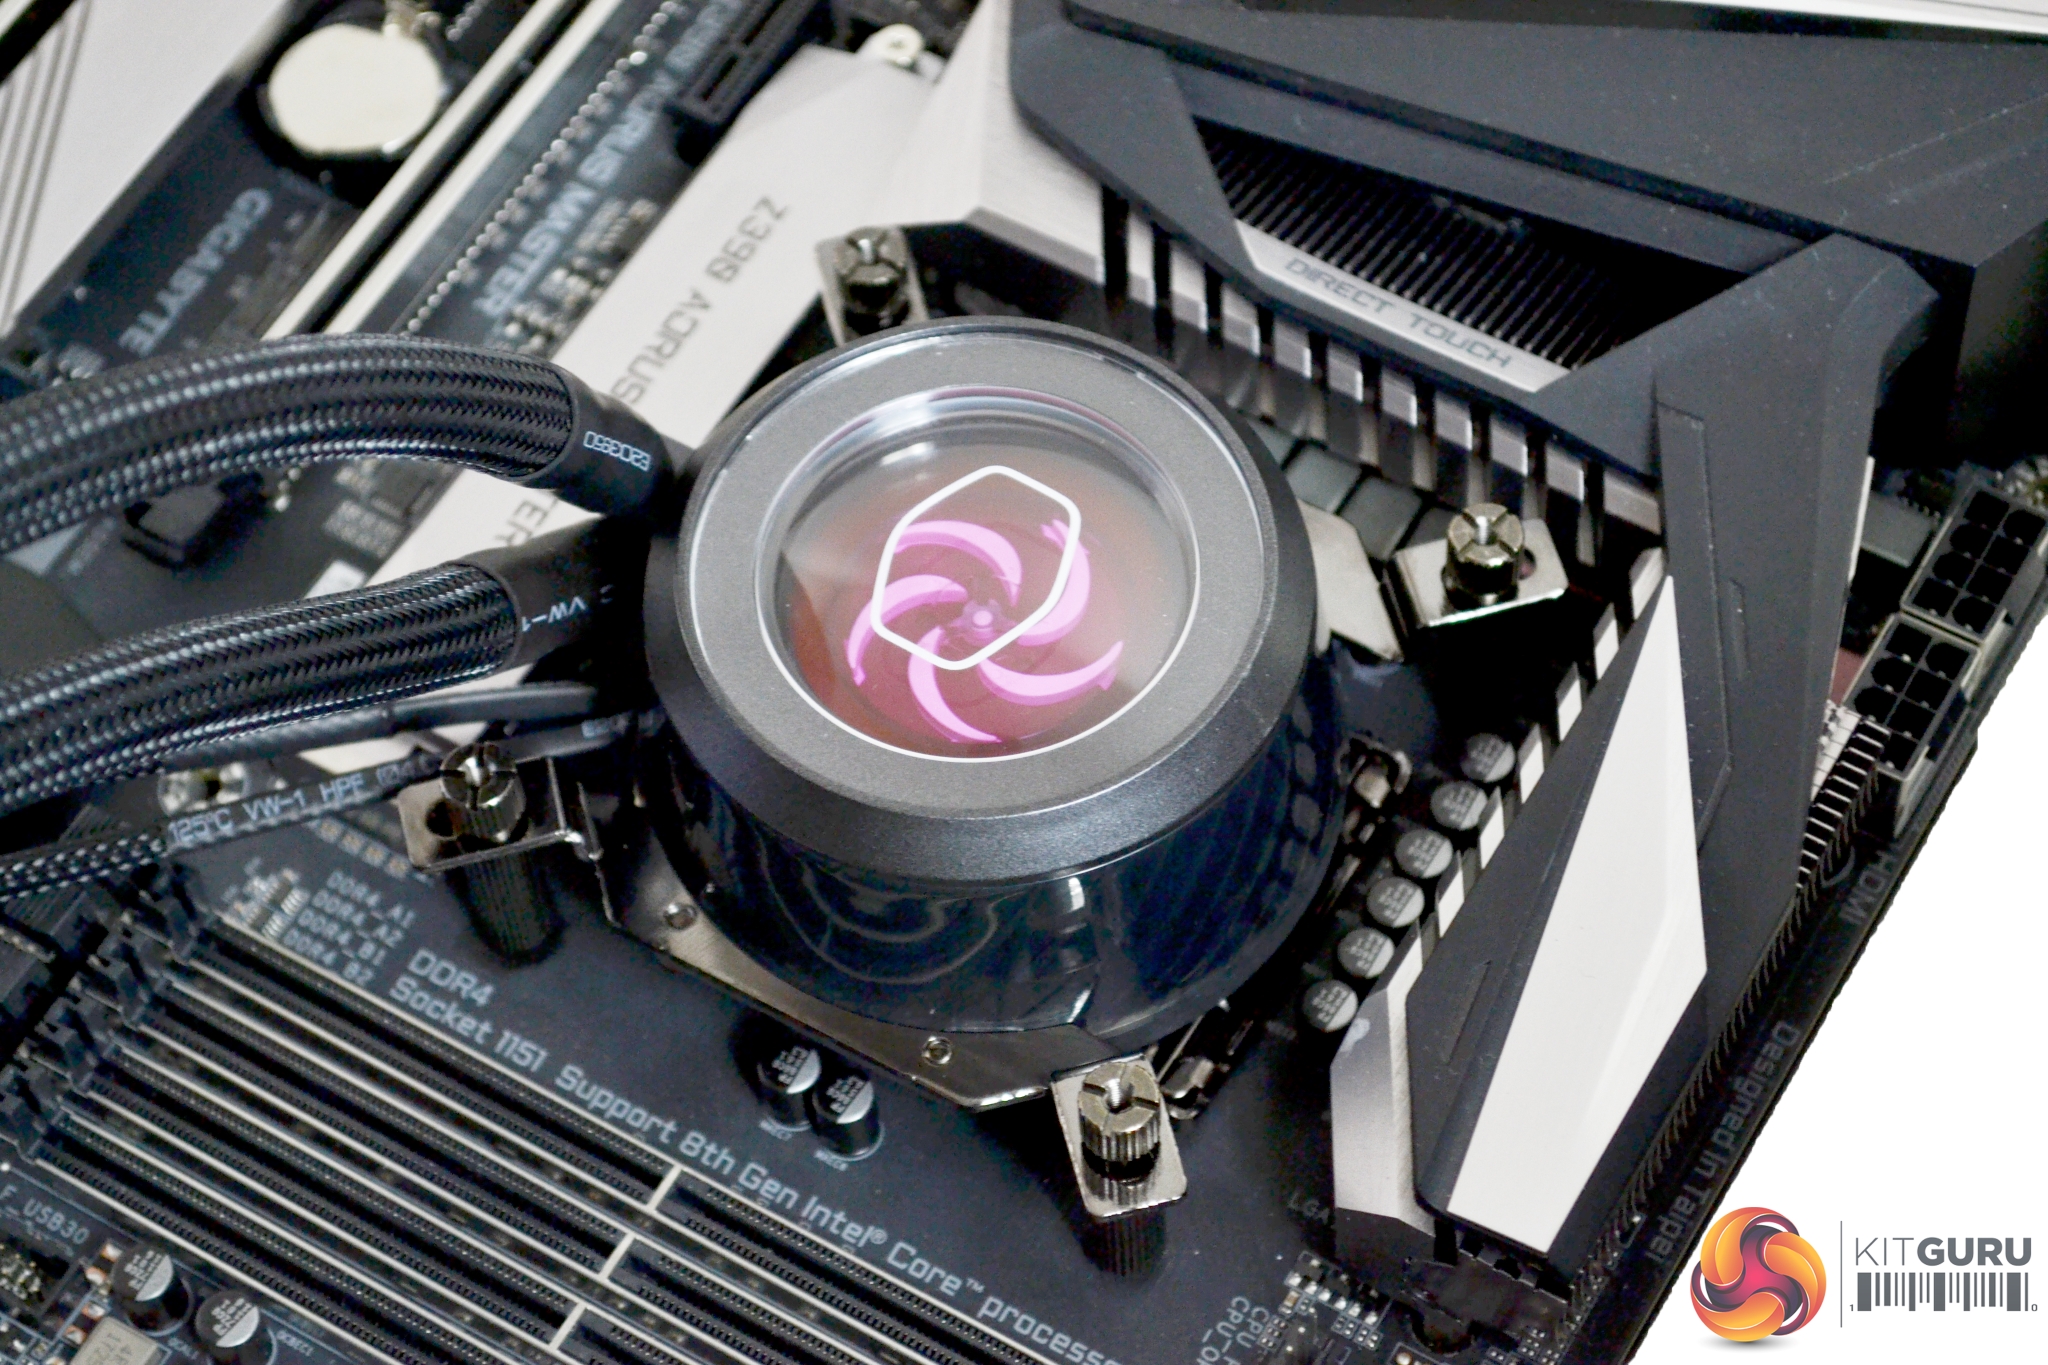
Now, take the correct fixings and start to tighten them down on the posts. Be sure to tighten them by hand and in an X pattern, as show in the instructions. This ensures equal pressure is applied when tightening, to make the best possible contact with the CPU IHS. Final tightening can be nipped up with a Philips screwdriver, but do not over tighten!
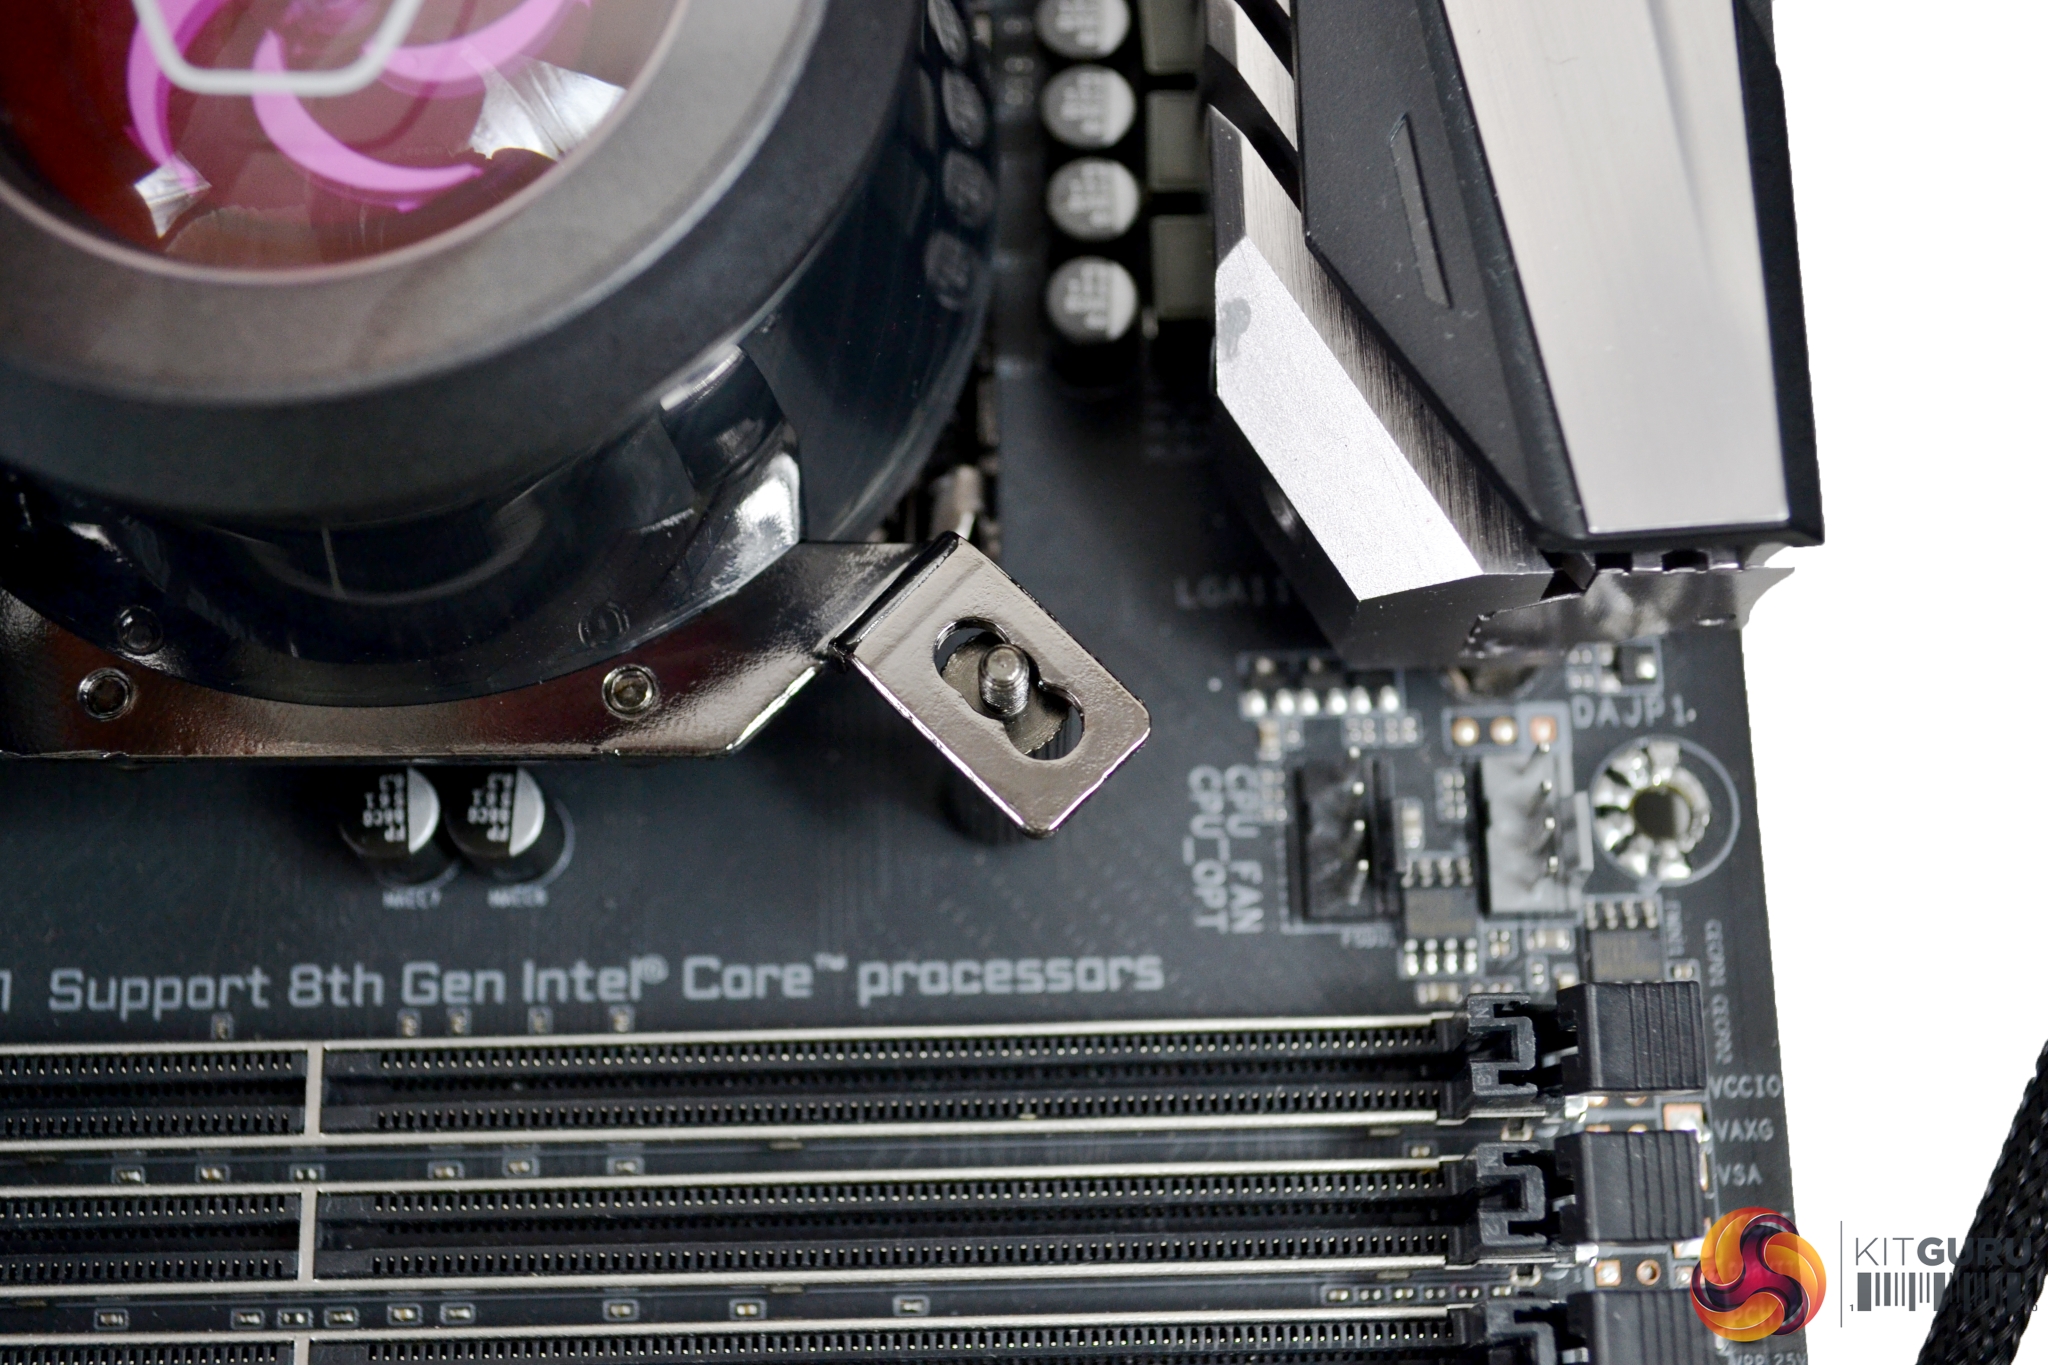
You have the option to connect the pump power cable either directly to a motherboard CPU_OPT fan header or via the splitter cable to the fan controller module. The same can be said for the RGB lighting cable, if you have RGB headers on your motherboard.
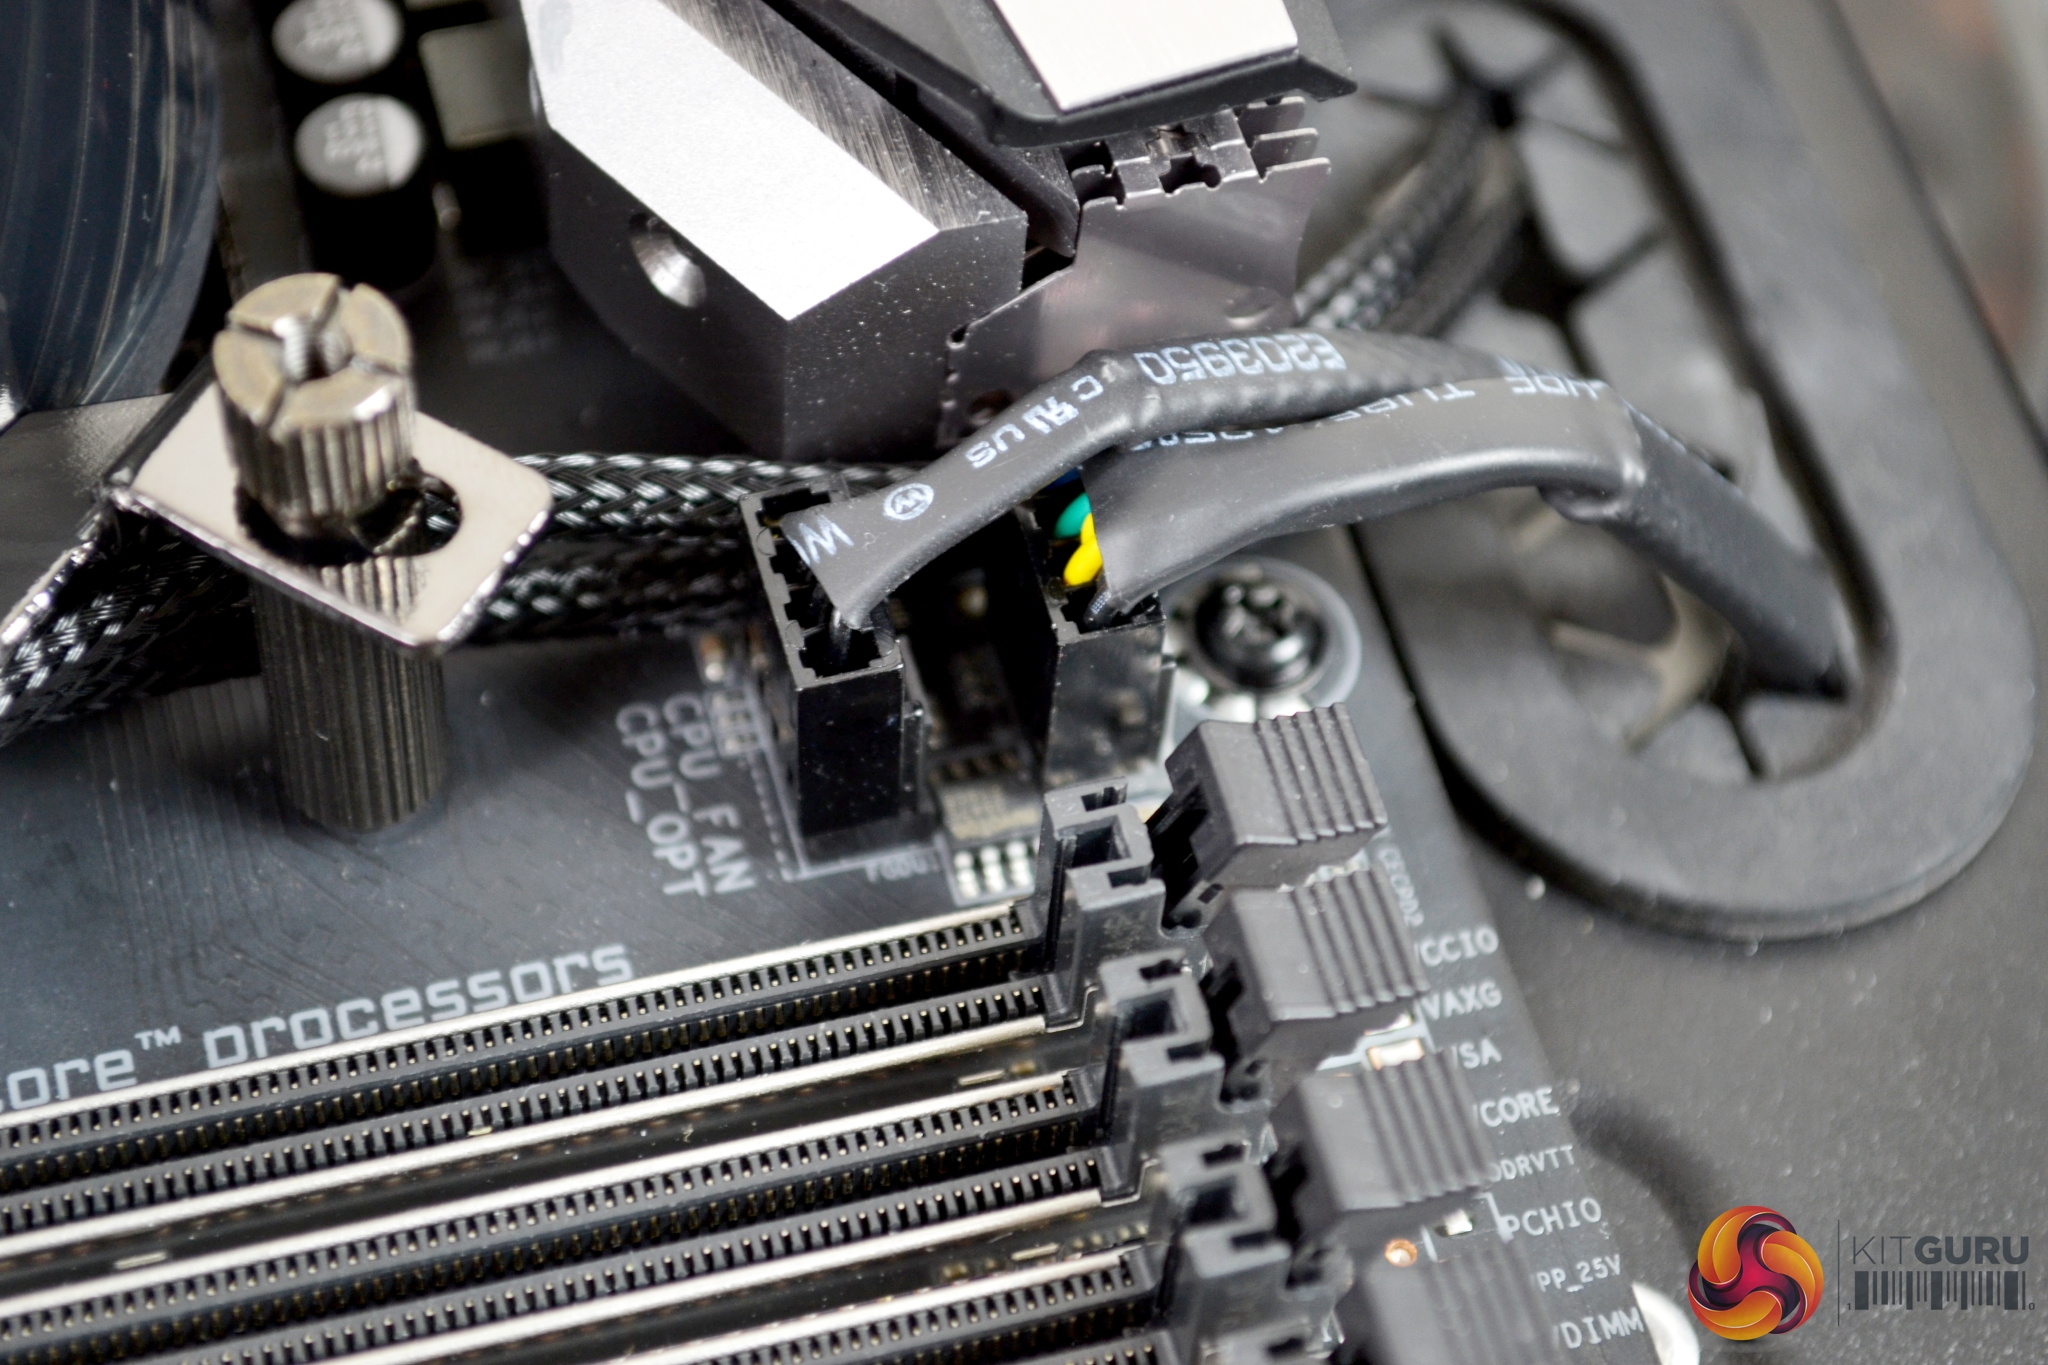
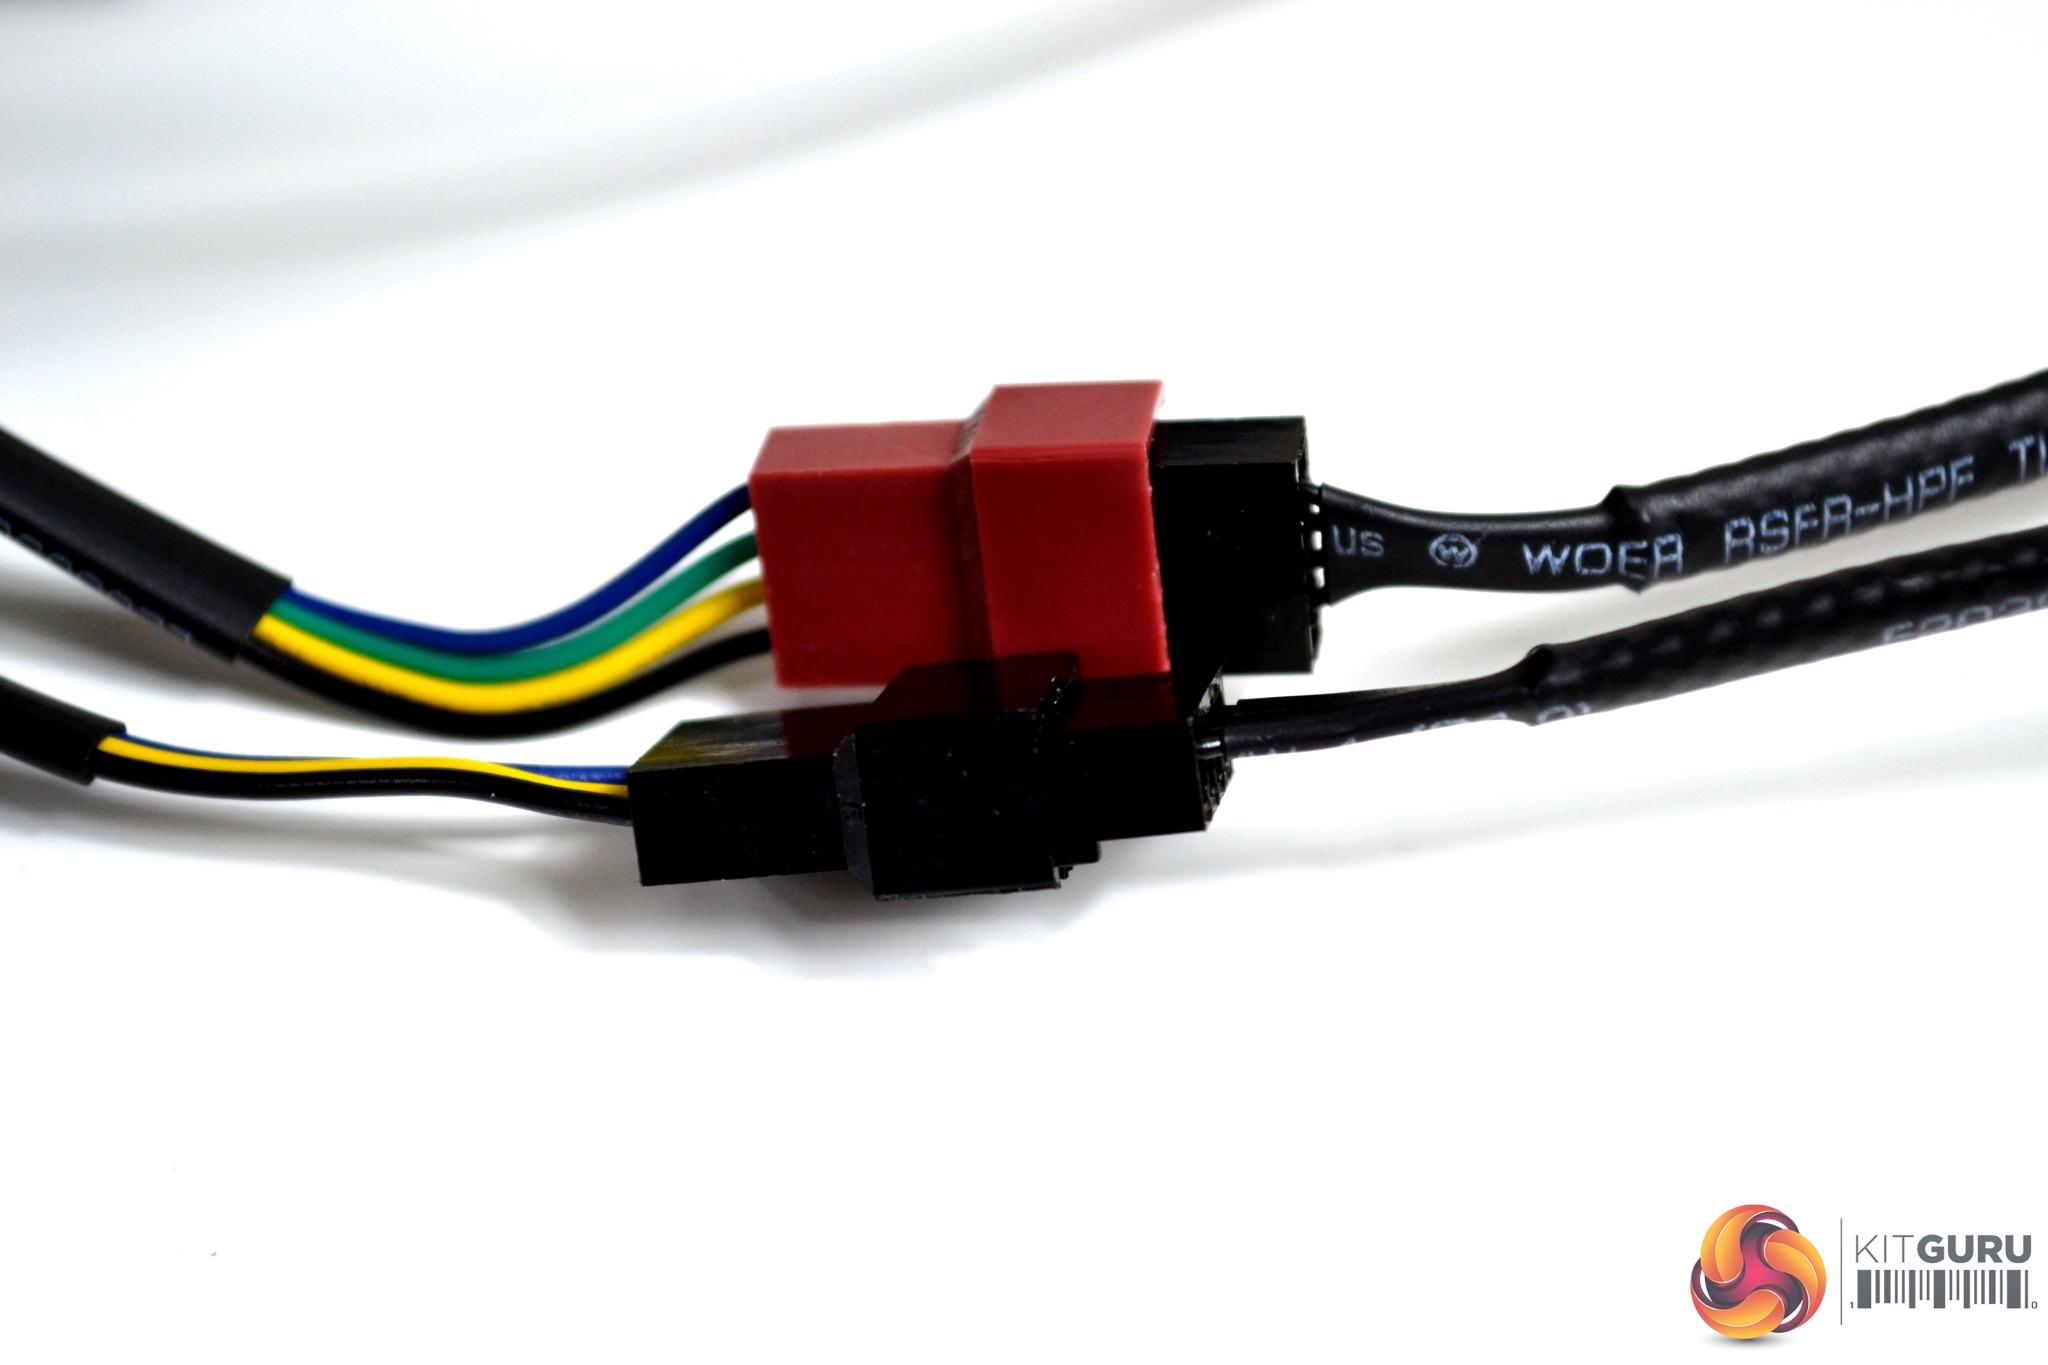
Mounting the radiator in your desired location should be simple, as it uses standard 240mm mounting hole centres. Our test bench is slightly different, so will not be relevant to mounting in an ATX case. Both the 120mm fans connect to a supplied splitter cable. Then, connect to the CPU_FAN header on your motherboard. The RGB lighting cables, attached to the fans, can be connected either directly to the motherboard or via the RGB controller module.
Installing the RGB control module takes a little more work than is normal for an All-In-One cooler installation. However, if you don’t have the facility on your motherboard to control the functions of the RGB lighting, it is required.
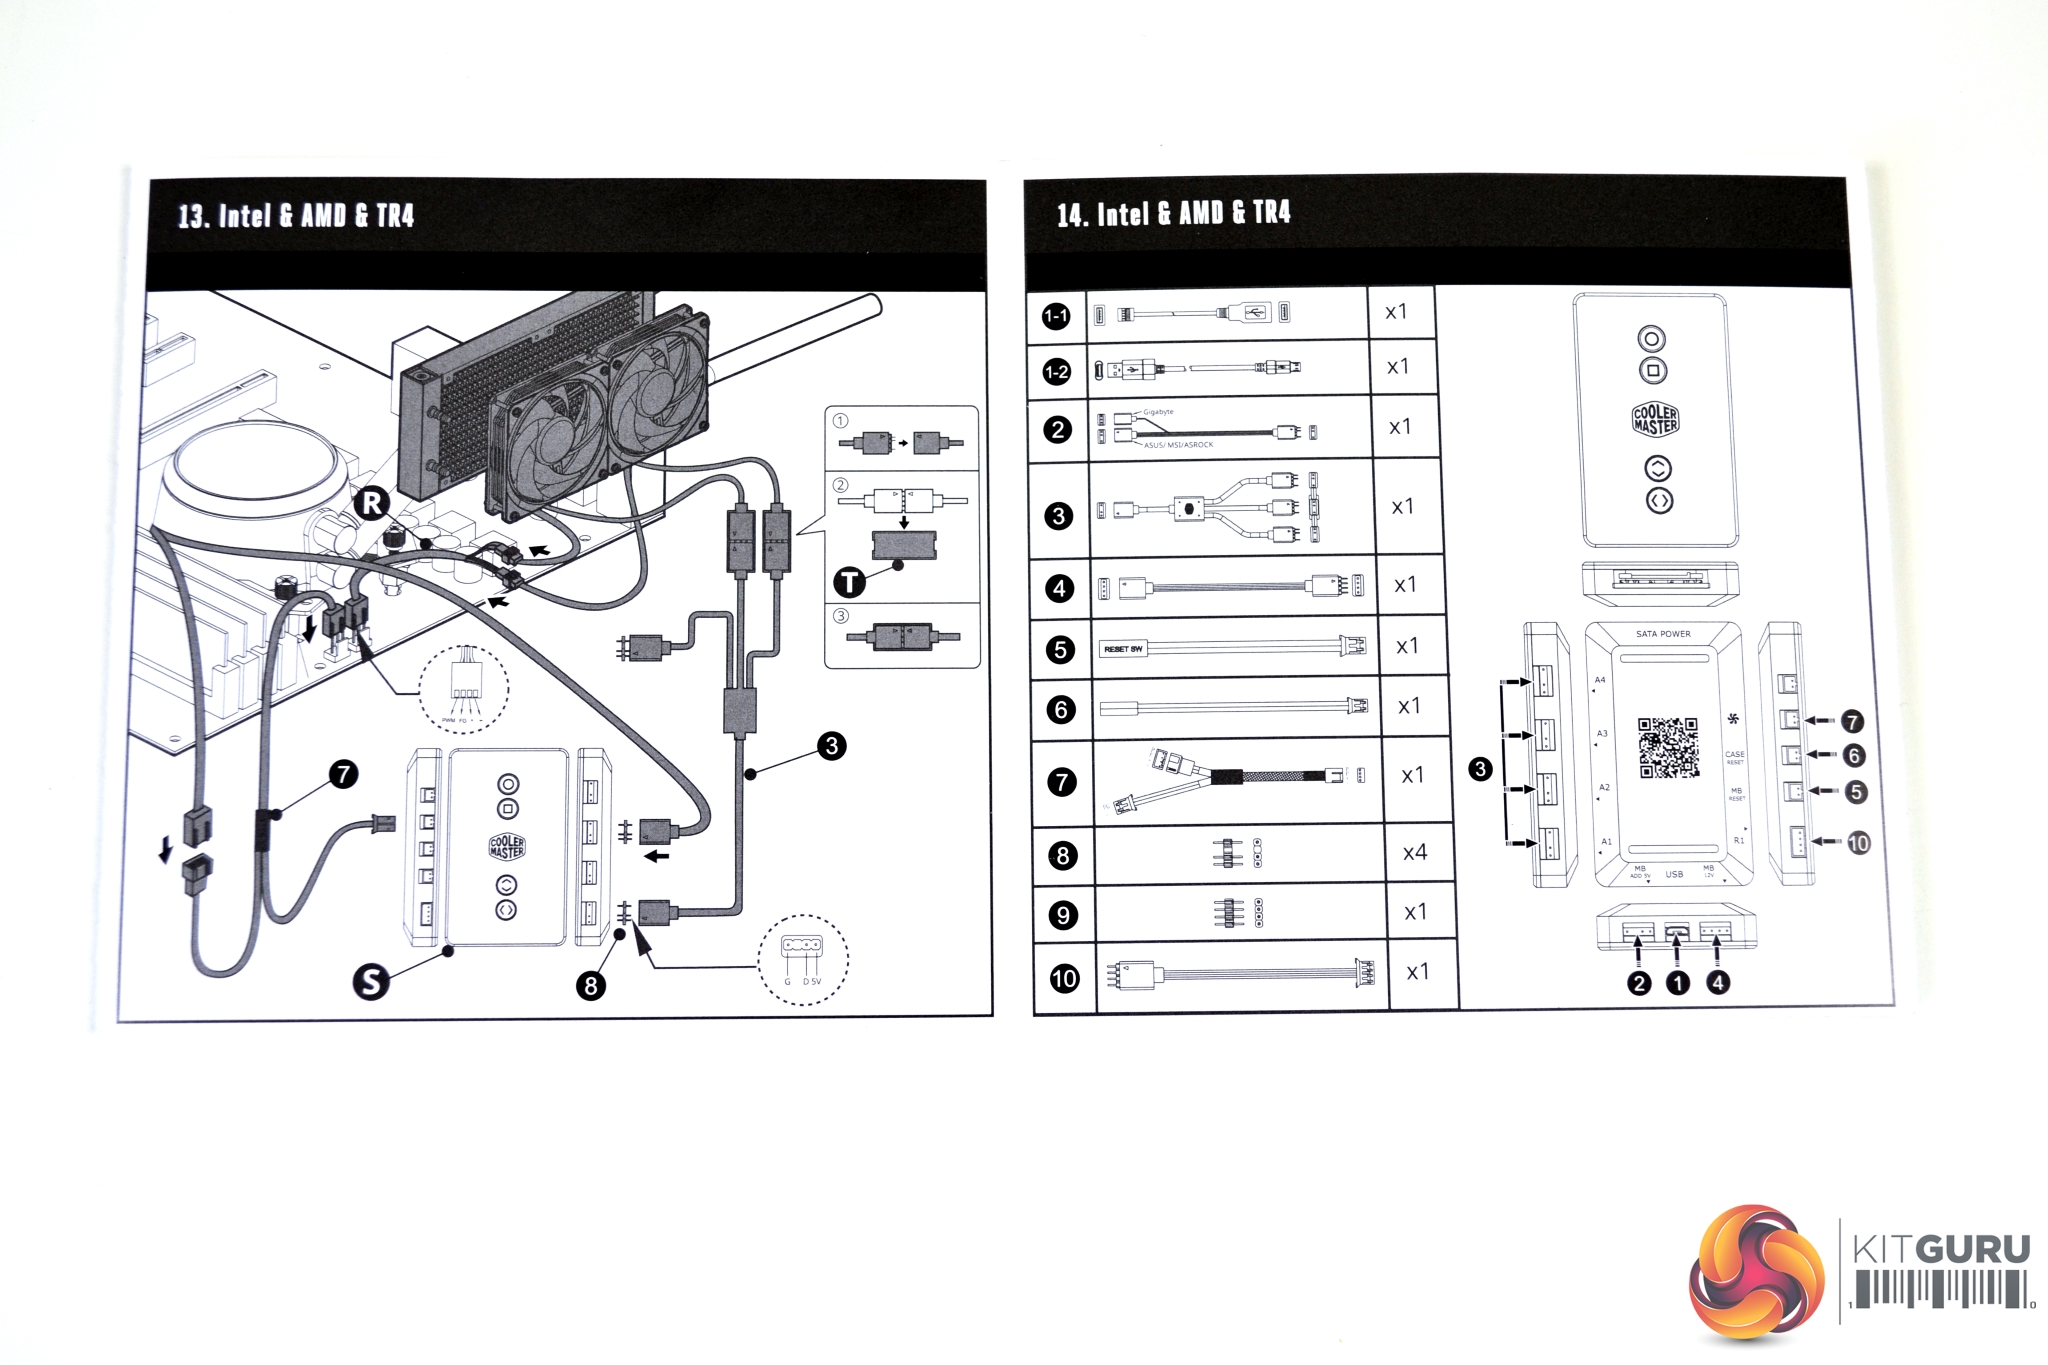
Cooler Master has included a wiring diagram of how to connect the RGB control module to the cooler. It is a little vague. Depending on what motherboard you have will determine the configuration and which cables are used.
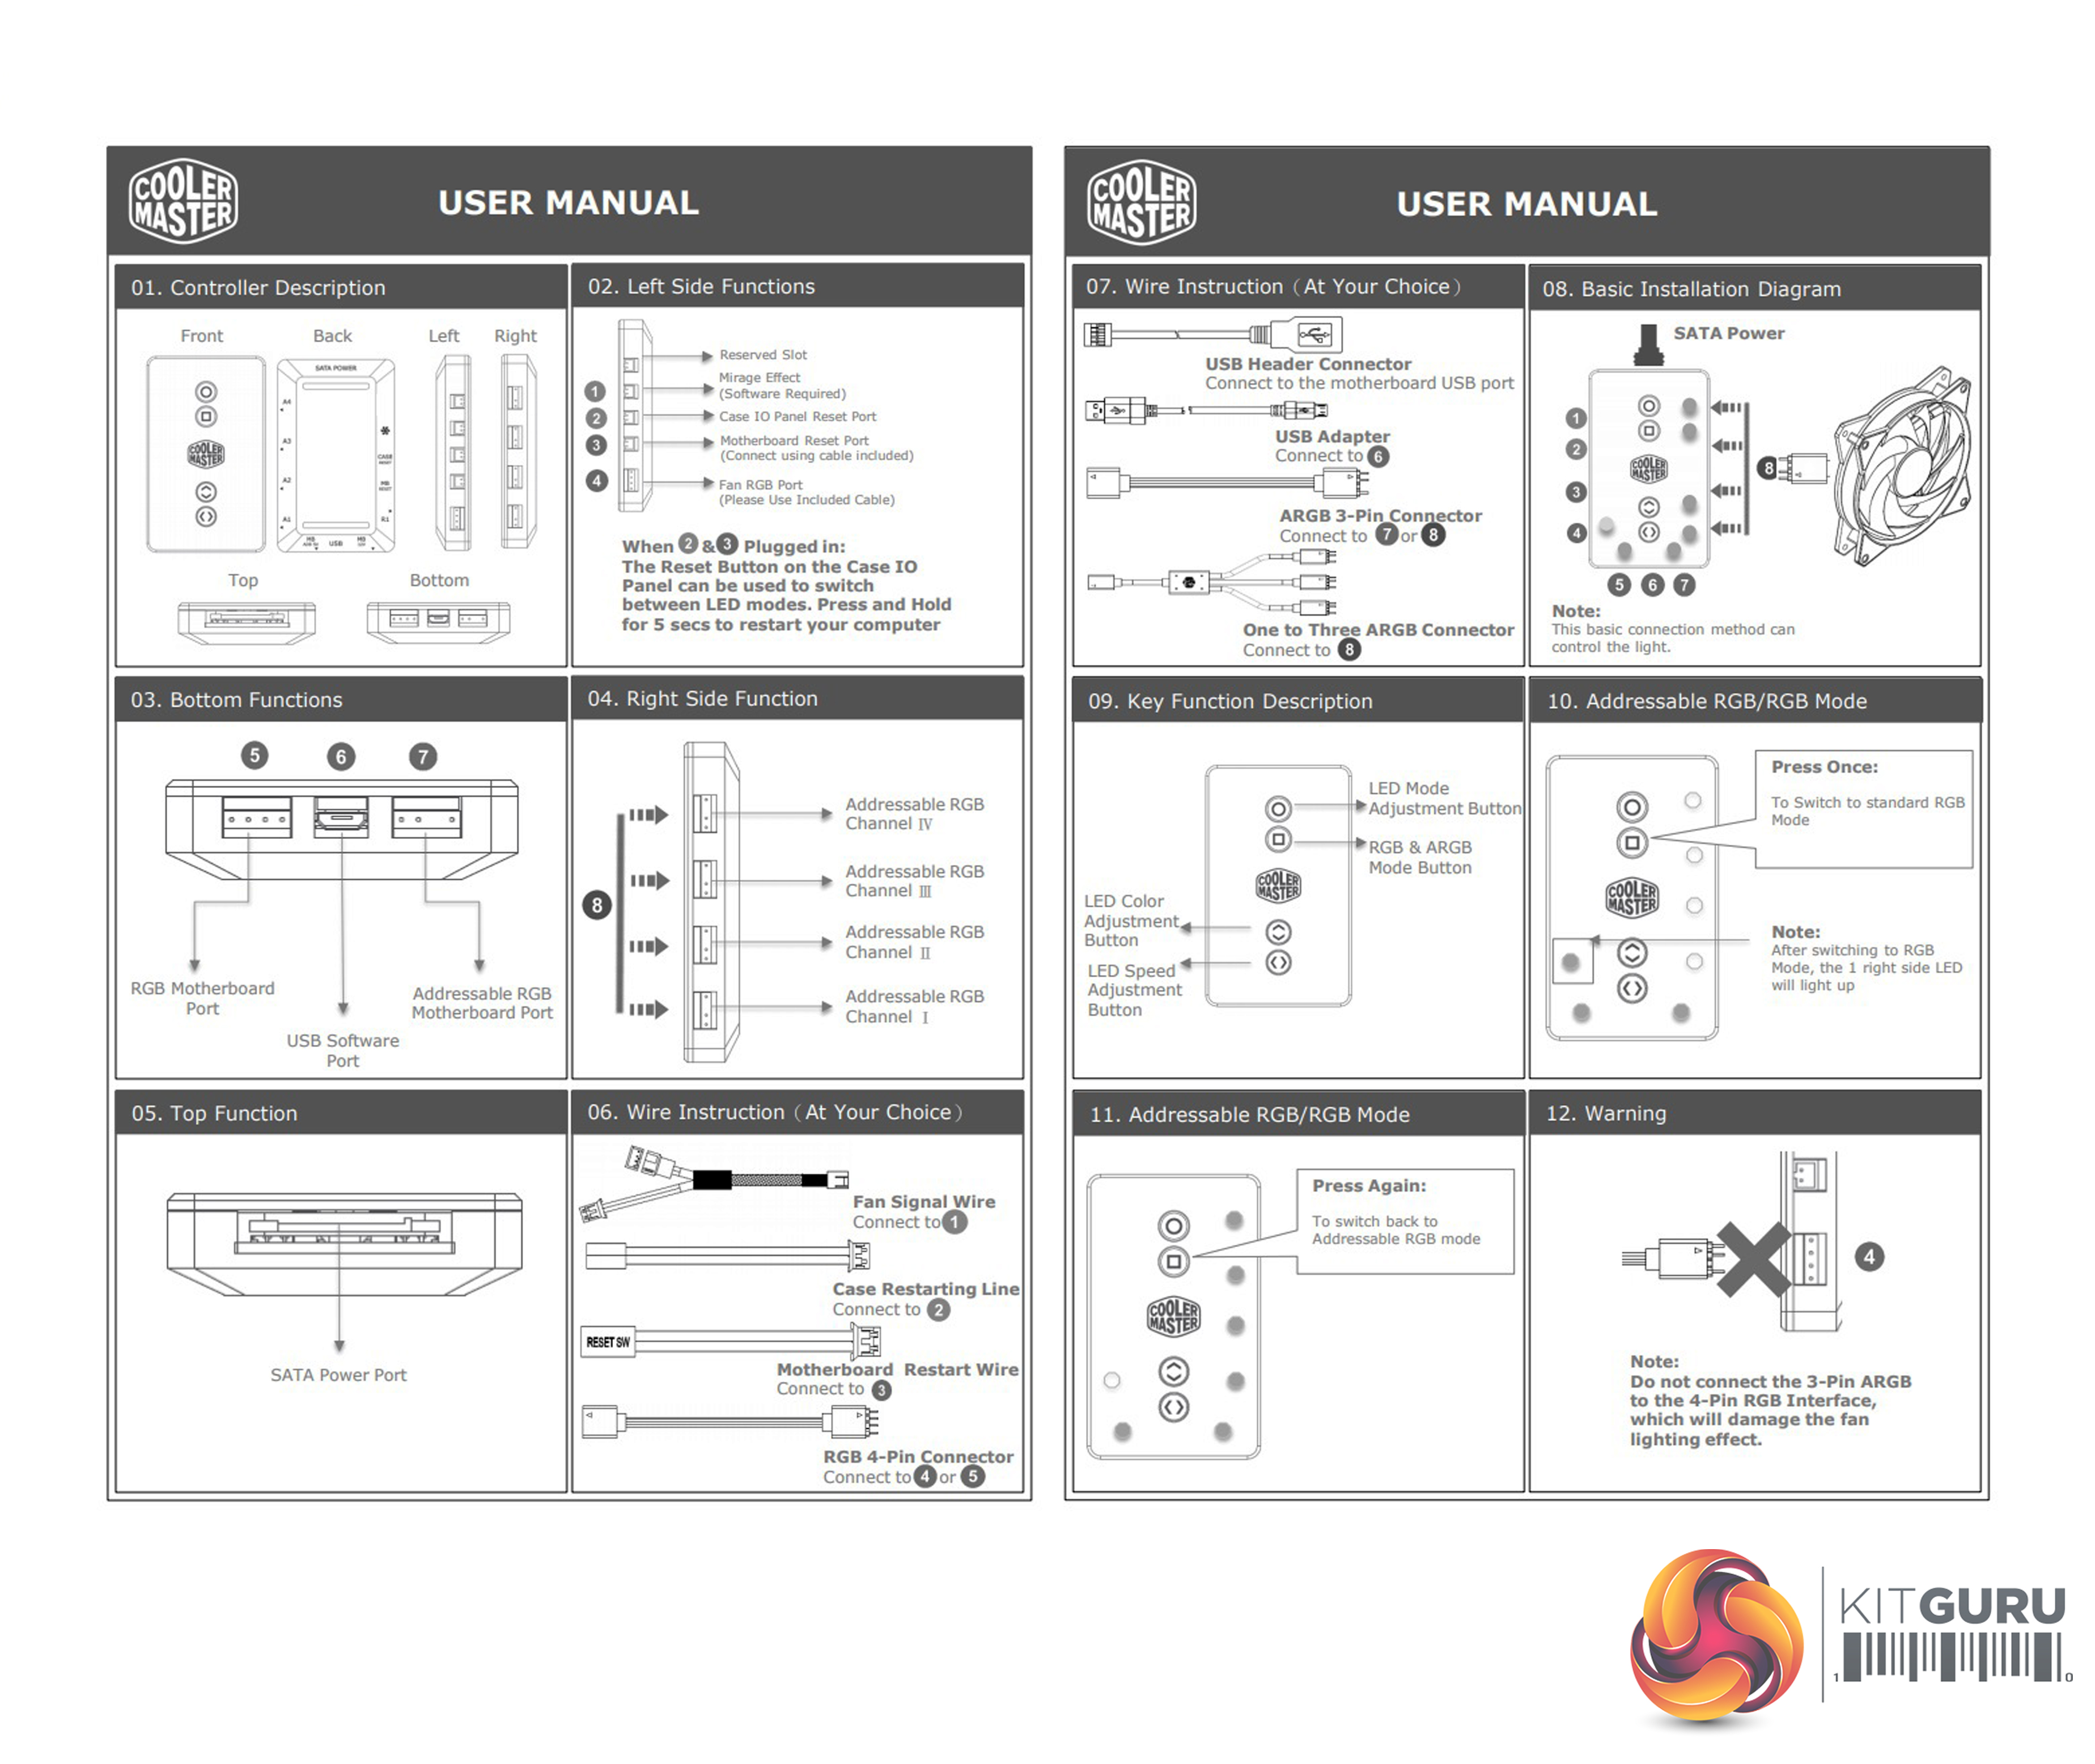
There are a series of buttons on the module itself, which can perform various operations. The top two buttons cycle through different RGB modes and patterns and switch between RGB and ARGB modes. The lower buttons cycle through LED colour and speed adjustment.
With the RGB control module disconnected and the pump and fans connected directly to the addressable RGB headers on our Gigabyte Aorus Master motherboard, the lighting on the ML240P could be controlled and worked in sync perfectly with our other RGB hardware in the system.