Since we are testing the H100i RGB Platinum on socket TR4 this time around, we will be detailing the TR4 installation procedure. To see the Intel 115X installation procedure check out our earlier review here.

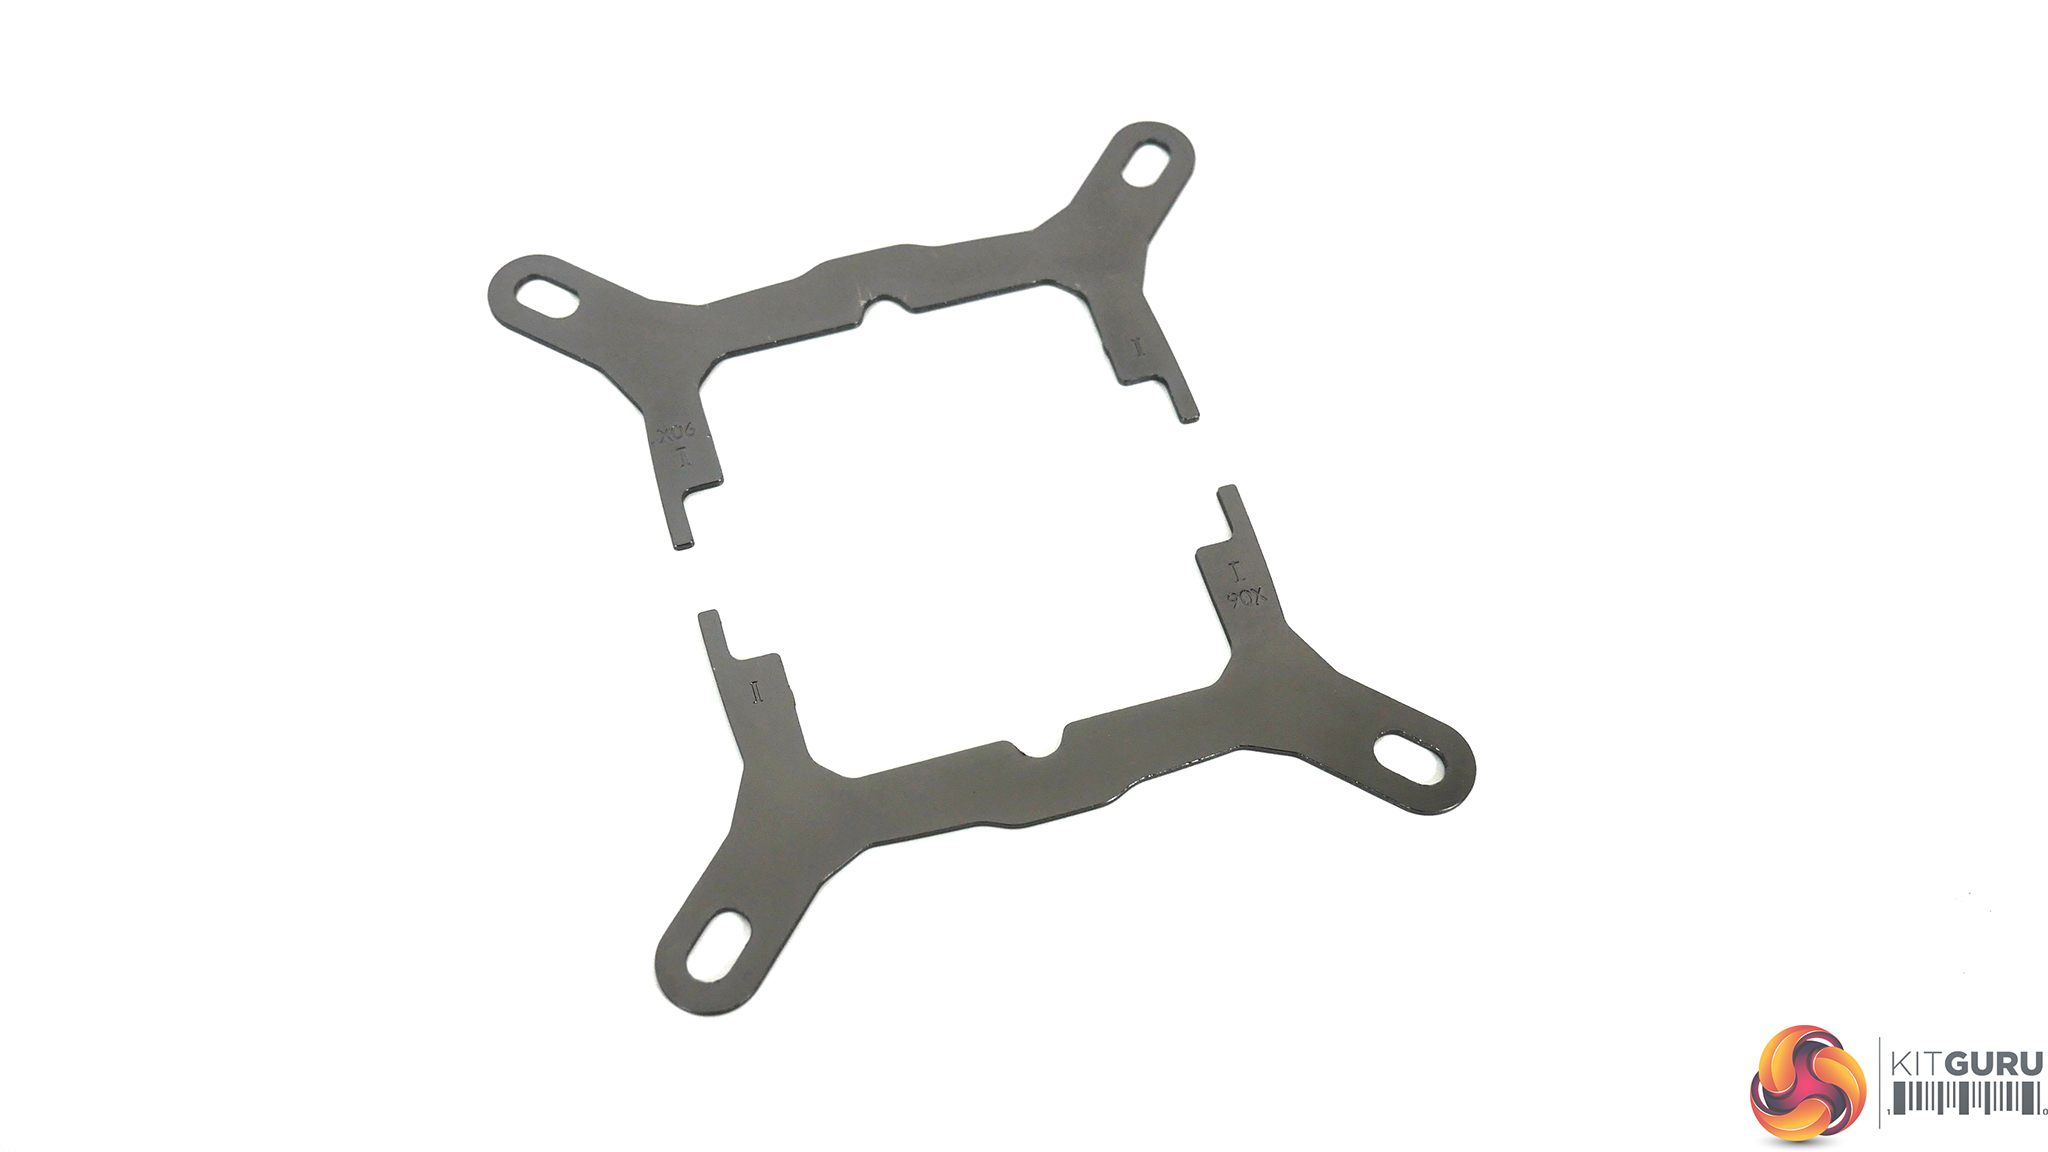
The first step to prepare for socket TR4 installation is to remove the pre-installed Intel brackets. The brackets are a clip together fit. Simply pull away and separate the brackets to remove.
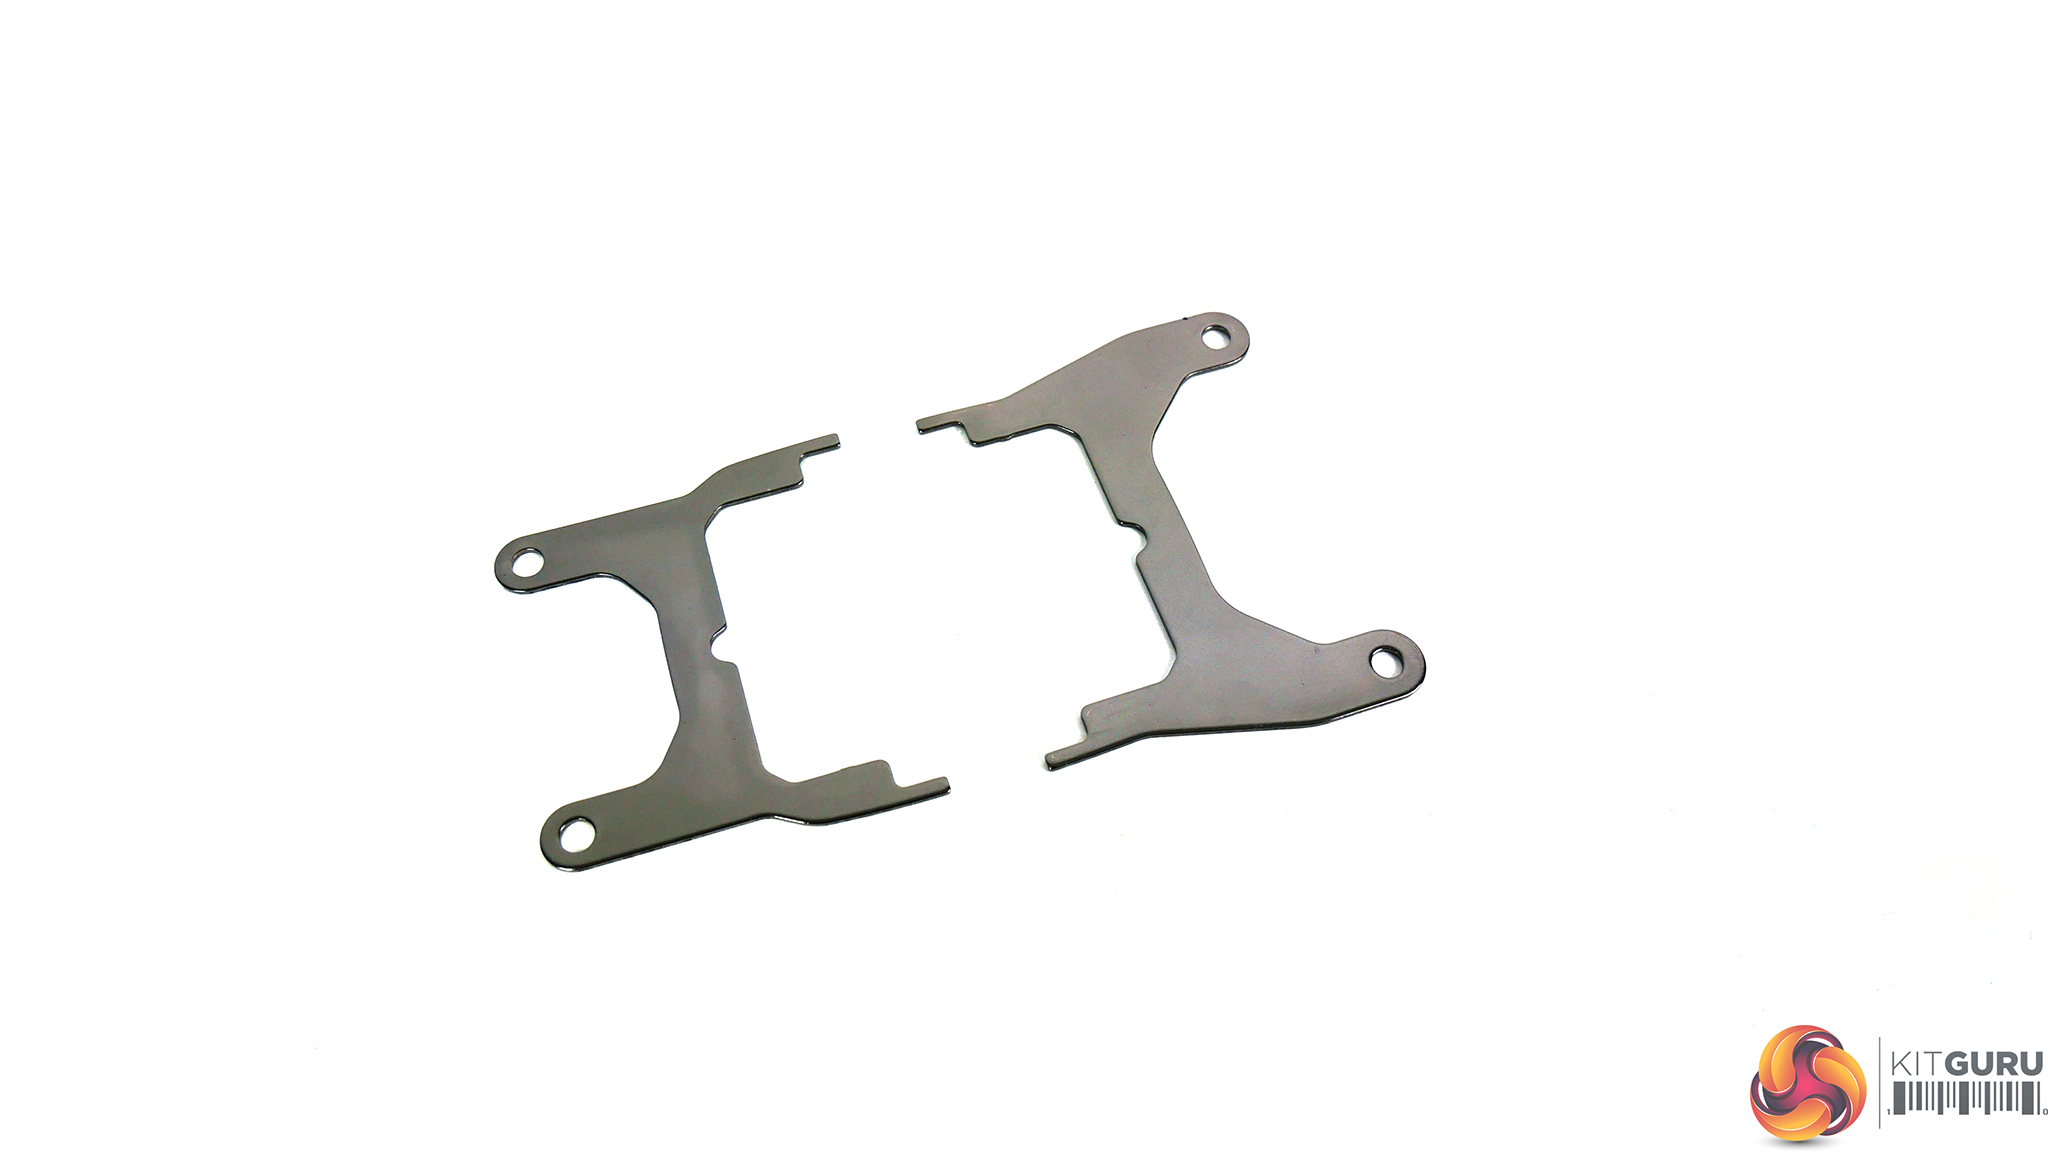
Next, install the socket TR4 specific brackets, which is a reversal of how we removed the intel ones above. Again, locate the brackets in their slots and push together until you hear them click into place.

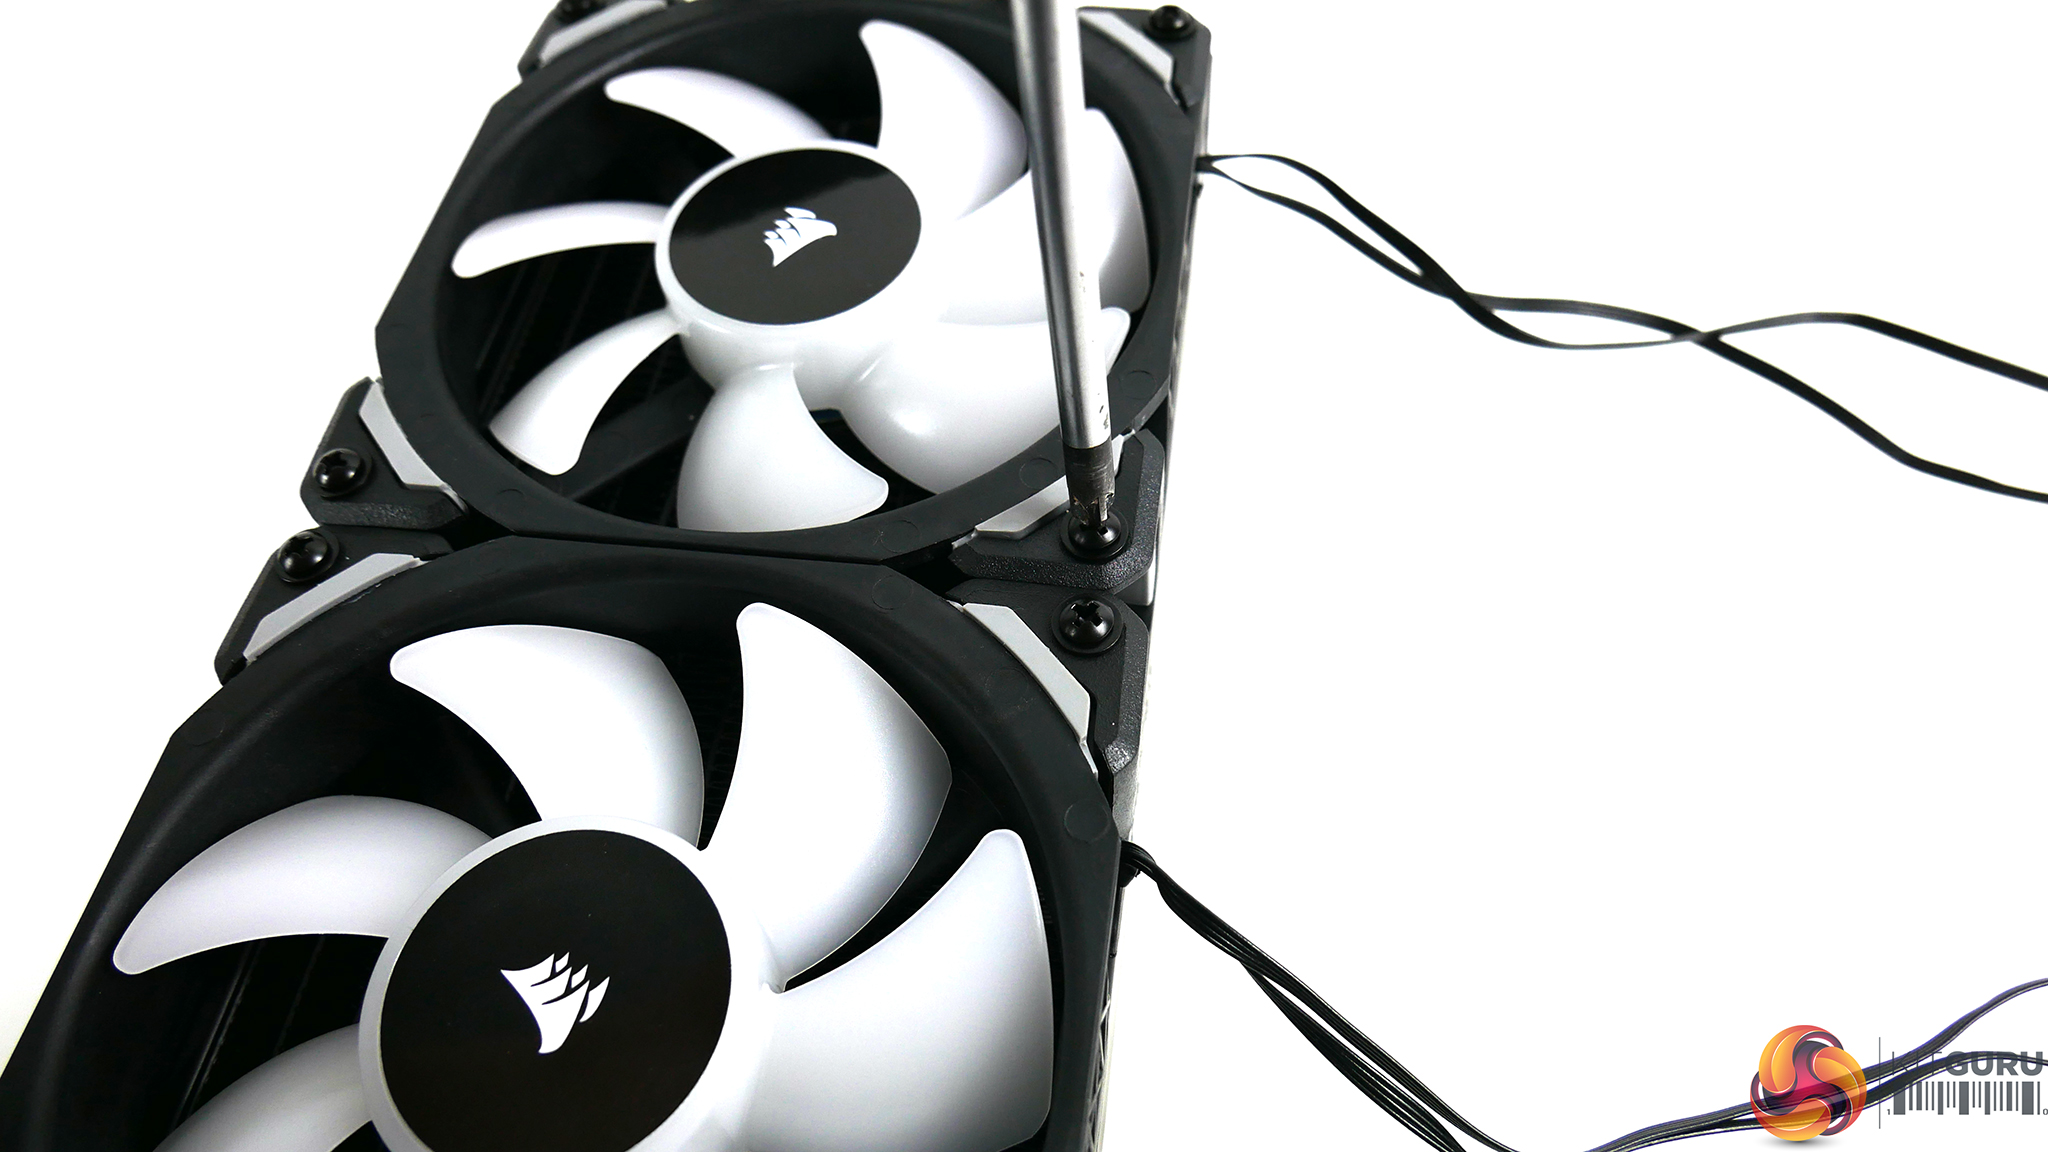
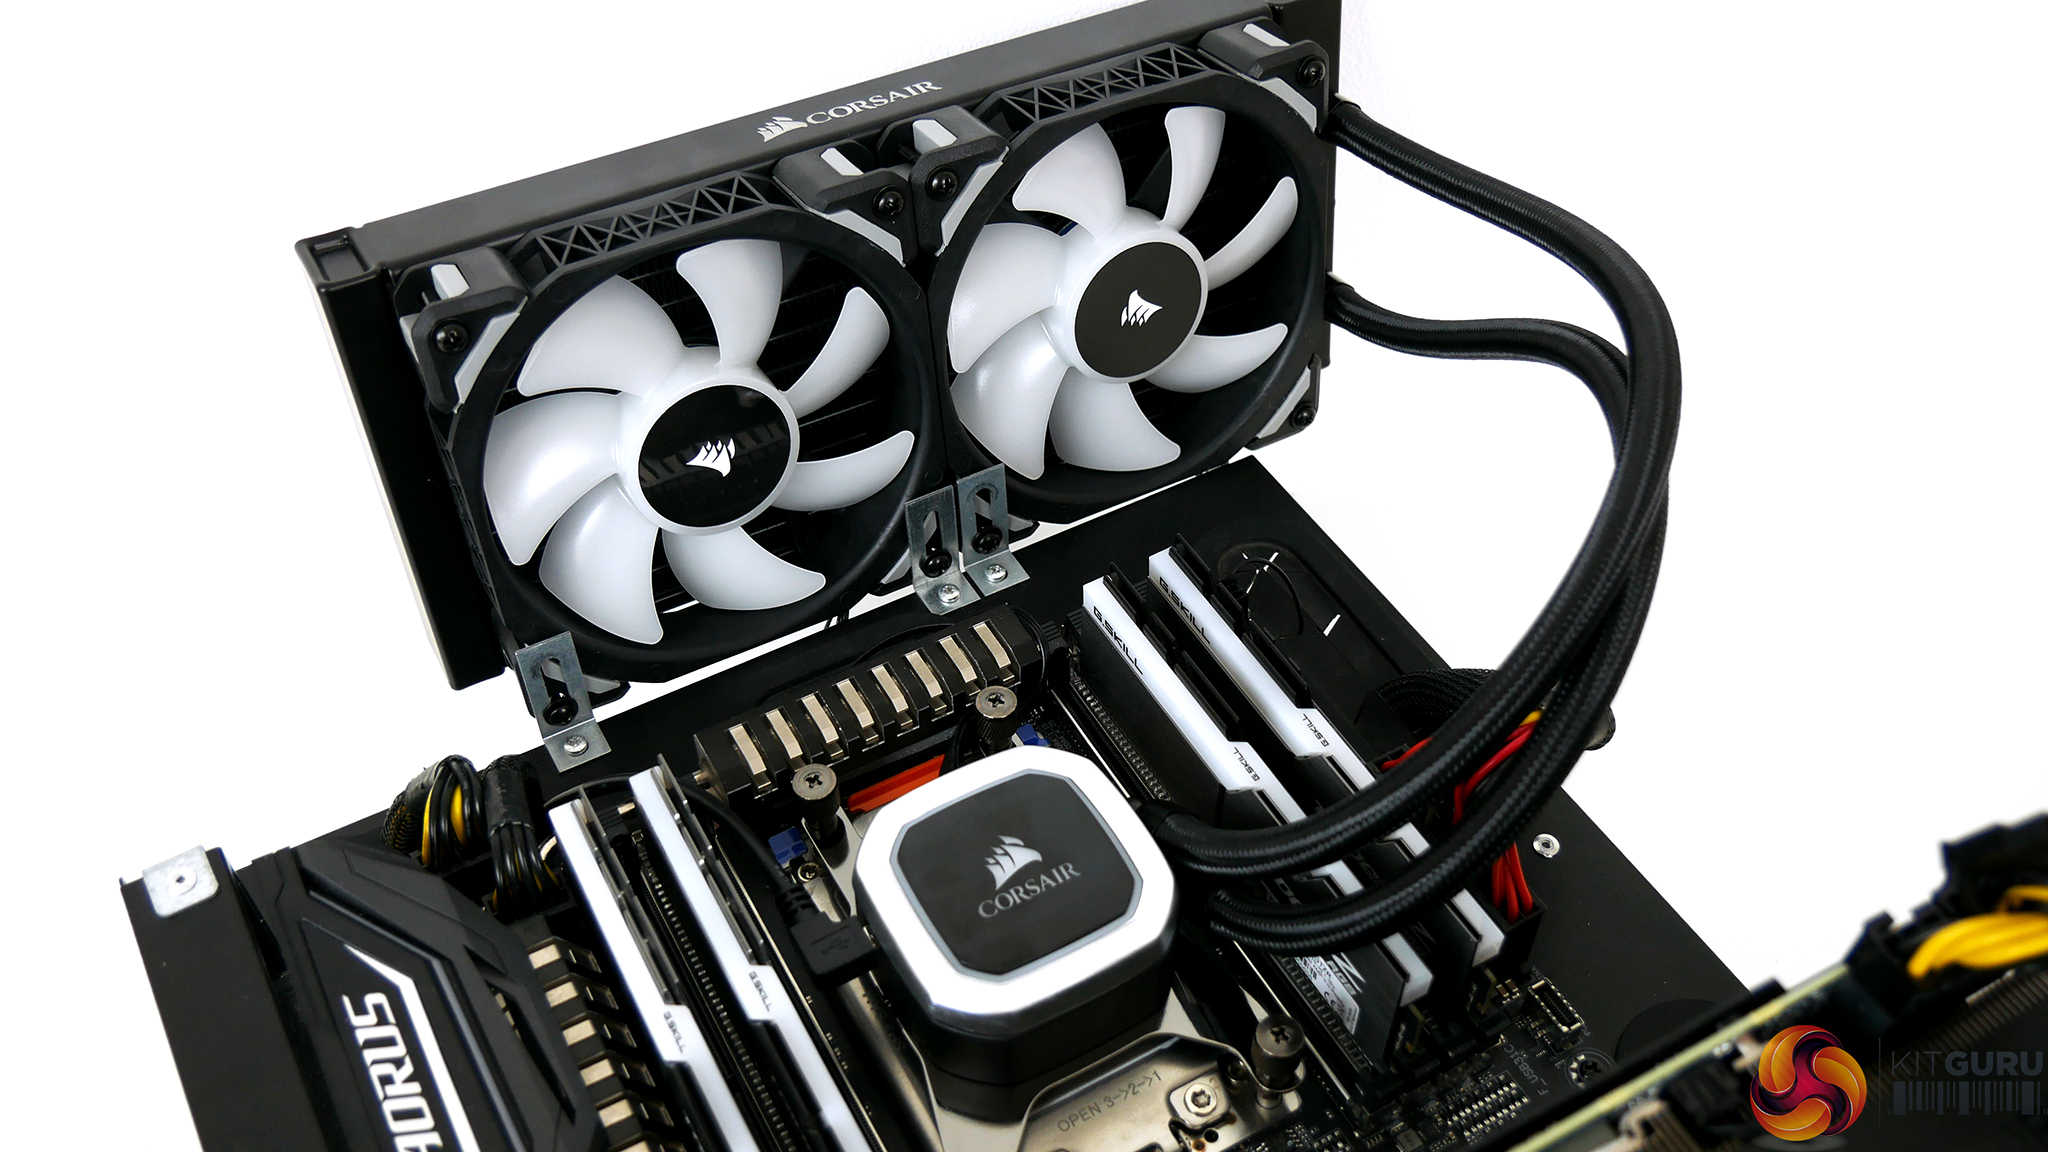
To install the fans, take the eight long, black Philips head screws and black steel washers, place the fans over the radiator in either push or pull configuration, depending on preference. Using a Philips screwdriver, tighten the screws until they are nipped up. Be careful not to over tighten, as it may distort the plastic.
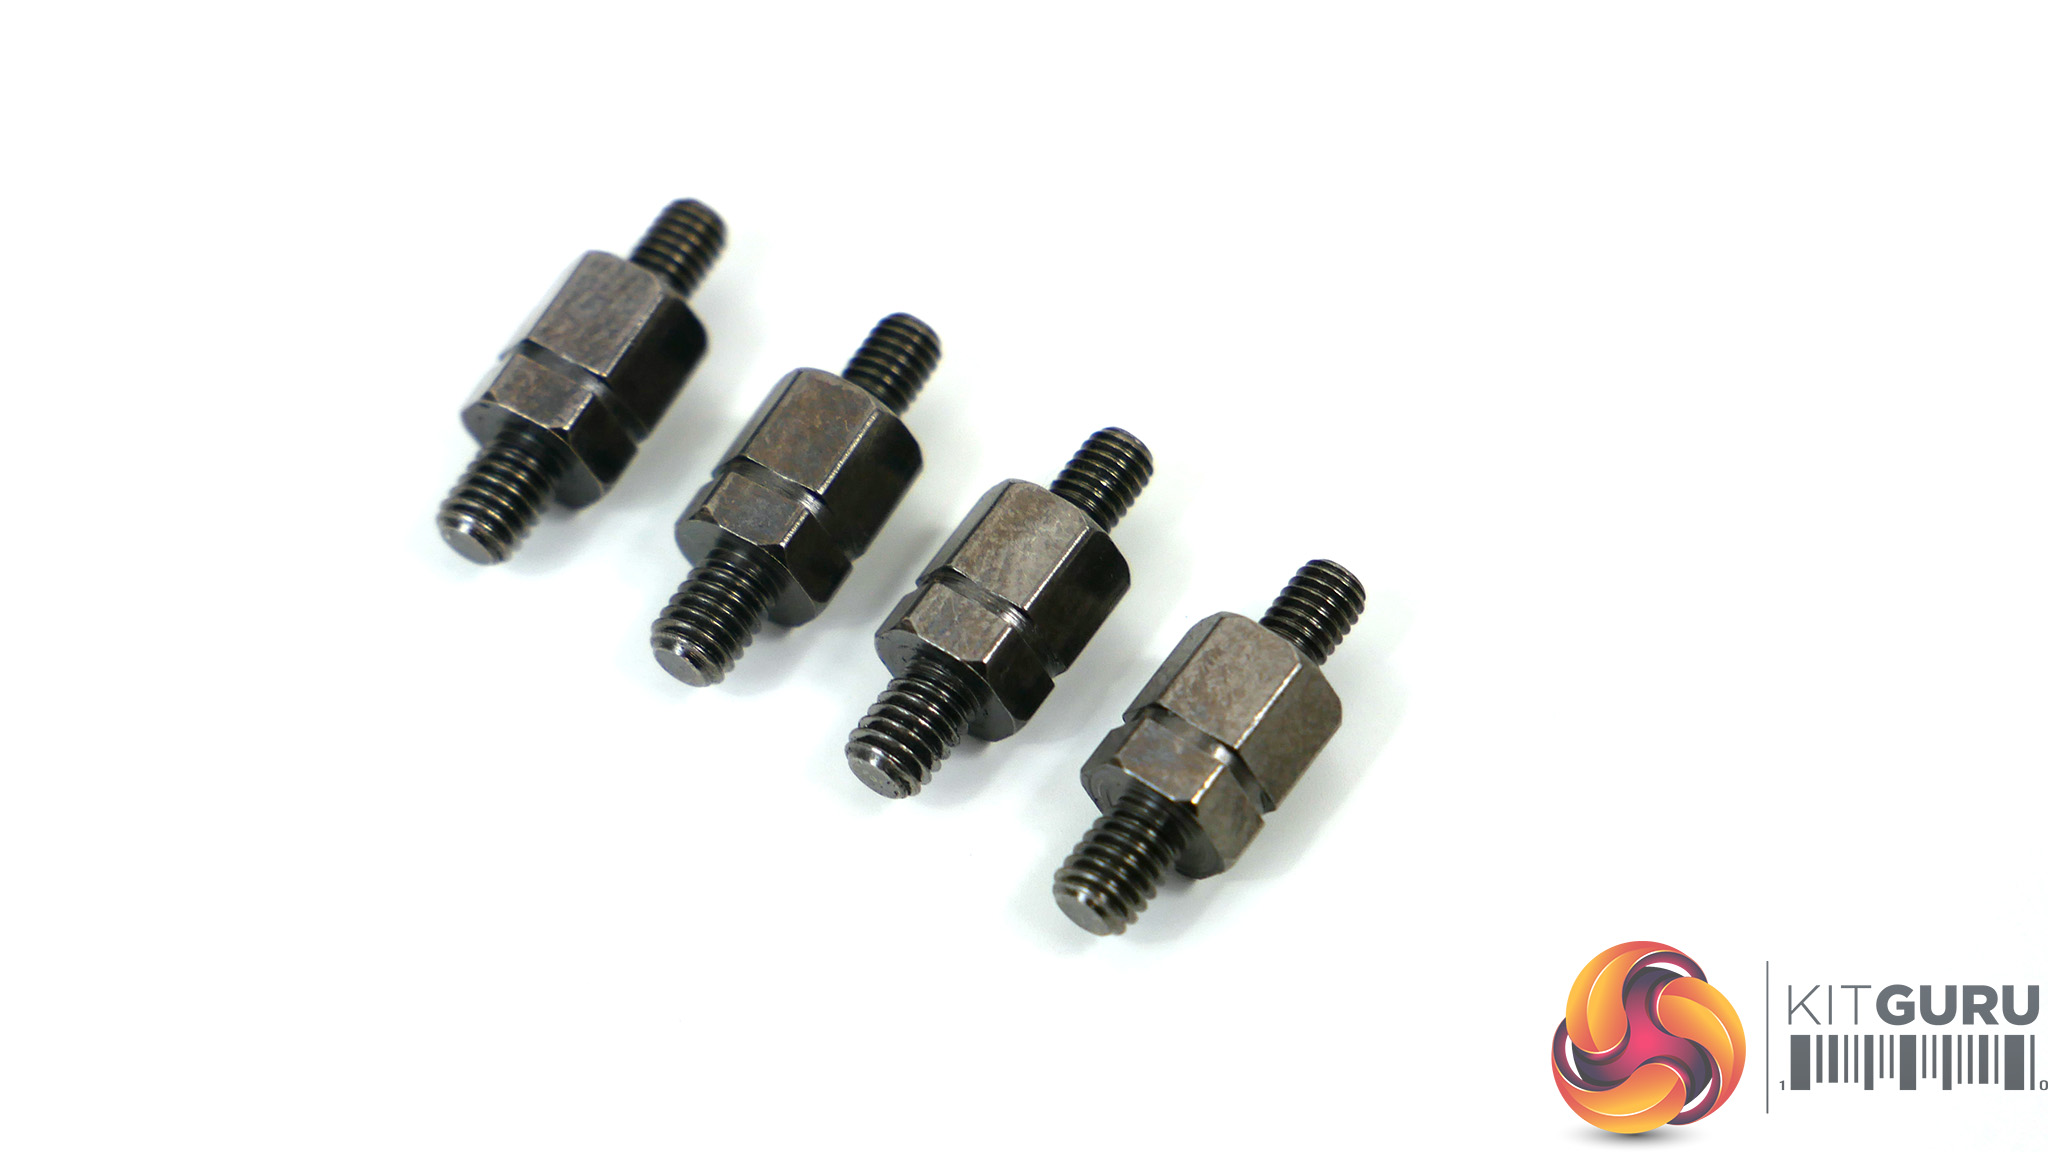
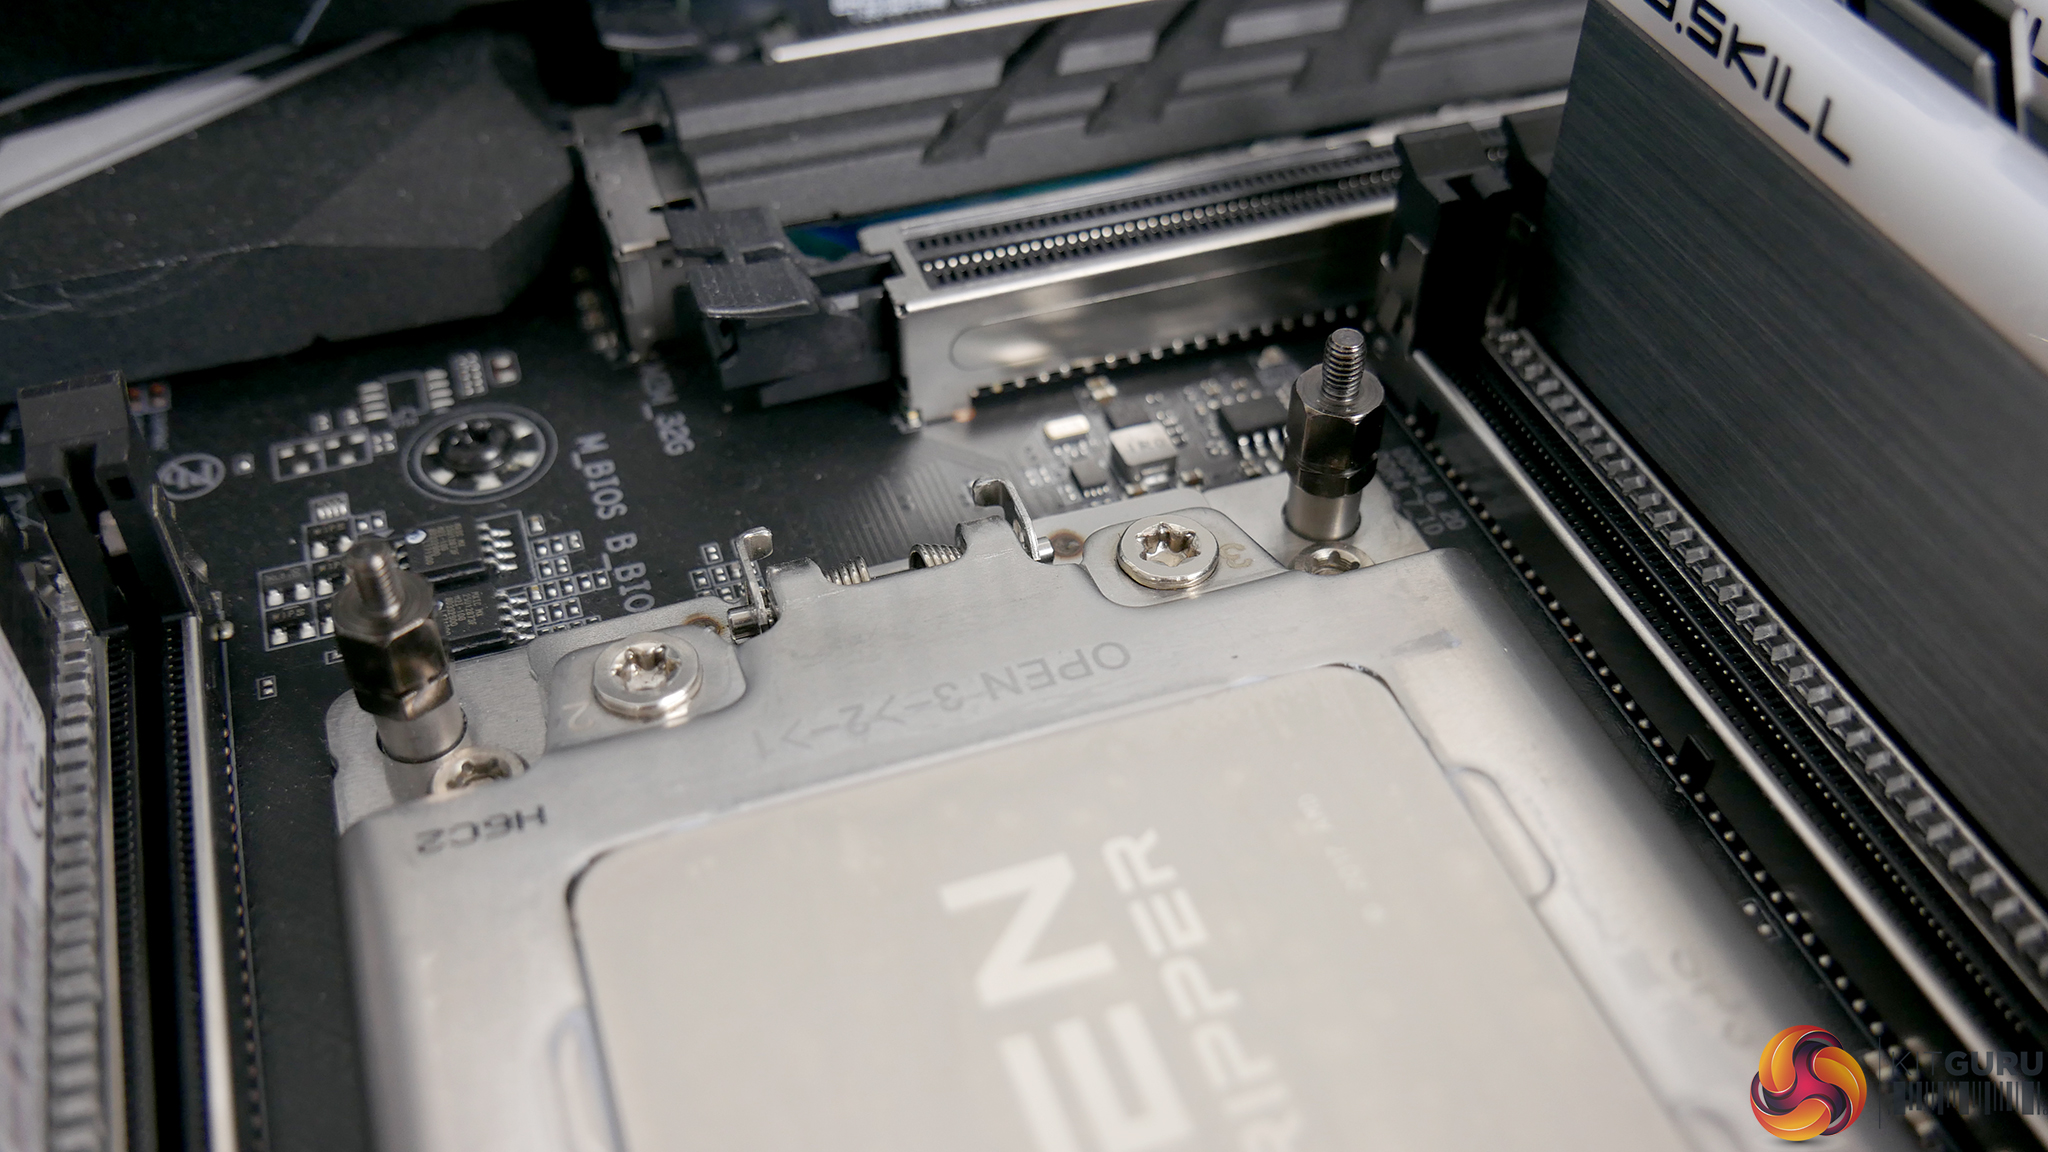
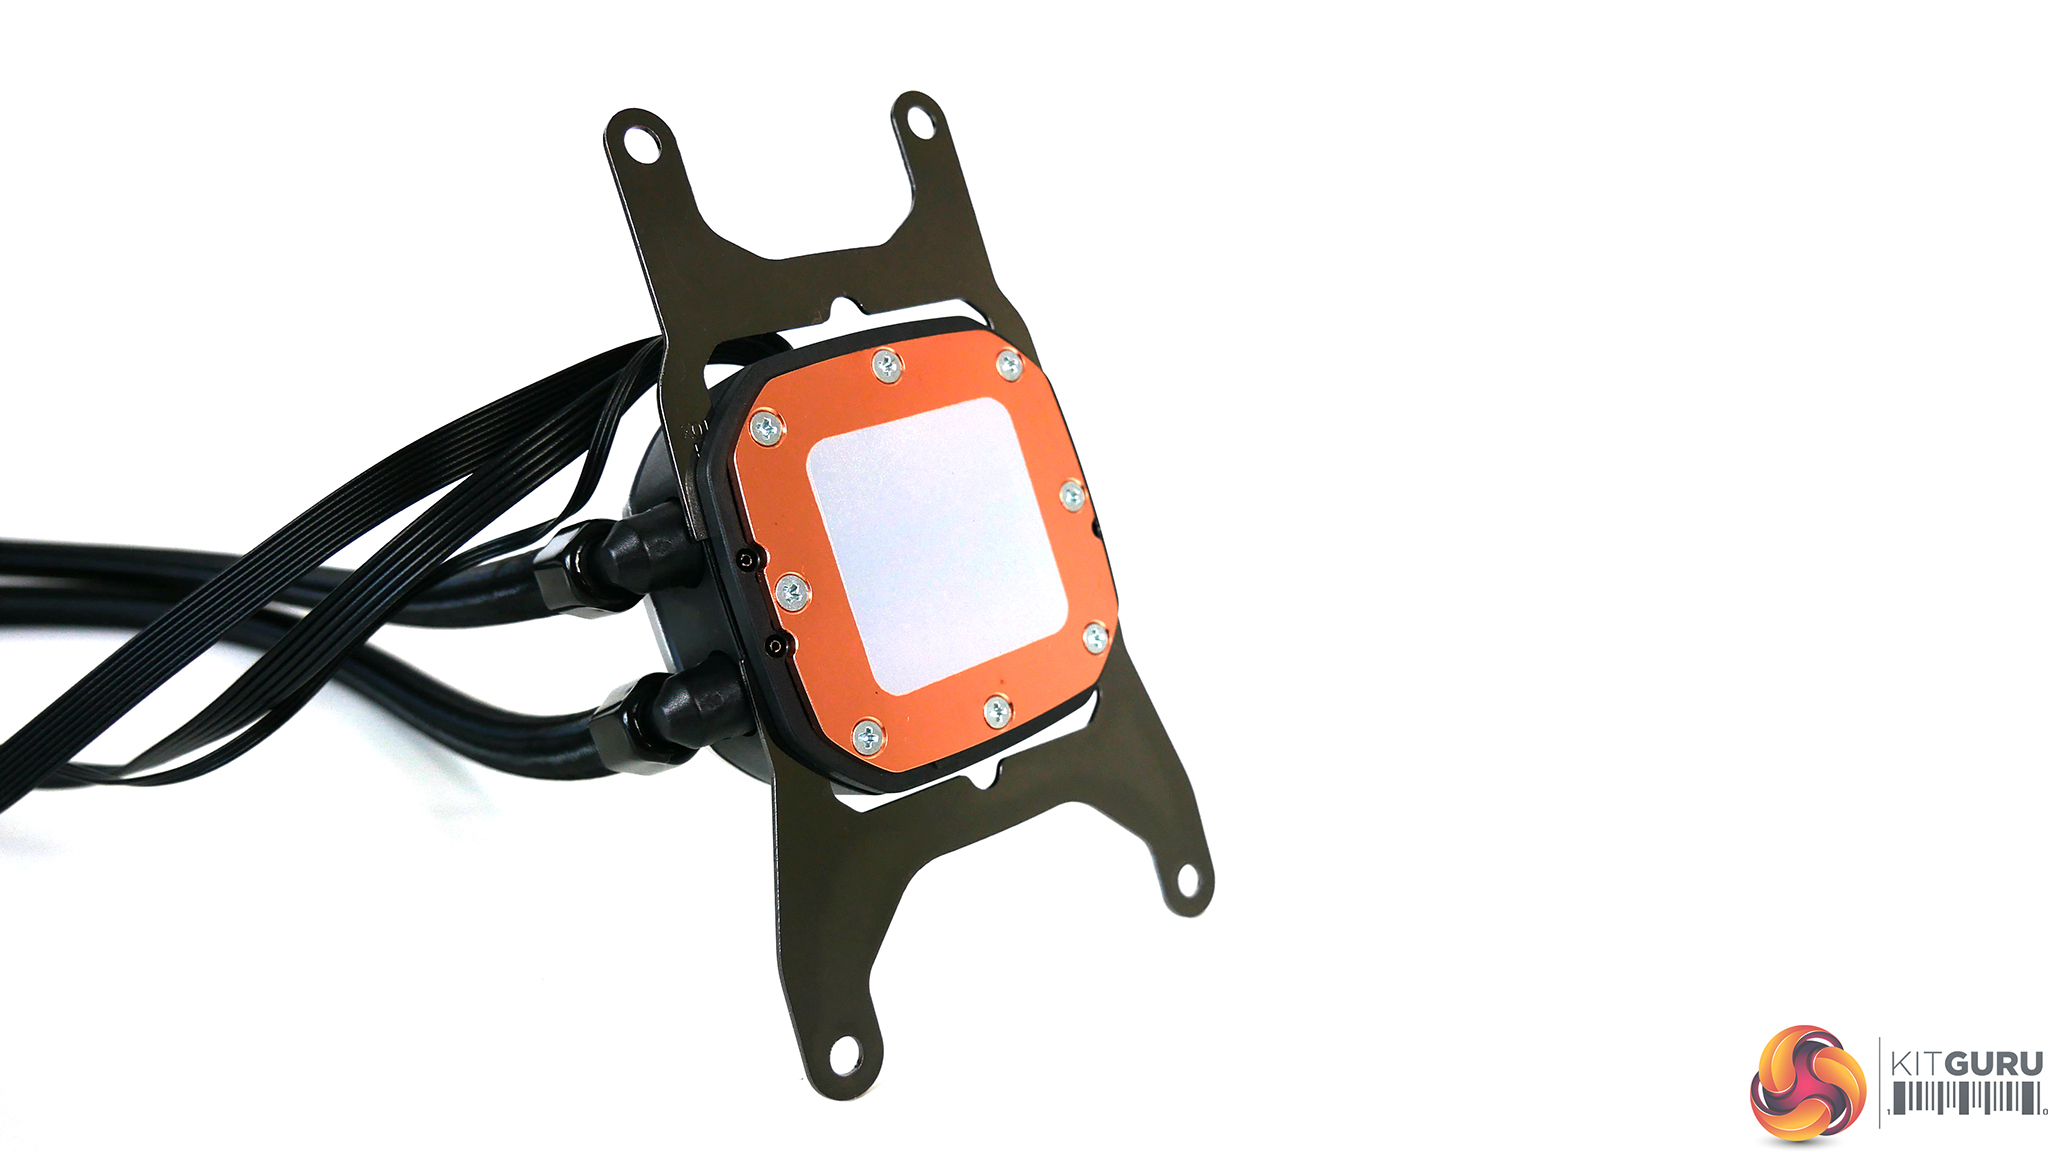
Consult the manual to select the correct stand offs for your socket type. TR4 uses the type labelled ‘N', with a coarse thread on one end and fine thread on the opposite end. Tighten the stand offs until firmly secure on the stock TR4 mounting holes.
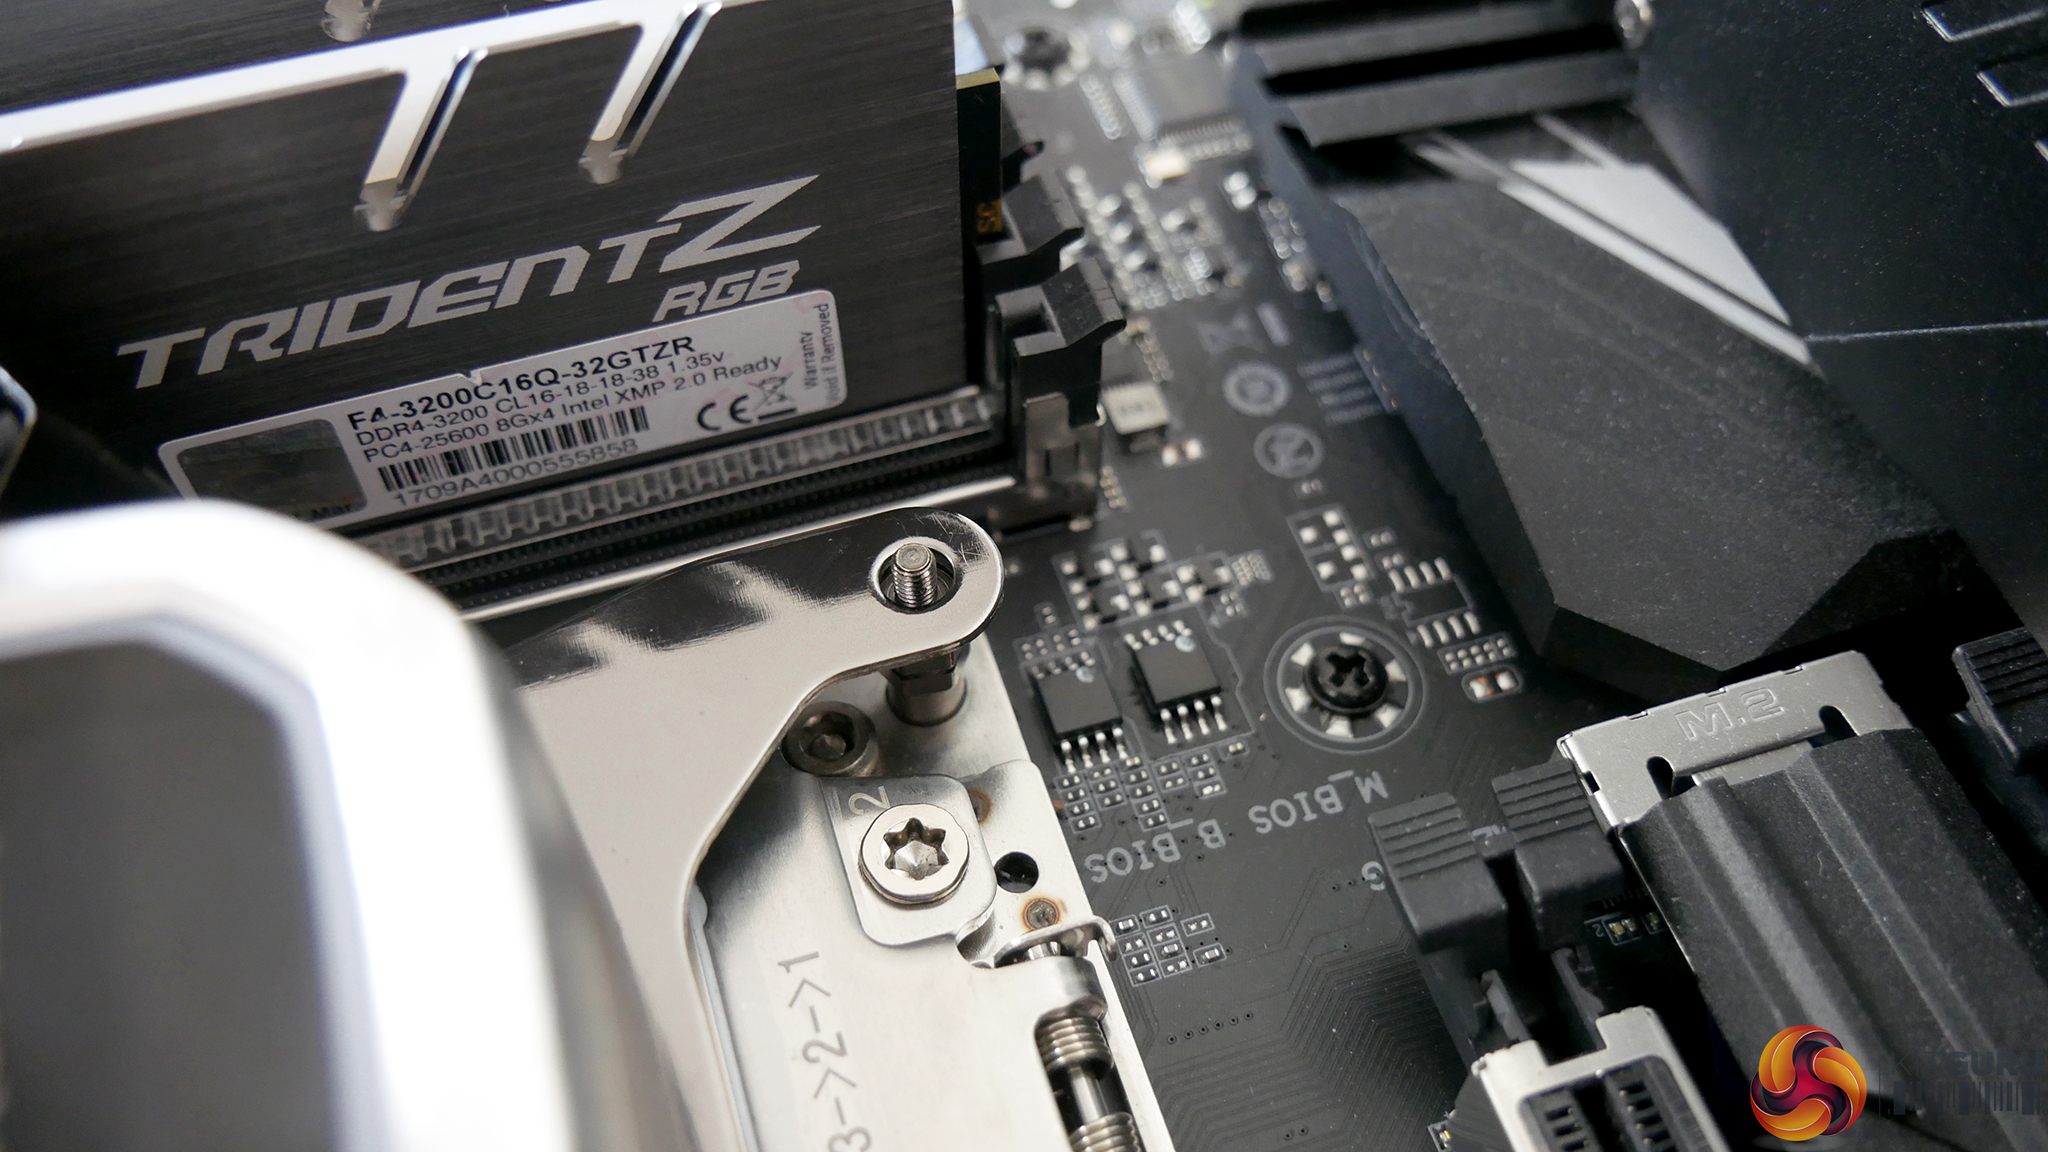
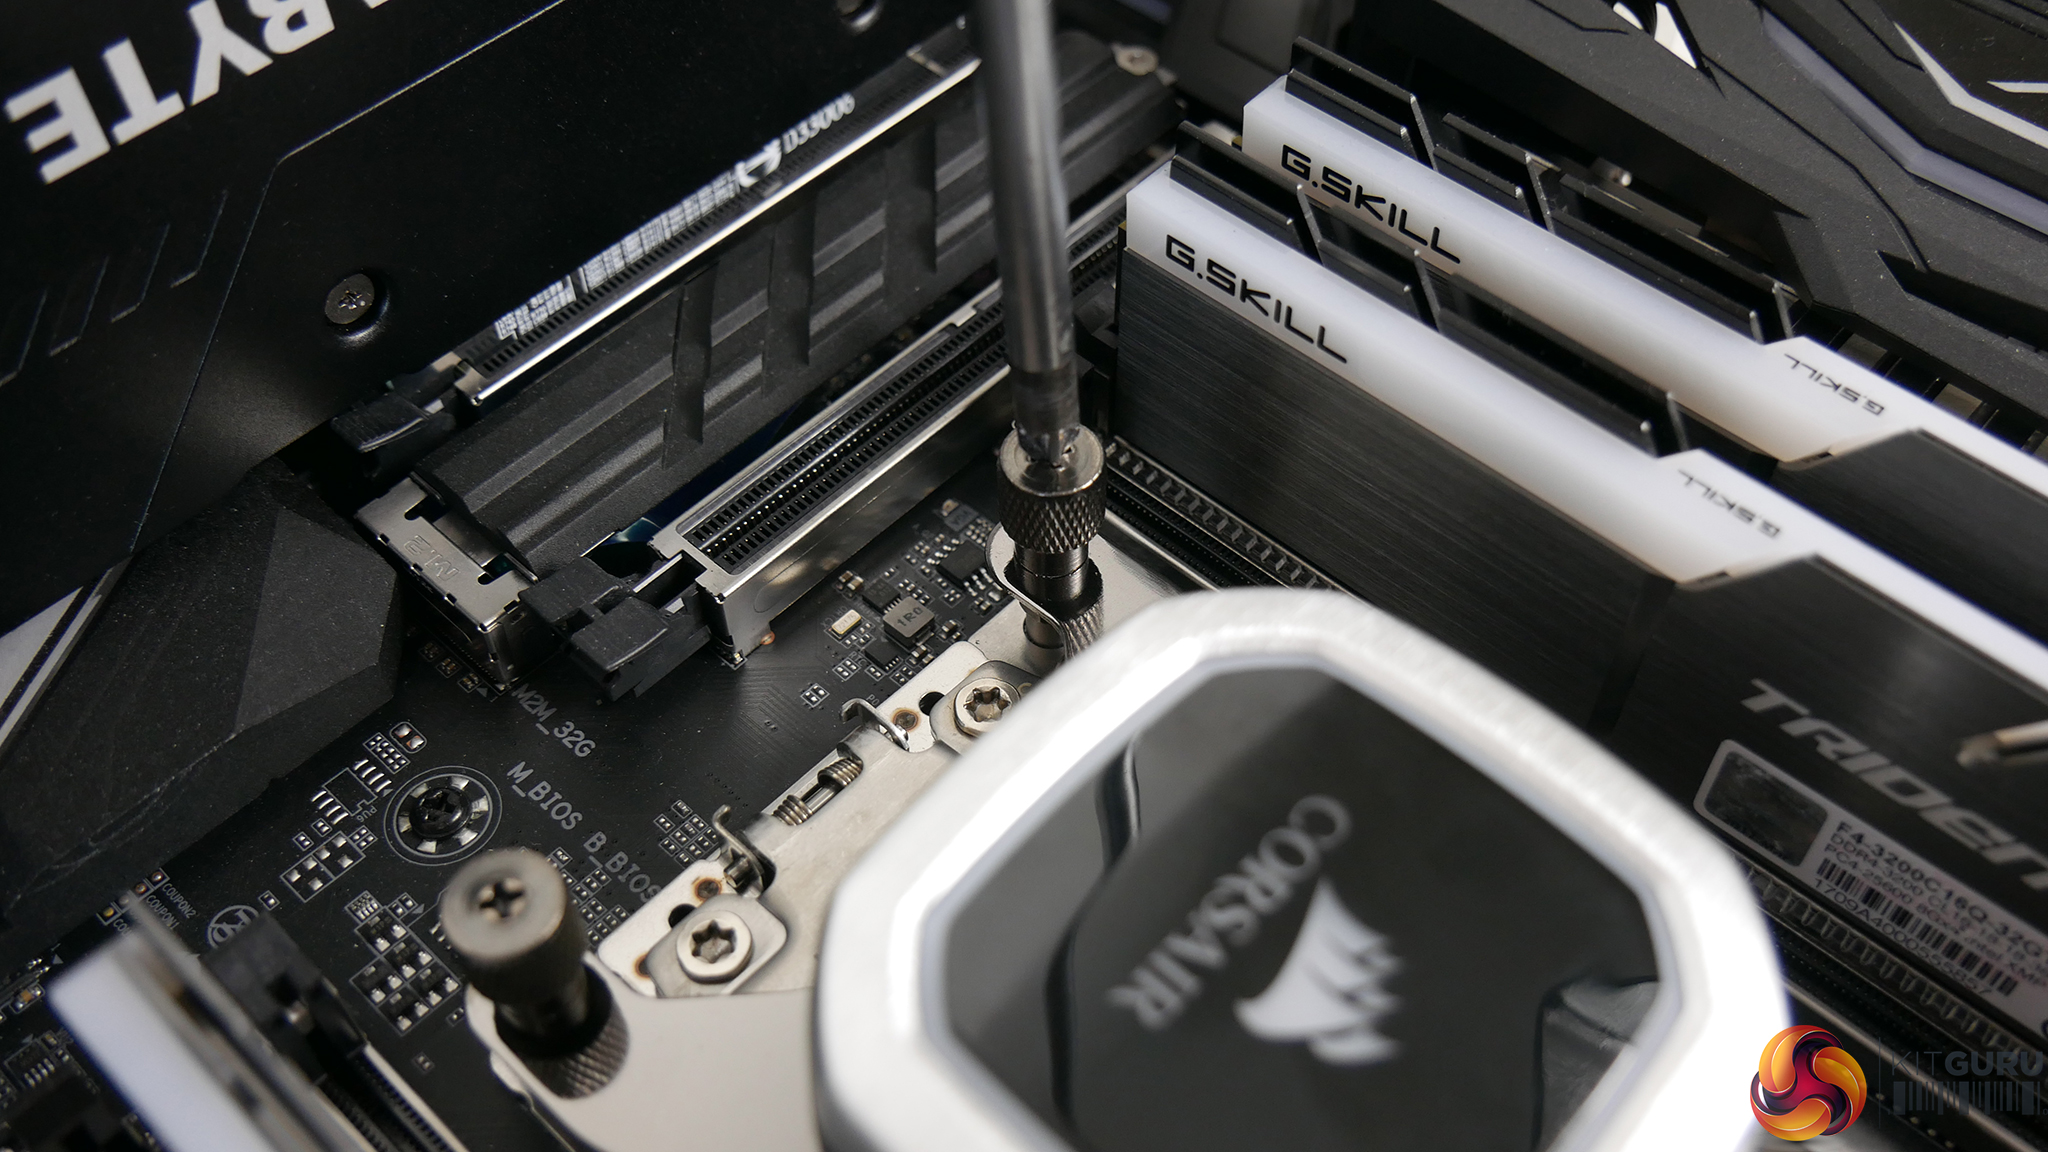
Next, lower the pump down over the CPU and align with the mounting posts. Take the four thumbscrews and tighten in an X pattern to evenly spread pressure on the CPU HIS. Final tightening can be finished off with a screwdriver if necessary.
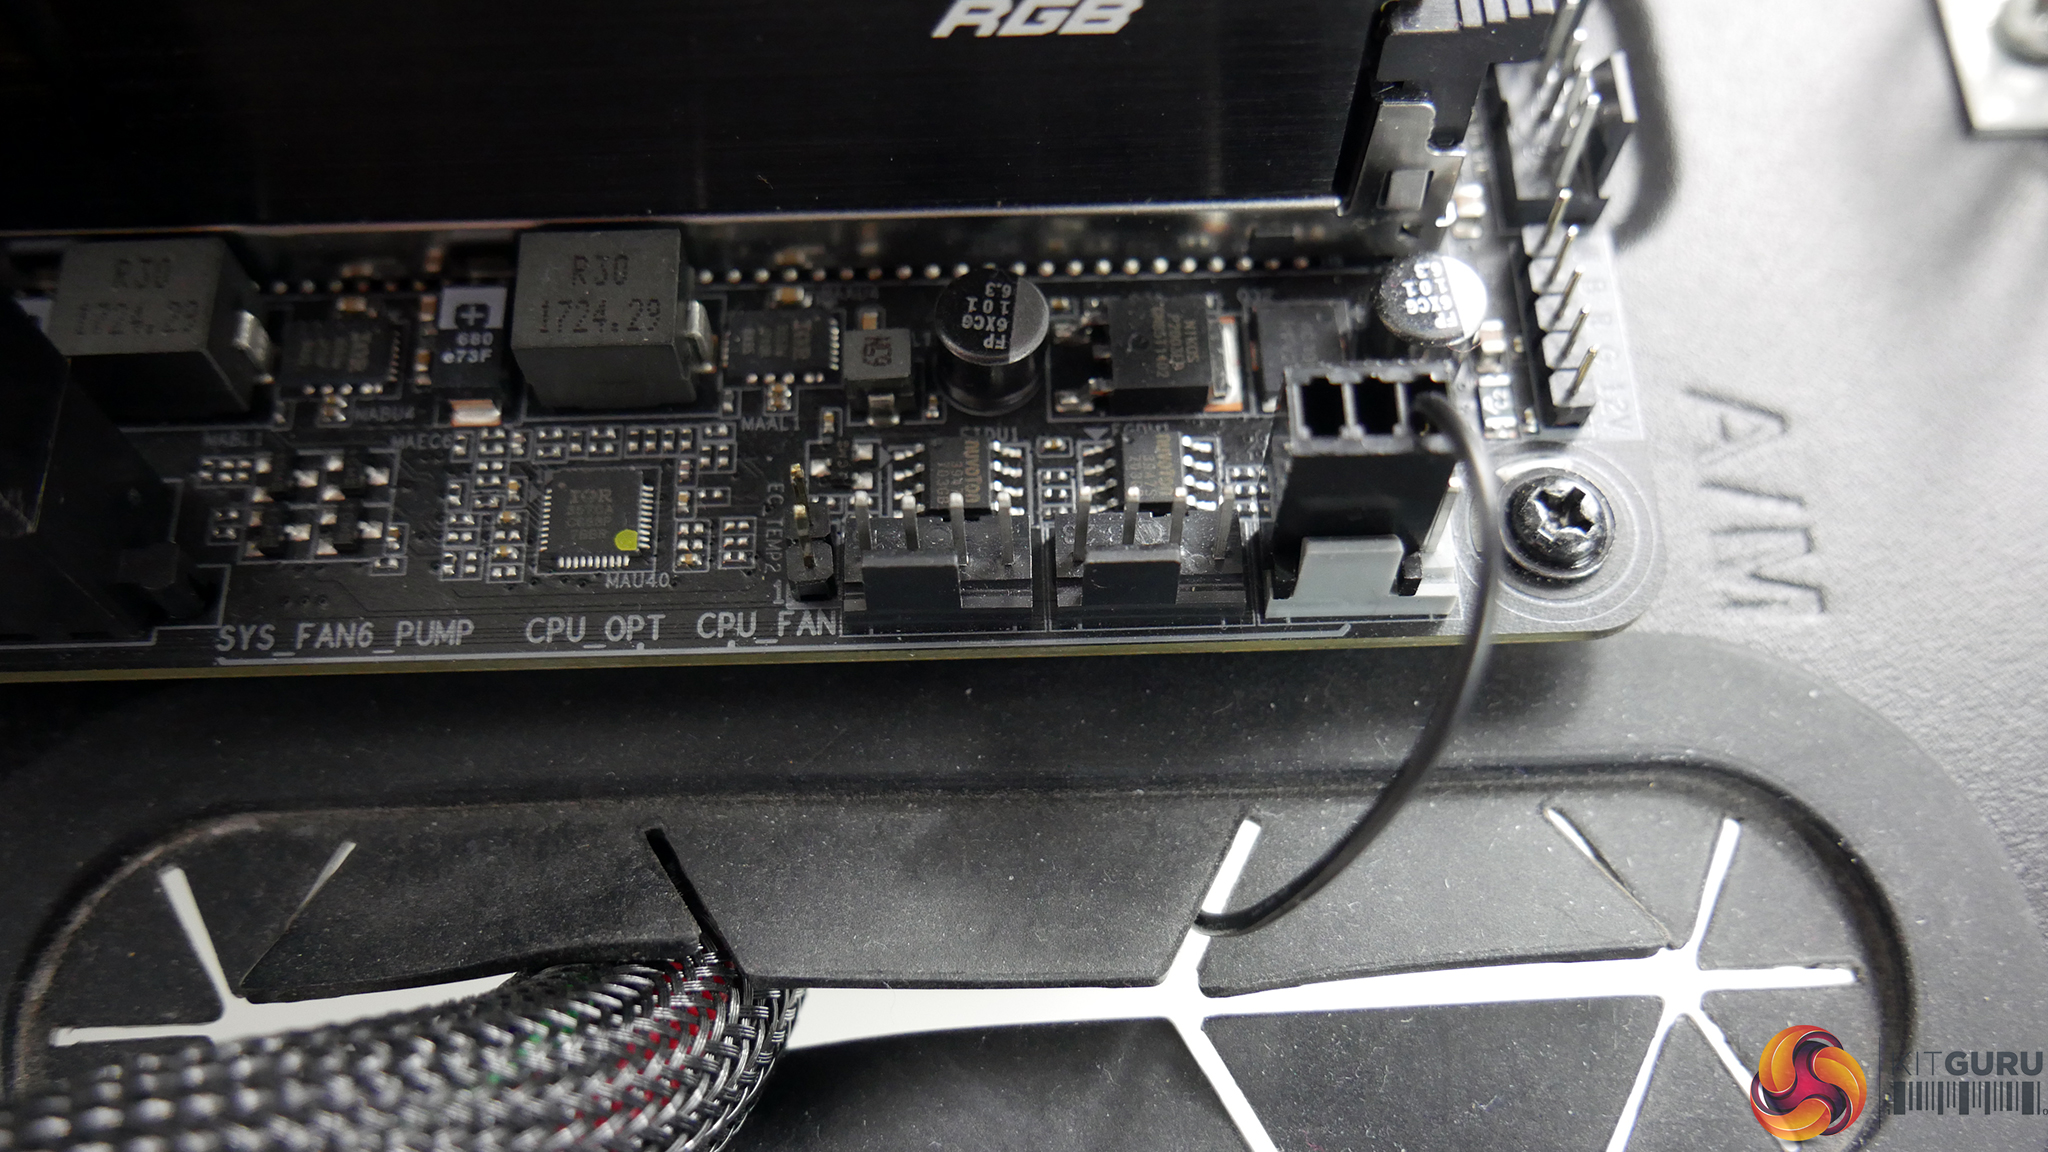
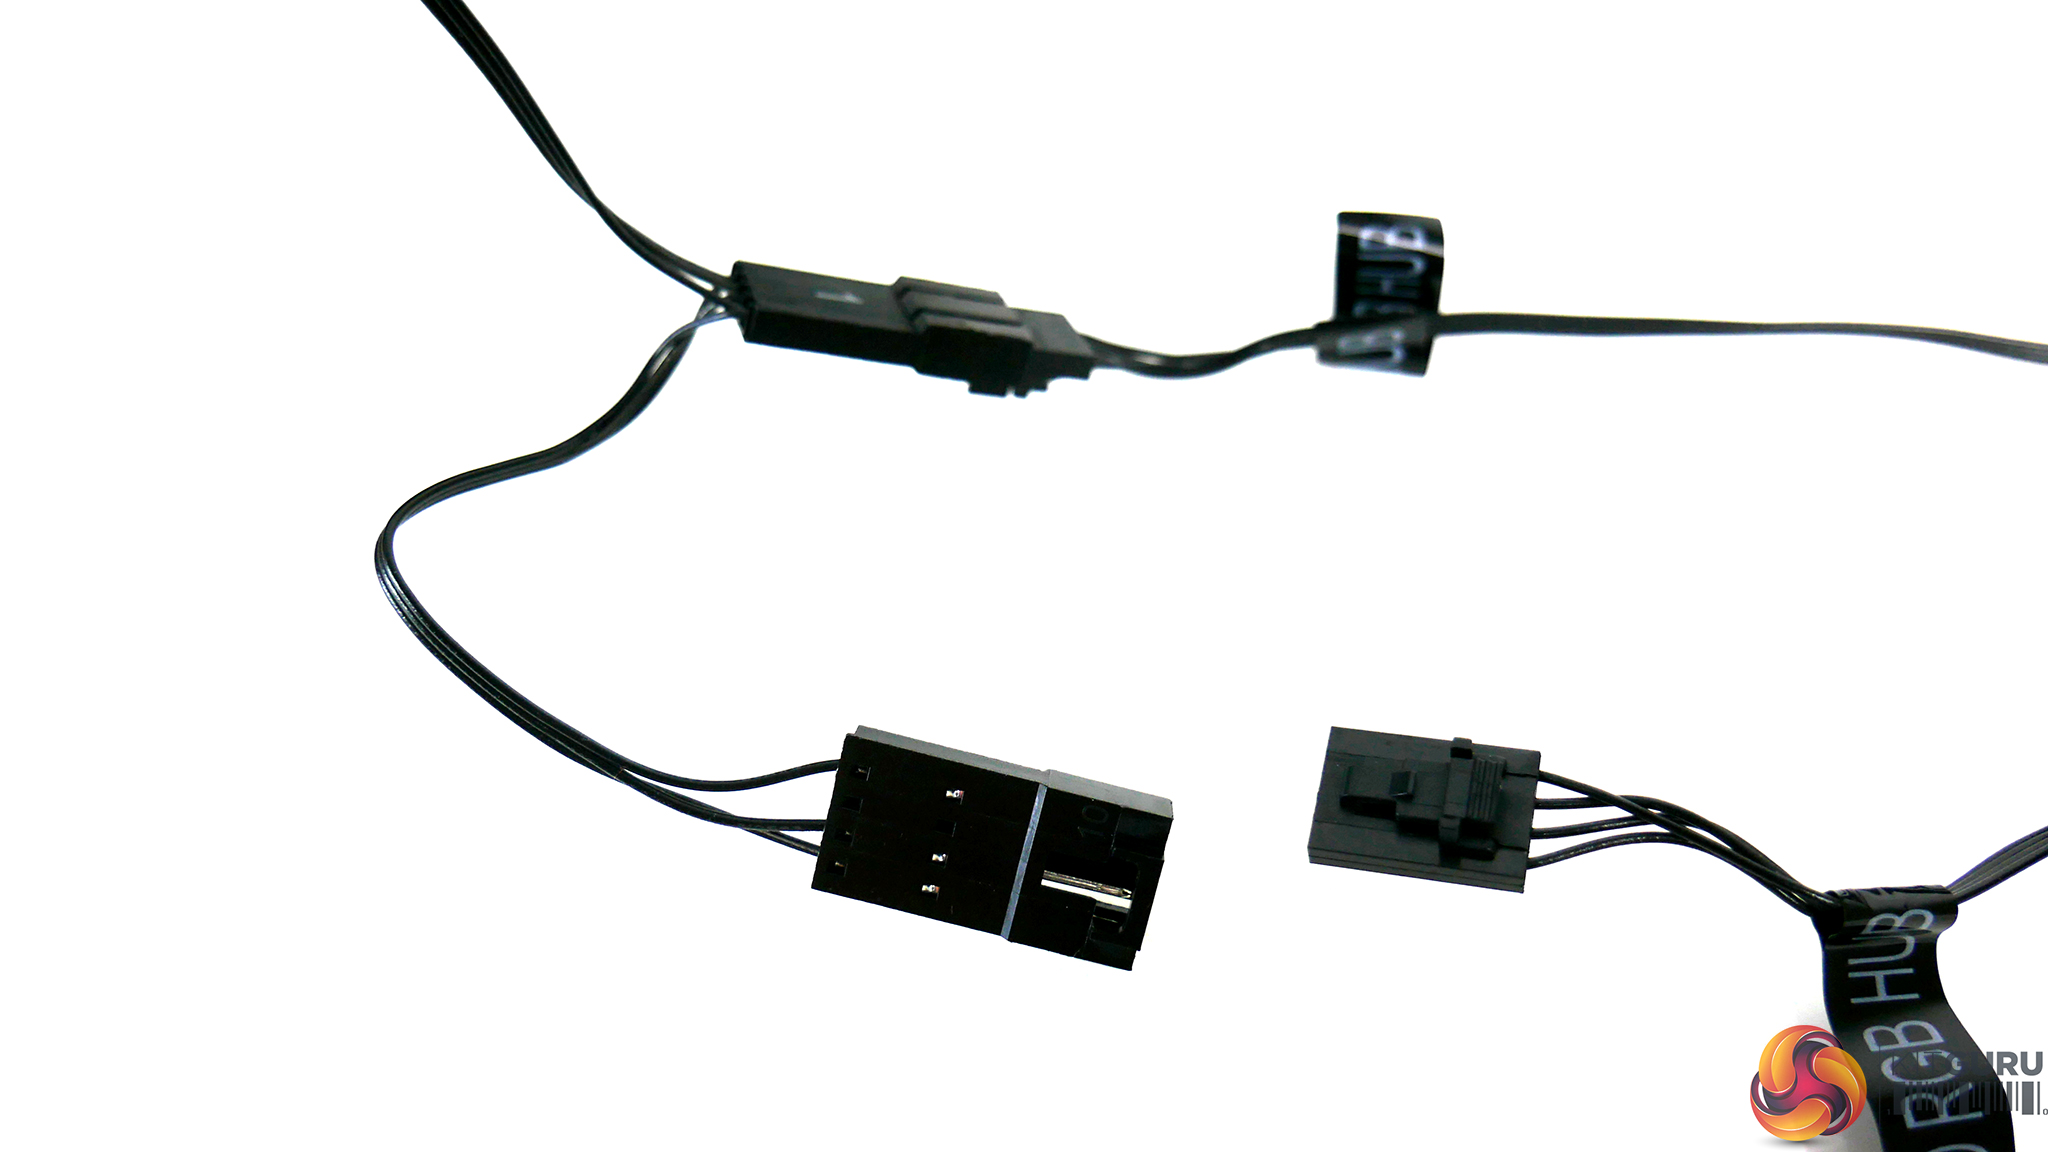
Connect the pump’s 3-pin tach cable to the CPU_FAN header on the motherboard and the pump power cable to a spare SATA power connector. The fan power and RGB cables need to be connected to the splitter cables coming from the pump housing.
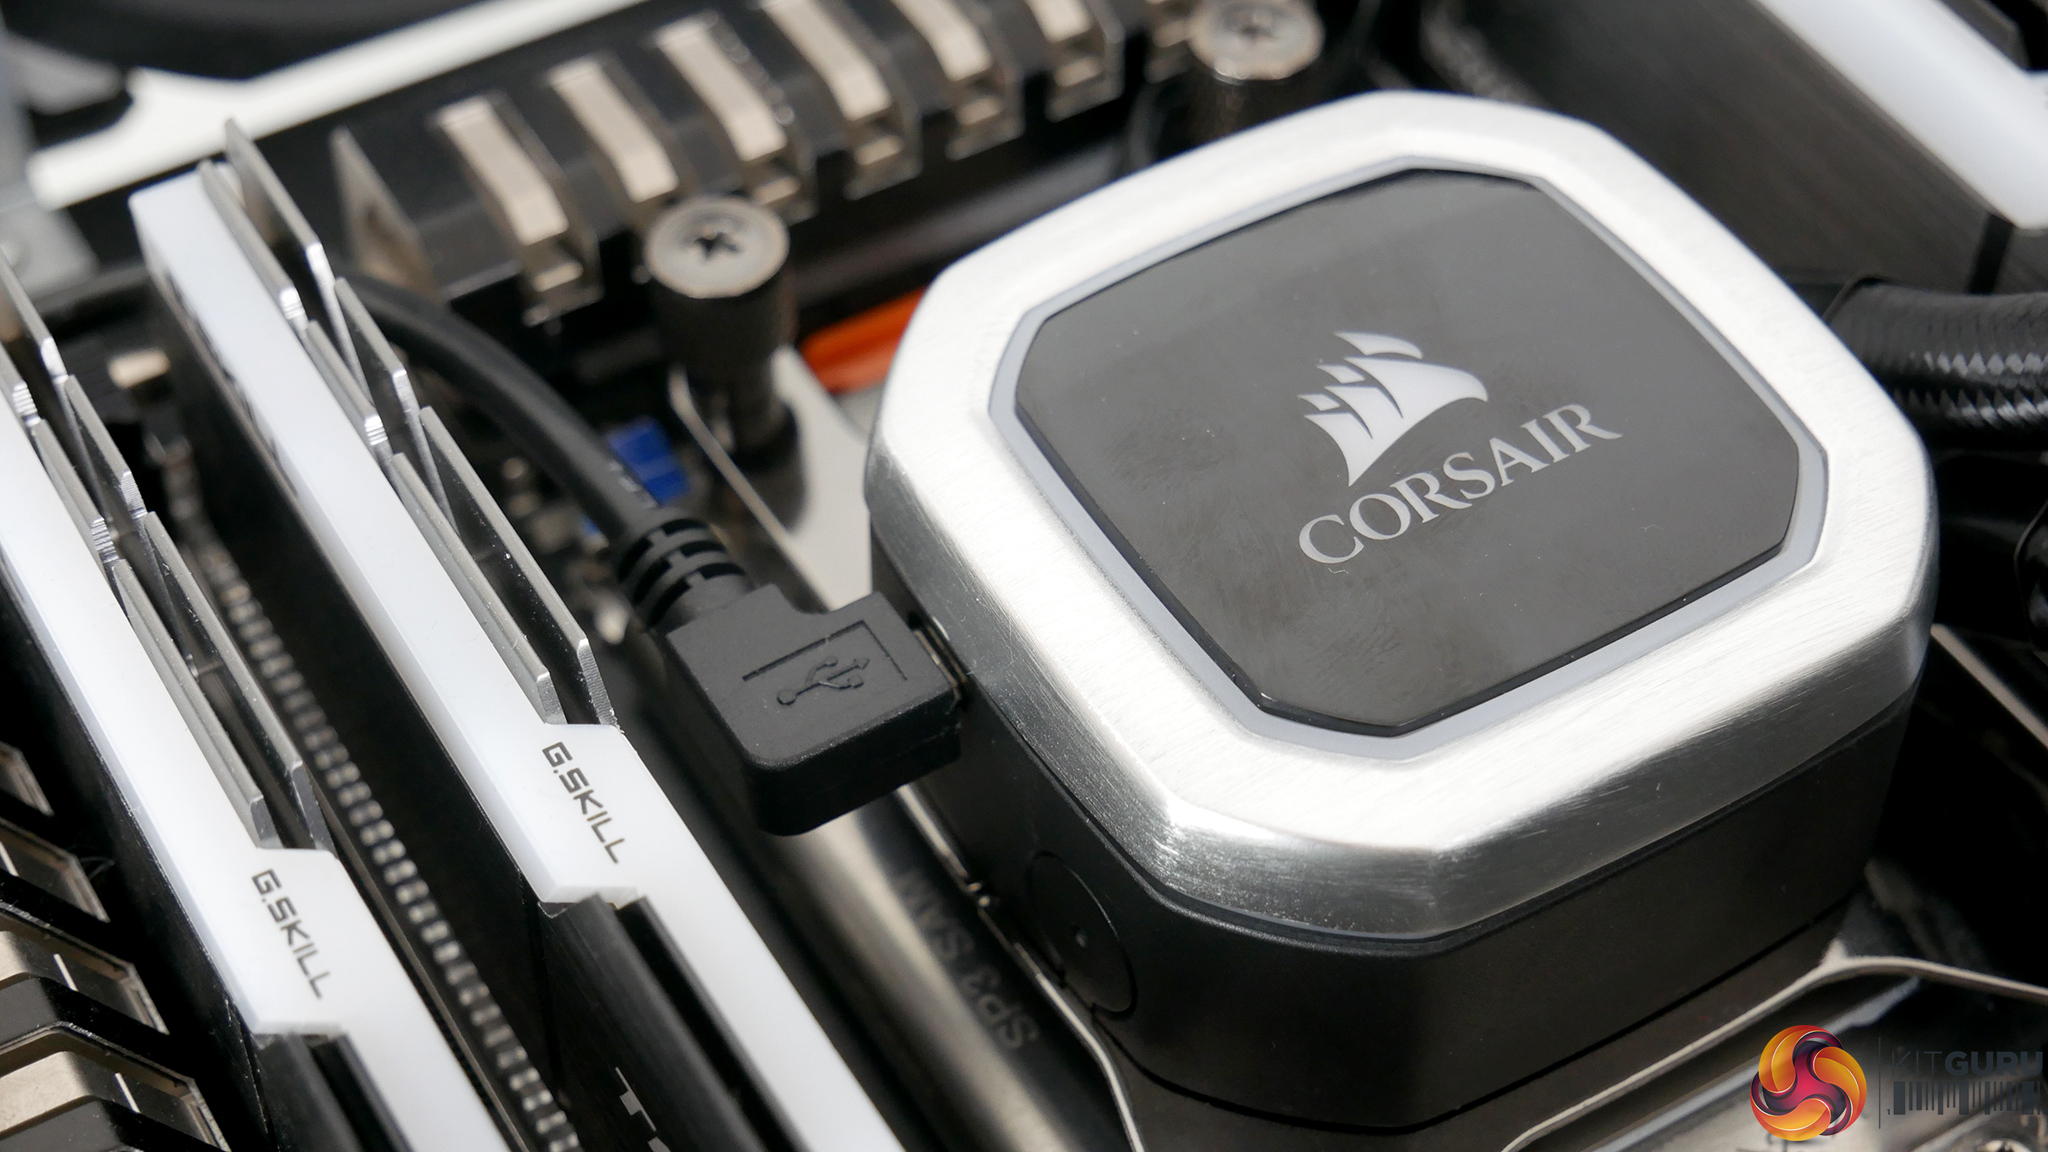
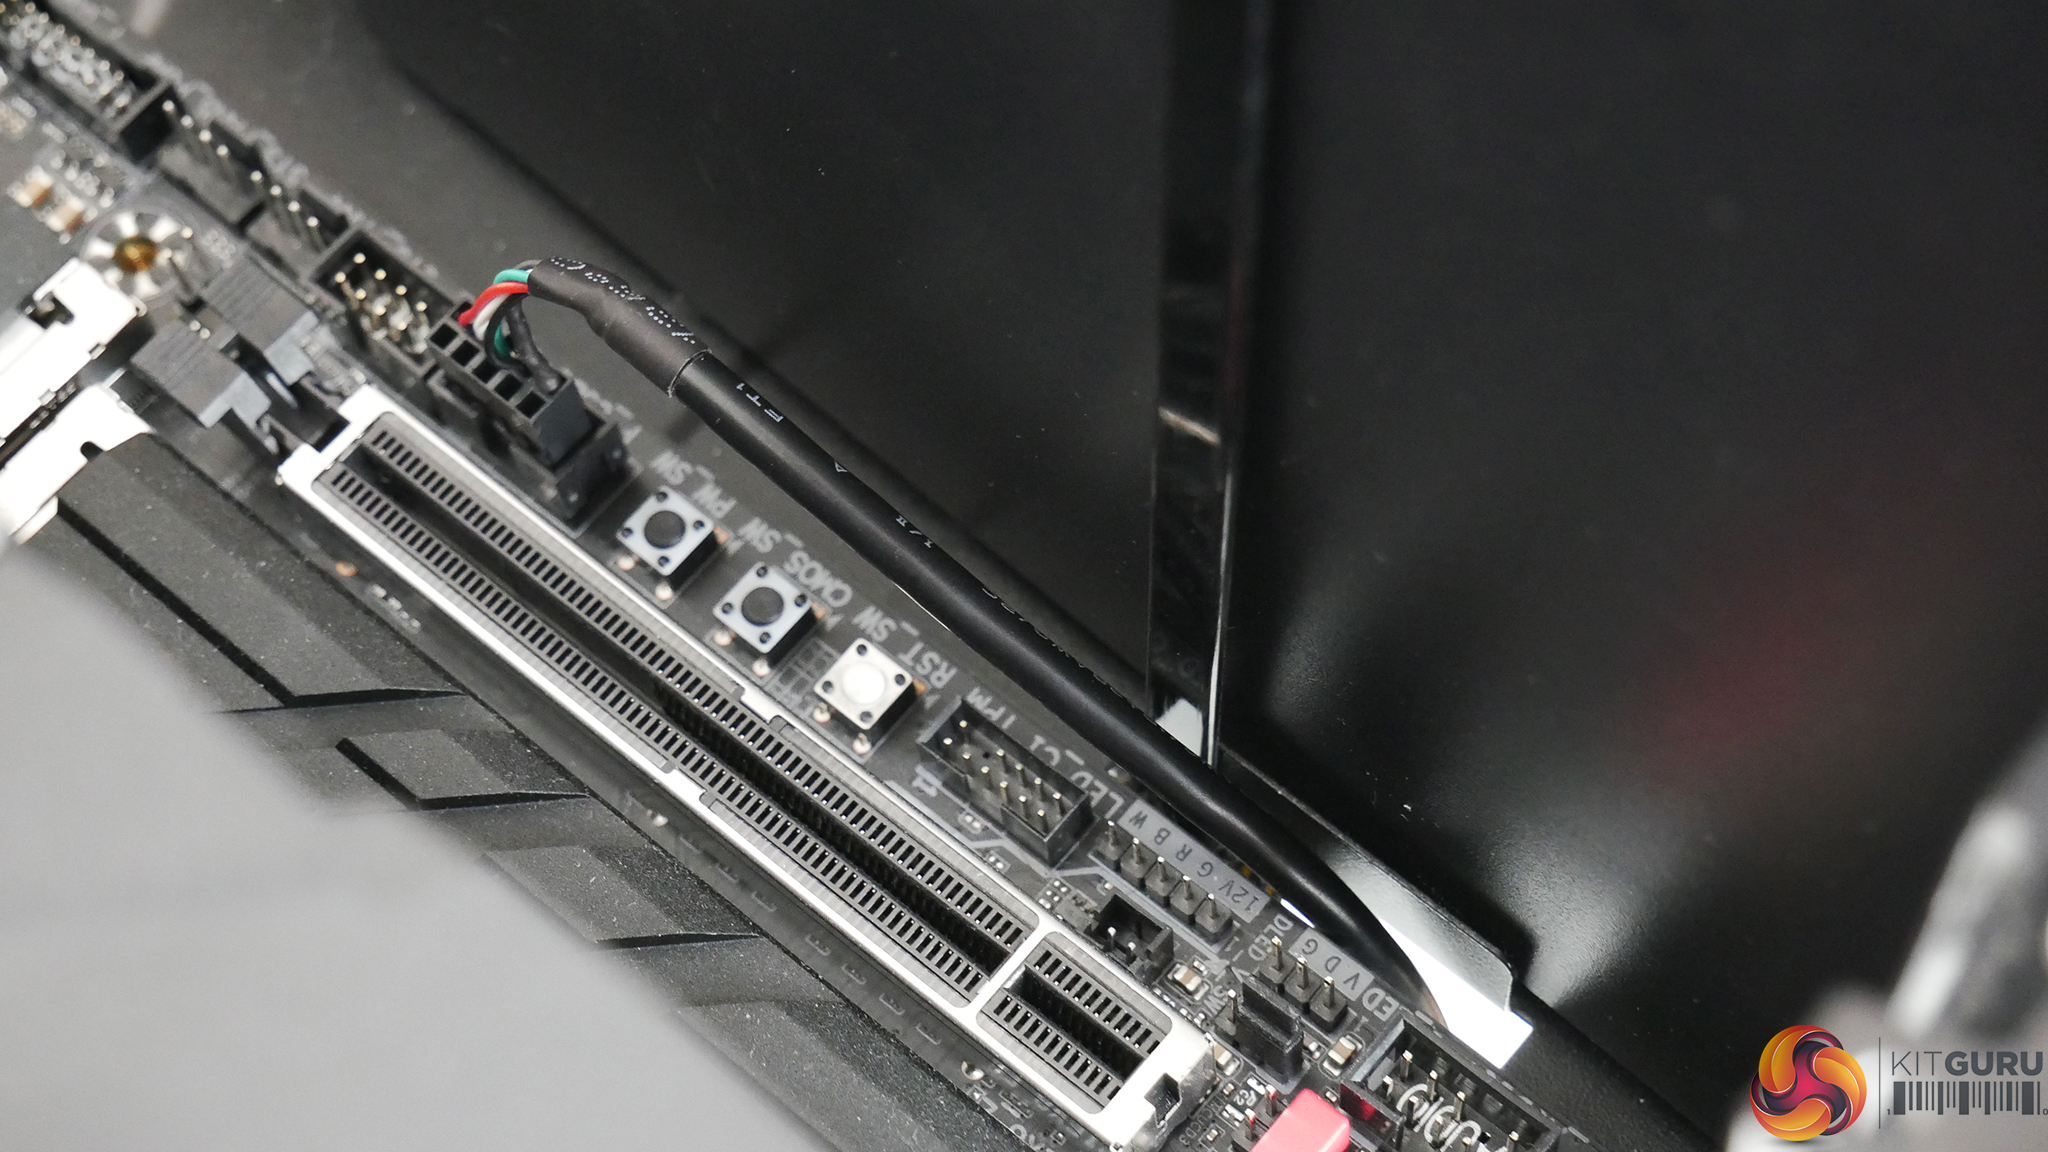
Finally, if you choose to use the Corsair iCUE software to control fan/pump speed and RGB lighting, connect the iCUE USB cable from the pump to a USB header on the motherboard. Routing the cable should be easy as Corsair have supplied a generous length.
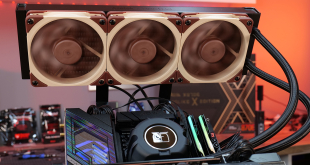
Mounting the radiator on our test bench is quite different to mounting in an ATX case, so it would be irrelevant to detail the process in this guide. Installation of the radiator in an ATX case is usually very simple and is shown in the Corsair installation manual.
Overall, the hardware installation procedure is very straightforward – just be careful when selecting the pump stand offs as there are two types, which look very similar and could easily be mistaken. Due to Corsair insisting on using their own iCUE software to control fans speeds and RGB, the amount of cables required makes the system look a little untidy, this can also be a bit of a headache when it comes to cable management.
Corsair iCUE Software
Corsair's iCUE software can be downloaded from their website here.
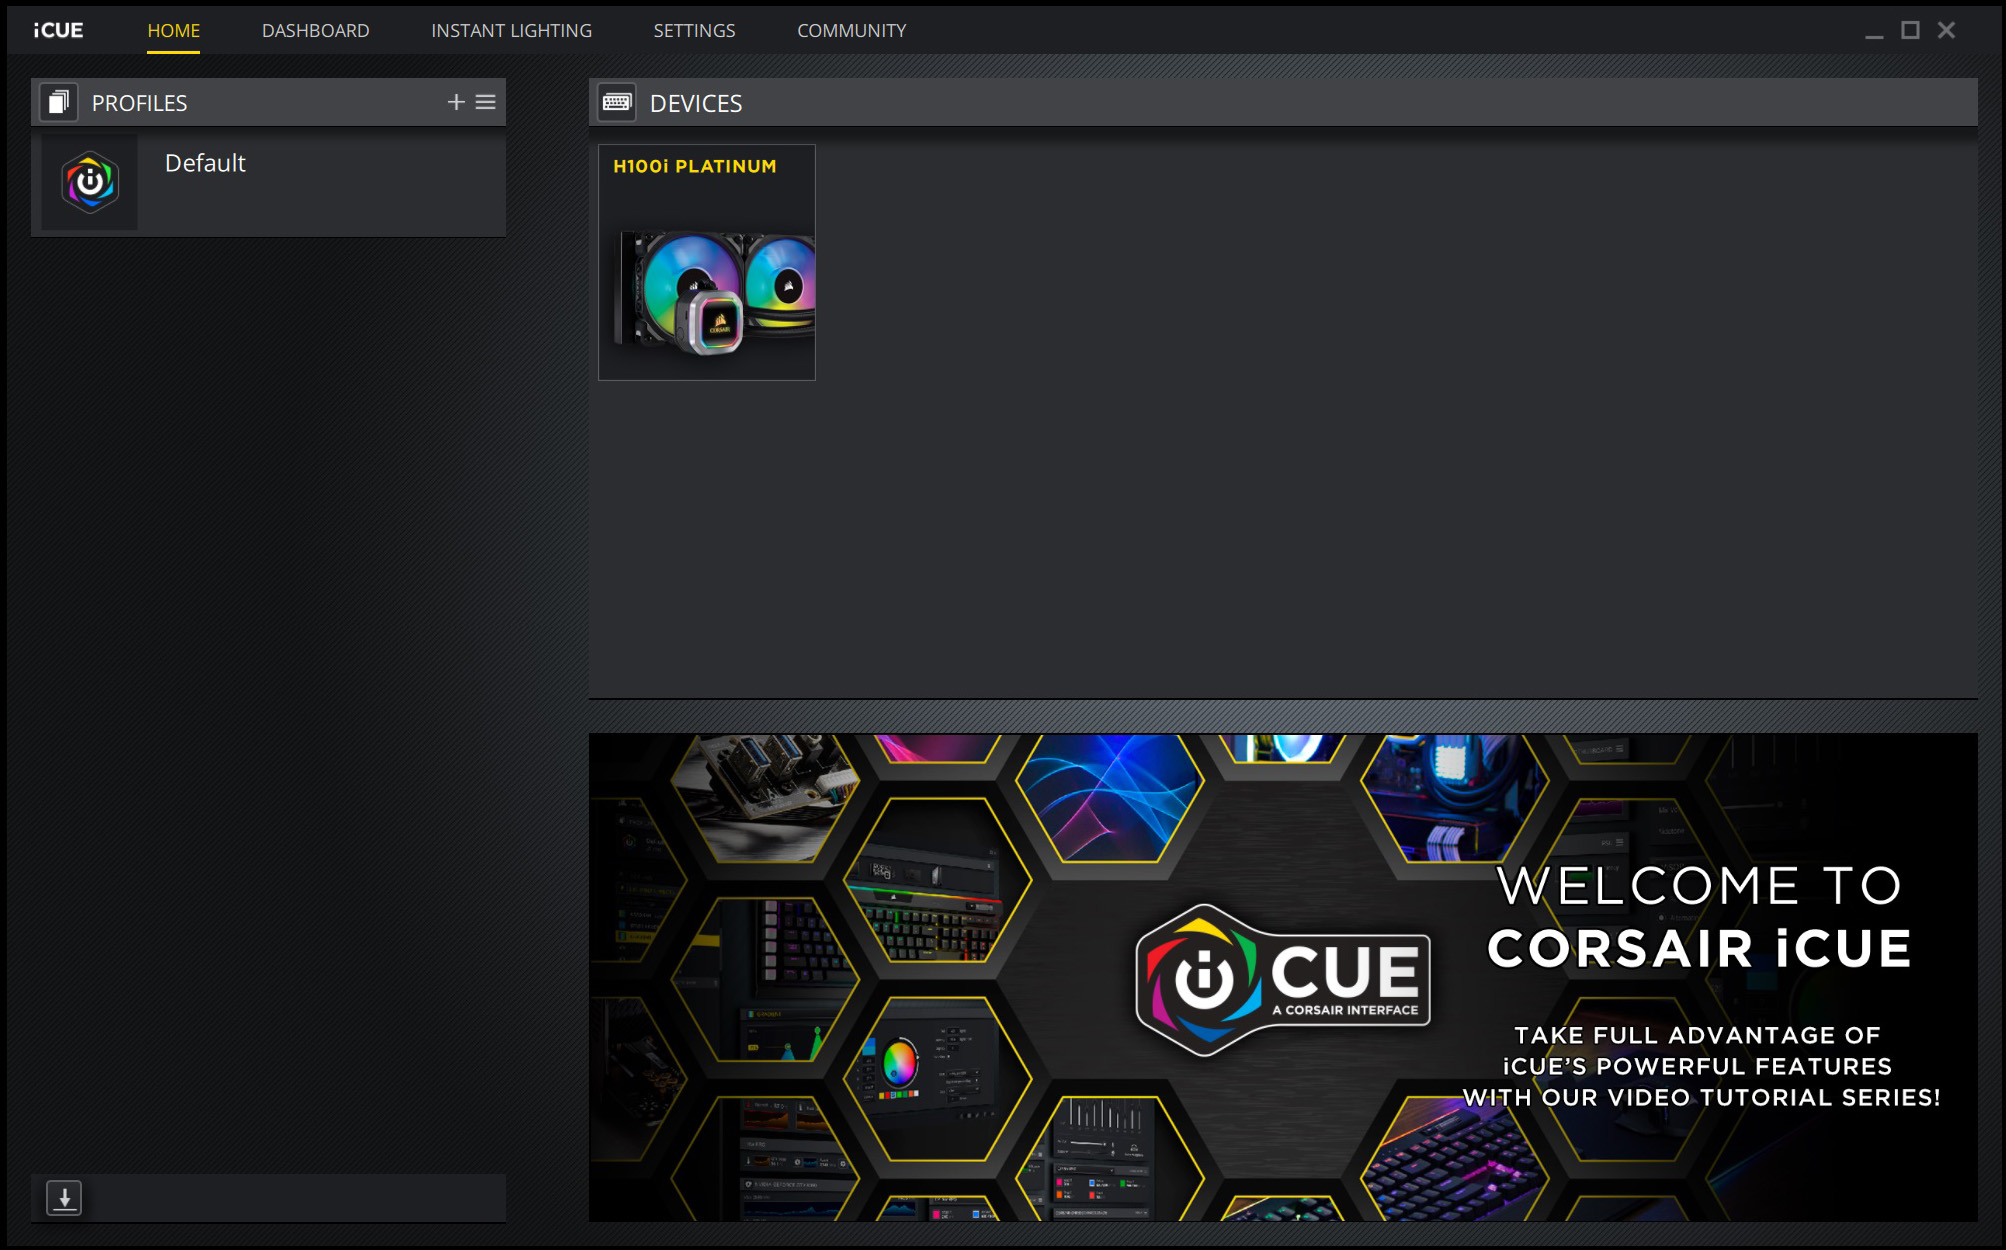
Corsair iCUE software can be a handy tool for users with Corsair products. It has the ability to configure RGB lighting and fan/pump speeds to suit the users preference. Multiple Corsair products can be configured to sync RGB lighting themes for seamless operation.
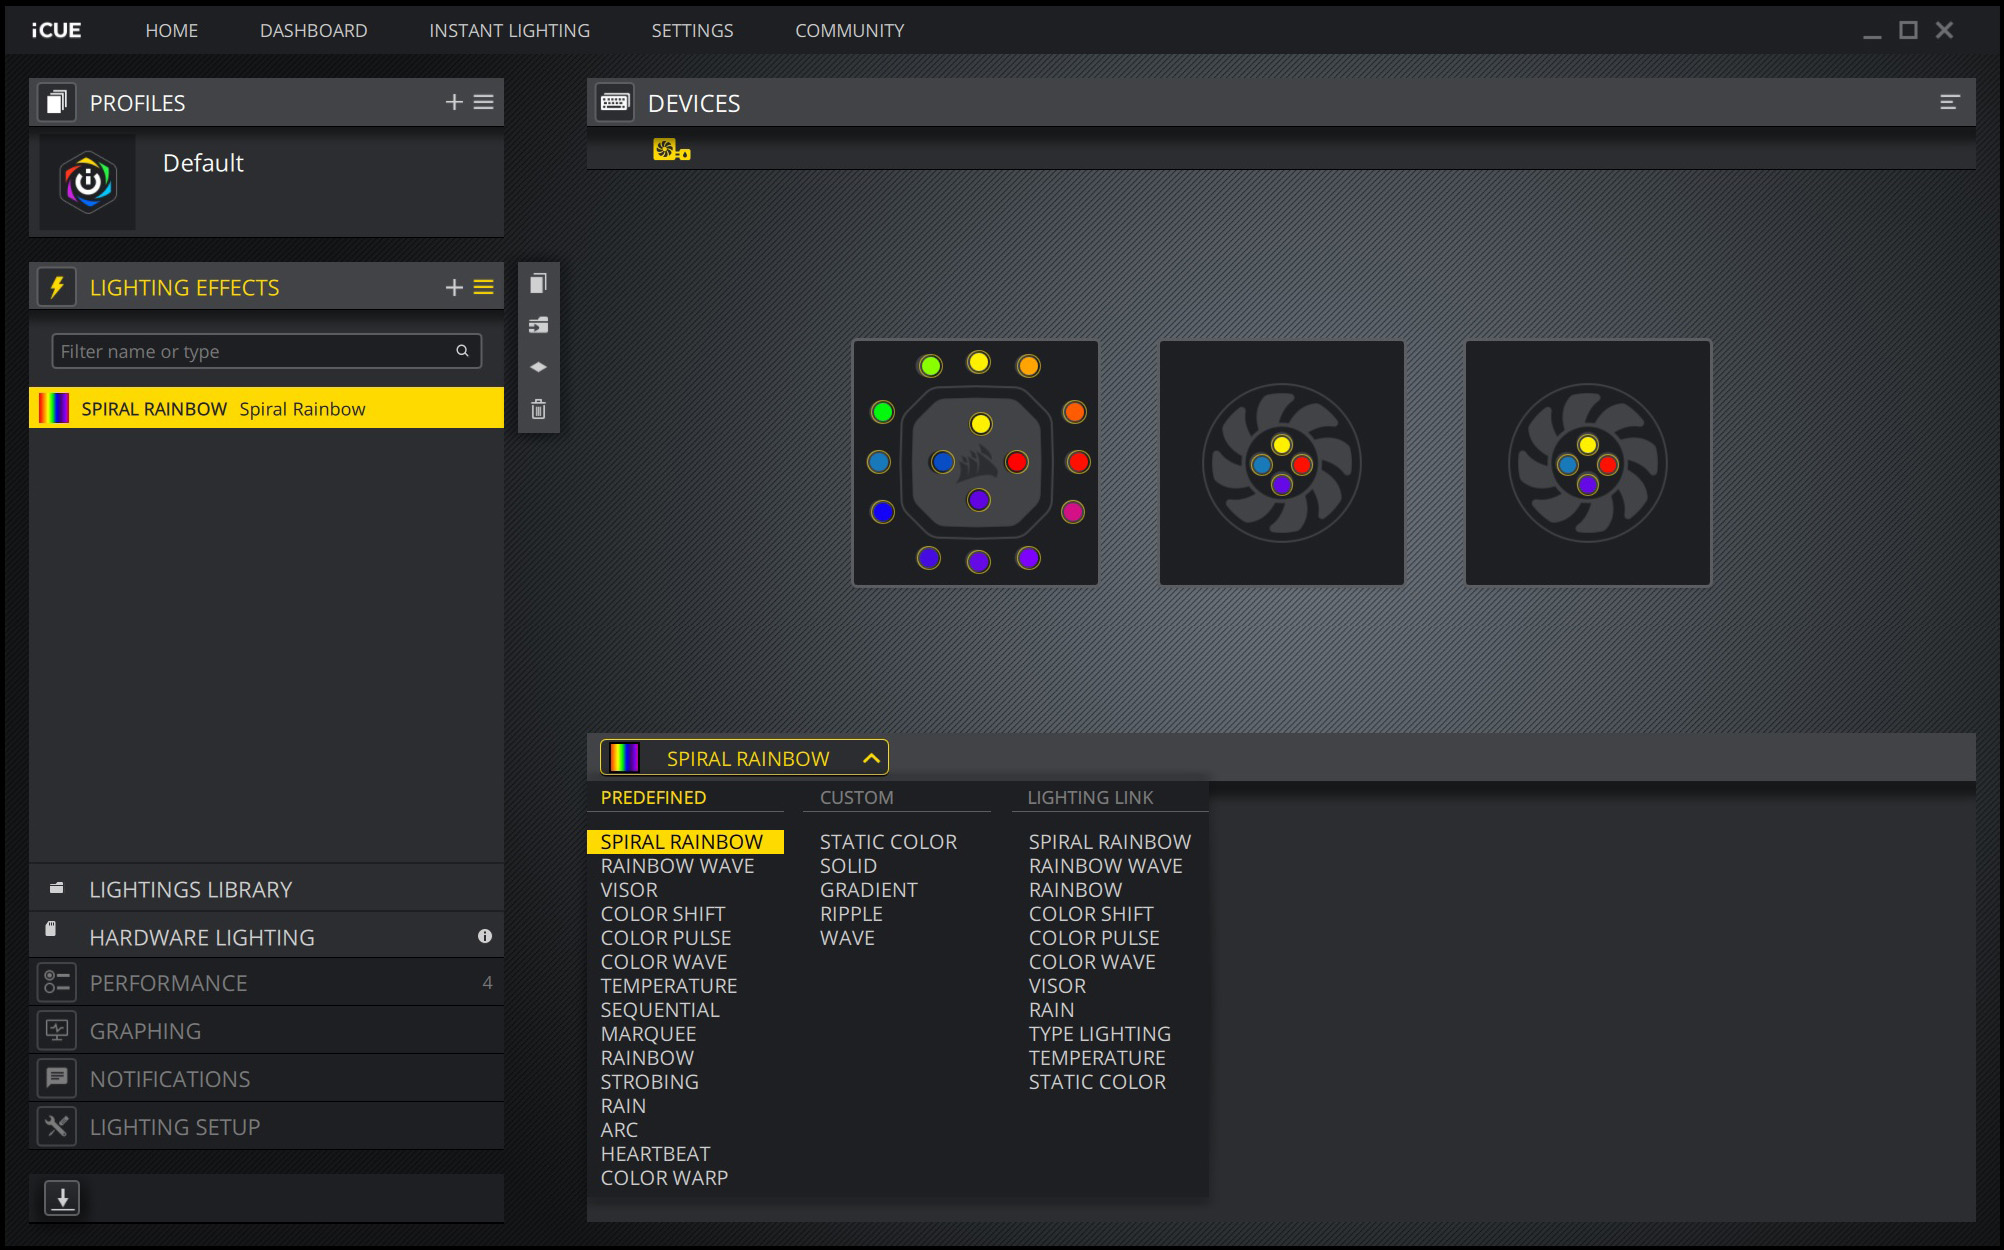
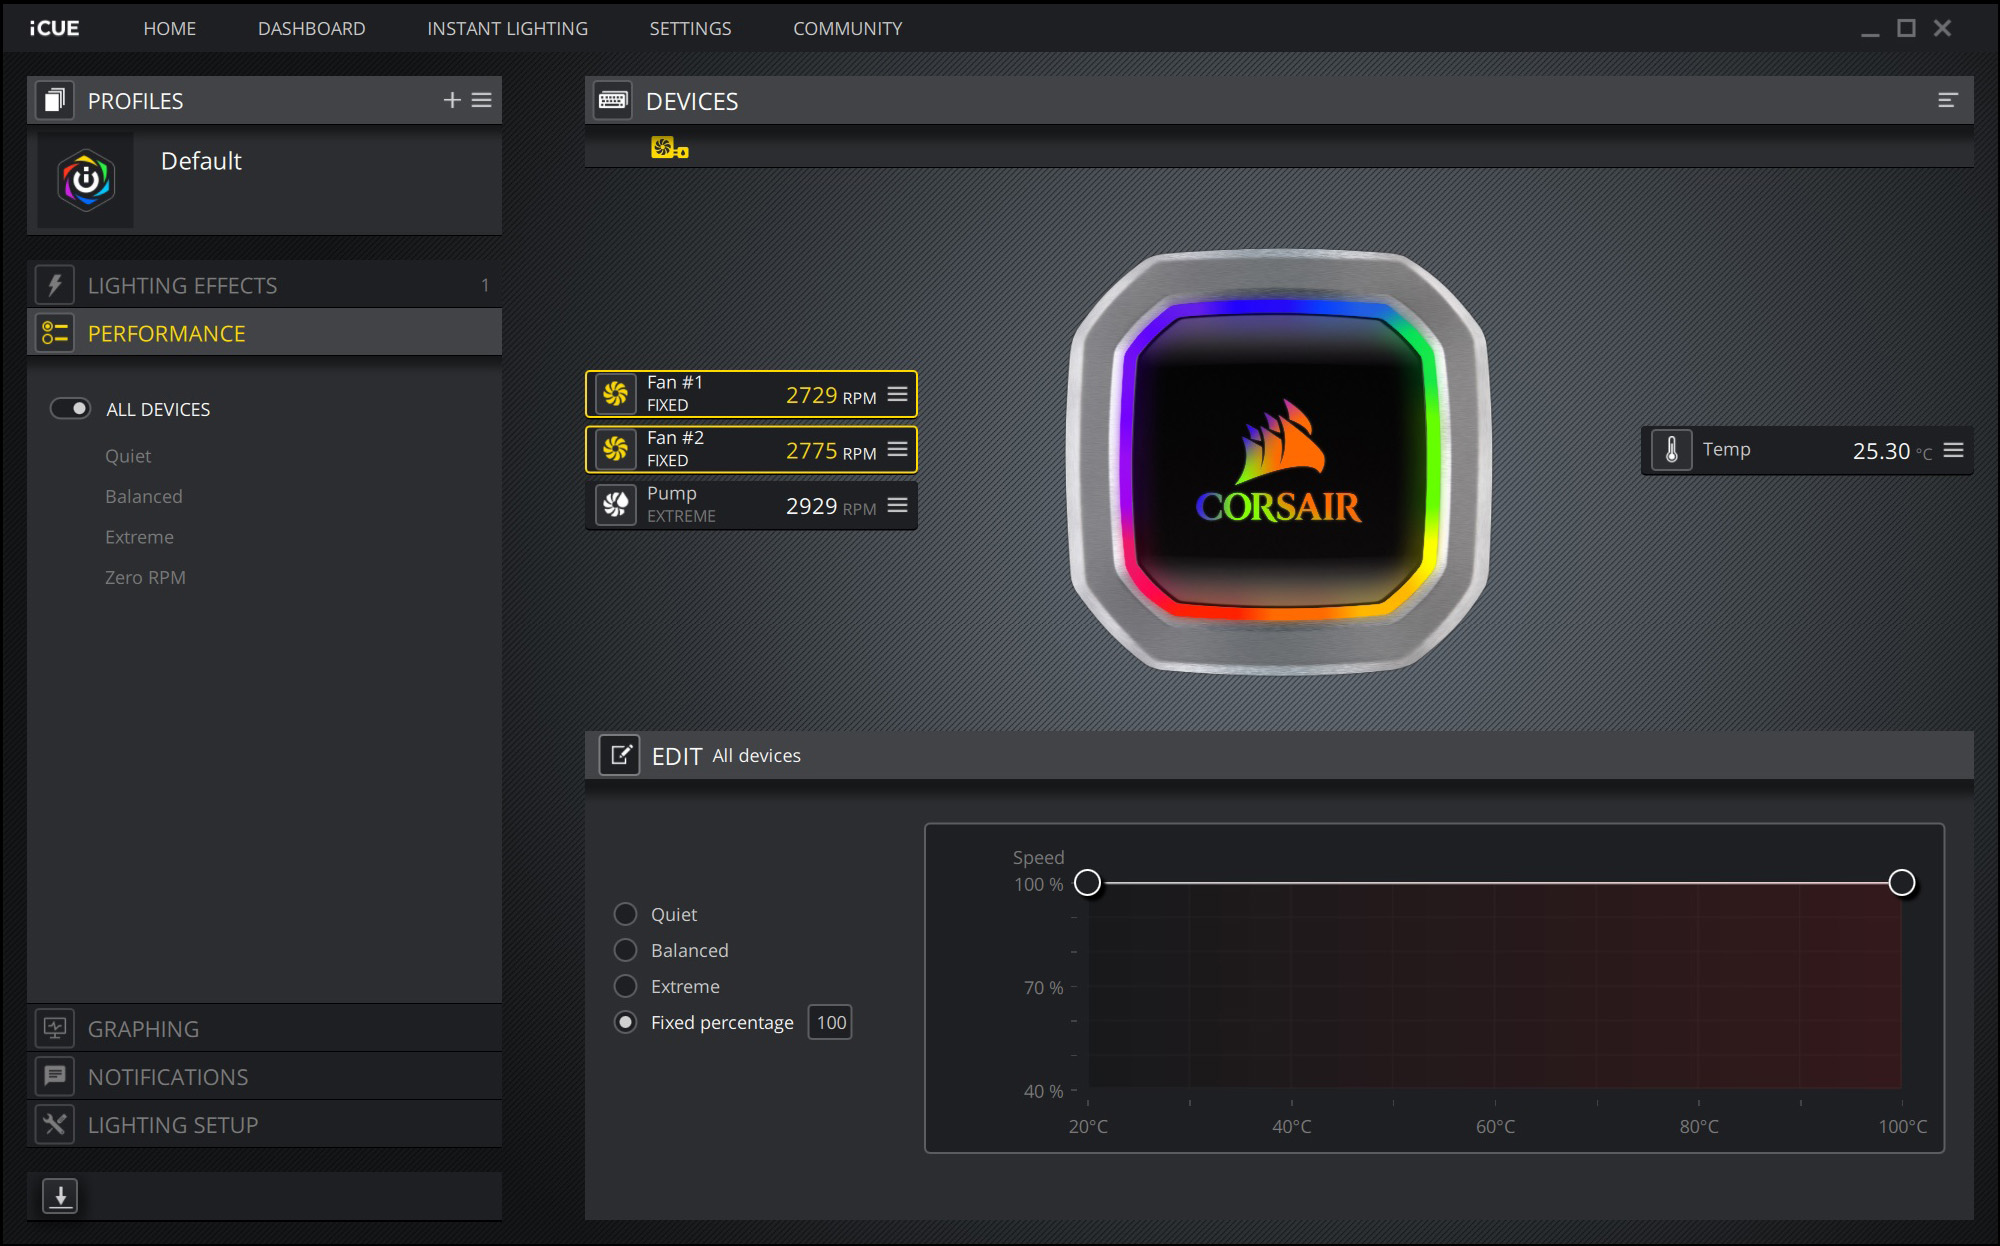
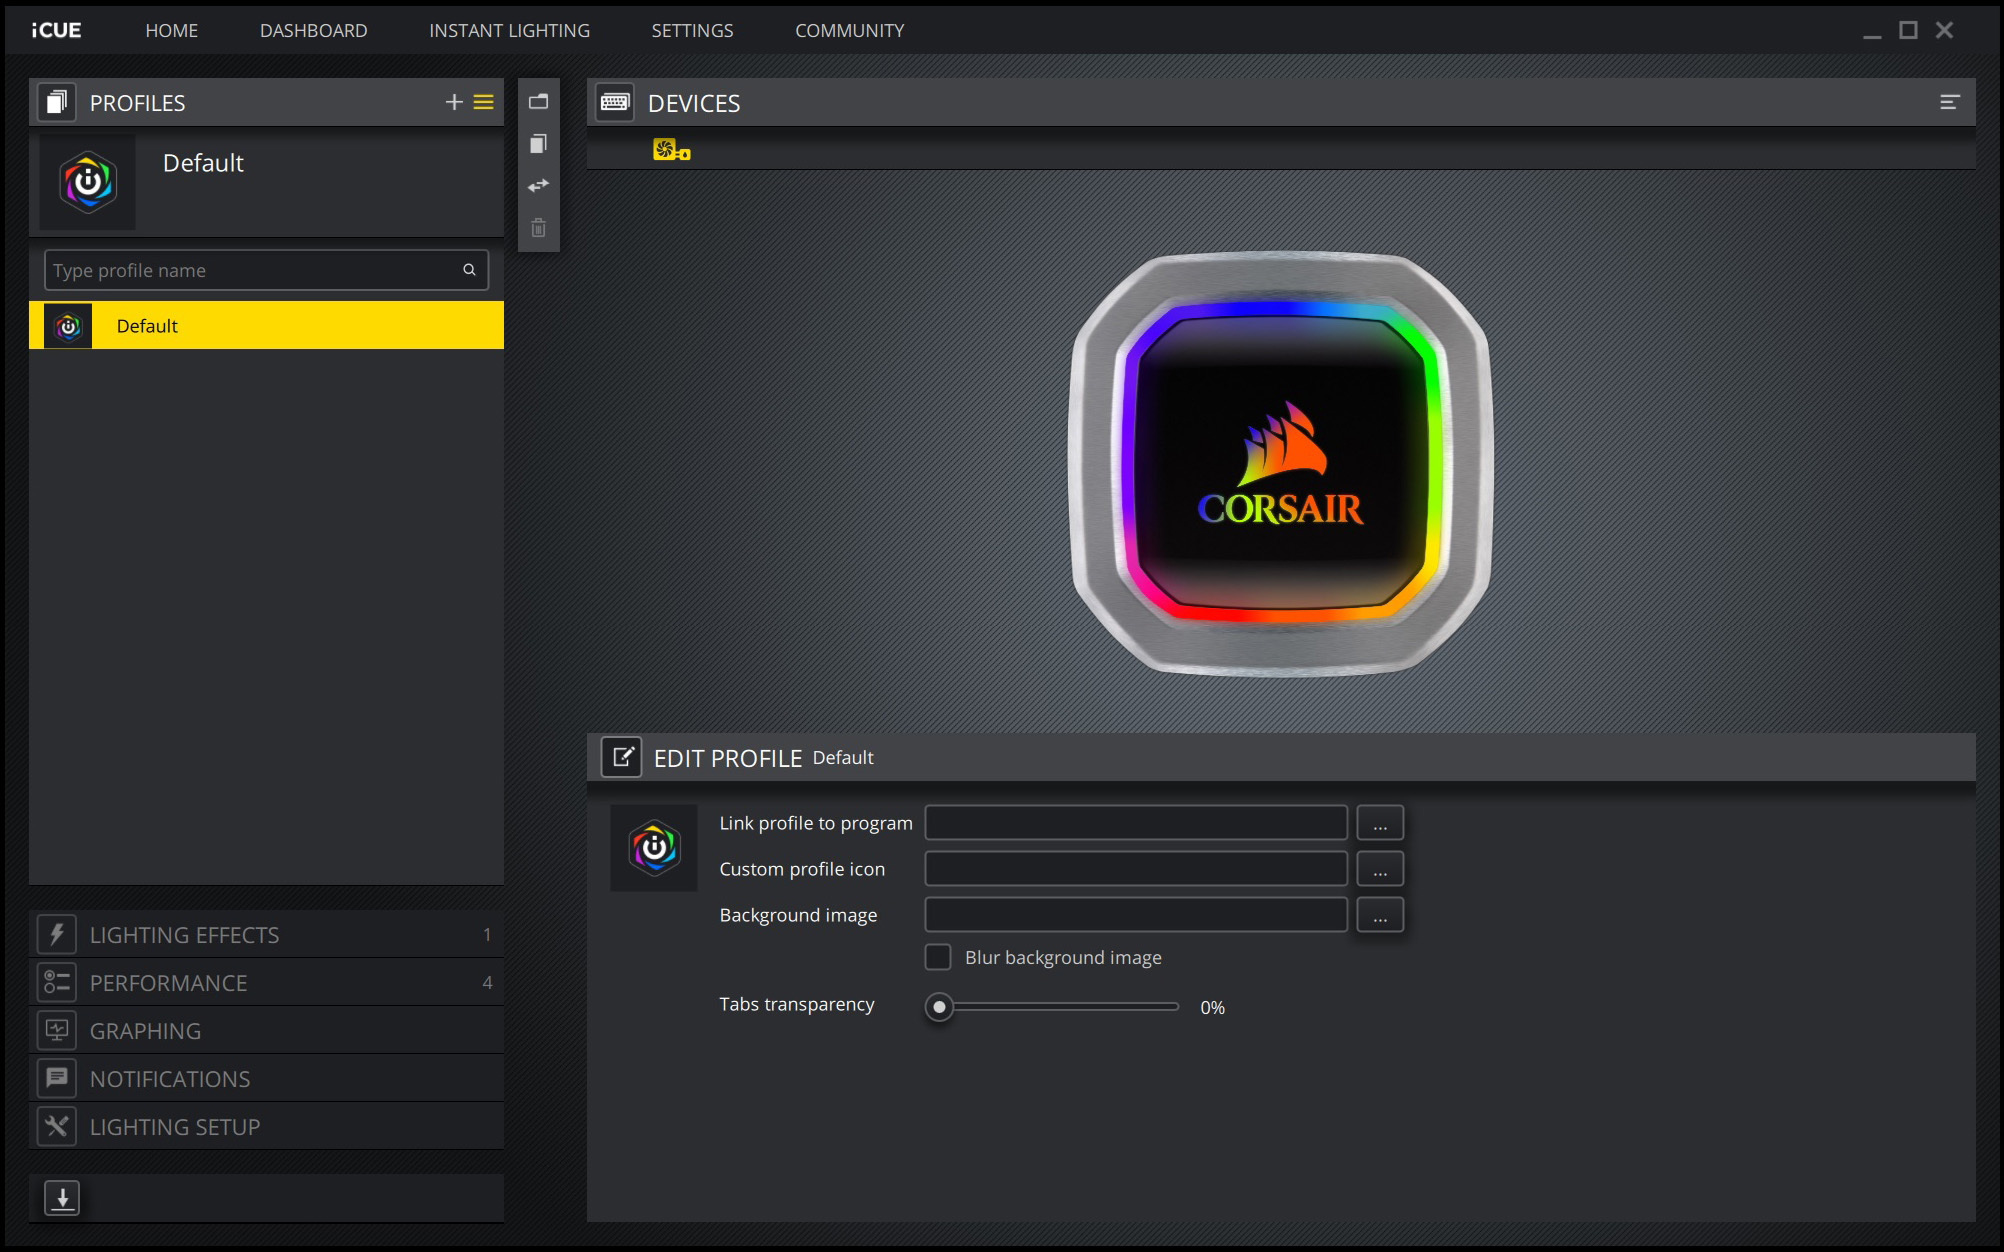
There are a huge range of RGB lighting effects and colour combinations to choose from since the H100i's ARGB LED areas can be configured in sync or individually. iCUE can be used to apply a range of fan/pump speeds in either pre-configured options such as ‘quiet', ‘balanced' or ‘extreme'. If preferred, there is an option to adjust fan speeds manually too.