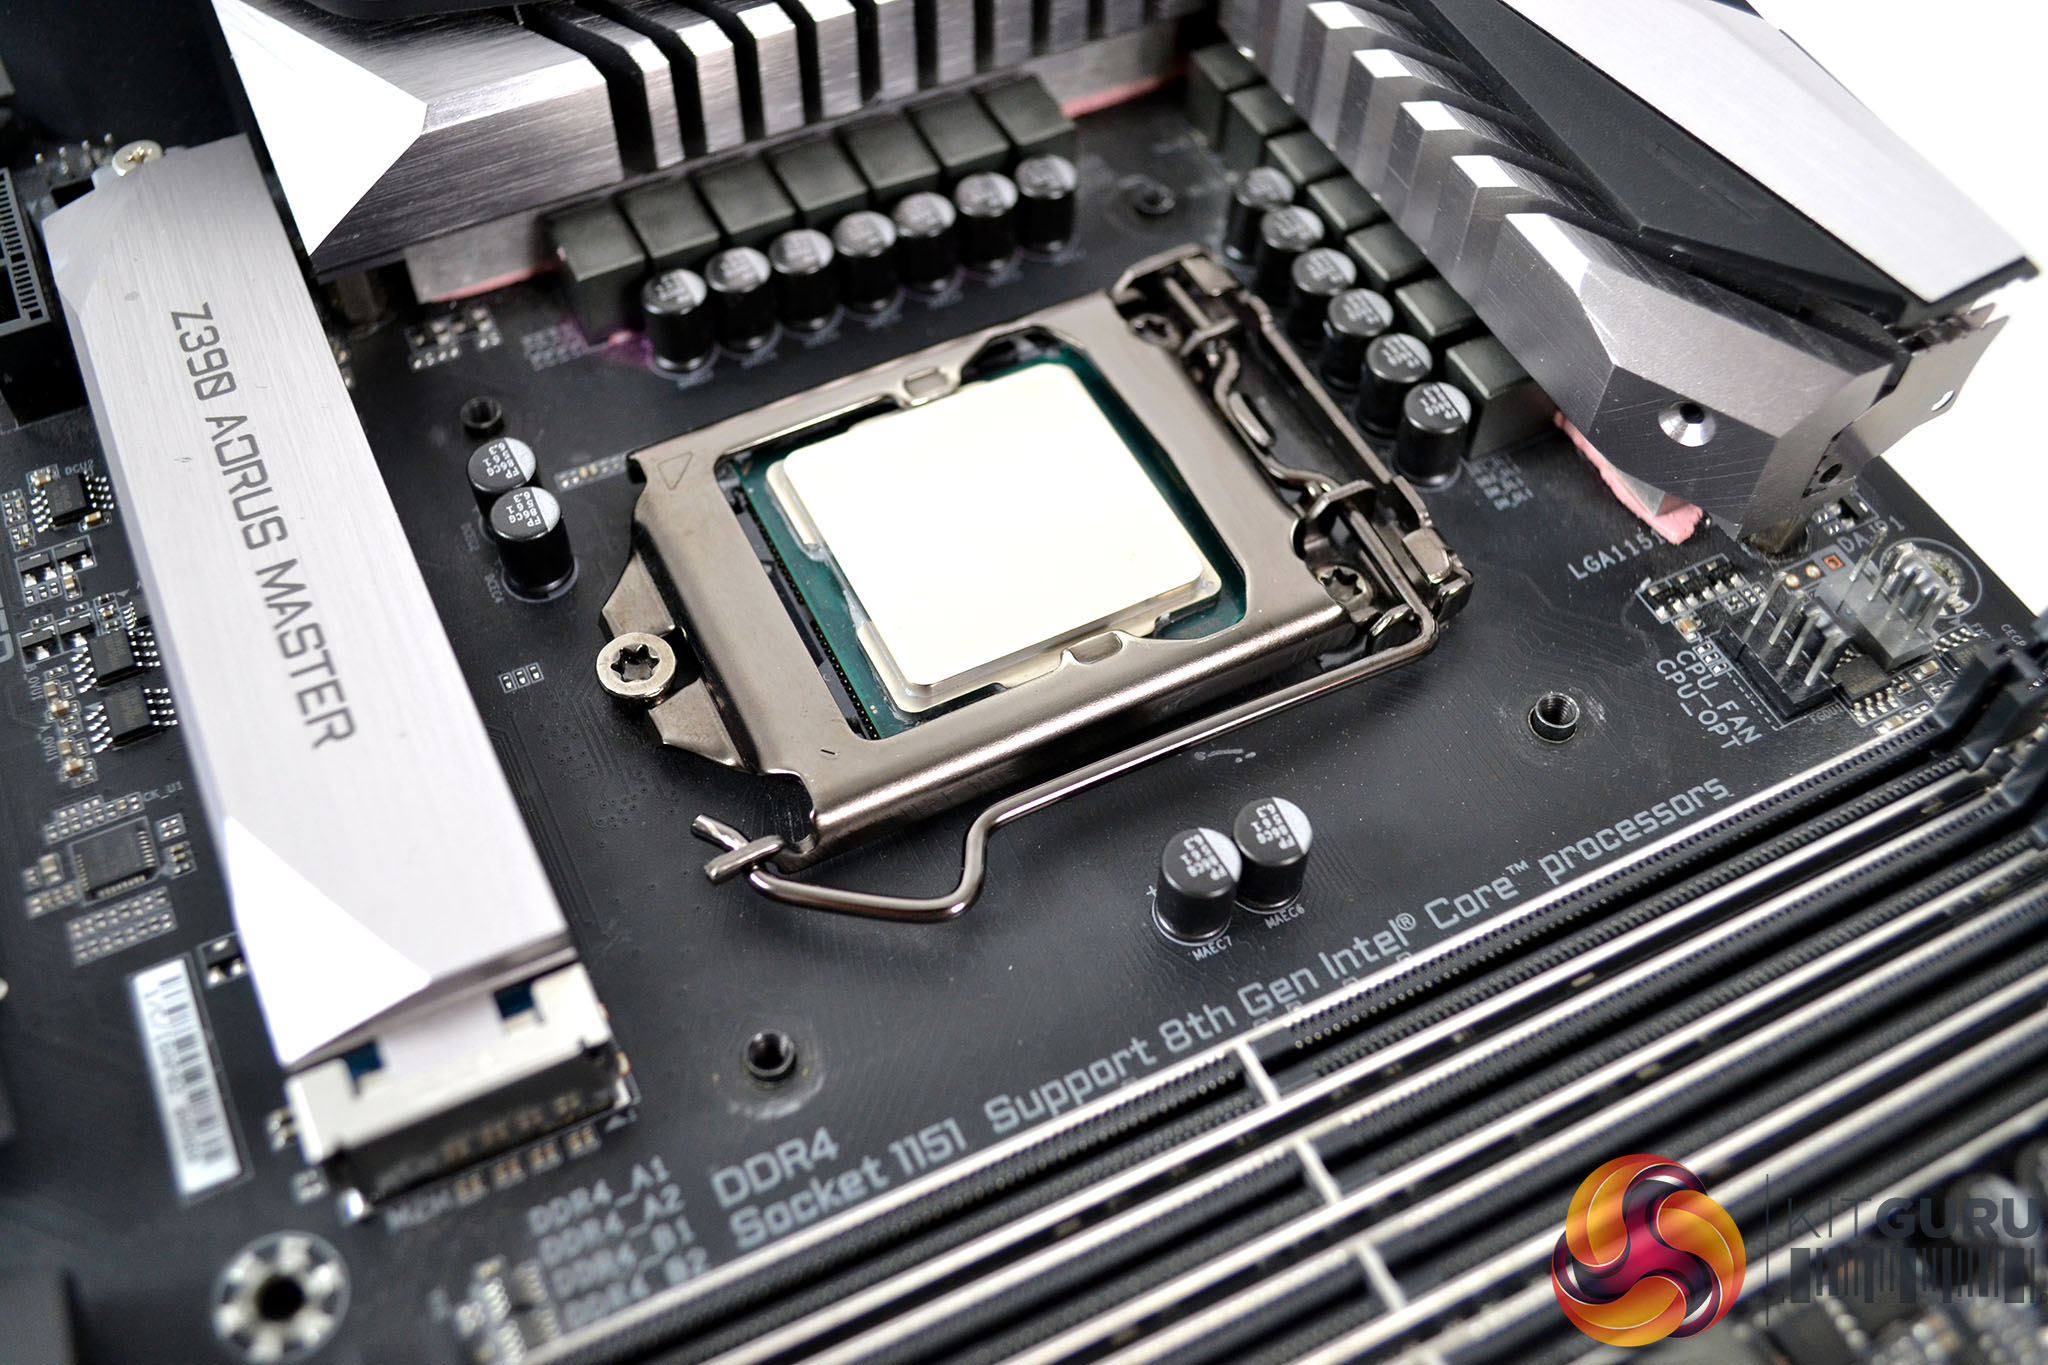
Our test system is Intel Z390 based, therefore, we will be following the relevant Intel 115X socket installation procedure.
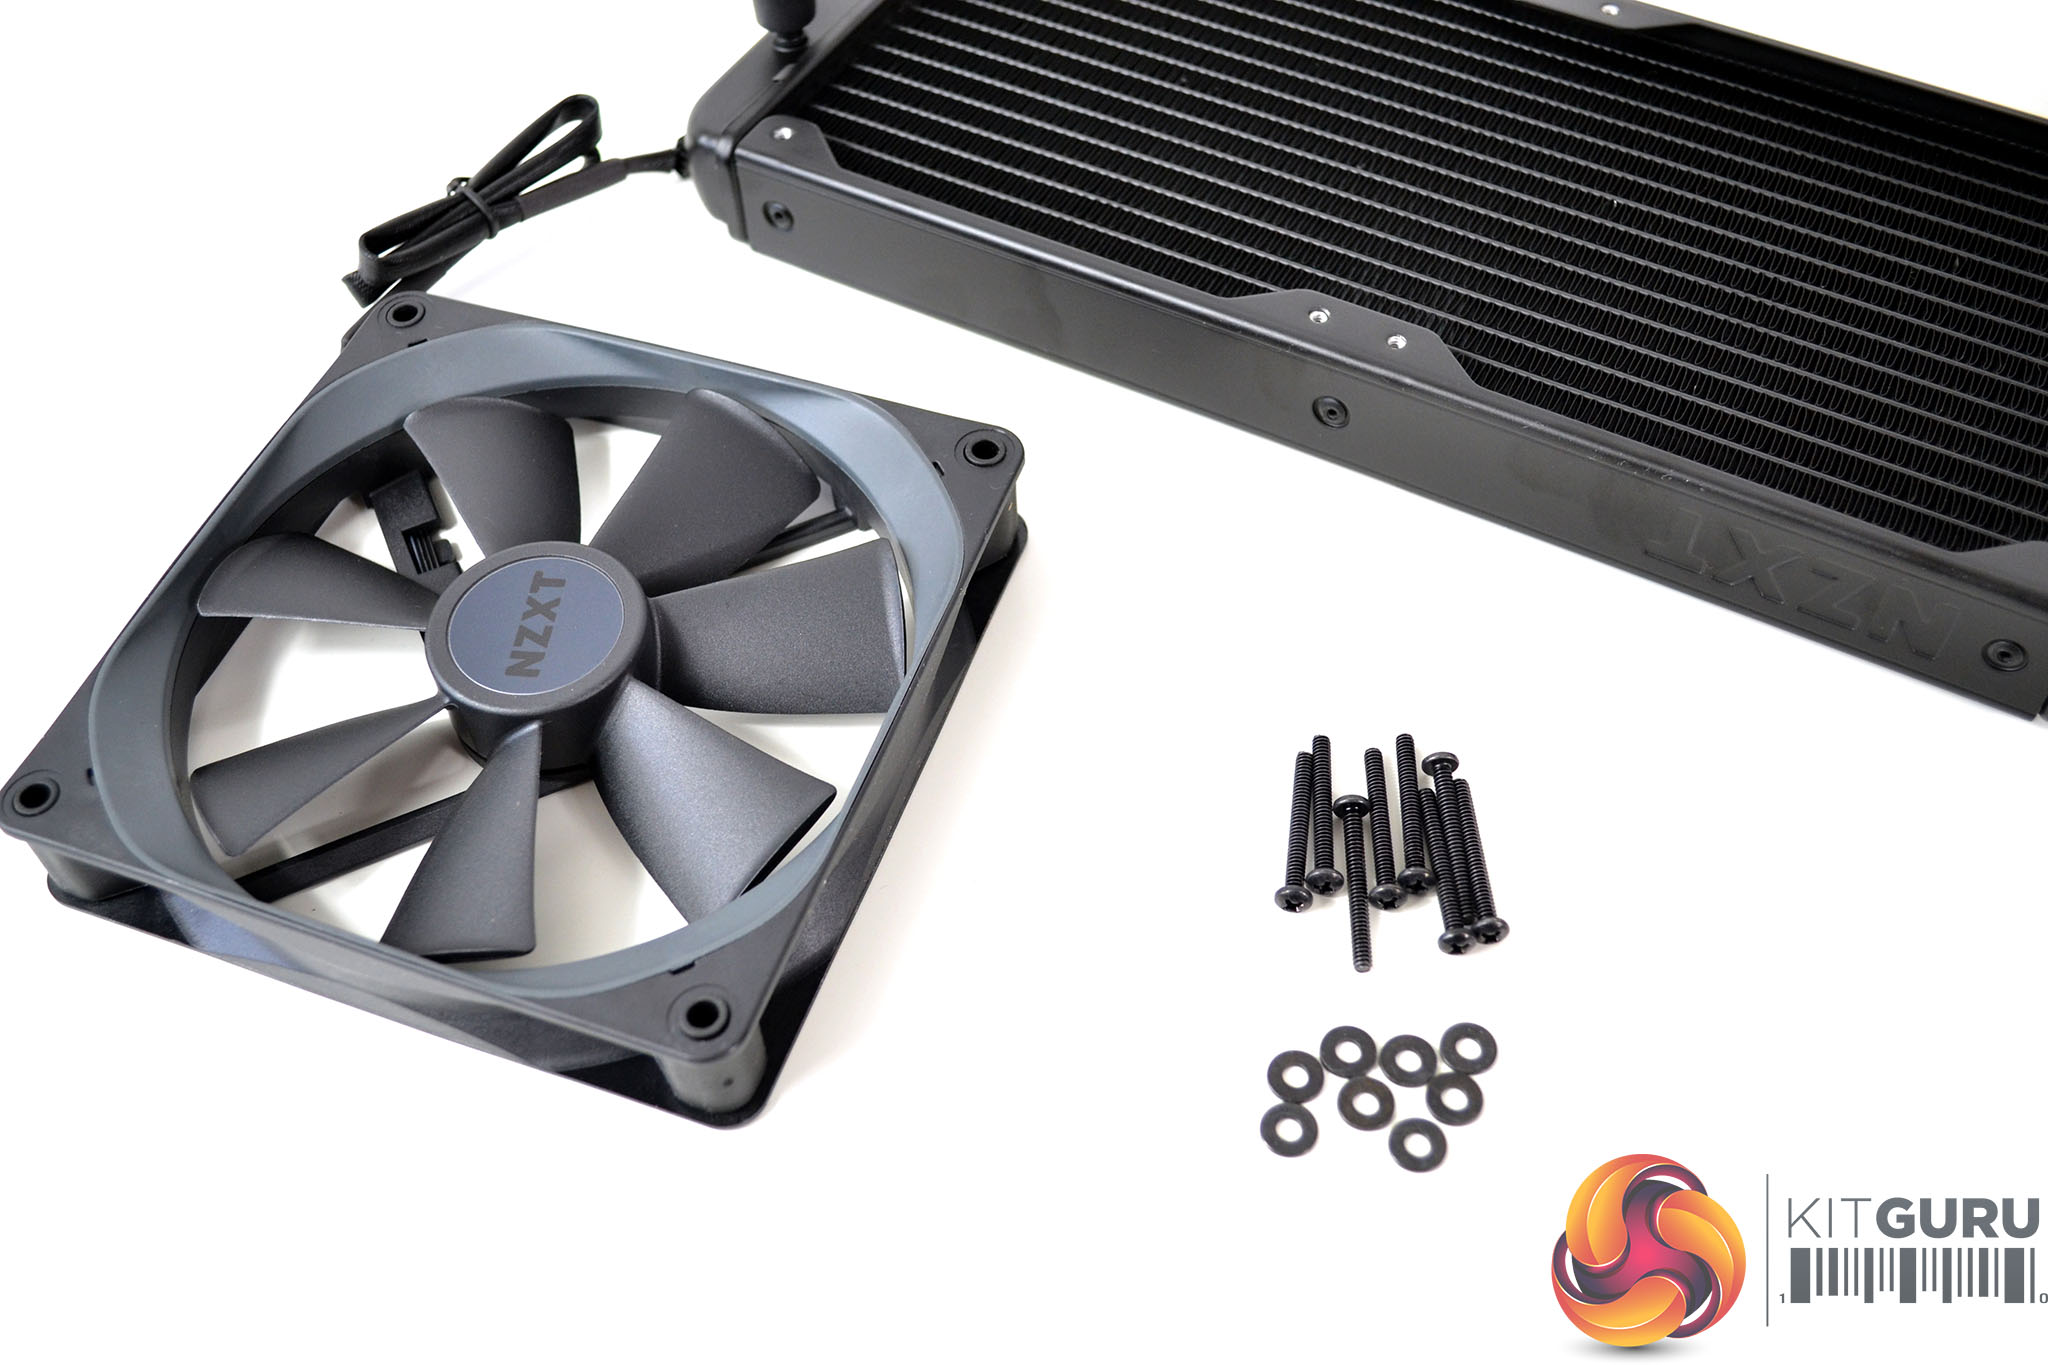
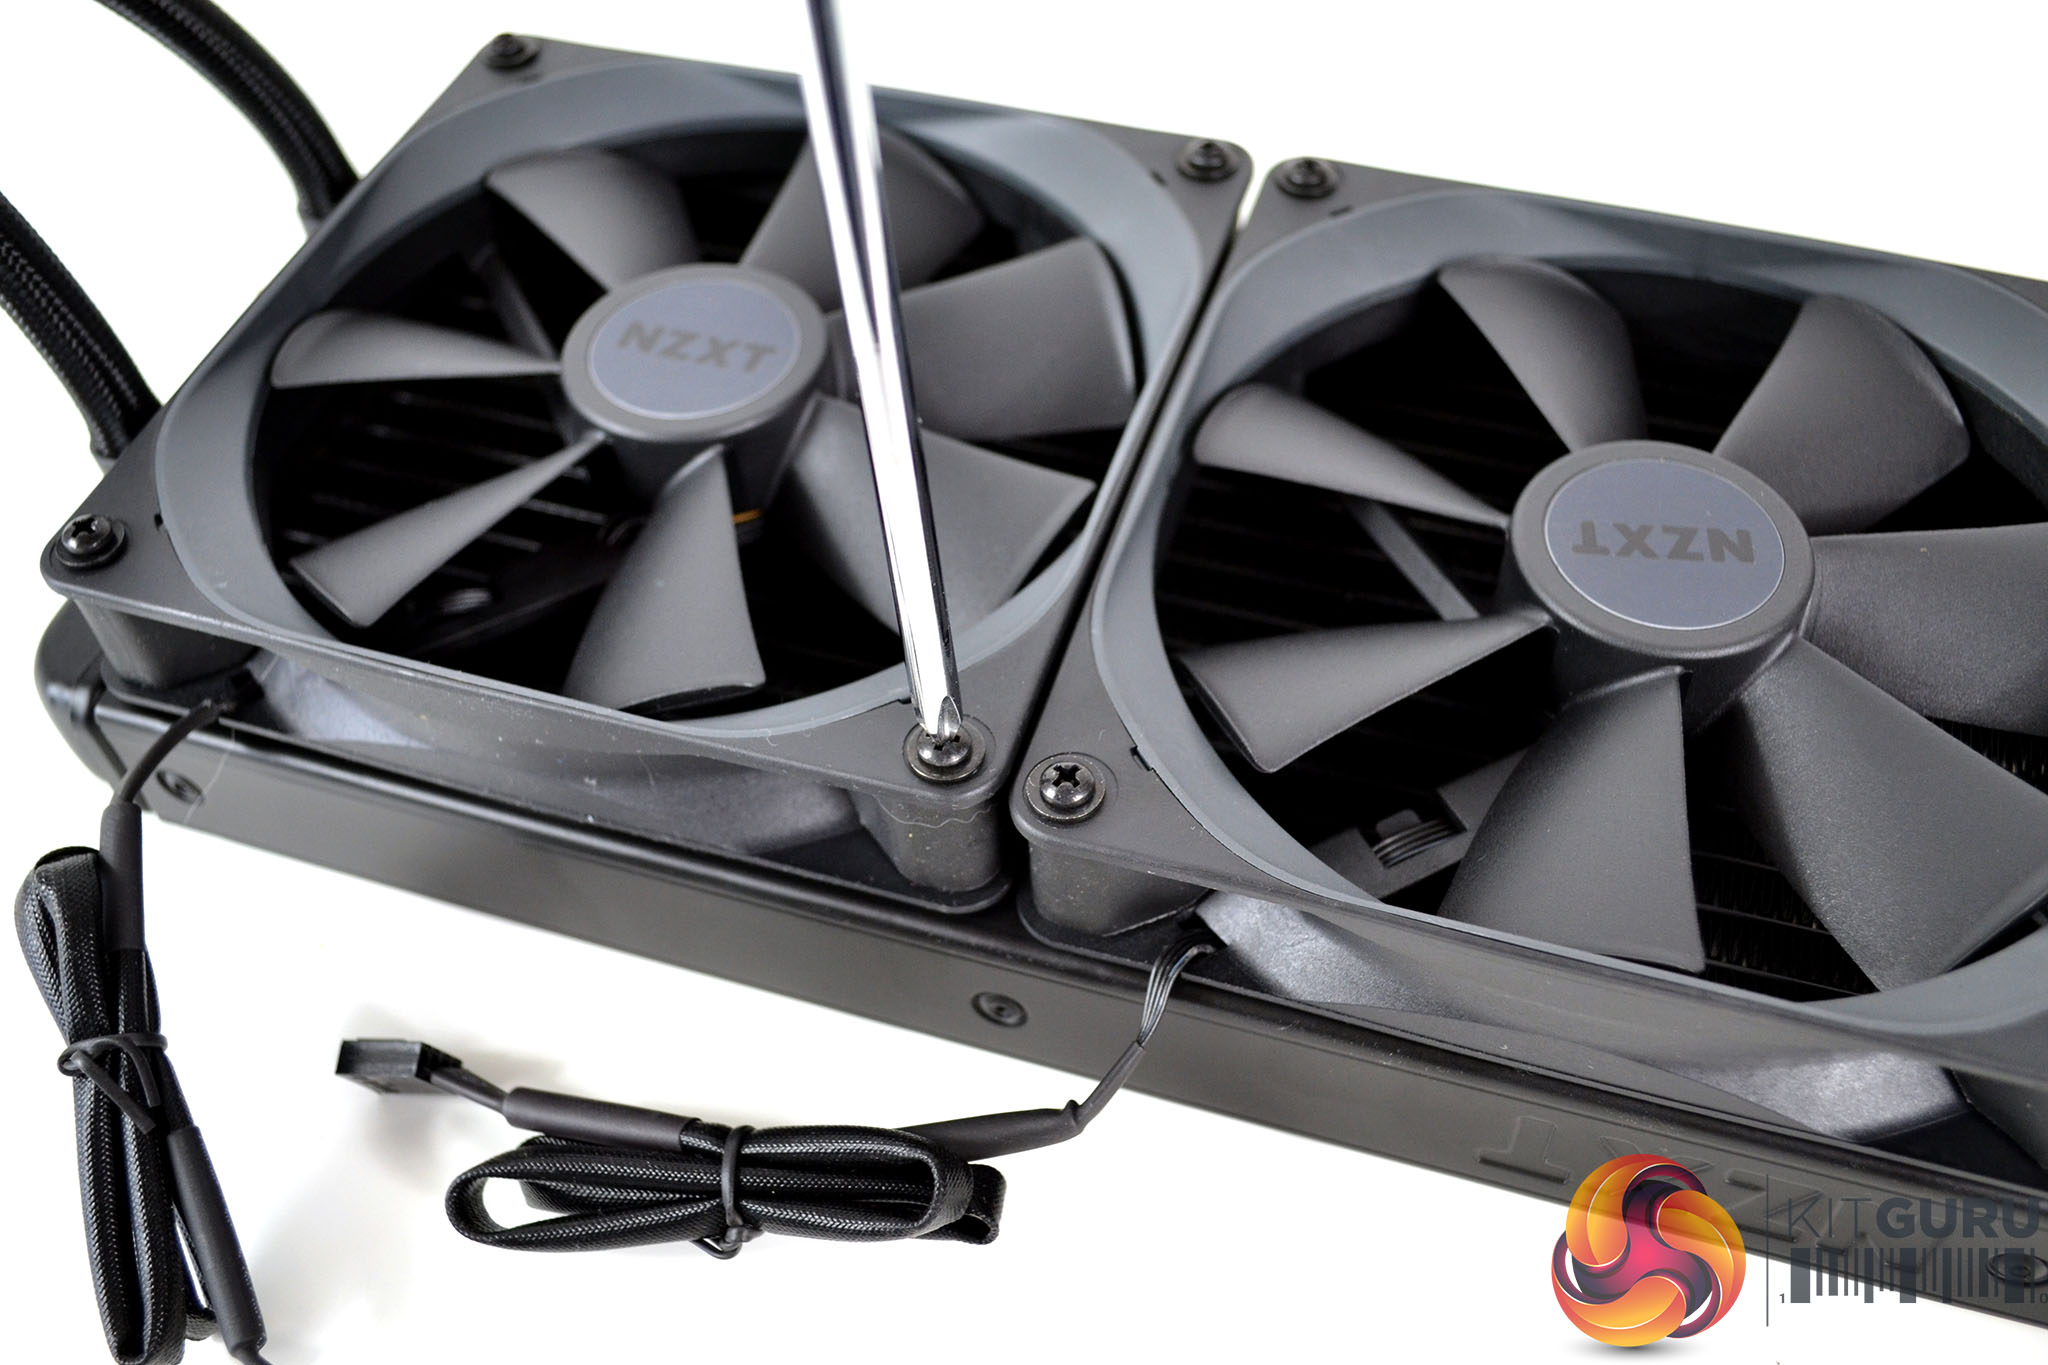
As usual with all-in-one CPU cooler installation, first, we fit the fans to the radiator. To do this, decide whether you want to run the fans in a push or pull configuration, we have chosen push, then using the long Philips head screws and washers provided, fix the fans down to the radiator making sure the screws are tight. Be careful not to overtighten the screws as this could potentially damage the small fine thread.
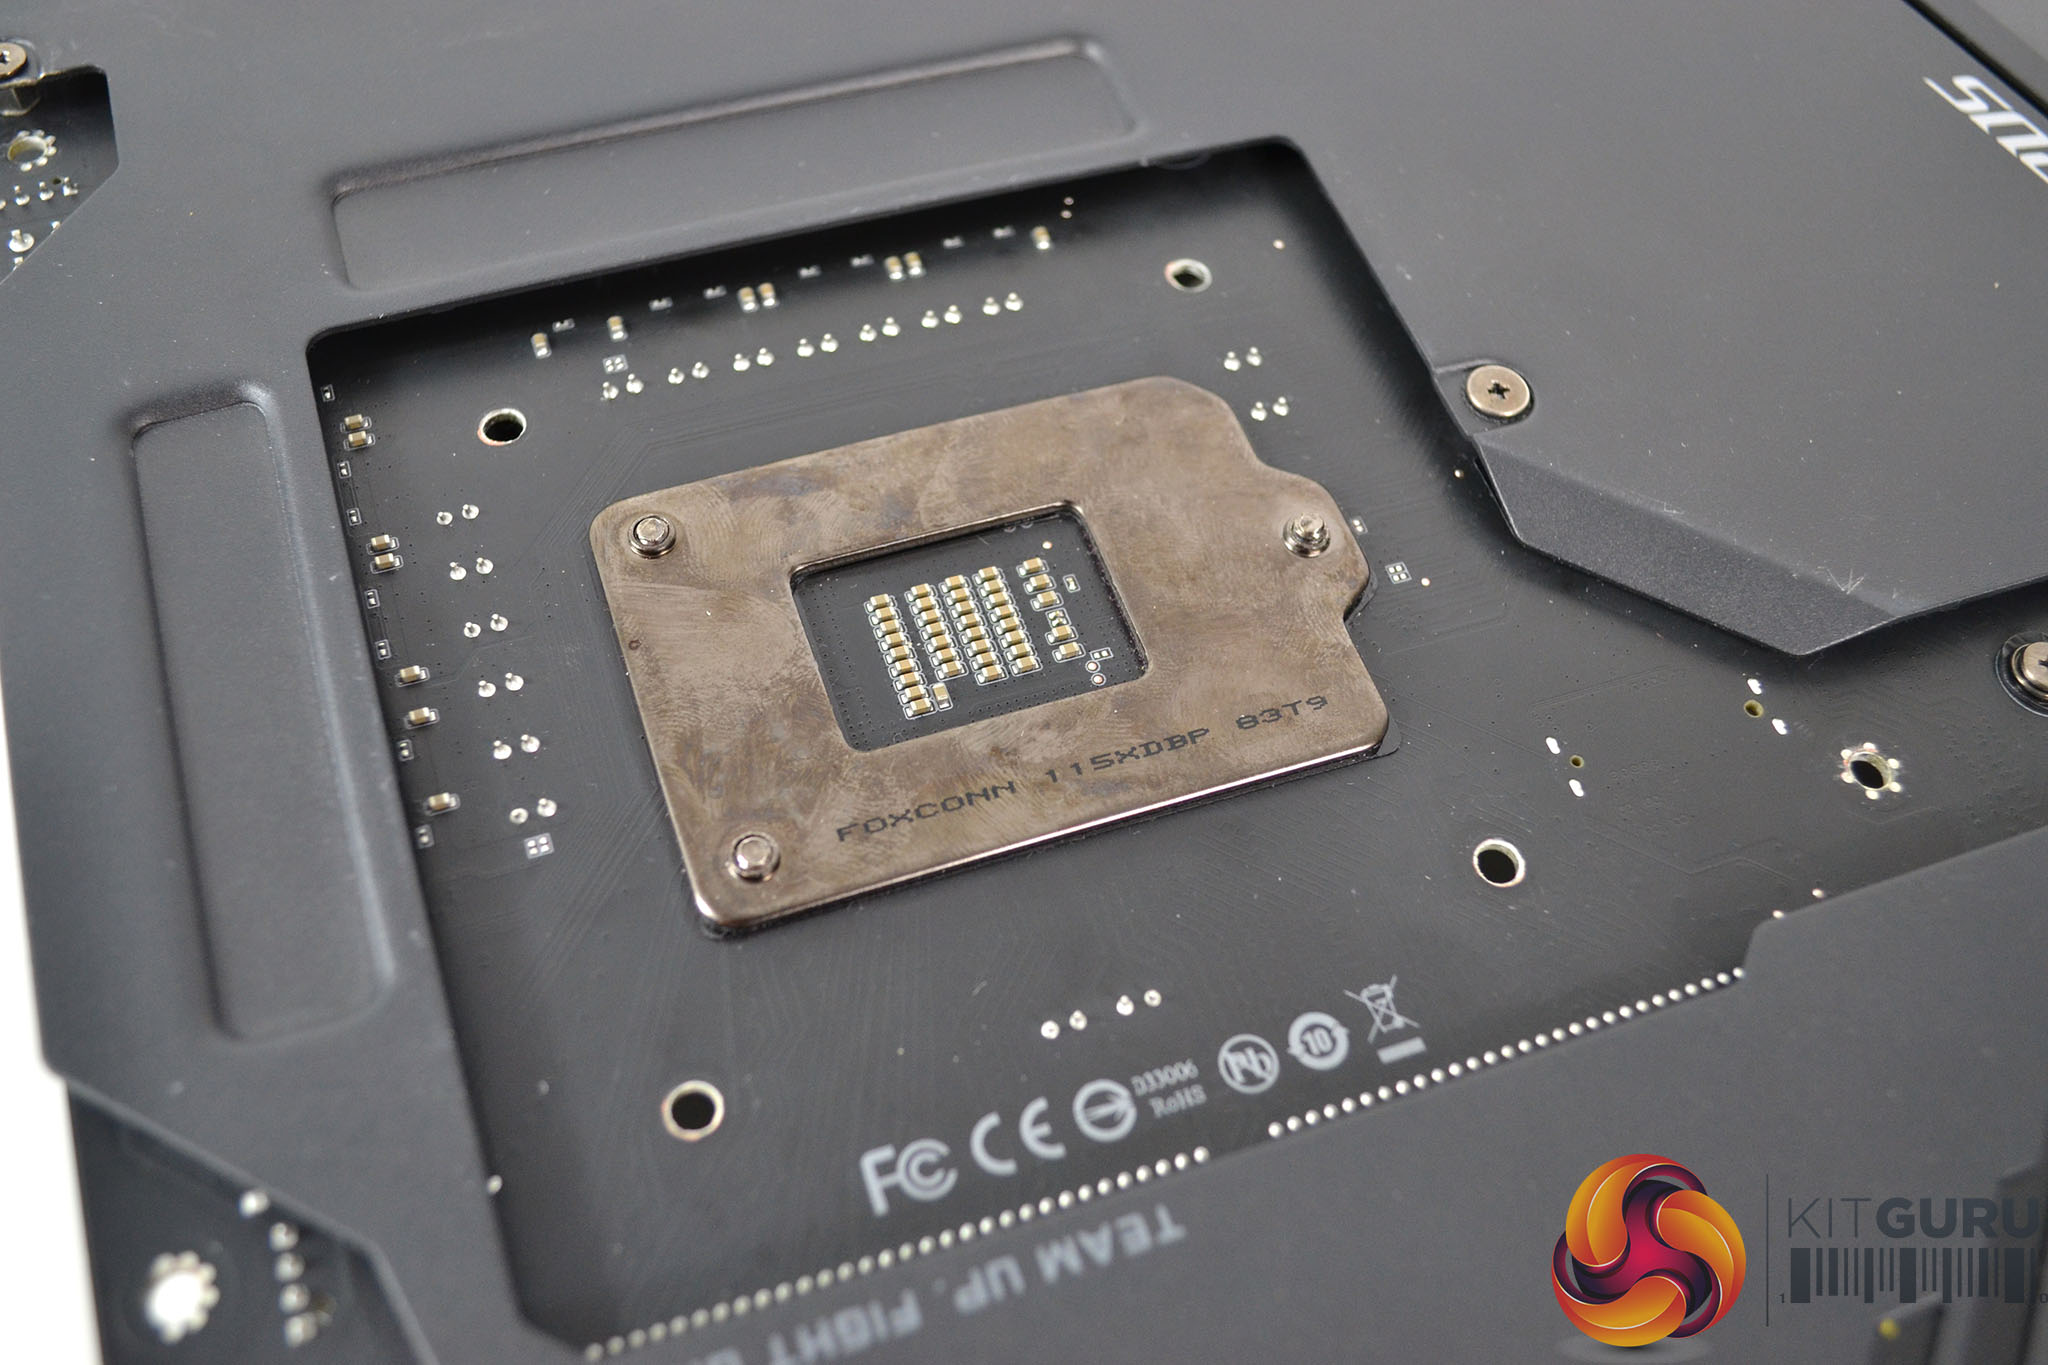

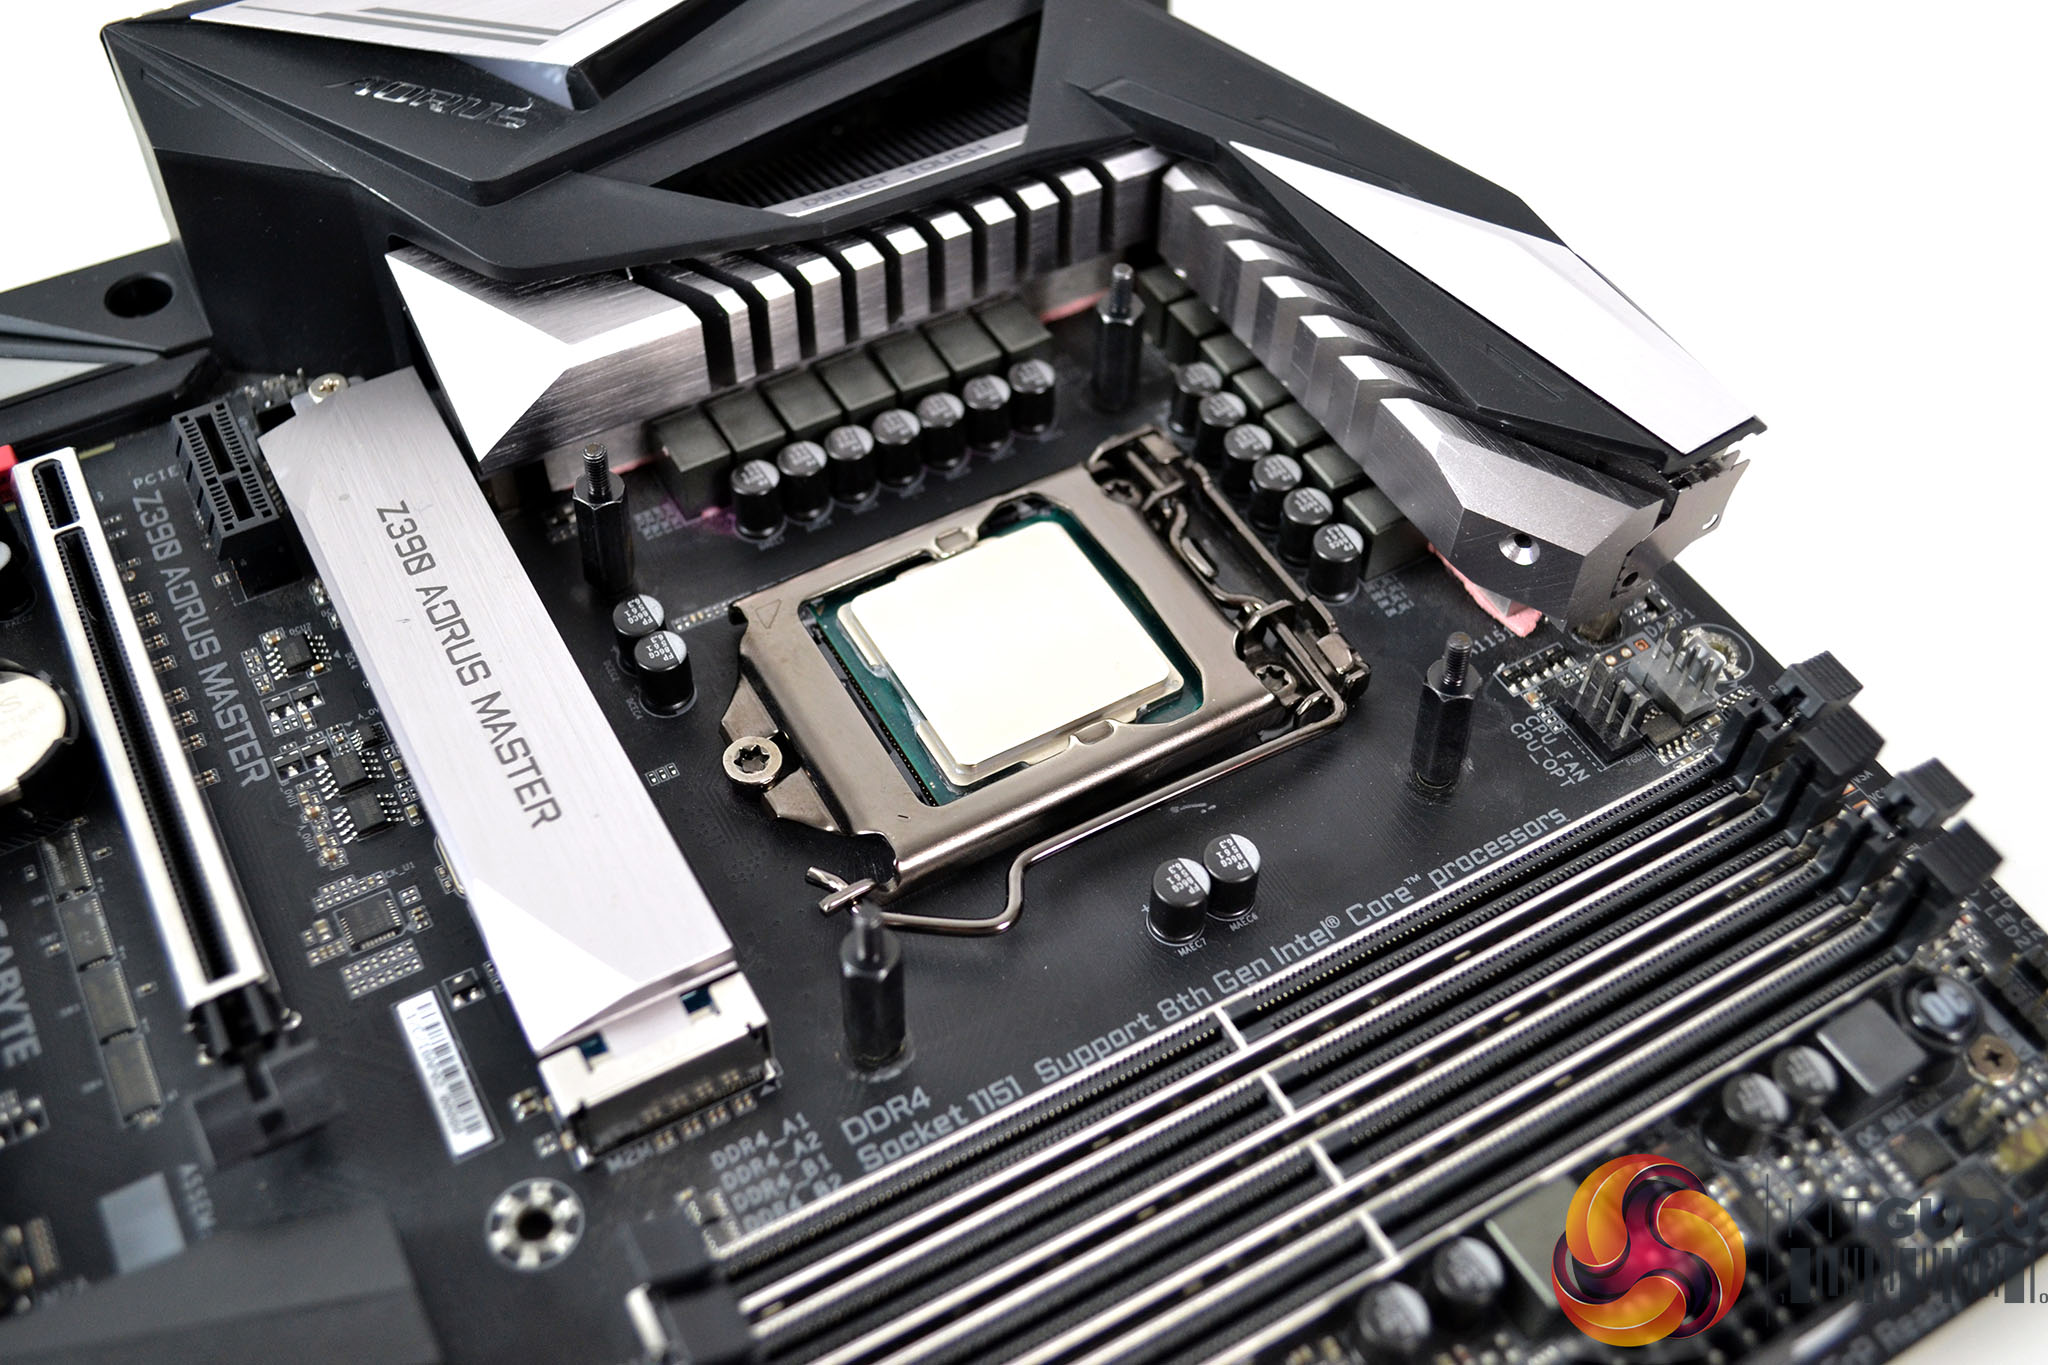
Once the fans are fitted, we can move on to preparing the motherboard with the relevant backplate. For AMD AM4 installation, the stock AMD backplate is utilised, for Intel installations, an additional retention backplate is used and is supplied with the coolers. To fit the backplate simply line it up with the holes on the rear of the motherboard and press the backplate in place.
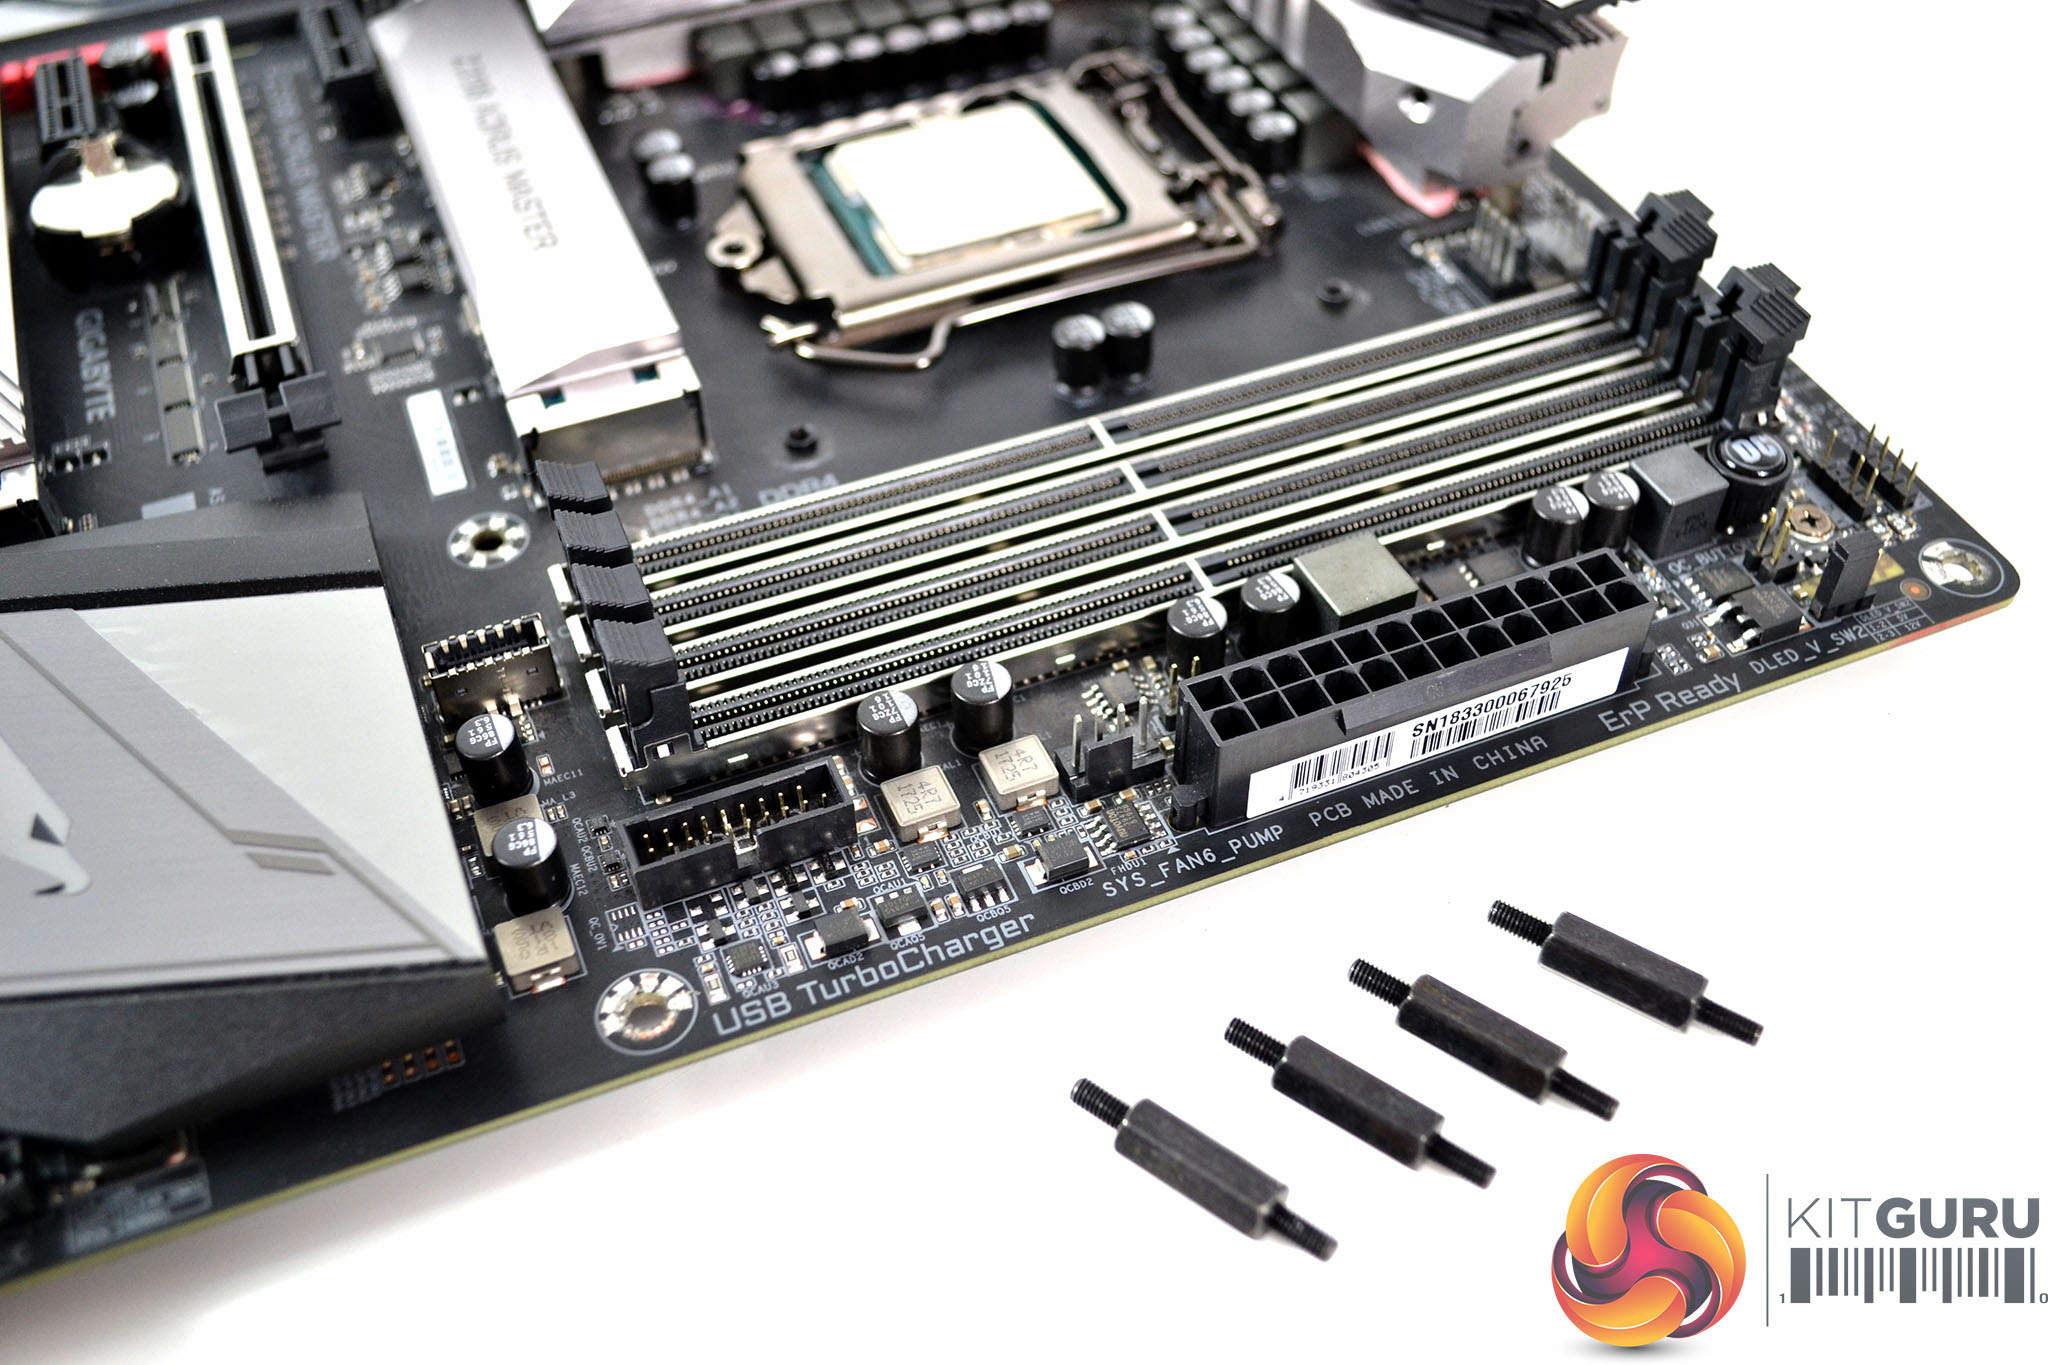
With the motherboard the correct way up, we can see the threads of the backplate slightly protruding through the motherboard holes. Take the four Intel standoffs and screw them into the backplate threads by hand until firmly secured in place. If access is difficult due to large VRM heatsinks, needle nose pliers could be used to tighten the standoffs, but again, be careful not to over-tighten.
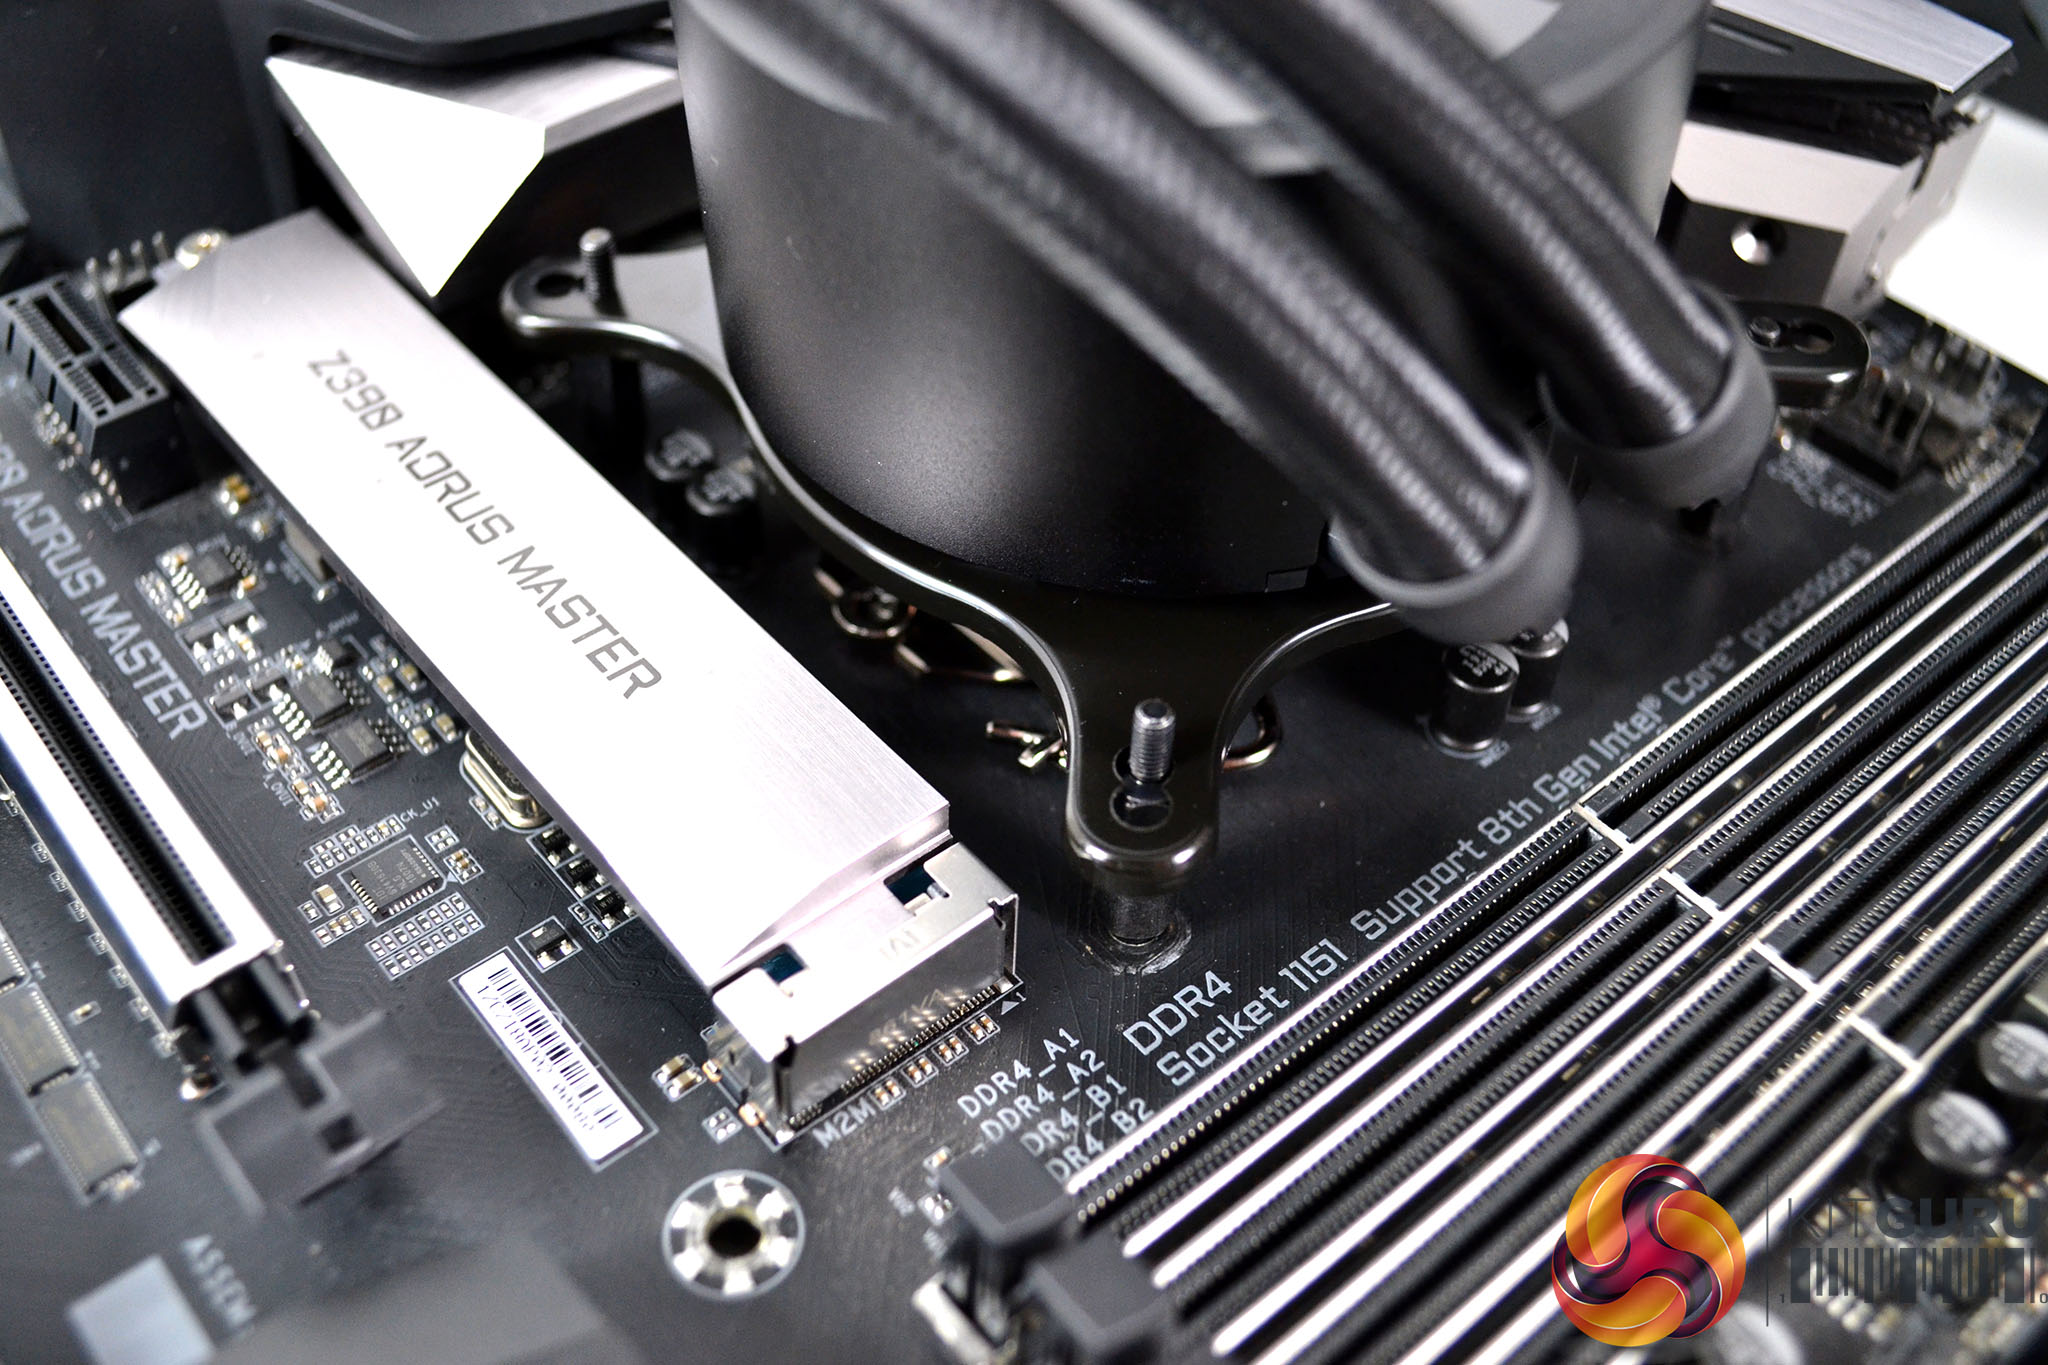
For Intel installation, the next step is just a case of making sure the upper mounting bracket is located correctly on the CPU block and then lowering the CPU block down over the CPU with the mounting bracket holes aligned with the standoffs.
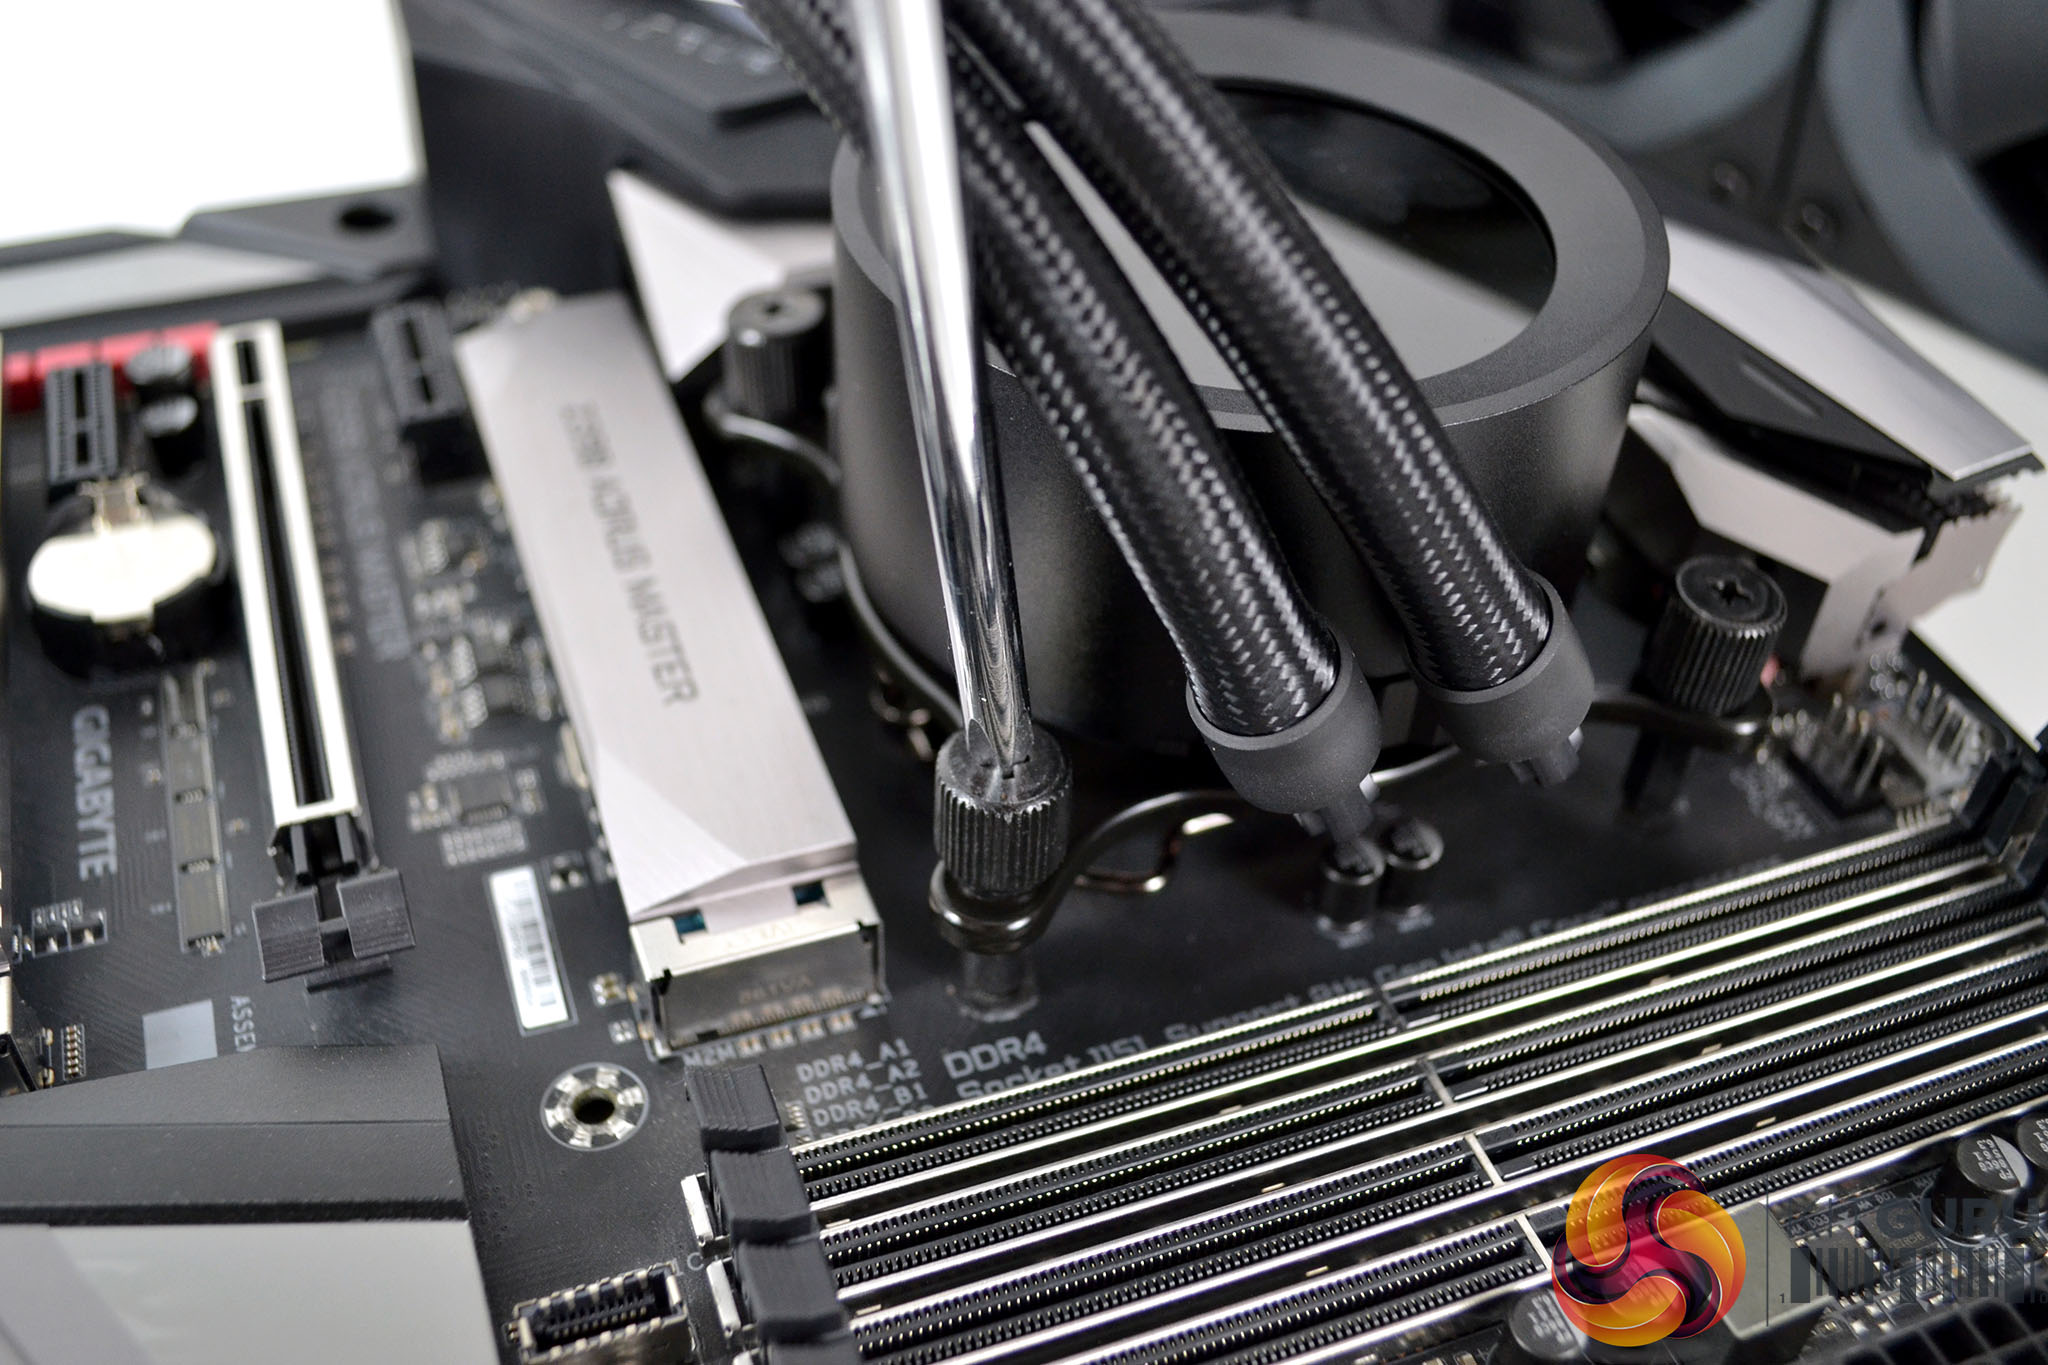
Once the CPU block is correctly positioned over the standoffs, use the four thumbscrews to tighten the CPU block in position progressively using an X shape pattern to evenly spread pressure over the CPU for an optimal block to CPU heat spreader contact. Final tightening can be achieved using a Philips screwdriver if necessary.
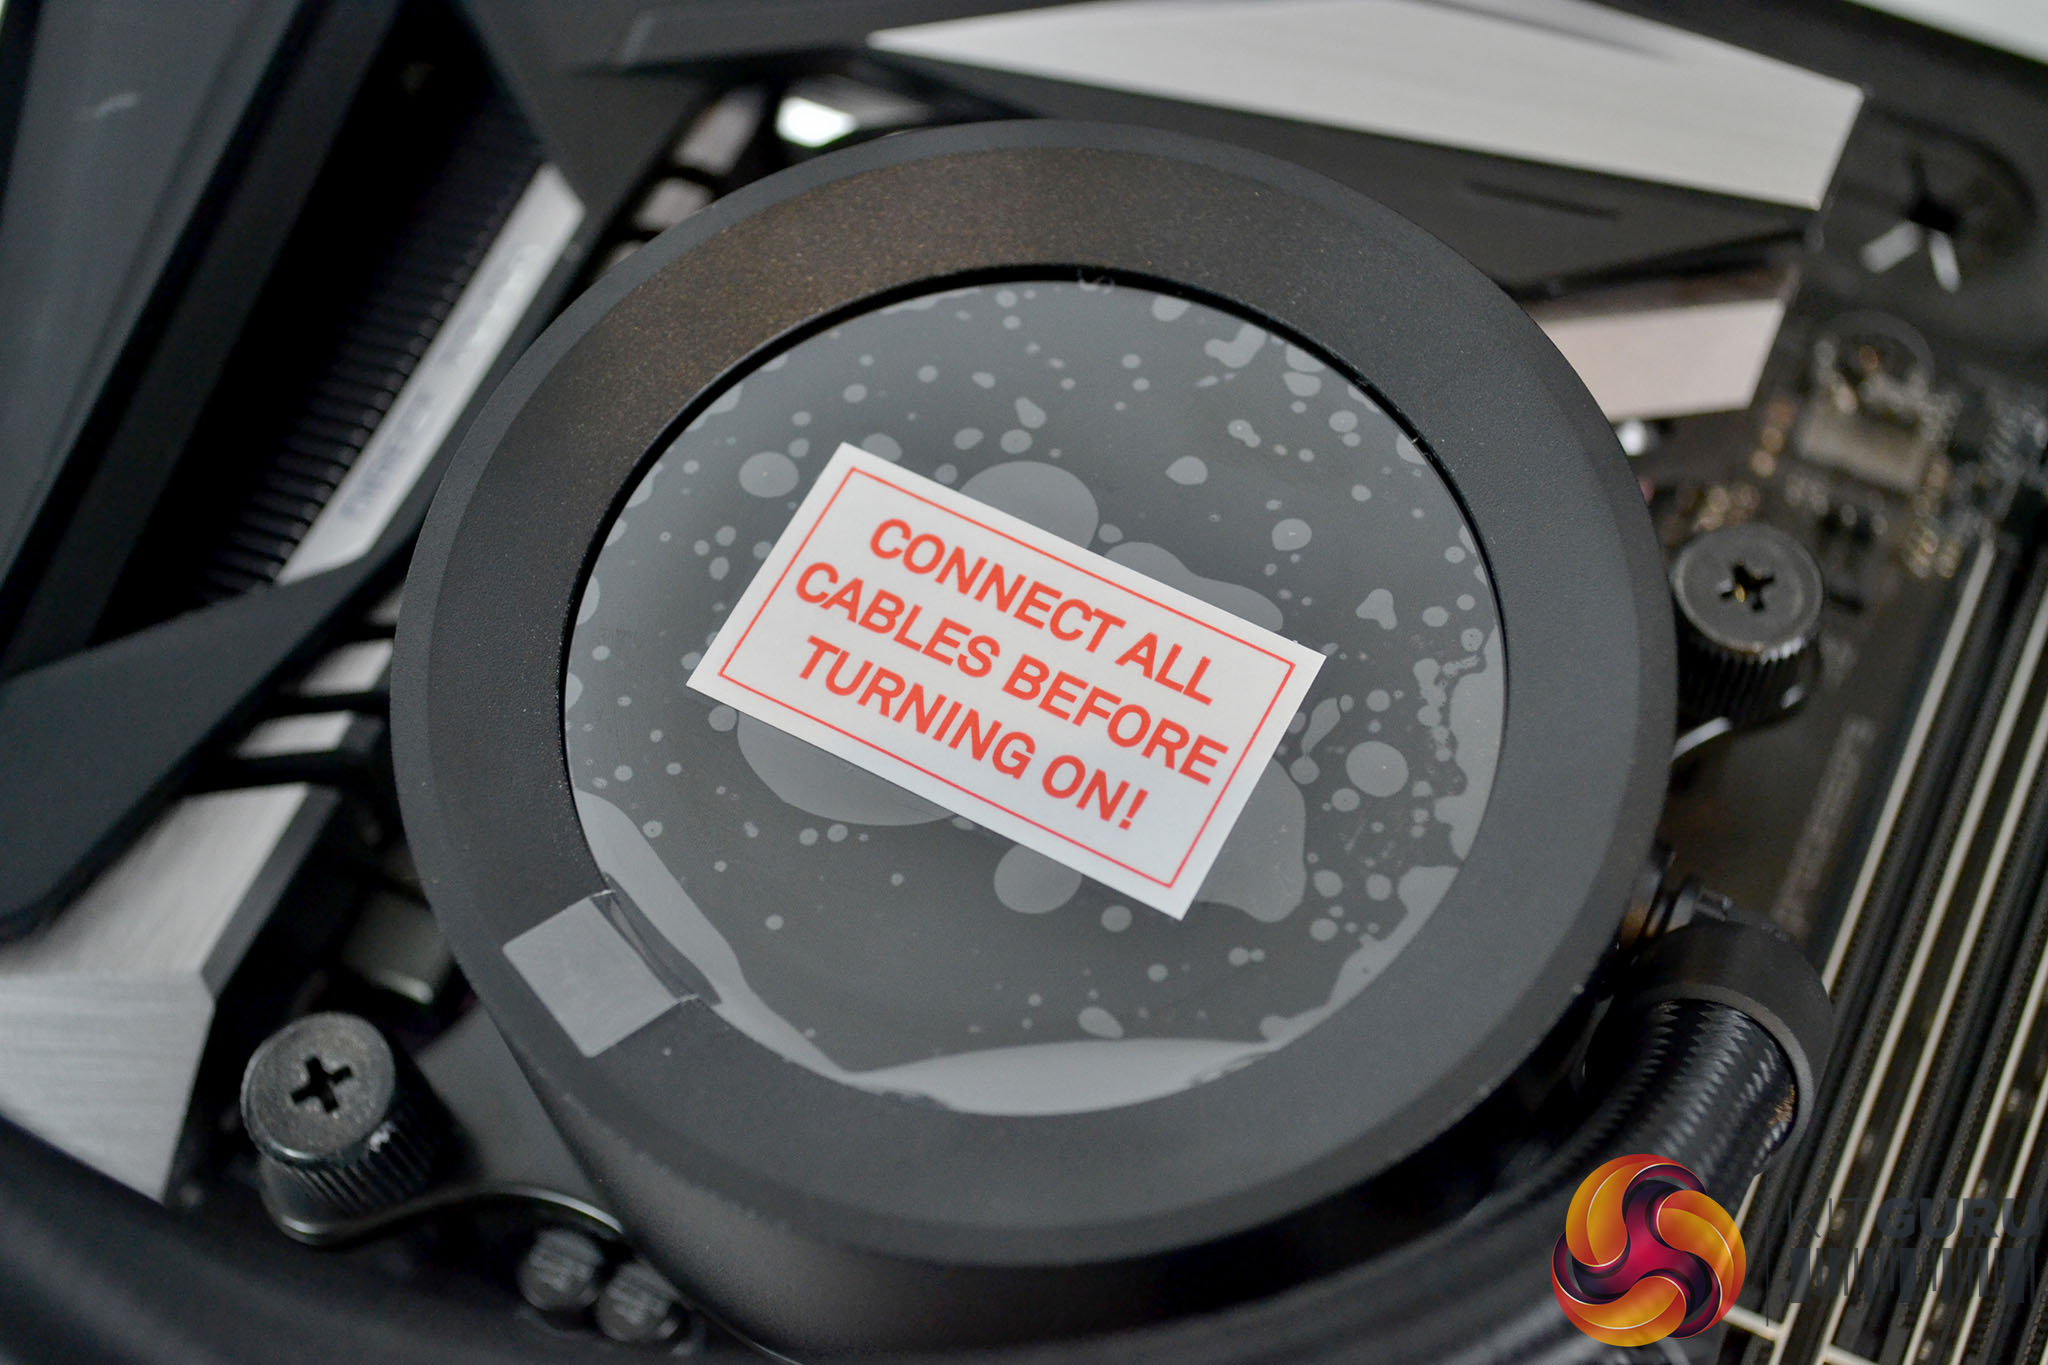
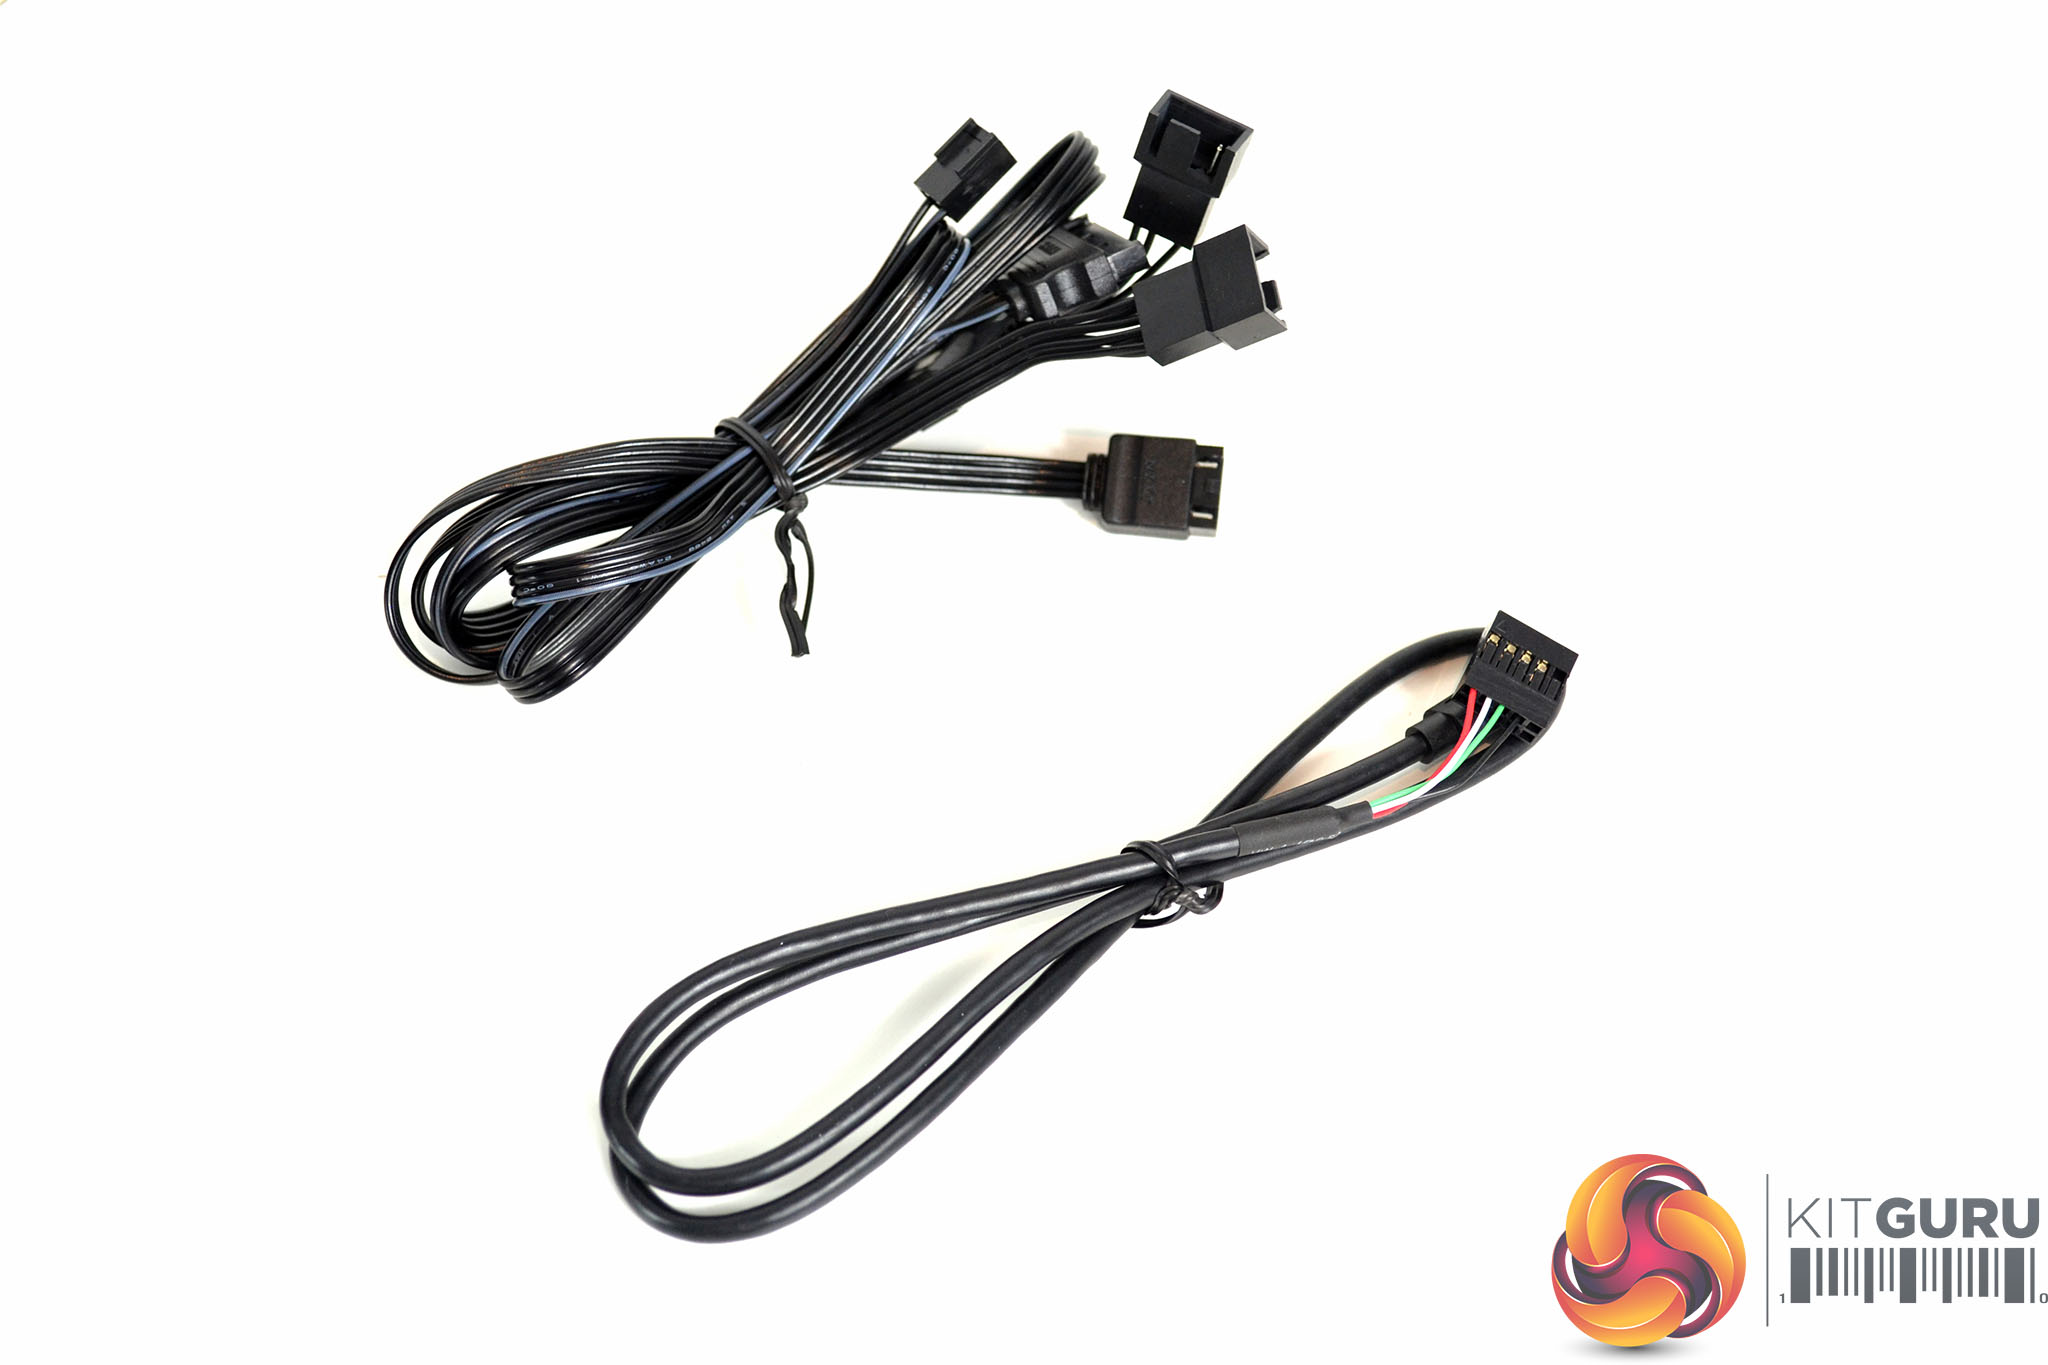
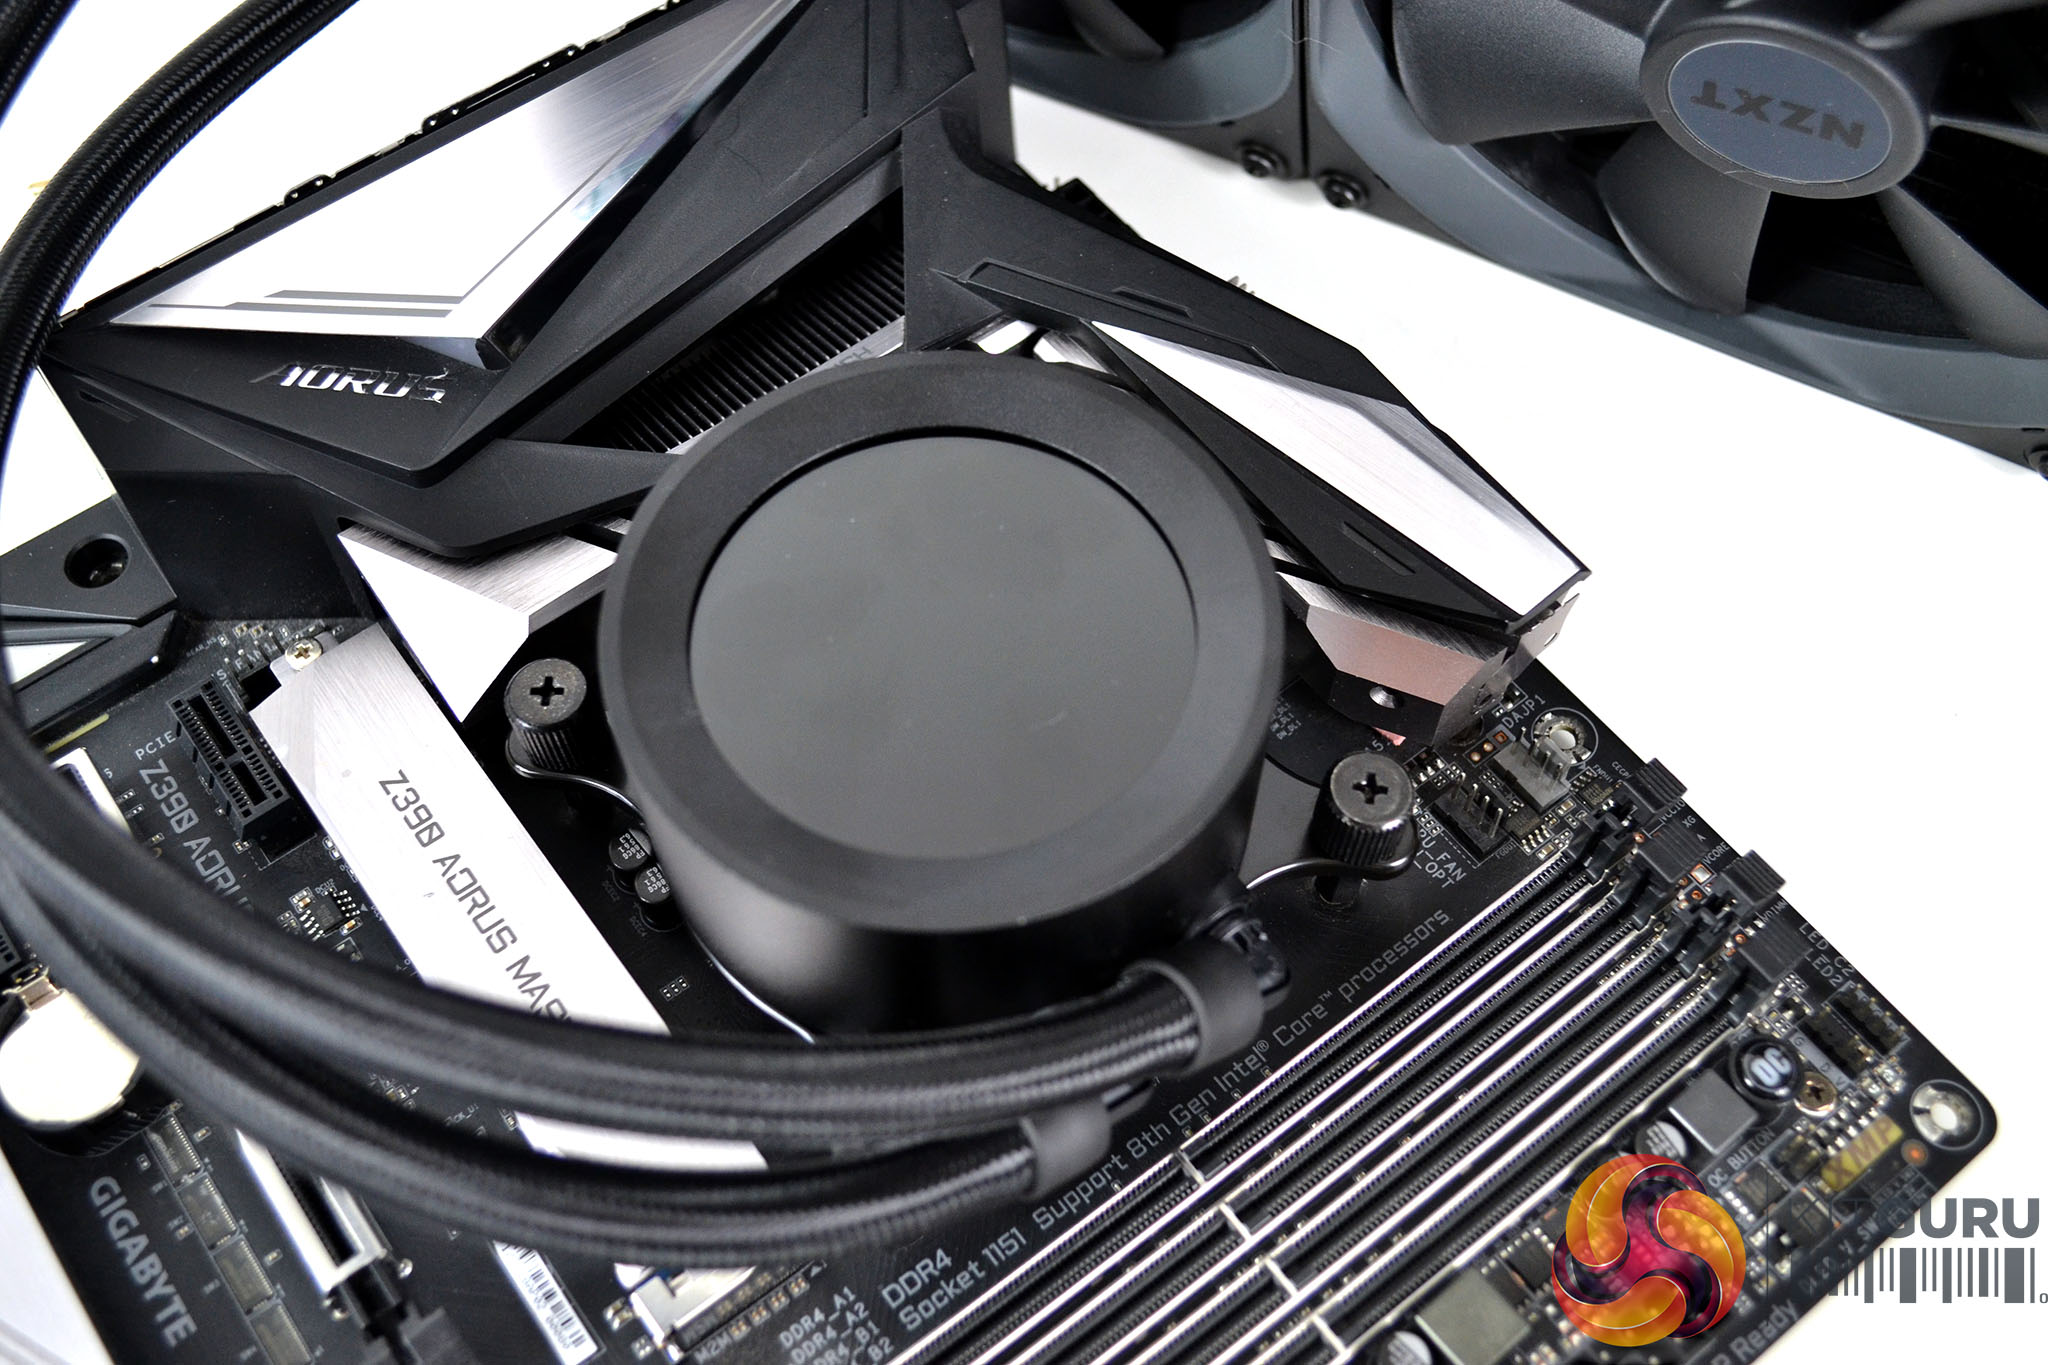
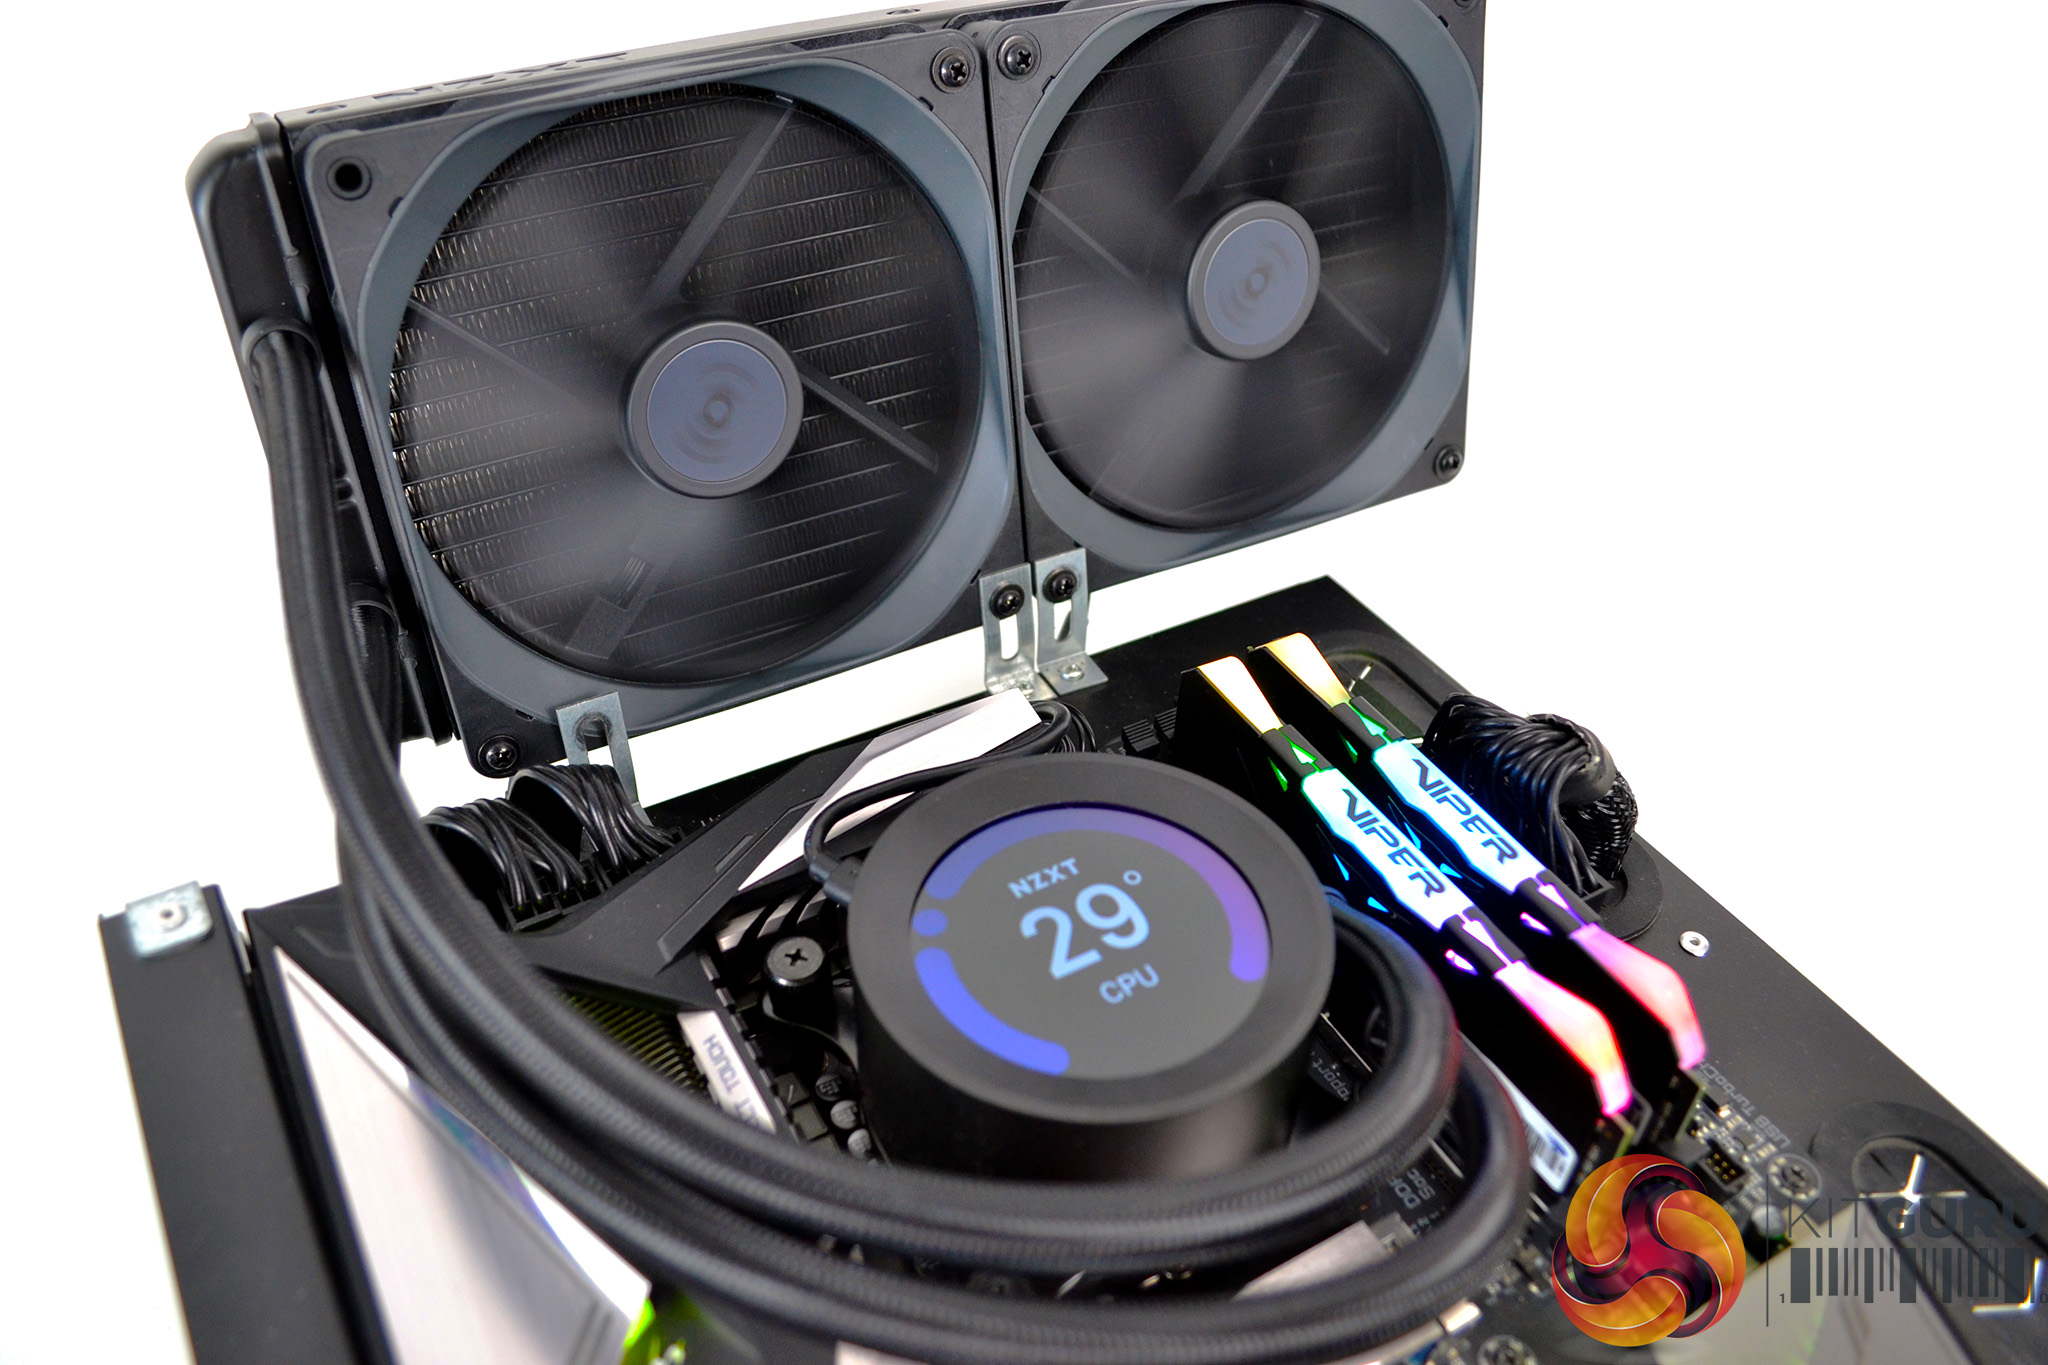
A warning label on the CPU block suggests that all cables must be connected prior to powering the system up, which is the next stage of the installation process. There are two cables that need to be connected directly to the CPU block, one cable with a fan splitter (Z63 model) power cable (10-pin X73, 14-pin Z63) and a micro USB cable that connects to a motherboard header for NZXT CAM software control.
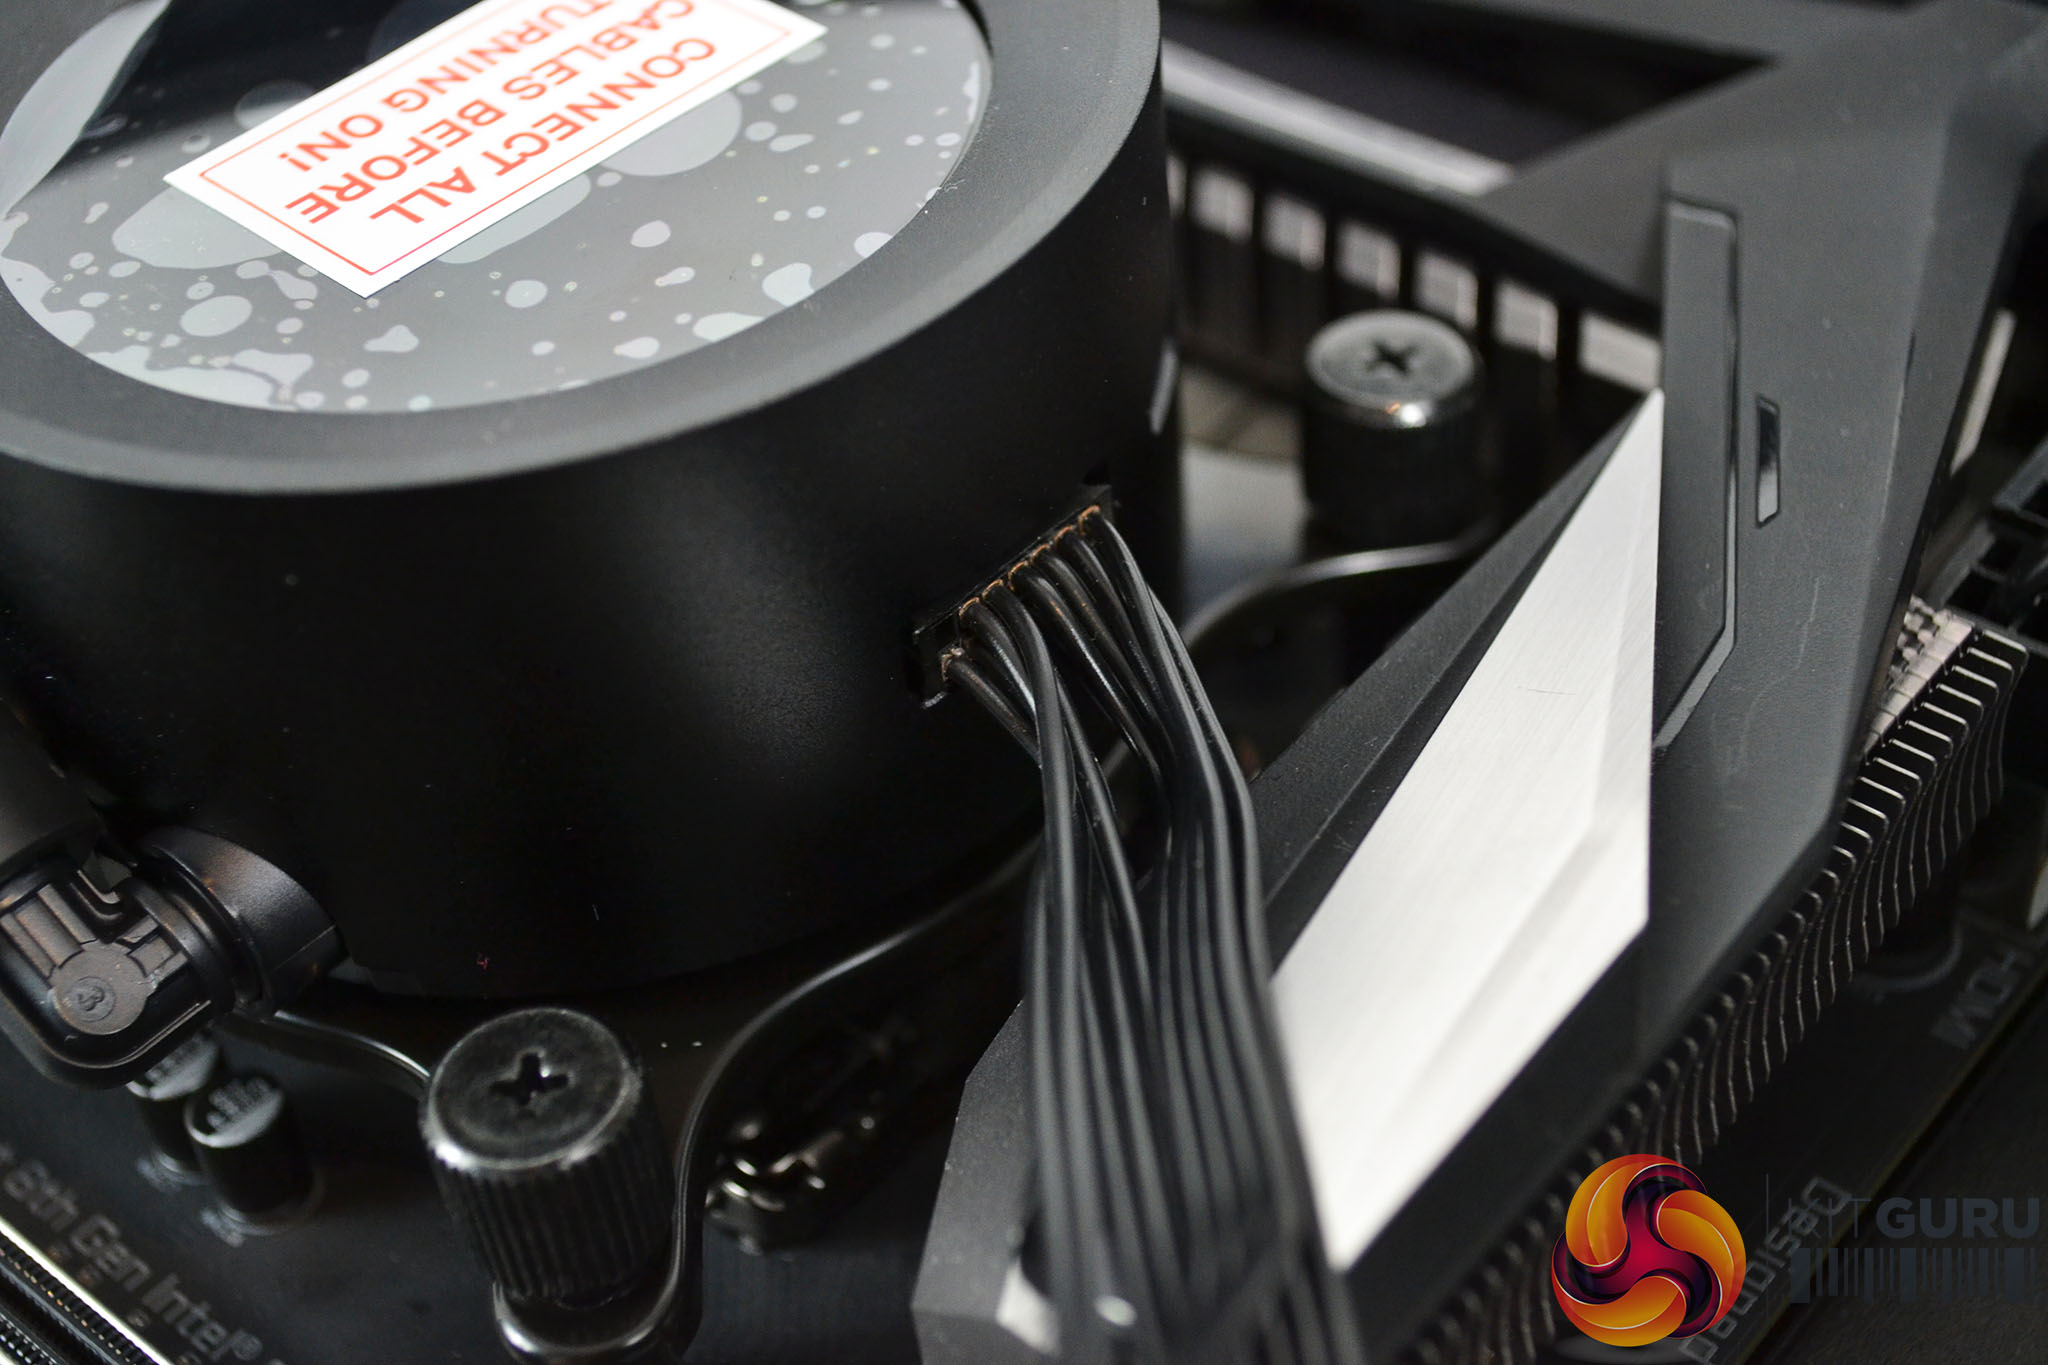
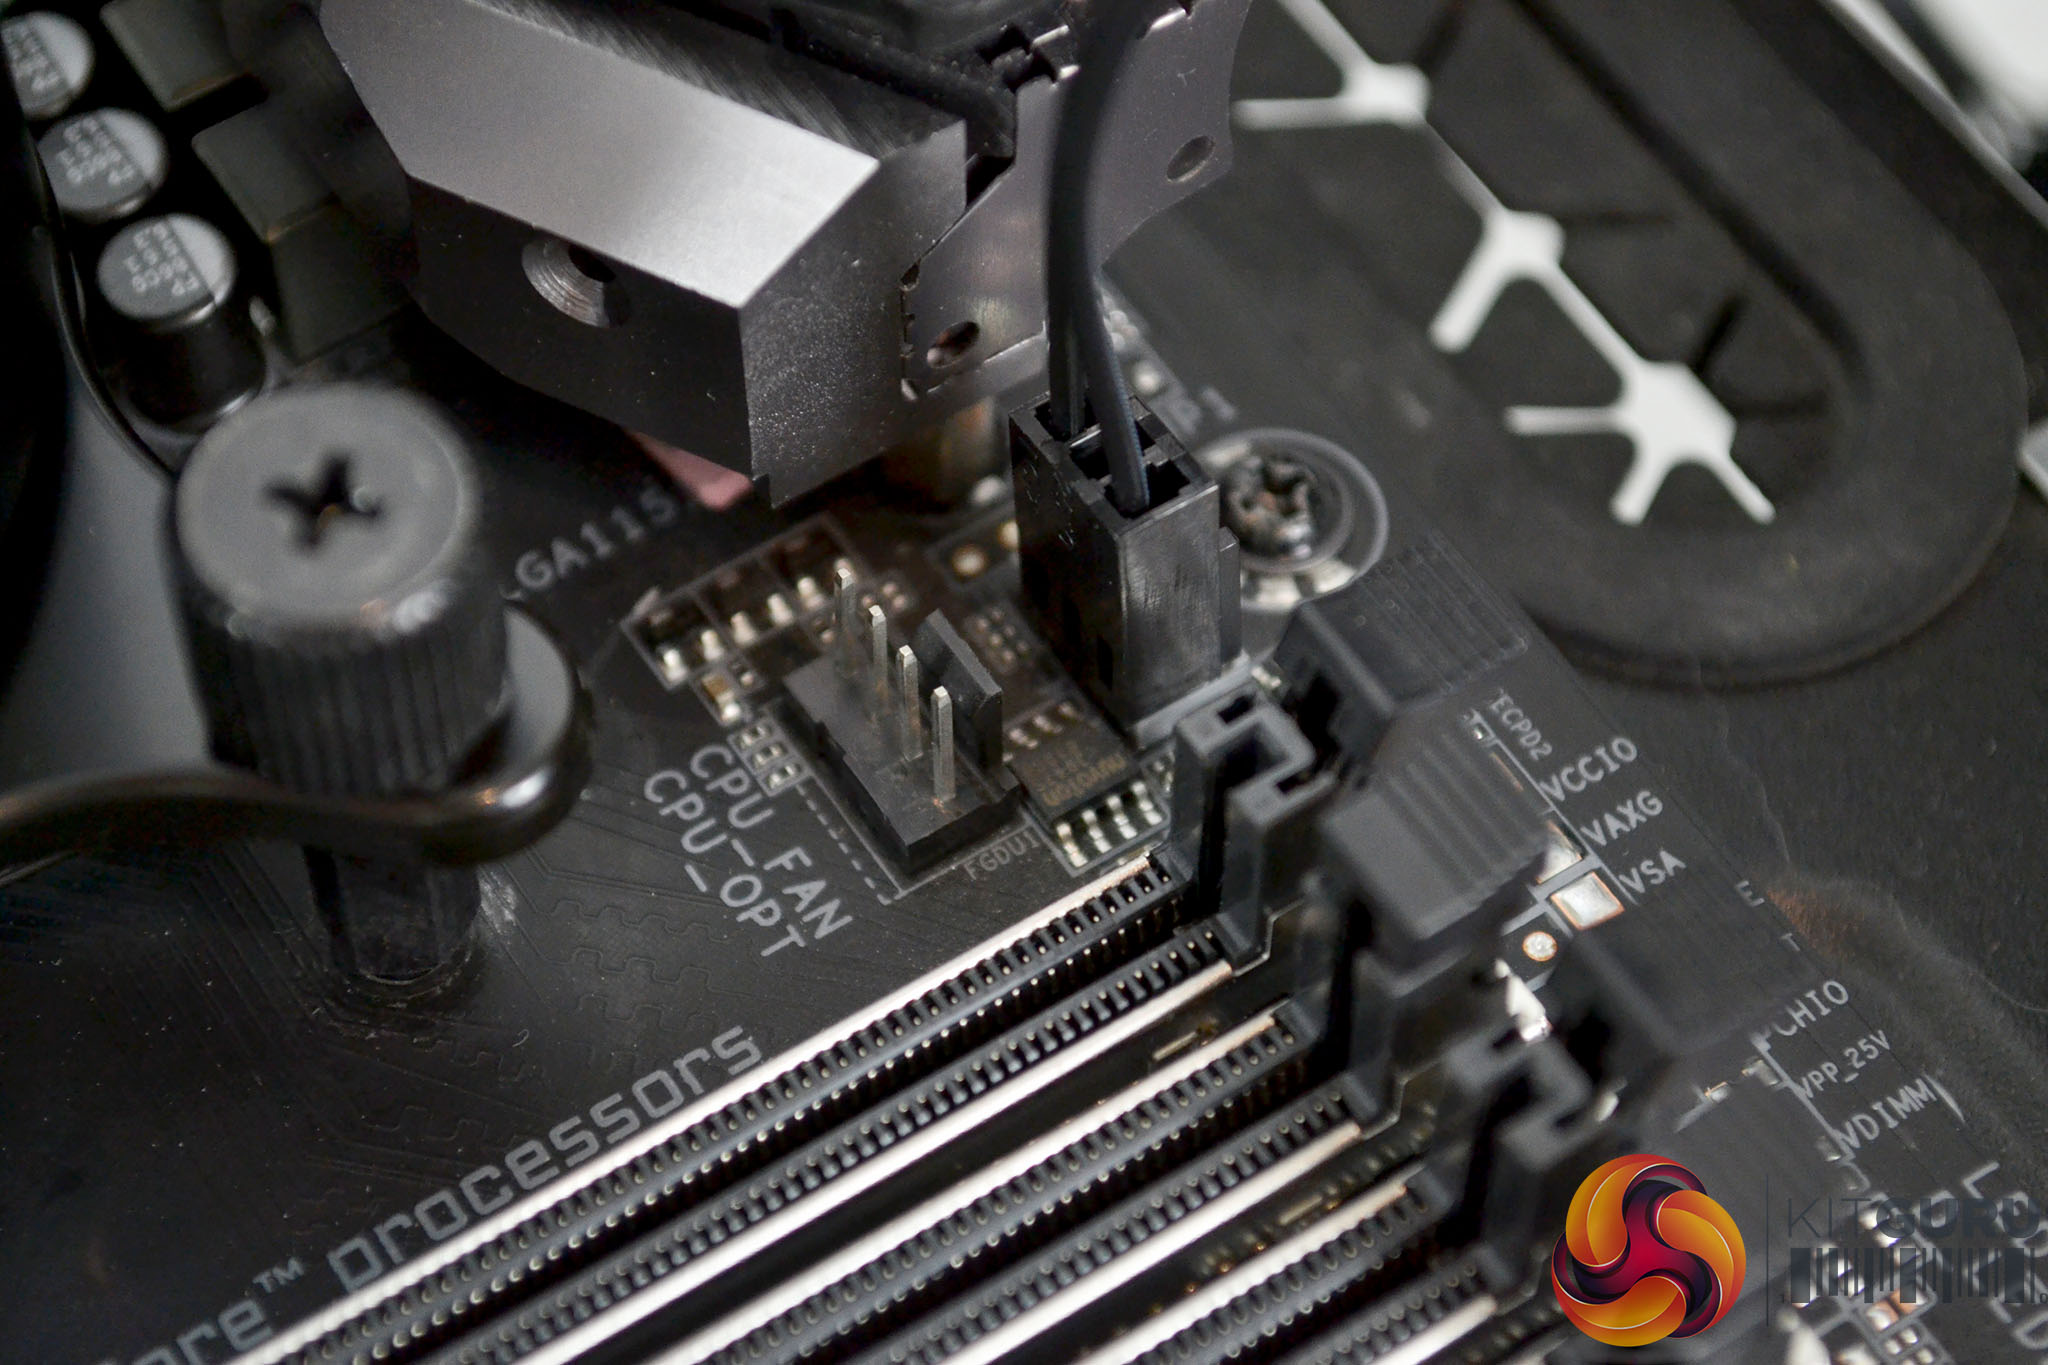
First, connect the 10-pin or 14-pin (depending on model) power cable to the CPU block, the cable connector is keyed so only fits one way. On the other end of the cable are multiple connectors including a three-way fan splitter, 3-pin pump tach cable, HUE 2 RGB lighting channel and a SATA power connector. Connect the pump tach cable to the CPU_FAN header on the motherboard.
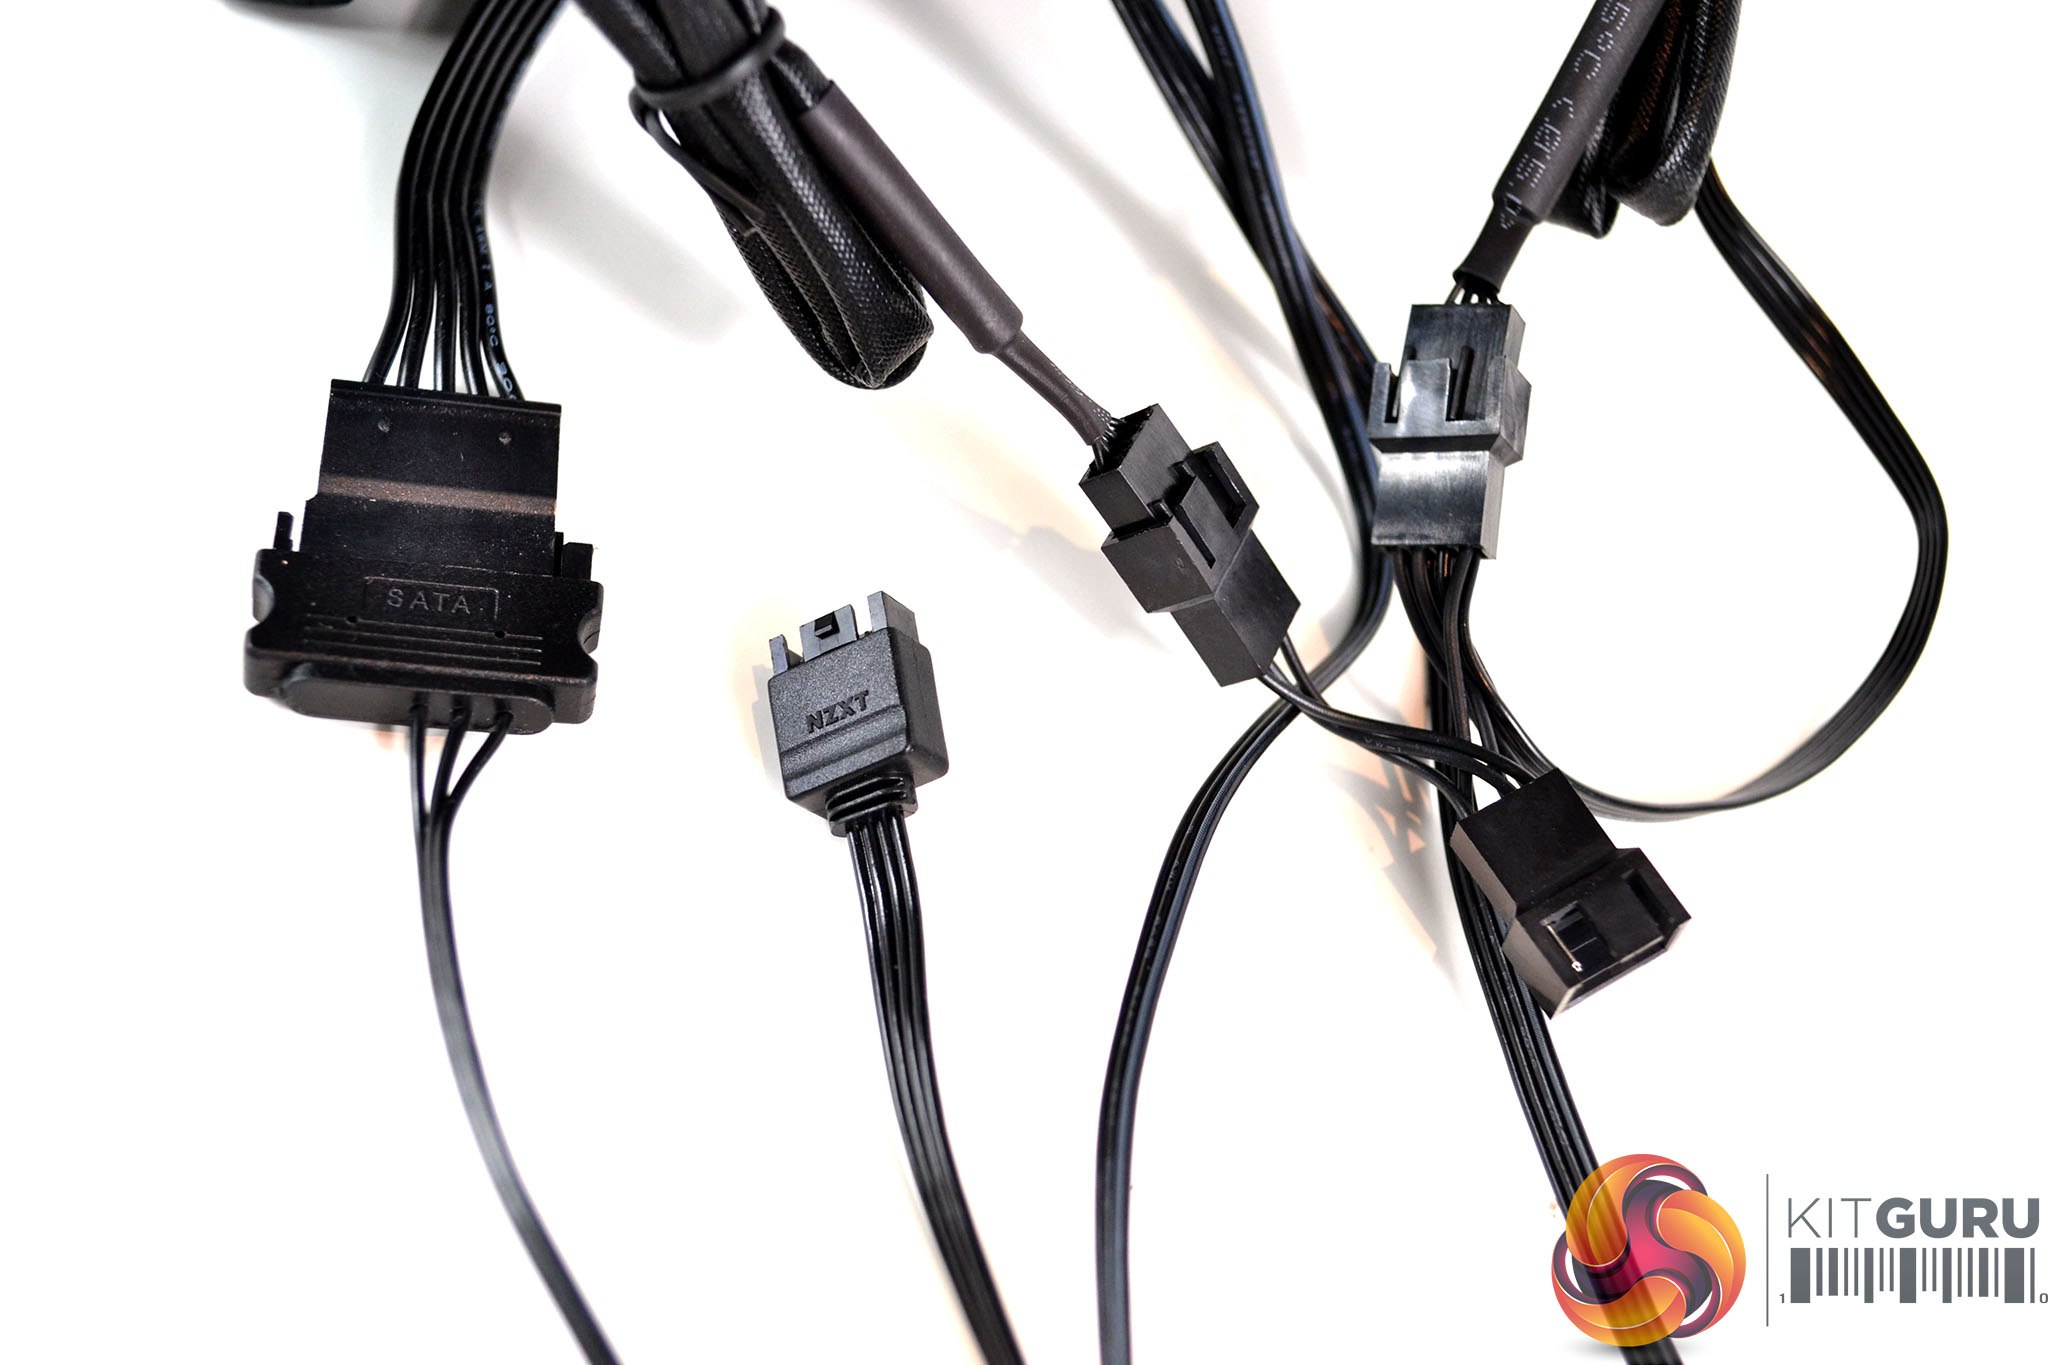
Next, connect the 4-pin PWM cables from each fan to the splitter cable (Z63 model only), on the Z63 there will be one fan splitter connection un-used since there are only two fans. Connect the SATA power connecter from the CPU block to an available SATA power connector coming from your PC power supply, the NZXT HUE 2 RGB connection is left disconnected on our test bench since we have no HUE 2 compatible device to connect.
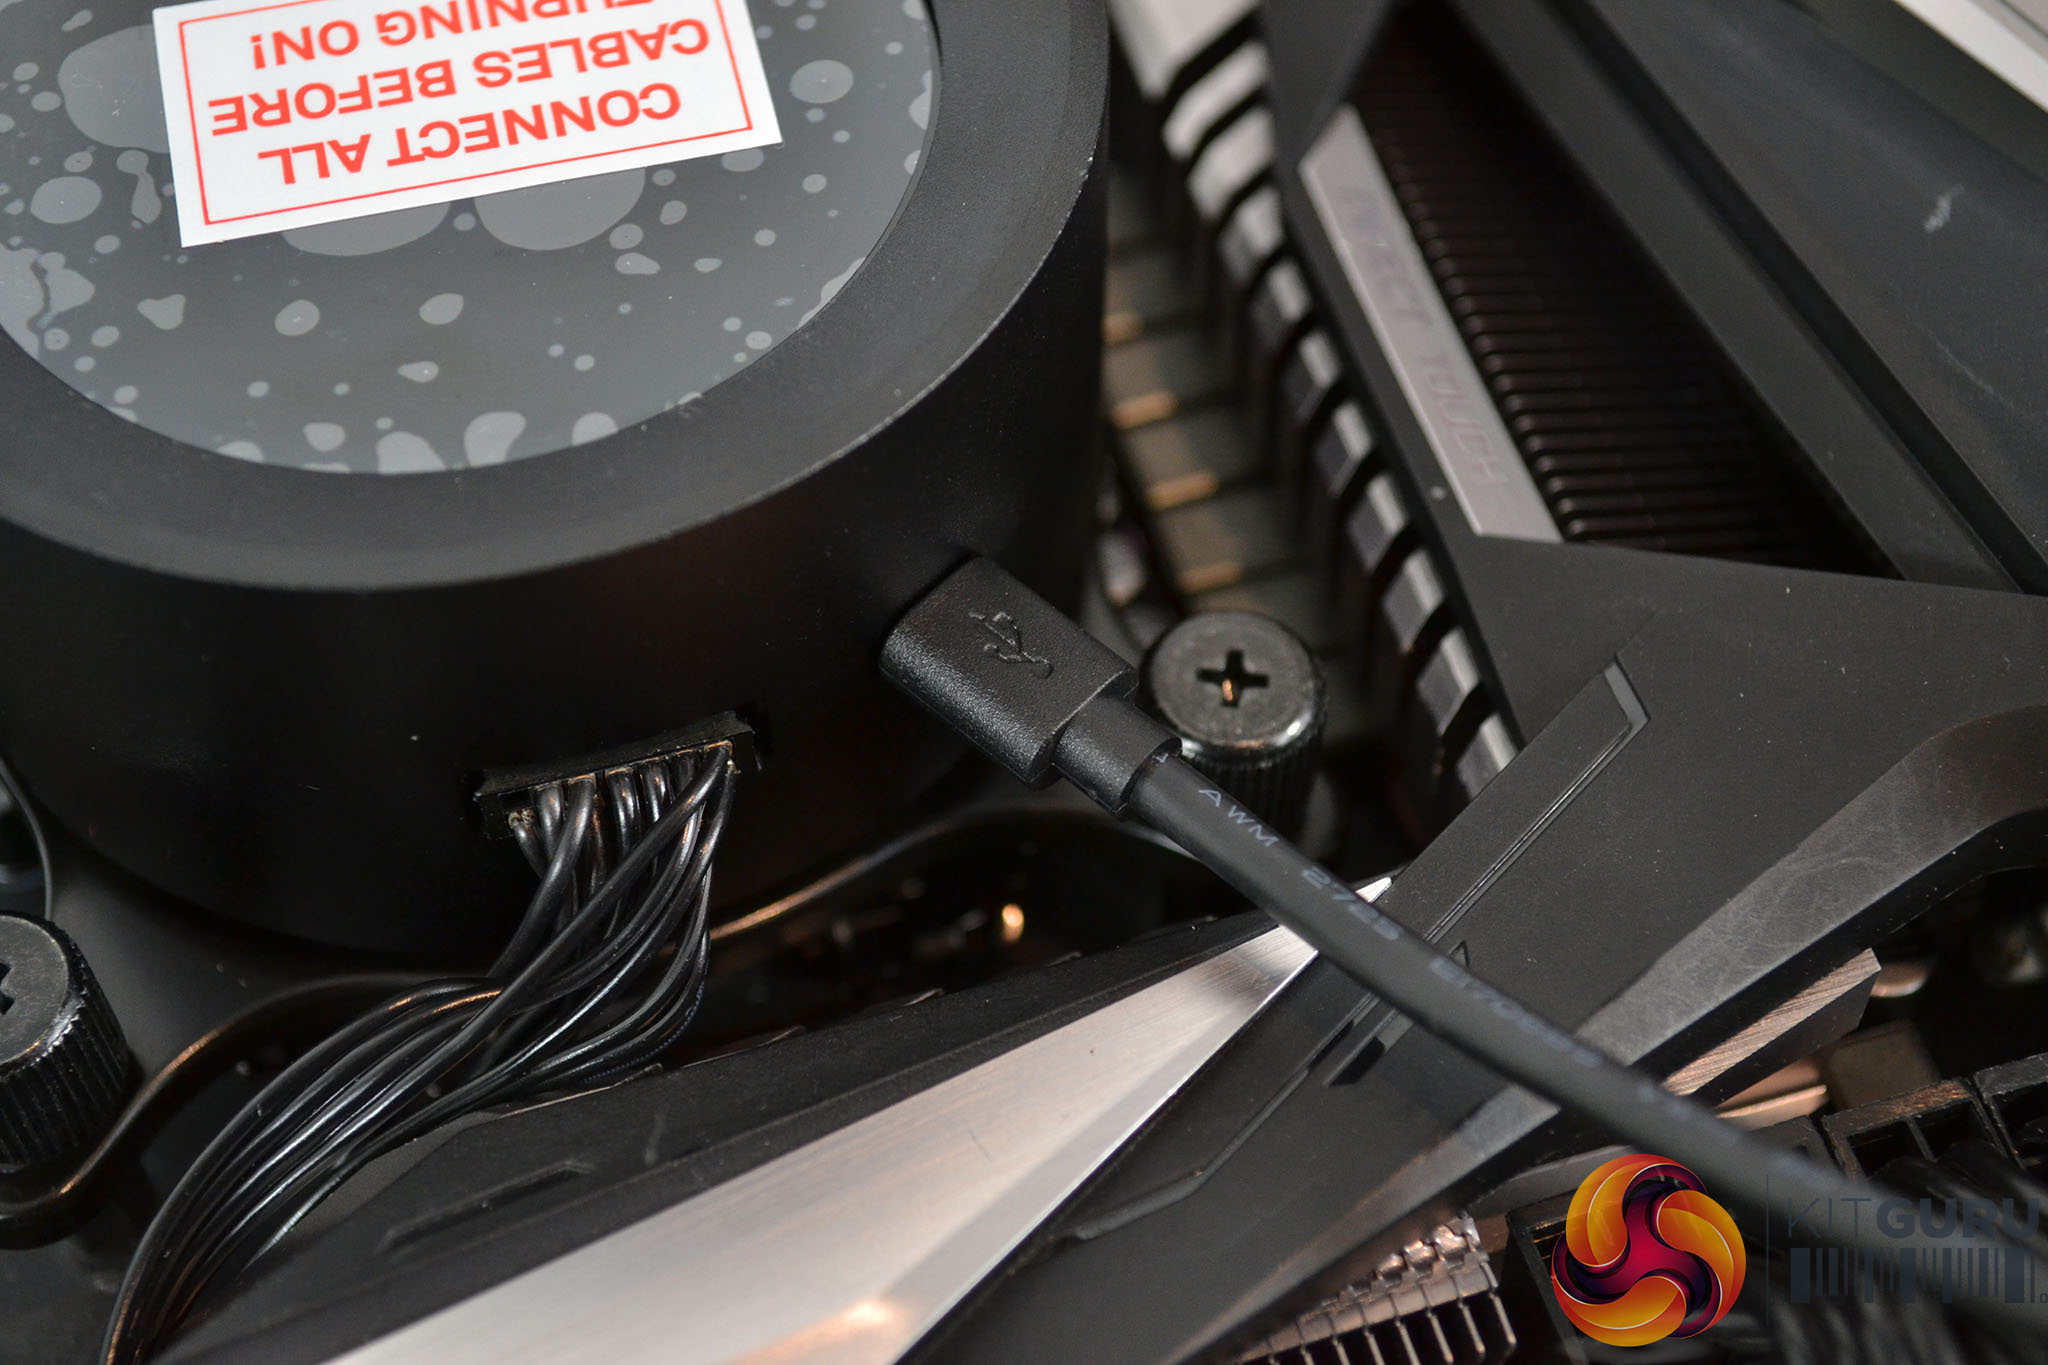
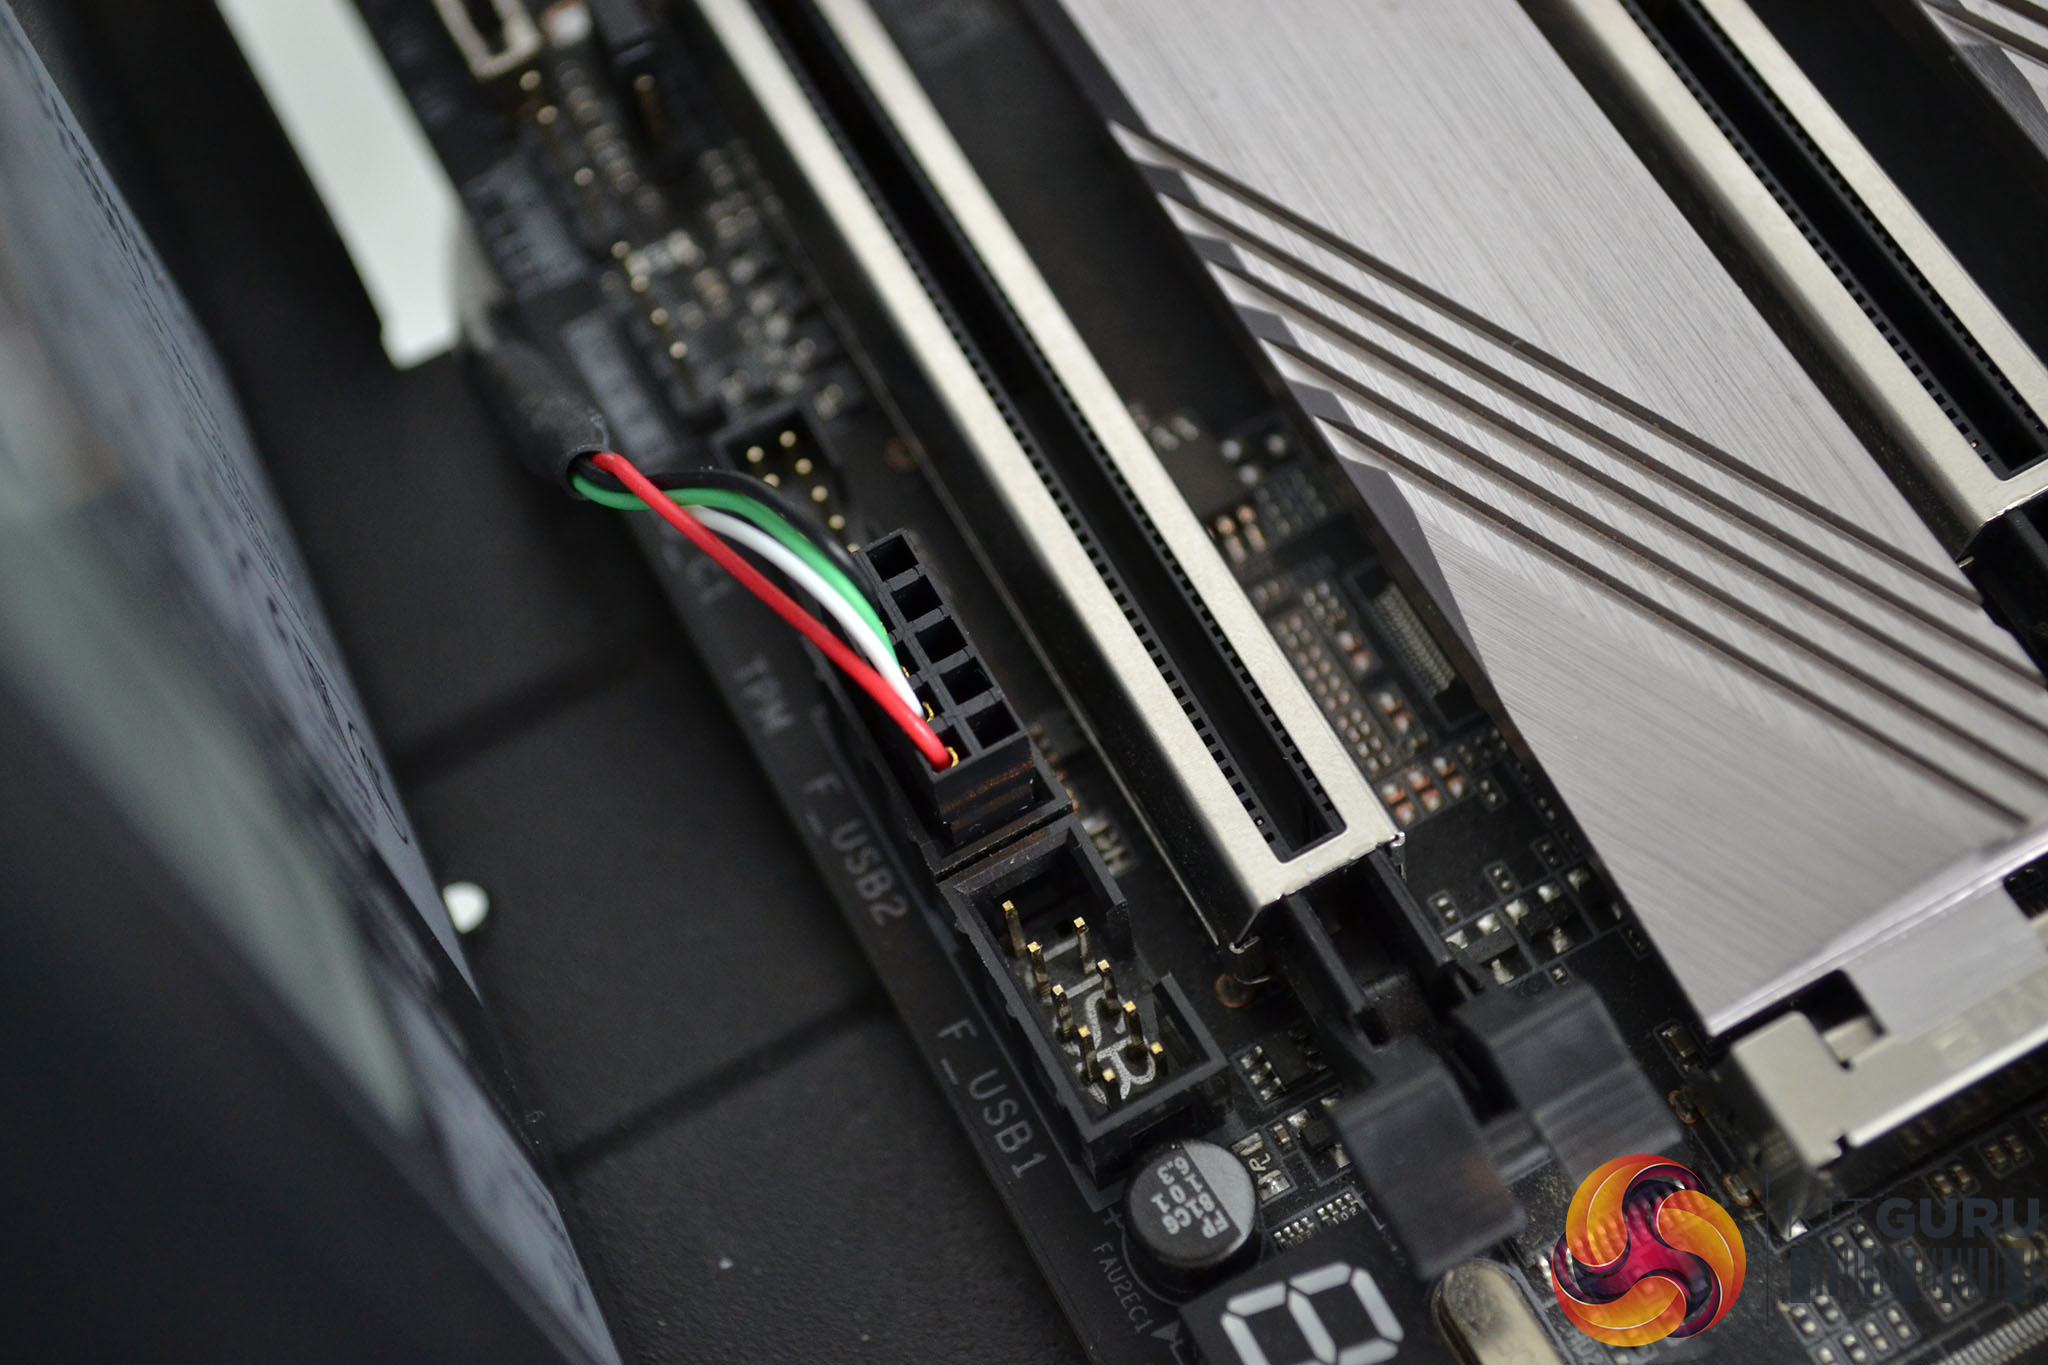
To complete the installation process, connect the micro USB header to the CPU block and then connect the other end of the USB cable to a spare motherboard USB 2.0 header. NZXT has provided a generous length of USB cable which should be enough to reach from the CPU block, behind the motherboard and to the USB headers at the bottom.
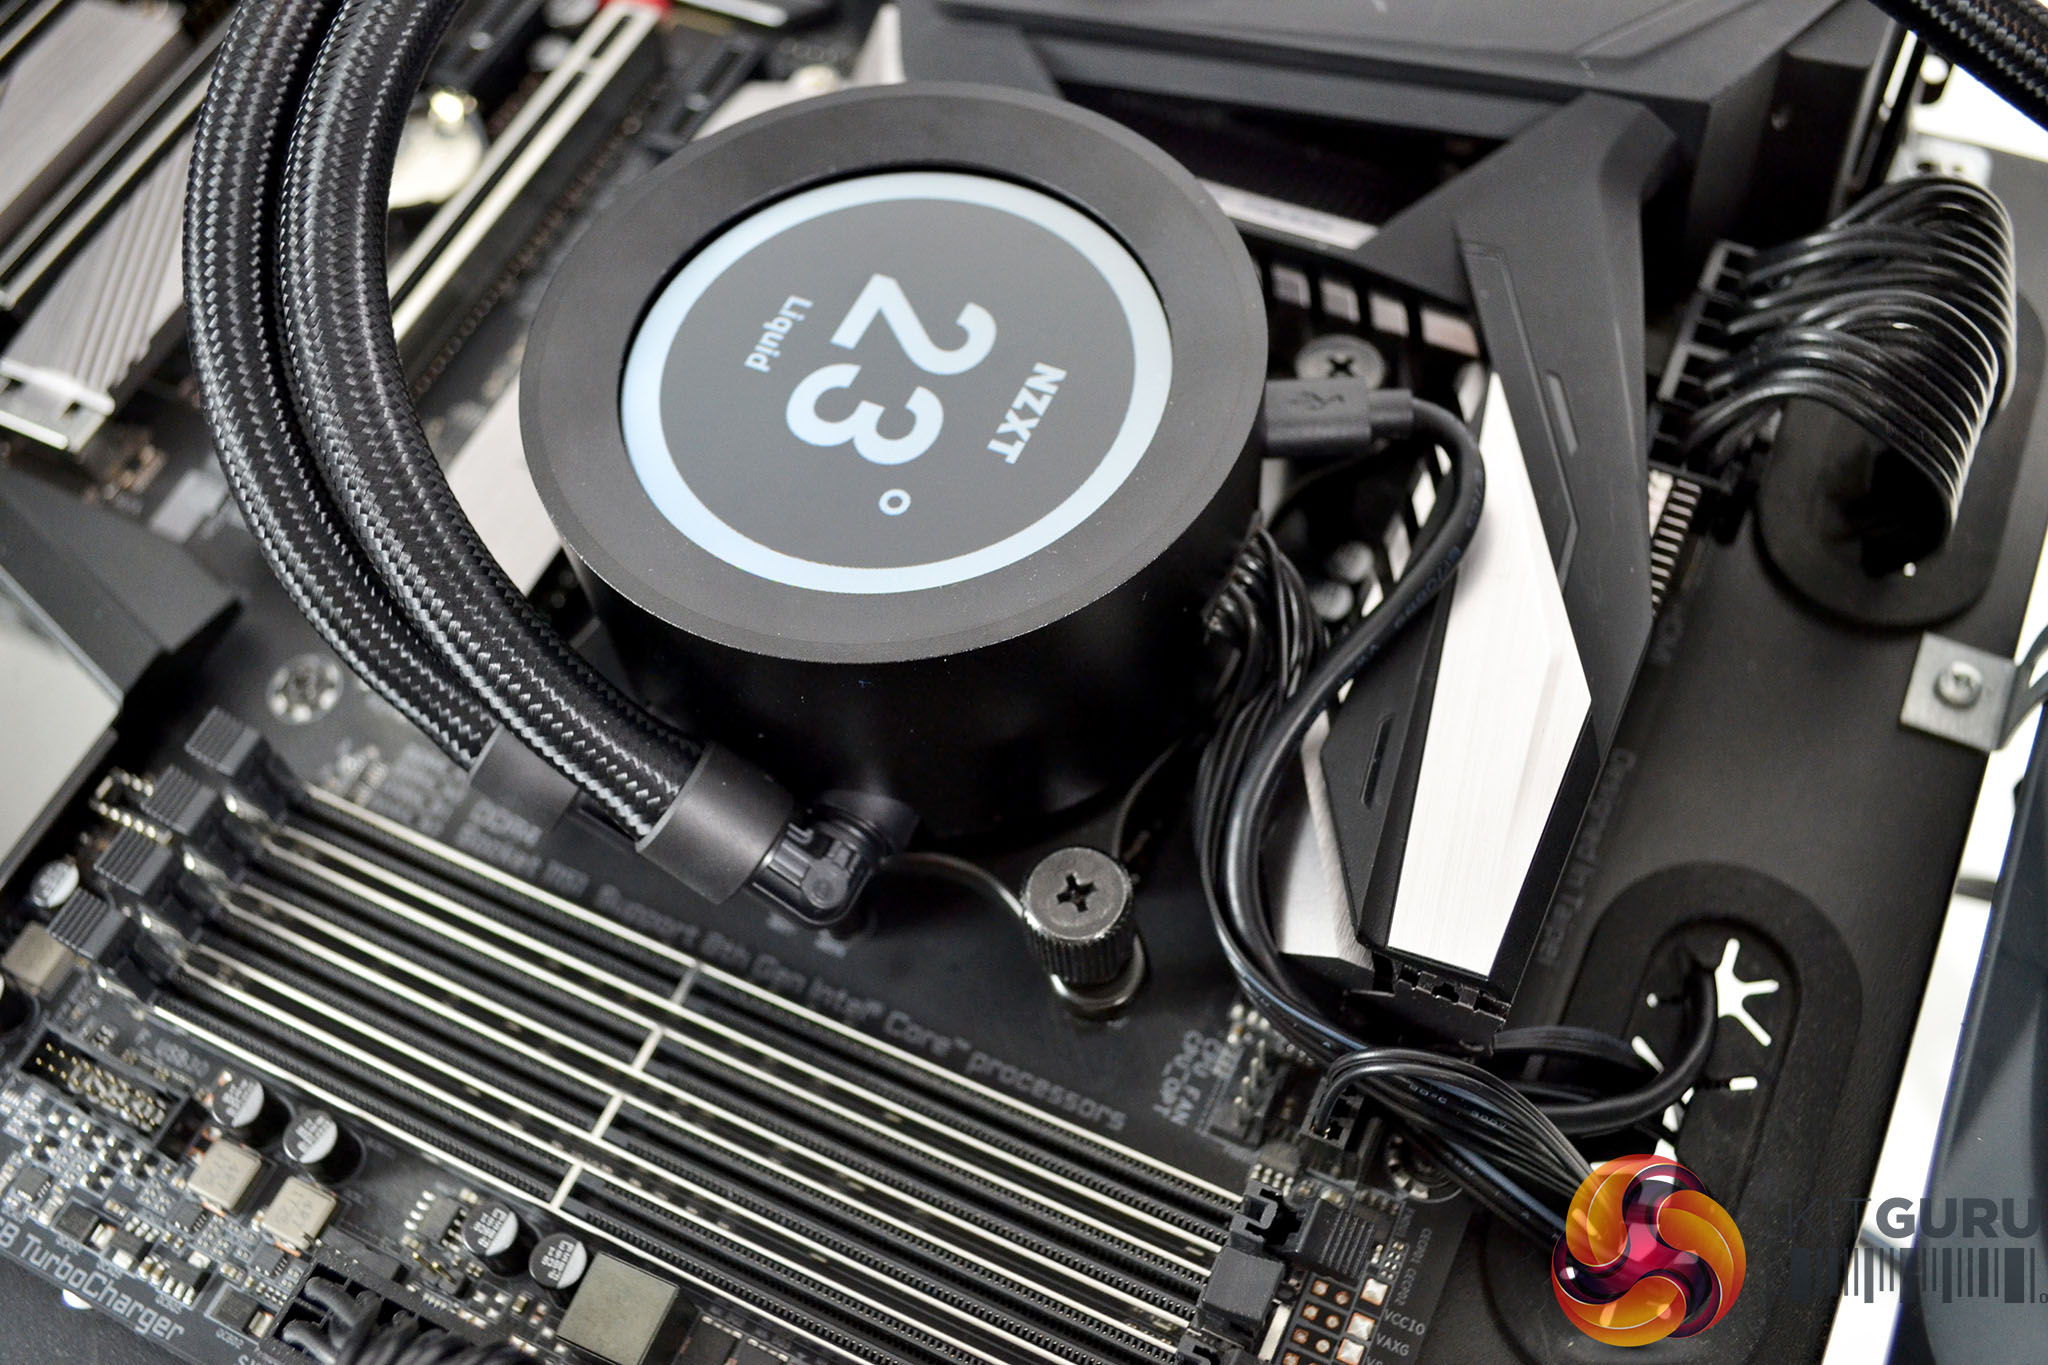
Overall, the installation process is quite simple, the Asetek hardware installation is very refined now, so installing all the hardware components of the cooler is quick and easy, especially for anyone who has previously installed an Asetek based CPU cooler. However, there is a bunch of cables to manage which can look quite messy, particularly the micro USB cable connected to the CPU block that looks a little out of place.

It is also worth noting that the X73 fans connect directly to the motherboard or to a fan controller (sold separately) and no fan splitter cable is bundled with the cooler, which is a bit of an oversight by NZXT. Some users may struggle with the number of fan headers on the motherboard to connect all three fans of the X73. A three-way fan splitter would do the trick but not everyone will have one of these to hand.
Software
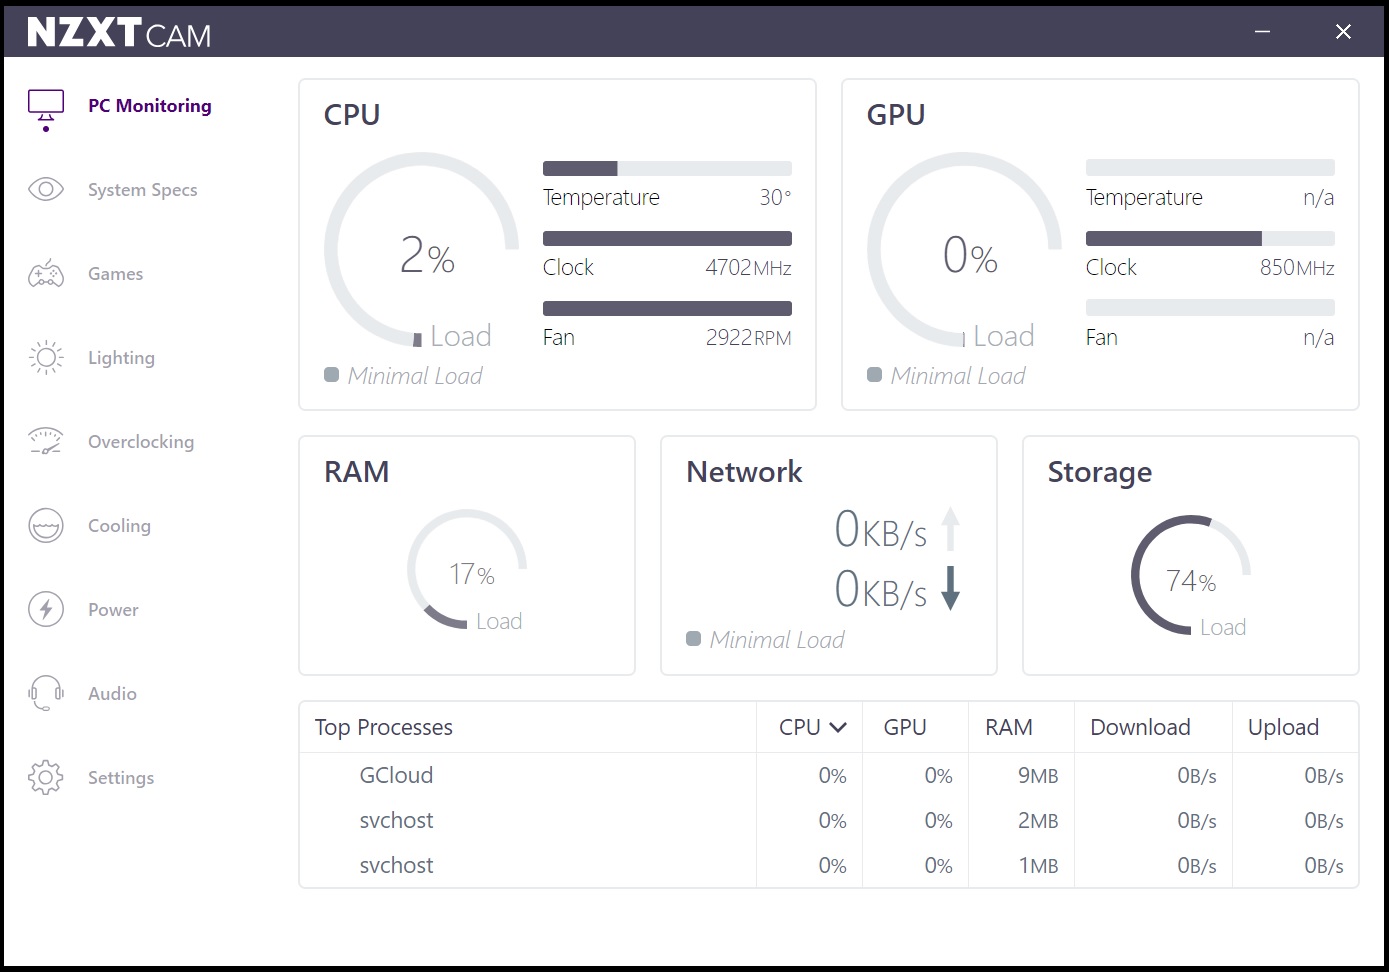
To configure various features of the Kraken X-3 and Z-3 AIO coolers, installation of the NZXT CAM software is required, users can download CAM from the NZXT support pages for free. The main page of the CAM software has a selection of tools to choose from including PC Monitoring, System Spec, Games, Overclocking, Cooling, Power and Audio as well as Lighting, which is the section used to configure the appearance of the X-3 and Z-3 coolers.
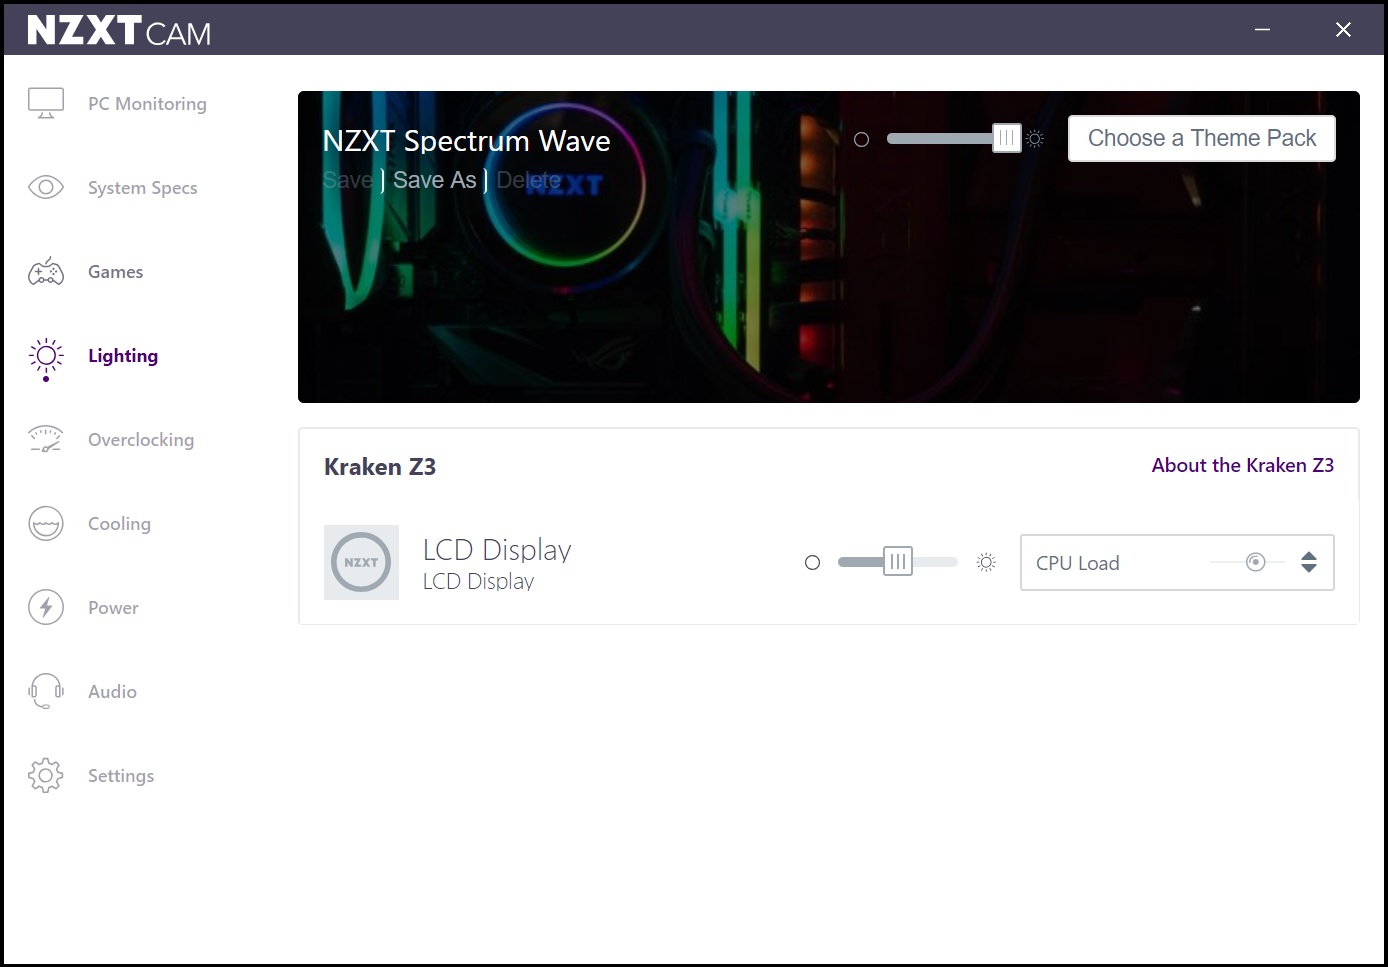
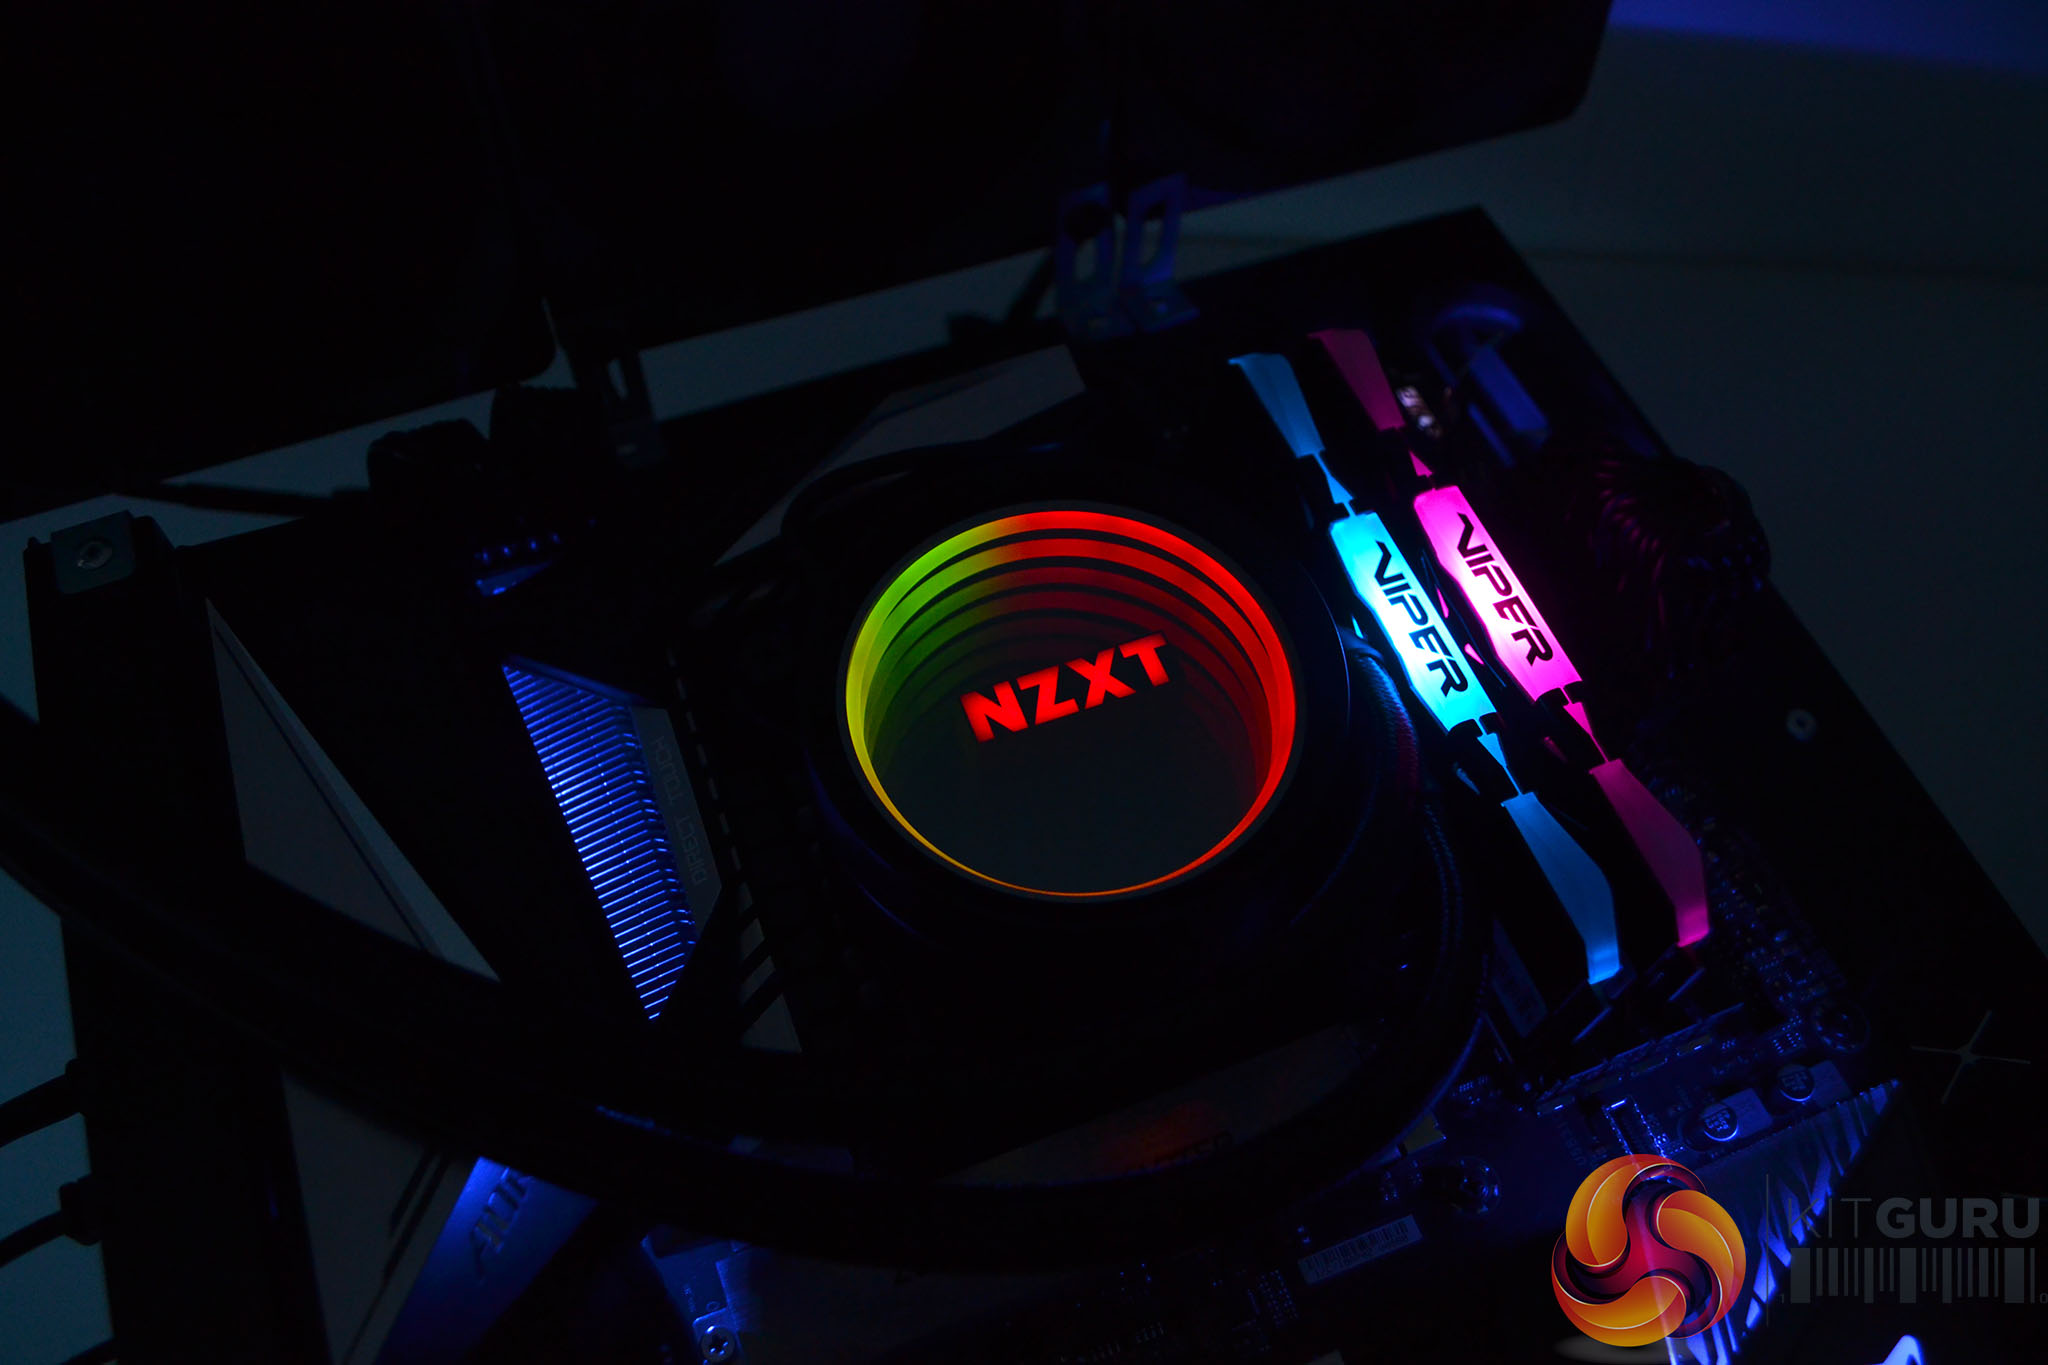
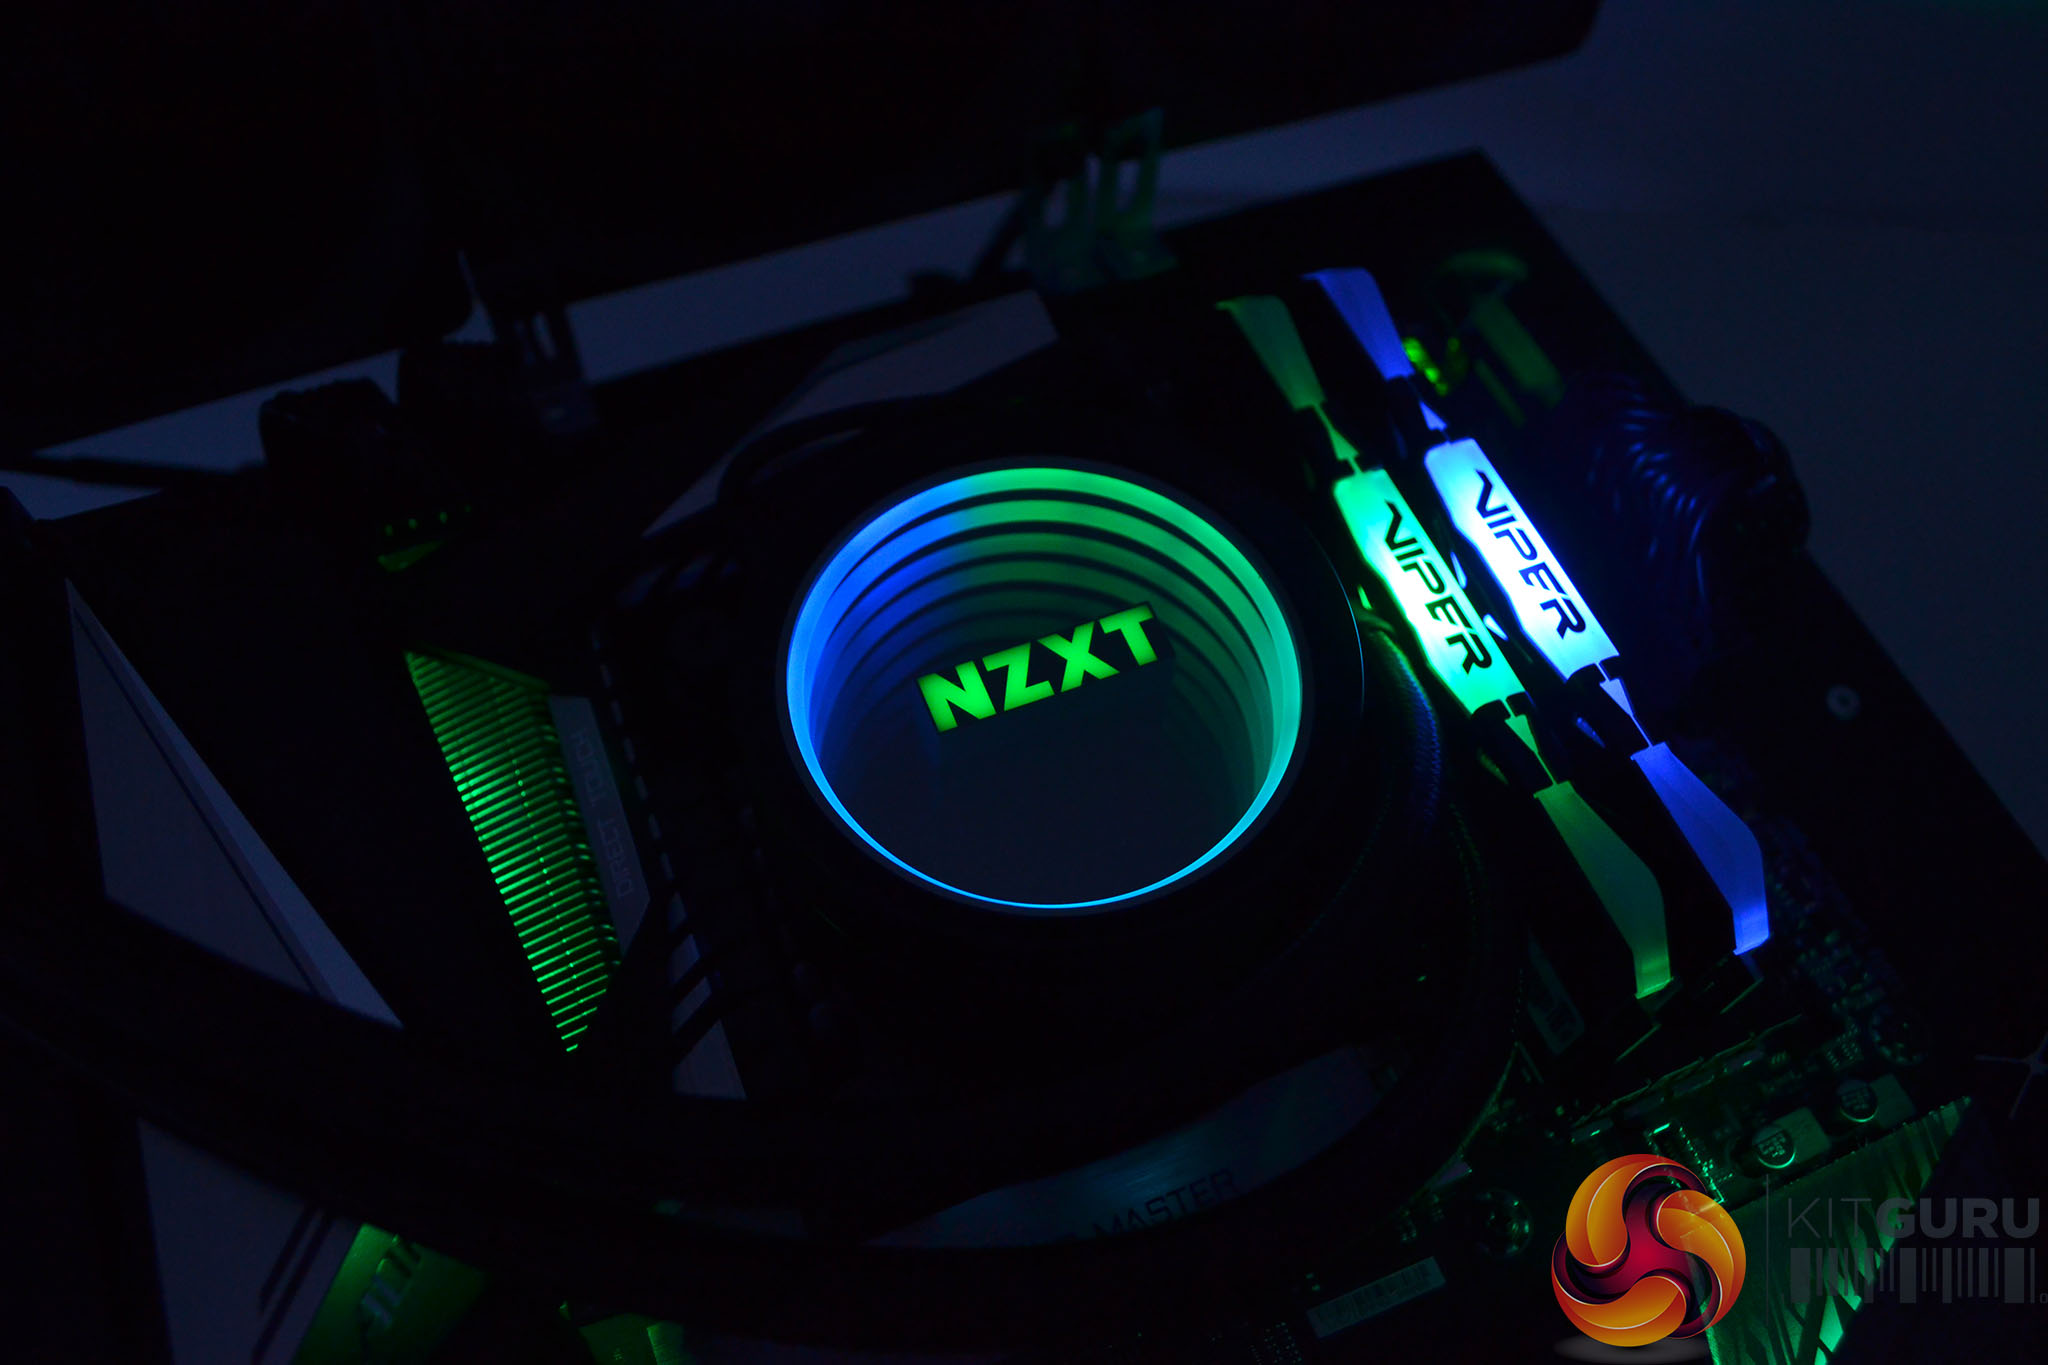
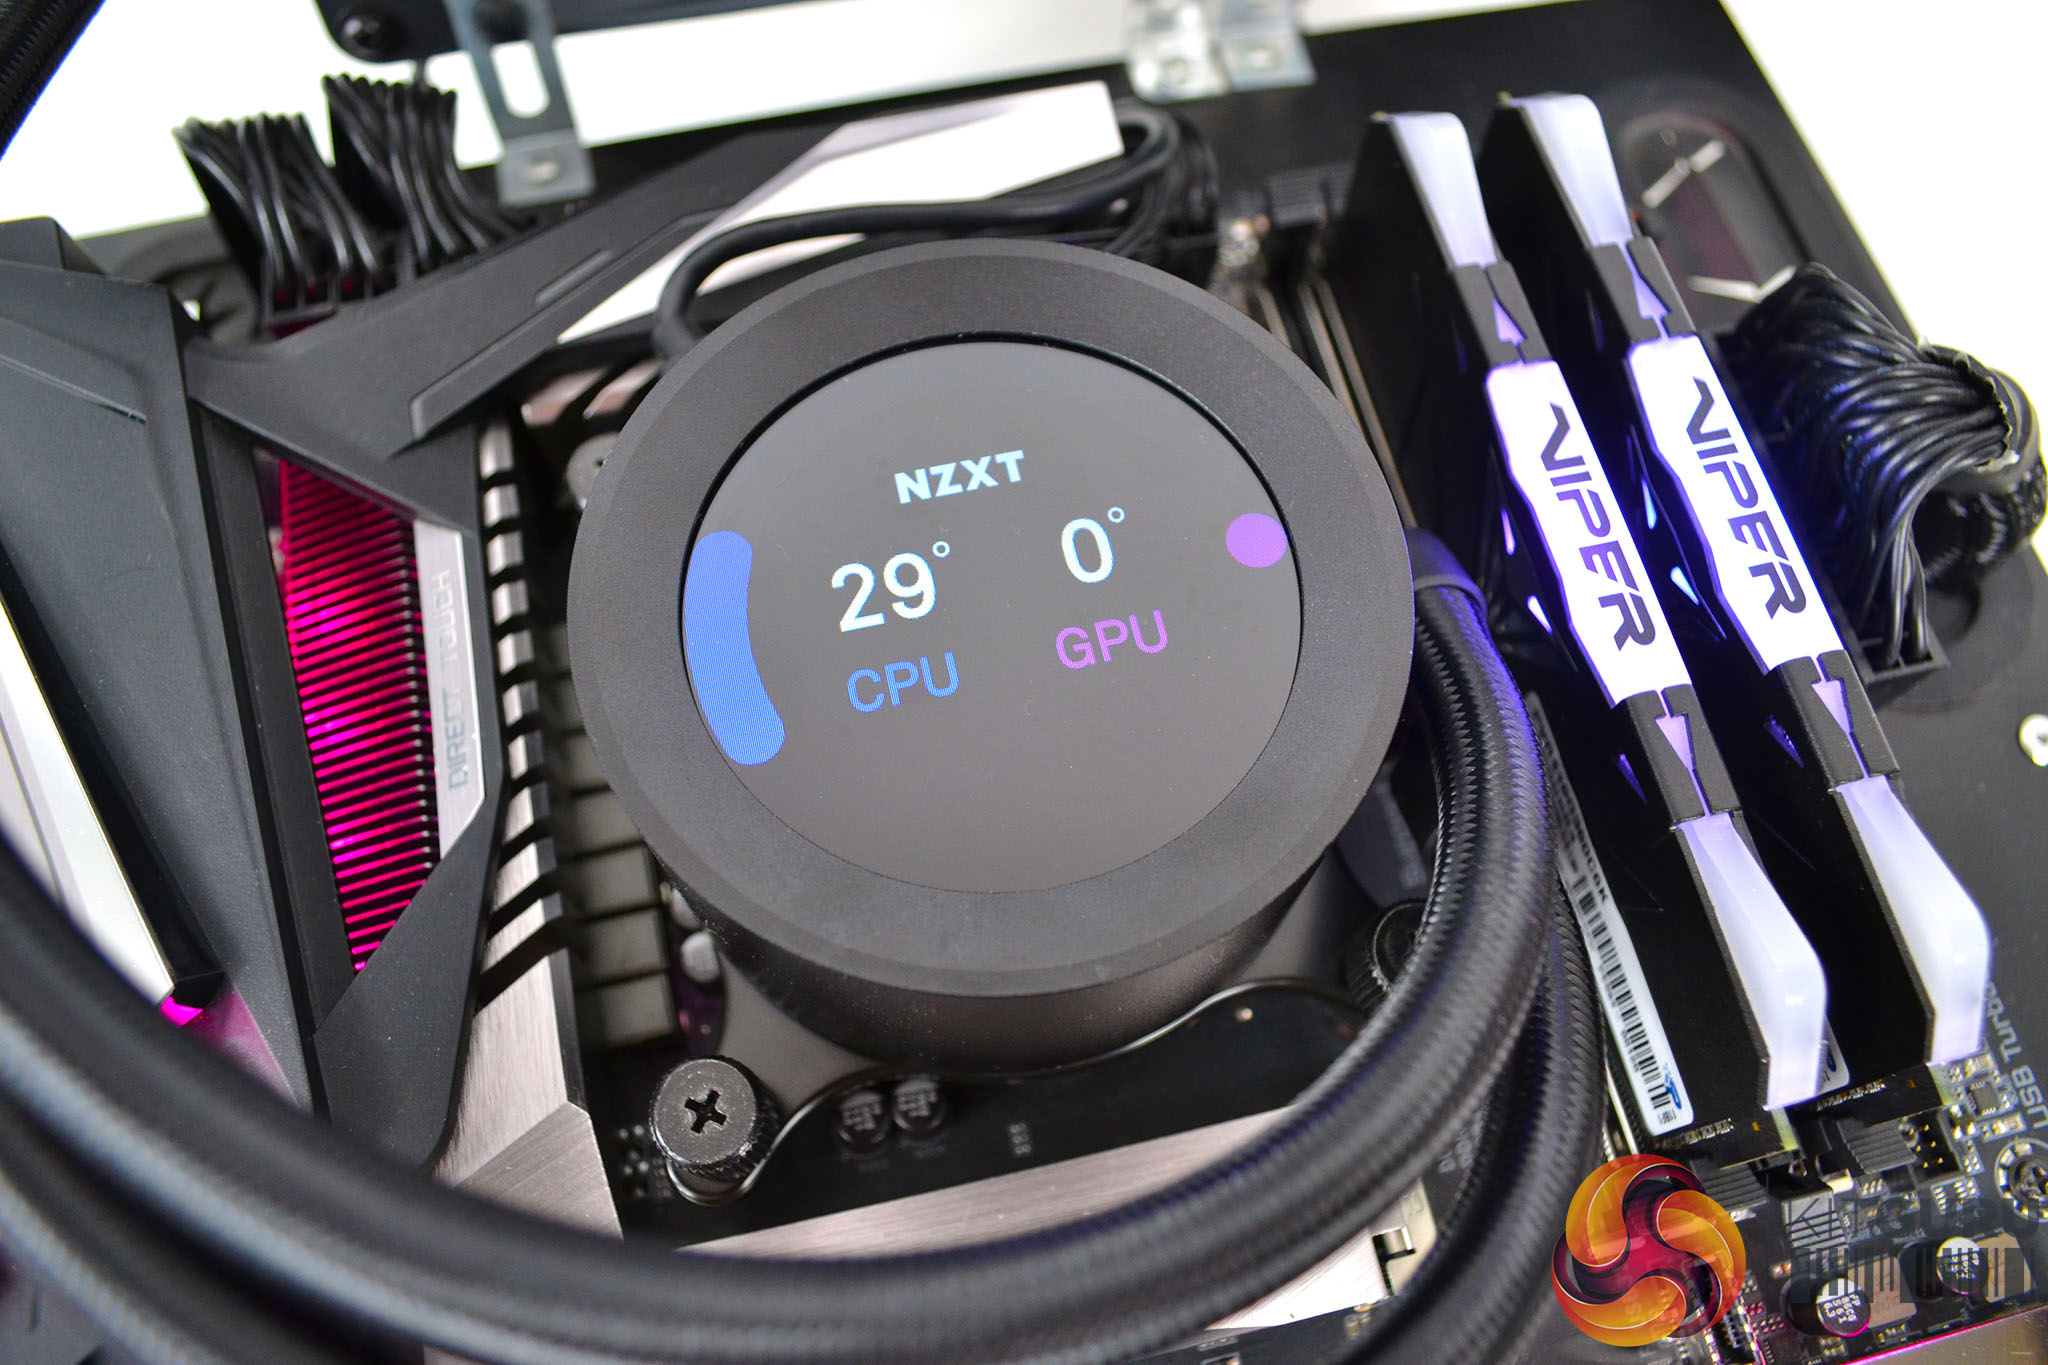
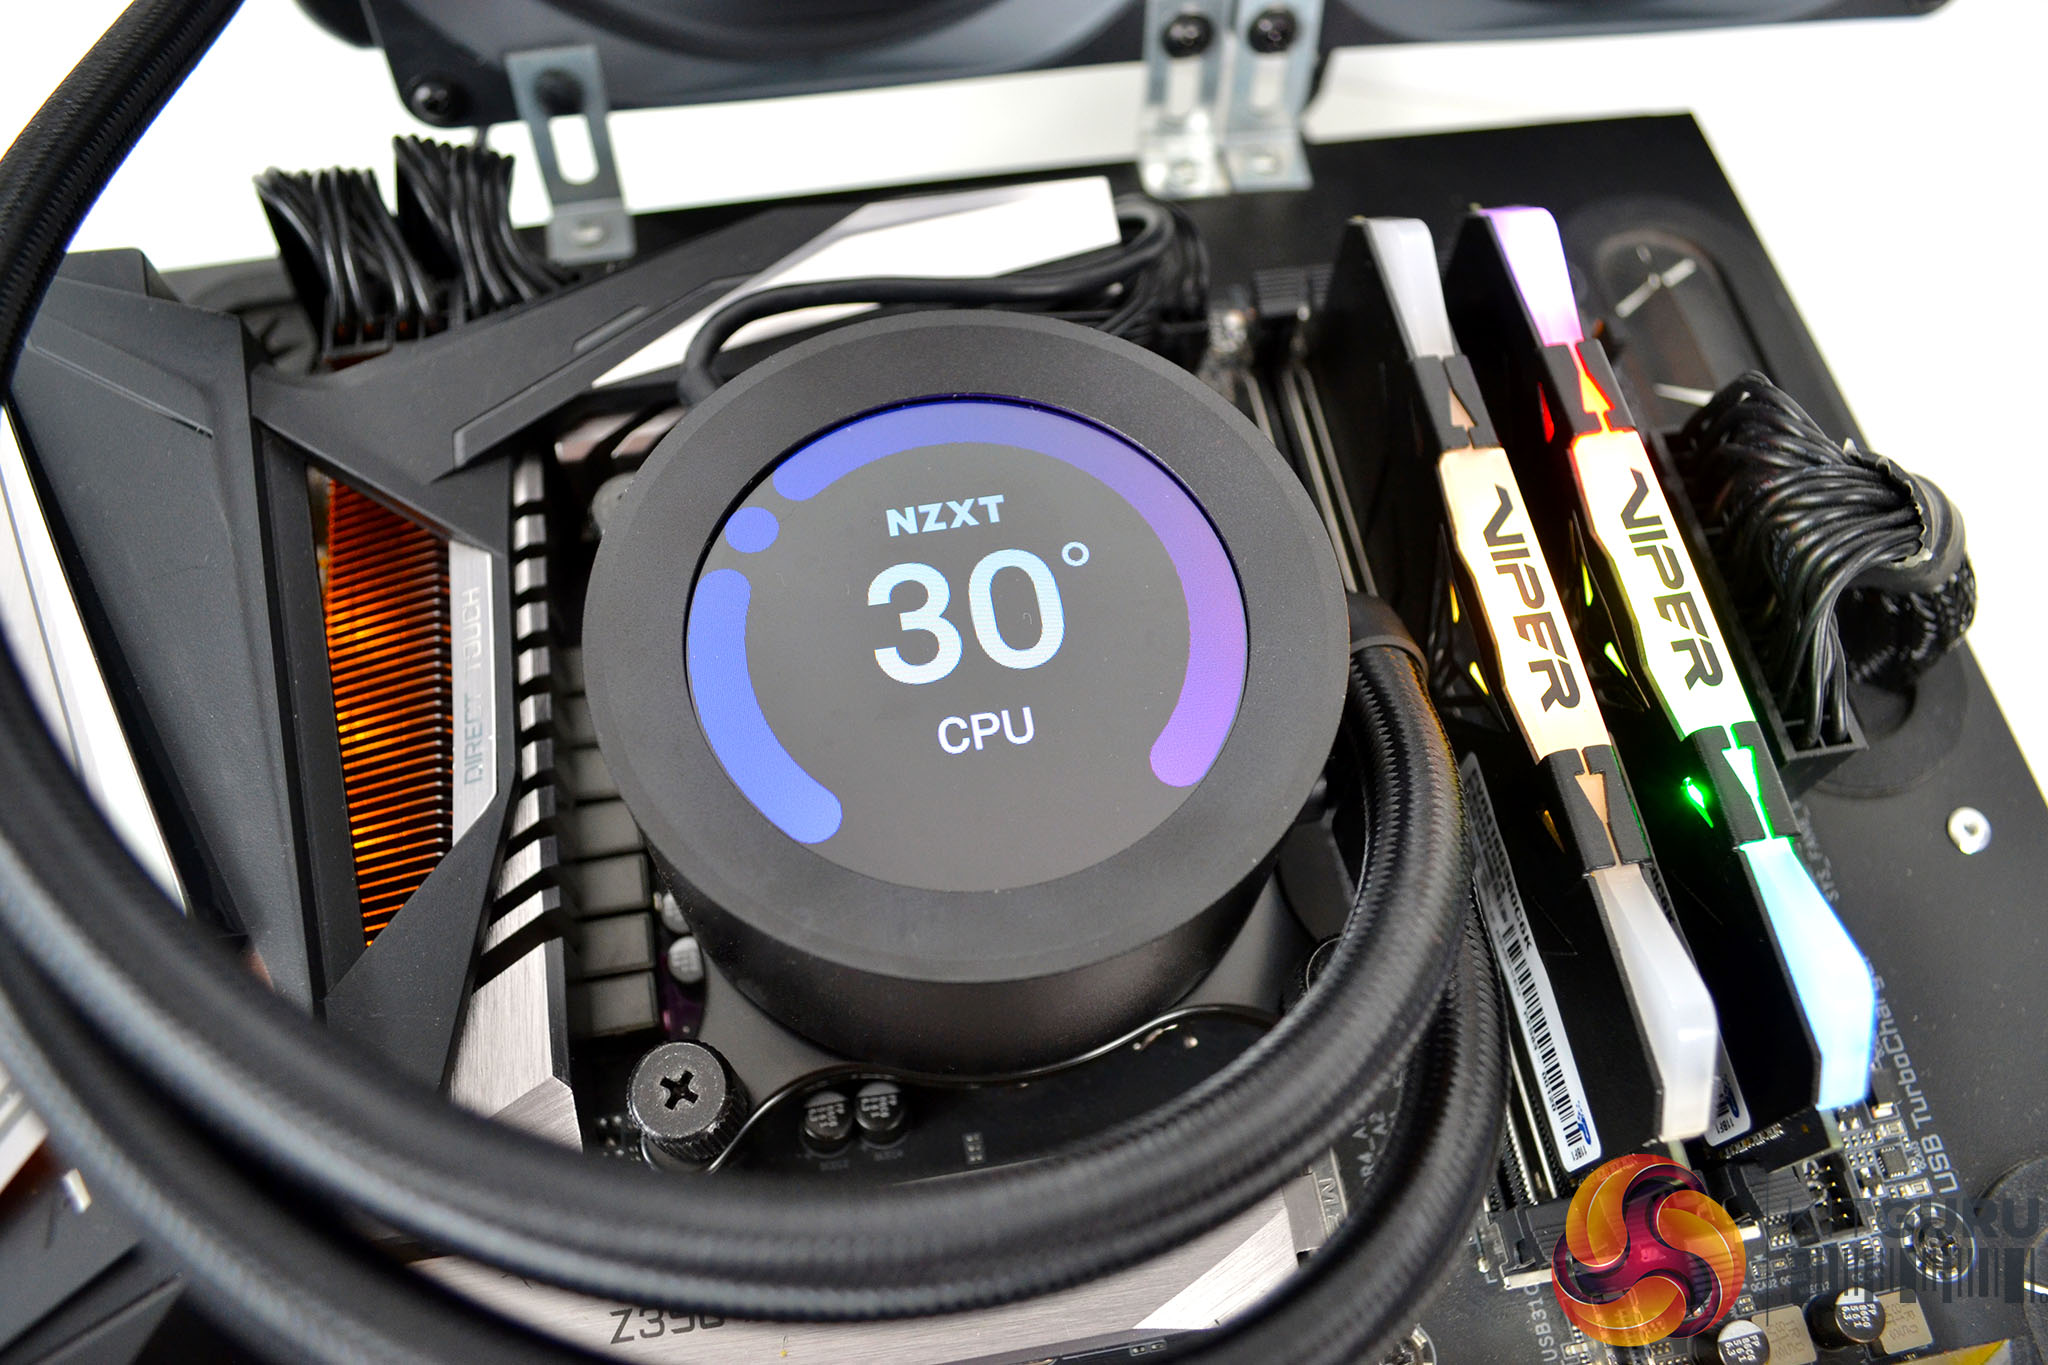
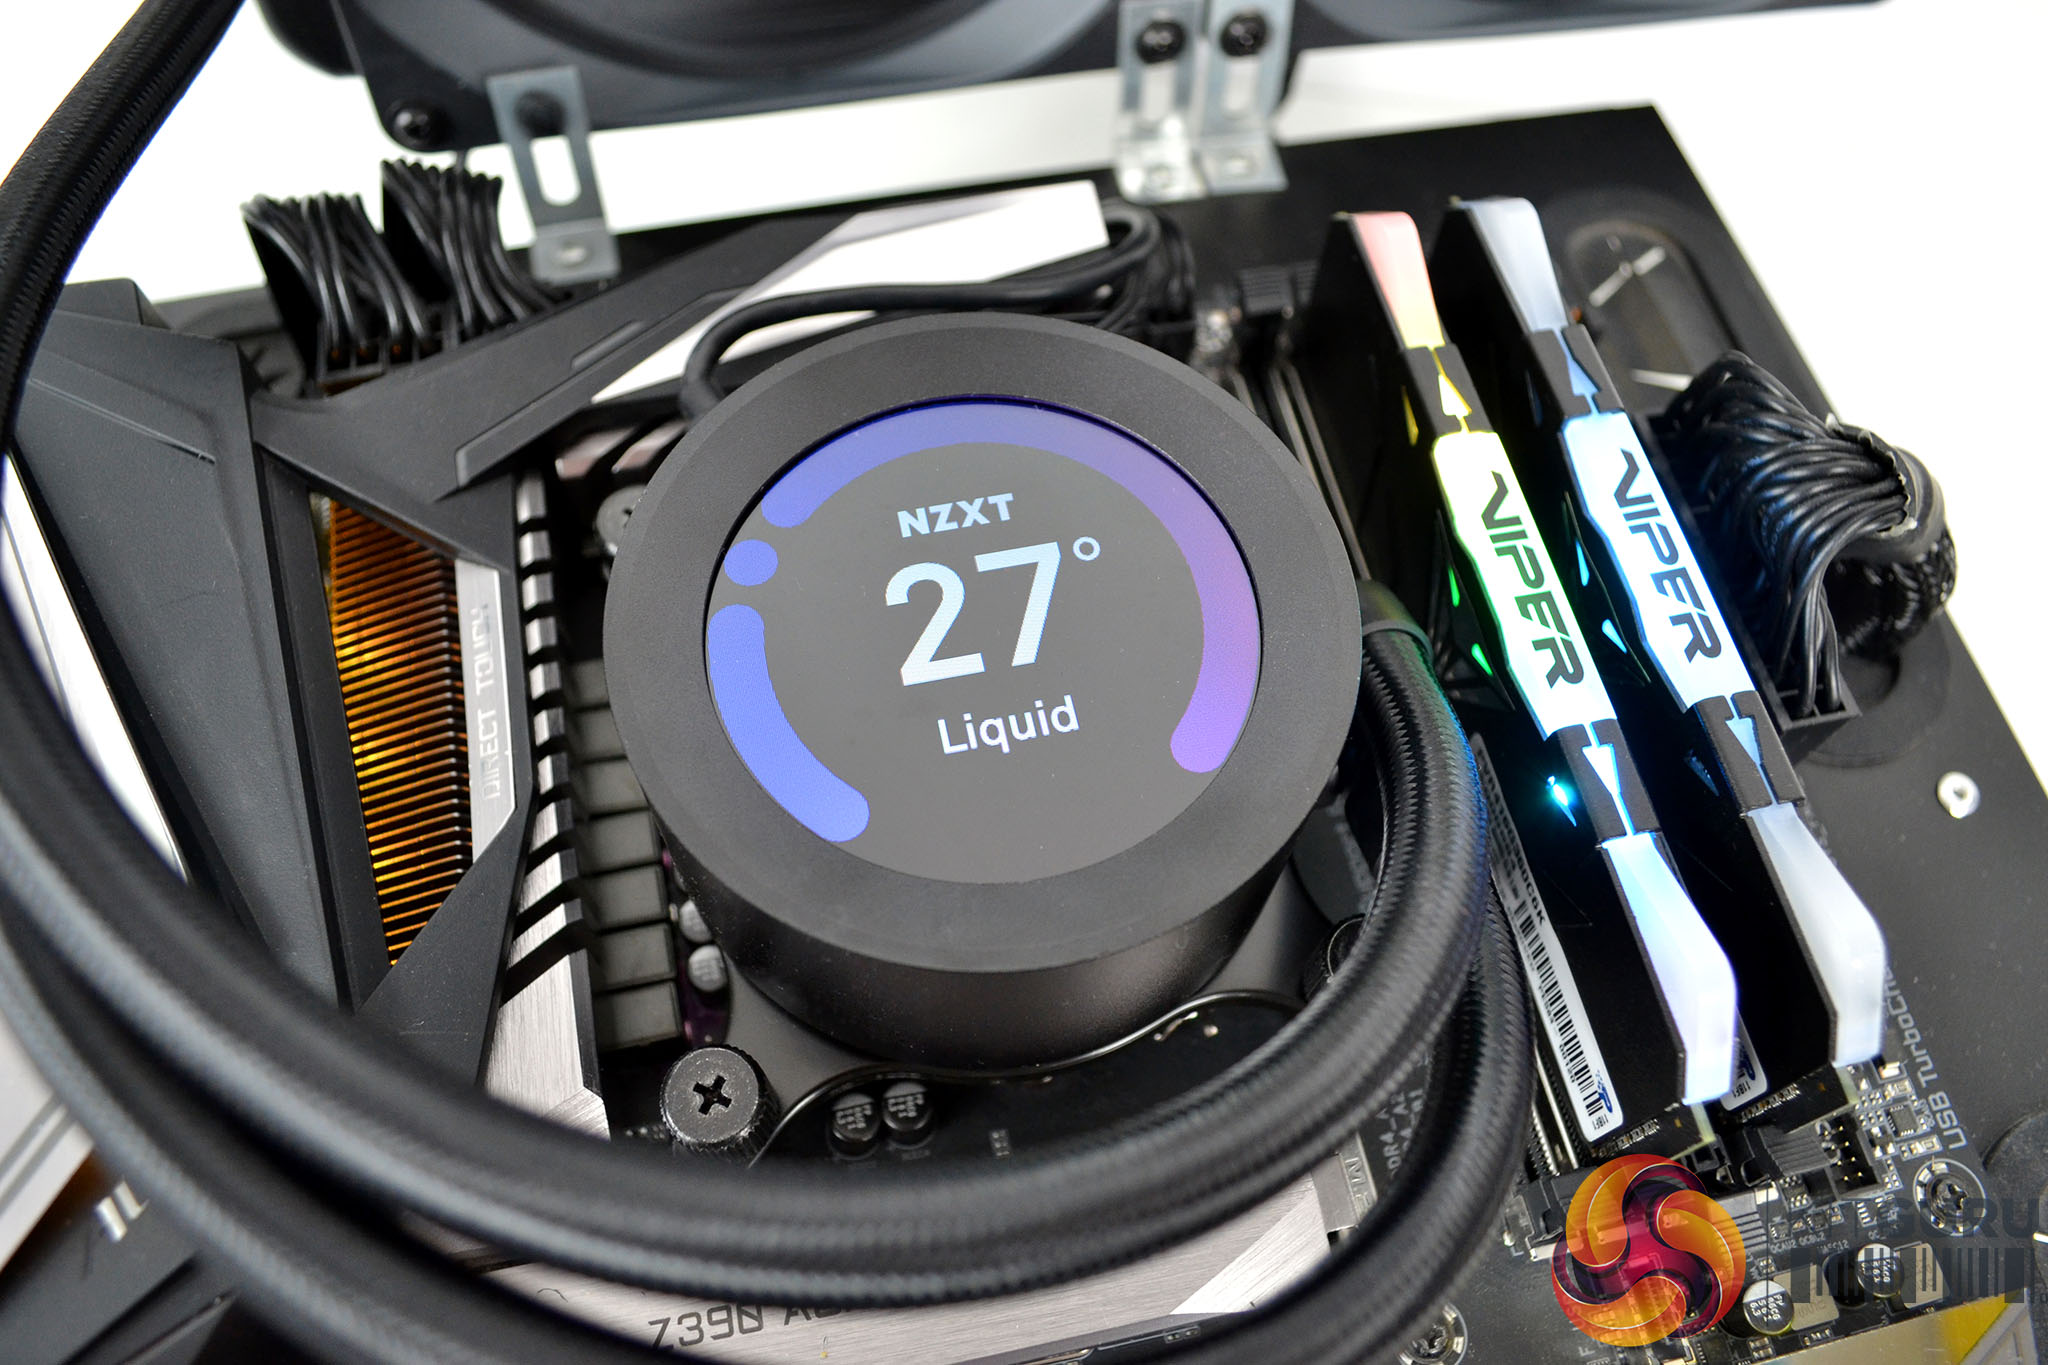
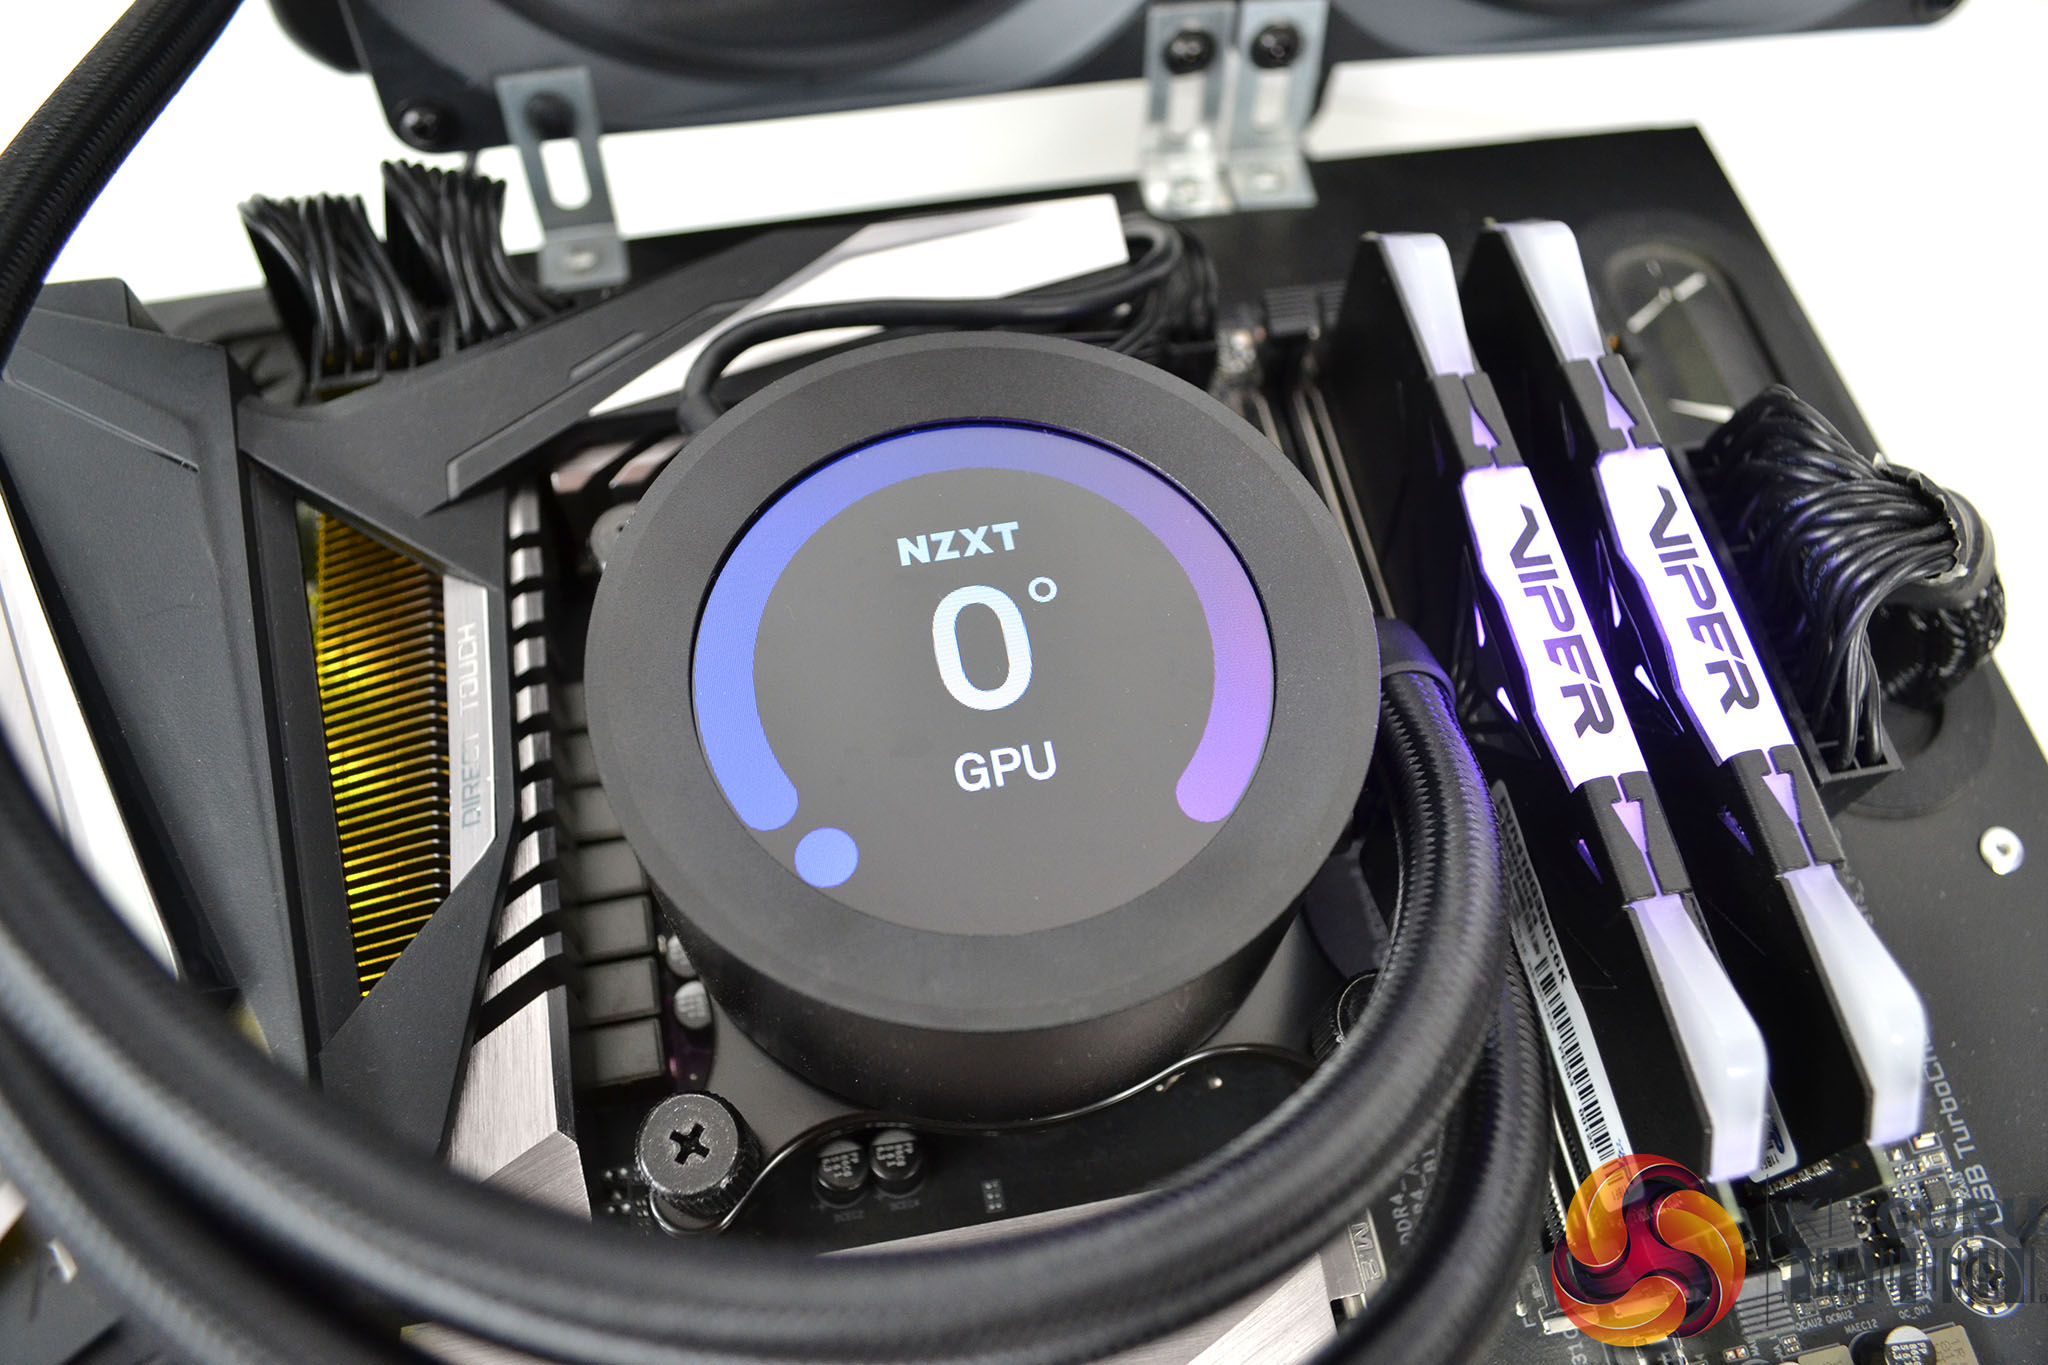
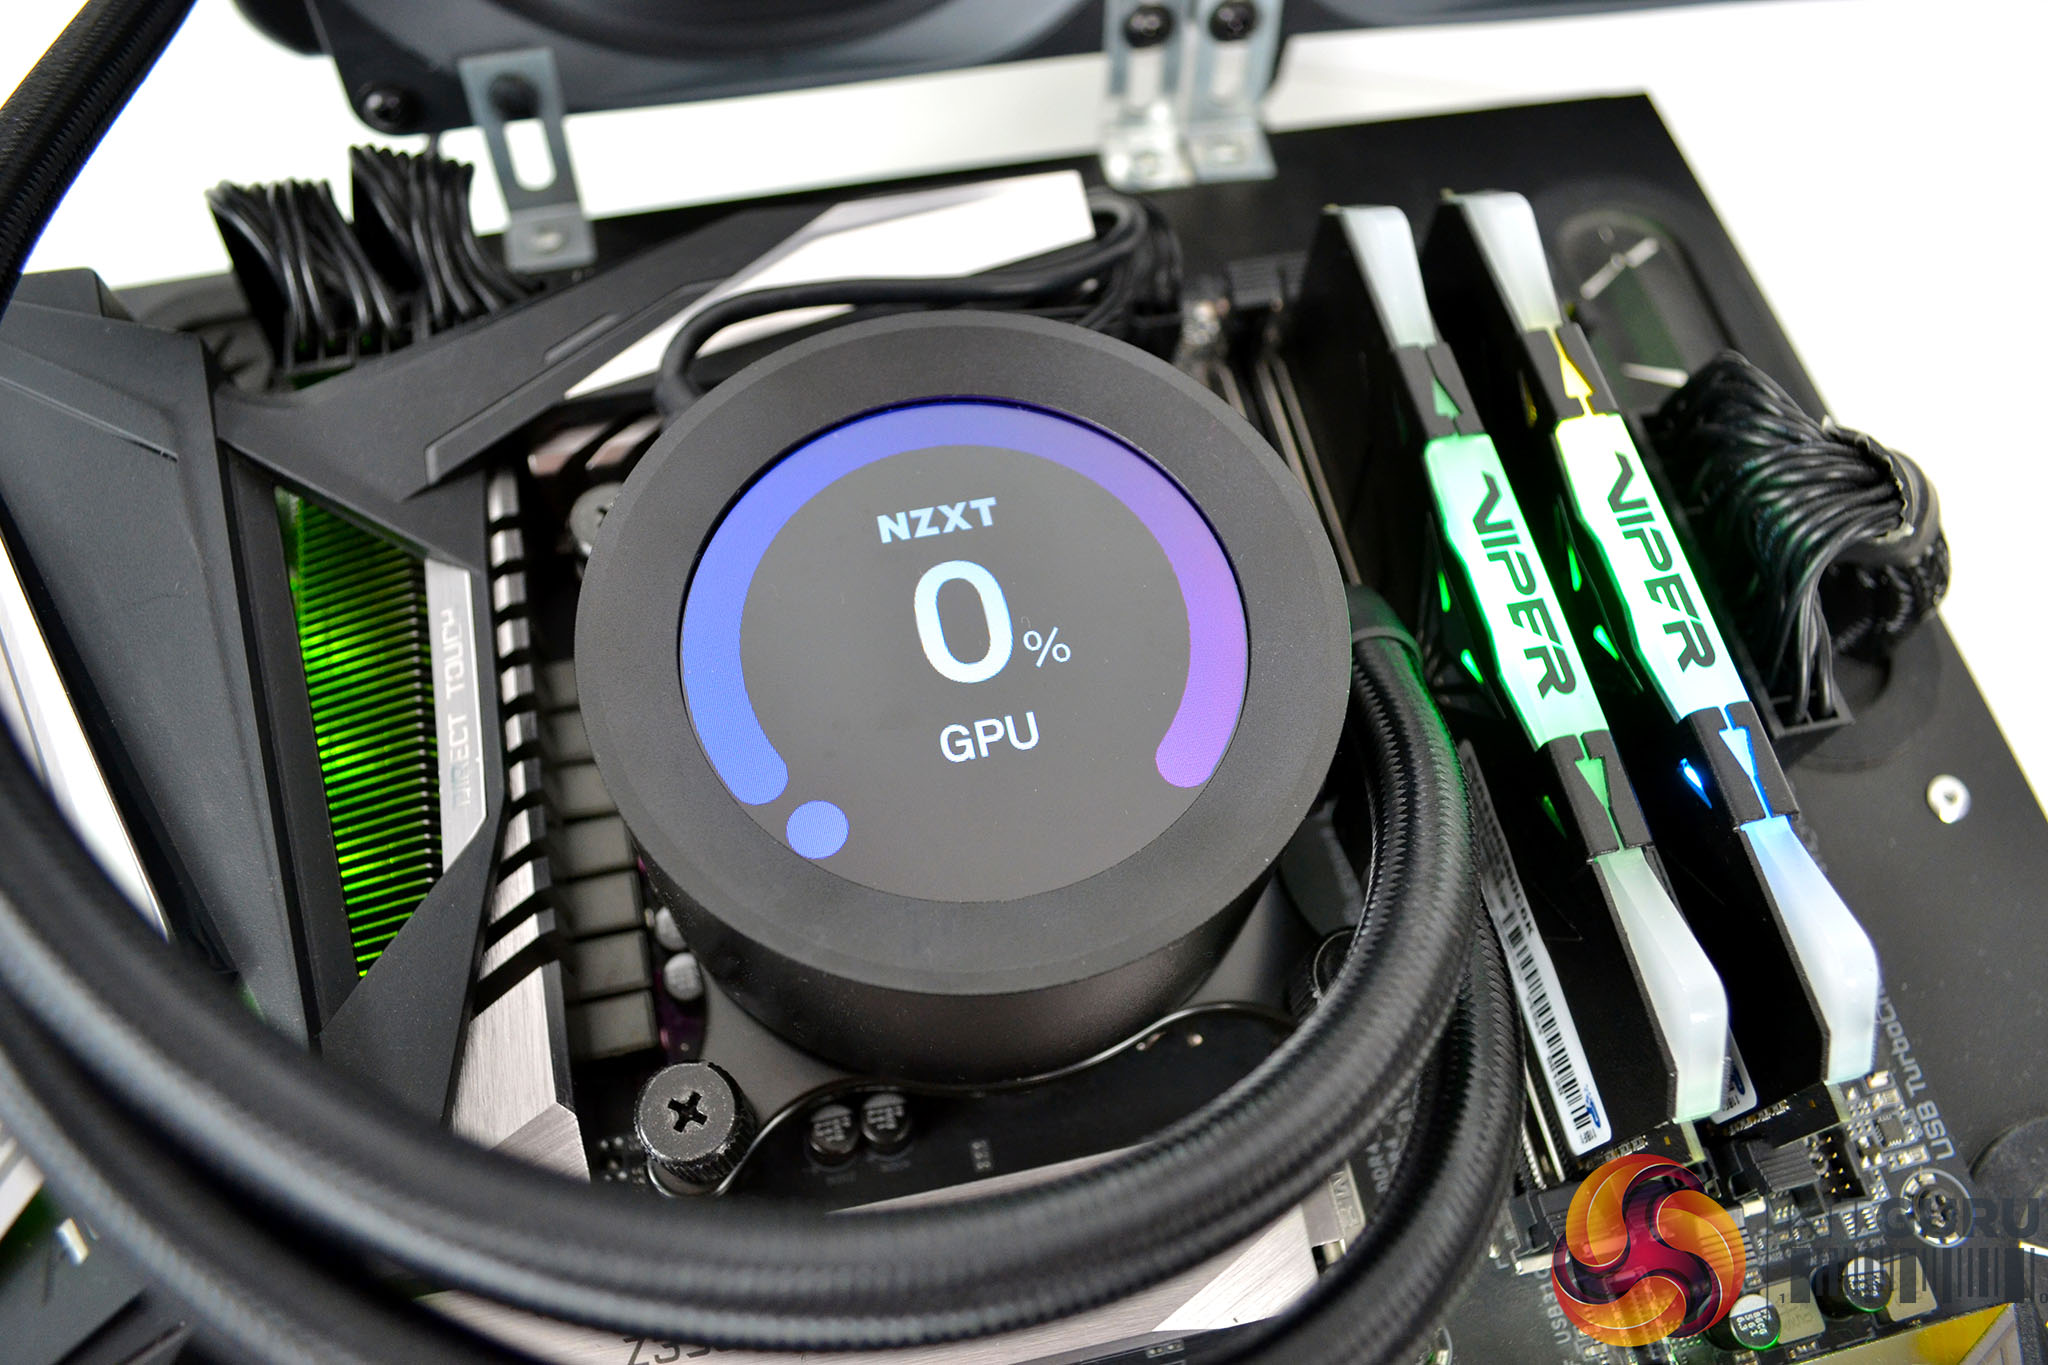
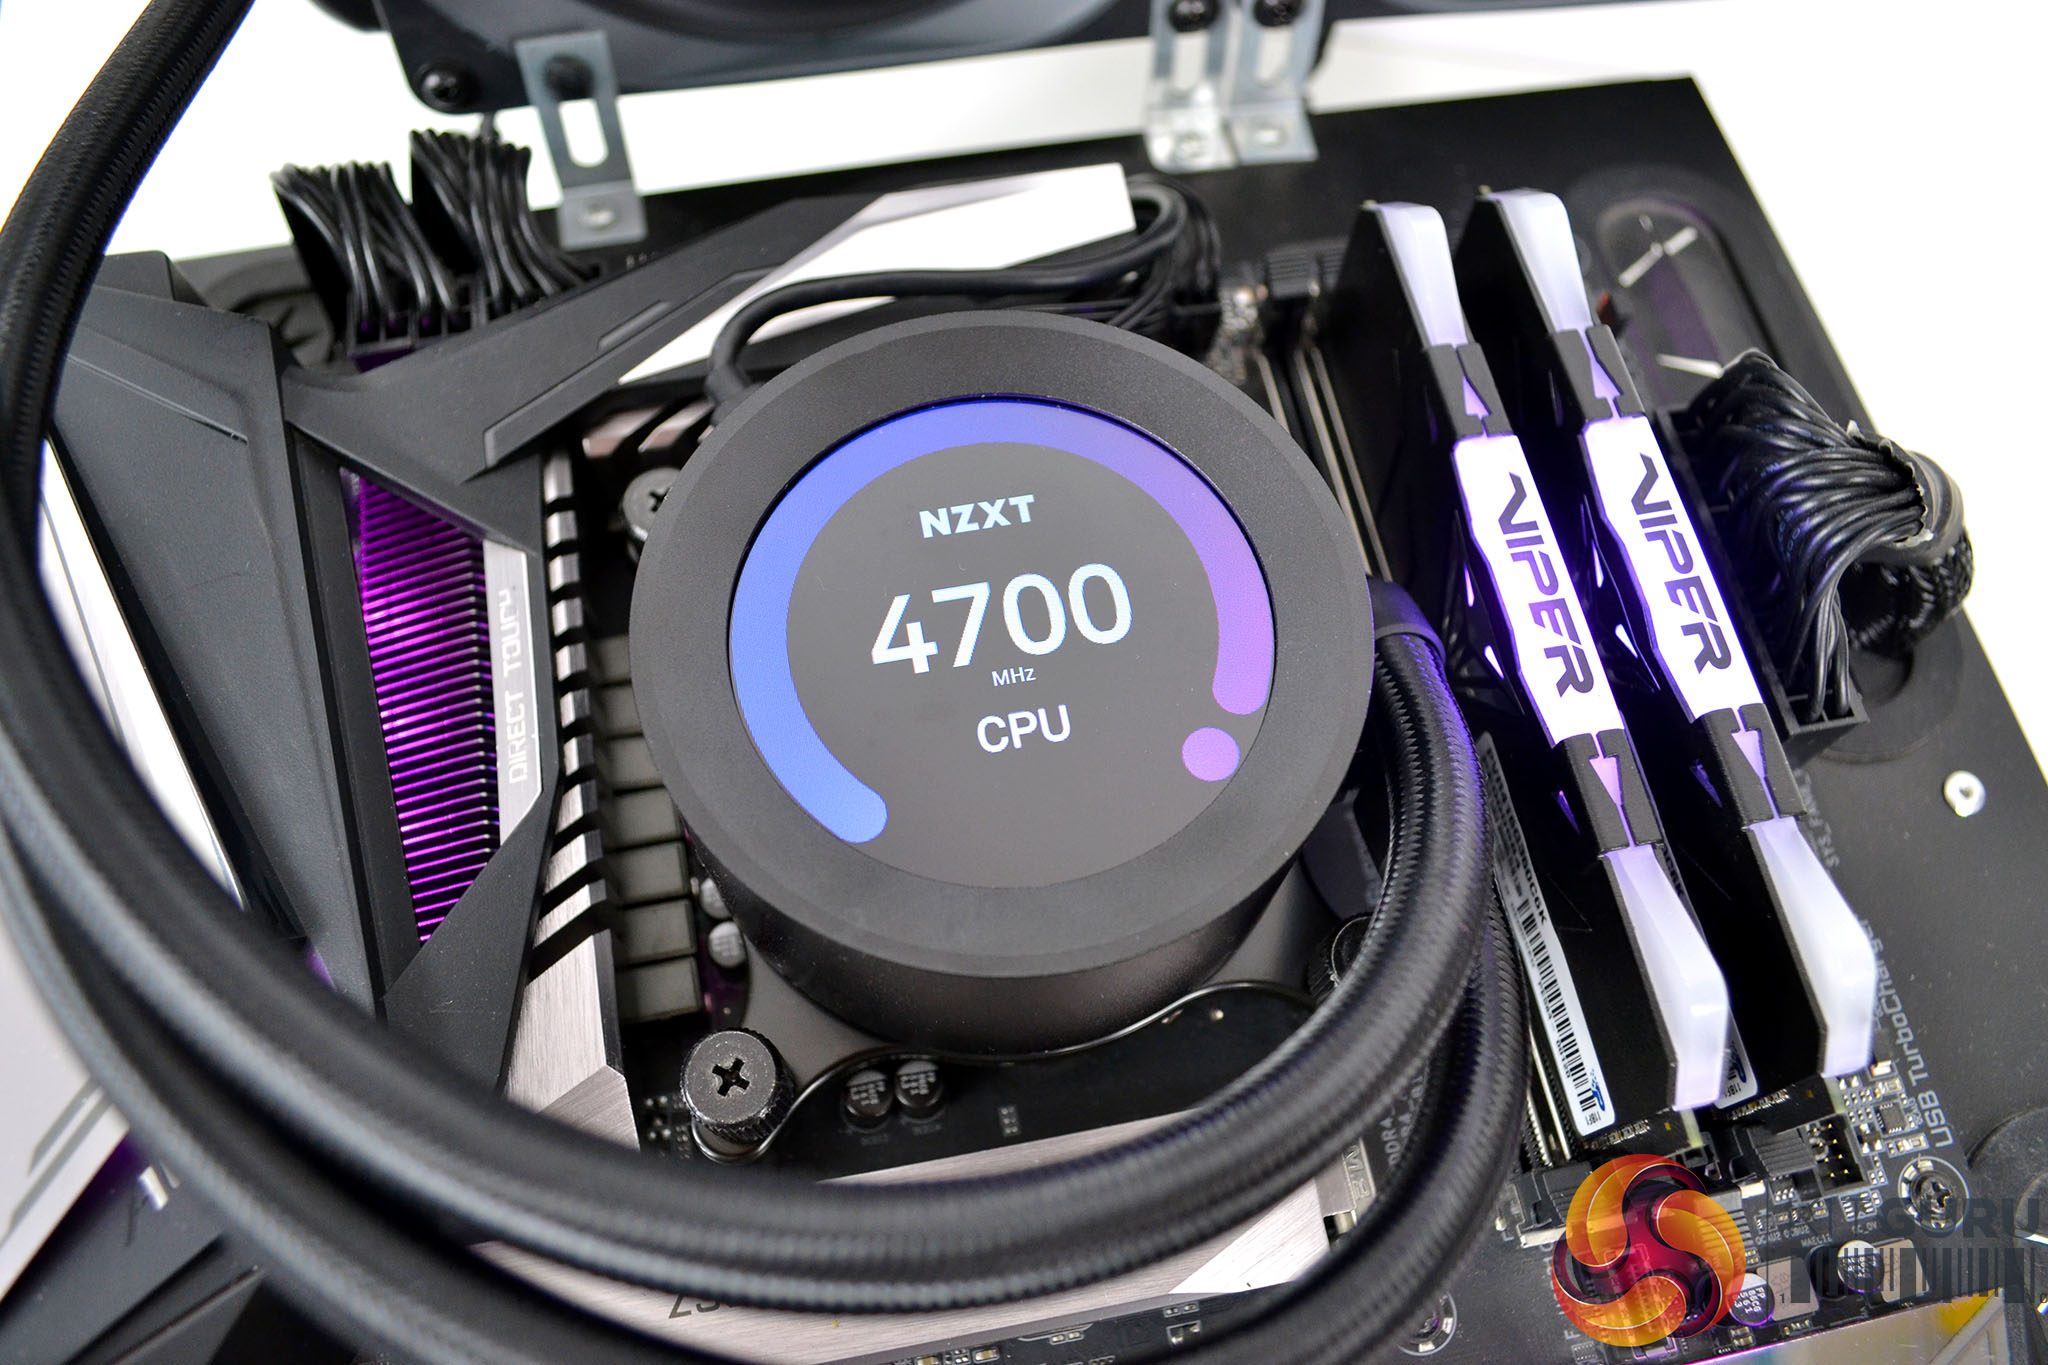
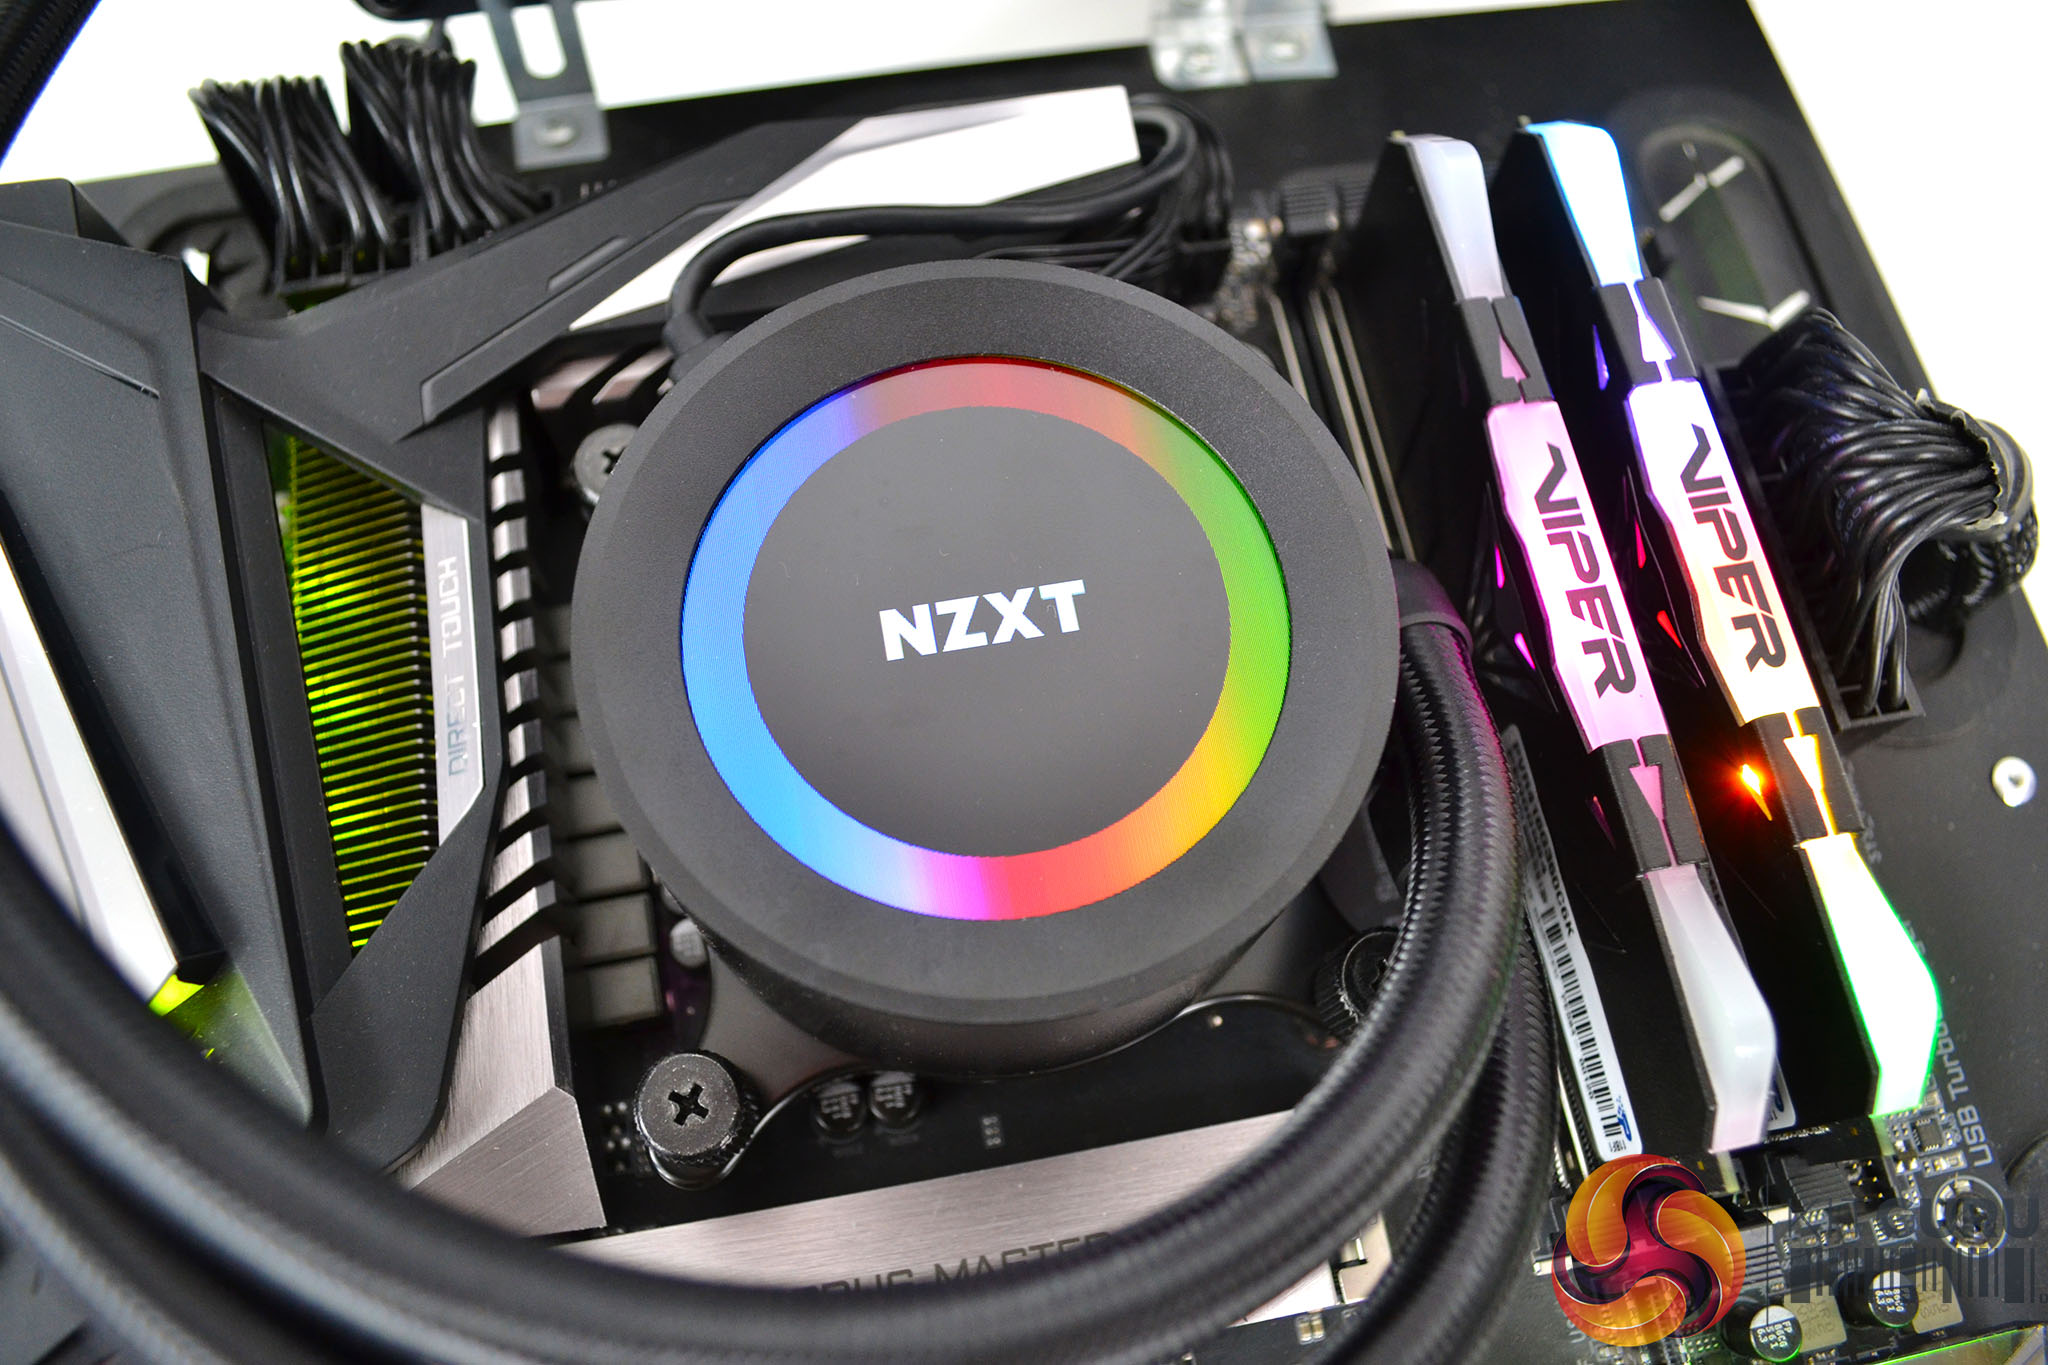
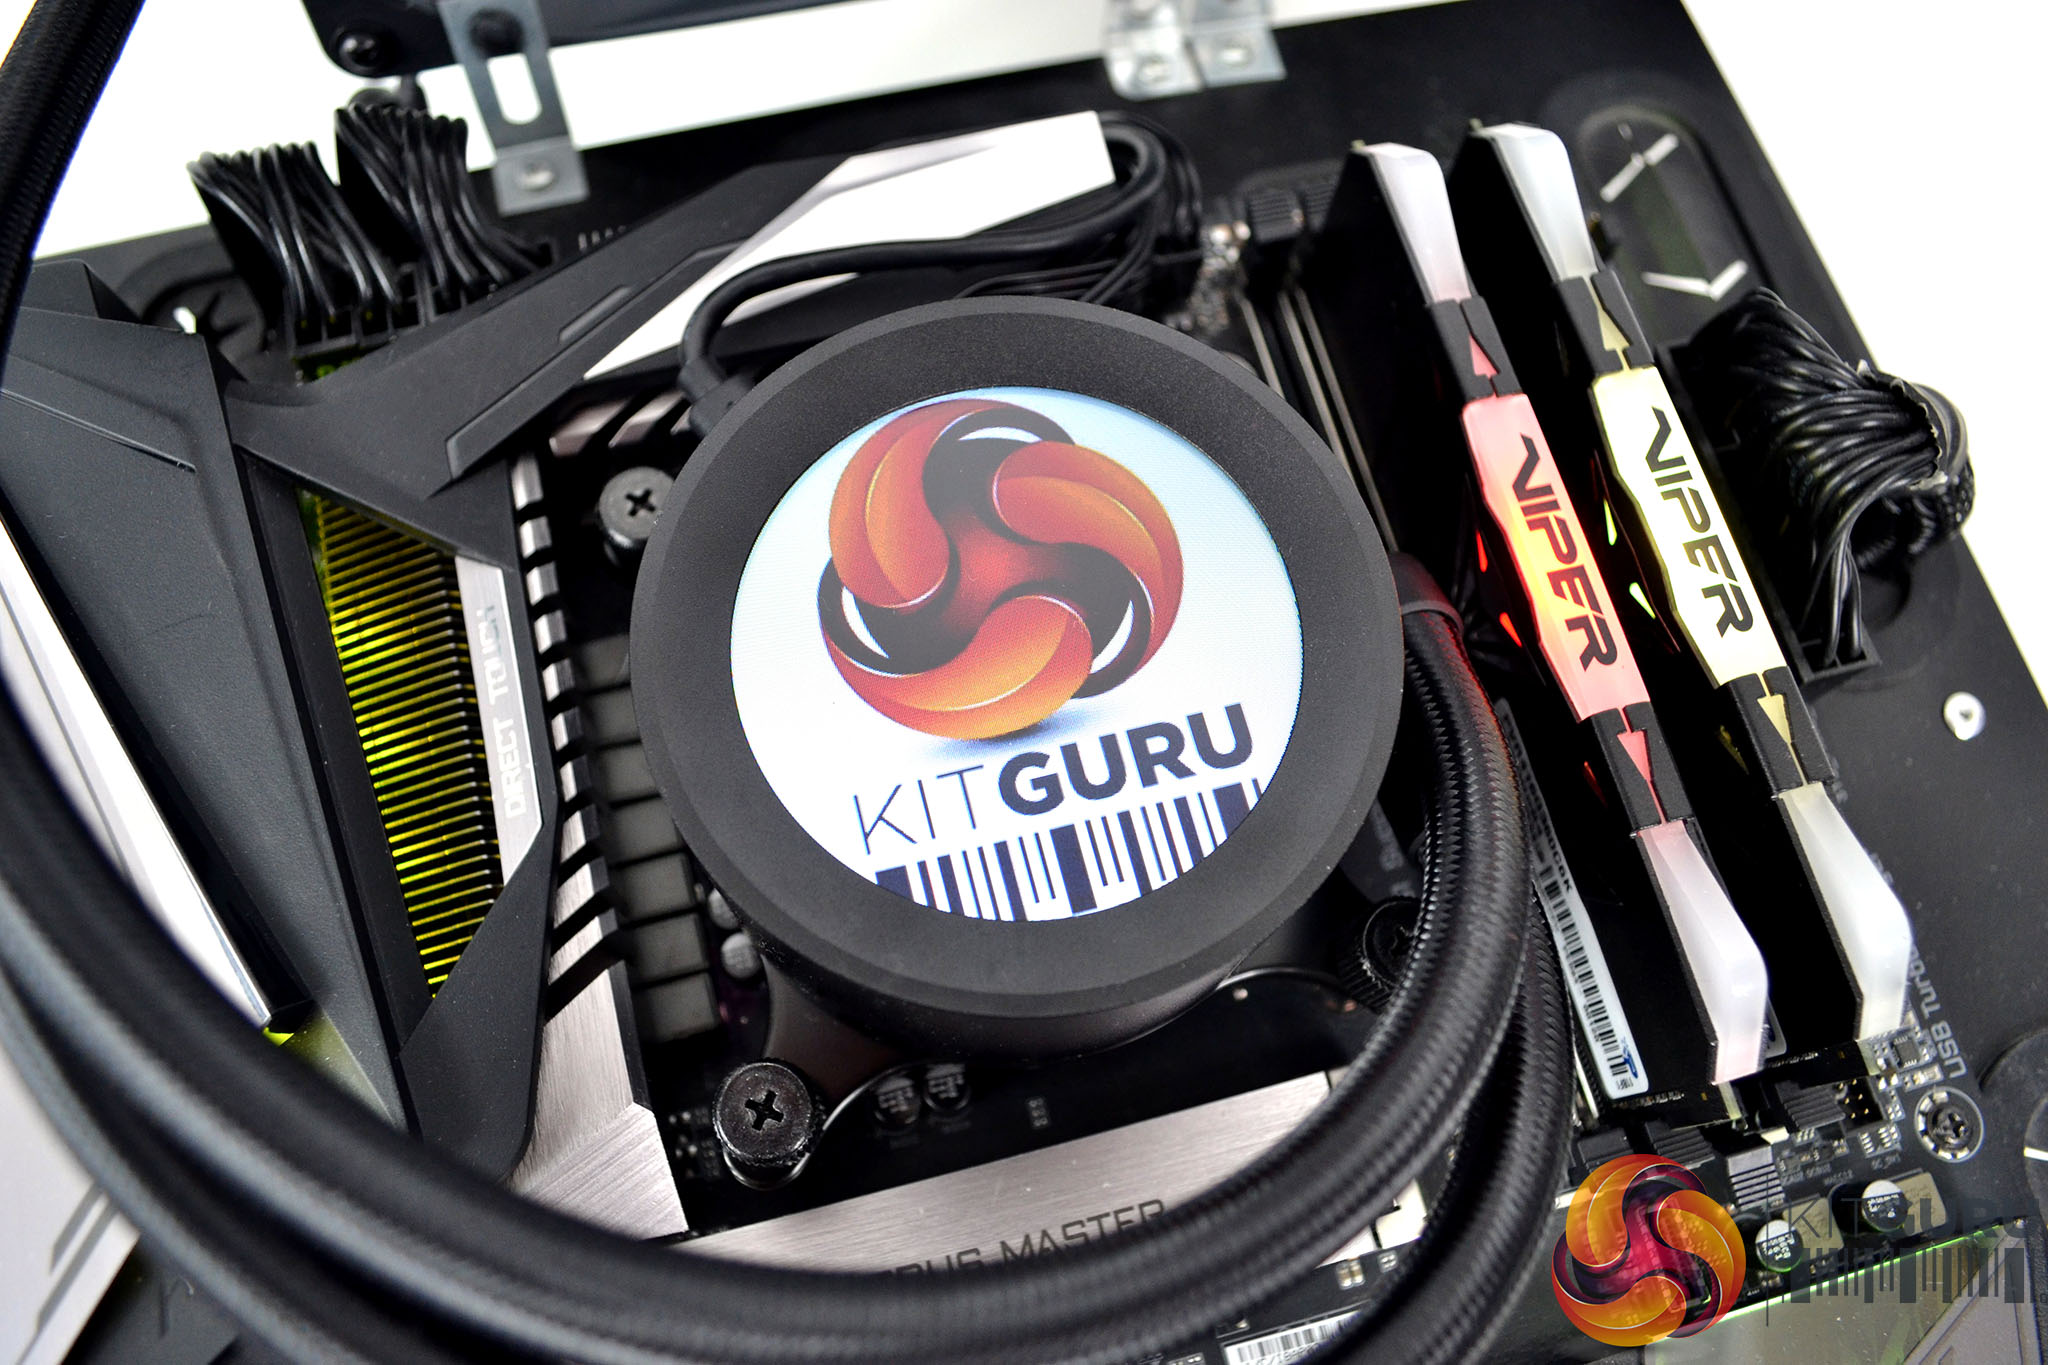
Inside the lighting section of CAM is where the user can customise the effects displayed on the CPU block of both the Kraken X-3 and Z-3. The X-3 offers RGB lighting customisation while the Z-3 is a little more technical. The 60mm LCD display built into the Z-3 CPU block can display a range of system monitoring values such as CPU and GPU temperature, CPU frequency, CPU/GPU utilisation, liquid temperature and more. For the ultimate in customisation, users can also display an animated GIF or image on the display too.