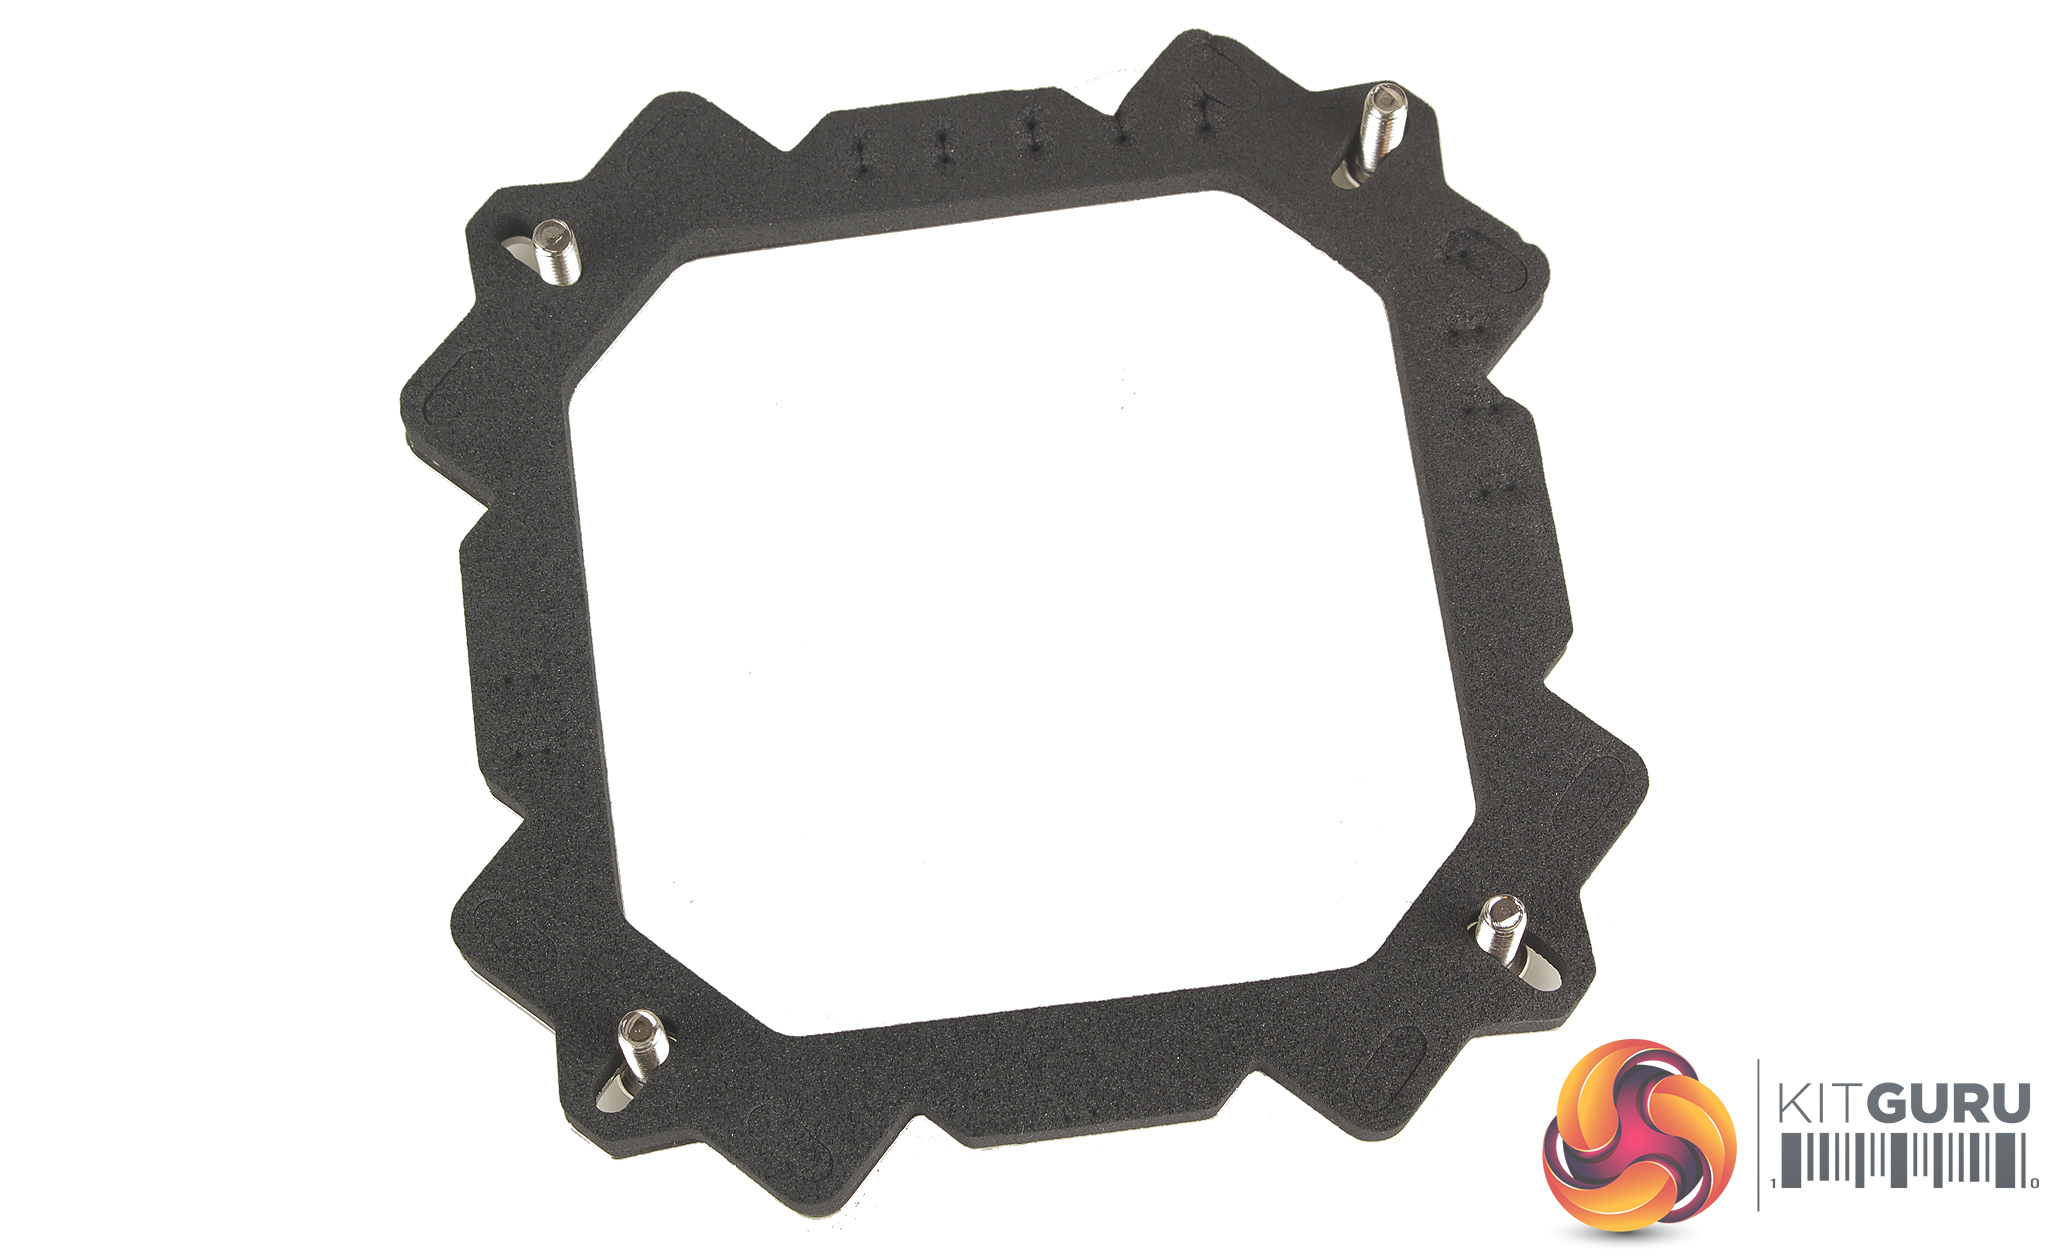
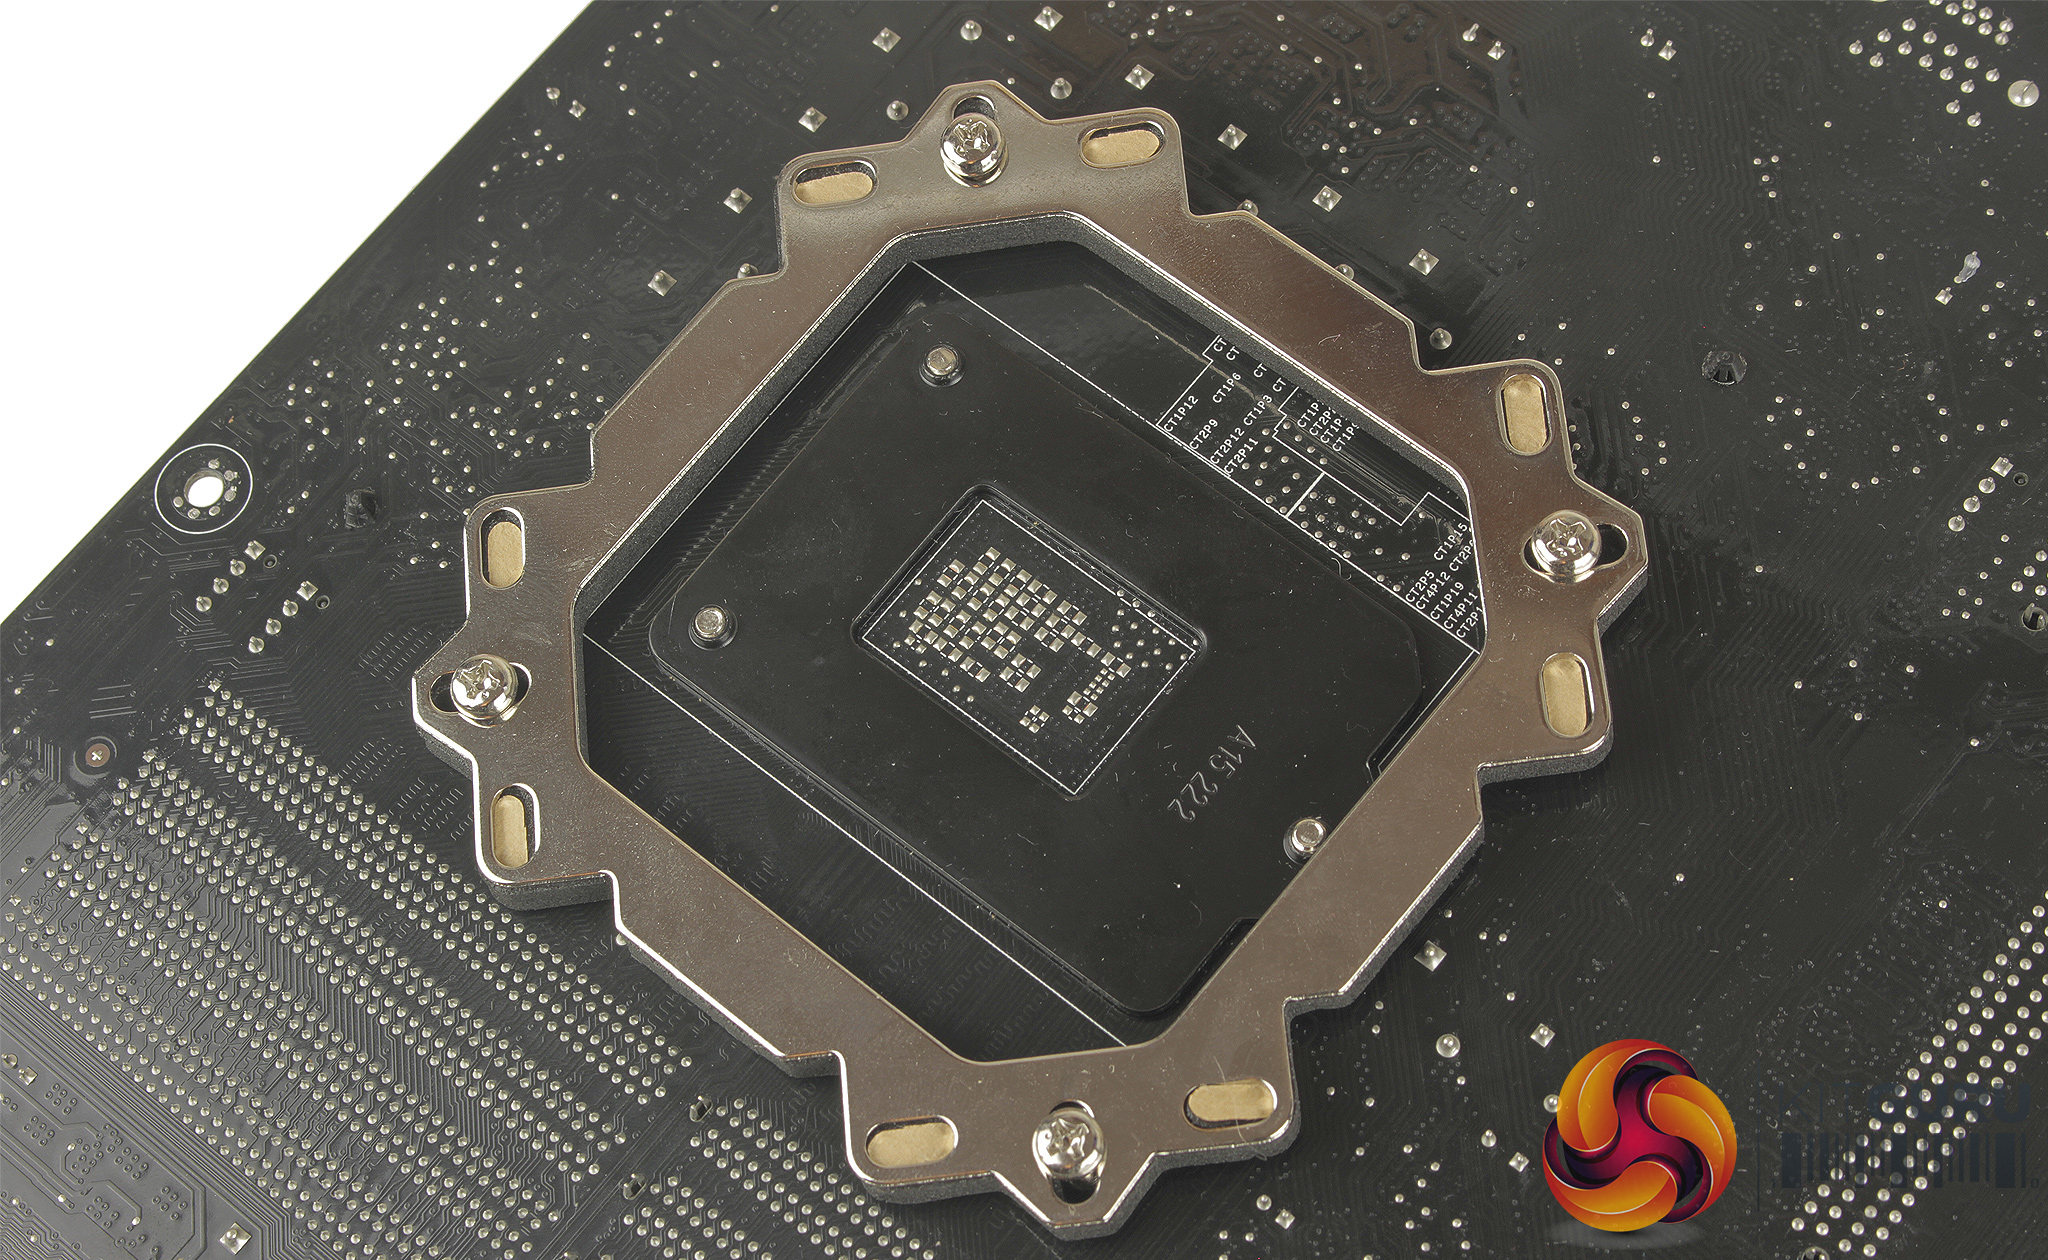
For installation you start with the back plate which is heavily padded with foam, to prevent direct contact with the back of your motherboard. You start by placing four longer screws through each corner of the backplate and then installing on the rear of your motherboard.
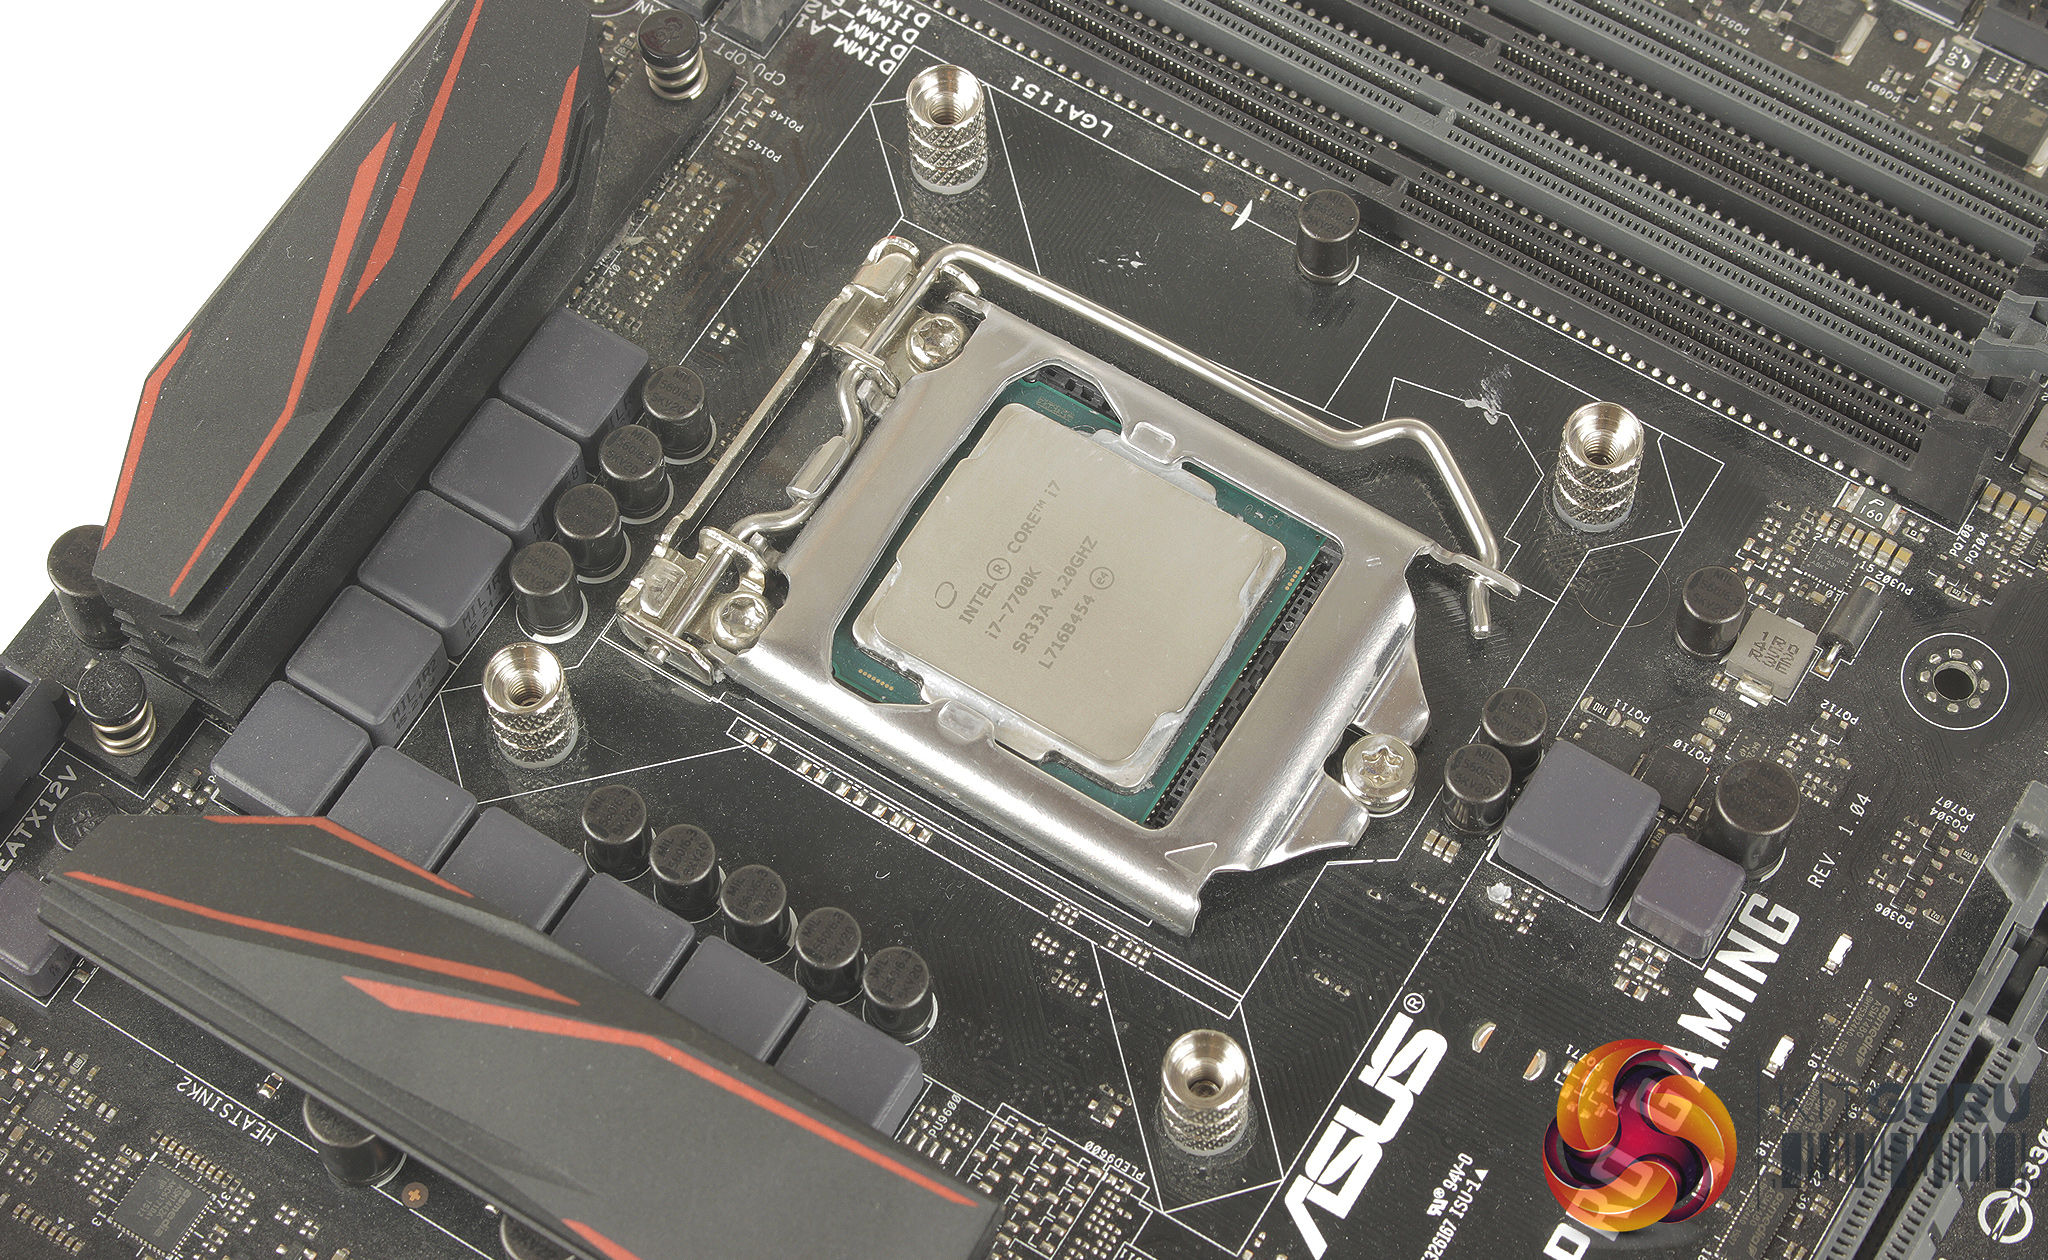
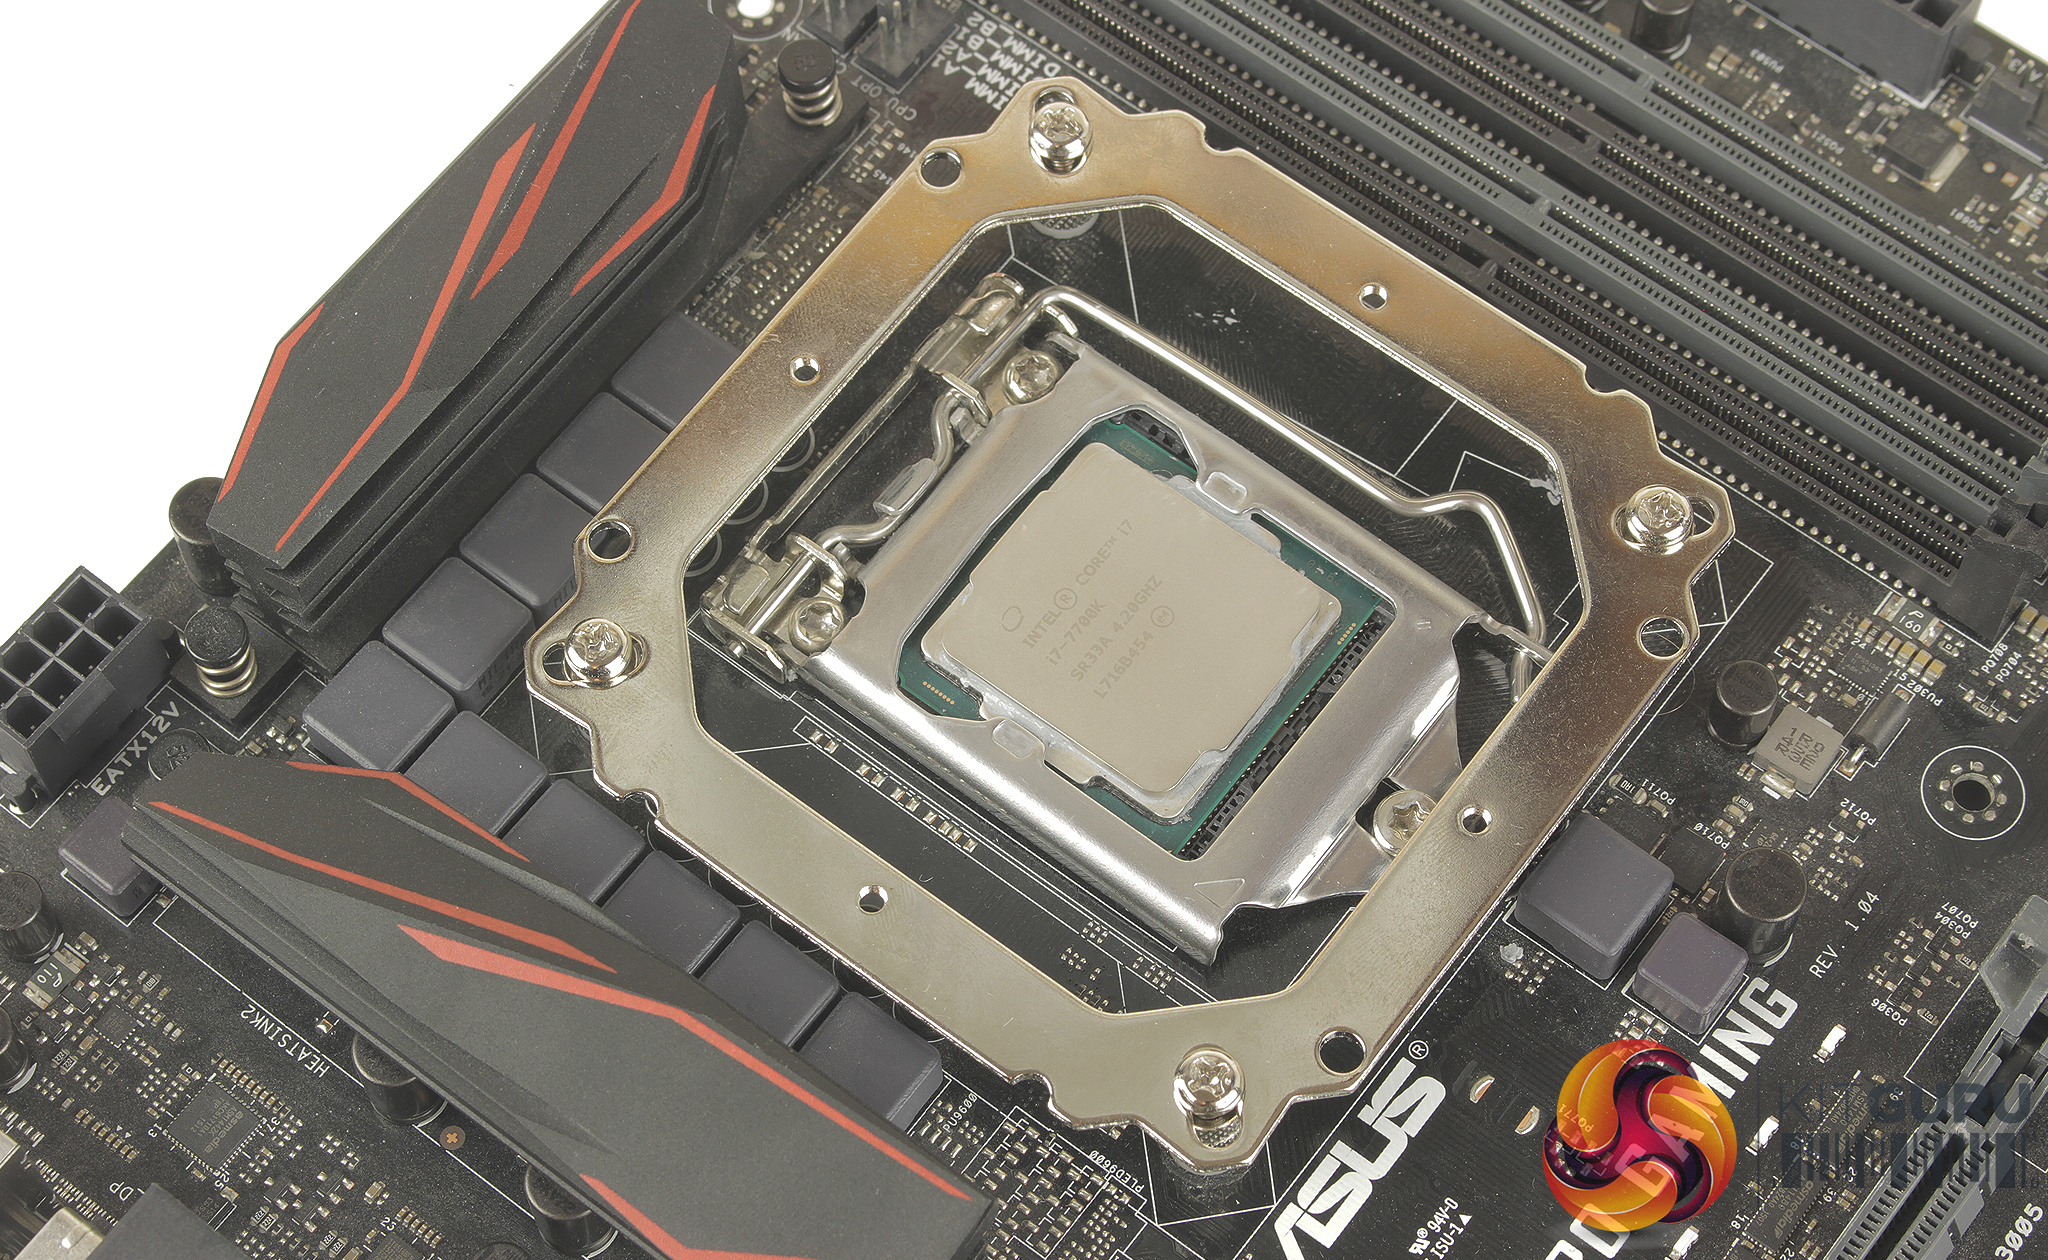
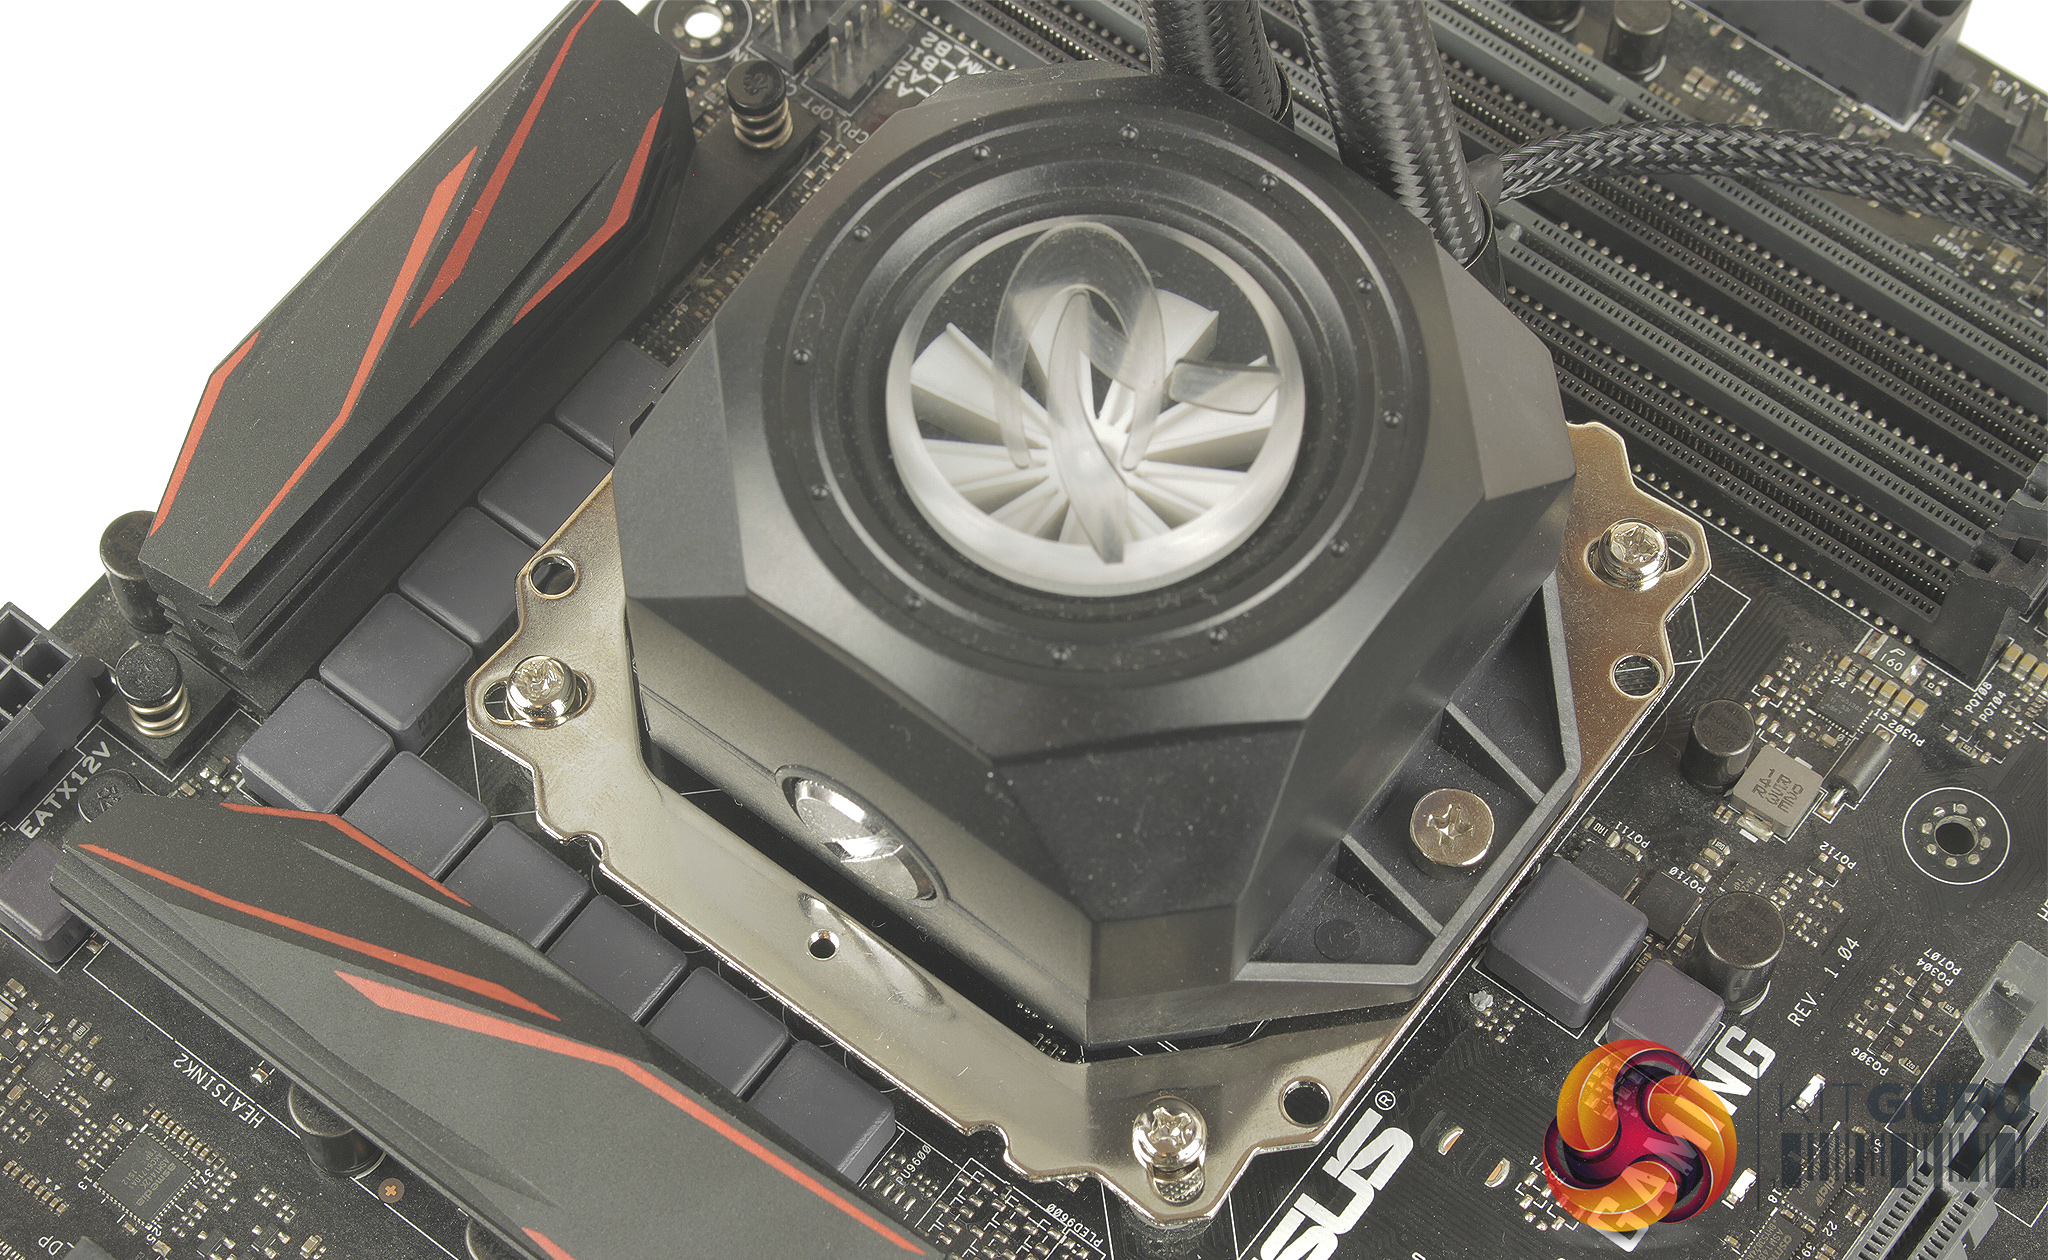
With the back plate in place you can lock it down with the four included thumb nut spacers, washers are included that sit between your motherboard, and these standoffs. With all four firmly in place, you can mount the top bracket with a further four smaller screws, and mount the CPU block with two additional screws.
Both short and long radiator mounting screws are included depending on your preference of push or pull mounting, and although the mounting hardware is not super clearly labeled, the radiator screws are packaged separately which does help prevent confusion.
Overall the process only took about 10 minutes once I had fully versed myself with the instructions. I will say I think the instructions and mounting hardware labeling could be improved, but it didn’t really hinder installation that much. The fan connections are split, so one 4pin PWM connection, and a 4pin RGB LED connector each.
The fan PWM cables are nice and long but unfortunately, a splitter isn’t included, which does mean you will have to source one yourself or connect each fan to a separate motherboard header. The LED connections from each fan and the block can be run to the controller, and then connected to your PSU via the 4 pin Molex cable.
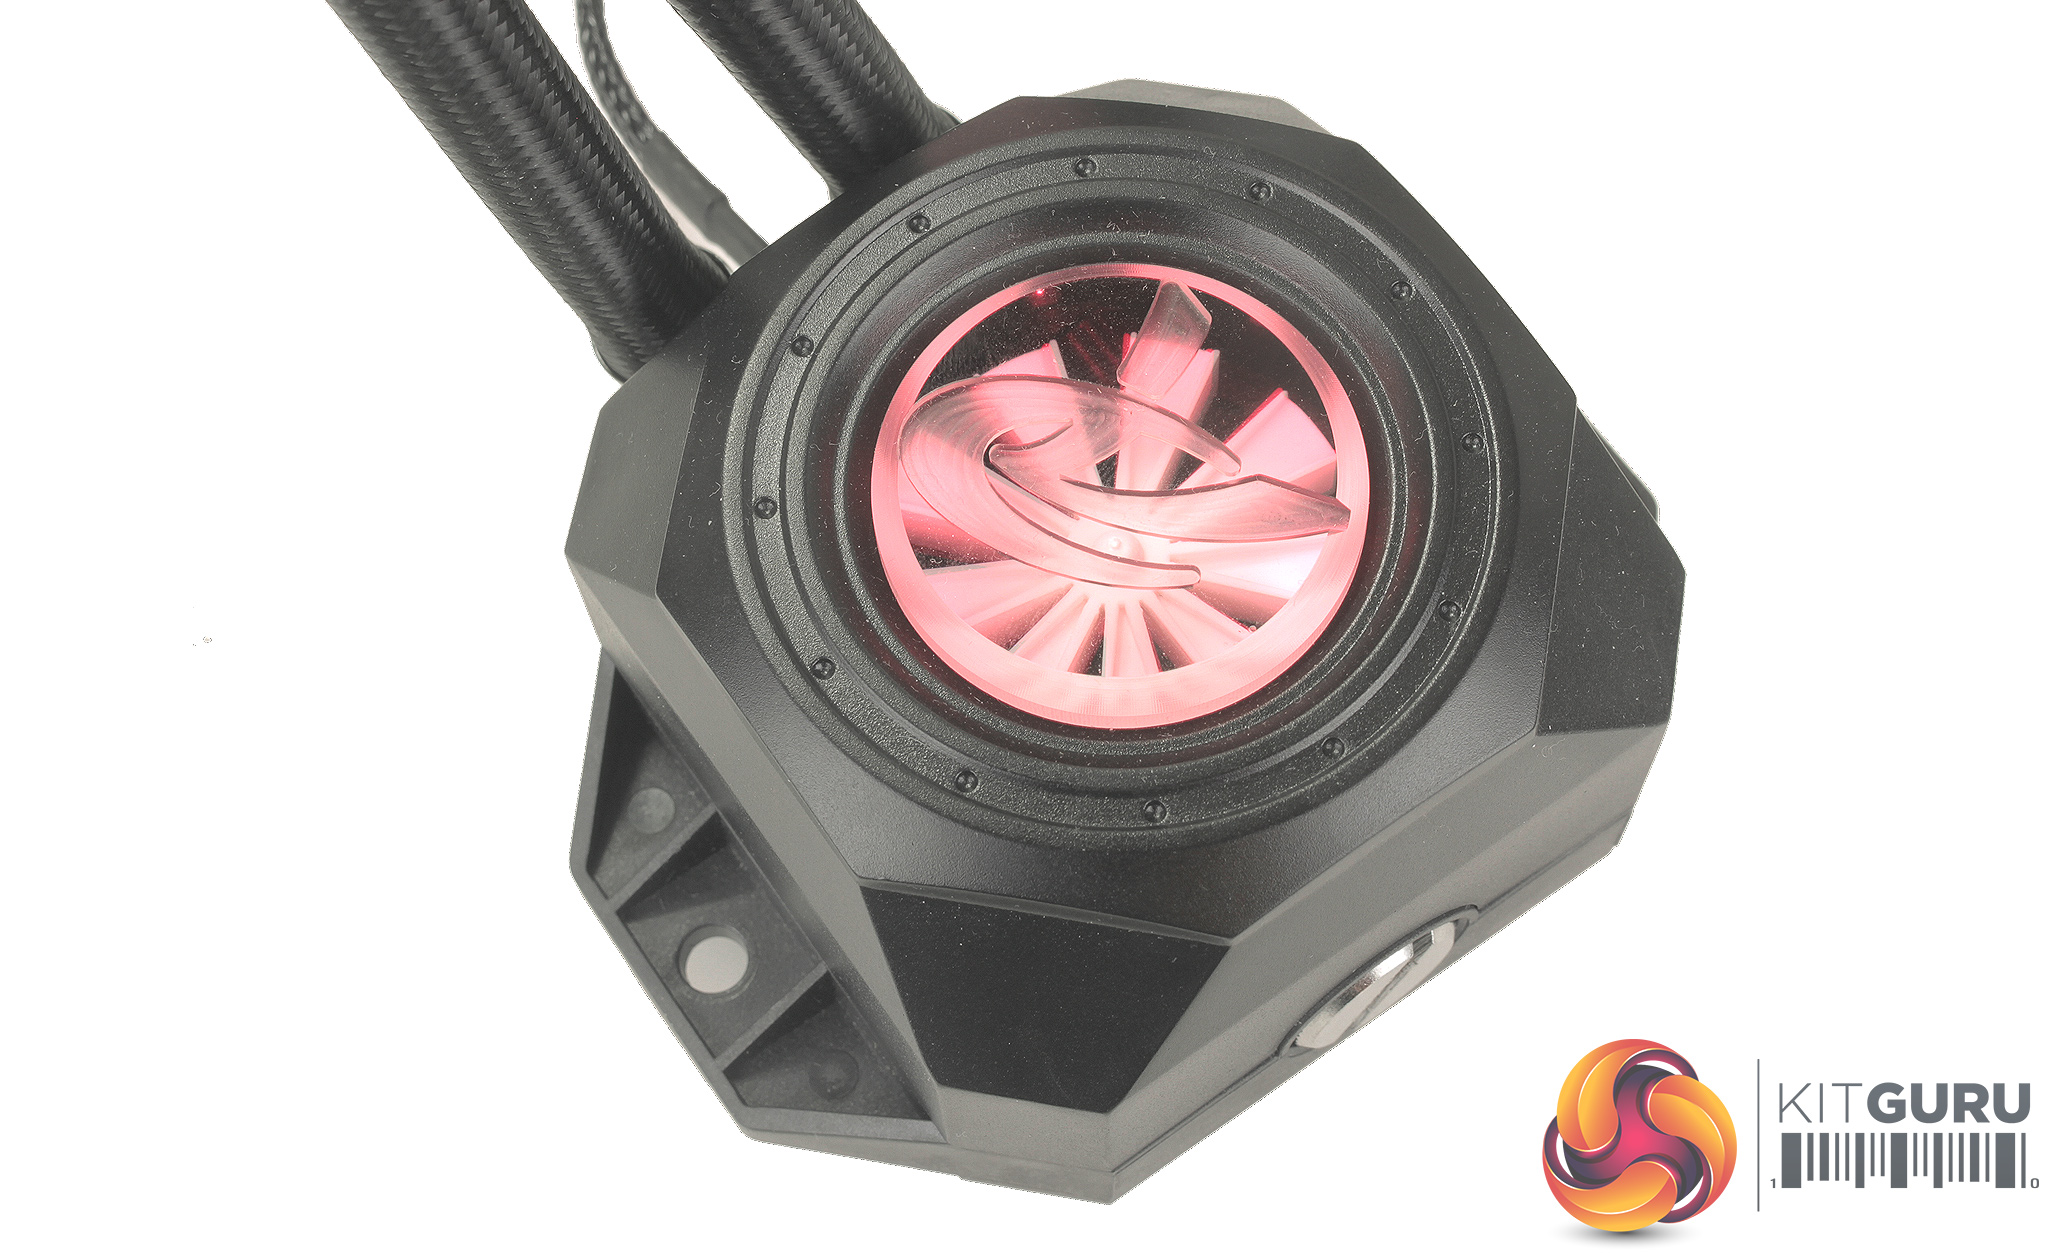

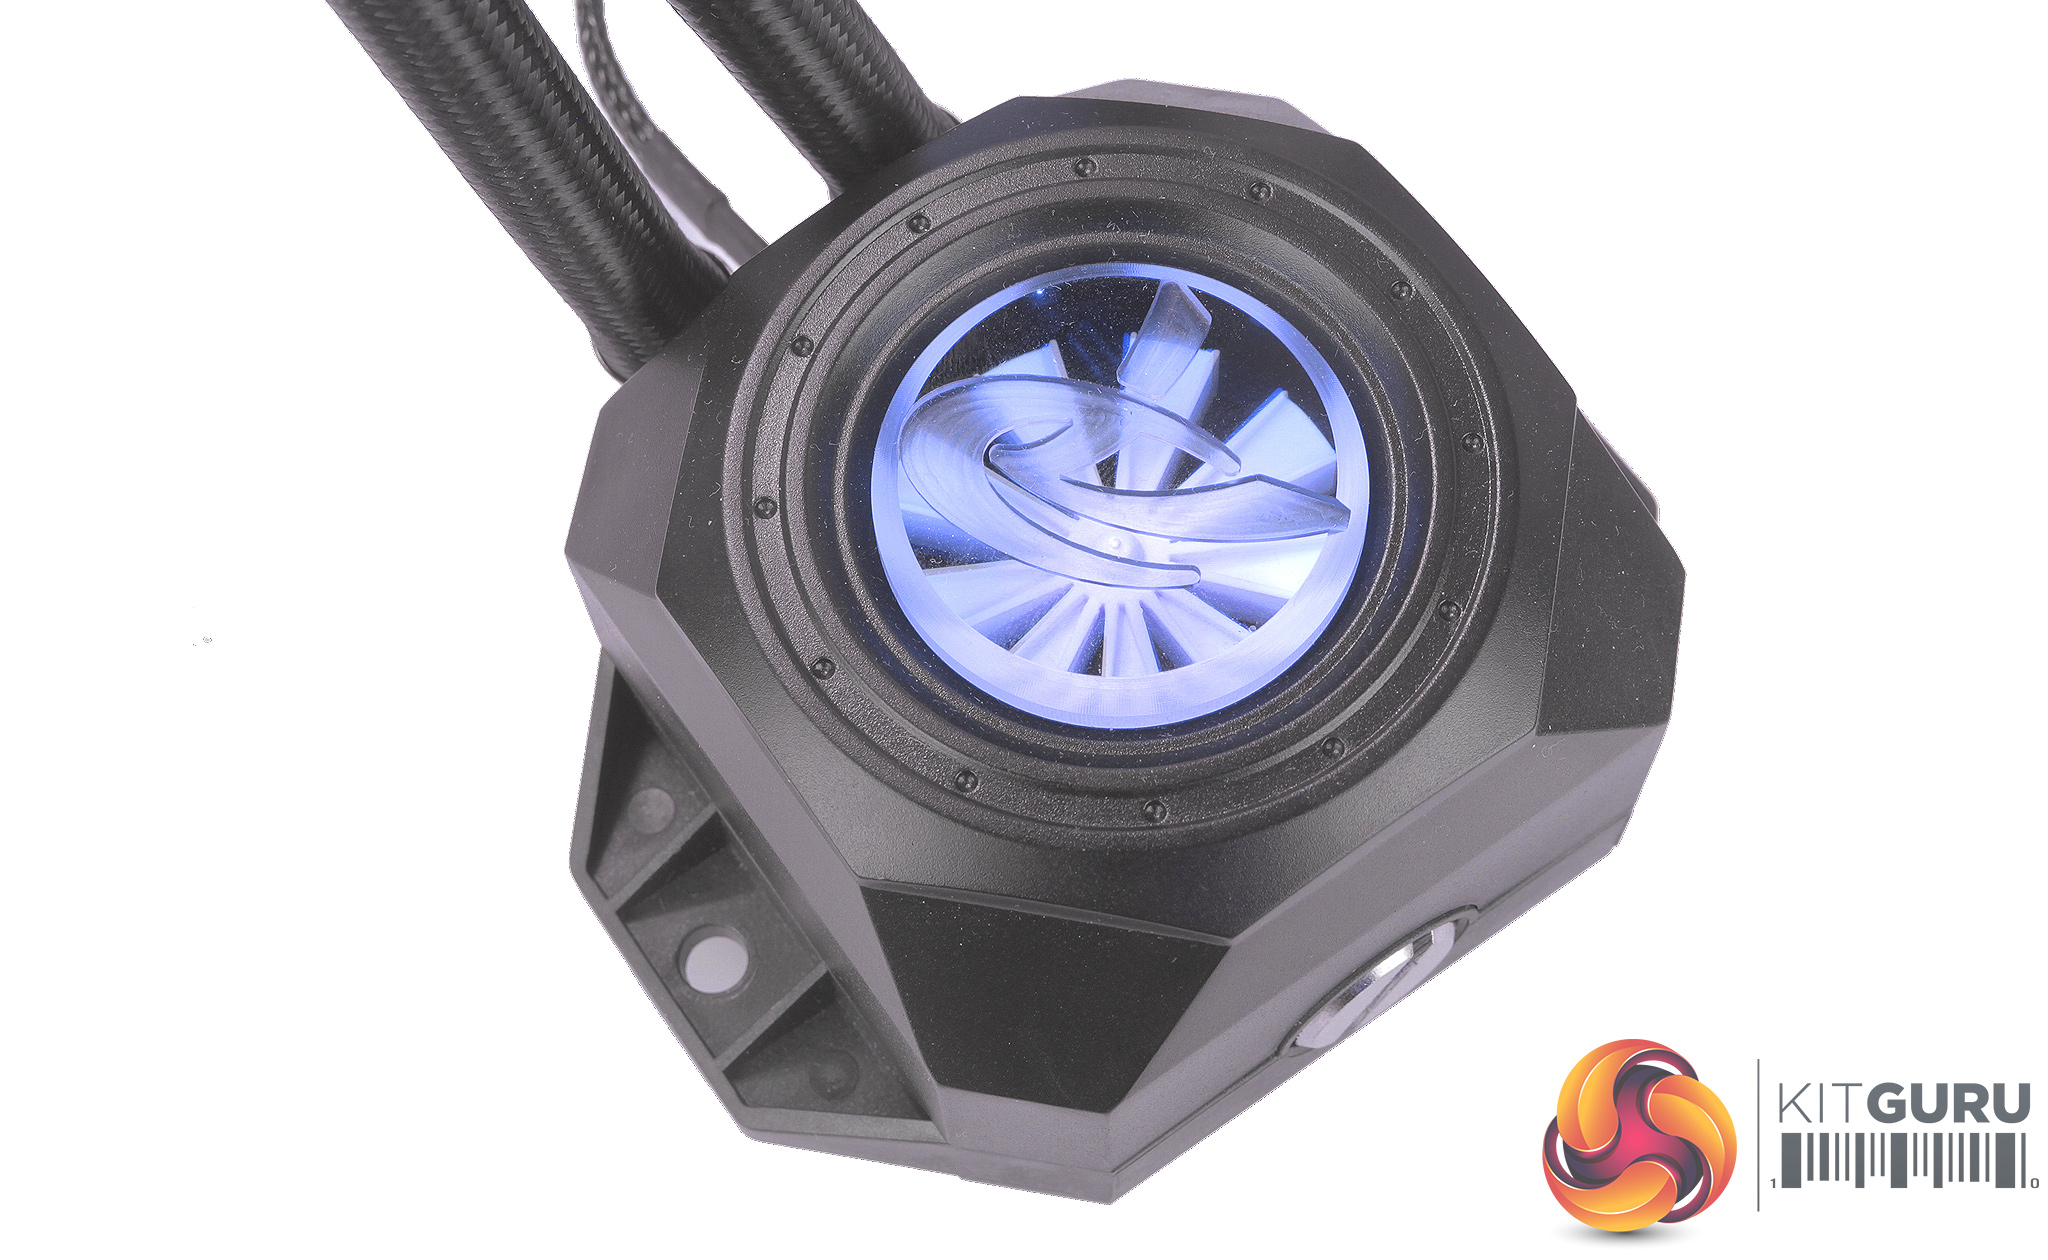
Running the lighting through its paces, the included controller works really well, the LED within the CPU block really helps illuminate the flow indicator, and the ring fans look pretty spectacular.
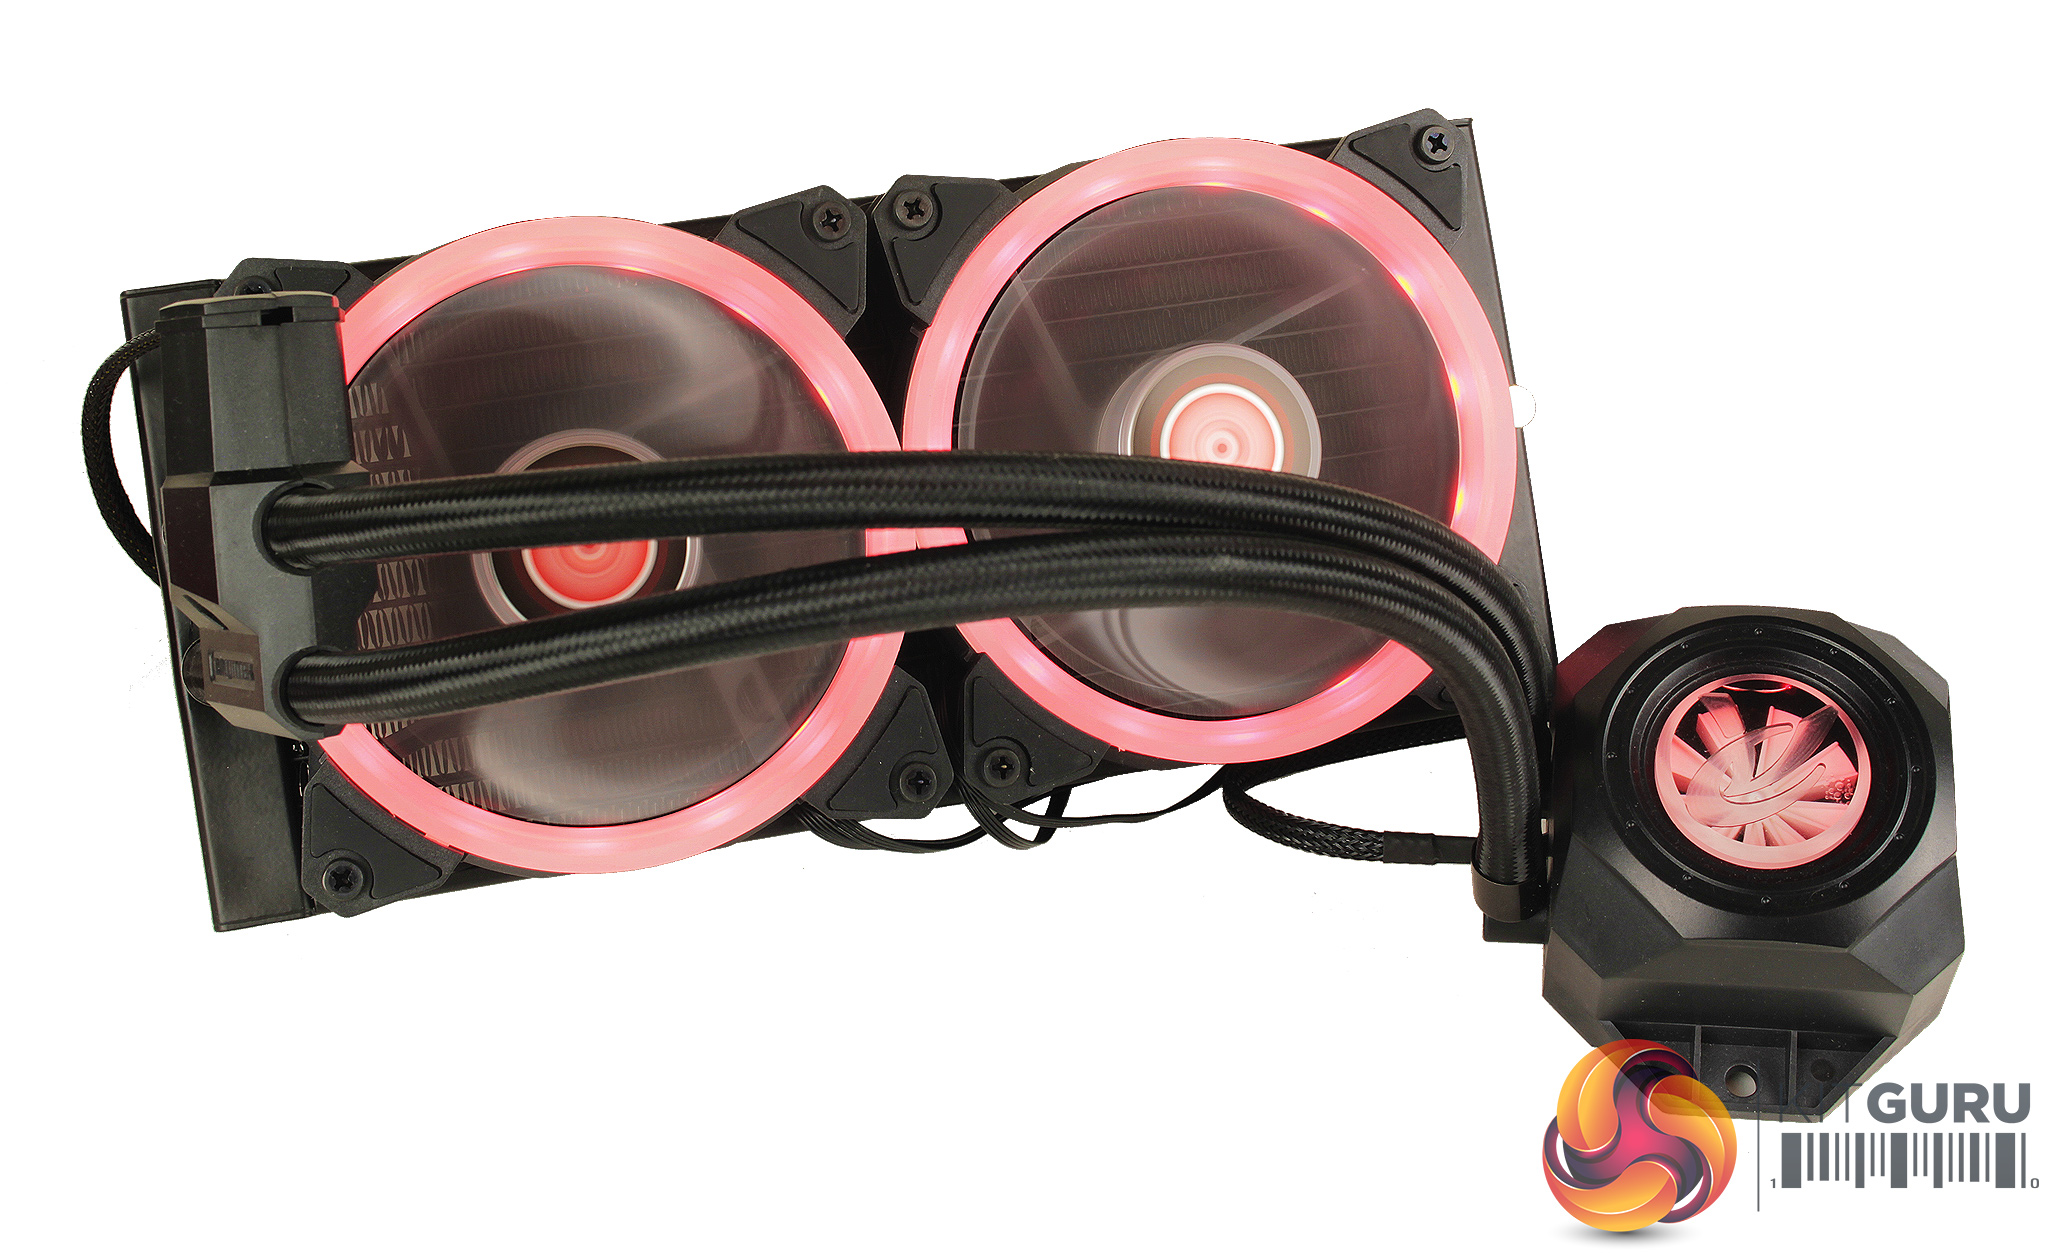
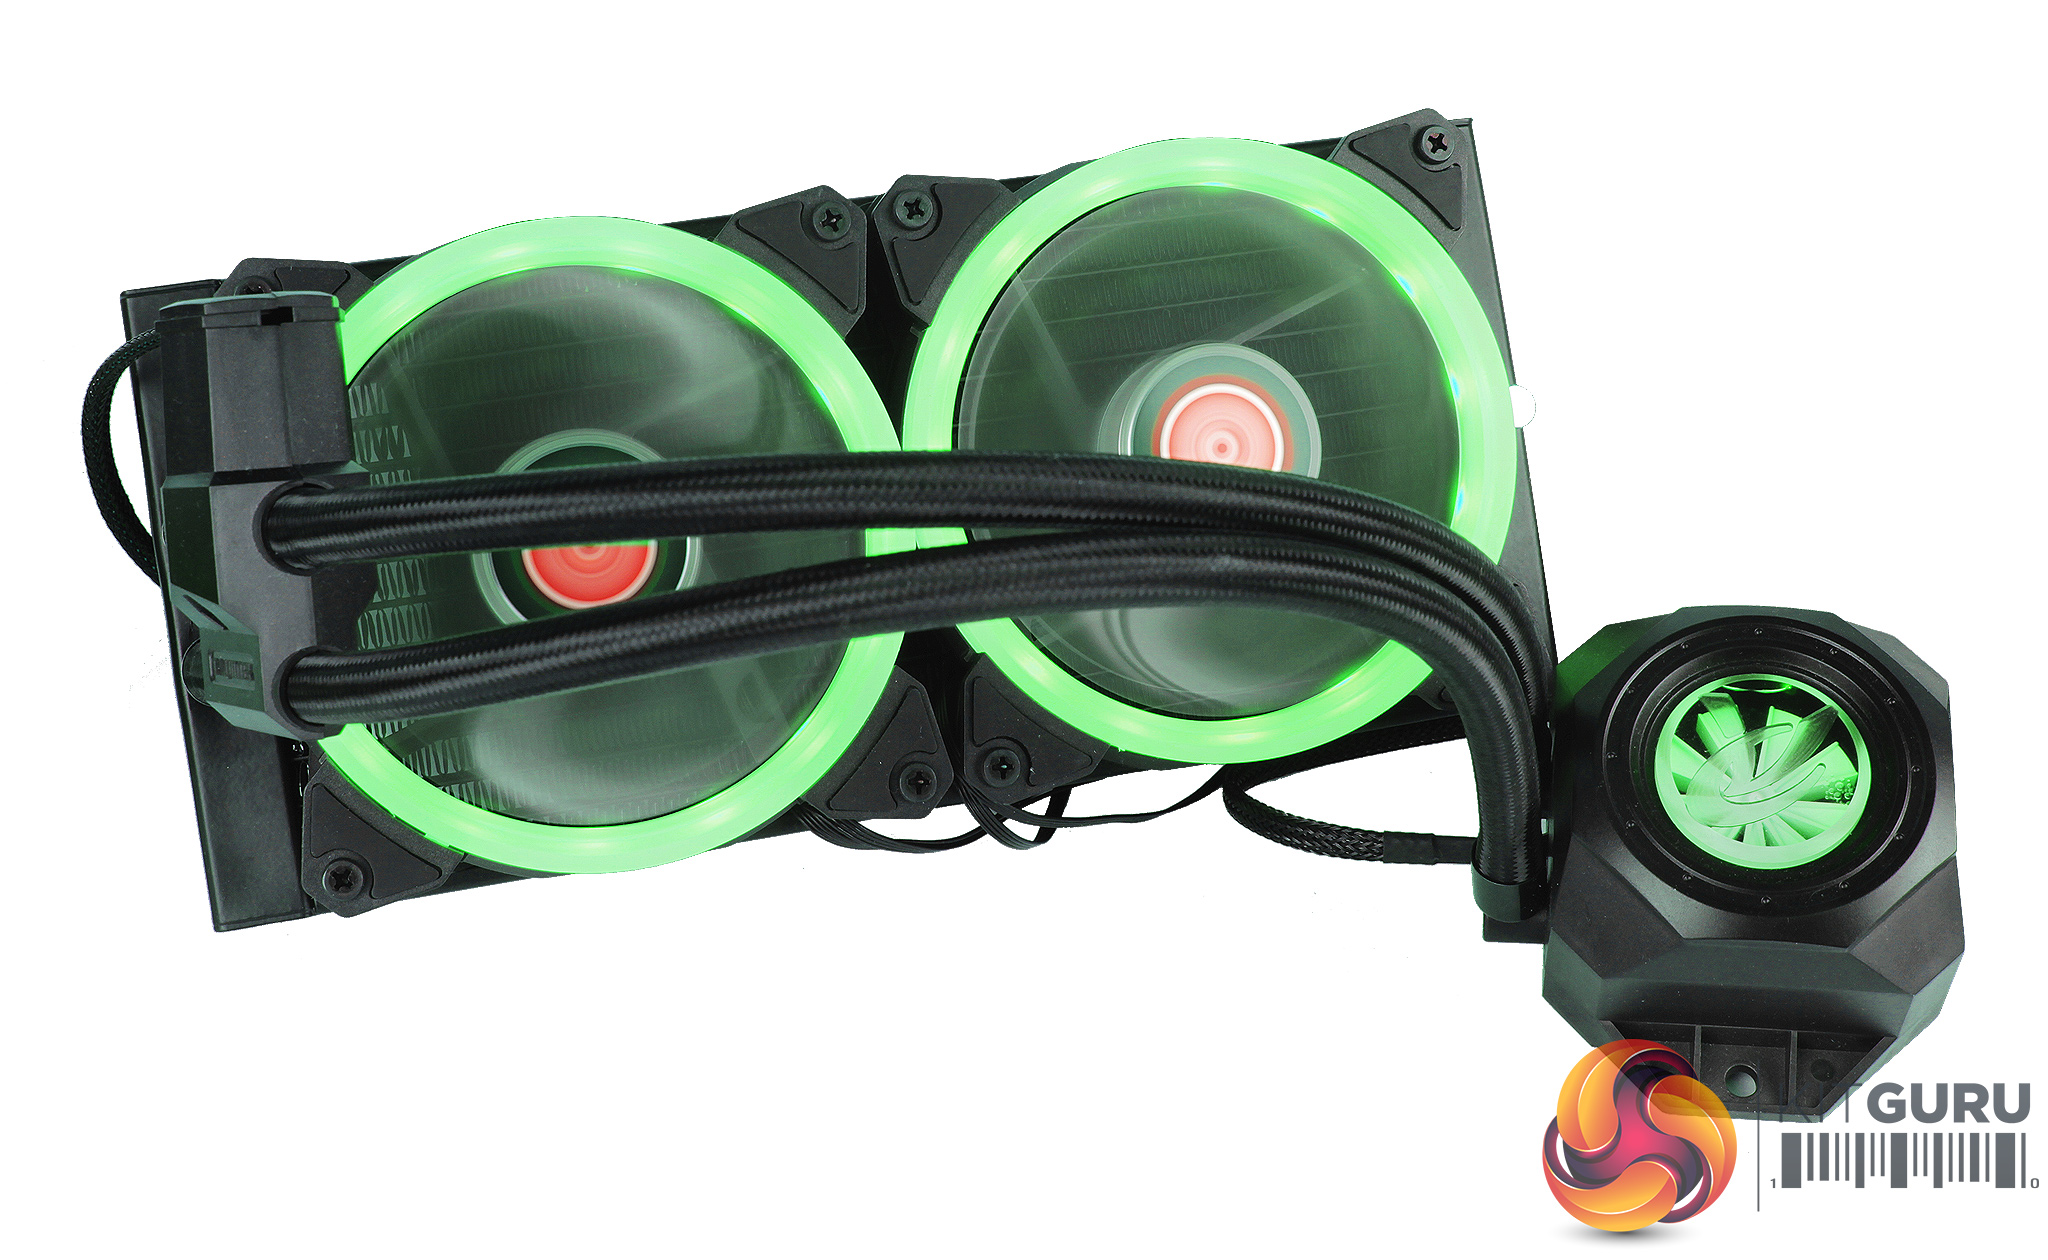
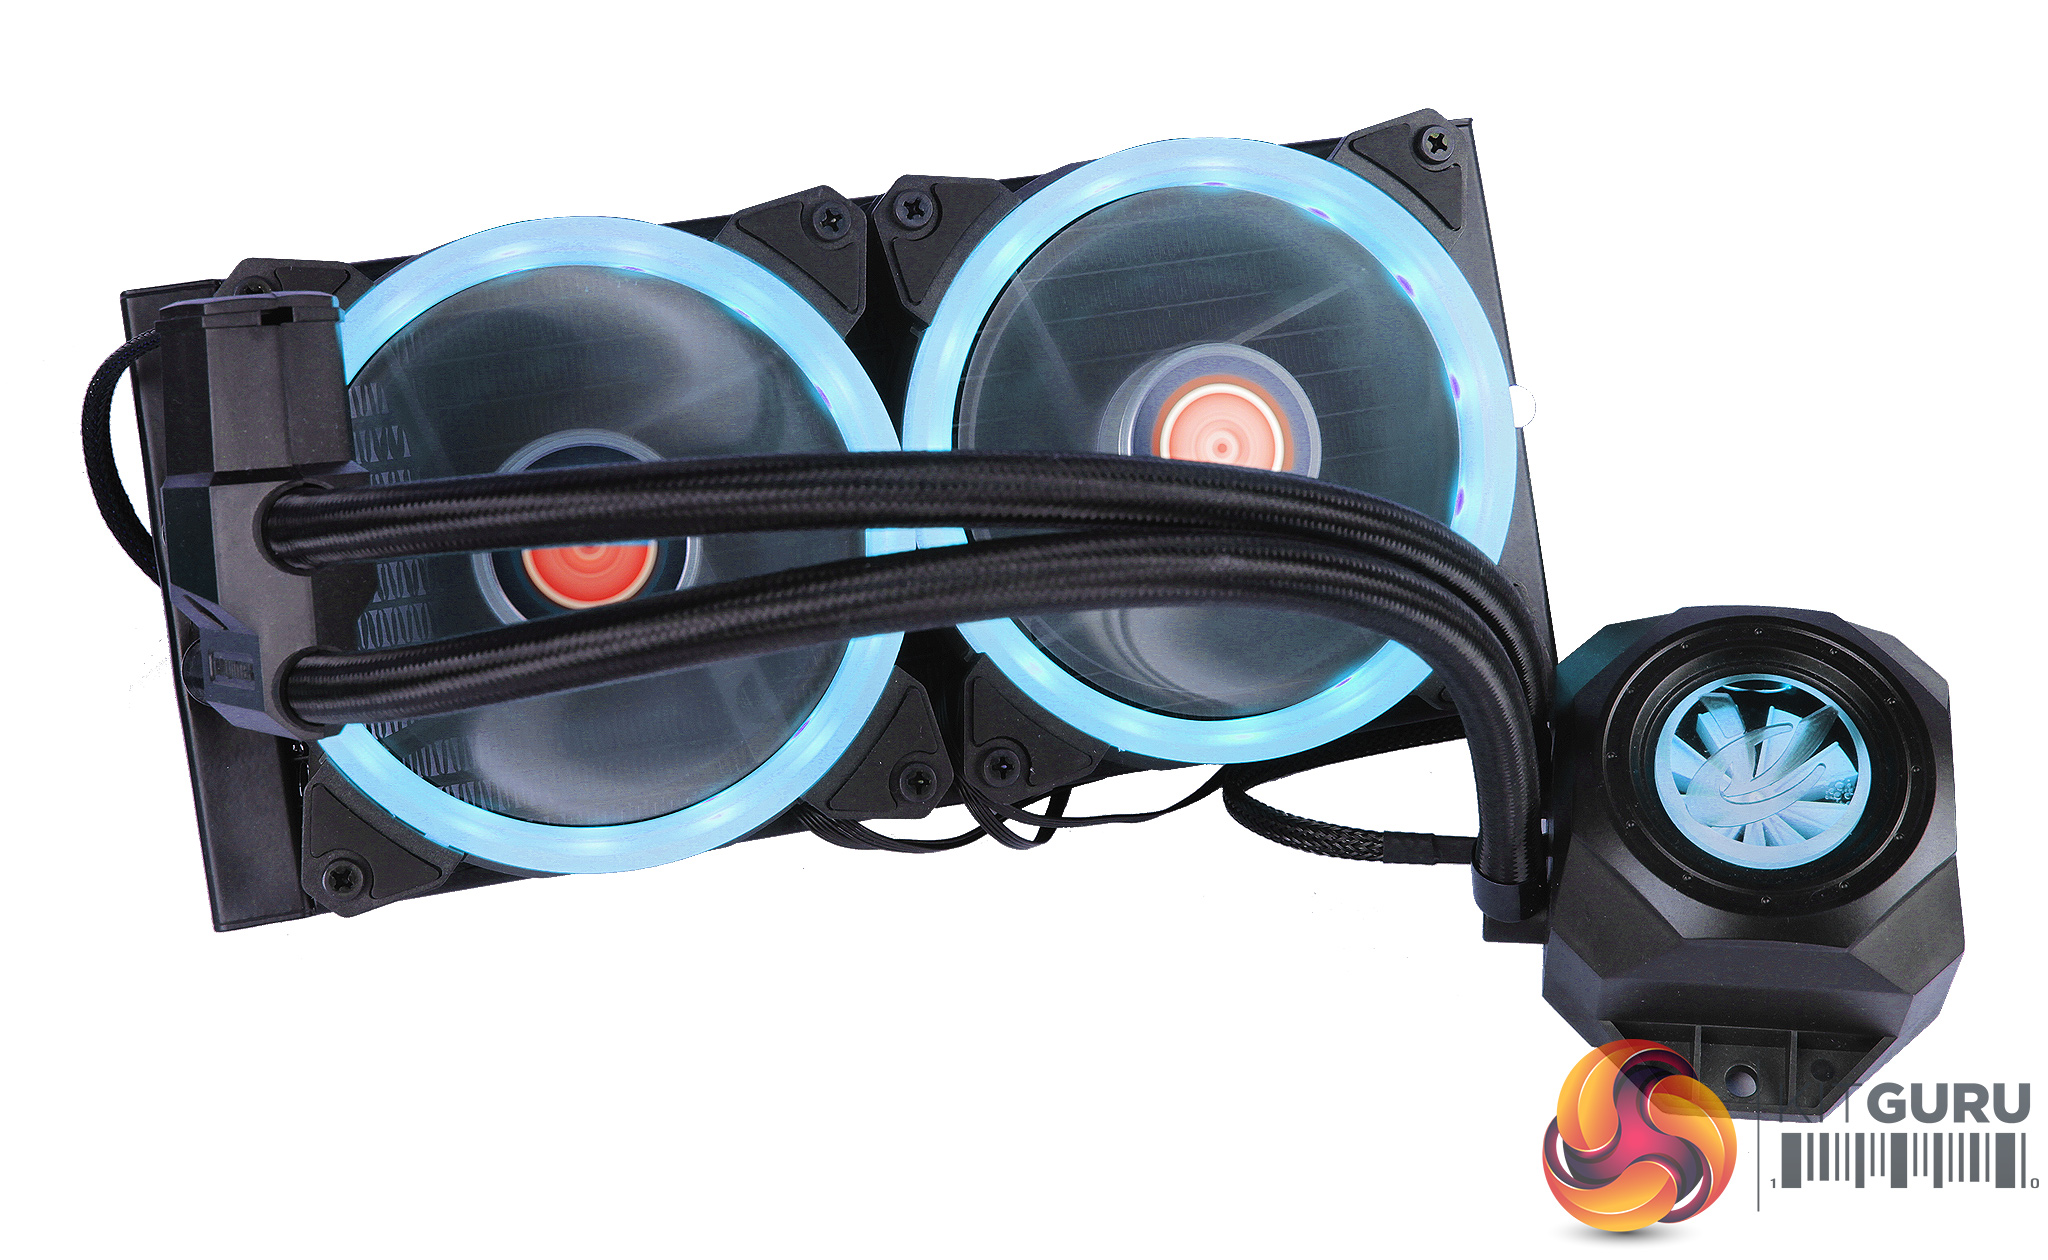
It works in a very similar fashion to some other remote controlled RGB strips you may have come across on Amazon. You have all the standard controls, you can flick between white red green and blue with the dedicated buttons on the remote, but to access more colours, and effects, you have to move through modes.
As standalone colours you can move through red, green, blue, yellow, purple, aqua, and white. You can have each of these colours breathing, and speed can be adjusted as well. There are also modes for breathing and cycling through colours, quick flashes through colours and smooth RGB transitions.