Here I will walk you through the installation process. It is worth noting we test using a Z97 motherboard – socket LGA 1150. The process below reflects that.
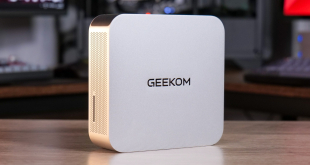
First of all, we need to prepare the backplate for our Z97 motherboard. Four small screws are pushed through the small holes in the backplate and are secured with four clips to stop them moving around.
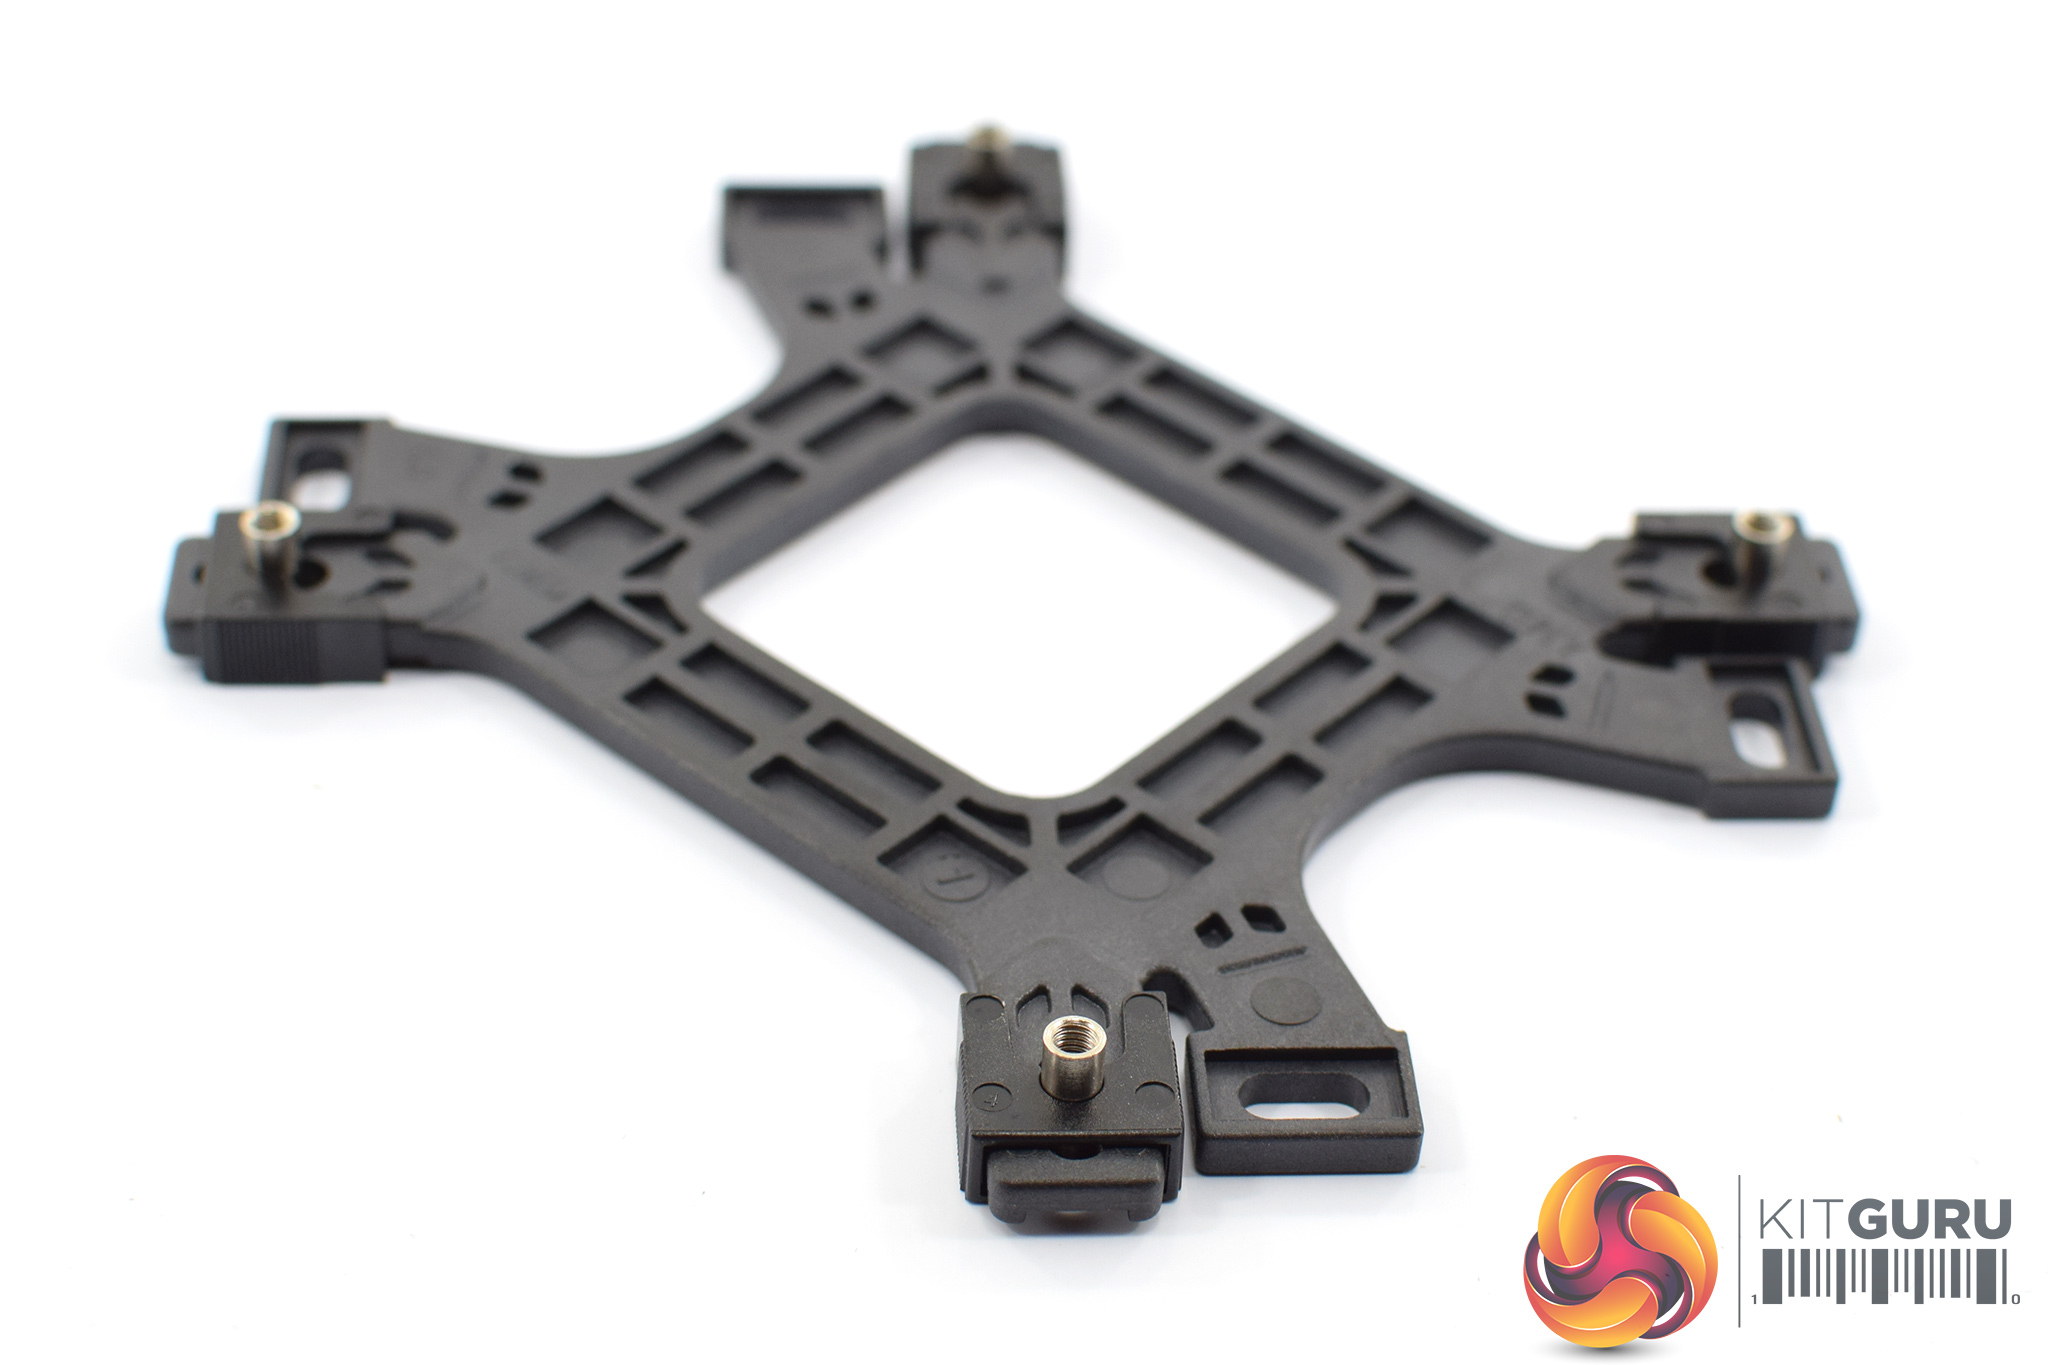
The backplate can then be placed on the underside of the motherboard.
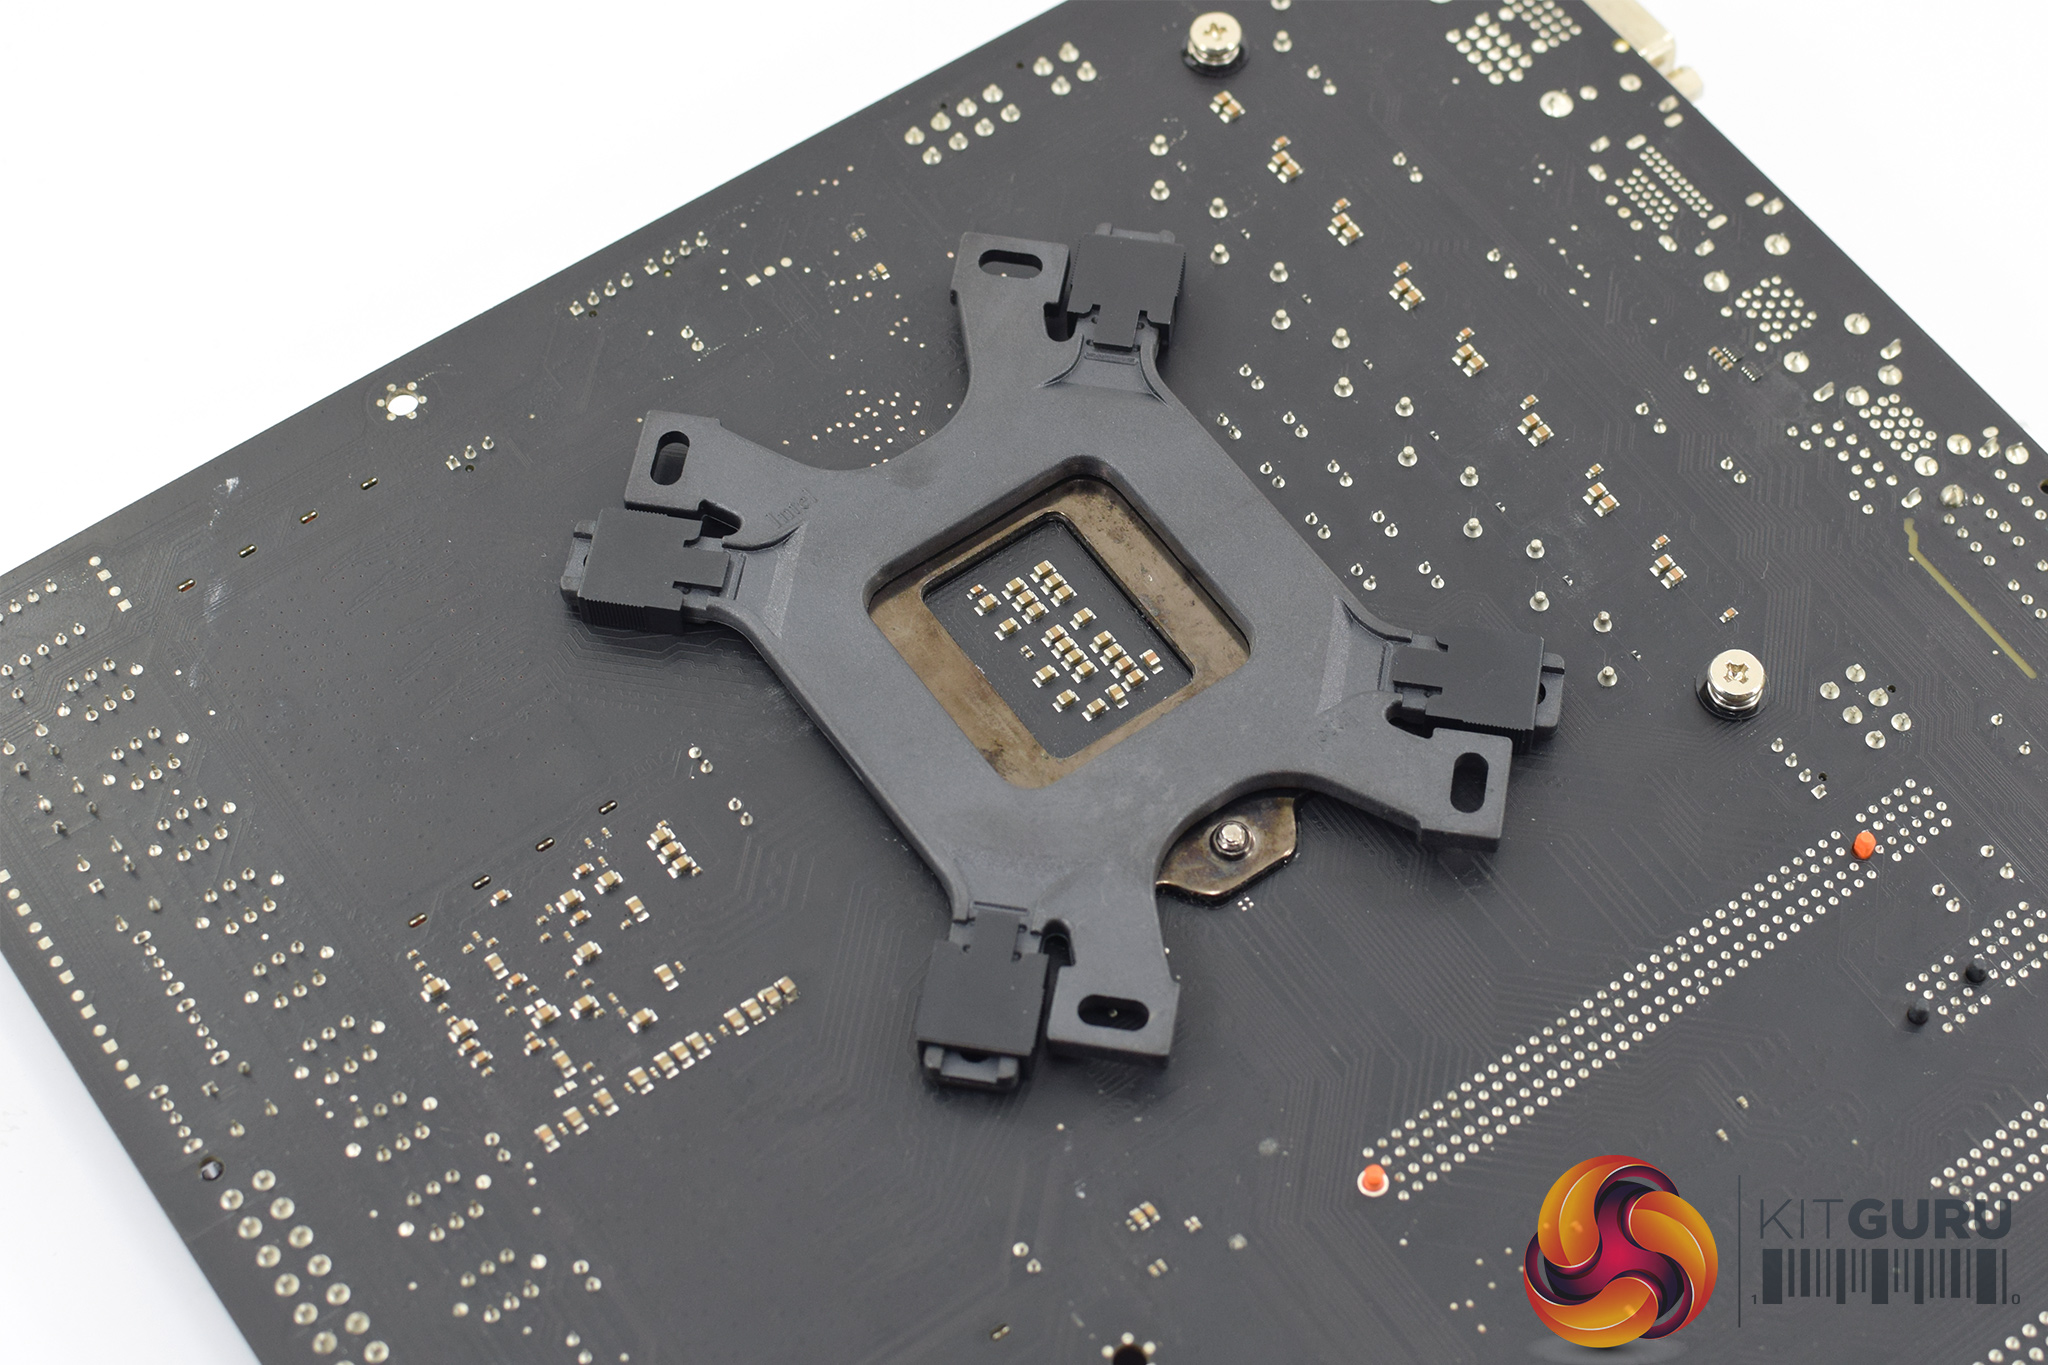
Four standoffs are then screwed into the backplate to keep it in place.
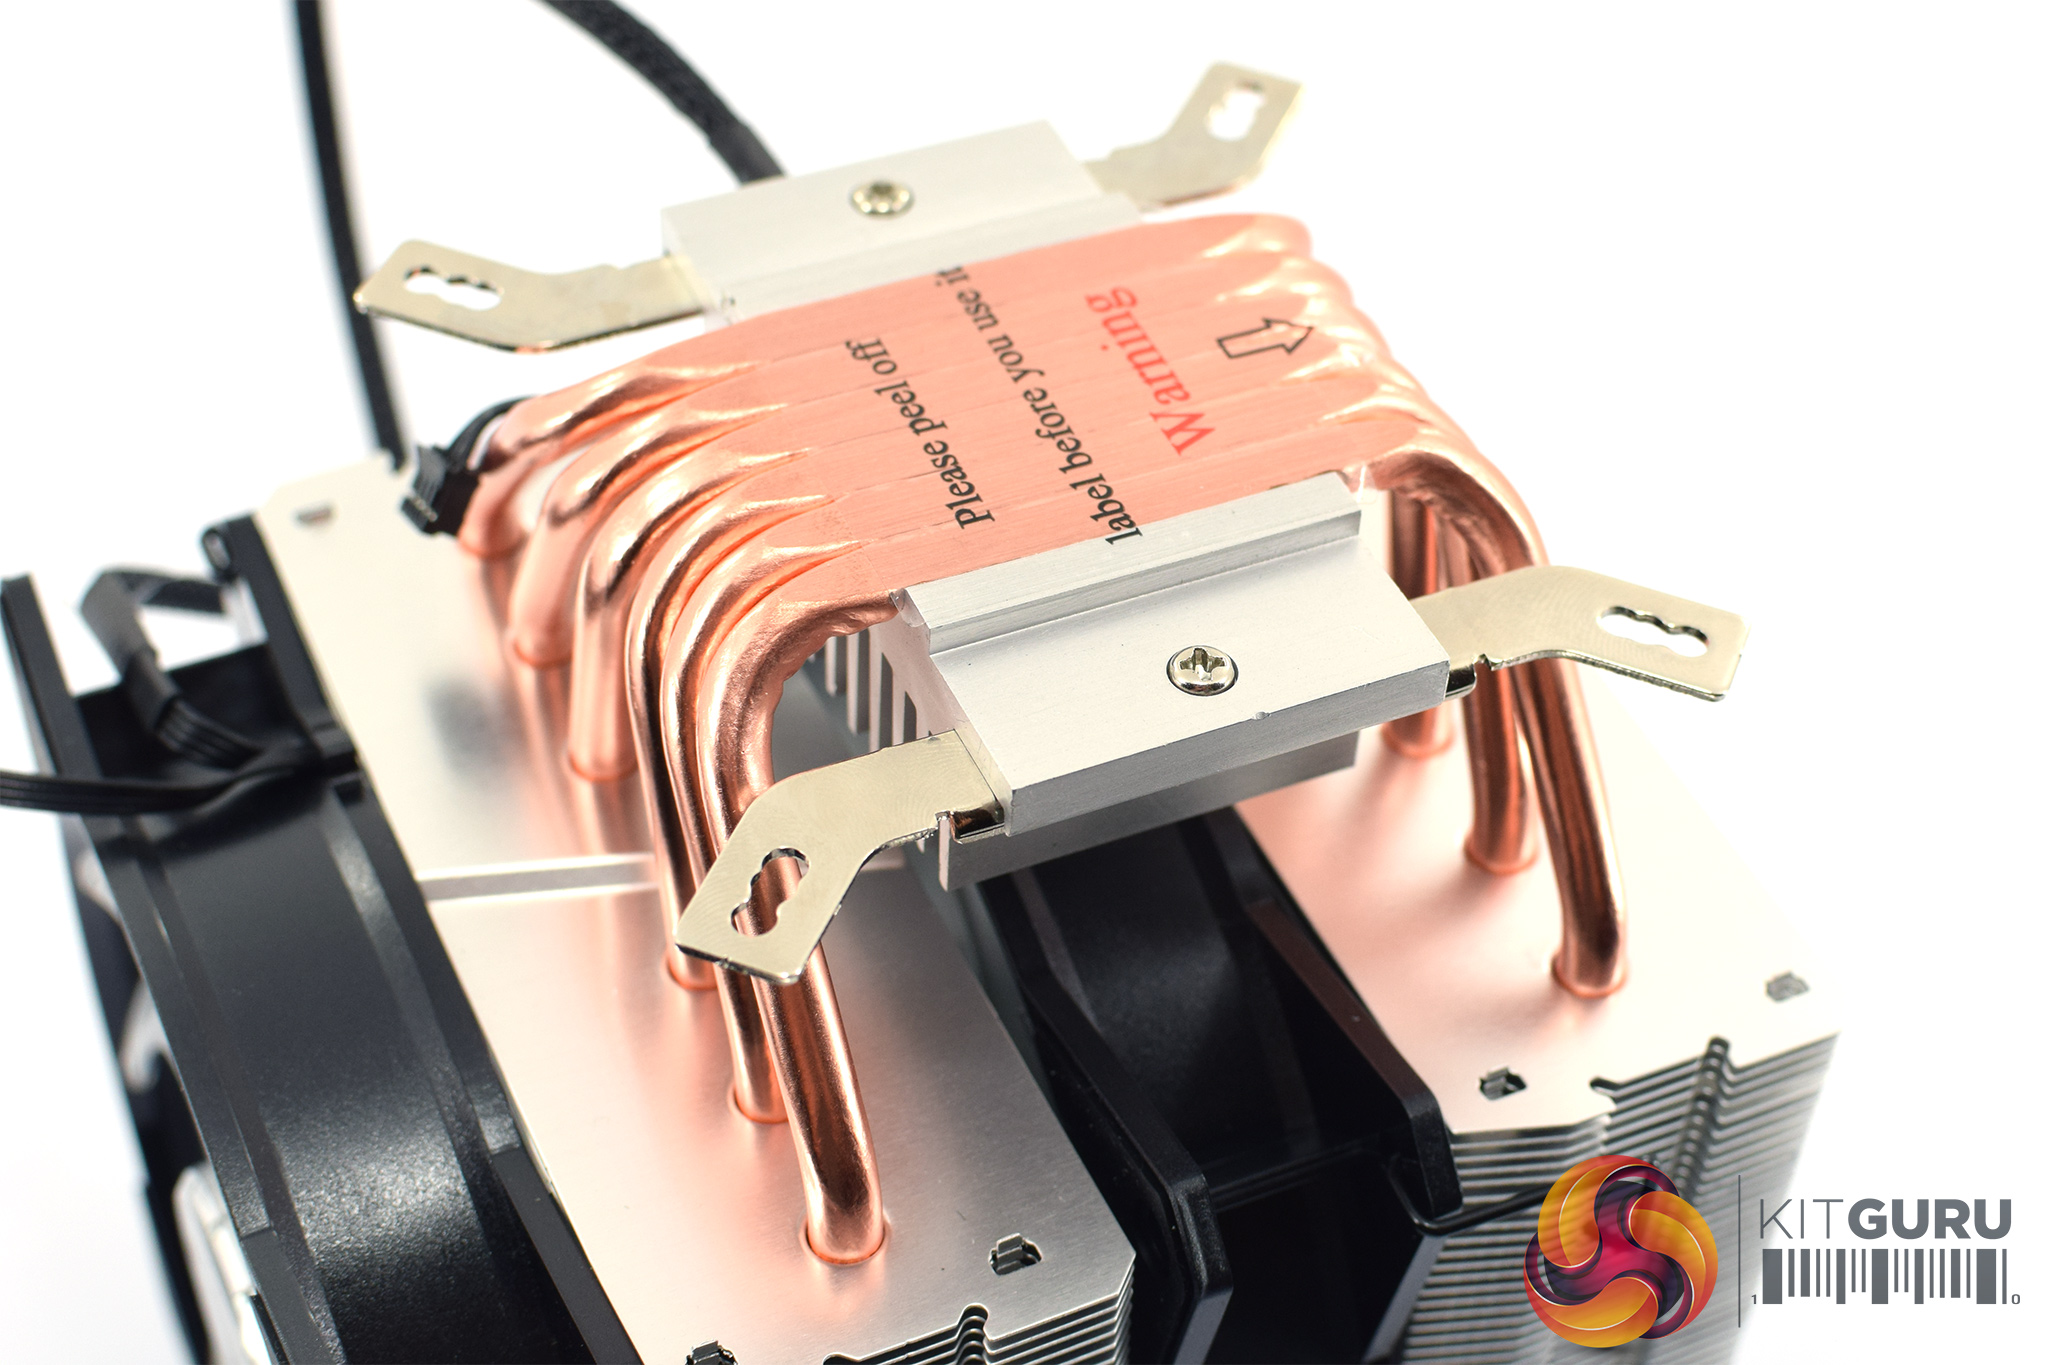
After that, the mounting brackets need to be screwed onto the heatsink. Each bracket only requires a single screw to lock it down.
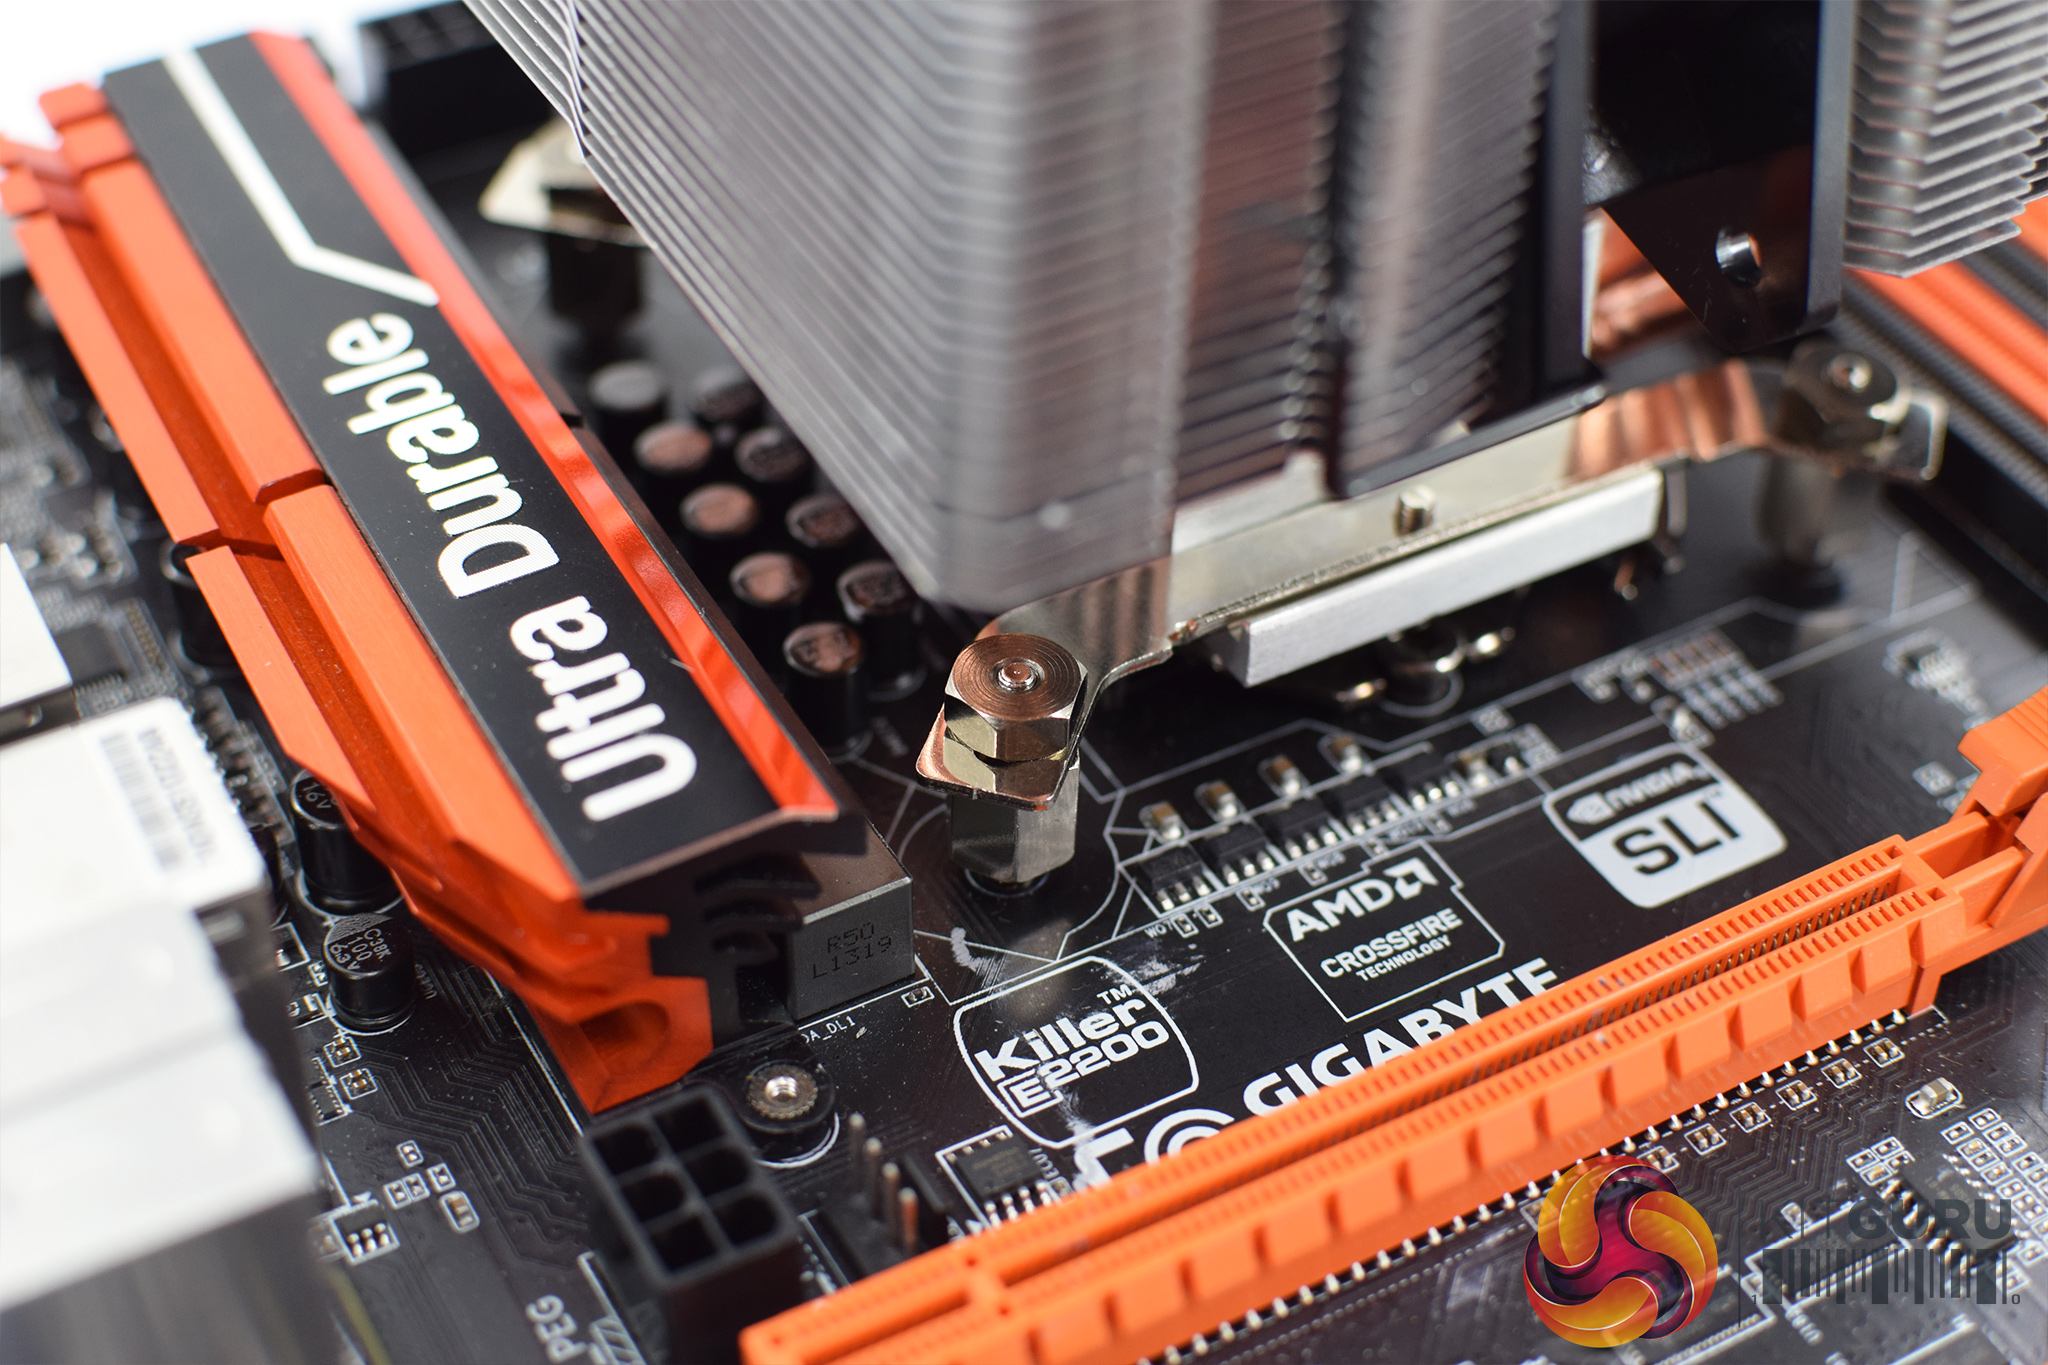
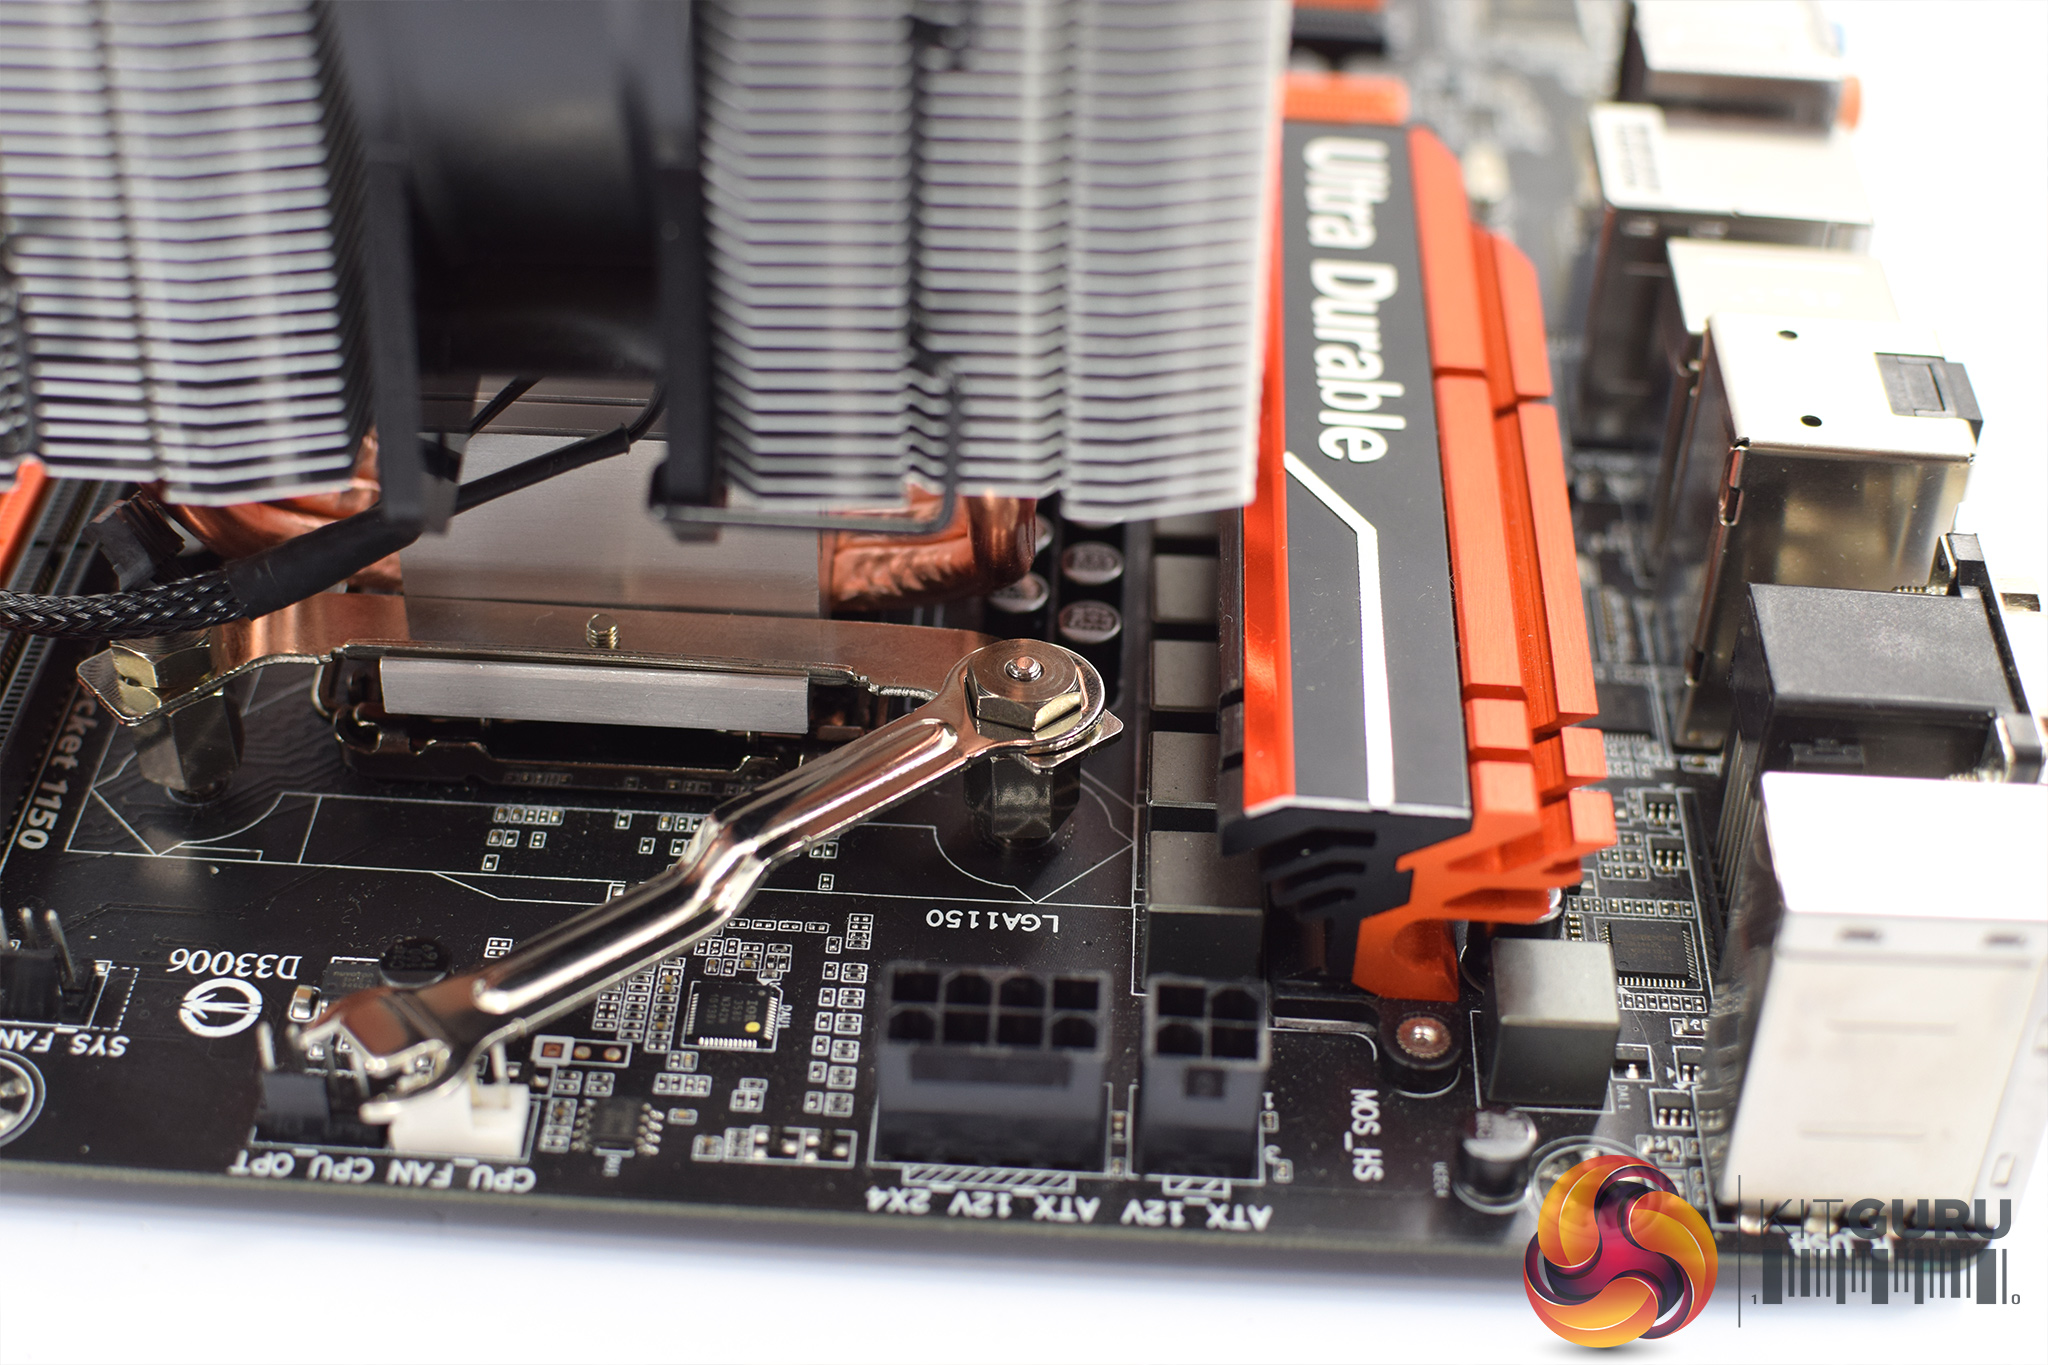
With that done, the heatsink can be mounted to the CPU. Four small nuts are used to tighten it down, and Cooler Master provides a small wrench to get the nuts nice and snug.
I must admit this bit was quite fiddly as actually getting the nuts in place requires you to slide your hand under the heatsink and pop the nuts on top of the standoffs. That'd be OK if you have the nimble fingers of a small child – however, any adult is likely to struggle.
![]()
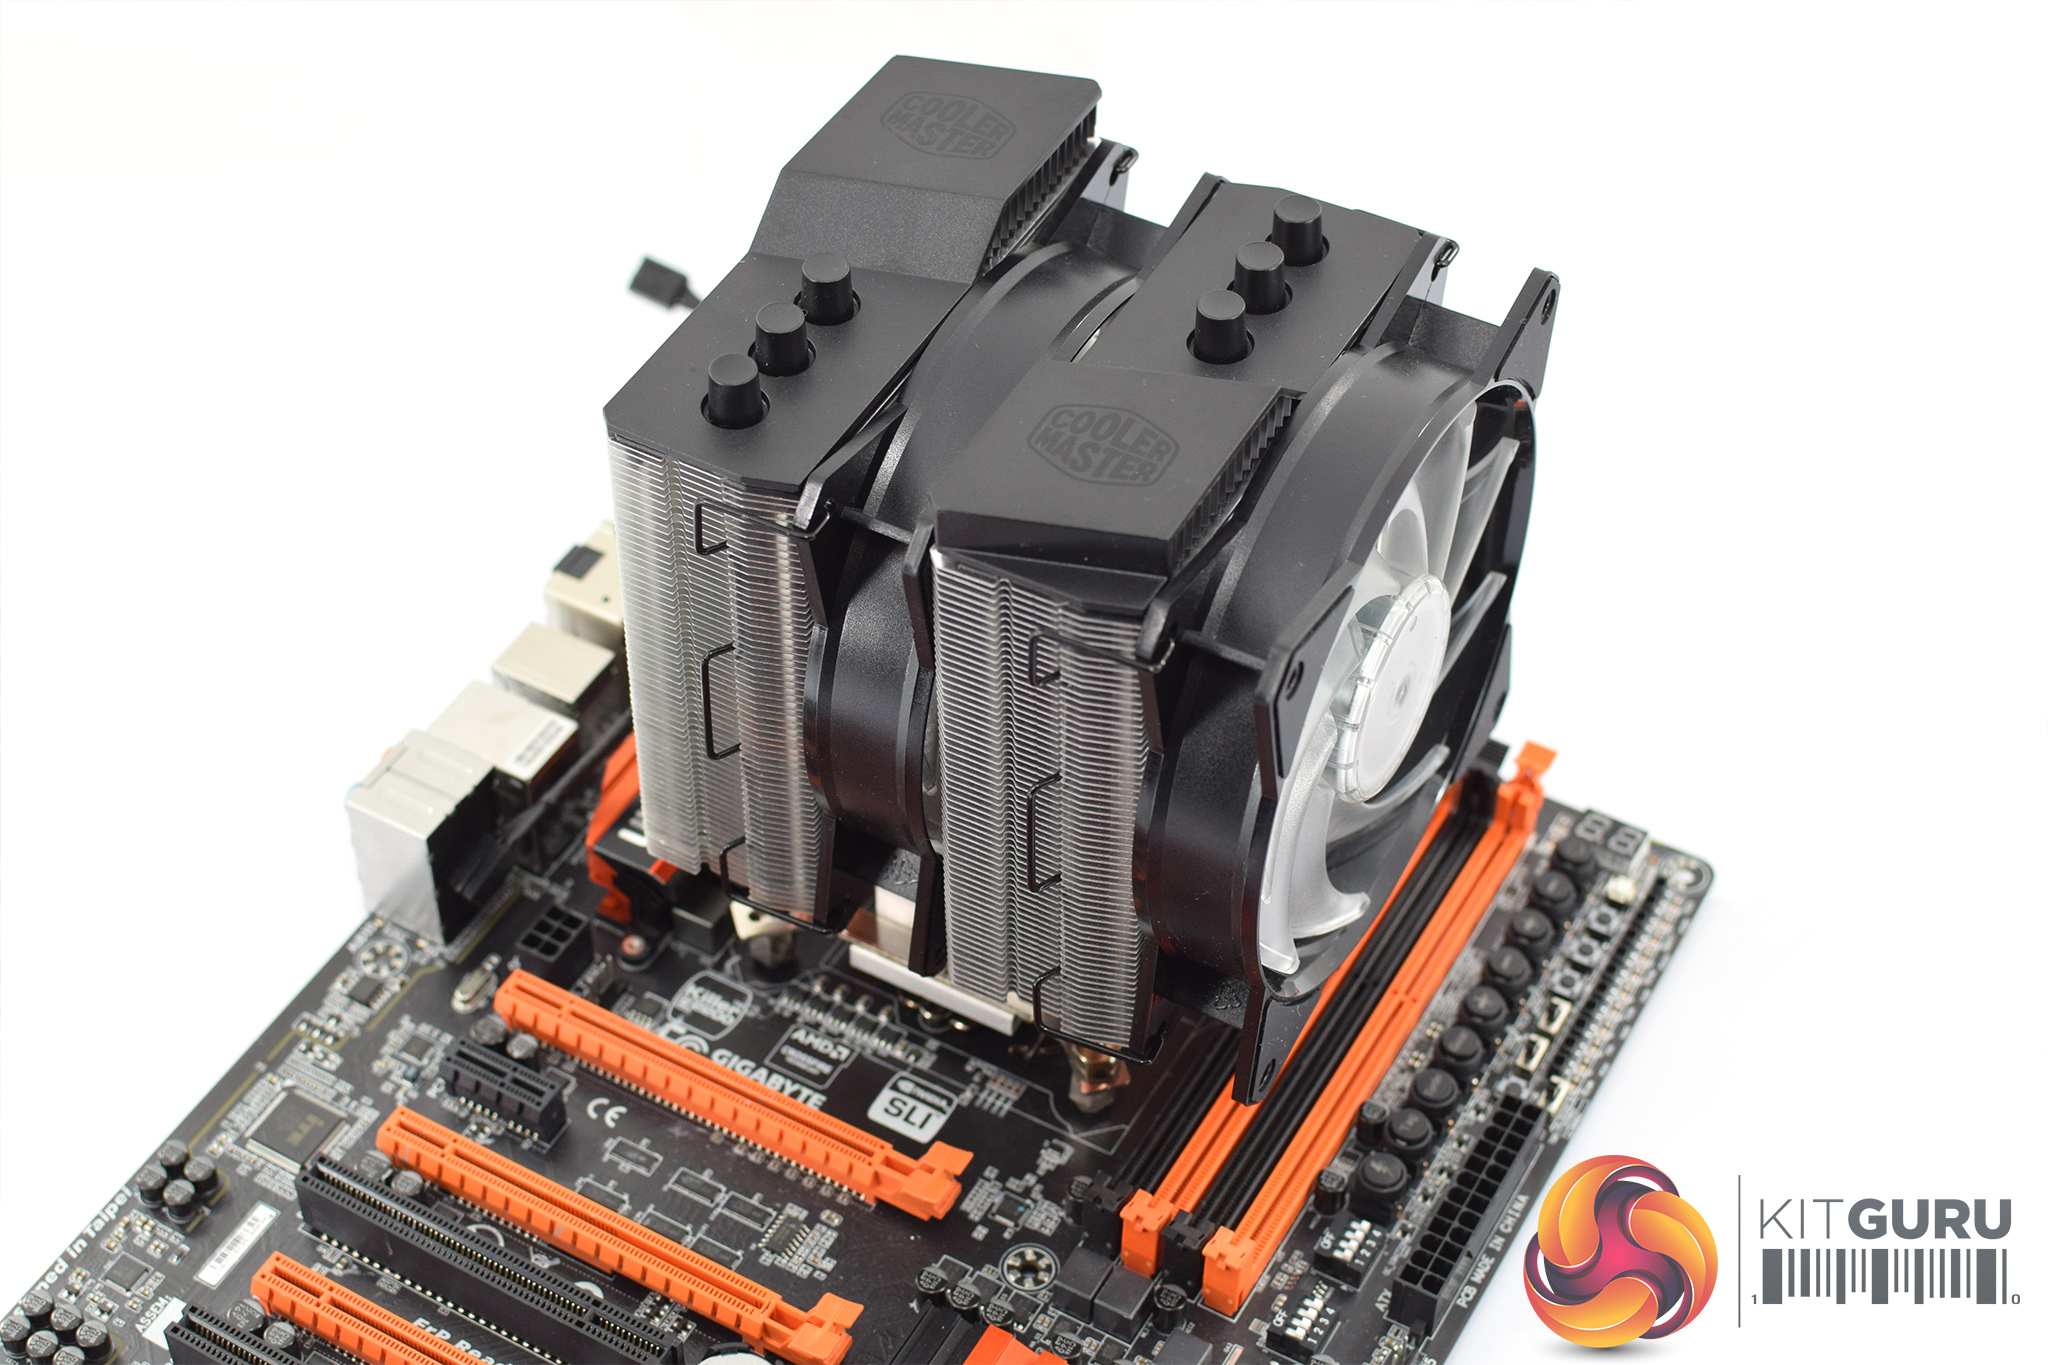
With the nuts tightened, though, that is the installation complete.
However, there is a slight spanner in the works. As you can clearly see from the image above, the MA620P overhangs all but one of my Z97 motherboard's DIMM slots. By default, that limits the height of your RAM to just 40mm, which is obviously far from ideal. You can just about re-position the front fan, though, and this will give up to 53mm clearance for taller heatspreaders which is more reasonable.
However, on my test motherboard, the furthest left DIMM slot wasn't blocked by the fan – it was blocked by the aluminium heatsink itself. Since you obviously can't adjust the height of the heatsink, those with 4 RAM sticks which are taller than 40mm may still struggle.
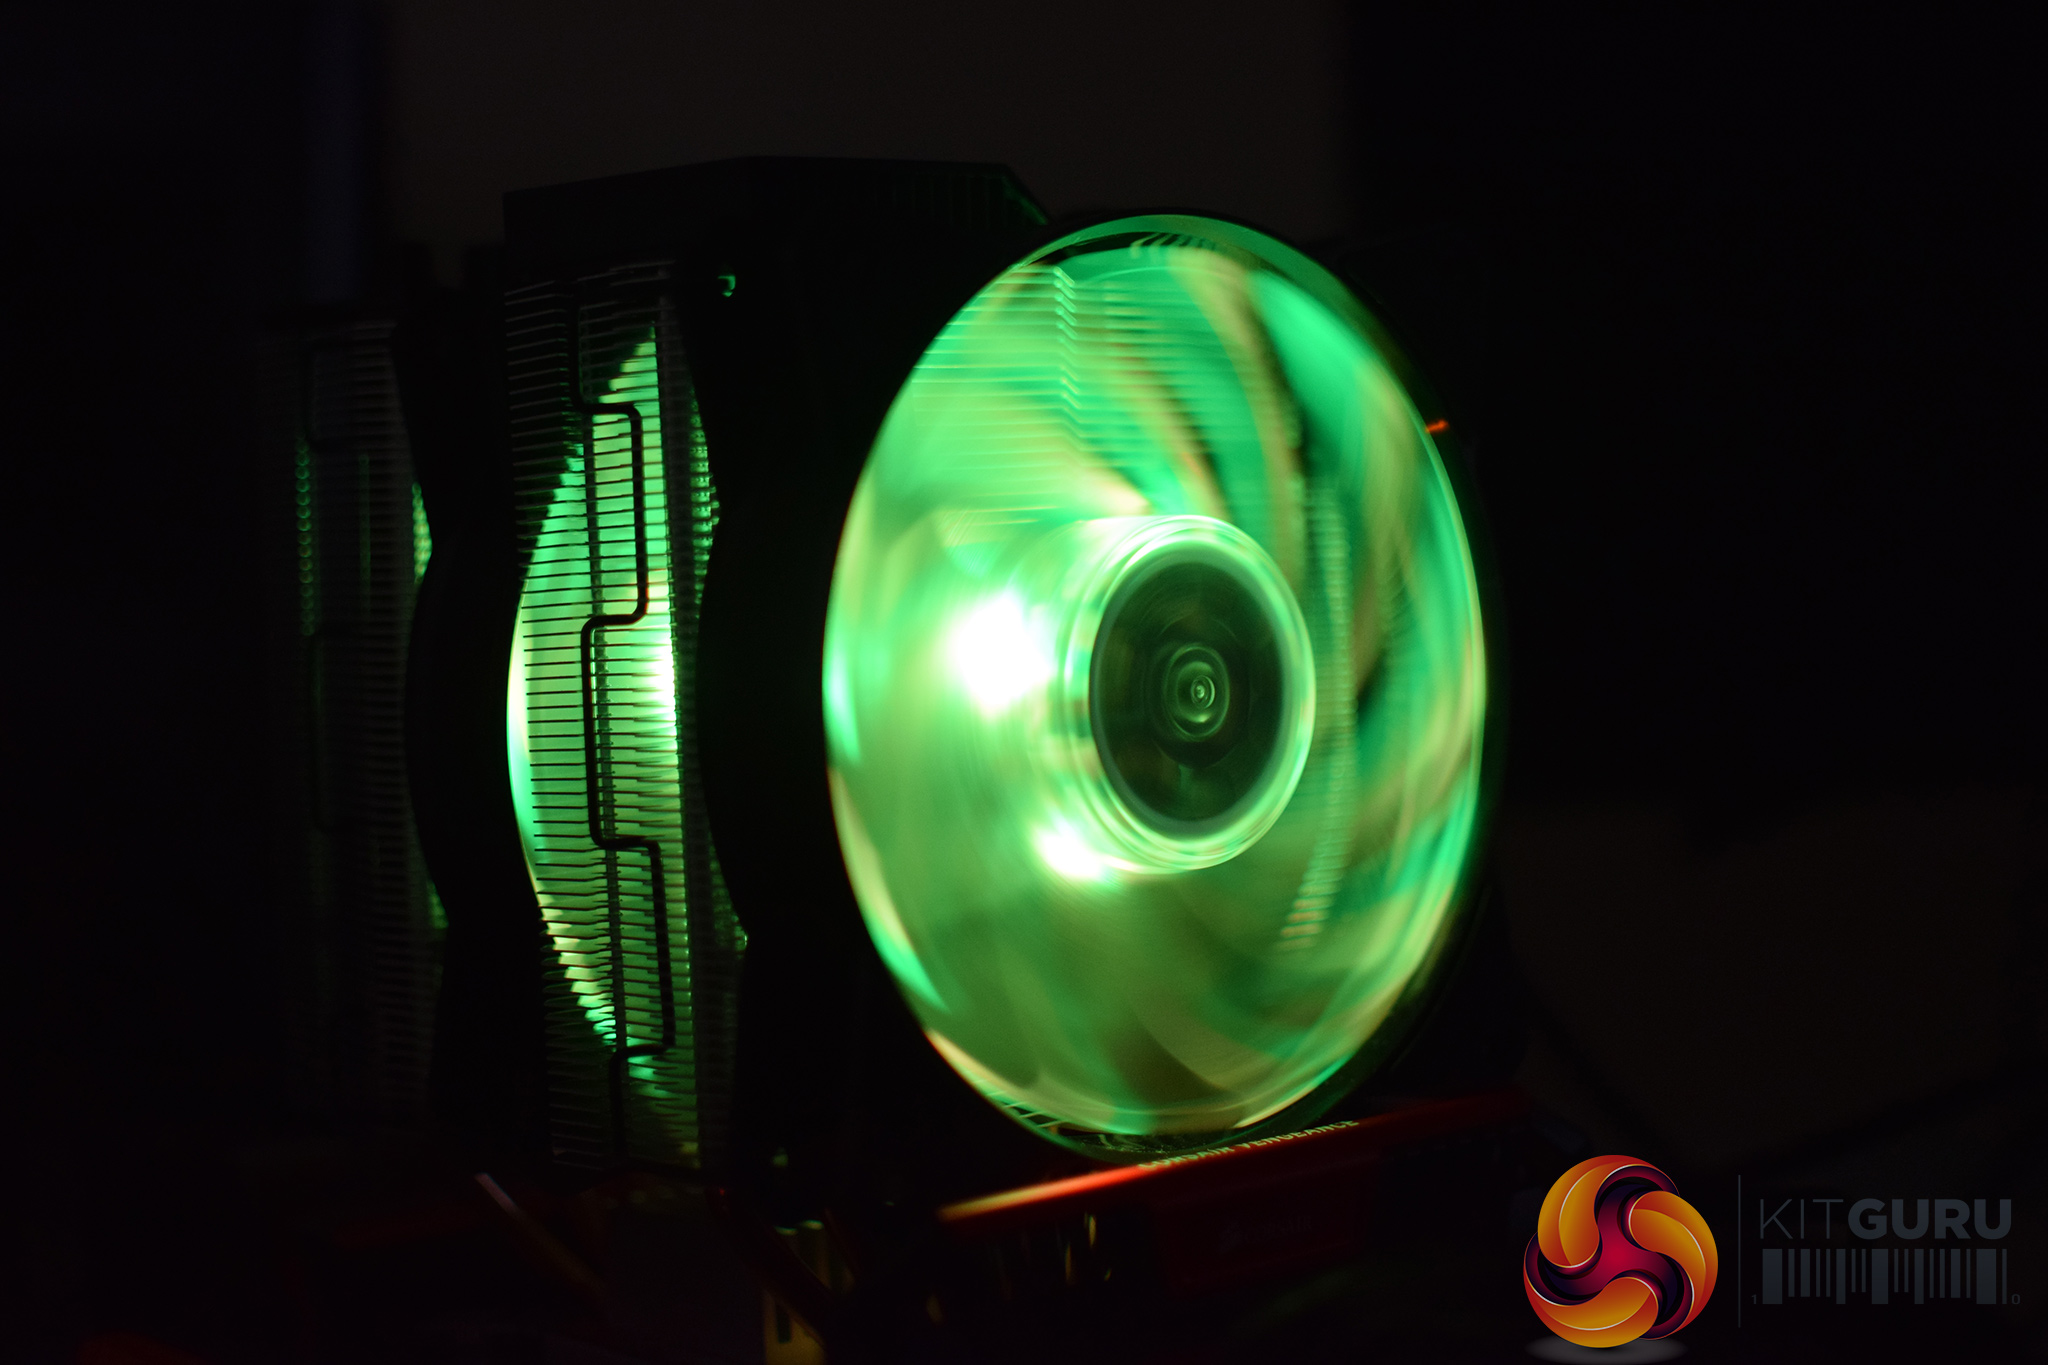
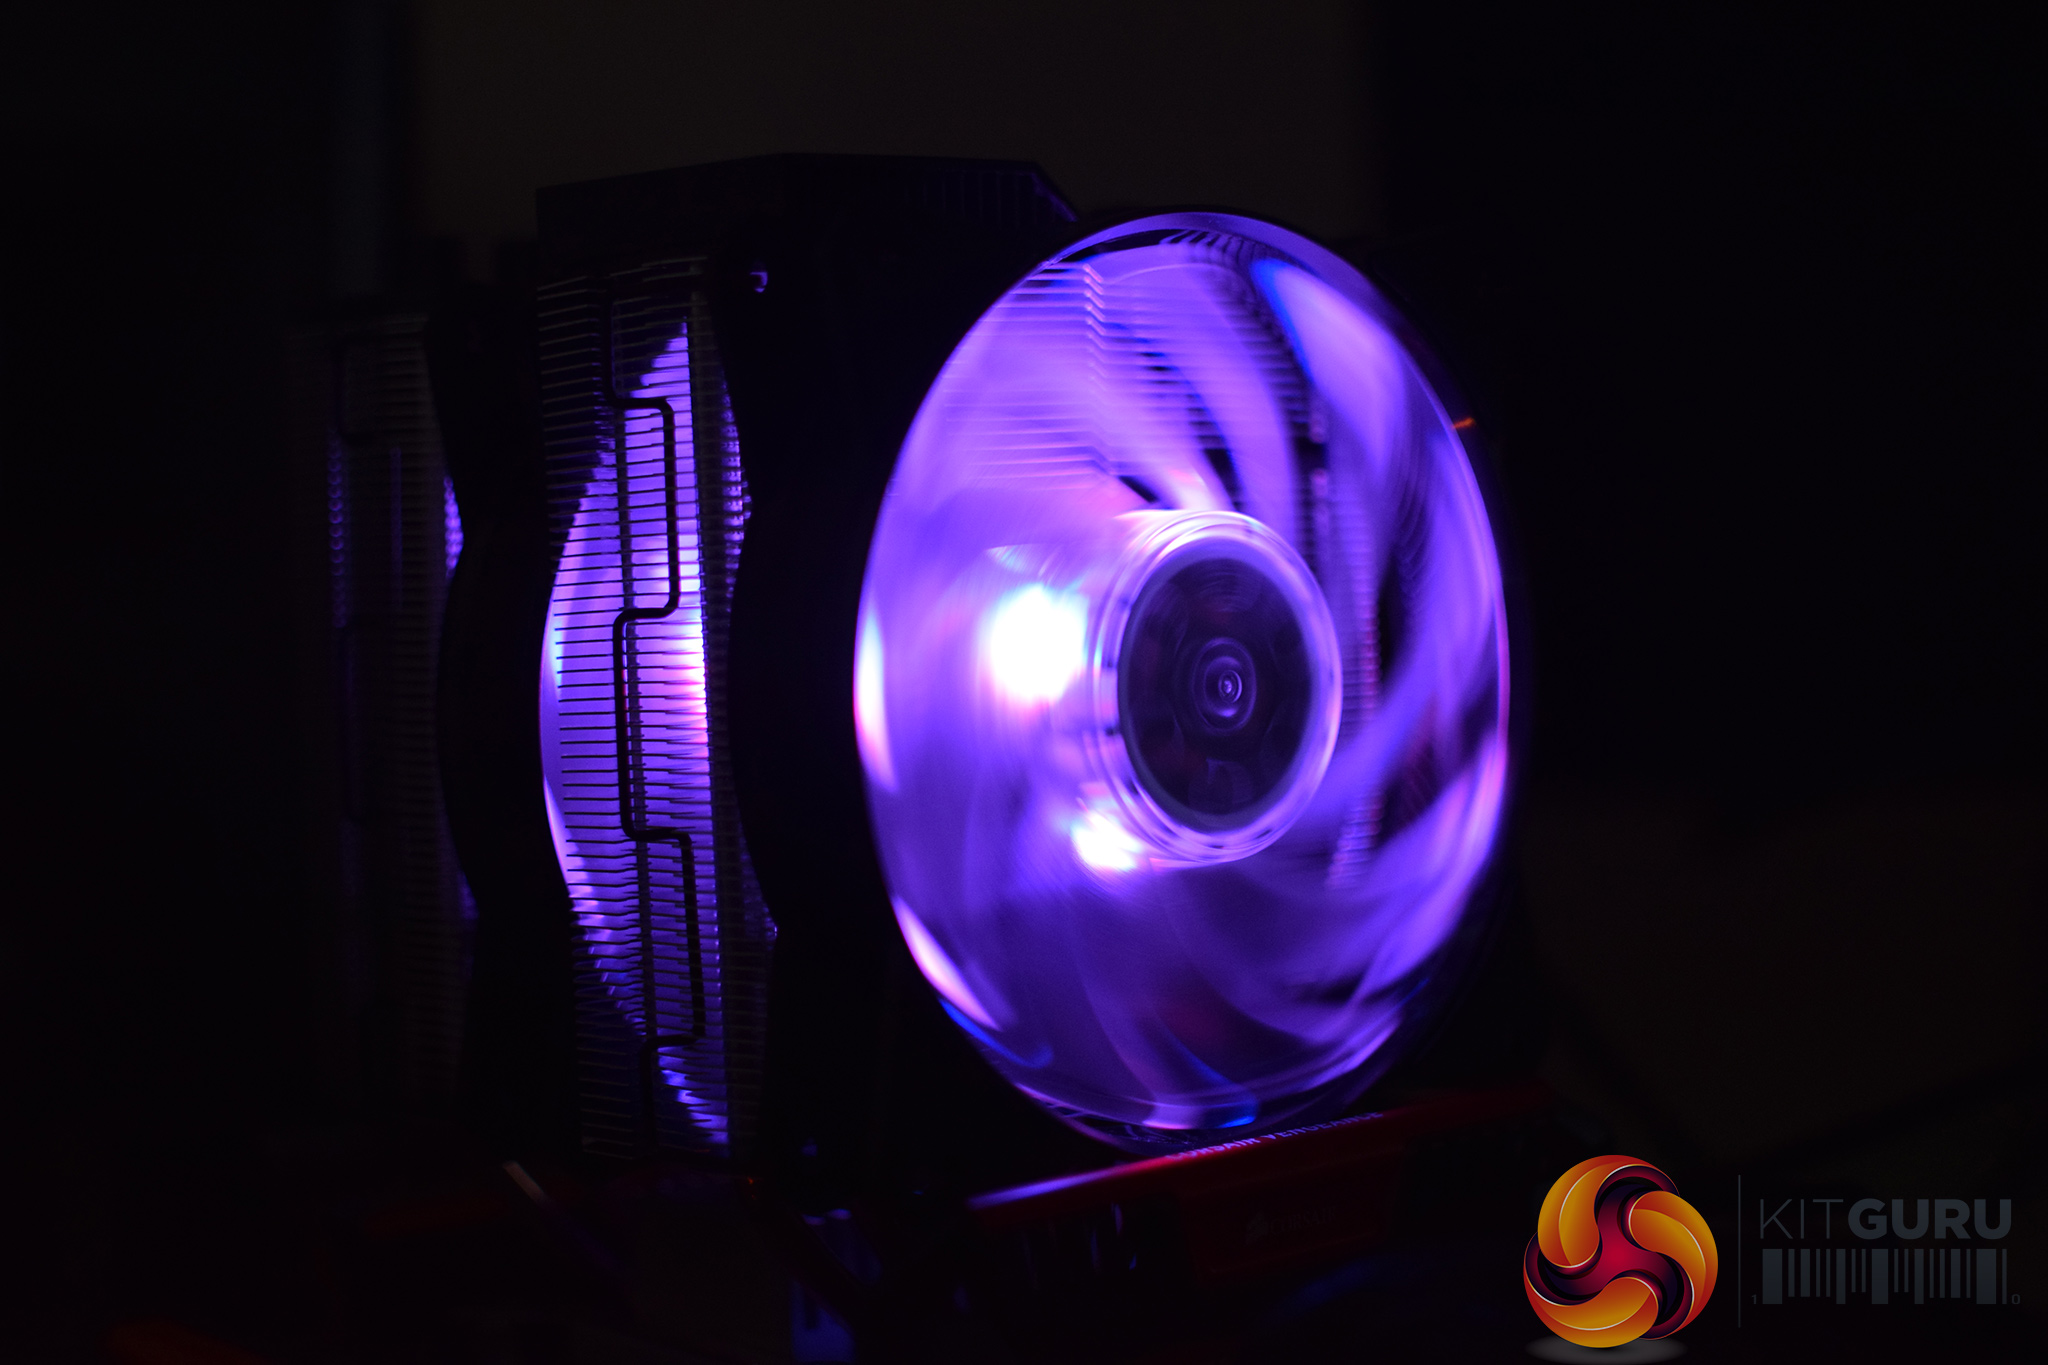
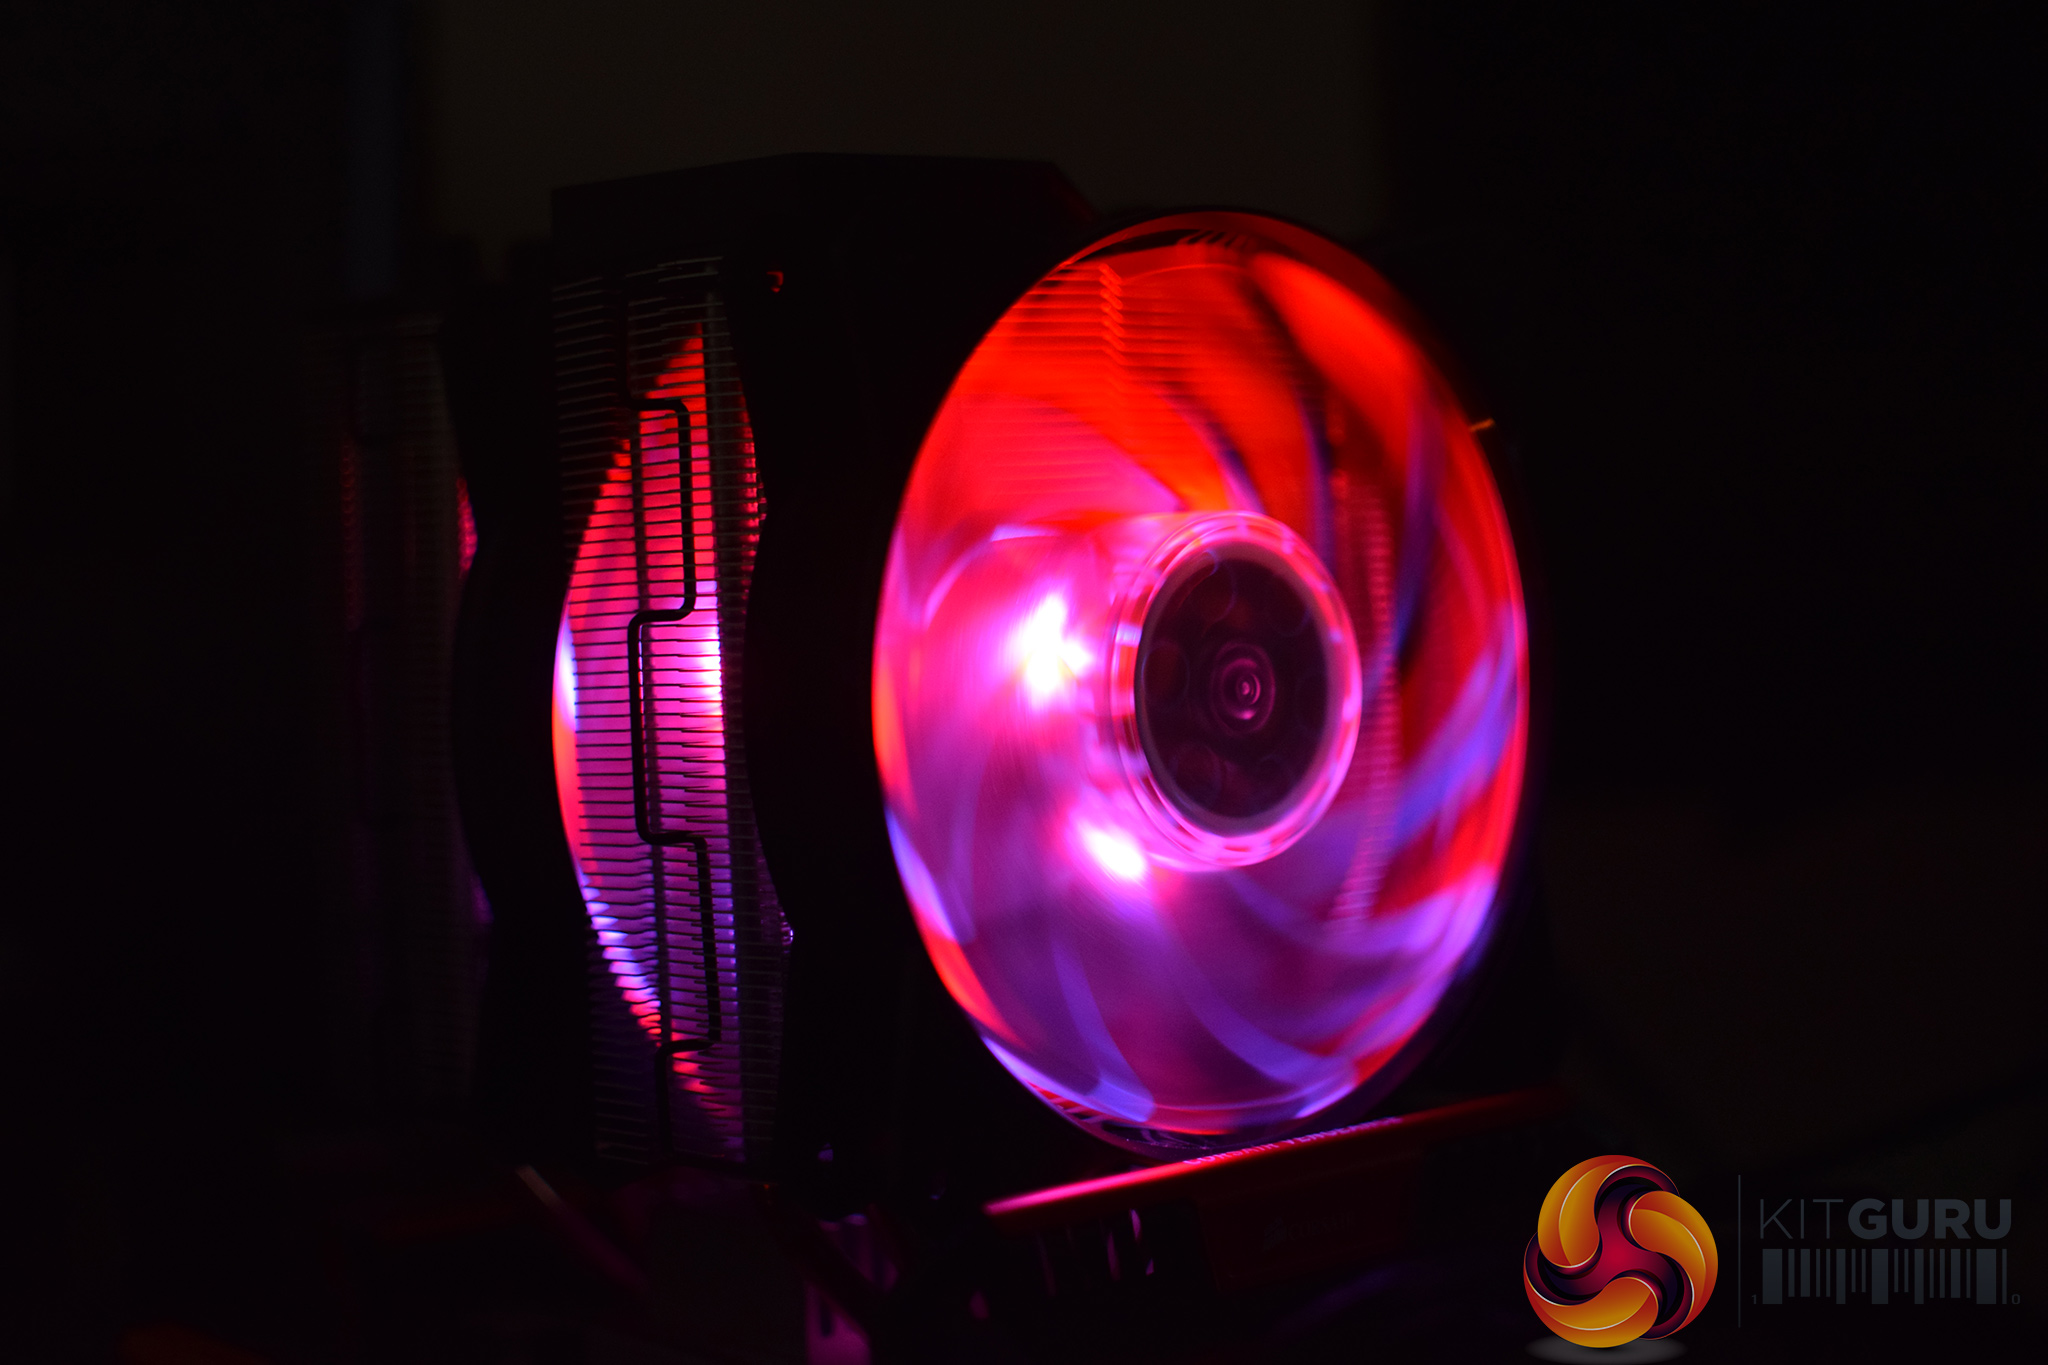
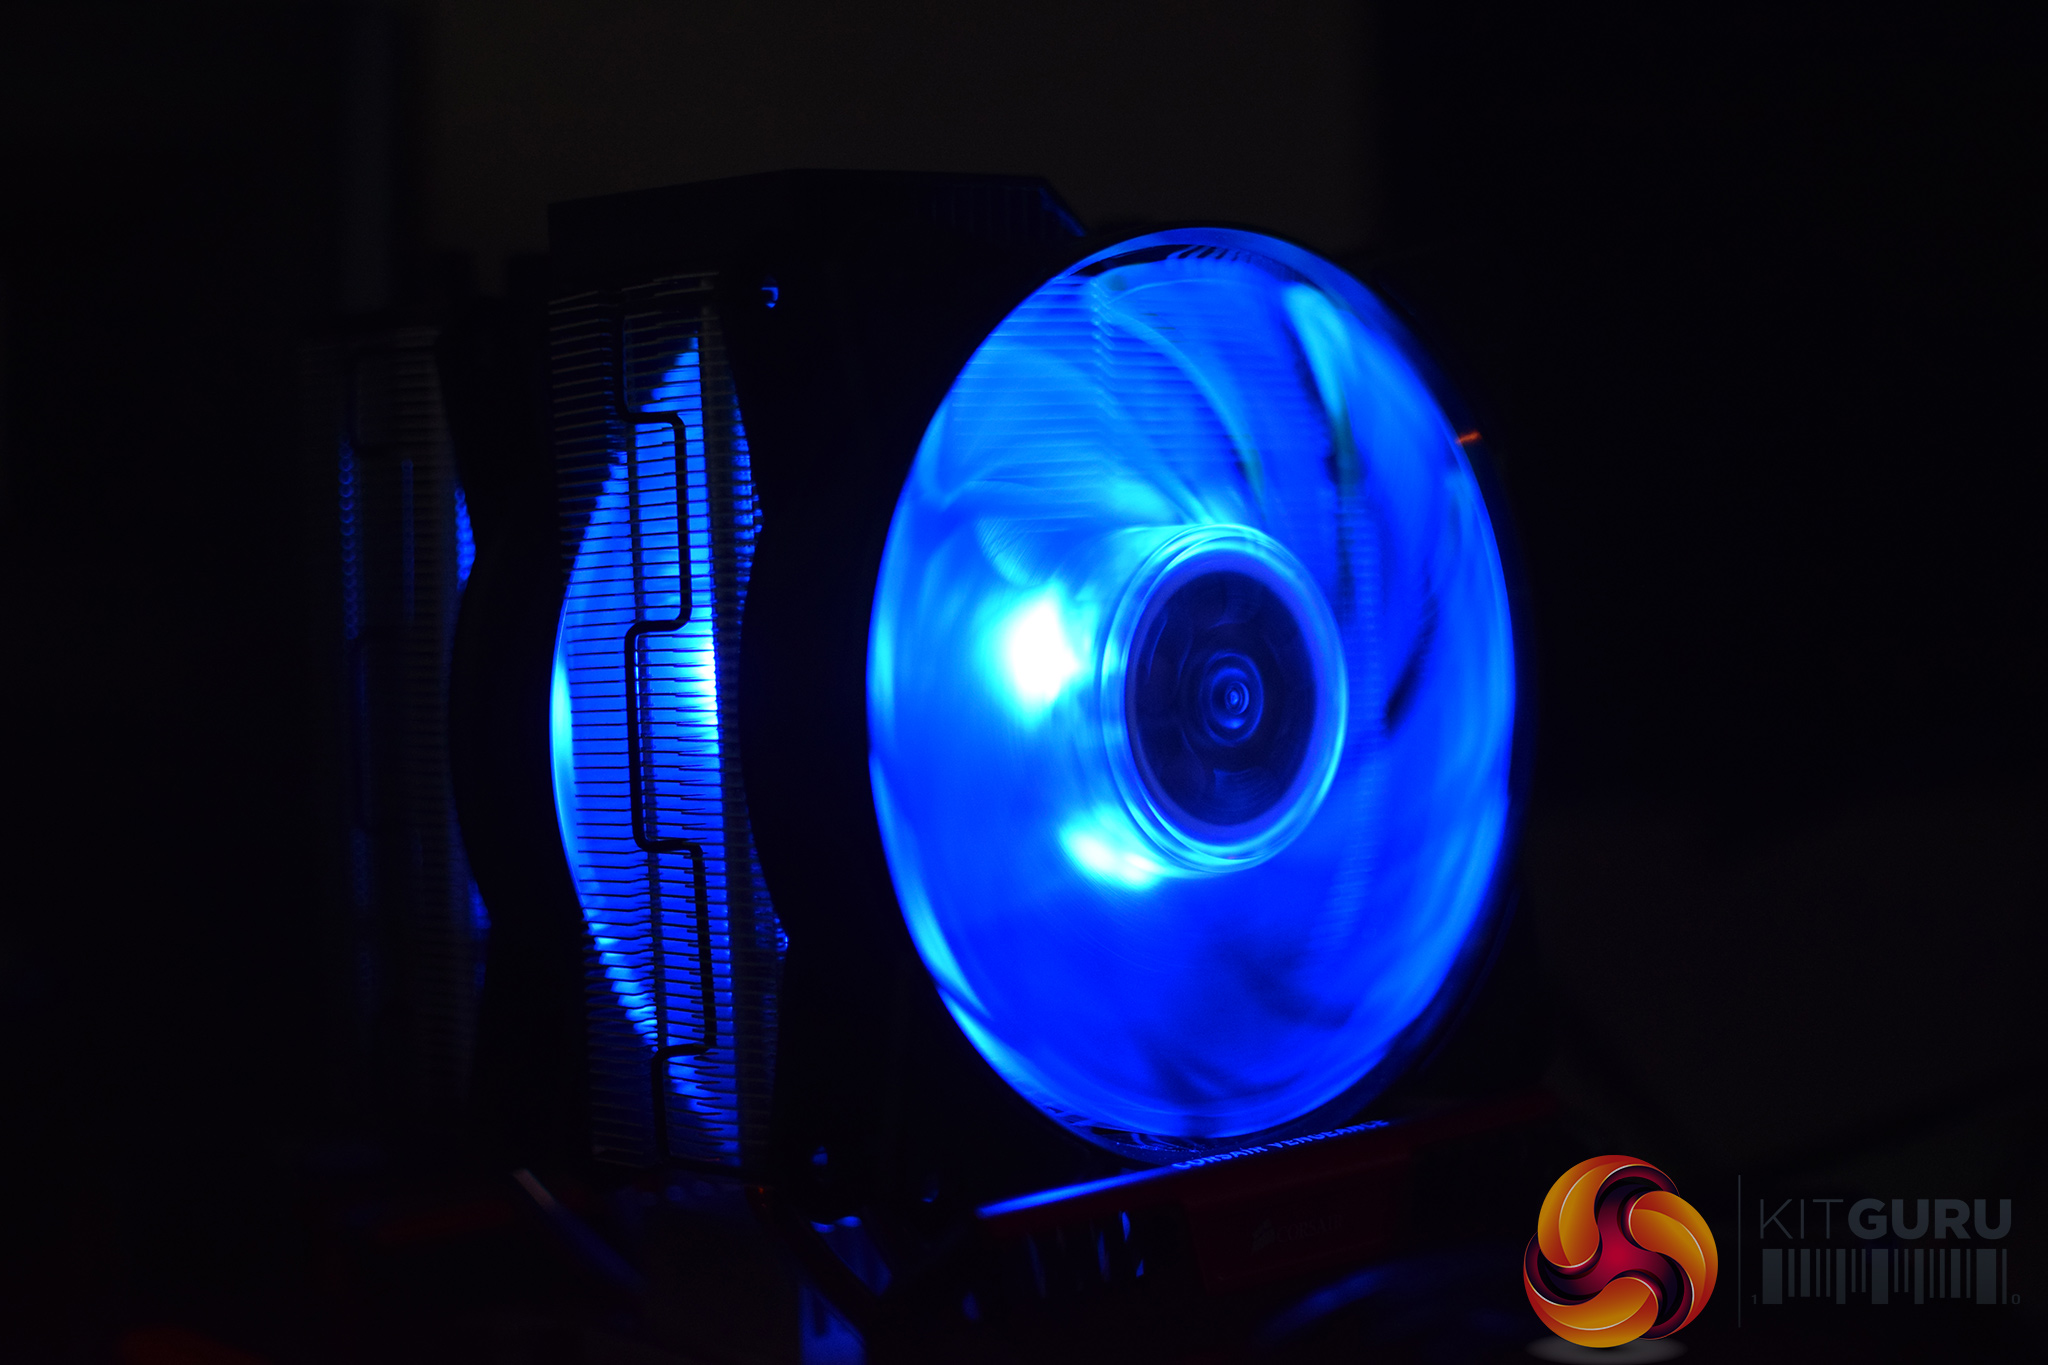
Coming to the RGB lighting, the MA620P can connect to a motherboard with a 4-pin RGB header, or you can use the small controller which is included in the box.
It's the same controller we saw with the MA410P and the MA610P, and my view of it hasn't changed – it's very basic, but it gets you up and running. For any sophisticated RGB control, however, you will want to use a compatible motherboard.
Still, I'm not too sure why Cooler Master bothered with two RGB fans – the one sandwiched in the middle is almost entirely blocked by the heatsink which makes its lighting seem a bit redundant.