The MSI RTX 4090 Suprim Liquid X ships in a white box, with an image of the card and radiator visible on the front.
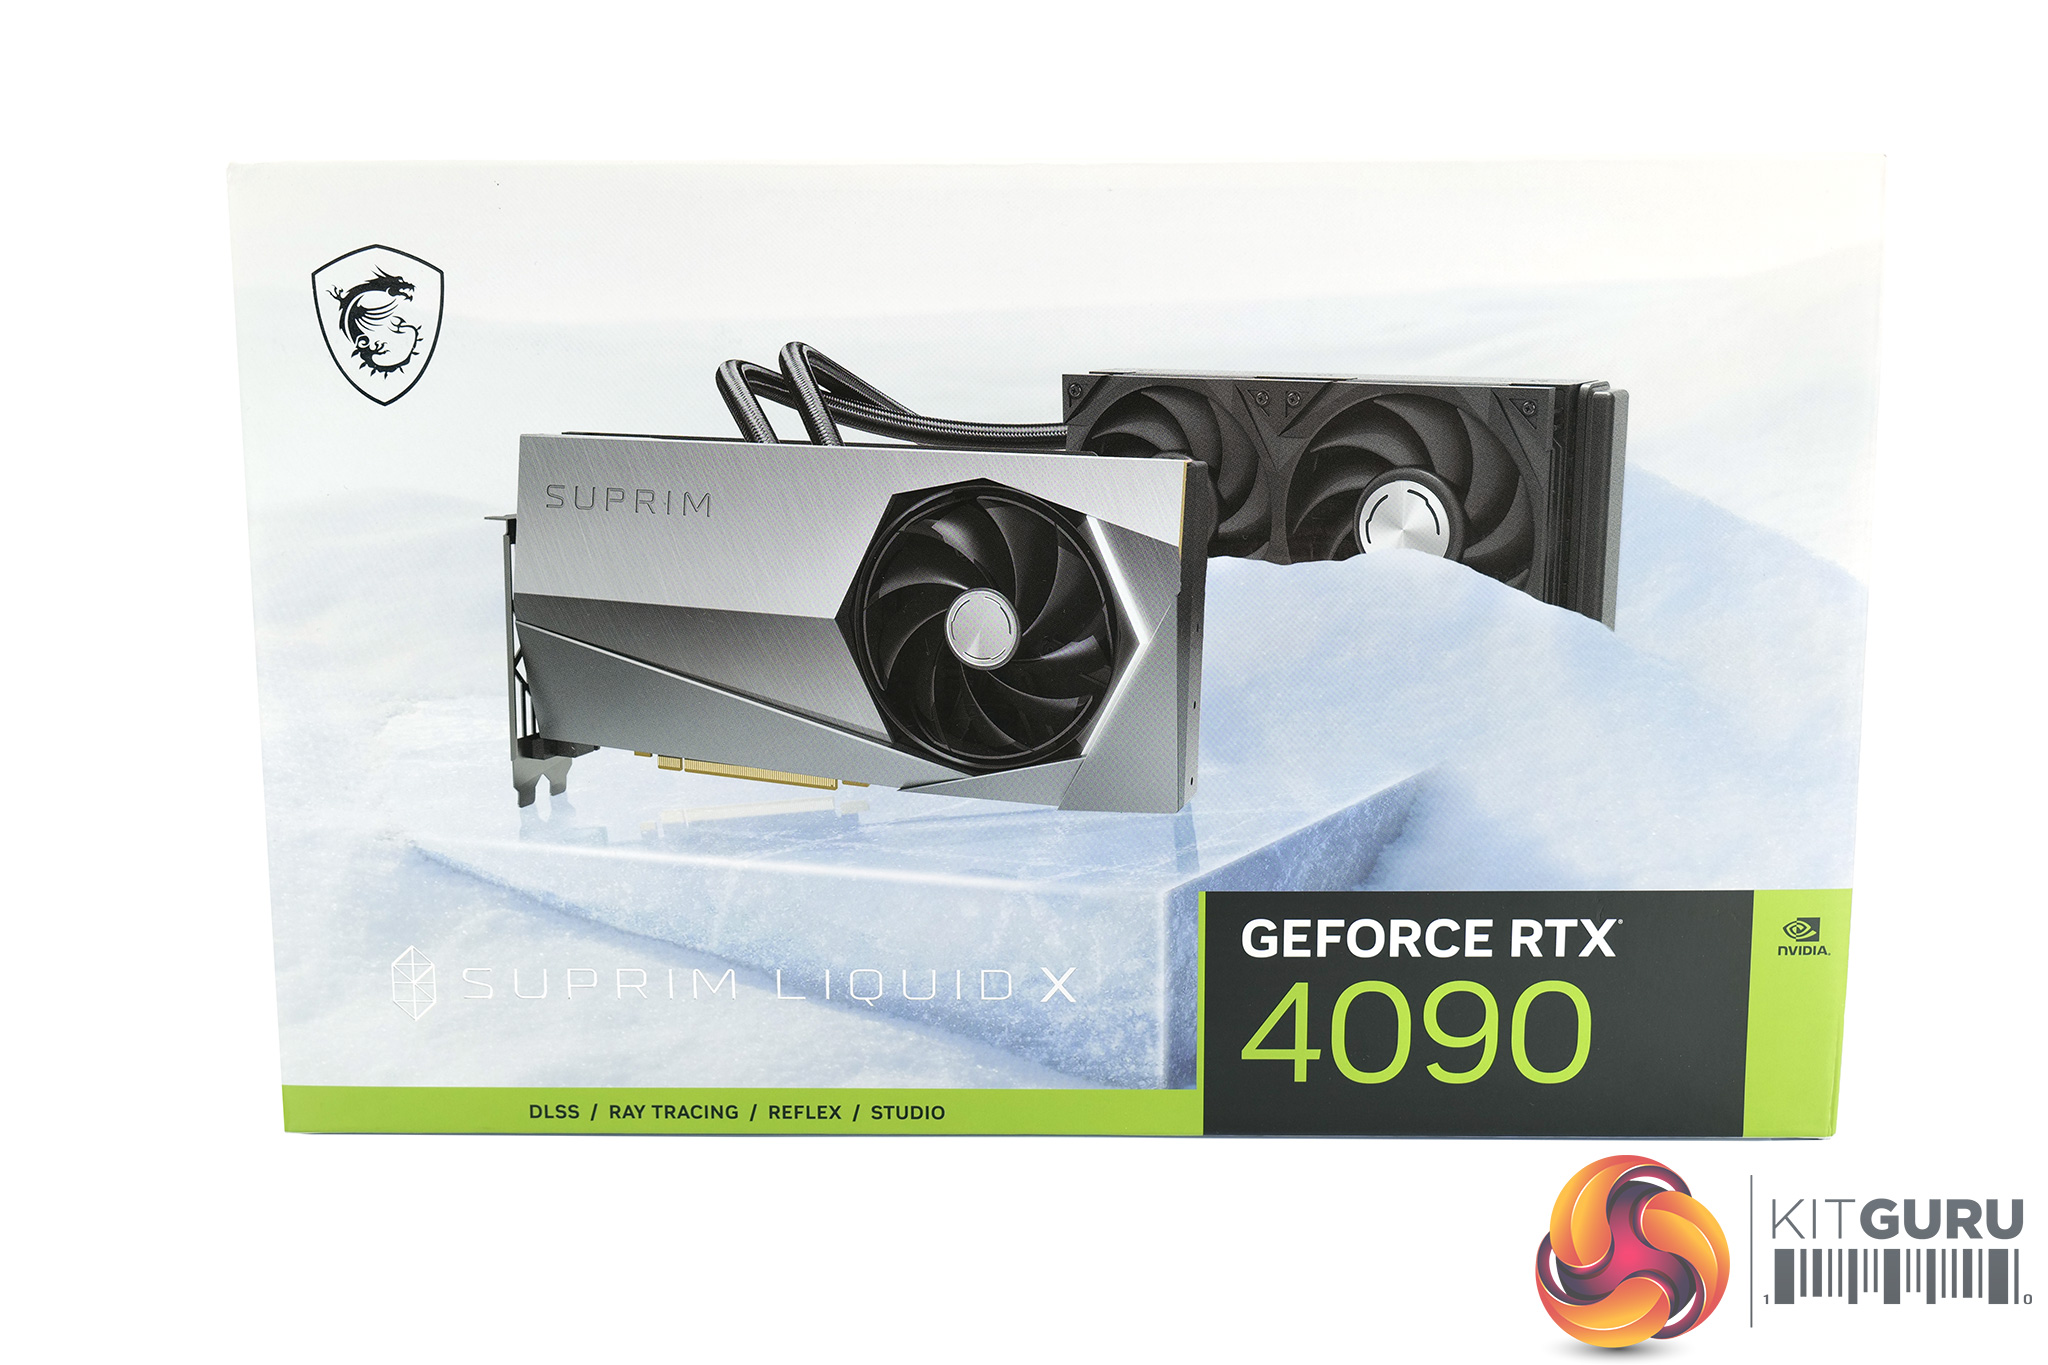
On the back of the box, MSI highlights various key features of the design, including the fan design, aluminium radiator and copper baseplate.

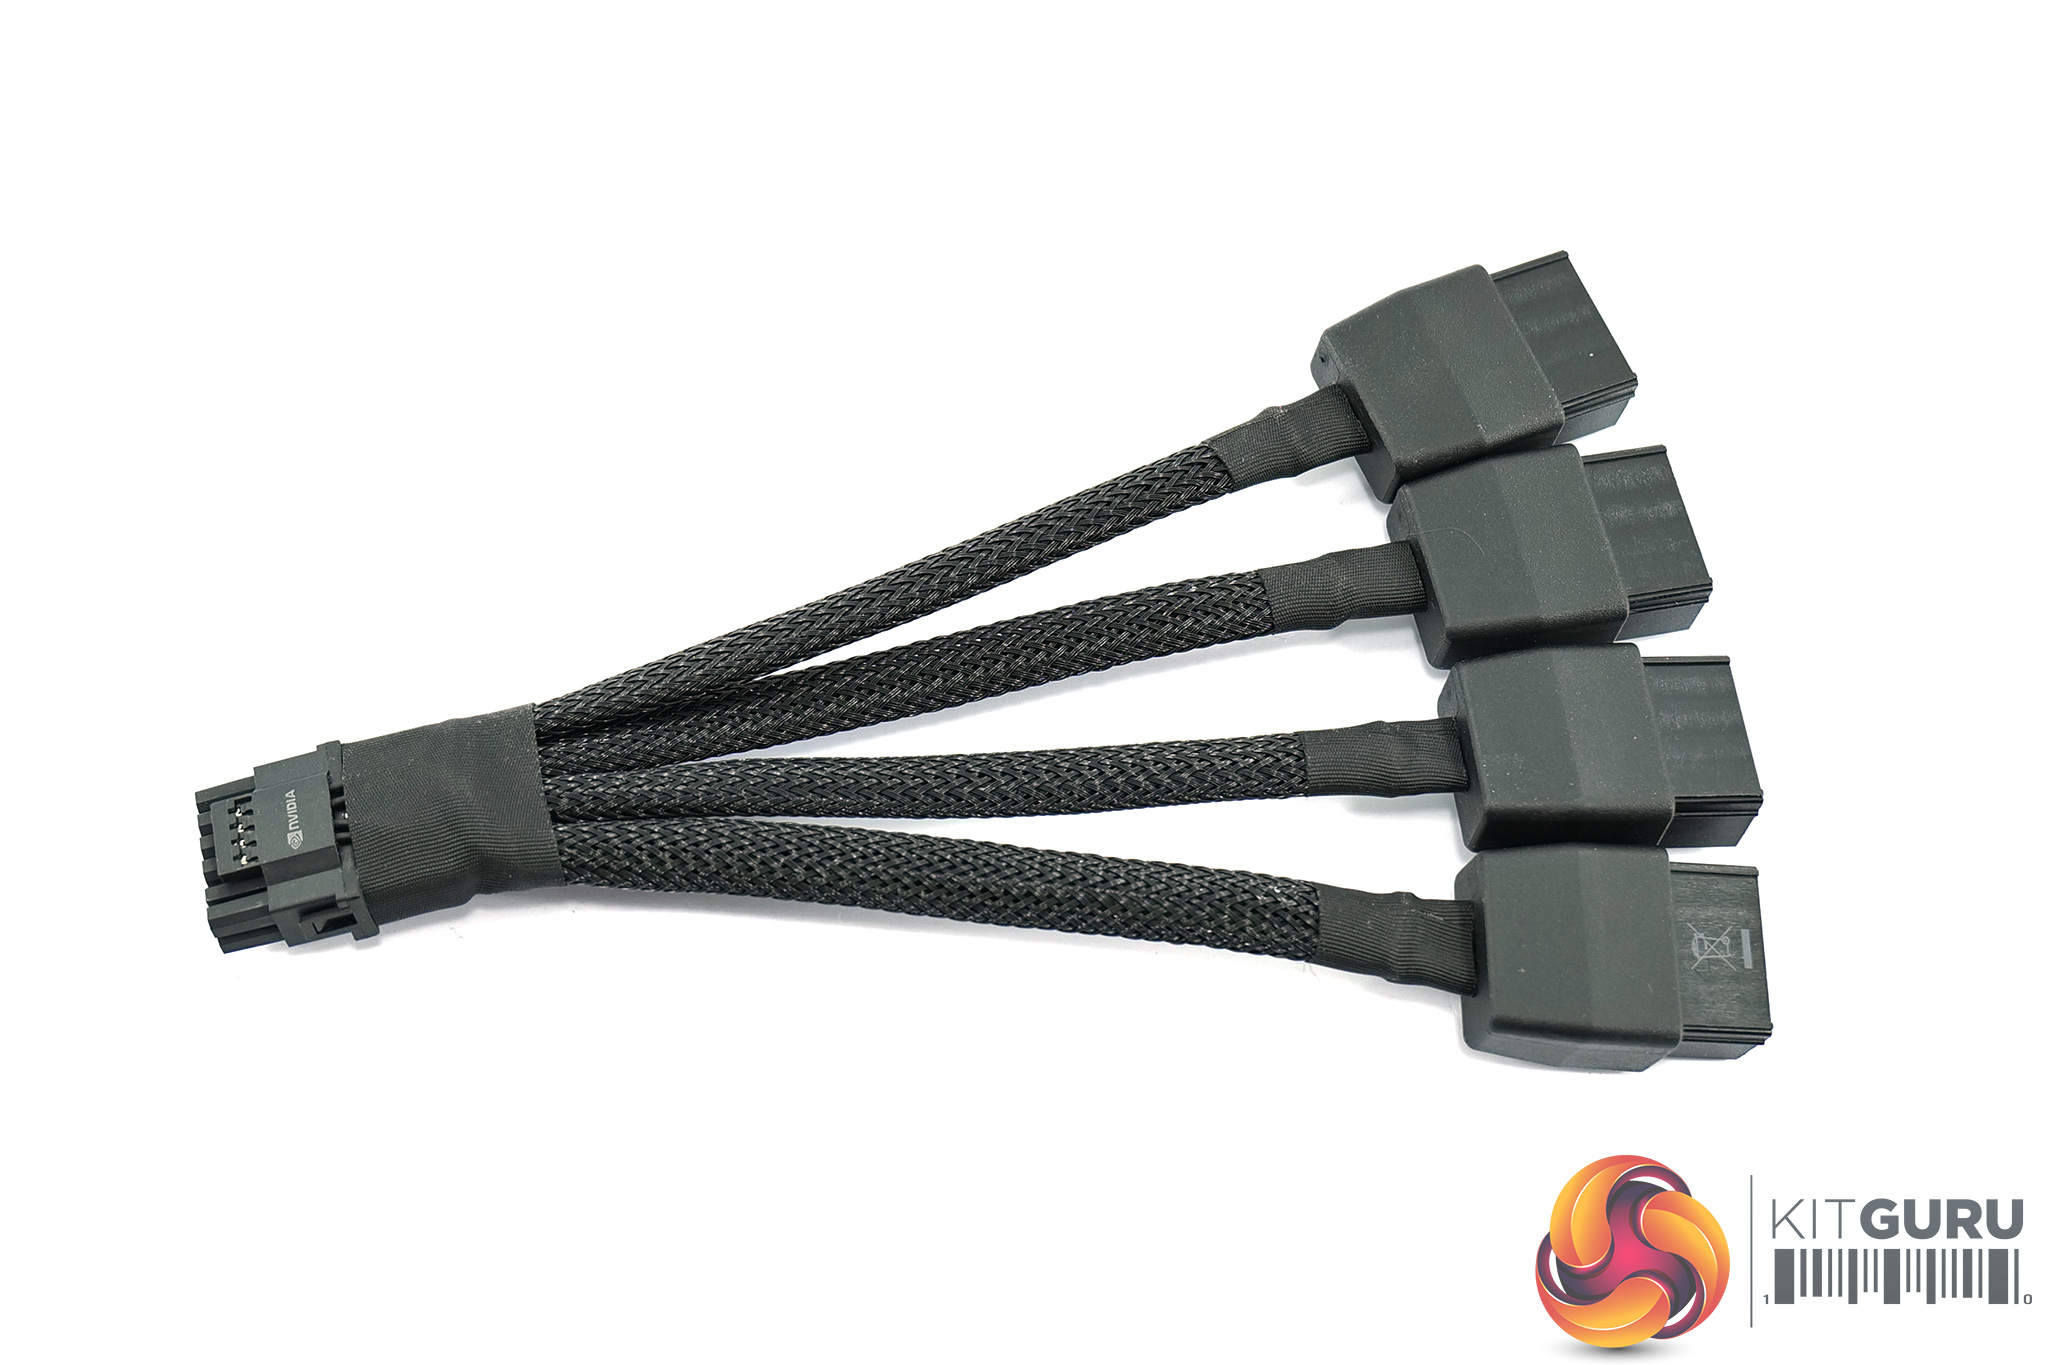
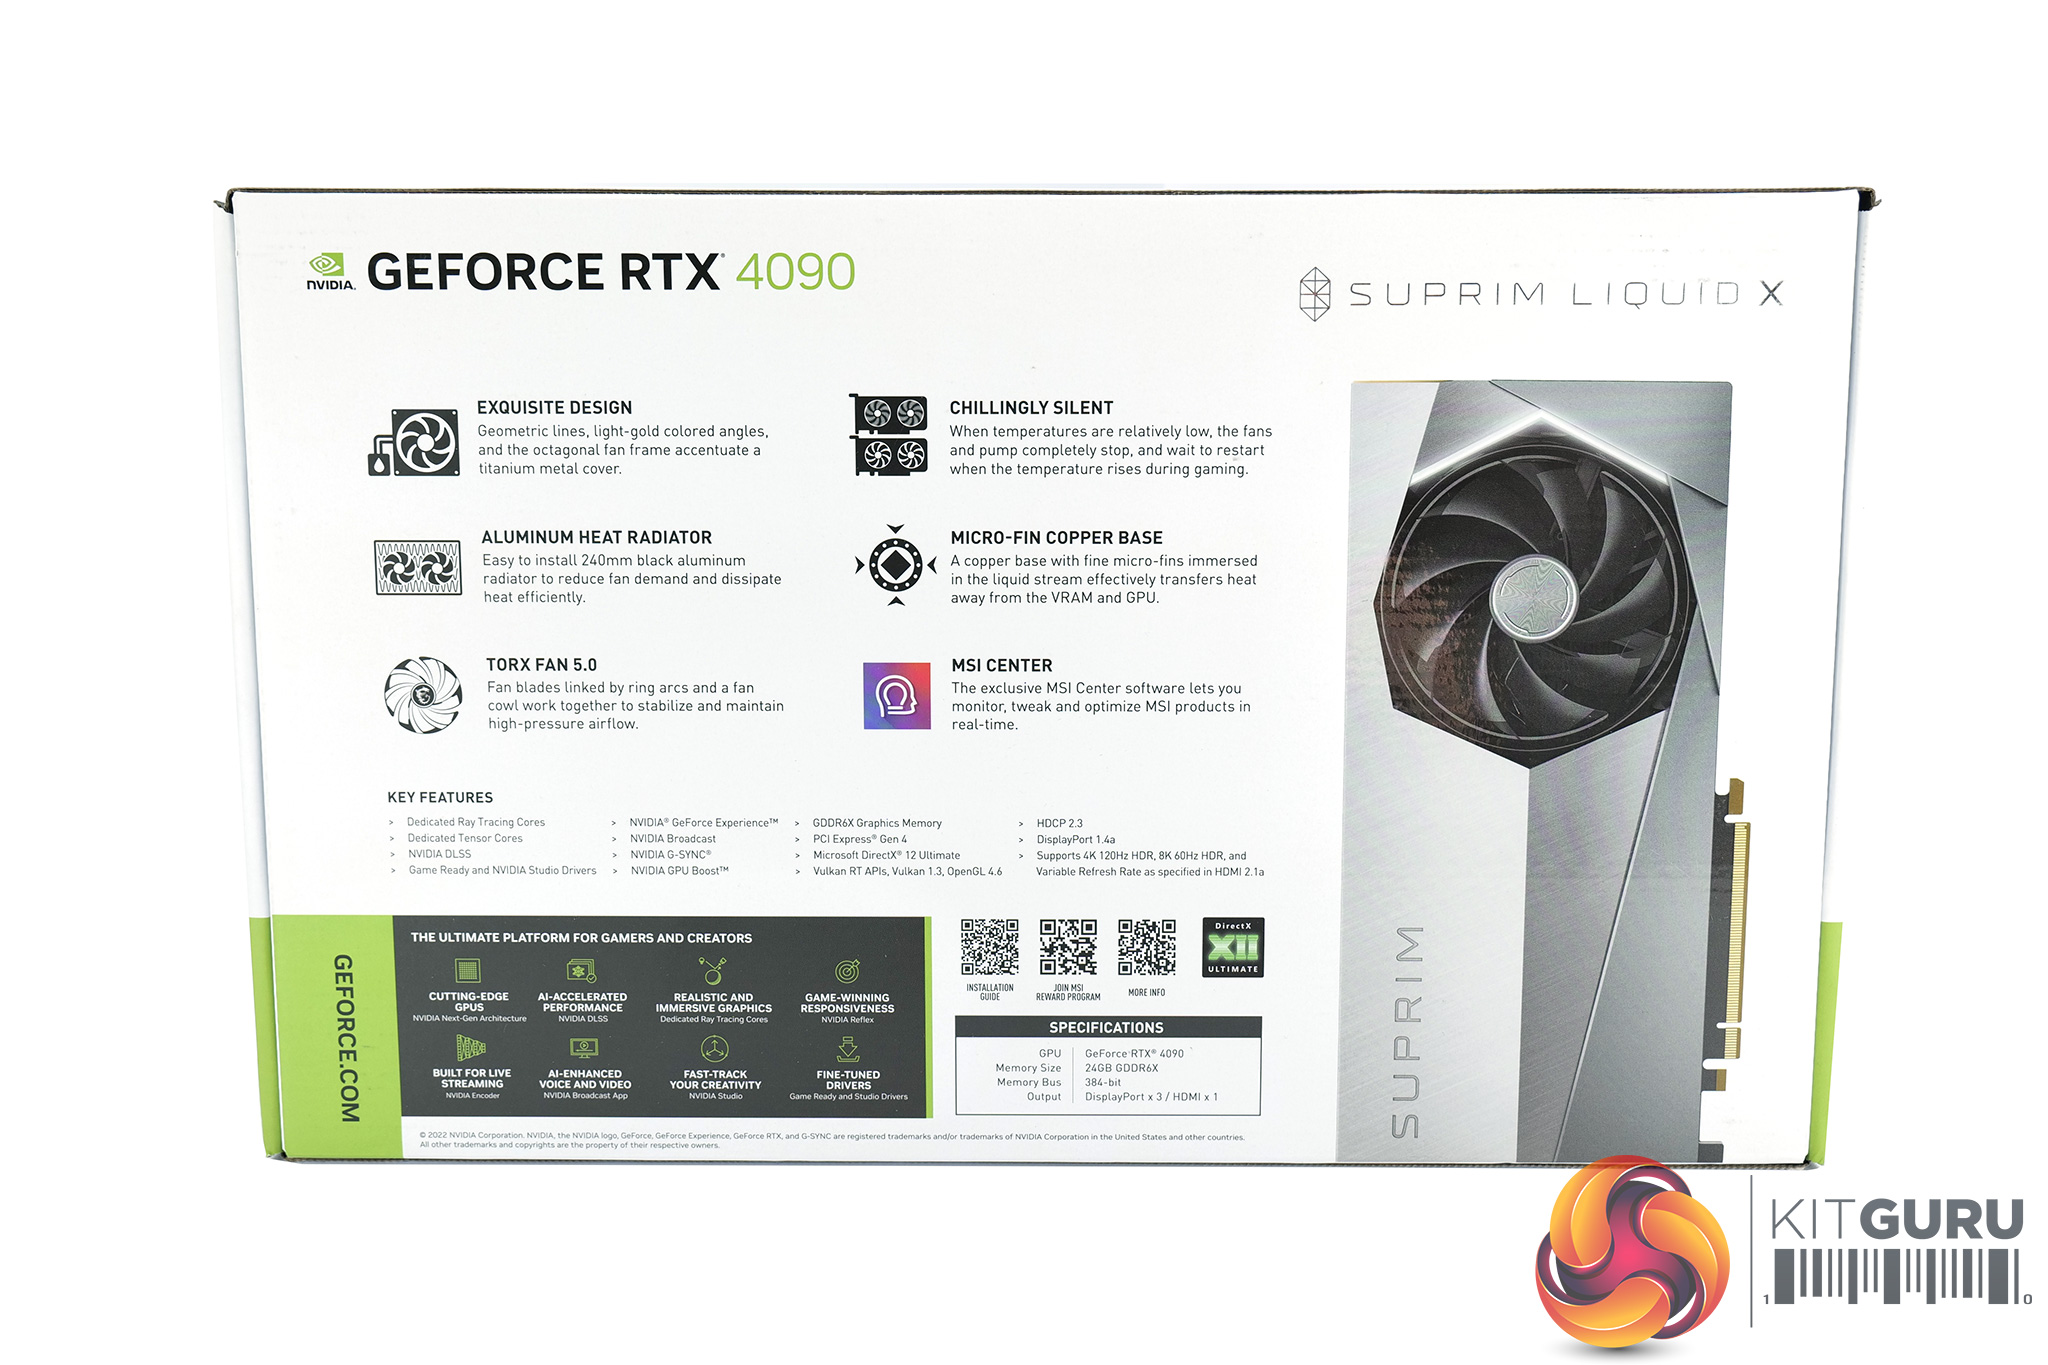
Inside, a Suprim Liquid X certificate is included, as well as a Suprim-branded mousepad that is in keeping with the card's overall design aesthetic. We also get a 4x 8-pin power adapter.
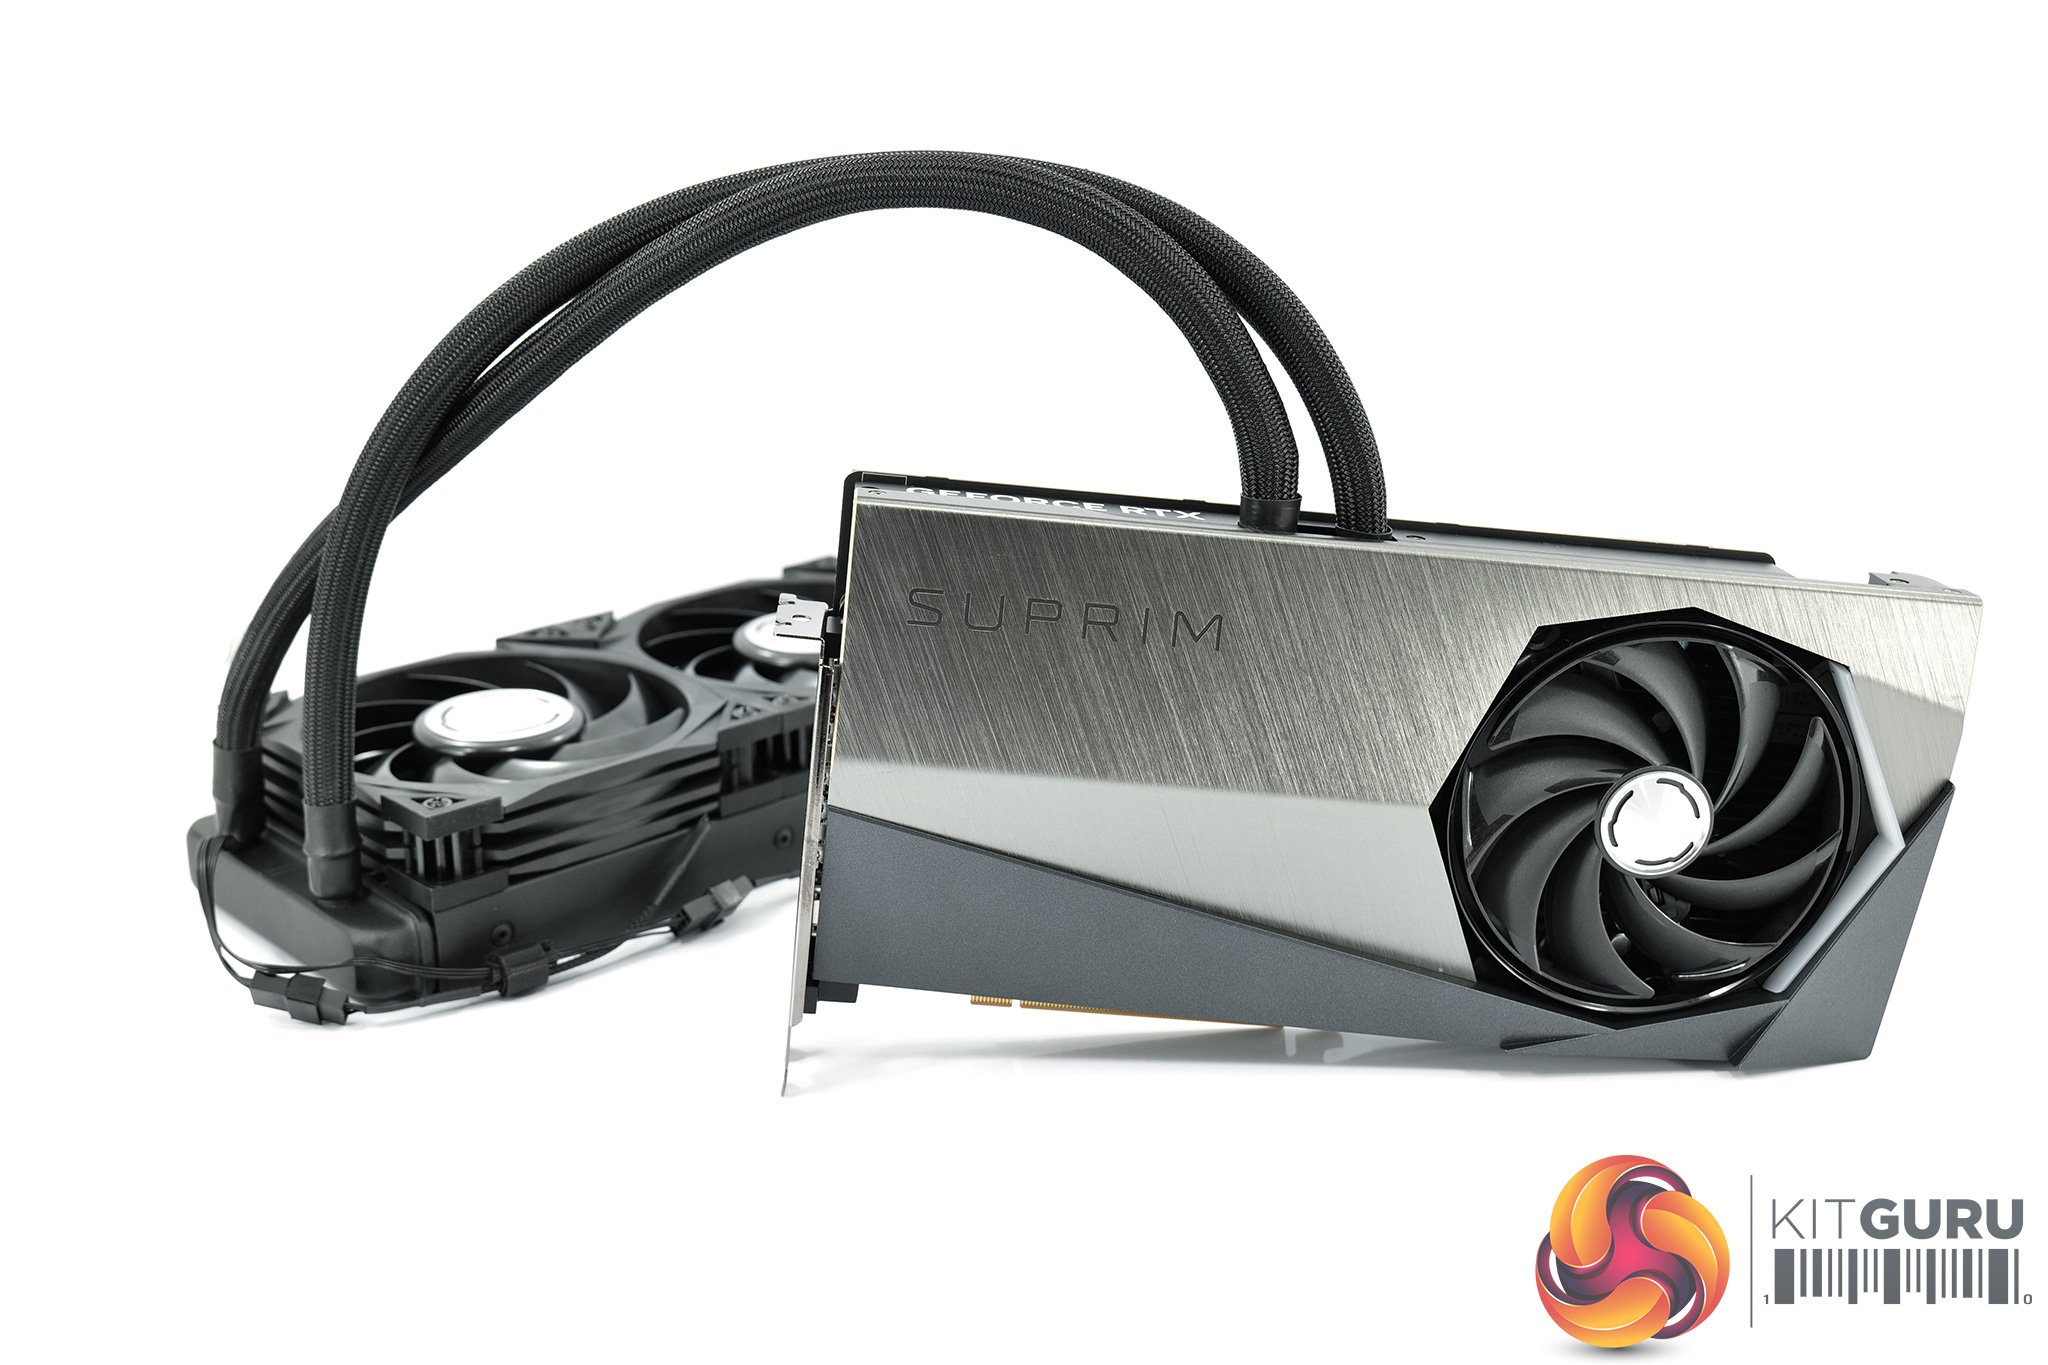
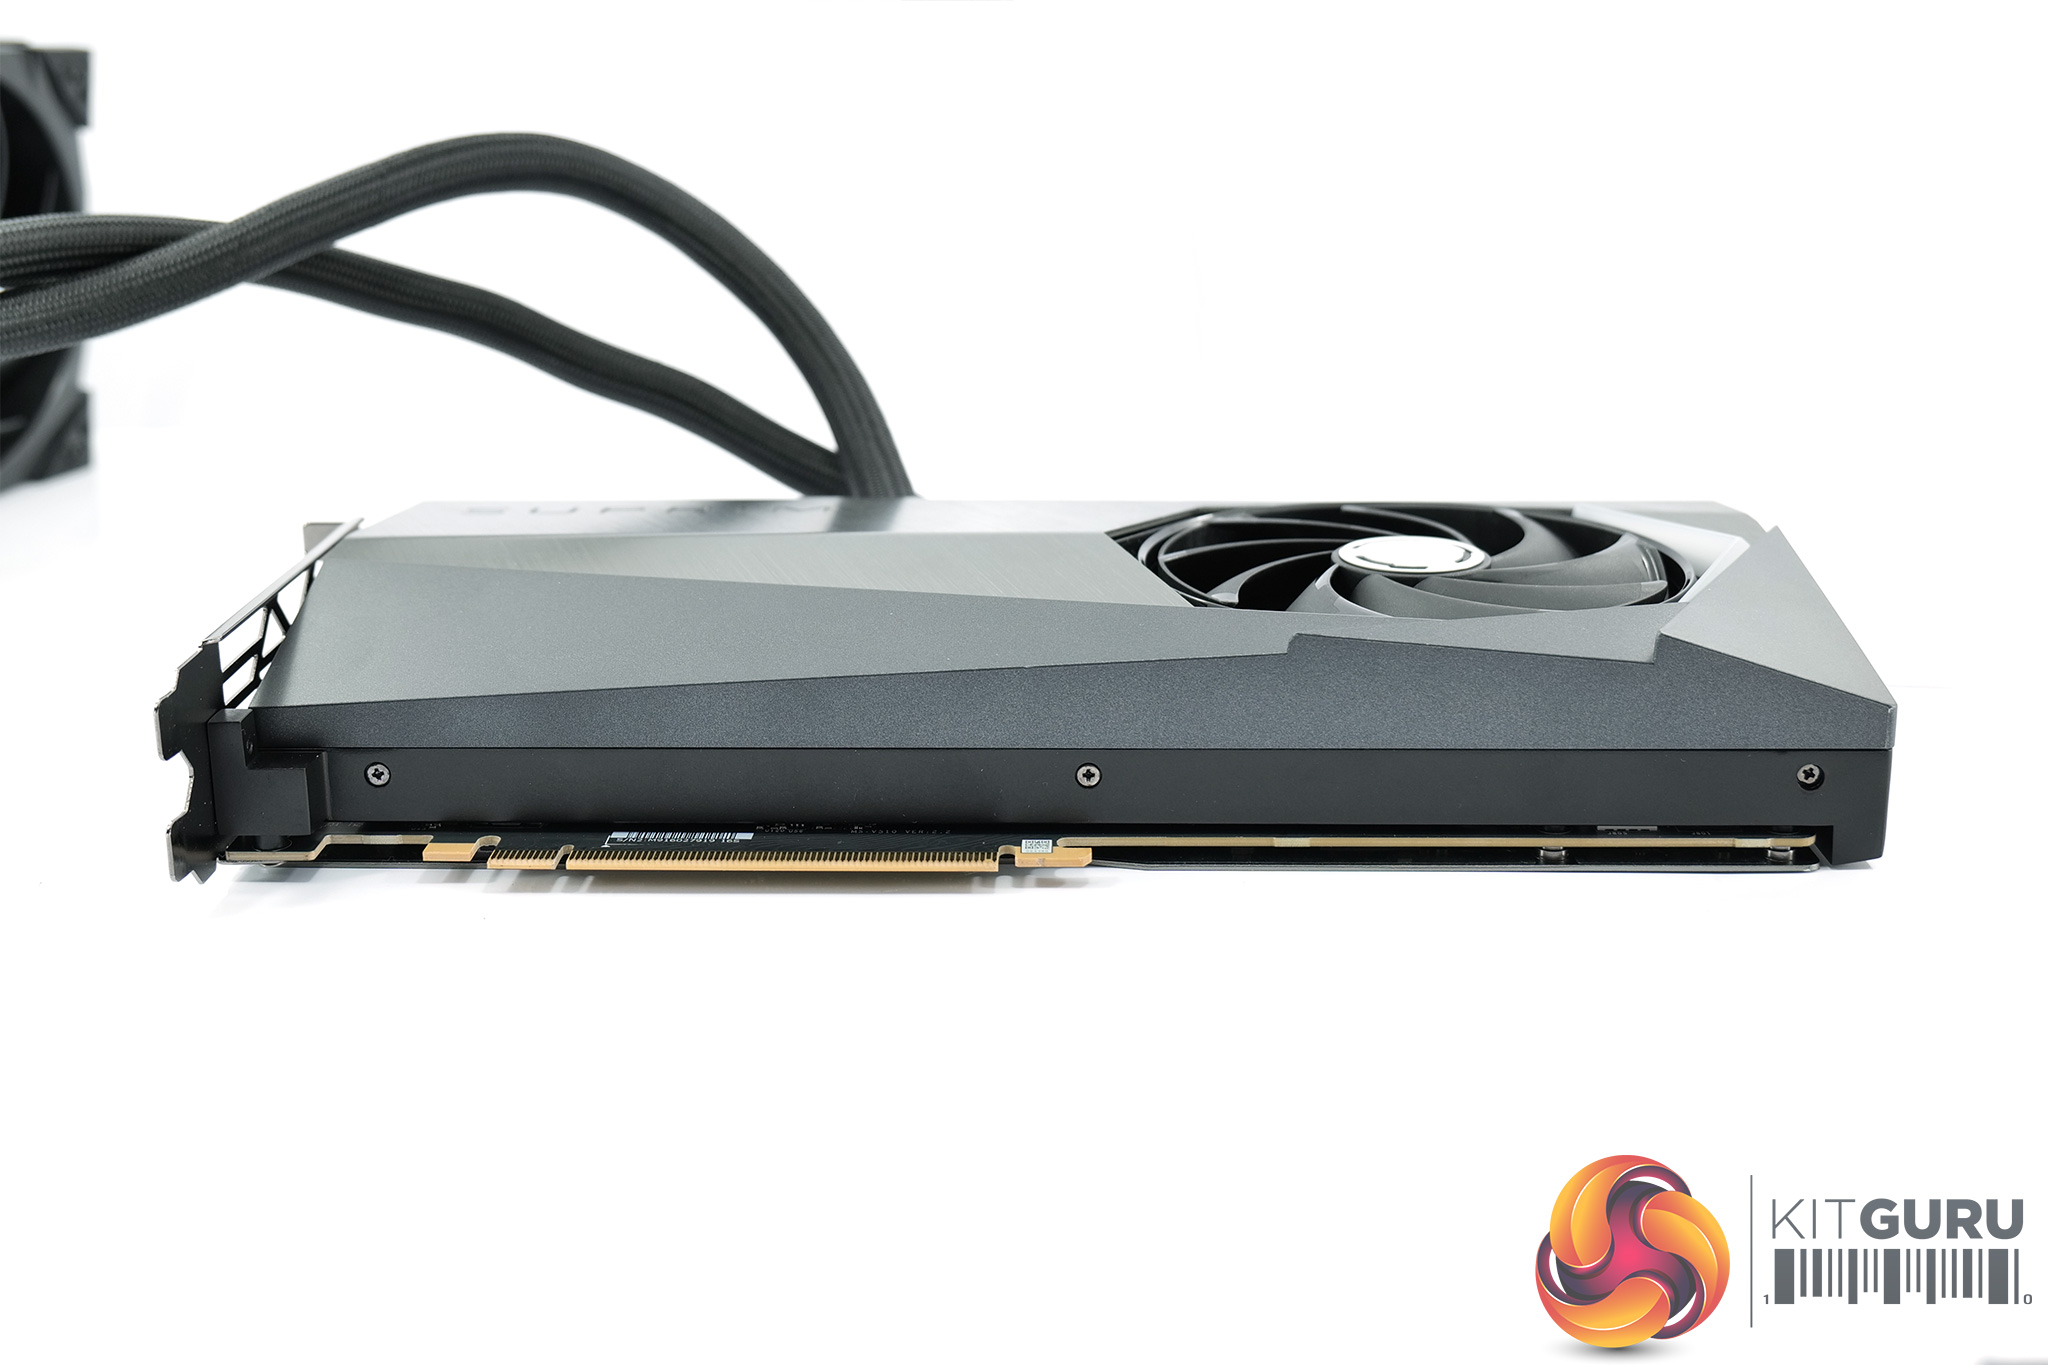
As for the graphics card itself, the first thing to note is MSI's hybrid cooling approach. The AIO cools the GPU and memory, but there is still a 100mm Torx 5.0 active fan built into the shroud to cool the VRM and the rest of the PCB.
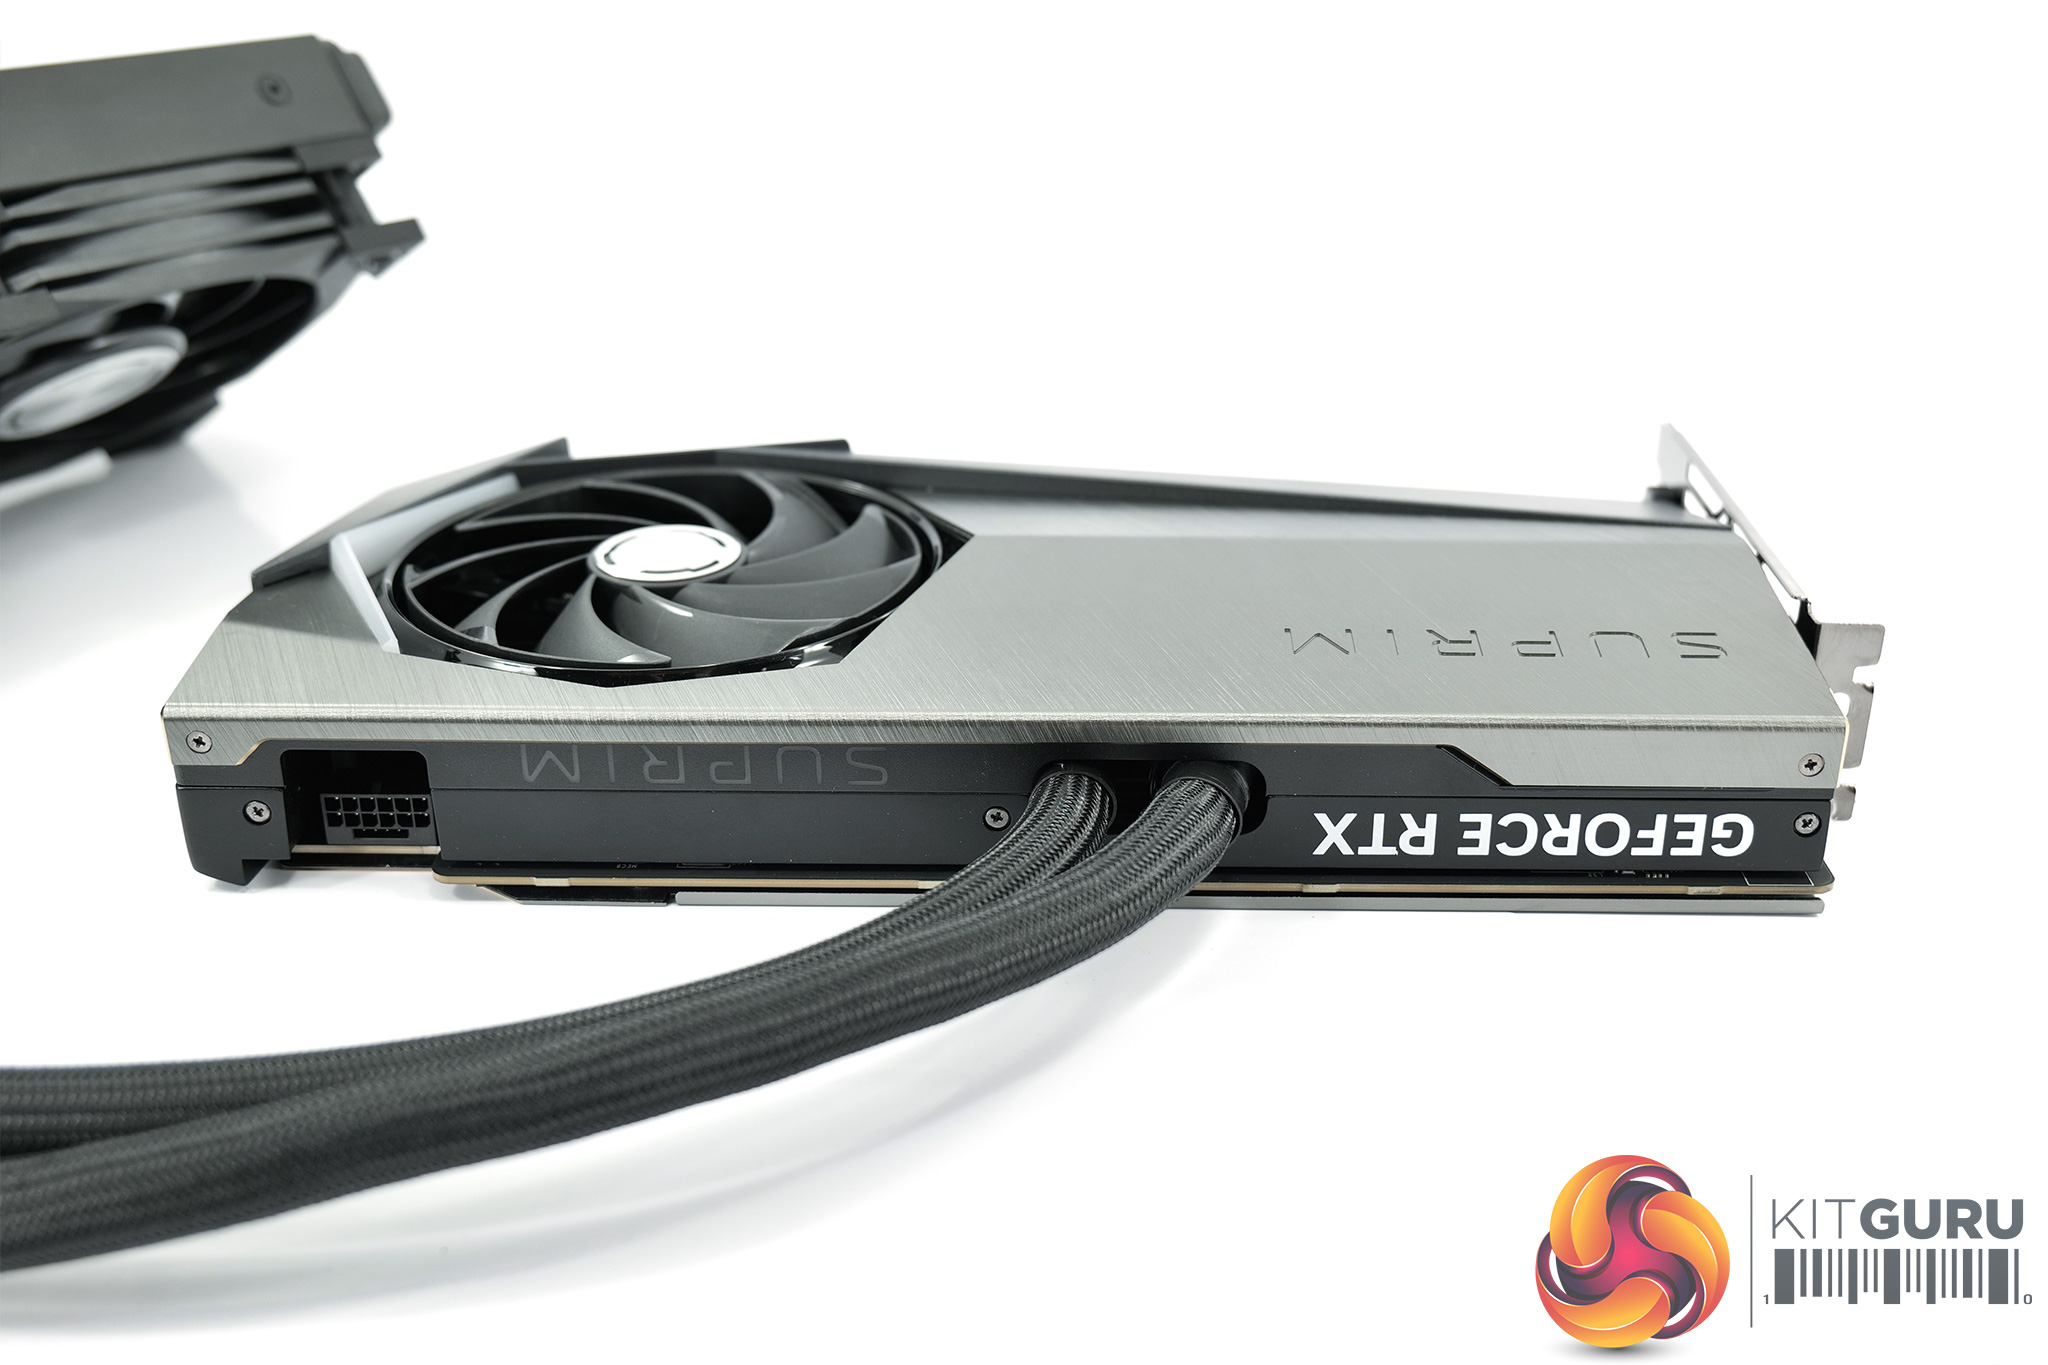
Speaking of the shroud, MSI's Suprim line-up has always had quite a classy look and things are no different here, with a grey two-tone shroud. The shroud is made from plastic, but there's a brushed metal plate screwed on-top which helps give it a more premium look and feel.
It may sound strange but one of the benefits of opting for a watercooled card comes from the space savings. Of course, you will need to accommodate a 240mm radiator in your case, but which case can't fit at least a 240mm AIO?
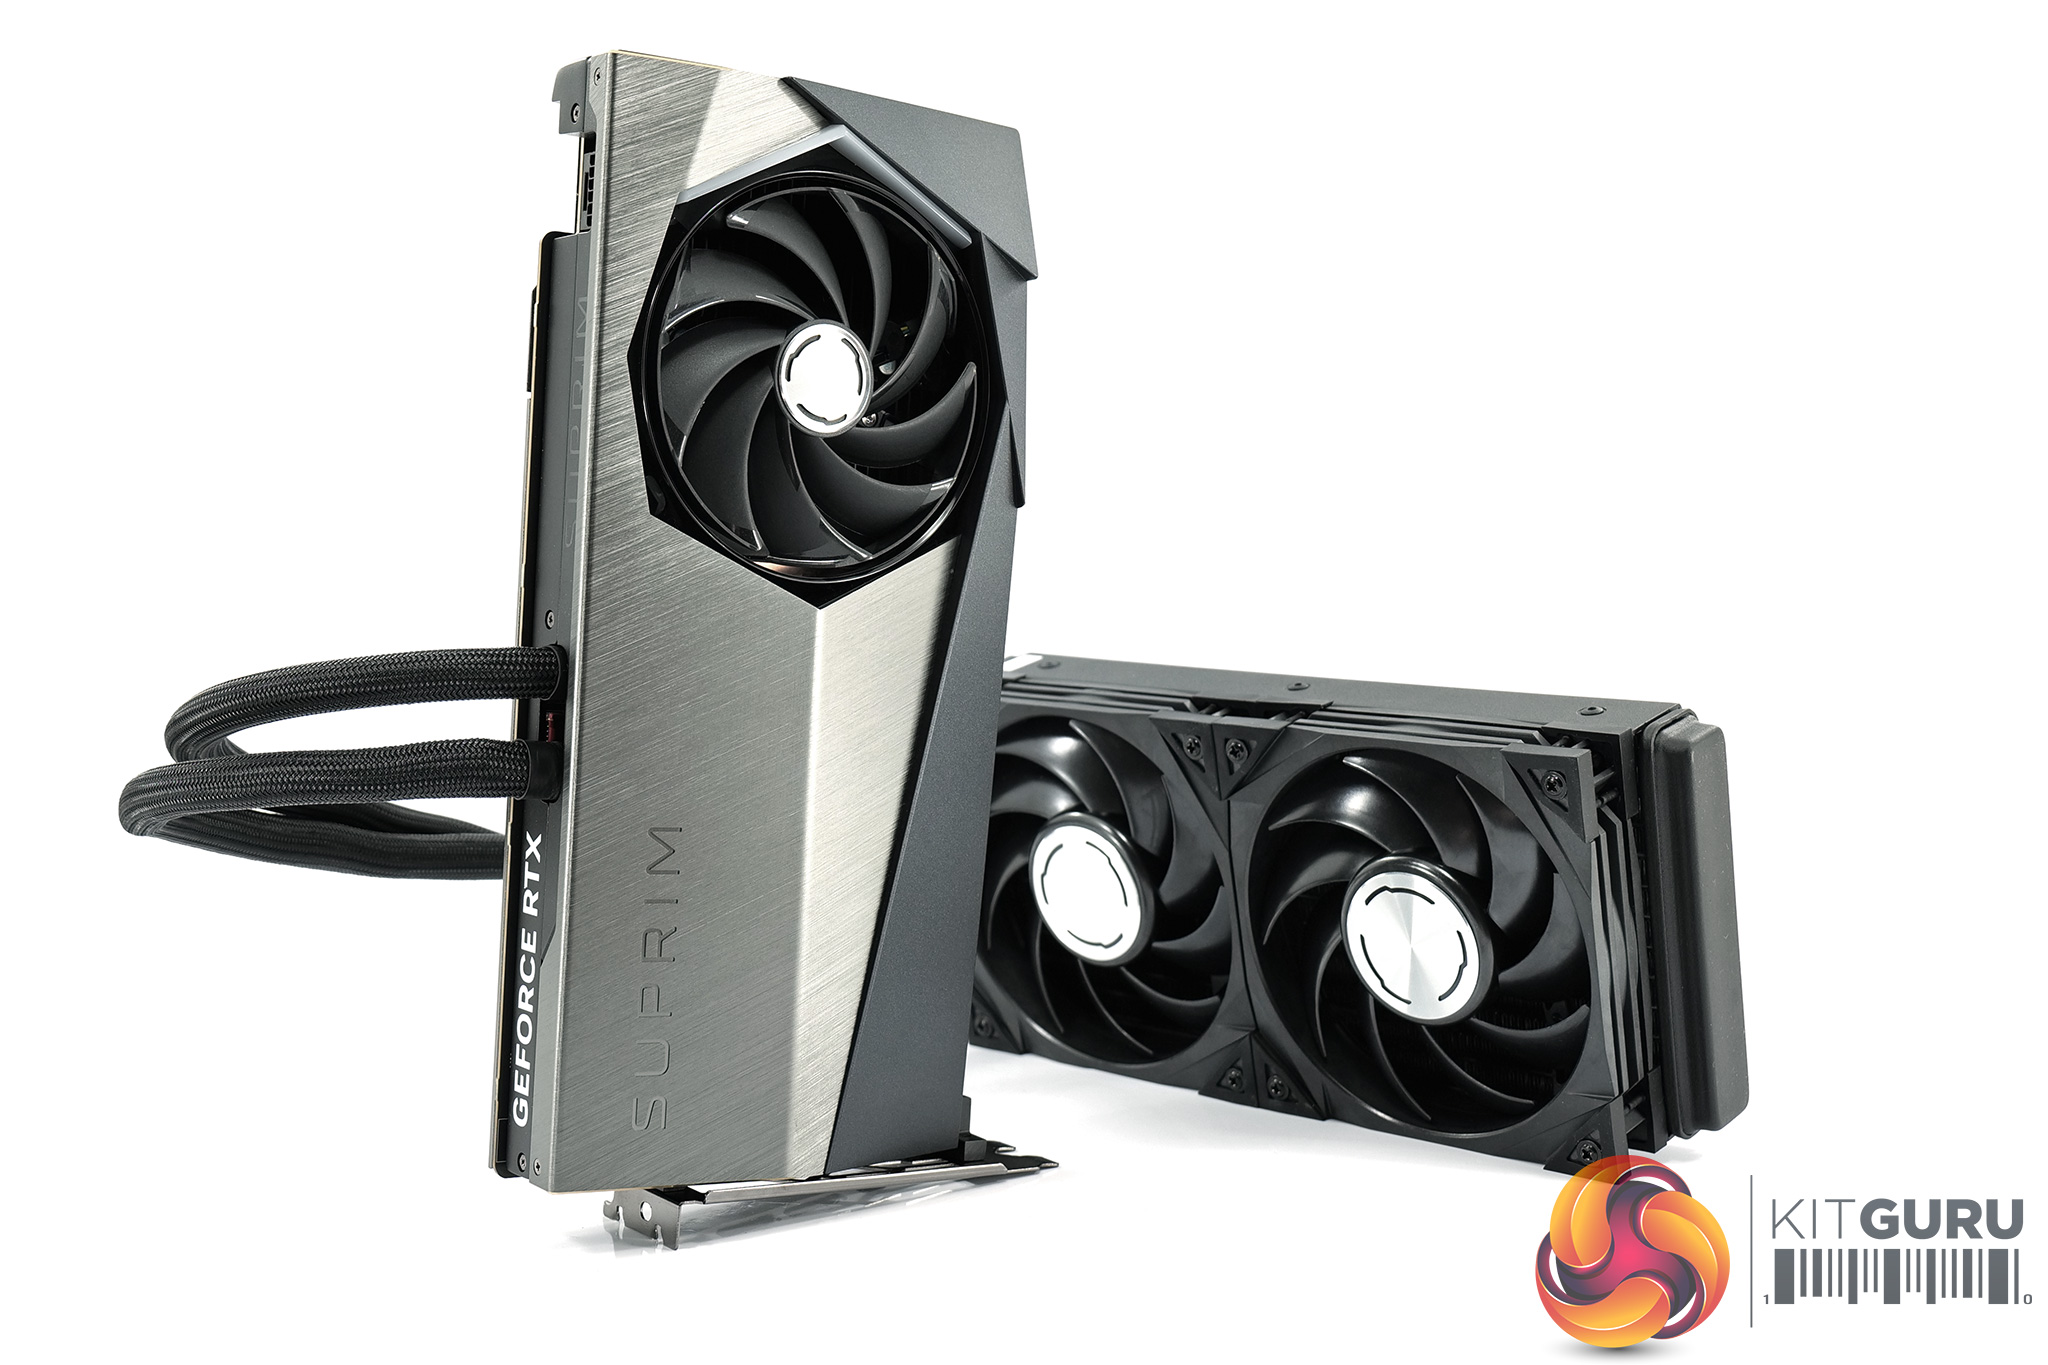
The dimensions of the card itself however, are very compact by RTX 4090 standards, measuring in at 280 x 140 x 43 mm – so if your case can't accommodate a 30cm+ graphics card, or you need to access the third expansion slot, this could be an option.
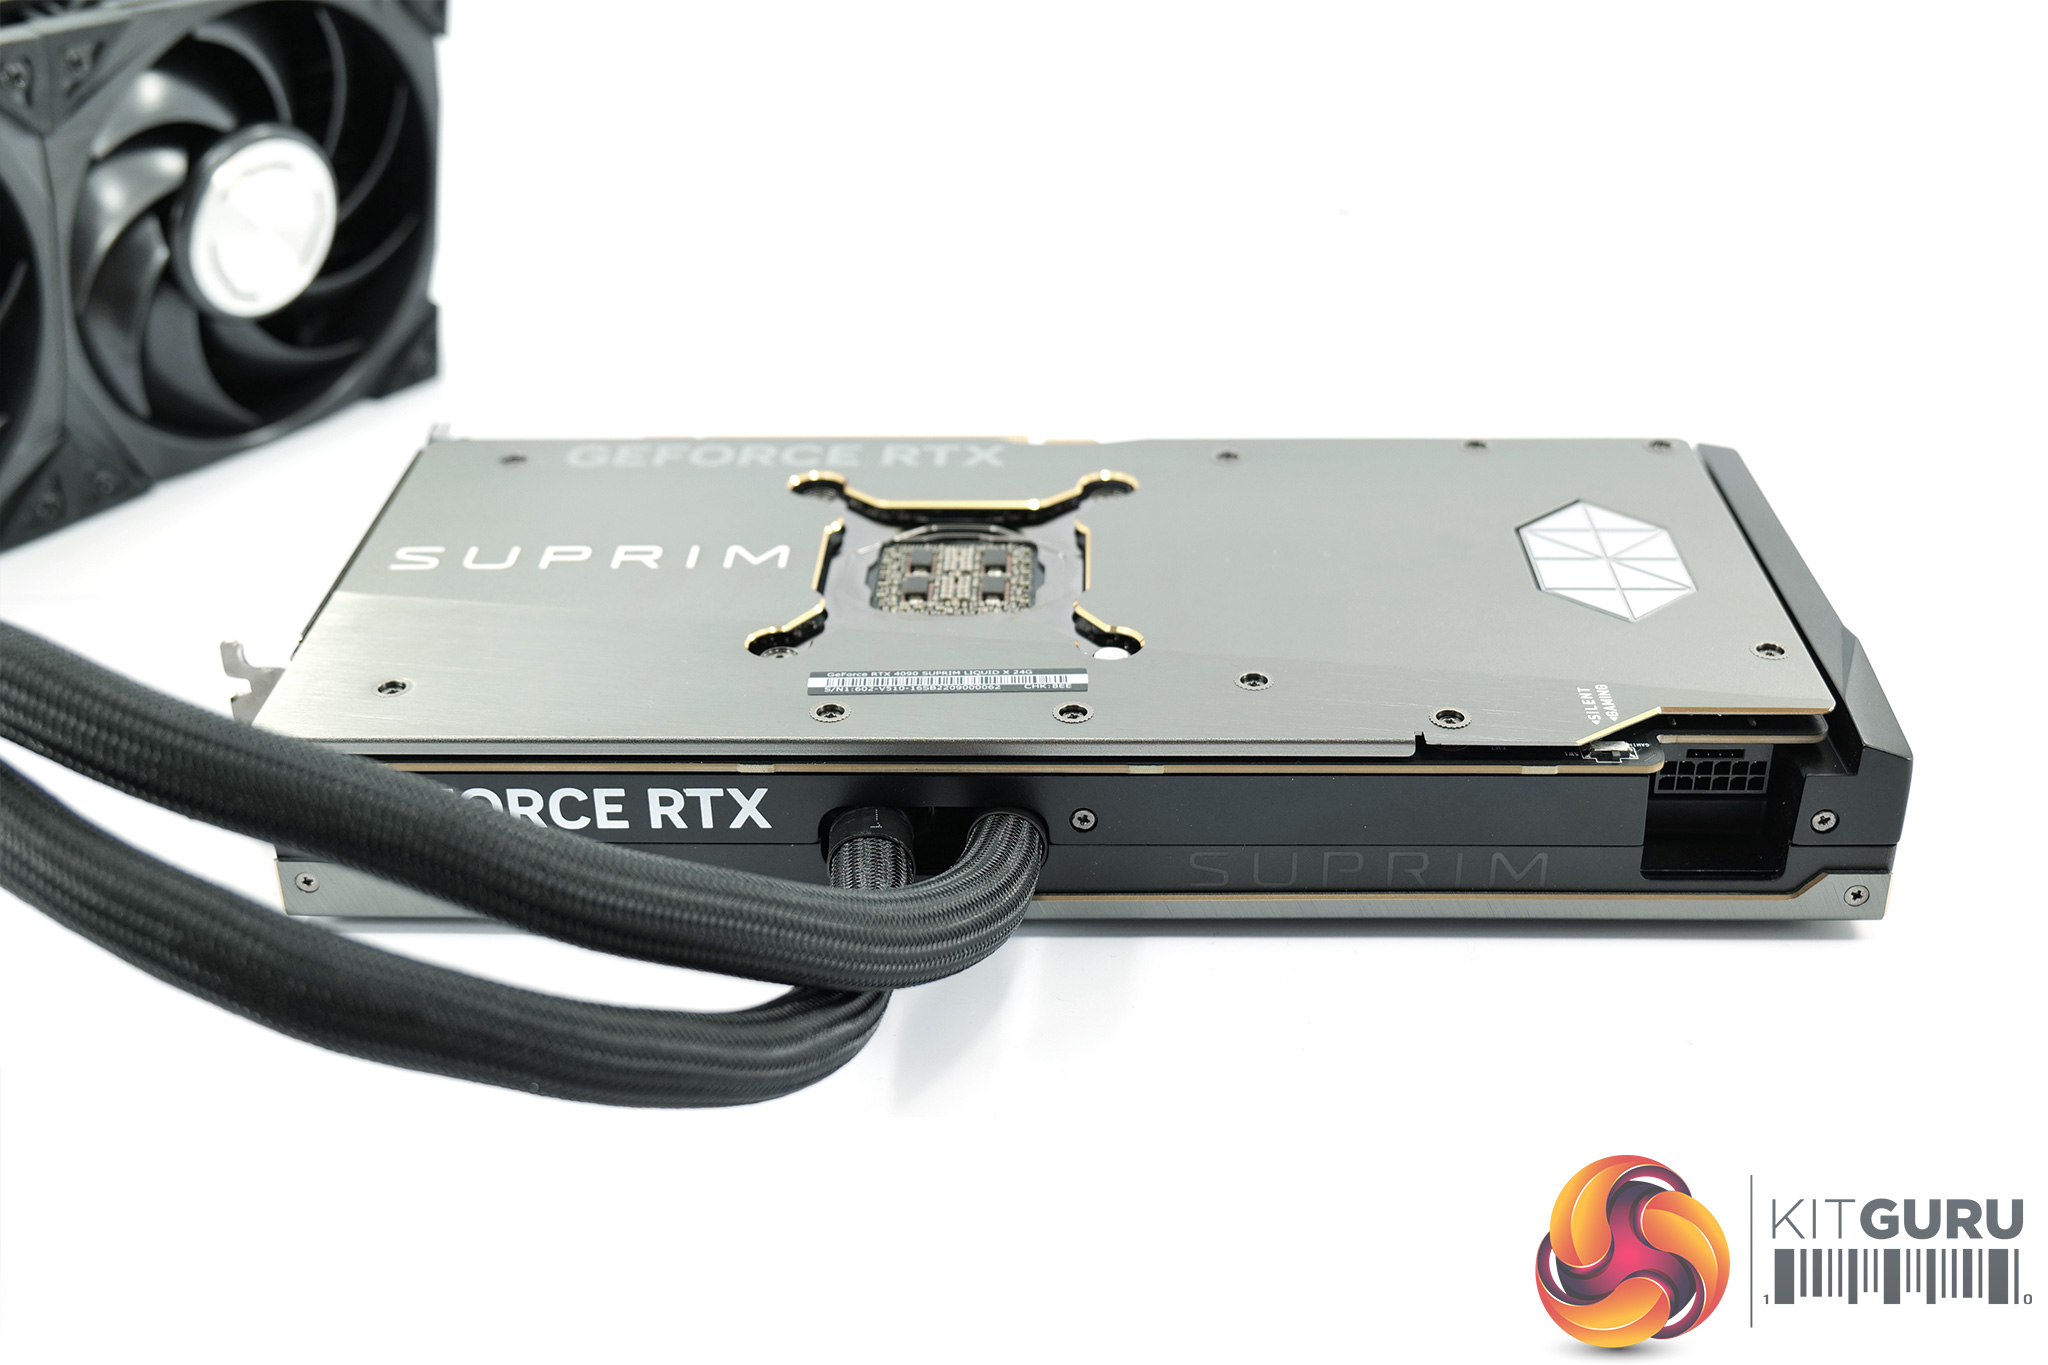
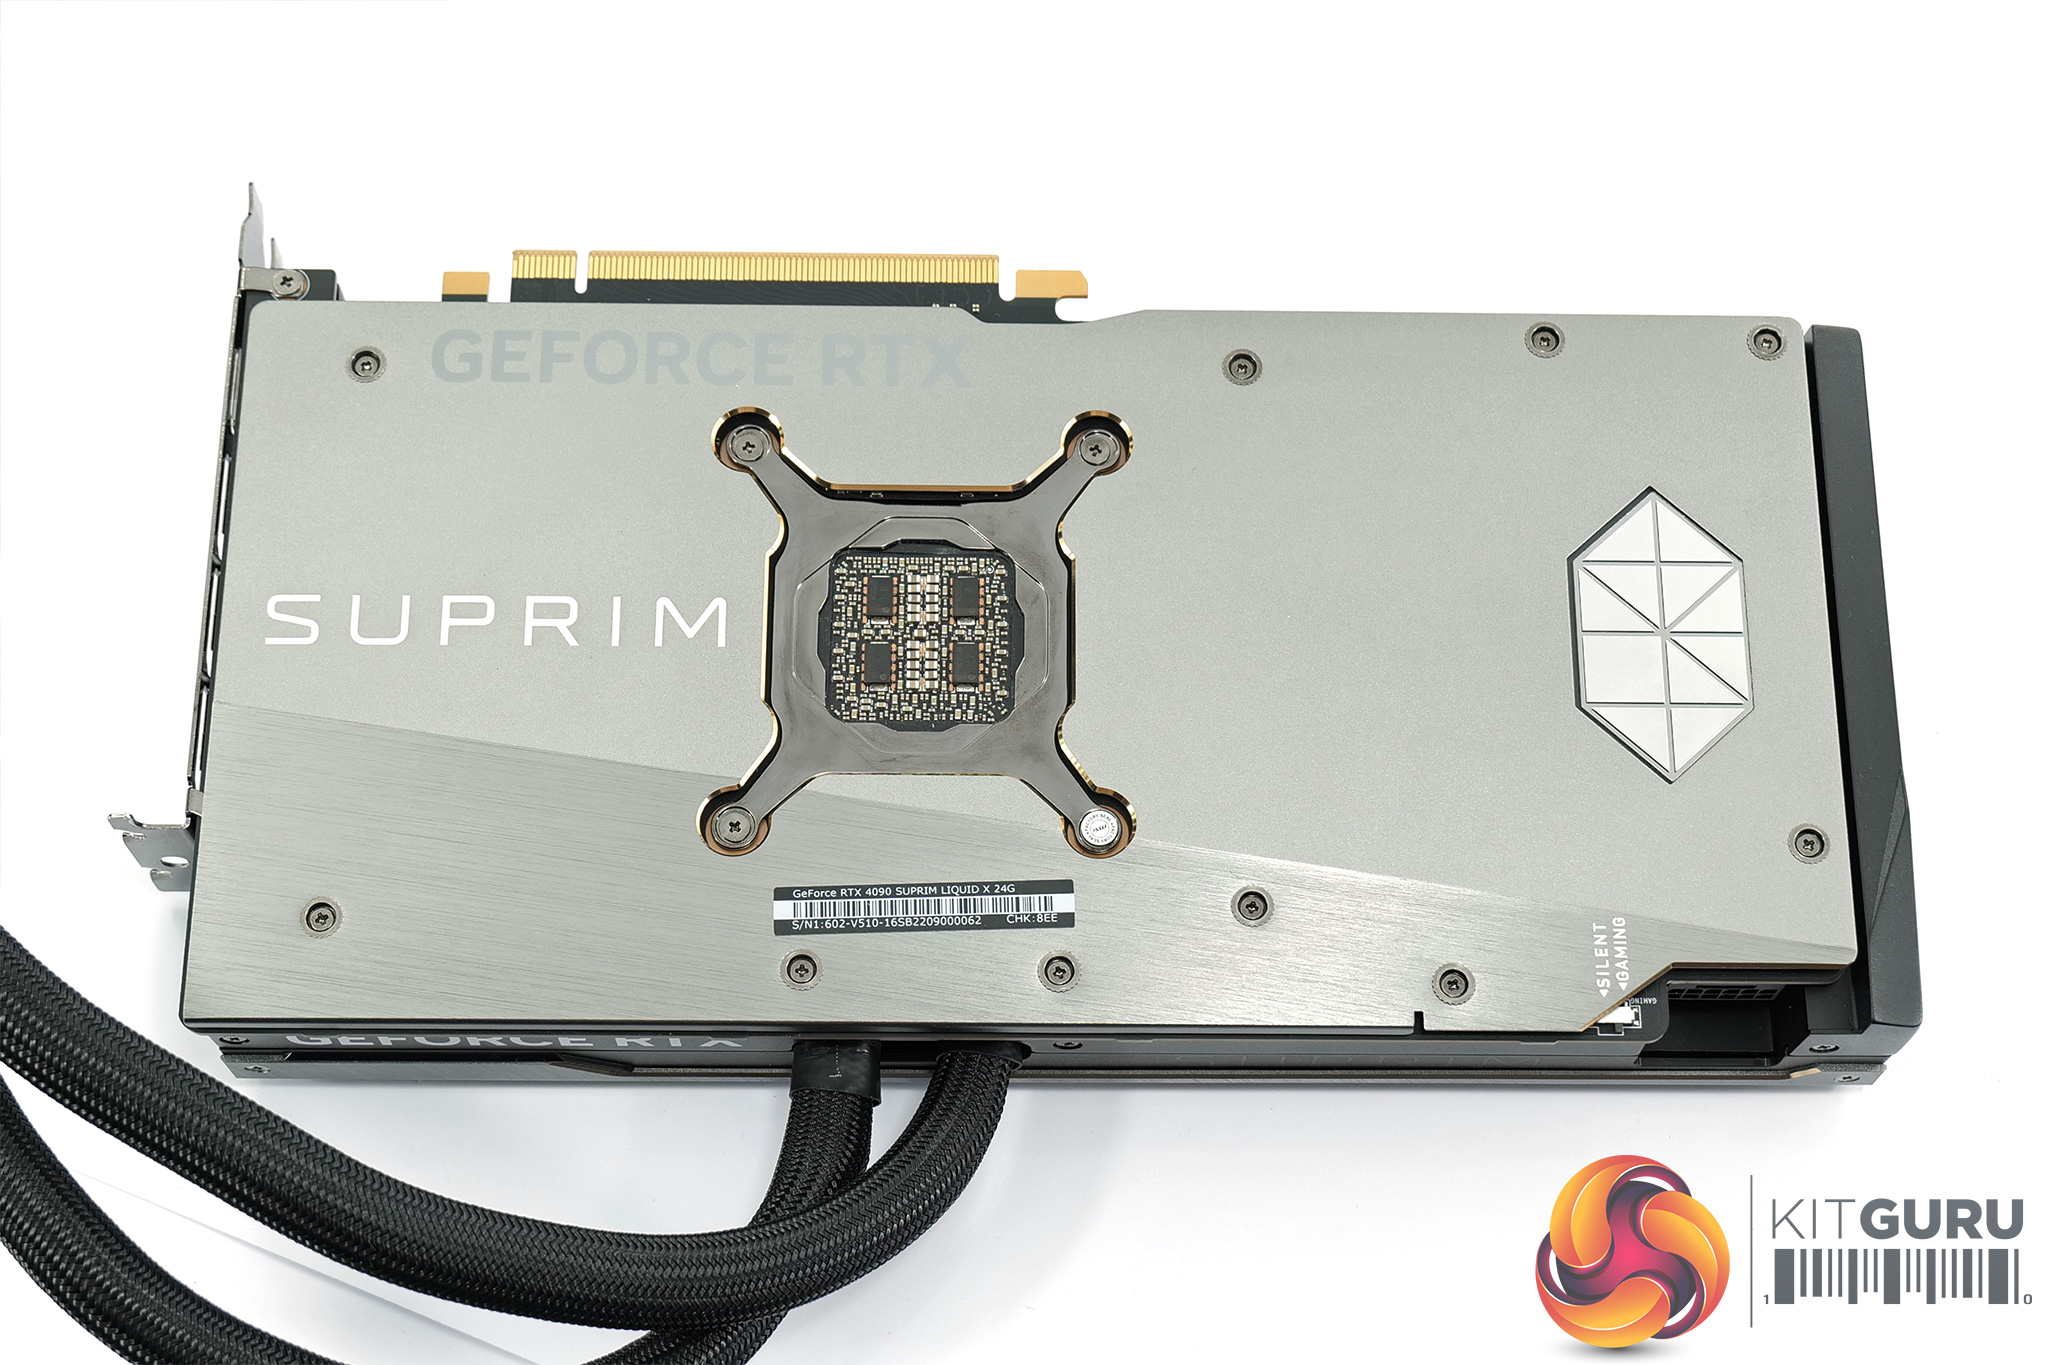
In keeping with the shroud design, we also find a lovely two-tone metal backplate, complete with the Suprim hexagonal logo towards the end of the card.
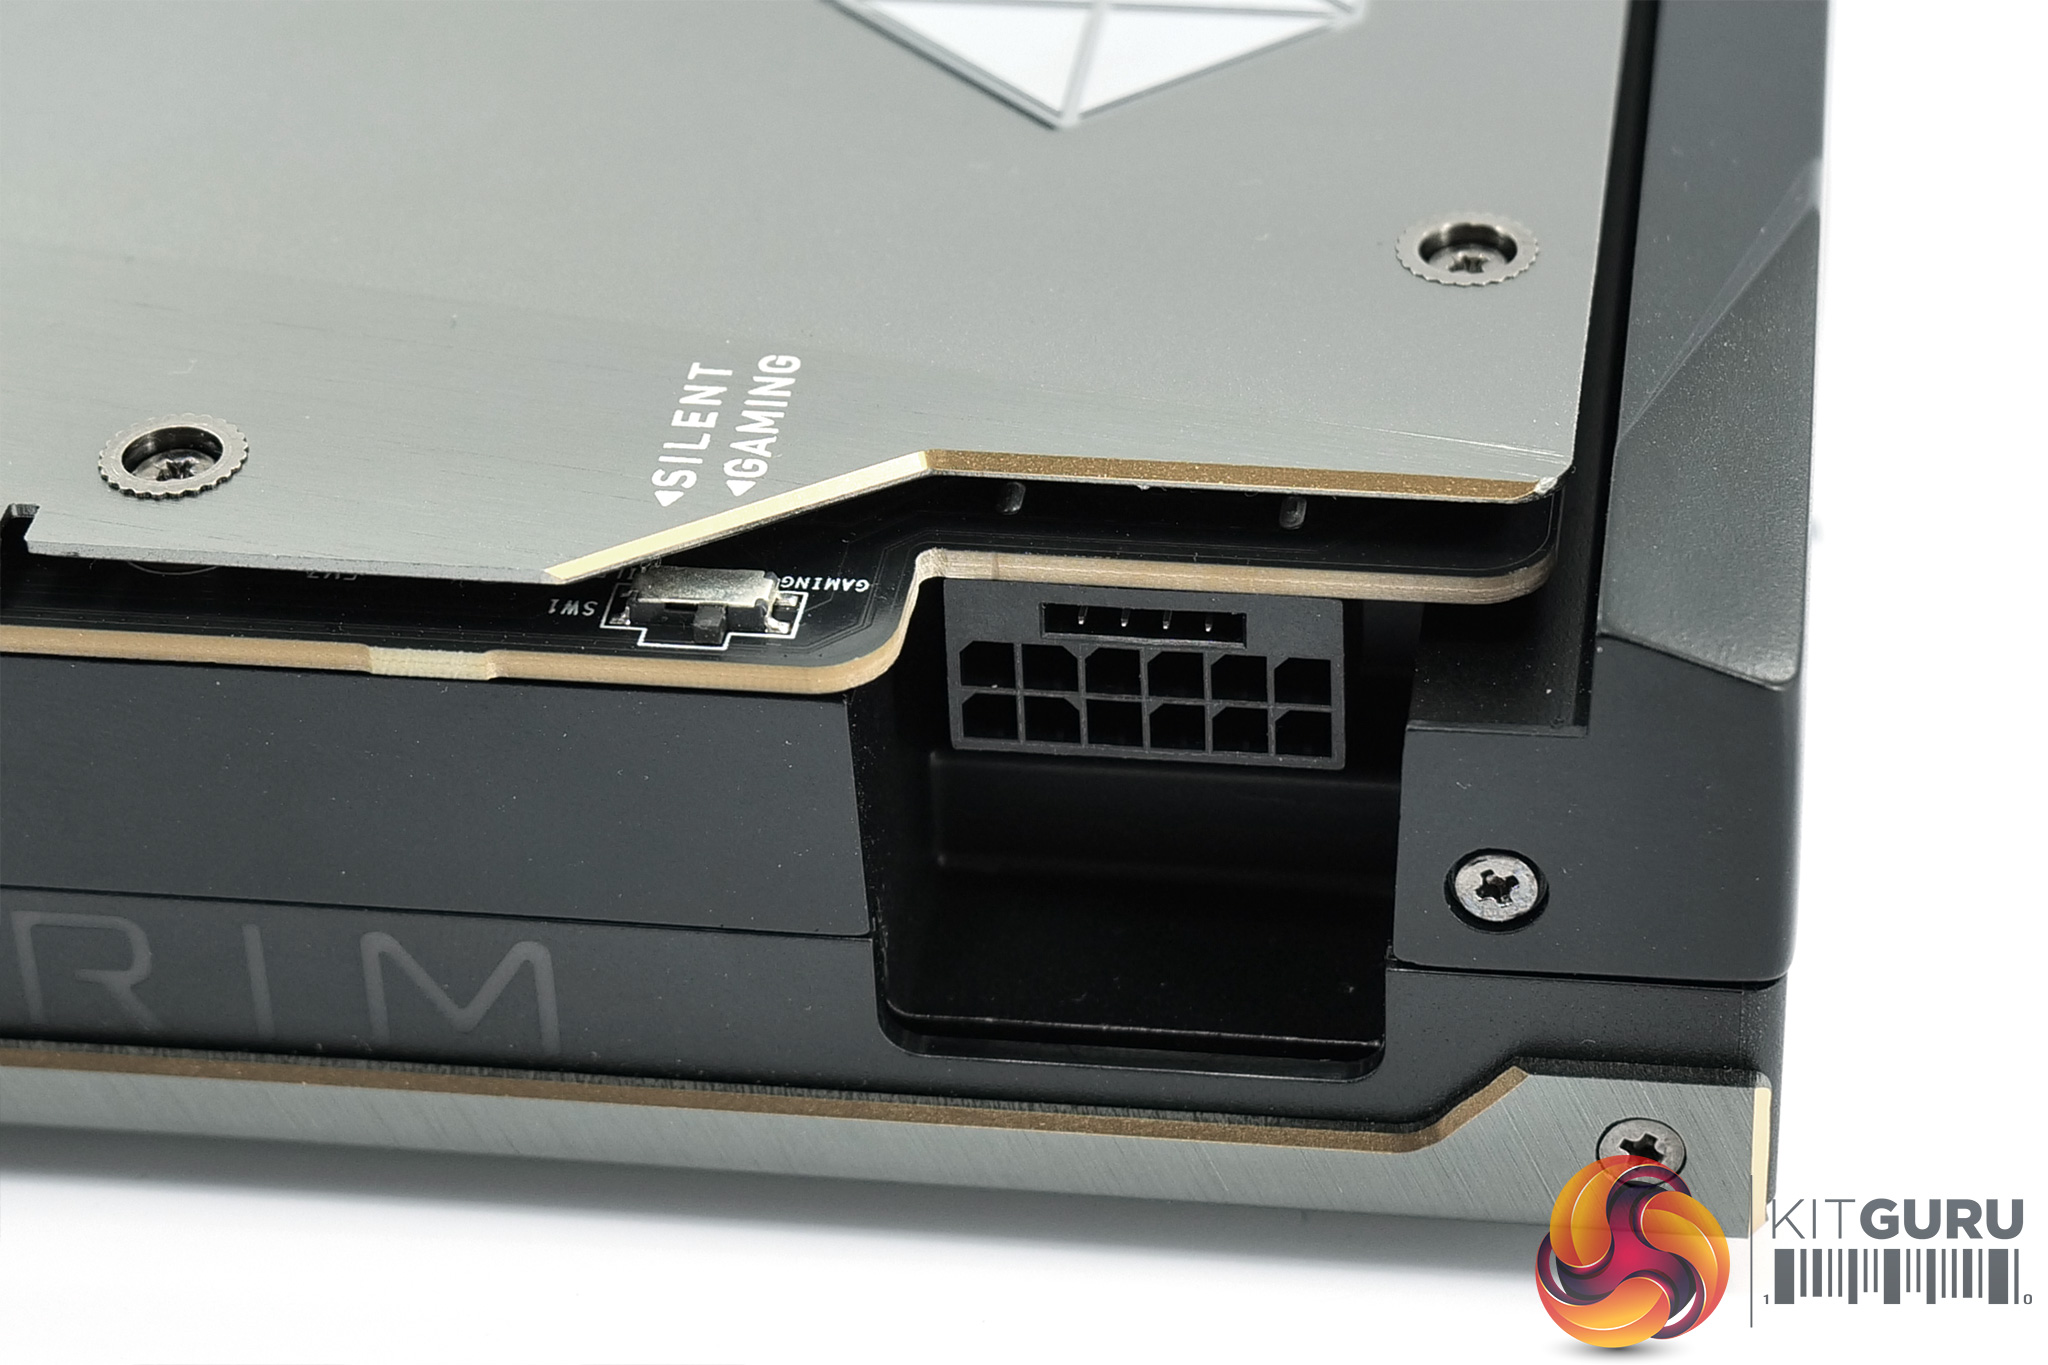
Just next to the power connector is the dual-BIOS switch, with a choice between Gaming or Silent modes. The Gaming BIOS is the default and this offers a power limit of 480W, higher clocks and a more aggressive fan curve compared to the Silent mode, but we test both modes later in this review.
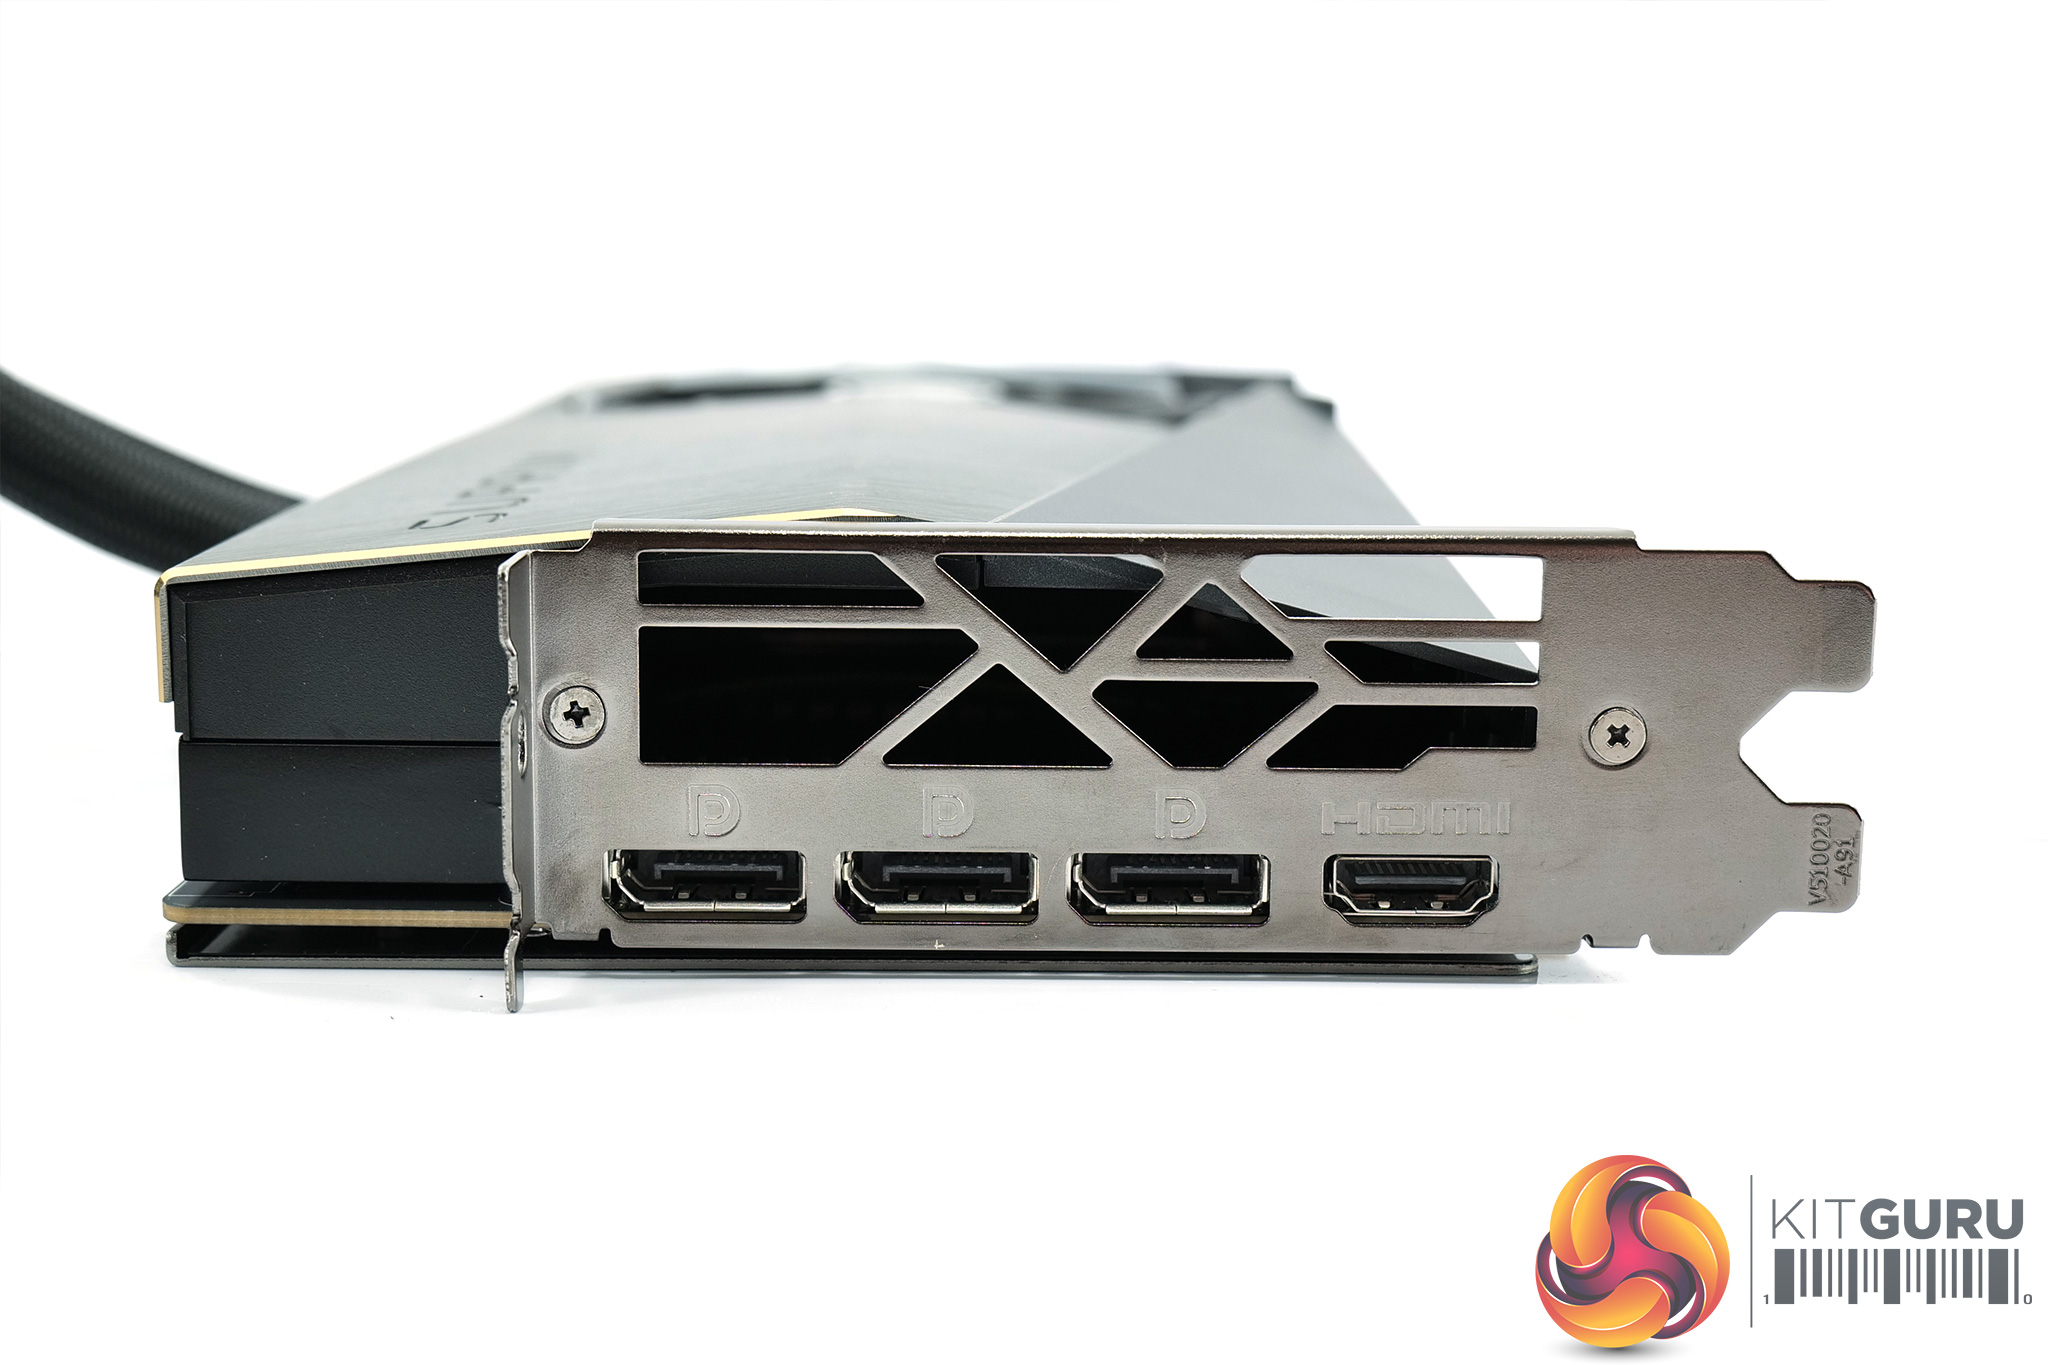
The power connector is of course the new 12VHPWR PCIe Gen5 connector, but, as noted above, an adapter is supplied. We can also see standard display outputs, with 3x DisplayPort 1.4 and 1x HDMI 2.1.

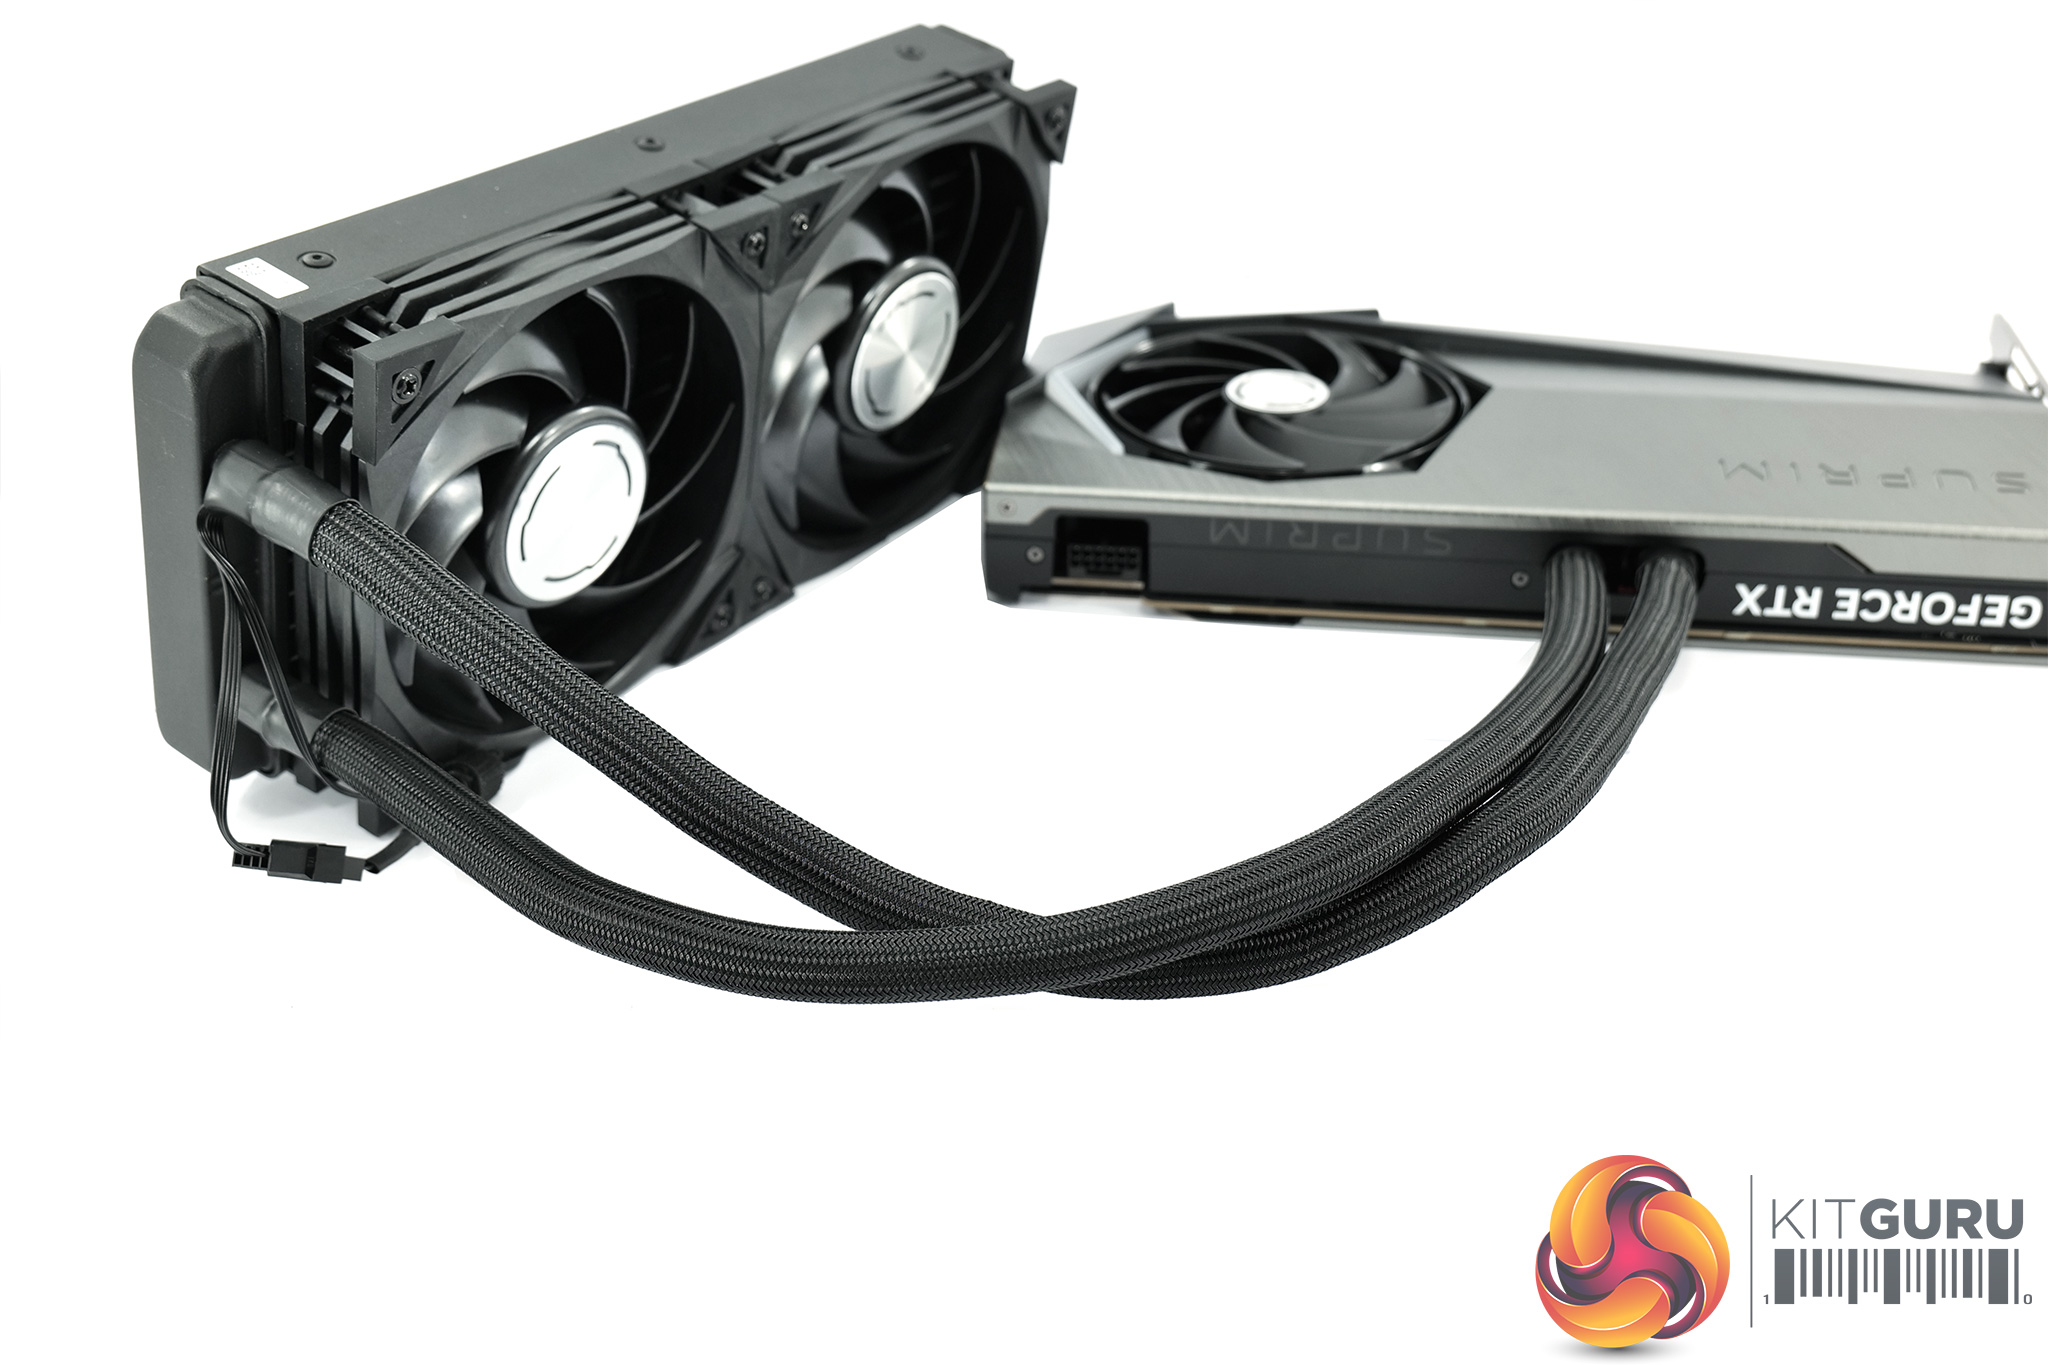
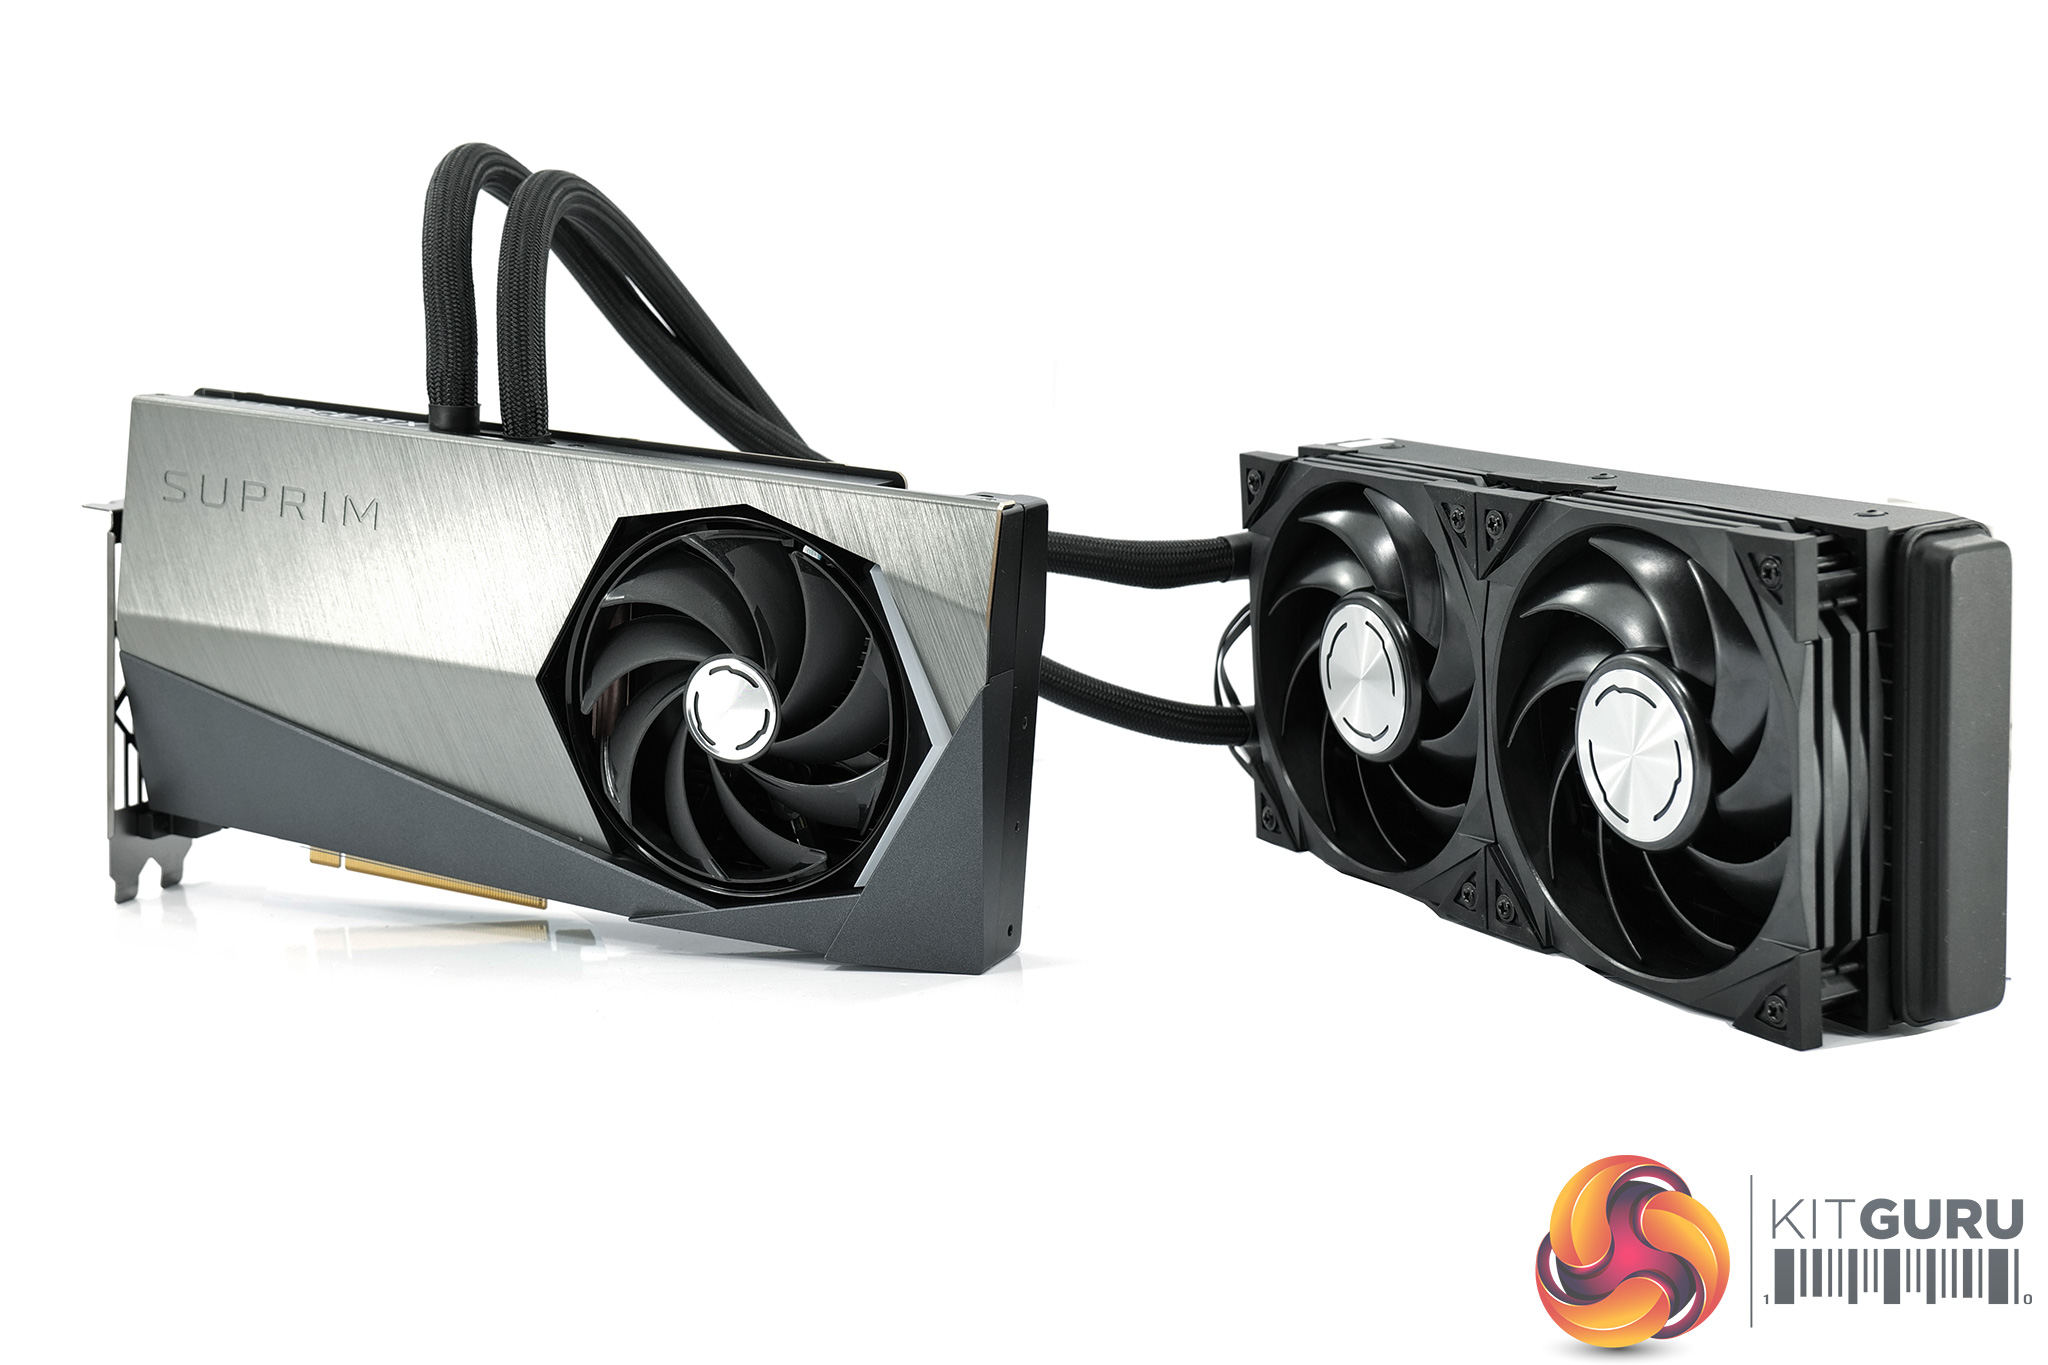
Looking at the radiator and AIO unit, this is manufactured by Cooler Master. The radiator measures 27mm thick, but as the fans are 27.5mm thick, you'll need about 56cmm clearance in your case. The sleeved tubing measures 47cm in length, which should be fine for all but the largest of chassis. As we note in the video however, the tubing exits straight out of the top of the card, adding an extra 4-5cm of effective height onto the card's 140mm tall shroud. Rotary right-angled fittings would have been a great move here, allowing the tubes to exit the card upwards and not outwards.
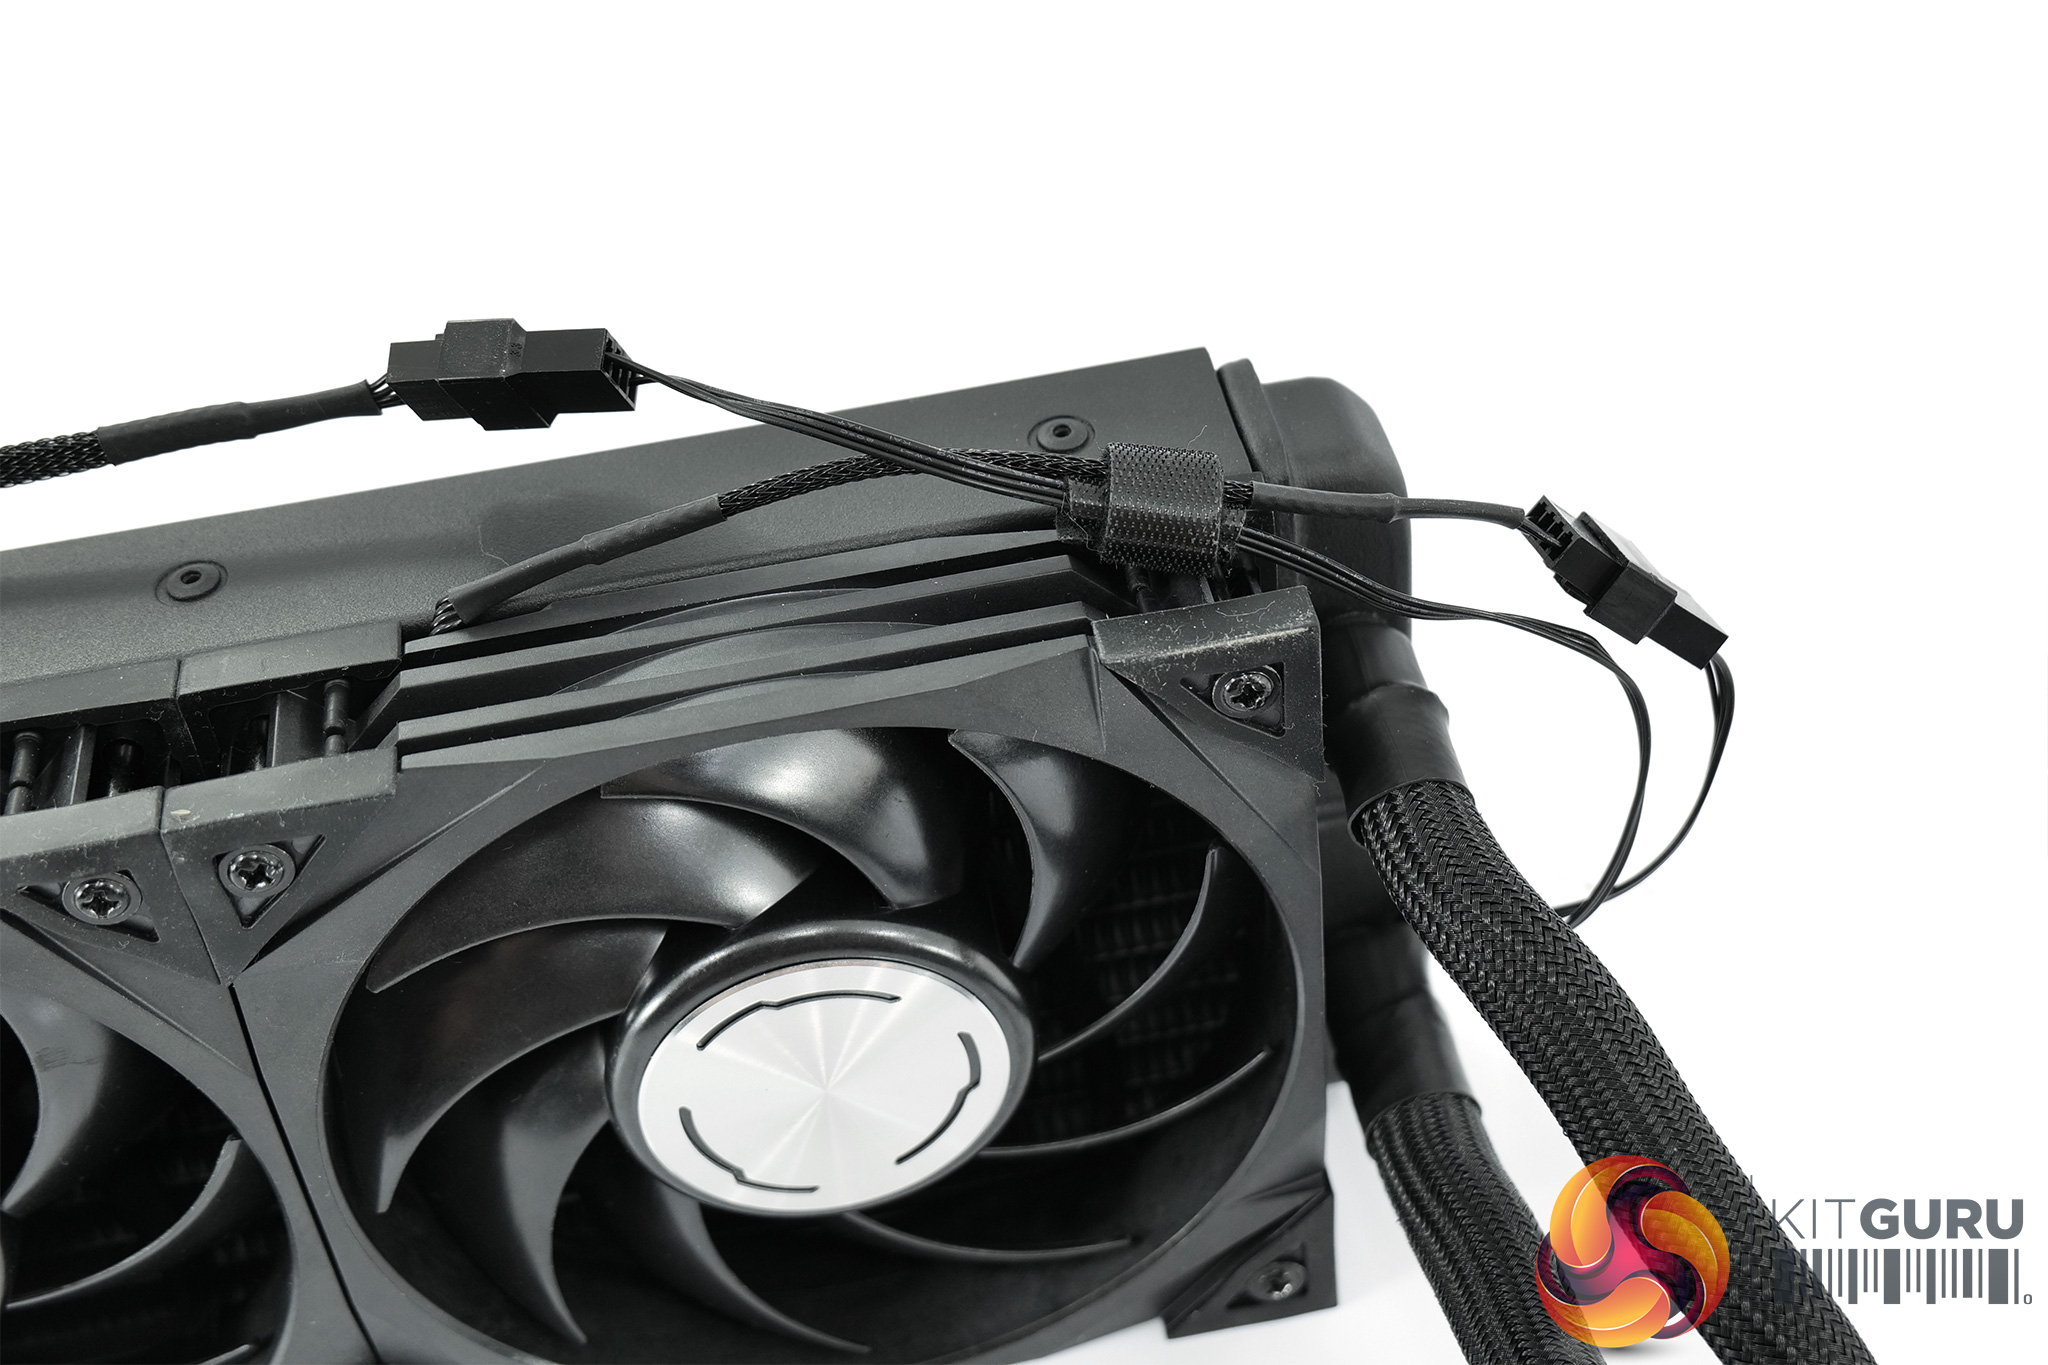
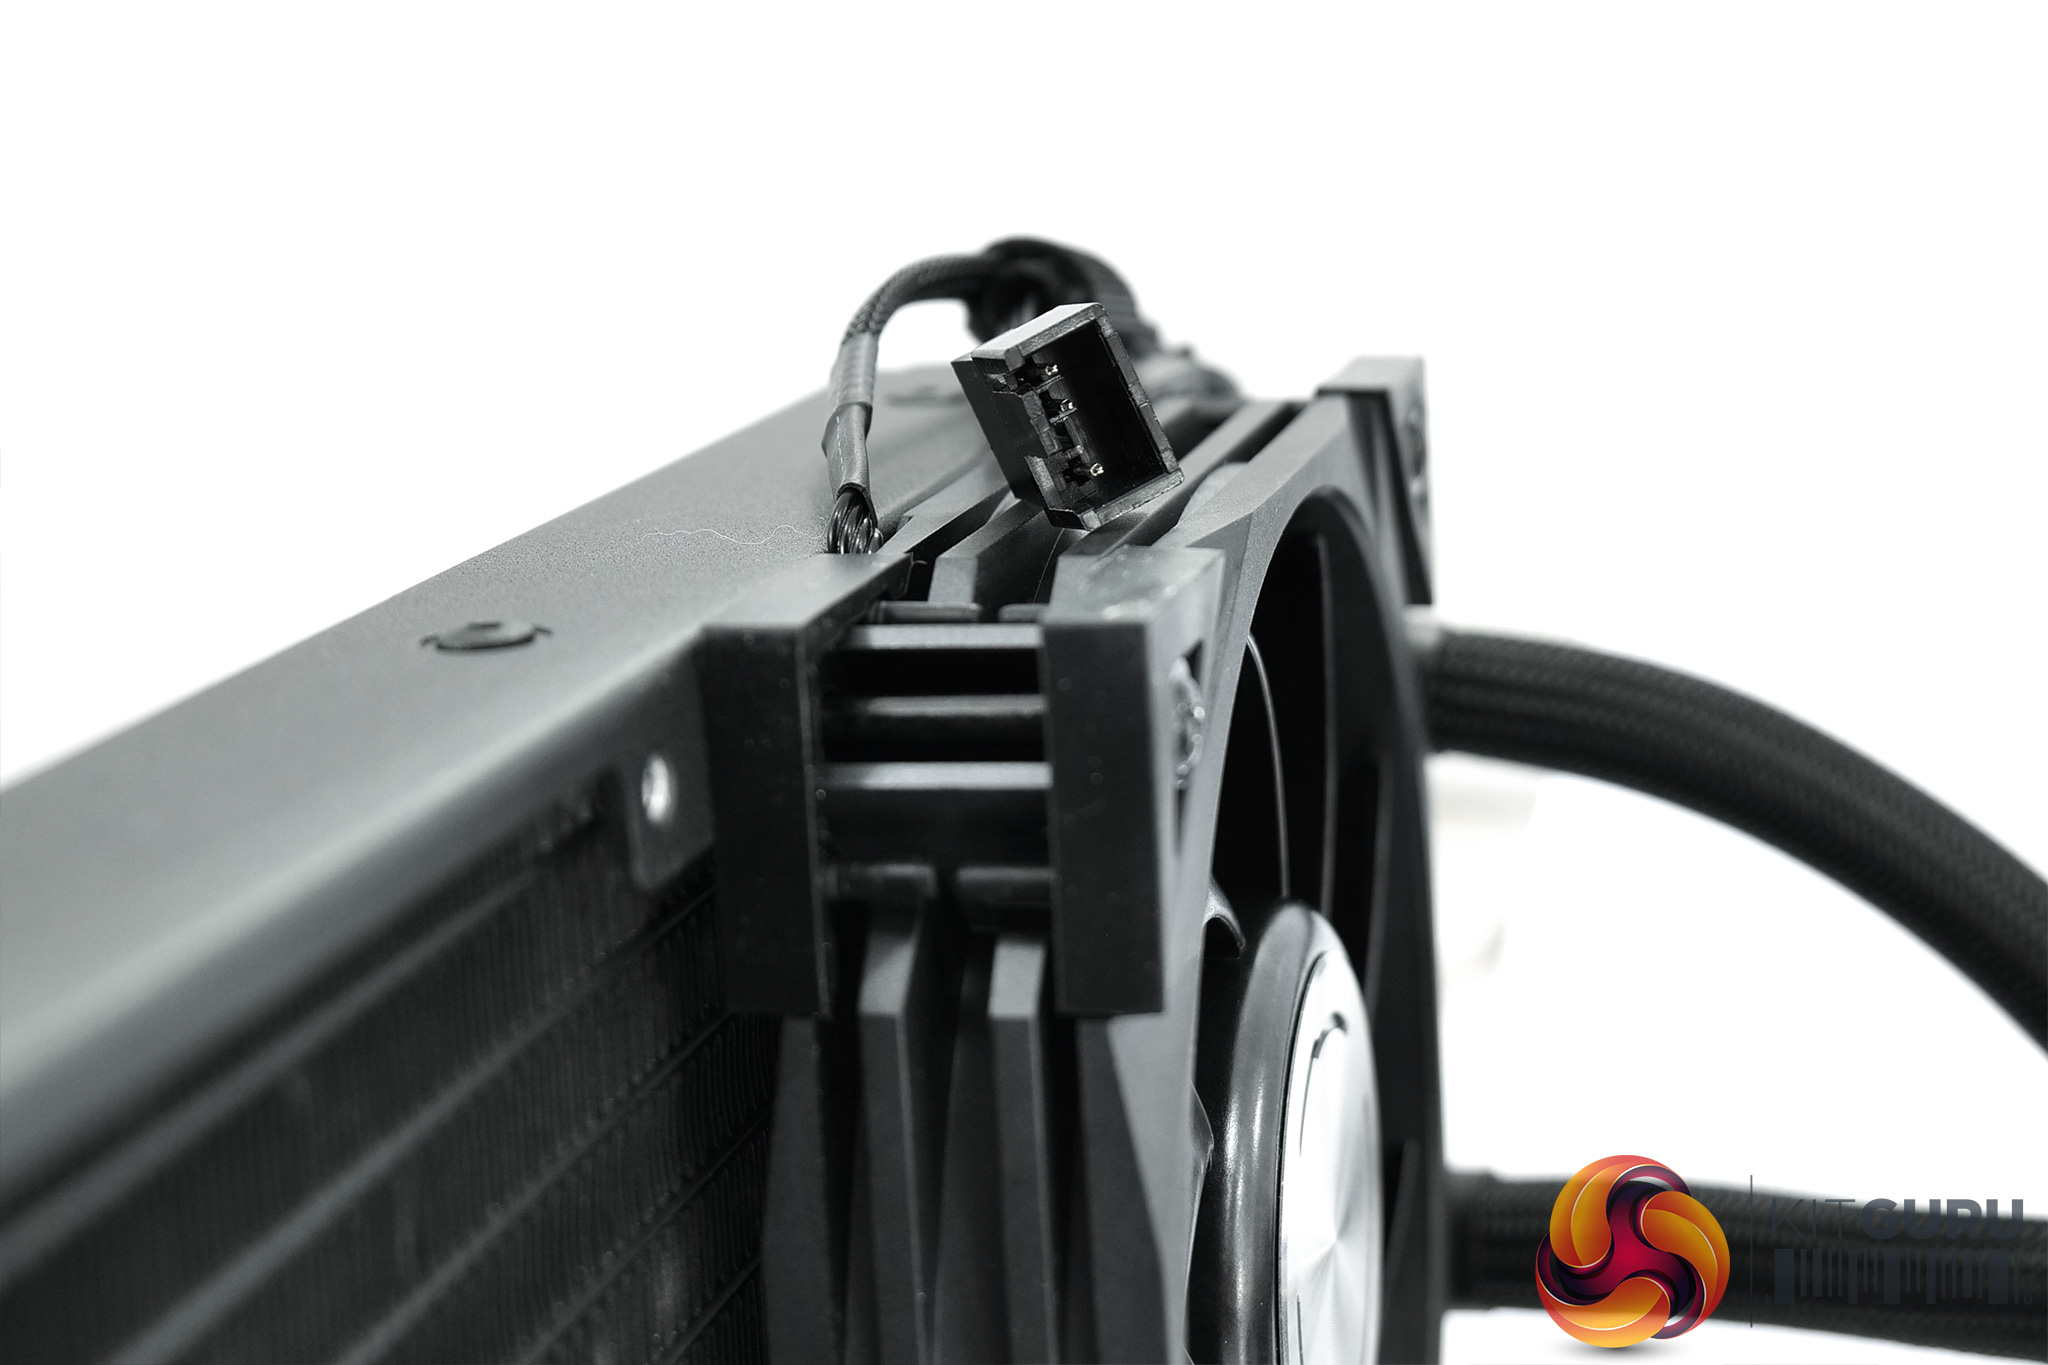
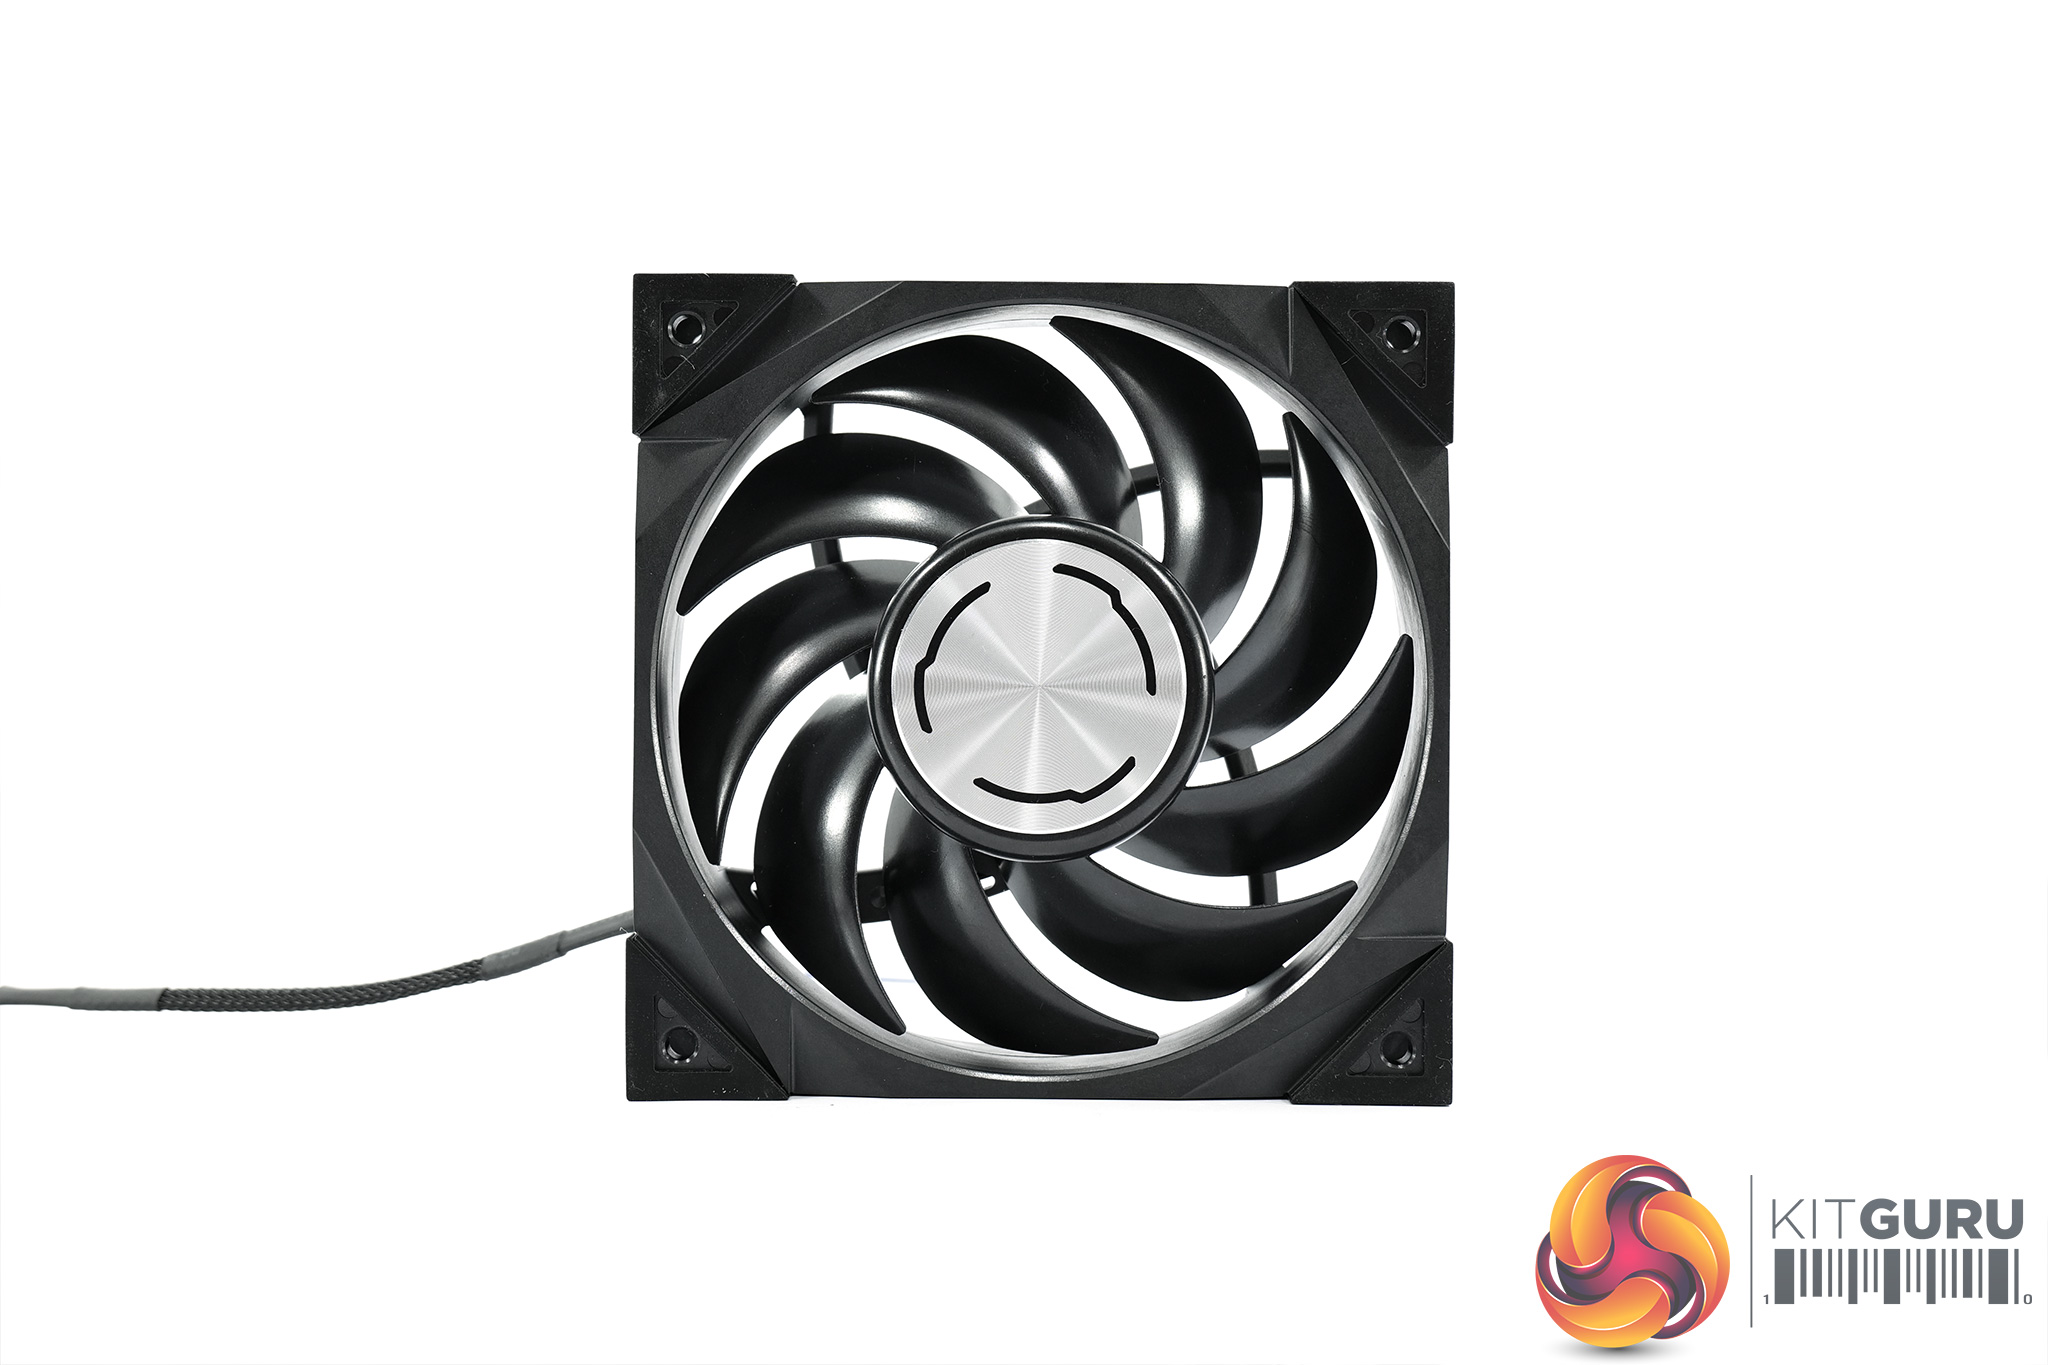
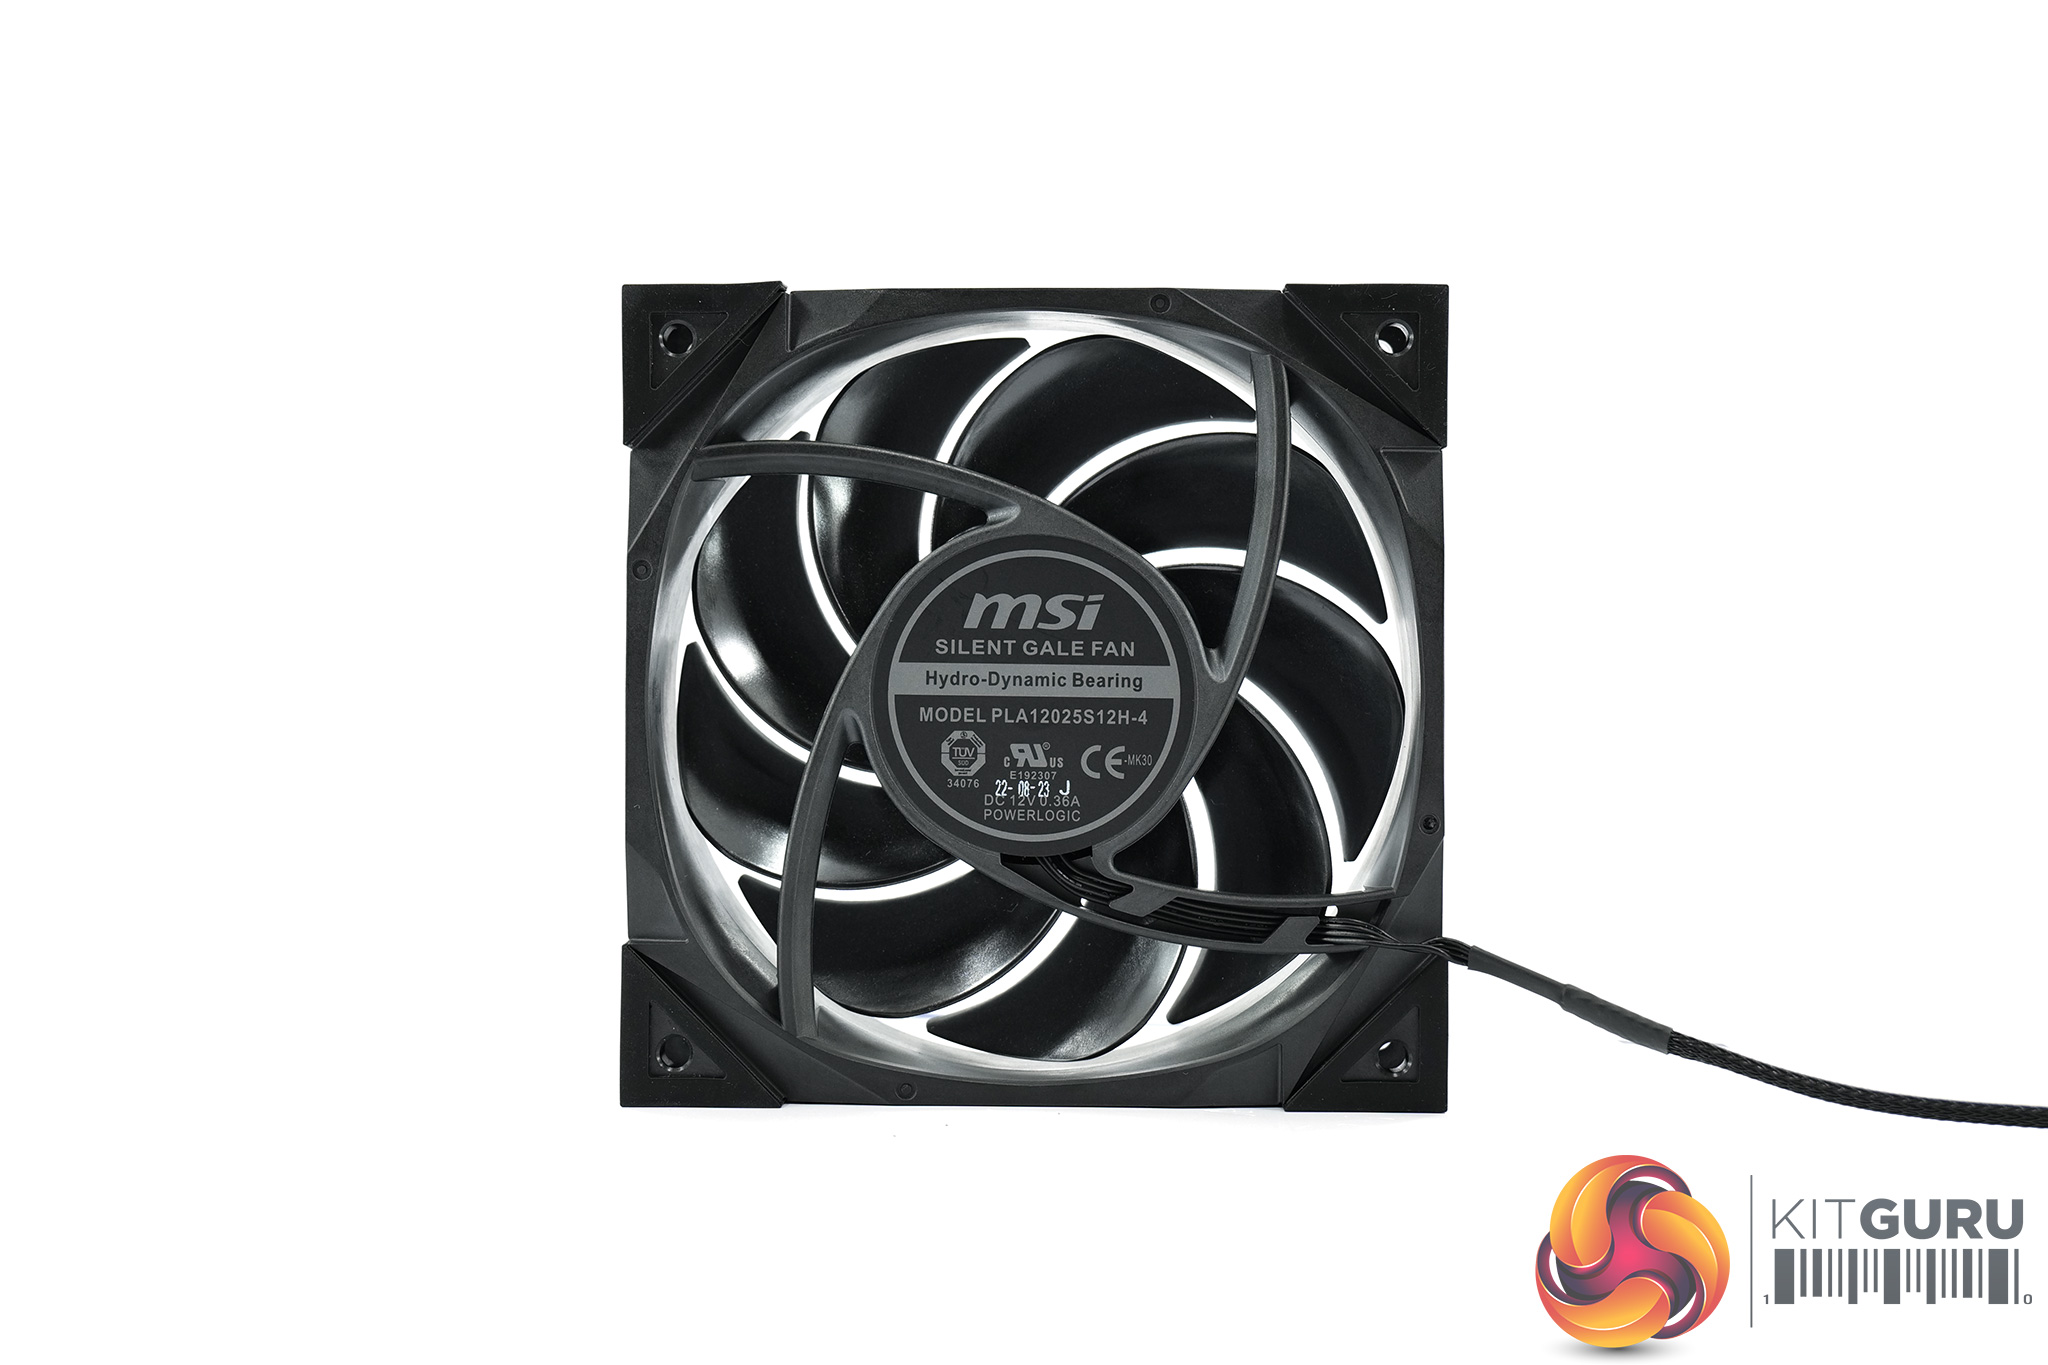
As for the two fans, these connect via standard 4-pin PWM headers to the small exposed wires. This is good news as the fans can be easily swapped out for third-party models with no proprietary headers to contend with. Just note that as MSI's included Silent Gale fans are slightly thicker at 27.5mm, using standard 25mm fans will require shorter screws to avoid puncturing the radiator fins. MSI says standard Asetek AIO screws will be fine, but these are not supplied in the box.
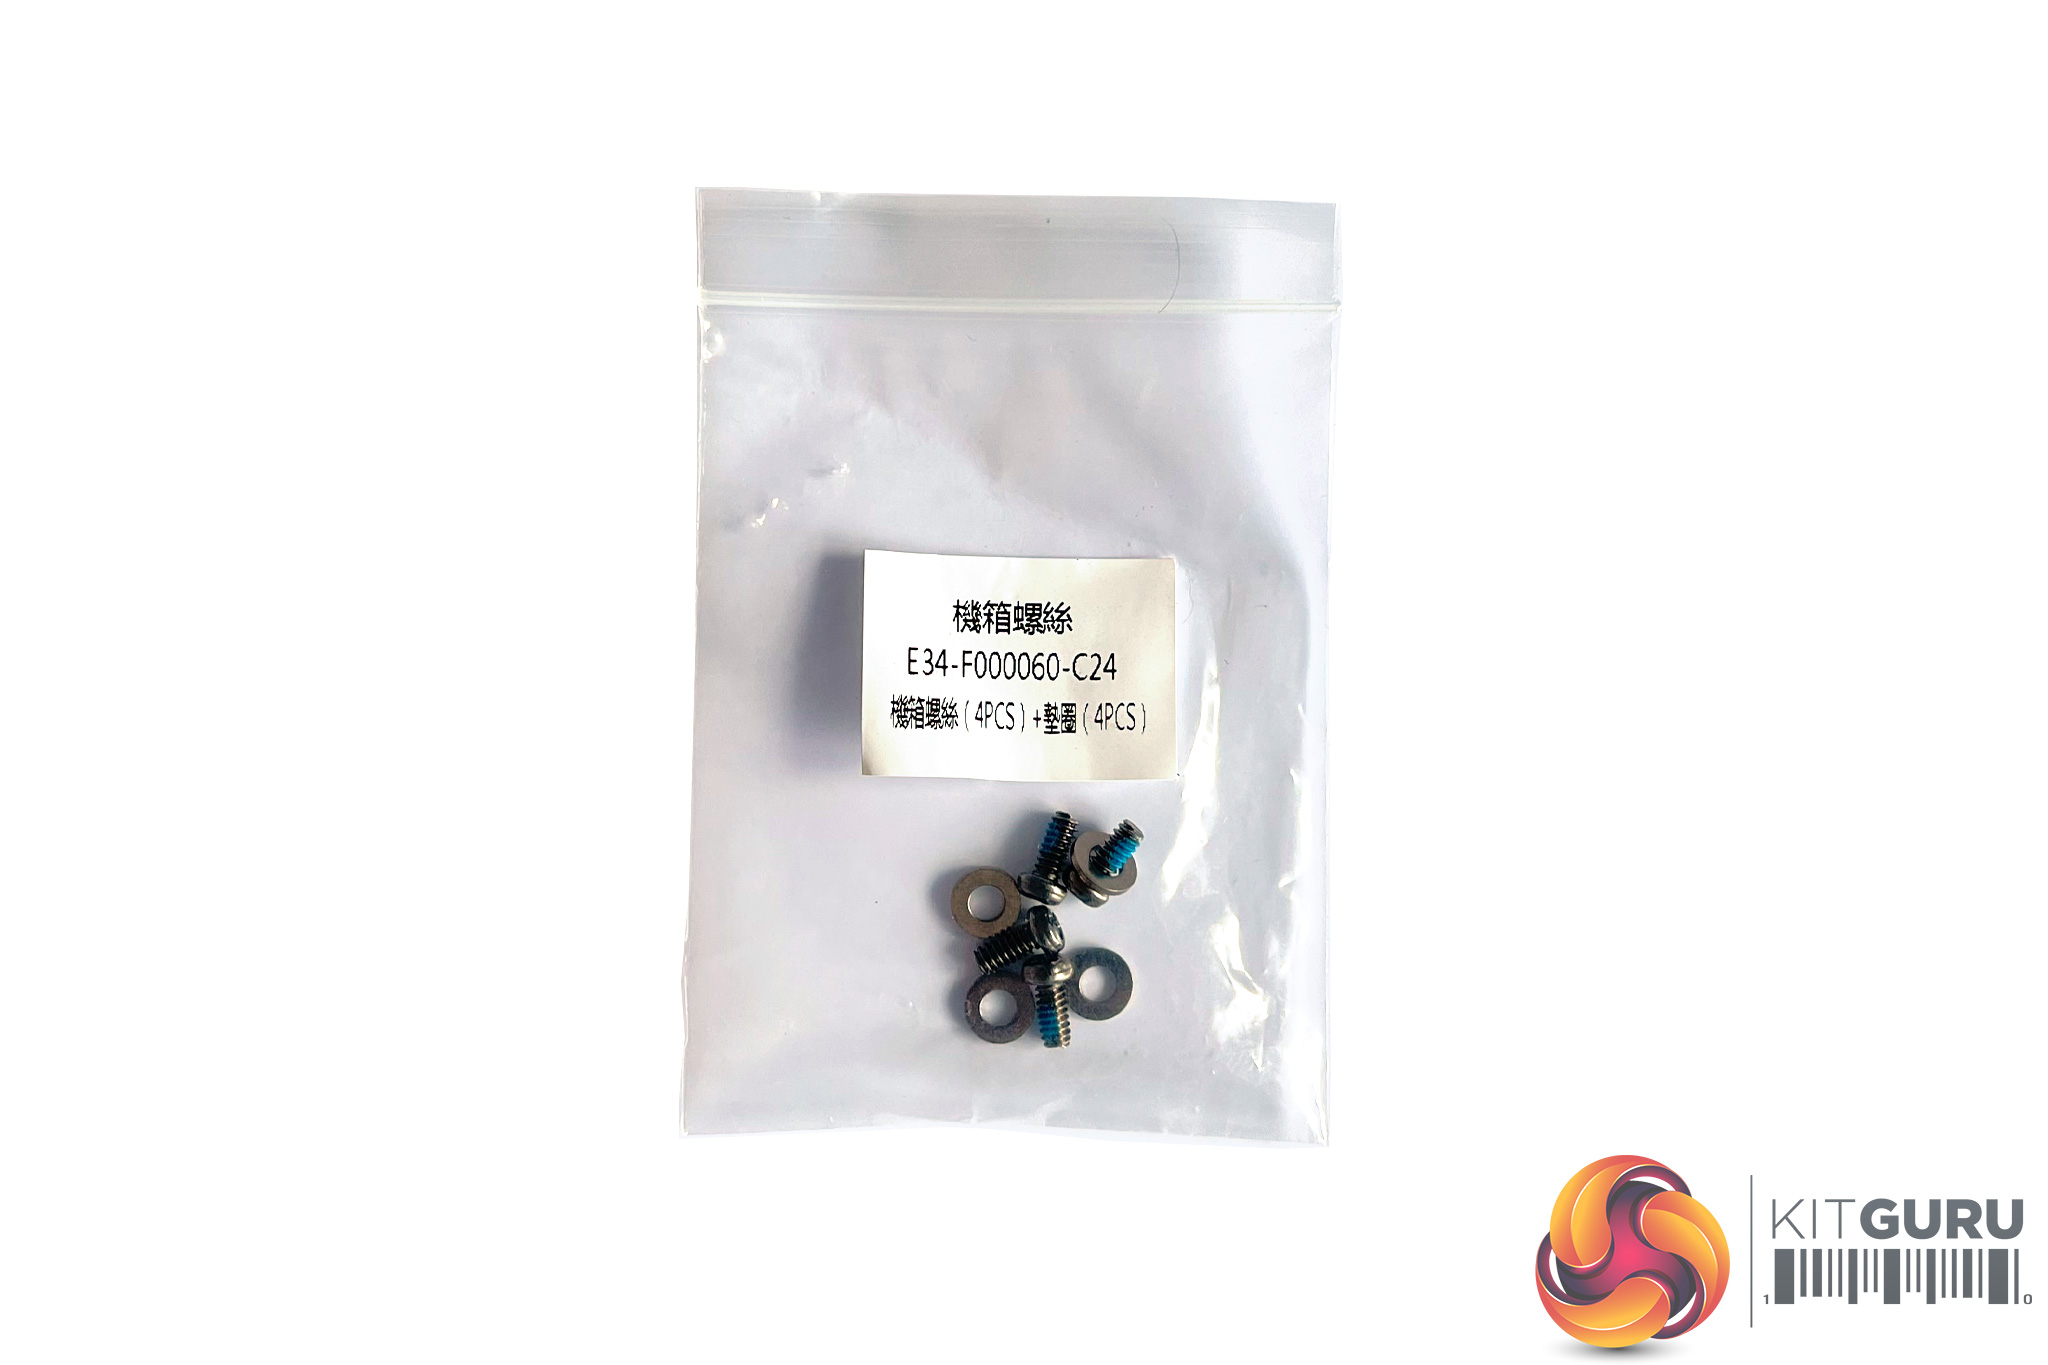
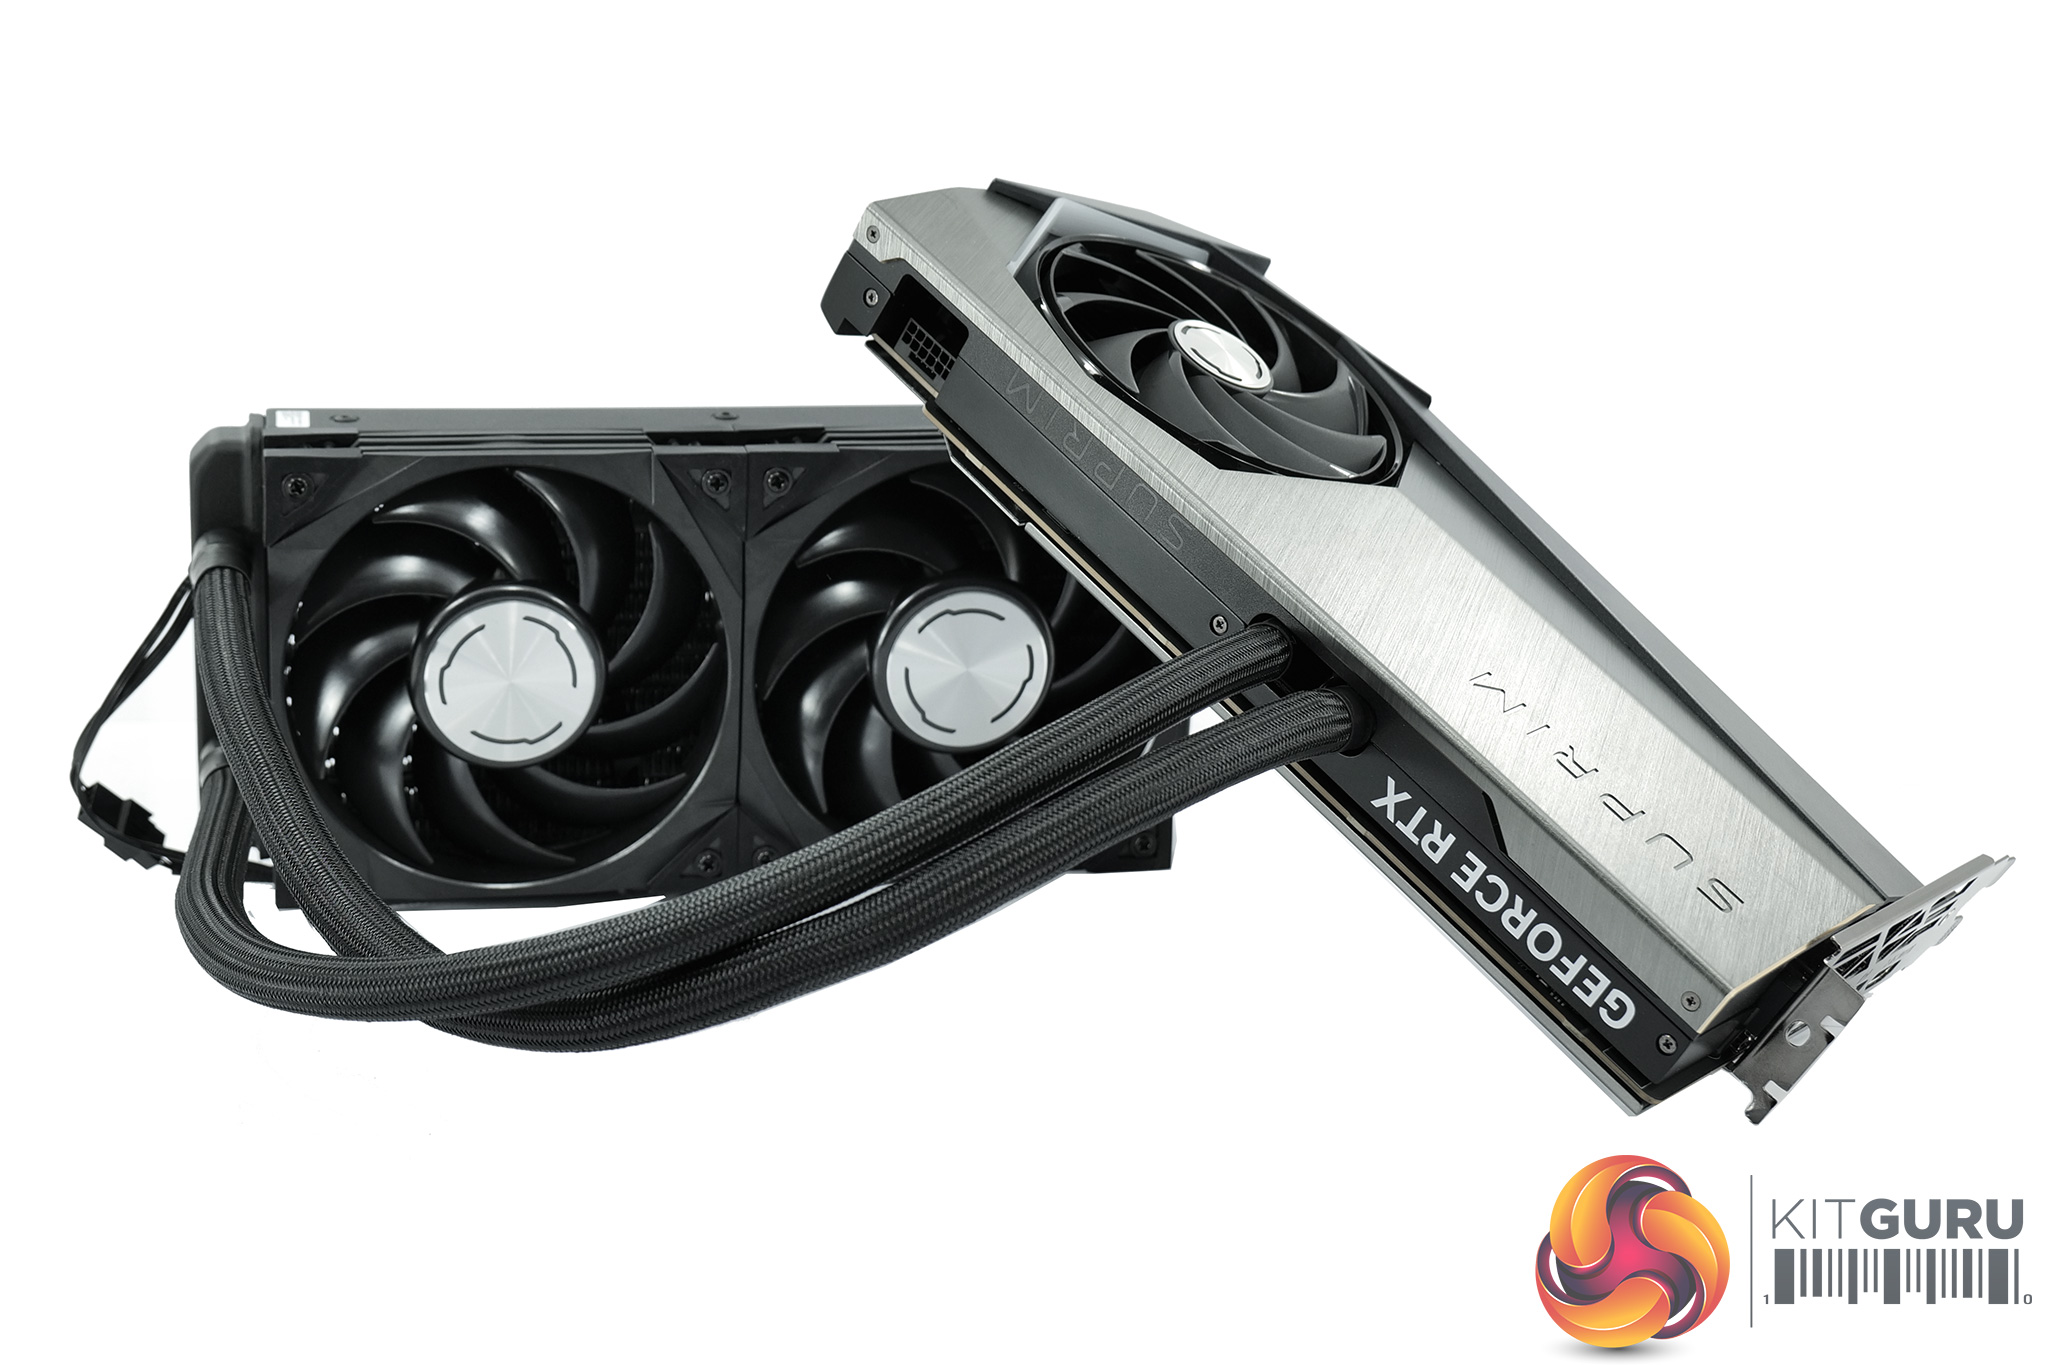
We discuss the ‘screw' situation in detail in the video, but it's worth highlighting a couple of strange design choices that MSI made. The first is the inclusion of just four shorter screws which would secure the radiator to your case. This is obviously just half the number of screw holes in the radiator itself, and while it would probably be secure enough with just four screws, is that really a risk you'd want to take with a £2000 RTX 4090? It just seems bonkers to me to only include half the number of screws when the cost would be pennies.
Secondly, due to both the length of the fan screws and the anti-vibration rubber mounts on the fans, I found that if you want to flip the fans over – either to have them in a pull configuration in the roof, or a push configuration in the front panel, with the fans on the inside of the chassis, the screws don't actually protrude through the fans enough to mount them to the radiator. If you put the fans outside the chassis, the screws protrude further, as they can sit flush against the fans. But with the fans on the inside of the case, the rubber mounts cause the screw holes to sit behind the radiator mounts by just a couple of millimetres, causing the problem just outlined.
The easy solution would be to include a second set of extra screws that are just a few mm longer – something Alphacool does with its radiators. To be clear, I don't think this is a huge issue and it may not even affect that many people, as the optimal configuration would be to have the radiator in the roof of the case, with the fans pushing air out. For a product of this price however, I would have thought that all eventualities would be covered, which is not the case.
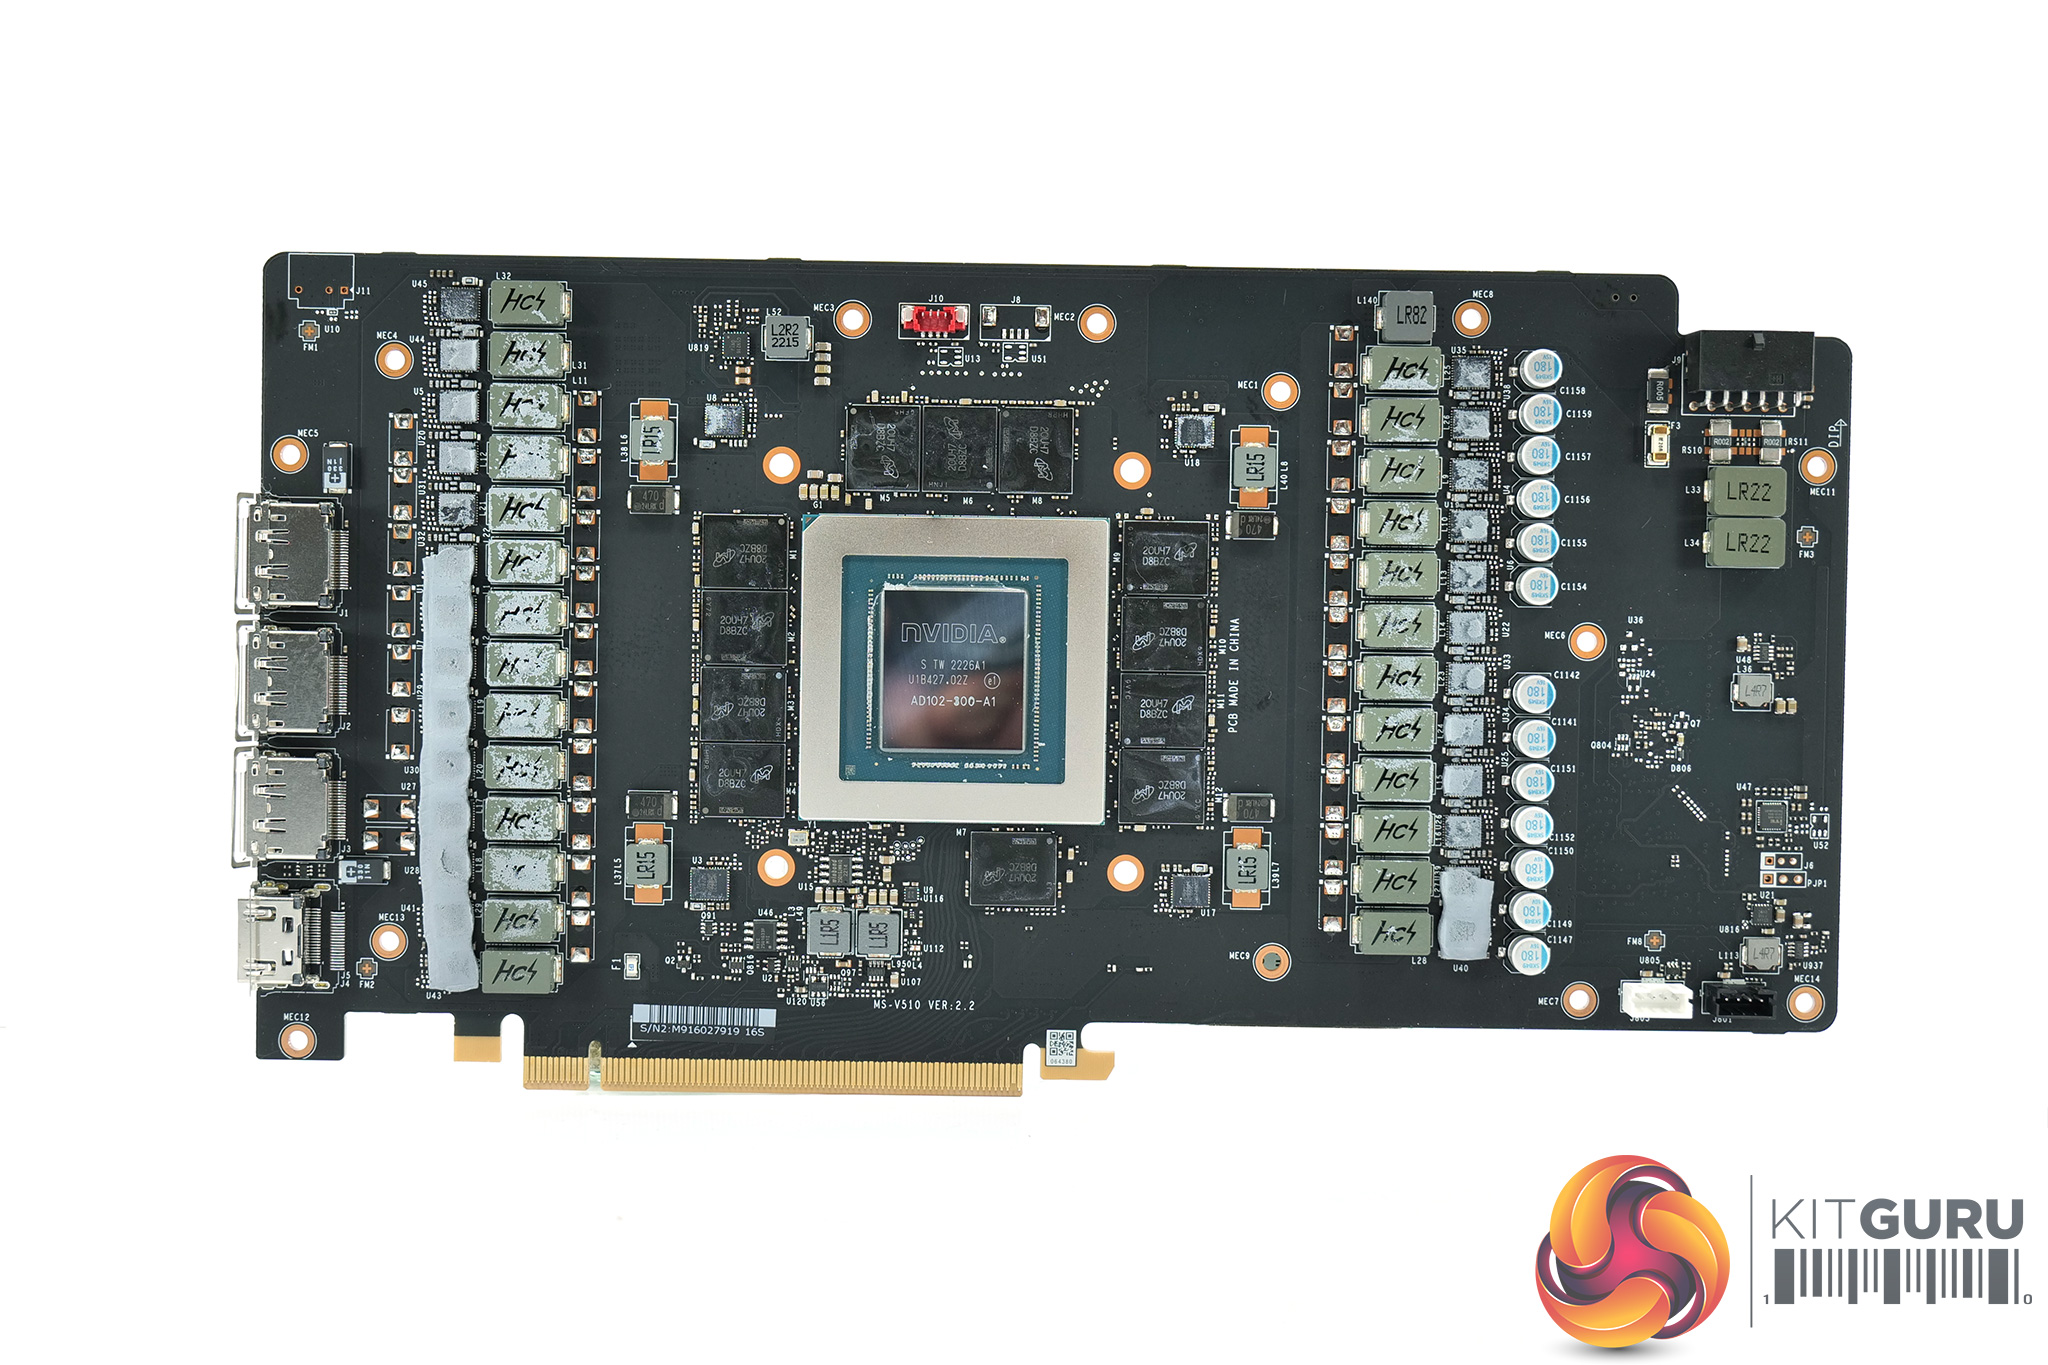


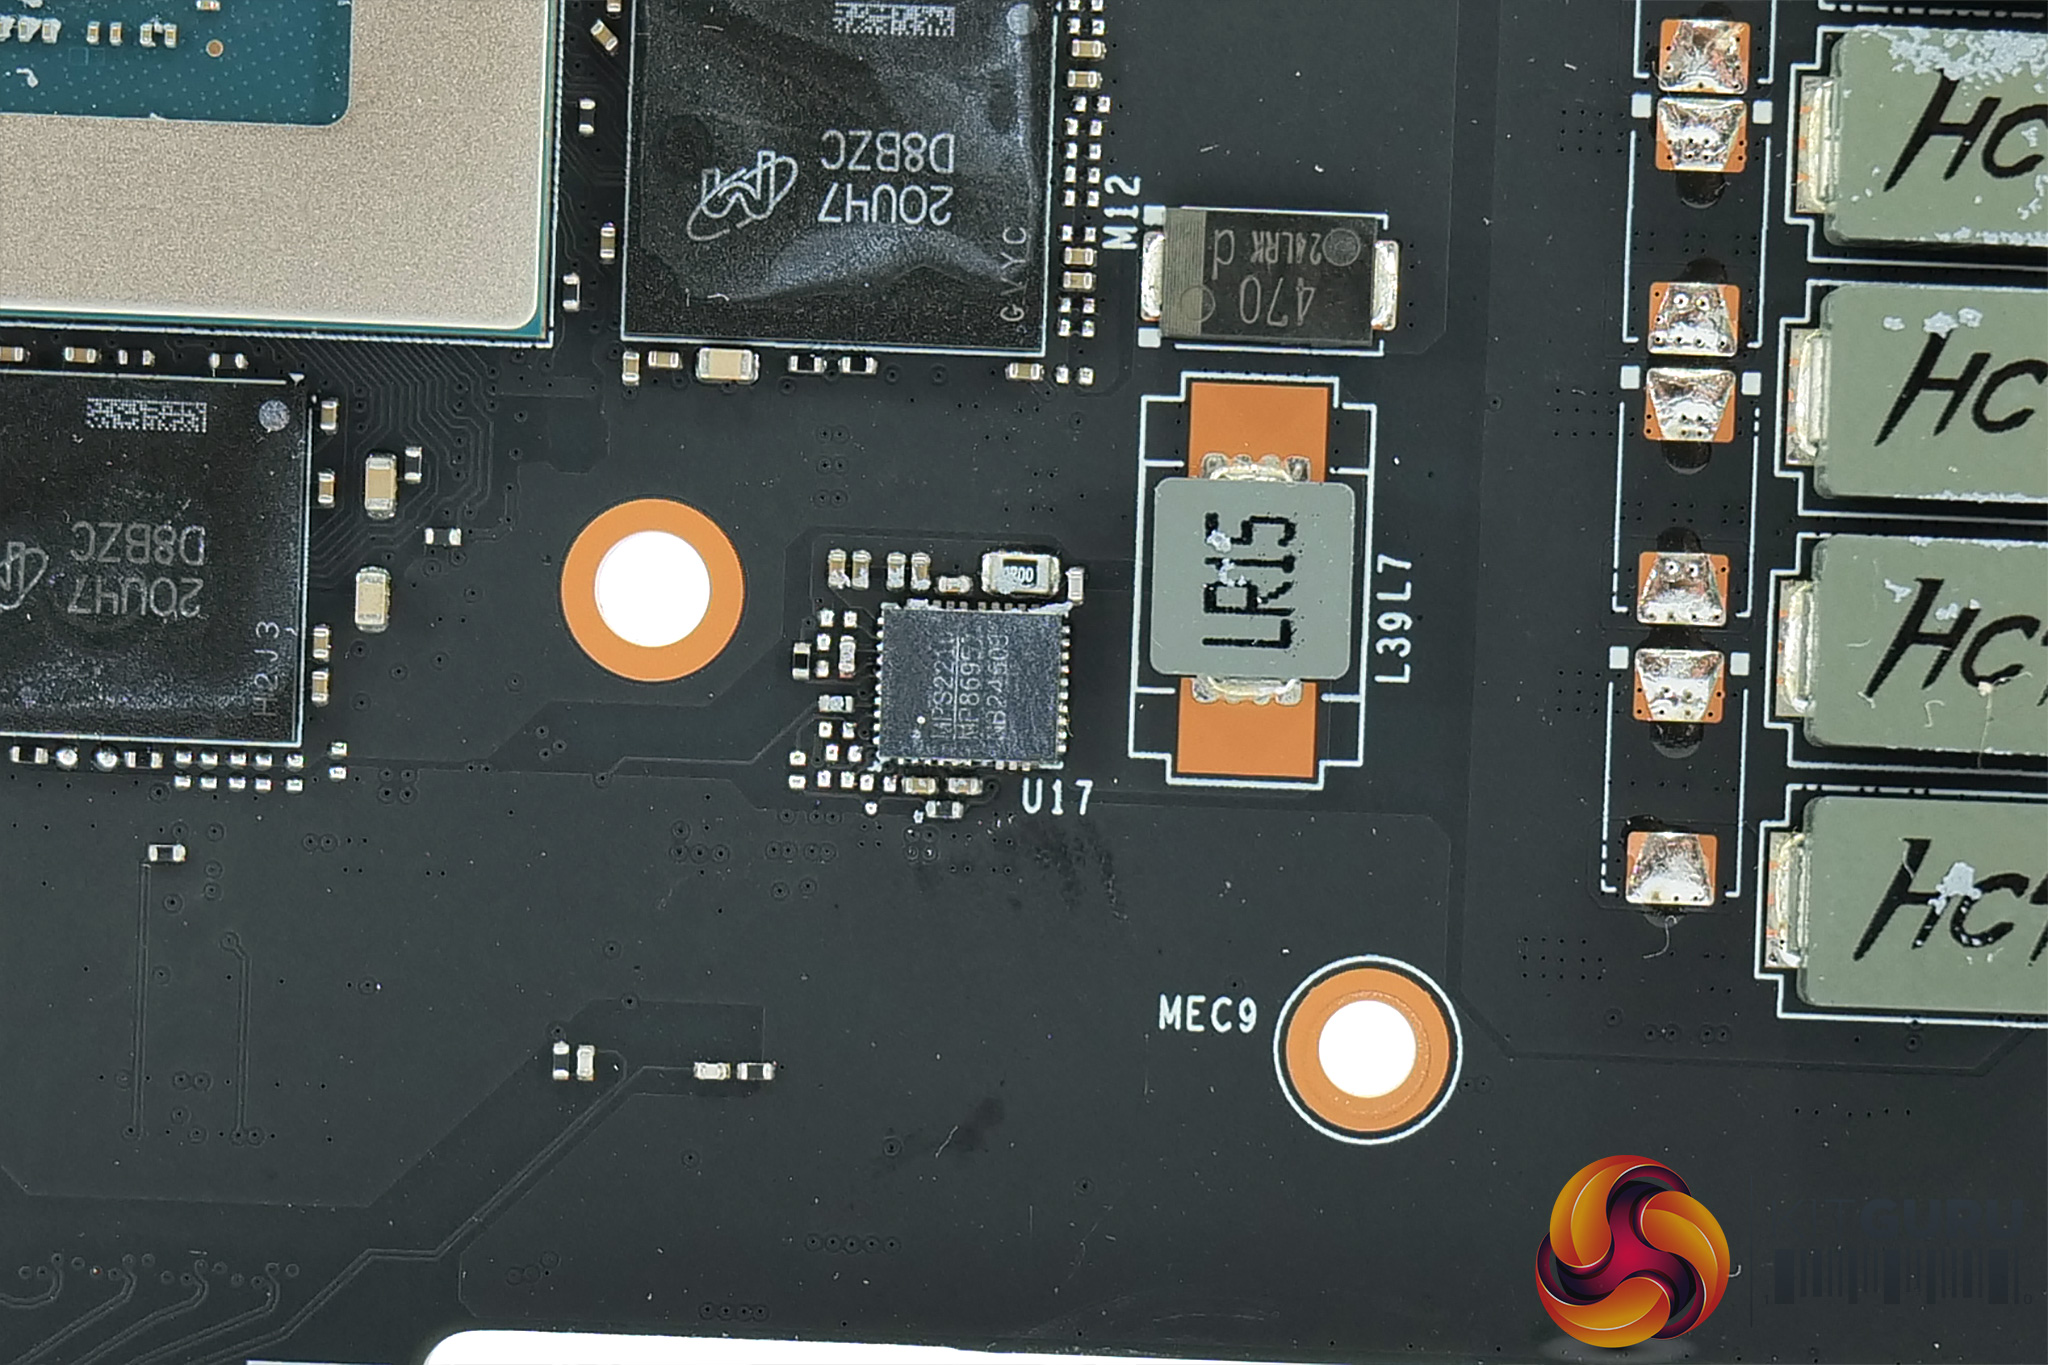
Moving onto the PCB though, this is a custom design from MSI and it uses a monster 26-phase VRM for the GPU and a 4-phase VRM for the memory, controlled by the Monolithic Power Systems MP2891. 70A Monolithic MP86957 MOSFETs are used across the design.
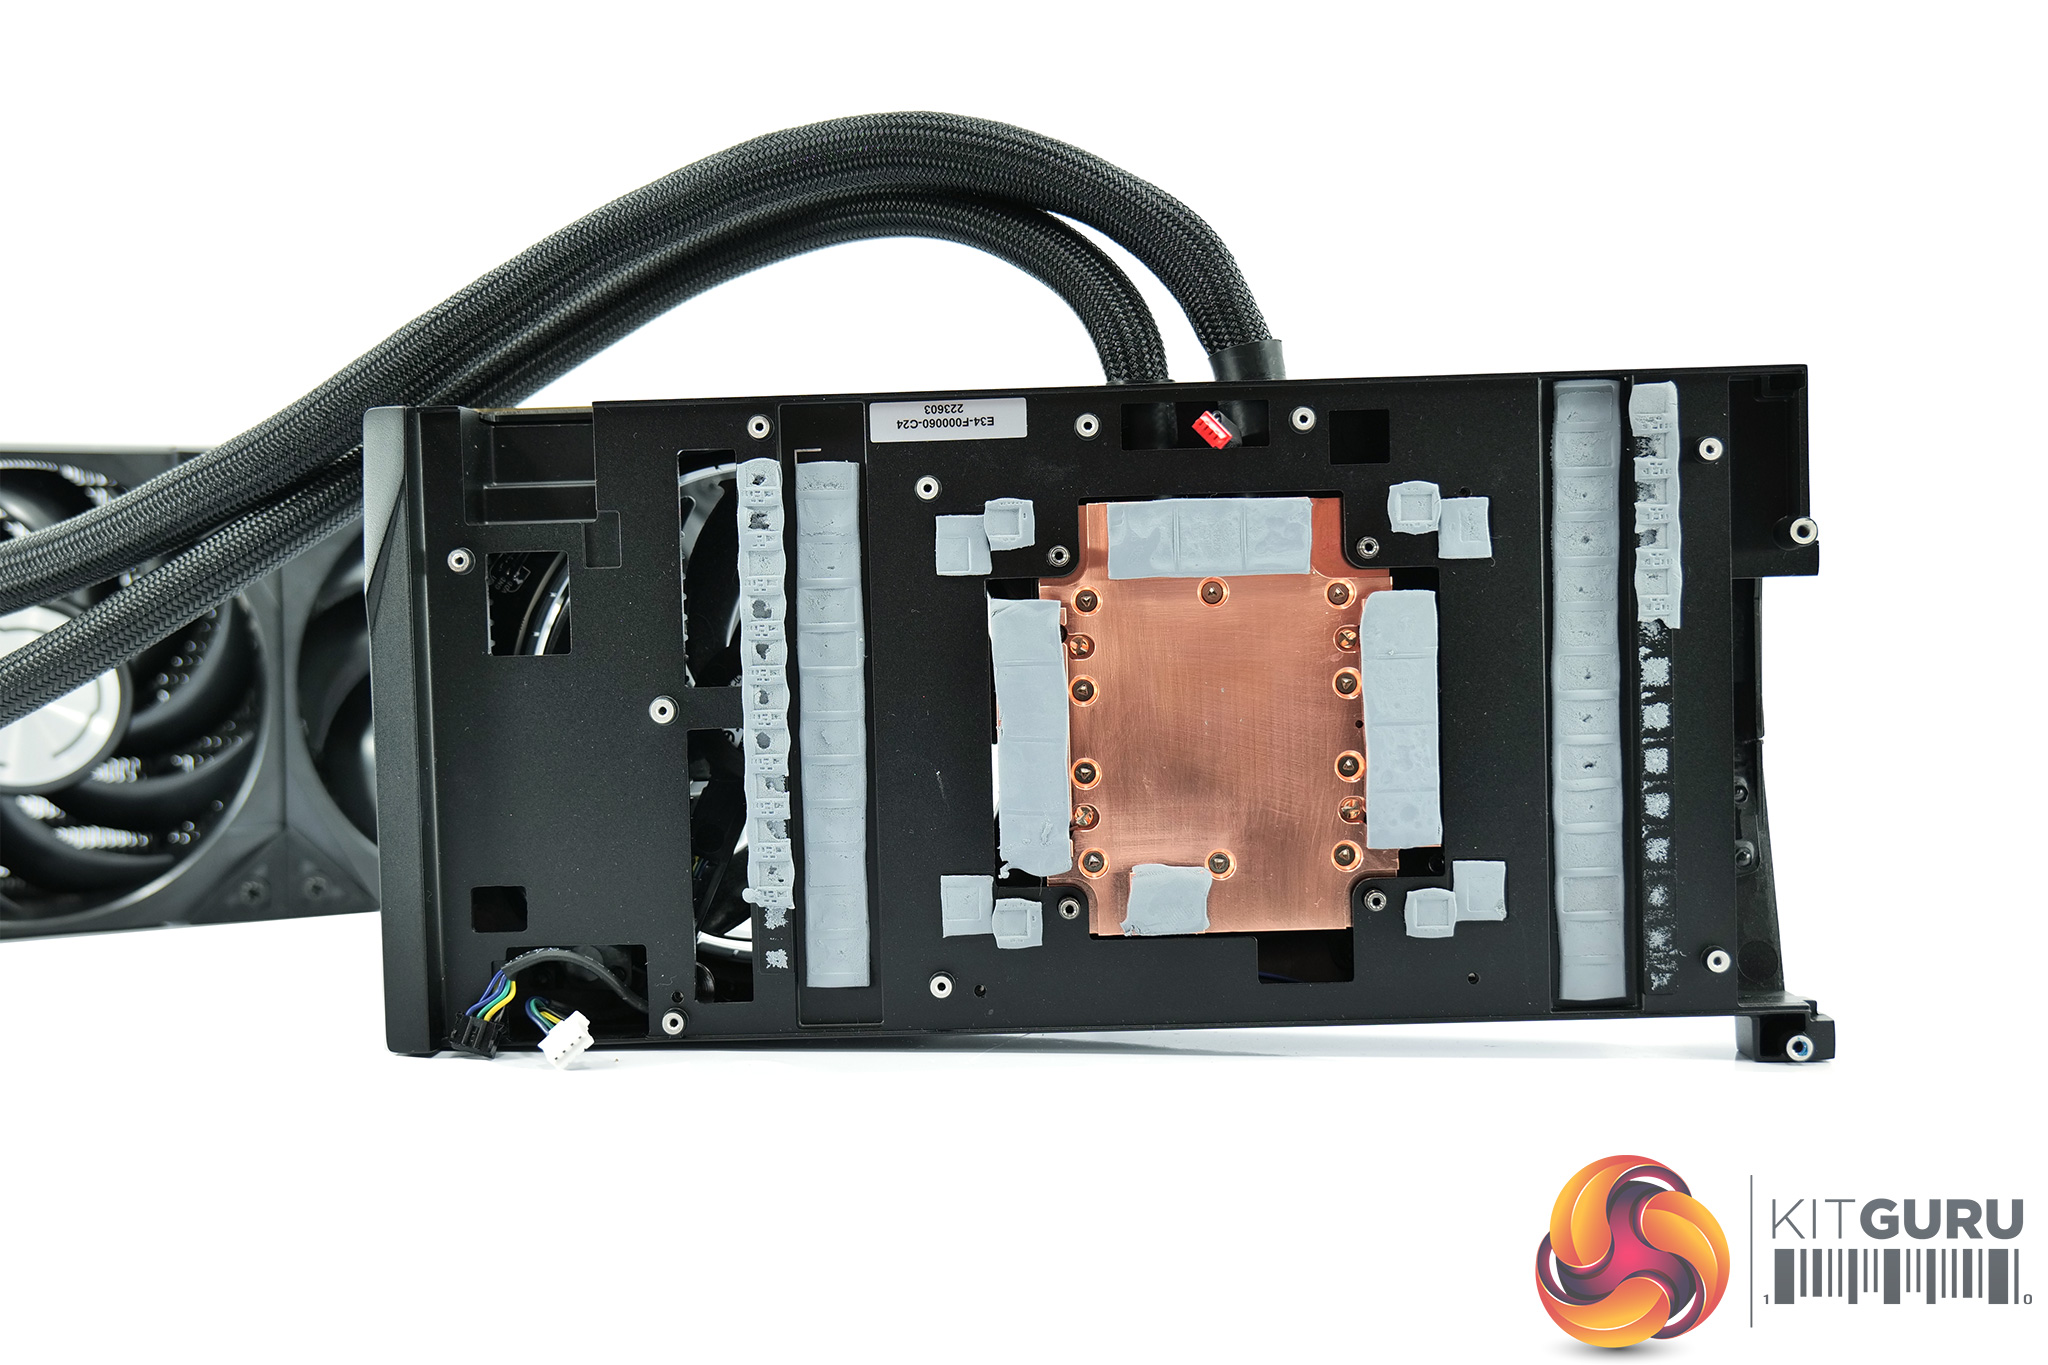
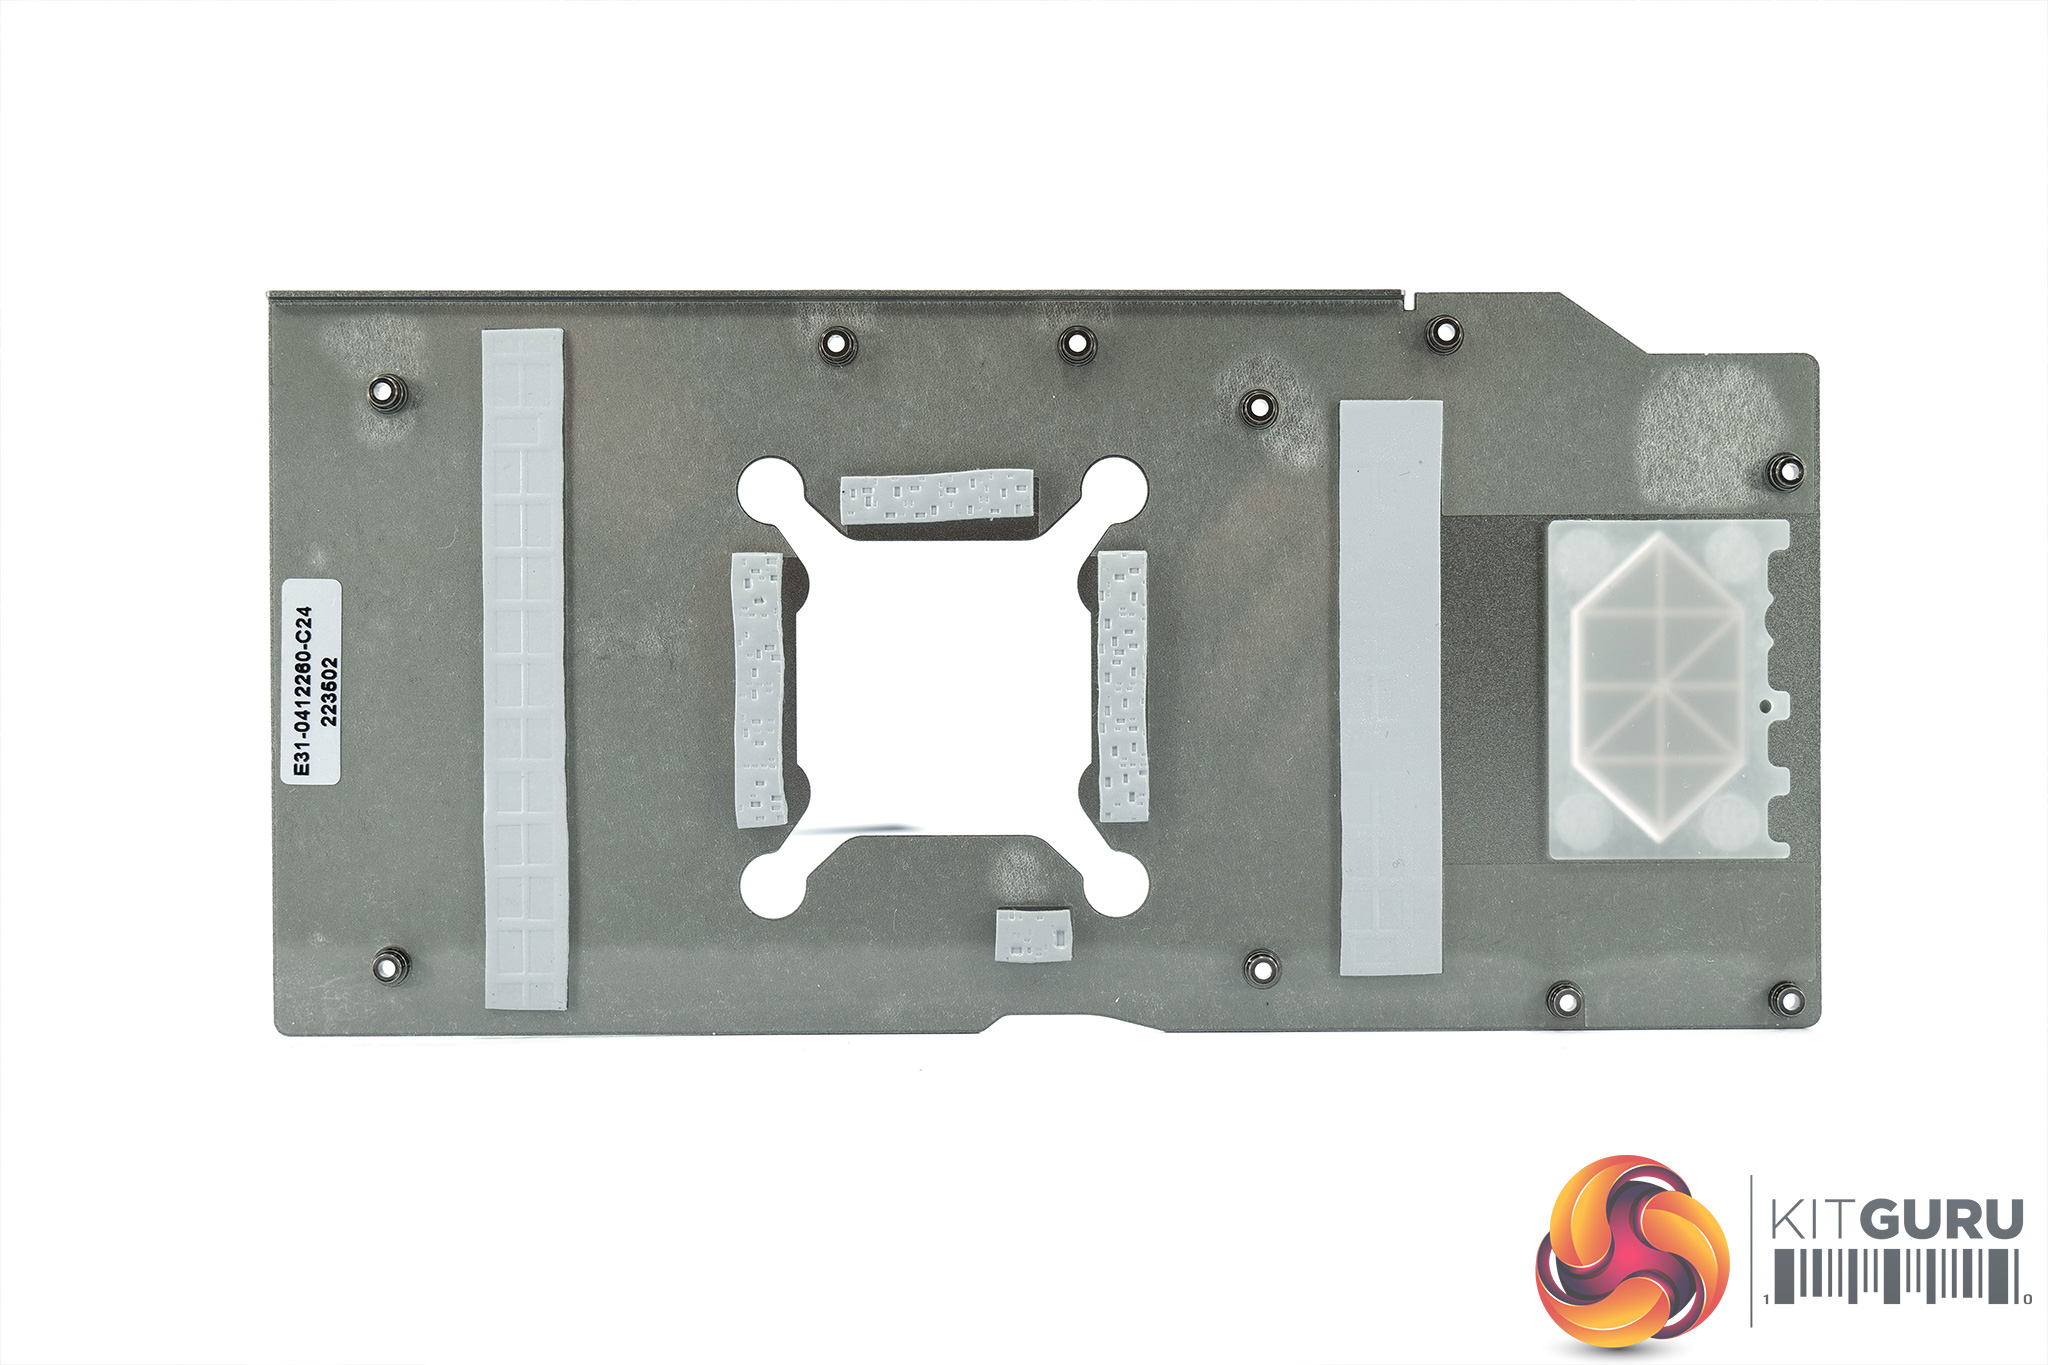
As for the cooler, MSI is using a copper baseplate which contacts both the GPU and the VRAM, with the heat drawn away by the AIO cooler. The VRMs, however, make contact with the black secondary heatsink, which is cooled by the fan on the shroud itself. We can also see MSI is using thermal pads on the backplate, which will help draw out extra heat from the back of the memory modules and MOSFETs.