

Opening up the case is simple thanks to the use of thumbscrews, however the side panels are quite bulky and heavy due to the plastic skin covering the metal backbone of the chassis.
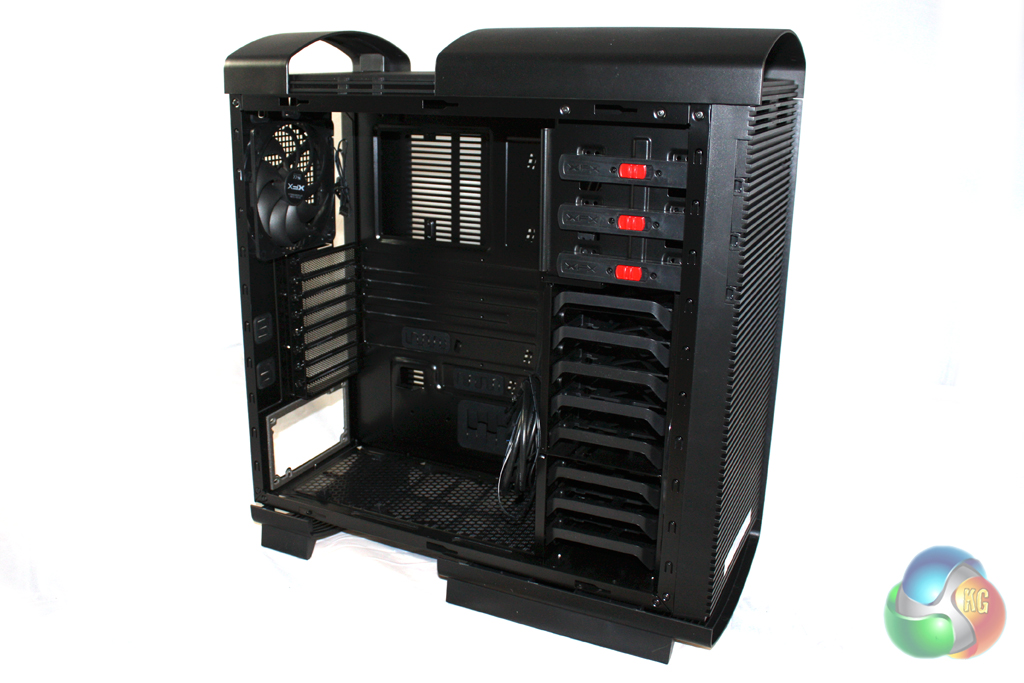
There is a decent amount of room to work with in the case and the interior is painted entirely in black which should complement most component choices nicely. It is a shame that you won’t be able to see your components inside, though, as there is no side window.
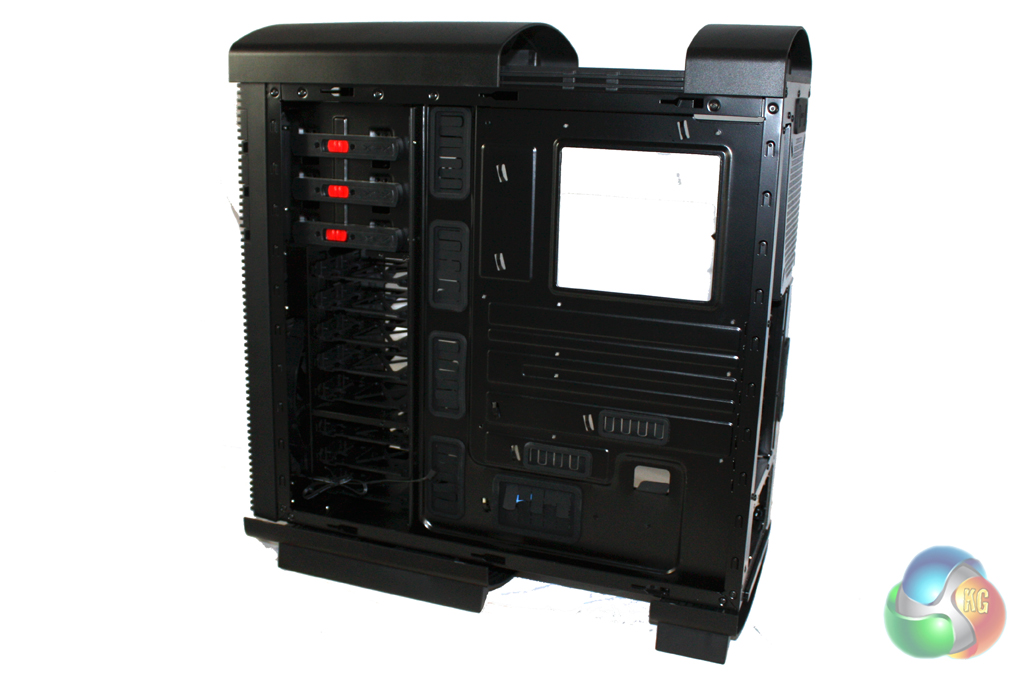
The internal layout of the case is clean with the drive bays located over on the right hand side of the interior. There are eight bays in total, although five of these can be adjusted to cater for longer graphics cards.
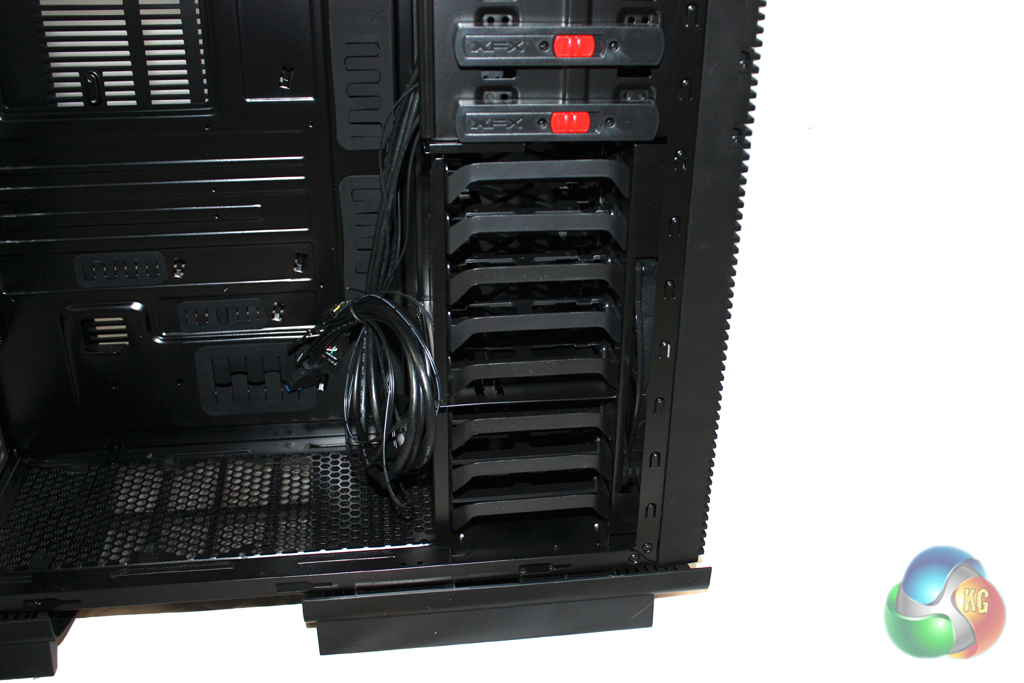
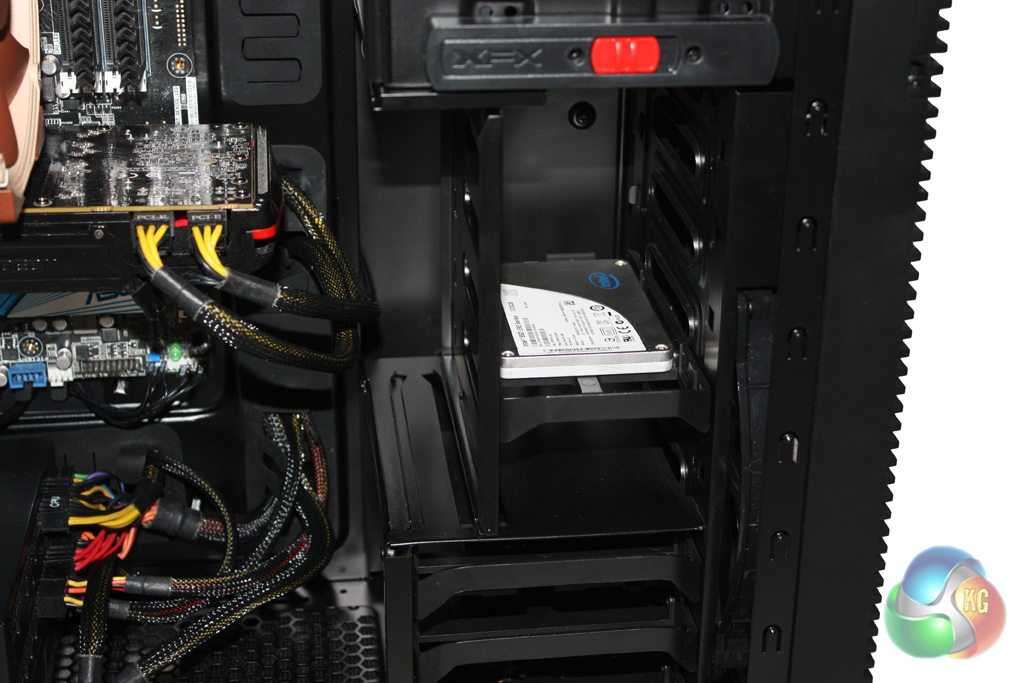
XFX give users the option to either remove the left panel of these five drive bays altogether or move it inwards, restricting these five bays to 2.5” drives only. We chose to move this in slightly, installing a 2.5” solid state drive into the case.
Unfortunately, the right hand panel of the drive cage isn’t removable and will obstruct airflow significantly. It also means that installing a 240 mm radiator in the front of the case isn’t possible.

Installing a motherboard into the system is straightforward, although we were required to install the stand-offs prior to screwing down the motherboard. XFX supply a small socket to help tighten them with a screwdriver, simplifying this process a little.
There is a reasonably large cutout in the motherboard tray to facilitate the installation of a CPU cooler. This will be especially useful for those users who are planning to upgrade their CPU cooler at a later date as it means that they won’t have to remove the motherboard from the system before doing so.
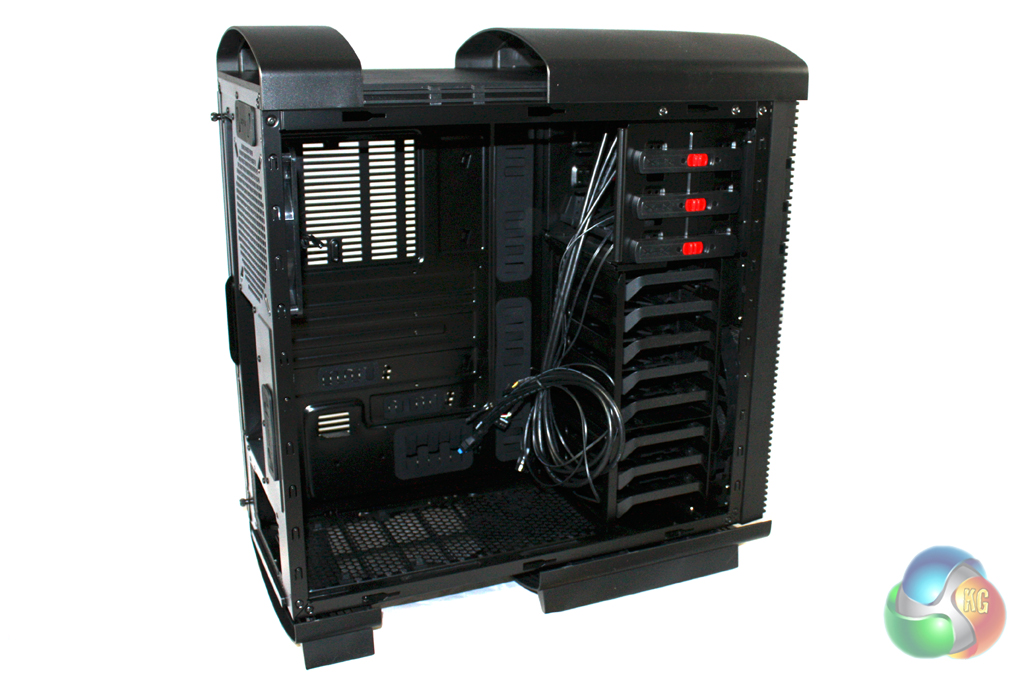
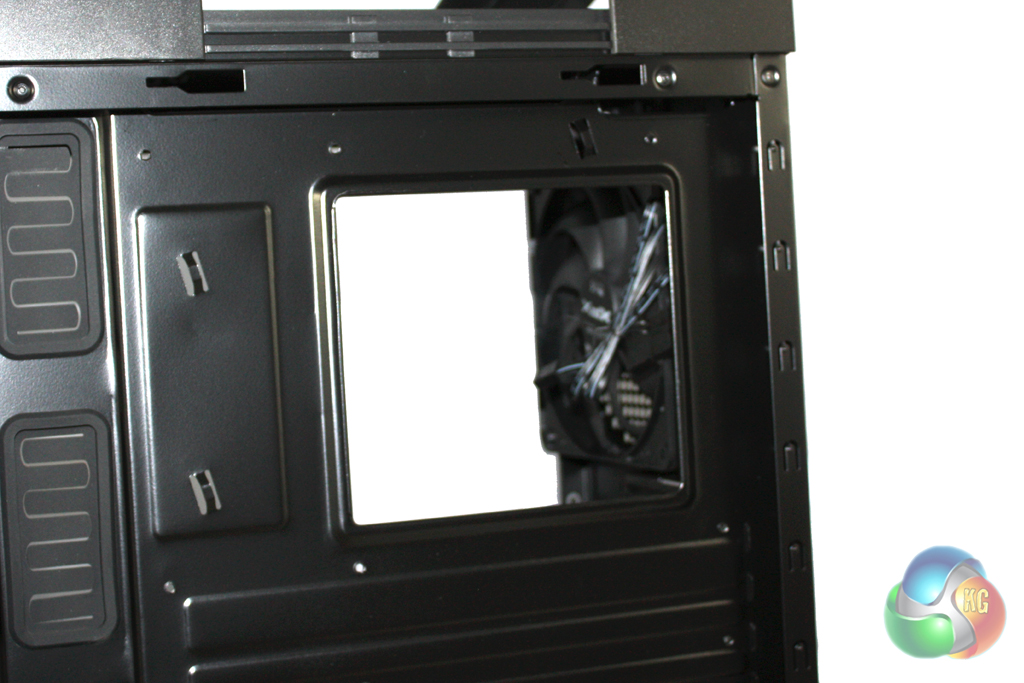
We find a reasonable amount of room behind the motherboard tray for cable routing although we would have liked a few extra millimetres. There also isn’t enough room to install fans on the inside of the large fan vent in the side panel which makes us question whether it is useful at all. There are plenty of holes cut into the motherboard for cable routing, though, which should help you to achieve a tidy build. We particularly liked the addition of extra holes along the bottom edge of the motherboard which are ideal for the front panel header cables.
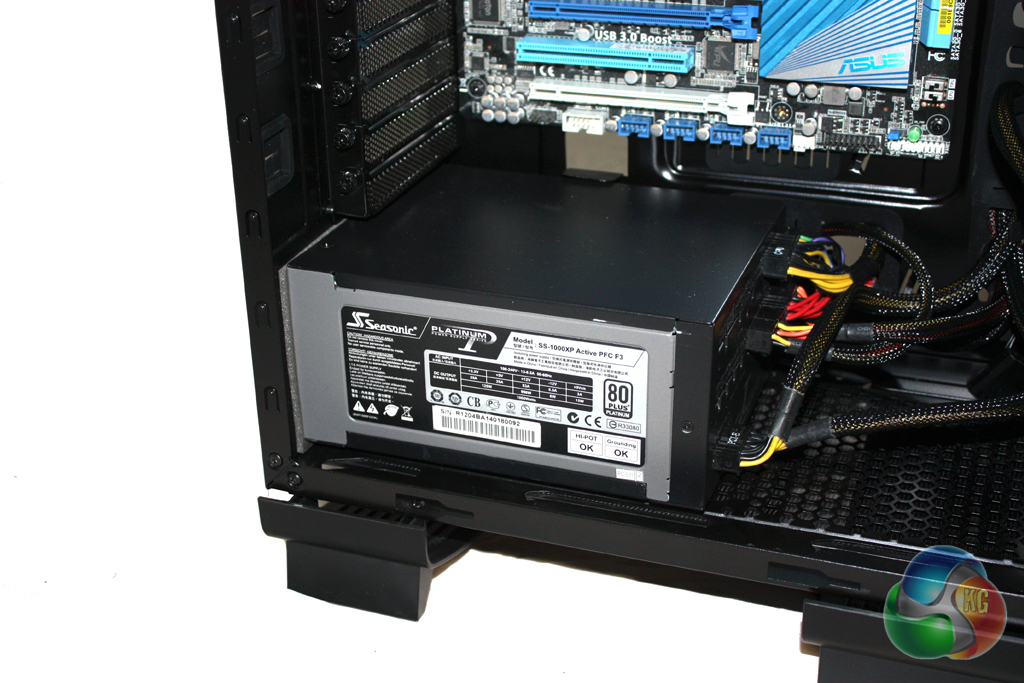
There is plenty of room for long power supplies in this case and there are more than enough holes cut into the motherboard tray to handle the cables.
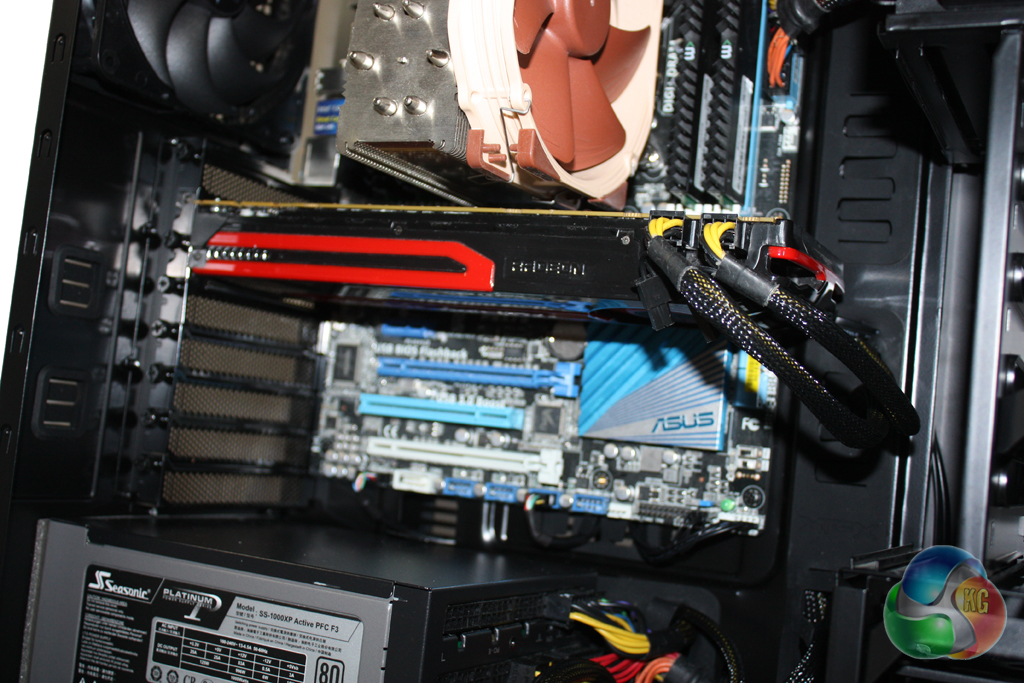
Finally we installed a AMD Radeon 7950 graphics card into the system which was very easy indeed. Expansion devices are secured with thumbscrews although we would recommend tightening these with a screwdriver if possible to ensure they are secured as tightly into place as possible.

To me the idea of “reasonable” performance from a case priced at £130 is ridiculous. There are a lot of cases on the market for far less than that with far more features and better build quality. The lack of 240mm rad support is something which shouldnt be overlooked nowadays when the CLC watercoolers from Corsair, NZXT and Antec are so commonly used. Even for an air-cooled build it’s easy to find better than this. They’ve priced themselves way out of the market in my opinion.
130 is nothing, lets get real here, High performance parts all drop a price around 100-150 pounds each.
PSU will set you back 100
GPU will set you back 300
CPU = 250
SSD = 130-150
So really why not invest in a High quality case? I am not saying by any means that this case is high quality “Solid and light ABS plastic construction.” I would not pay 130 for a plastic case.. if it was a Brushed Steel/Plastic/CarbonFiber design maybe.
The actual design looks good for airflow and would be more optimal for people using air cooling as a preference over Liquid cooling.
I will end this with a comment on the design, its interesting, different and looks very efficient but doesn’t look finished or polished at all. It will have to be extremely good for the price compared to Corsair/CoolerMaster designs which come out a bit cheaper but are un-interesting and standard looking (Professional style I would call it) nothing wrong with them just some prefer an alien or different type of look to make their pc stand out.
Overprice but still worth buying, a good option for air-cooling despite lack of air filters, flexible drive configuration apart from the fact that it actually isn’t, the list of contradictions here just keep mounting up. The last page just sound like your trying to polish a turd to give it an award it clearly doesn’t deserve.