

Firstly, we are pleased to report that our NZXT Avatar S mouse worked to its usual standard in the Gigabyte Z97X-SOC Force motherboard’s UEFI BIOS.
Gigabyte's DualBIOS UEFI implementation used on the Z97X-SOC Force is identical to that used on the company's other Z97 motherboards, such as the Z97X-UD5H-BK and Z97X-Gaming 7, with the exception of a different colour theme. As such, pictures from the previous reviews are used and our analysis and recommendations are largely identical, with the point of reference adapted to the requirements of overclocking users.
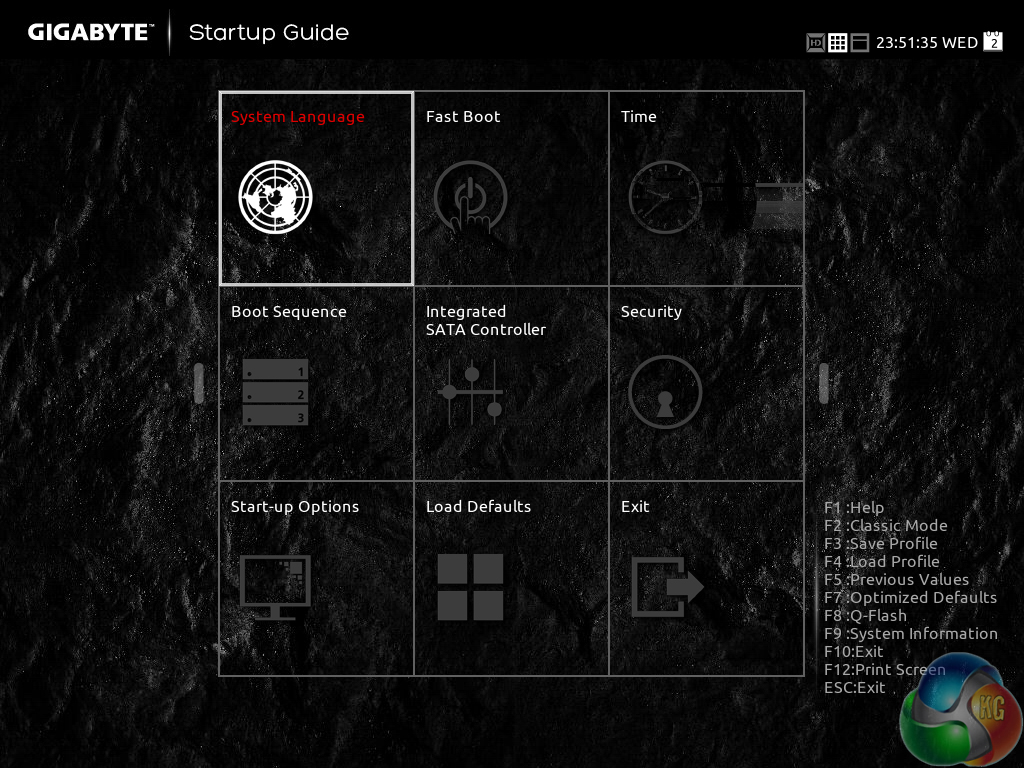
Gigabyte greets users with an entry page that resembles the Windows Metro UI. Tiles provide users with quick access to certain features and settings.

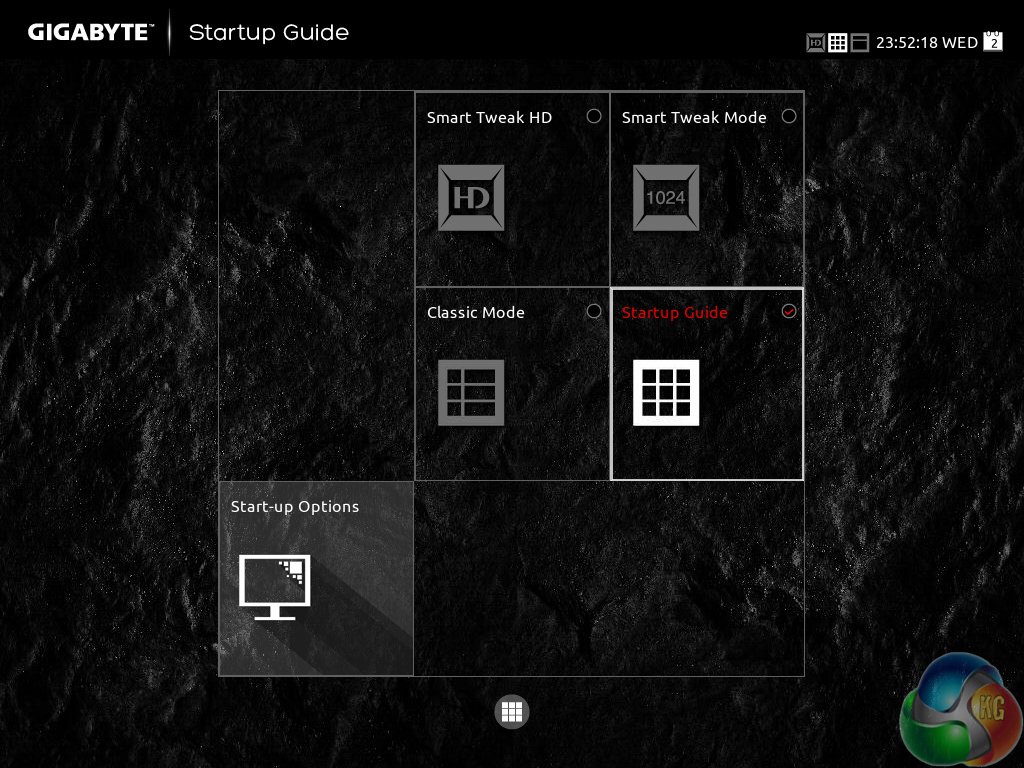
A UI based around Gigabyte's old style of BIOS is present on the Z97X-SOC Force motherboard. Overclockers with a vast bank of experience in the old interface may welcome the BIOS-style layout.
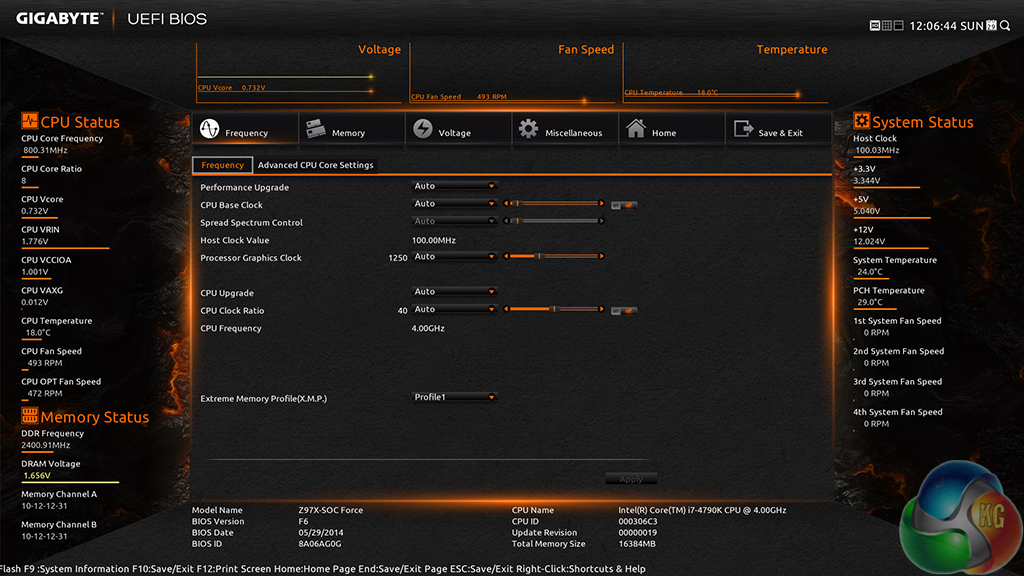
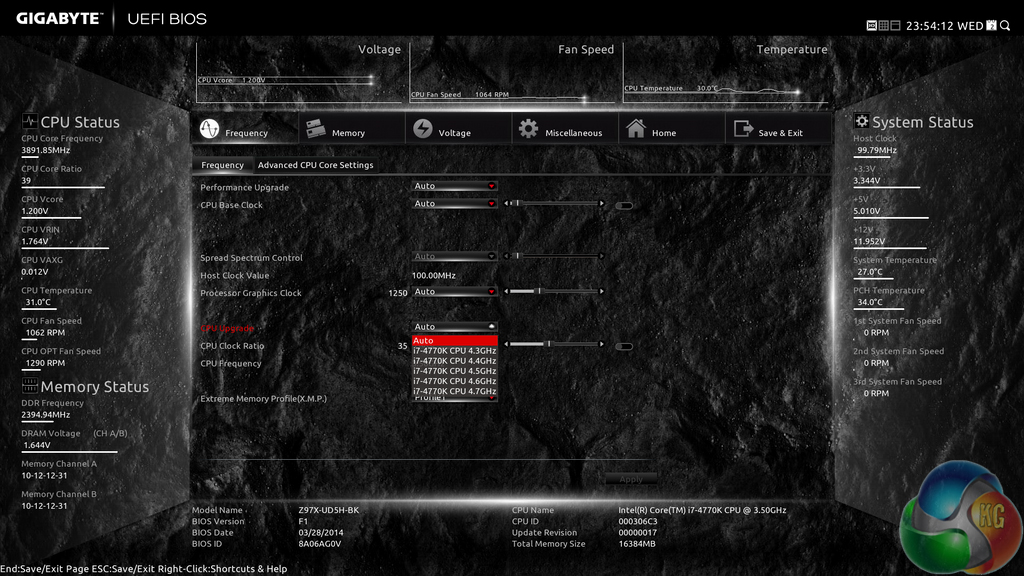
Upon entering the 1920×1080 (dependent upon your monitor's resolution) UEFI, Gigabyte opens the frequency page. The interface packs large amounts of information into a single screen by virtue of its 1920×1080 resolution. Voltages, frequencies and other monitoring parameters are consistently scattered around the outside of each page.
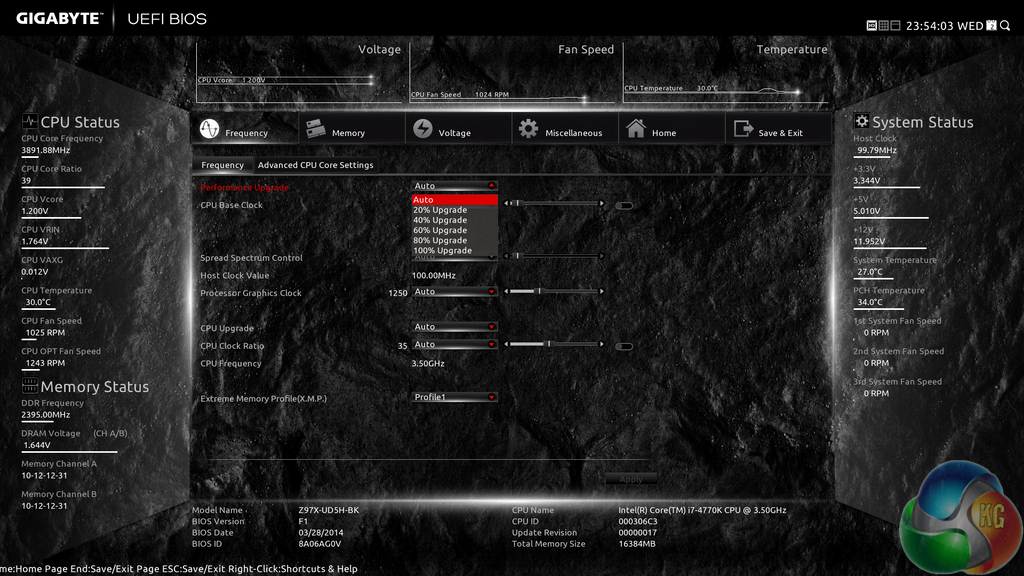
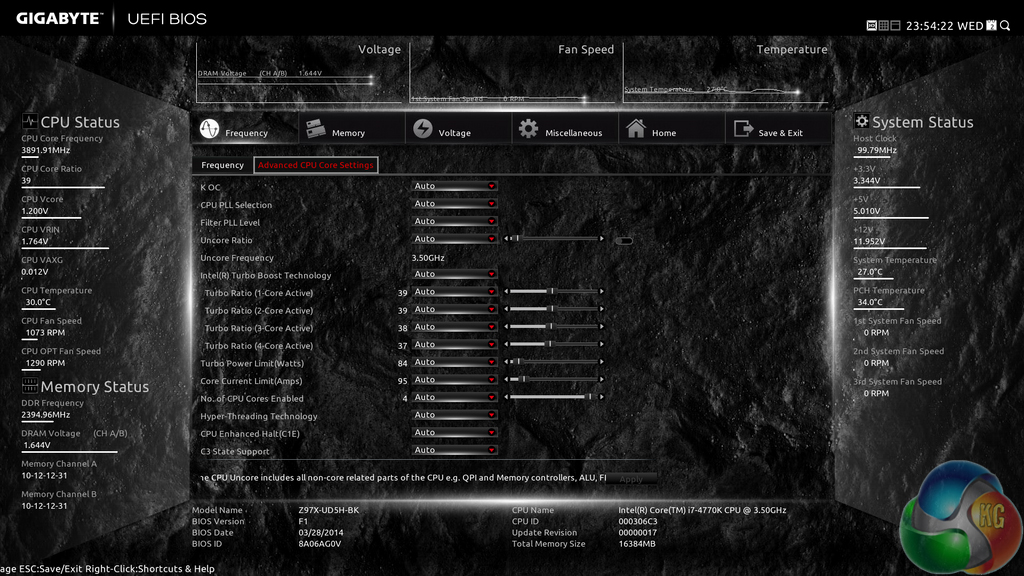
A number of speed parameters and performance boosts can be selected via the Frequency page and its subsections.
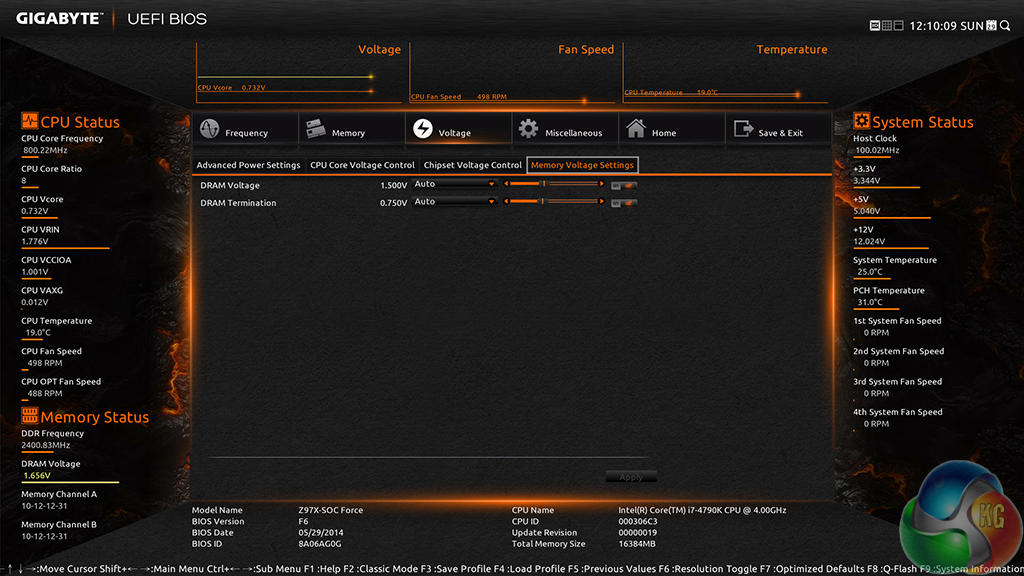
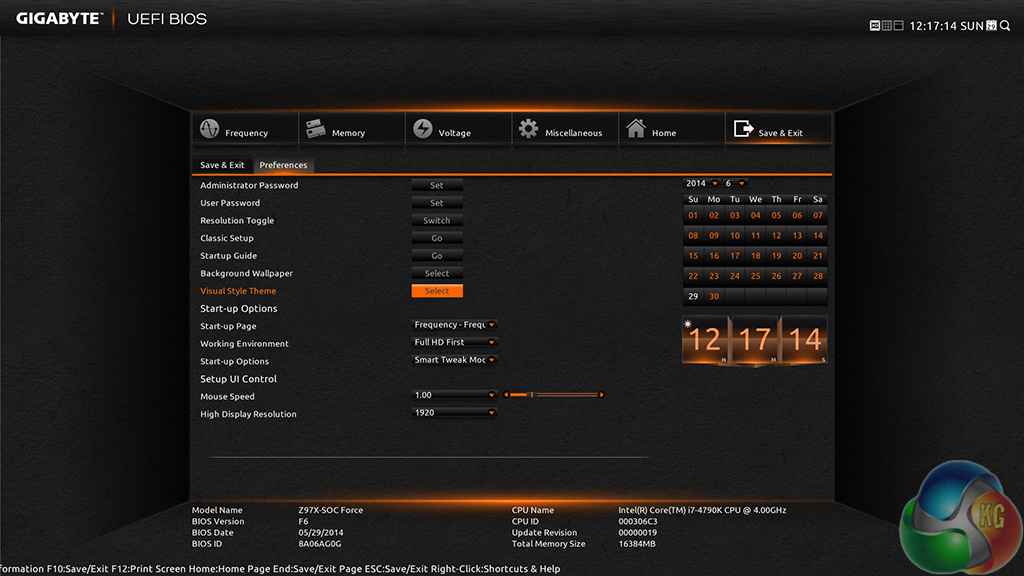
The Z97X-SOC Force uses an orange skin by default, although the theme colours can be adjusted via the UEFI.


Frequency and timings configurations can be adjusted via the Memory section. Gigabyte includes pre-set profiles tailored for high-spec RAM kits by overclocking professionals such as HiCookie.
The pre-tweaked overclocking profiles may be particularly useful for overclockers who are looking to gain tips from seasoned professionals.
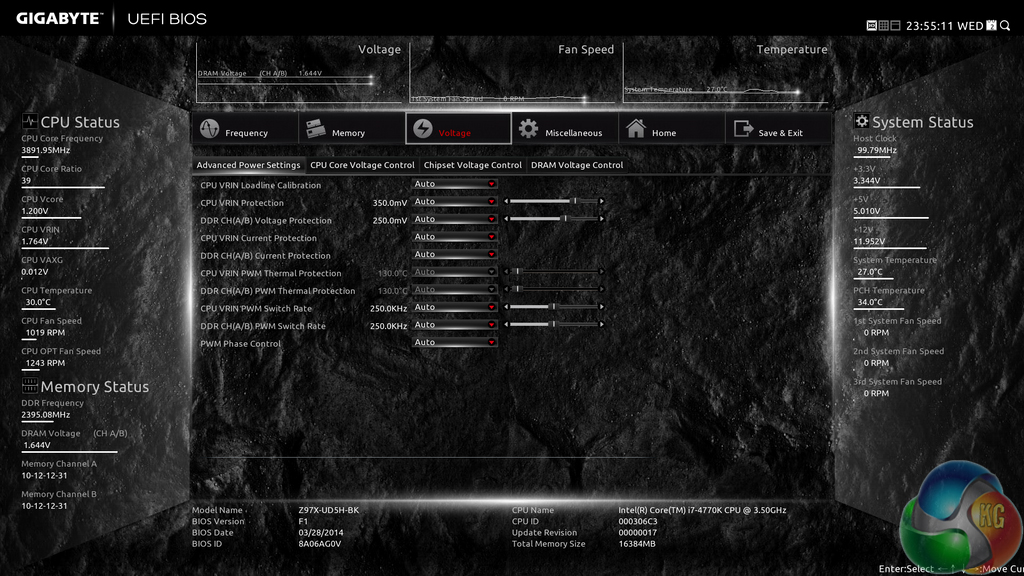
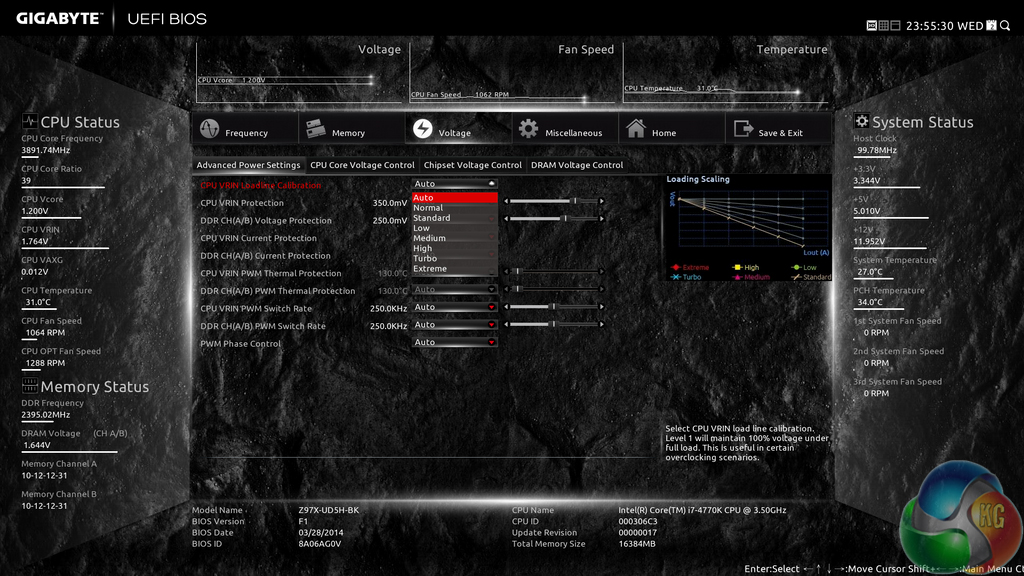

Power and voltage settings can be adjusted in the relevant subsection. Some of the parameters, such as CPU VRIN Loadline Calibration, open a graphical display to assist a user in making an appropriate choice.
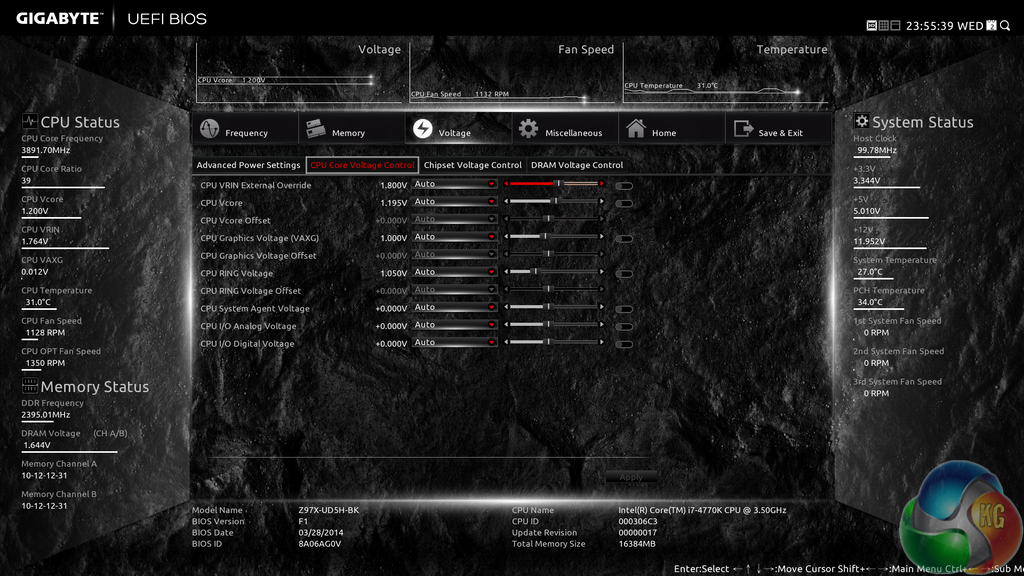
Oddly, Gigabyte situated the all-important CPU voltage controls in the second column on the Voltage subsection, not the first. If one does not like the slider approach of applying voltages, users are able to key in the relevant values.
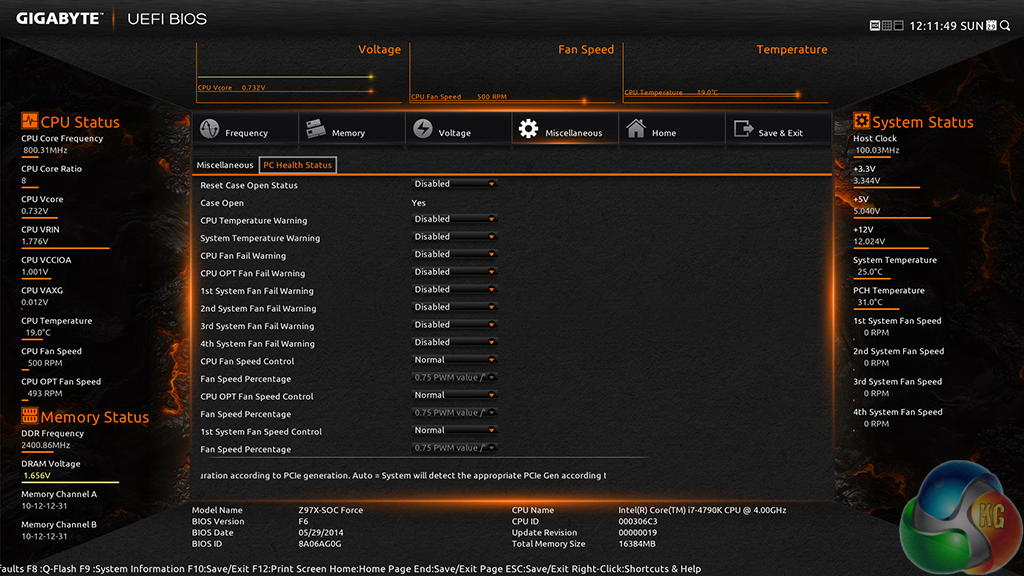
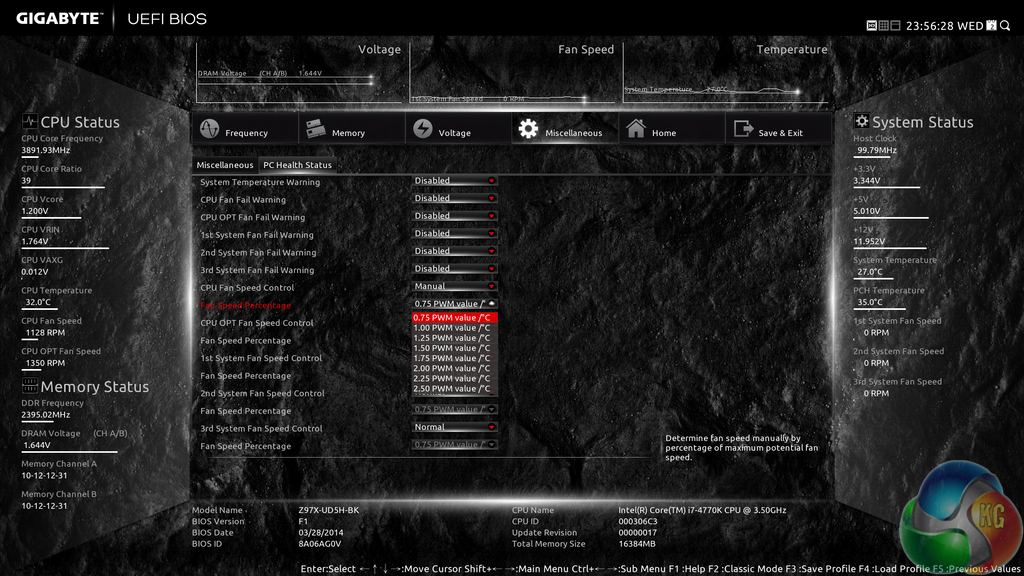
Fan and warning settings can be accessed via the PC Health Status column of the Miscellaneous section. Fan speed controls can be set to a user's preference, albeit with a limited range of input.
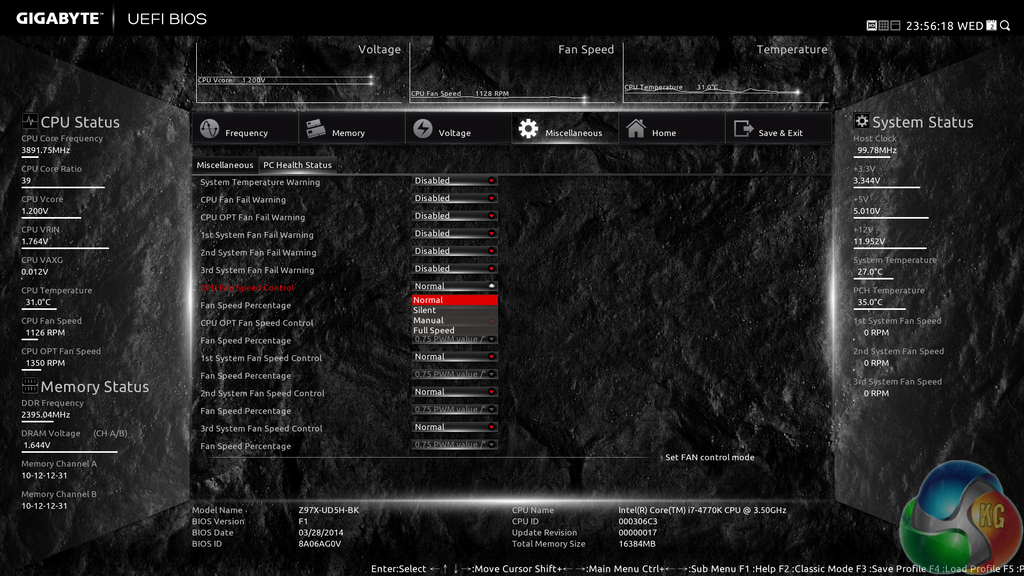
Gigabyte uses a drop-down list to outline the relevant fan speed curves, which is a less user-friendly approach than the graphical interface used by competing motherboard vendors.
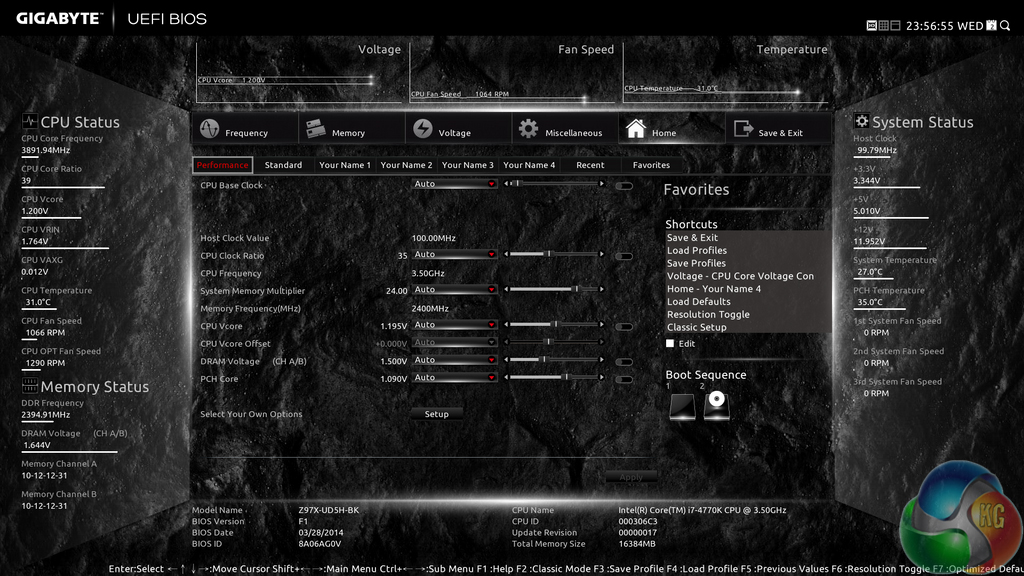

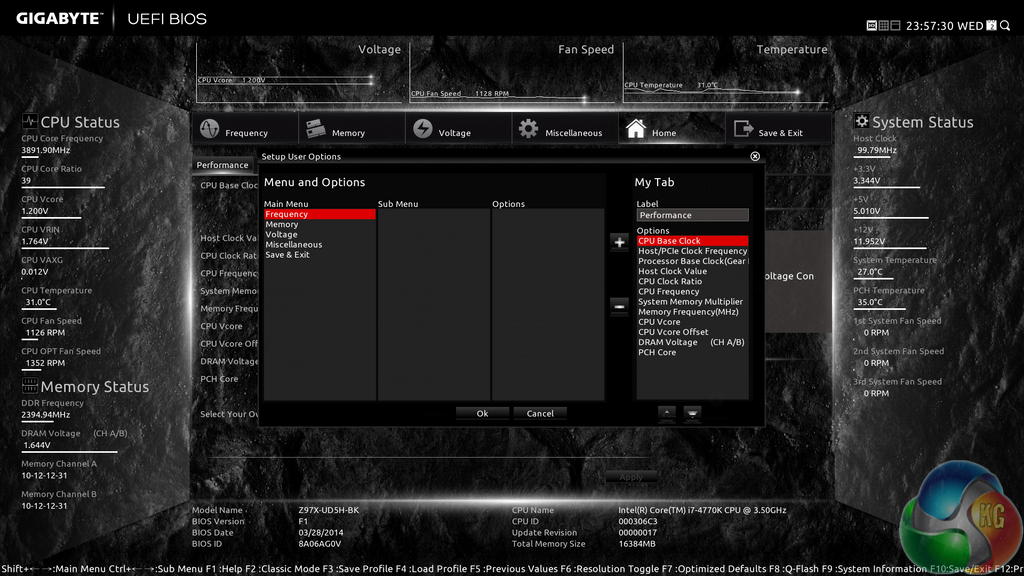
The Home section provides an area where users are given a degree of freedom as to the interface's layout. By default, key component parameters are displayed on the Home page, but this layout can be tweaked to a user's preference. And if you'd rather not tweak the interface, Gigabyte allows you to create four custom pages from scratch.
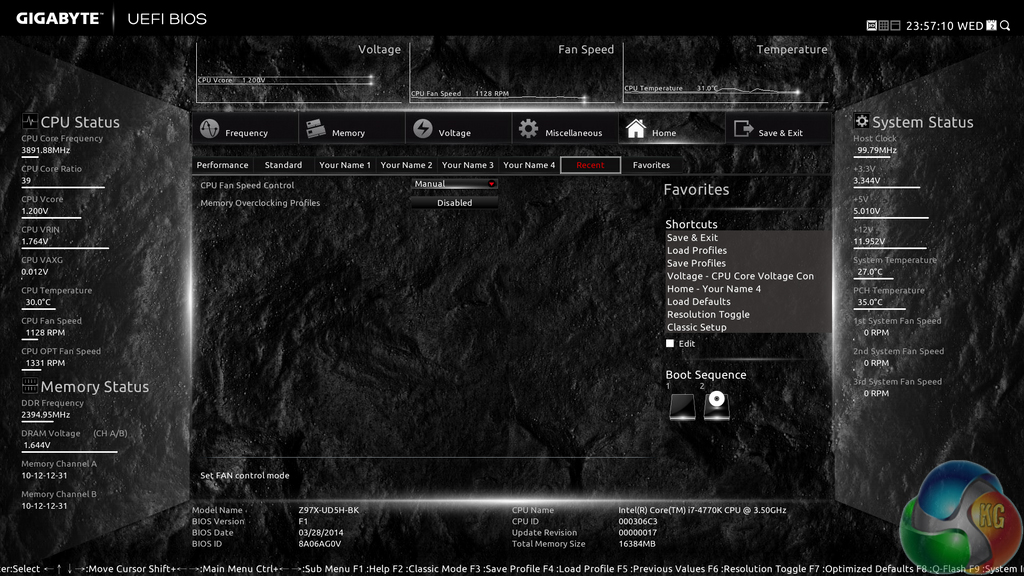
The Recent section displays recently used settings while the Favourites tab can provide quick access to frequently used parameters.
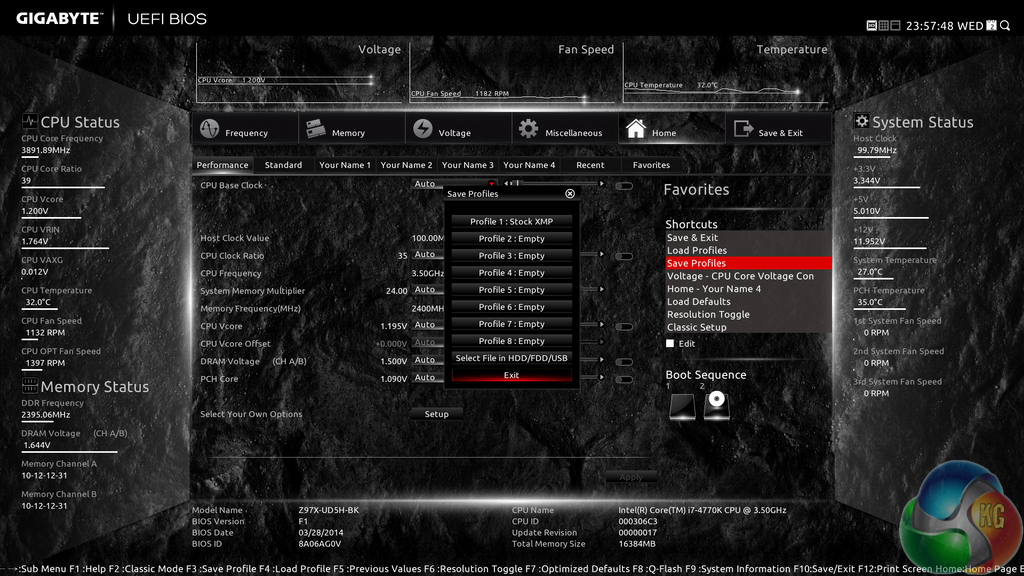

Up to eight OC profiles can be saved to the motherboard's internal memory, while many more and more can be exported or imported via USB.
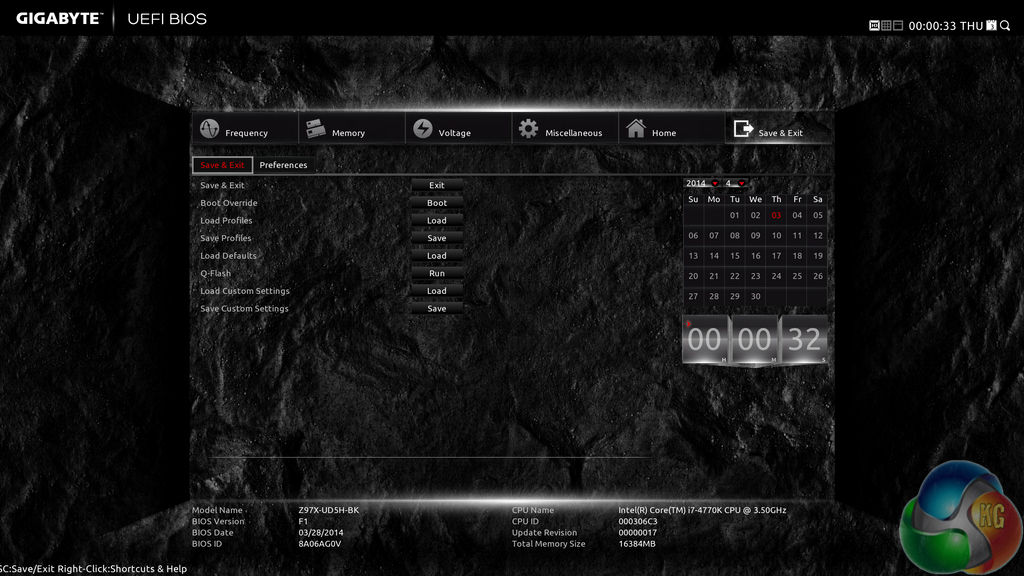
Control adjustments for the UEFI and the Q-Flash BIOS updater can be accessed via the Save & Exit section. I would prefer Gigabyte to have given the many control parameters their own section titled ‘Settings' to make them easier to spot in the UEFI. Save & Exit typically implies saving and exiting, not adjusting control options and updating the BIOS.
Some useful additions to Gigabyte's UEFI are the ability to change the visual theme, background wallpaper, and resolution.
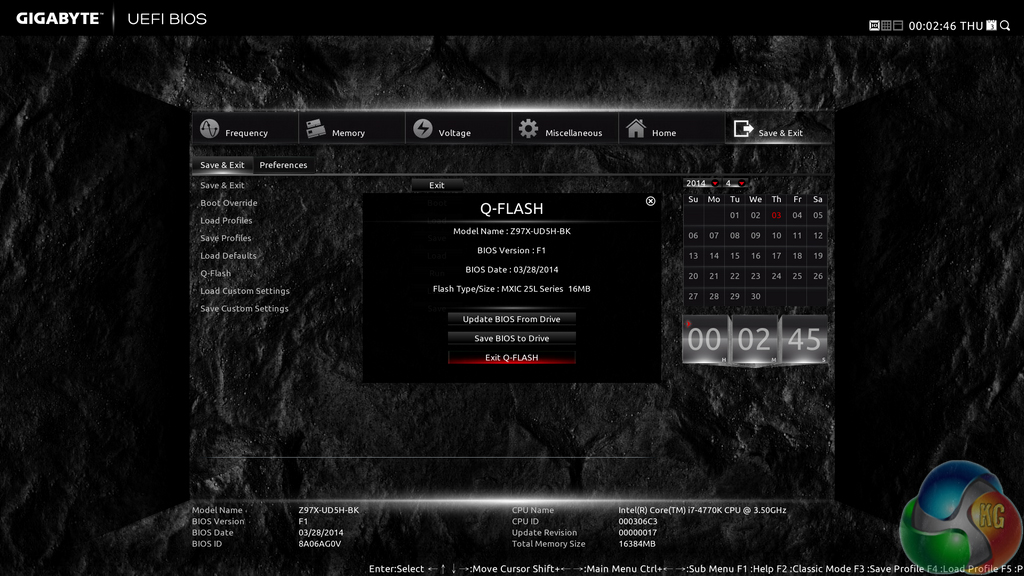

The Q-Flash updater is able to access folders in a USB flash drive, allowing users to manually seek a BIOS file.
Gigabyte has made some key improvements on its Z97 UEFI over the version used on many of the company's Z87 boards. The most noteworthy upgrade comes in the form of organisation; Gigabyte has optimised the layout to make sifting through BIOS settings and sections a simpler task. It is indeed a more pleasant experience working in the Z97X-SOC Force motherboard's UEFI, although there is still clear room for improvement.
The use of a Full HD, 1920×1080 resolution is excellent. Additional information relating to operational recordings can be displayed on a page without interfering with the parameters that users intend to tweak. And there's also the old style of BIOS for overclockers who have extensive experience with Gigabyte's motherboards from previous generations.
There are still a few issues relating to overlapping content and generally poor layout. Many parameters for frequency and voltage are repeated multiple times causing the UEFI to seem more crammed than it actually is. However, there is no question that even seasoned overclockers will be happy by the sheer number of tweaking options provided.
Yay! Not red and black, about time. Nice looking board and good OCing too.
Fantastic board, I have it. rock solid and I got my memory to 3000mhz as well. I need to share my new modded build on the KG facebook page.