Today we are moving onto part two of our AMD Behemoth custom build project. Most of our time so far has been spent planning and designing, but now we move onto the more interesting part of modding and build the system. There is a lot to do to complete this build but first, we must prepare the chassis ready for the system which means chopping, adding and moving panels/parts around to accommodate the vast amount of hardware that will fill this monster chassis.
Timestamps
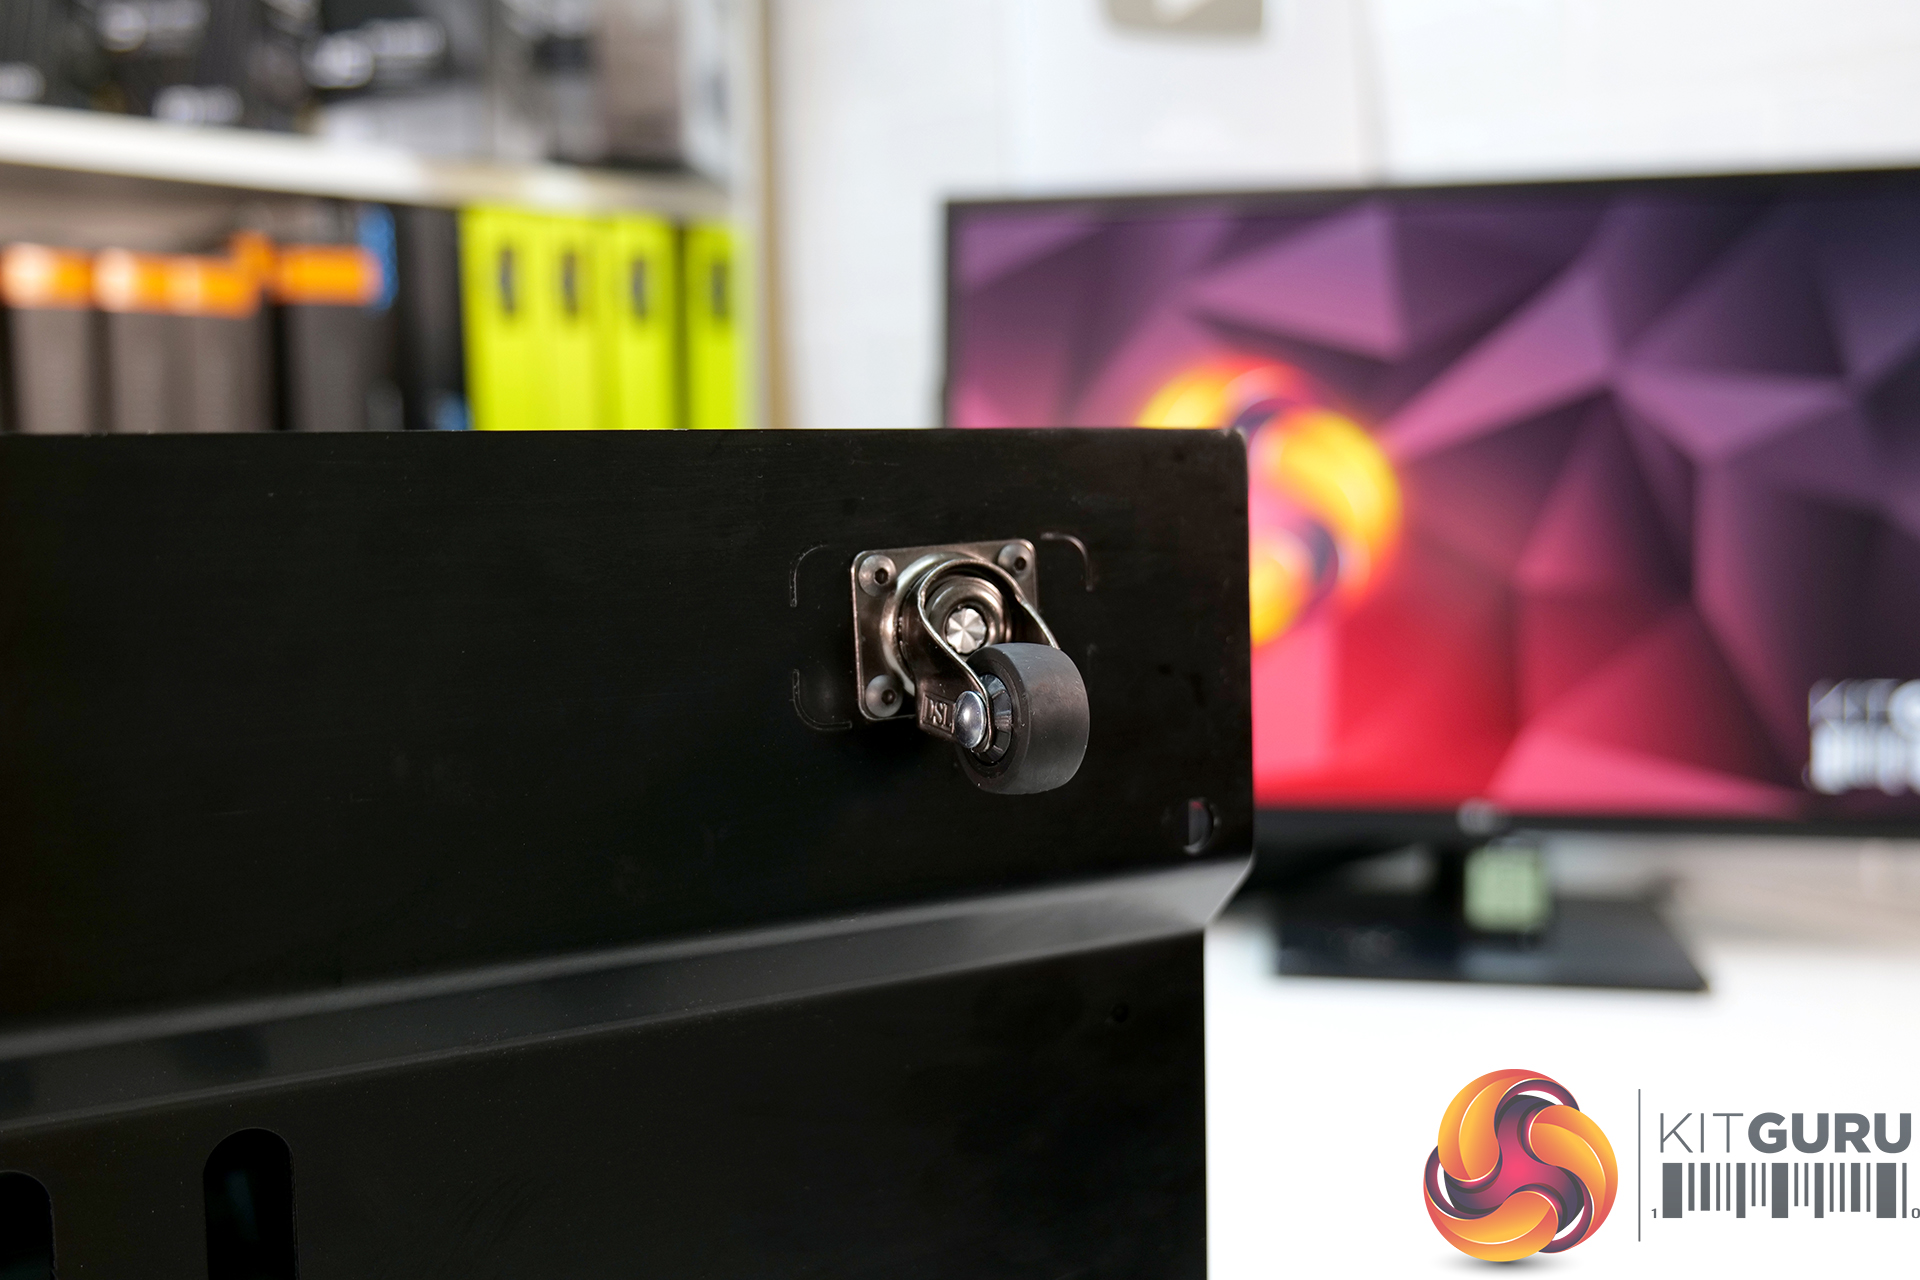
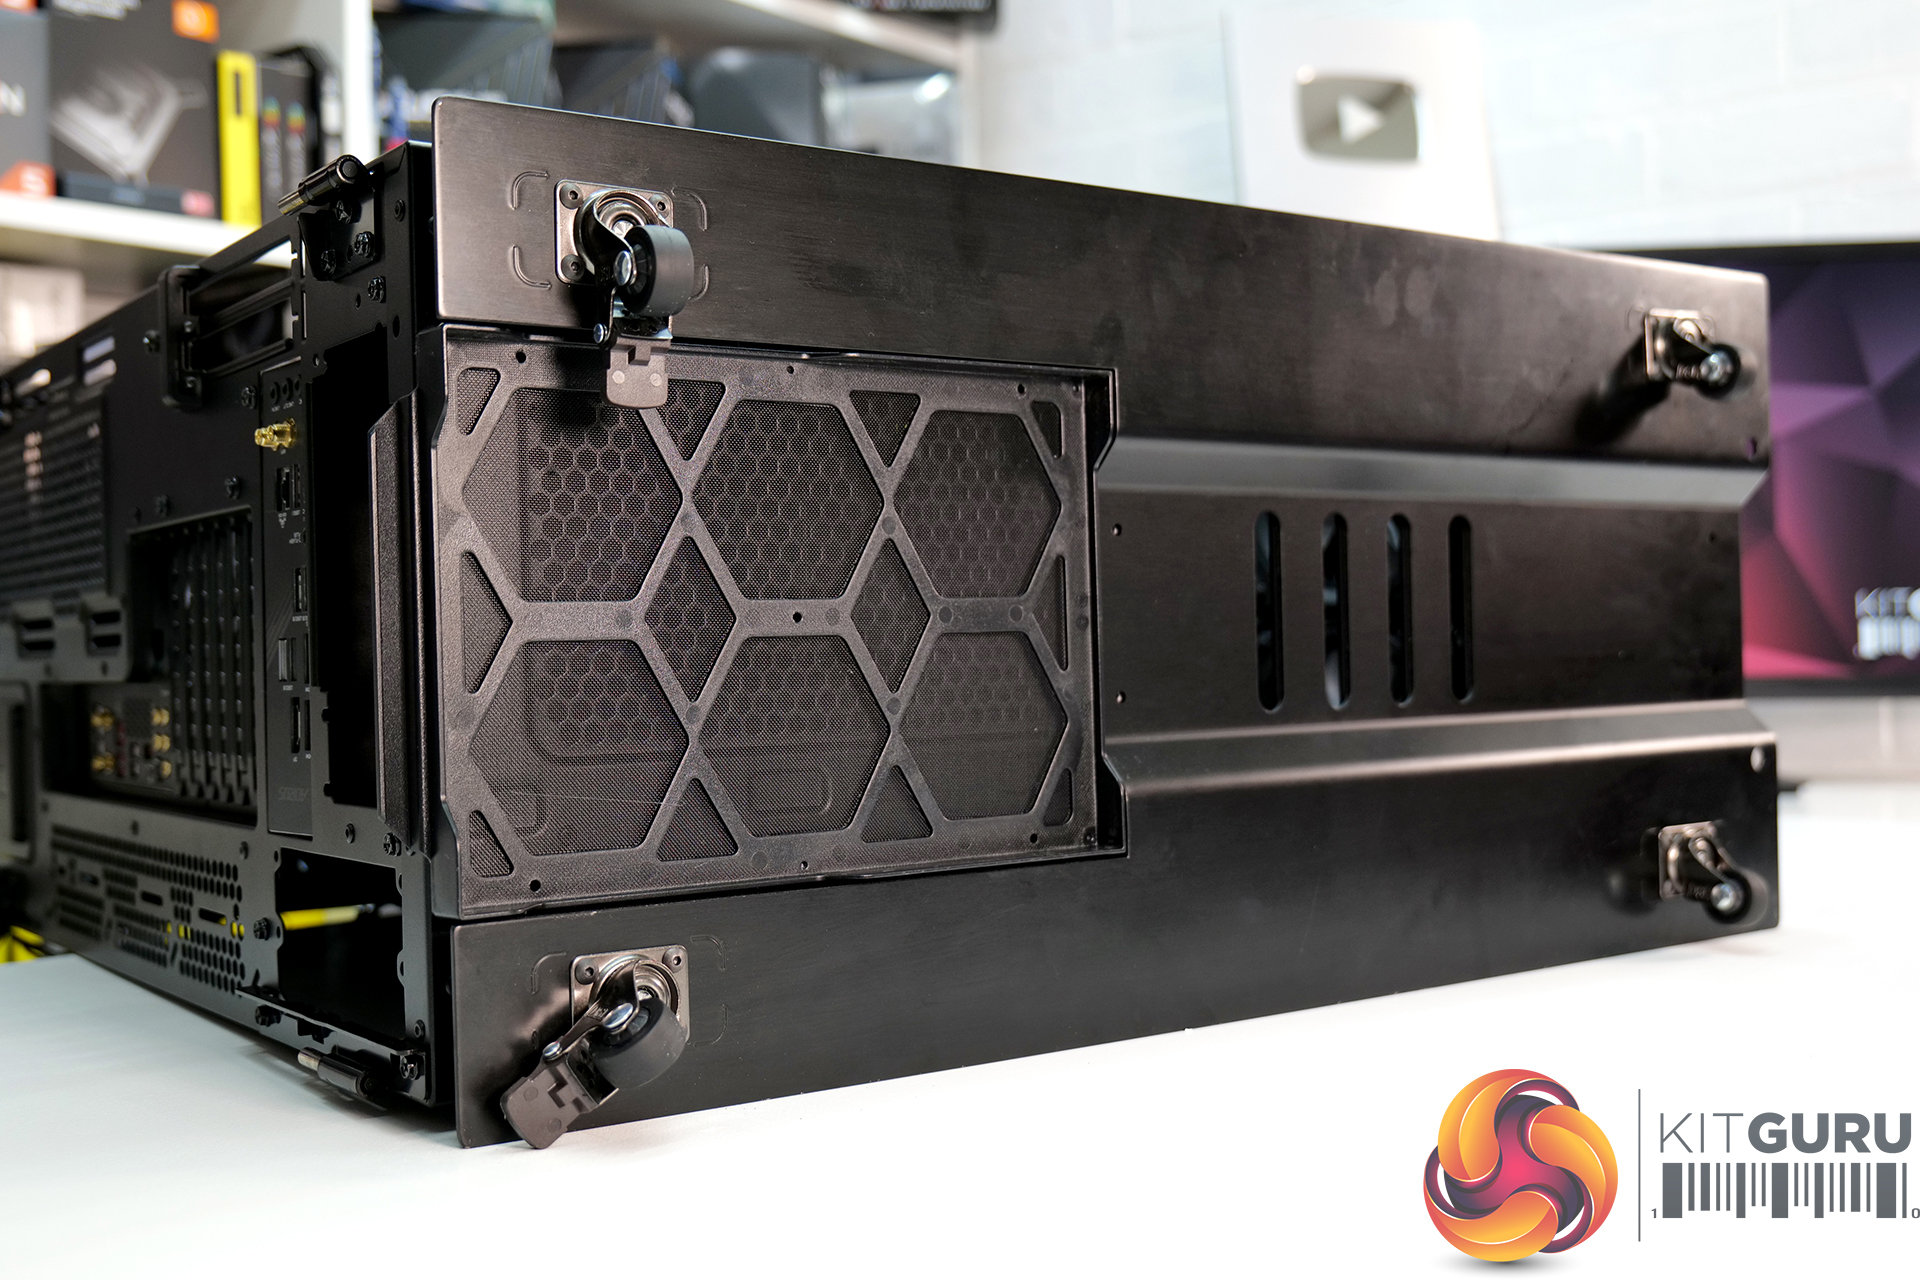
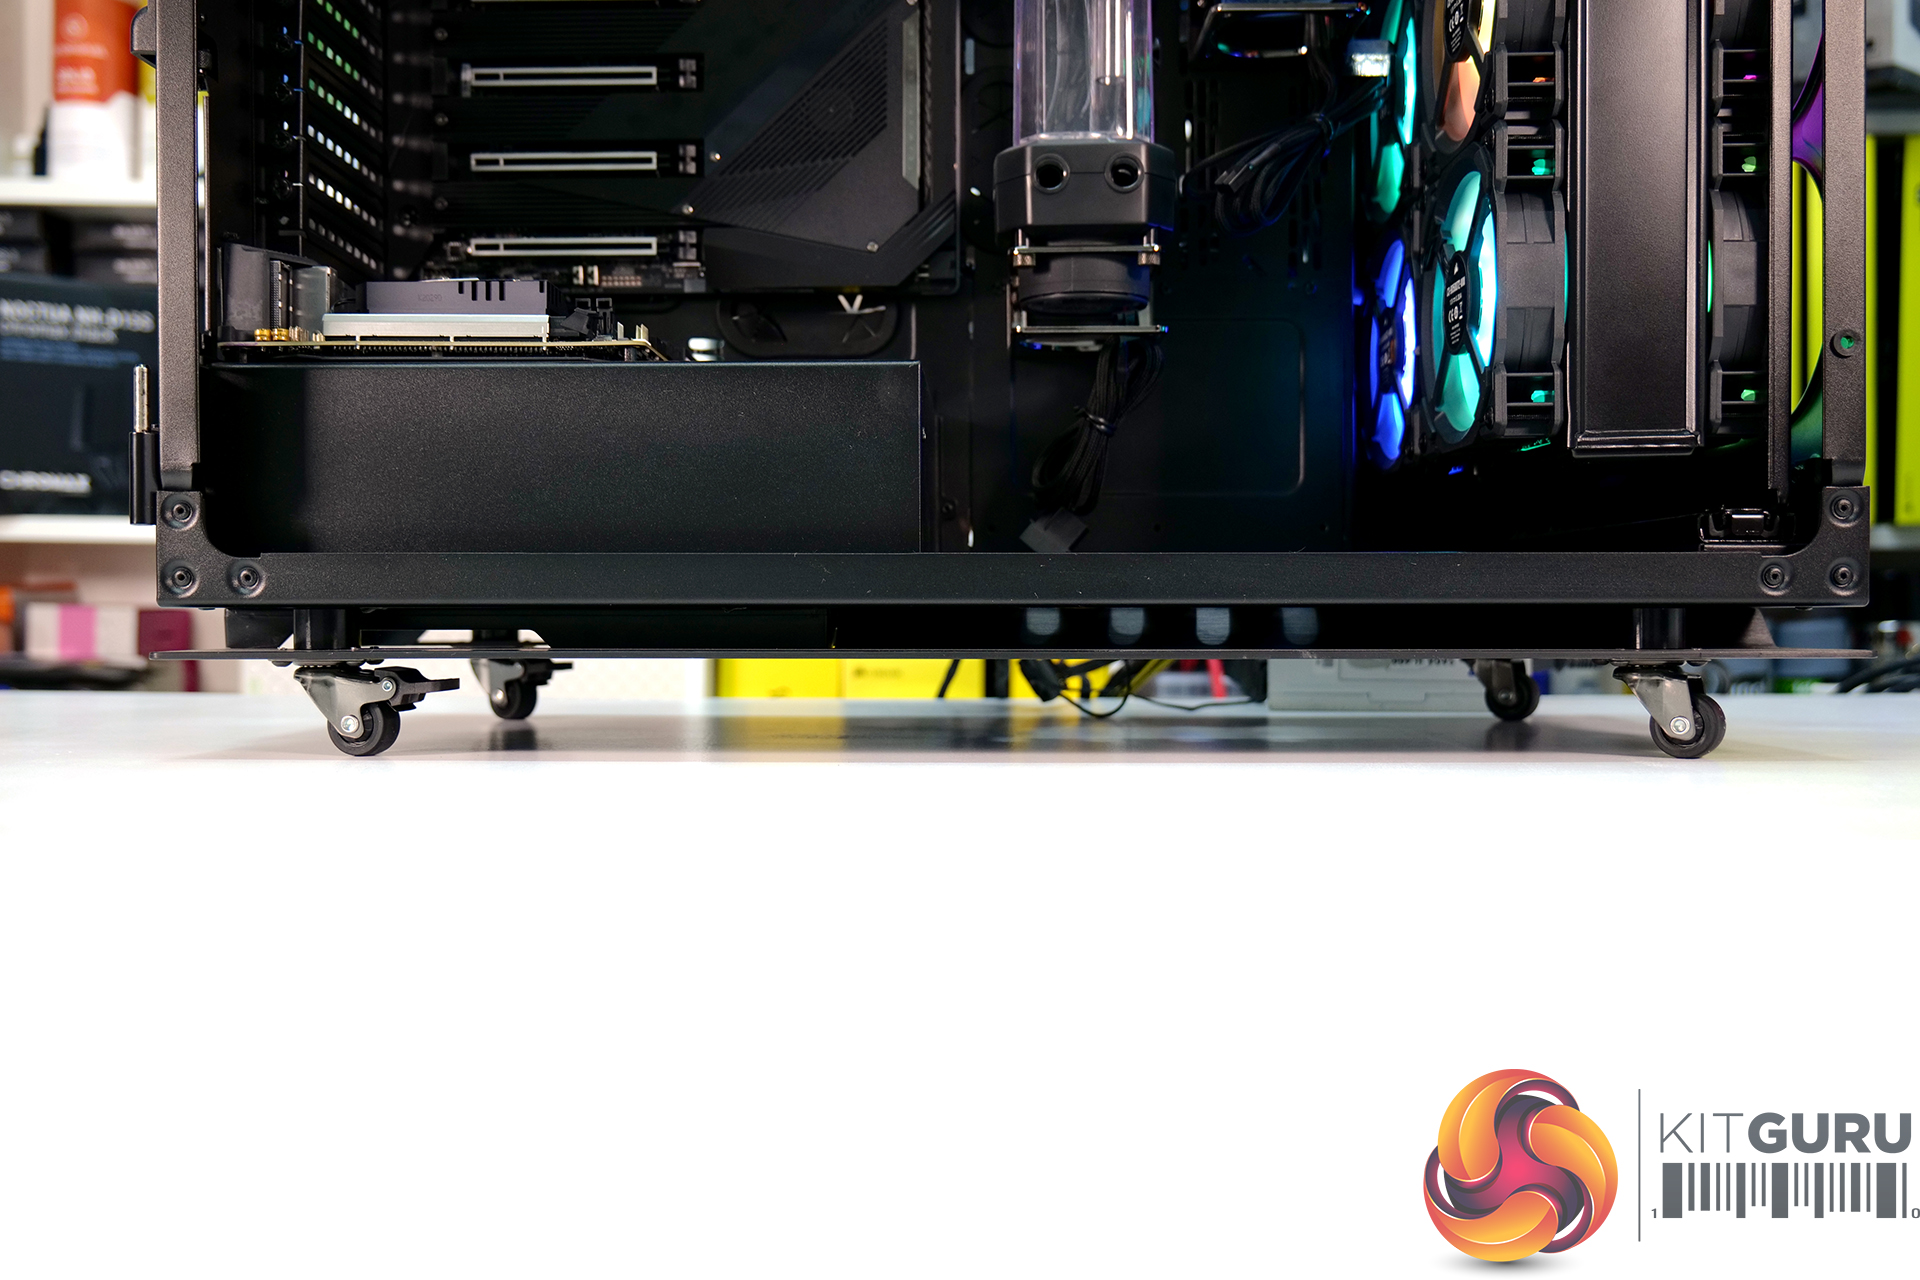
Since the first video, most of my time has been spent tweaking the design and layout of the system, which doesn’t always make for great viewing so most of that has been done off-camera. We begin part two with a quick rundown of the plans and then jump right into the mods by adding some castors to the floor of the chassis, which will help with manoeuvring the case while building the system, make life easier for the eventual owner when moving the system and also offer a little more space for airflow under the case.
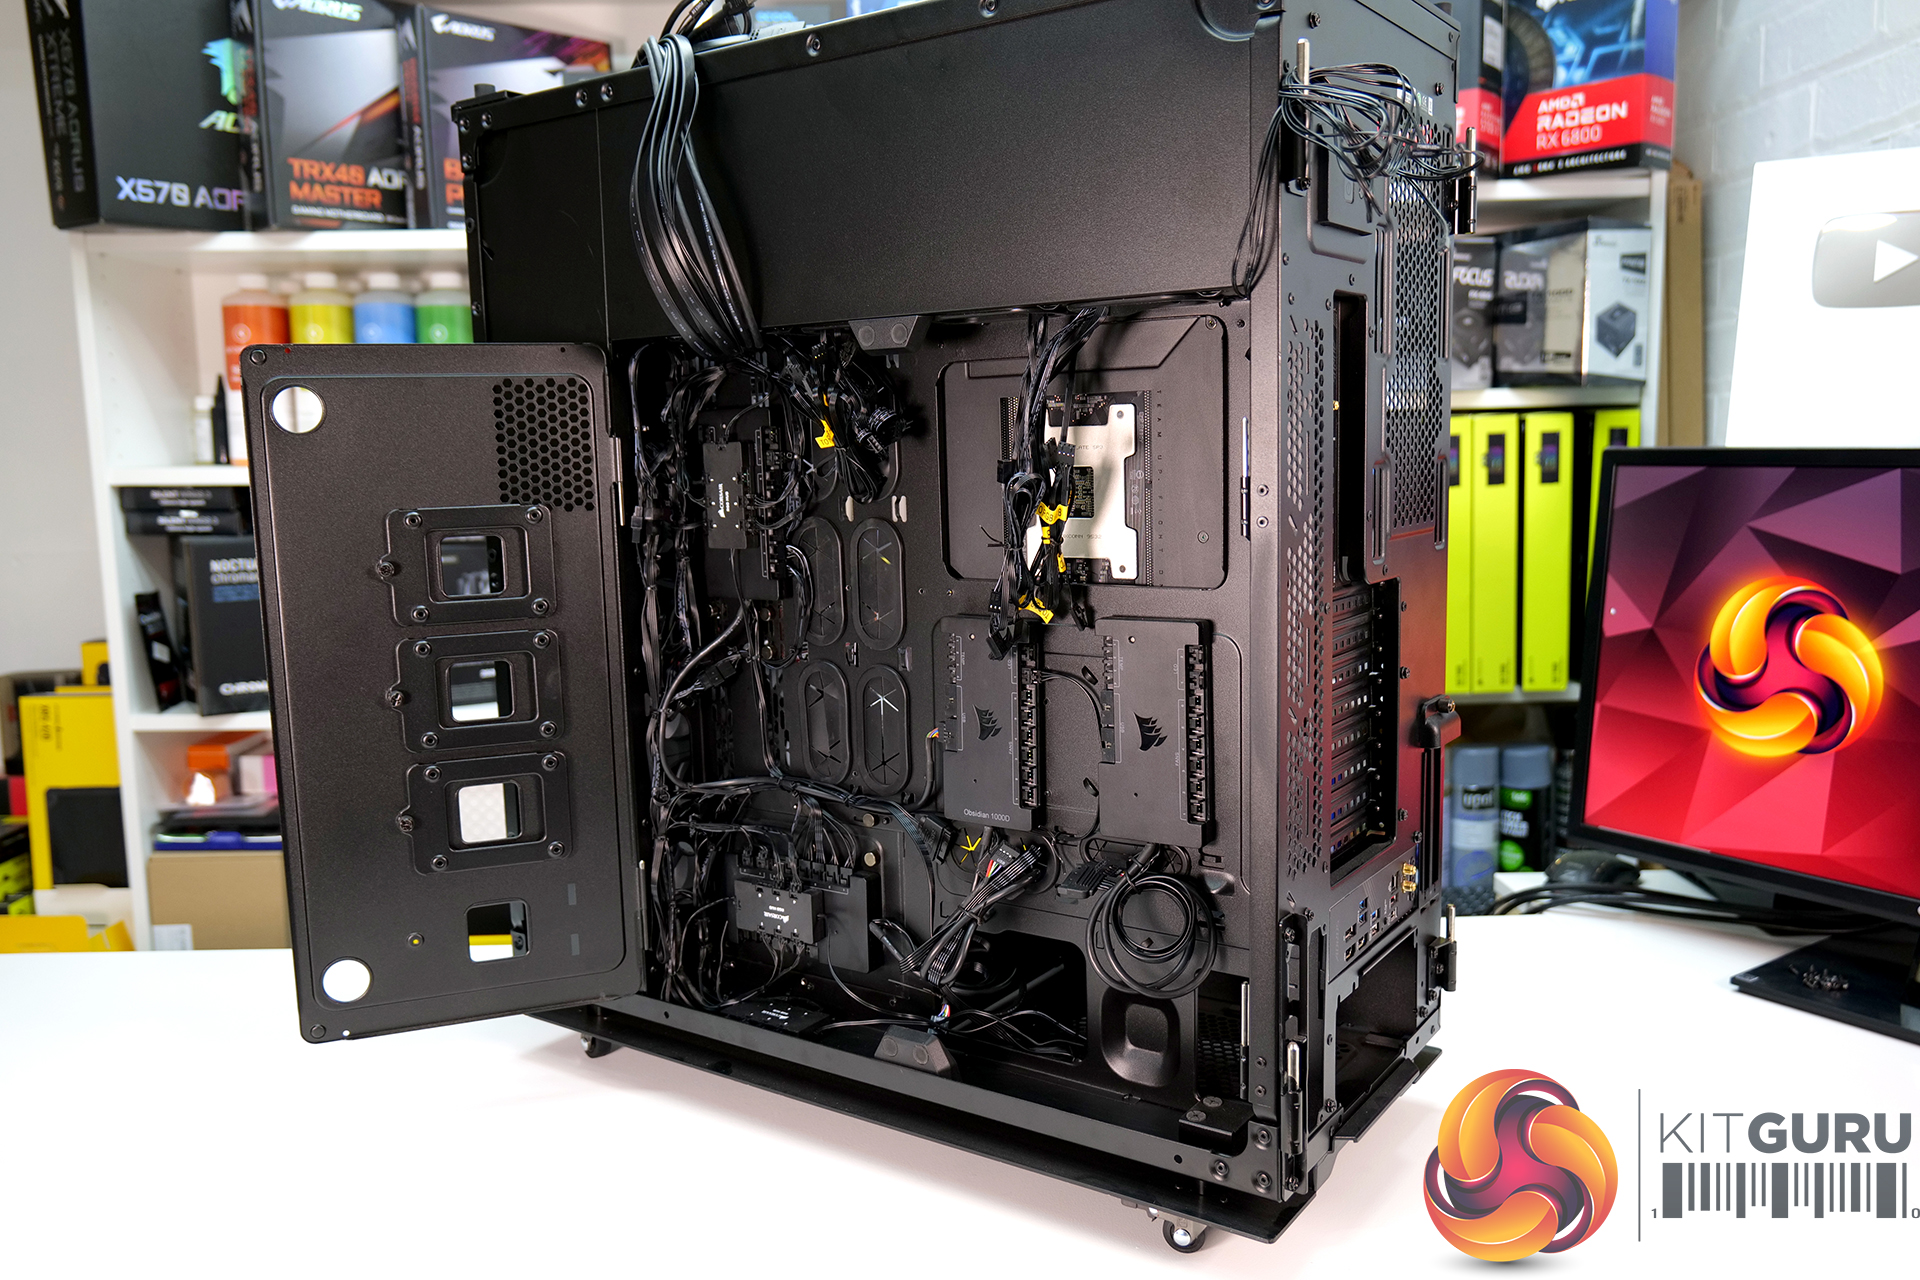
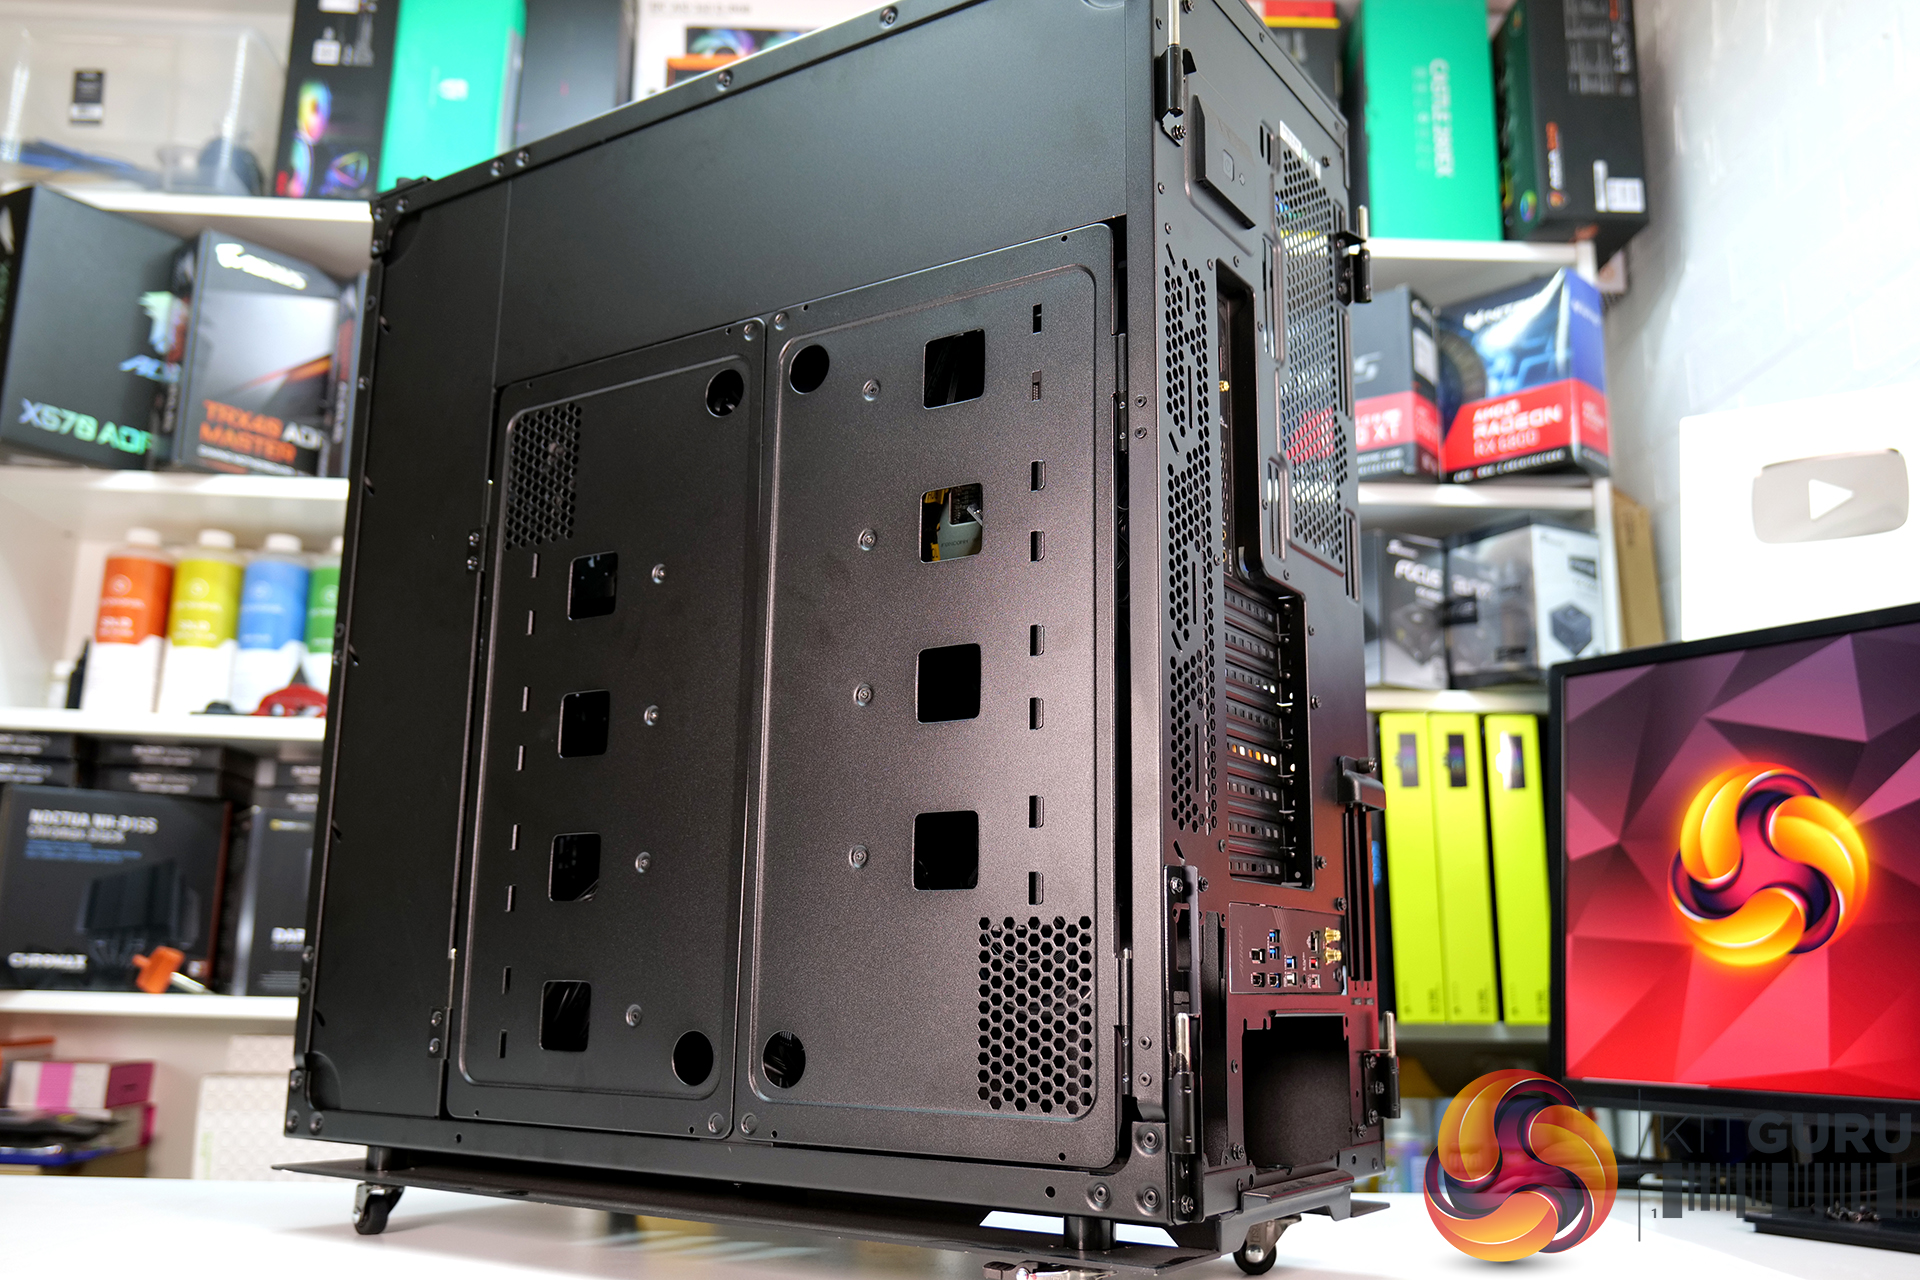
As well as adding castors to the base, I also removed a part of the chassis that was not needed. The 3.5-inch drive bay will not be populated with any drives and looks a little out of place due to its height difference compared with the adjoining power supply shroud. Because of this, I decided to chop the 3.5-inch drive bay out of the case and make a blanking panel to cover the hole that was left behind, which neatens up the interior.
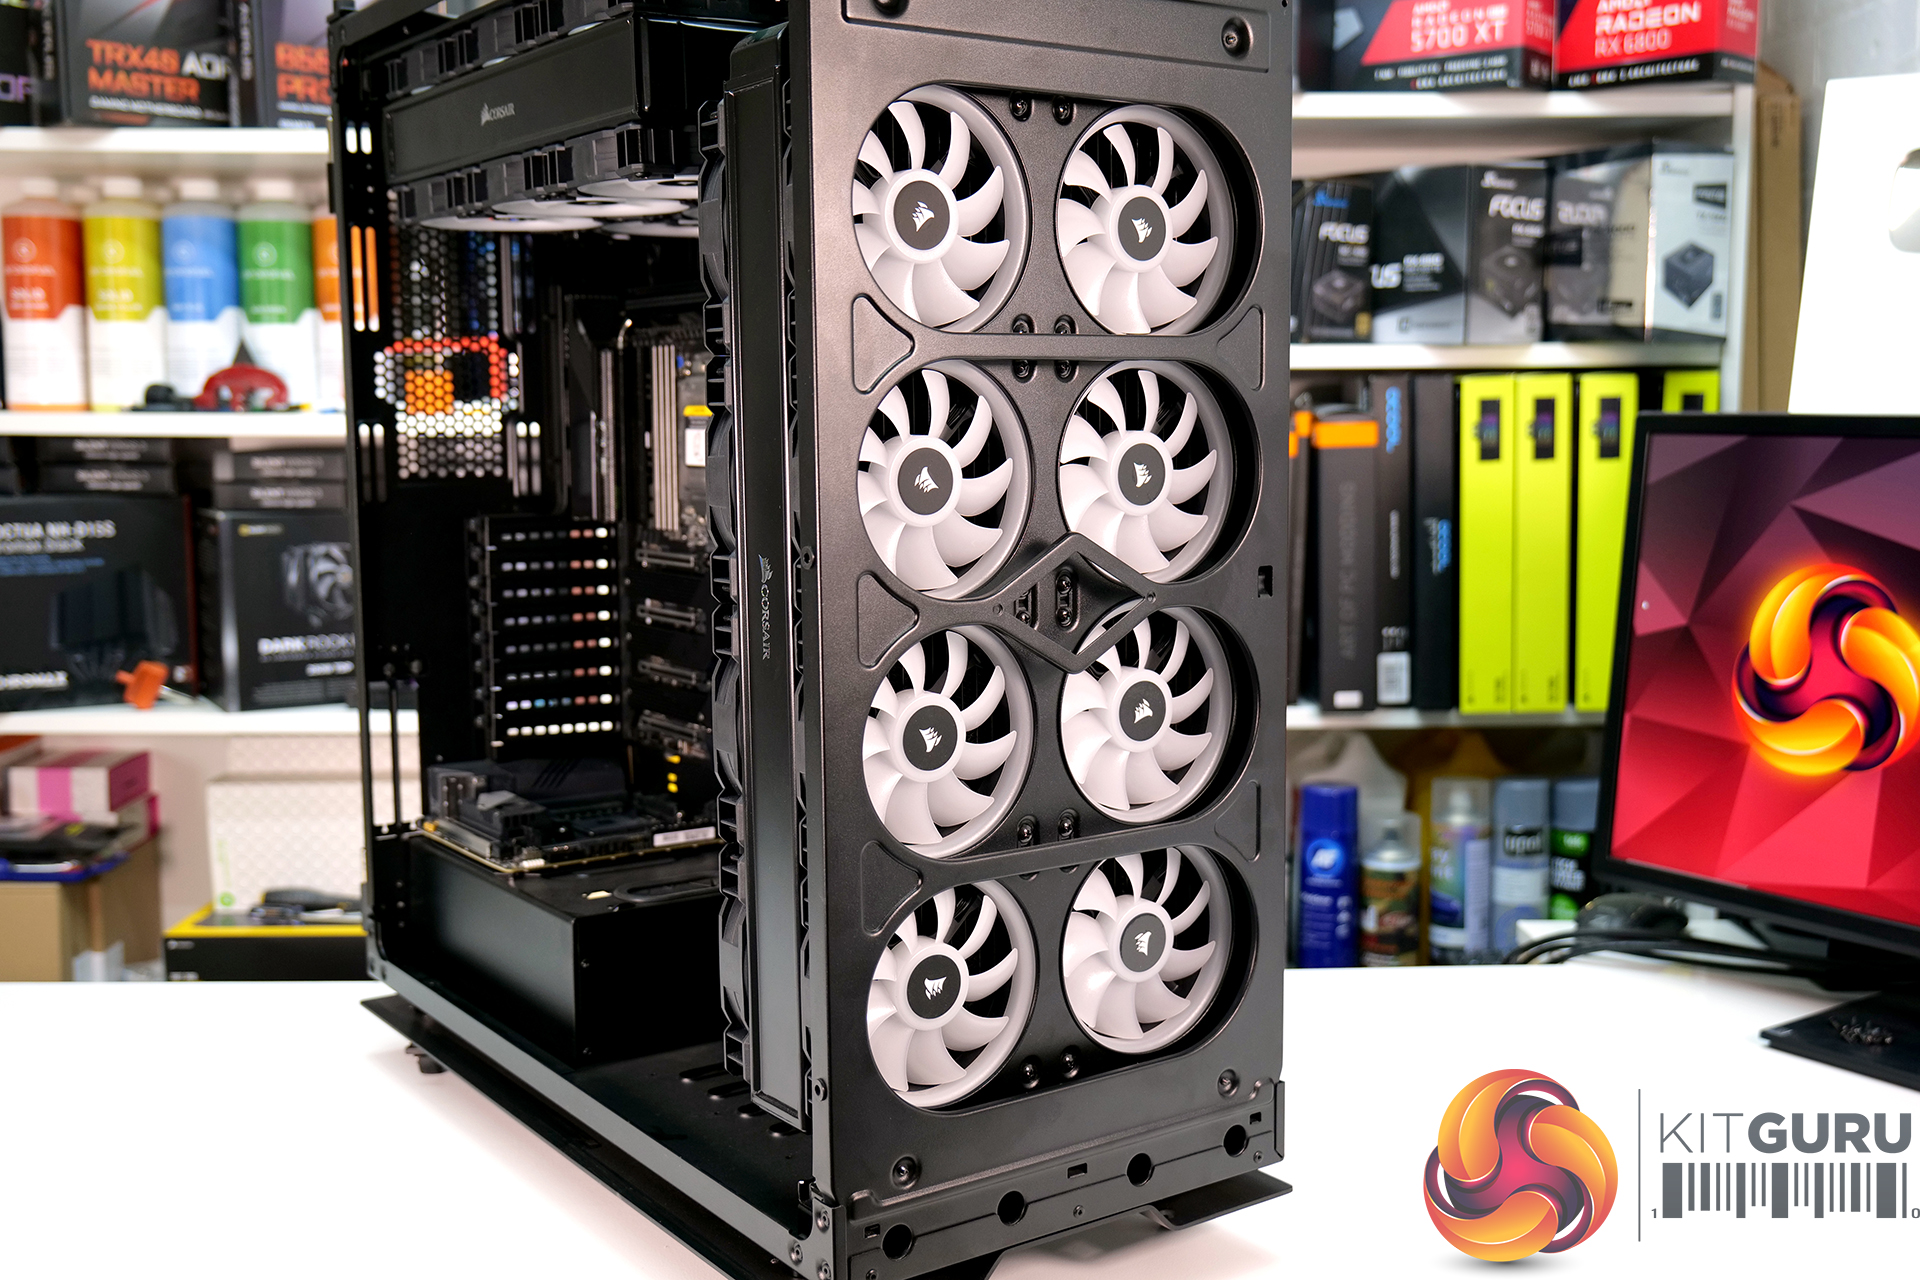
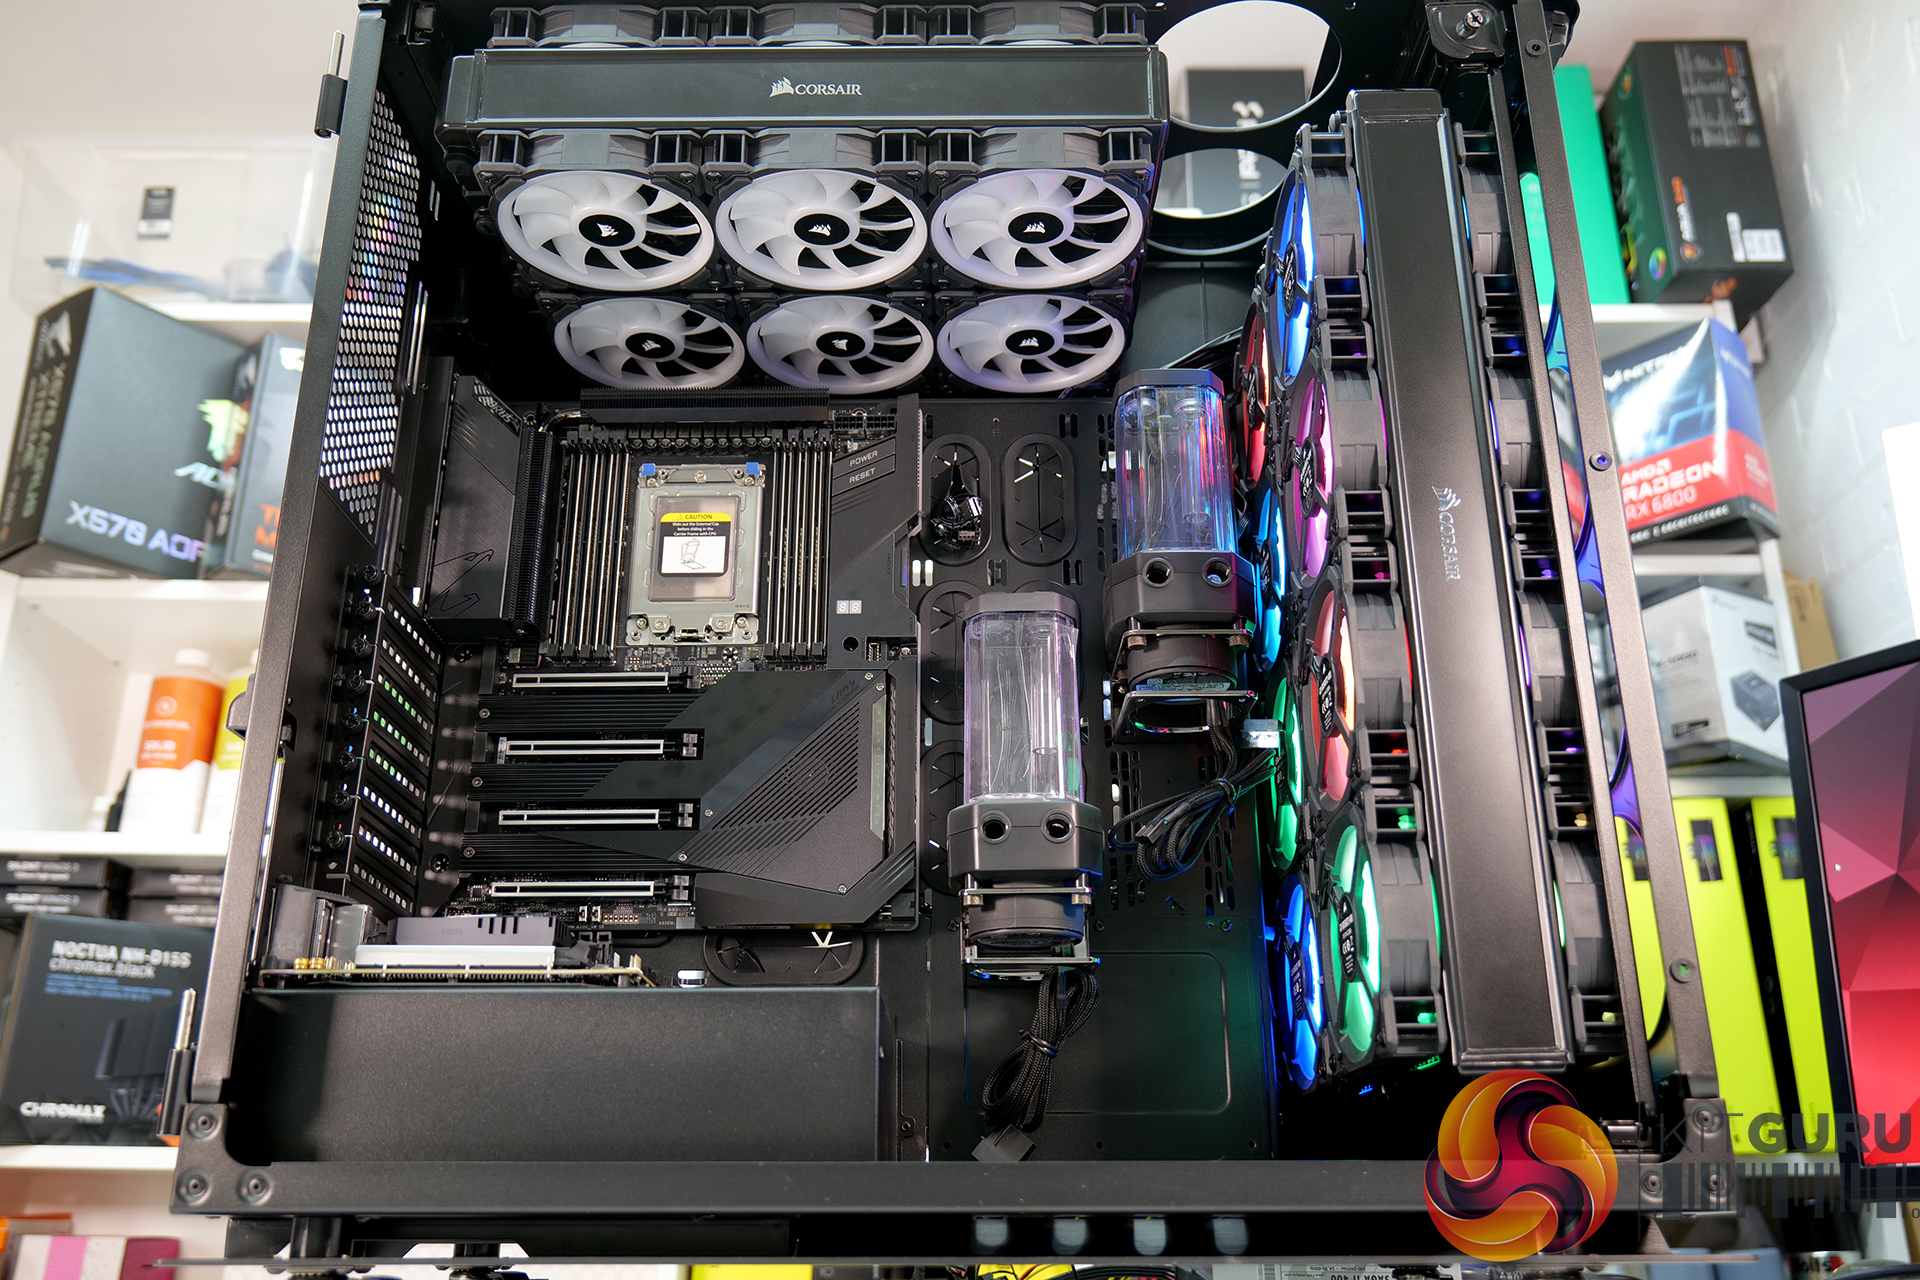
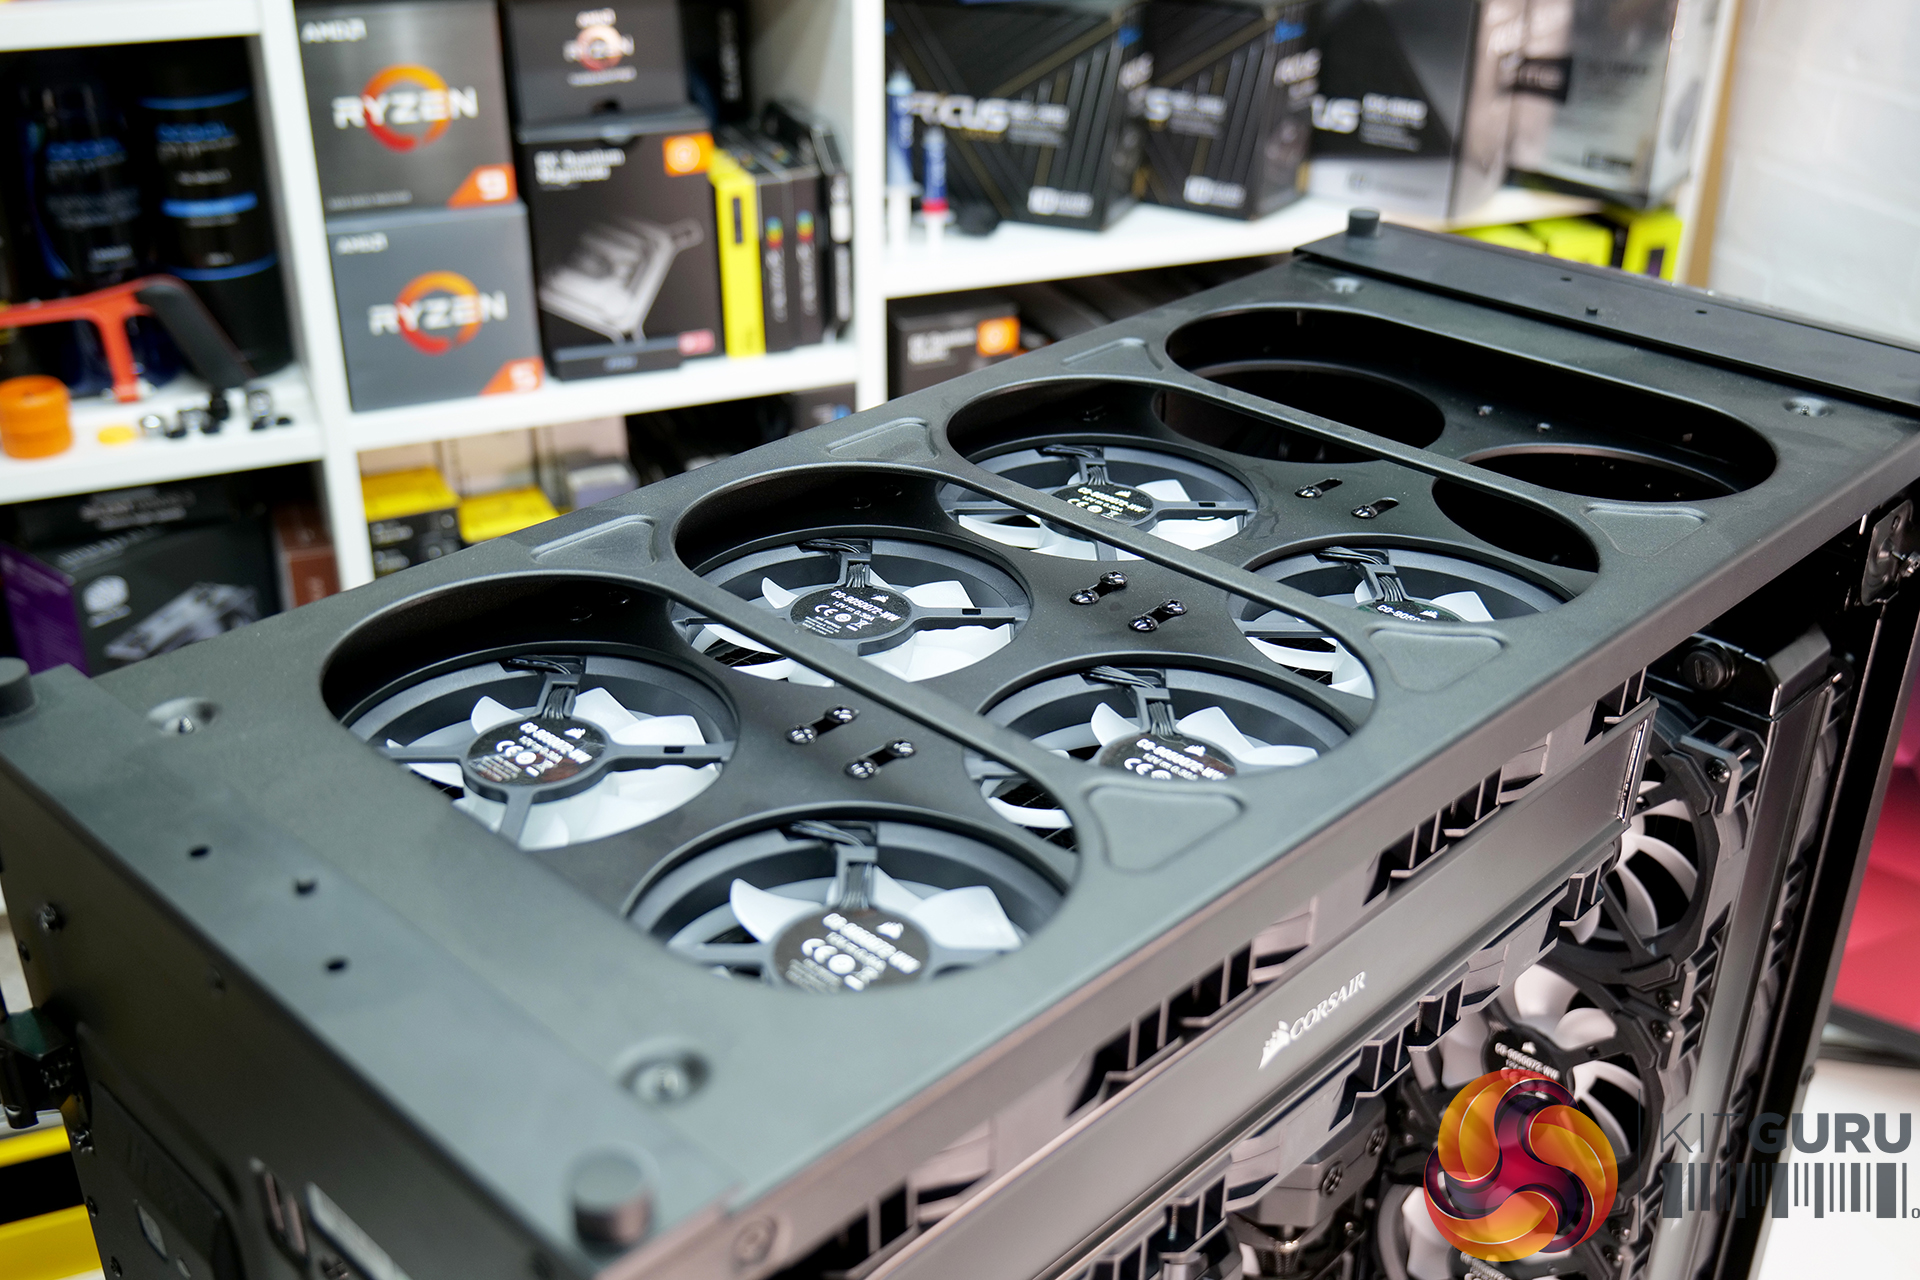
At the front of the chassis, there is space on the radiator “drawer” for mounting two 480mm radiators, which is perfect as this fits in with our requirements. However, up top the stock radiator bracket is designed for only a single 420mm radiator. Our plans include the installation of two 360mm radiators in the top of the chassis so to make this possible a new bracket is needed.
I decided it would be quick and easy to make this bracket by hand rather than having it laser cut, this might have been a mistake but it was a good learning process. To make the new bracket I took a piece of 4mm thick aluminium plate measuring 500mm x 300mm and used the stock front bracket as a template to scribe out the shape on the plate. I then cut out the bracket by hand using a jigsaw with a HSS metal cutting blade and by drilling.
Once the bracket was cut, the rough edges were cleaned up using files and the whole plate was sanded using 240 grit wet and dry sandpaper ready for painting black to match the chassis. The old single 420mm bracket was chopped and the ends mated to the aluminium plate to allow the new dual 360mm radiator bracket to fit back in the existing drawer runners. Once painted, the new bracket fit perfectly into place and looked as good as stock.
System Specification
Main System
- CPU: AMD Ryzen Threadripper 3970X
- Motherboard: Gigabyte TRX40 Aorus Xtreme
- Memory: 64GB (8 x 8GB modules) Corsair Dominator Platinum RGB 3600MHz C16
- Graphics Card: Gigabyte RX 6900 XT Gaming OC
- Storage 1: 2TB Corsair MP600 Core PCIe Gen4 M.2 NVMe SSD
- Storage 2: 4TB Samsung 870 QVO 2.5” SATA SSD
- Power Supply: Corsair AX1600i
- Chassis: Corsair Obsidian 1000D
Second System
- CPU: AMD Ryzen 9 5900X
- Motherboard: Gigabyte X570I Aorus Pro WiFi
- Memory: 32GB (2 x 16GB modules) Corsair Dominator Platinum RGB 4000MHz C16
- Graphics Card: AMD Radeon RX 6800 XT Reference Edition
- Storage 1: 1TB Corsair MP600 Core PCIe Gen4 M.2 NVMe SSD
- Storage 2: 2TB Samsung 870 QVO 2.5” SATA SSD
- Power Supply: Corsair SF750
Cooling
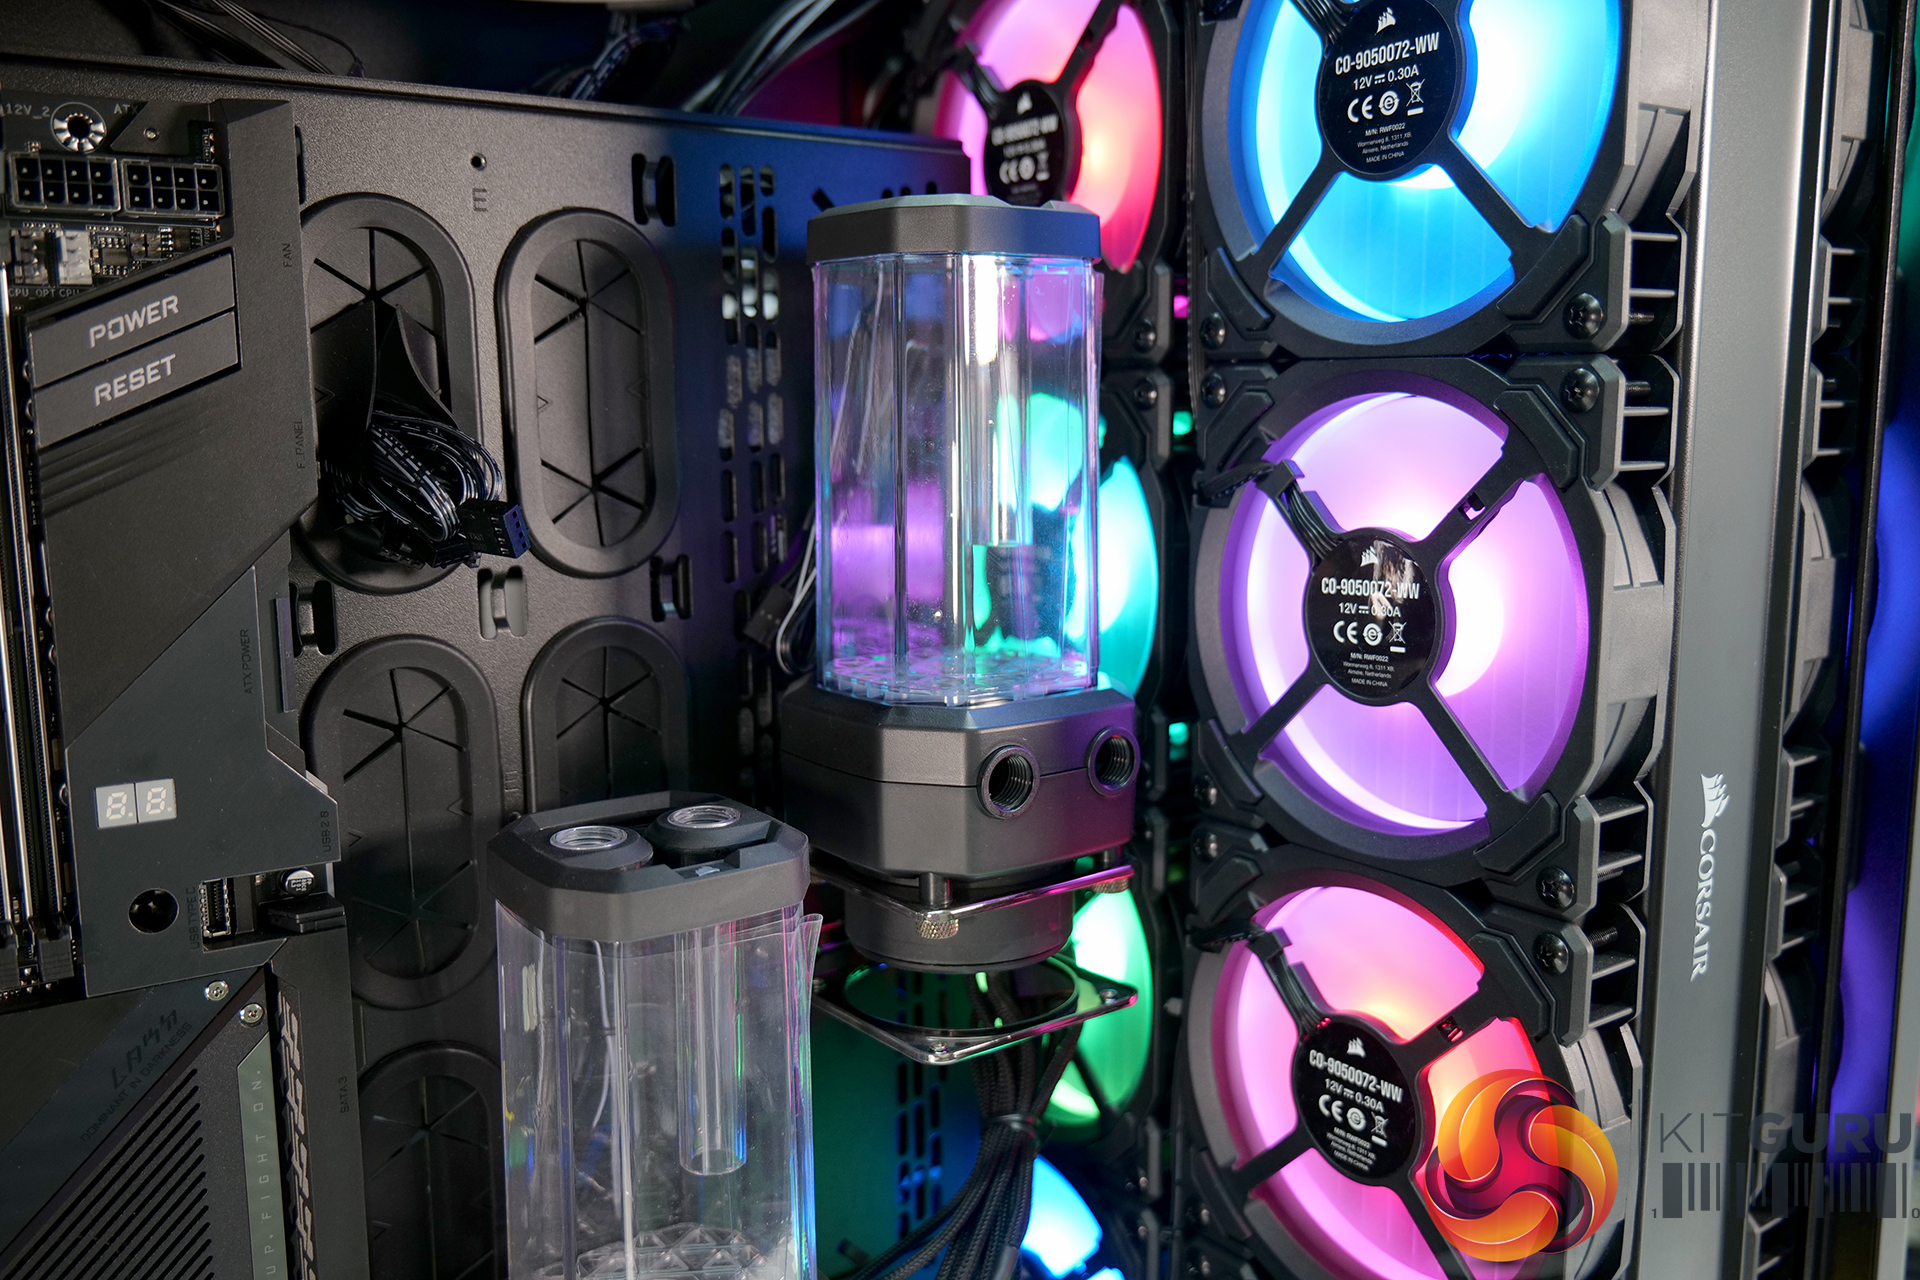
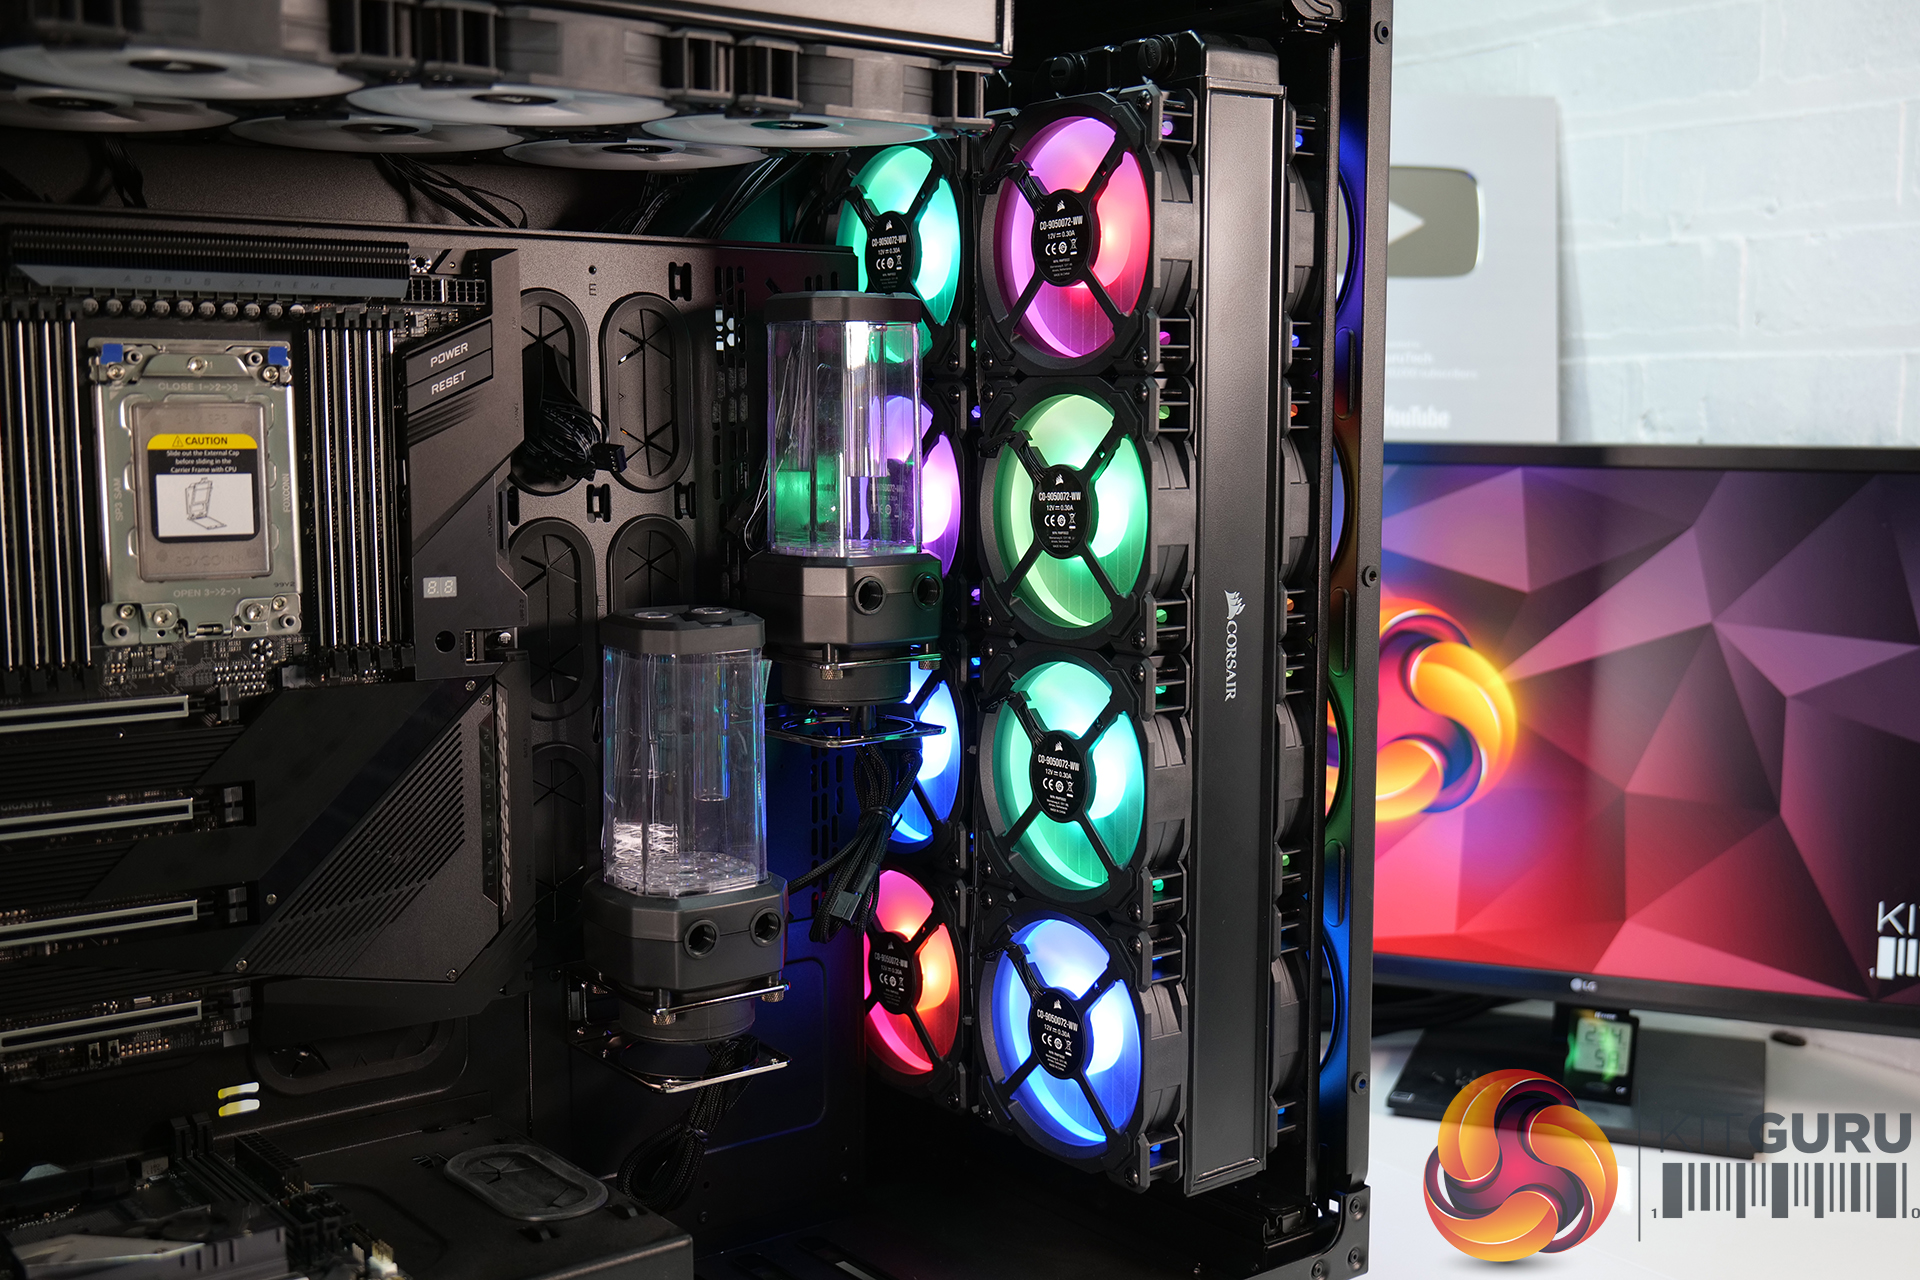
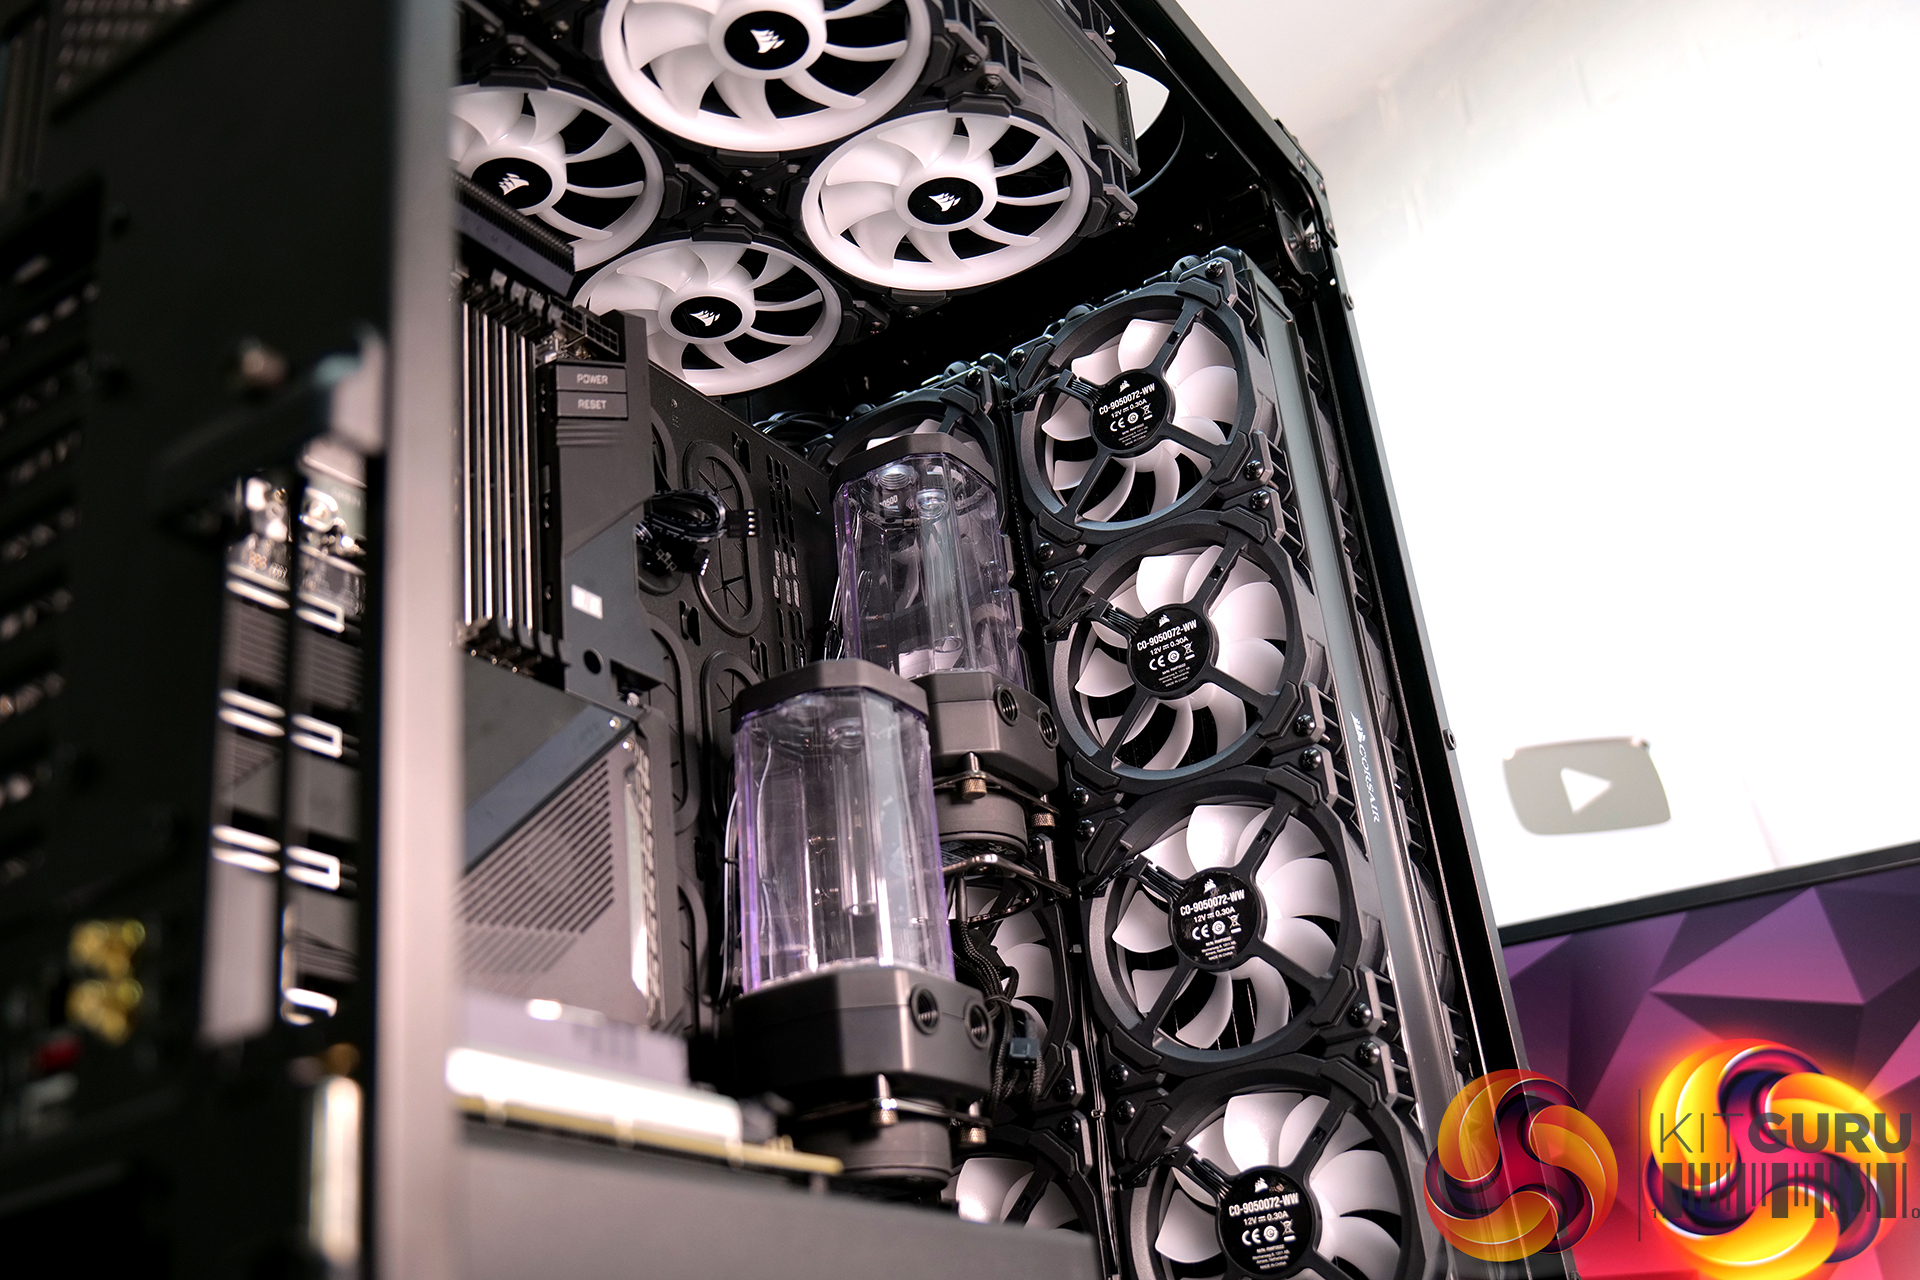
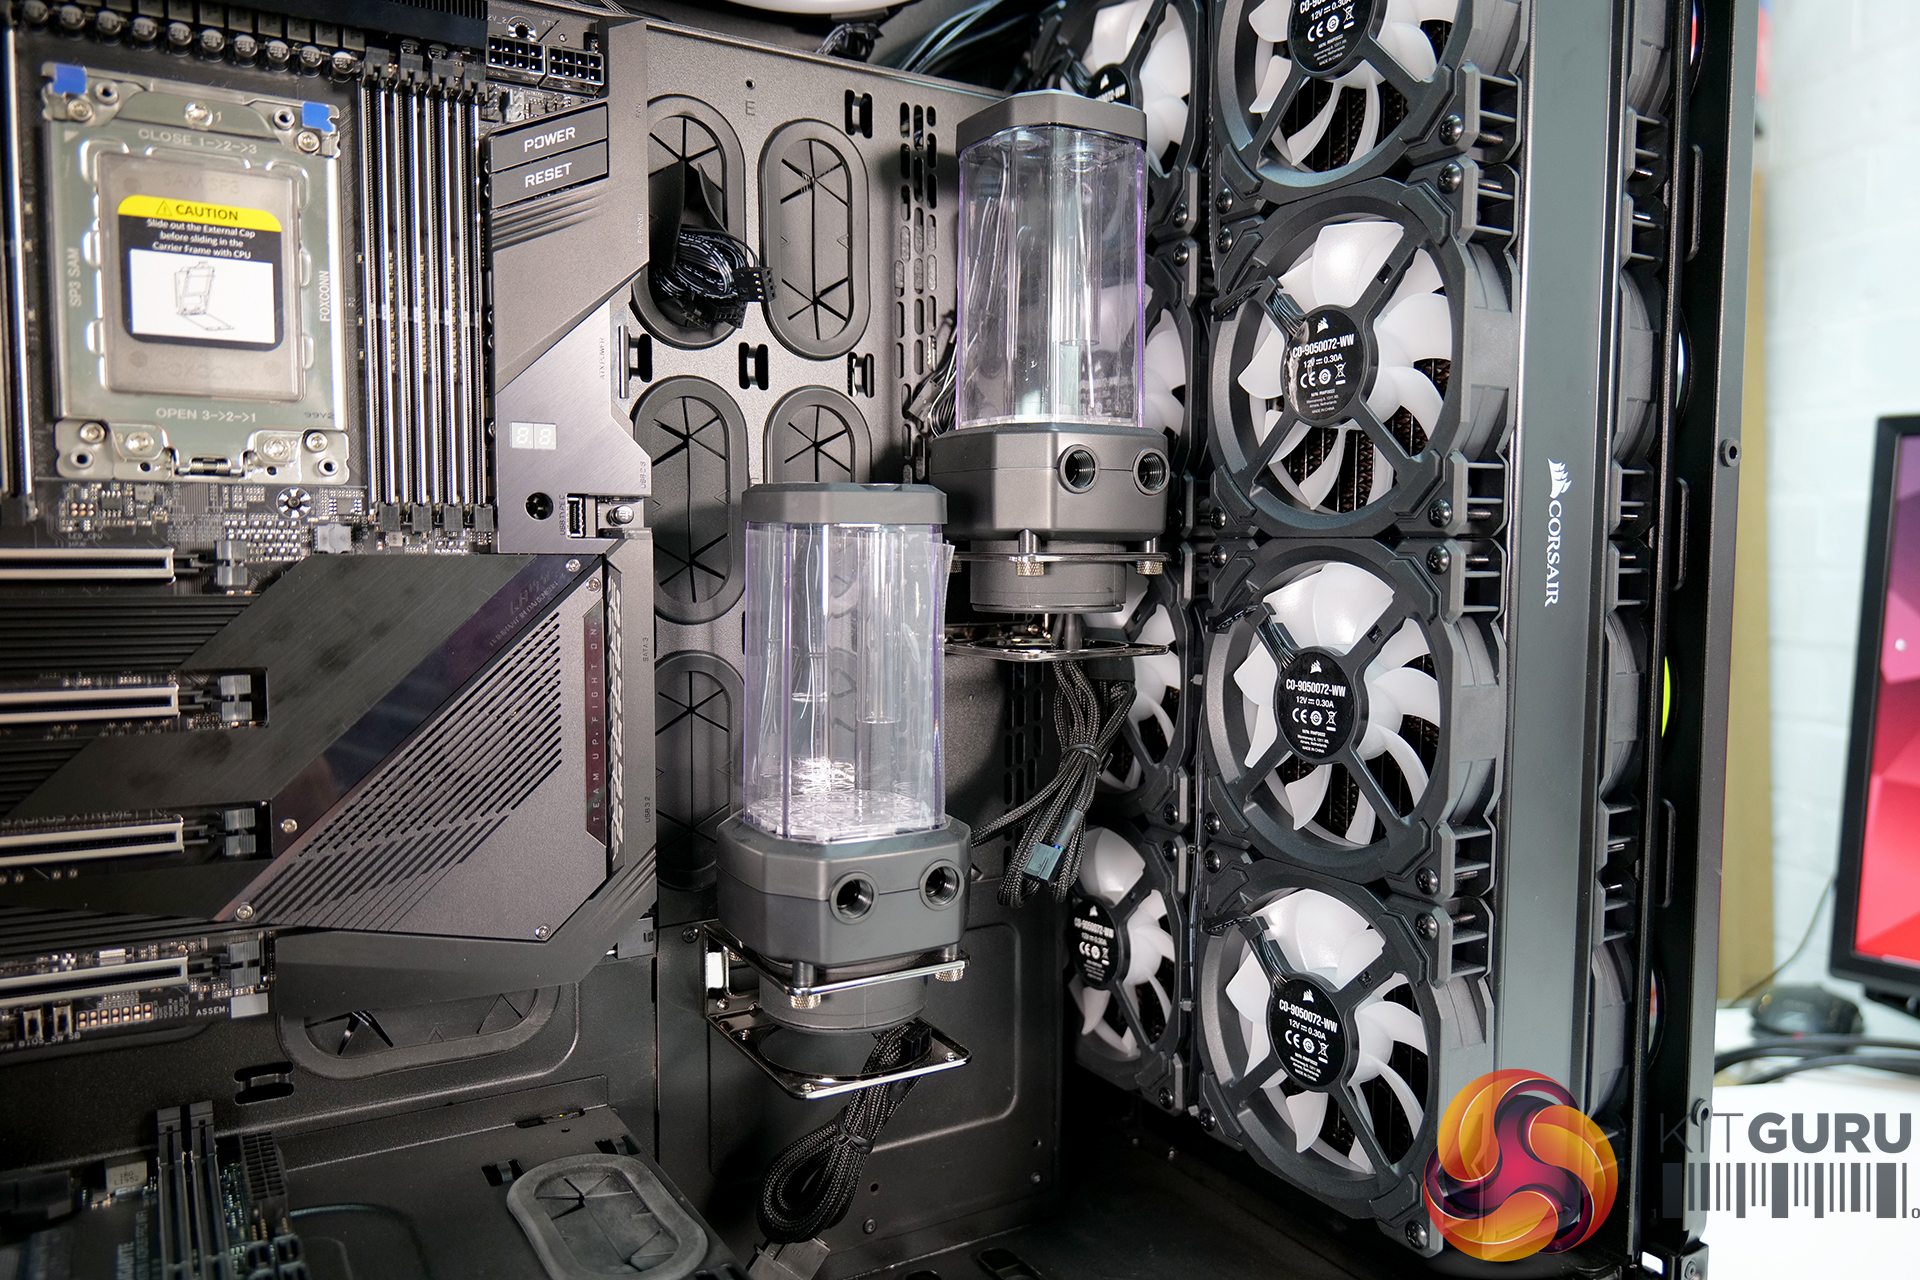
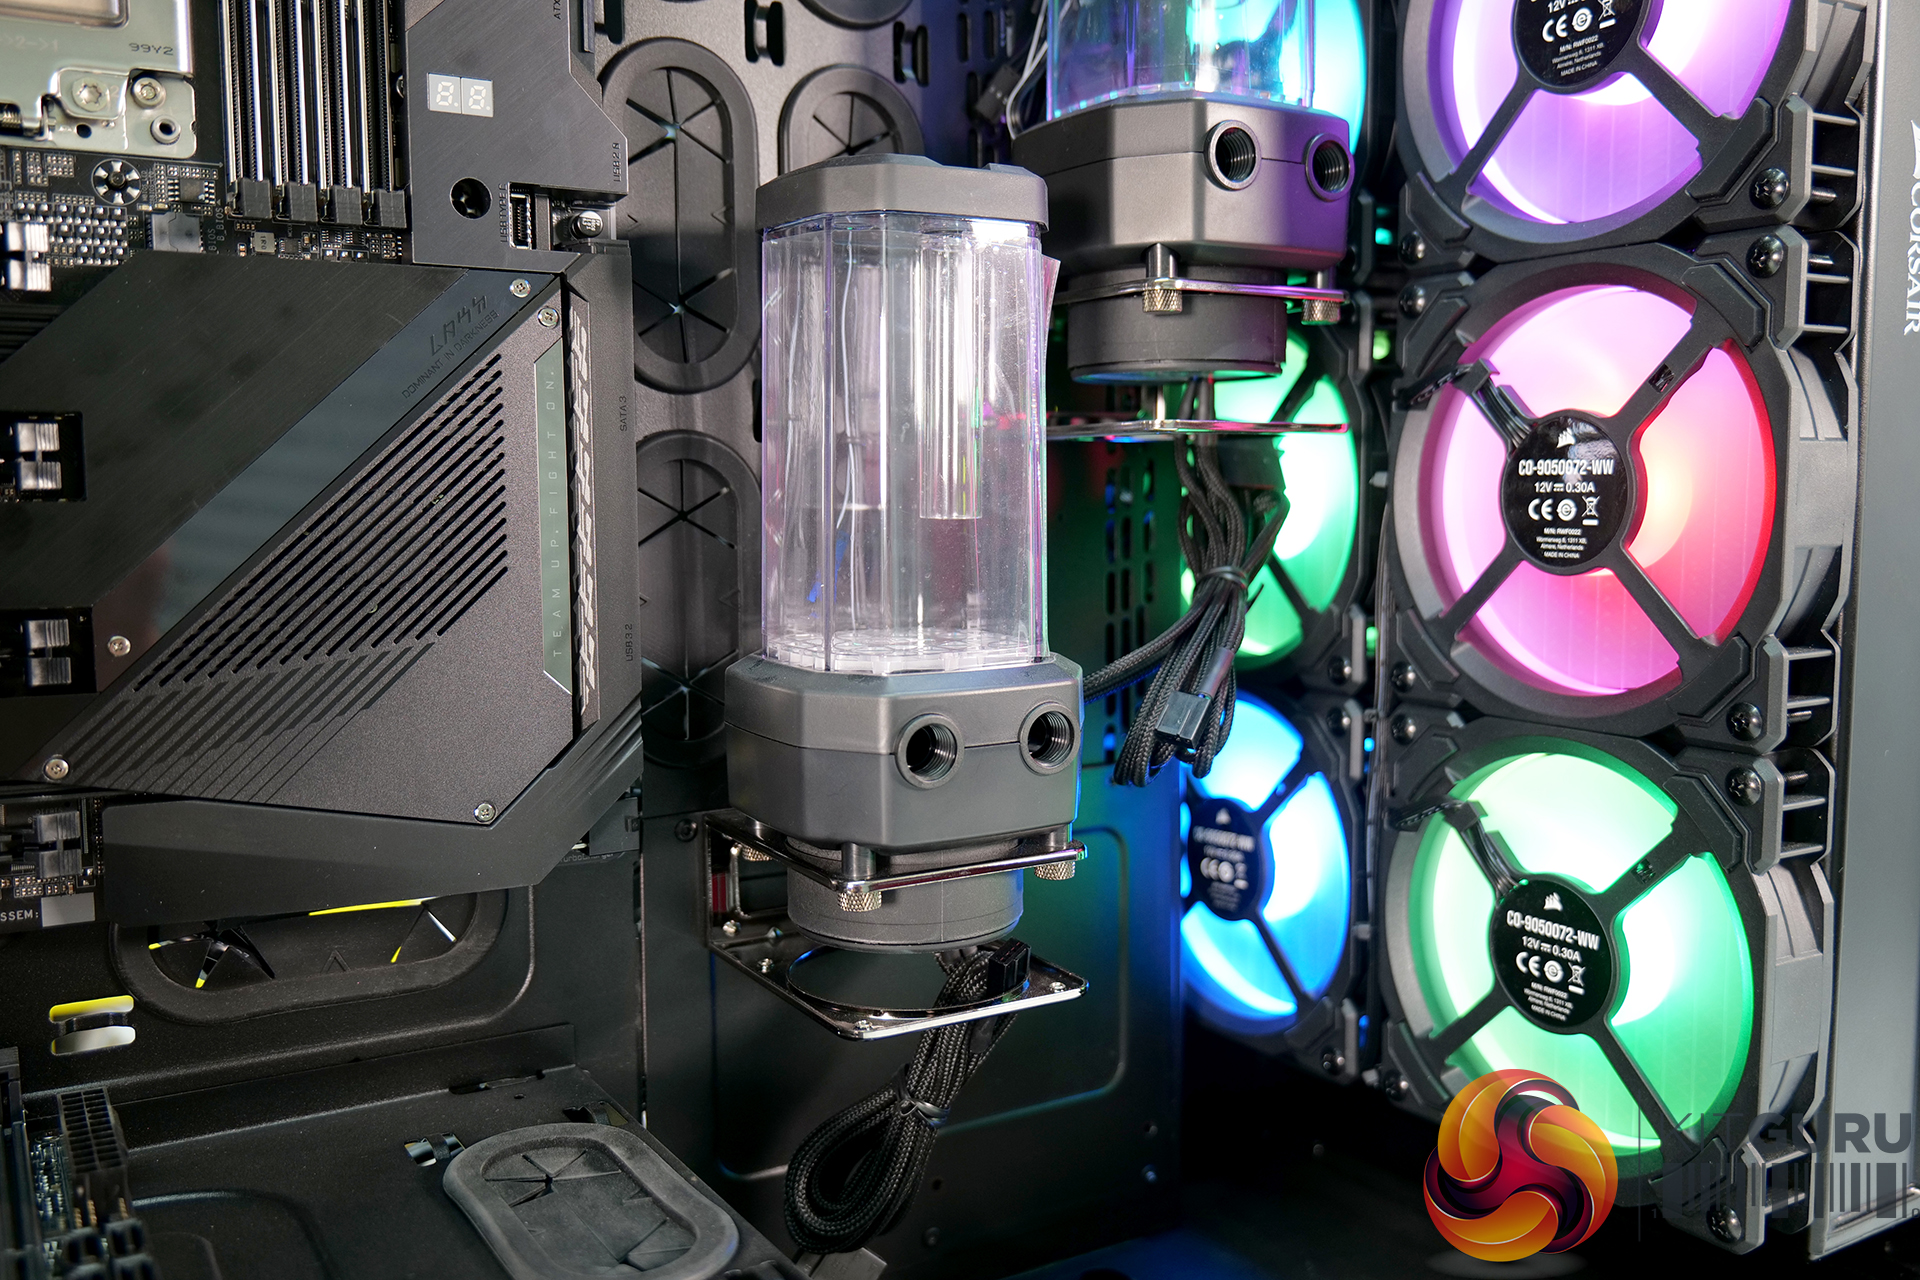
- Pump/res: 2 x Hydro X XD5 RGB Pump/Reservoir Combos
- Radiators: Hydro X XR7/XR5 480mm/420mm Water Cooling Radiators
- GPU Water blocks: Hydro X XG7 RGB RX 6900 Reference Edition / EK-Quantum Vector Master RX 6800XT/6900XT D-RGB
- Fittings: XF Hardline 14mm OD
- Tubing: XT Hardline 14mm Tubing — Satin Transparent
- System Fans: 18 x Corsair LL120 RGB, 12 x Corsair LL140 RGB
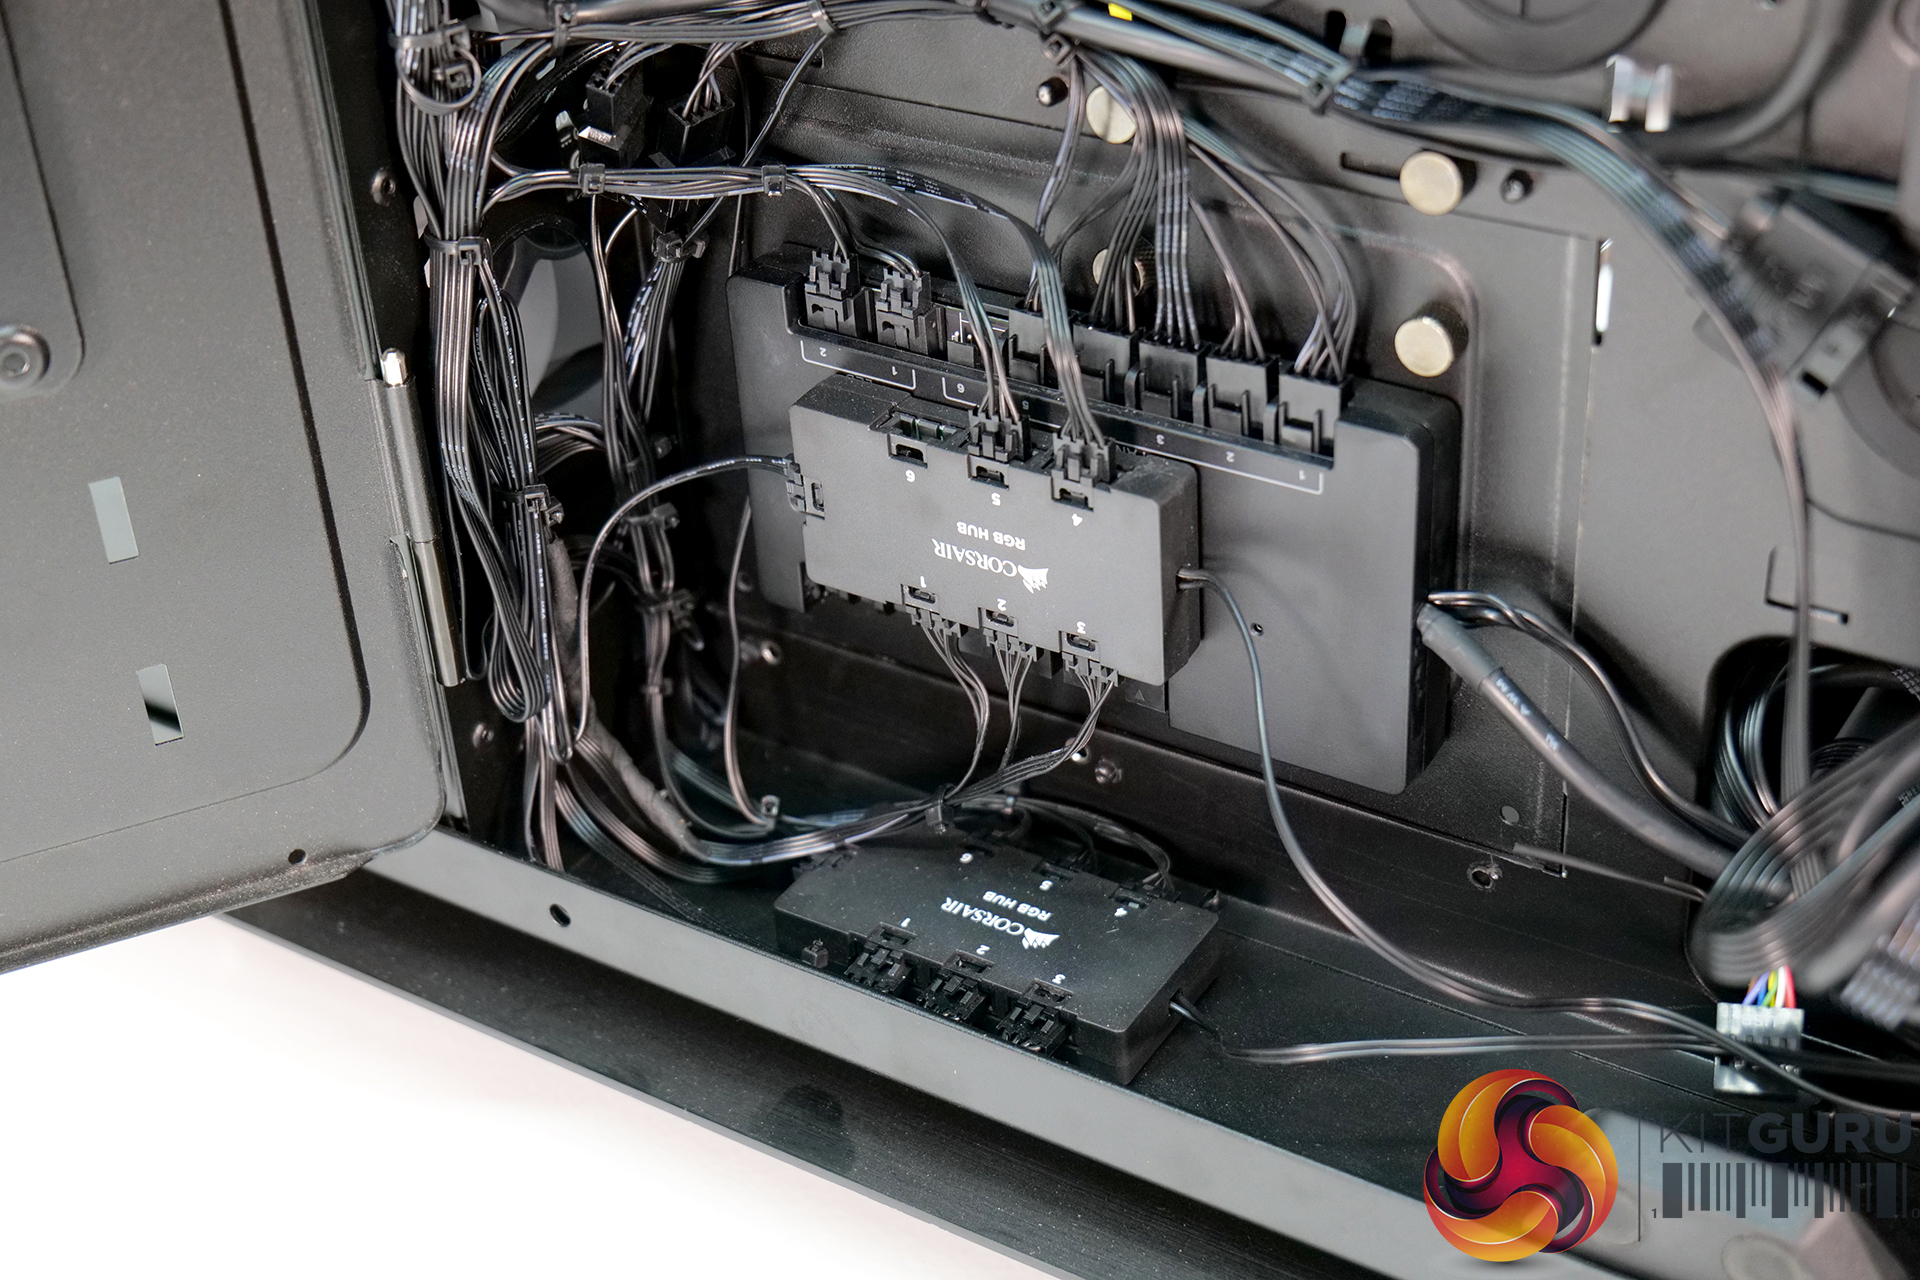
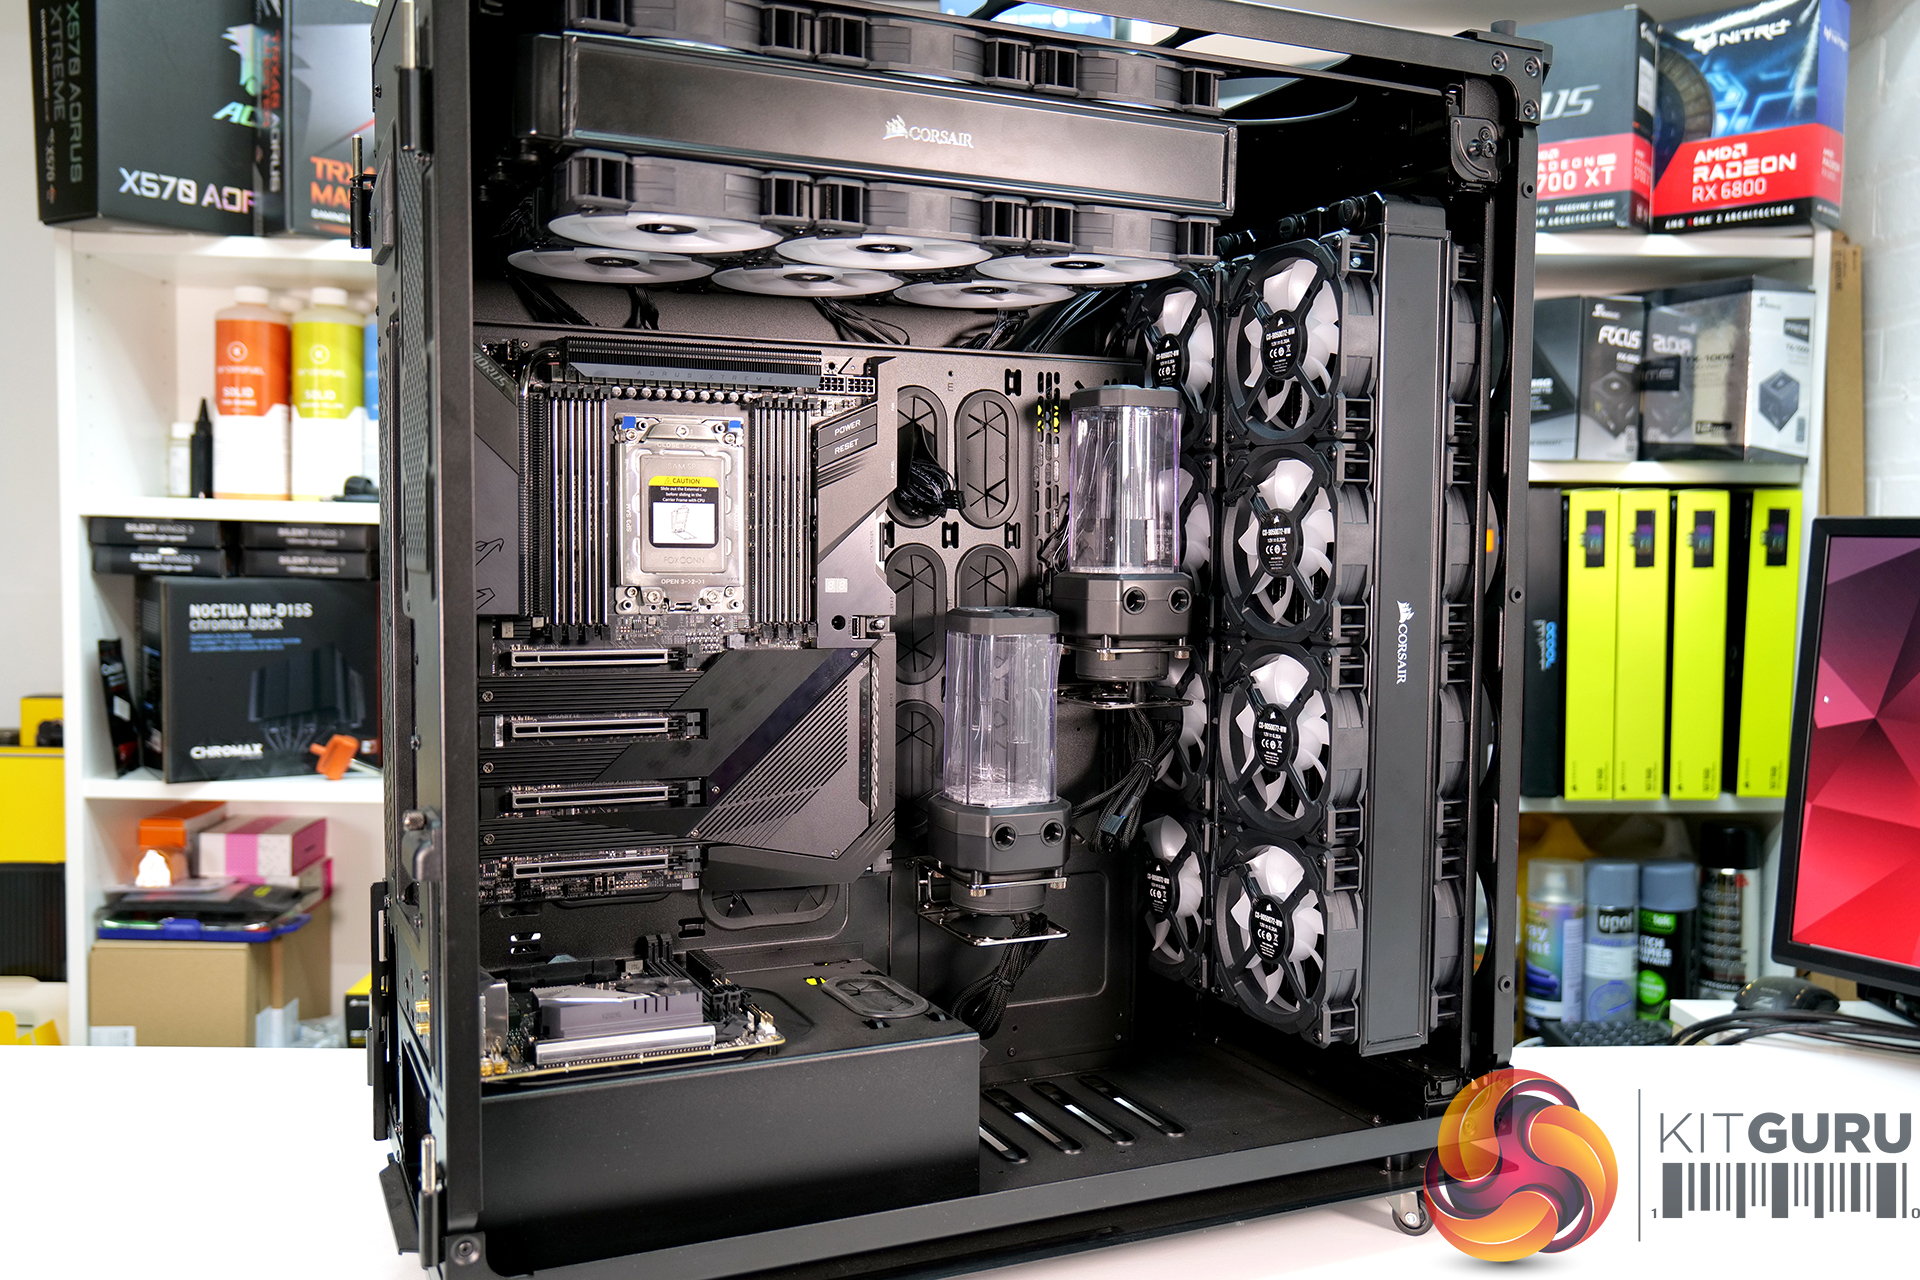
Another important part of the system that needed some working out was how to power and control all the fans. In the front of the case alone there are 16 fans that have a cable for power/speed control as well as a separate cable for RGB lighting, so there is a huge number of cables to manage just for the fans. Both systems will be cooled by a 480mm and 360mm radiator each so there are separate “banks” of fans for each system, making powering and controlling them a bit of a headache.
I decided to power all the fans via the power supply of the main ATX system, so when that system is turned on all the fans will spin up. The downside to this is that when running the mini ITX system alone, the main ATX system will need to be powered up just to power the fans. The alternative to this would be to power each bank of fans by its own system power supply, but this might look odd if only half the system fans are spinning and producing RGB lighting when only one system is running.
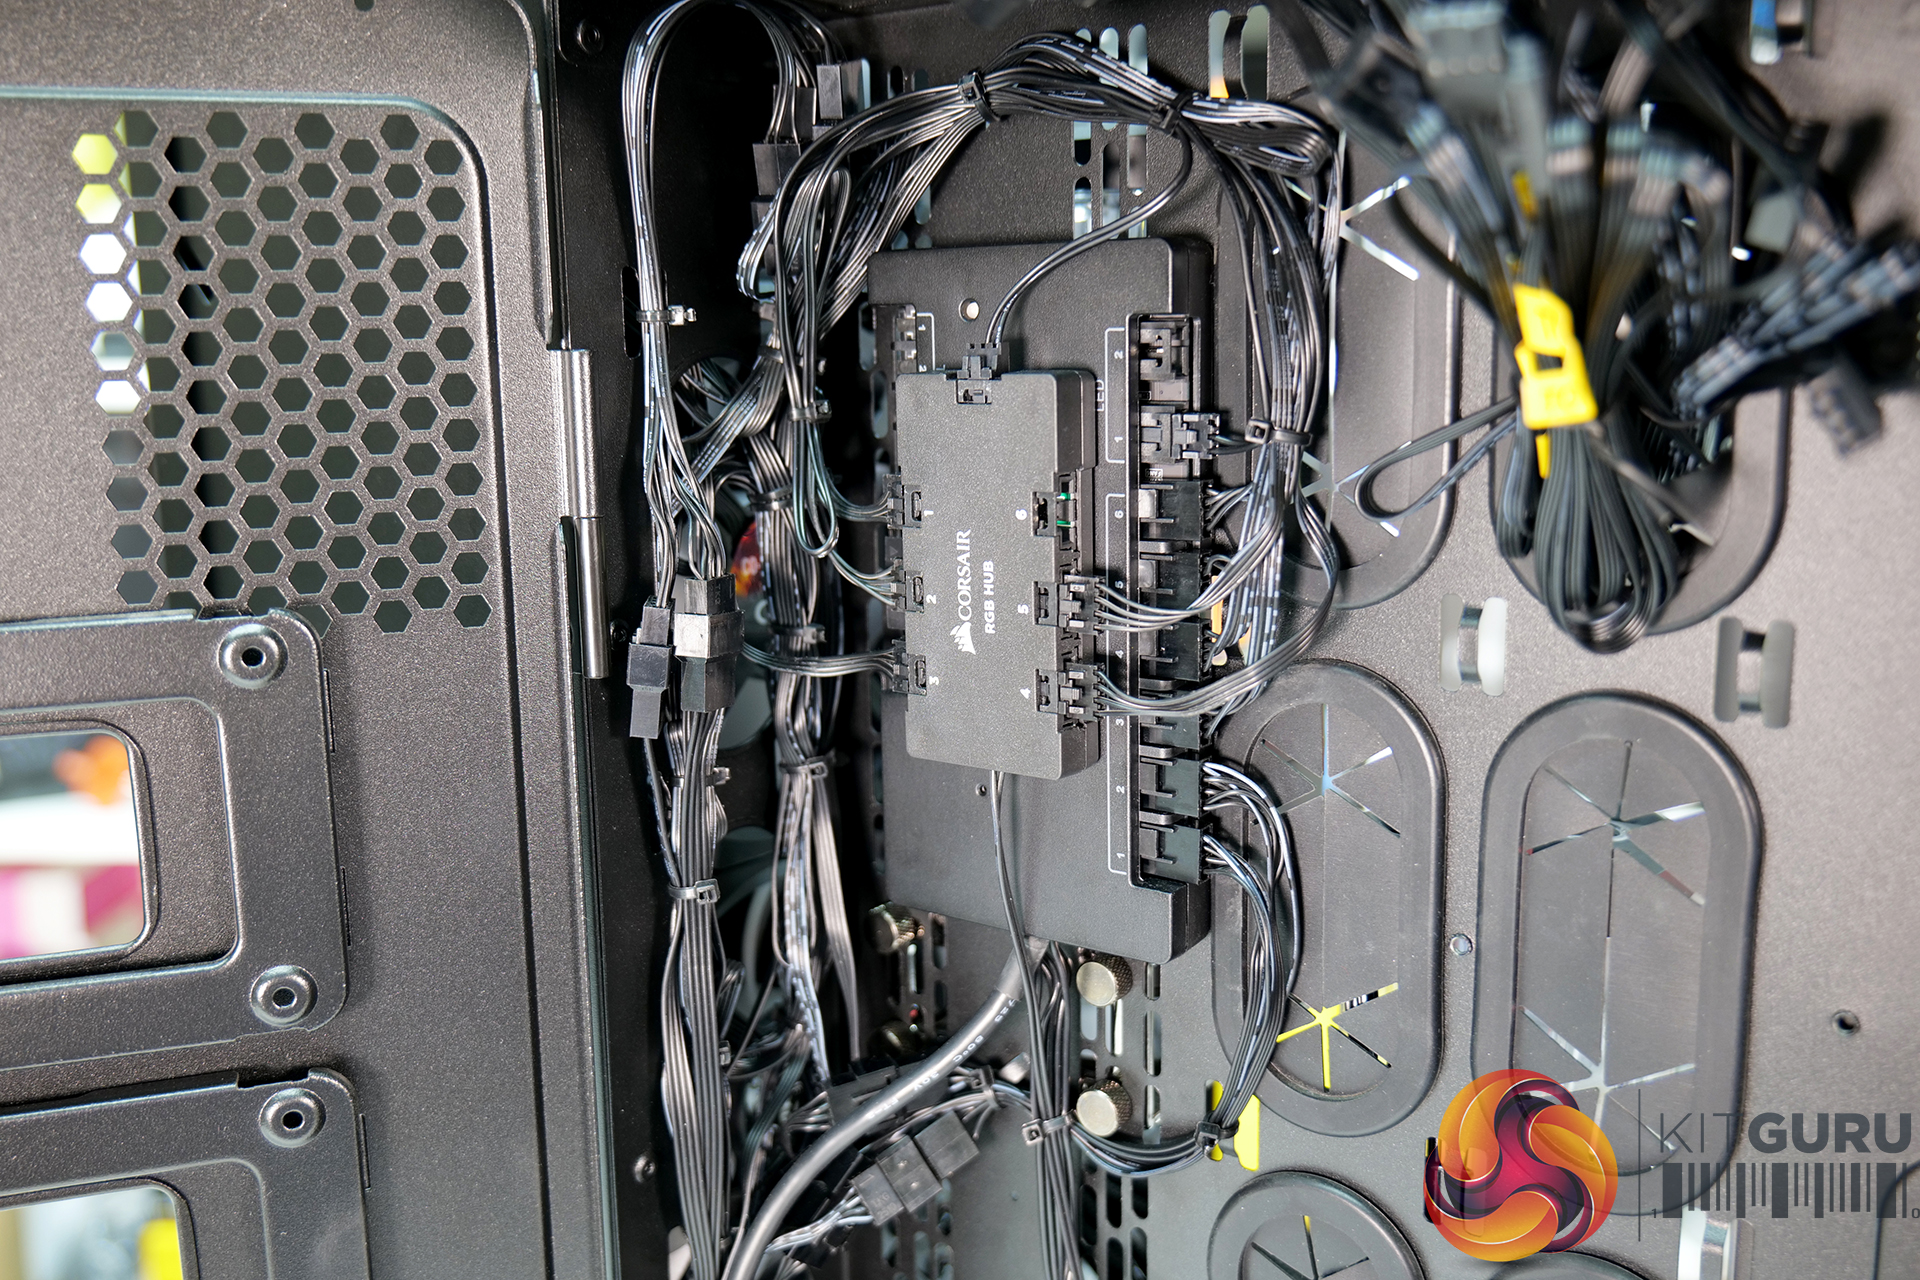
With enough Corsair Commander Pro units I can configure each system to have its own PWM fan control, so at least the fans attached to the radiators for the specific system can react to CPU/GPU temperature changes and increase/decrease fan speed to keep the component temperature under control. In total, four Commander Pro units are required, two connected by USB to the main system motherboard and two to the mini ITX system which is explained in more detail in the video.
With all these Commander Pro units and Corsair RGB hubs, there is a lot of wiring. Fortunately, the Corsair Obsidian 1000D chassis does a good job of hiding cables with its metal doors on the right-hand side of the case. Nevertheless, it is still good practice to neaten cables regardless. Connecting all the fan power cables and RGB cables is a laborious job and took me the best part of half a day just to connect and manage the wiring for the front radiator fans alone.
Learn more about AMD:
Radeon 6000 series: https://www.amd.com/en/graphics/amd-radeon-rx-6000-series
Ryzen: https://www.amd.com/en/processors/ryzen
Ryzen Threadripper: https://www.amd.com/en/products/ryzen-threadripper
Follow AMD on social media:
AMD UK
AMD US/HQ
- https://twitter.com/AMDRyzen
- https://twitter.com/Radeon
- https://twitter.com/AMDGaming
- https://www.instagram.com/amd/
- https://www.facebook.com/AMDRyzenRadeon
- https://www.facebook.com/AMDGaming
Discuss on our Facebook page HERE.
KItGuru says: The AMD Behemoth build is progressing at a steady pace due to the sheer amount of work needed on such a huge build, but it is starting to take shape now. Would any of you guys like to sink your teeth into a build of this scale?