

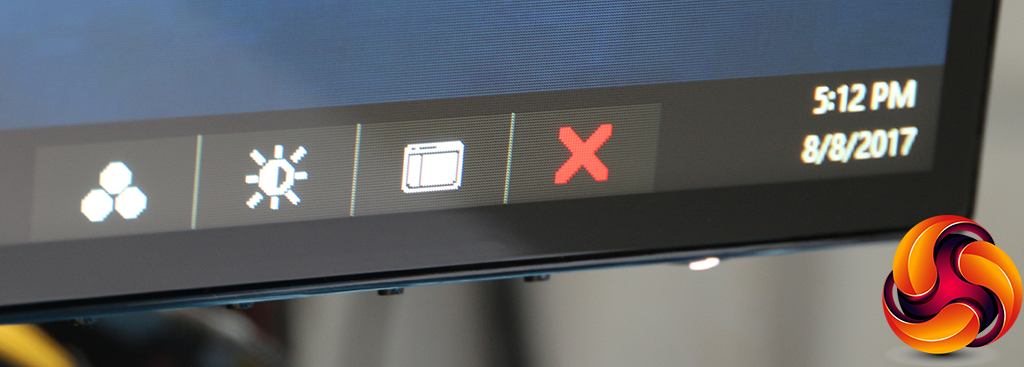
Pushing any of the four OSD buttons calls up a quick menu with three options.
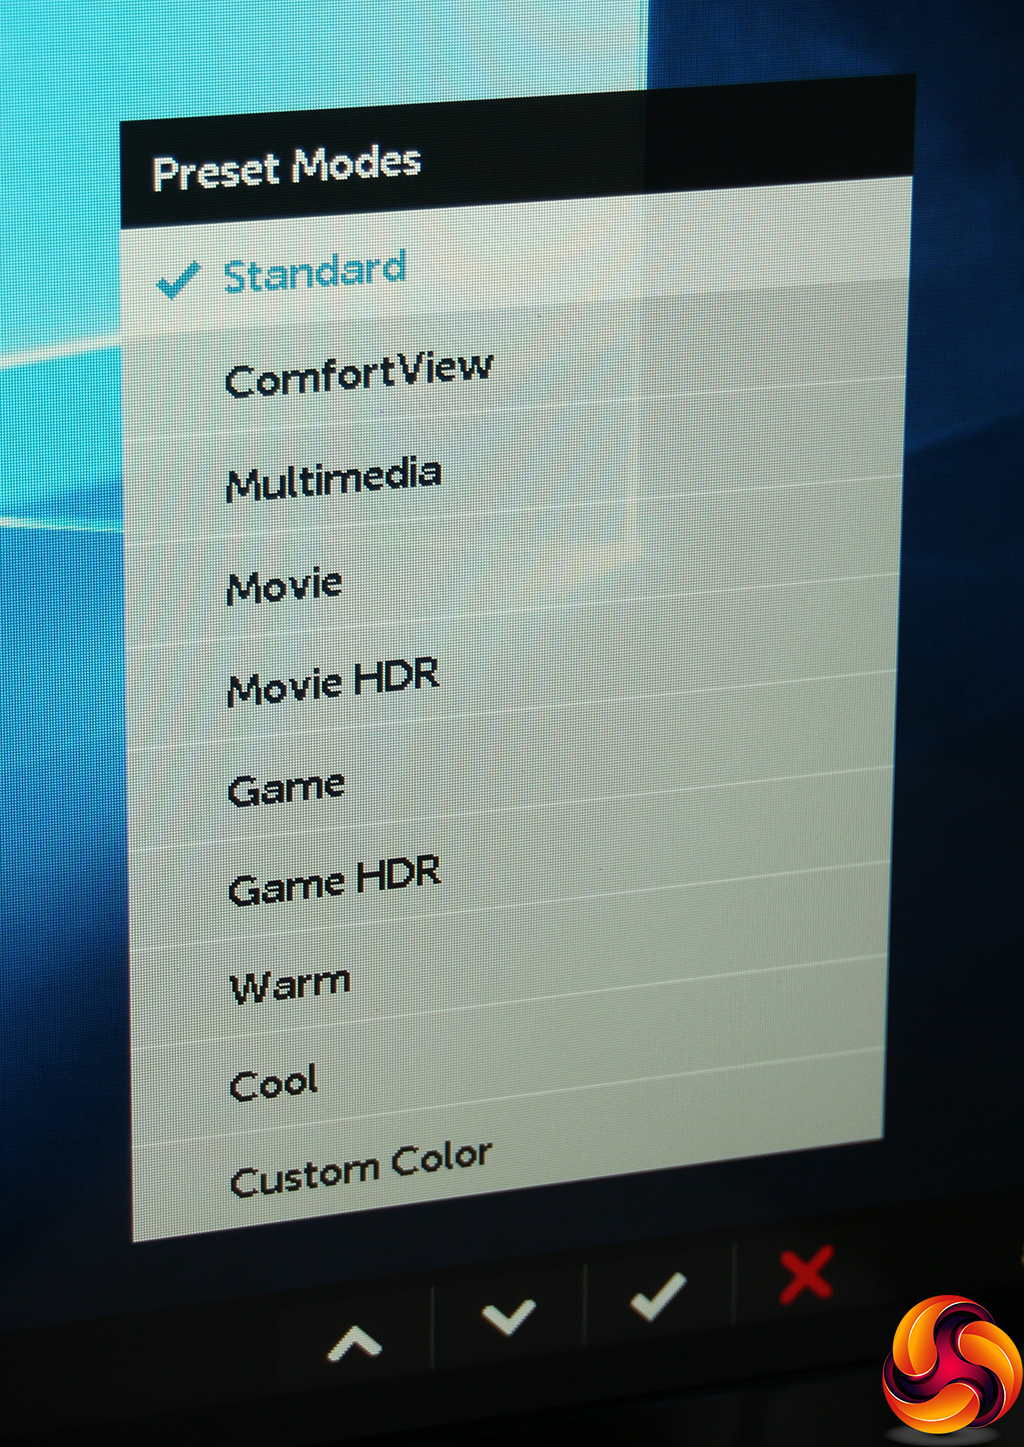
The first option on the quick menu calls up the Preset Modes, of which there are a myriad. Aside from Standard, there's ComfortView, Multimedia, Movie, Movie HDR, Game, Game HDR, Warm, Cool, and Custom Color. This is a healthy variety for most everyday situations. The Custom Color mode reveals RGB sliders.
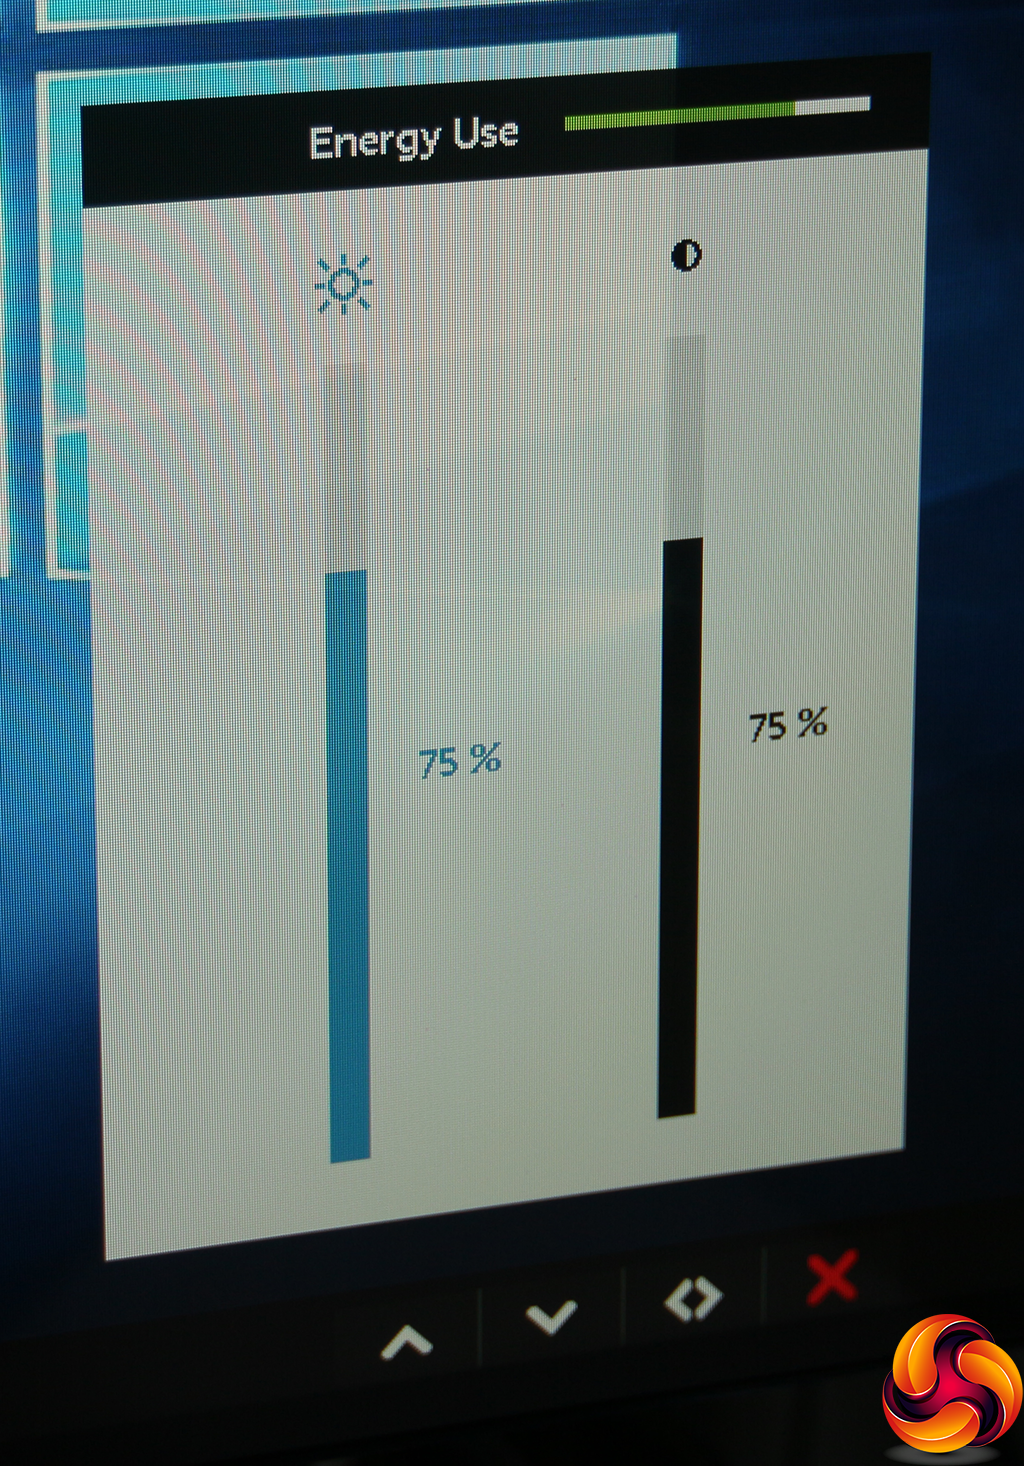
The second quick menu option helpfully includes an energy use graph alongside brightness and contrast controls, so you can see how adjusting the latter benefits your power consumption.
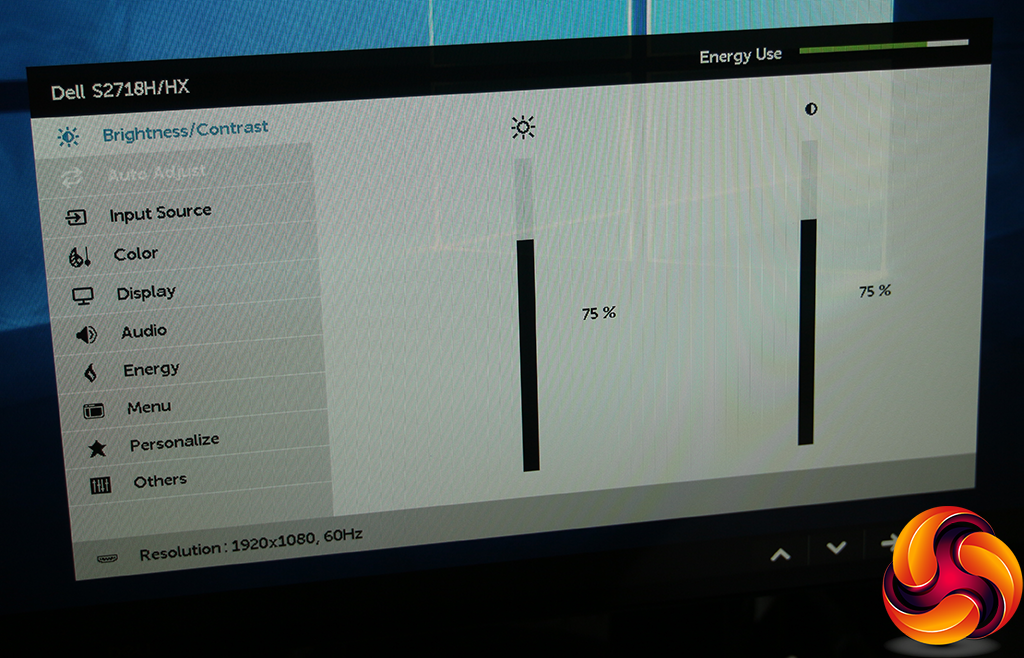
The final quick menu option calls up the main menu, with the default option being Brightness/Contrast. These are the same settings as the quick menu version, including the Energy Use graph.
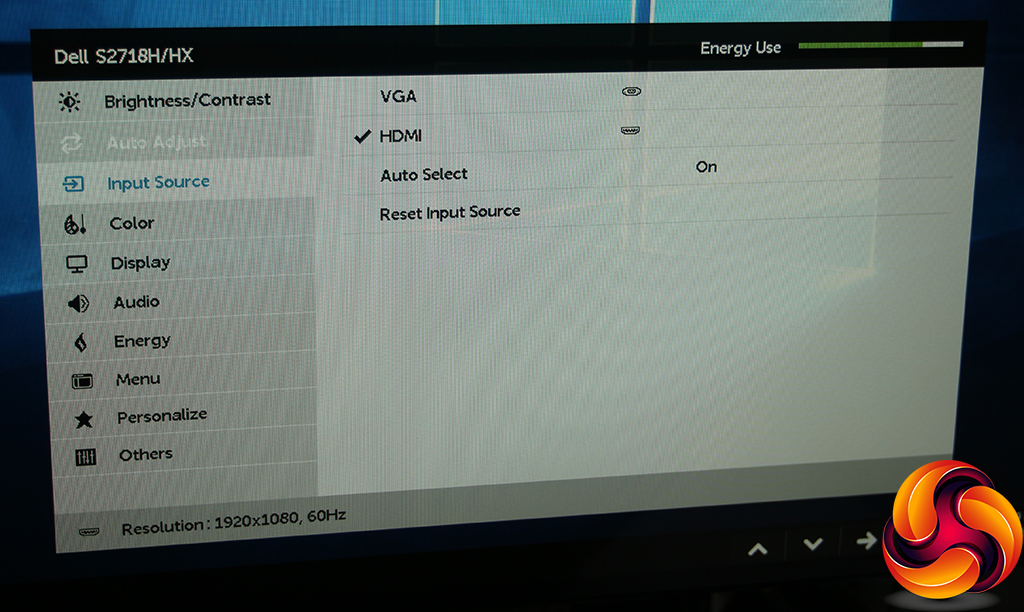
With an HDMI source, the Auto Adjust setting isn't available, so the next main menu option is Input Source, where you can select between the two connections manually.

The Color option gives you another route to the Preset Modes, but also lets you choose between RGB input colour format and YPbPr, as well as resetting to default.
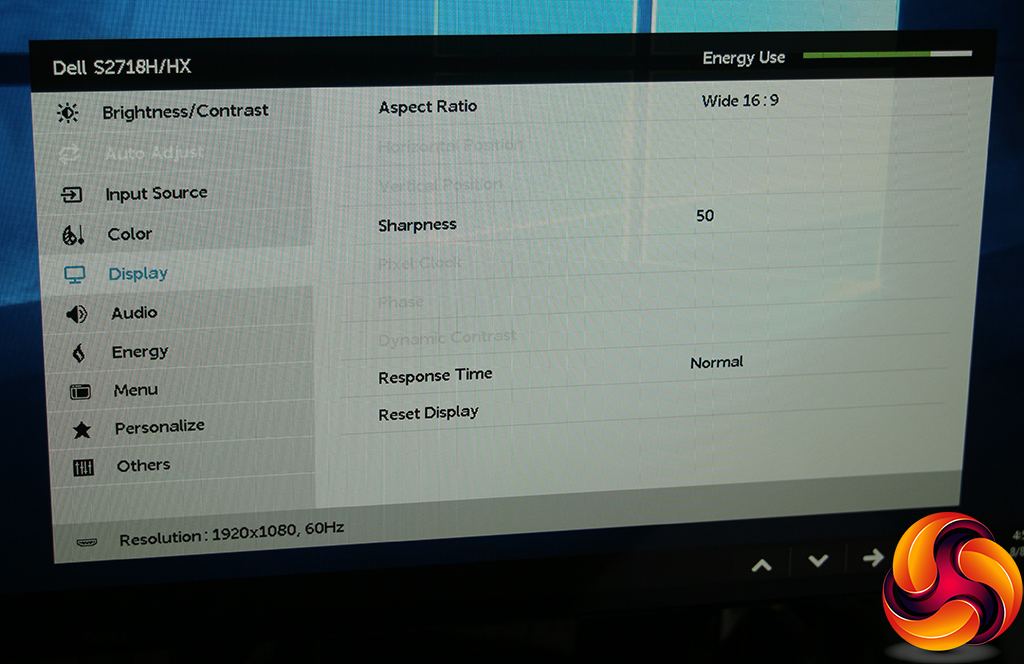
A lot of the options in the Display submenu are greyed out when an HDMI source is used, because they are aimed at adjusting an analog signal. With a digital signal, you're left with switching the aspect ratio, altering the sharpness level (50 by default), and improving the response time. The fast option overdrives the pixels a little for more responsive gaming.
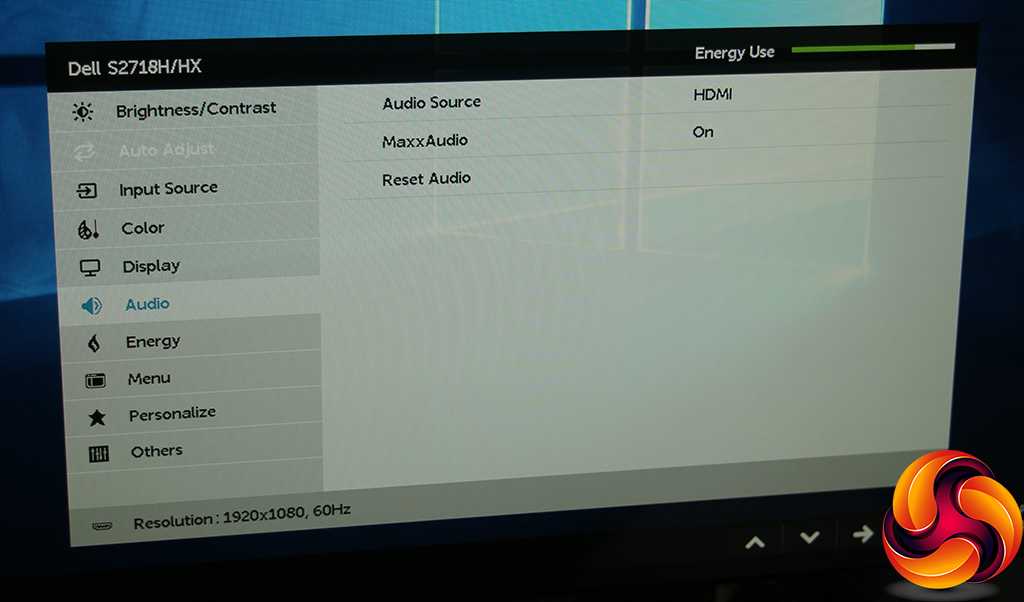
The Audio submenu lets you choose between HDMI or the analog minijack audio input, and you can toggle MaxxAudio. This is a technology Dell has created in partnership with Waves to enhance the sound from the built-in speaker.
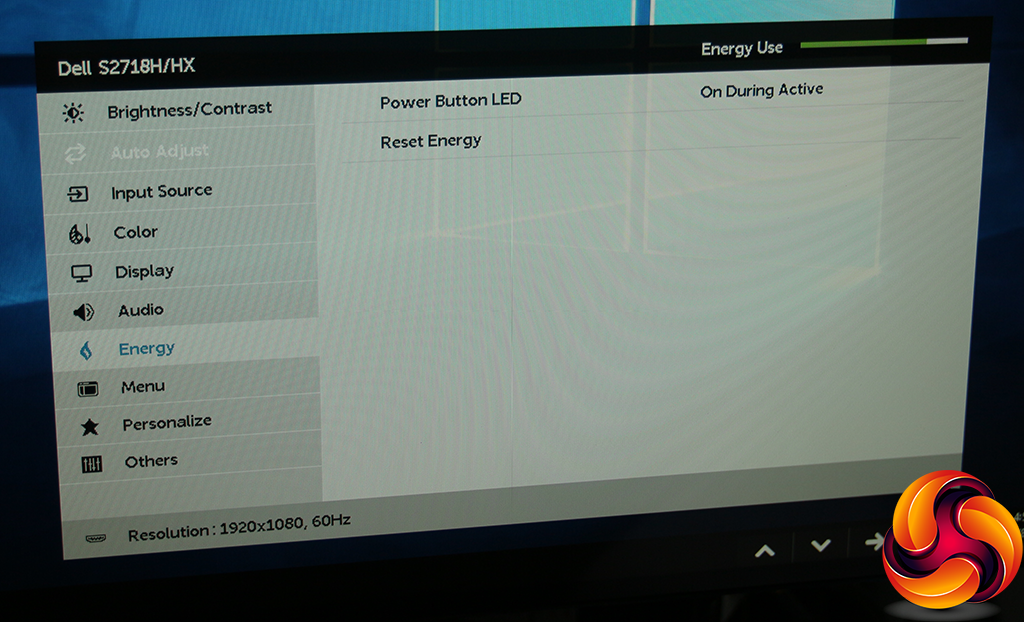
The Energy submenu only seems to control whether the power button is lit.
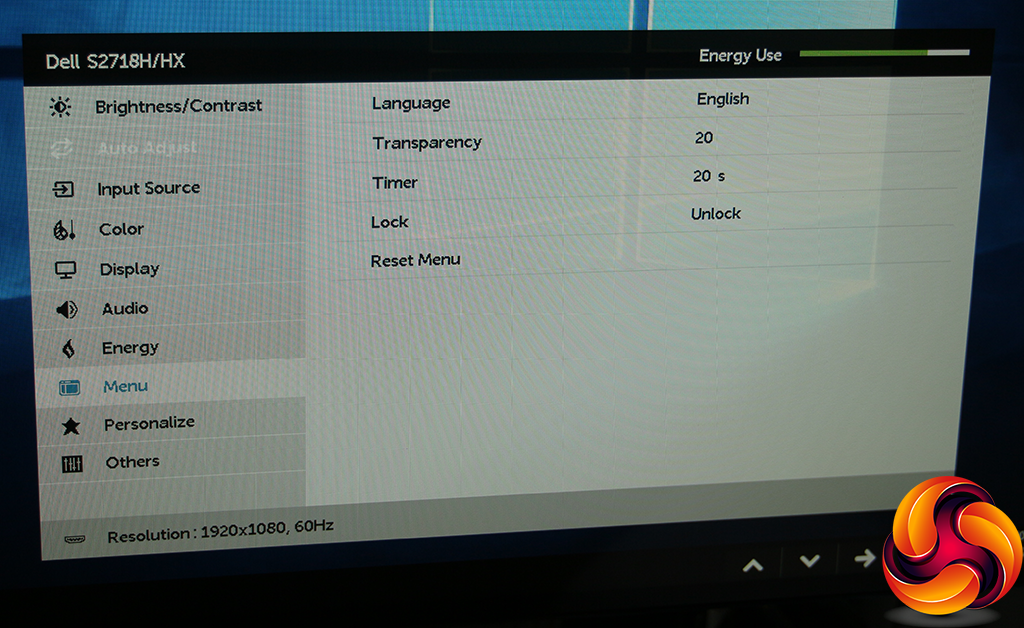
The Menu submenu provides facilities to alter the way the OSD itself is displayed.
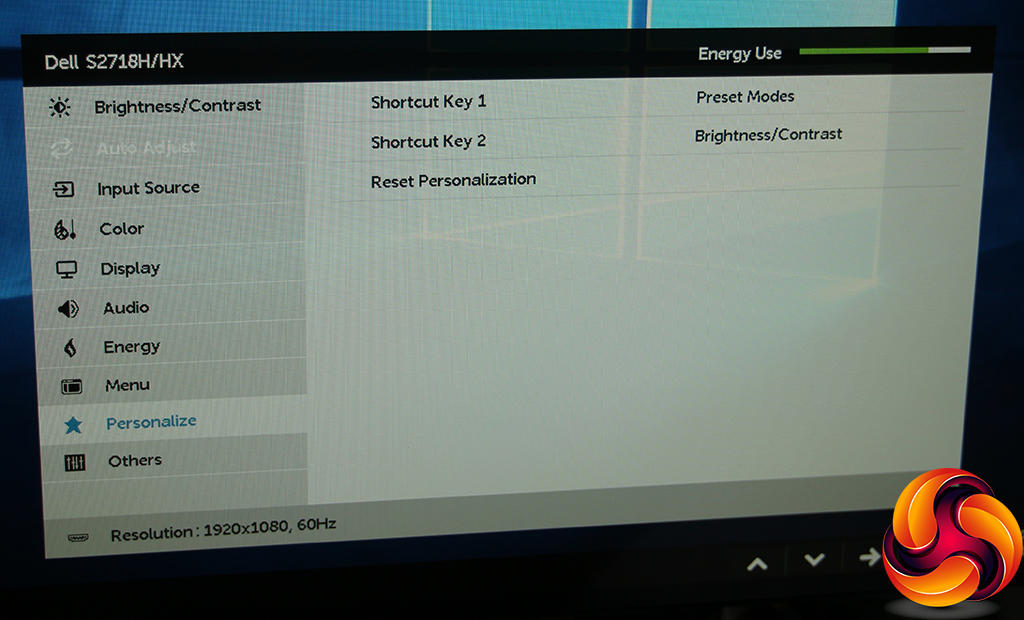
It's possible to change what the first two OSD buttons do, although the default options are pretty sensible.
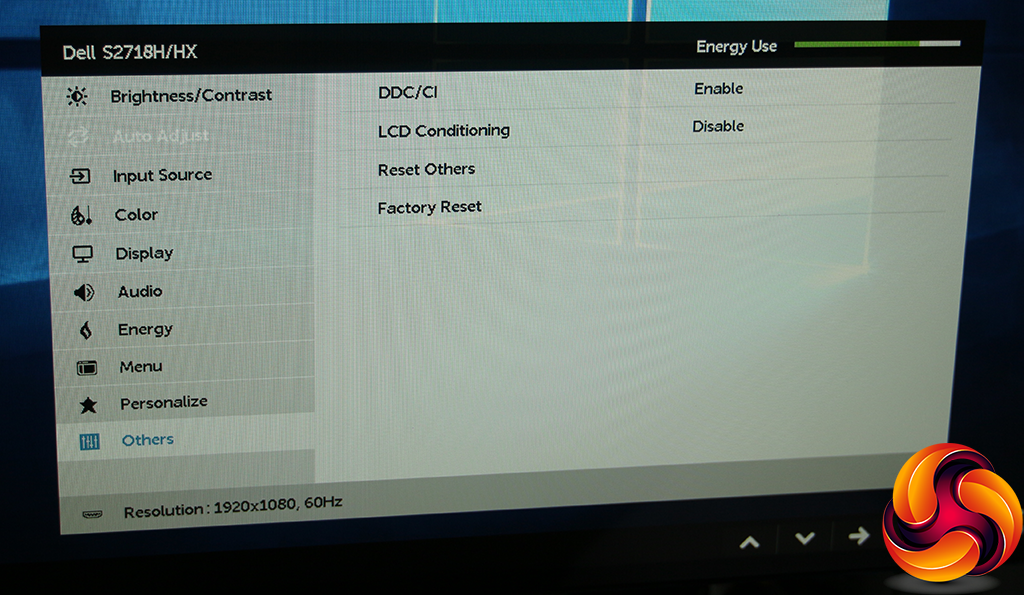
The Others section is where you can reset to defaults, turn on DDC/CI (allowing your PC graphics driver to control certain aspects of the screen) and enable LCD Conditioning. The latter reverses the effects of burn-in when an image has been left onscreen for too long.
Overall, the OSD has enough control for the intended user. The healthy range of presets is the highlight, with most usage scenarios catered for. There's not a huge amount of tweaking possible, with Gamma settings notable by their absence, but the purchaser of a screen in this range will be more concerned with how it performs without much adjustment. So let's find out.

n ice looking panel for the money
Imho is overpriced for a FHD 60hz even if the panel is a decent ips. You can find similar panels at 1440p or 100(+)hz
waste @ 1080p
What about the sRGB gamut? This one is over %99.
This looks like a decent “compromise monitor” for console users. PS3 games really do not scale well to 4K at all. So, if someone has a PS3 and PS4 Pro in the same room, the PS3 content will look acceptable on a 1080p monitor and even though they can’t use the PS4 Pro in 4K they can at least play games in HDR. Shame about the stand not being vertically adjustable though. Seems to be an issue with lots of Dell monitors these-days.
Just returned this monitor after a few days trying to live with it. The build quality isn’t great and brightness was much less uniform on mine compared to this review model. The so-called HDR is a joke. If it was £75 cheaper it would be easier to more generous but I think most people expect more from a monitor at this price point.