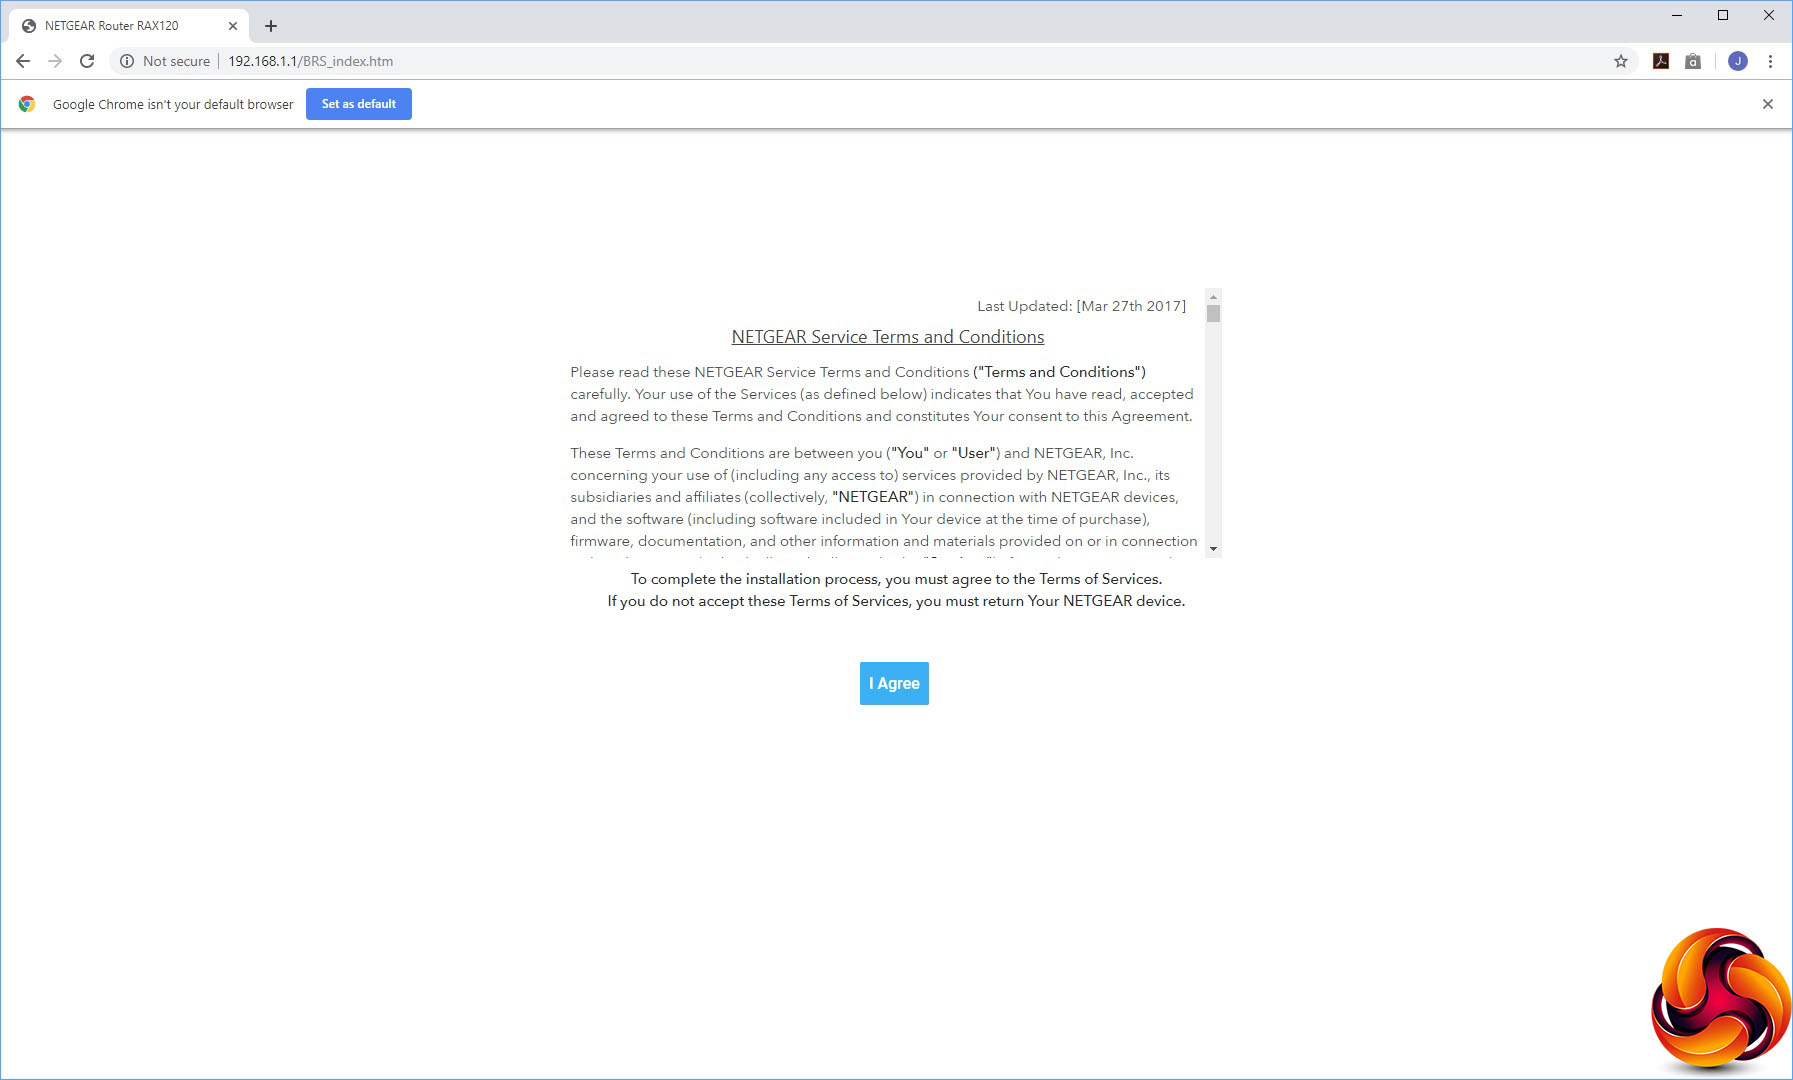
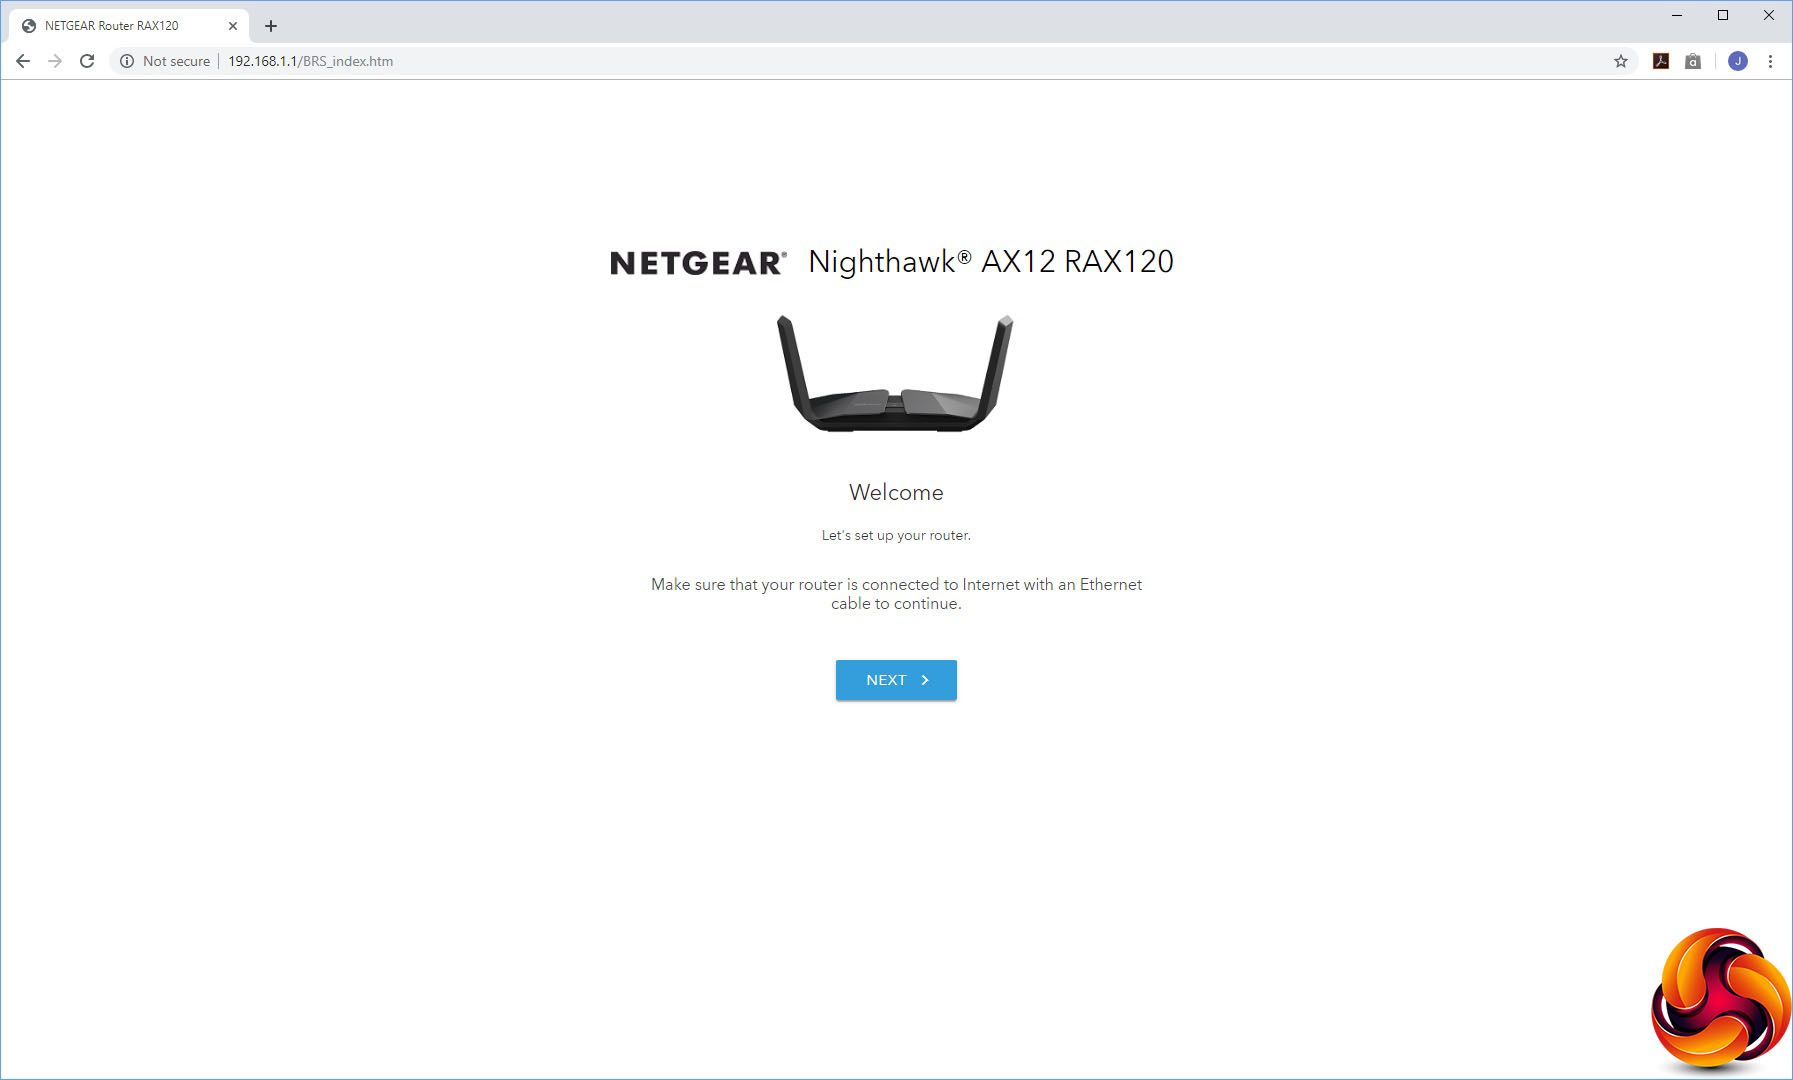
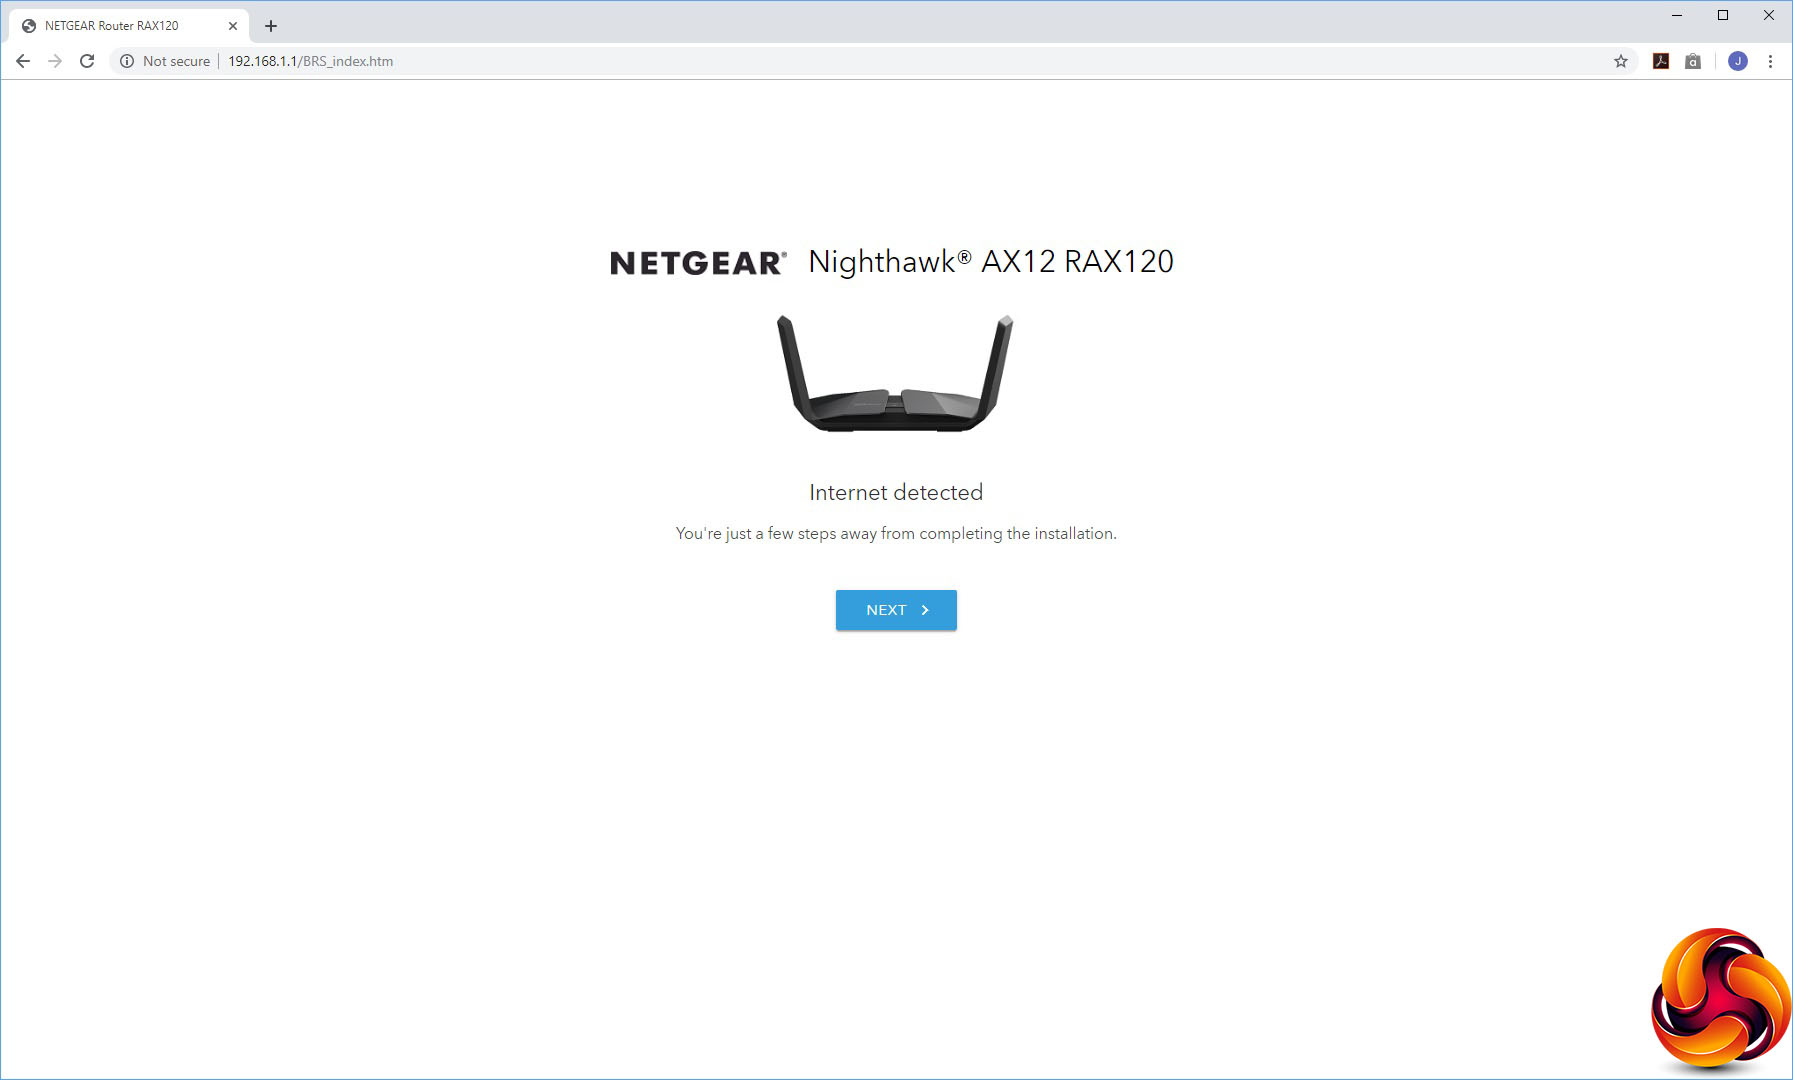
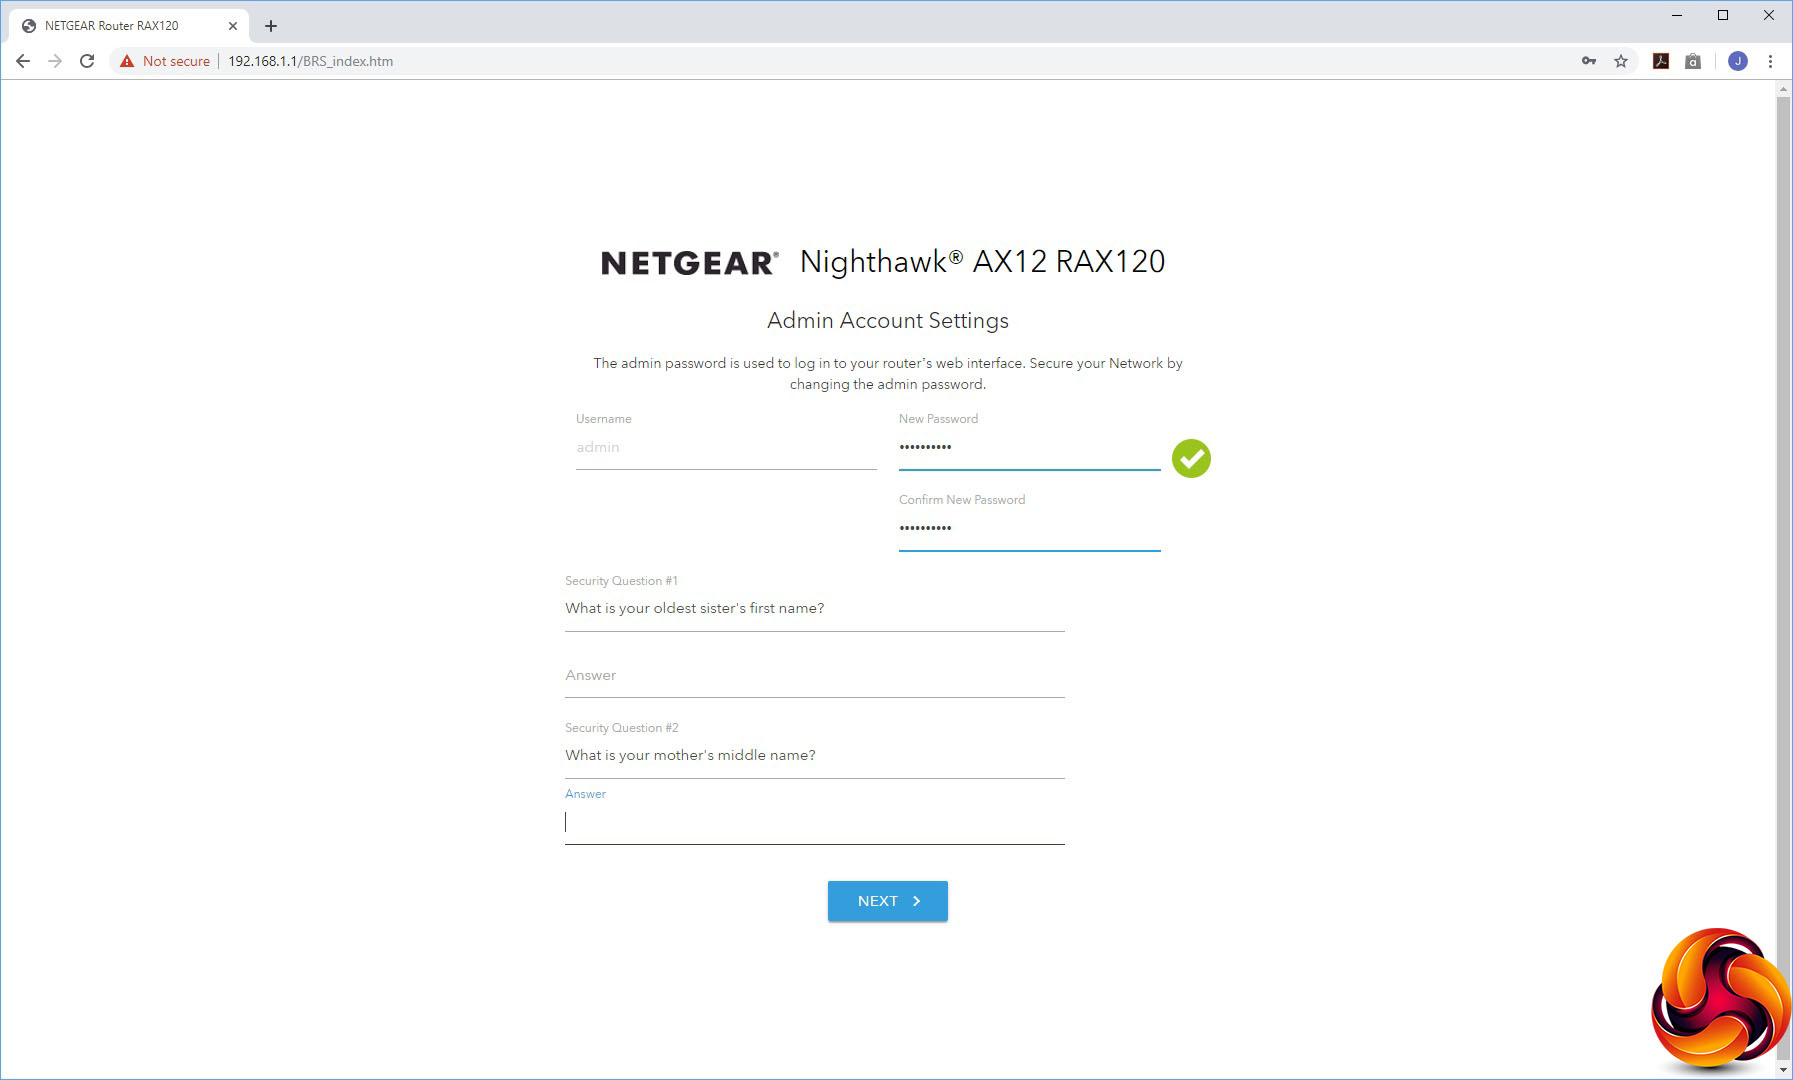
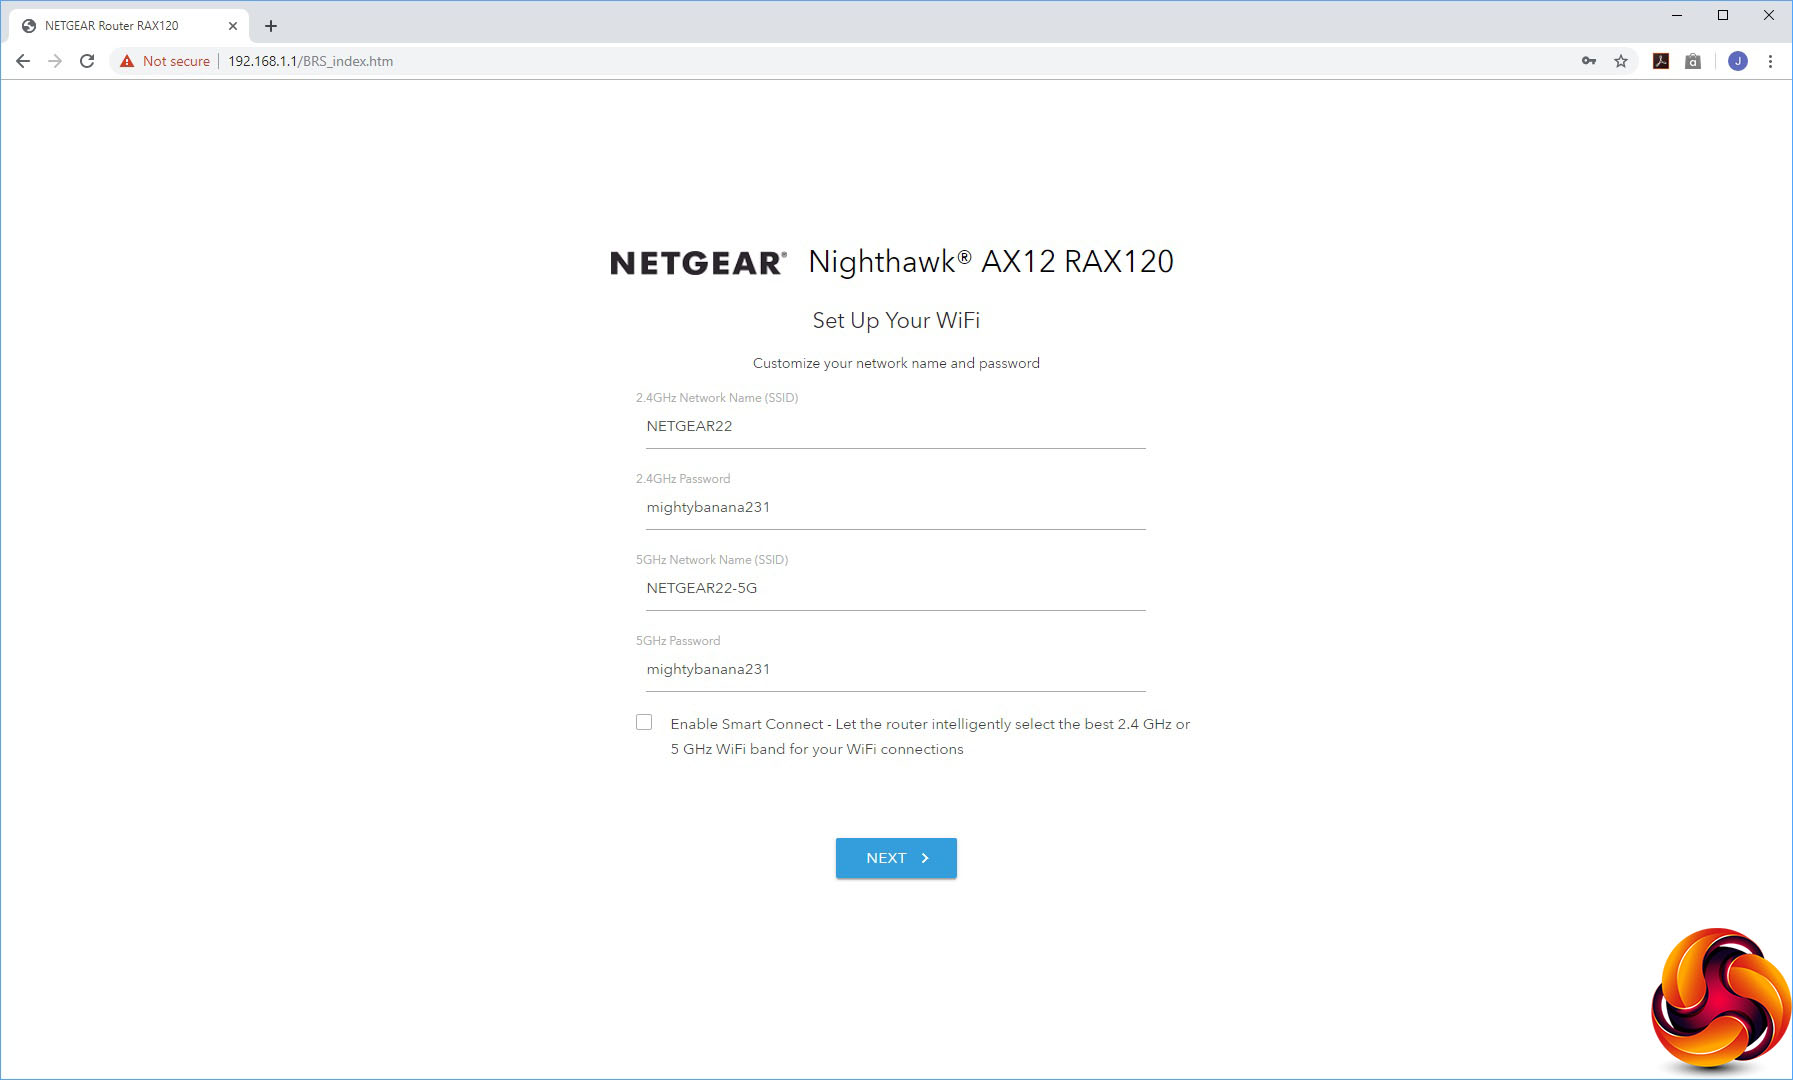

When you first aim a browser at the AX12's default IP address, you're met with some terms and conditions to agree to. You're then guided through an initial setup wizard that checks your Internet connection, prompts you to set up an admin account followed by WiFi SSIDs and passwords.
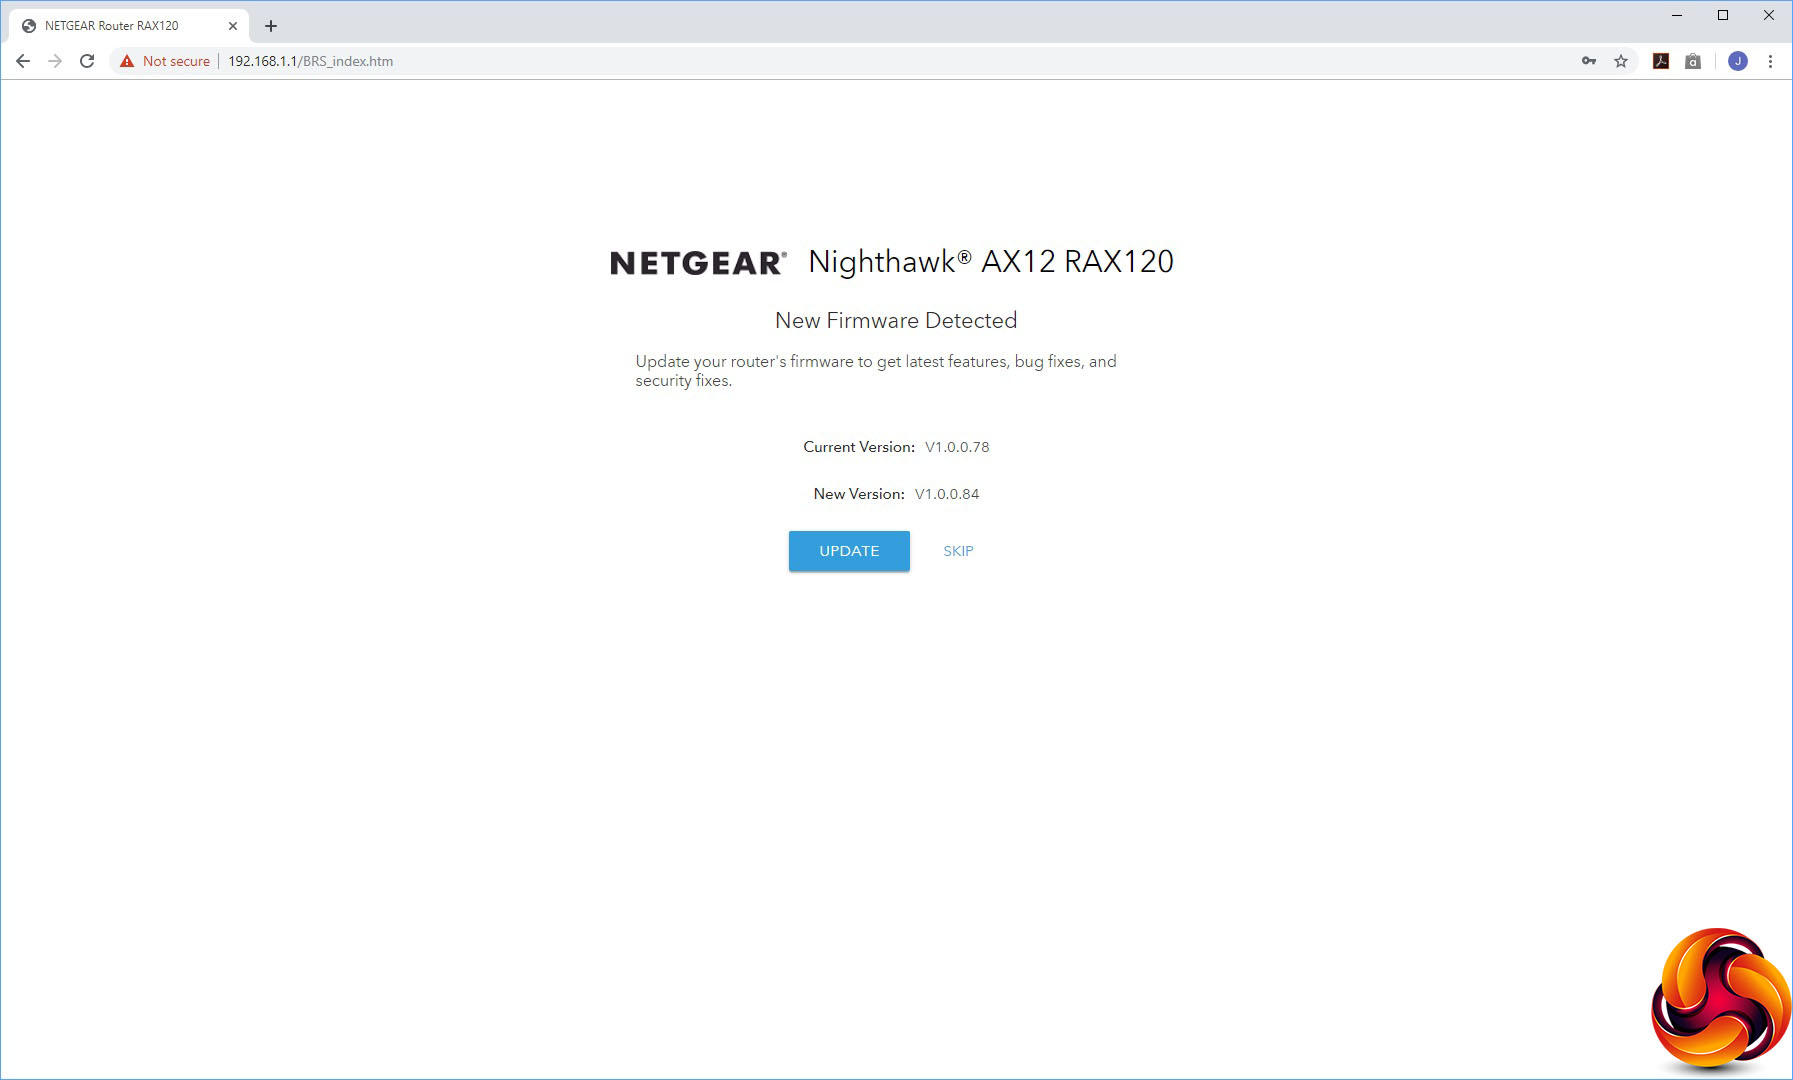
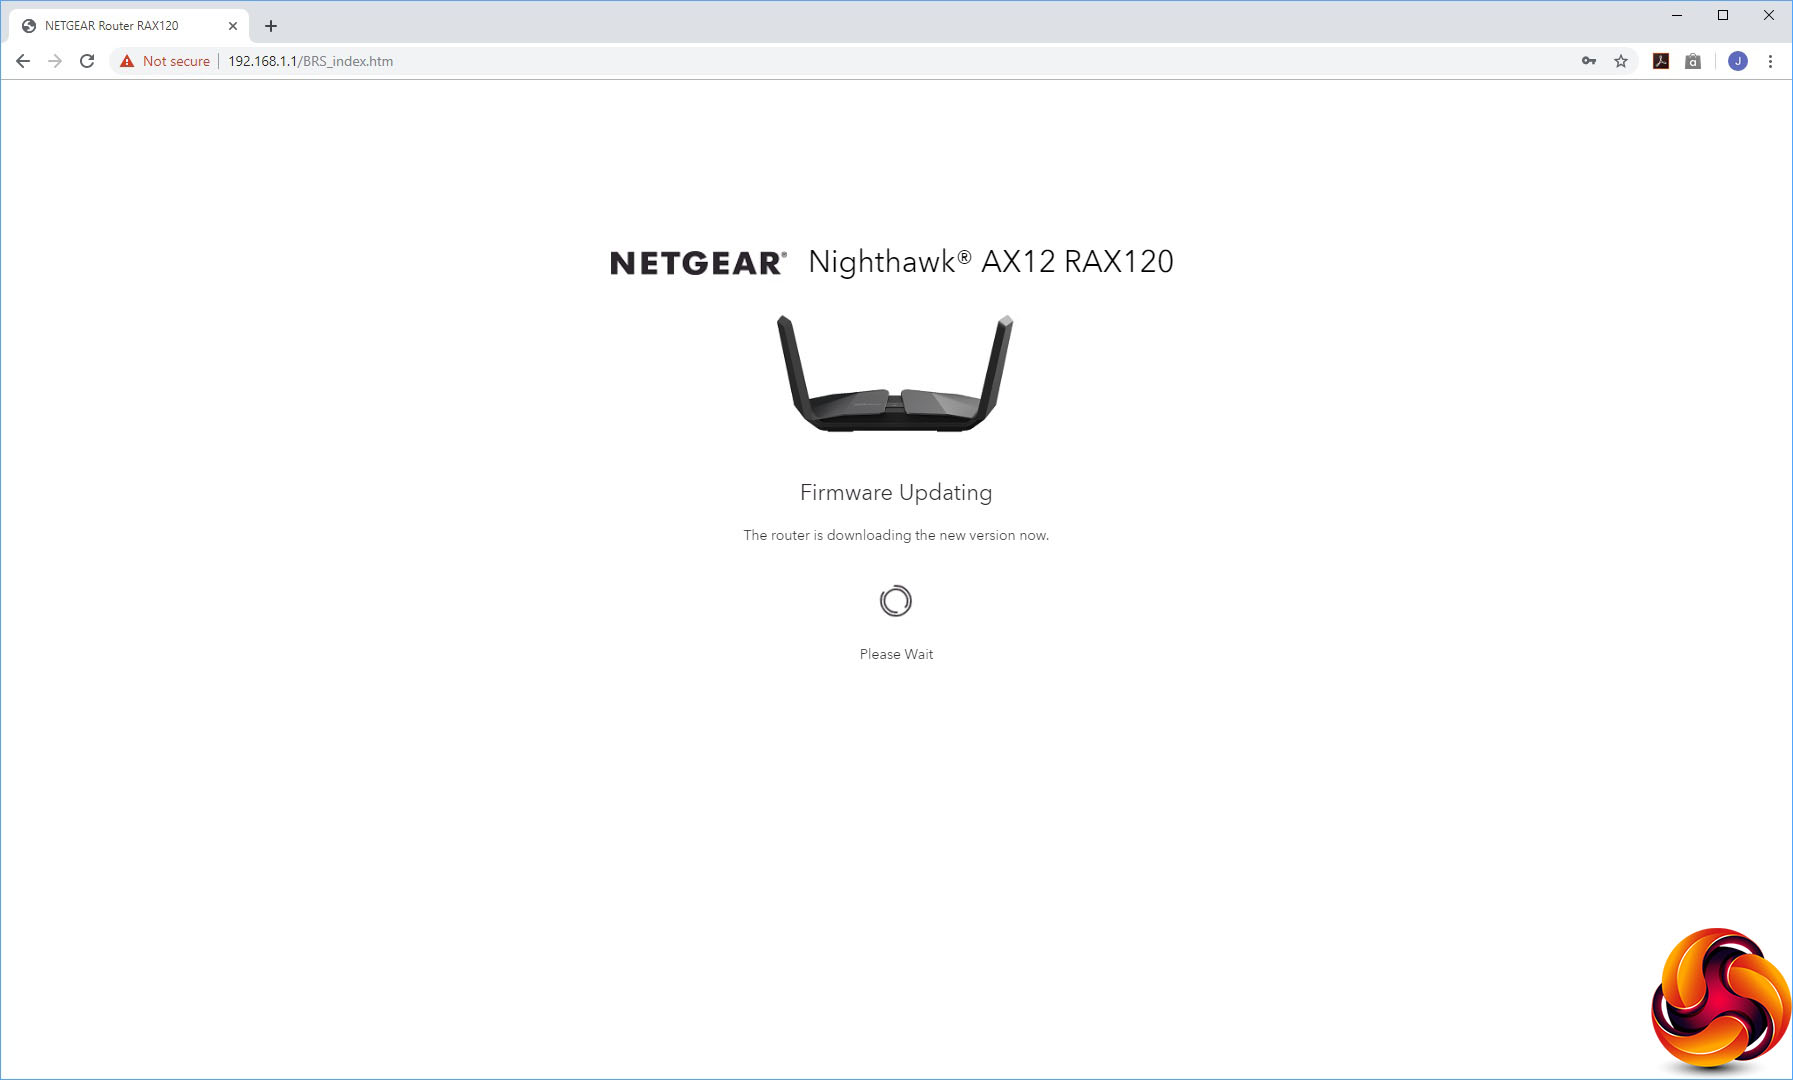
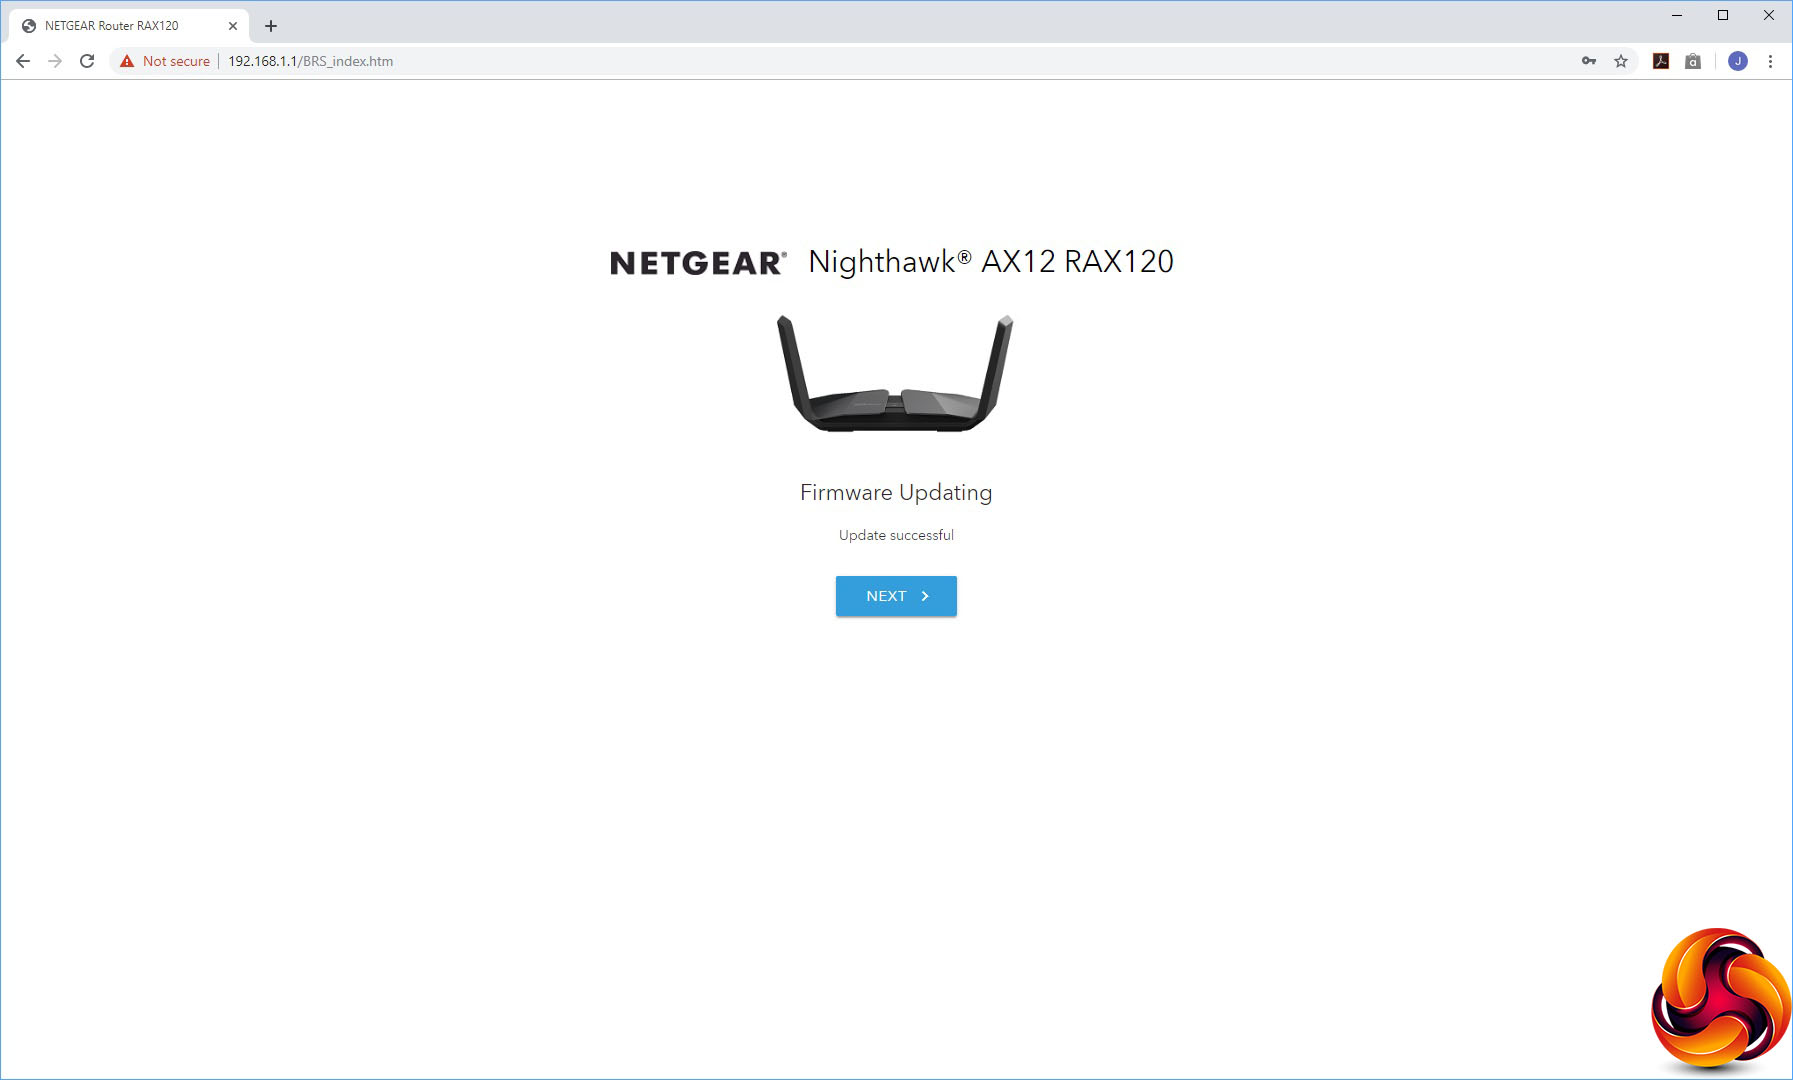
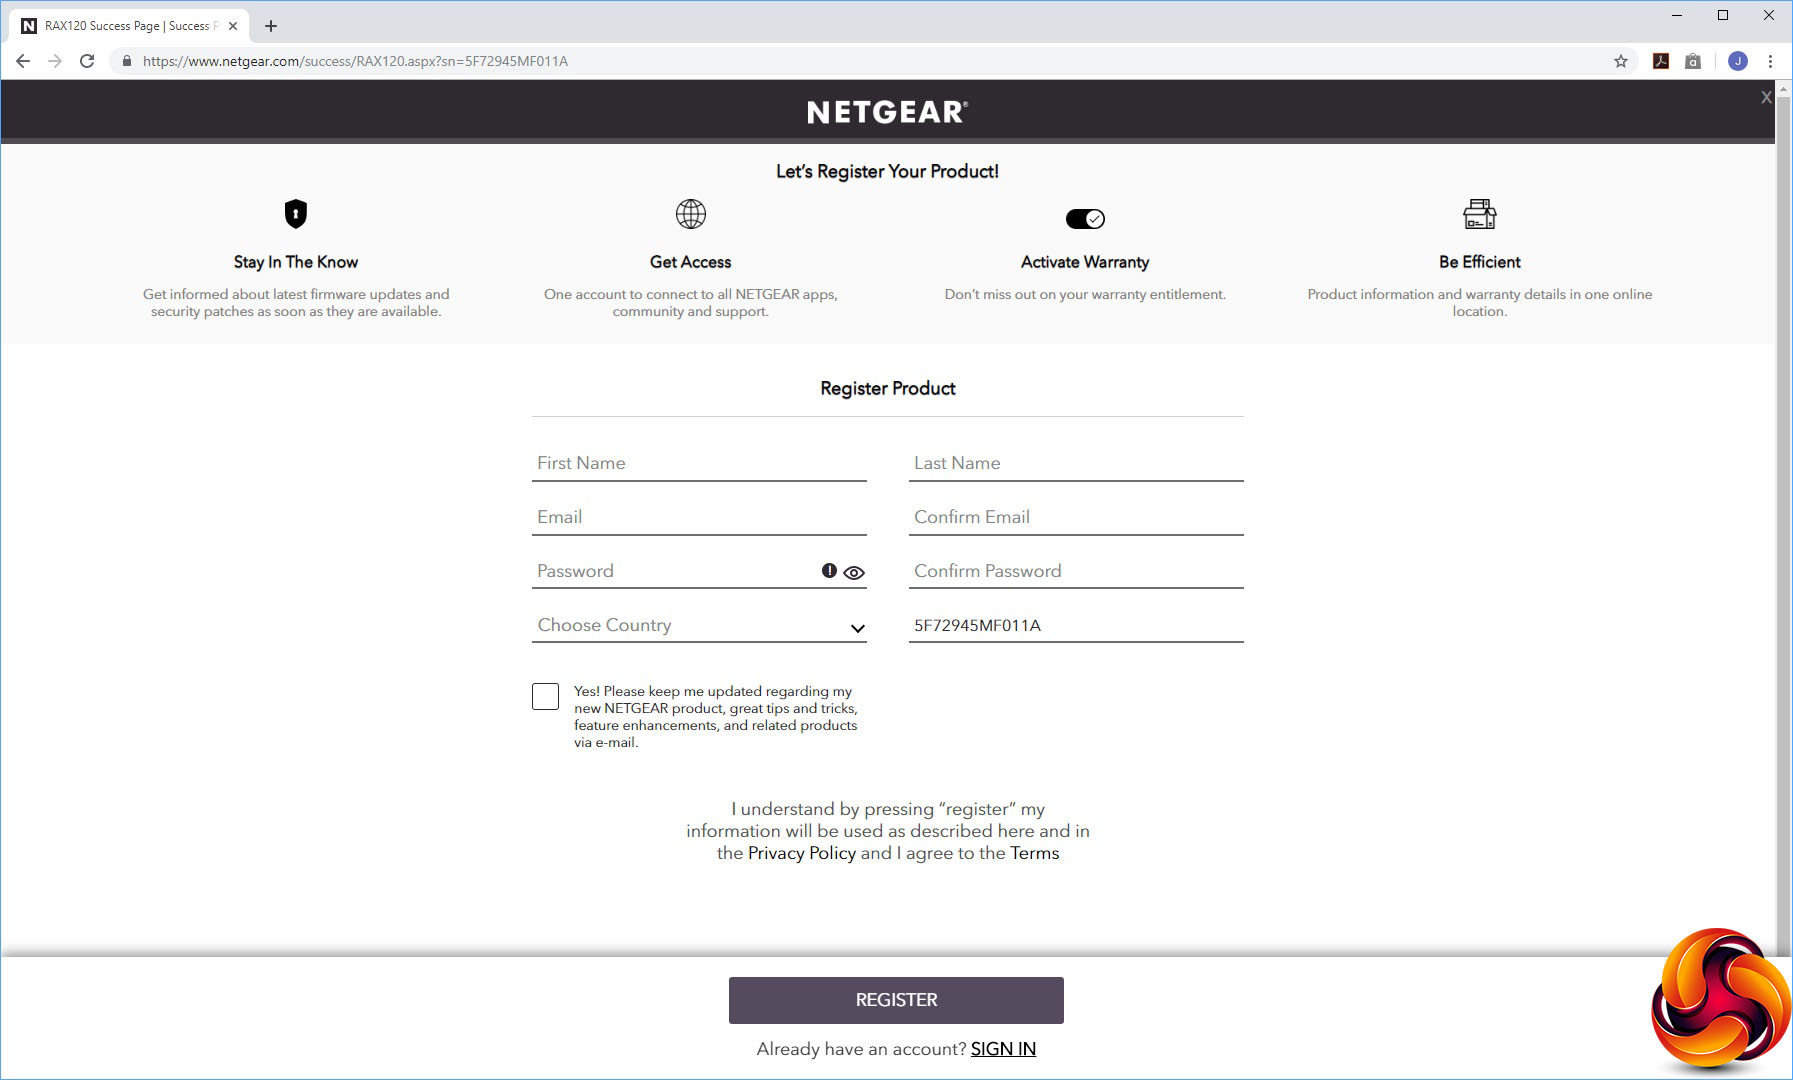
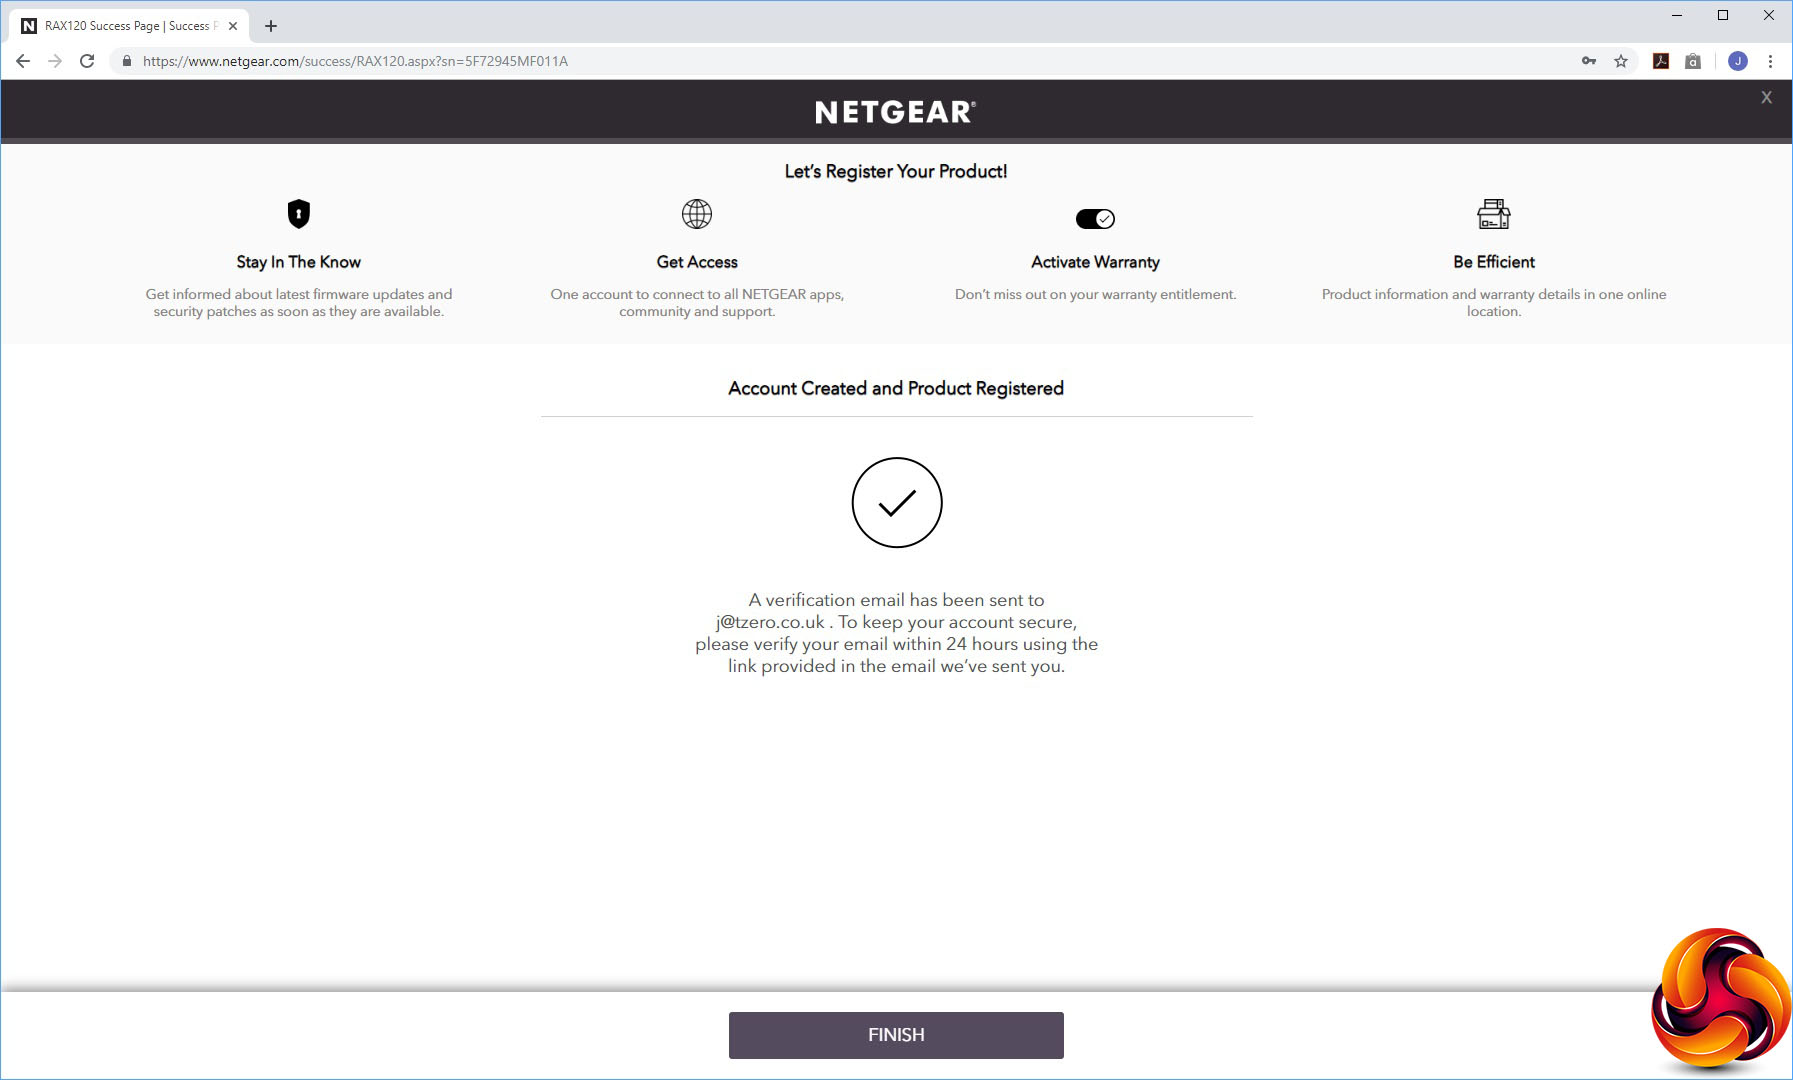
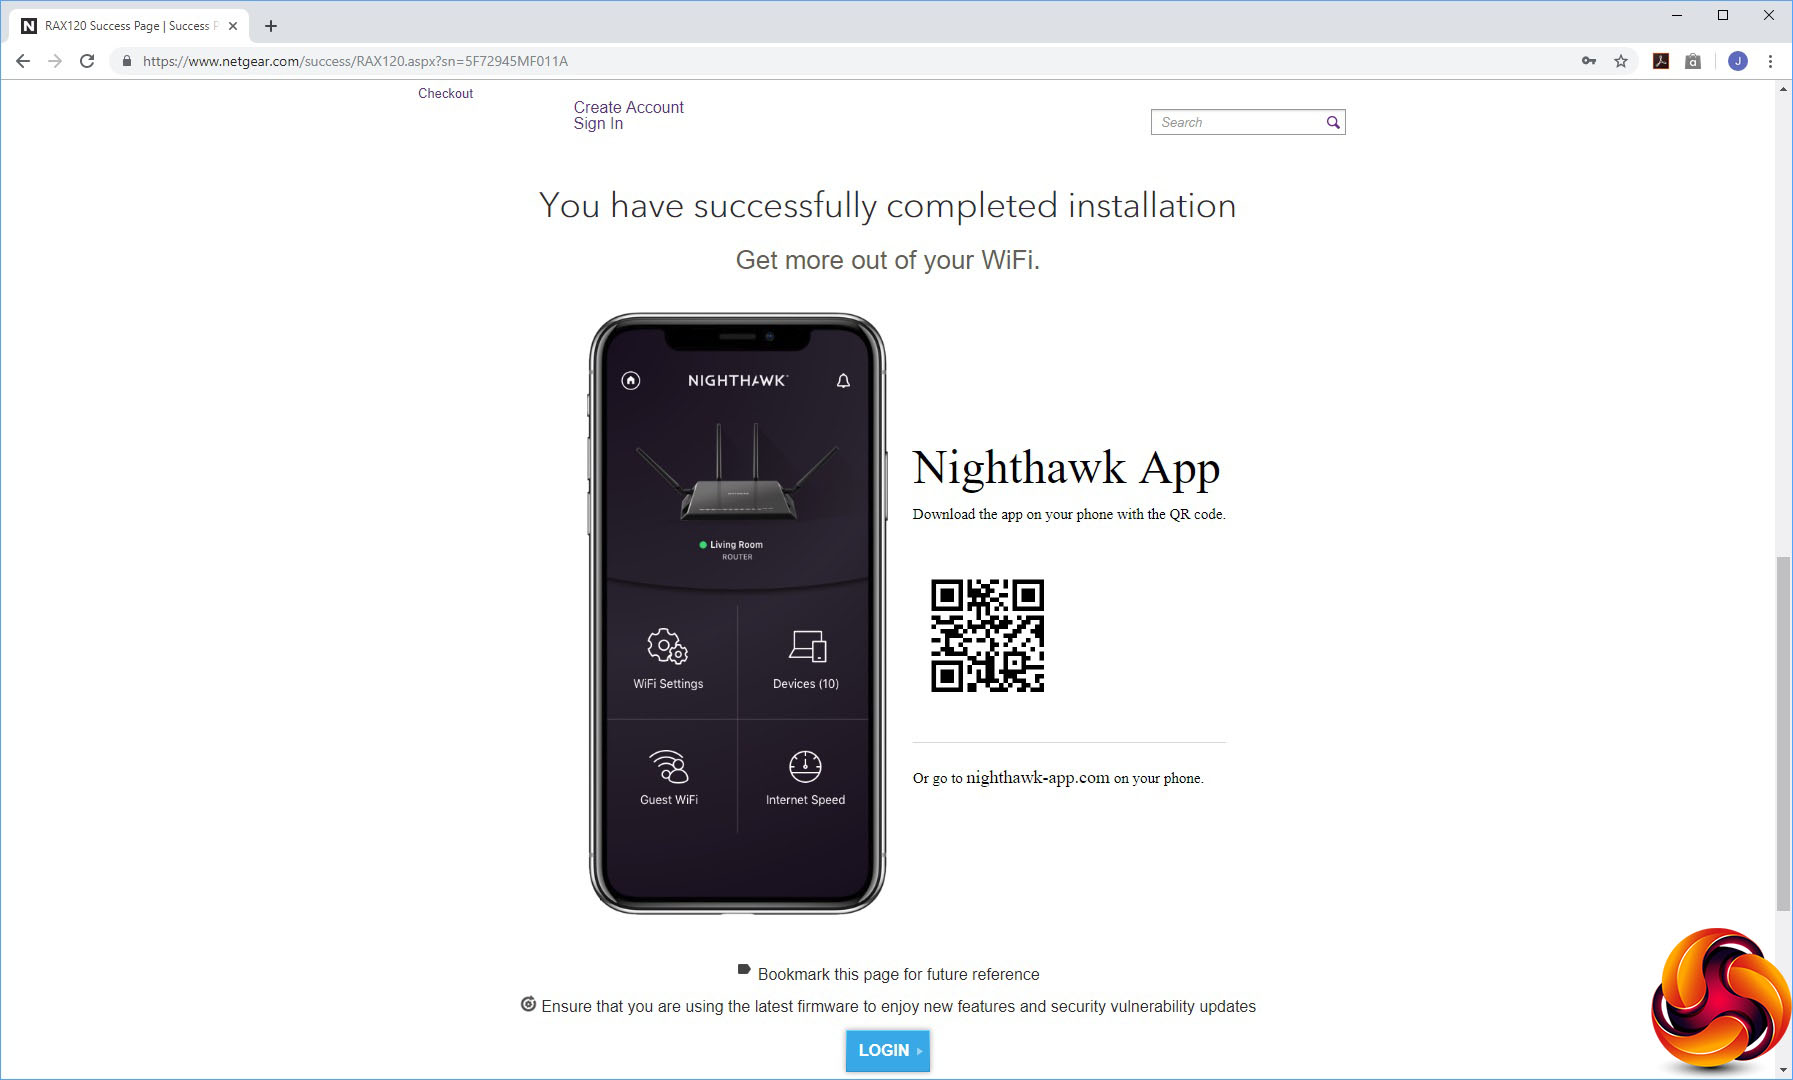
Then it will check for updates and install any new firmware it finds. Finally, you will be prompted to register the device with NETGEAR and download the Nighthawk App. Your AX12 will finally be ready to use after this.
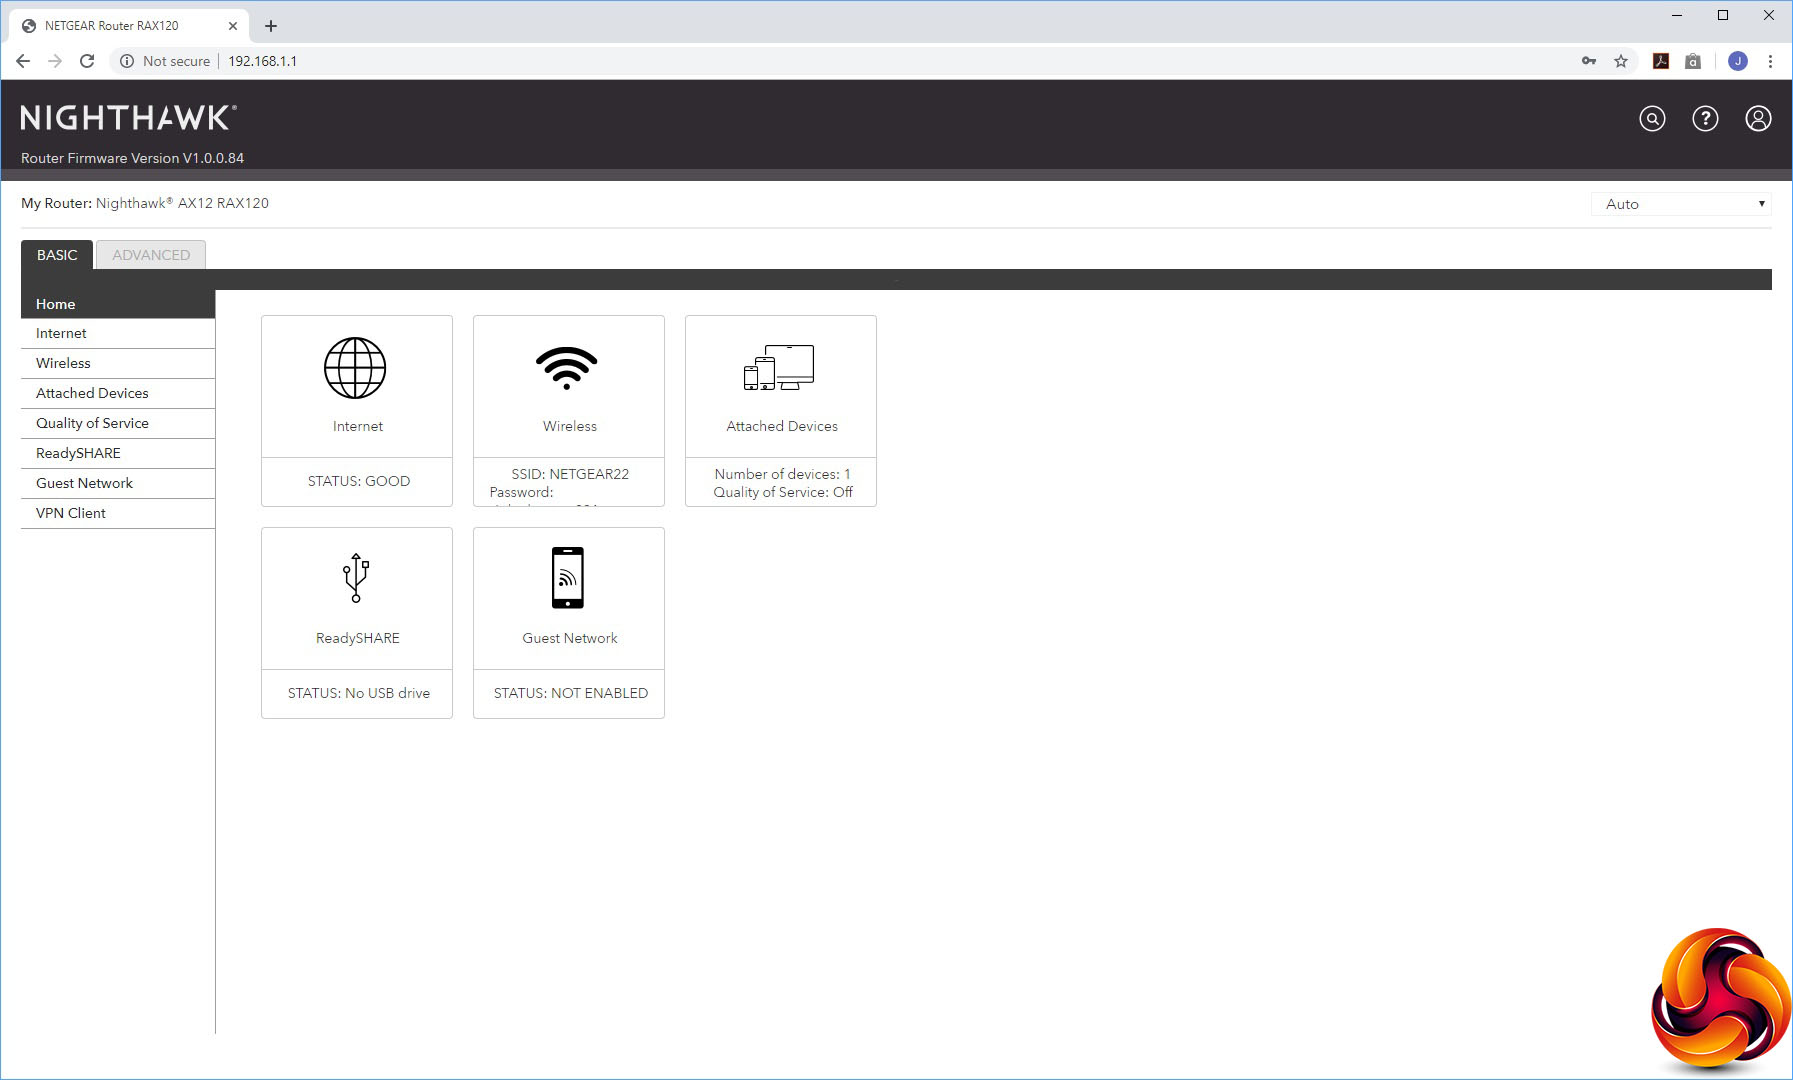
After you've logged into the system again, the Nighthawk Web interface is revealed. It has had a bit of a redesign, but this is more aesthetic than functional. The options are all pretty much in the same place as they have been for some years now. The initial Home screen presents an overview of the router's status.
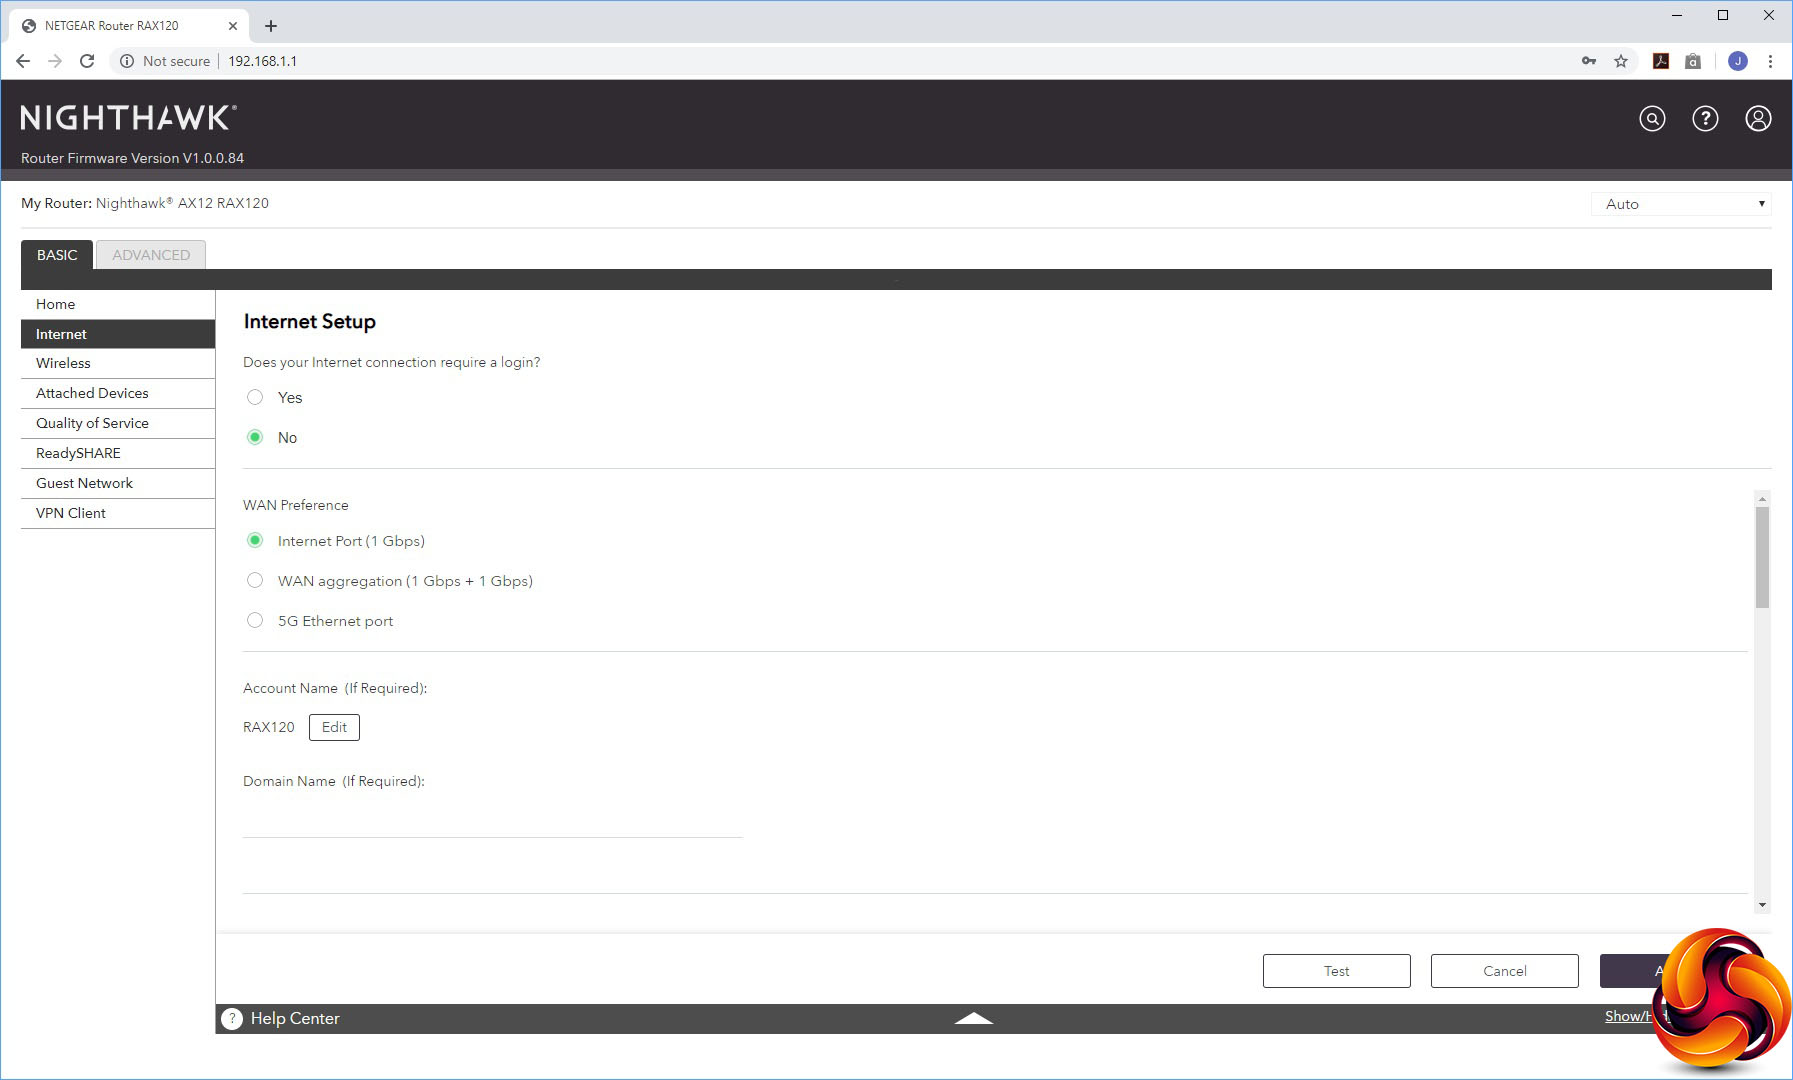
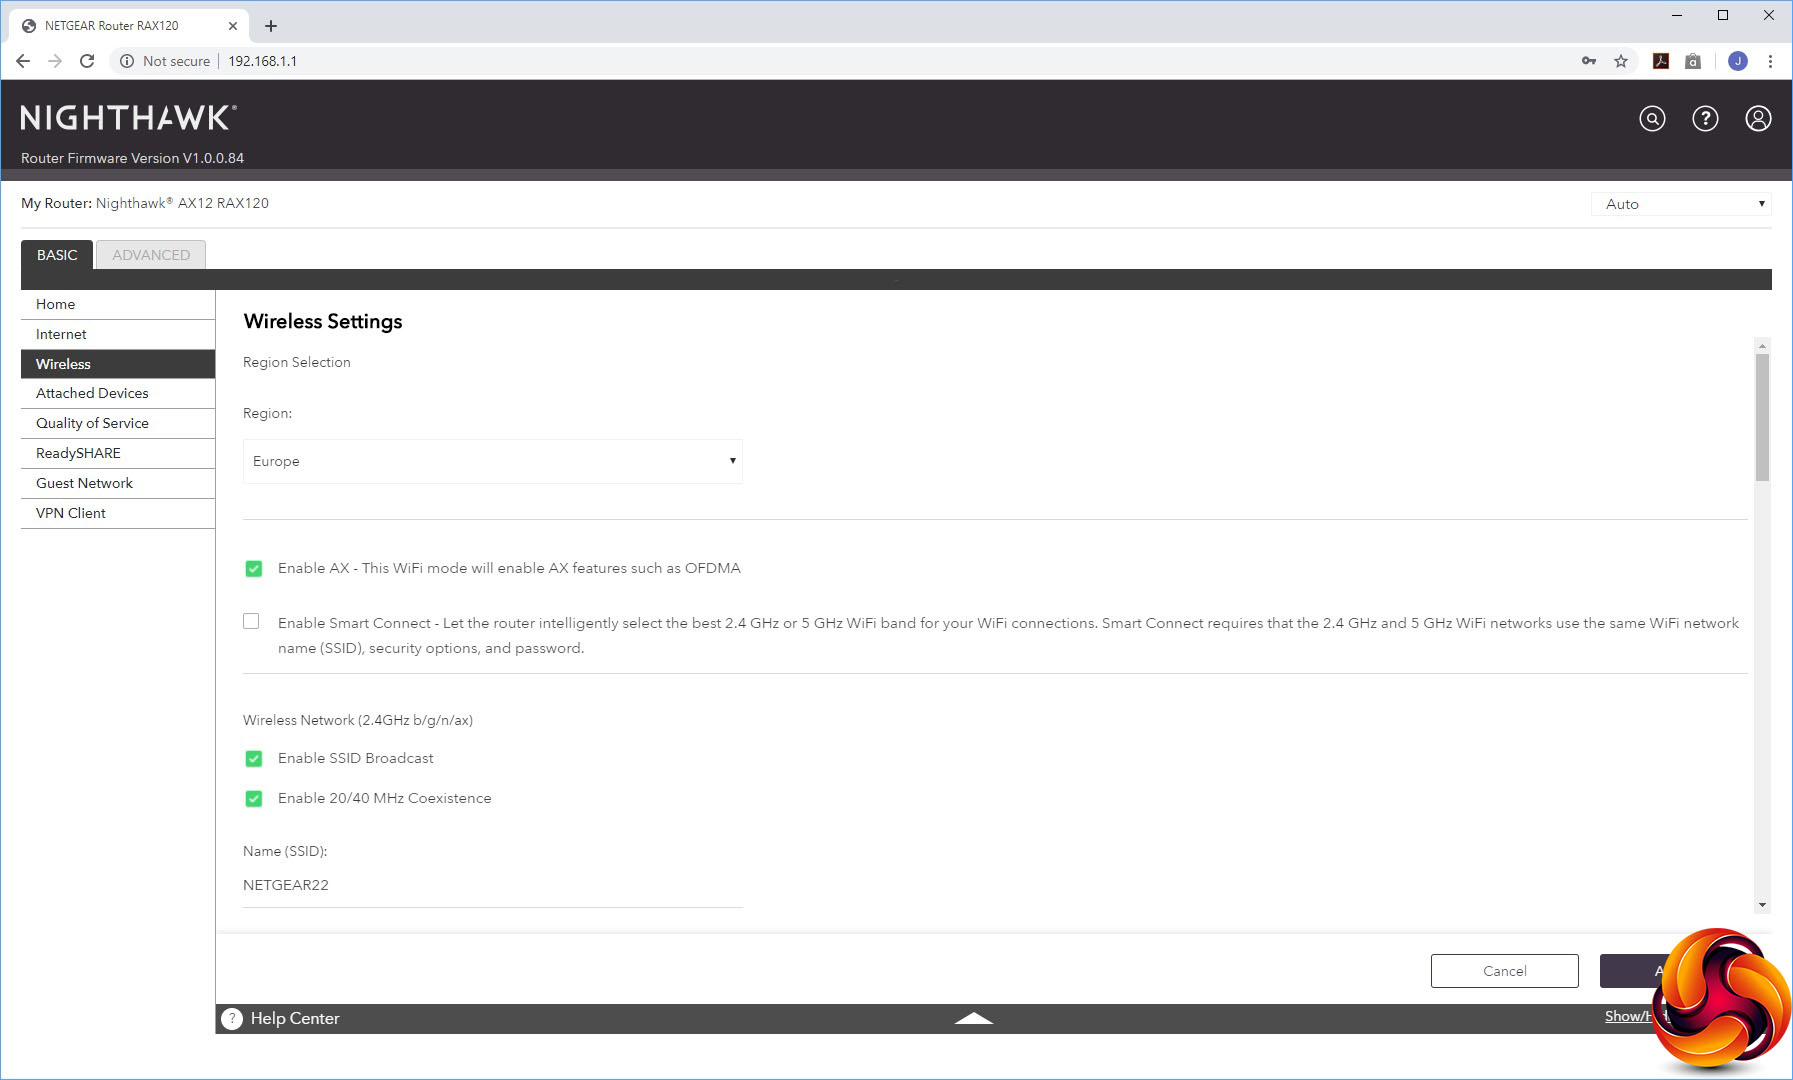
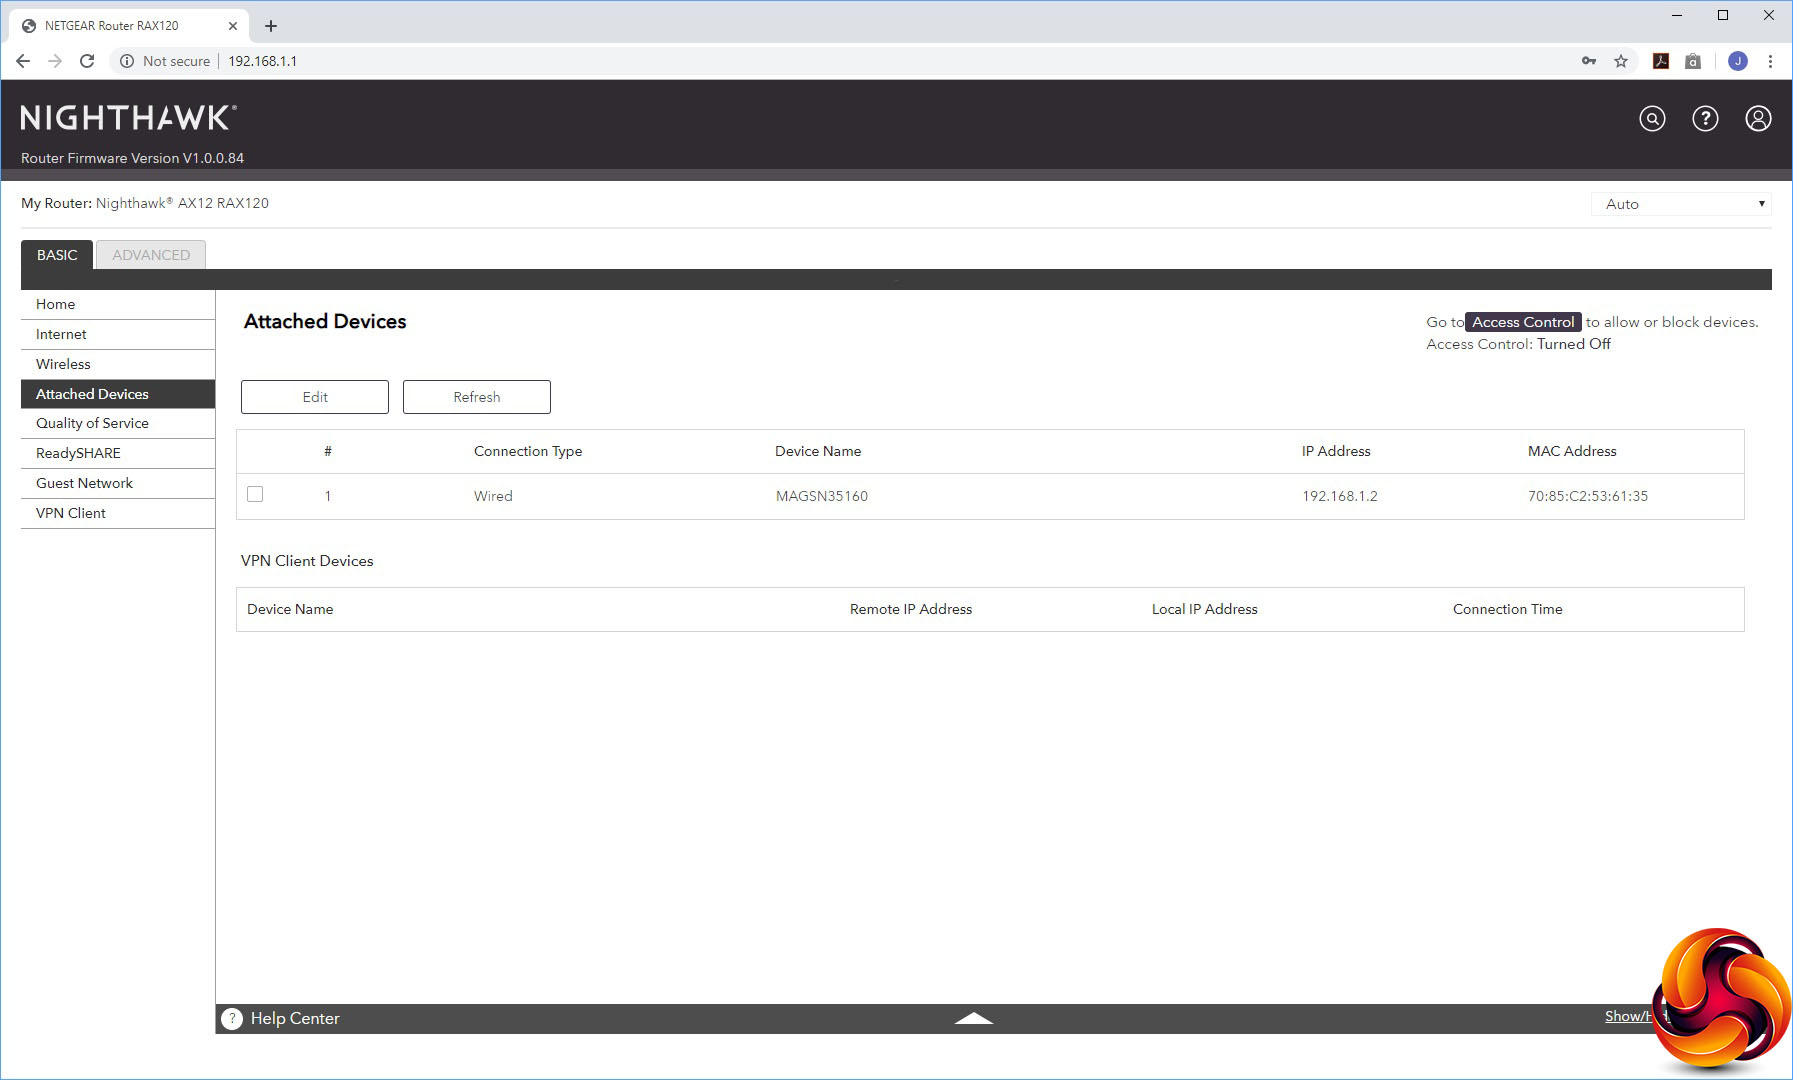
The first couple of menu options under the Basic tab let you reconfigure your Internet connection, including the option to use the 5G Ethernet port or aggregate two Gigabit ports for the WAN, and alter some basic settings for the WiFi radios. You can also view devices attached to your network, giving you the option to go to the Access Control section to block any of them.
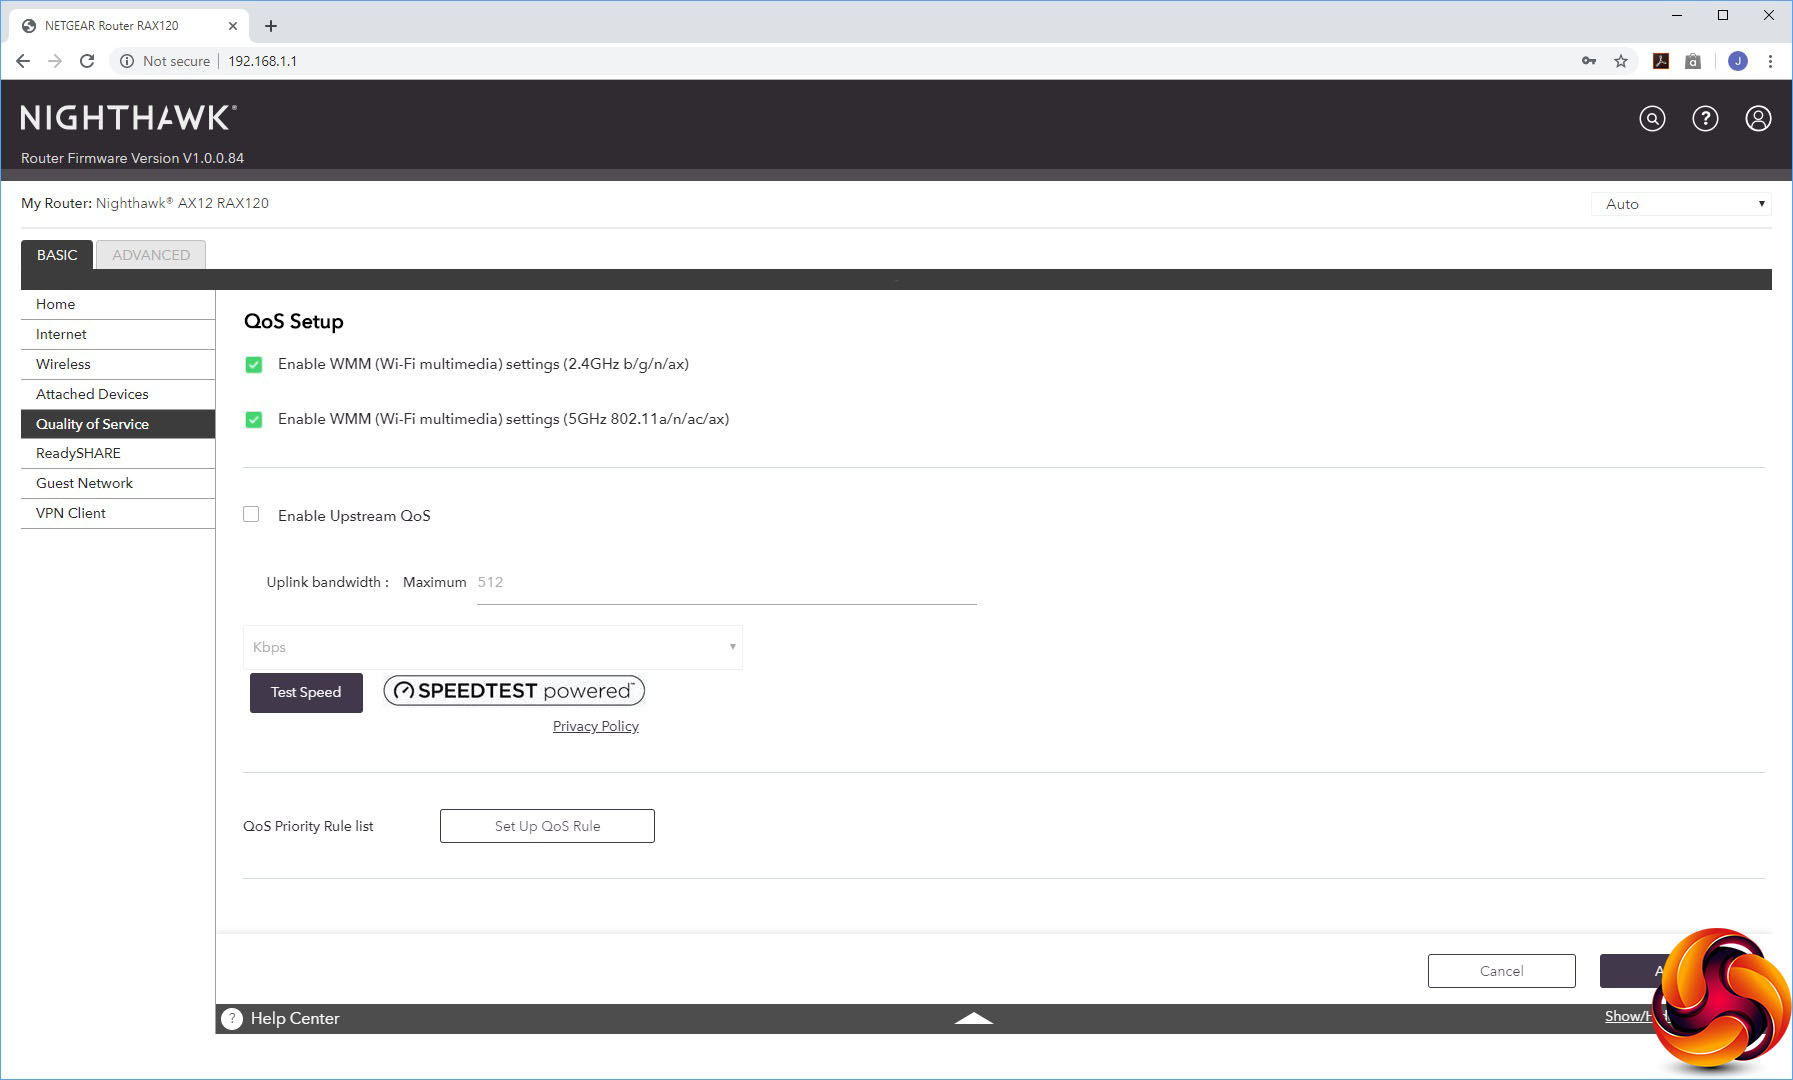
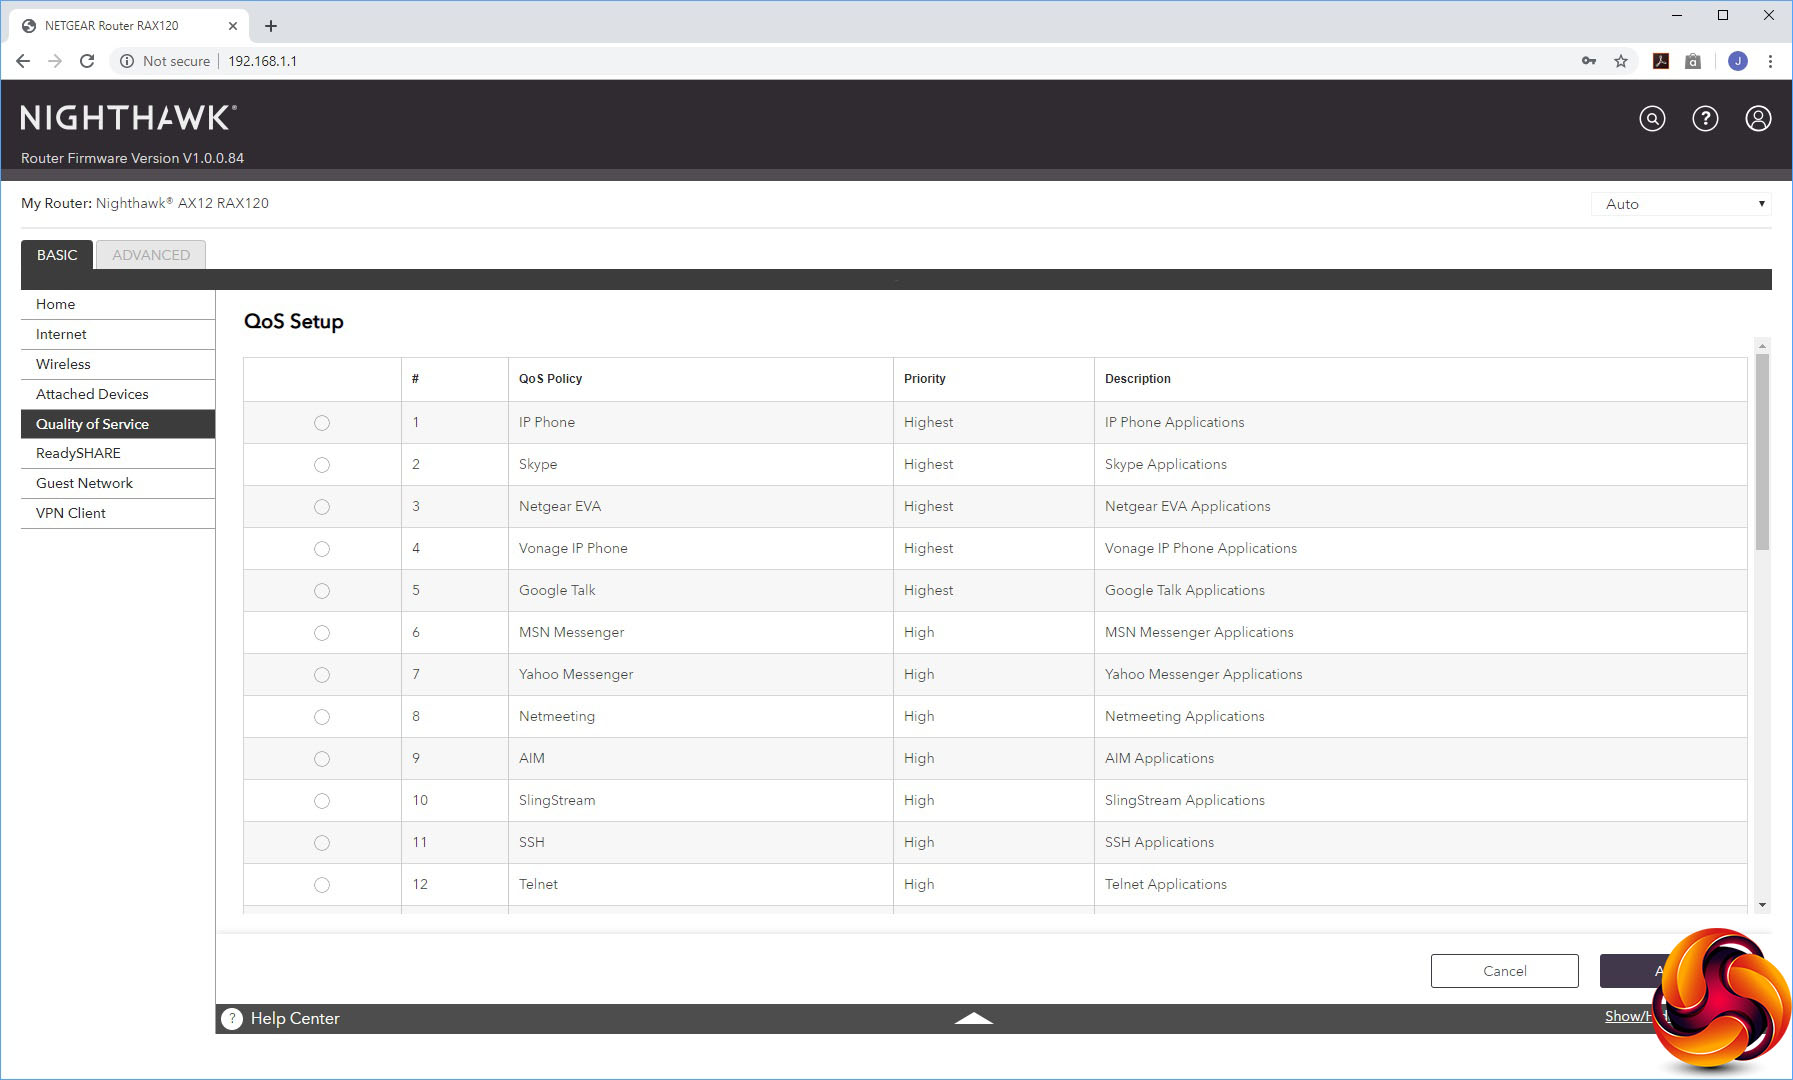
The Quality of Service section lets you set some global rules and test bandwidth, but also prioritise certain types of real-time streaming traffic such as IP Telephony.
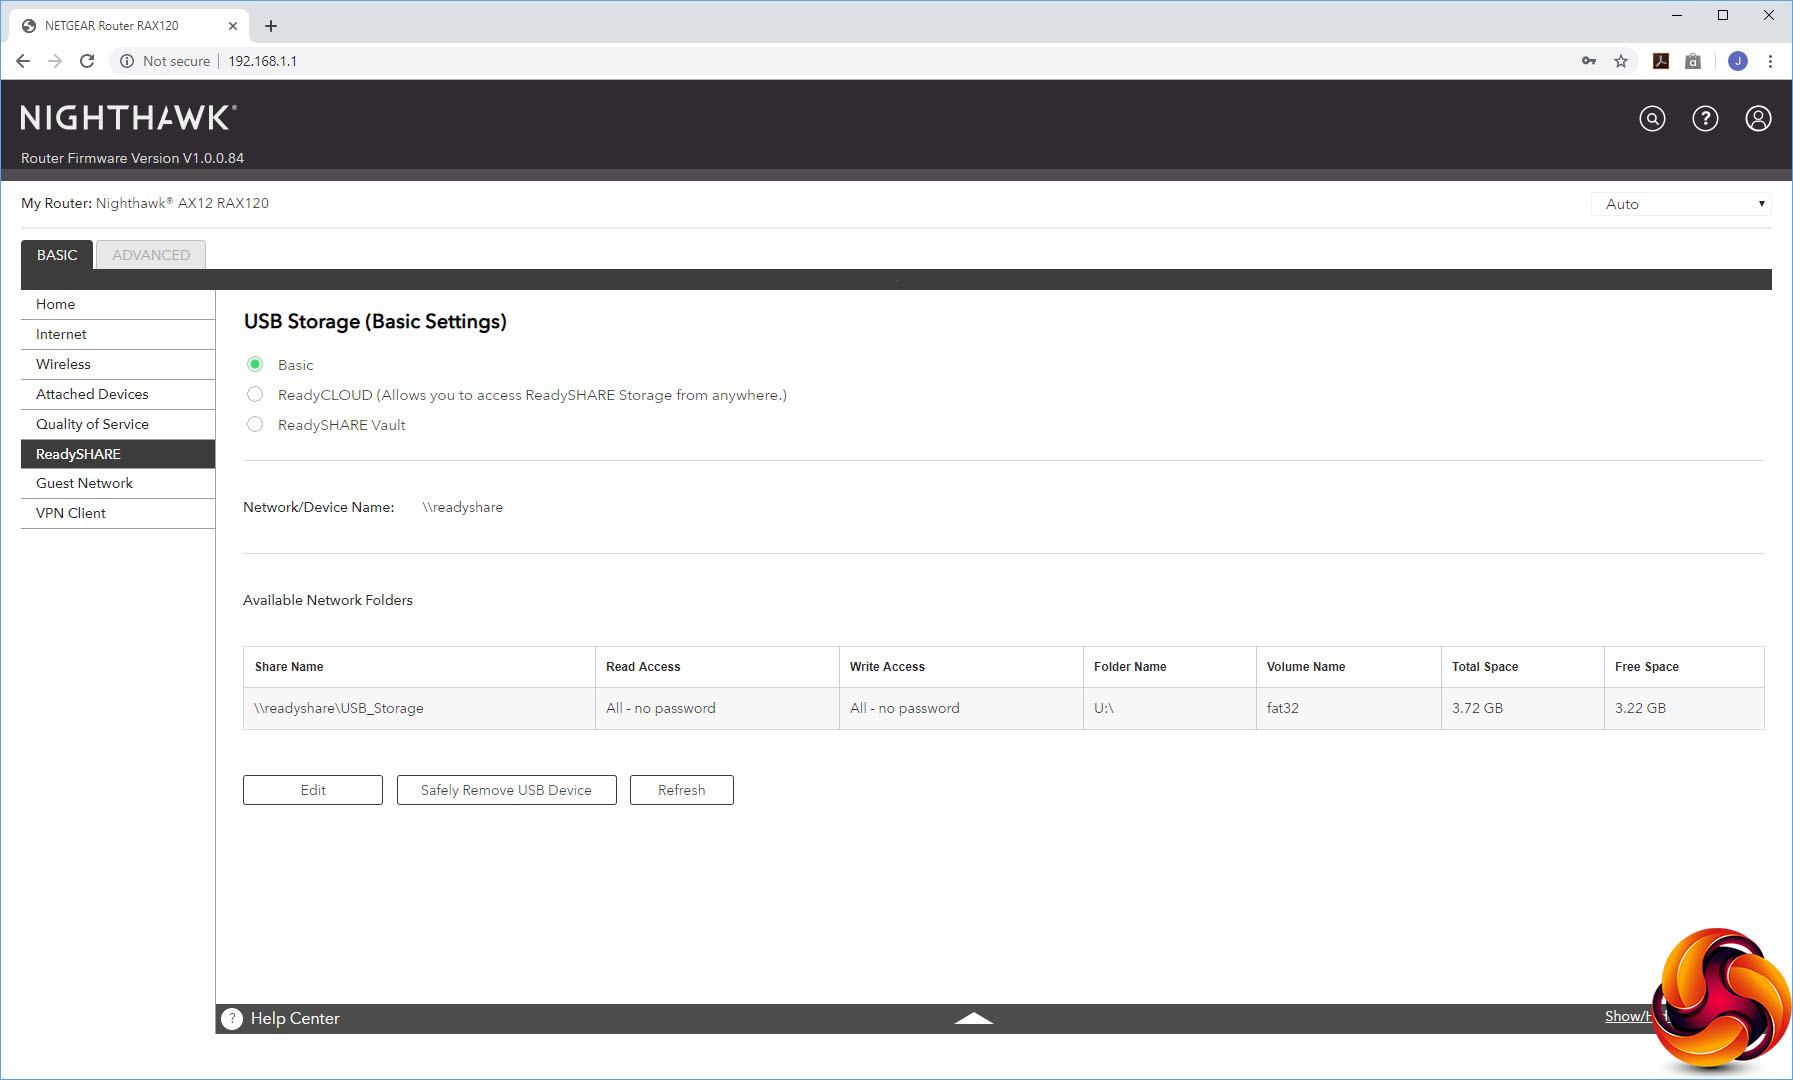
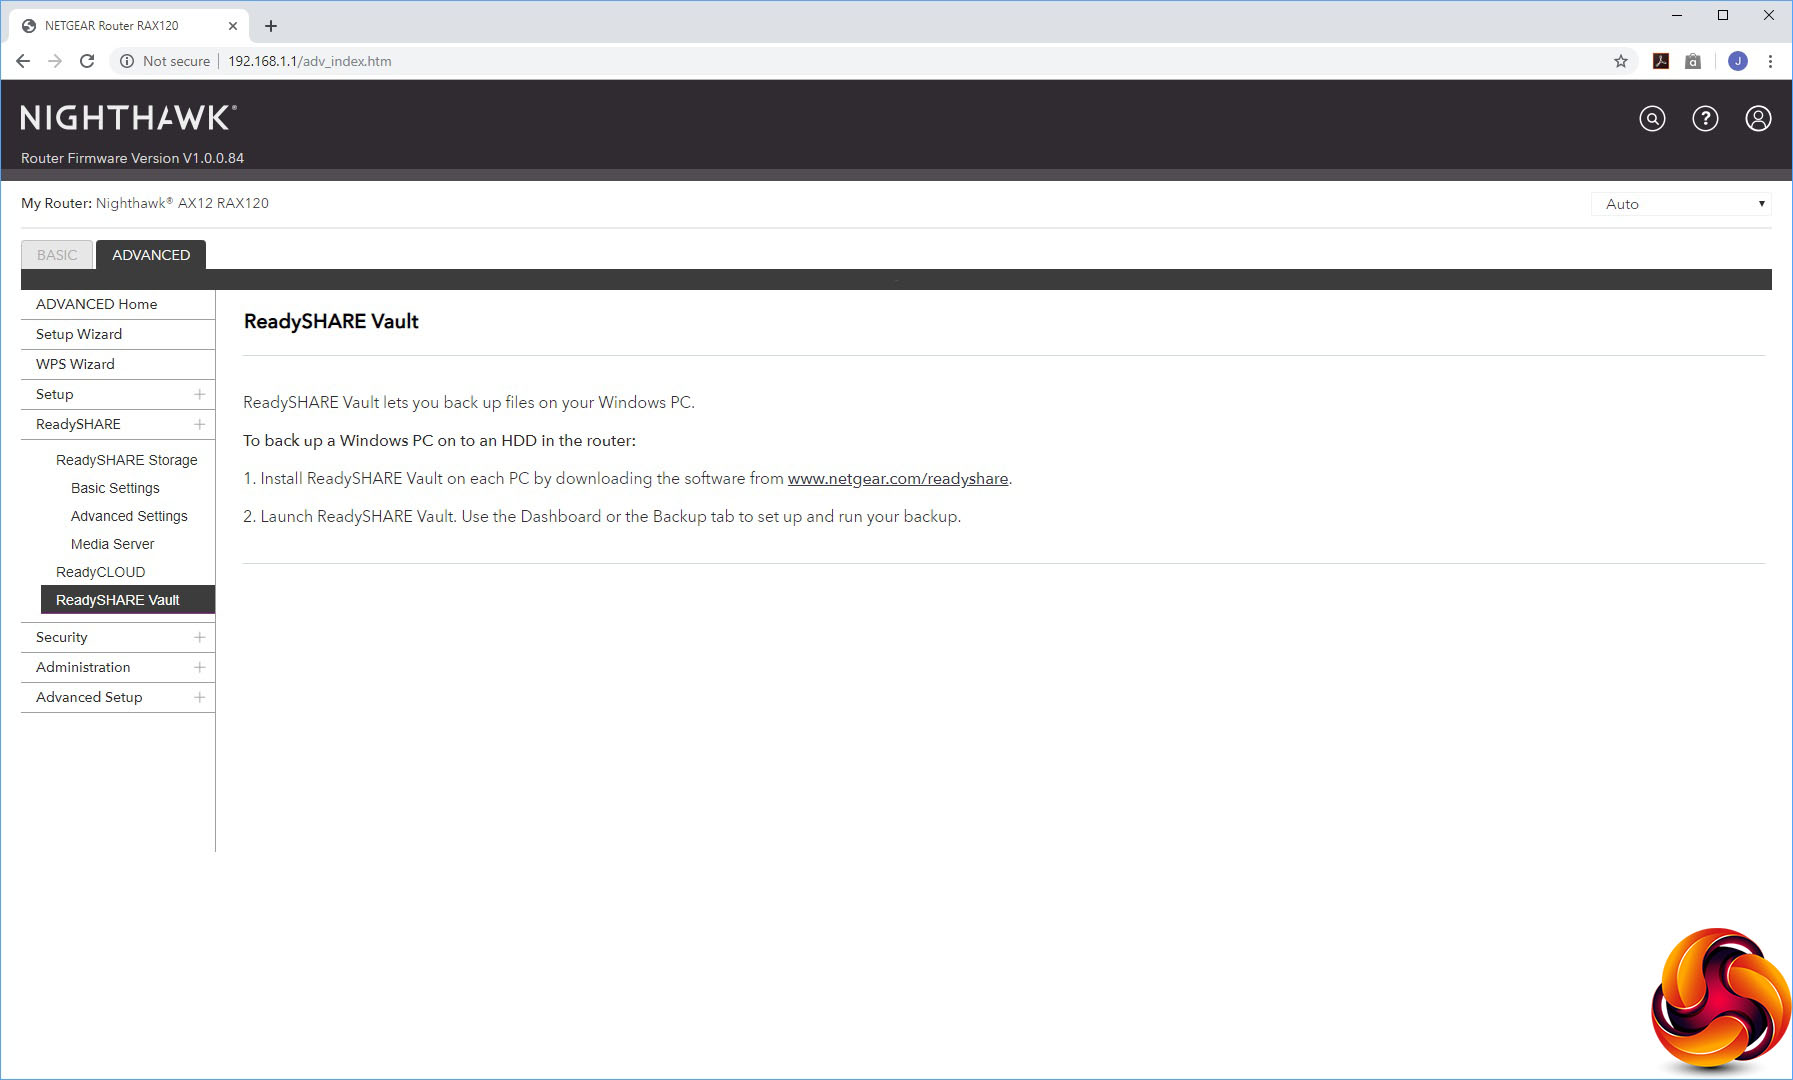
The ReadySHARE system allows you to share a USB thumb drive attached to the AX12 either just across the local network, or externally, or use it as a ReadySHARE Vault cloud backup system.
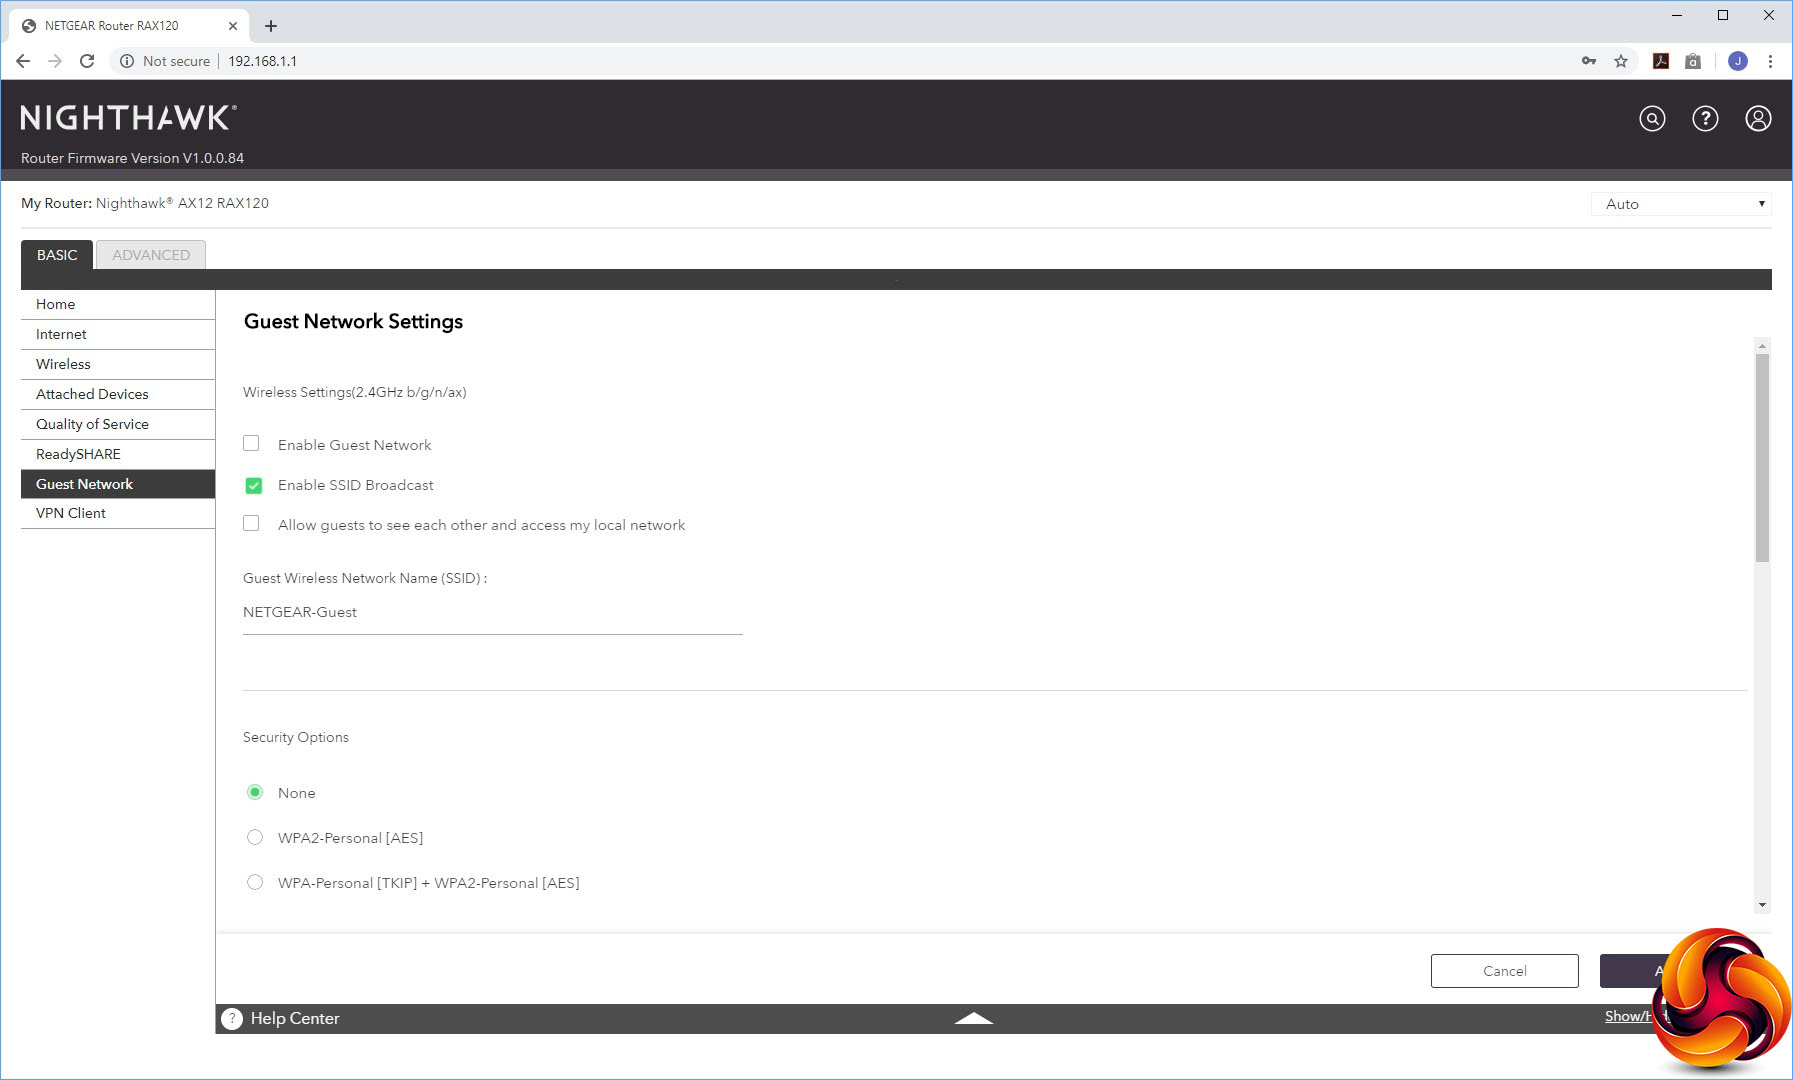
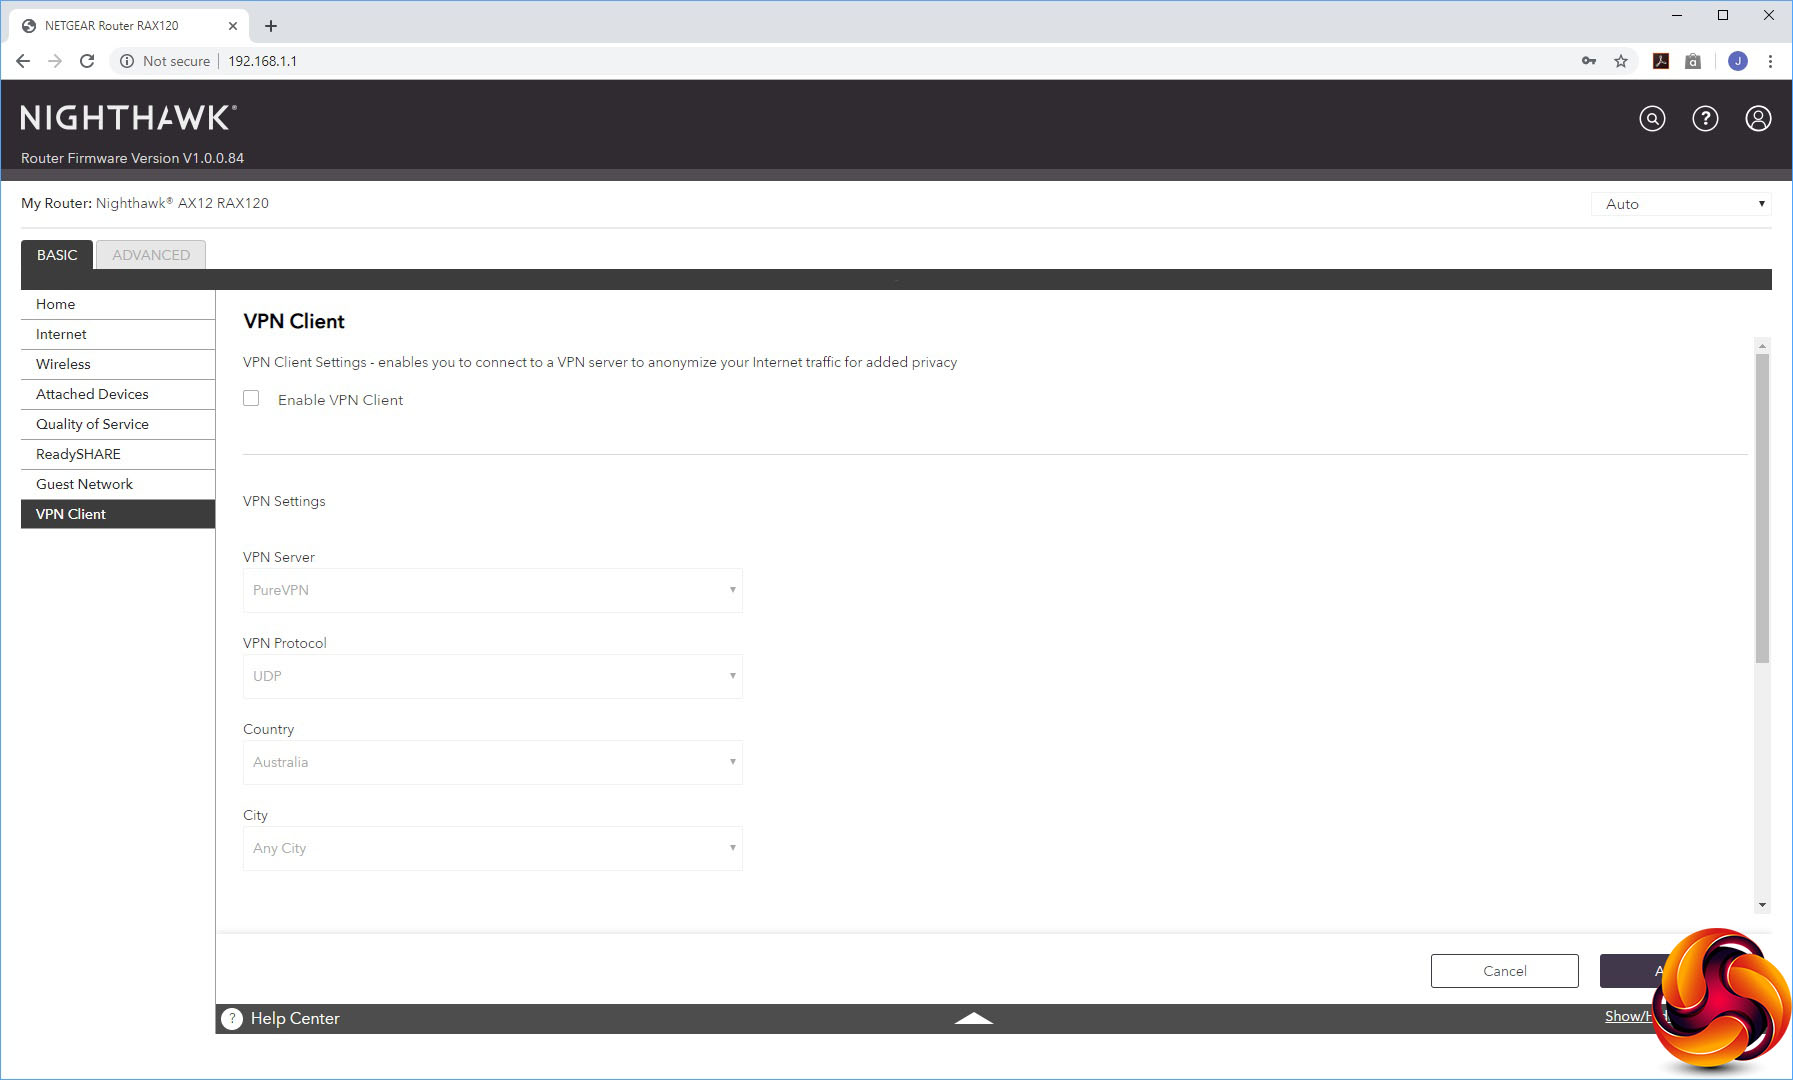
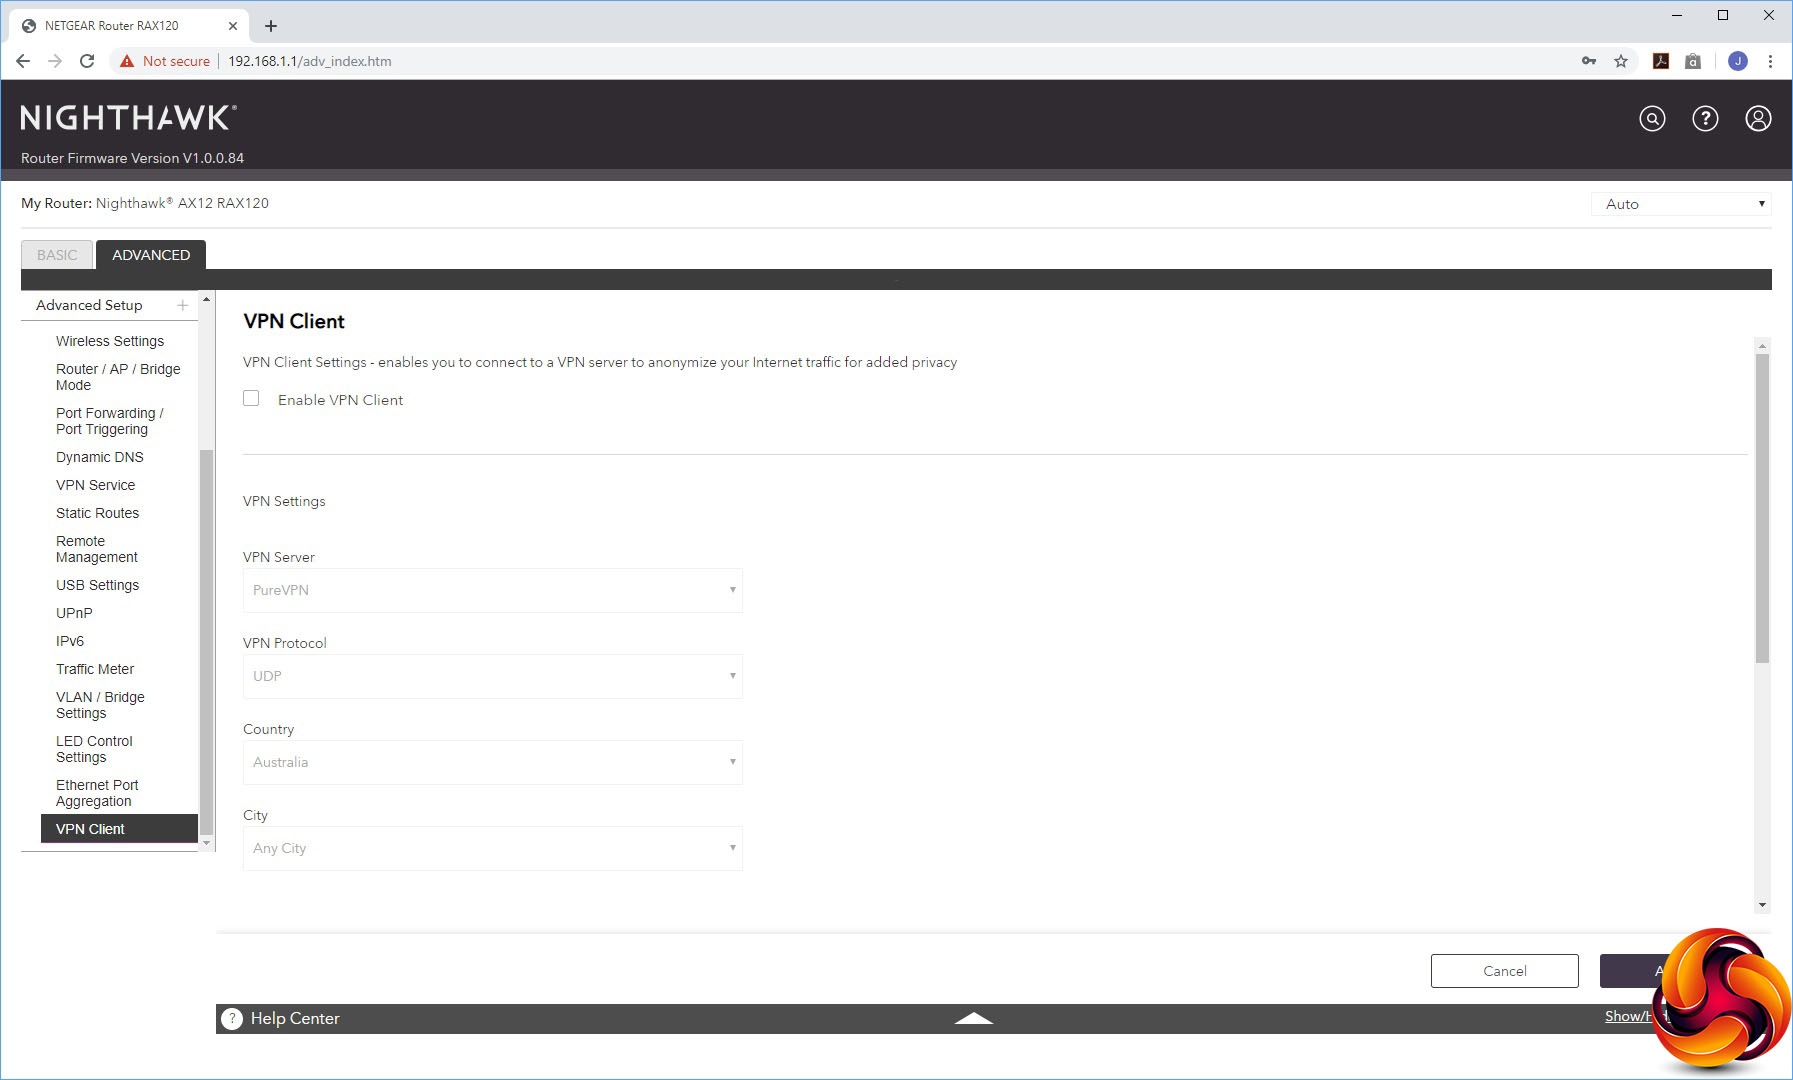
You can set the AX12's WiFi up to offer a guest WLAN, and also have it act as VPN client for the PureVPN system.
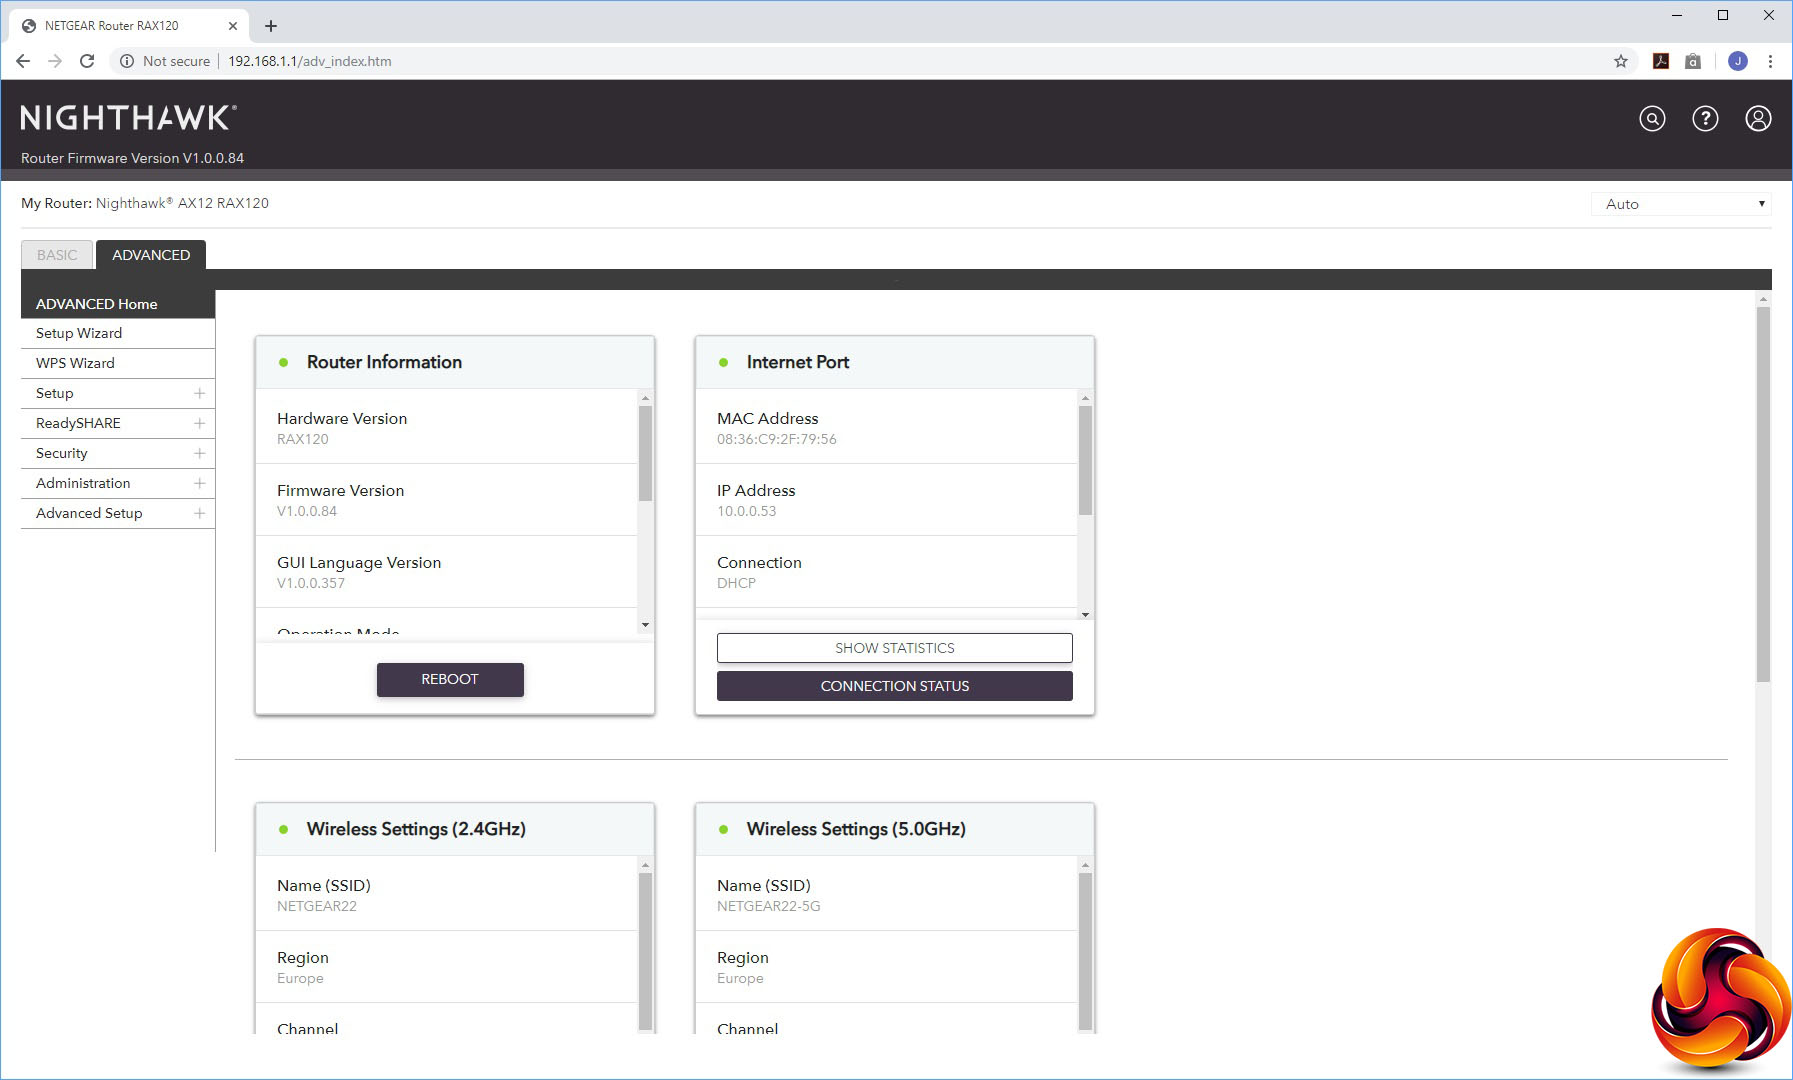
The Advanced tab also has its own Home section with a bit more information than the Basic one.
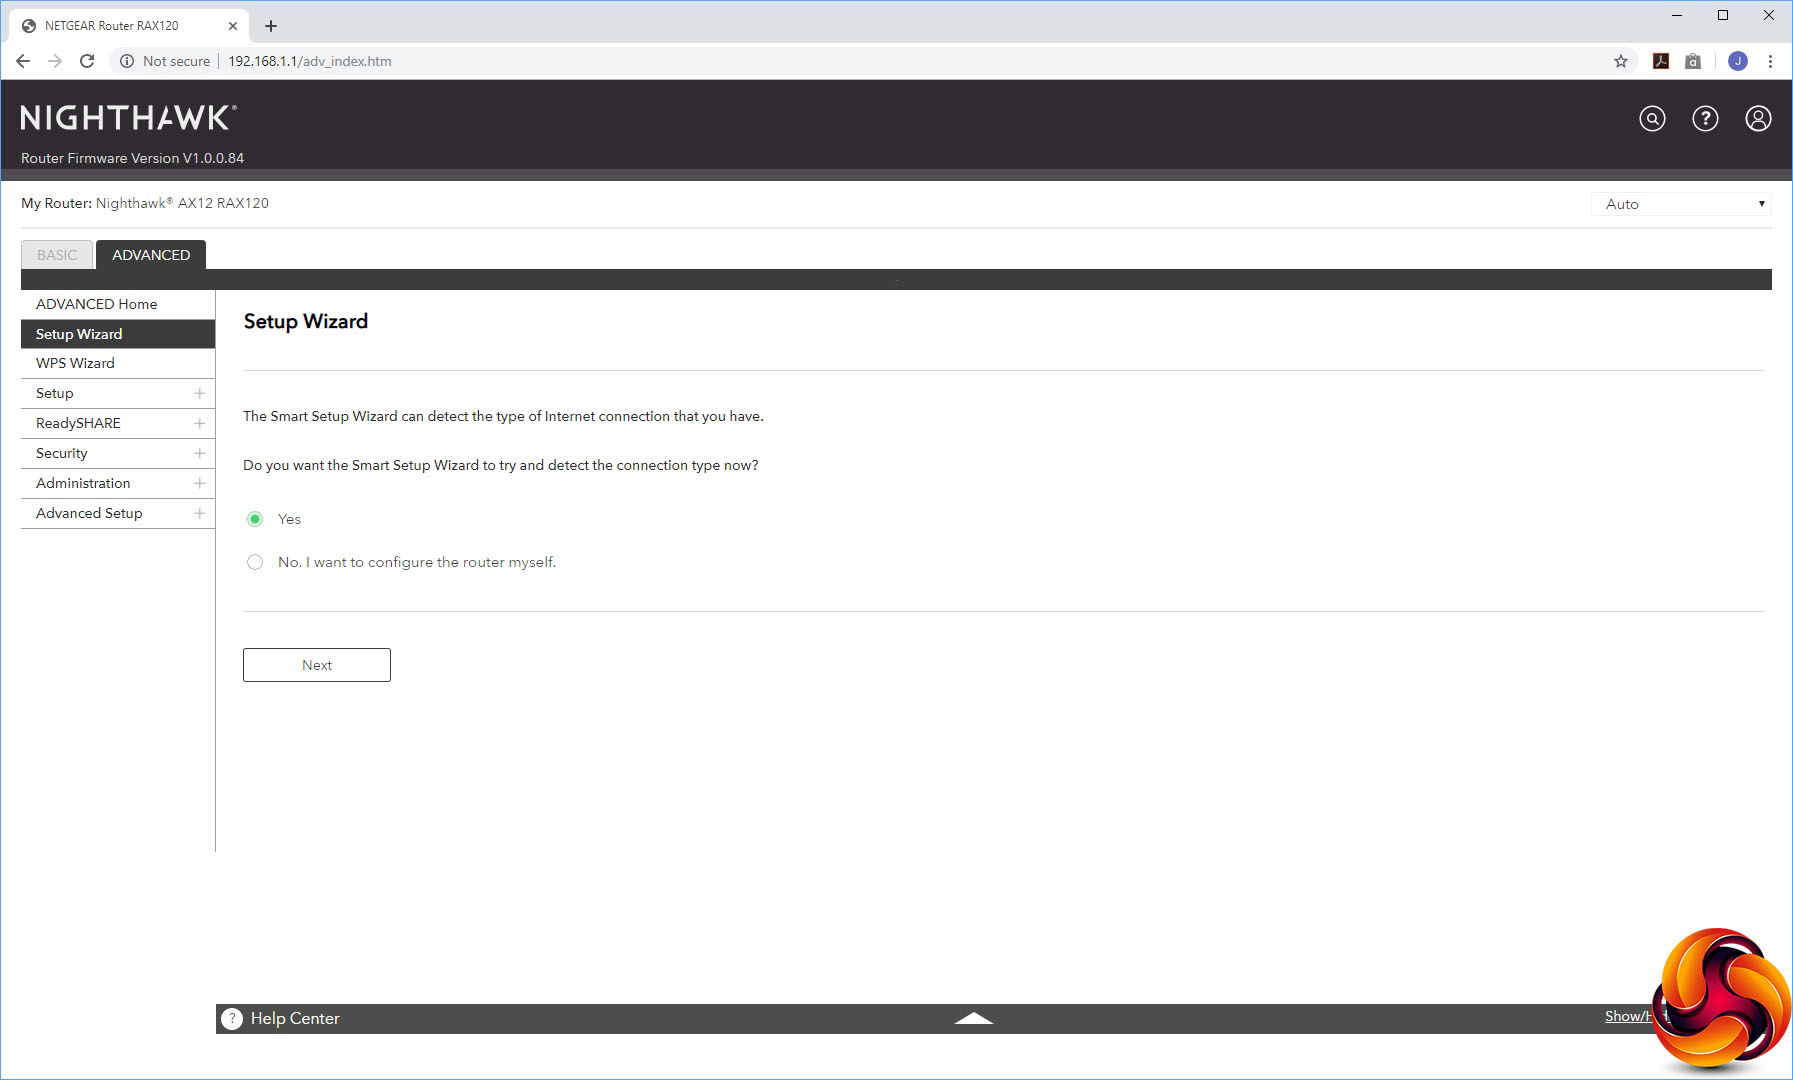
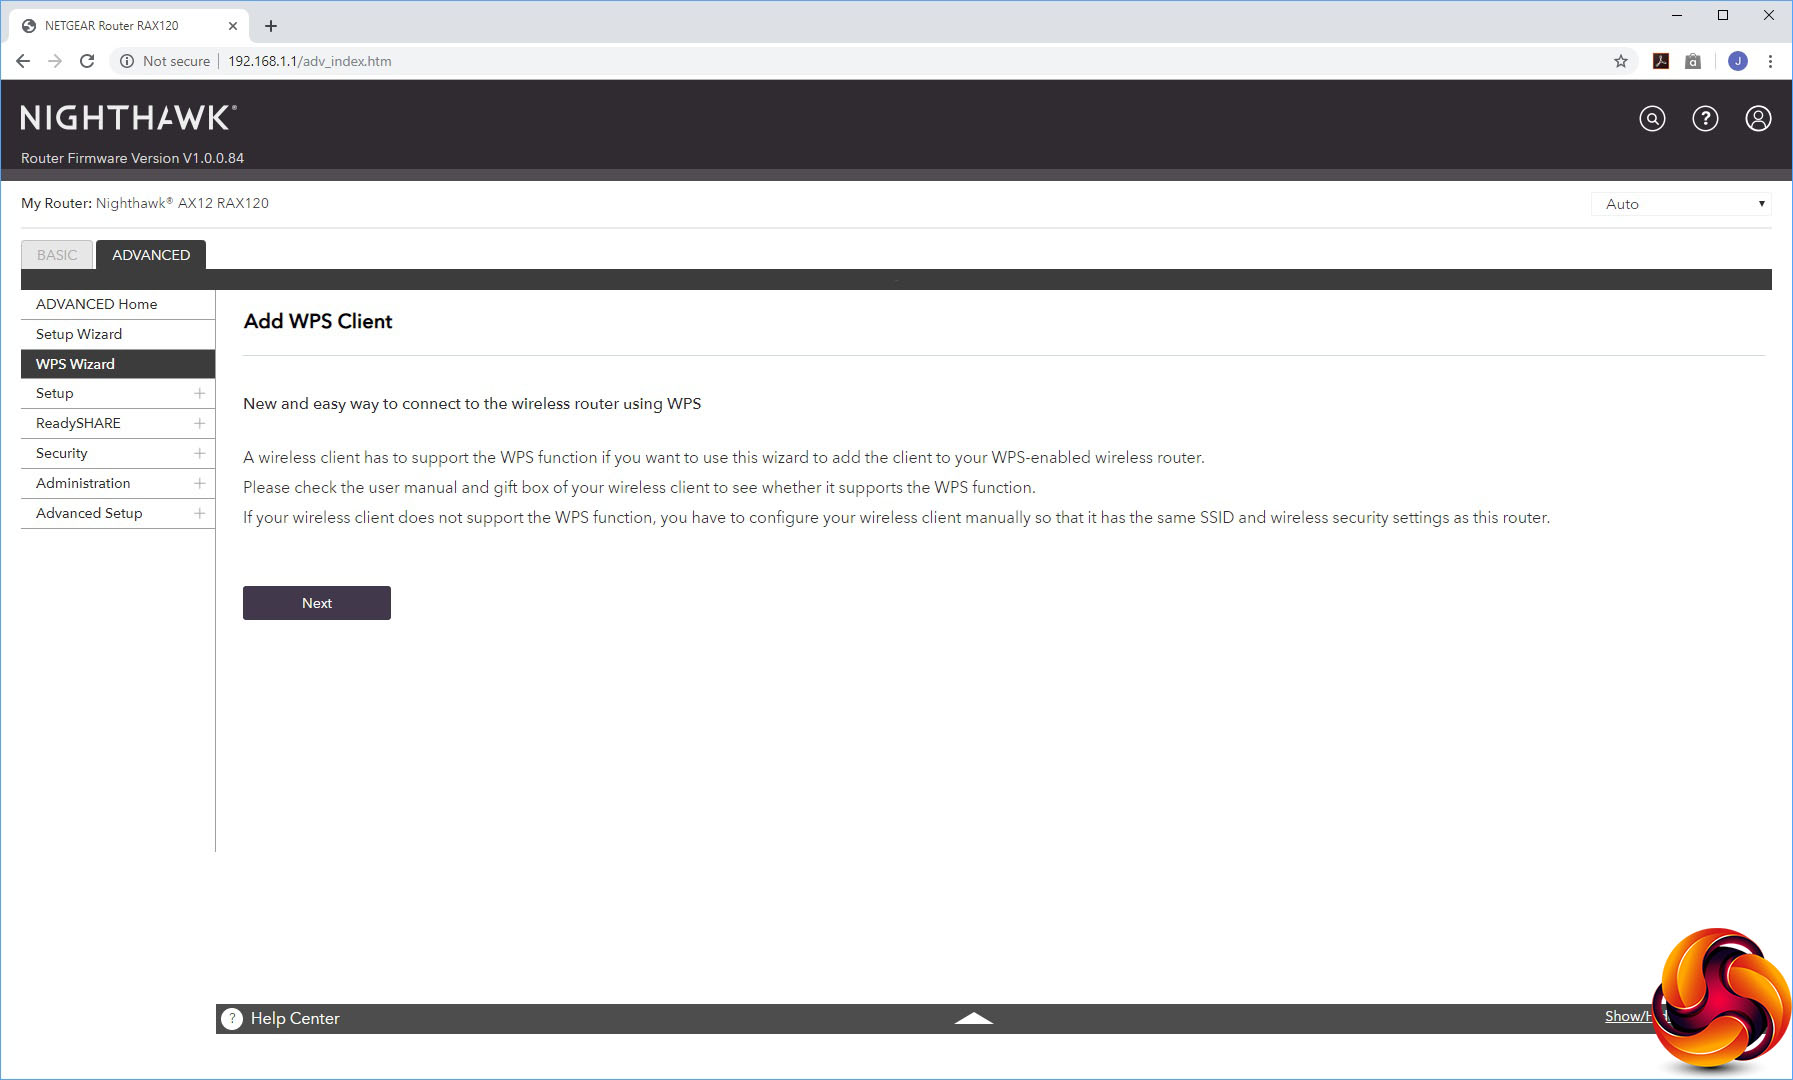
The first couple of options let you re-invoke the setup wizard, or connect clients via WPS (although the button on top of the AX12 is even easier for the latter).
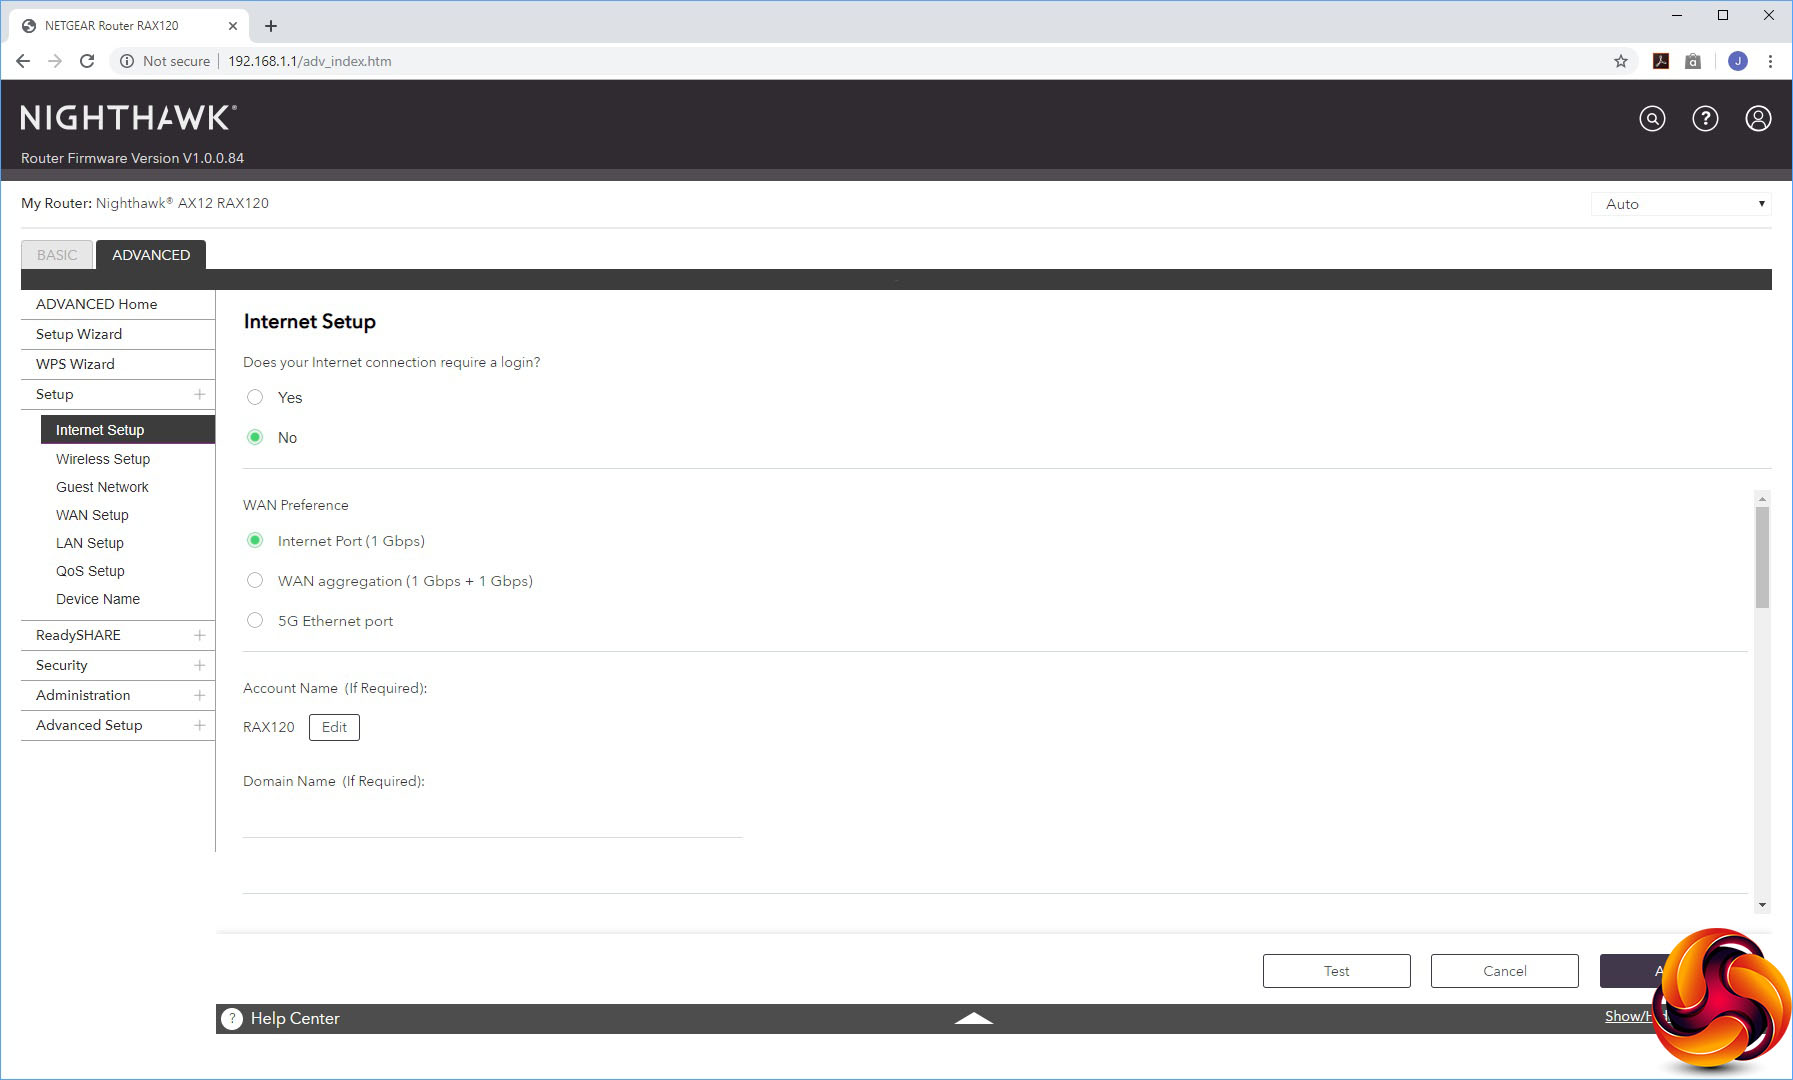
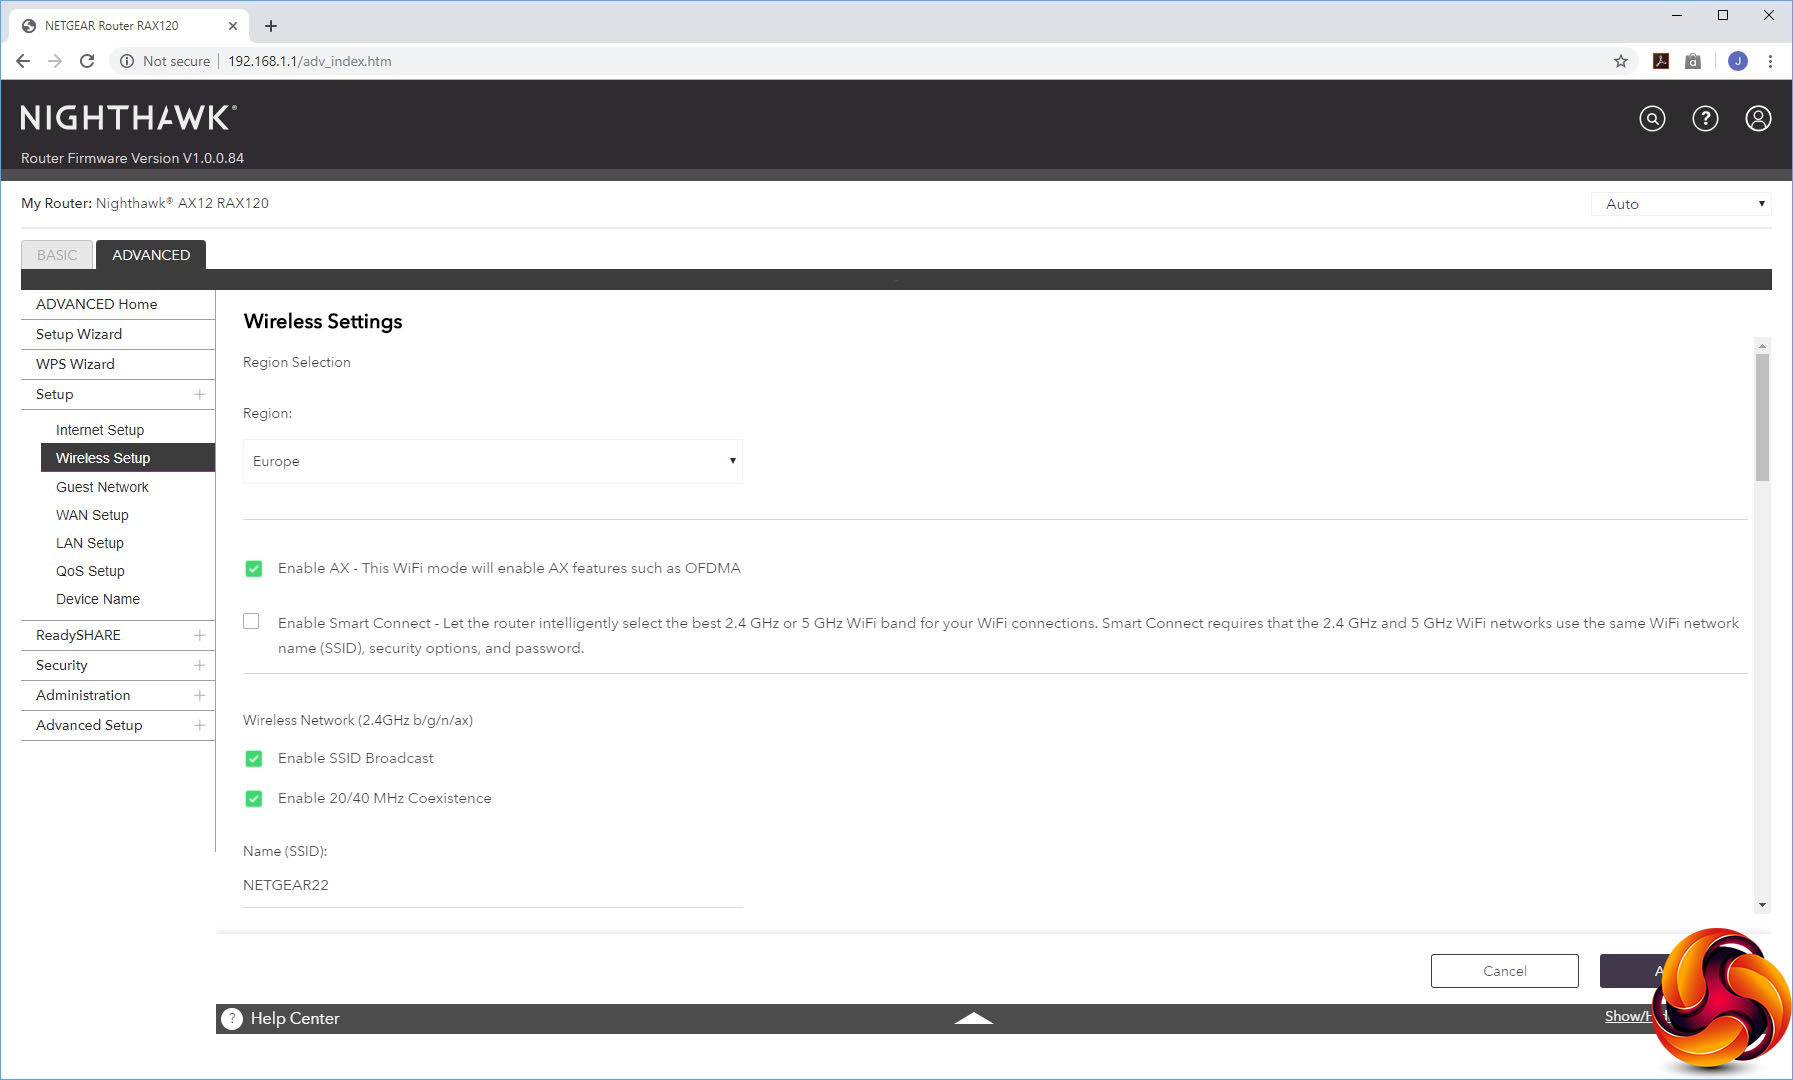

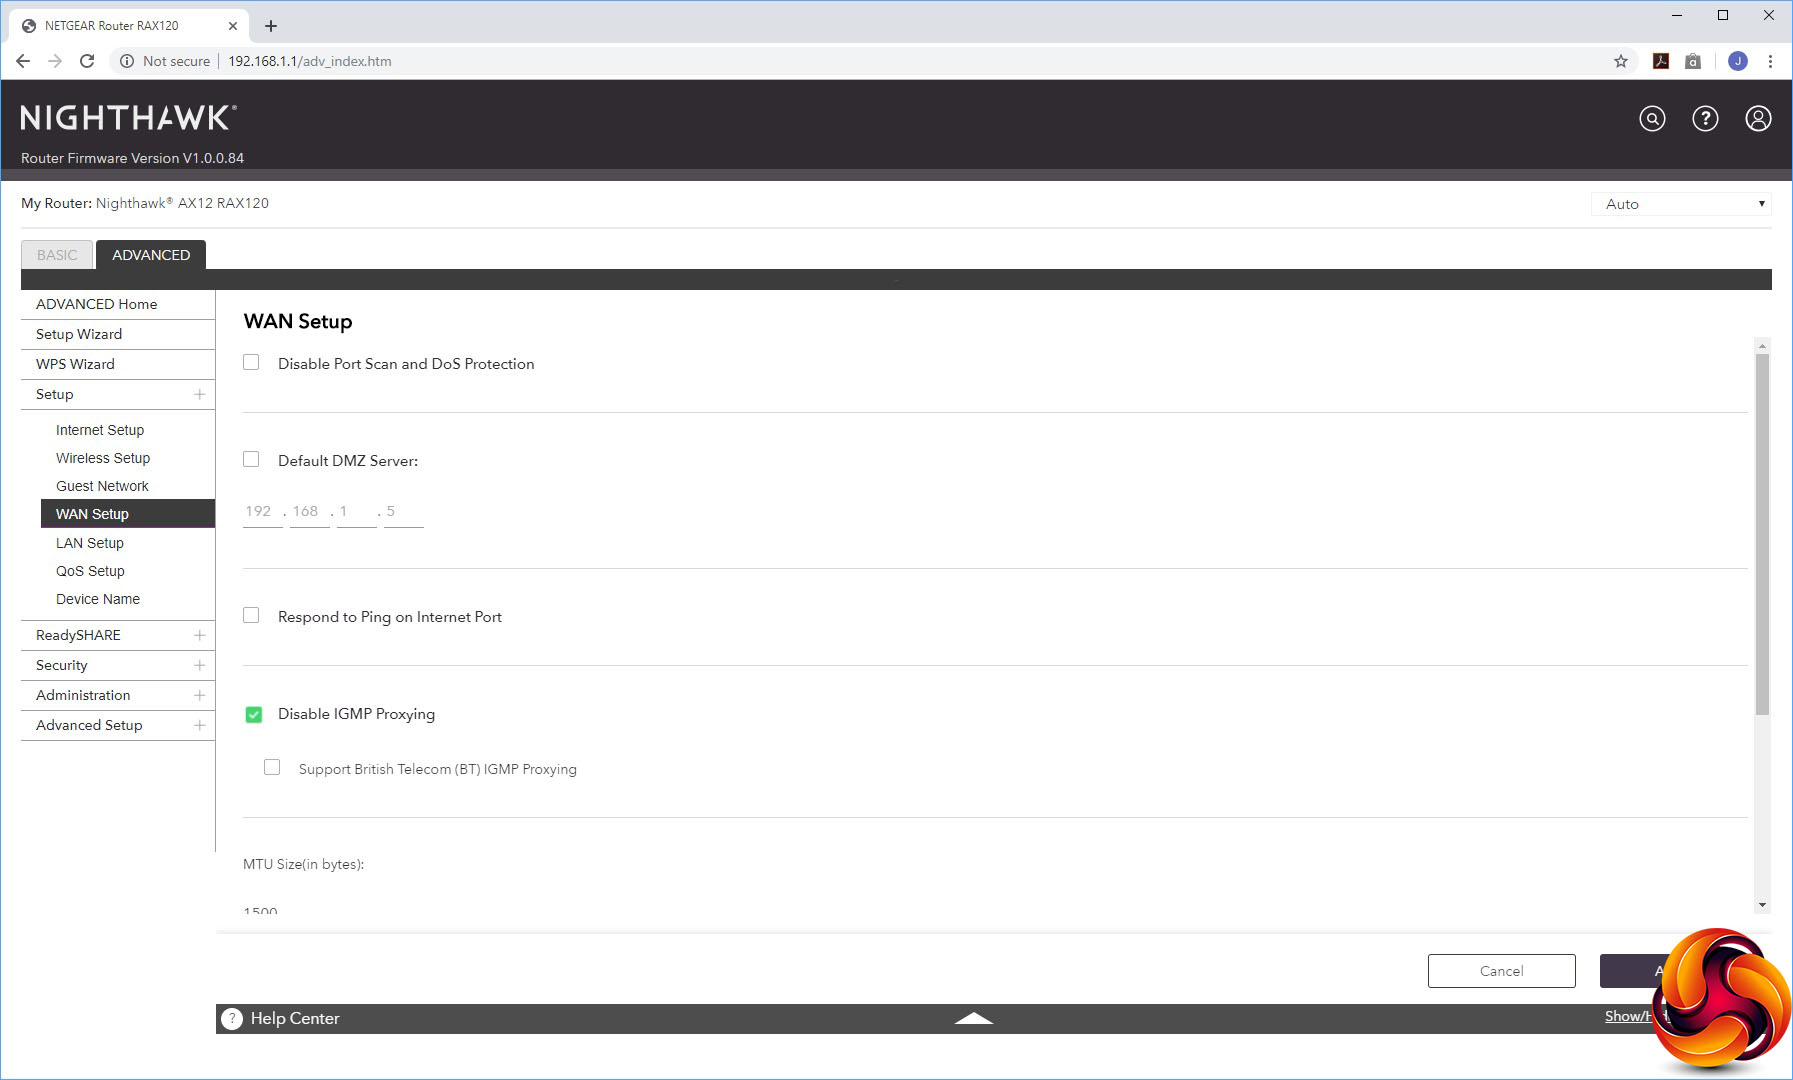


The Setup section has five different sub-sections. First comes the Internet Setup dialog, then the Wireless Setup and Guest Network option, all as found in the Basic section. The WAN Setup section lets you create a DMZ and alter other detailed options like MTU size.
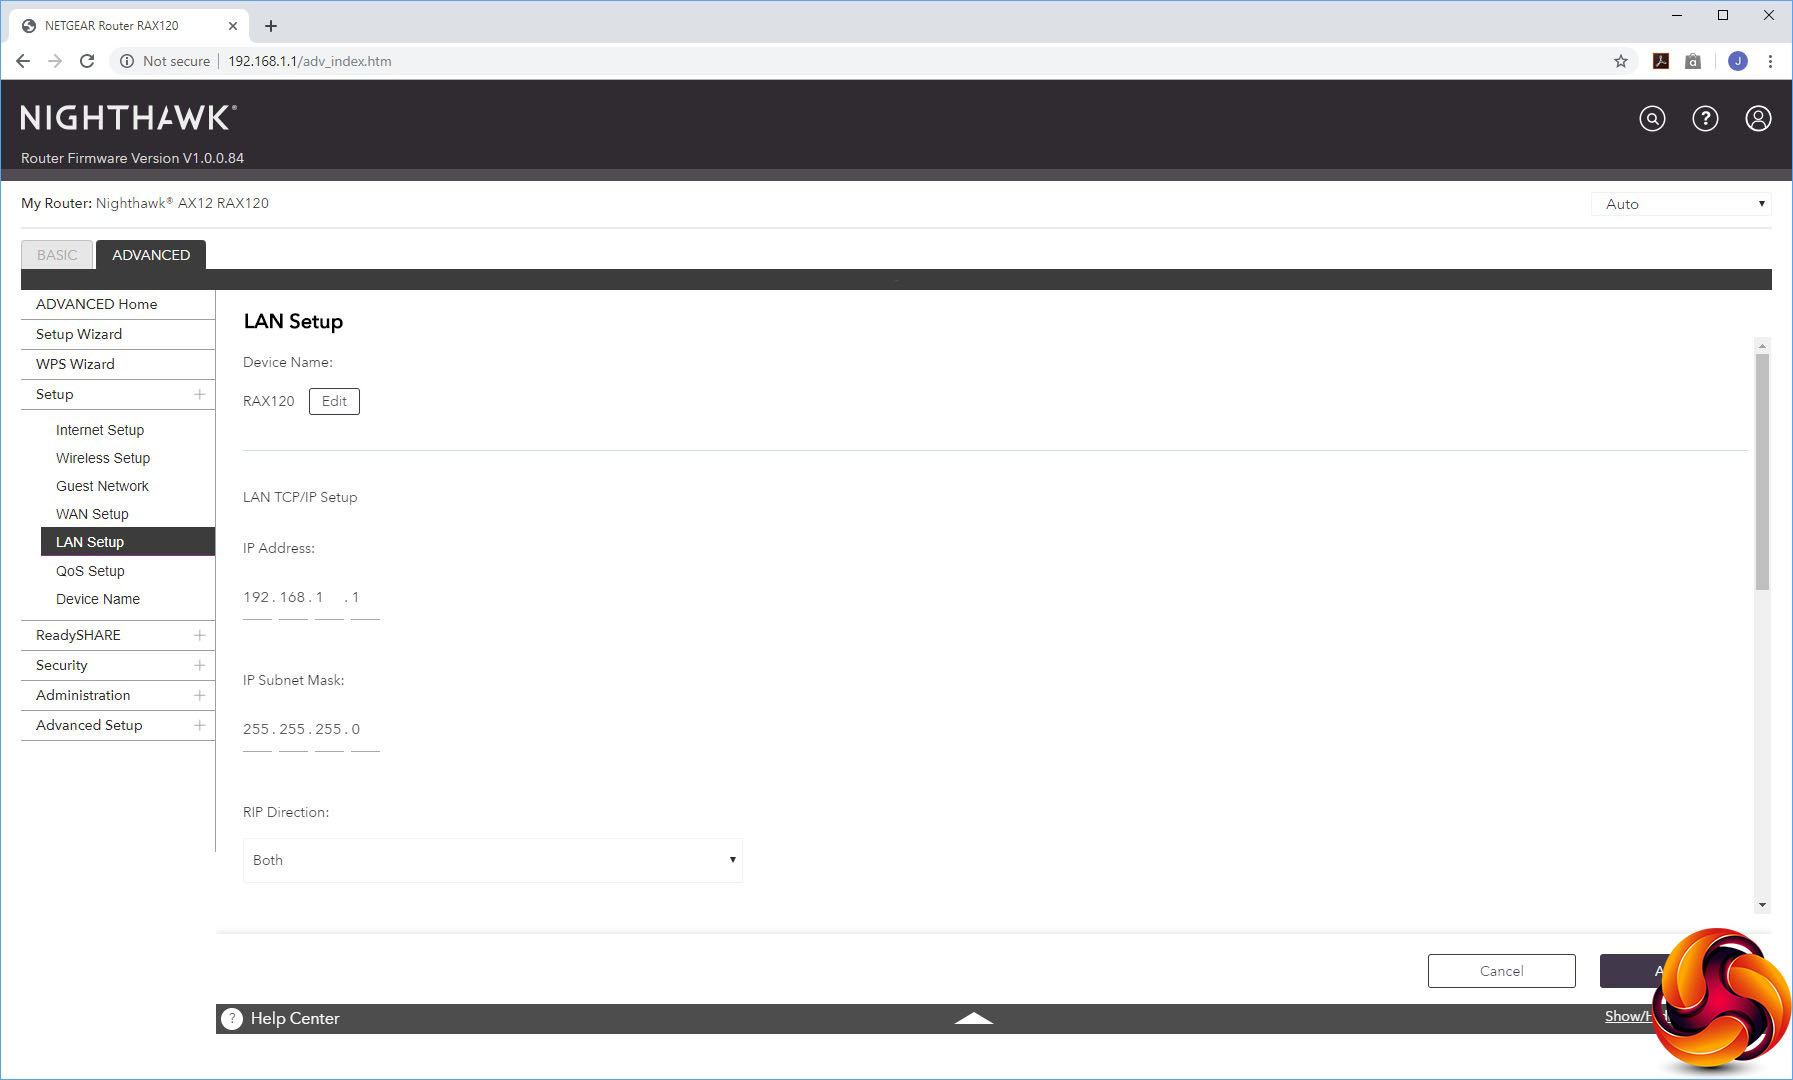
You can change the IP range used and device name in the LAN Setup, whilst QoS Setup offers the same parameters as the Basic version. Finally, there's a separate menu option for changing the device name from the default of “RAX120”.
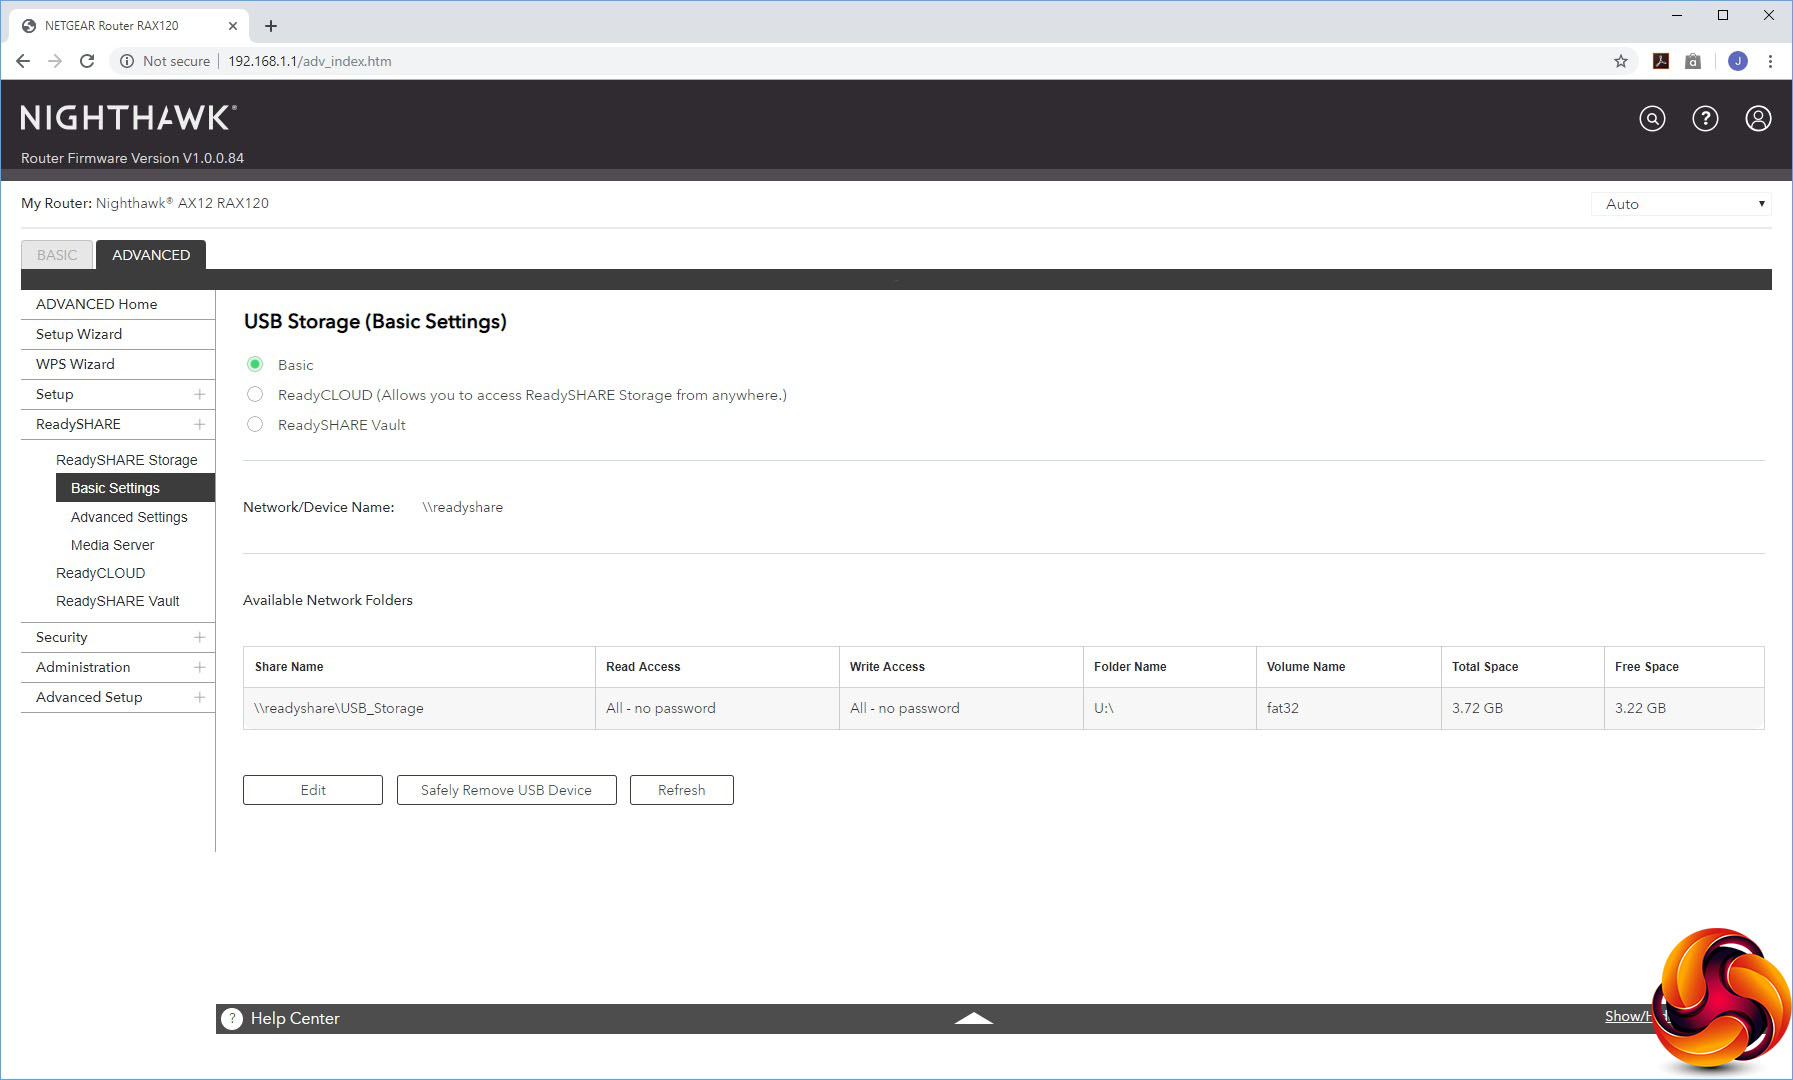
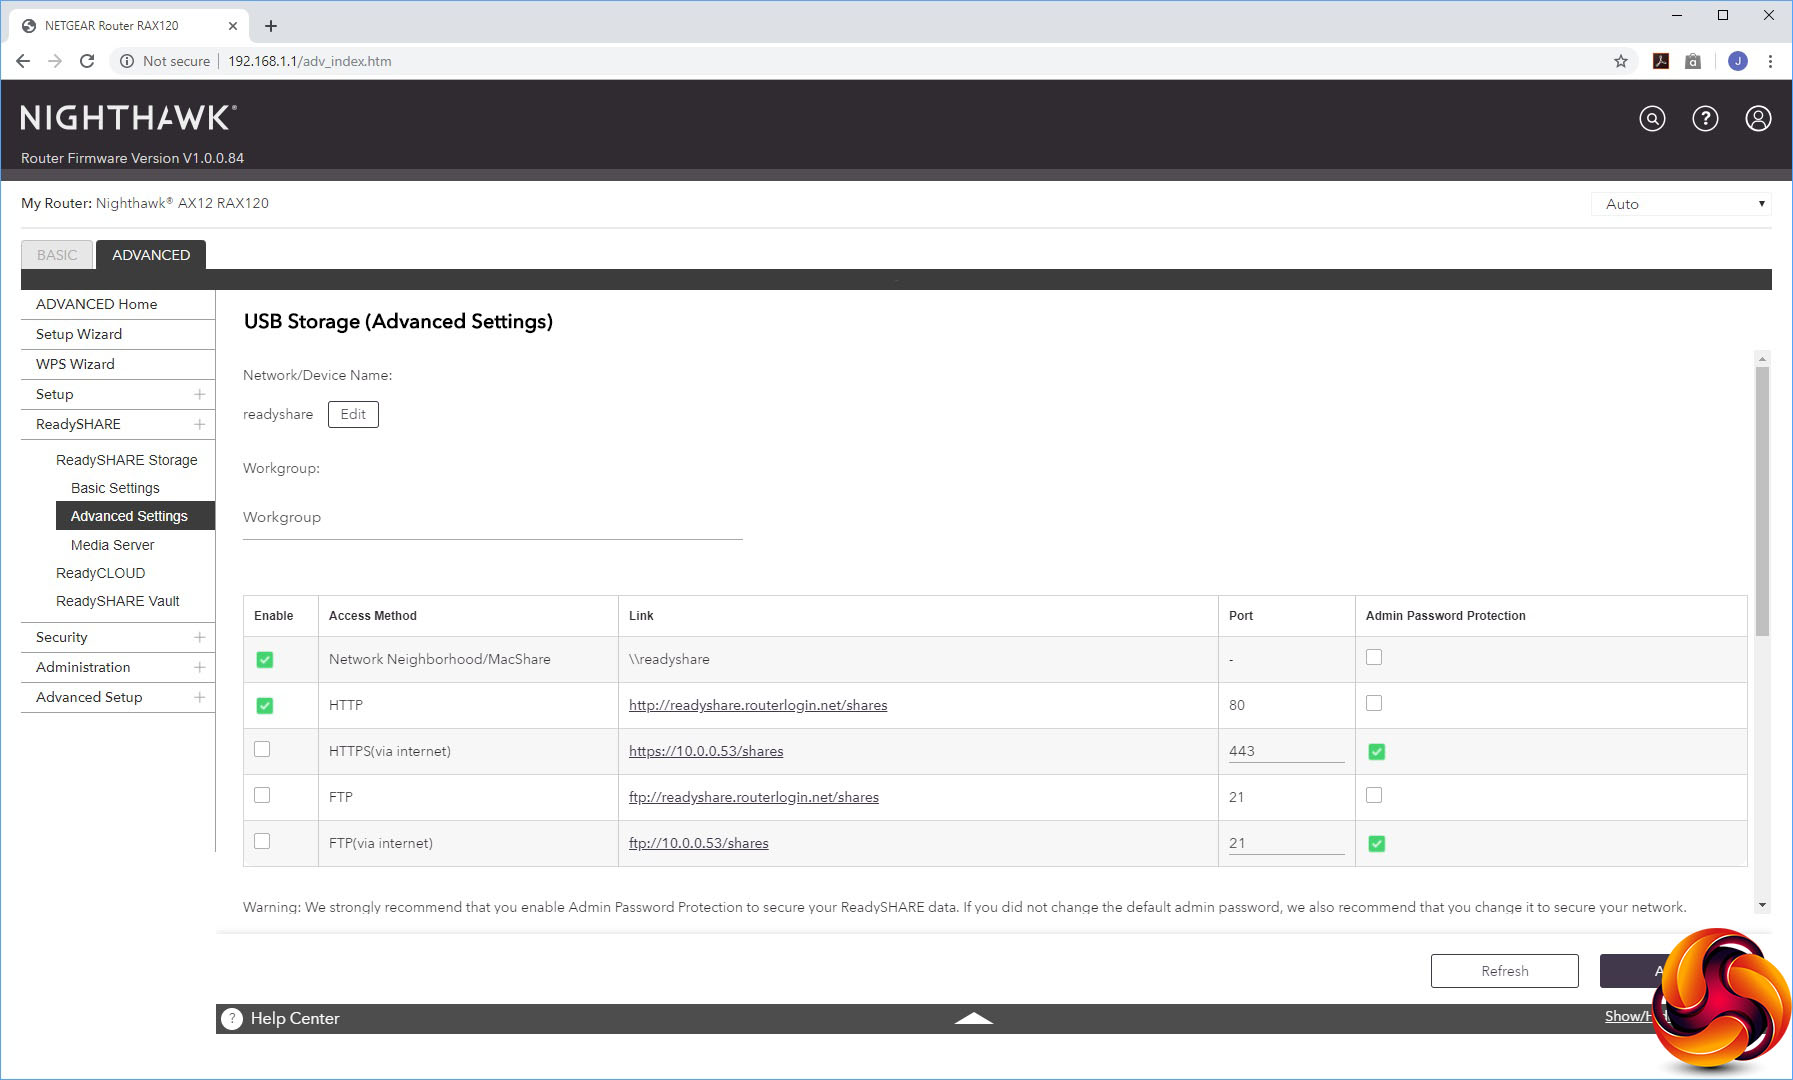
The Advanced ReadySHARE section exposes a lot more of the features for attached storage devices. You can choose whether your USB memory is presented via HTTP, HTTPS, and FTP, or just a regular Windows network file share.
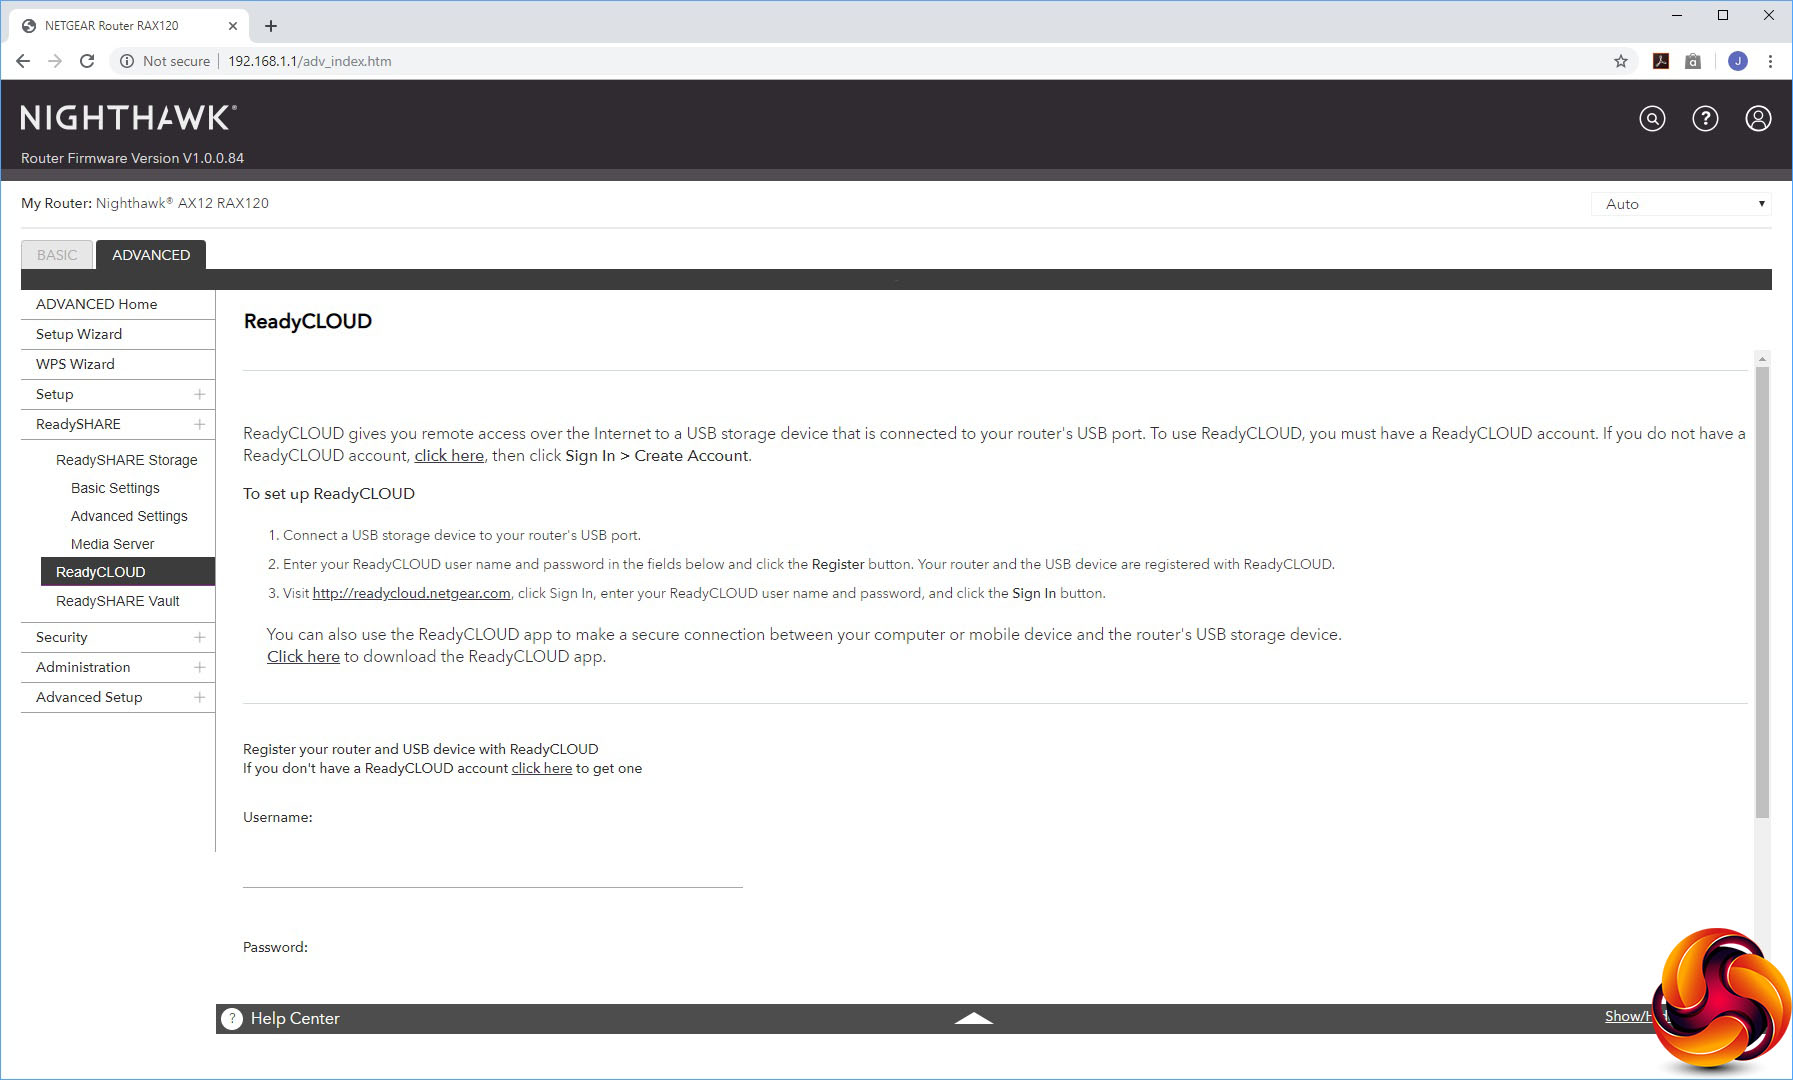
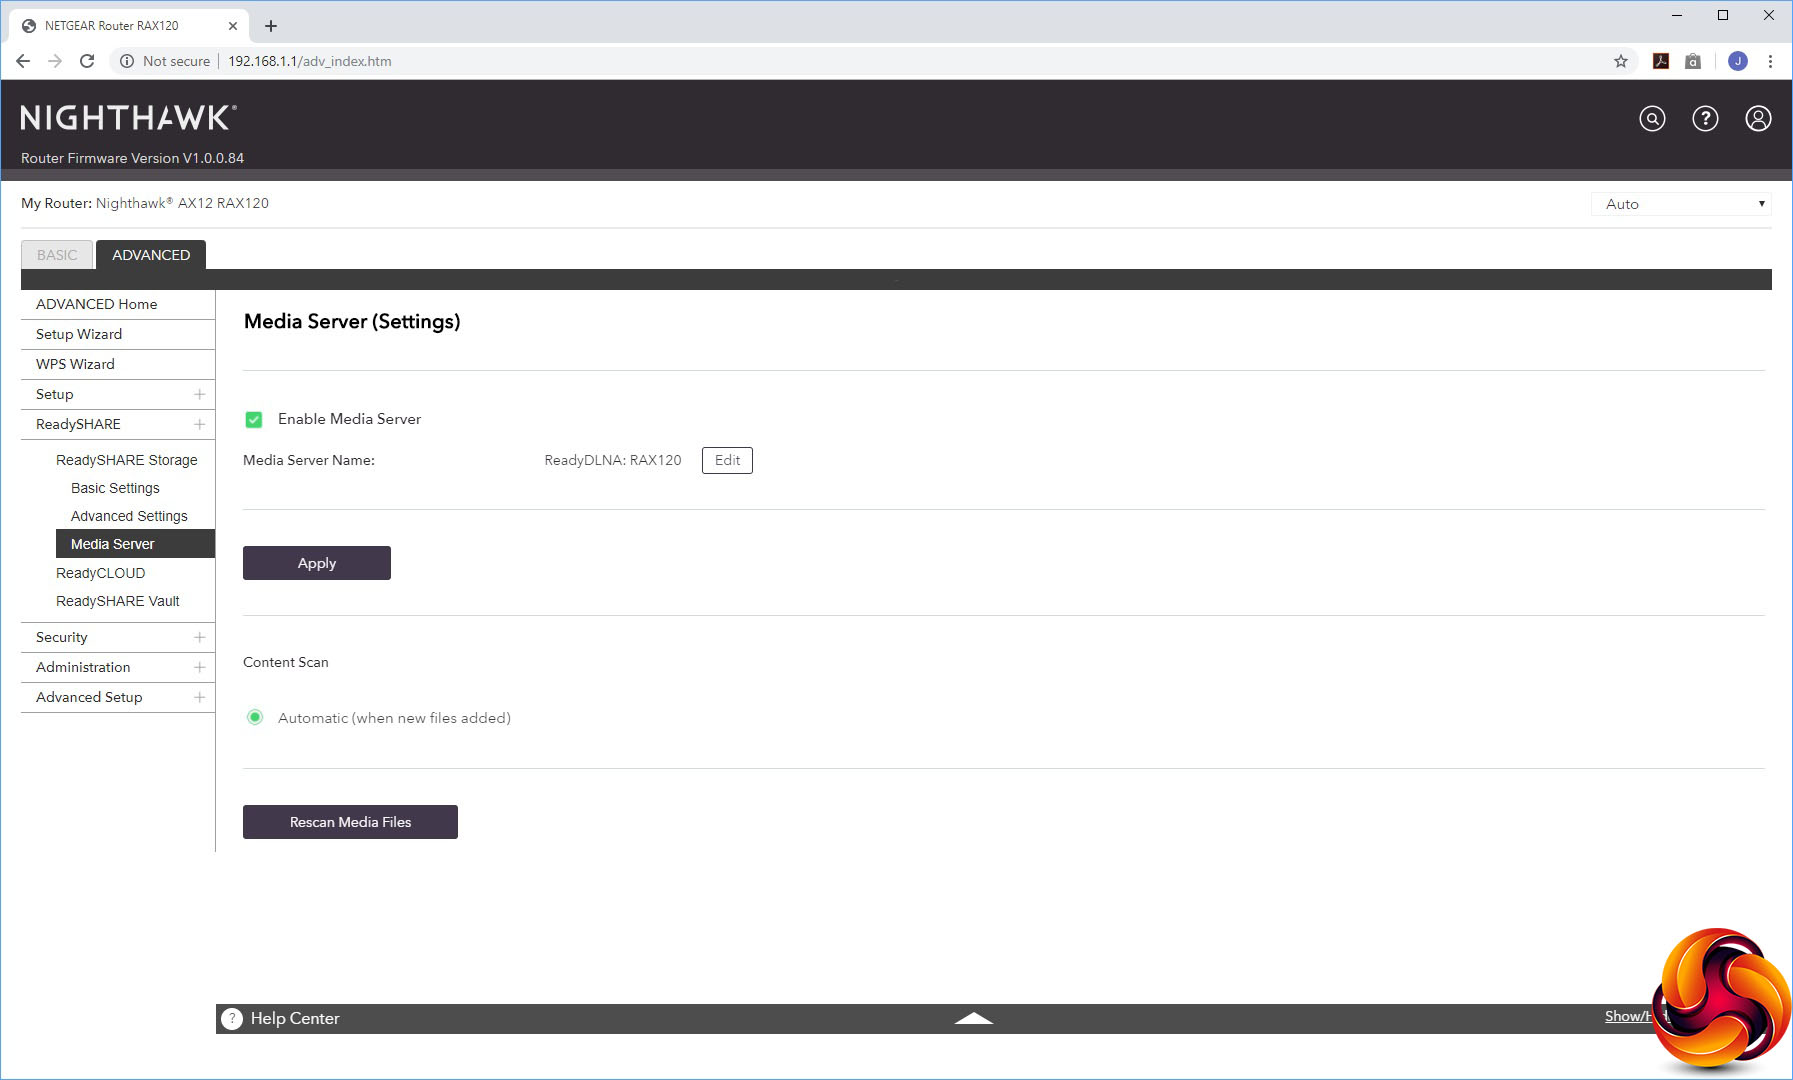
By default, it's also available as a DLNA media server, but you can turn this off. ReadyCLOUD lets you access the USB storage from the external Internet, whilst ReadySHARE Vault turns the USB storage into a network backup repository for use with NETGEAR's client backup software.
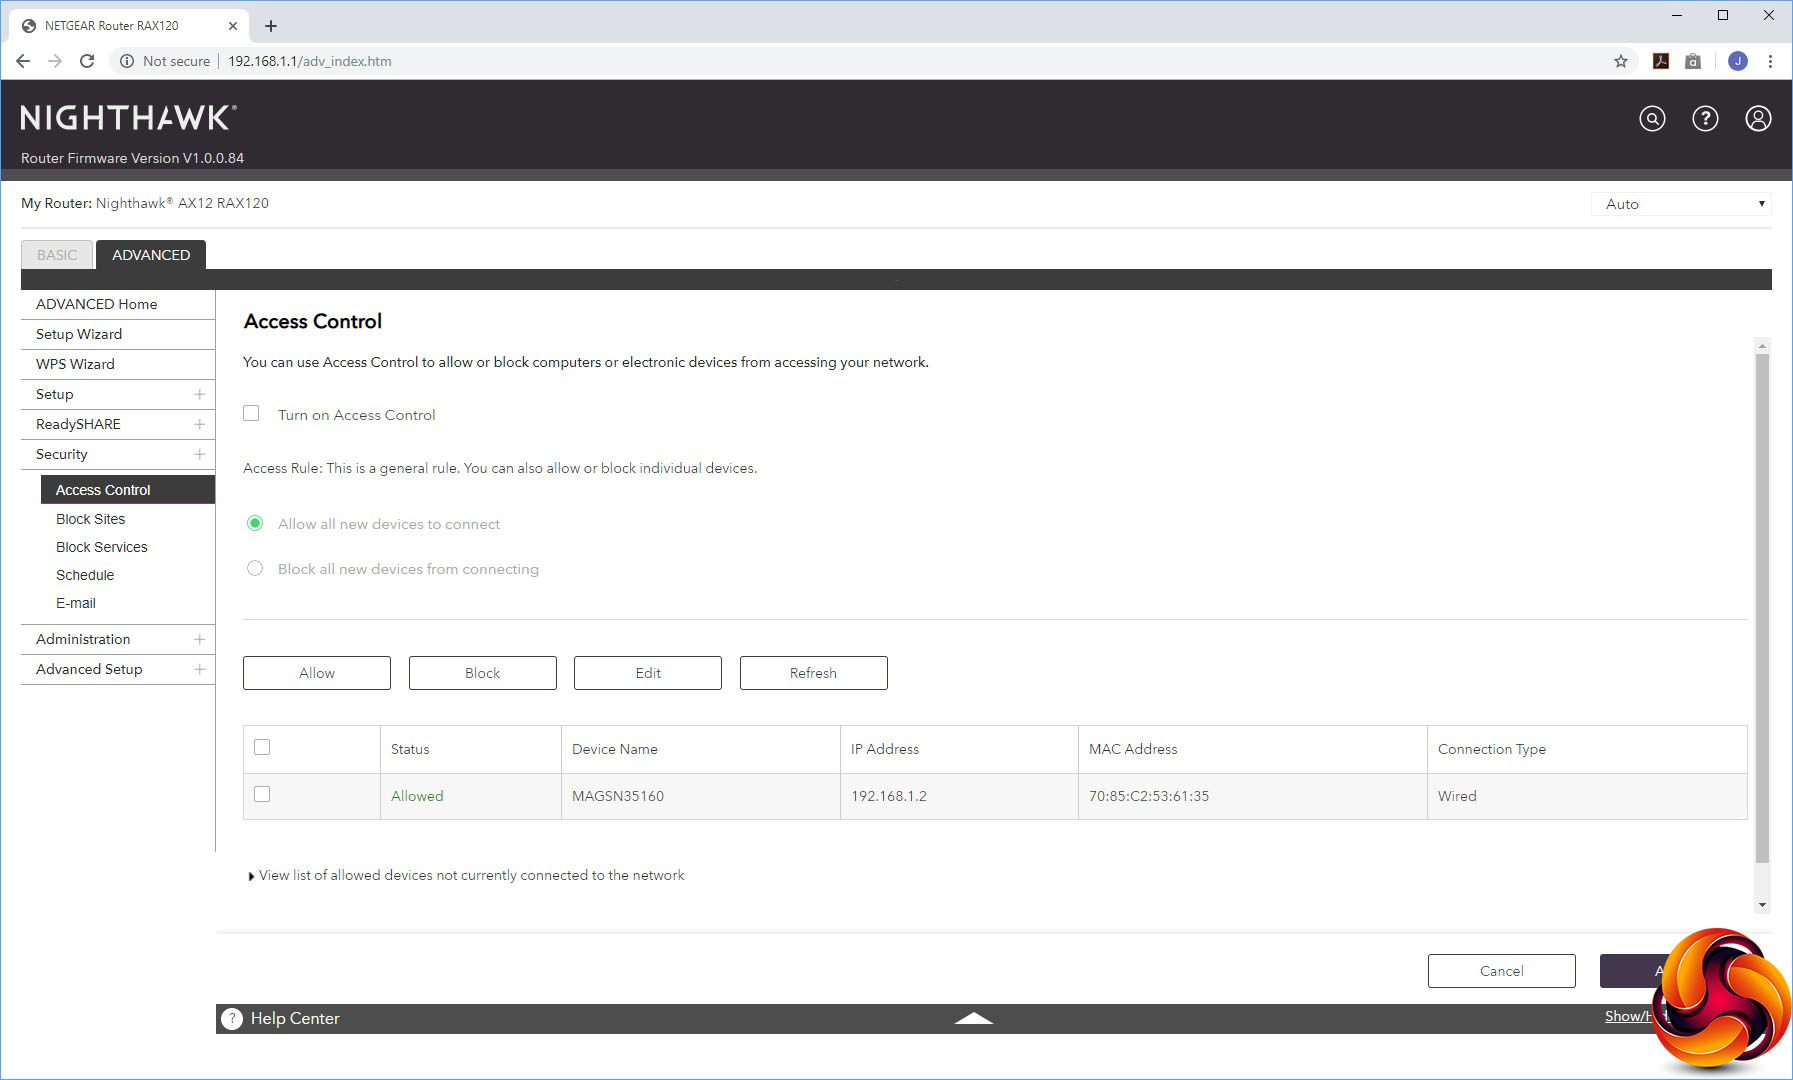
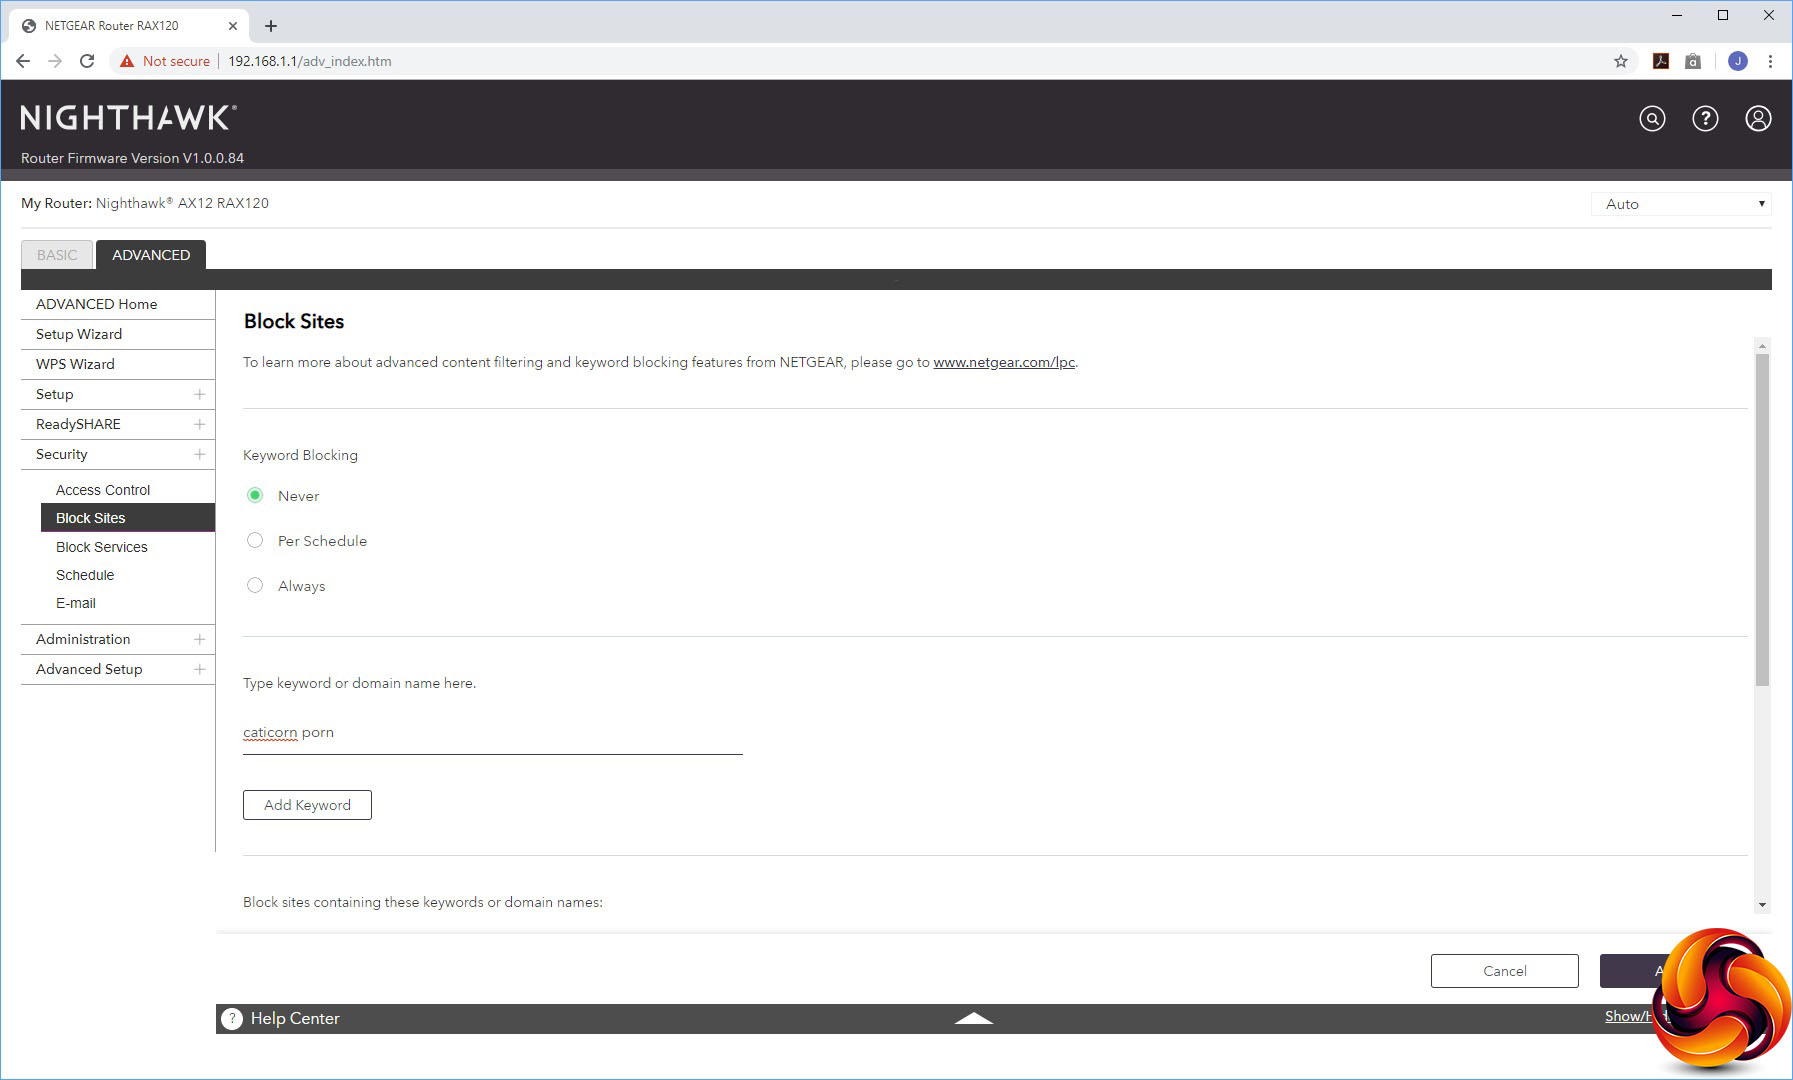
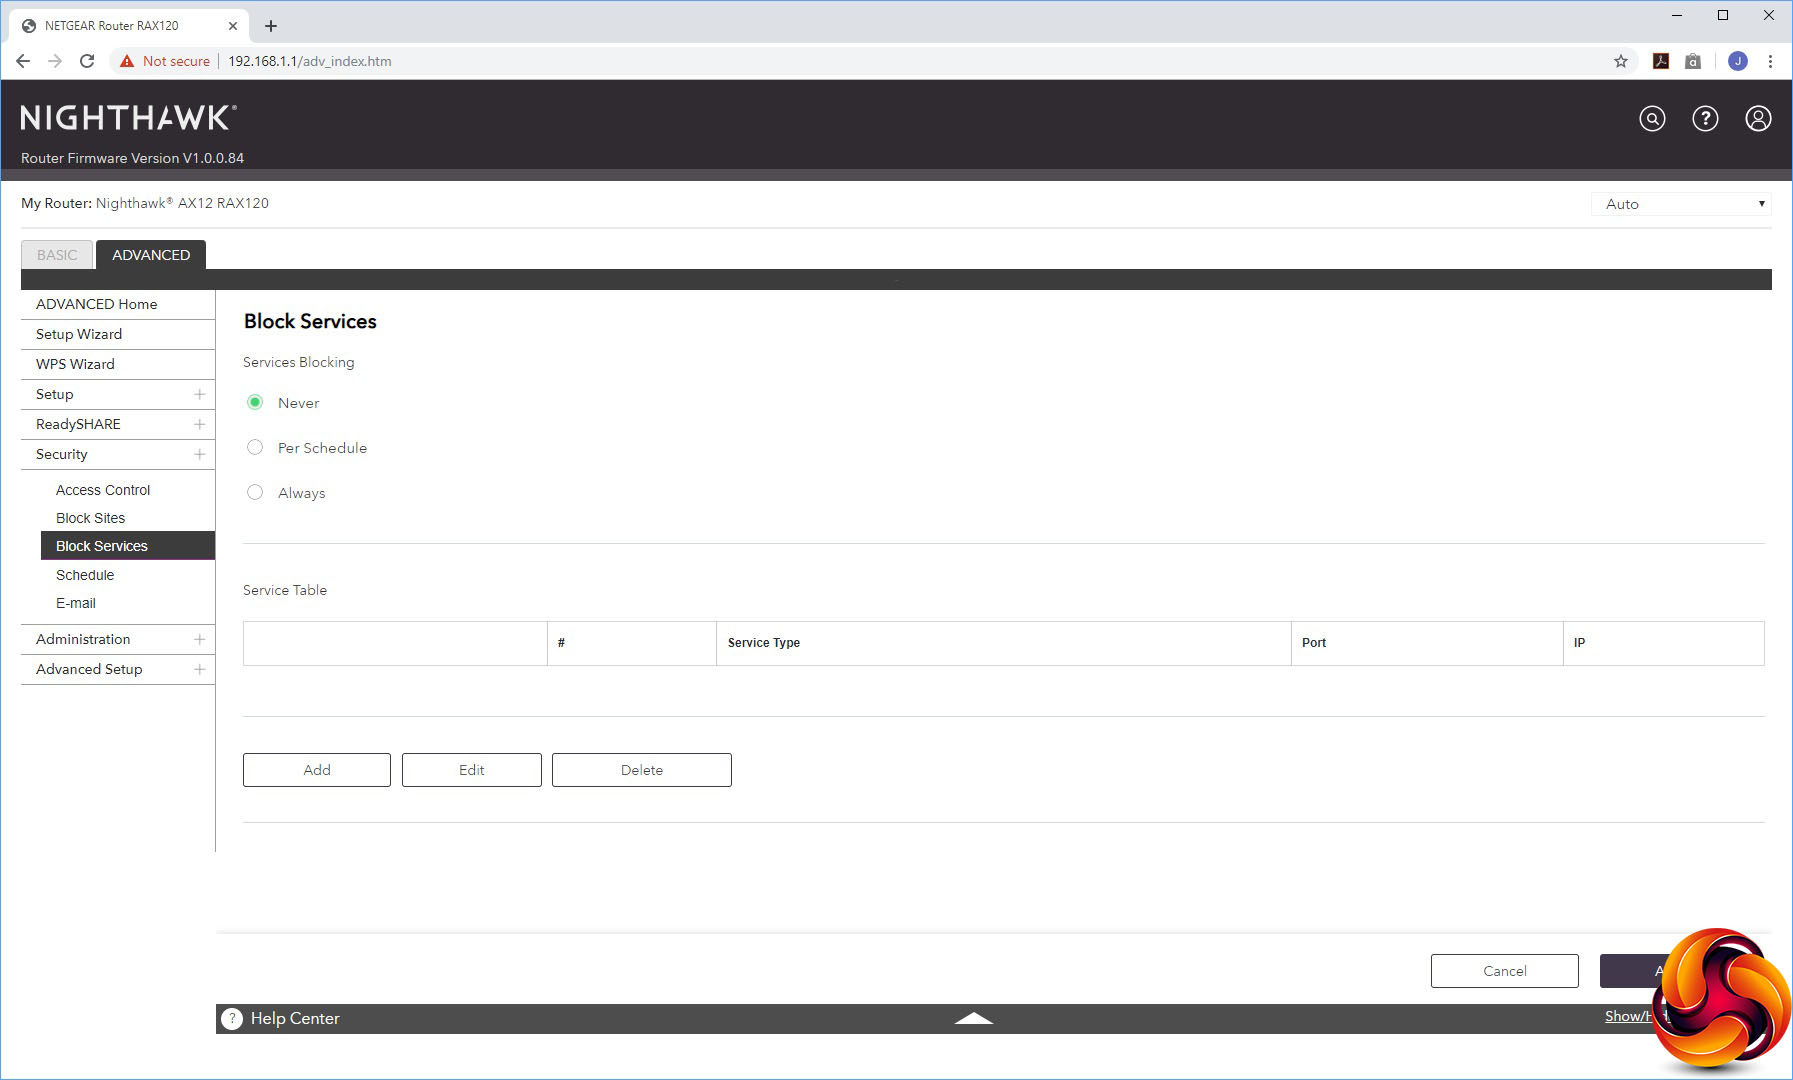
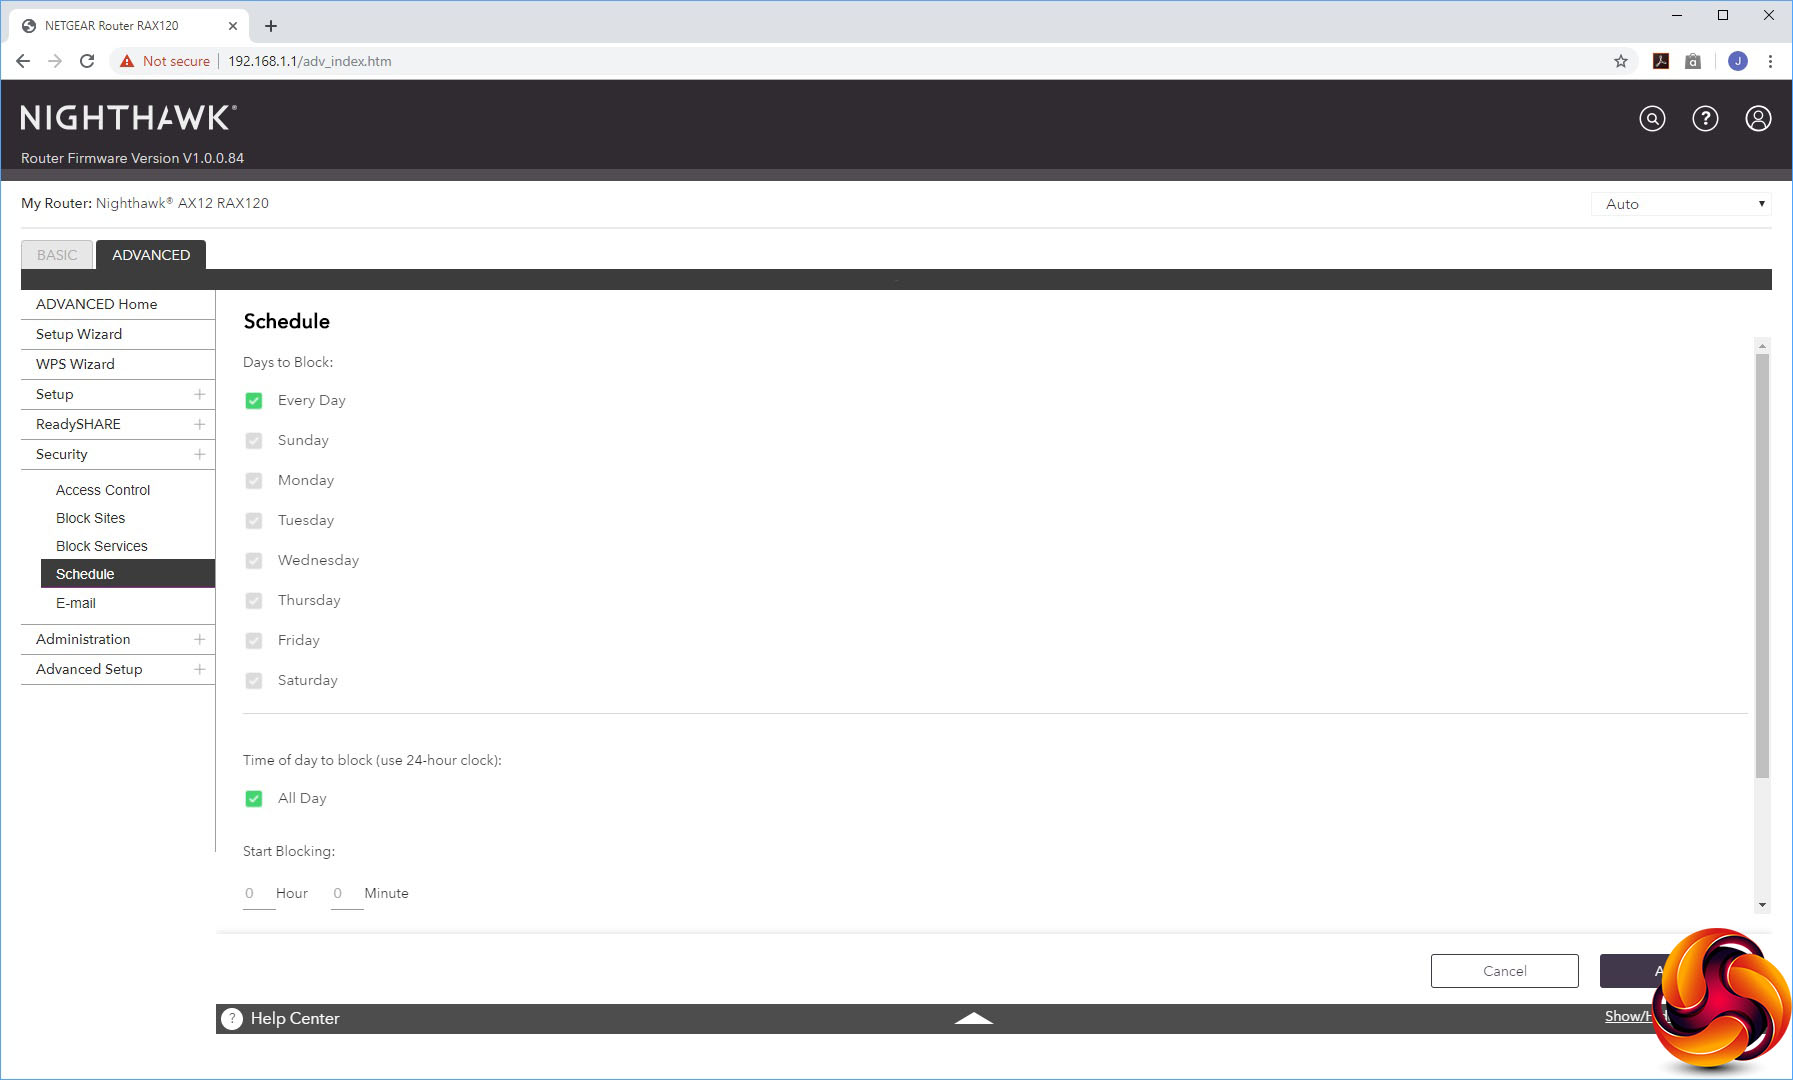
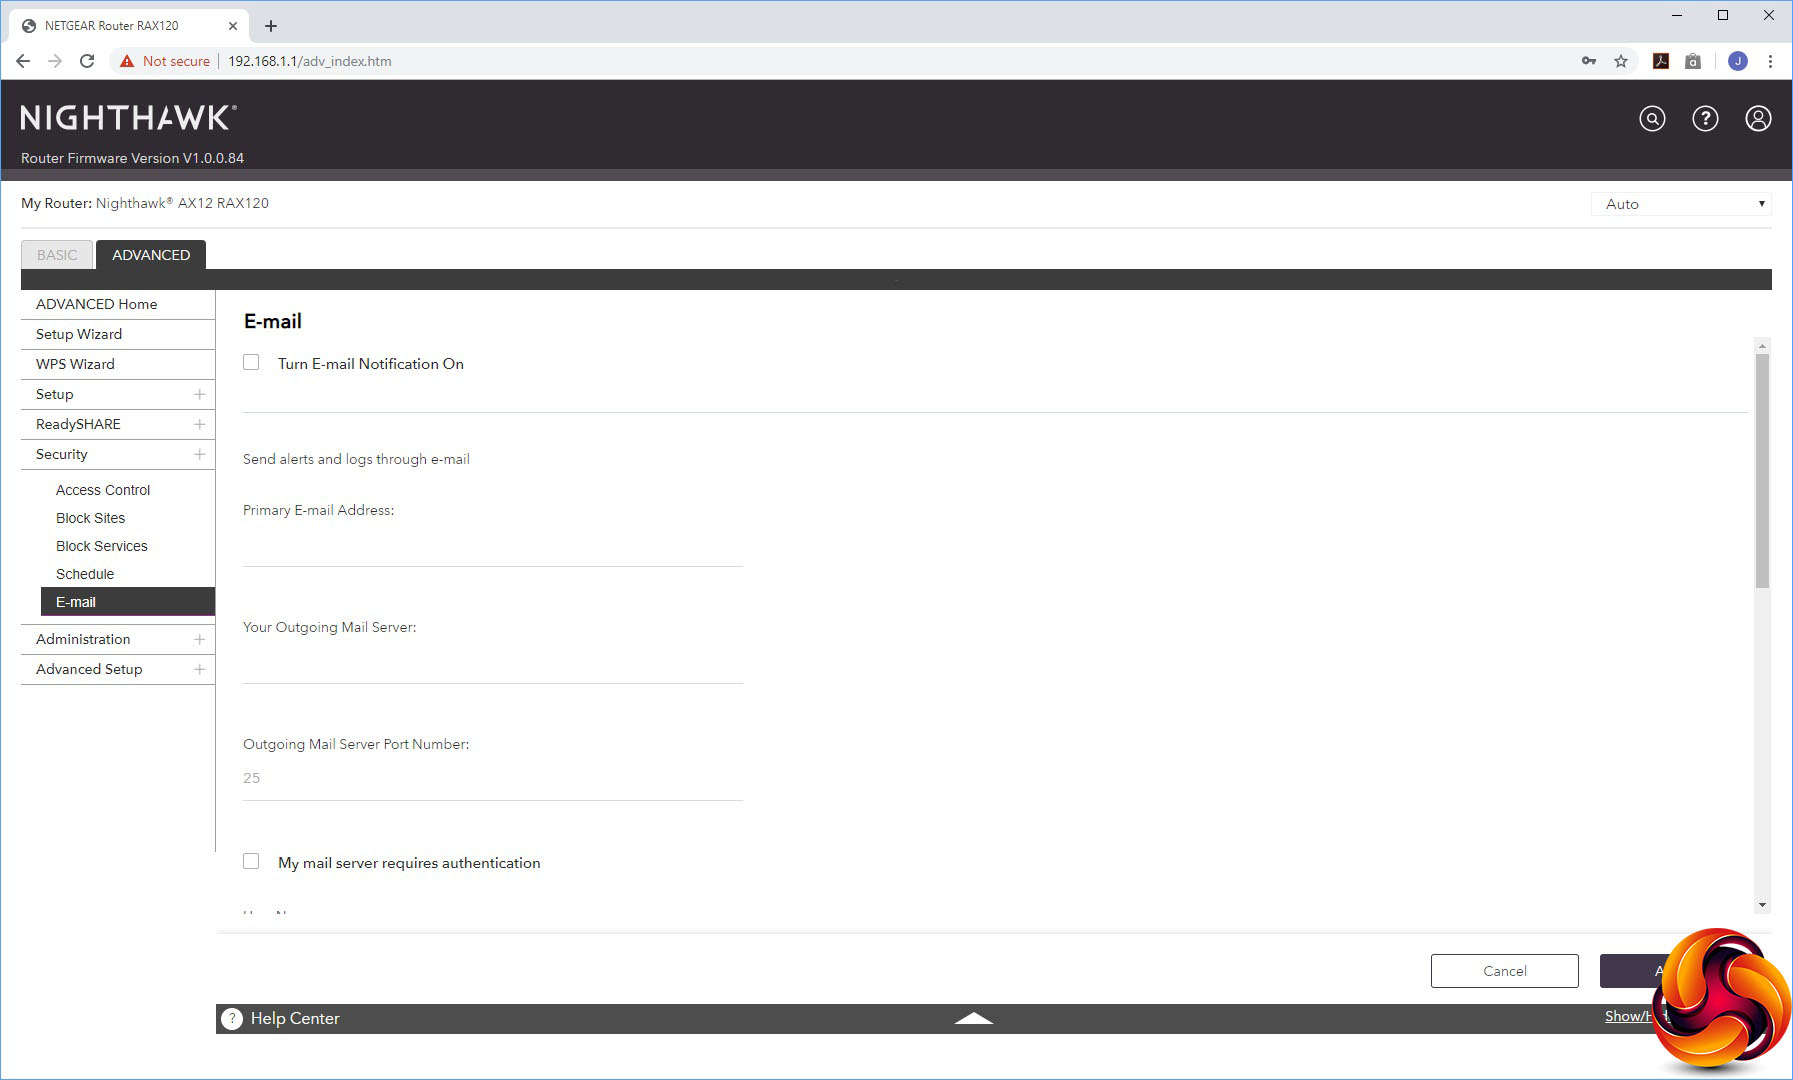
Under Security, you can block or allow specific devices on the network. You can also block sites by keyword or domain, or specific services. The latter can be according to a schedule – for example disallowing a gaming port during the day time or after a certain time at night. You can also block Internet access according to a schedule, and set up an email address for alerts.
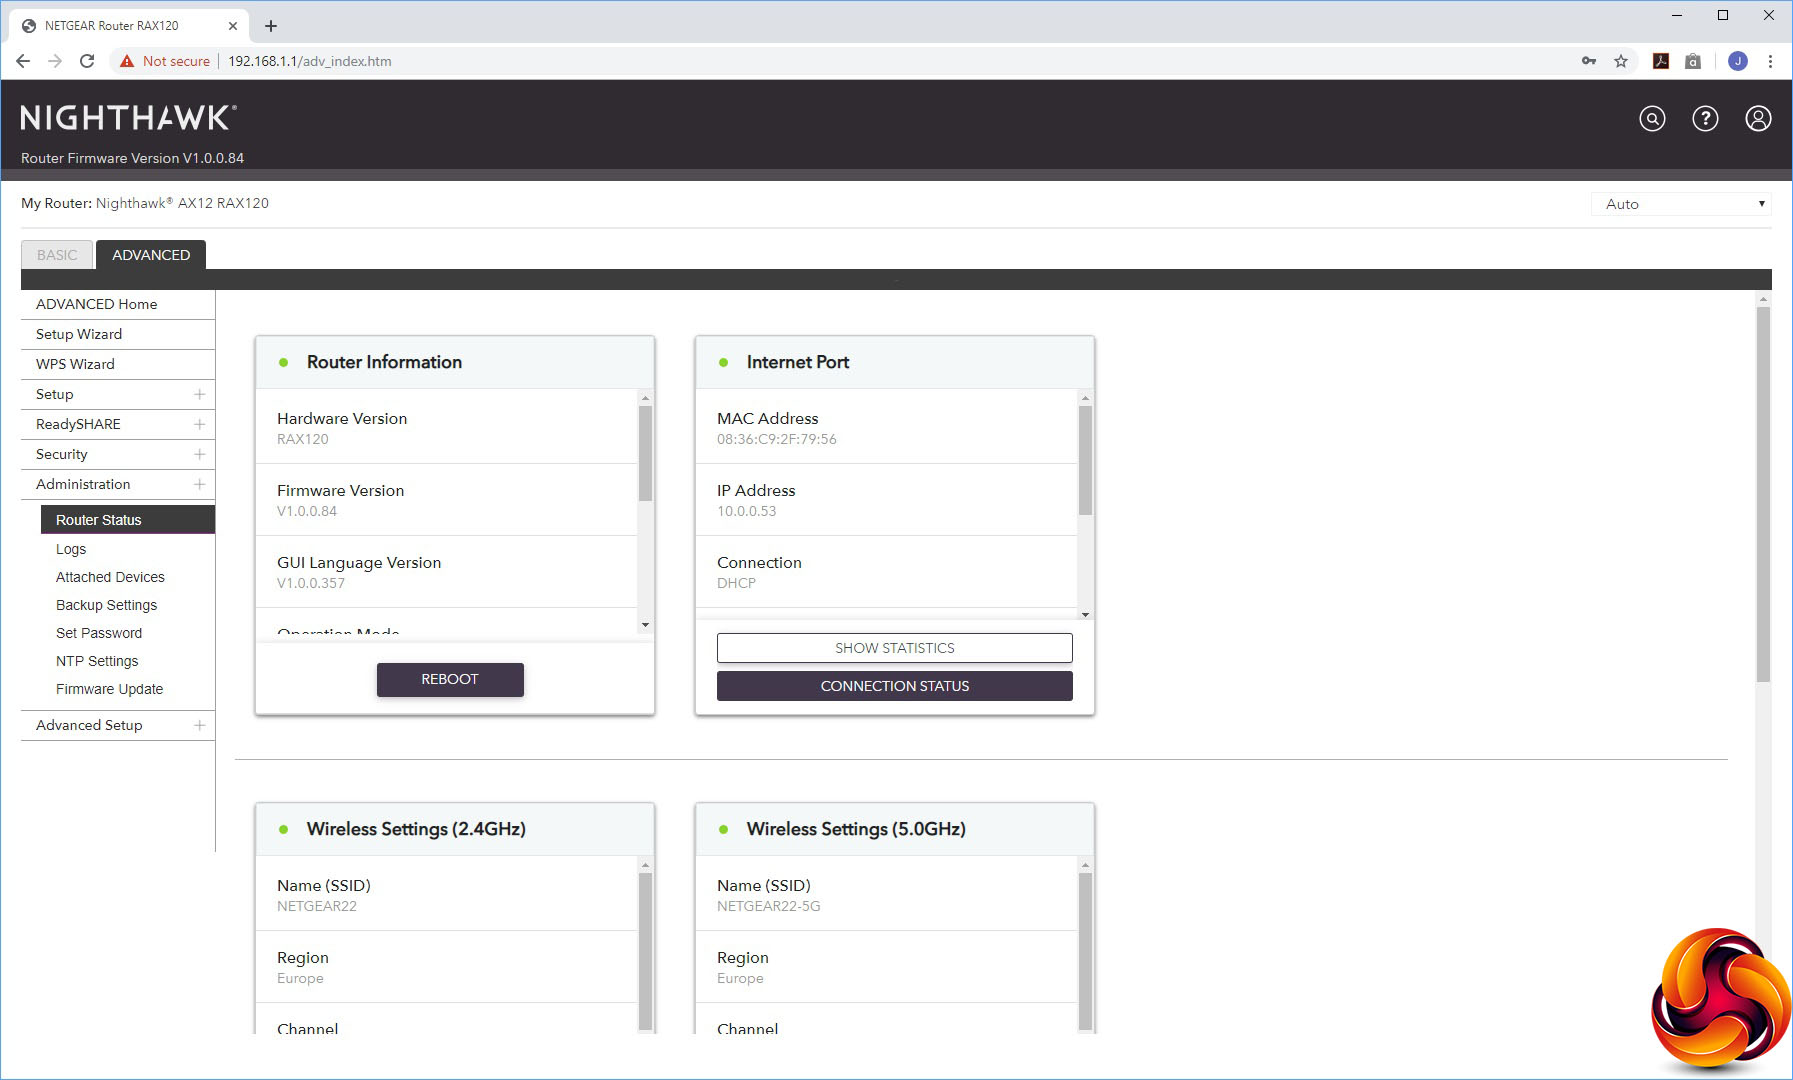
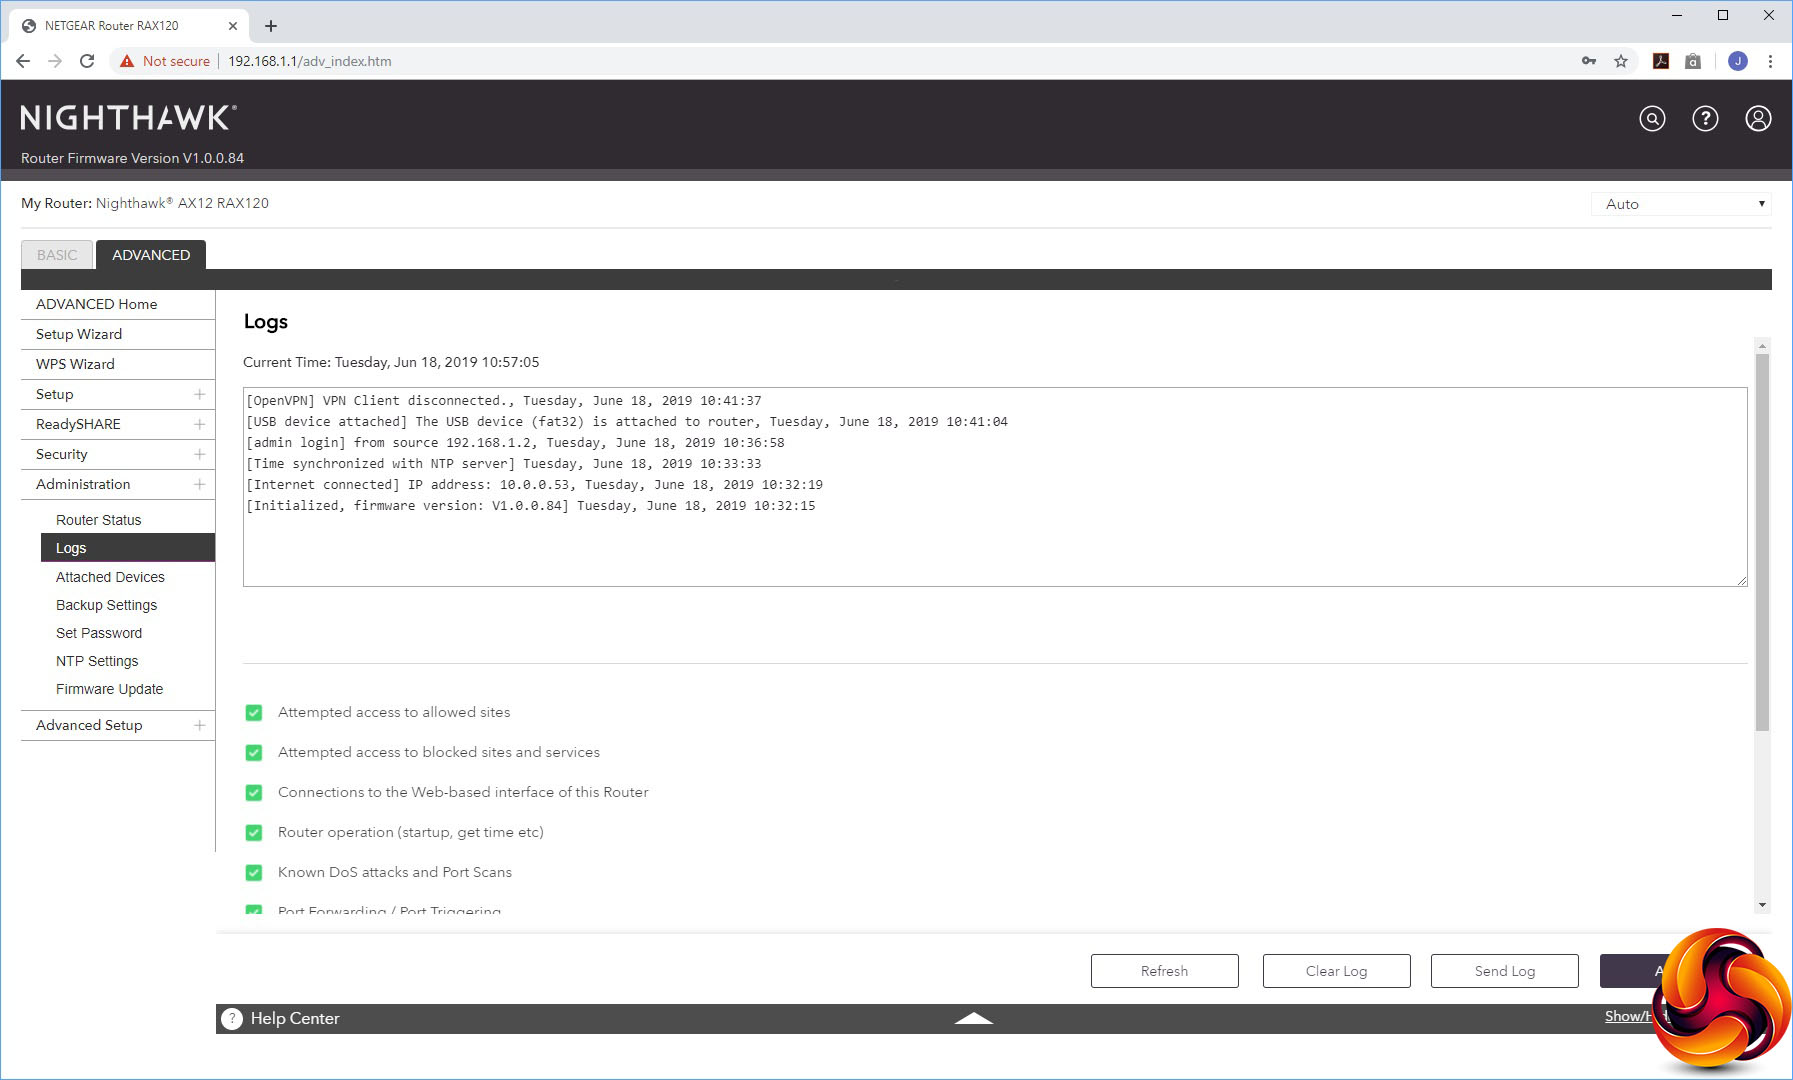
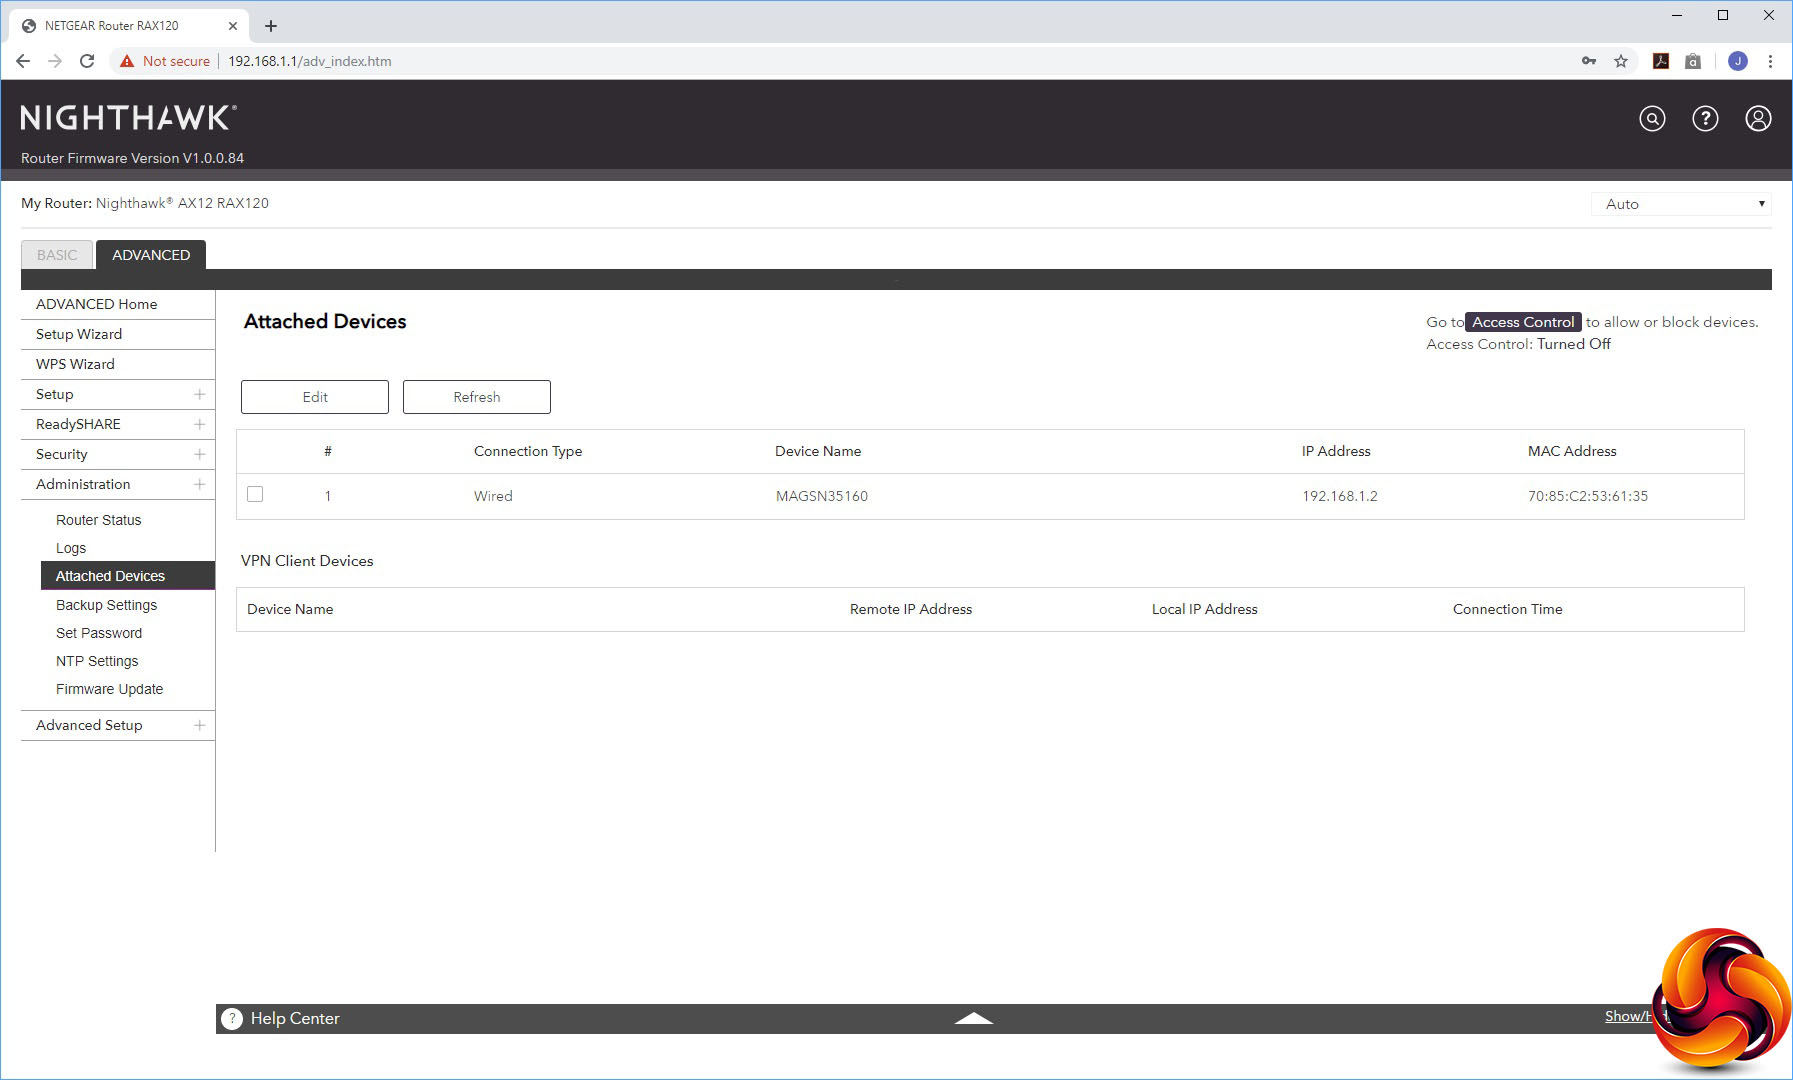
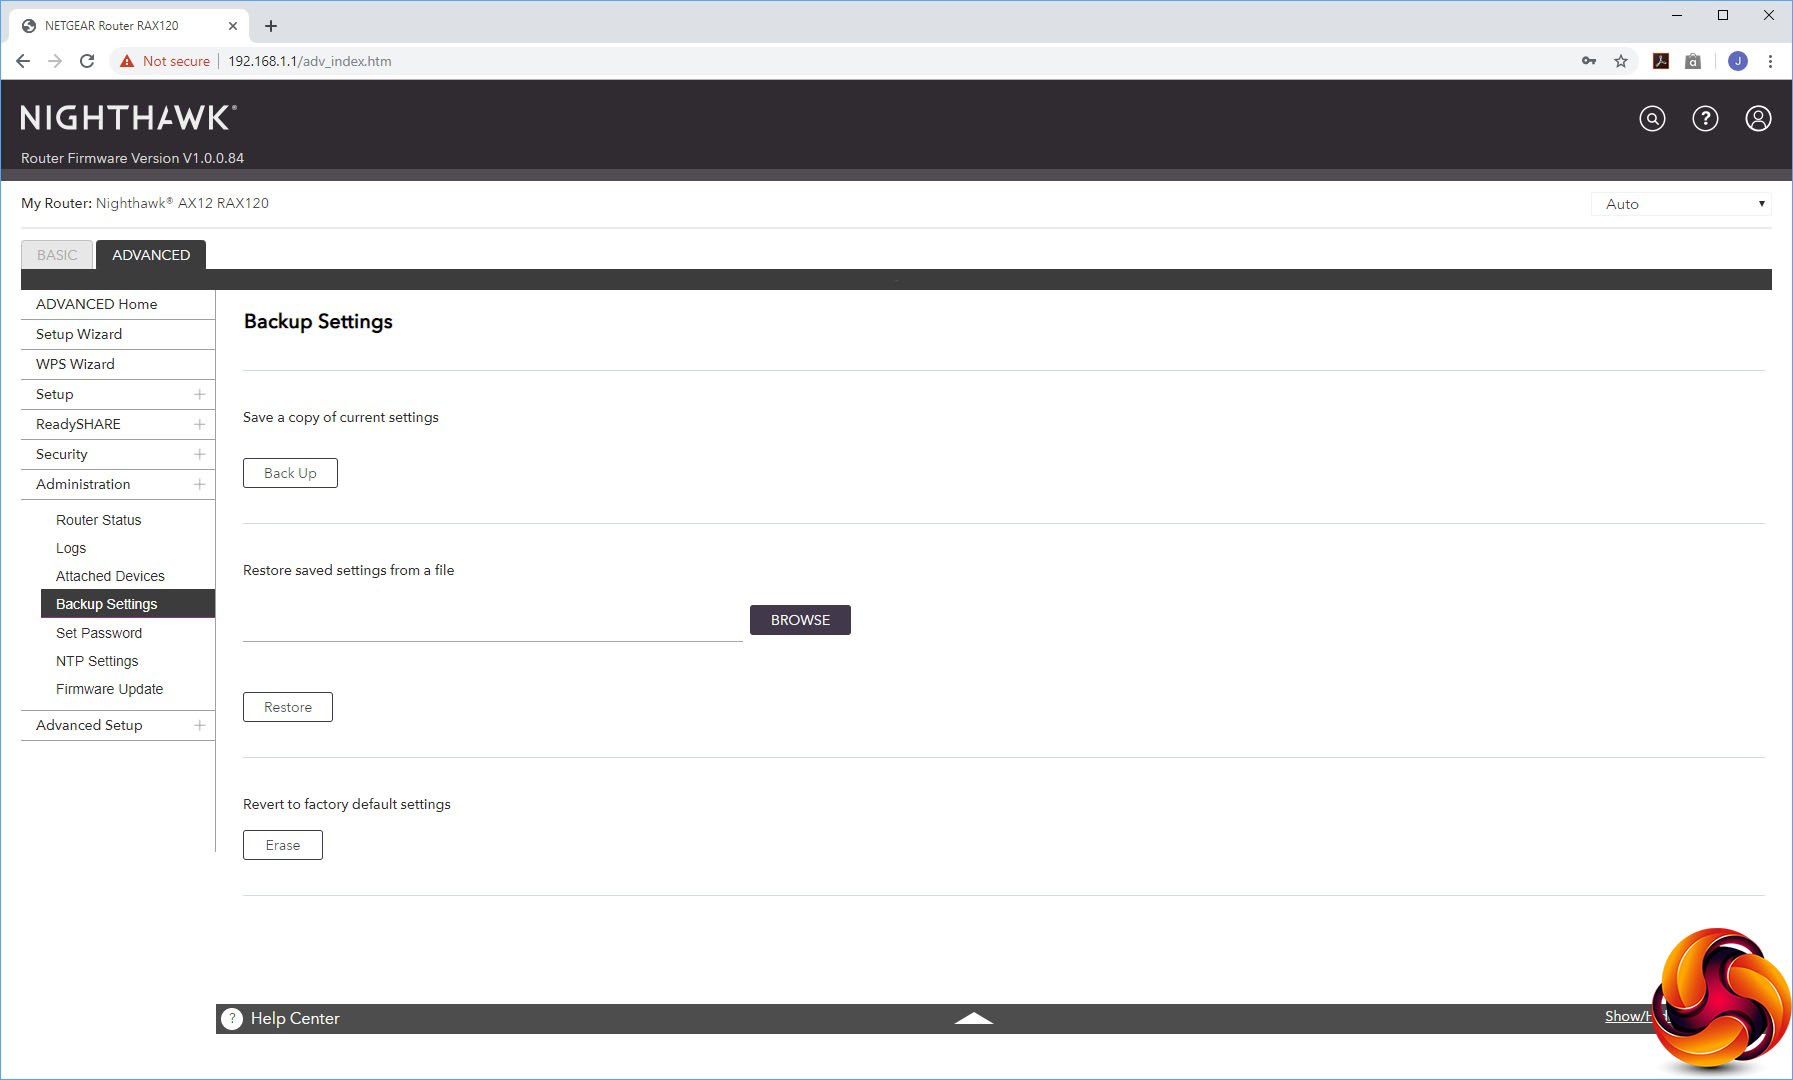
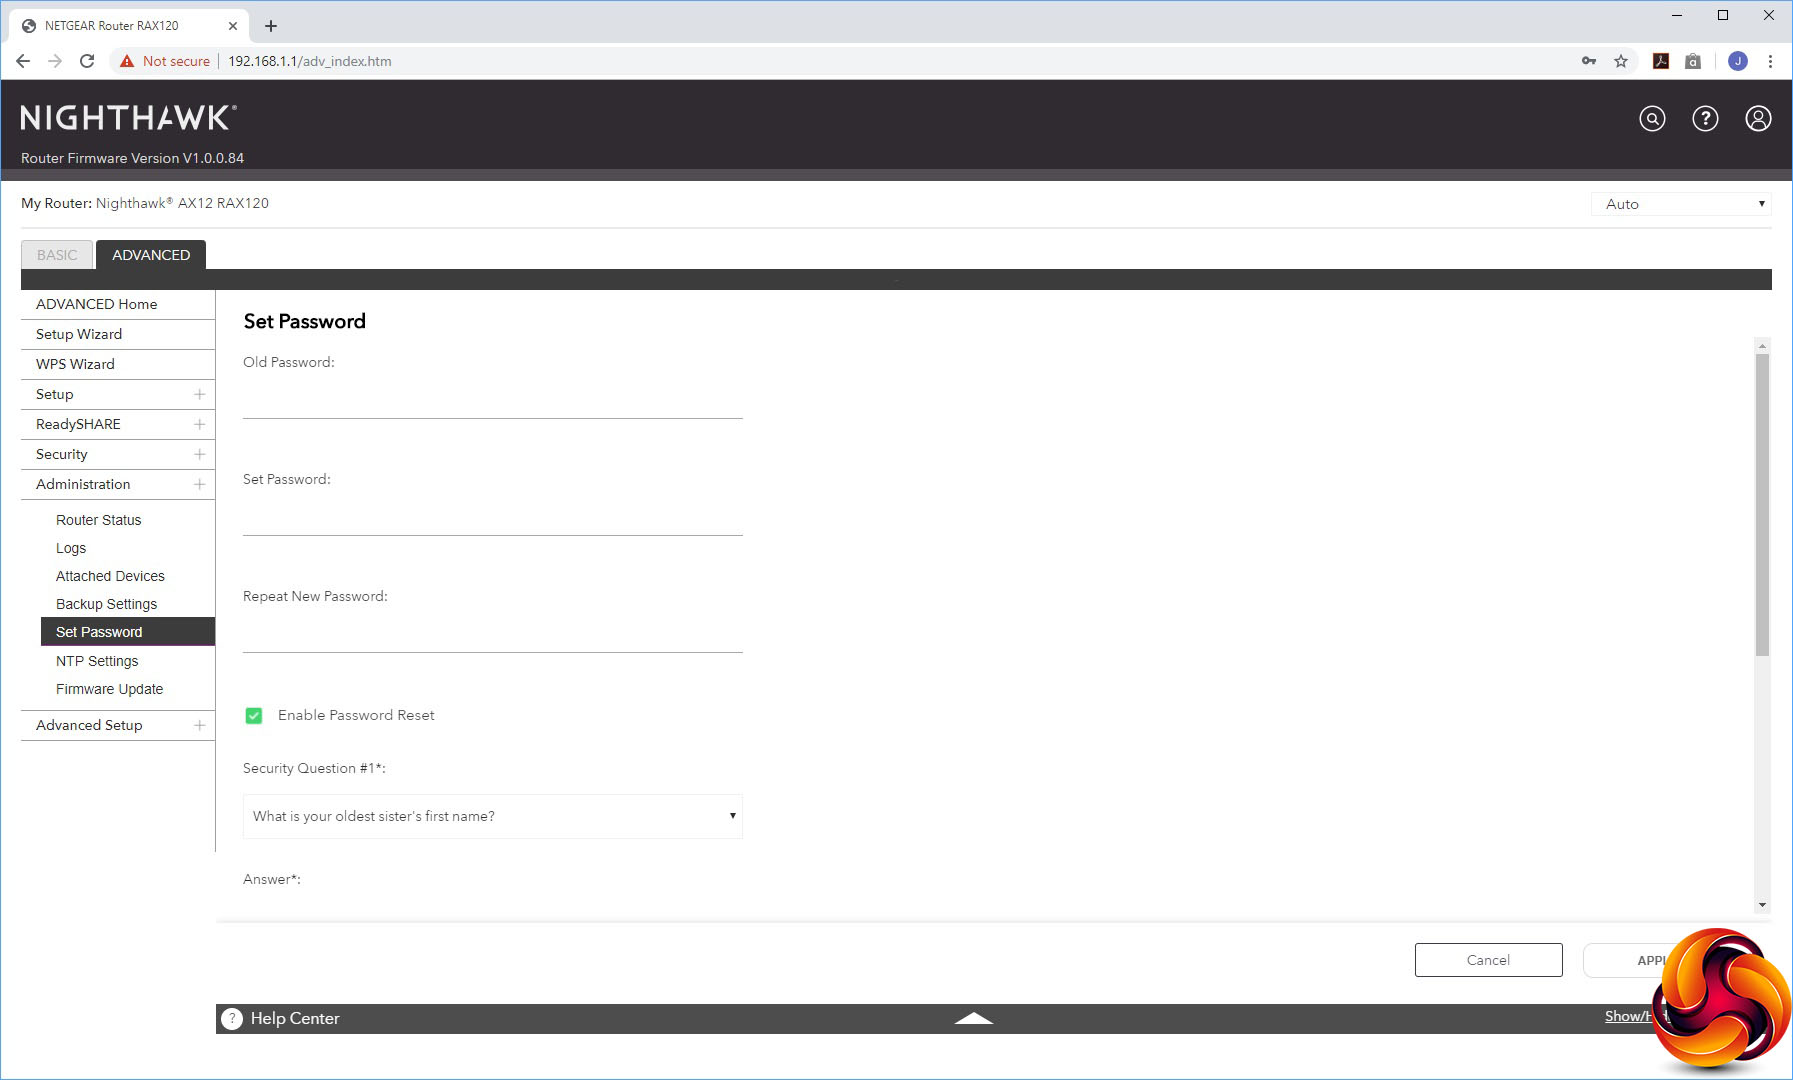
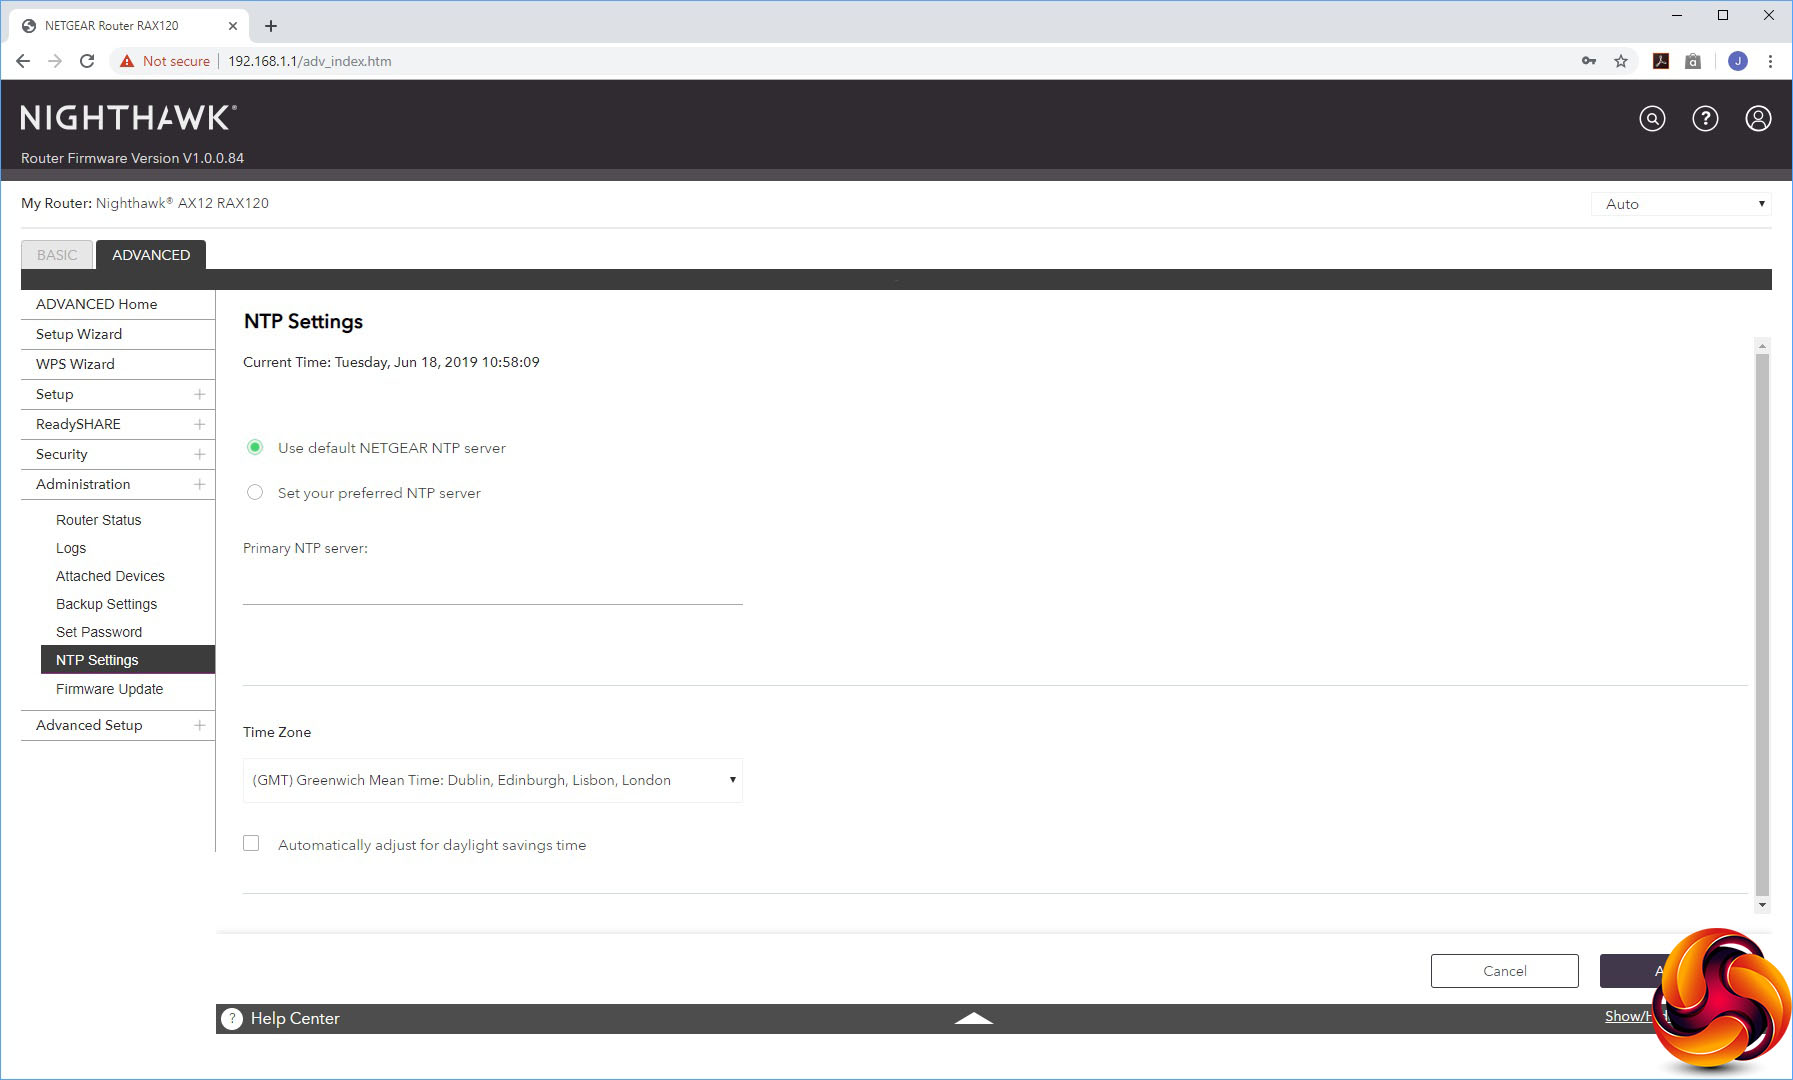
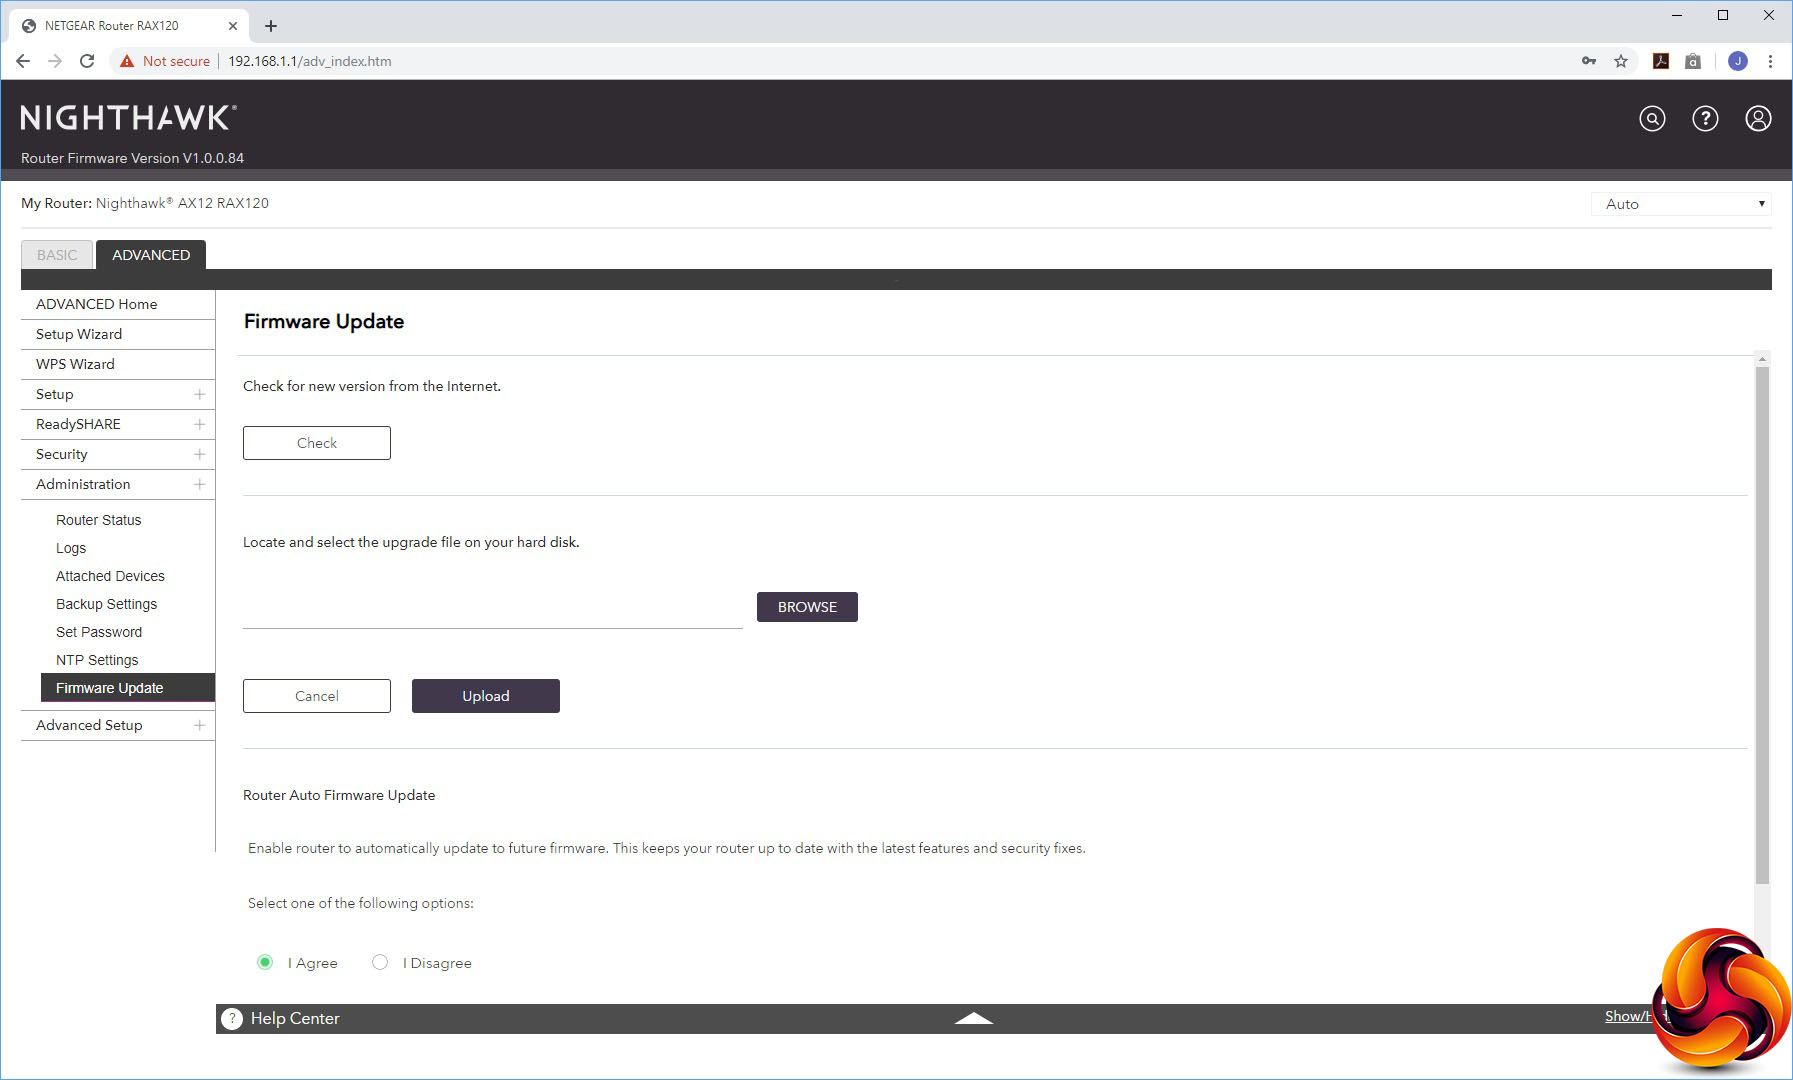
The Administration section offers sundry facilities like the status panel from the Home section, a view of activity logs, a list of attached devices, the ability to backup settings, set the admin password, configure which time server to use for setting the AX12's internal clock, and a firmware update facility.
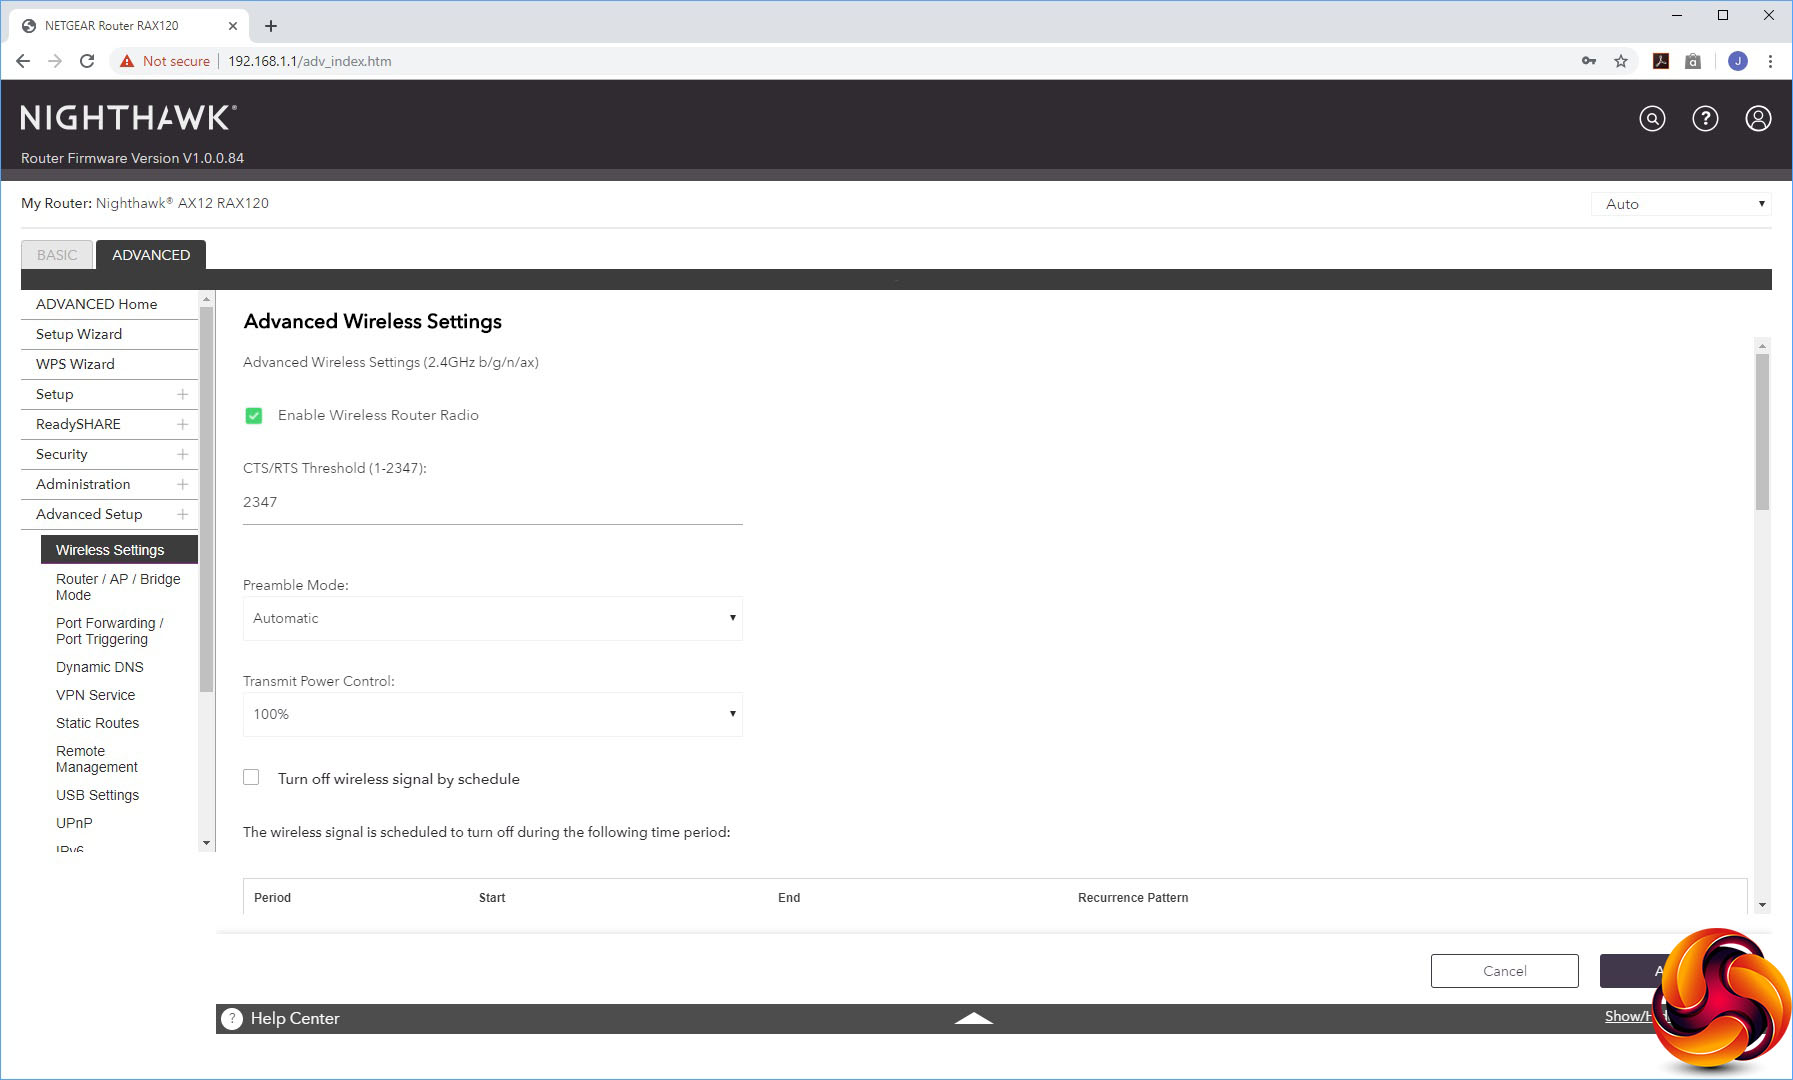
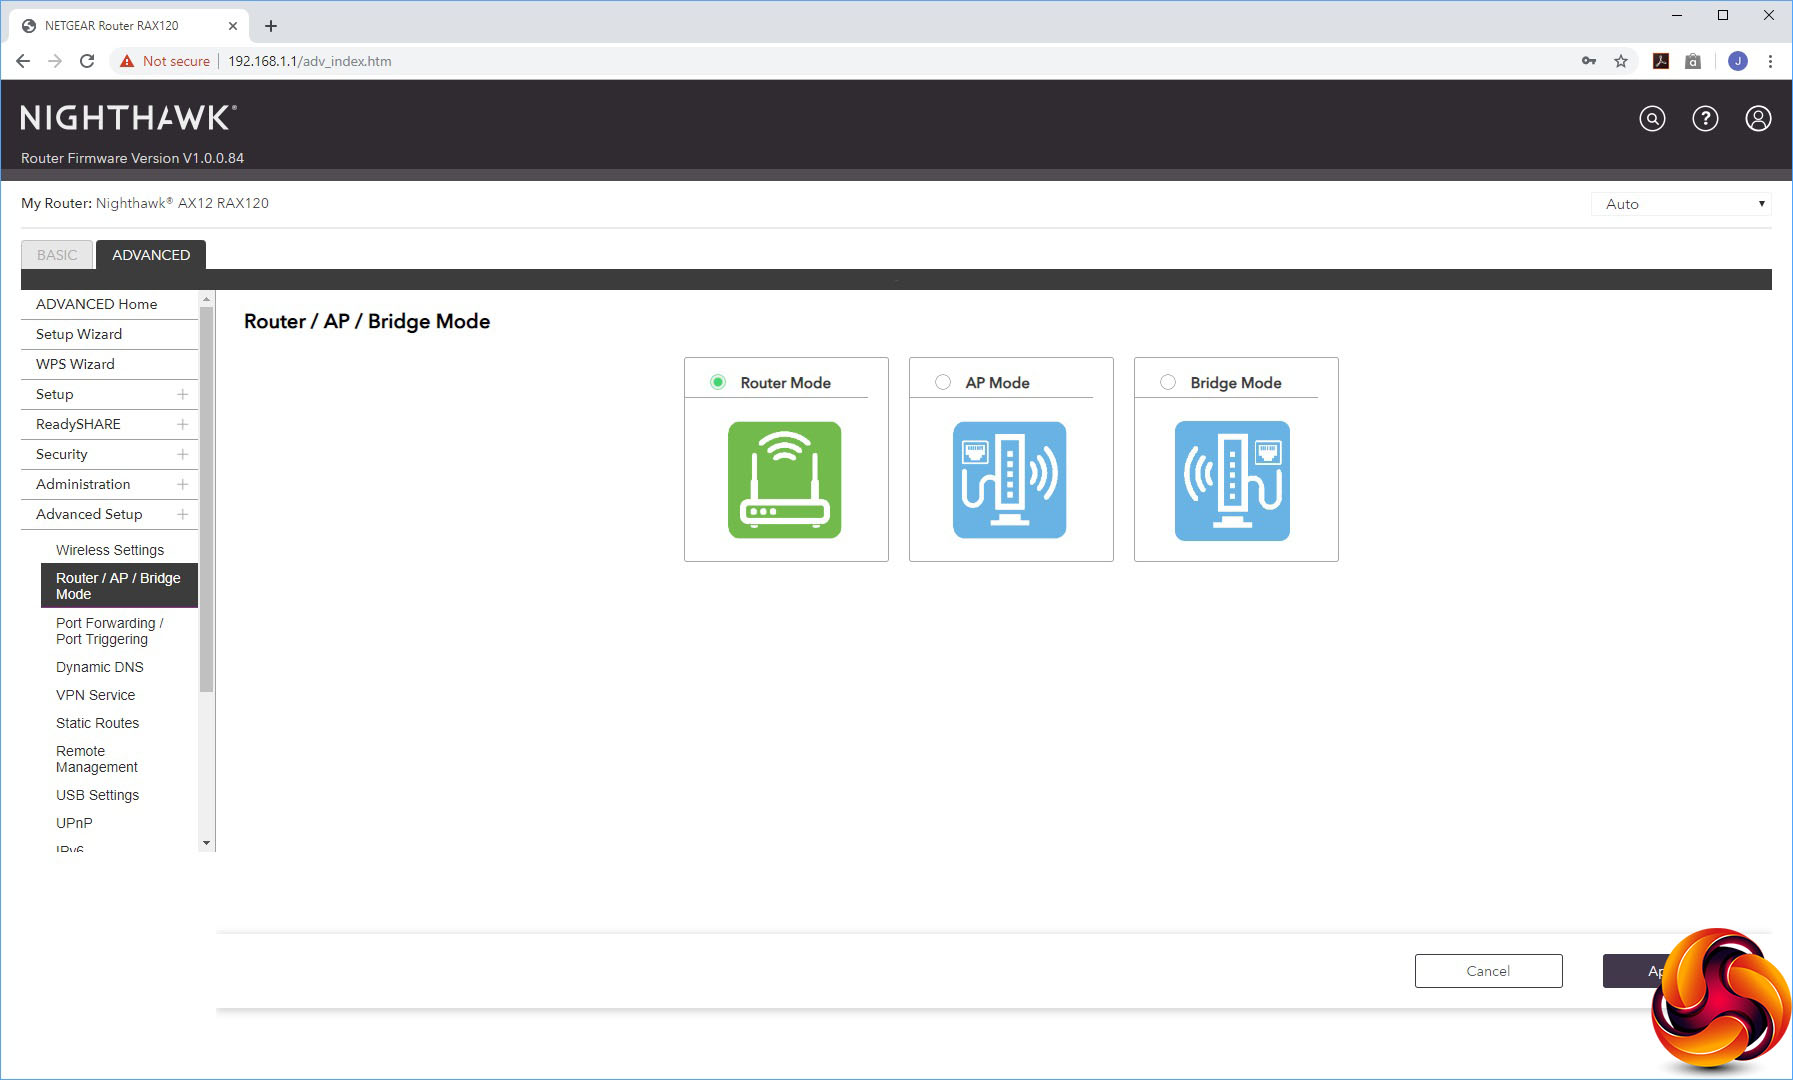
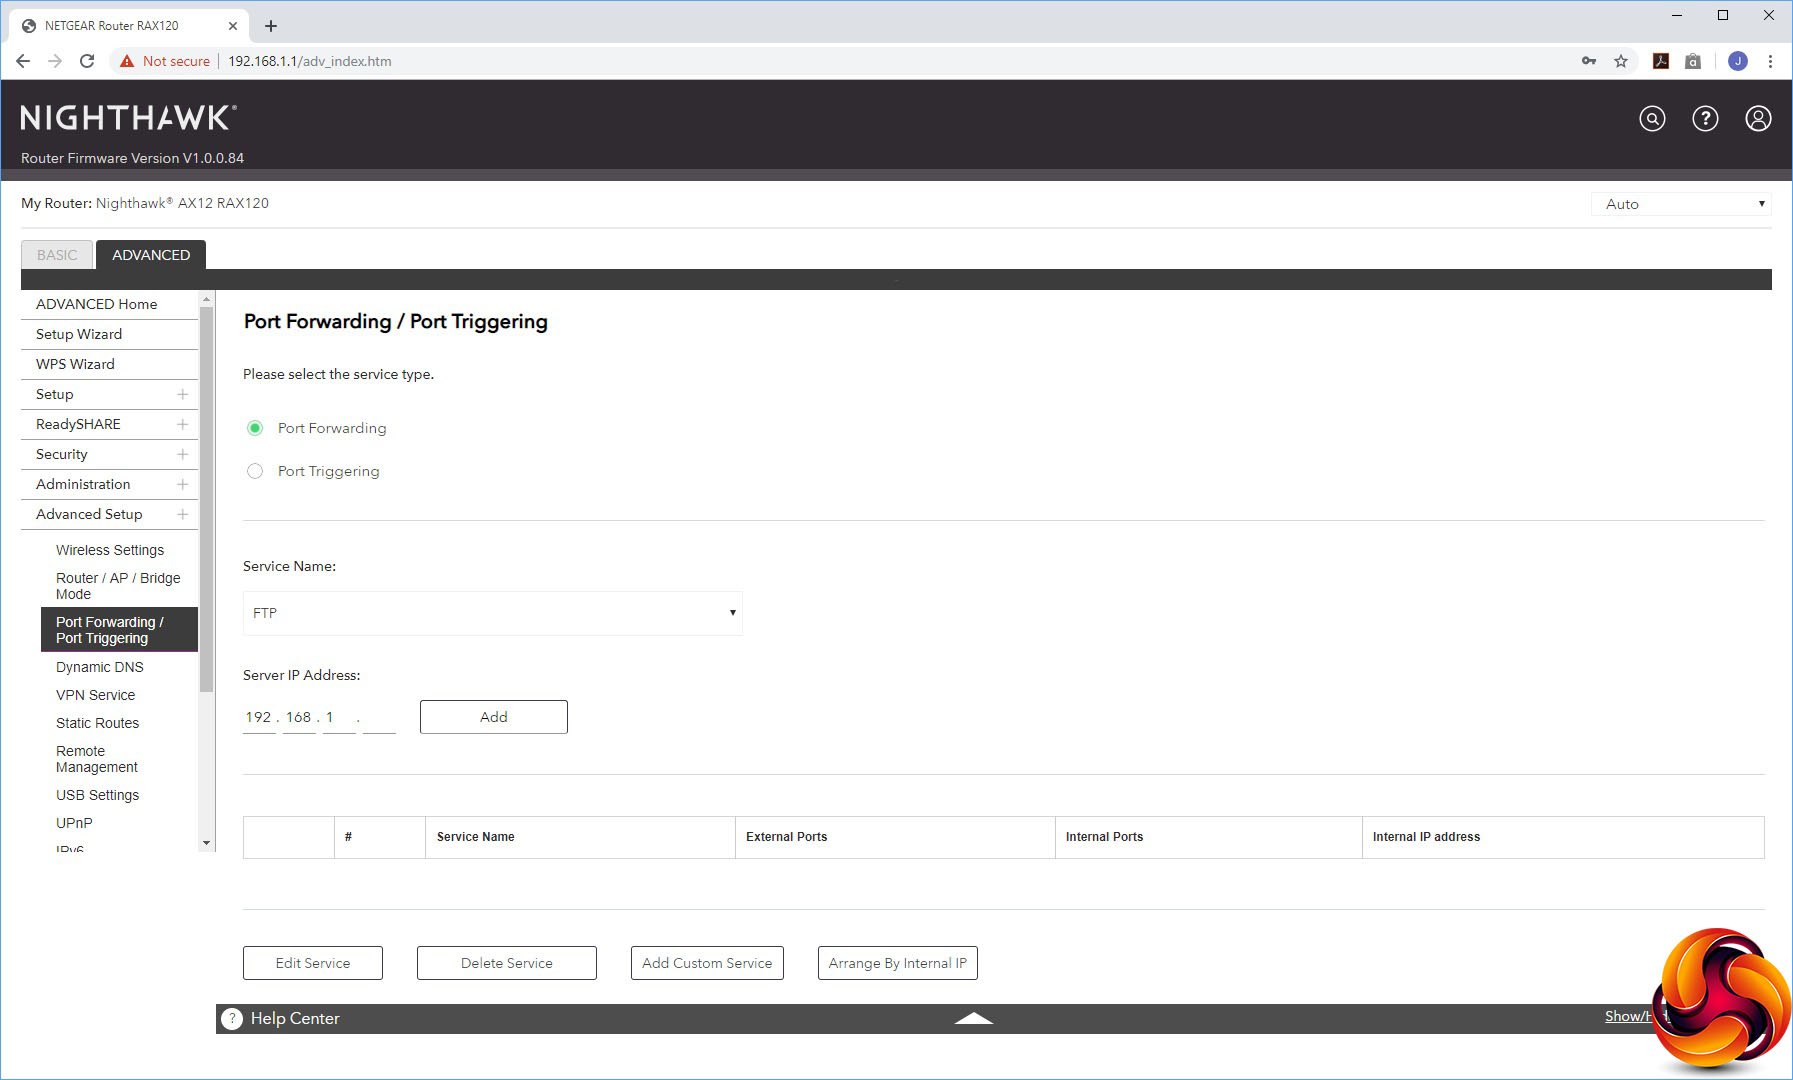
The Advanced Settings houses a smorgasbord of useful capabilities, starting with more detailed control over the wireless radios. You can select whether the AX12 operates in AP or Bridge mode instead of the default Router mode. The port forwarding facilities are found here, although the built-in options are as antiquated as always with NETGEAR routers, including applications like NetMeeting, Quake II/III and Real-Audio. NETGEAR really needs to update this list.
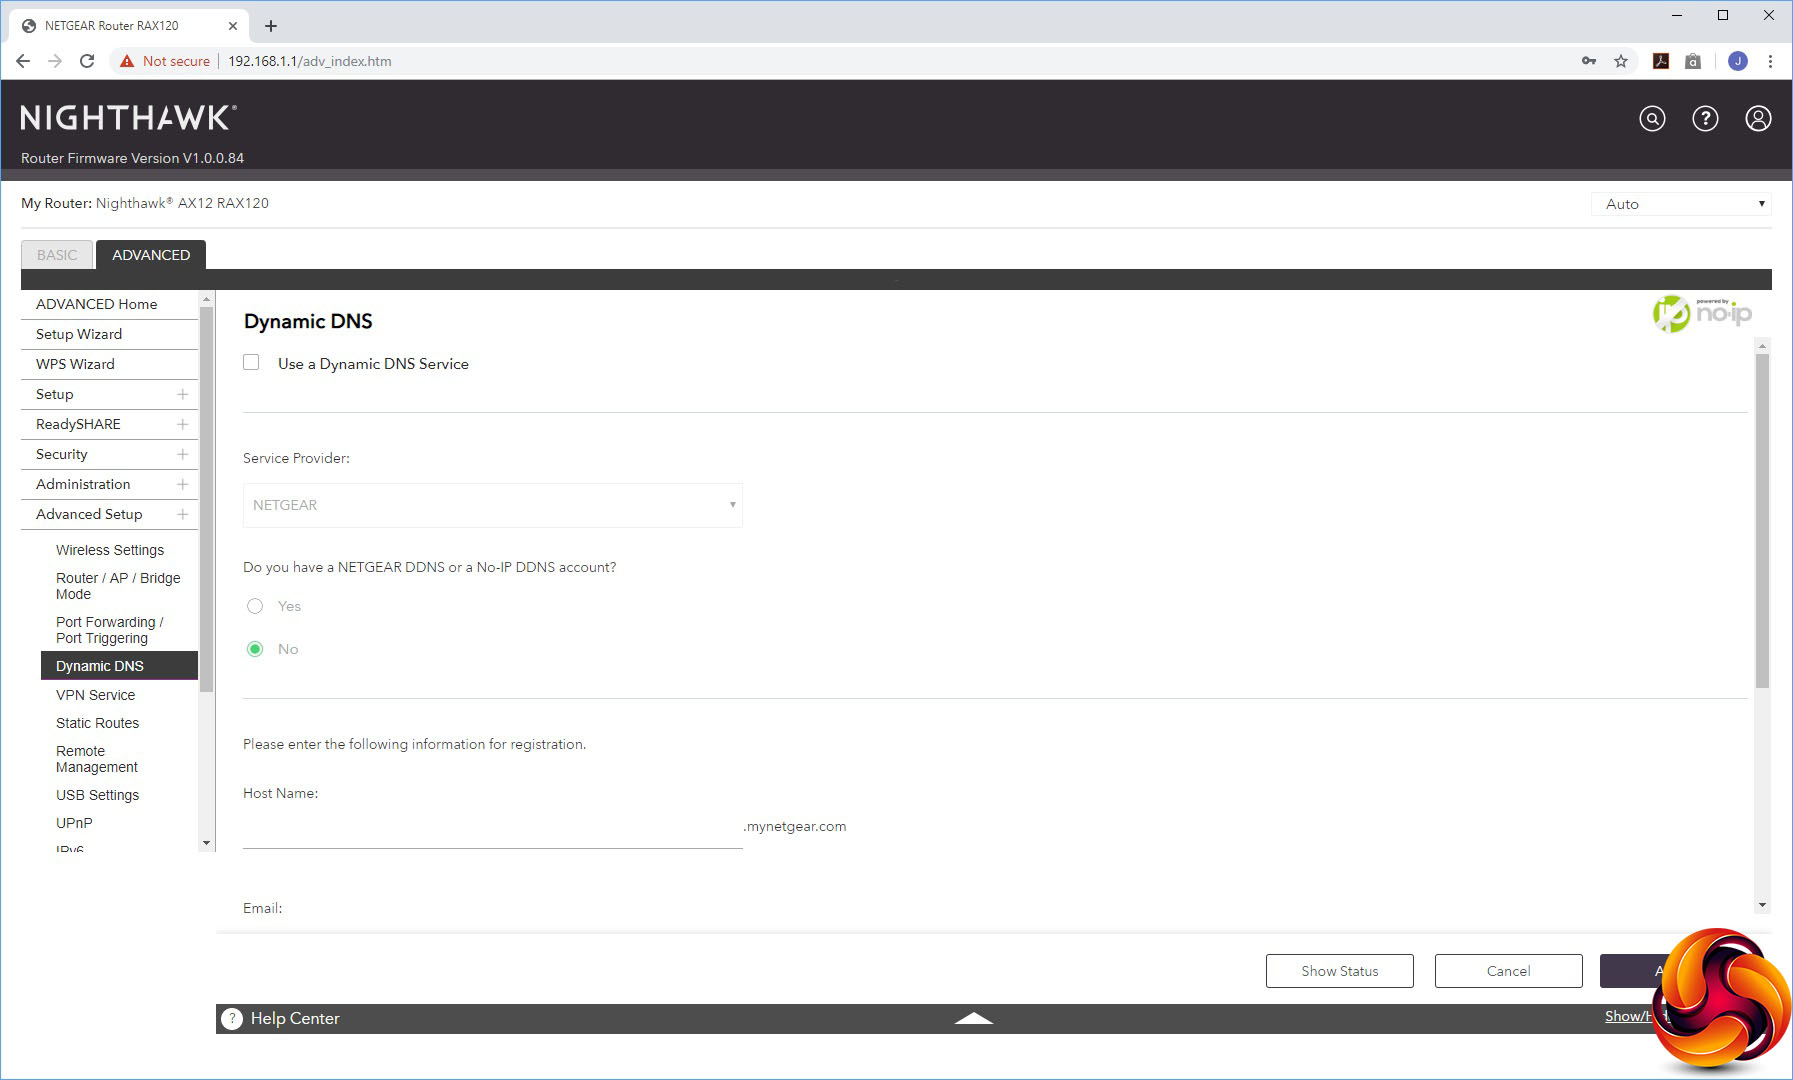
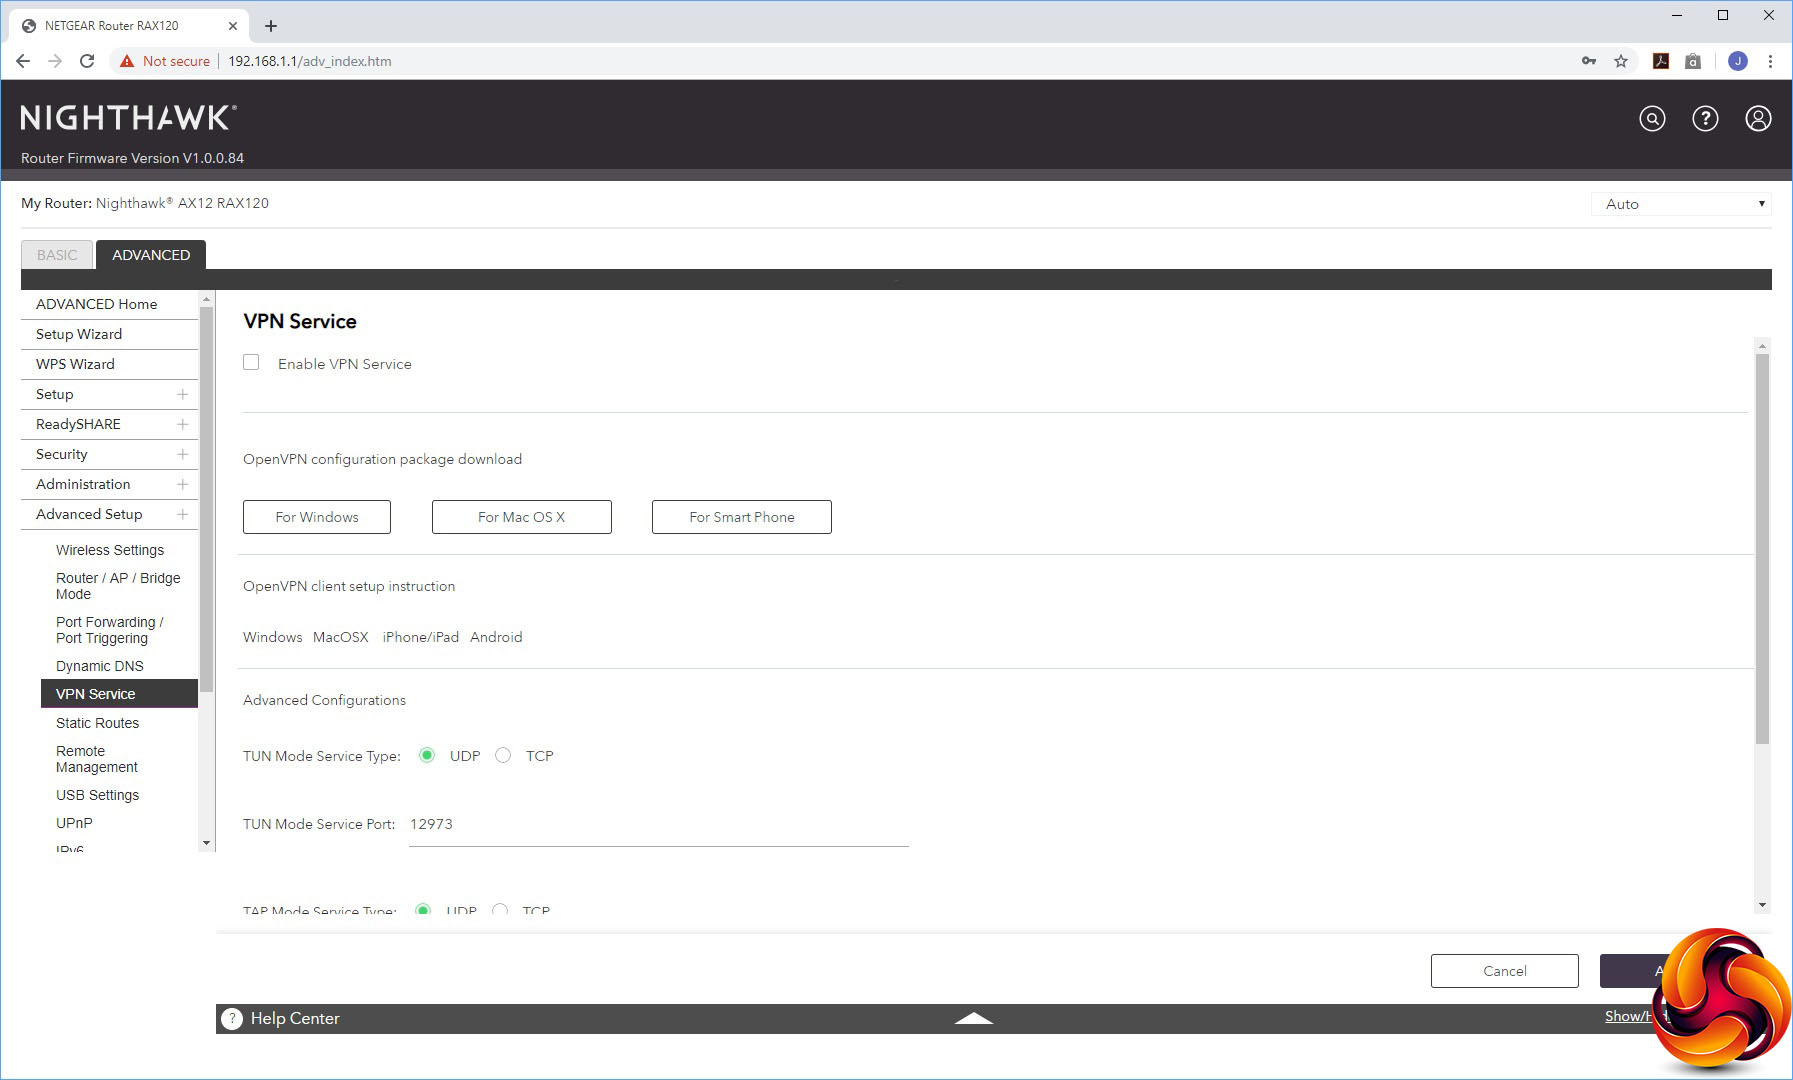
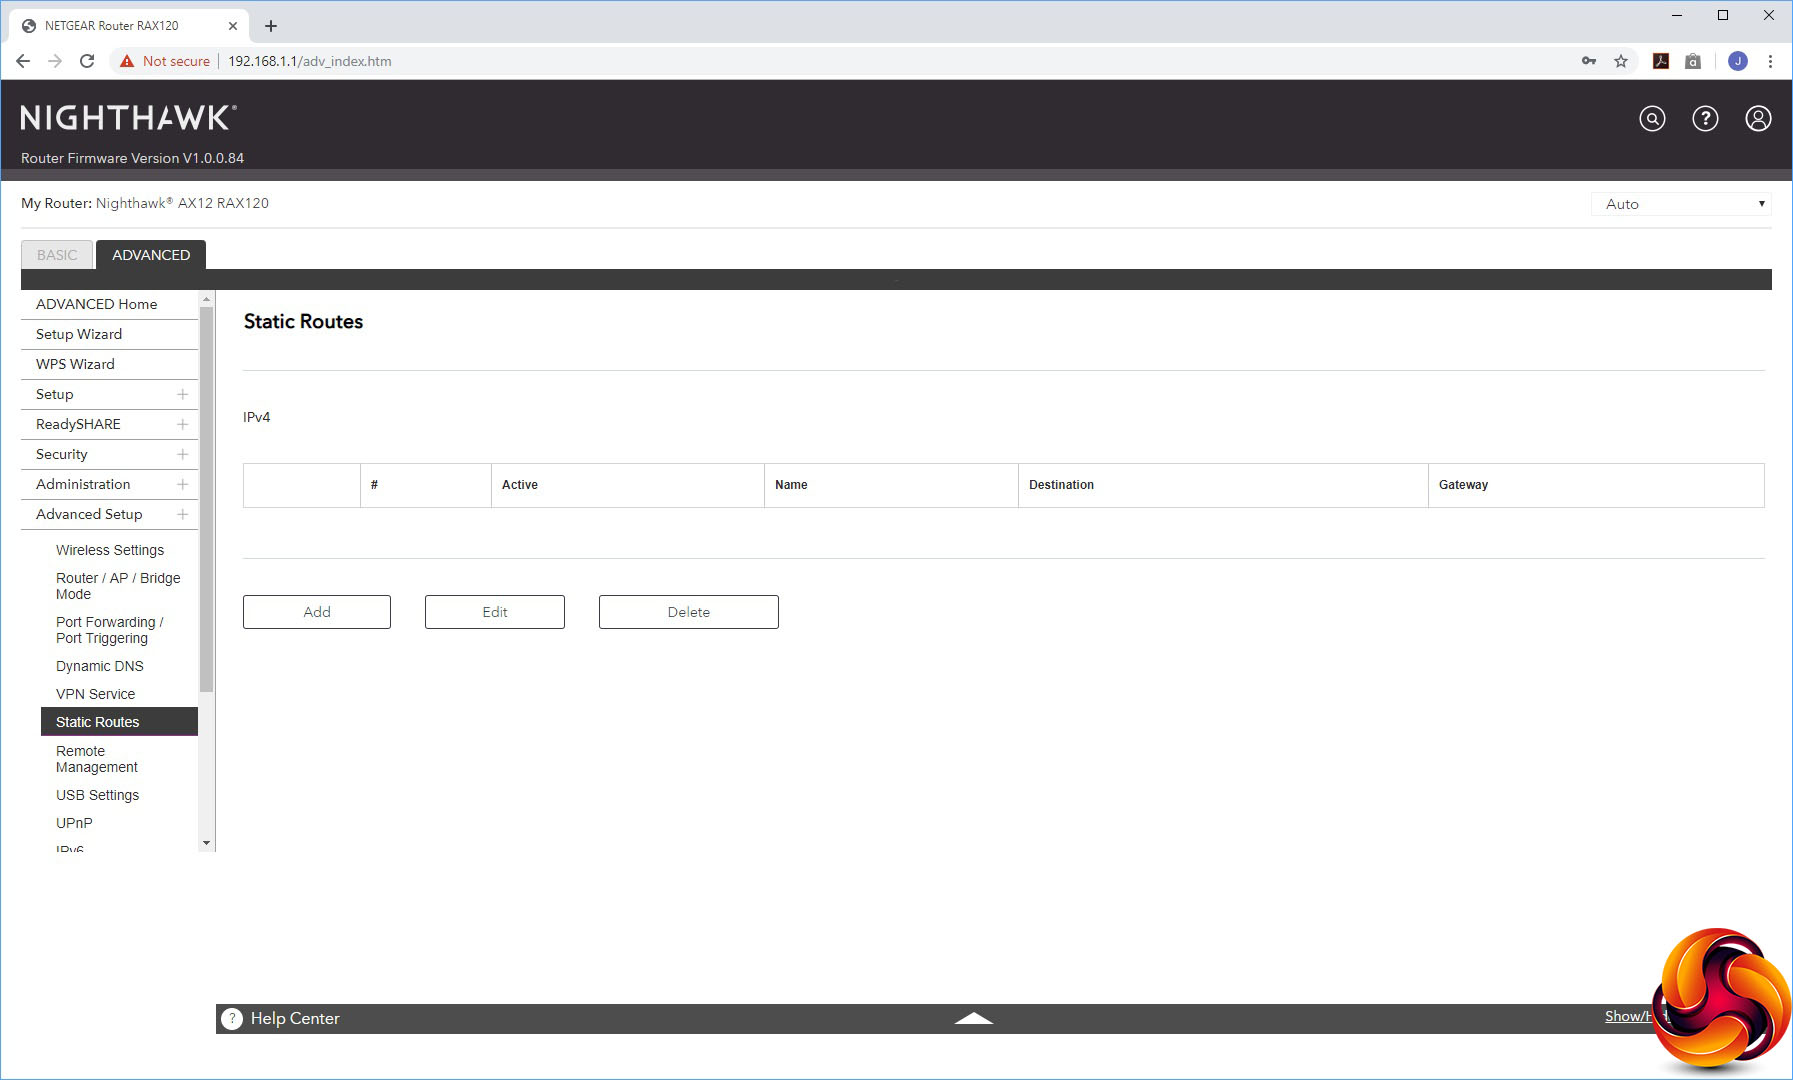
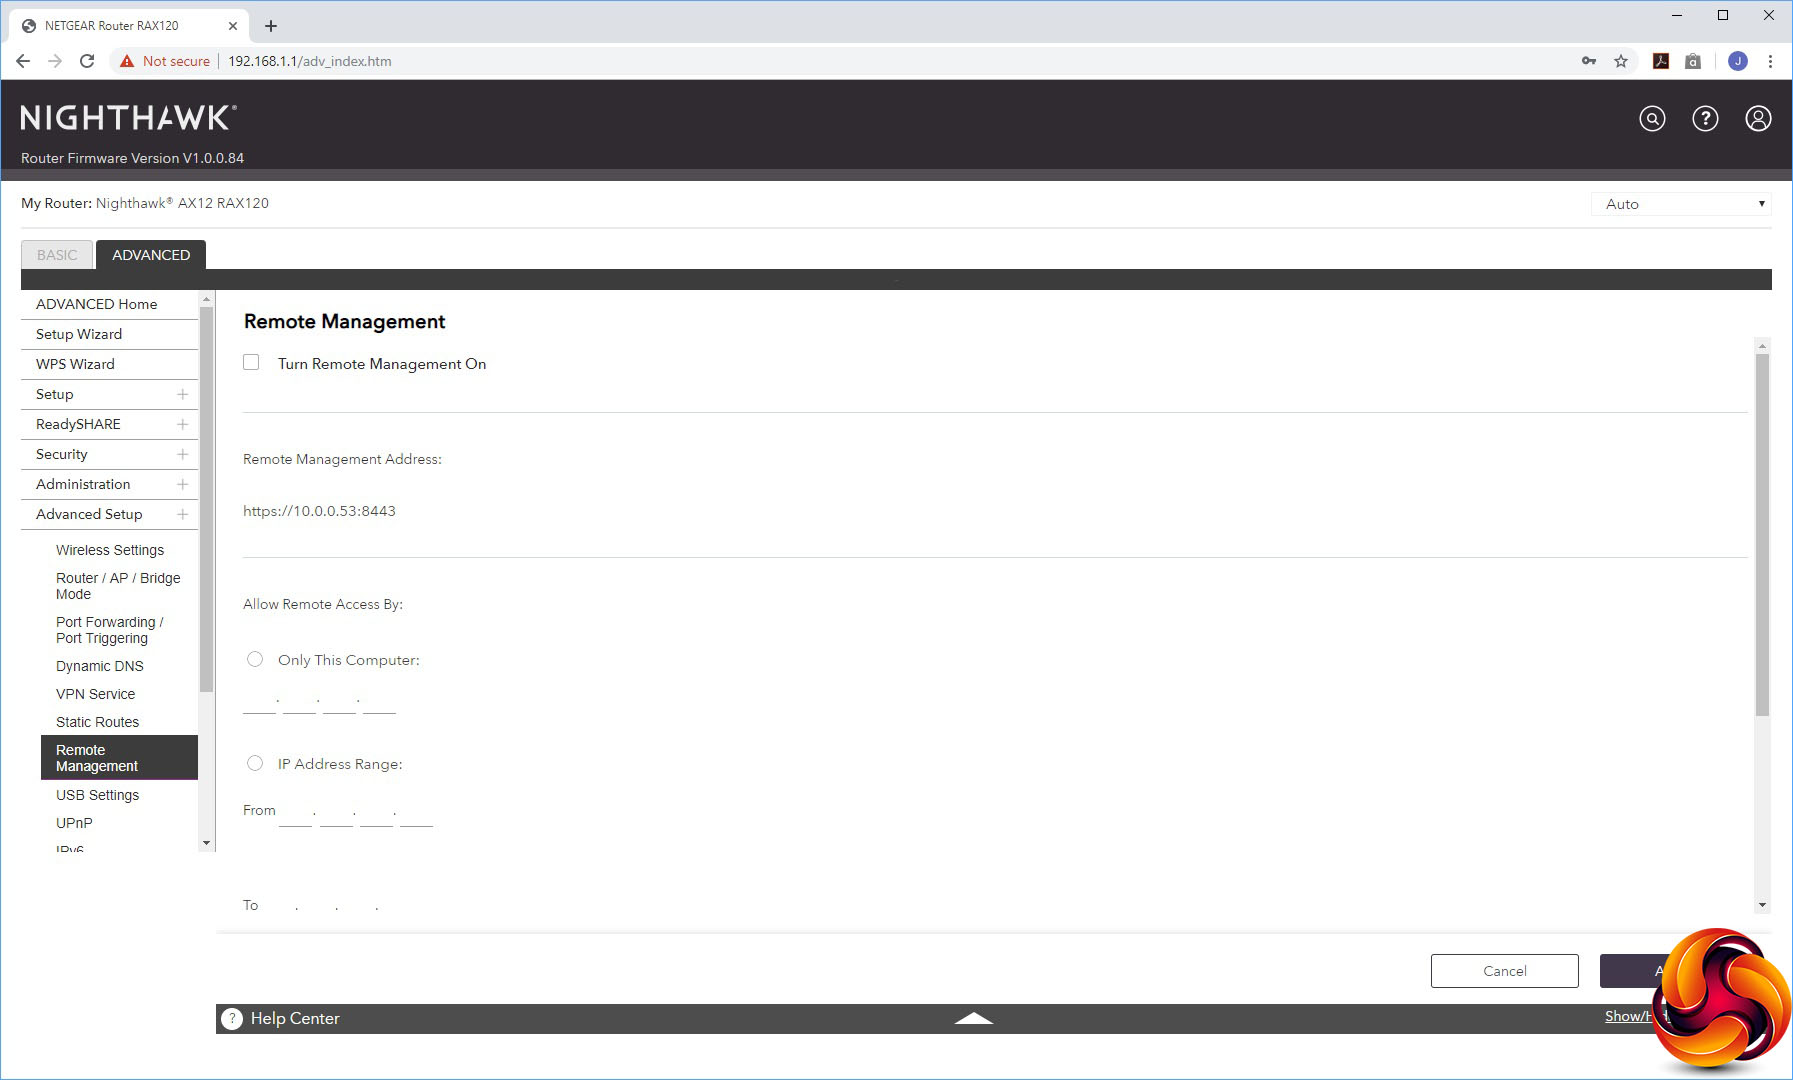
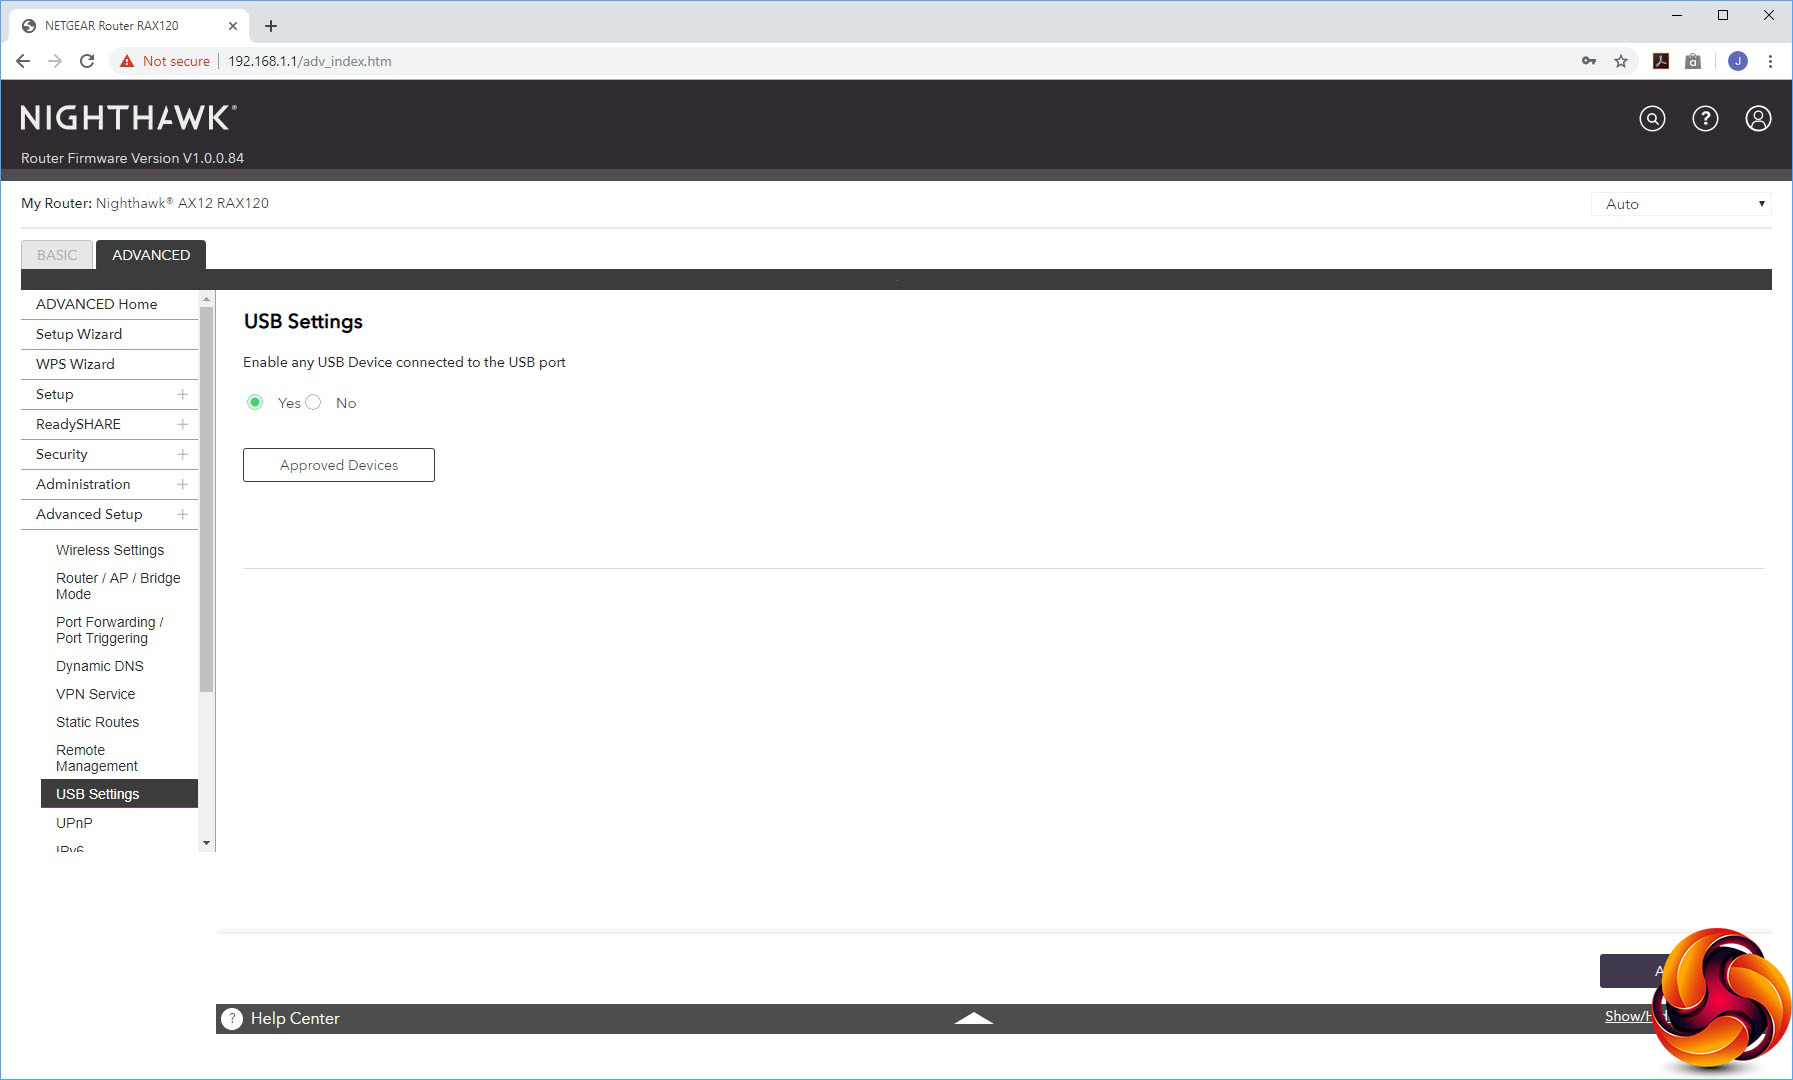
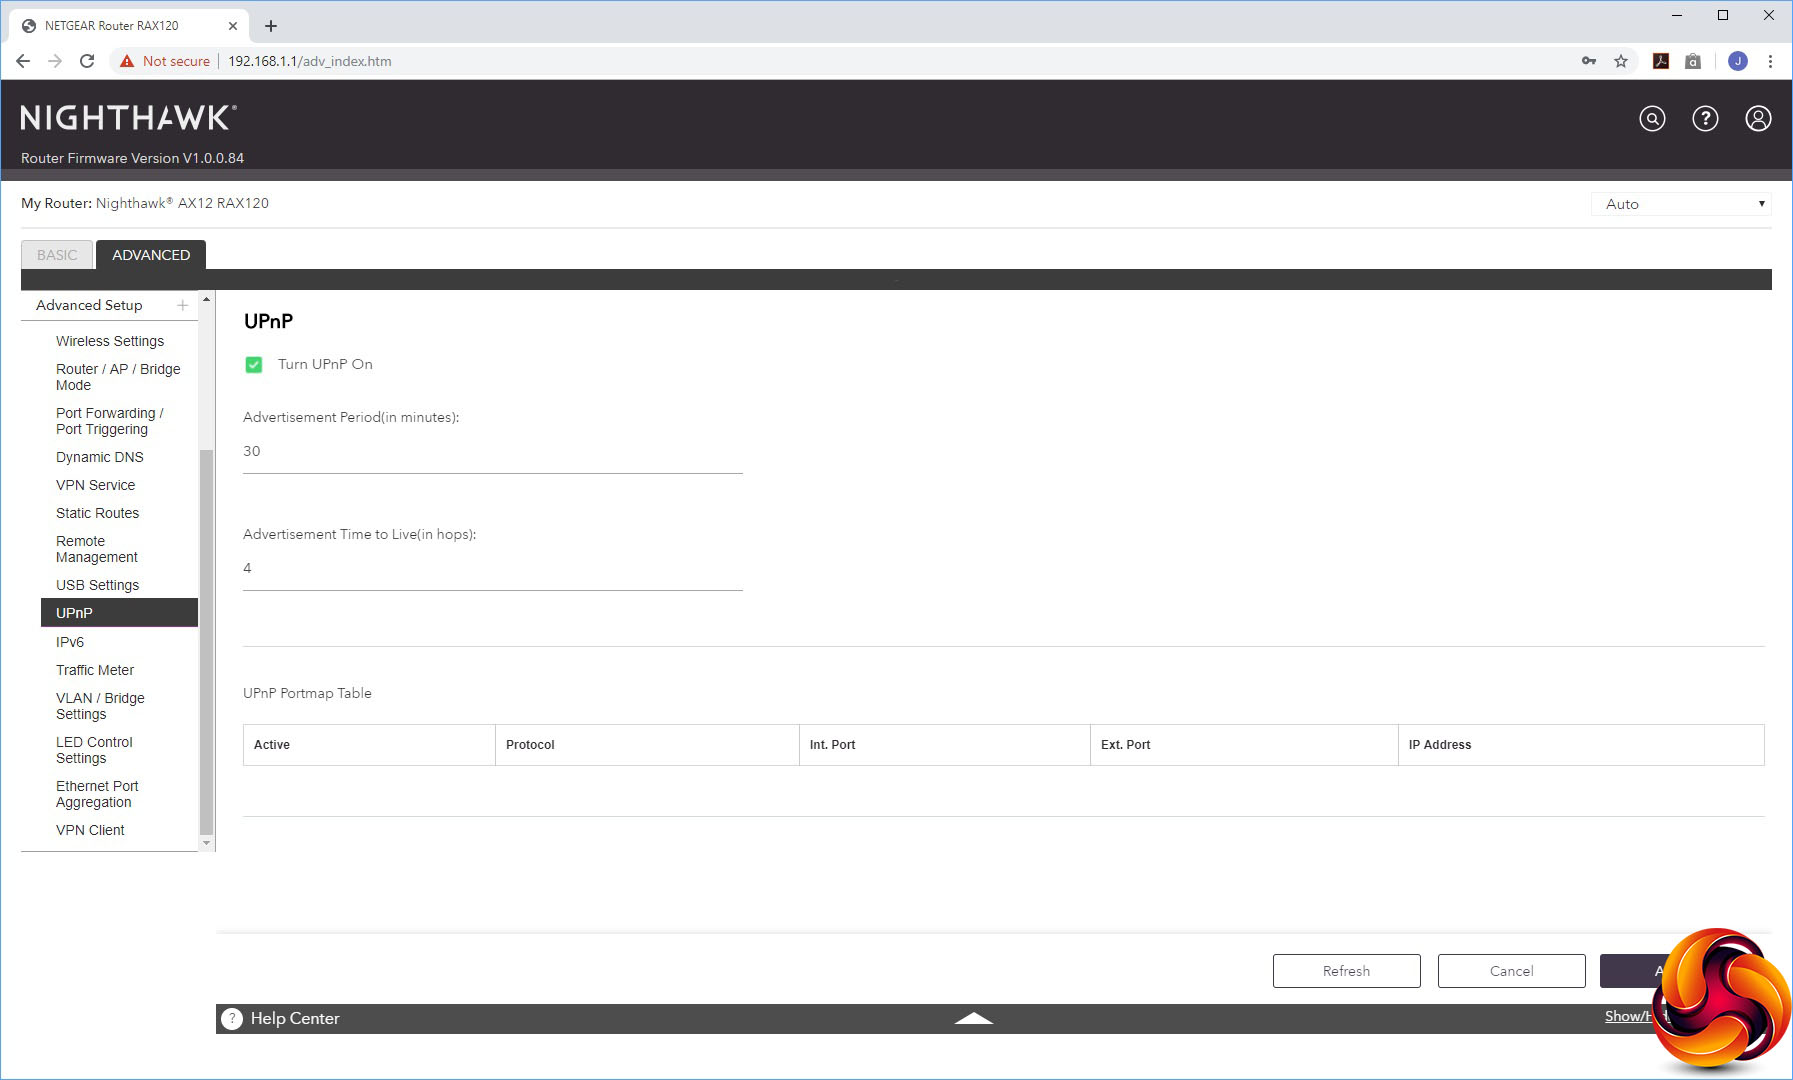
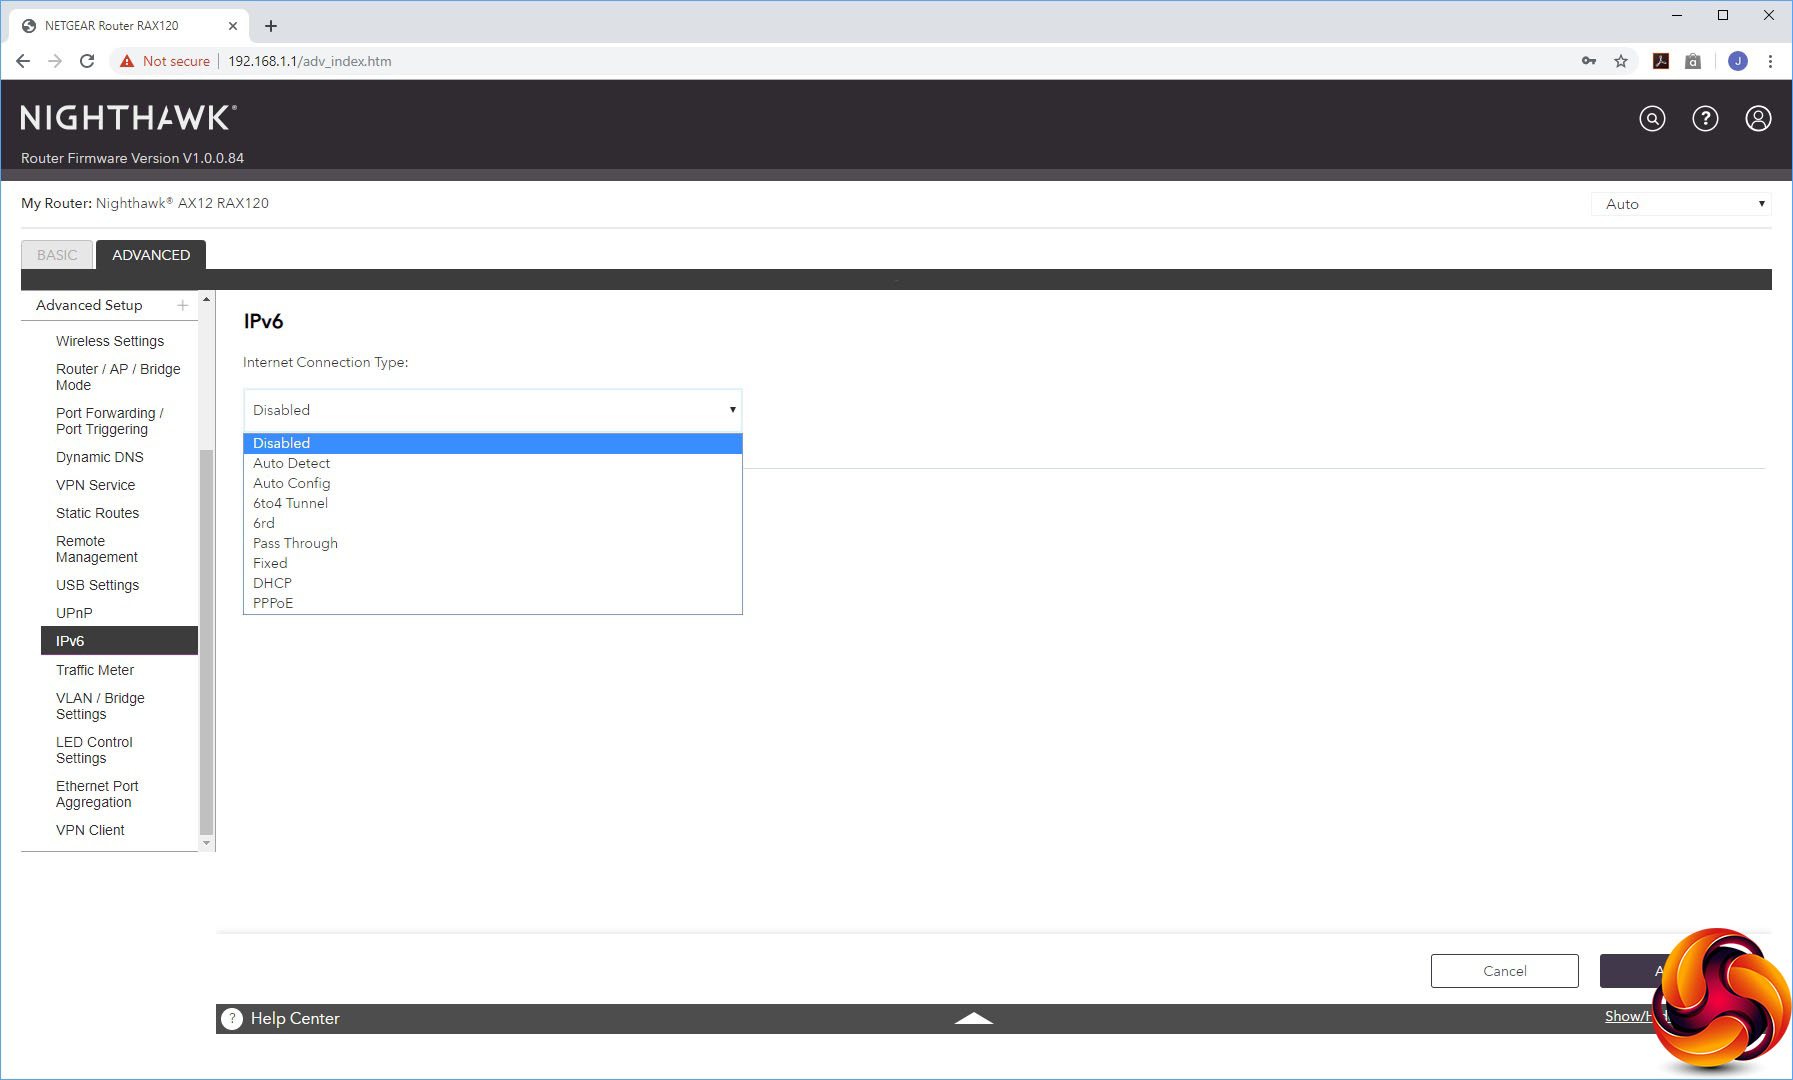
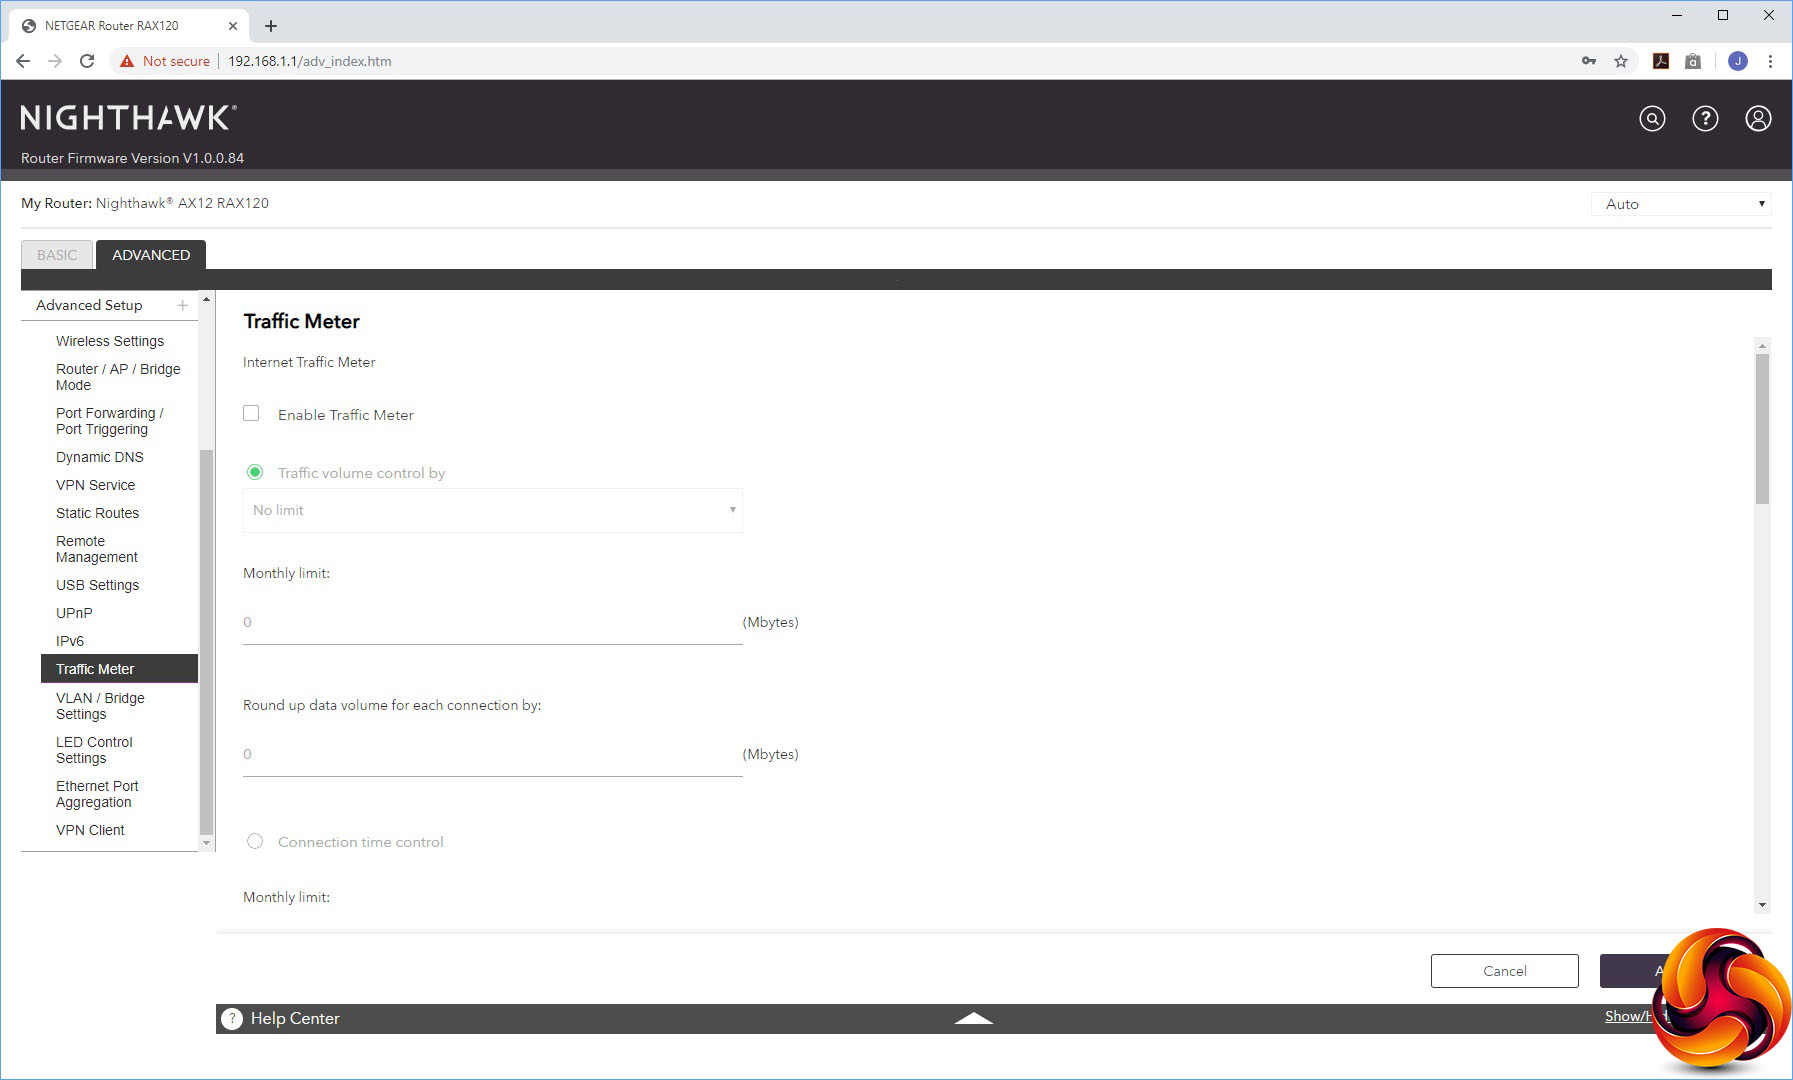
You can turn on dynamic DNS via NETGEAR's own service, No-IP or Dyn. The VPN section here allows you to make the AX12 into a VPN server instead of a client, using the OpenVPN system. You can set up static routes, enable remote management via the Internet, disable the USB ports, and configure both UPnP and IPv6. There's a Traffic Meter for imposing monthly data limits so you don't go over your broadband contract quantity.
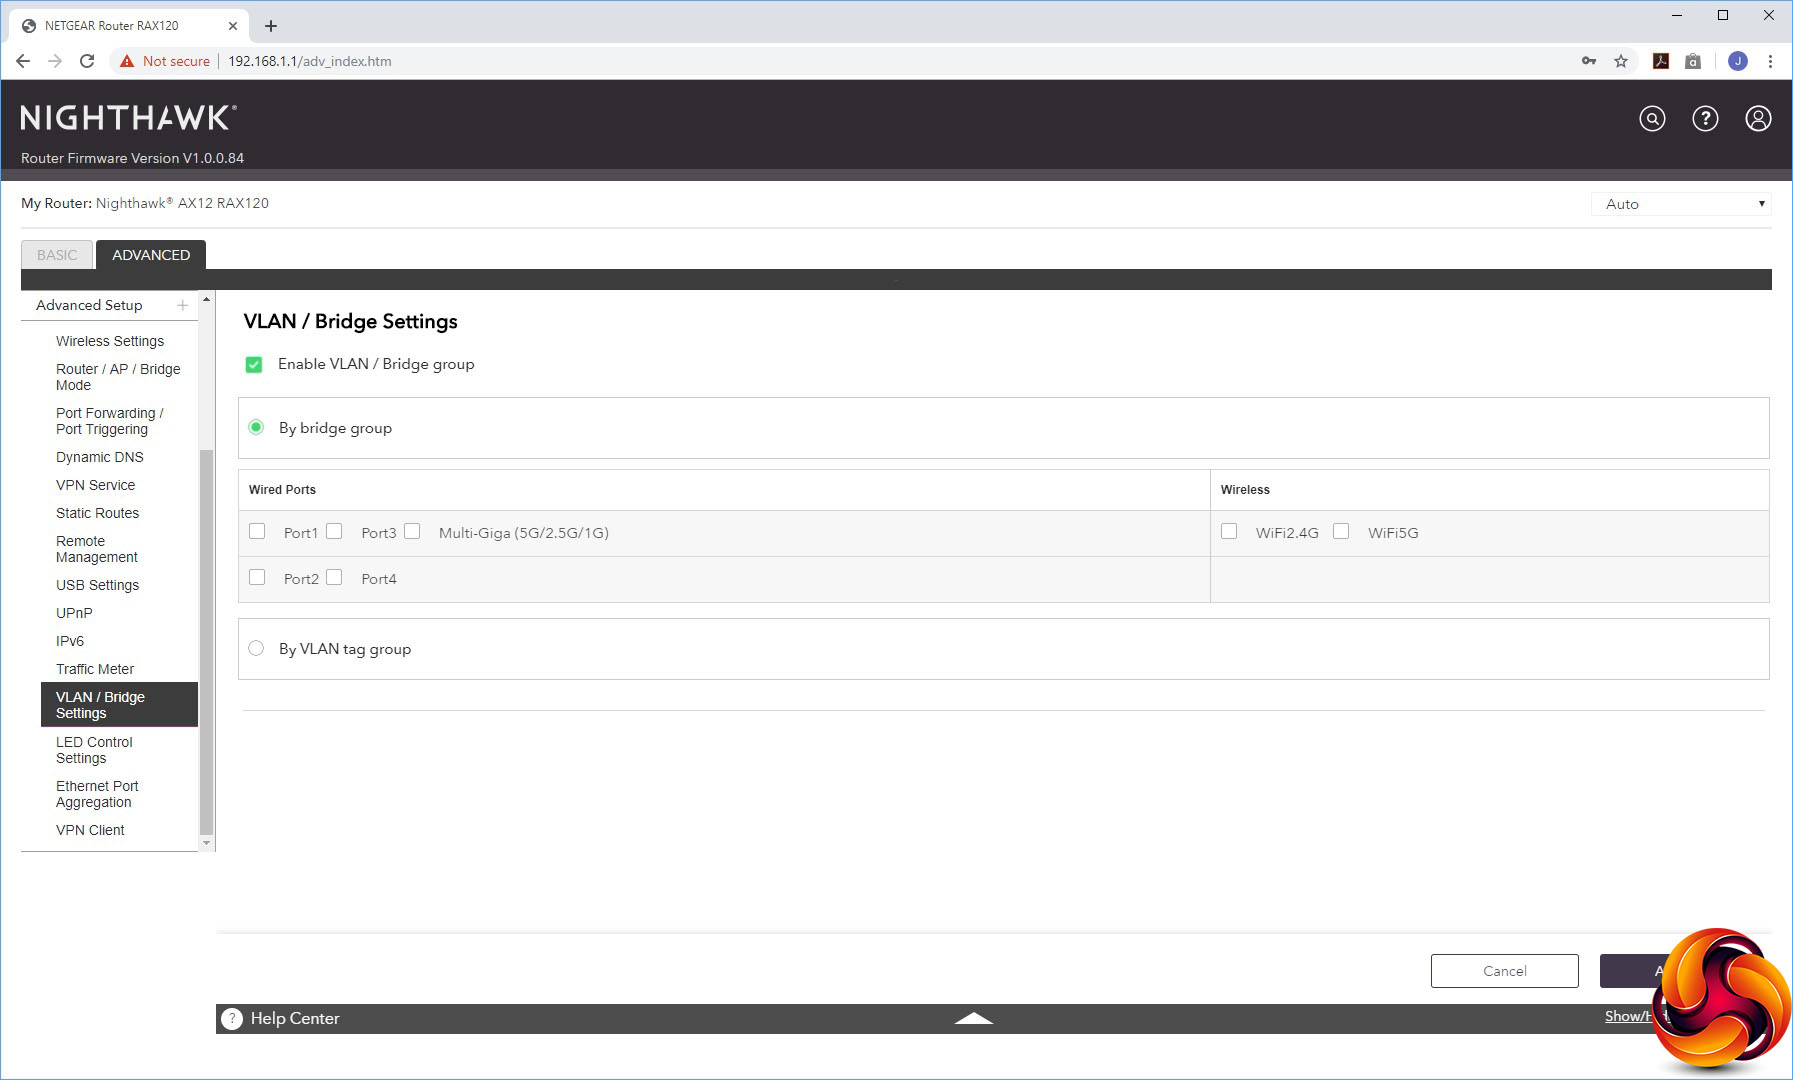
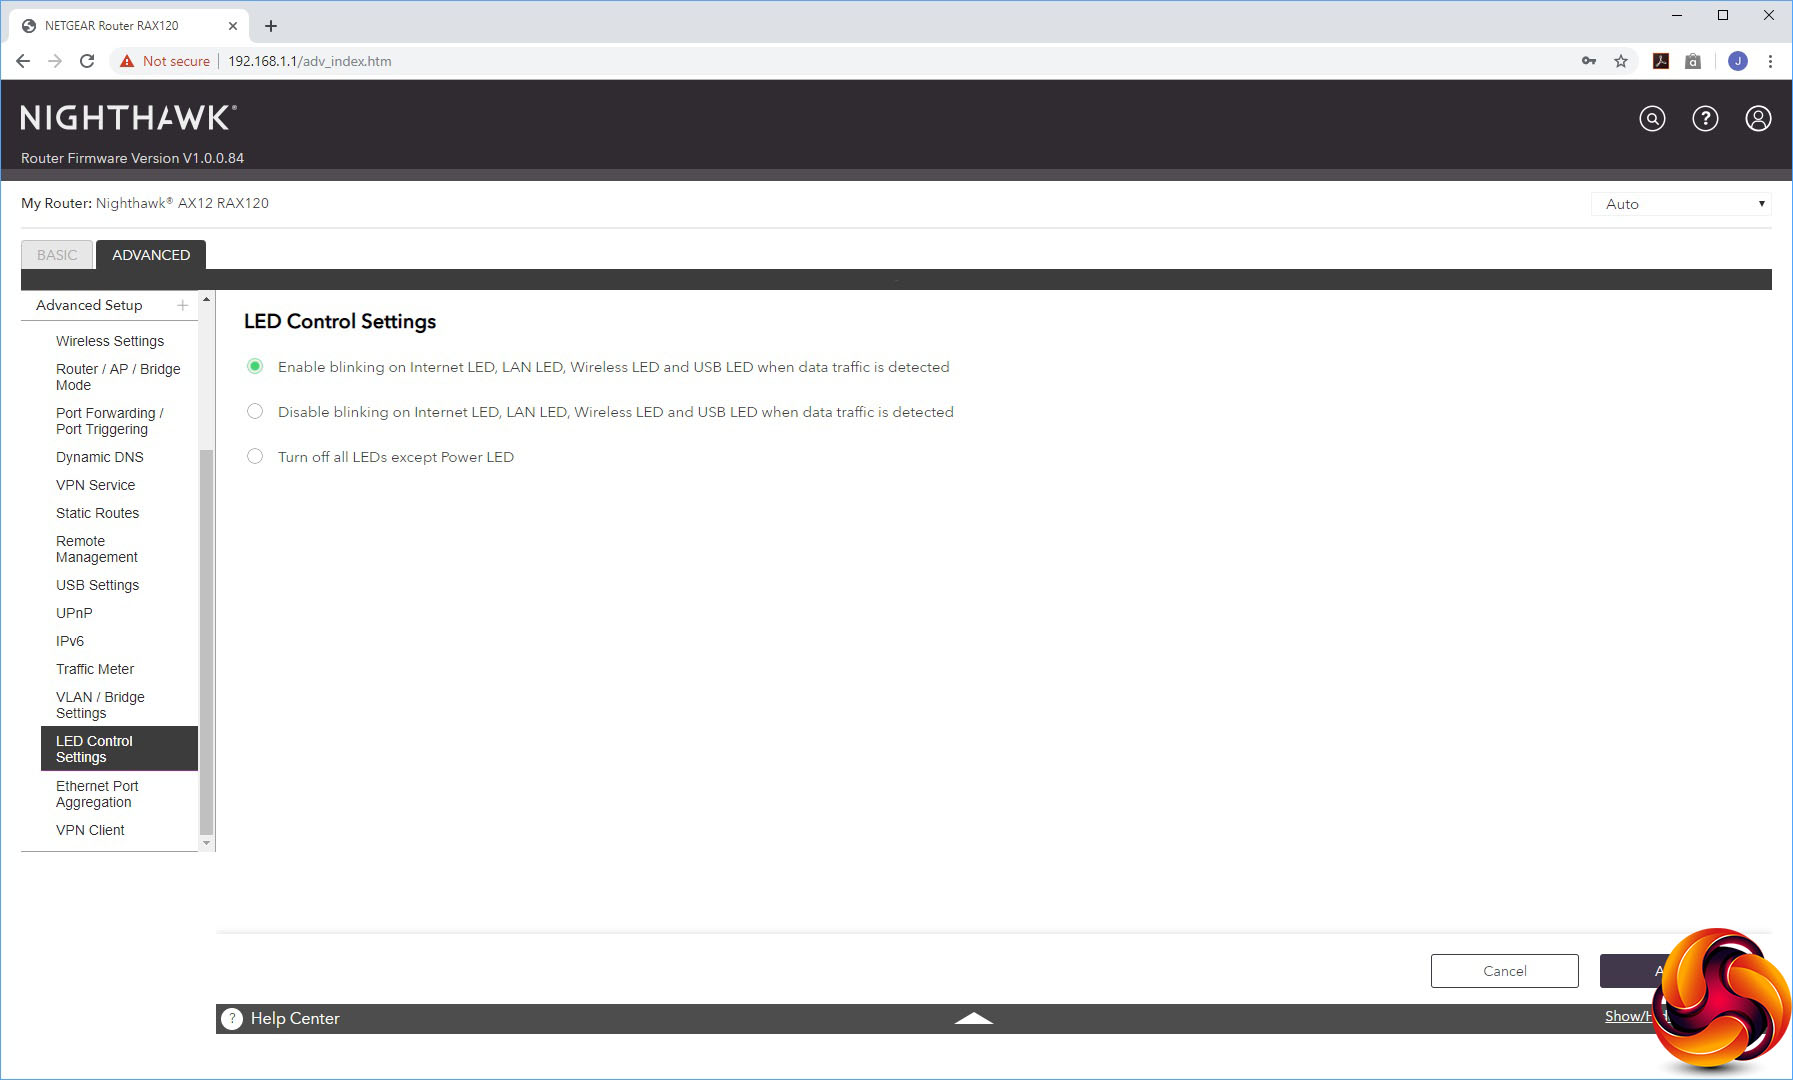
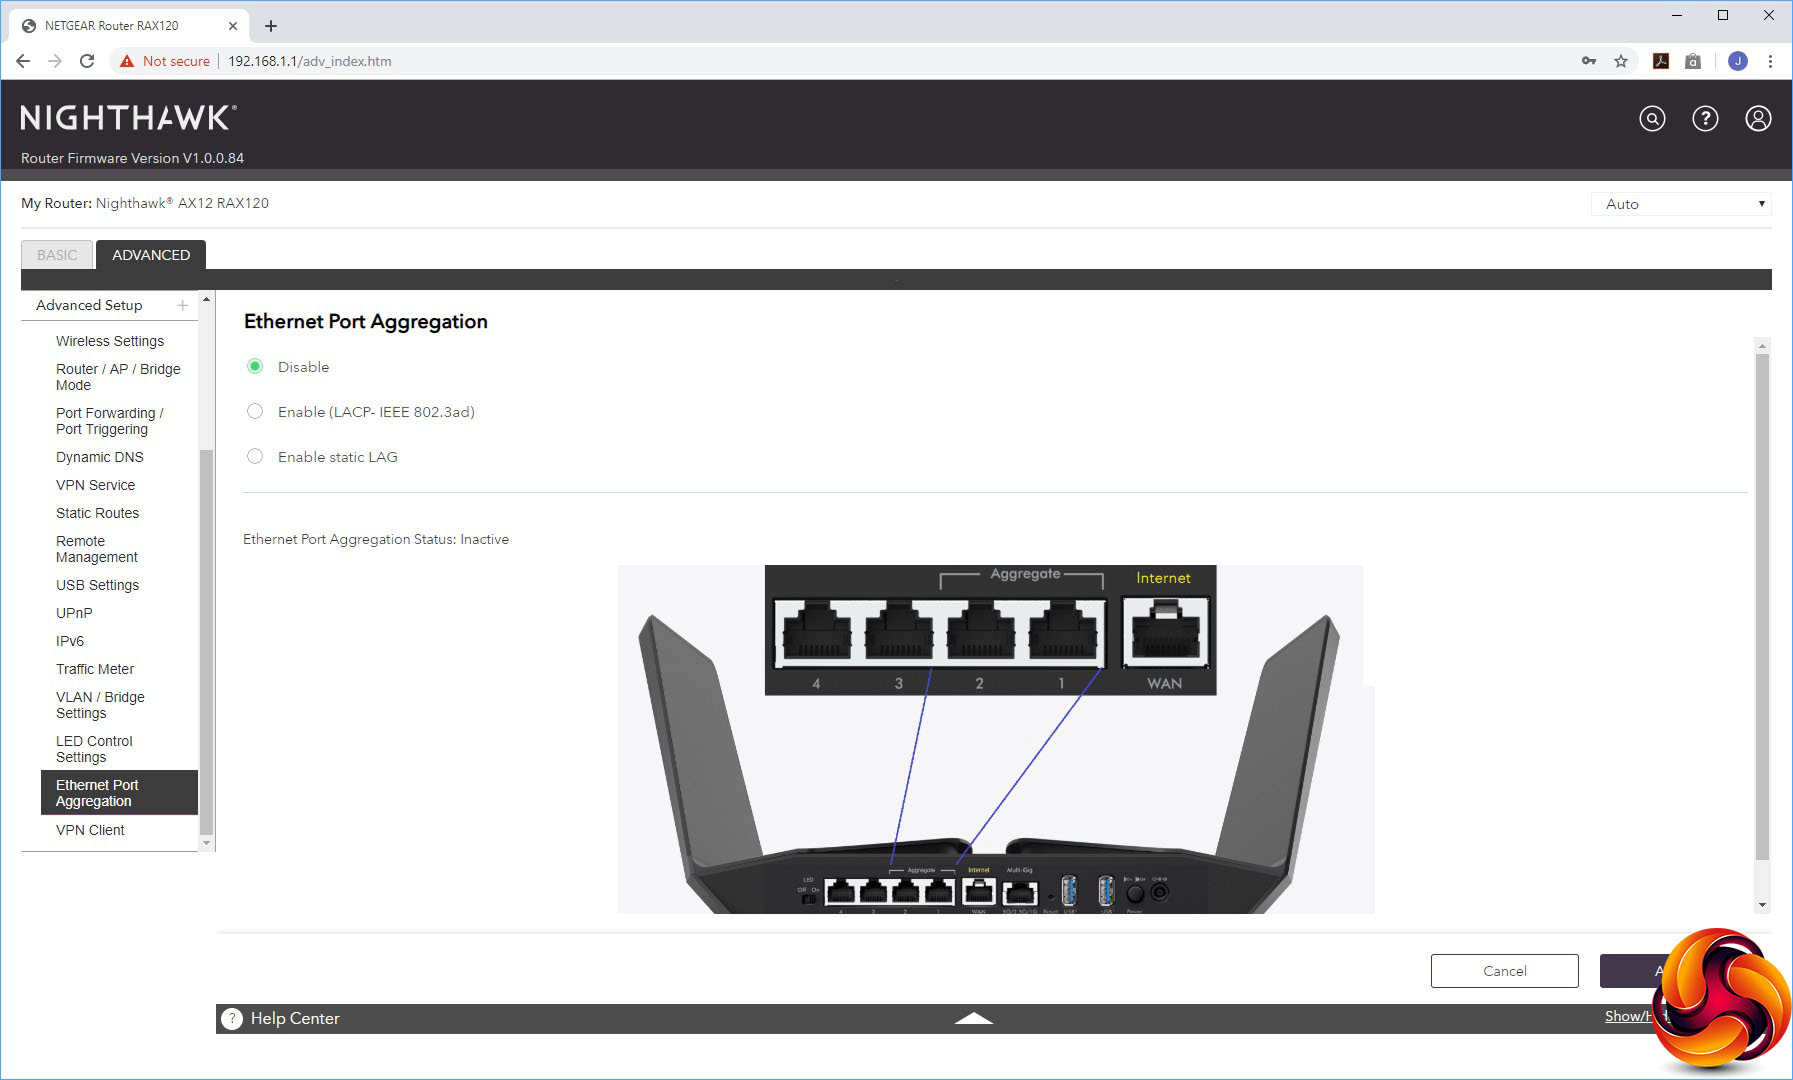
You can set up VLANs or a Bridge Group, and control which LEDs are lit. This is also the section where you can turn on port aggregation of the first two LAN ports, either via the LACP-IEEE 802.3ad protocol or a static LAG. Last on the list is another route to using the AX12 as a VPN client.
Overall, this is a comprehensive management interface, but nothing more significant than previous high-end NETGEAR Nighthawk routers. Other than the aesthetic makeover and addition of 802.11ax-related options, it offers the same capabilities. But there's nothing major missing here either.