

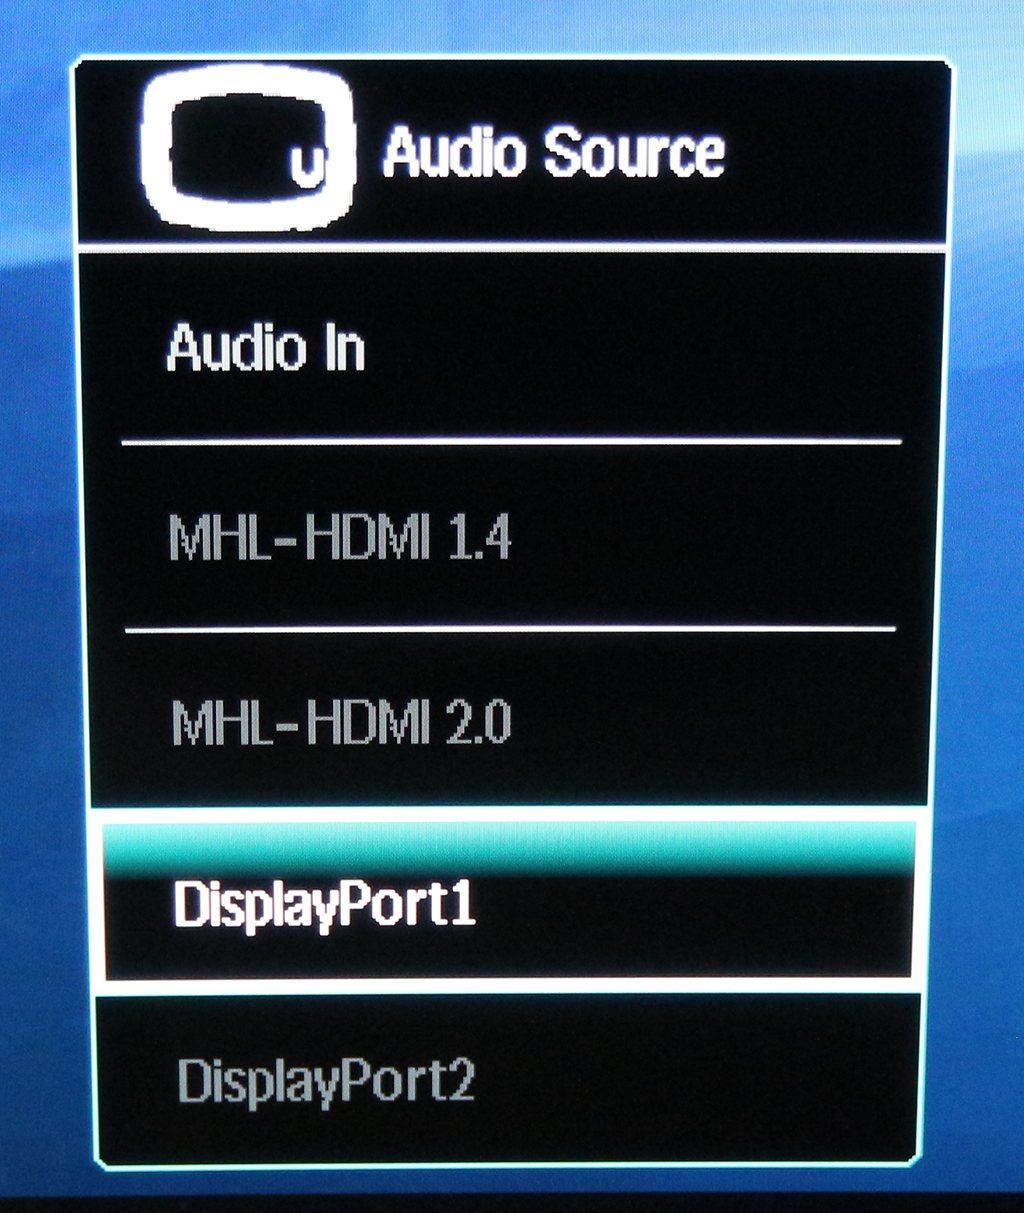
Pulling the joystick on the back downwards lets you choose which audio source to use – either one of the digital video inputs, or the analog audio minijack.
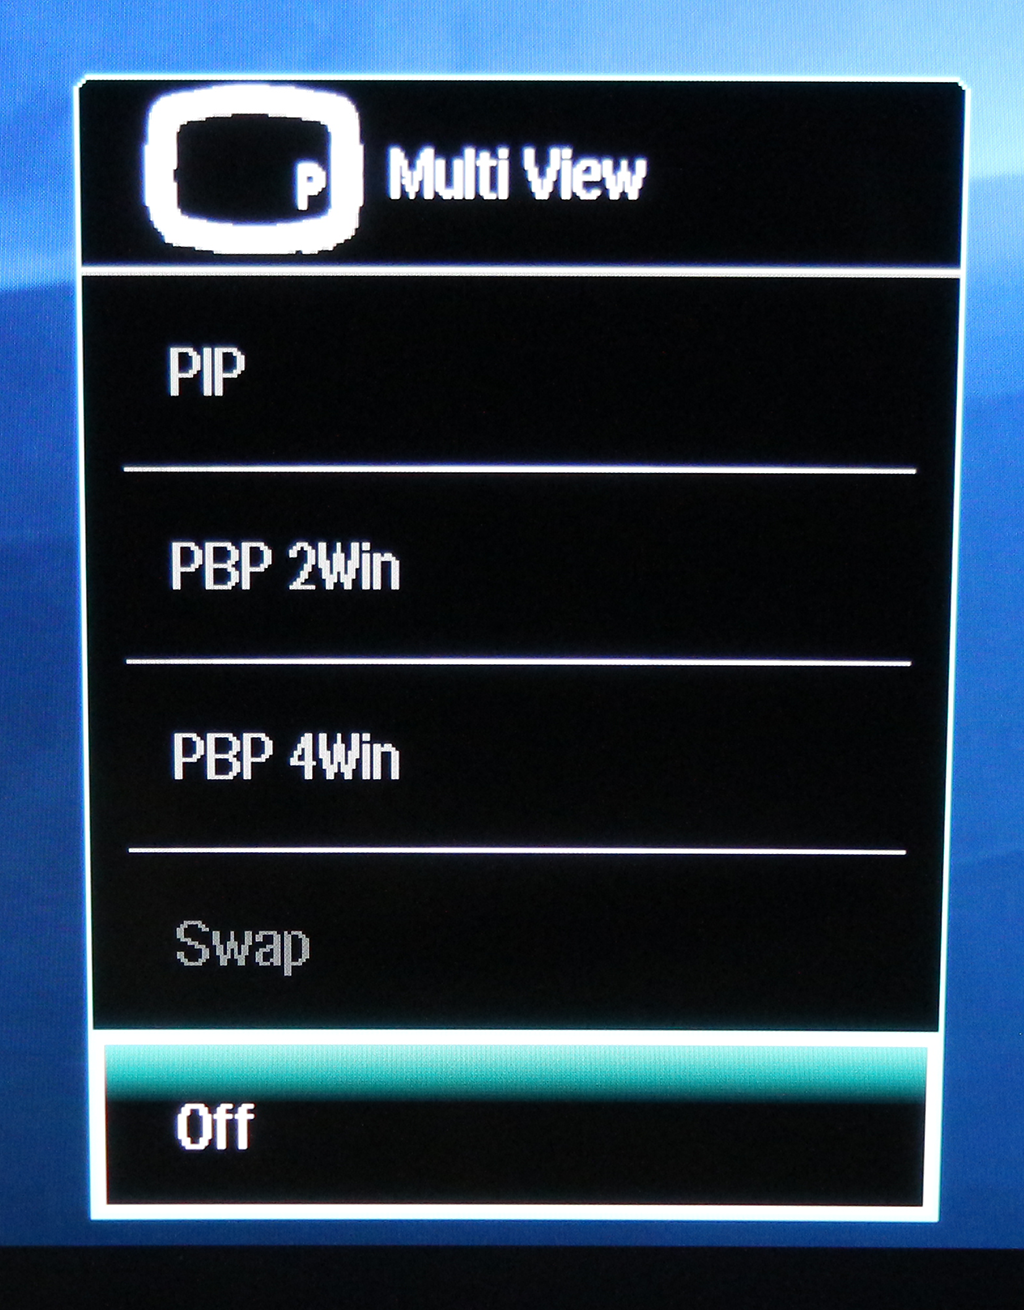
Pushing the joystick upwards calls up the Multi View options, where you can have multiple inputs onscreen at once. With a screen this huge and with 4K at your disposal, you could conceivably have four Full HD inputs onscreen at once and still be able to see what’s going on with all of them quite clearly. Potentially useful, if not every day.
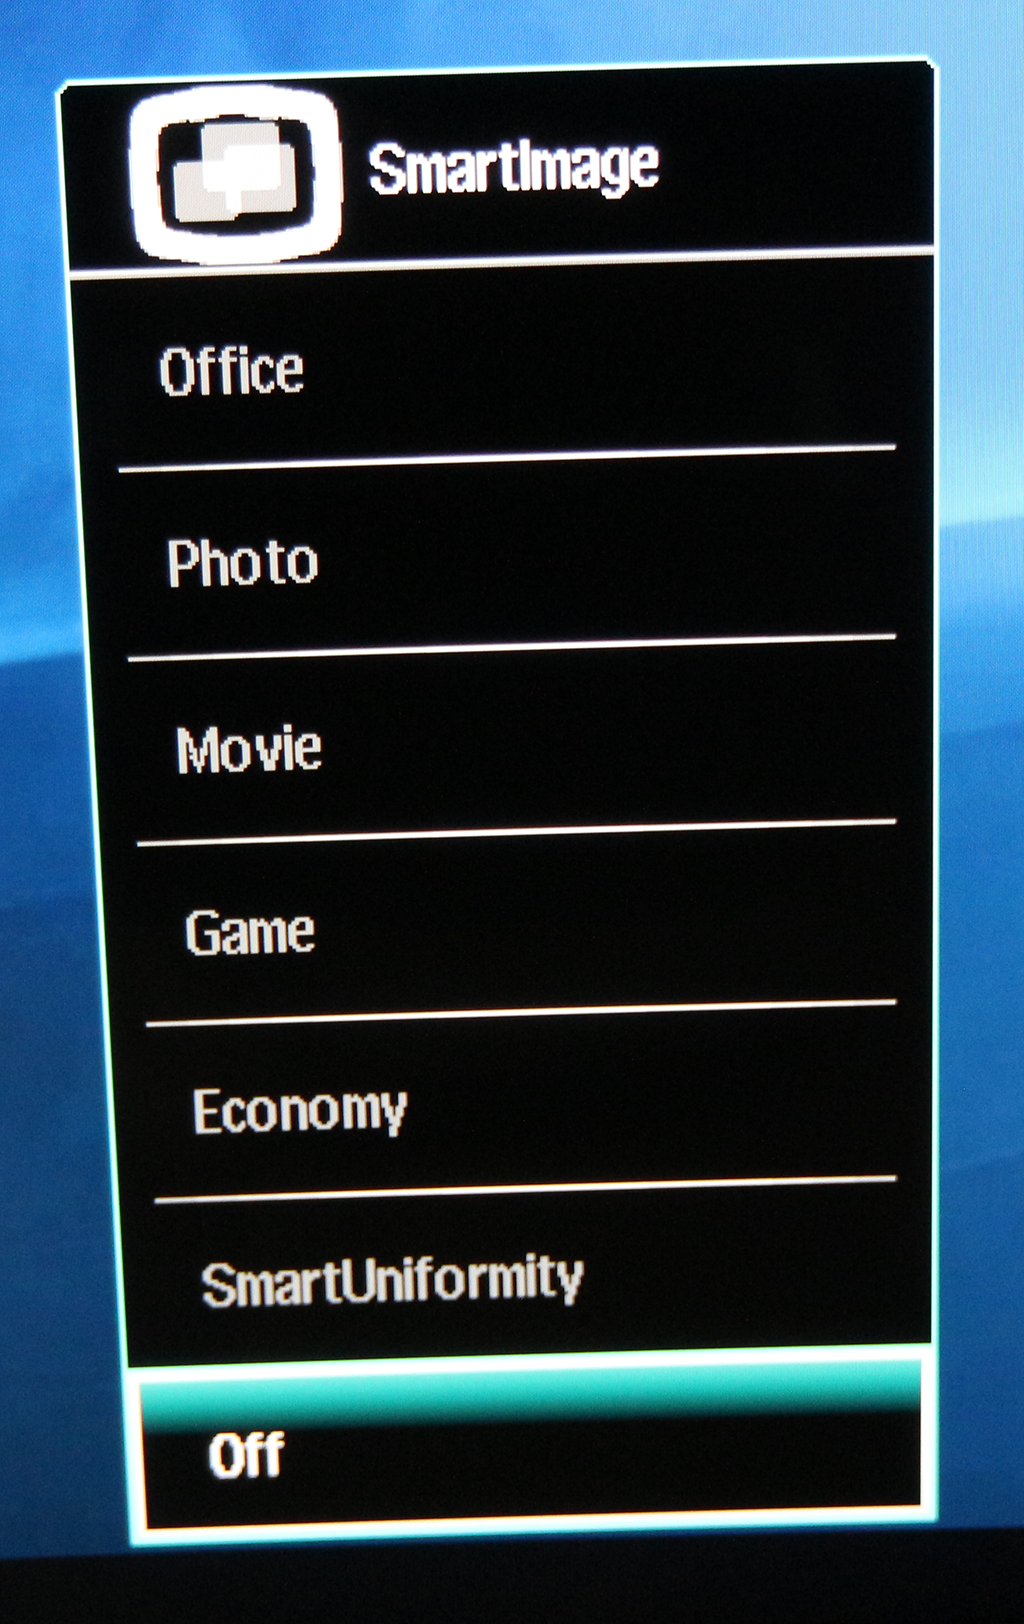
The range of SmartImage presets available is broad, and varied in focus. We did most of our testing in Off mode, but you also get options for Office, Photo, Movie, and Game activities. There’s an Economy mode to save on power, and SmartUniformity to smooth out the brightness across the panel.
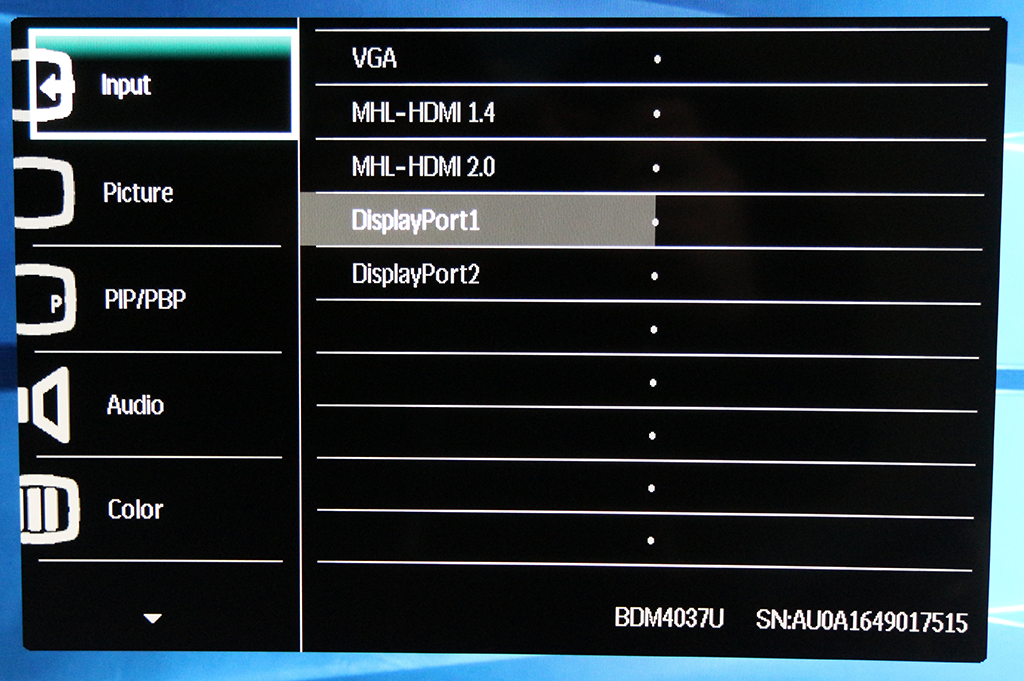
Pressing the joystick right calls up the main menu, with the first option being input selection.
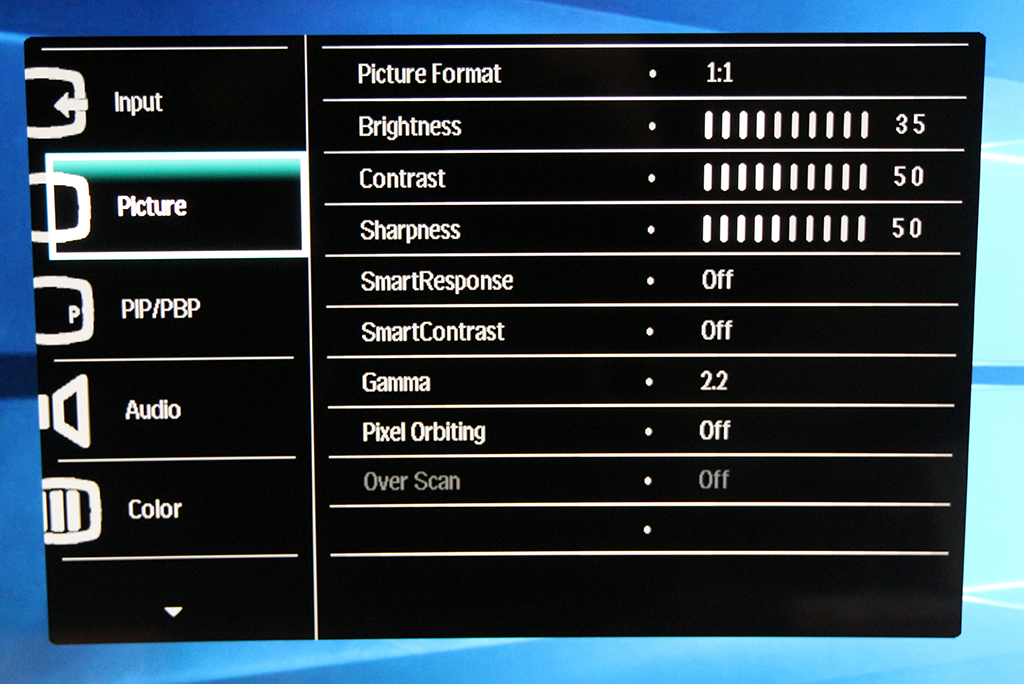
Next down in the main menu can be found the Picture settings. You can change whether the picture is shown pixel-for-pixel or stretched to fit, as well as adjust the brightness, contrast and sharpness. SmartResponse is an overdrive system that reduces blur, with off, fast, faster, and fastest settings. SmartContrast is a dynamic contrast system that allows Philips to claim its rather ridiculous 20,000,000:1 ratio, as this also varies brightness to boost contrast.
The Gamma options range from 1.8 to 2.6 in 0.2 increments, and pixel orbiting is a technology for reducing the effects of image burn in. Over Scan is only relevant with a VGA input that has junk around the edges you want to remove.
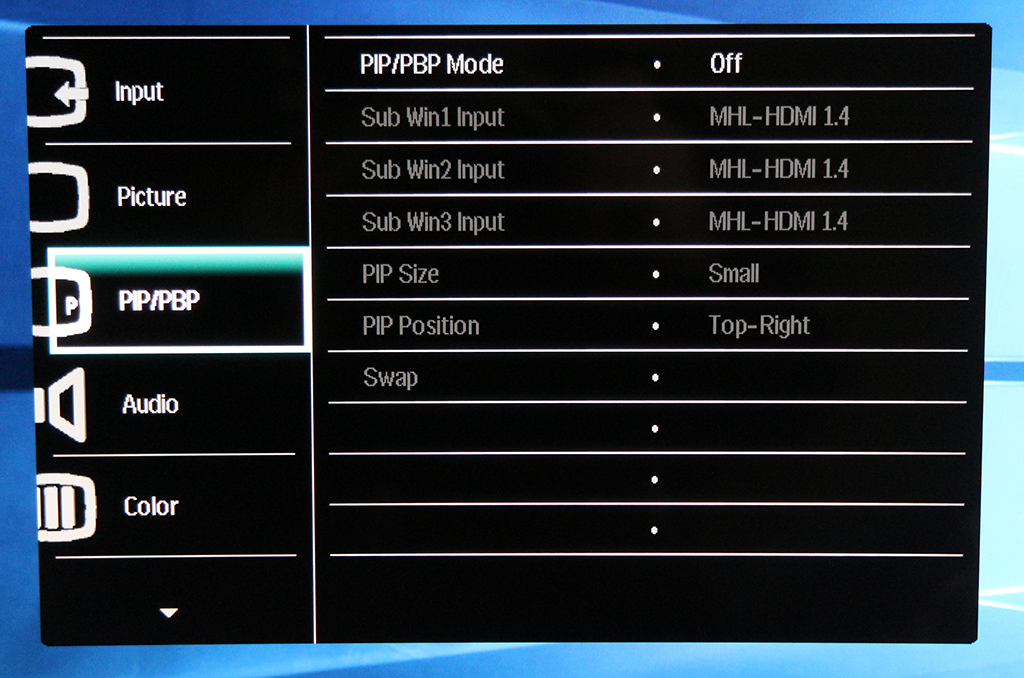
The PIP/PBP section essentially expands on the options available from the quick joystick menu.
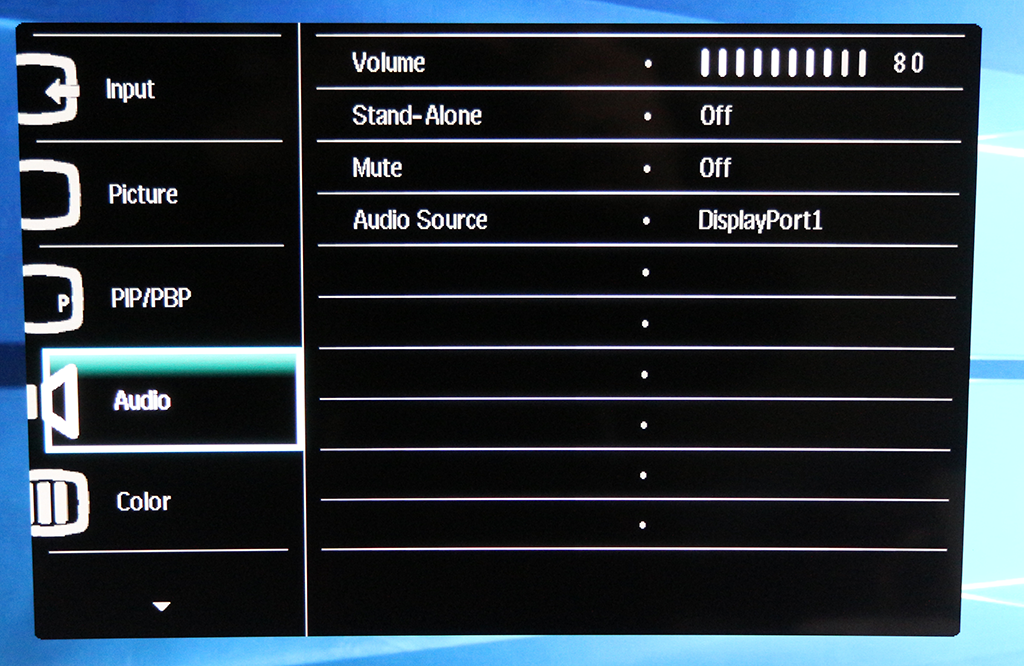
The Audio section provides a volume control, mute button, and a further method for choosing which input is the audio source.
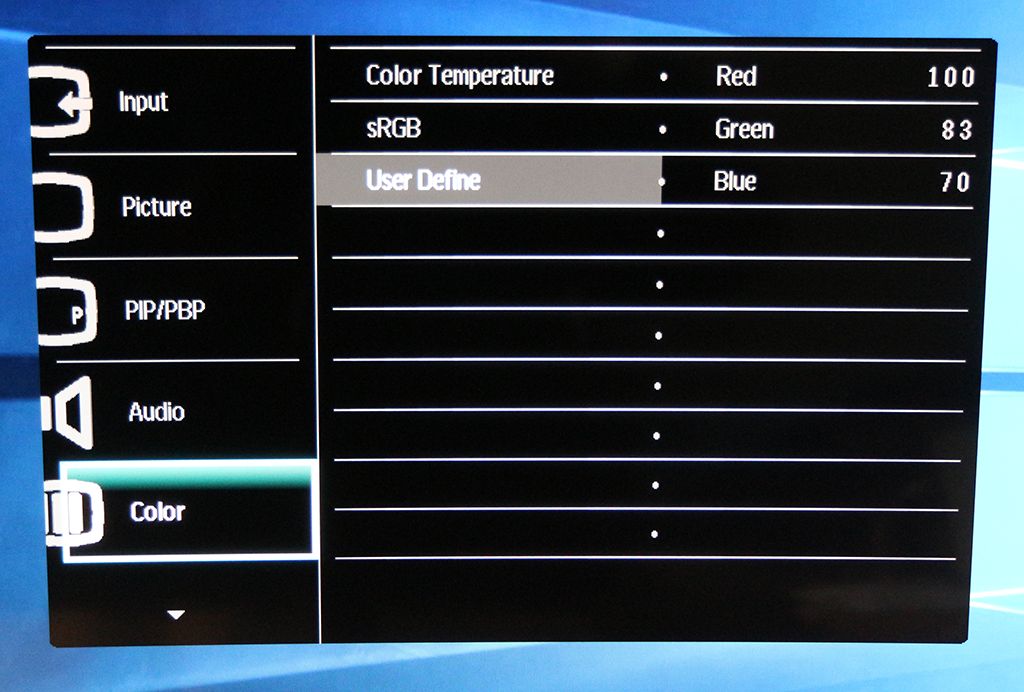
The Color section lets you choose a colour temperature in K, sRGB, or a user-defined setting via RGB sliders.
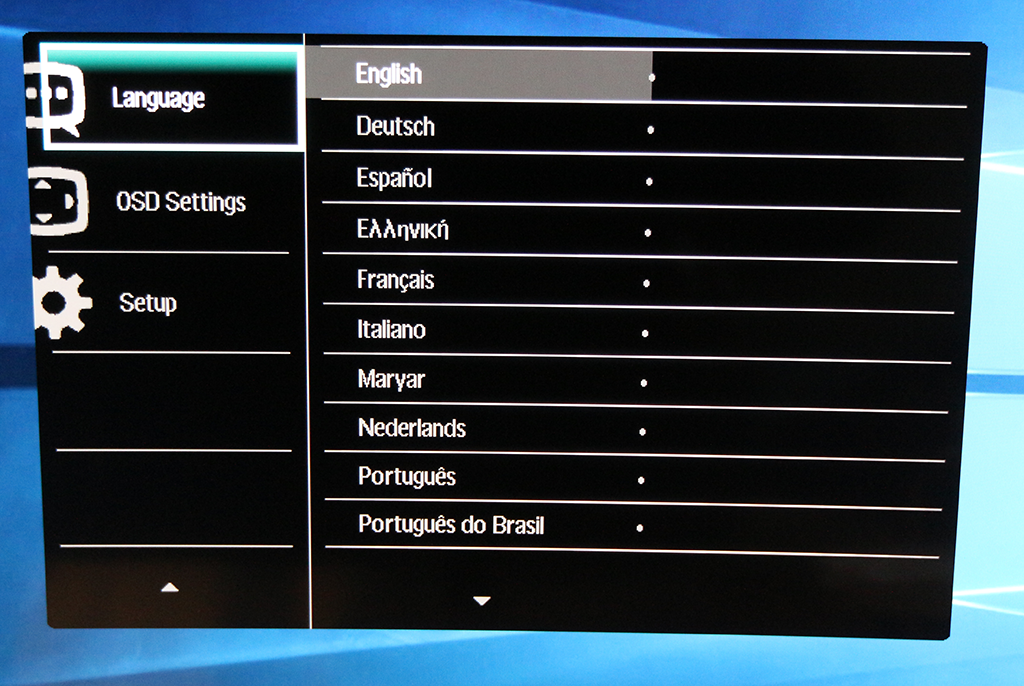
You can switch the monitor to Greek with the Language section, if you want to play a joke on a friend, or confuse yourself.
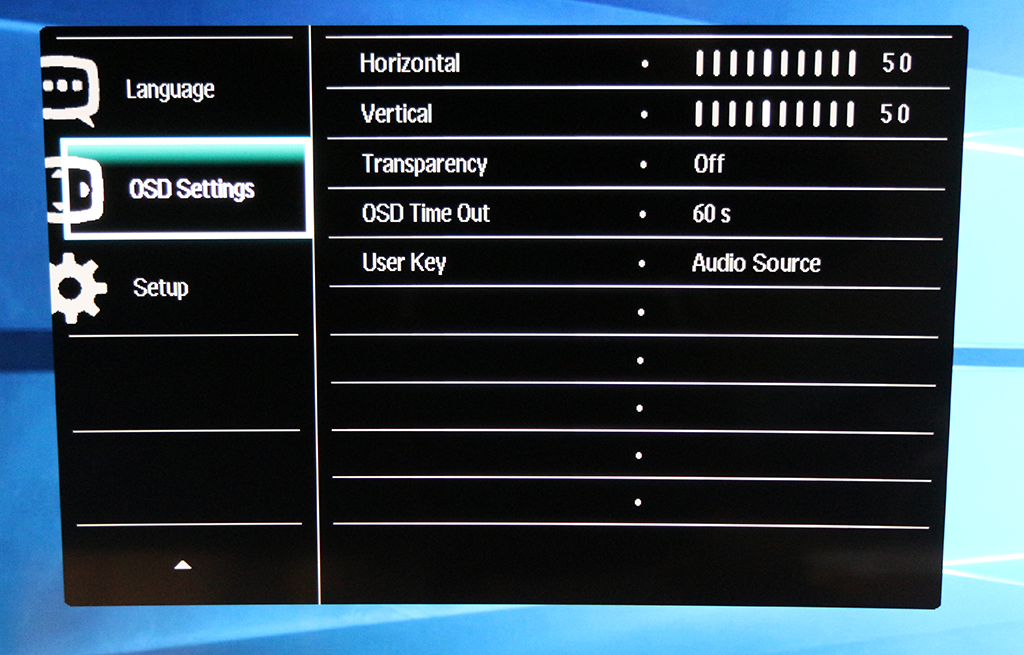
The OSD settings let you adjust the location and appearance of the main menu, but not the quick menus that appear for other functions.
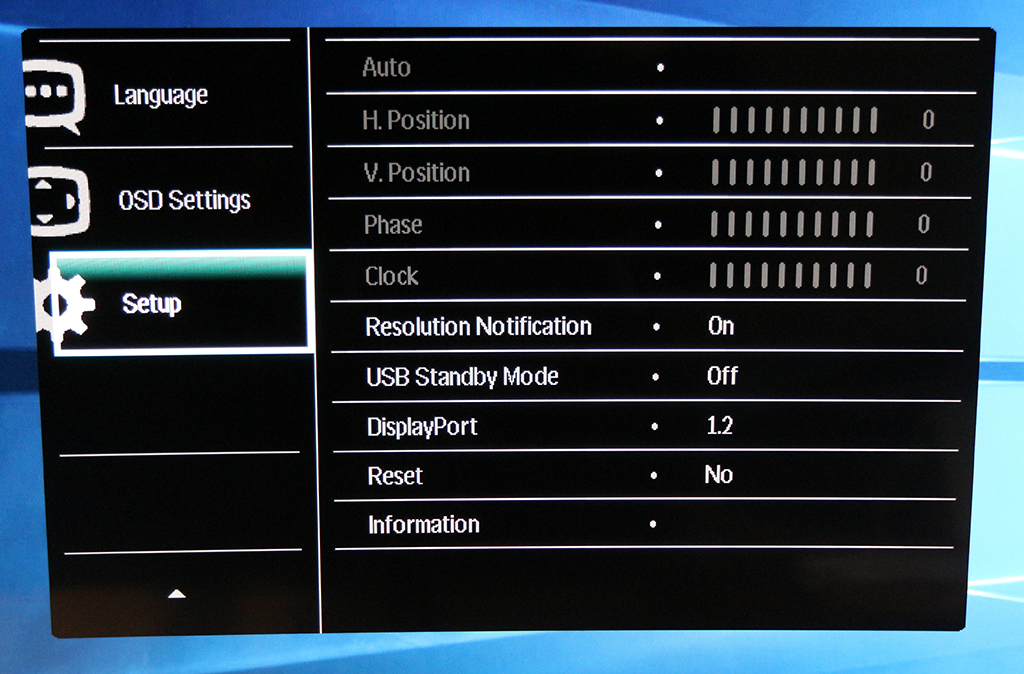
The Setup section gives you sundry configuration options, such as which DisplayPort standard to use and the ability to reset everything to default.
Overall, the range of options is good for a general-purpose monitor, but there won’t be enough here for ardent gamers (if the refresh and pixel response didn’t already scare them off). The menu is a little unwieldy using the joystick, and it would have been good to have things like brightness and contrast more readily accessible, but there’s enough here to set things up as desired, outside of hardcore gaming.
Please, please, please, can we have some monitors for doing real work on. Not this wide screen format but 4:3 or even 1:1. Many of us never play games or really watch movies on PC’s, other than some YouTube or similar. I want a monitor that’s 4000 by 3000 pixels wide and tall, so I can fit spreadsheets and databases on it. Something with a 32″ diagonal would be nice.
You want a surface studio then.
Google is paying 97$ per hour! Work for few hours and have longer with friends & family! !mj173d:
On tuesday I got a great new Land Rover Range Rover from having earned $8752 this last four weeks.. Its the most-financialy rewarding I’ve had.. It sounds unbelievable but you wont forgive yourself if you don’t check it
!mj173d:
➽➽
➽➽;➽➽ http://GoogleFinancialJobsCash173TopTechGetPay$97Hour… ★★✫★★✫★★✫★★✫★★✫★★✫★★✫★★✫★★✫★★✫★★✫★★✫★★✫★★✫★★✫★★✫★★✫★★::::::!mj173d:….,…..
VA… No Variable Refresh… 60Hz… NOPE, That’s not for me! I will be buying this Acer XR38CQK – 37.5 inch IPS, yes it is $1300, but it is a freaking IPS! 75Hz and with a FreeSync. No thanks Philips.
I have ordered one, getting it next week. I am only going to use it for programming. Hope that text are sharpe and that the overall picture quality is good enough for web design
So, not a single comment about 8.5 stars under a photo of Amber Heard? But..why?
*faaaaaaaaaaaaaaaap*
I have the LG 38UC99. You’ll love the Acer 😉 B|
Idk how an aspect ratio would stop you from viewing spreadsheets….
38 inch 21:9 vs 40 inch 16:9…quite a difference tbh, hard to compare.
The contrast results are nonsense.
The Spyder device is incapable of correctly measuring black levels, get something from X-Rite instead.
The contrast is around 3650:1 across the entire brightness range.
Well, Zero, let me give you a bit on a look of things – first BOTH of those monitors have THE SAME pixels per inch. I am not joking. Go to http://isthisretina.com/ and check it out. However this is what I found:
4K (3840×2160) at 40″ = 110ppi <== those are not really for gaming…more of business
WQHD (3840×1600) at 37.5" = 110ppi <== this is Acer XR38CQK and LG 38UC99
WQHD (3440×1440) at 34" = 109ppi <== very high-end ultrawide gaming monitors
4K (3840×2160) at 32" = 137ppi <== 4K high-end gaming monitors (ex. Acer, LG)
4K (3840×2160) at 27" = 163ppi <== 4K high-end gaming monitors (ex. Acer, ROG)
QHD (2560×1440) at 27" = 108ppi <== high-end gaming monitors (ex. ROG)
And now the cheaper ones:
WFHD (2560×1080) at 25" = 111ppi <== ultrawide gaming monitor
WFHD (2560×1080) at 29" = 95ppi <== ultrawide gaming monitor
FHD (1920×1080) at 24" = 91ppi <== standard gaming monitor (most people use this)
I honestly think this 110ppi is the best you would really get, before you run into scaling issues. So they are comparable, and there are many Korean 40" 4K monitors, and they are as good as a 27" 2560x1440p monitor. Same ppi, but bigger. I do not really consider anything below 30" to be any beneficial out of 4K, it's pointless and a waste. That's why I chose this ultrawide monitor. $1300 is sure steep but this is basically the BEST I could get, that is both CLOSE to 4K resolution and at the same time, to have a higher than 60Hz refresh rate (75Hz) – AWESOME! After 75Hz, the difference starts to diminish. However going from a 60Hz to a 75Hz is significantly noticeable. I just hope that Vega 10 will give me the power to drive such FPS.
Well, did it arrive, and what do you think of it (I’m also looking for a large curved monitor for programming, and am wondering if the response time is a factor for me)
The Philips was the second monitor I tried in my search for a new monitor. Before the Philips I had the Dell U3417W 34″ monitor for a week. It was OK but colours was dull and the contrast was not very good.
But it convinced me that widescreen monitors was the way to go.
When I heard about the Philips I just hade to try it at work so I ordered one. It was BIG but was looking very good. very nice design. Text was clear, colours out of the box not so good. But for me the big turn of was that colours in front of you was OK but when looking down or to the side the colours was washed out. thats the weakness of a VA panel.
Another thing is that the screen is just to high. You will get pain in the neck if you try to read from the top or the bottom of the screen. After a day I found that I was placing my program in a stripe across the screen not using the top / bottom 10-15 cm. So I was using it as 21-9 widescreen.
It was interesting to test out the screen but I returned it.
A few weeks after I bought the AOC U3477PQU and it’s a keeper. It is the best monitor I have ever had in my 23 years as a programmer. The uniformity, sharpness and colours are just amazing It like reading from a pice of paper.
Interesting feedback.
One of the points of the 3840×2160 is the extra height that’s gained – but your comments about 21:9 do raise some points (even if they may just be personal preference)
The VA panel always looked to be the weak point, so I guess I’m now looking for an IPS panel, at least – just need to decide if 3180×1440 is enough height. Would like to see one in the flesh before committing funds, though, and that could be tricky until they become more commonplace.
Thanks
It has to do with your eyes. You see more in horizontal. 16:9 is tall enough anyway and no one forces you to buy ultrawide.
WARNING: if you buy this monitor in the hopes that the EDID works in WIN2/WIN4 mode (multi-monitor) – you are out of luck. The monitor will identify itself as 4k no matter what mode it is in.
Why is this bad? Because Windows, NVidia and all other programmes and drivers that uses the monitor and its resolution will think it is 4k. They will allow you to set WAY too high resolutions, that is not supported by the 1080p screens that the BDM4037 makes. Also, NVidia “Surround” – will NOT work. Let me repeat: You WILL NOT be able to make the two bottom screens into one wide-screen replacement, and the top two single monitors. The faulty EDID will make sure of this.
Philips has so far done nothing to correct this.