Accessing the Netgear's control panel is simple, just type in the IP address of your router and enter the default username and password, ‘admin' and ‘password'.
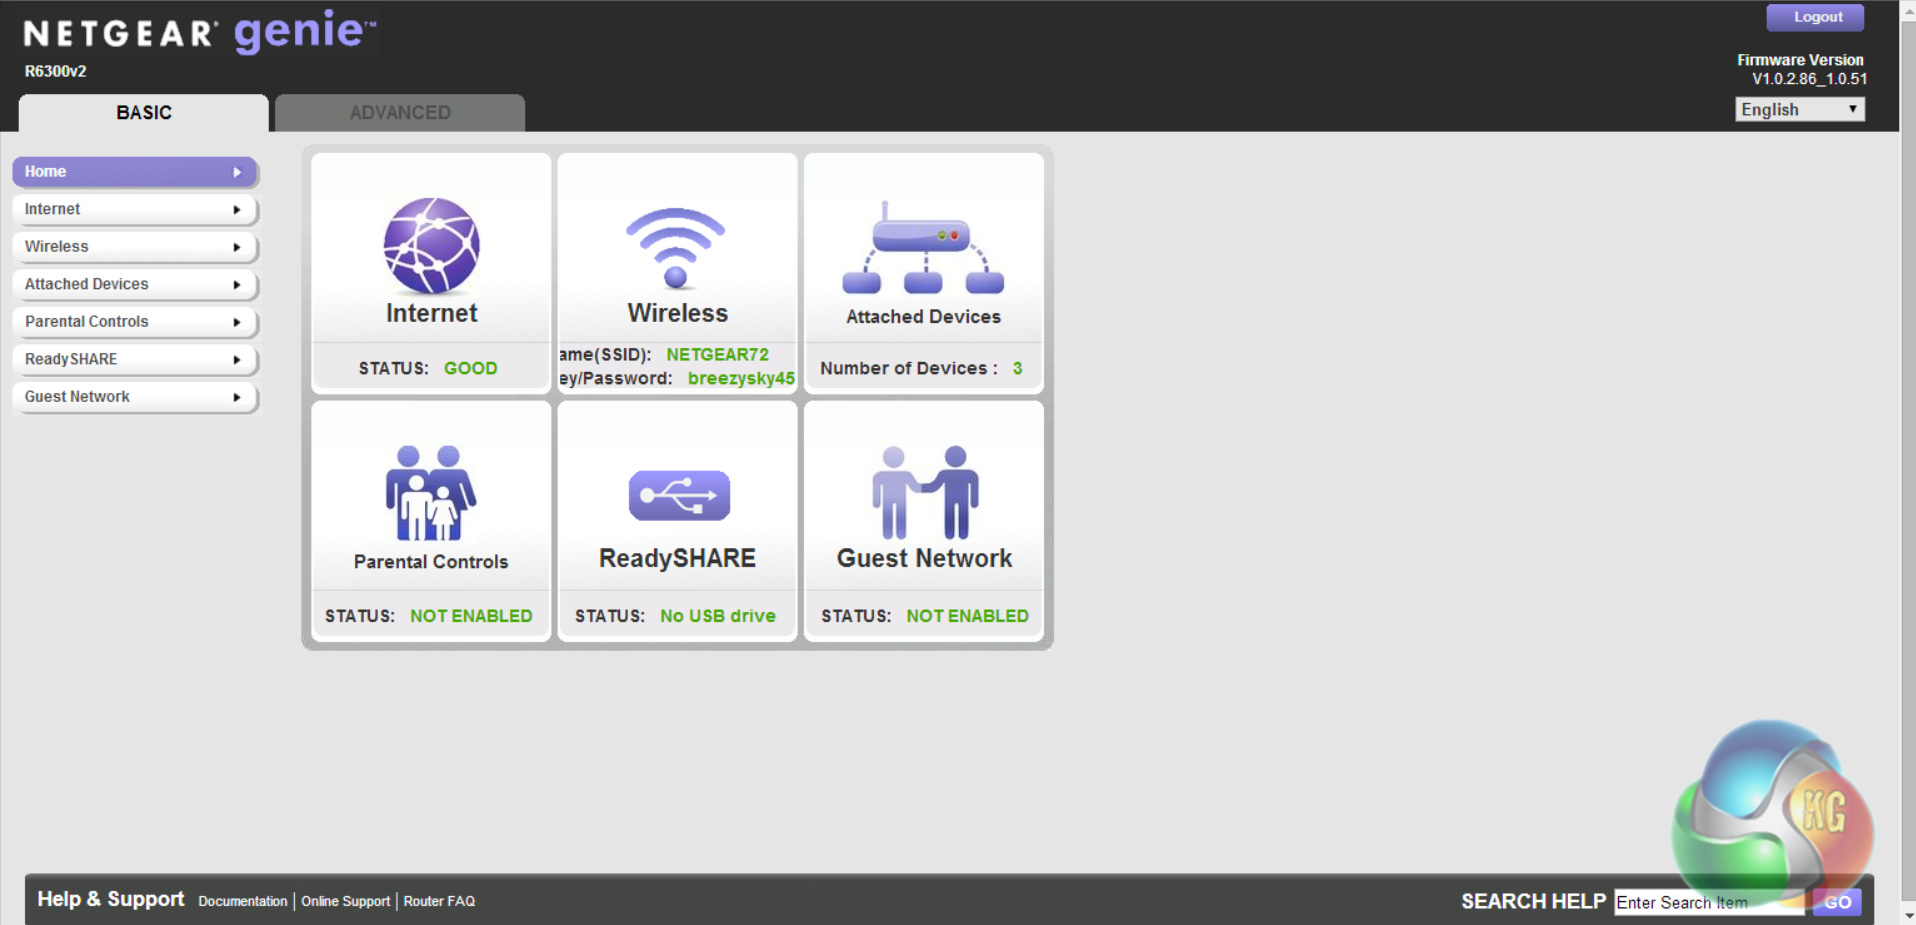
We are greeted by a basic overview of the router's status and functions on the main page. Using the navigation menu on the left we can navigate to other basic functionality.
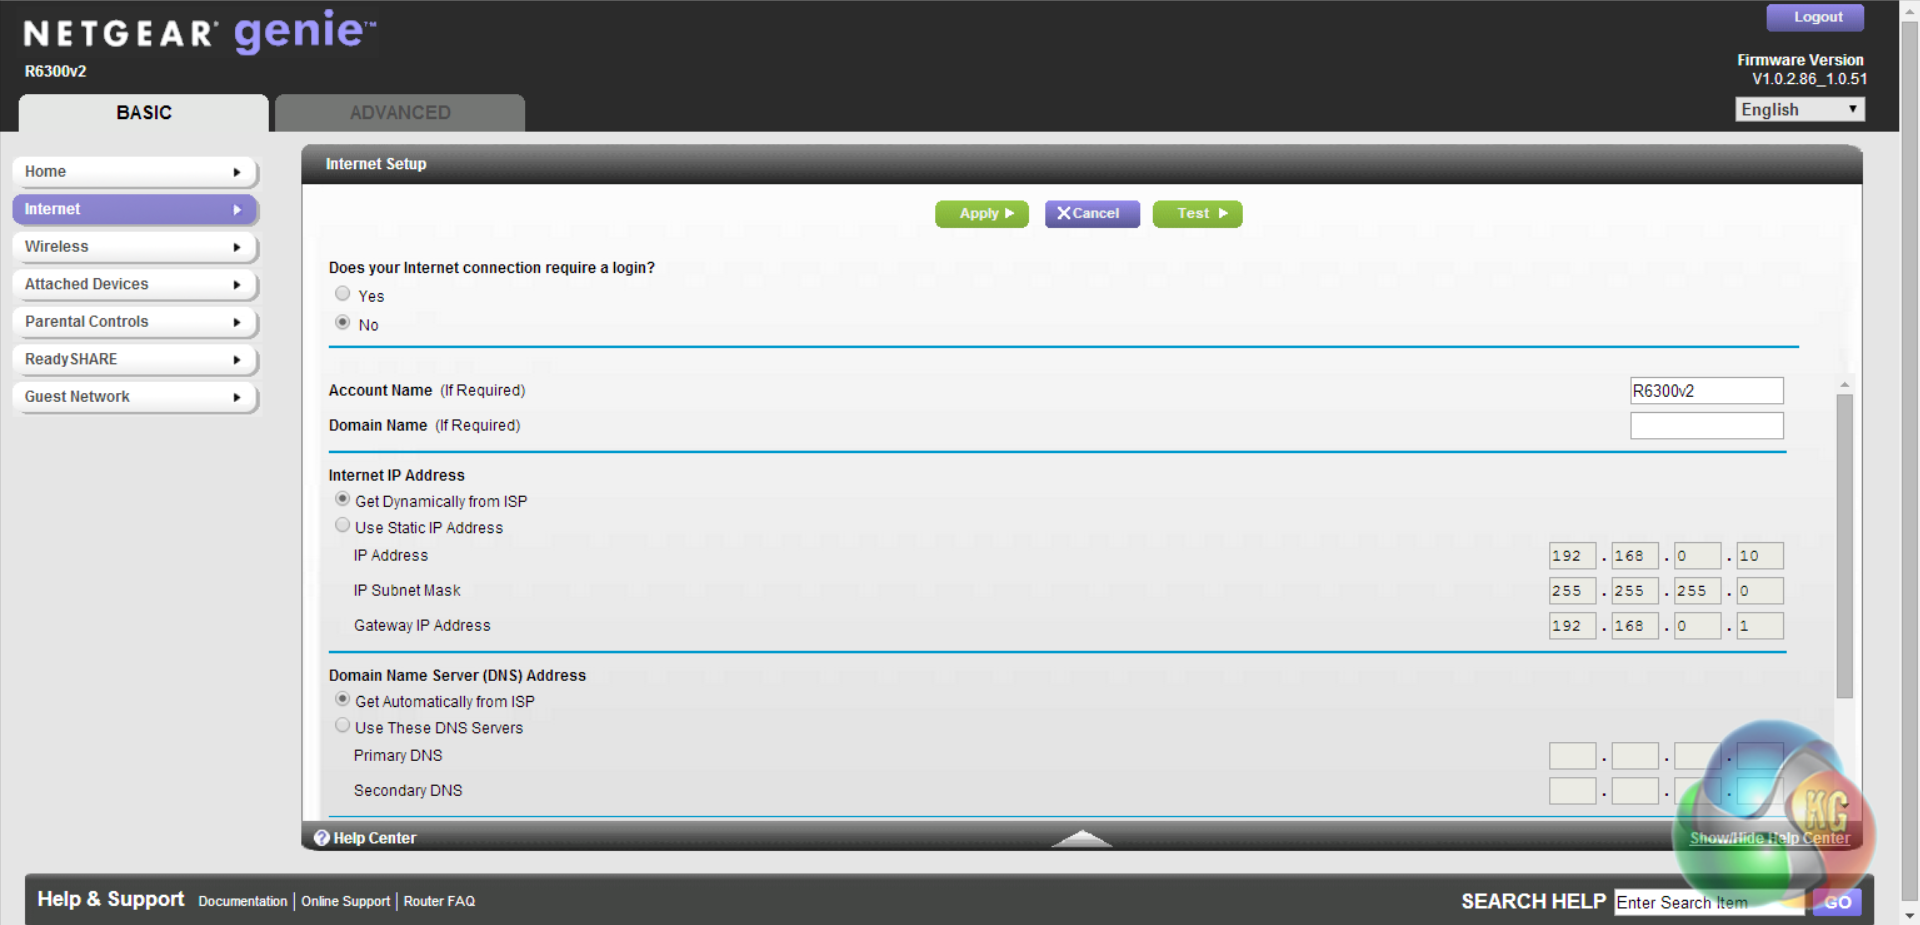
Under the ‘Internet' tab, we find all the configuration options to connect the router successfully to the internet. Ours connected automatically, though, requiring no configuration at all.
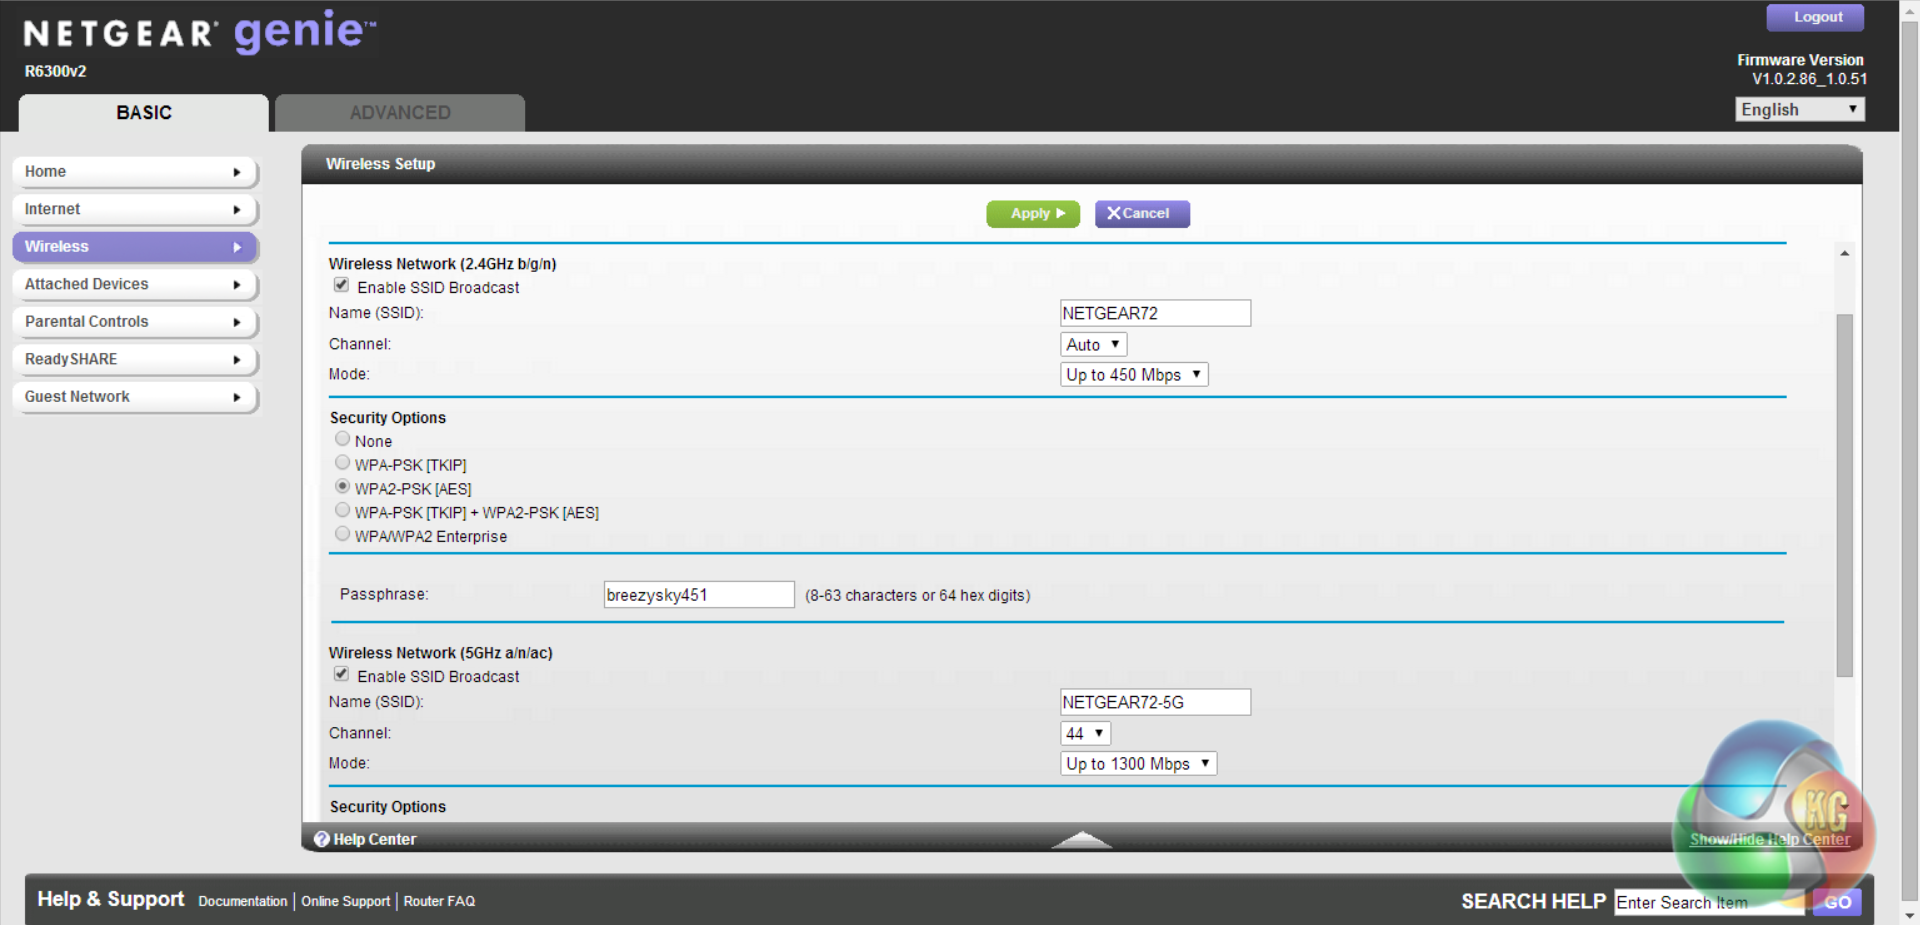
We can configure all of the wireless settings under the ‘Wireless' tab, for 2.4 GHz and 5 GHz channels independently.
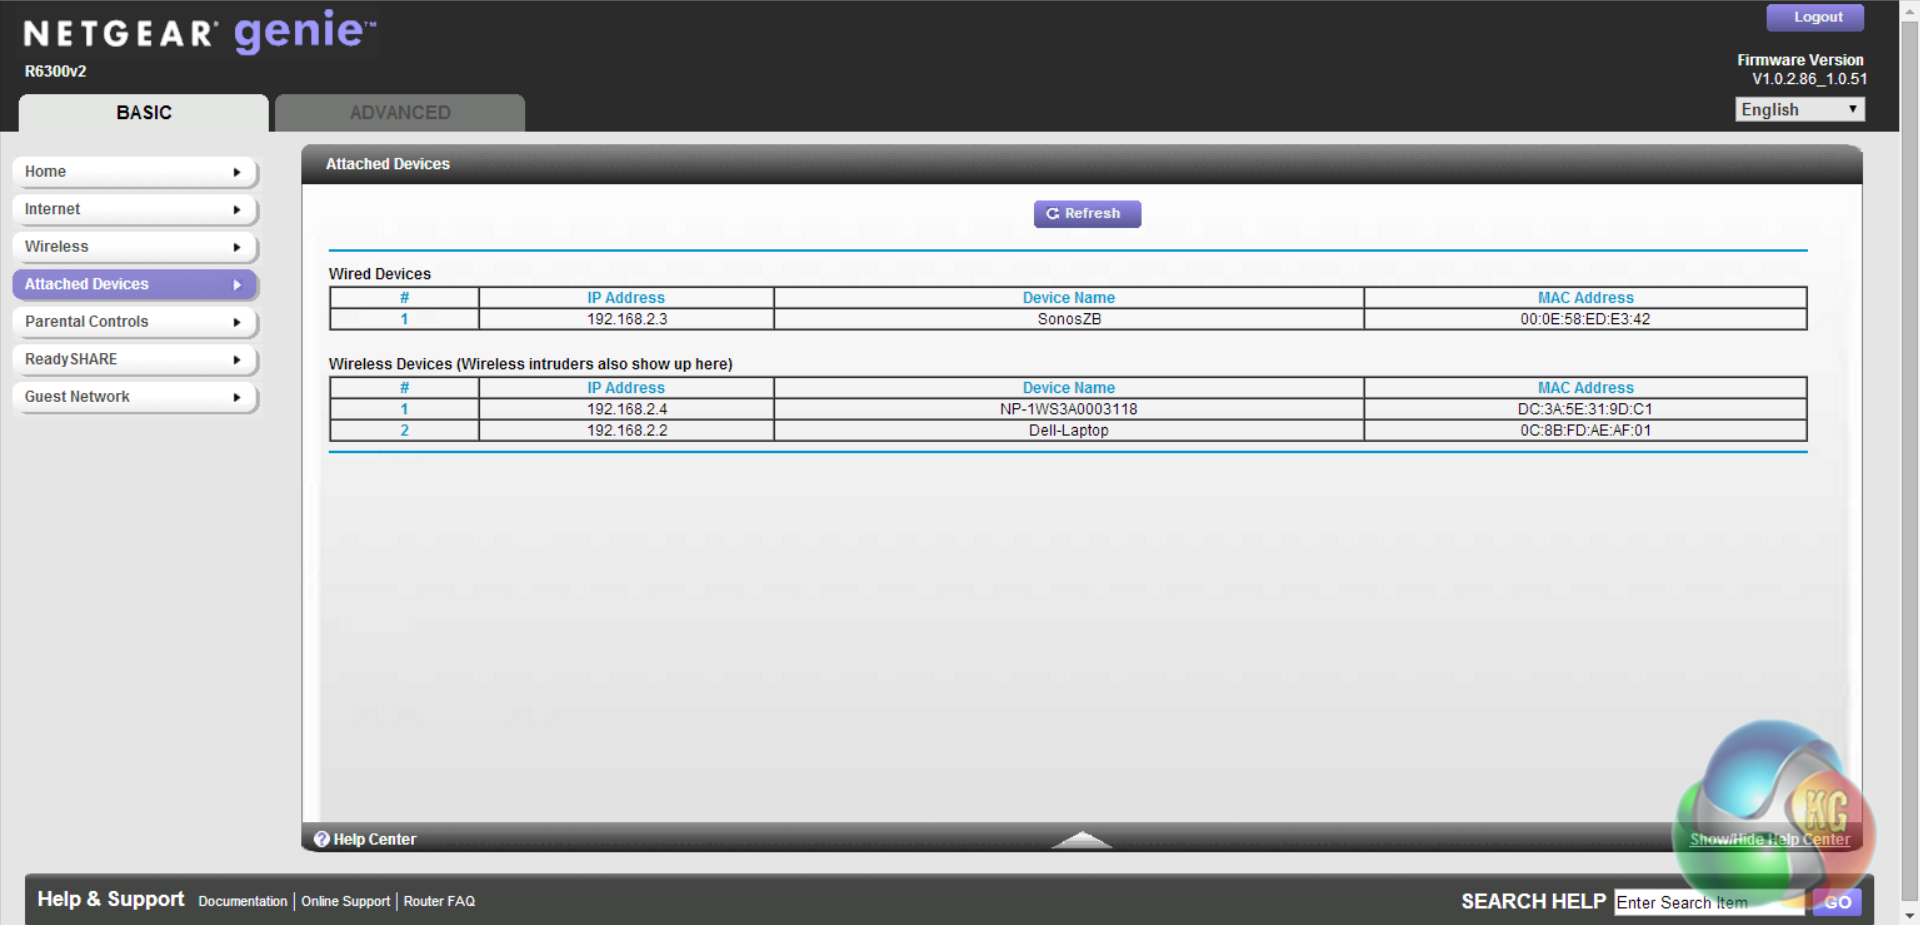
There is a brief breakdown of connected devices under the next tab. Clicking ‘Parental Controls' brings up a page on Netgear's website which lets you configure them.
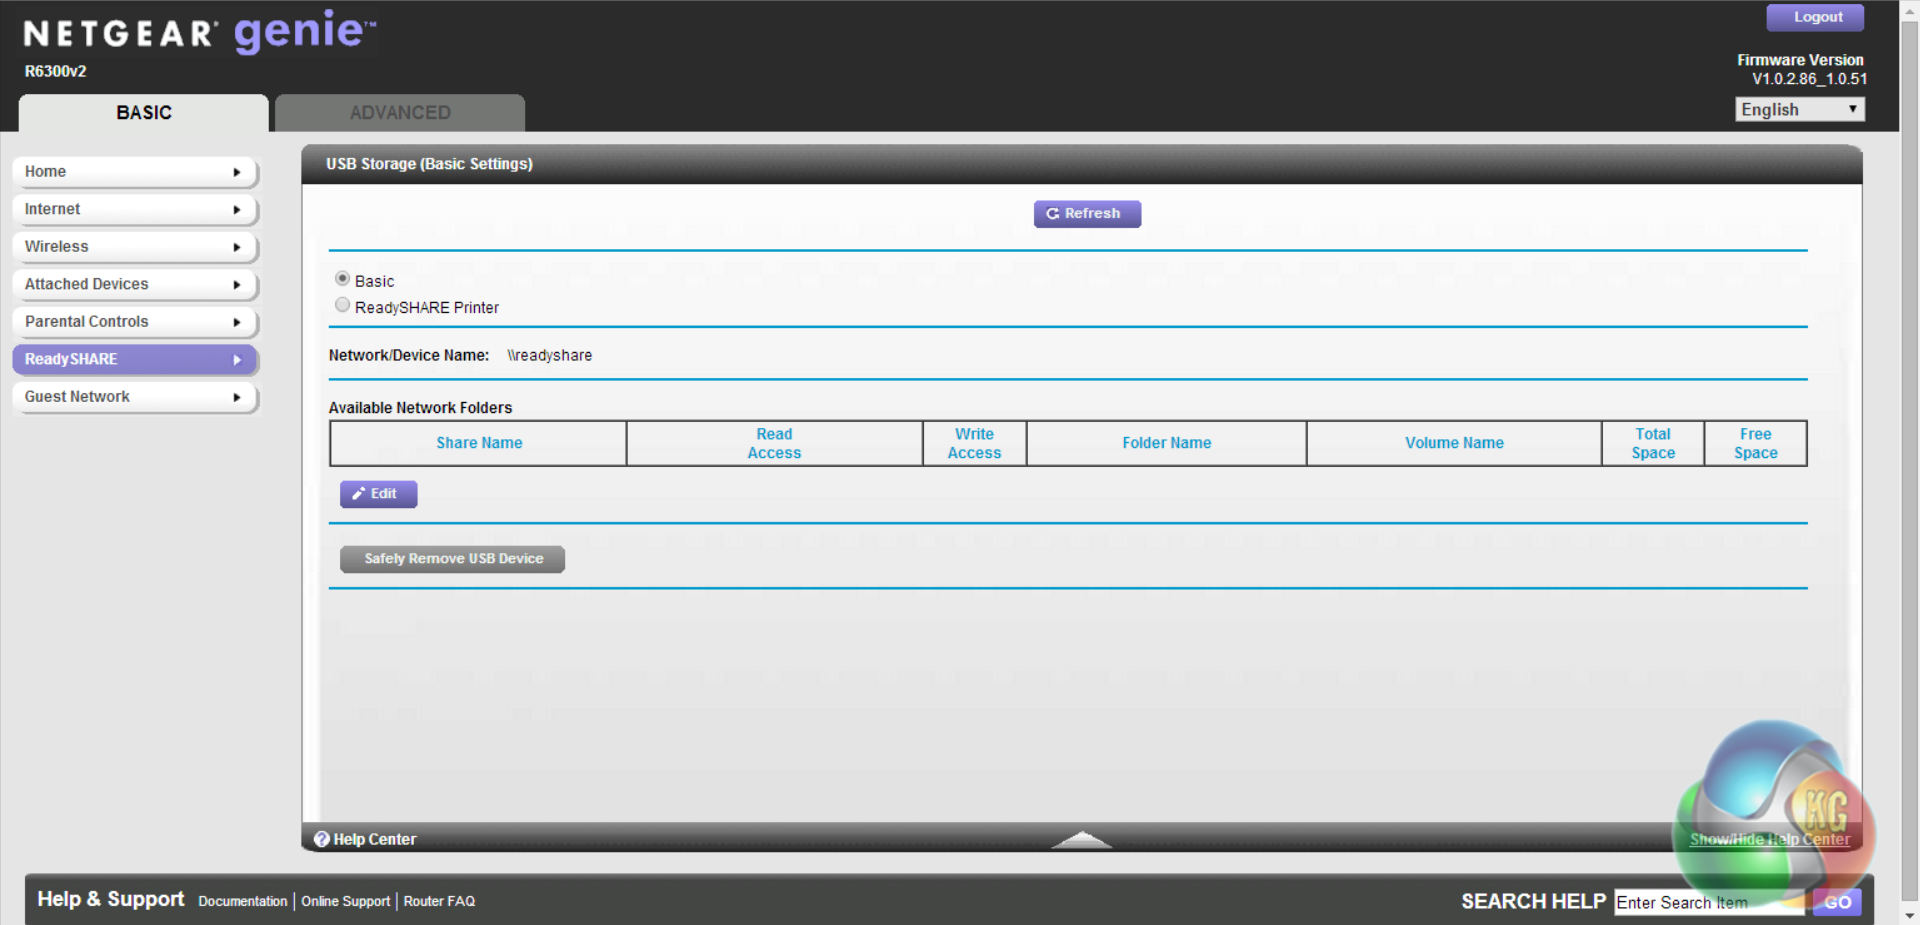
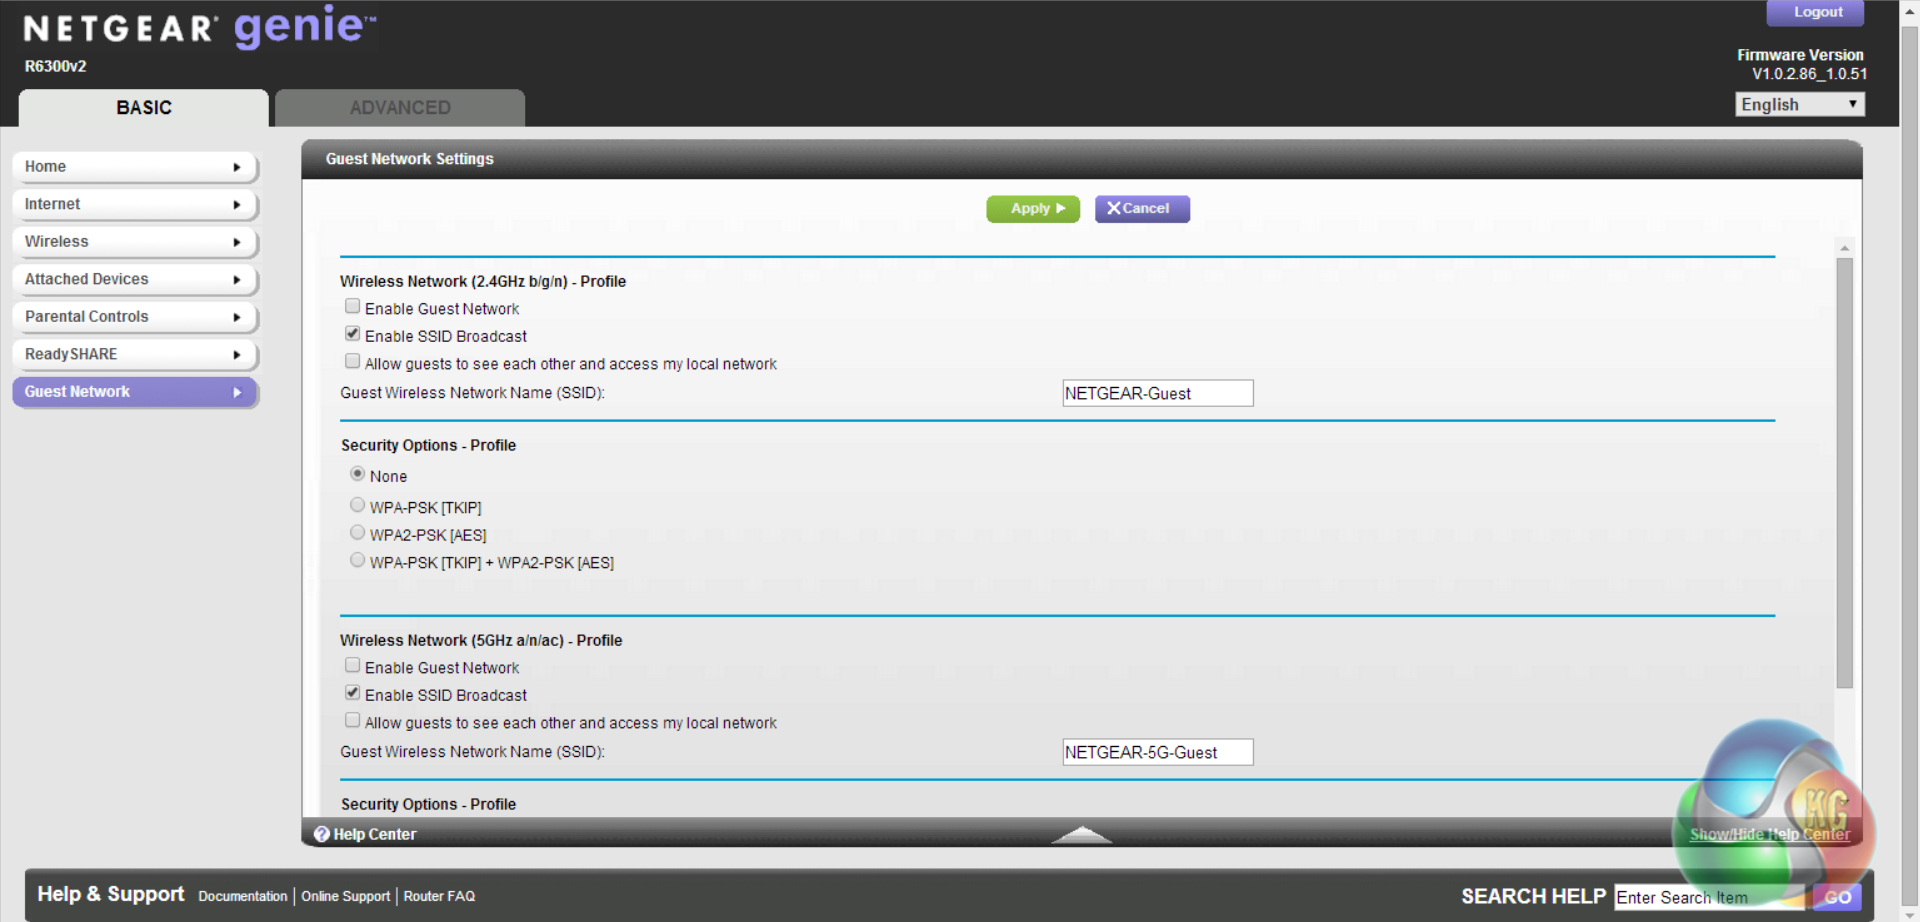
The next two tabs let us set up USB drive and printer sharing, as well as setting up a guest network.
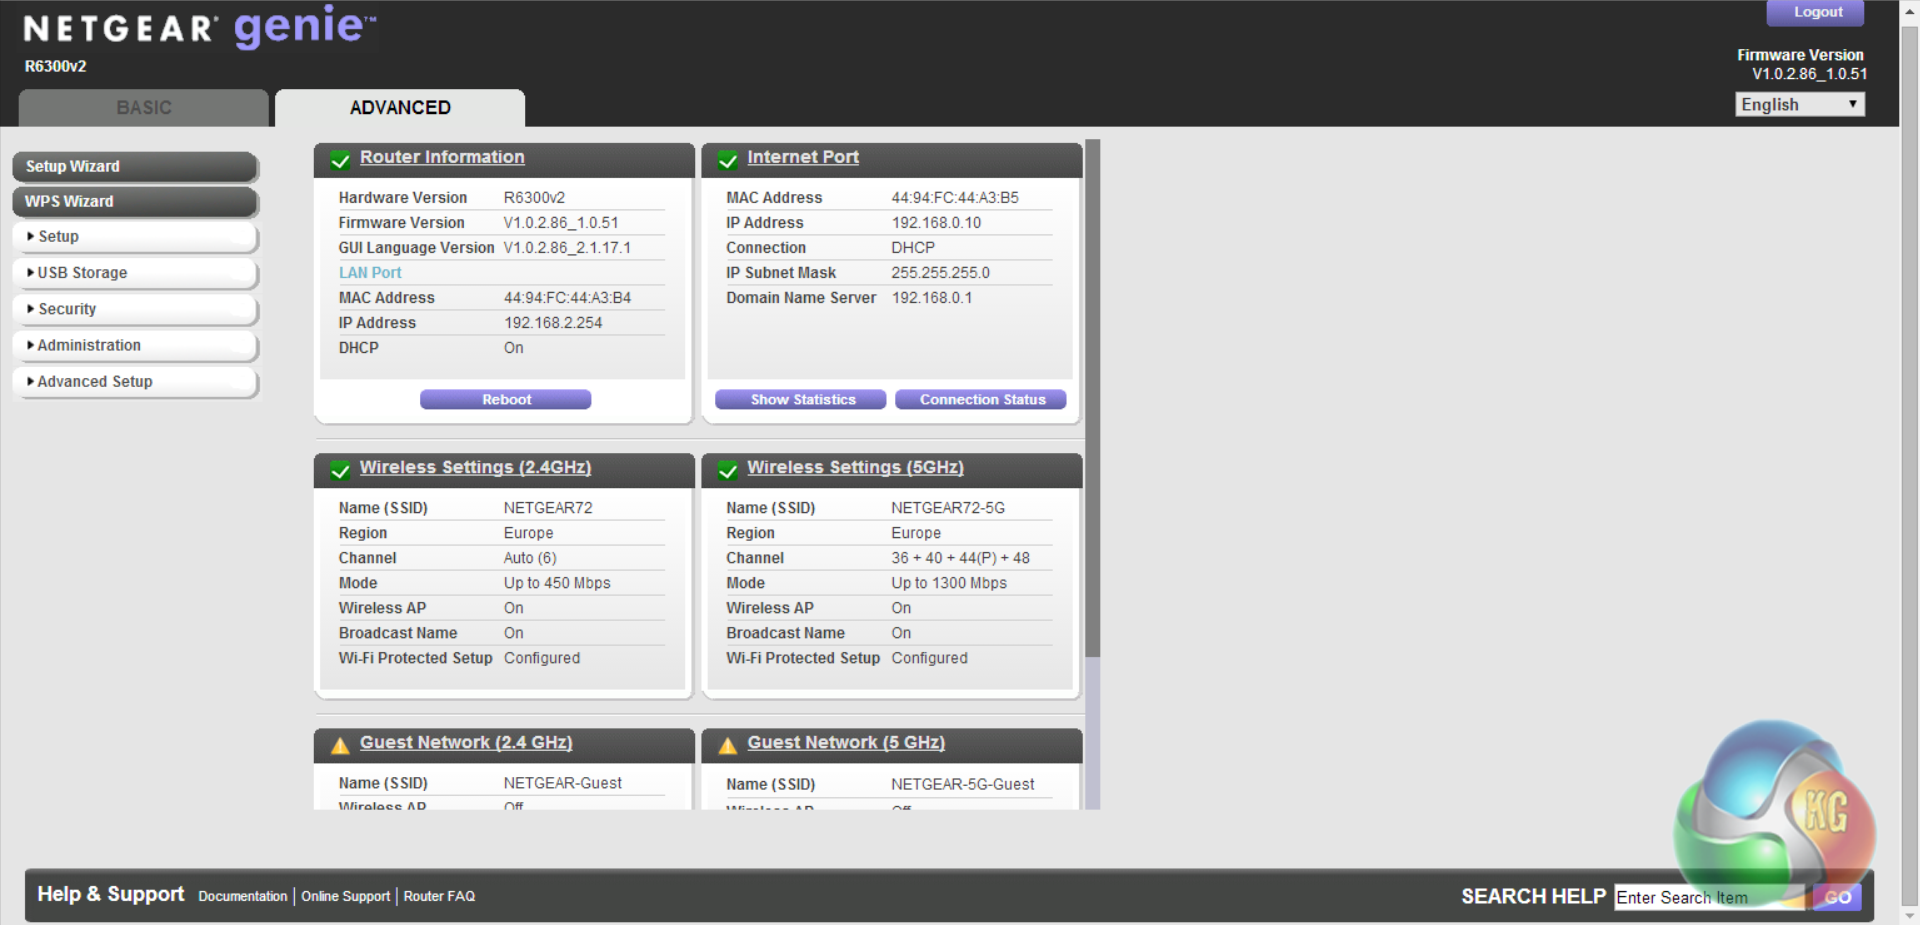
Clicking the advanced tab at the top of the page brings up a more detailed versions of the basic settings.
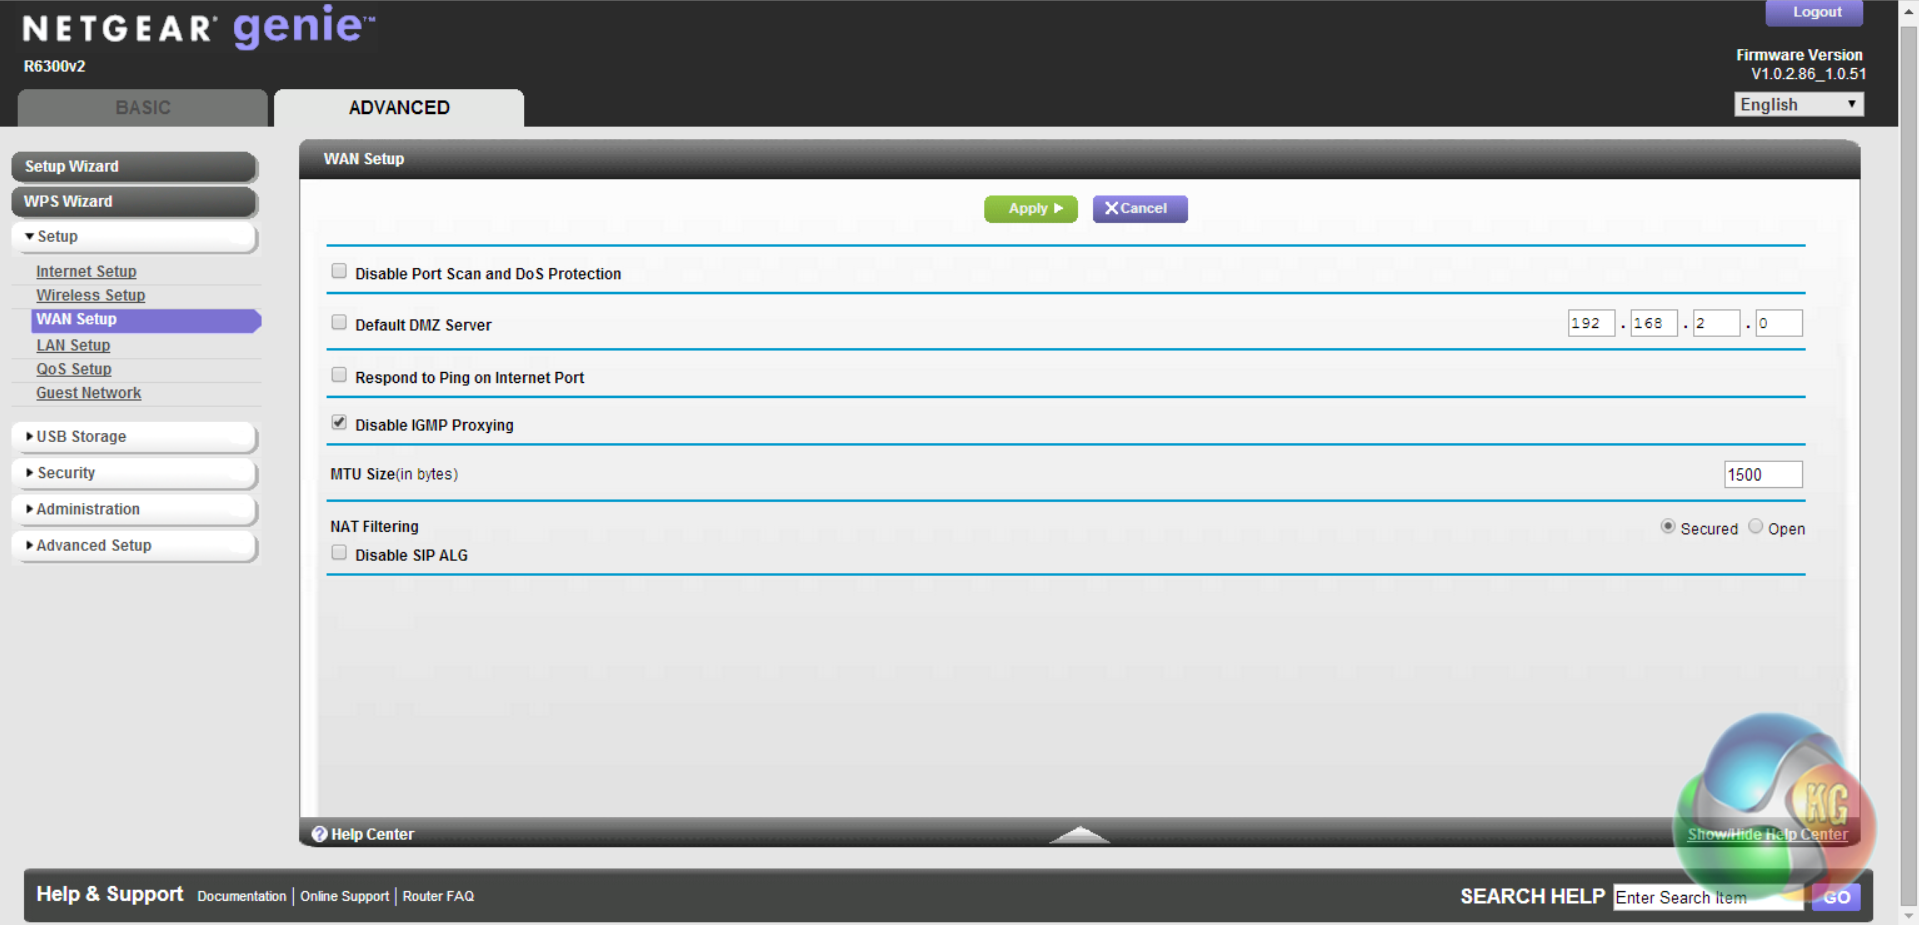
Many of the settings under ‘Internet' are the same as the basic settings, however there are a number of additional options including WAN and QoS settings.
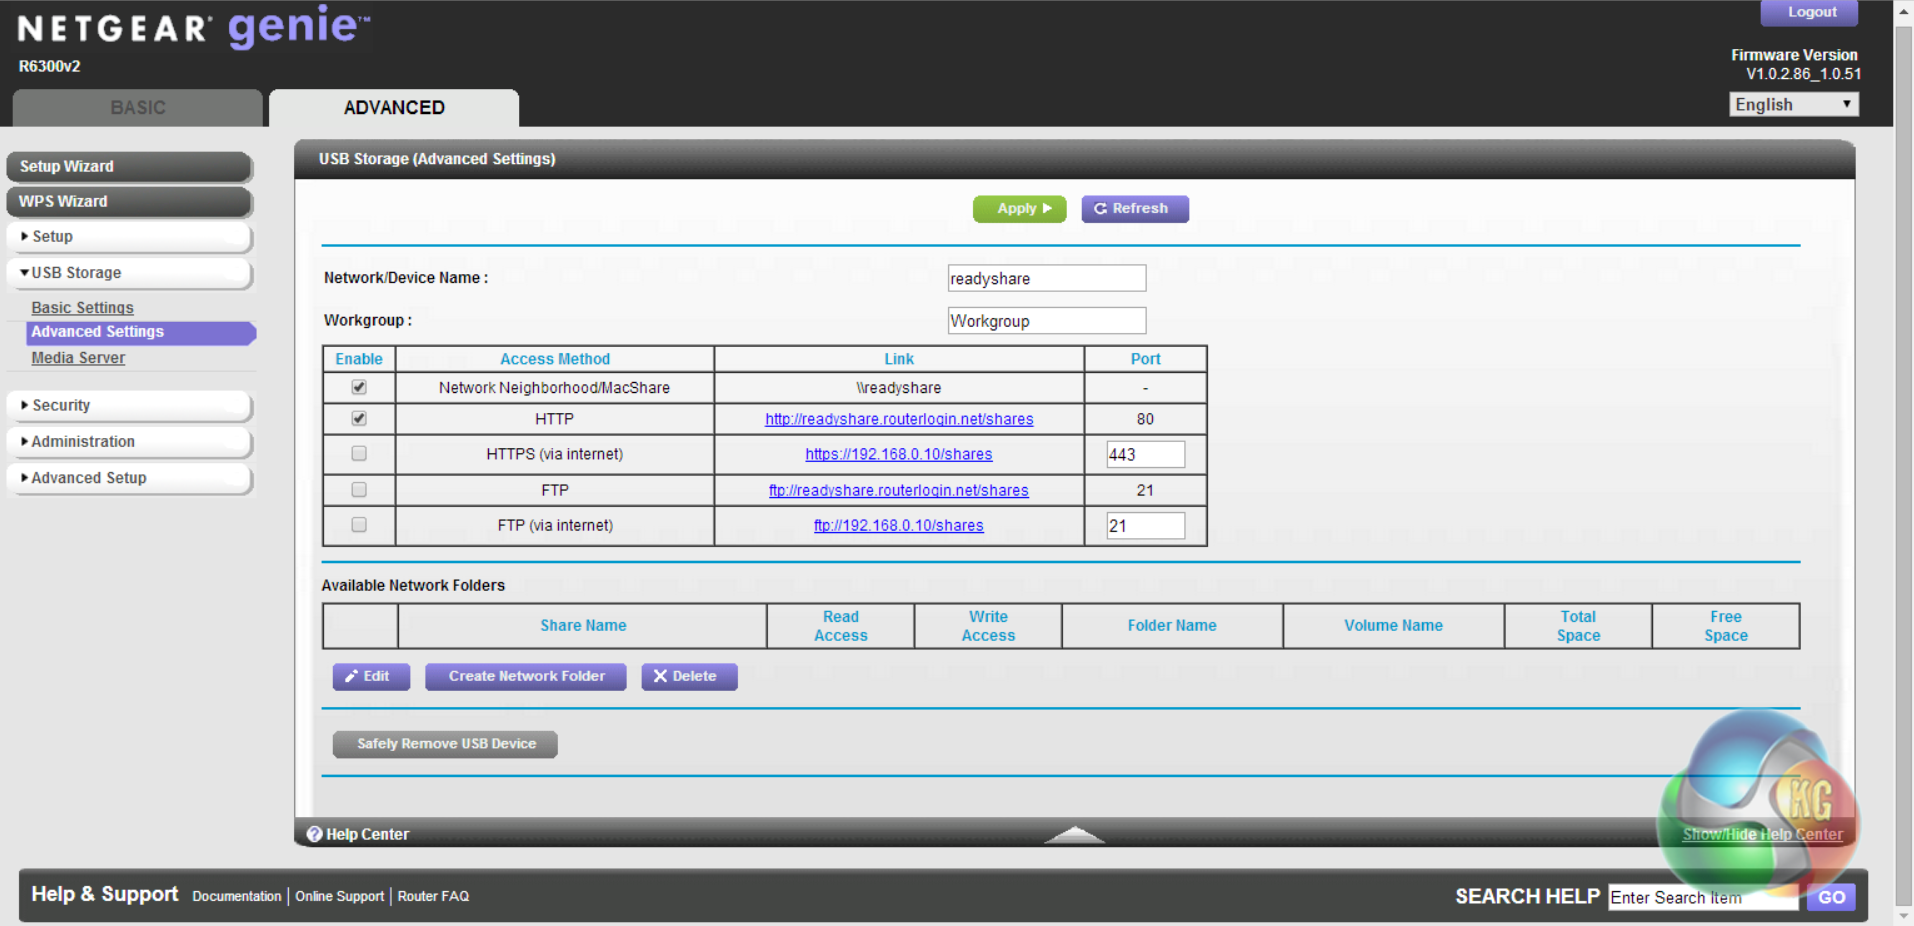
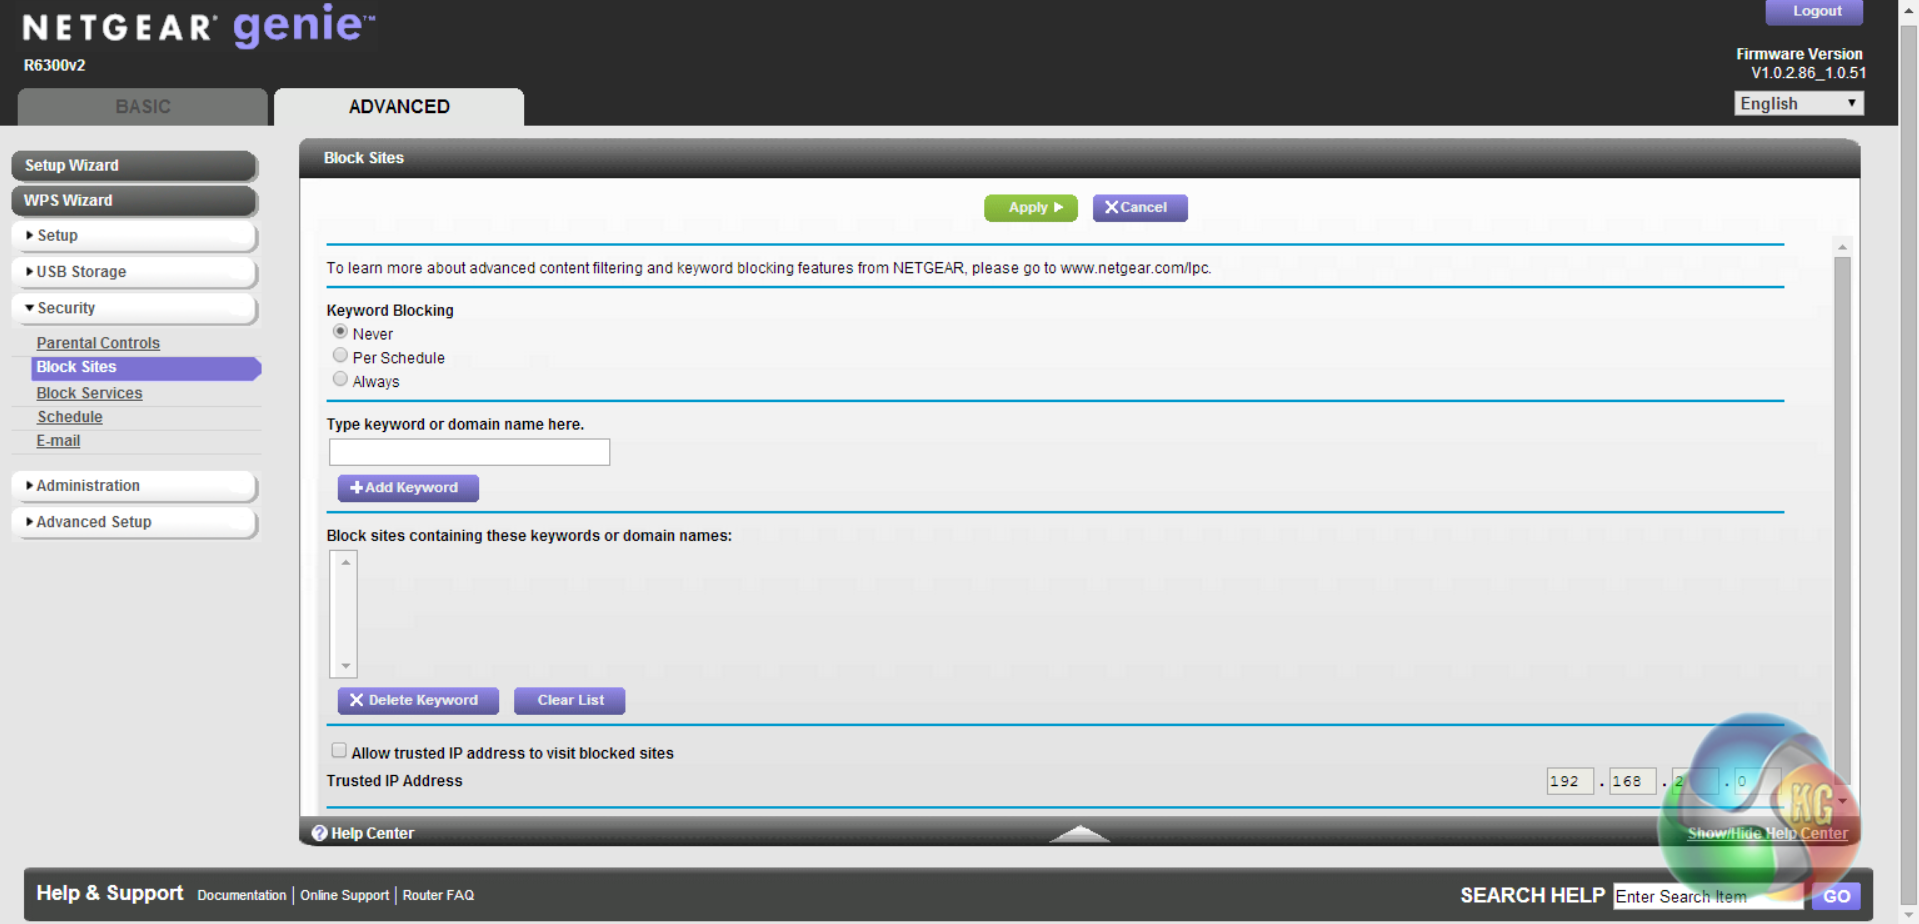
There are also more options under USB Storage and Security.
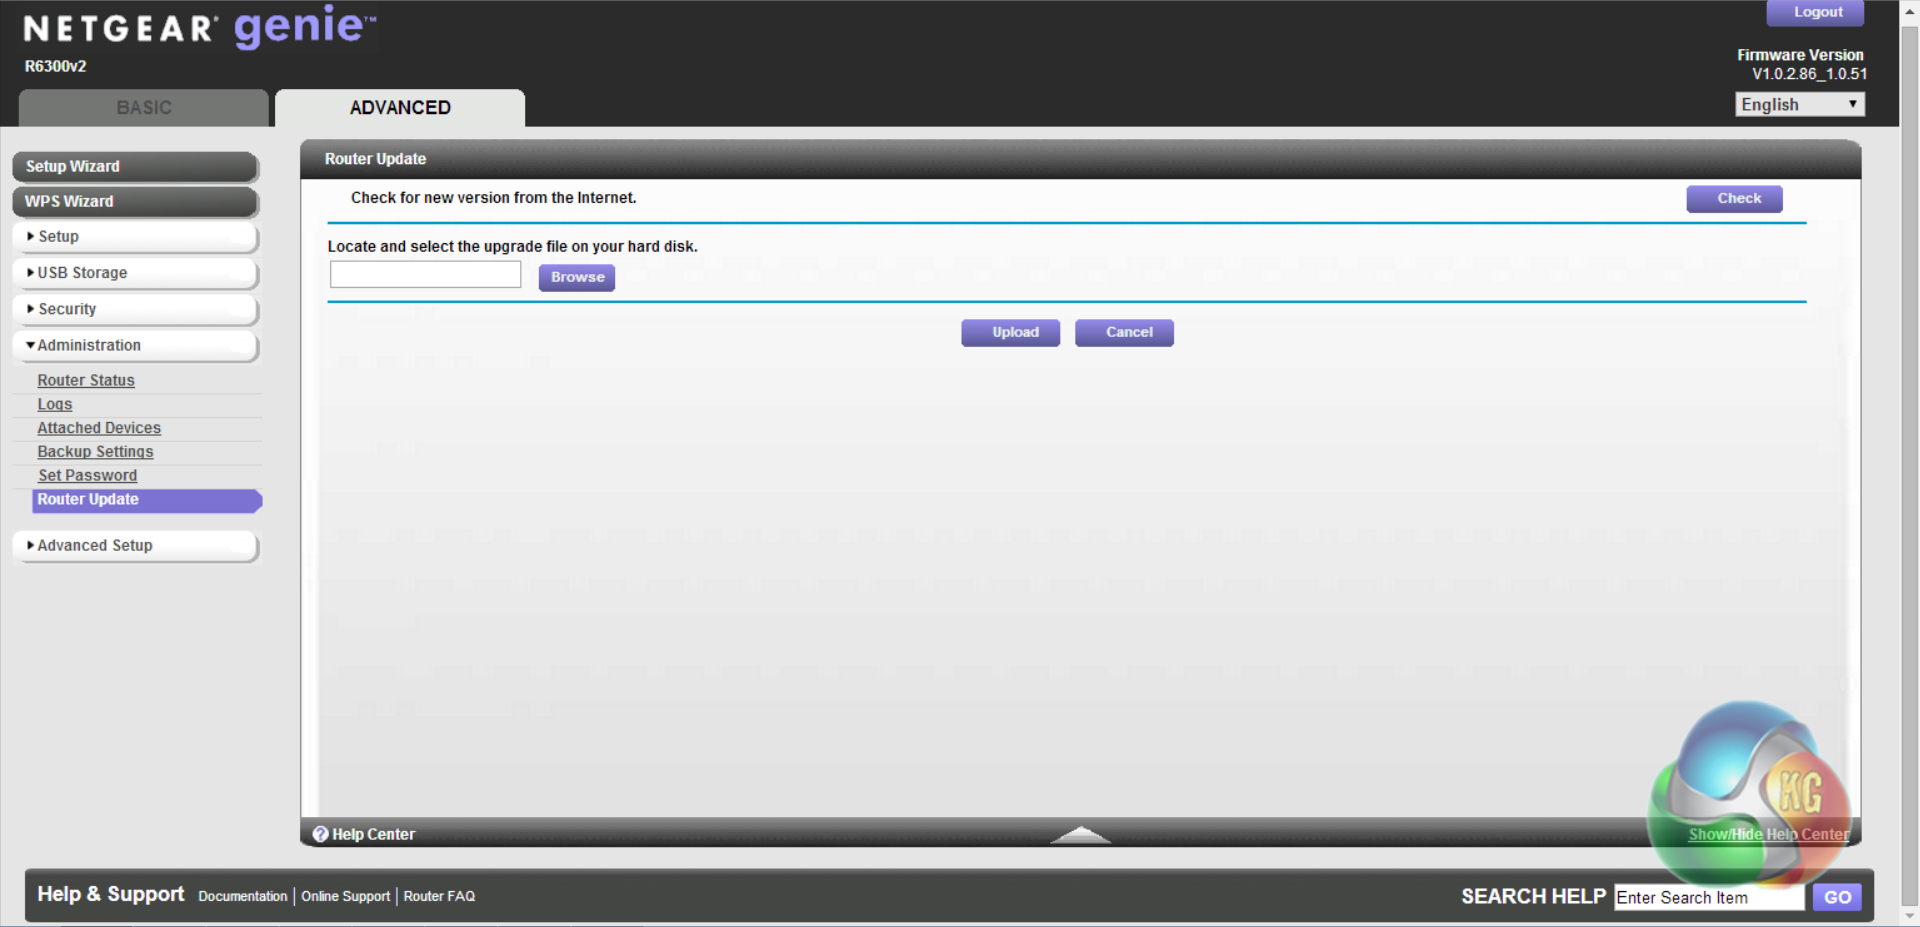
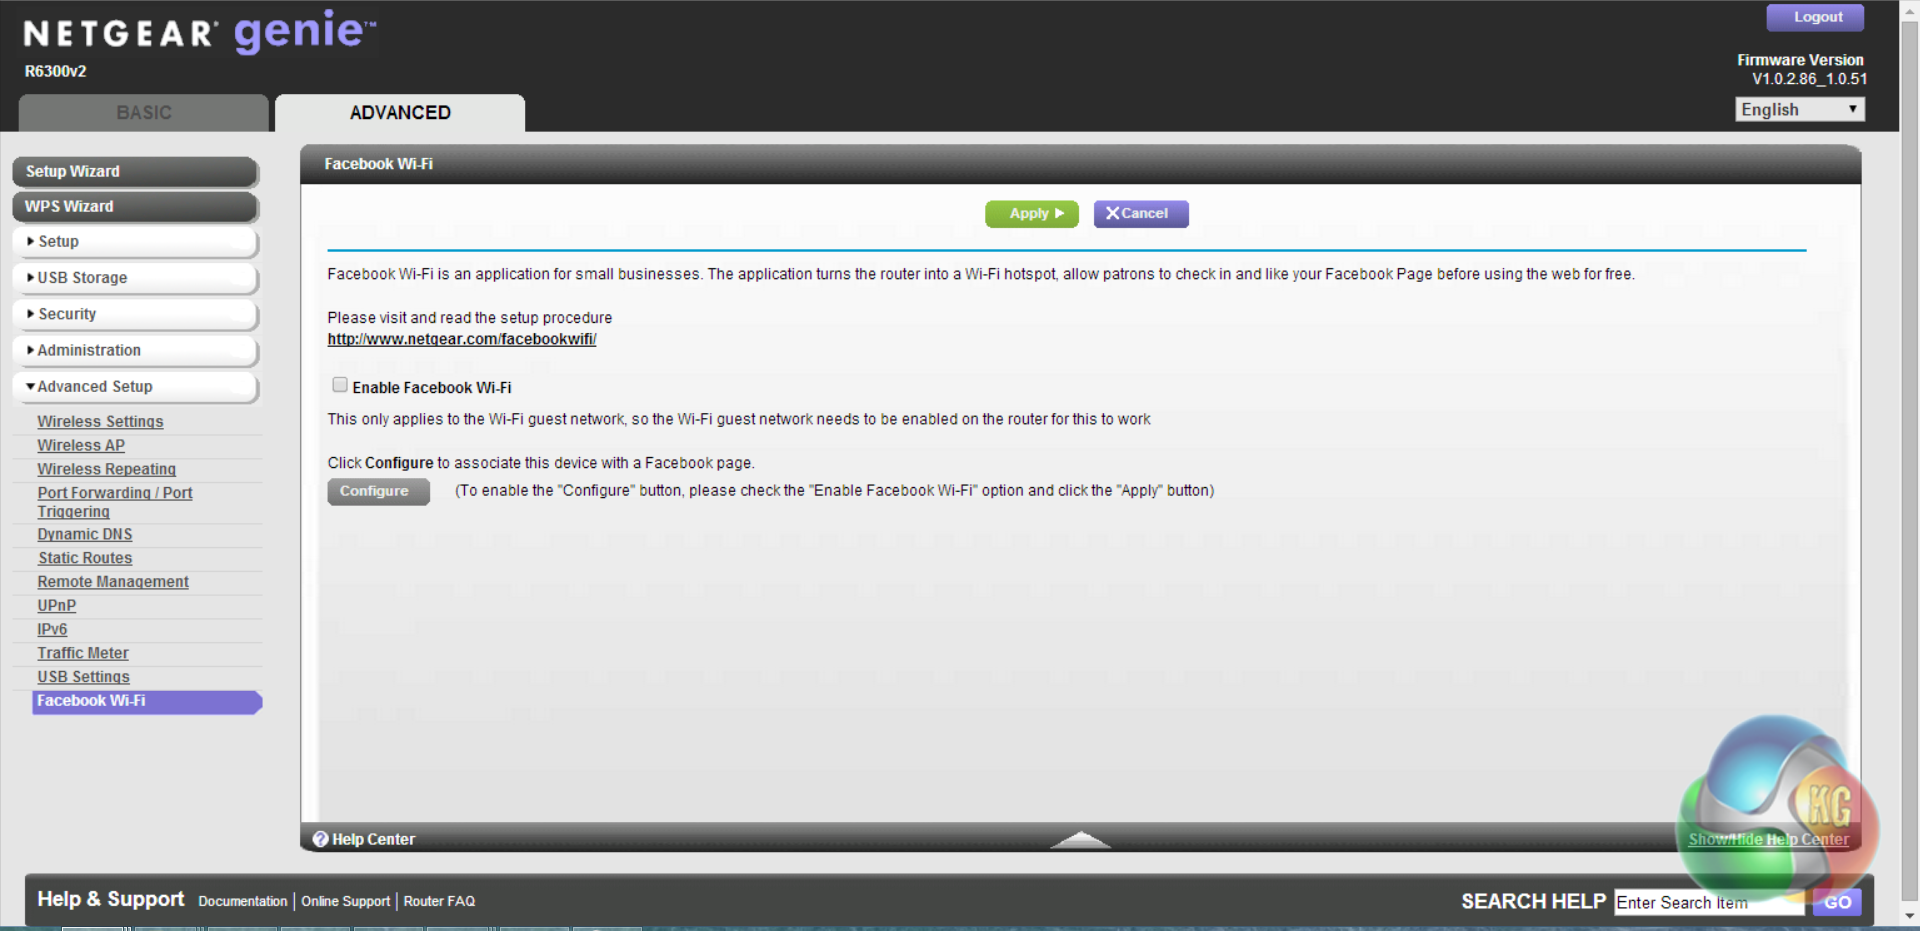
‘Administration' brings up the router's settings, and ‘Advanced' brings up various further settings. One particularly interesting feature is ‘Facebook Wi-Fi' which lets guests connect to the router and gives them internet access once they have liked your Facebook page.