

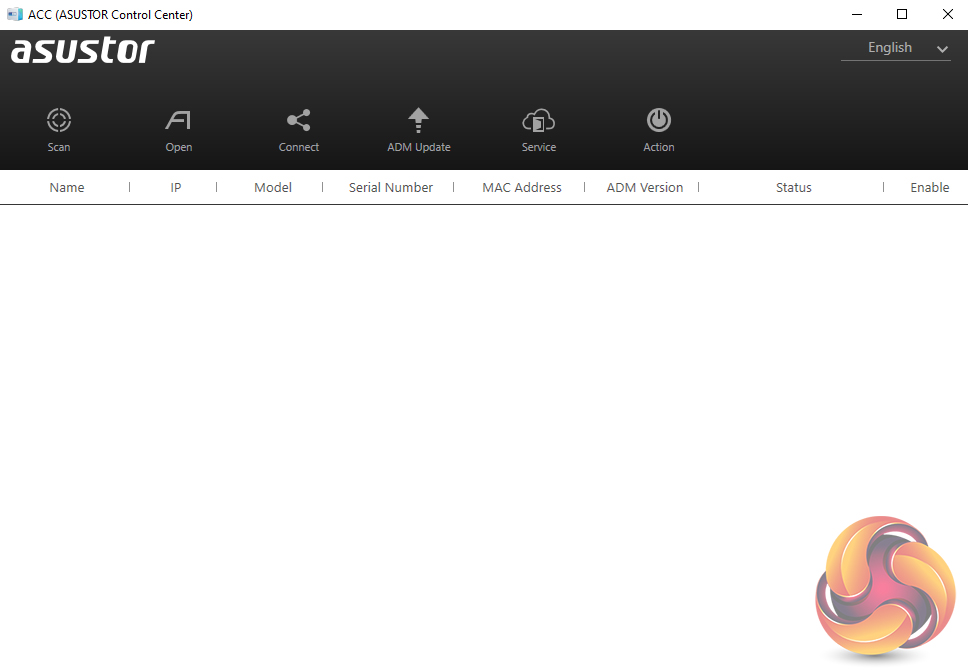
Setting up the Drivestor 4 is a straightforward and pretty painless task; it only takes around 10 minutes to load the OS and get the unit ready for use, although waiting for the disks to fully synchronise obviously takes a great deal longer, e.g. around 12 hours for a RAID 1 array. The first job is to download the Asustor Control Center from the Asustor website. This app will search your network to find any Asustor NAS units on the network.
Actually, the ACC can do a whole lot more than just finding a particular NAS on the network. There are six menu buttons on the top of the GUI; Scan, Open, Connect, ADM Update, Service, and Action. The first two are pretty self-explanatory, Scan for the NAS and Open which opens a web browser and connects to ADM. Clicking on the connect button gives you three options to connect to the data on the NAS; map a shared folder, create a remote file folder (via WebDAV or FTP) or connect via FTP.
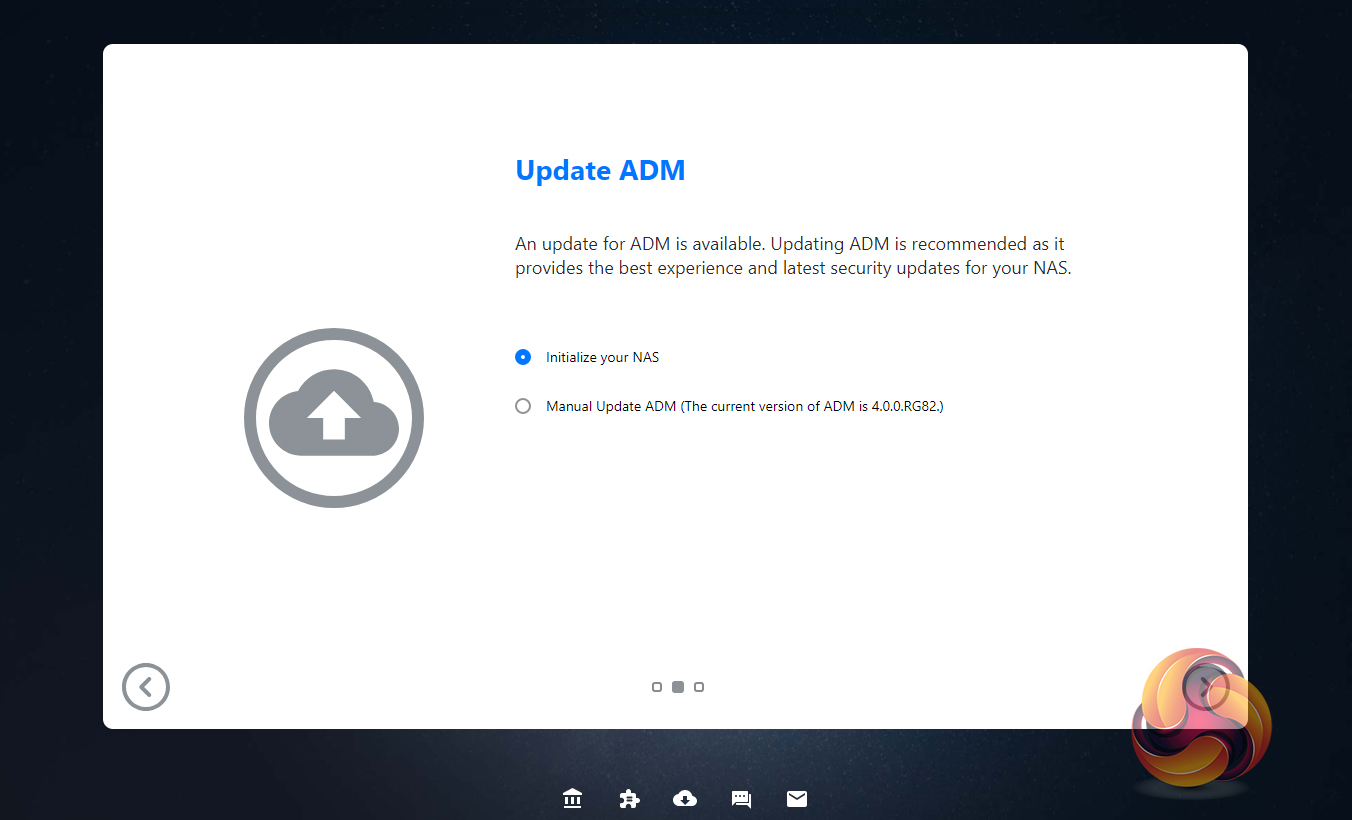
The ADM Update button checks for ADM updates and if there are any starts the upgrading as soon as you’ve logged into the NAS. The Service button provides a shortcut to Photo Gallery and/or Surveillance Center if you have either of them installed. The final Action button provides access to power controls; Wake-on-LAN, Find Me, Night Mode, Sleep Mode, Restart, and Shut Down but only after logging in administrator details.
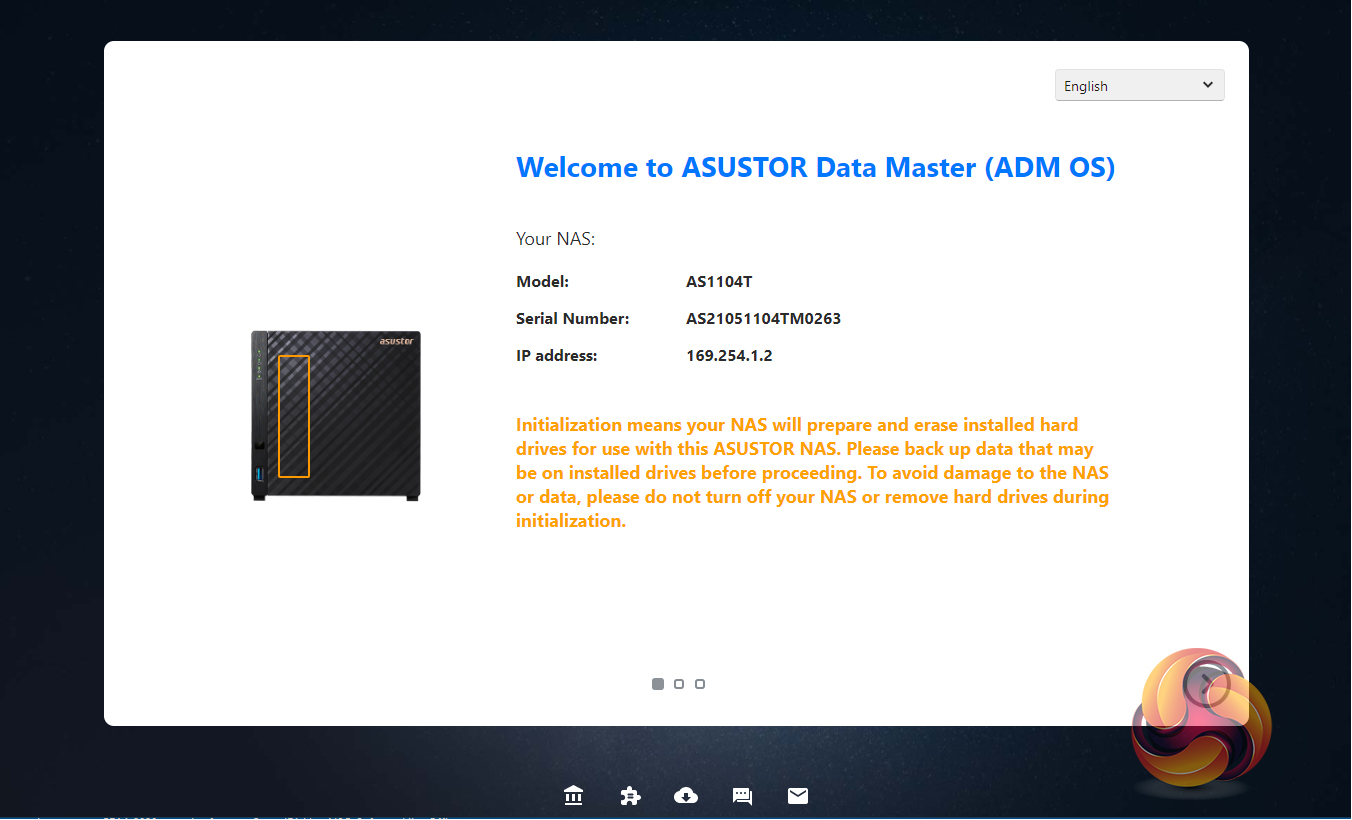
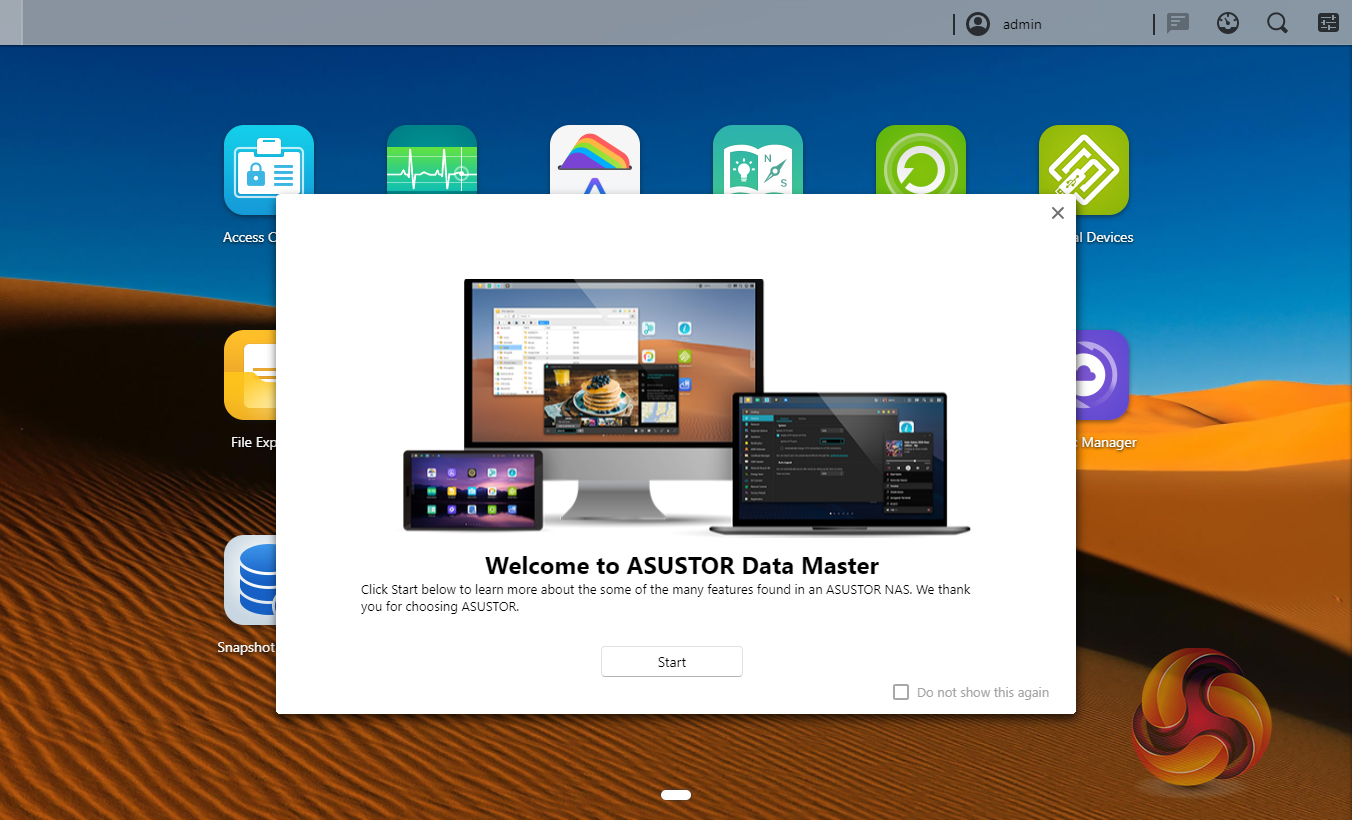
Once the ACC has located the NAS and you select it, the welcome screen appears. There are two ways to set up the device; 1-Click Setup and Custom. With the 1-Click method, you simply enter a name for your NAS, choose a password and then select how you want the storage to be set up and that’s about it. The Custom method gives you more detailed choices as can be seen from the screens below.
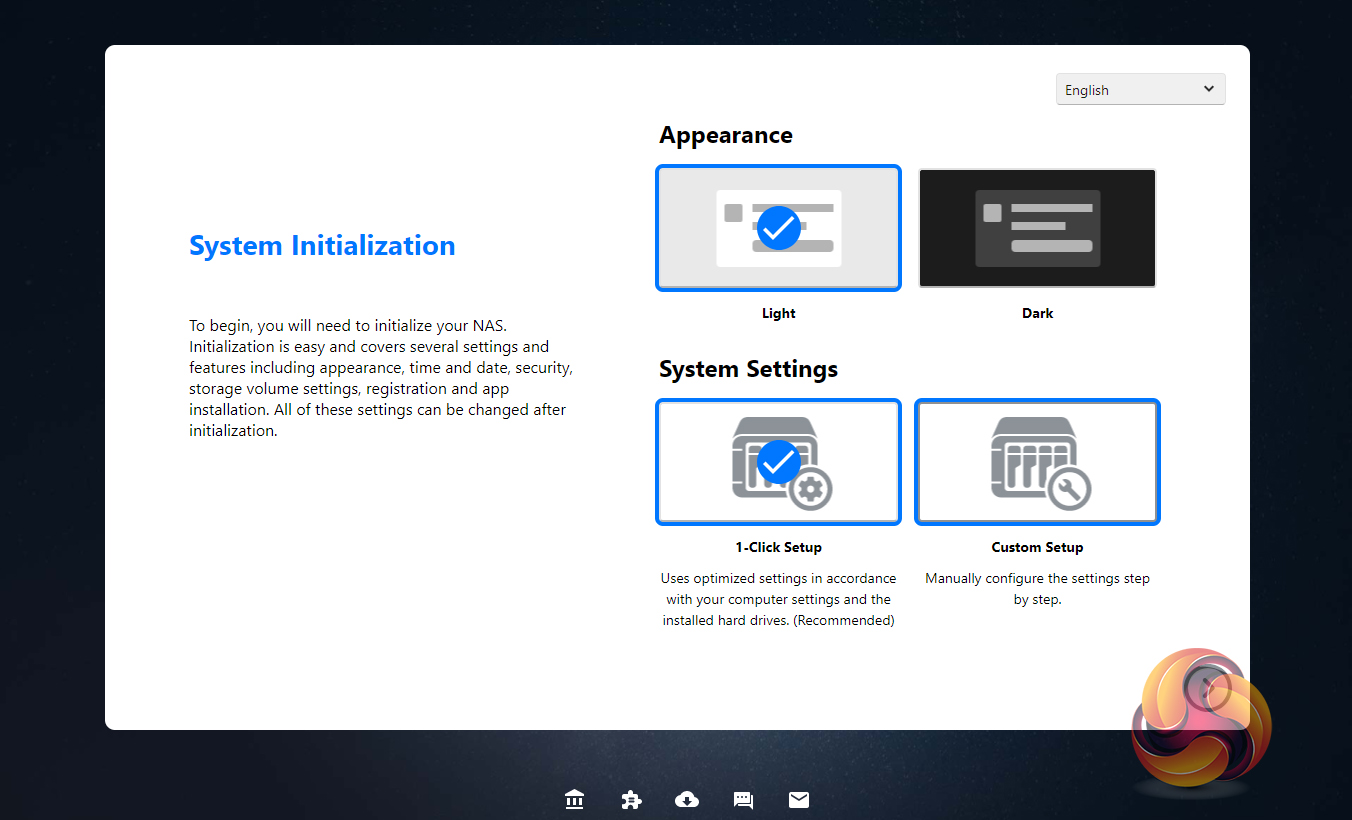
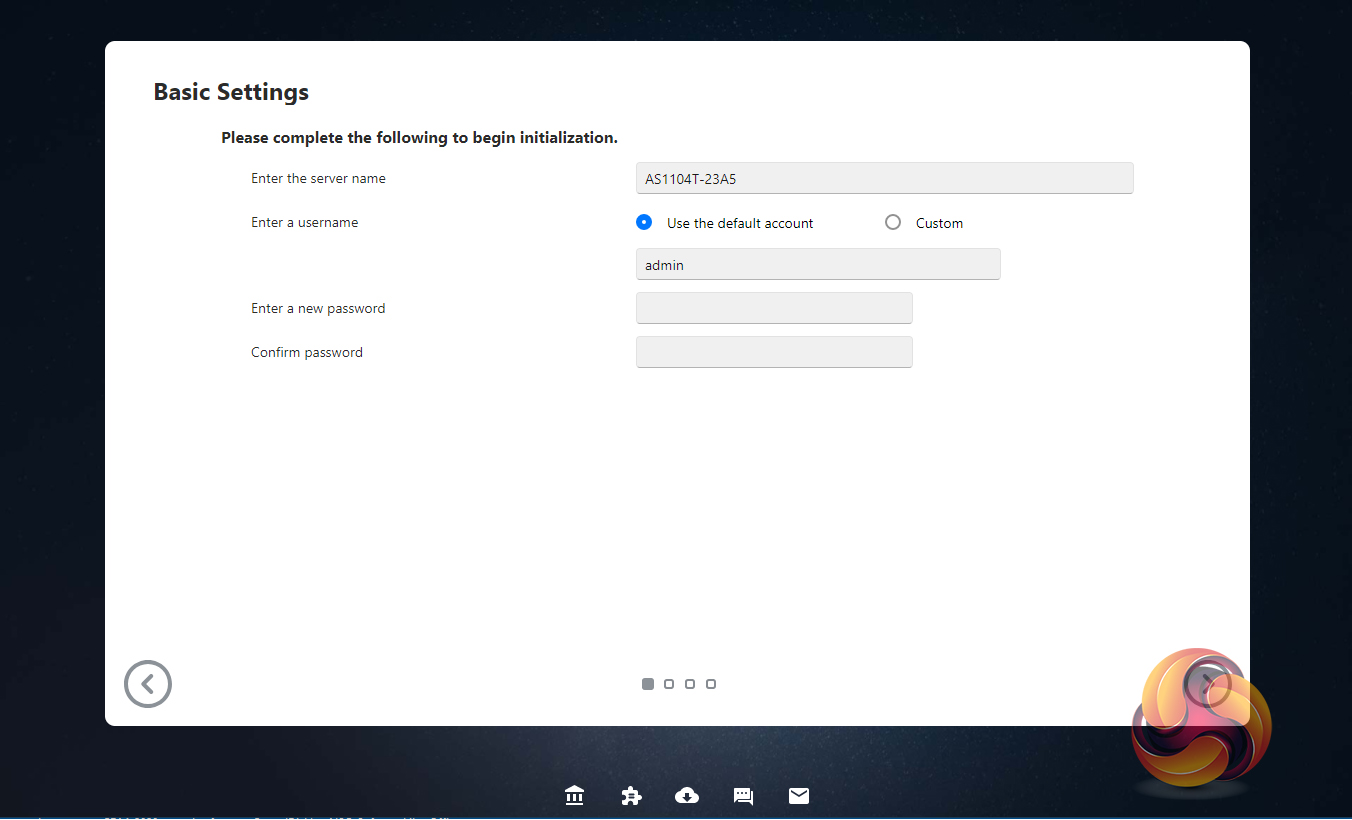
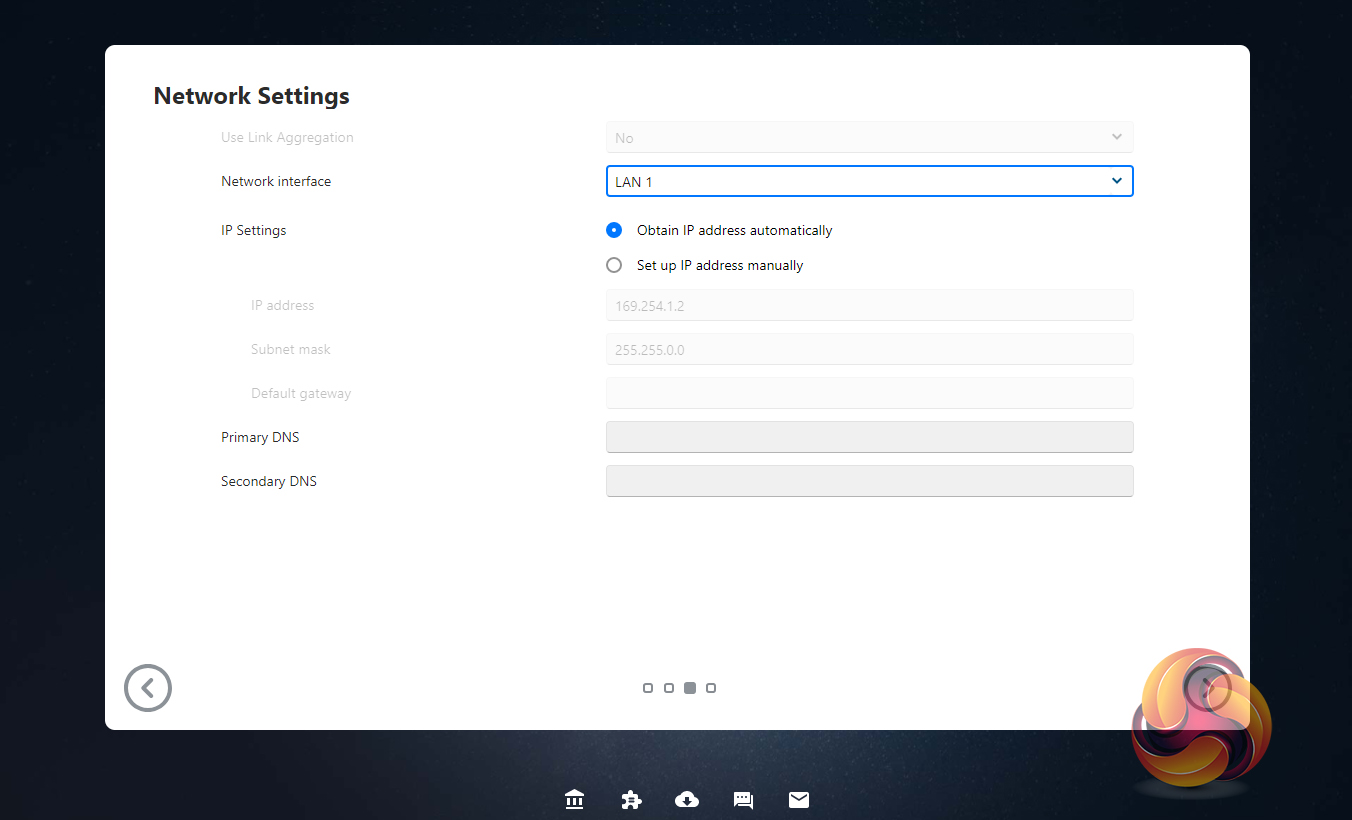
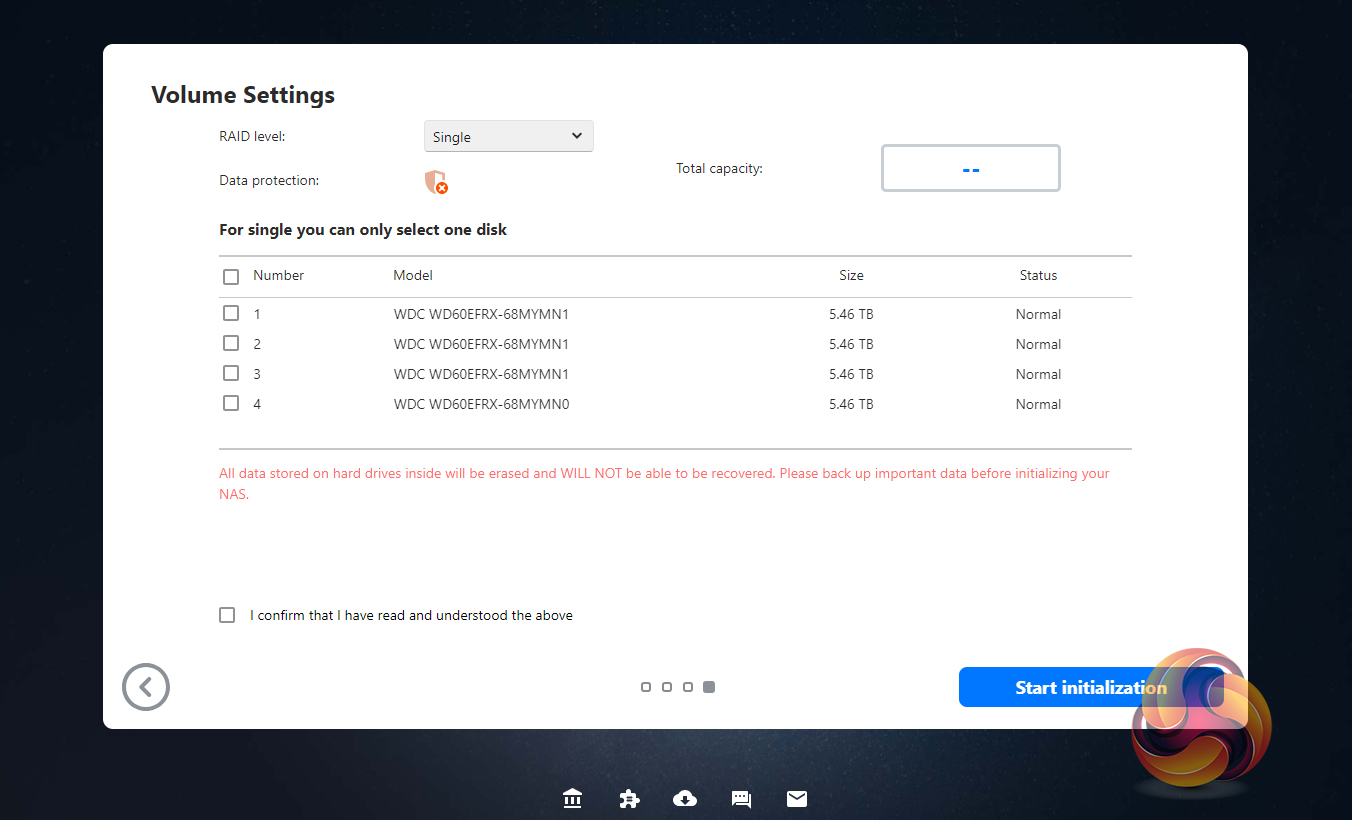

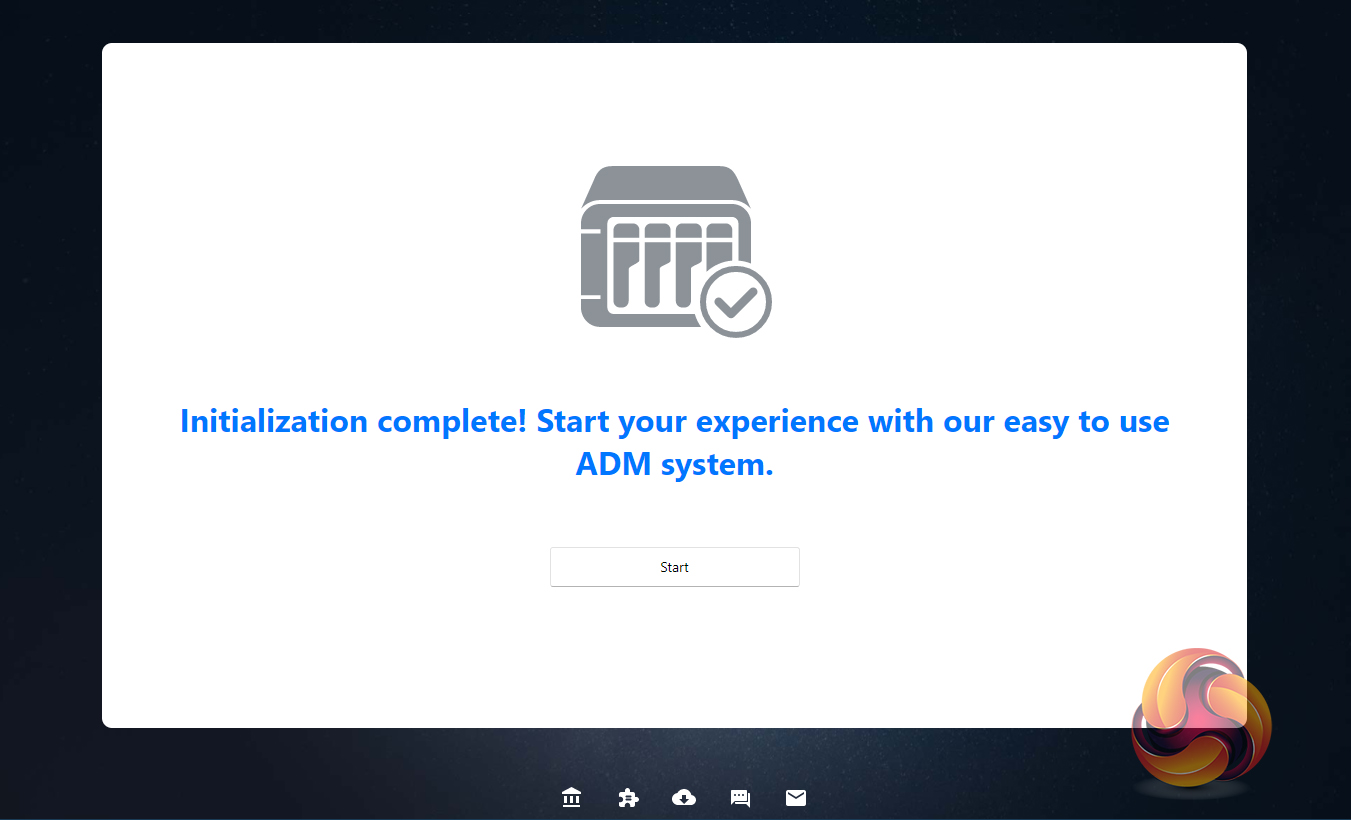
Whichever method you choose to set the NAS up, each stage along the install process is checked off on the initialisation page so you always know what’s happening during the install procedure.
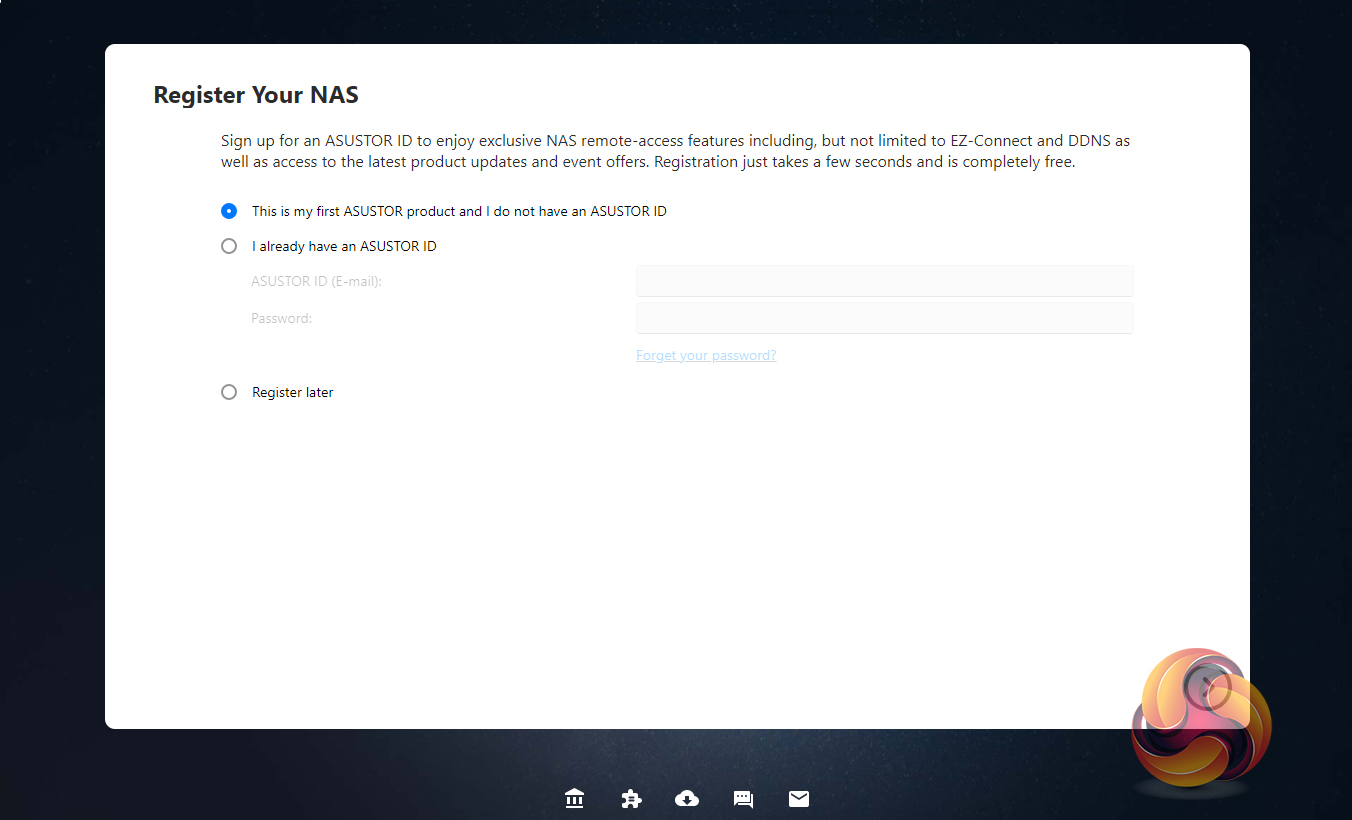
The last job is the register the NAS. Registering it provides an Asustor ID which you will need to download apps from App Central. It will also be needed if you should require the technical support centre.
You can also set up the NAS without using a PC. With Asustor’s AiMaster app on your smartphone or tablet (Android and iOS), you can find the NAS on a network, configure it and initialise it.
With AiMaster you can remotely control most aspects of your NAS usage; managing any installed apps, backup operations etc. These operations can be carried out securely as Asustor mobile apps support HTTPS encrypted connections.
