

You get a number of clues about the Aerocool Dead Silence DS200 just from reading the name. This is a mid-tower ATX case that promises your new gaming PC build will be very quiet. I know the name says ‘Dead Silent' but the marketing material actually refers to Super Silent. Yes those are capital letters and yes that is a bold claim that we will examine during this review.
The Aerocool brand name makes it a safe bet they haven't forgotten about cooling and to that end the DS200 comes with a 140mm fan at the front and 120mm fan at the rear.
We were initially told that the price of the Aerocool Dead Silence DS200 would be £80+, putting it up directly against the likes of the excellent Phanteks Enthoo Pro. Just before going to press today however, Aerocool us that the price will be set at £74.99 in the United Kingdom – which on paper makes it appear very competitive indeed.
Aerocool Dead Silence DS200 Specifications:
- Motherboard support: ATX, Micro-ATX, Mini-ITX.
- Expansion slots: 7.
- Included fans: 1x 140mm front intake, 1x 120mm rear exhaust.
- Fan mounts: 2x 140mm/120mm front, 2x 140/120mm or 1x 200mm roof, 1x 120mm rear.
- 5.25″ drive bays: 2.
- Internal drive bays: 5x 3.5/2.5″, 2x 2.5″.
- Dimensions: 527mm high x 485mm deep x 210mm wide.
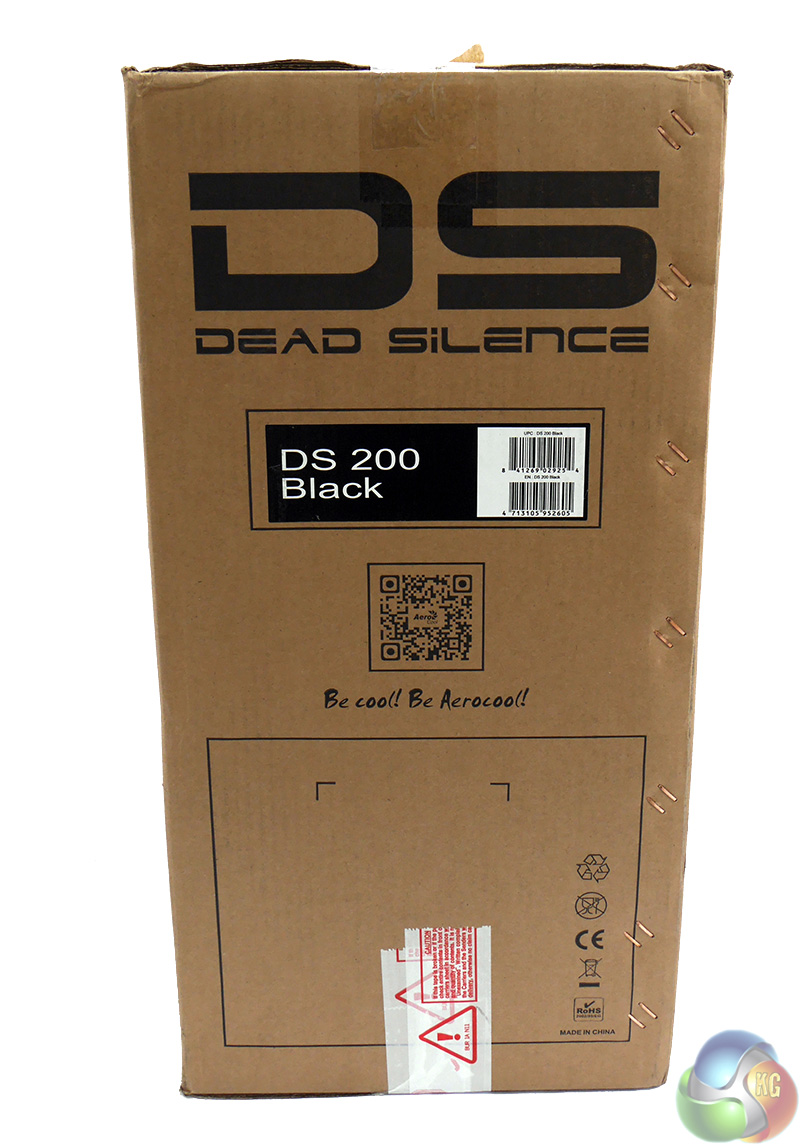
The package for the Aerocool Dead Silence DS200 isn't especially inspiring. These days I expect to see an exploded diagram that details the features of the case inside, however the DS200 box has a line drawing and a list of words.
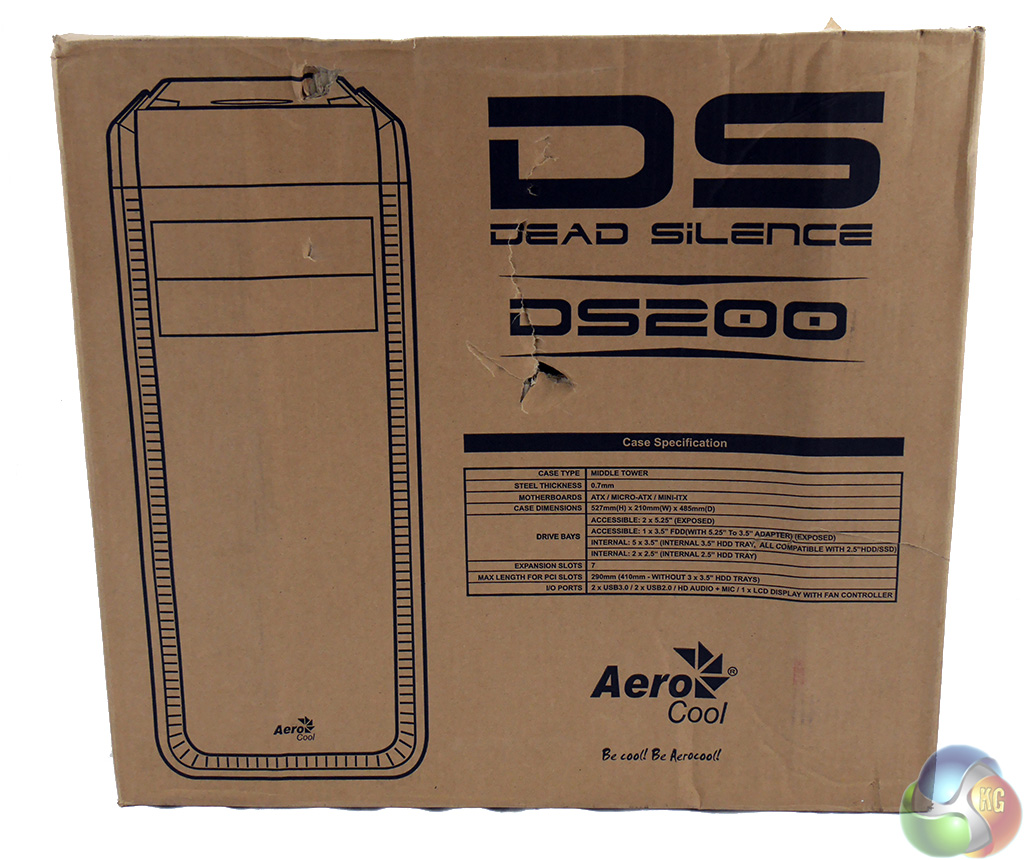
On the plus side, the box took a kicking while it was in transit but the case arrived in perfect condition.
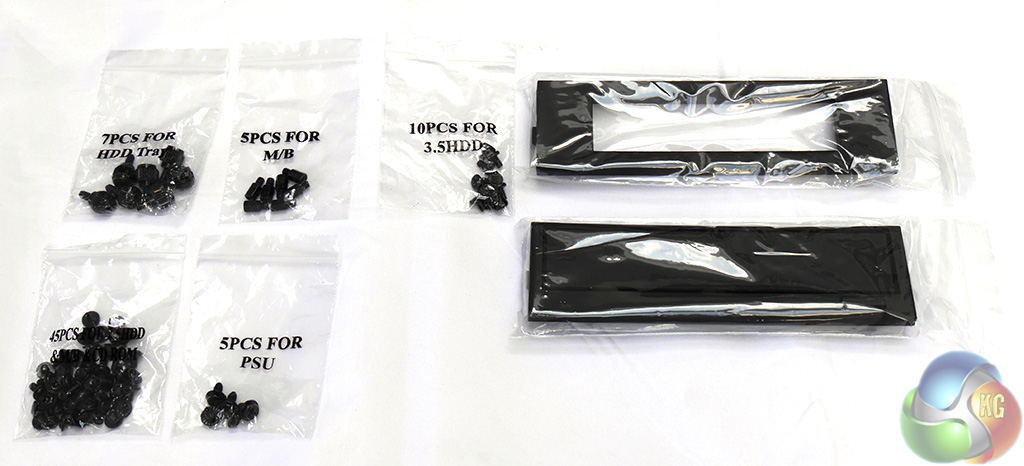
The box of accessories is stowed in one of the drive bays and includes two drive bezels (one stealth optical door and one for an external drive) and bags that hold a number of motherboard standoffs and fasteners. The bags are labelled for motherboard, power supply, hard drive and optical drive which is exactly how things should be. I have no idea why some manufacturers make life difficult by mixing up the fasteners in one assorted bag.
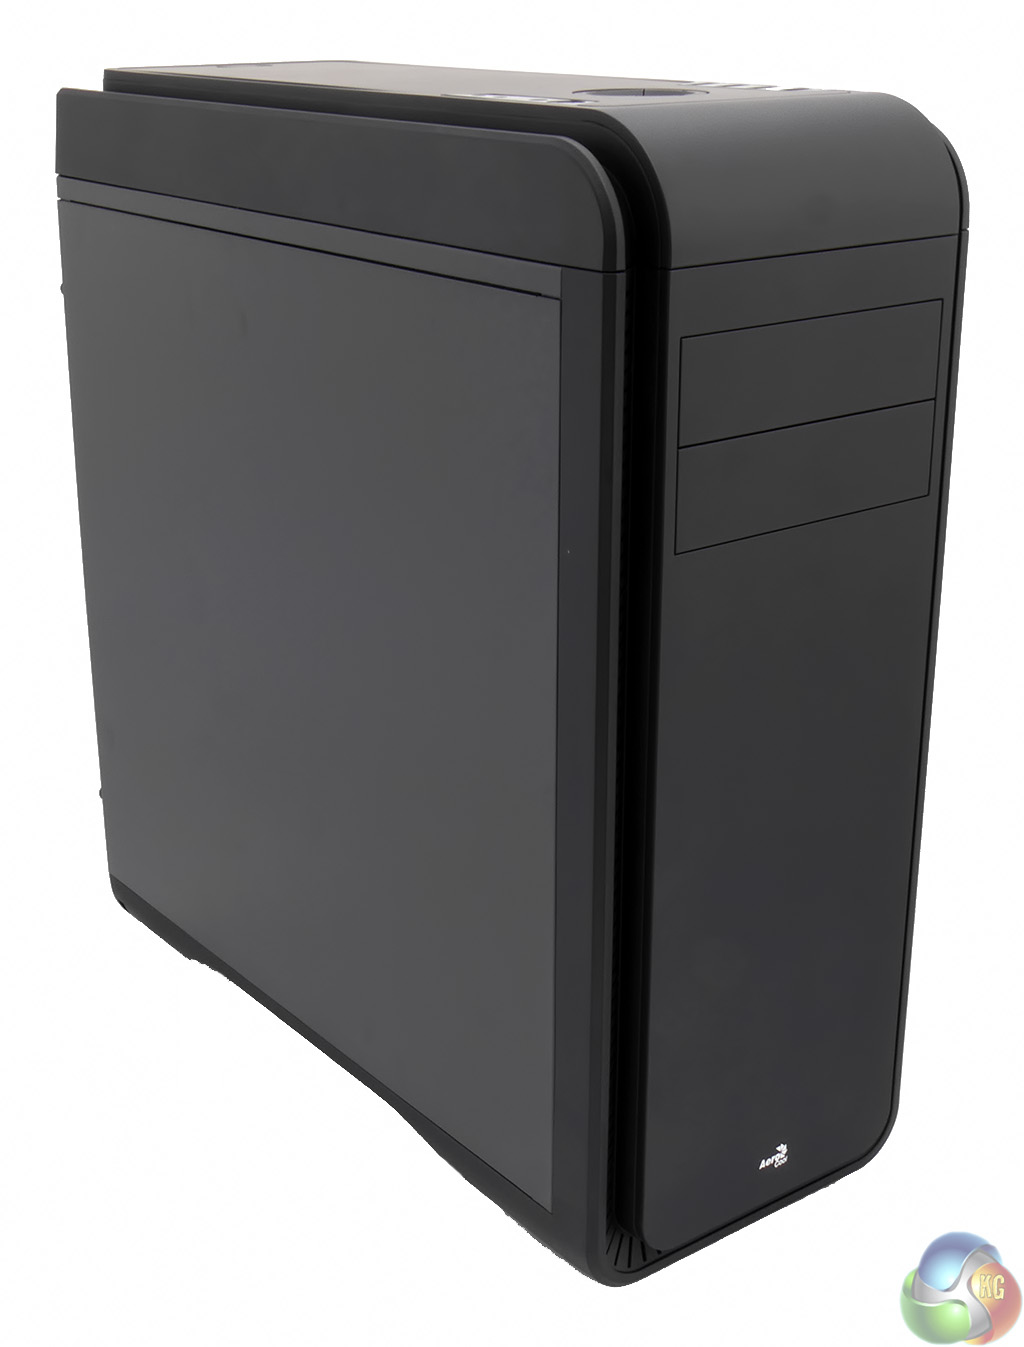
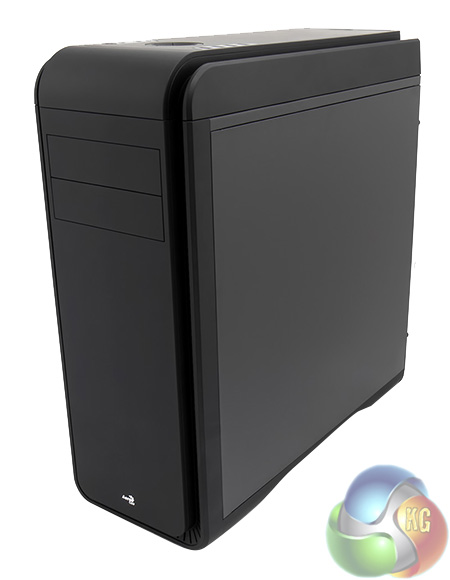
You can see the Aerocool Dead Silence DS200 isn't especially bulky as it has two optical drive bays, rather than three, and around the back there are seven expansion slots when many cases have eight or nine.

While you can install an ATX motherboard in this case you will find it is a bit of a squeeze and there is no chance of going large with an E-ATX board.
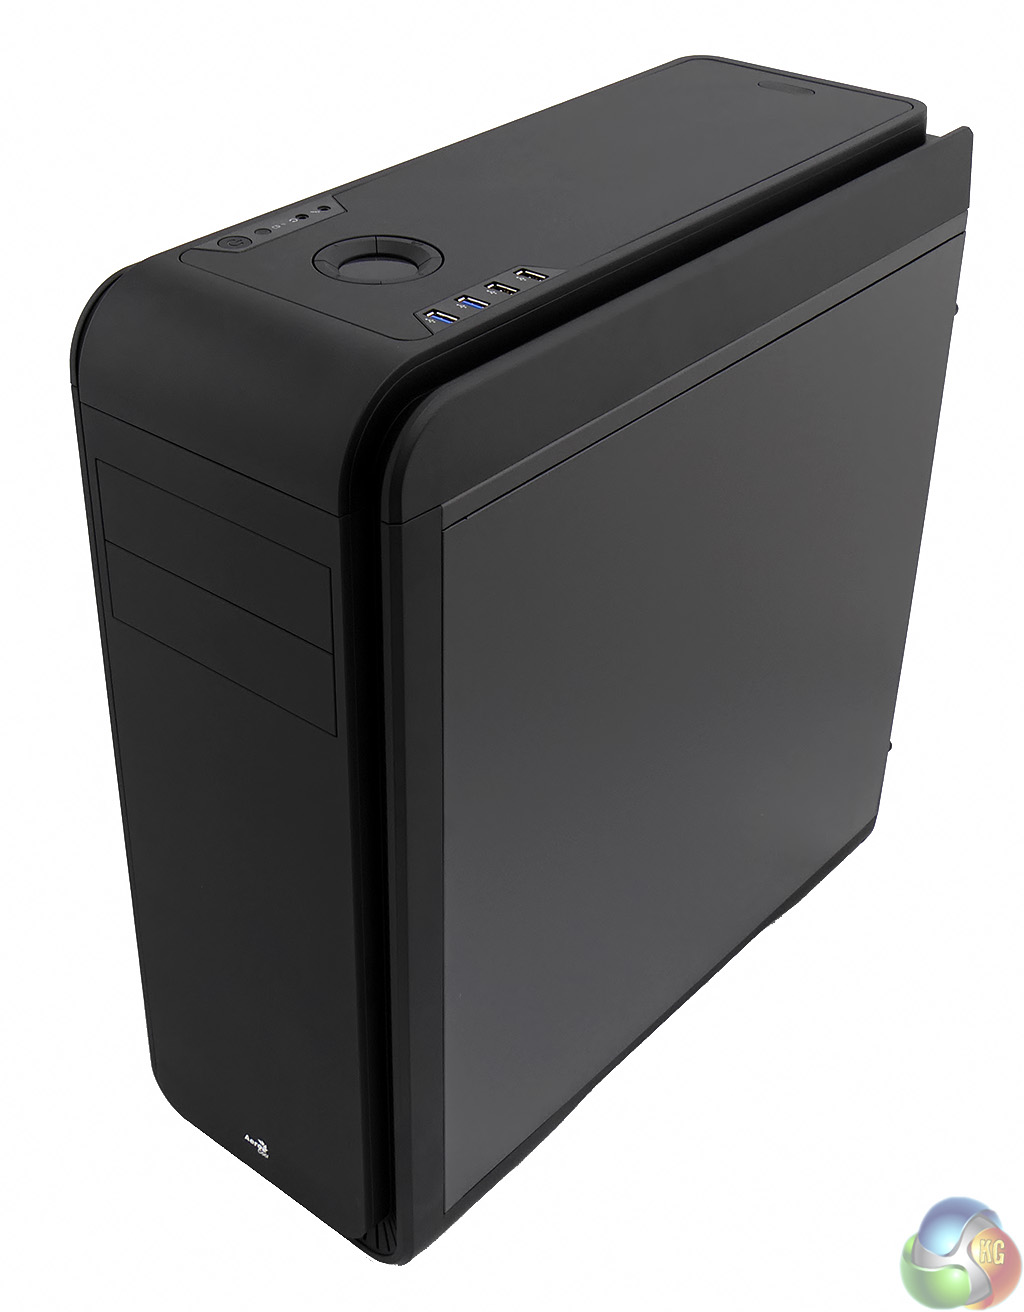
From a cosmetic point of view the DS200 looks rather smart. There is a large radius on the corner with the USB 3.0 and 2.0 ports and control buttons arranged on the top where they are easy to reach. It isn't immediately apparent what the circular gizmo in the top panel does. The small LCD in the centre displays the temperature reported by a sensor that you stick in your preferred location inside the case.
You use the four buttons to switch between degrees C and F, to change the colour of the display and to control the speed of the fans inside the case. You”ll see more of that feature when we get inside the case.
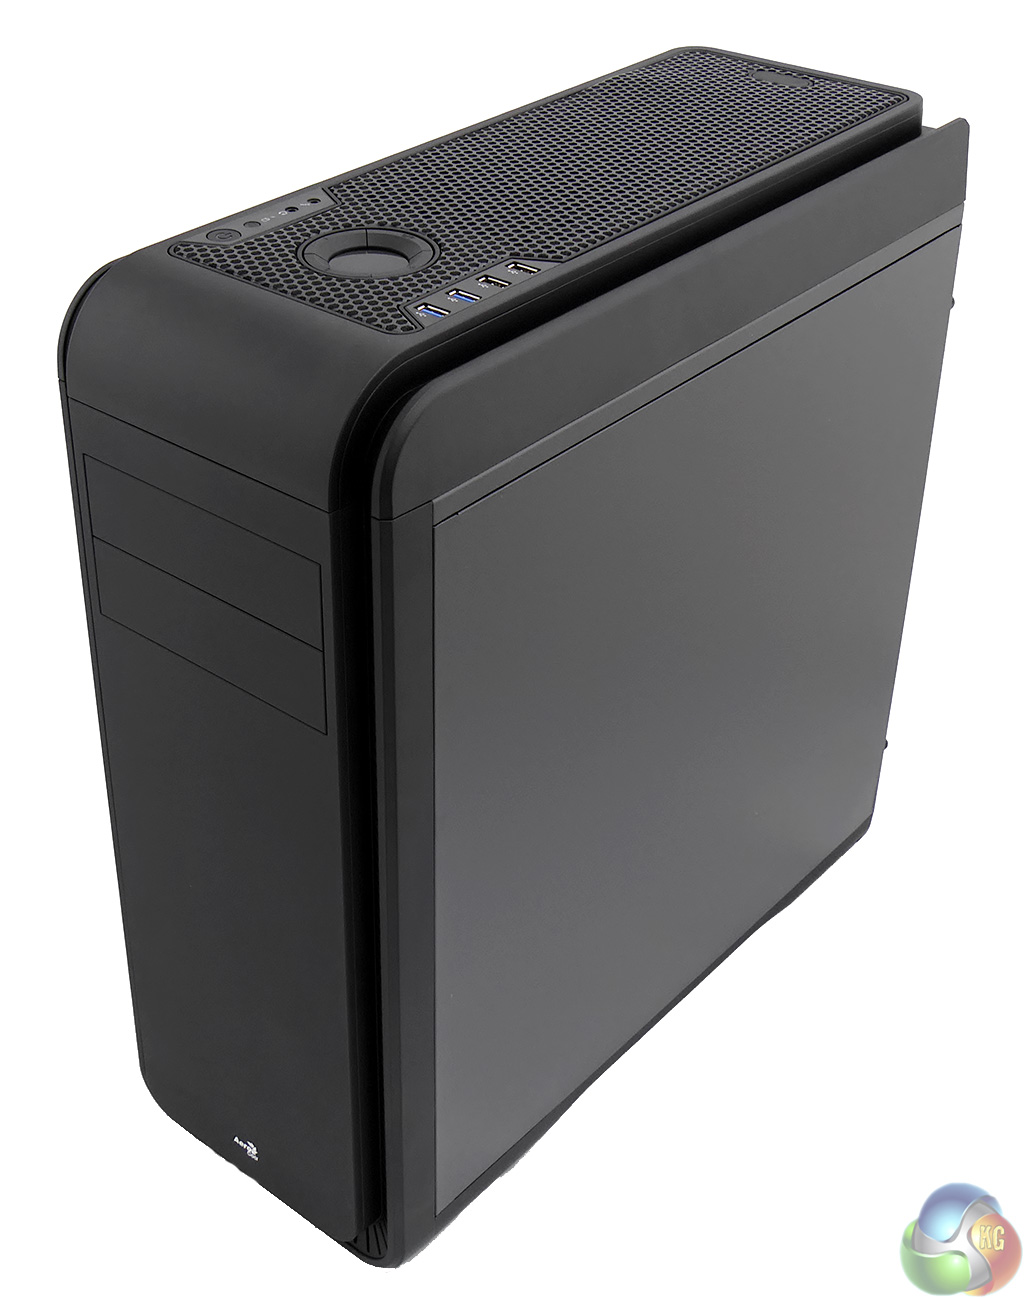
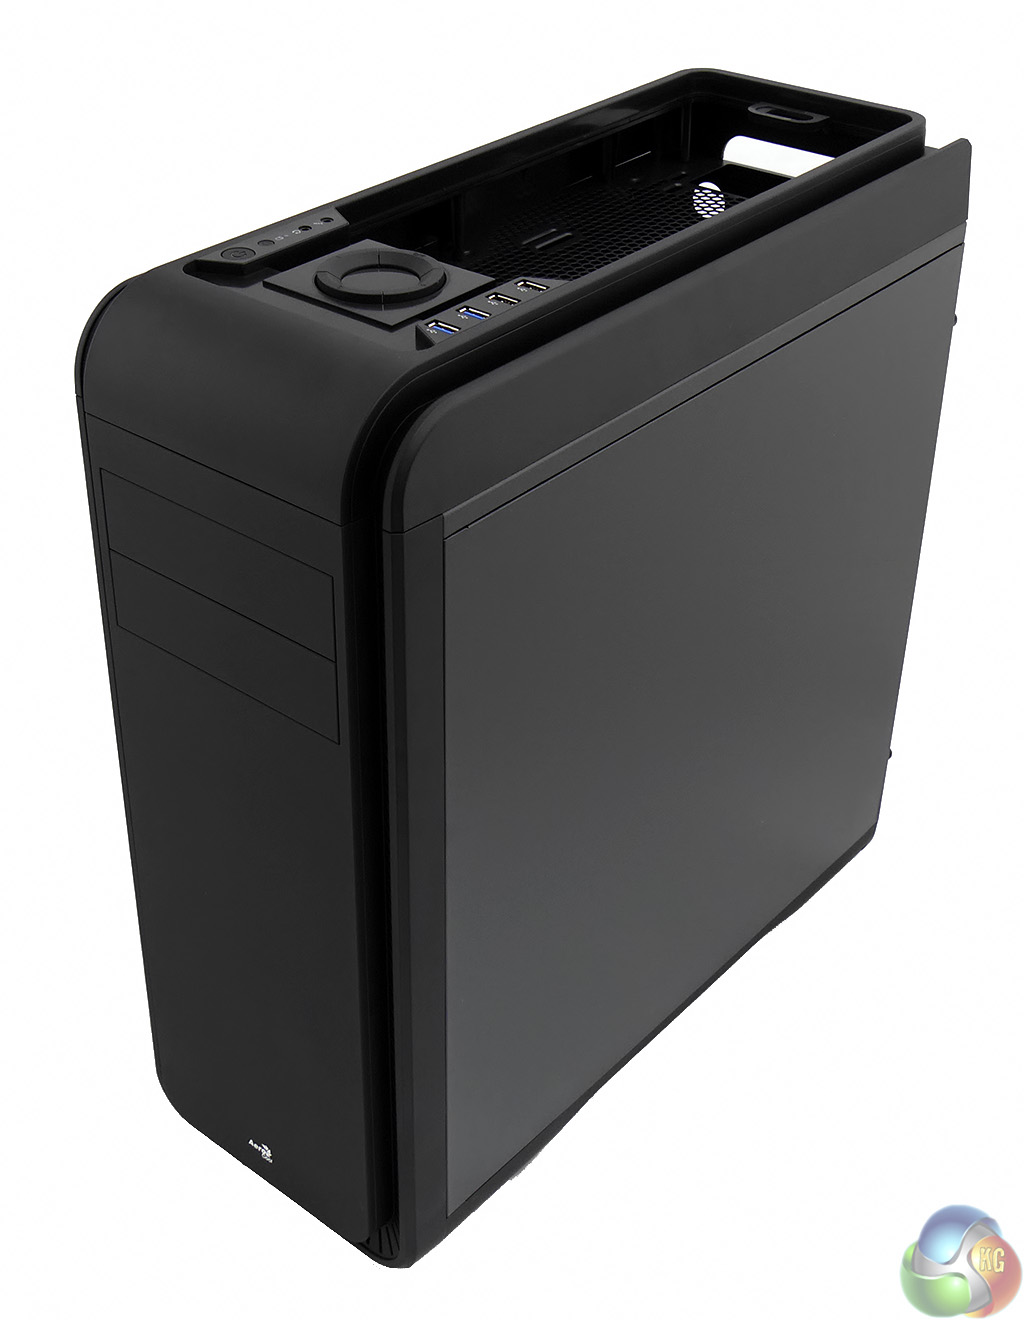
The top panel of the case is interesting as you can swap out the solid coloured panel for a perforated panel that delivers greater airflow. This is likely to be of keen interest if you choose to install a radiator in the roof of the case.
It might not be clear from the photos that Aerocool has used a variety of materials for the construction of the DS200. The case and two side panels are made from 0.8mm steel while the top, front and bottom panels are plastic which sounds a bit tacky but in fact is nothing of the sort.
This is reflected in Aerocool's curious description where they say the panels are ‘leather coated'. This is slightly far fetched but isn't as mad as it sounds as the surface of the panels feel a bit like stroking a thin leather jacket!
It's a curious sensation, somewhat like the realisation that a brightly coloured Haribo sweet is squidgy or that Gazpacho soup is not hot as you might expect but is actually cold. Weird but good.
Opening the case is a simple matter of removing two thumb screws, pulling the panel back slightly and lifting it away. Actually it is more likely the panel will drop like a stone as it has a dense 2mm thick layer of noise damping material – that means each side panel weighs a hefty 1.8kg.
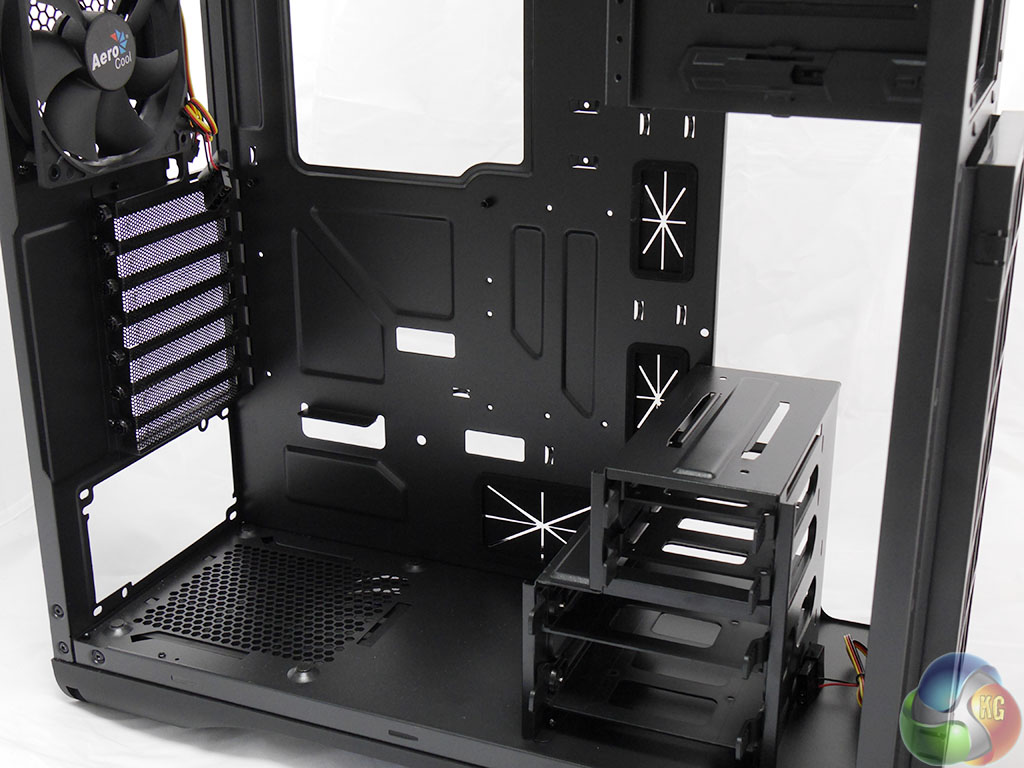
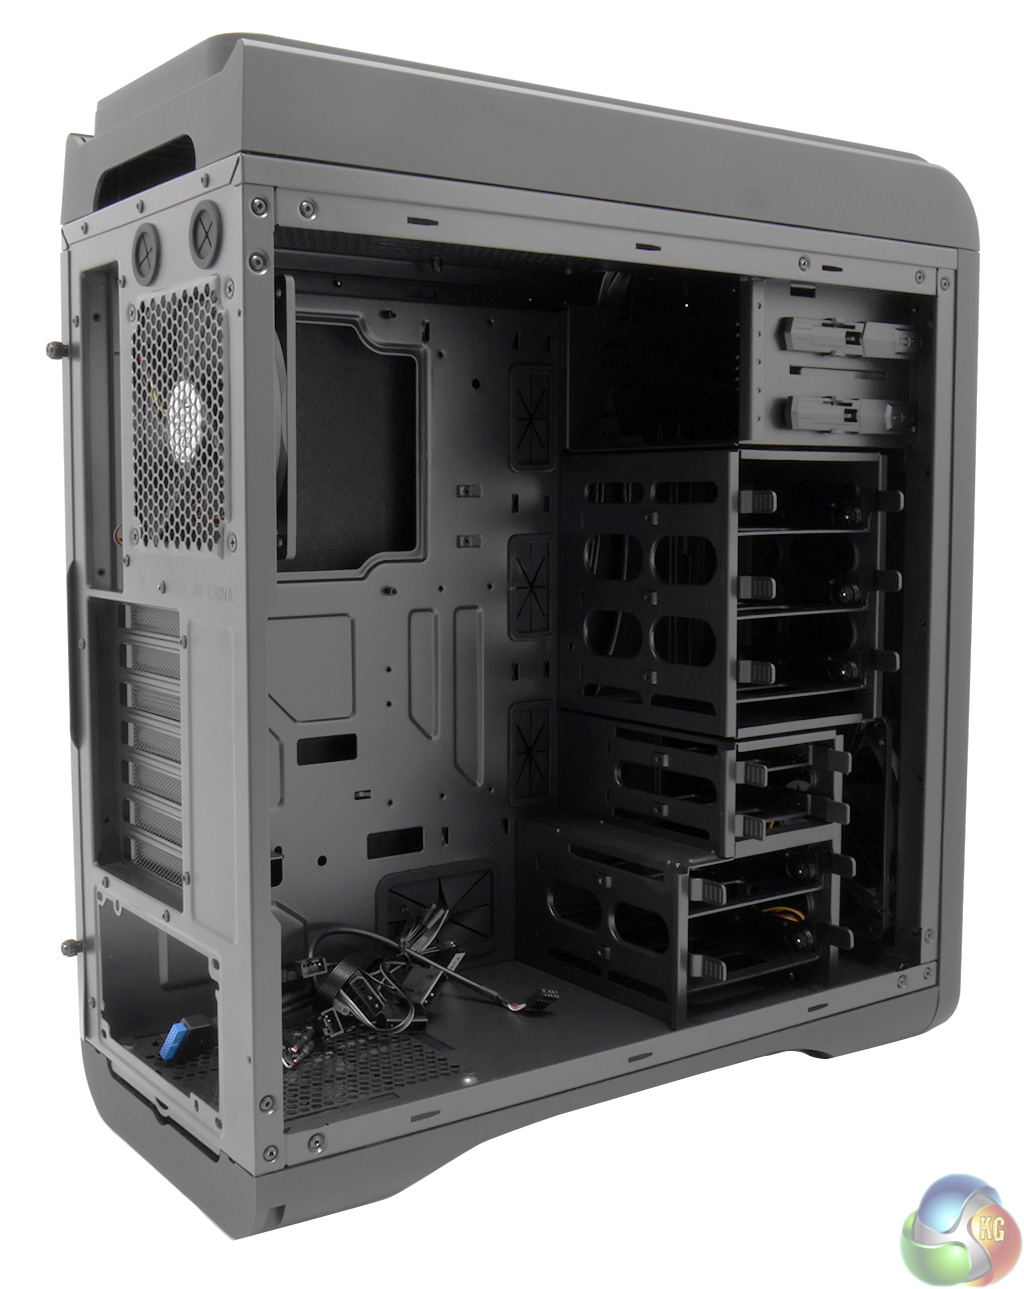
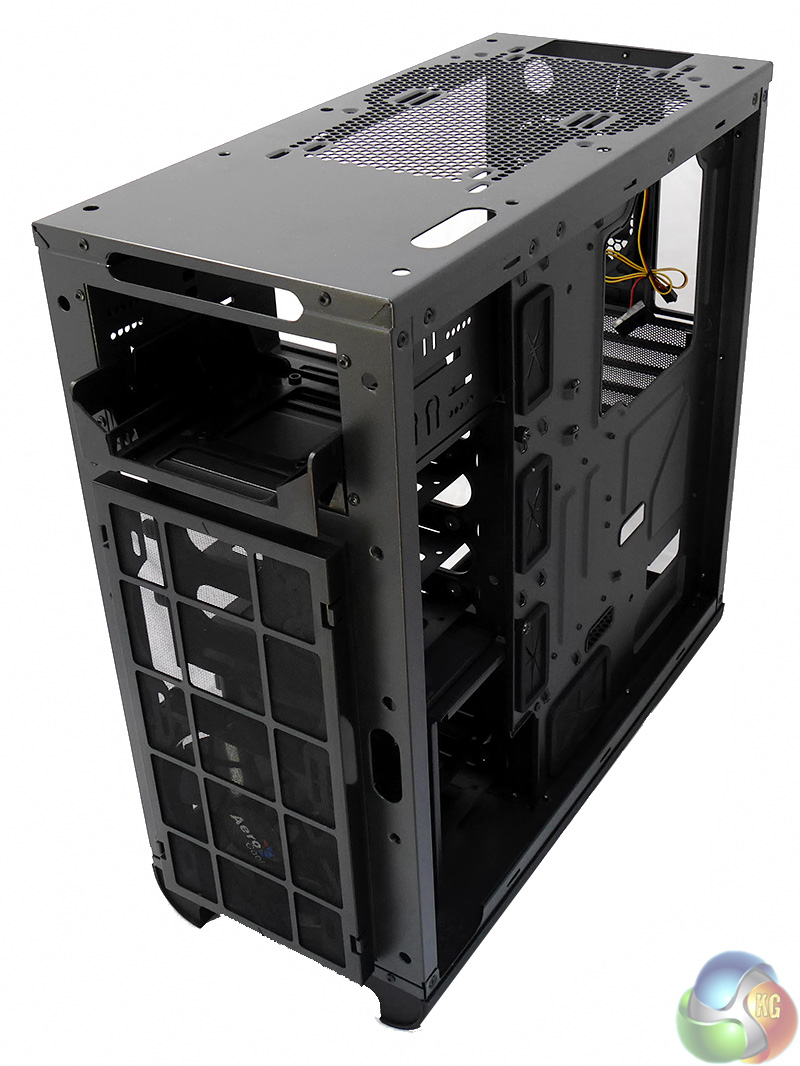
Once you have removed the panel you'll see the inside of the case holds few secrets. The power supply sits at the bottom of the case in an open area and doesn't have a covering shroud. At the rear of the case the 120mm fan sits next to the motherboard I/O panel.
There is a large opening in the motherboard tray that gives access to the mounts for the CPU cooler. At the front of the case the drive towers are arranged in a staggered pile with two 3.5-inch/2.5-inch bays at the bottom, two 2.5-inch bays above and then another three 3.5-inch/2.5-inch bays.
The upper block of three bays can be removed to give you loads more space for a hefty graphics card. With the drive tower in place you are limited to a 280mm graphics card but once it is removed you can install a 410mm whopper.
It is worth noting that hard drives are installed with the connections sliding in first. This helps the PC build as the SATA cables can be easily hidden away however this isn't a matter of choice. If you mount the drive the wrong way round the caddy slides into place and the mounting lugs snap home and are then securely locked, which makes them very difficult to remove so you can correct your mistake.
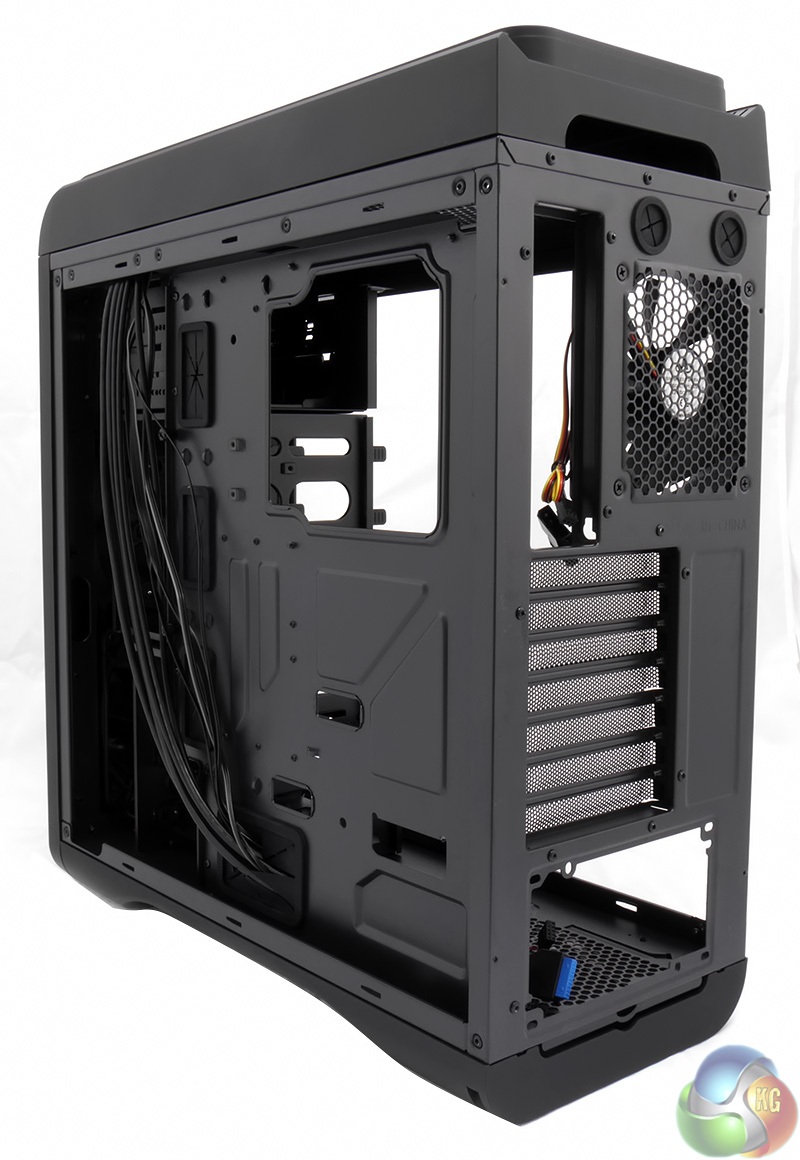
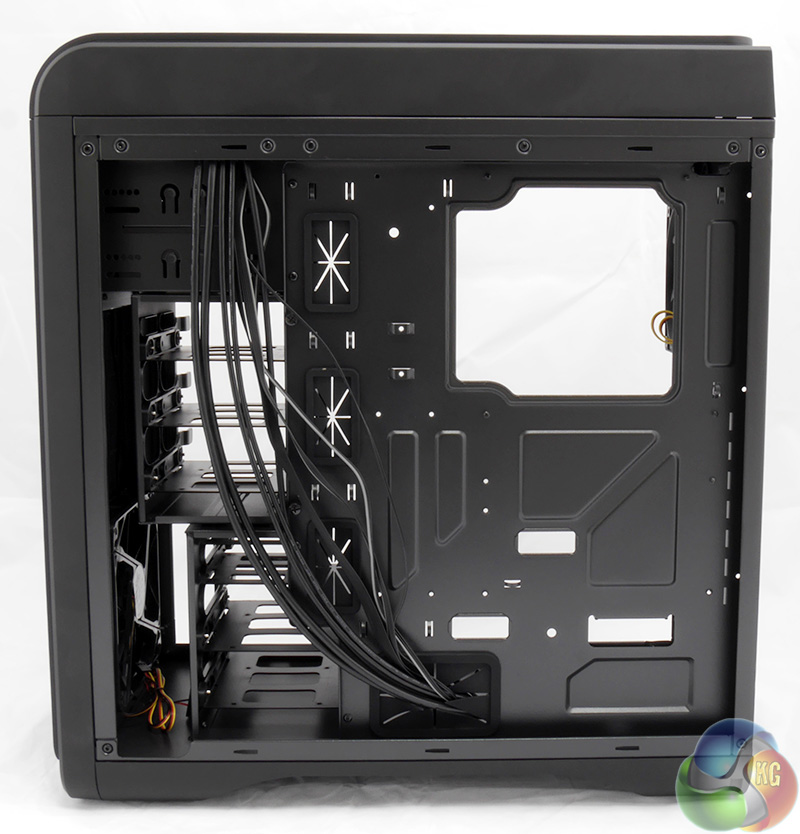

There isn't much space behind the motherboard tray. I measured 15mm of clearance and this made it quite a struggle to hide the cabling during the build and then replace the side panel. Another 10mm of clearance would have made a huge difference during the build process.
You cannot fail to notice the large amount of cabling that comes with the DS200. Attached the the top panel you have the USB 3.0, USB 2.0 and headset jacks, as well as the usual power and reset buttons and LED's. Added to that you have the fan controller wiring that acts as a hub for up to three fans using four-pin Molex connectors, or you can hook up regular fan headers. The fan controller requires its own Molex connection to the power supply to power the LCD display and the result is a thick bundle of cabling that needs to find a home.
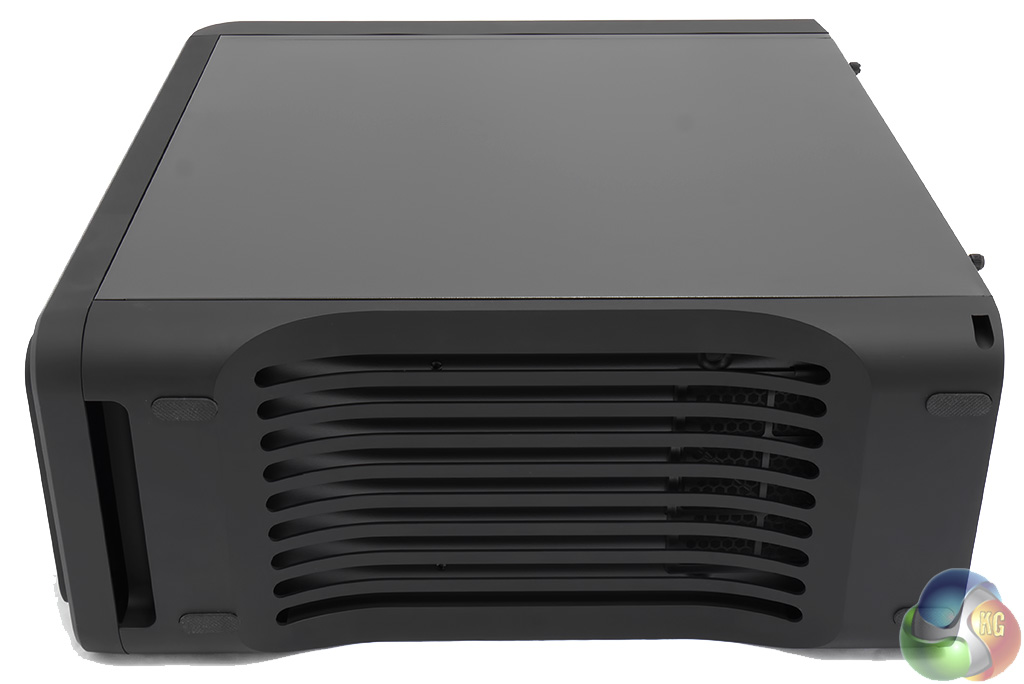
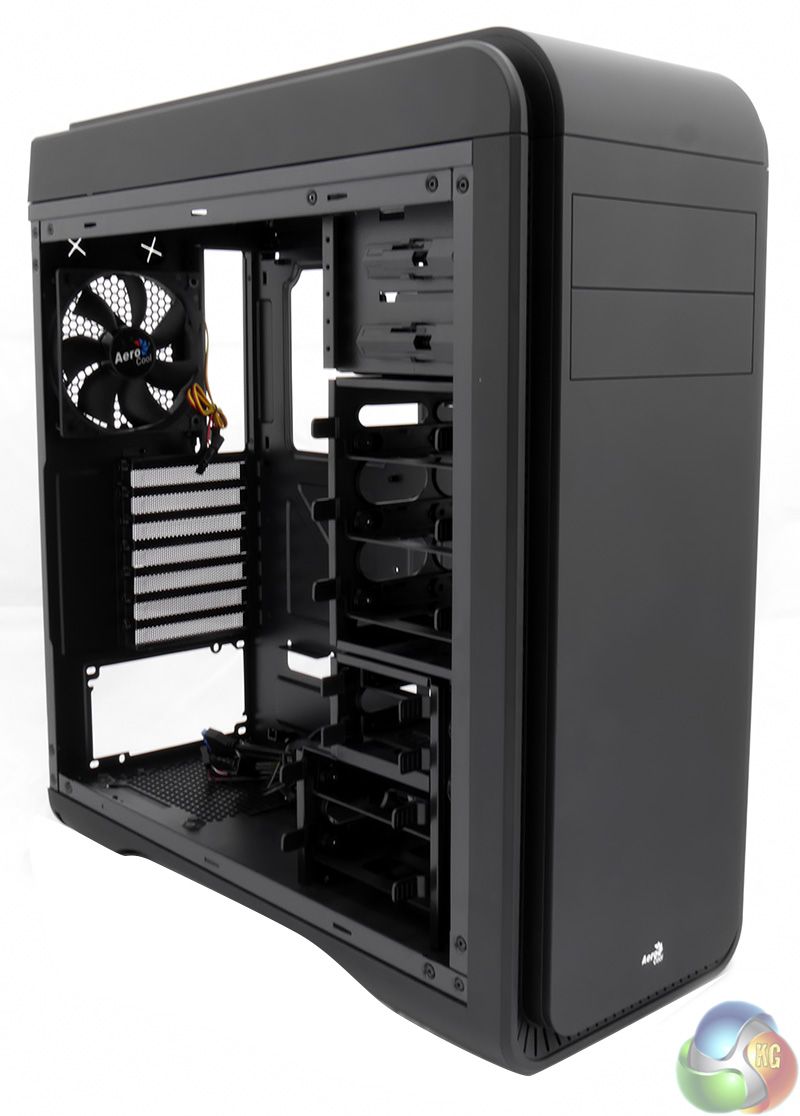
The top panel and front panel simply pull off to leave the case standing bare. They require a fair amount of force and there is a bit of popping and banging but you don't have to worry about undoing any fasteners.
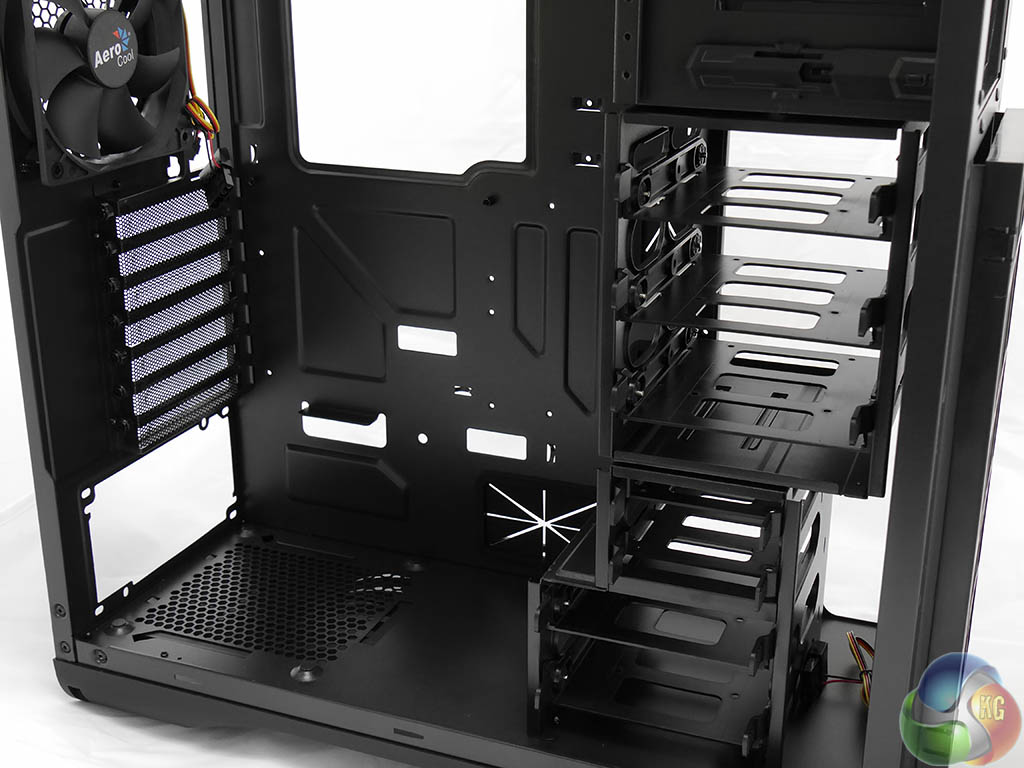
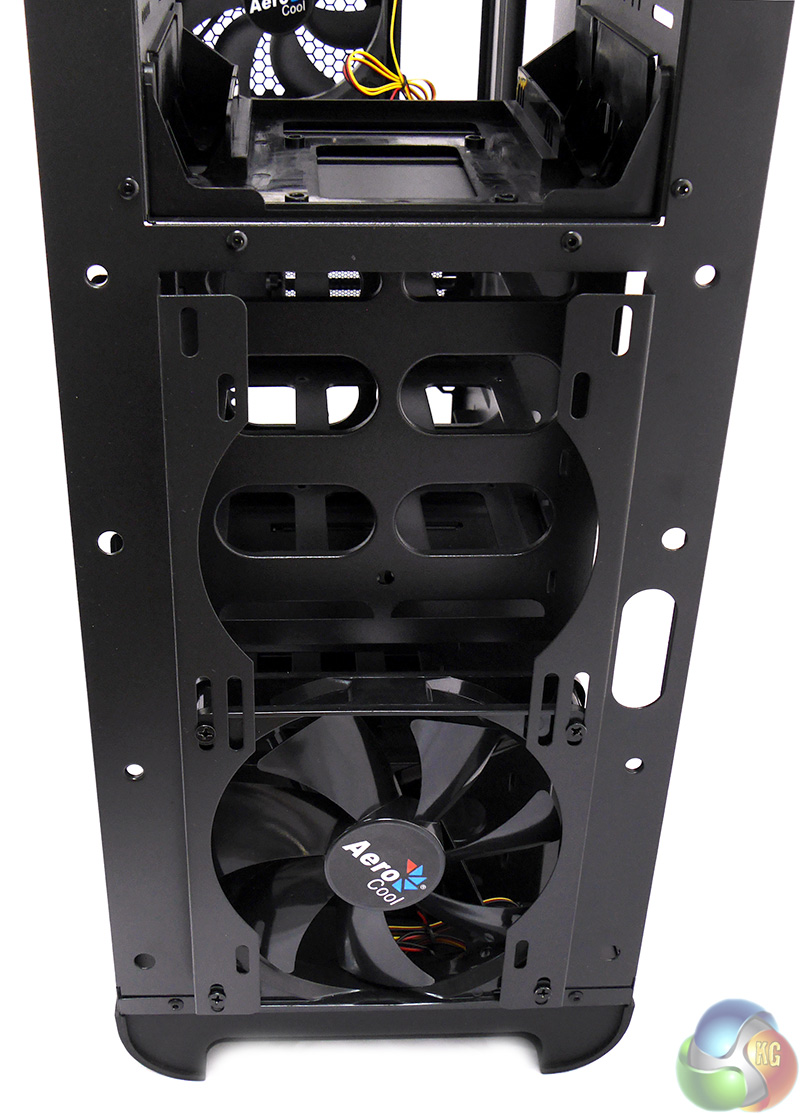
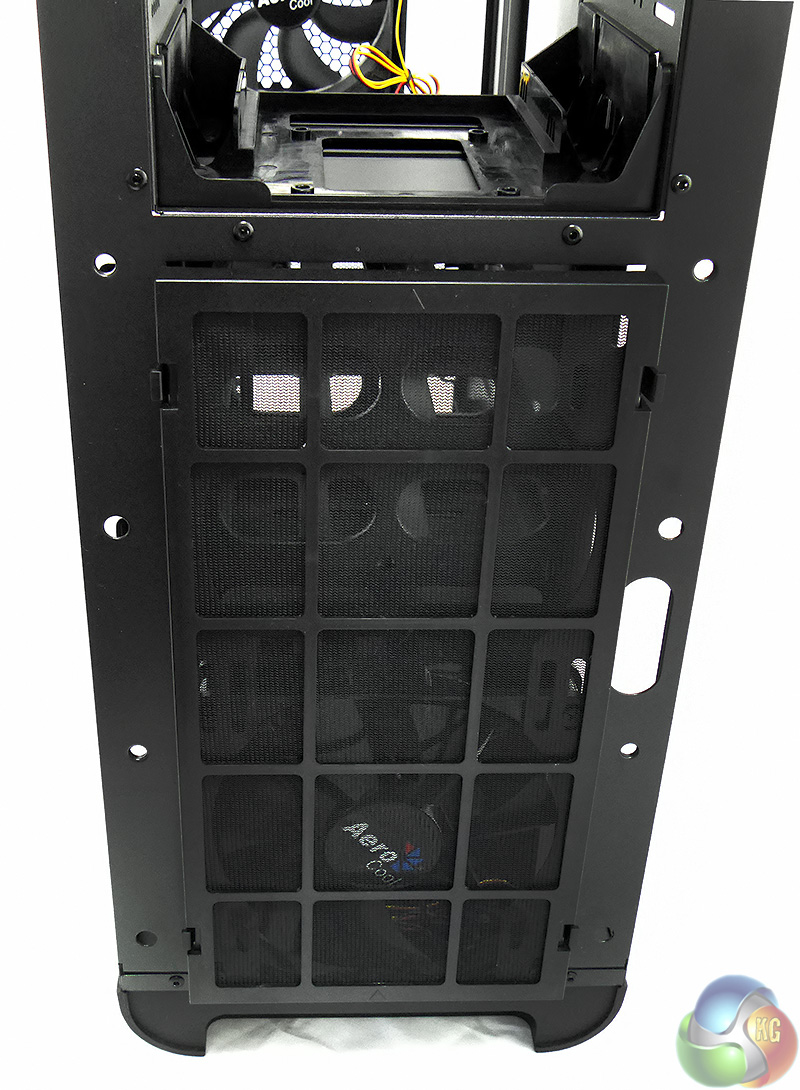
This exposes the two optical drive bays along with the washable filter screen that clips in place over the front fan positions. Release the filter and you can see the supplied 140mm fan with an empty fan housing just above. If you remove the upper drive tower this gives cooling air a straight run to your graphics card.
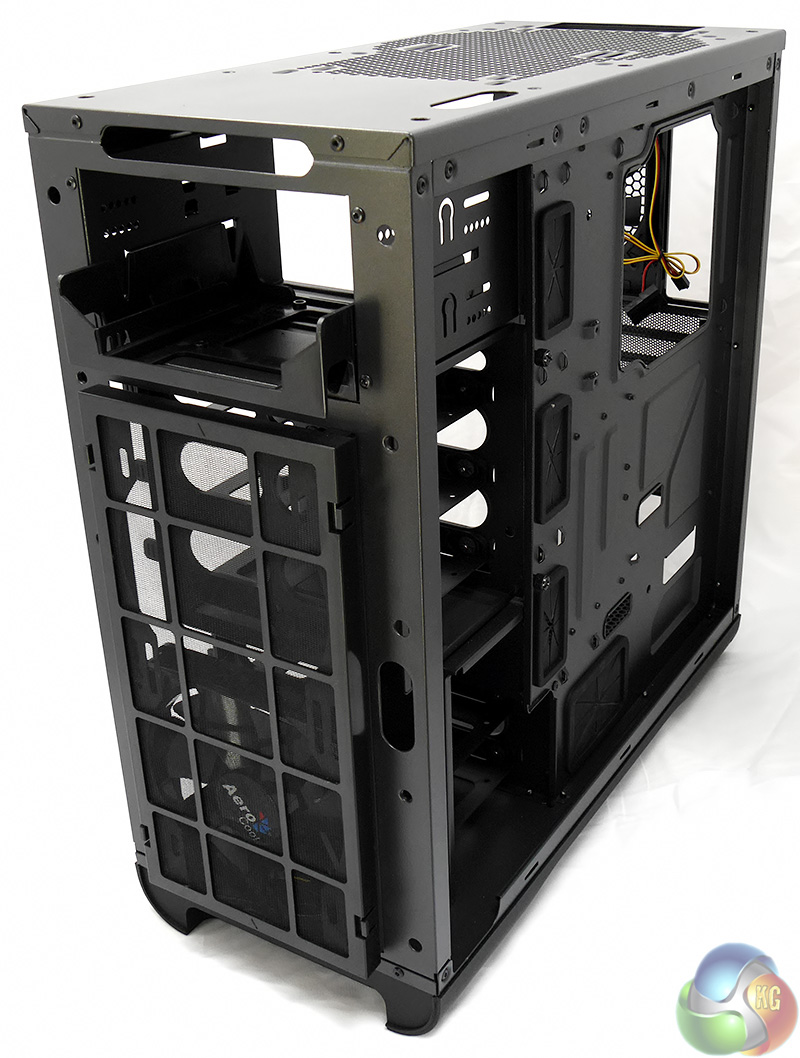
Simply by removing the two side panels and the top and front covers we go from a smart black mid-tower case to a bare skeleton in about, oh, one minute. Call it 45 seconds if you're trying hard.
When you look at the stripped chassis the first thought is that you don't get a great deal of hardware compared, say, to the Phanteks Enthoo Pro however Aerocool has a trick up its sleeve.

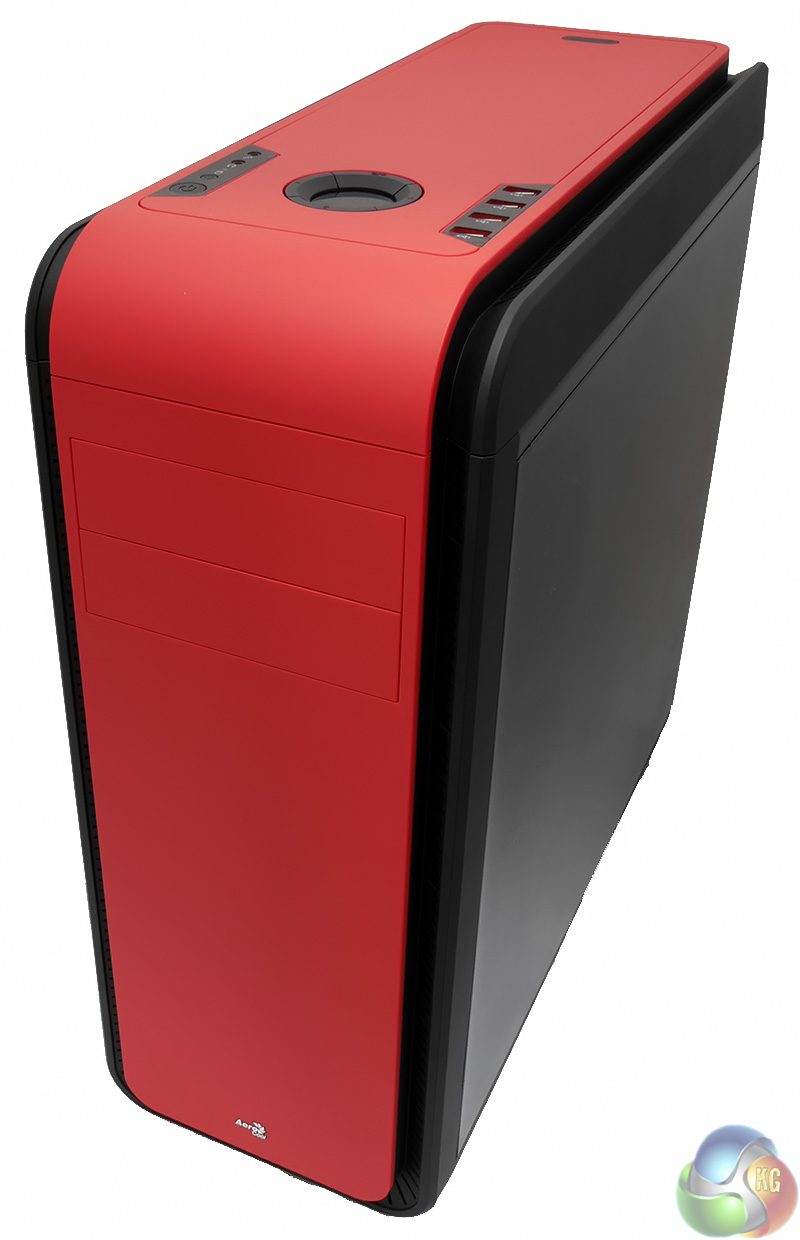
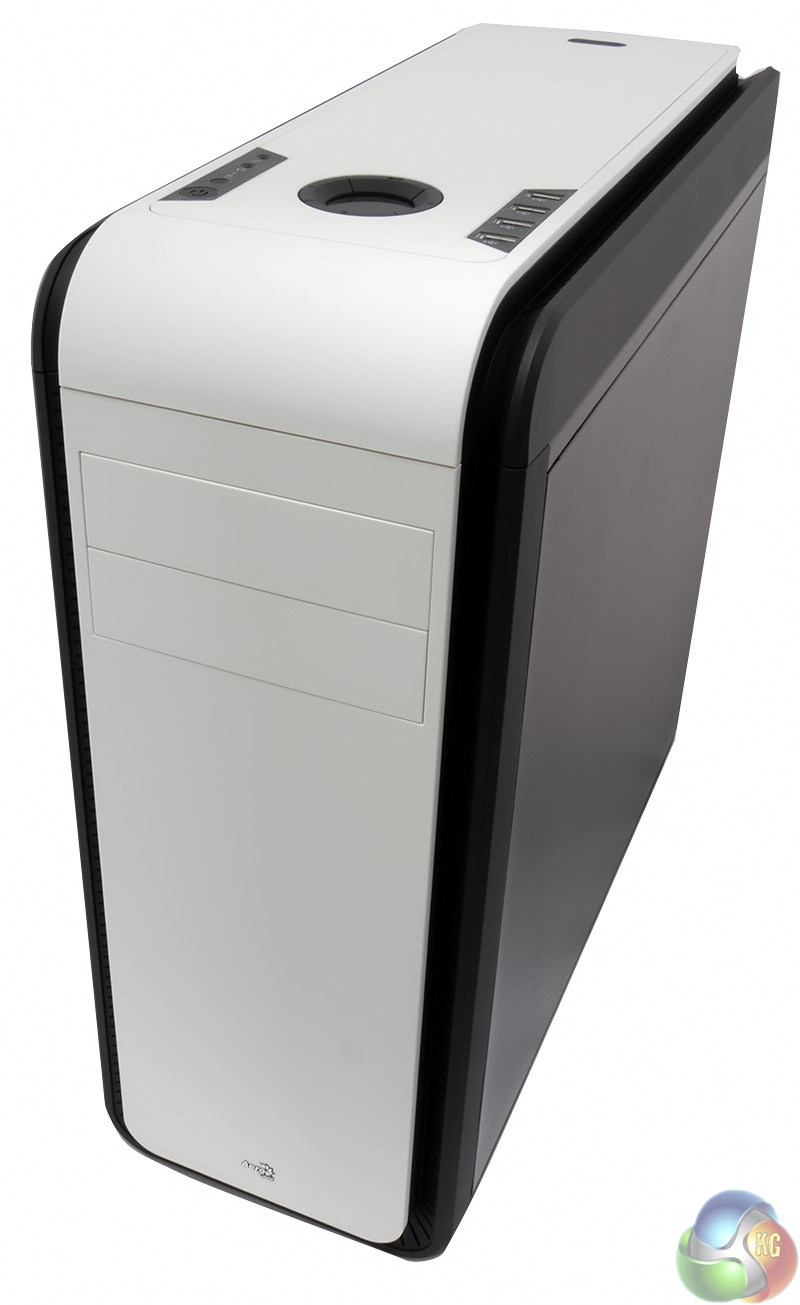

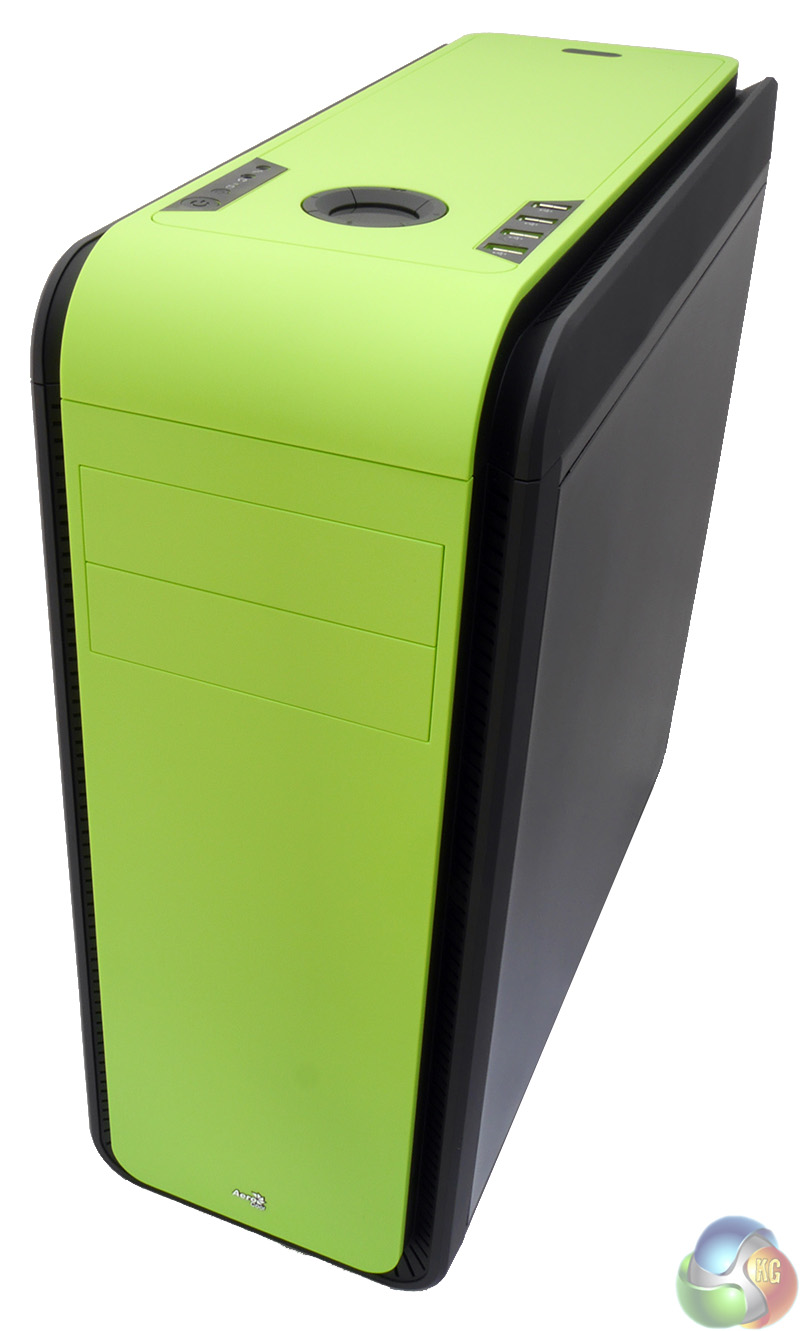
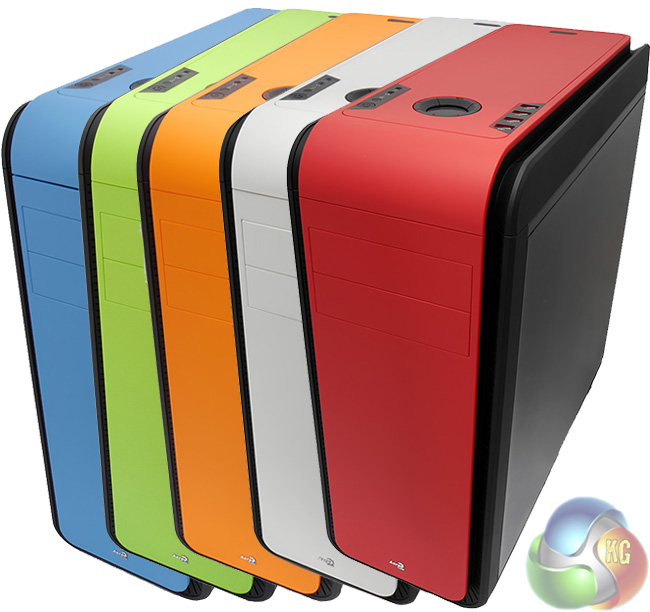
Pay a small premium and you can have a coloured case with the choice of blue, red, white, orange or green. According to Aerocool, the coloured versions will only cost £2 more (£76.99, not £74.99). Aerocool will also offer the DS200 with a windowed panel for an extra £10-£15.
The colours in question are bold and bright and have more punch than the pastel shades used by Apple on its iPod range.
I think they are terrific and feel it is a shame that you'll lose part of the visual impact if you swap the top coloured panel for the ventilated part as that will be black rather than coloured.
Take a close look at the photo with the blue panels and you'll see a gap between the front and top panels. I kicked myself when I saw the photos and assumed I hadn't snapped the pieces into place correctly. So I dragged the blue parts out of the box and clipped them back in place and still had the gap, which tells me that one panel or other was poorly moulded at the factory. We hope this is an ‘early review sample' issue but we needed to mention it for the sake of being completely transparent with our readers.
I like the fact that you can choose green, blue or red to reflect the brand of graphics card or CPU inside your PC. I plumped for orange as that matches the Sapphire Radeon R9 graphics card I was using.
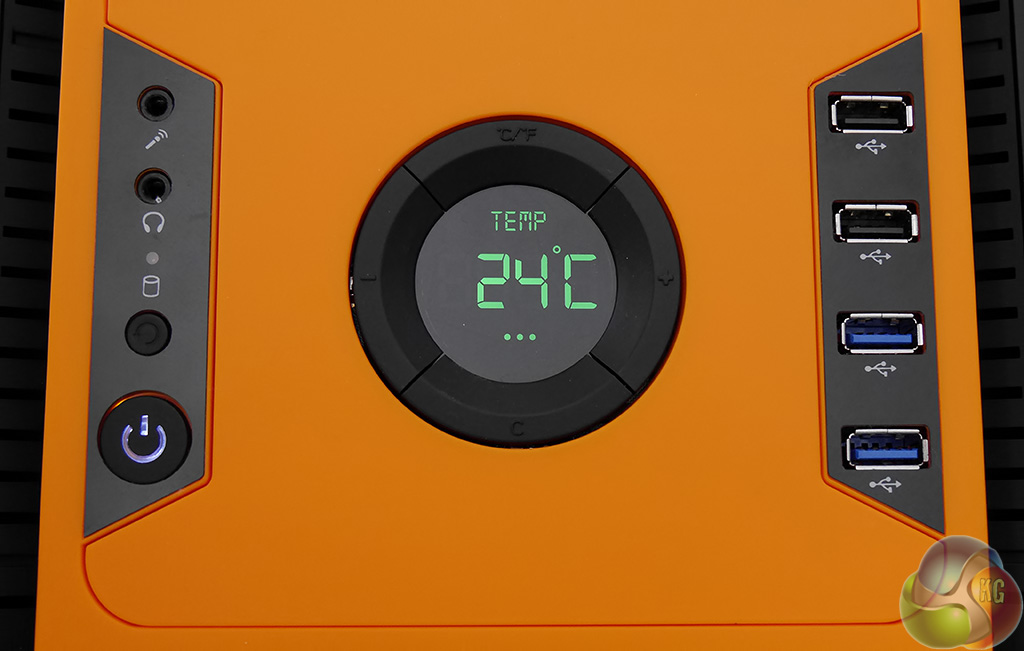


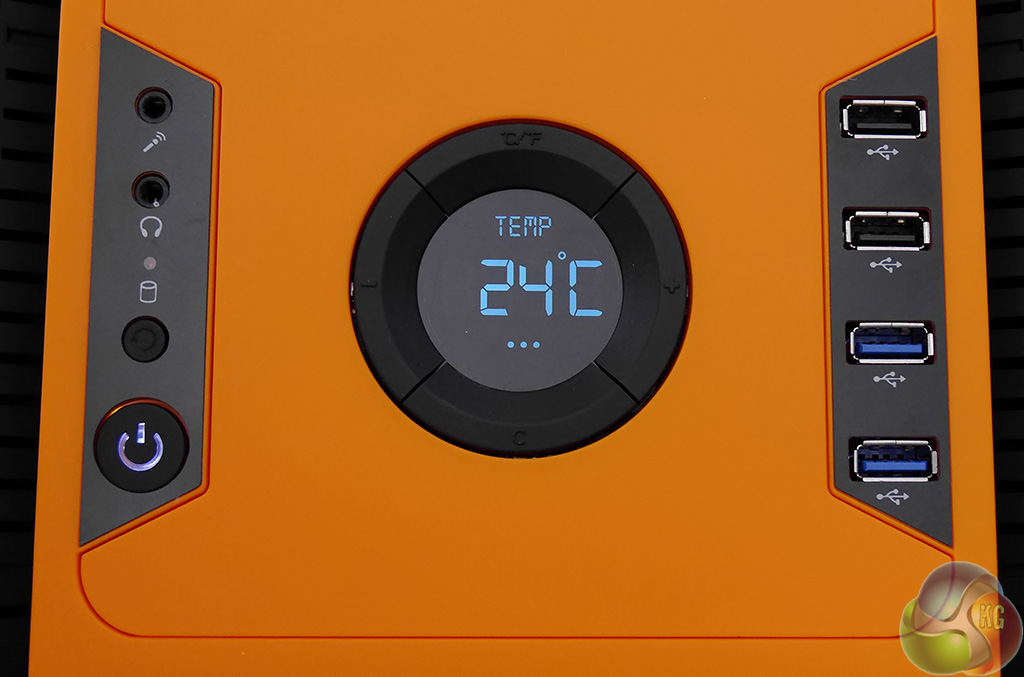
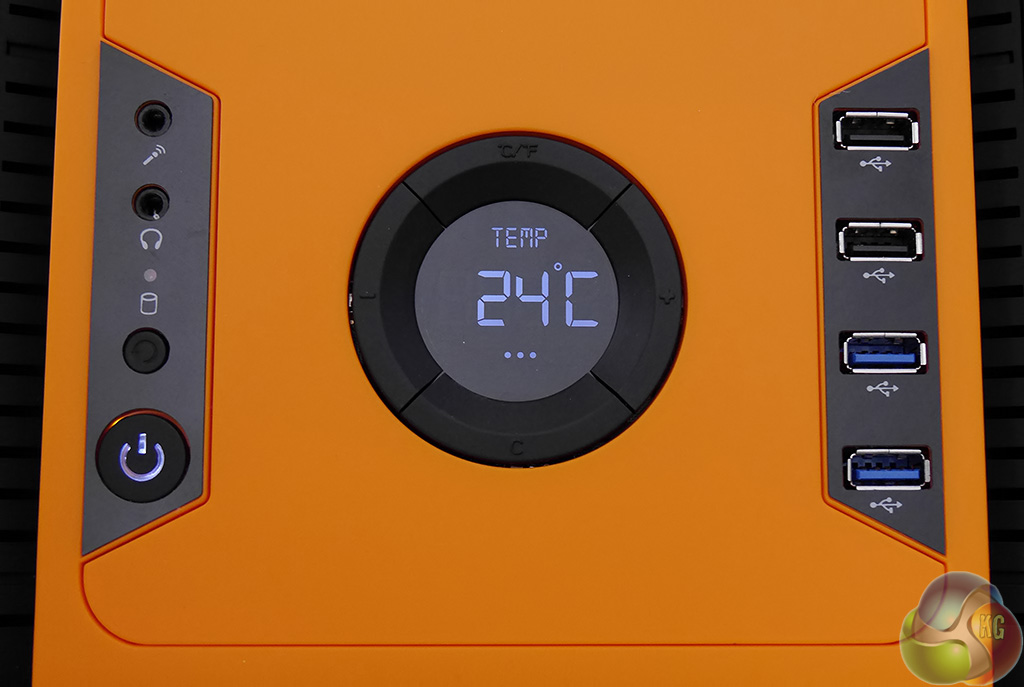
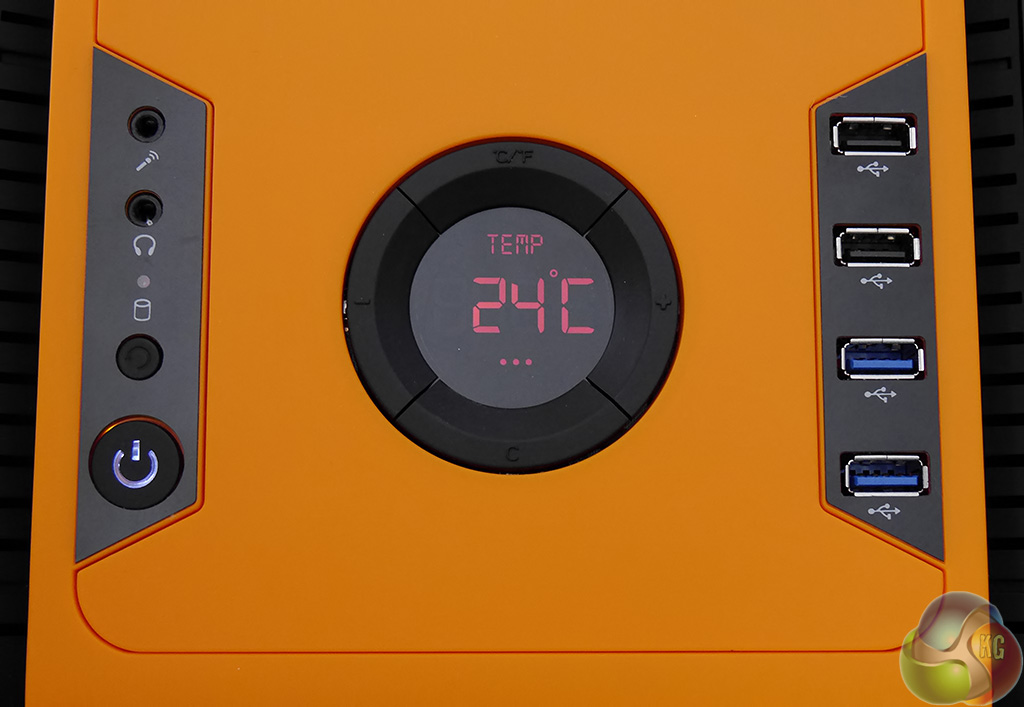
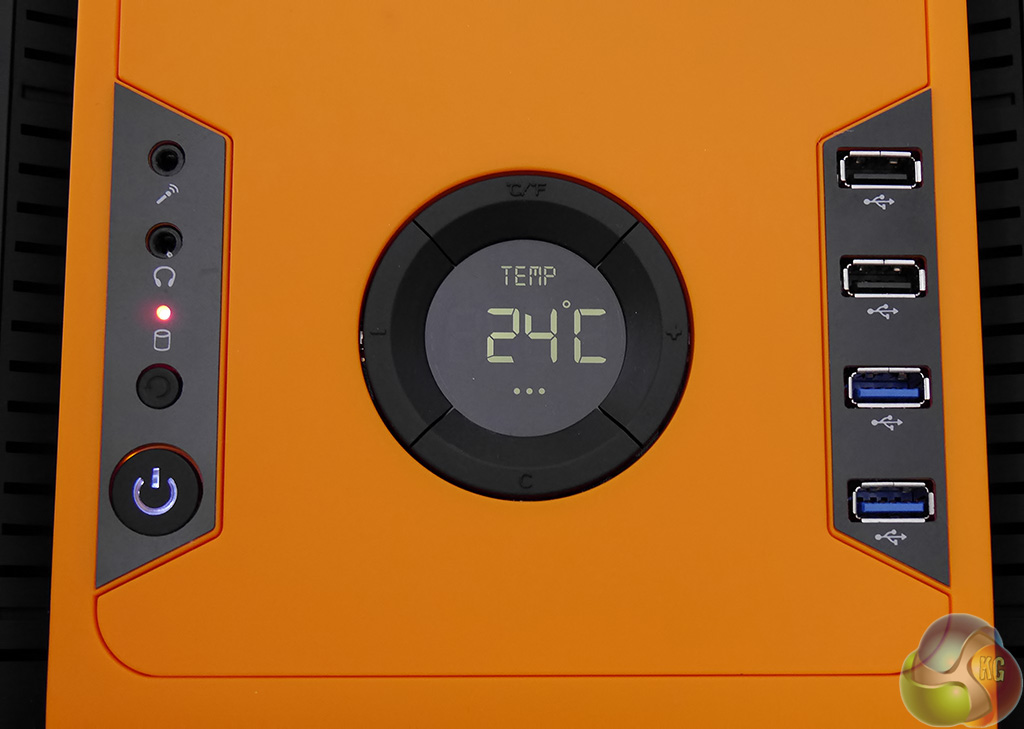
There is more coloured fun in store as you can change the LCD to display temperature in green, dark blue, purple, light blue, violet, red or orange.
Installing the ASRock motherboard and Core i7 in the Aerocool chassis wasn't quite as easy as it might have been.
The case arrives with three standoffs in place so you have to install the others. I found the threads were rather stiff but life would probably have been easier if I had the Aerocool turn cap tool that is listed in the manual but was missing from my review sample. It would have also helped if Aerocool included a fixed location pin in the tray to help the process of lining up the motherboard.
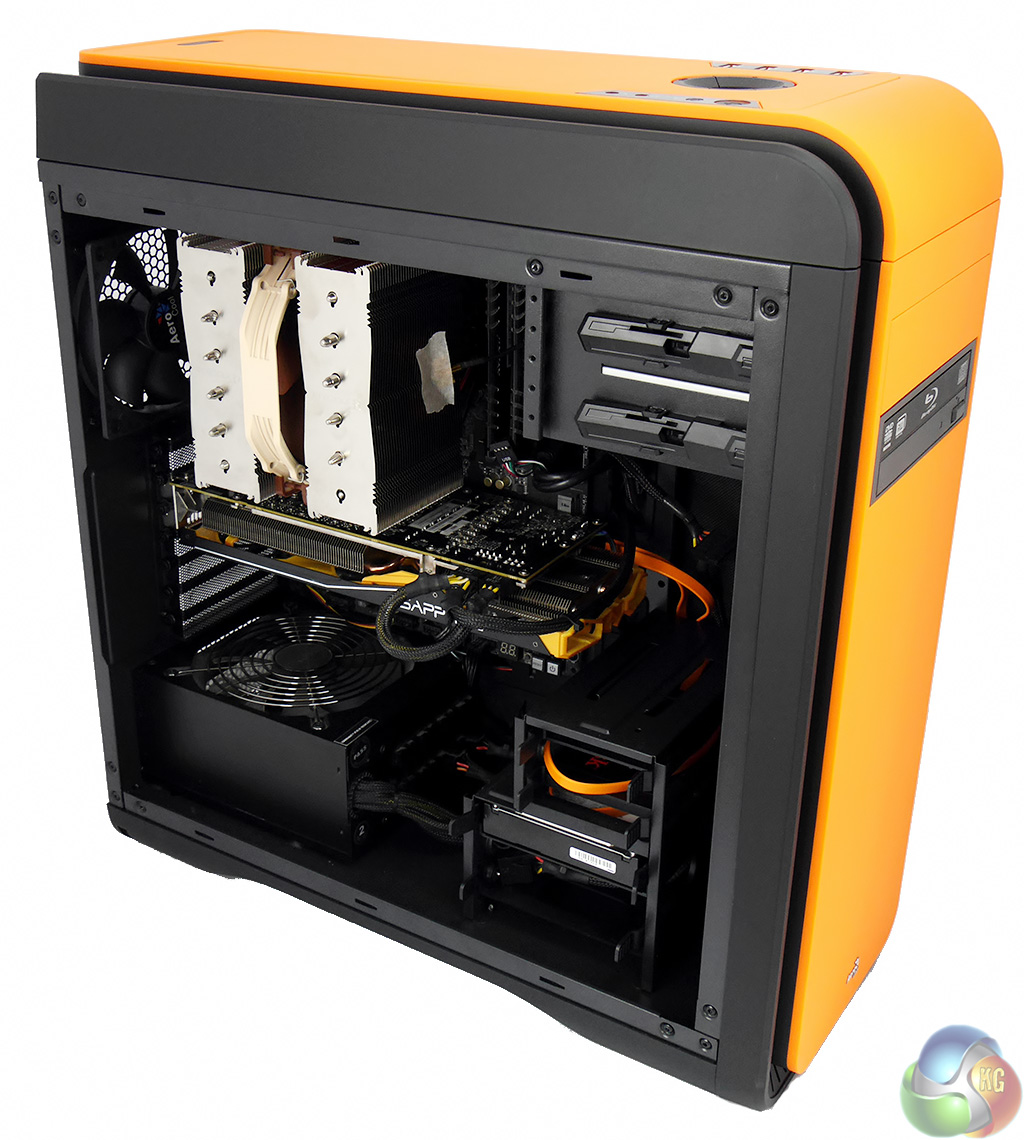
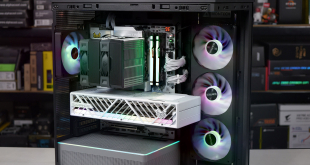
The other hardship that I faced was installing the enormous Noctua NH-D15 air cooler as there was very little clearance between the cooler and the top of the case. Then I had to select a location for the temperature sensor that feeds the LCD display on the top of the case. At first I taped the sensor to the motherboard to get an ambient figure inside the case but this doesn't really tell you very much so I decided it made more sense to fix the sensor to the fins of the Noctua air cooler.
And that, gentle reader, is my explanation for the piece of masking tape you see in the photo.
I connected the two Aerocool fans to the DS200 fan controller but connected the Noctua fan to the CPU fan header on the motherboard. This seemed like the neatest solution and frankly I wasn't clear how many fans I could connect to the Aerocool controller without passing the maximum recommended power draw of 25W.
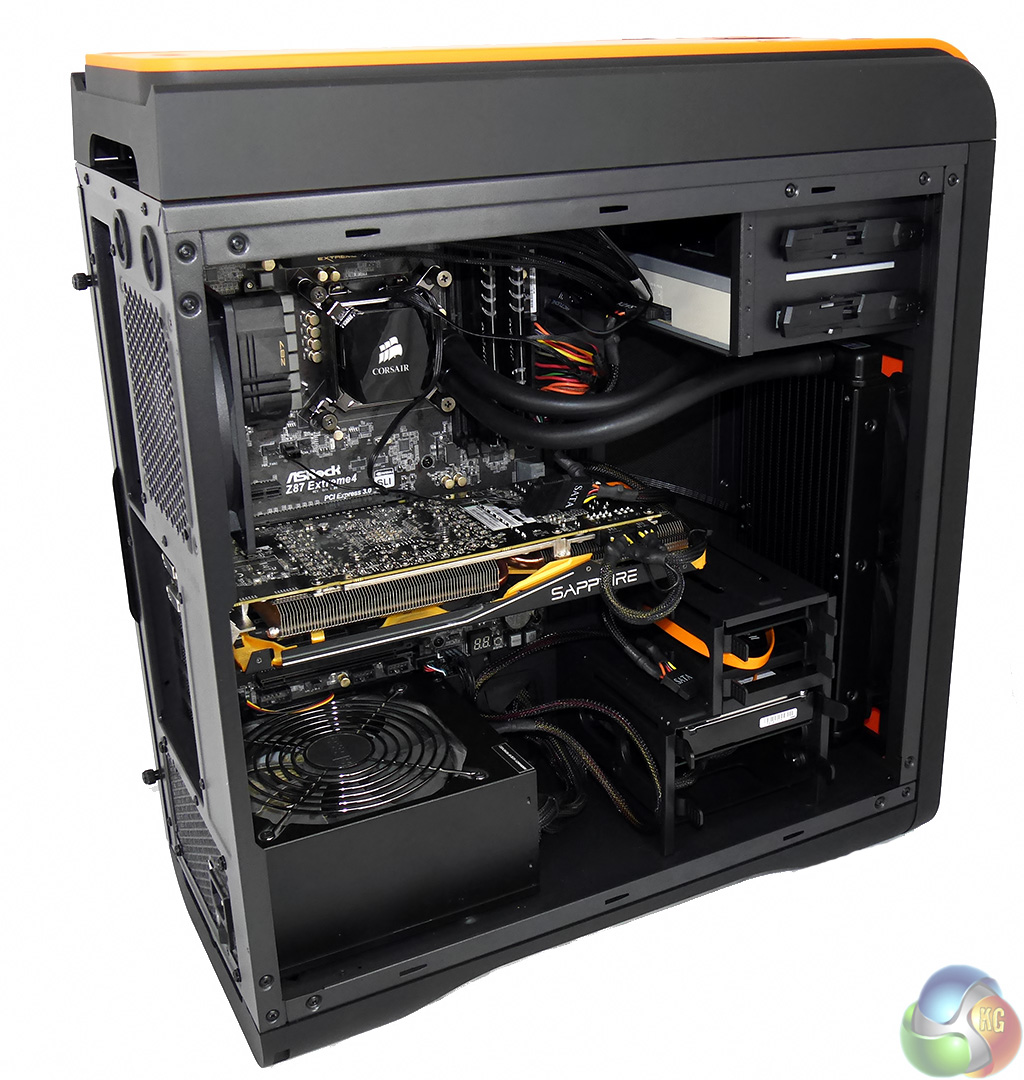
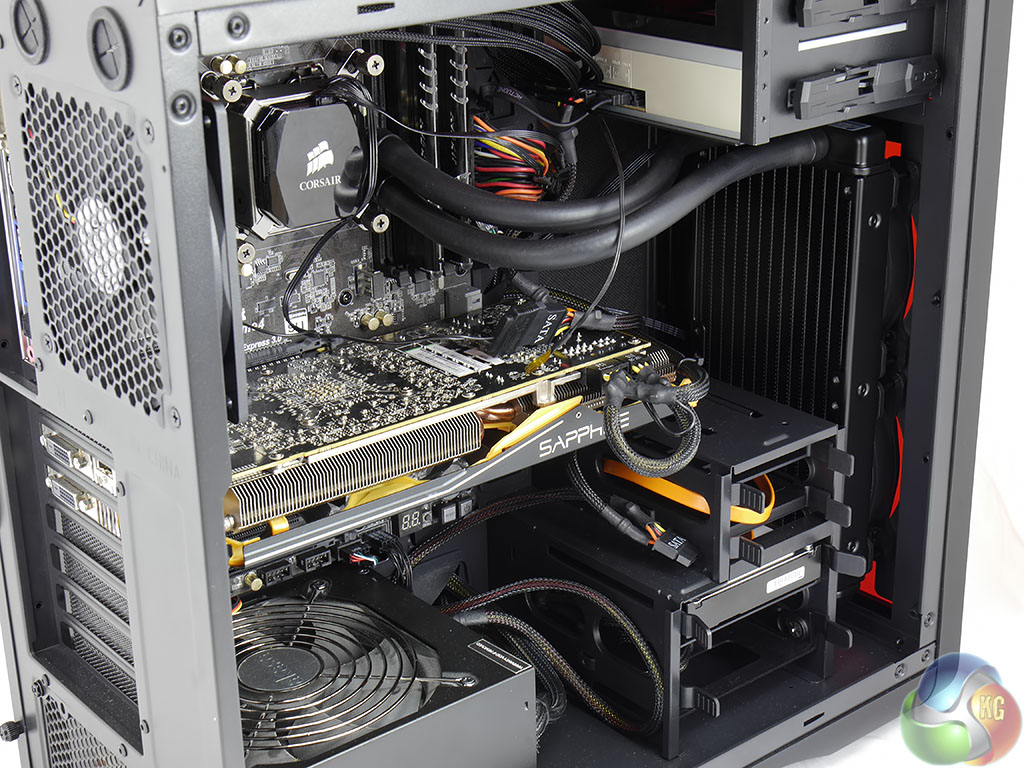
Installing the Noctua H100i liquid cooling system was also a bit fiddly. Once I removed the front panel and the stock 140mm fan I was able to install the radiator and two 120mm fans.
Aerocool explains the procedure in its manual however the picture is small and not especially clear and it took a couple of attempts to get it right. The 120mm/140mm fan mounts use slots rather than holes and I found the fans moved around as I was lining up the mounting screws.
Once the hardware was in place the PC looked clean and tidy and in particular the area around the CPU socket was opened up to the air flow.
I was happy with the appearance of the DS200 but it has to be said the cabling wasn't quite as neat as I might have hoped and it was a struggle to replace the side panel behind the motherboard.
To put this case through its cooling paces we will be using a test system consisting of an Intel i7-4770k, Sapphire Tri-X R9 290 4GB and multiple storage drives.
This system allows us to produce a substantial amount of heat and effectively test the Aerocool Dead Silence DS200‘s cooling capabilities.
For stress testing we use a mixture of Prime95 and FurMark to create the maximum heat output. Prime95′s ‘Small FFTs’ setting allows us to stress our CPU. FurMark’s ‘GPU Burn-in’ mode creates the maximum amount of load our GPU is ever likely to see.
Test System:
- Processor: 3.9GHz Intel Core i7-4770K.
- Motherboard: ASRock Z87 Extreme4.
- CPU cooler: Noctua NH-D15 and Corsair H100i
- Memory: Avexir 1600MHz RAM.
- Graphics card: Sapphire Radeon Tri-X R9 290 4GB.
- Power supply: Akasa Freedom Power 1000W.
- Storage drives: Samsung 840 EVO SSD.
- OS: Windows 7 Professional 64-bit.
Thermal Performance Test Procedures:
- The case’s default fan configuration is used to give an accurate interpretation of the out-of-the-box performance.
- The Aerocool Dead Silence DS200‘s default fan configuration is: 1x 140mm front intake, 1x 120mm rear exhaust fans.
- The fans are operating at full speed.
- We allow the system to idle for 15 minutes and record the stable temperatures.
- We allow the system to operate under extreme stress for 15 minutes and record the stable temperatures.
- Corsair H100i is tested with fans in ‘full mode' set in the ASRock motherboard bios
- Noctua NH D15 is tested with fans in ‘silent mode' set in the ASRock motherboard bios.
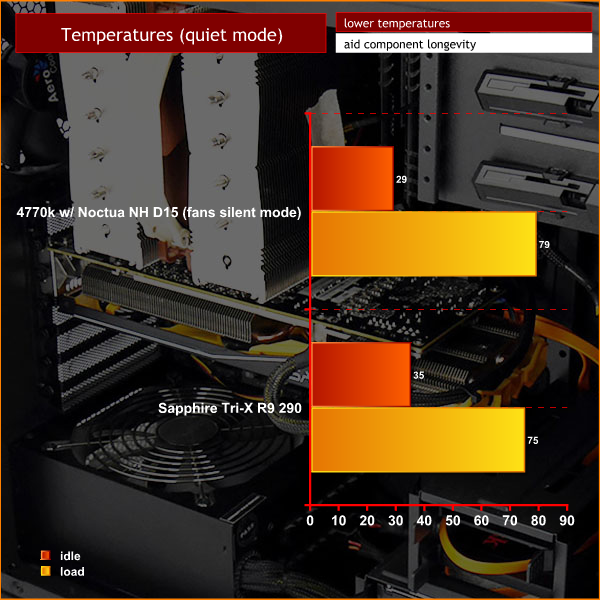
Thermal Performance
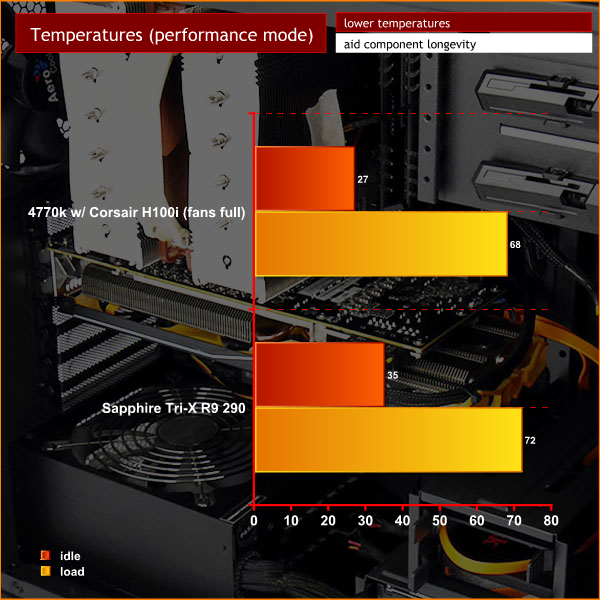
With the Noctua air cooler in place and the fan speed turned down low to keep the system as quiet as possible I found the Aerocool helped achieve decent results. The Core i7-4770K temperature rose by 50 degrees under load, however it is important to note that this is using synthetic benchmarks placing an unholy load on processor and graphics card. The GPU temperature rose by 40 degrees which is a touch higher than I like to see and probably reflects the relatively cramped nature of the case as there isn't a great deal of space for air to flow.
Things were improved when I switched to the Corsair H100i liquid cooler and increased the fan speeds in the motherboard BIOS. I was happy to see the CPU temperature rose by 41 degrees under load which is still fairly high but well within safe limits. The GPU temperature rose by 37 degrees which is typical of most PC builds we have seen in recent times.
Acoustic Performance Test Procedures:
- We placed our Digital Sound Level Meter one metre away from the case.
- The case fans are set to maximum speed.
- The CPU cooler’s fans are deactivated.
- The Aerocool Dead Silence DS200‘s default fan configuration is: 1x 140mm front intake, 1x 120mm rear exhaust fans.
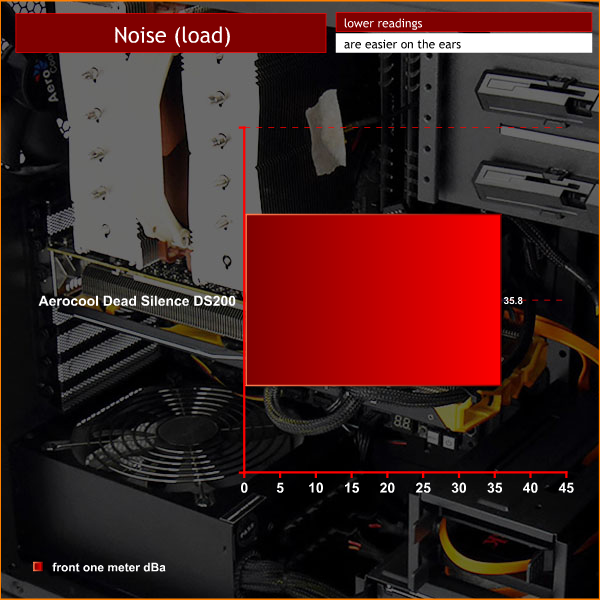
Acoustic Performance
The Aerocool Dead Silence DS200 lives up to its name and is very quiet indeed registering around 36 dBA. Those heavy noise deadening side panels clearly do a good job and the subtle vents in the front panel help keep the noise levels nice and low.Aerocool has delivered the goods with the Dead Silence DS200, making only a few minor compromises. On the one hand the DS200 is very quiet while on the other the cooling could be a little more effective. This seems like a sensible trade-off and I feel that Aerocool has delivered a PC case that will suit the mainstream customer.
I found the compact nature of the case could get a touch restrictive during the build stage. I would have loved to see more space behind the motherboard tray and perhaps another 10mm or 20mm at the top of the case above the CPU cooler. It is hard work to keep the cables tidy with this case, however you can achieve decent results with a bit of time and care.
Having said that I can forgive these minor quibbles as I simply love the colour options that Aerocool is offering. You are making a grave mistake if you buy the DS200 in black when you could choose blue, red, white, orange or green instead.
We don't have any store links yet for the Aerocool Dead Silence DS200 however we have been told before publication that the pricing will be £74.99 inc vat for the plain black version and £76.99 for the coloured versions. These coloured options are vibrant and attractive, and for only £2 more, it really is a no-brainer.
Buy from SCAN from this page.
Discuss on our Facebook page, over HERE.
Pros:
- Superb looks, especially with coloured front and top panels.
- Very competitively priced.
- Impressively quiet.
- Tool free drive bays.
- capable performance.
Cons:
- Limited clearance behind the motherboard tray.
- It is hard work to make the PC build reasonably neat and tidy.
- You don't get a power supply shroud.
- The drive towers are fixed in place and cannot be removed.
- No SSD mount on the rear of the motherboard tray.
KitGuru says: A great mid-tower case that performs very well. We prefer the coloured versions and would opt for one of them before the plain black version. At £2 more it seems like a steal.

How can a review littered with so many negatives, especially important ones like cramped conditions, mediocre cooling and lack of cable space be awarded a must have award. I mean I know its plastered all over the main page but I really think without the advertising this would have scraped a worth having at the most. Just my thoughts, review was great as always.
I think Levisevis that the price is the reason it scores high, its pretty cheap considering what you get, so the negative points can be overlooked a bit. I do know what you mean though. I hope advertising doesn’t affect scores here, but I can see the selling points on the earlier pages which really do look quite good to me.
Excellent review guys 🙂 for excellent product 🙂