

Opening the case is a simple matter of removing two thumb screws, pulling the panel back slightly and lifting it away. Actually it is more likely the panel will drop like a stone as it has a dense 2mm thick layer of noise damping material – that means each side panel weighs a hefty 1.8kg.
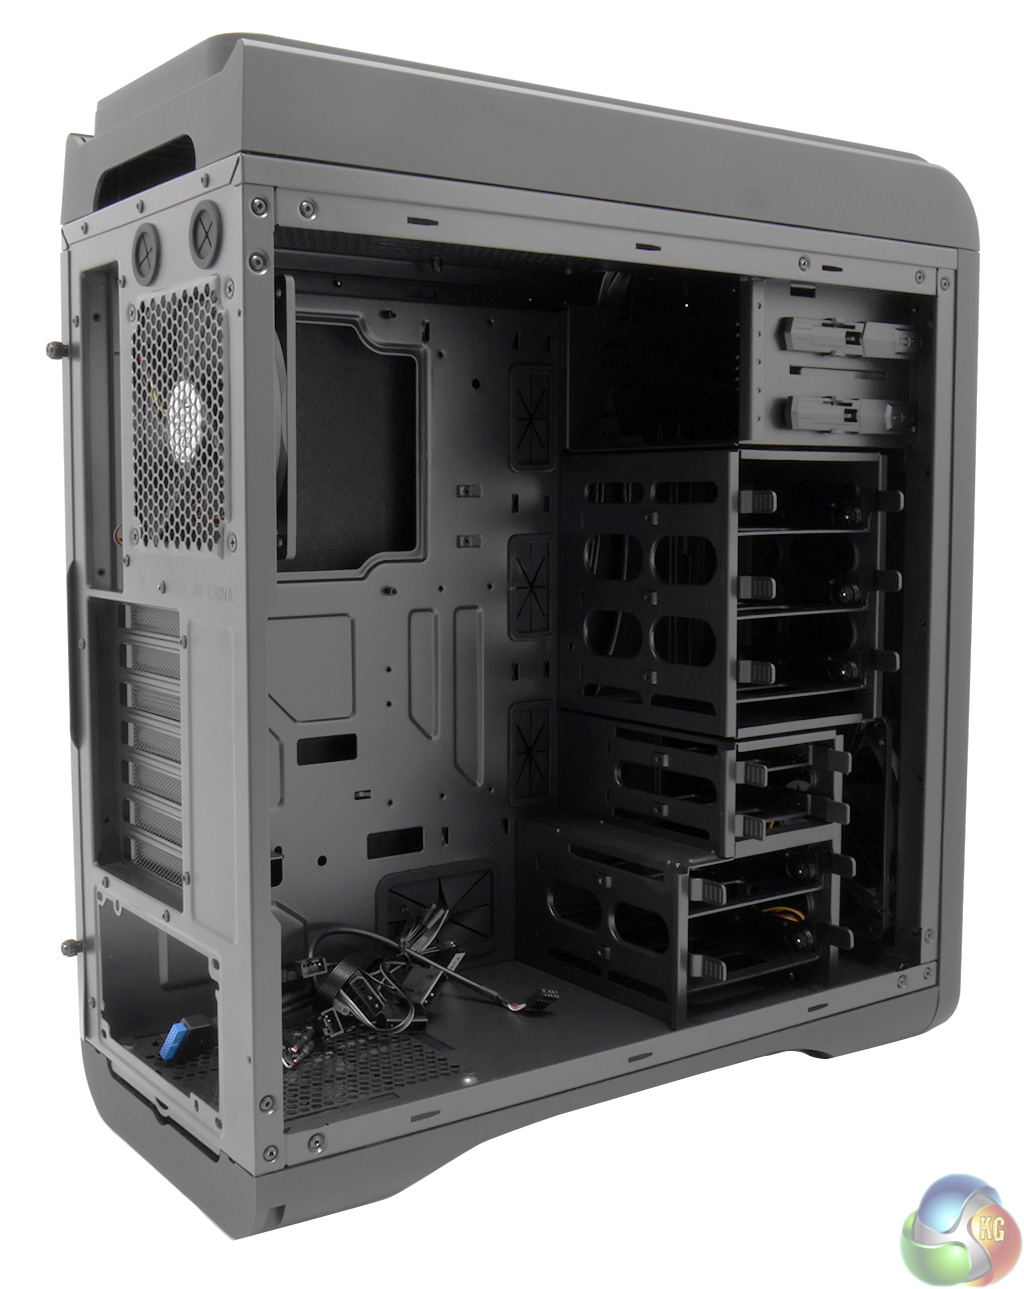
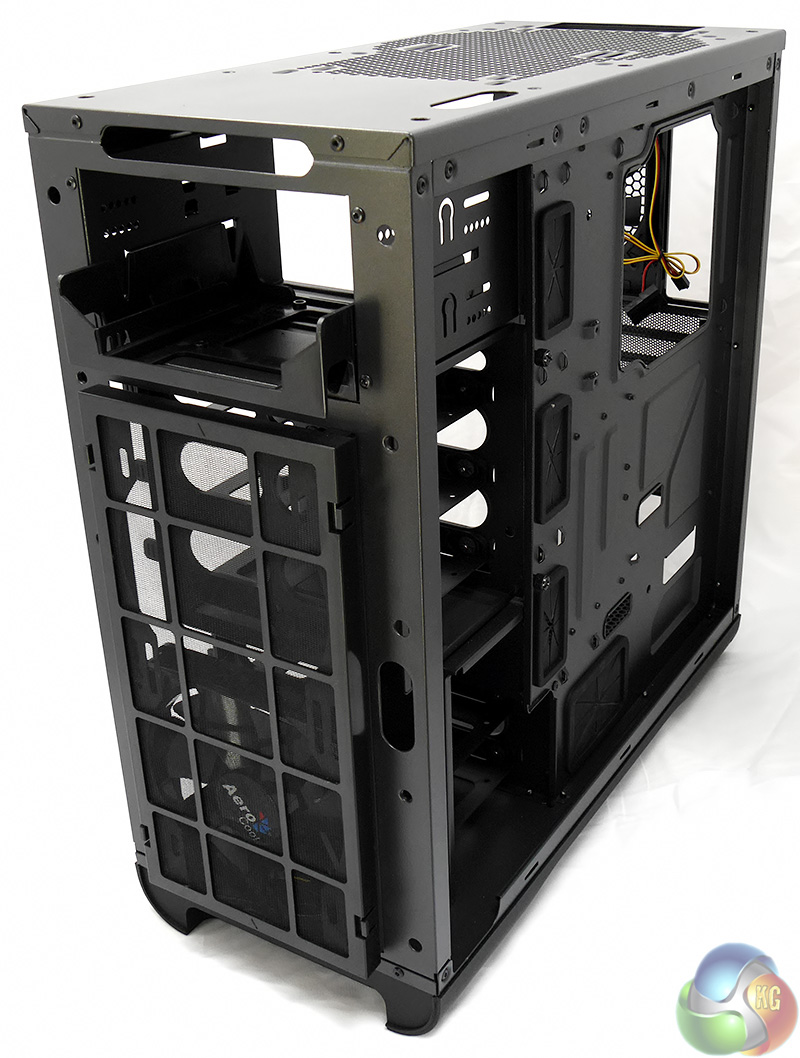
Once you have removed the panel you'll see the inside of the case holds few secrets. The power supply sits at the bottom of the case in an open area and doesn't have a covering shroud. At the rear of the case the 120mm fan sits next to the motherboard I/O panel.
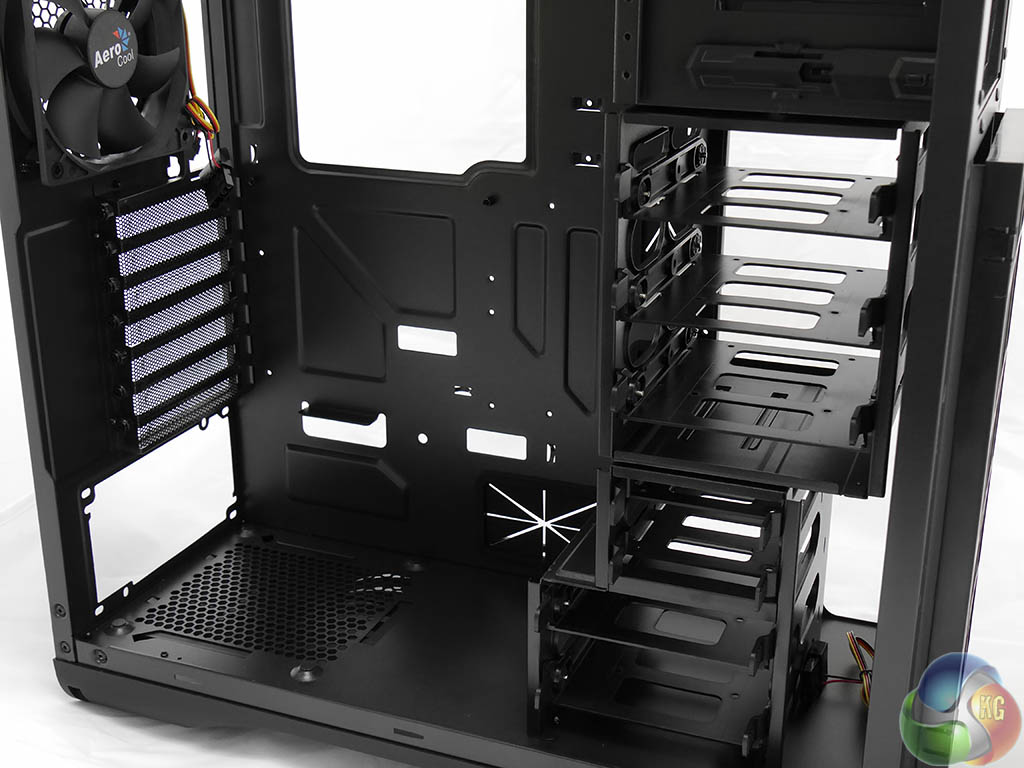
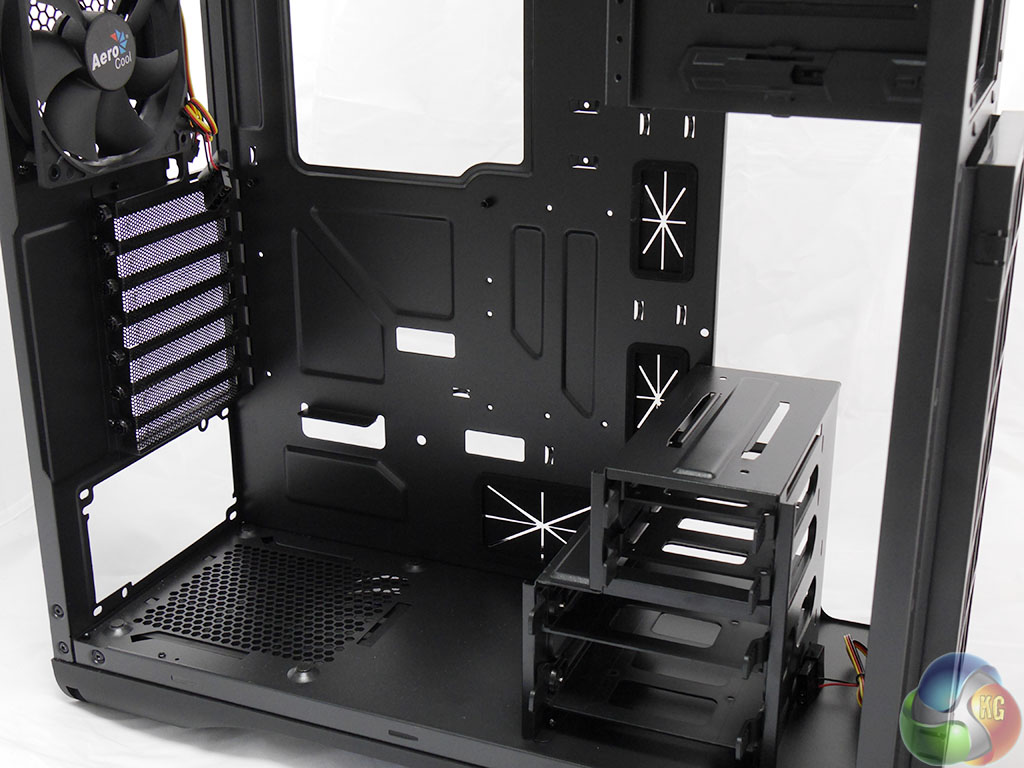
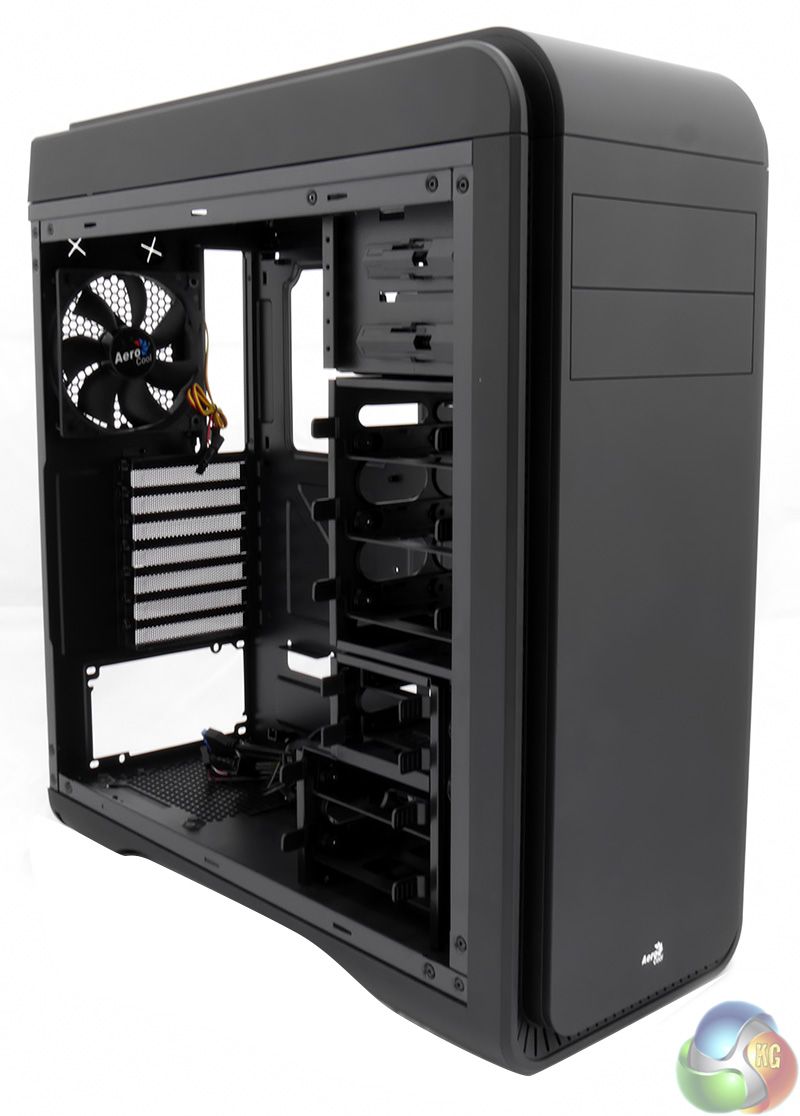
There is a large opening in the motherboard tray that gives access to the mounts for the CPU cooler. At the front of the case the drive towers are arranged in a staggered pile with two 3.5-inch/2.5-inch bays at the bottom, two 2.5-inch bays above and then another three 3.5-inch/2.5-inch bays.
The upper block of three bays can be removed to give you loads more space for a hefty graphics card. With the drive tower in place you are limited to a 280mm graphics card but once it is removed you can install a 410mm whopper.
It is worth noting that hard drives are installed with the connections sliding in first. This helps the PC build as the SATA cables can be easily hidden away however this isn't a matter of choice. If you mount the drive the wrong way round the caddy slides into place and the mounting lugs snap home and are then securely locked, which makes them very difficult to remove so you can correct your mistake.
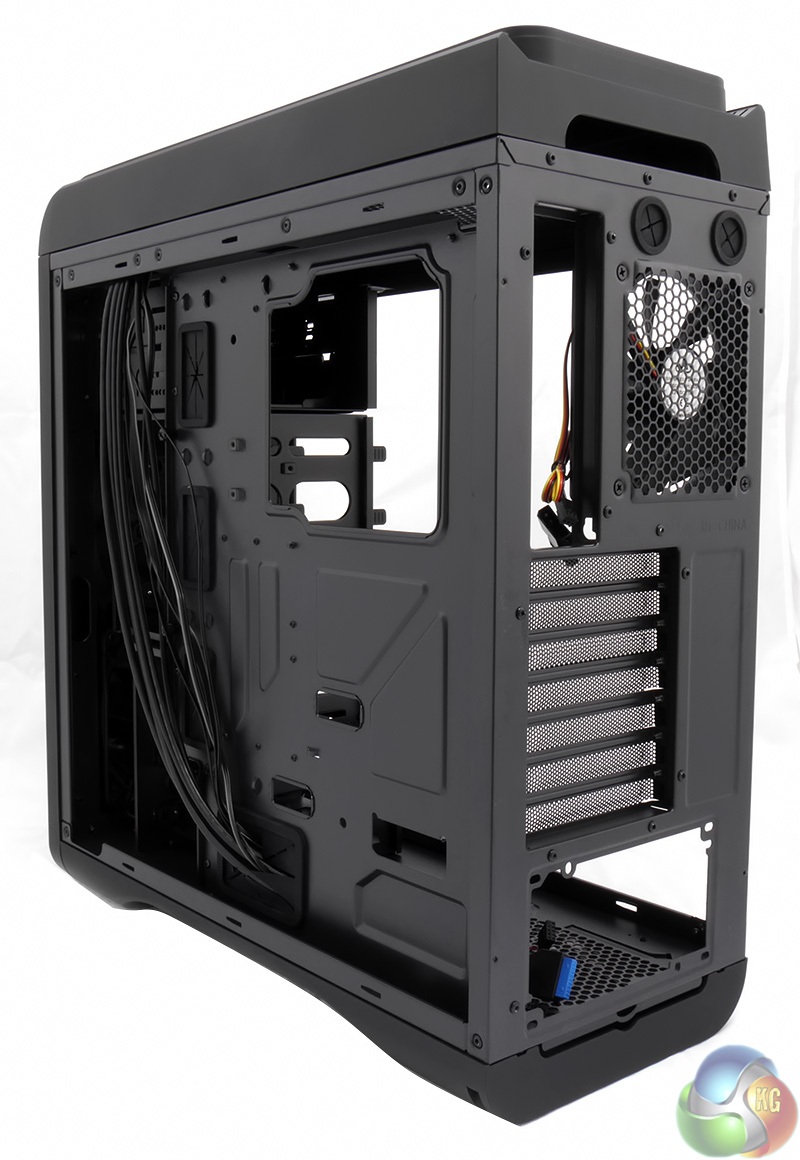
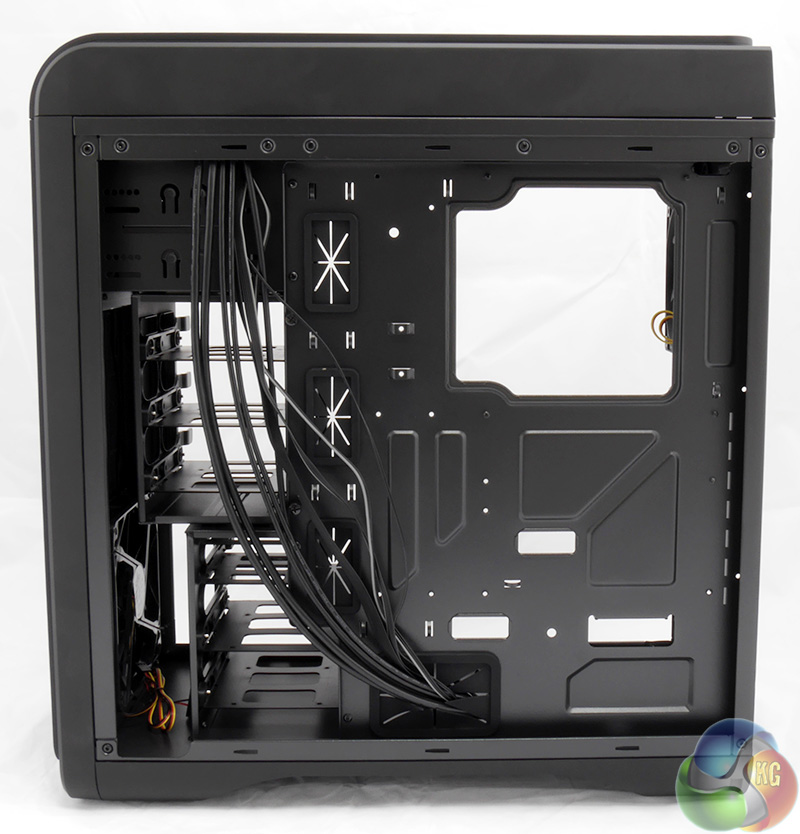

There isn't much space behind the motherboard tray. I measured 15mm of clearance and this made it quite a struggle to hide the cabling during the build and then replace the side panel. Another 10mm of clearance would have made a huge difference during the build process.
You cannot fail to notice the large amount of cabling that comes with the DS200. Attached the the top panel you have the USB 3.0, USB 2.0 and headset jacks, as well as the usual power and reset buttons and LED's. Added to that you have the fan controller wiring that acts as a hub for up to three fans using four-pin Molex connectors, or you can hook up regular fan headers. The fan controller requires its own Molex connection to the power supply to power the LCD display and the result is a thick bundle of cabling that needs to find a home.
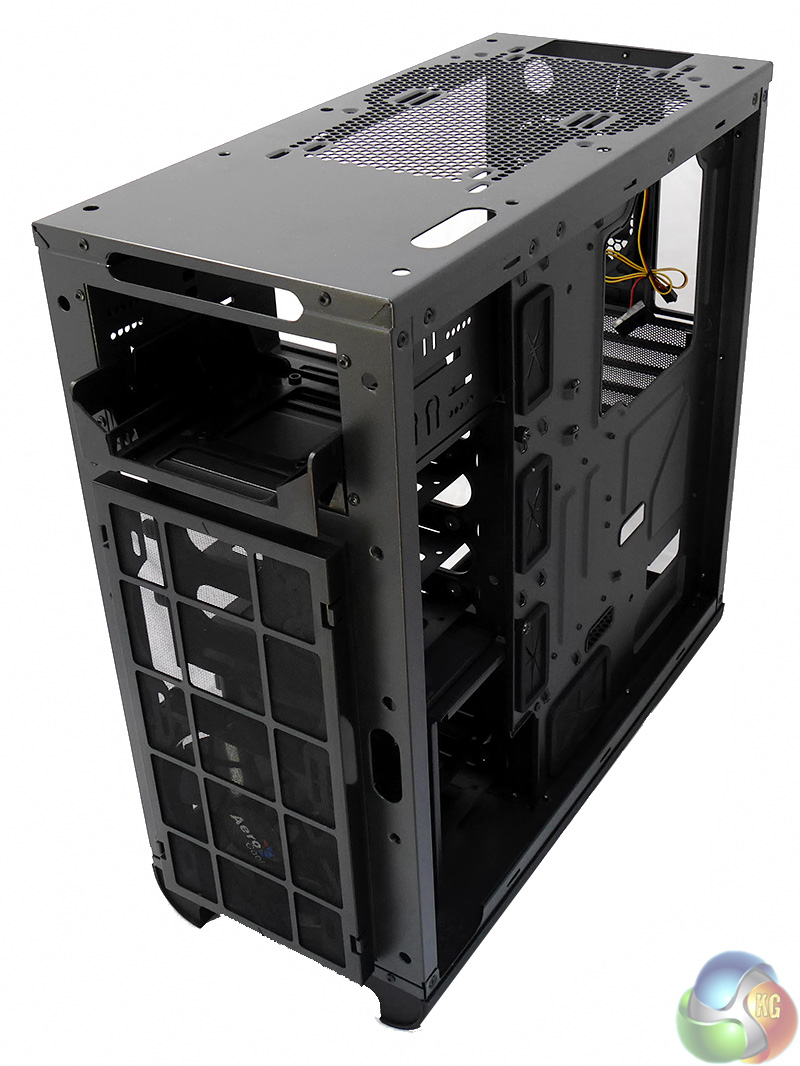
The top panel and front panel simply pull off to leave the case standing bare. They require a fair amount of force and there is a bit of popping and banging but you don't have to worry about undoing any fasteners.
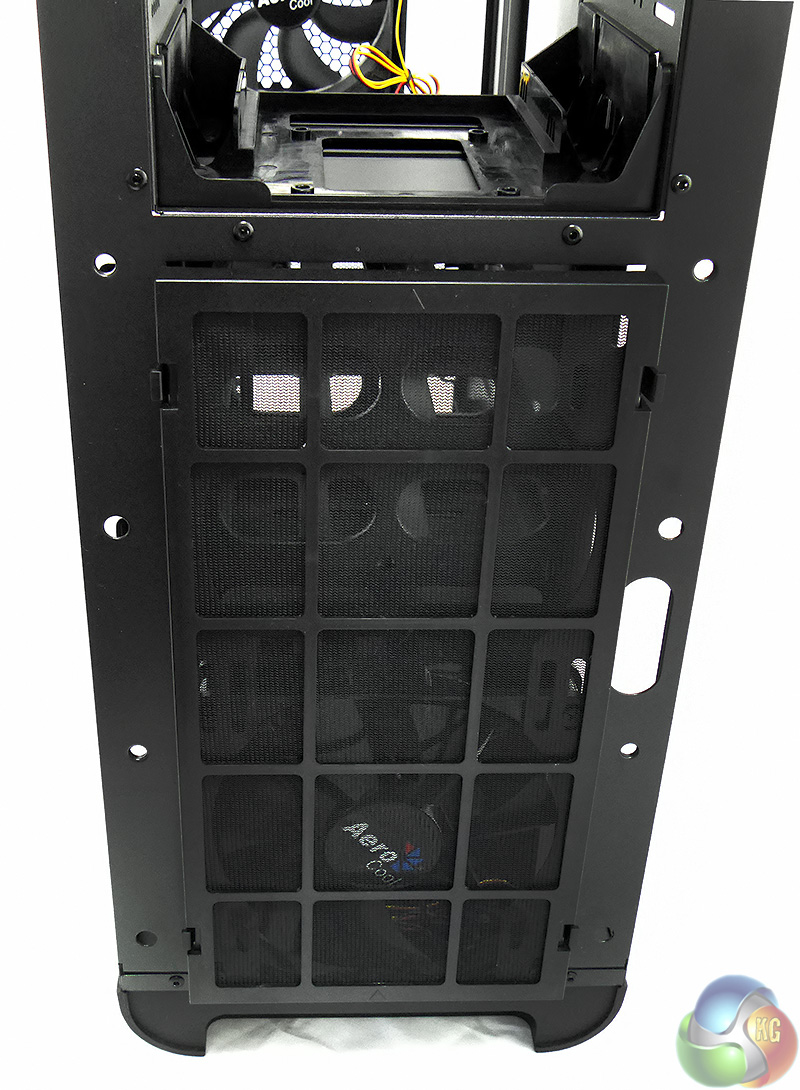
This exposes the two optical drive bays along with the washable filter screen that clips in place over the front fan positions. Release the filter and you can see the supplied 140mm fan with an empty fan housing just above. If you remove the upper drive tower this gives cooling air a straight run to your graphics card.
Simply by removing the two side panels and the top and front covers we go from a smart black mid-tower case to a bare skeleton in about, oh, one minute. Call it 45 seconds if you're trying hard.
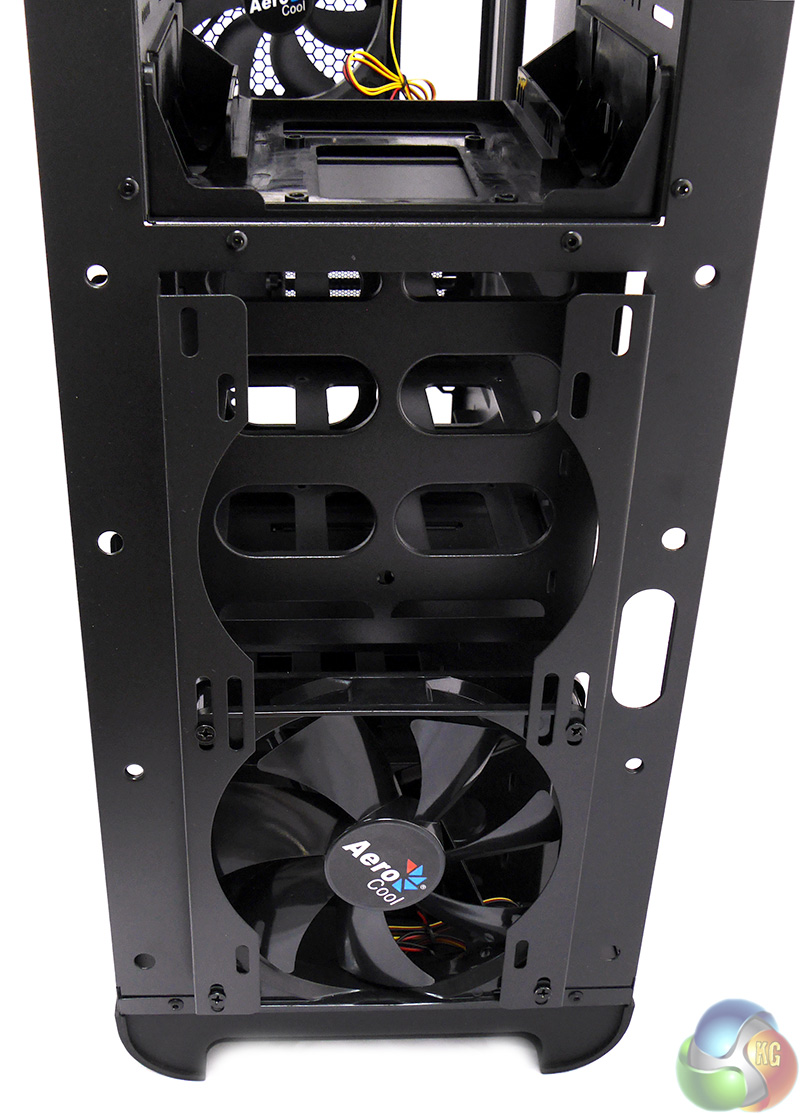
When you look at the stripped chassis the first thought is that you don't get a great deal of hardware compared, say, to the Phanteks Enthoo Pro however Aerocool has a trick up its sleeve.

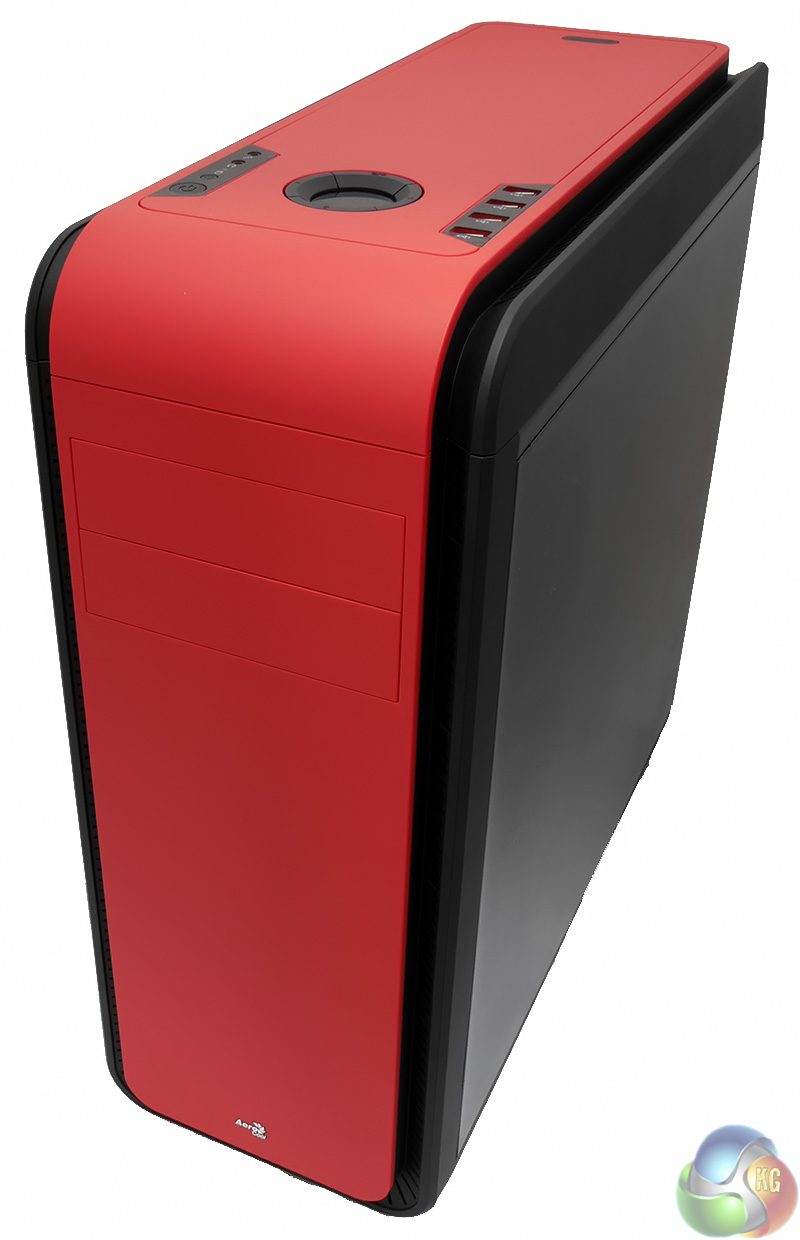
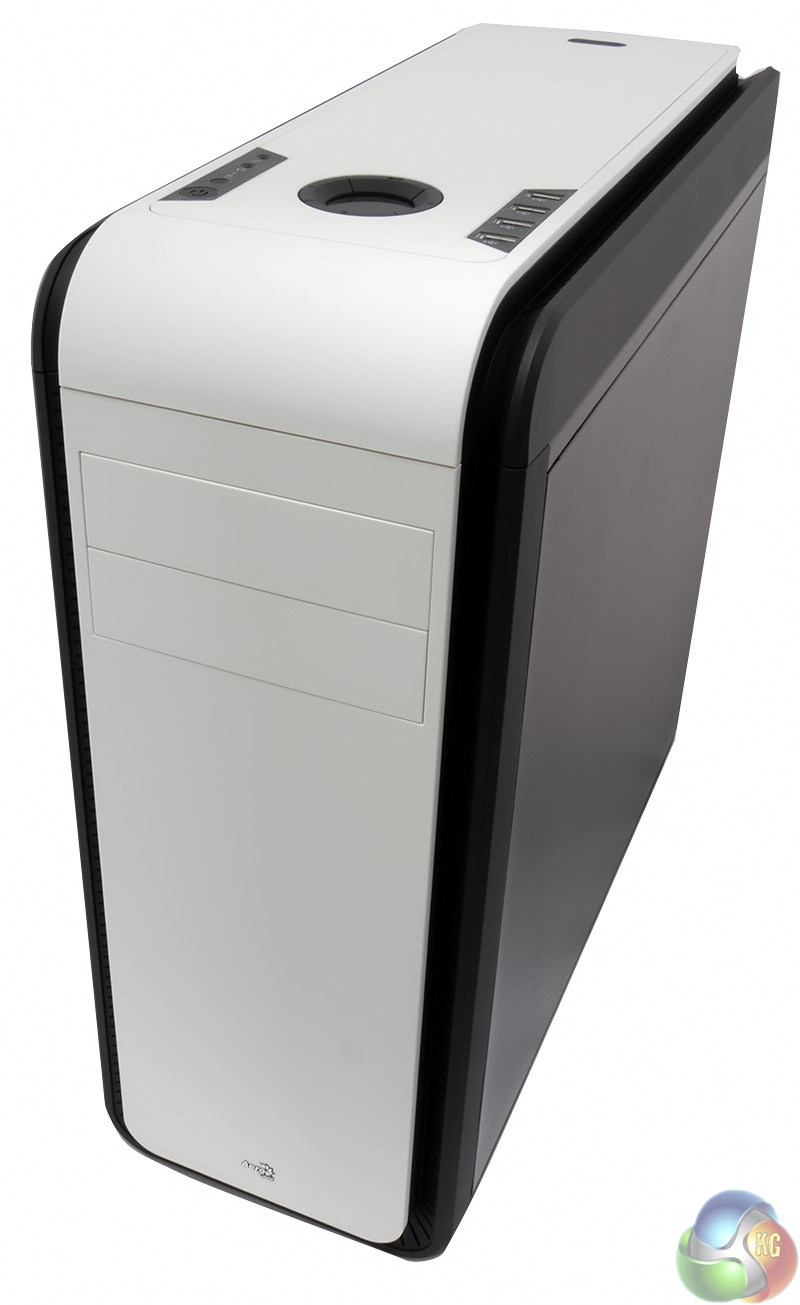

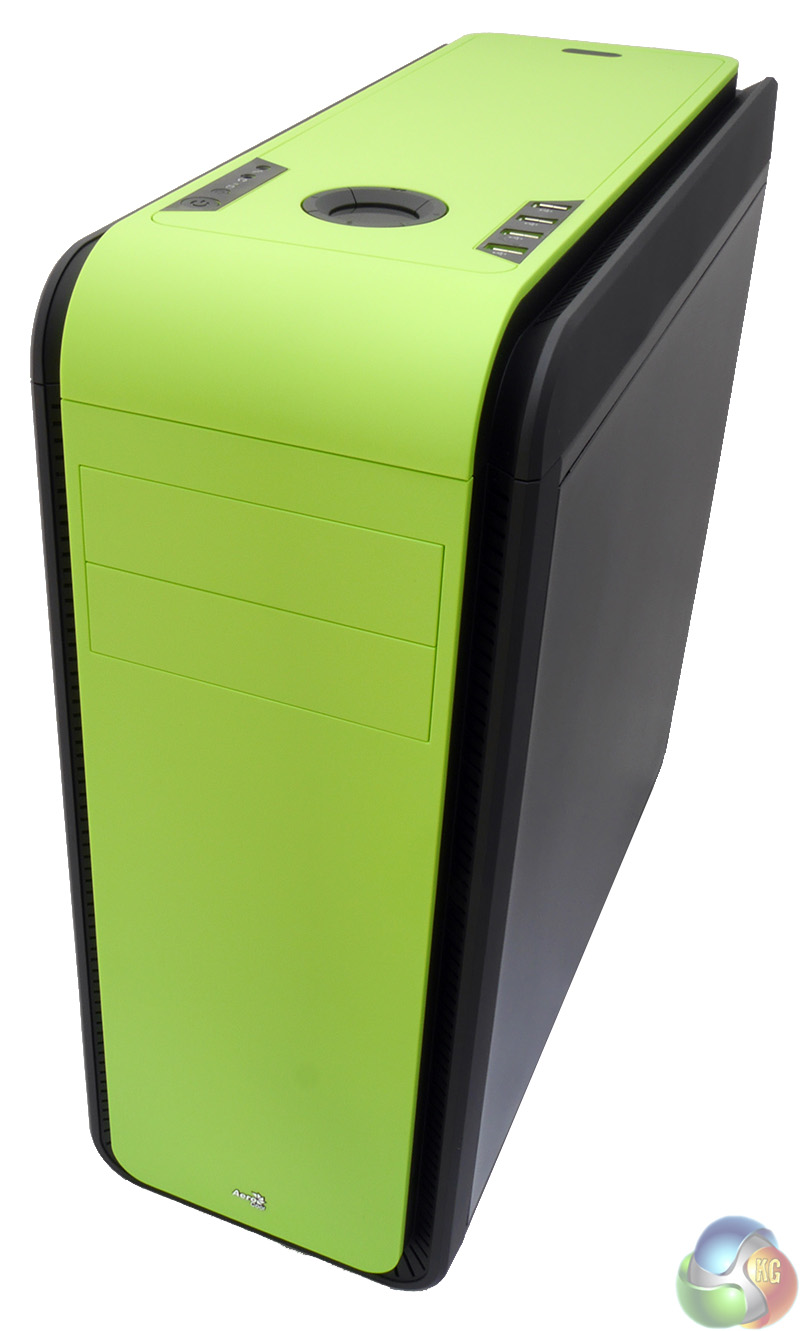
Pay a small premium and you can have a coloured case with the choice of blue, red, white, orange or green. According to Aerocool, the coloured versions will only cost £2 more (£76.99, not £74.99). Aerocool will also offer the DS200 with a windowed panel for an extra £10-£15.
The colours in question are bold and bright and have more punch than the pastel shades used by Apple on its iPod range.
I think they are terrific and feel it is a shame that you'll lose part of the visual impact if you swap the top coloured panel for the ventilated part as that will be black rather than coloured.
Take a close look at the photo with the blue panels and you'll see a gap between the front and top panels. I kicked myself when I saw the photos and assumed I hadn't snapped the pieces into place correctly. So I dragged the blue parts out of the box and clipped them back in place and still had the gap, which tells me that one panel or other was poorly moulded at the factory. We hope this is an ‘early review sample' issue but we needed to mention it for the sake of being completely transparent with our readers.
I like the fact that you can choose green, blue or red to reflect the brand of graphics card or CPU inside your PC. I plumped for orange as that matches the Sapphire Radeon R9 graphics card I was using.
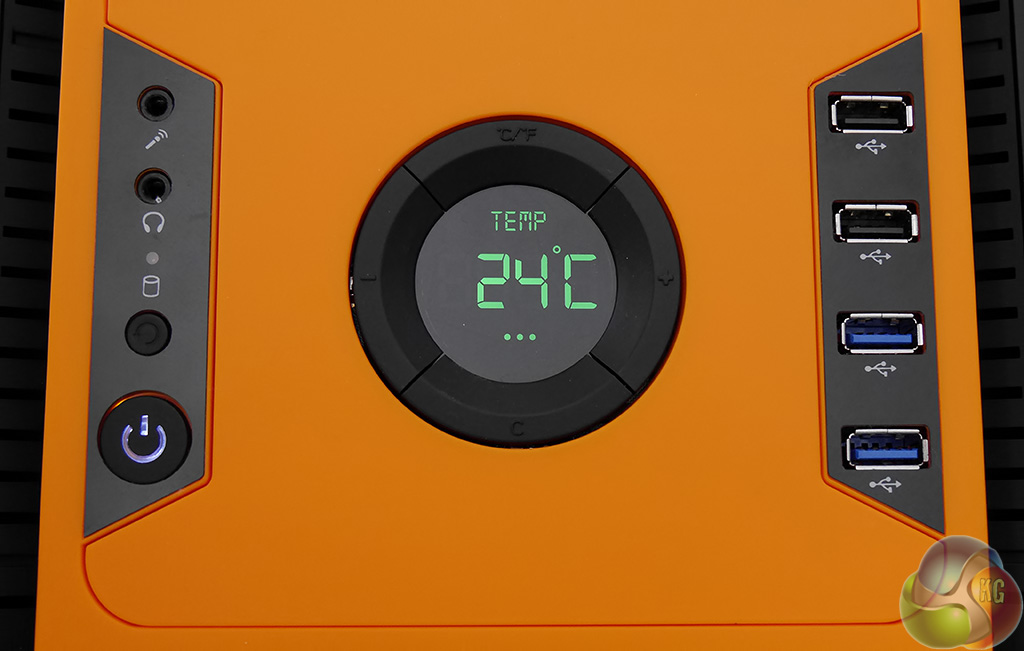


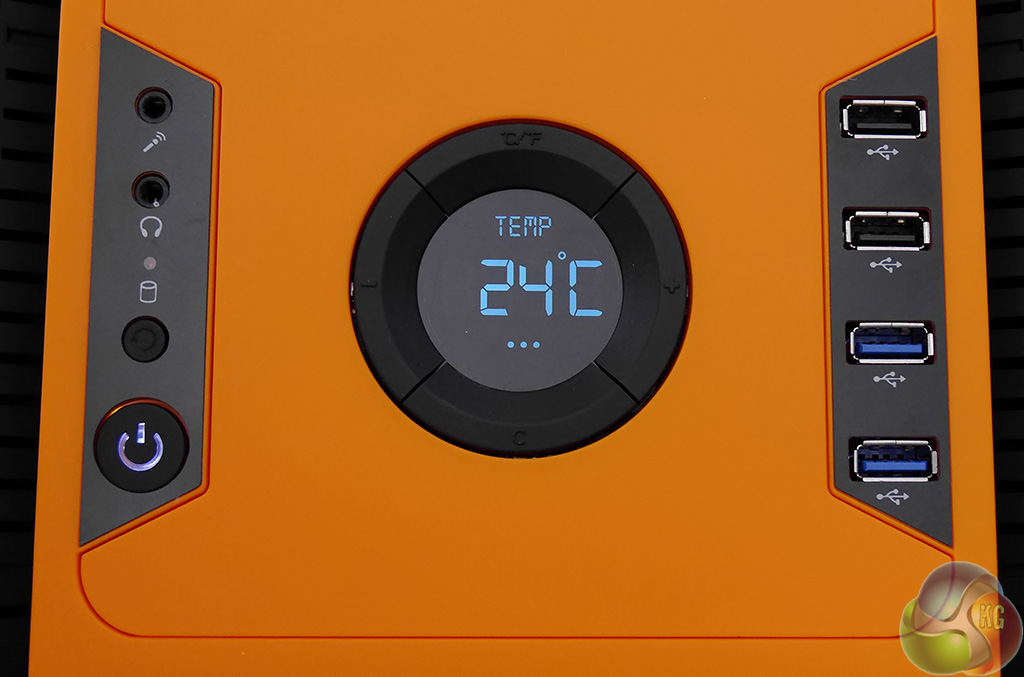
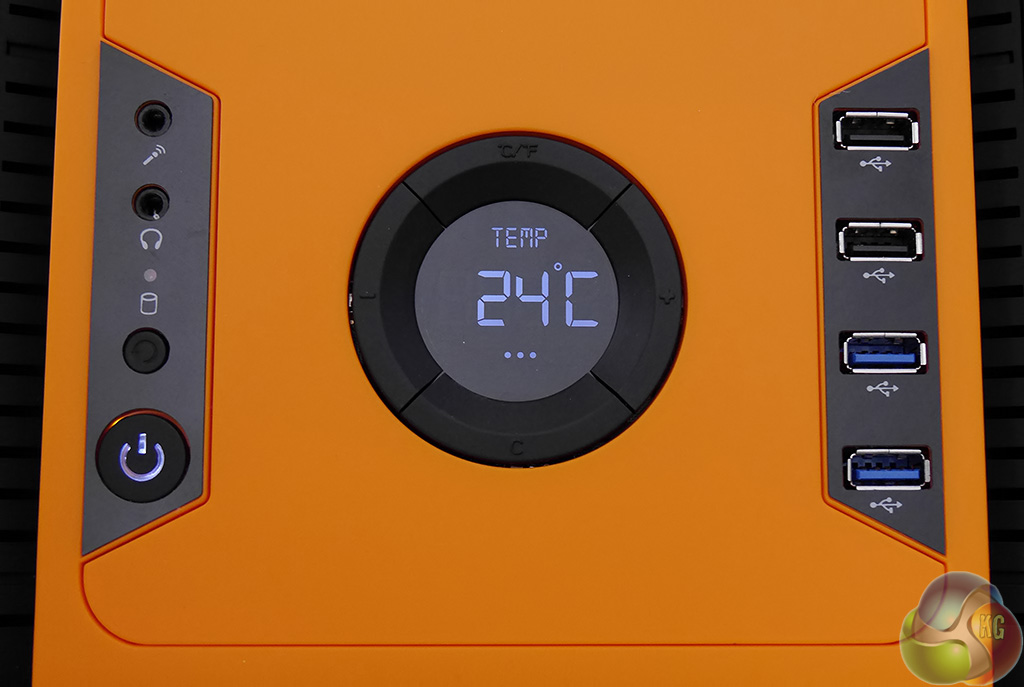
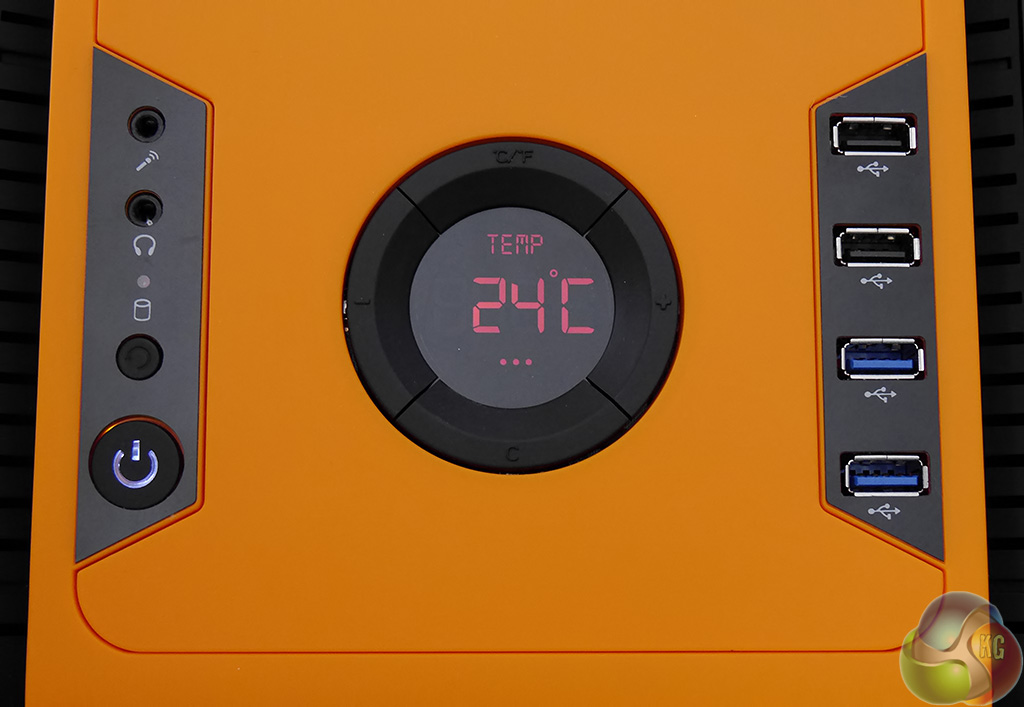
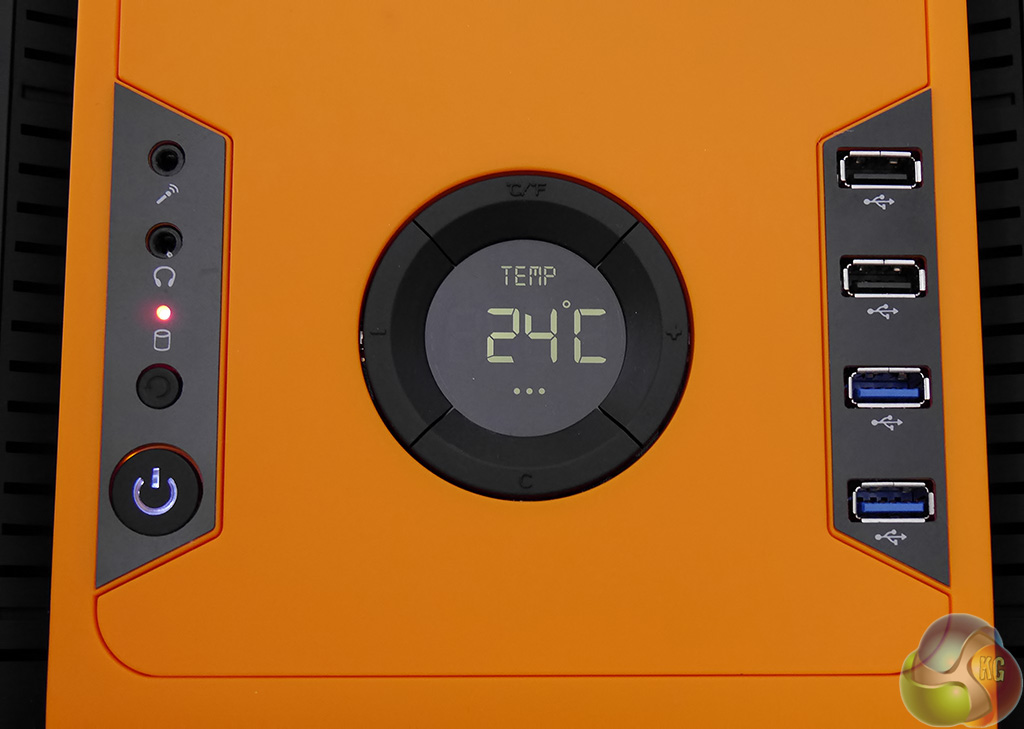
There is more coloured fun in store as you can change the LCD to display temperature in green, dark blue, purple, light blue, violet, red or orange.

How can a review littered with so many negatives, especially important ones like cramped conditions, mediocre cooling and lack of cable space be awarded a must have award. I mean I know its plastered all over the main page but I really think without the advertising this would have scraped a worth having at the most. Just my thoughts, review was great as always.
I think Levisevis that the price is the reason it scores high, its pretty cheap considering what you get, so the negative points can be overlooked a bit. I do know what you mean though. I hope advertising doesn’t affect scores here, but I can see the selling points on the earlier pages which really do look quite good to me.
Excellent review guys 🙂 for excellent product 🙂