

Installing the ASRock motherboard and Core i7 in the Aerocool chassis wasn't quite as easy as it might have been.
The case arrives with three standoffs in place so you have to install the others. I found the threads were rather stiff but life would probably have been easier if I had the Aerocool turn cap tool that is listed in the manual but was missing from my review sample. It would have also helped if Aerocool included a fixed location pin in the tray to help the process of lining up the motherboard.
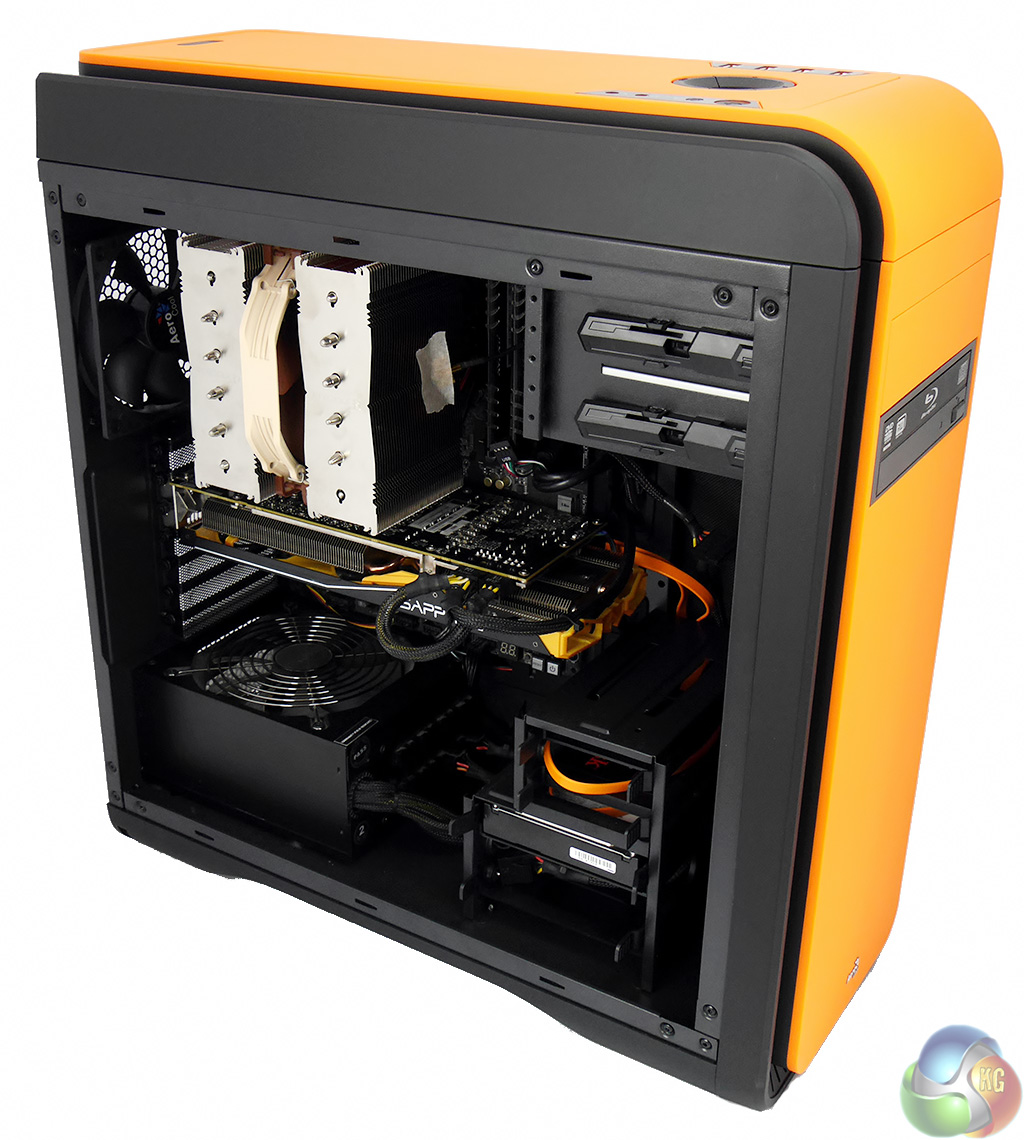
The other hardship that I faced was installing the enormous Noctua NH-D15 air cooler as there was very little clearance between the cooler and the top of the case. Then I had to select a location for the temperature sensor that feeds the LCD display on the top of the case. At first I taped the sensor to the motherboard to get an ambient figure inside the case but this doesn't really tell you very much so I decided it made more sense to fix the sensor to the fins of the Noctua air cooler.
And that, gentle reader, is my explanation for the piece of masking tape you see in the photo.
I connected the two Aerocool fans to the DS200 fan controller but connected the Noctua fan to the CPU fan header on the motherboard. This seemed like the neatest solution and frankly I wasn't clear how many fans I could connect to the Aerocool controller without passing the maximum recommended power draw of 25W.
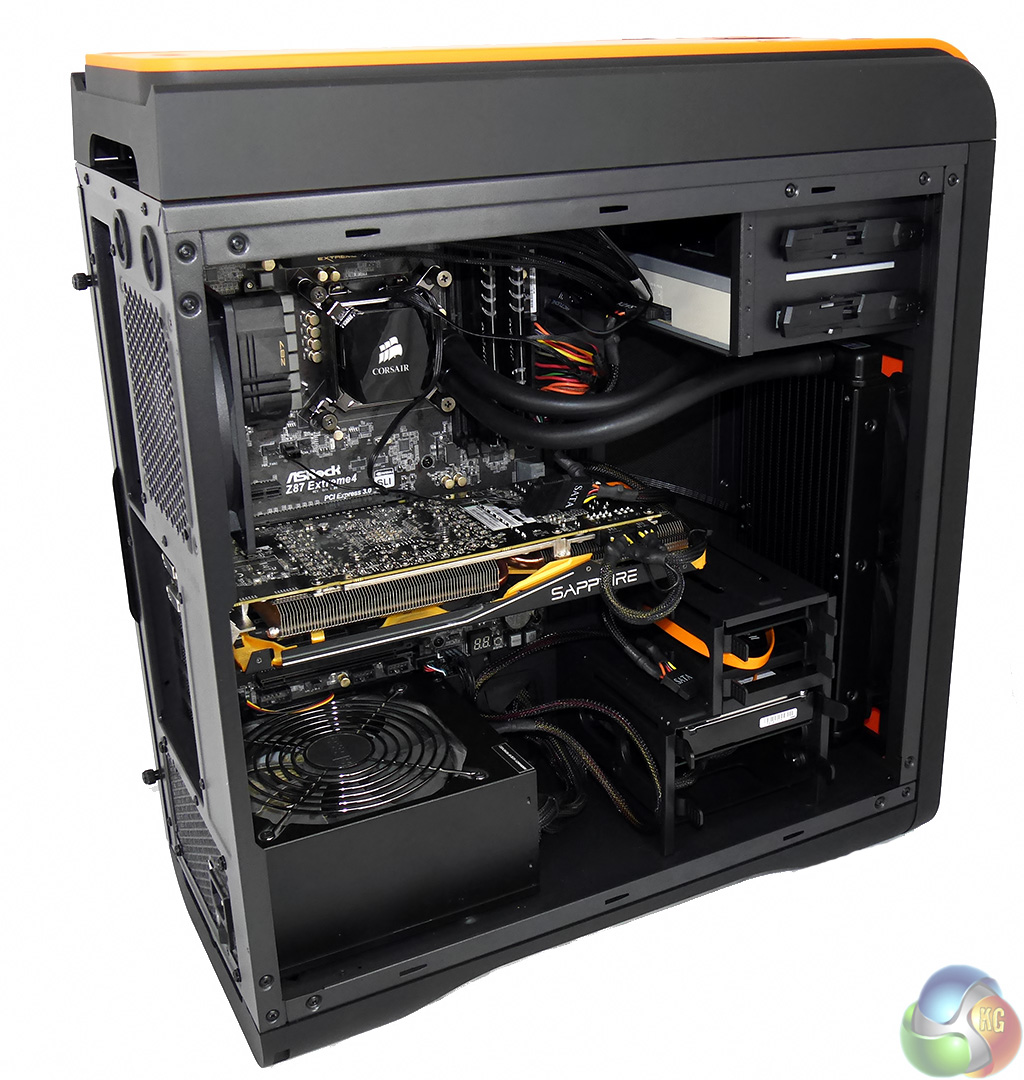
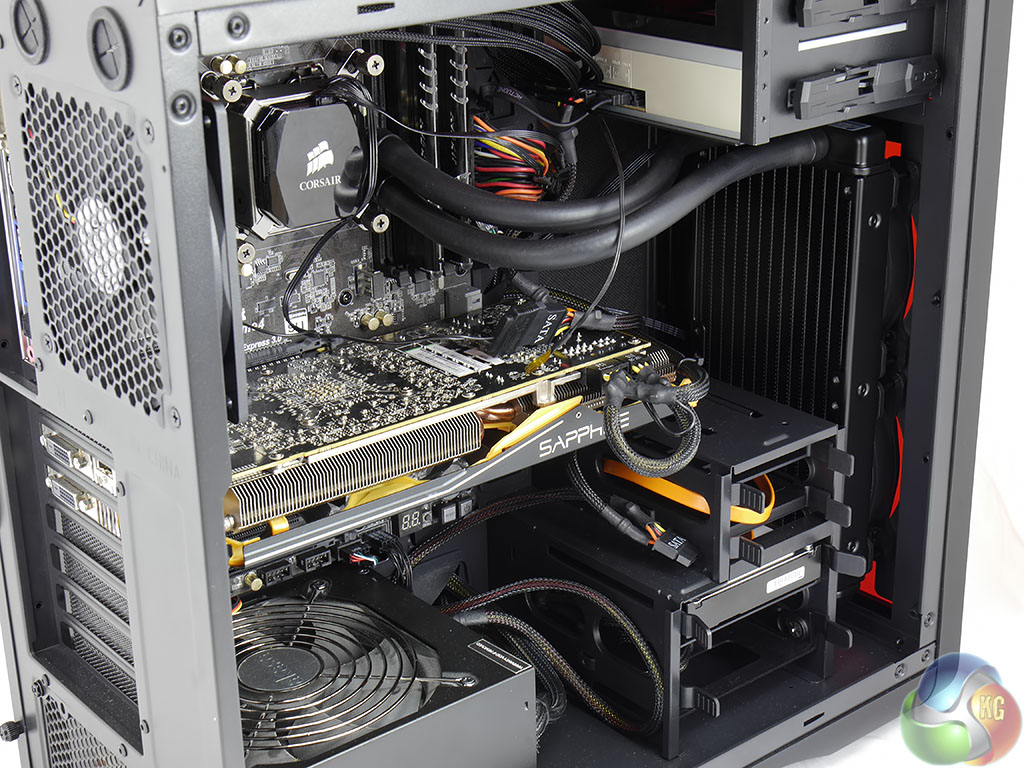
Installing the Noctua H100i liquid cooling system was also a bit fiddly. Once I removed the front panel and the stock 140mm fan I was able to install the radiator and two 120mm fans.
Aerocool explains the procedure in its manual however the picture is small and not especially clear and it took a couple of attempts to get it right. The 120mm/140mm fan mounts use slots rather than holes and I found the fans moved around as I was lining up the mounting screws.
Once the hardware was in place the PC looked clean and tidy and in particular the area around the CPU socket was opened up to the air flow.
I was happy with the appearance of the DS200 but it has to be said the cabling wasn't quite as neat as I might have hoped and it was a struggle to replace the side panel behind the motherboard.

How can a review littered with so many negatives, especially important ones like cramped conditions, mediocre cooling and lack of cable space be awarded a must have award. I mean I know its plastered all over the main page but I really think without the advertising this would have scraped a worth having at the most. Just my thoughts, review was great as always.
I think Levisevis that the price is the reason it scores high, its pretty cheap considering what you get, so the negative points can be overlooked a bit. I do know what you mean though. I hope advertising doesn’t affect scores here, but I can see the selling points on the earlier pages which really do look quite good to me.
Excellent review guys 🙂 for excellent product 🙂