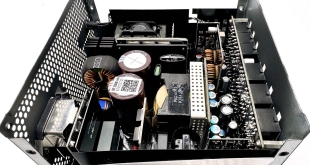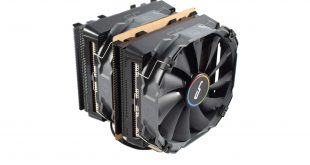
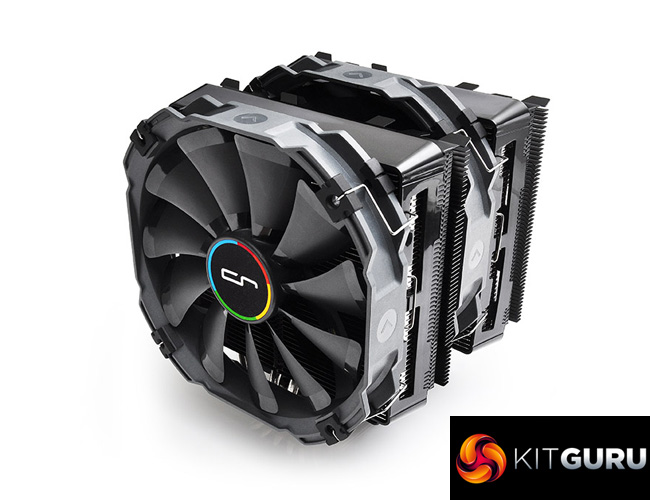
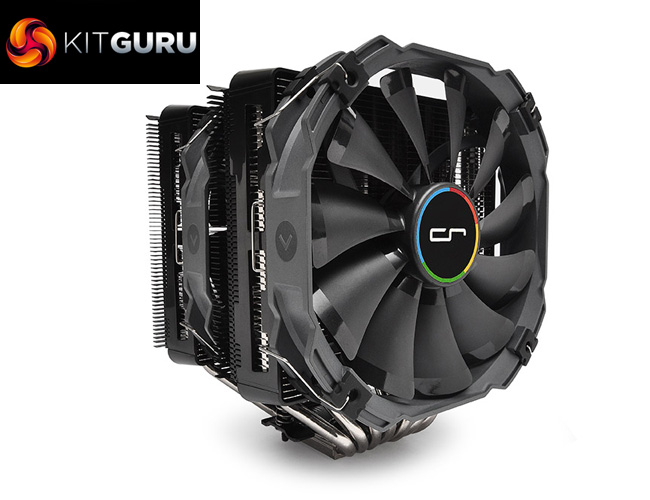
Hot on the heels of our Cryorig H7 review we are looking today at the R1 Ultimate. A monster of an air cooler, the R1 Ultimate features twin 140mm fans, along with 7 copper heatpipes, while it measures nearly 170mm tall. If you want the best performance without buying a liquid cooler, could this be the answer?
Thanks to the excellent performance of the Cryorig H7, we have high hopes for the R1 Ultimate. It is also worth mentioning that the R1 Ultimate is priced at £76.99 here in the UK, so we will have to see if that represents good value or not. Read on for the full review, including our analysis of the cooler's features, installation process and performance.
Specification
Heatsink Specification:
- Dimension ( with fan ): L142.4 mm x W140 mm x H168.3 mm
- Weight ( with fan ): 1282 g
- Weight ( without fan ): 970 g
- Heat pipes: 6mm heatpipe x 7 units
- Front Fin: T = 0.4 mm ; Gap = 2.4 mm
- Front Fin Pcs: 42 pcs
- Rear Fin: T = 0.4 mm ; Gap = 1.8 mm
- Rear Fin Pcs: 53 pcs
- Copper Base: C1100 Pure copper nickel plated
- Distance From Center: 40 mm
- RAM Height Limit: 30 ~ 35 mm ( Fan position adjustable )
- TDP: 250 W+
Fan Specification:
- Dimension: L140 mm x W140 mm x H25.4 mm
- Weight: 156 g
- Rated Speed: 700 ~ 1300 RPM ±10 %
- Noise Level: 19 ~ 23 dBA
- Air Flow: 76 CFM
- Air Pressure: 1.44 mmH2O
- Ampere: 0.16 A

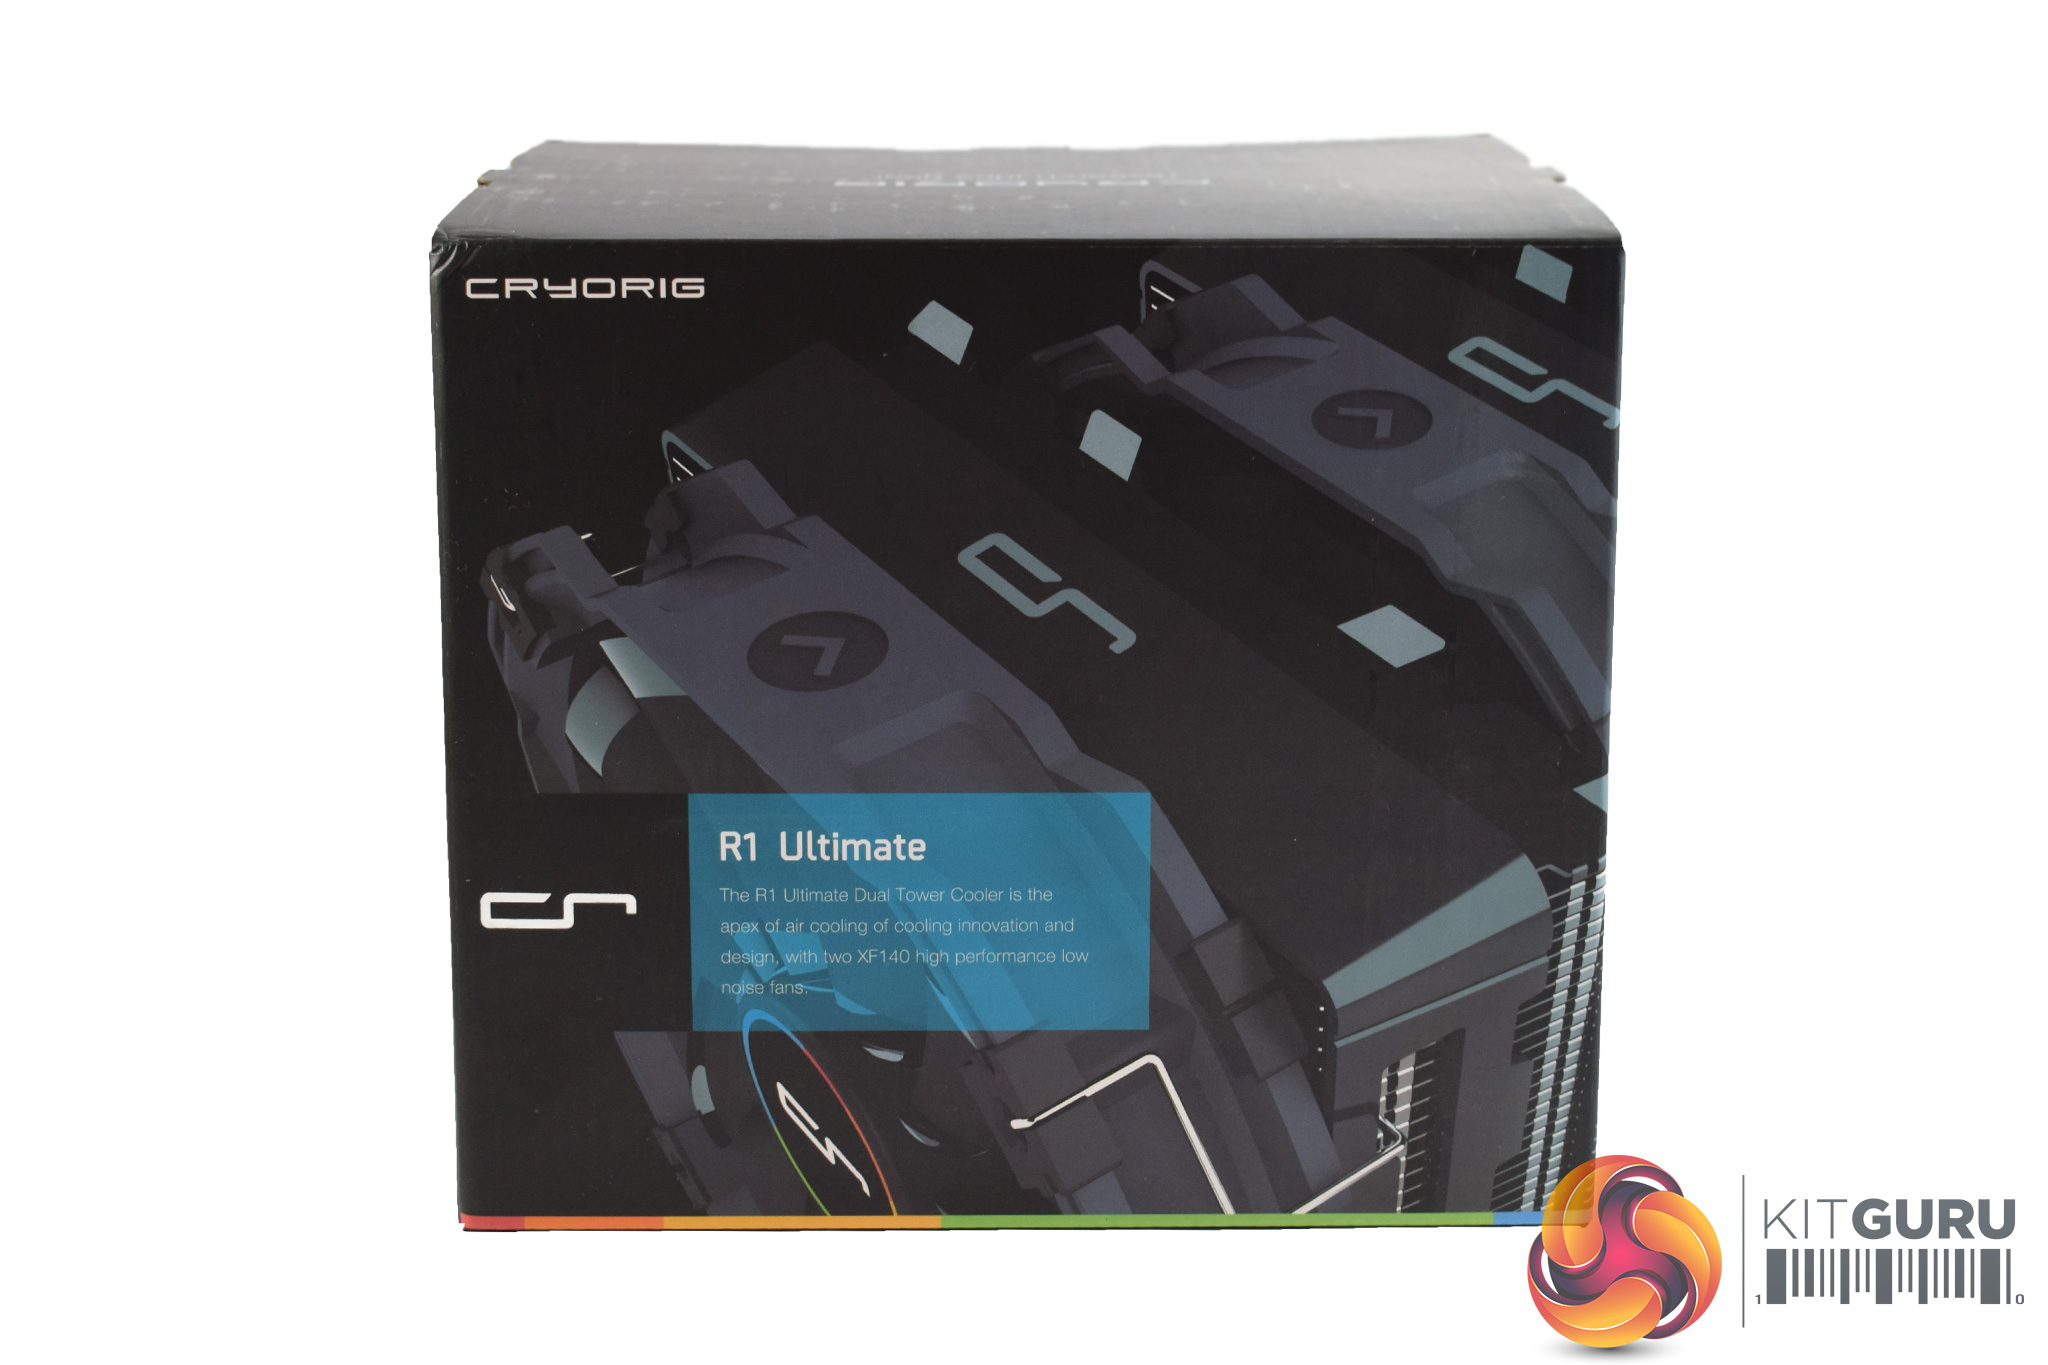
The Cryorig R1 Ultimate ships in a dark box, with a close-up photo of the top of the cooler visible from the front.
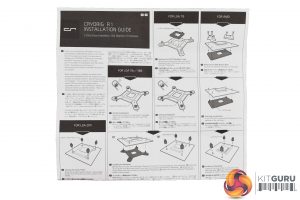
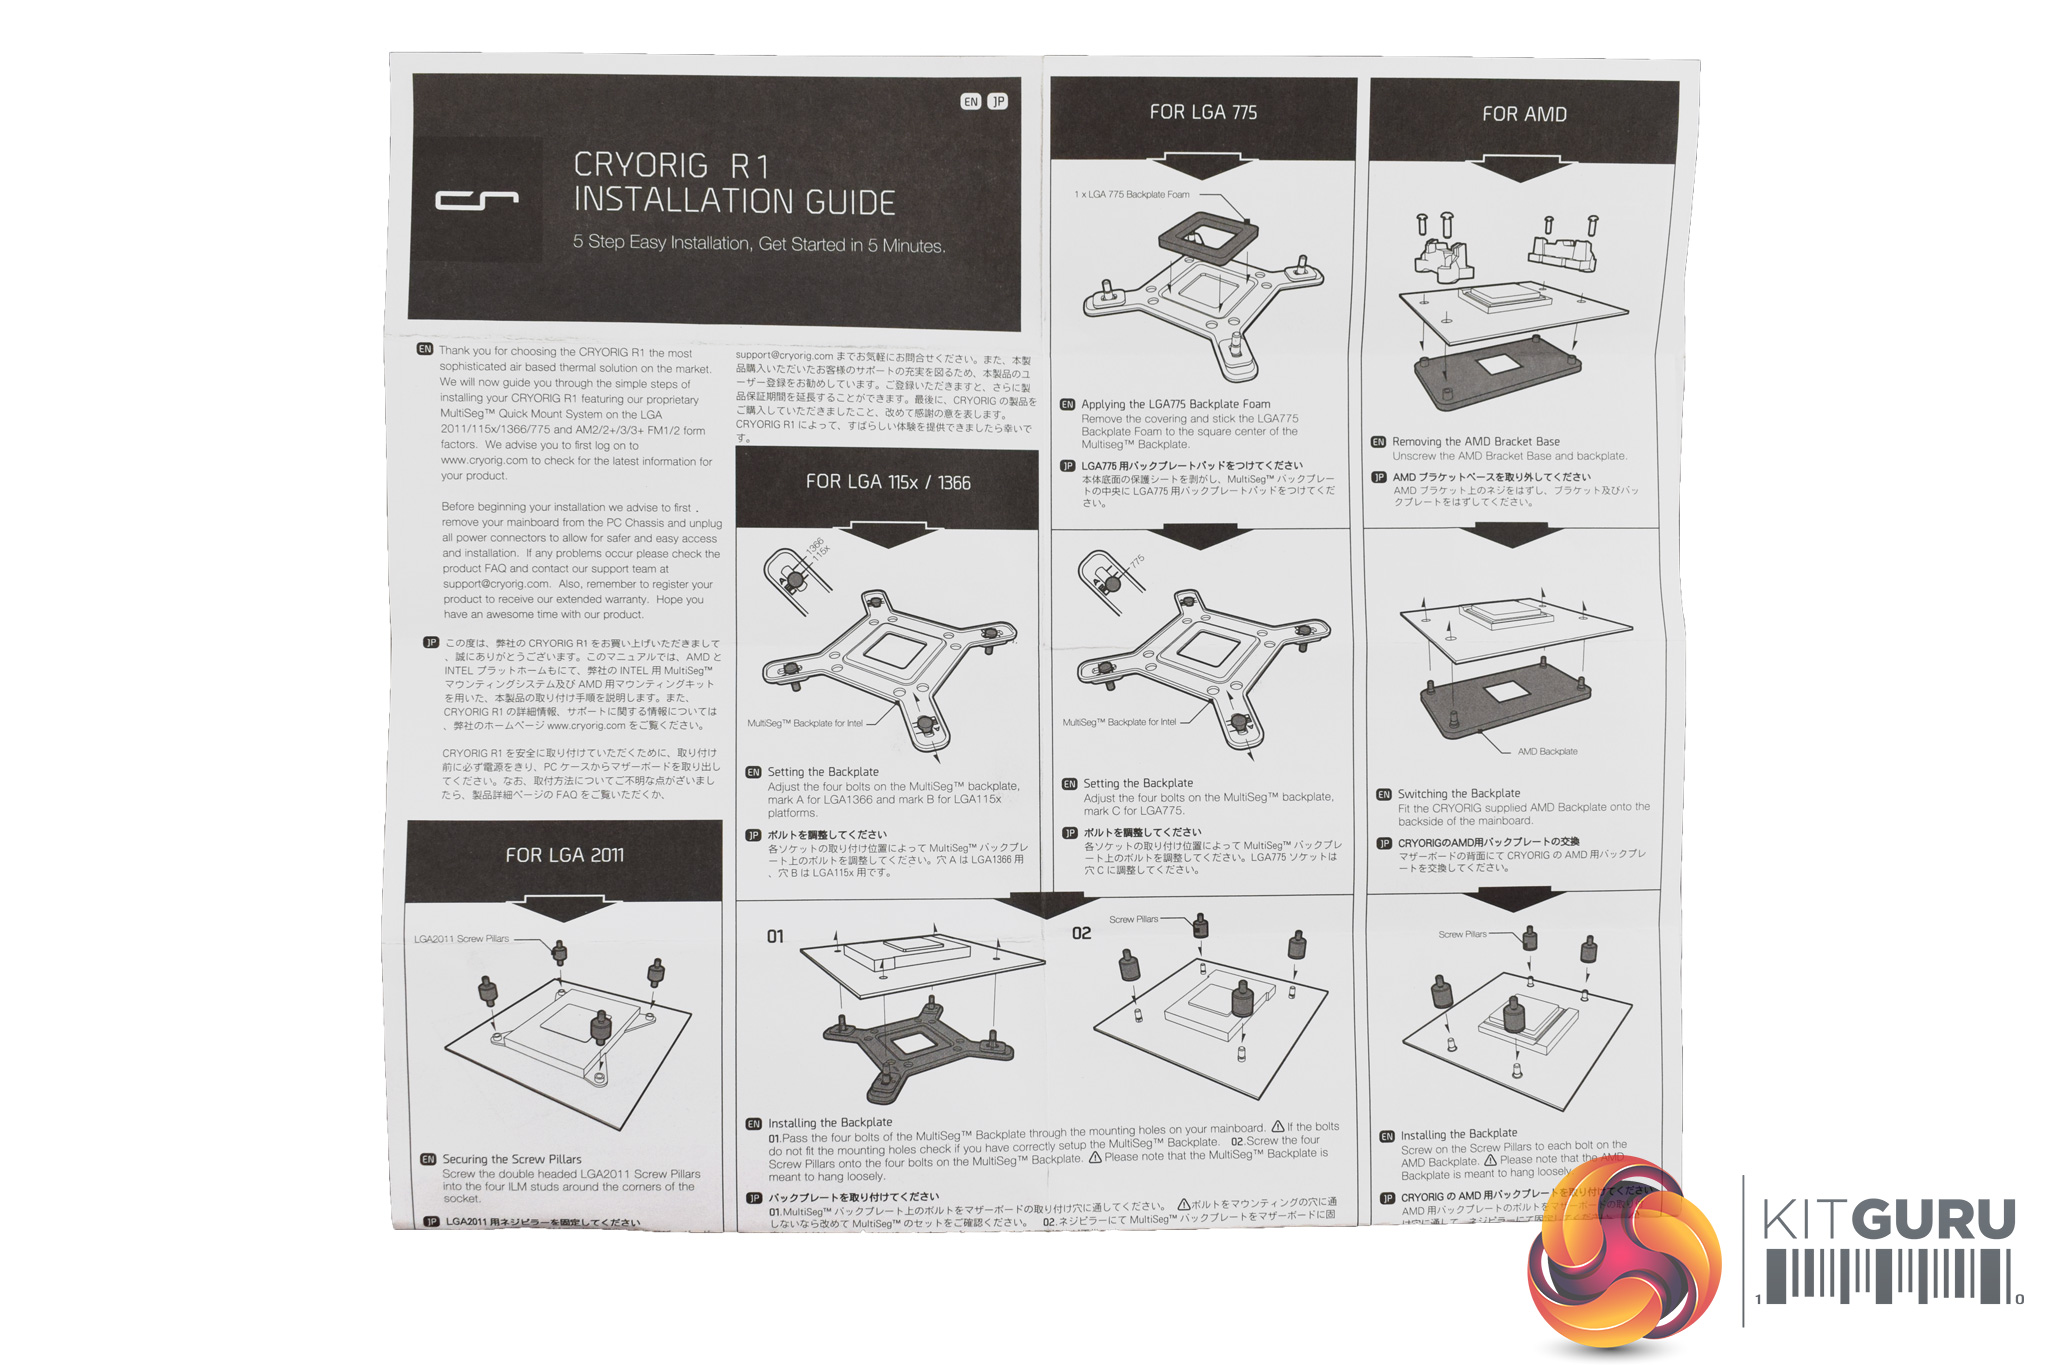
Inside, the first thing to note is the manual – it is well-written and the diagrams are clear. For those interested, we go over the installation process on the next page.
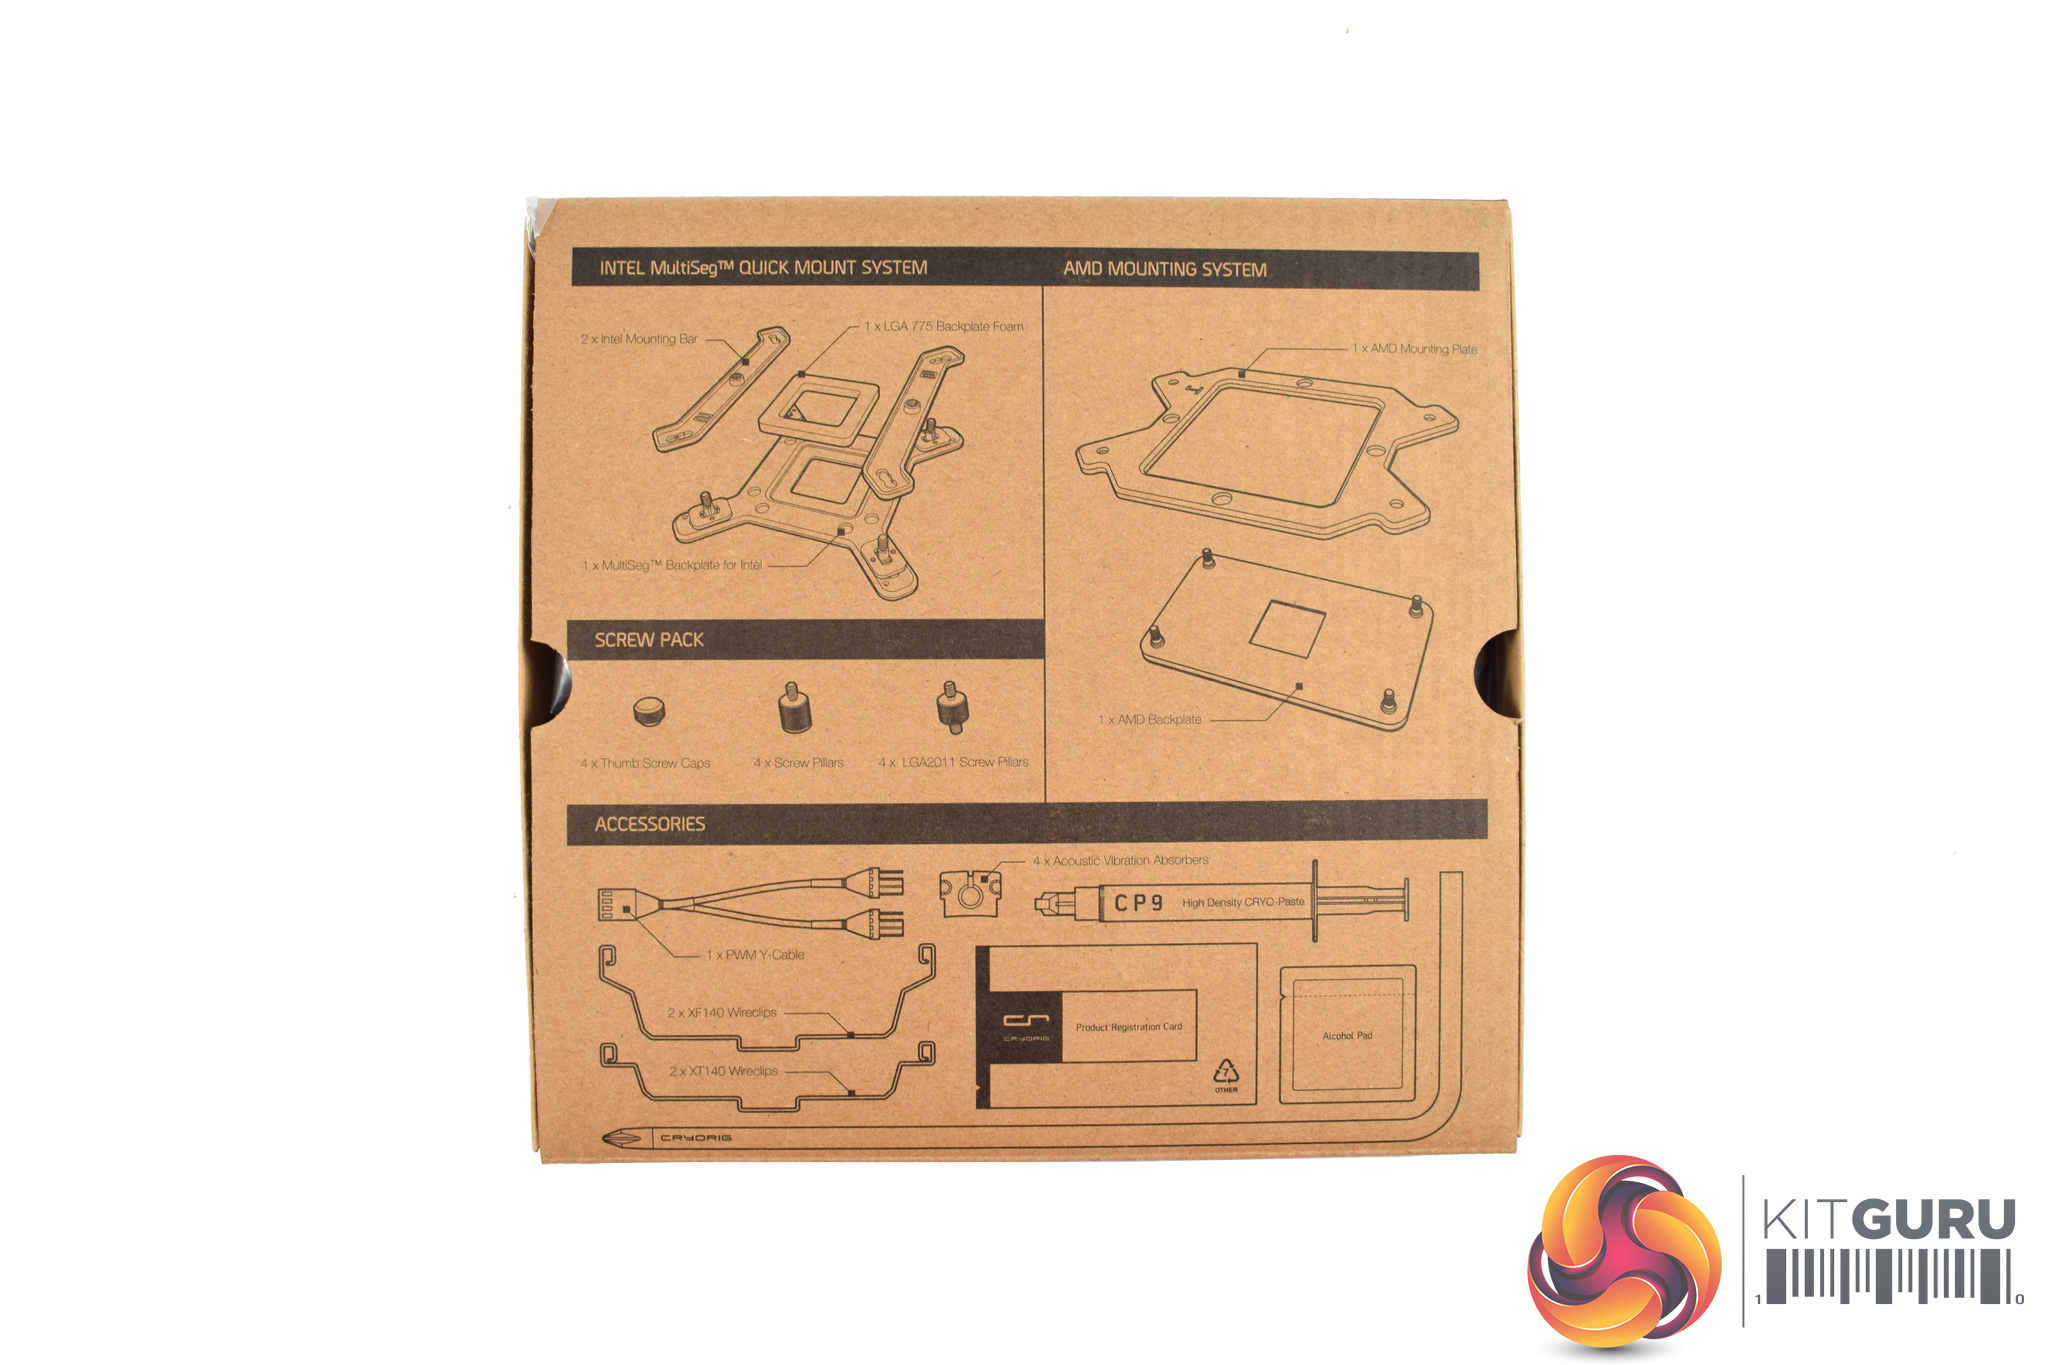
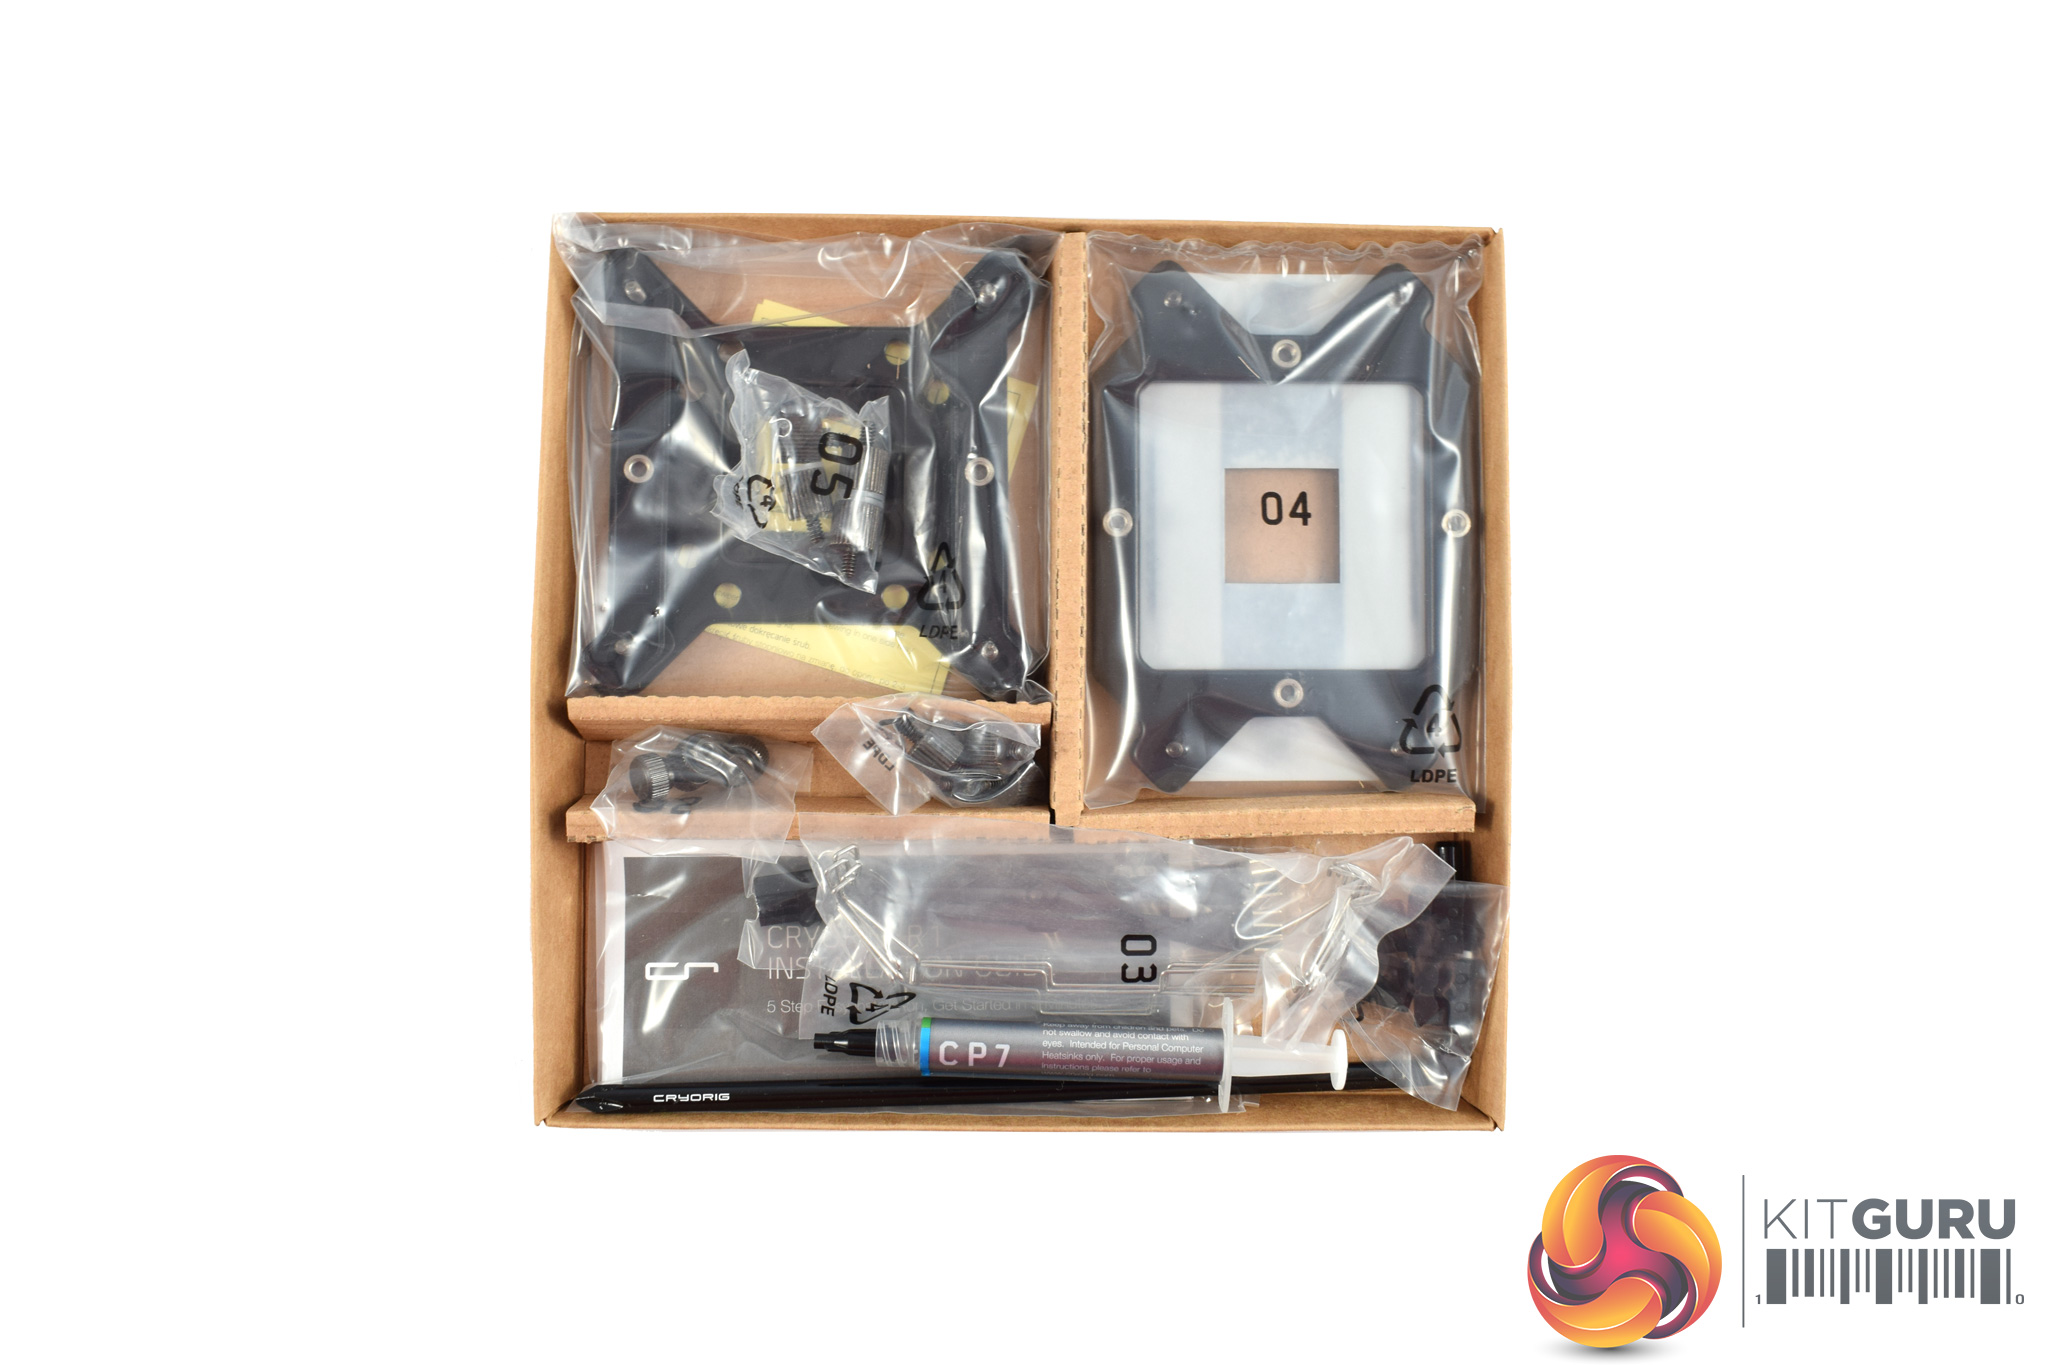
All of the installation hardware comes very well-presented in a dedicated box. Inside, everything is individually bagged and labelled, so top marks to Cryorig here.

After that, all that's left is the cooler itself.
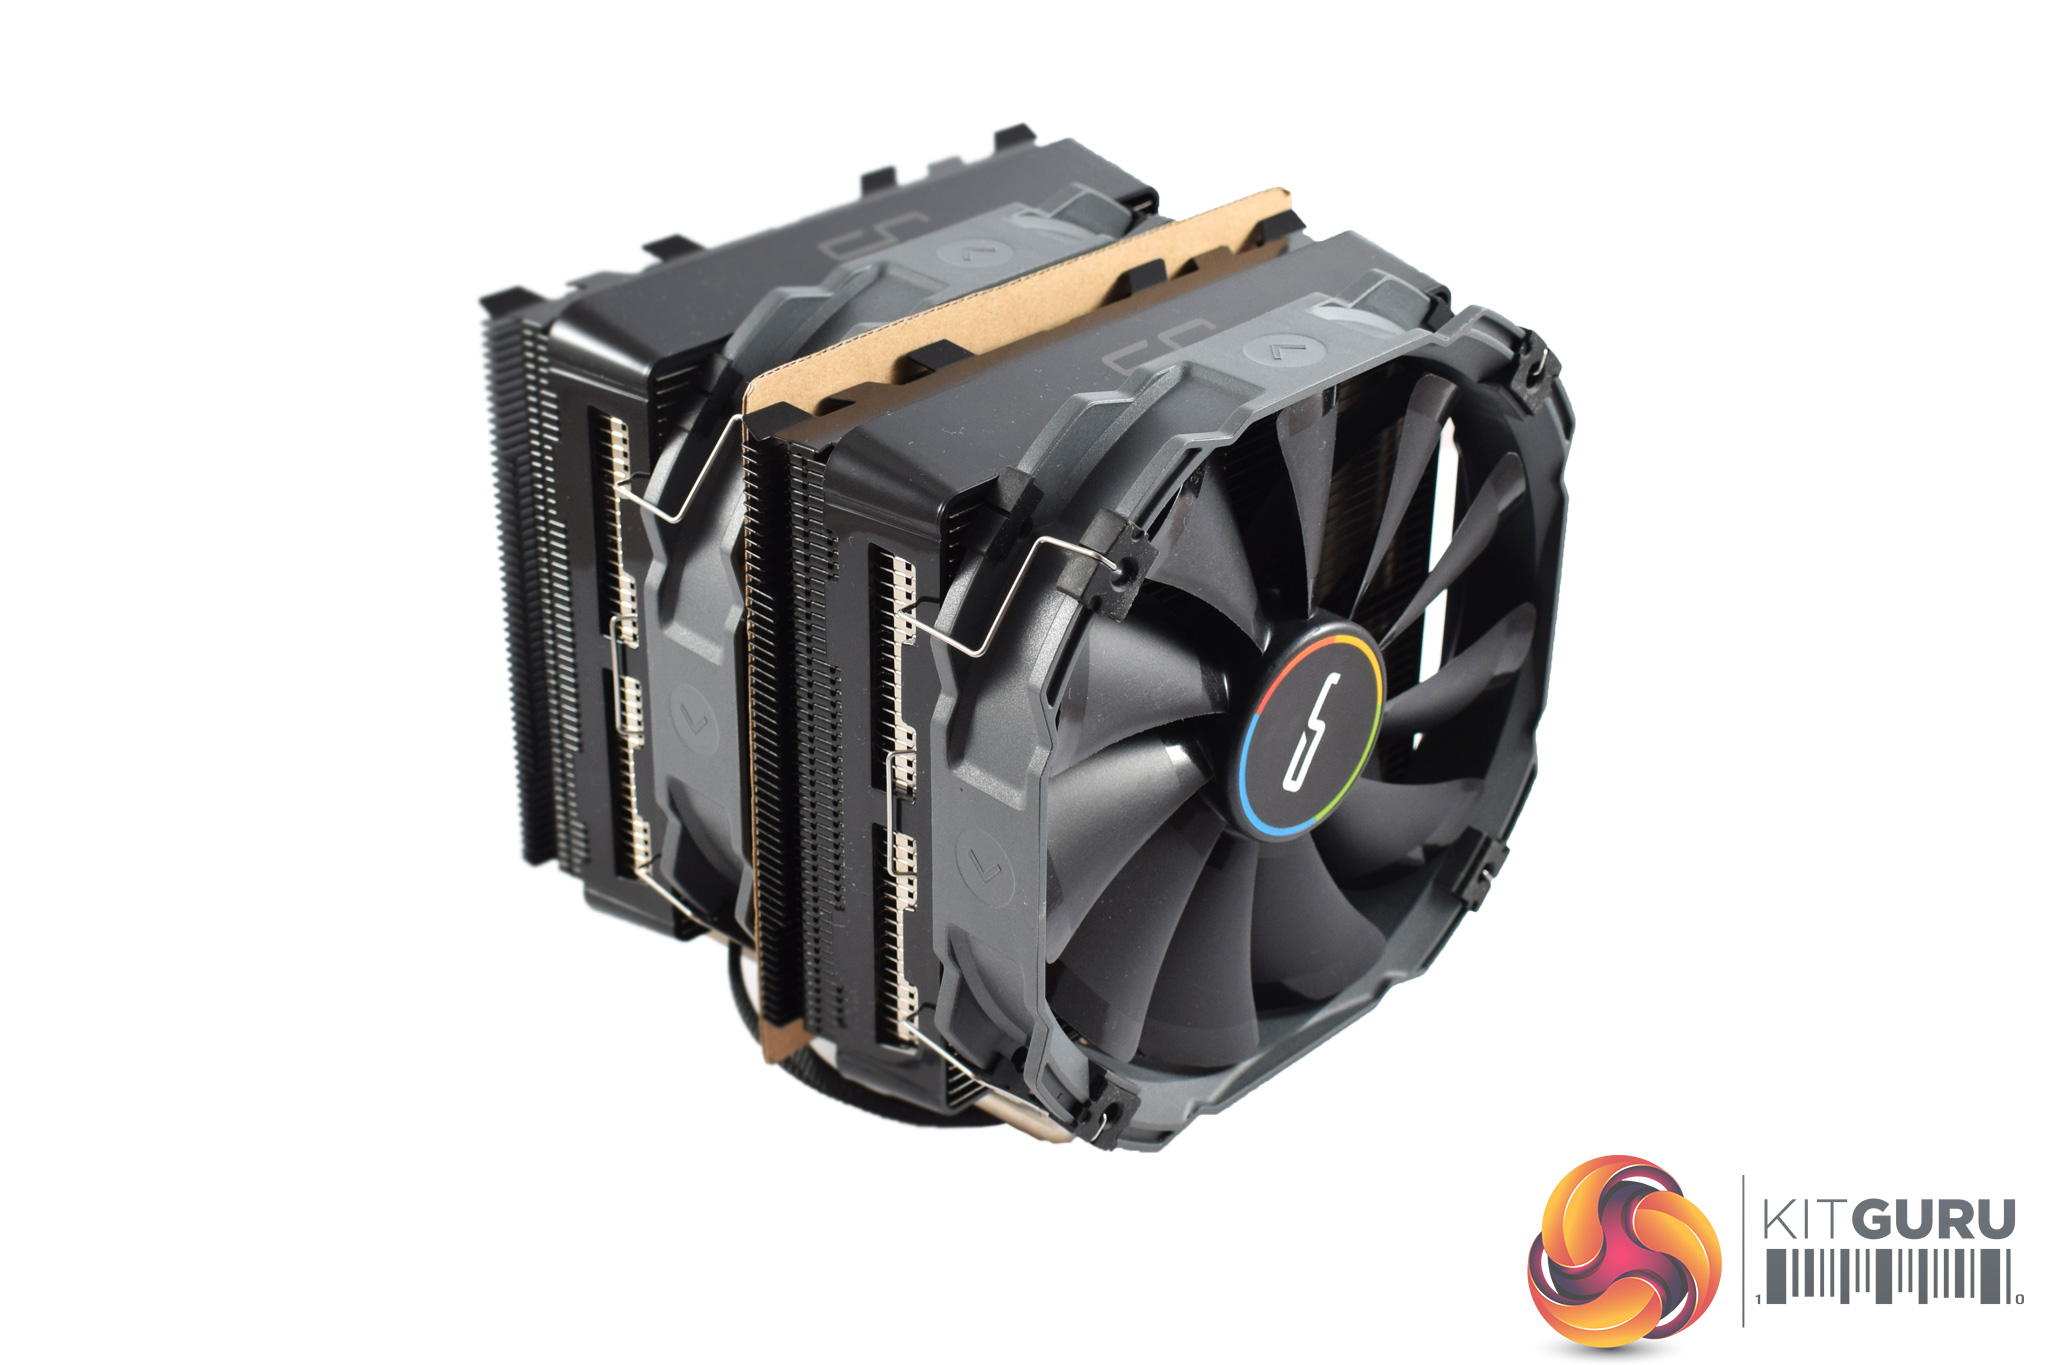
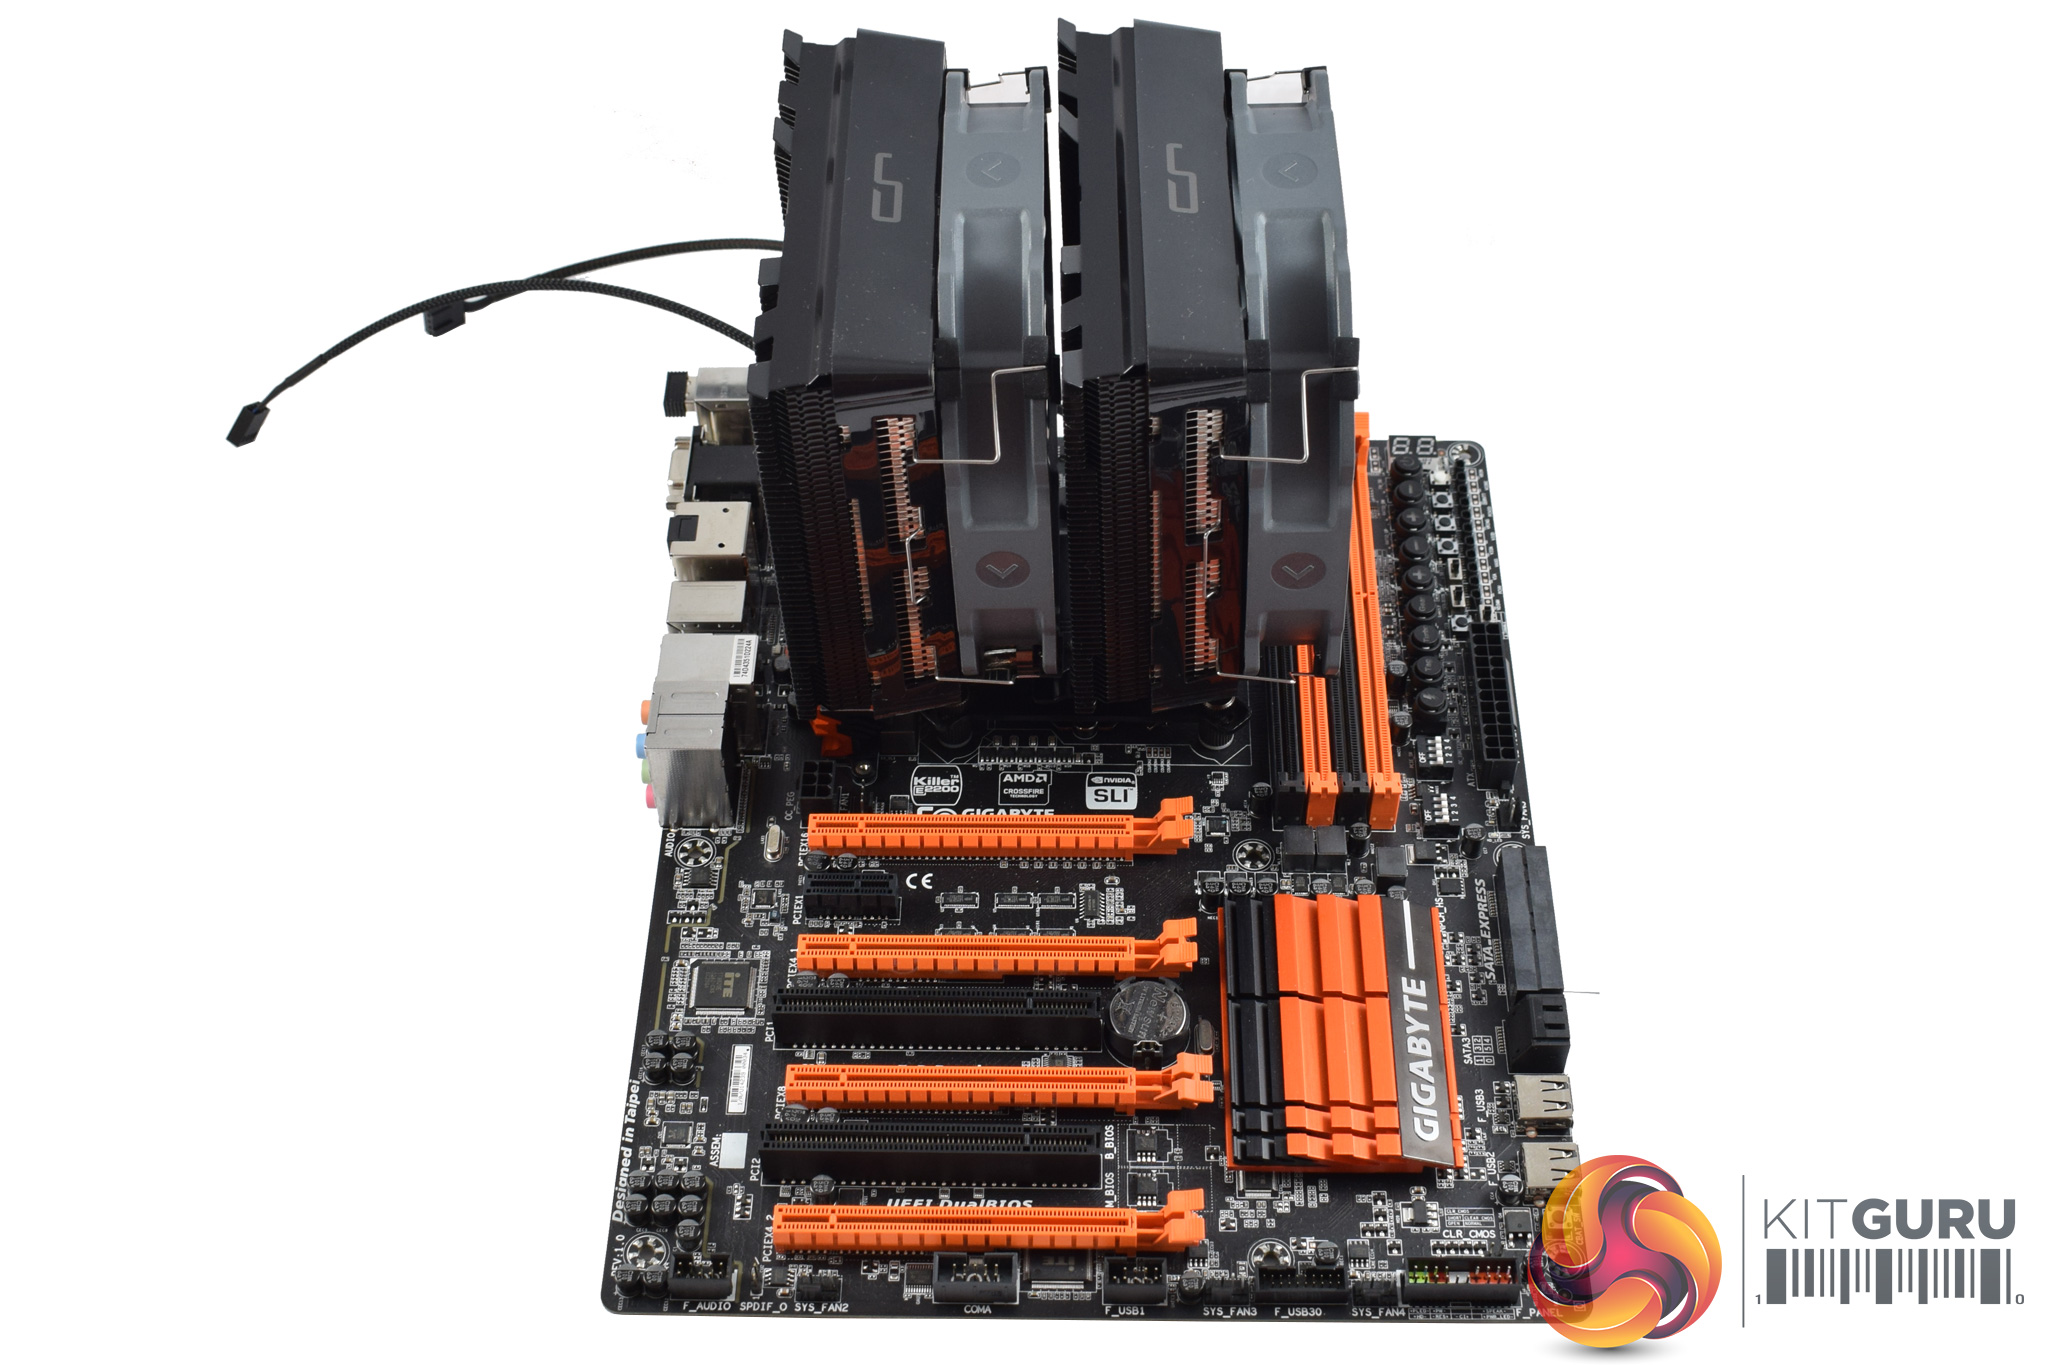
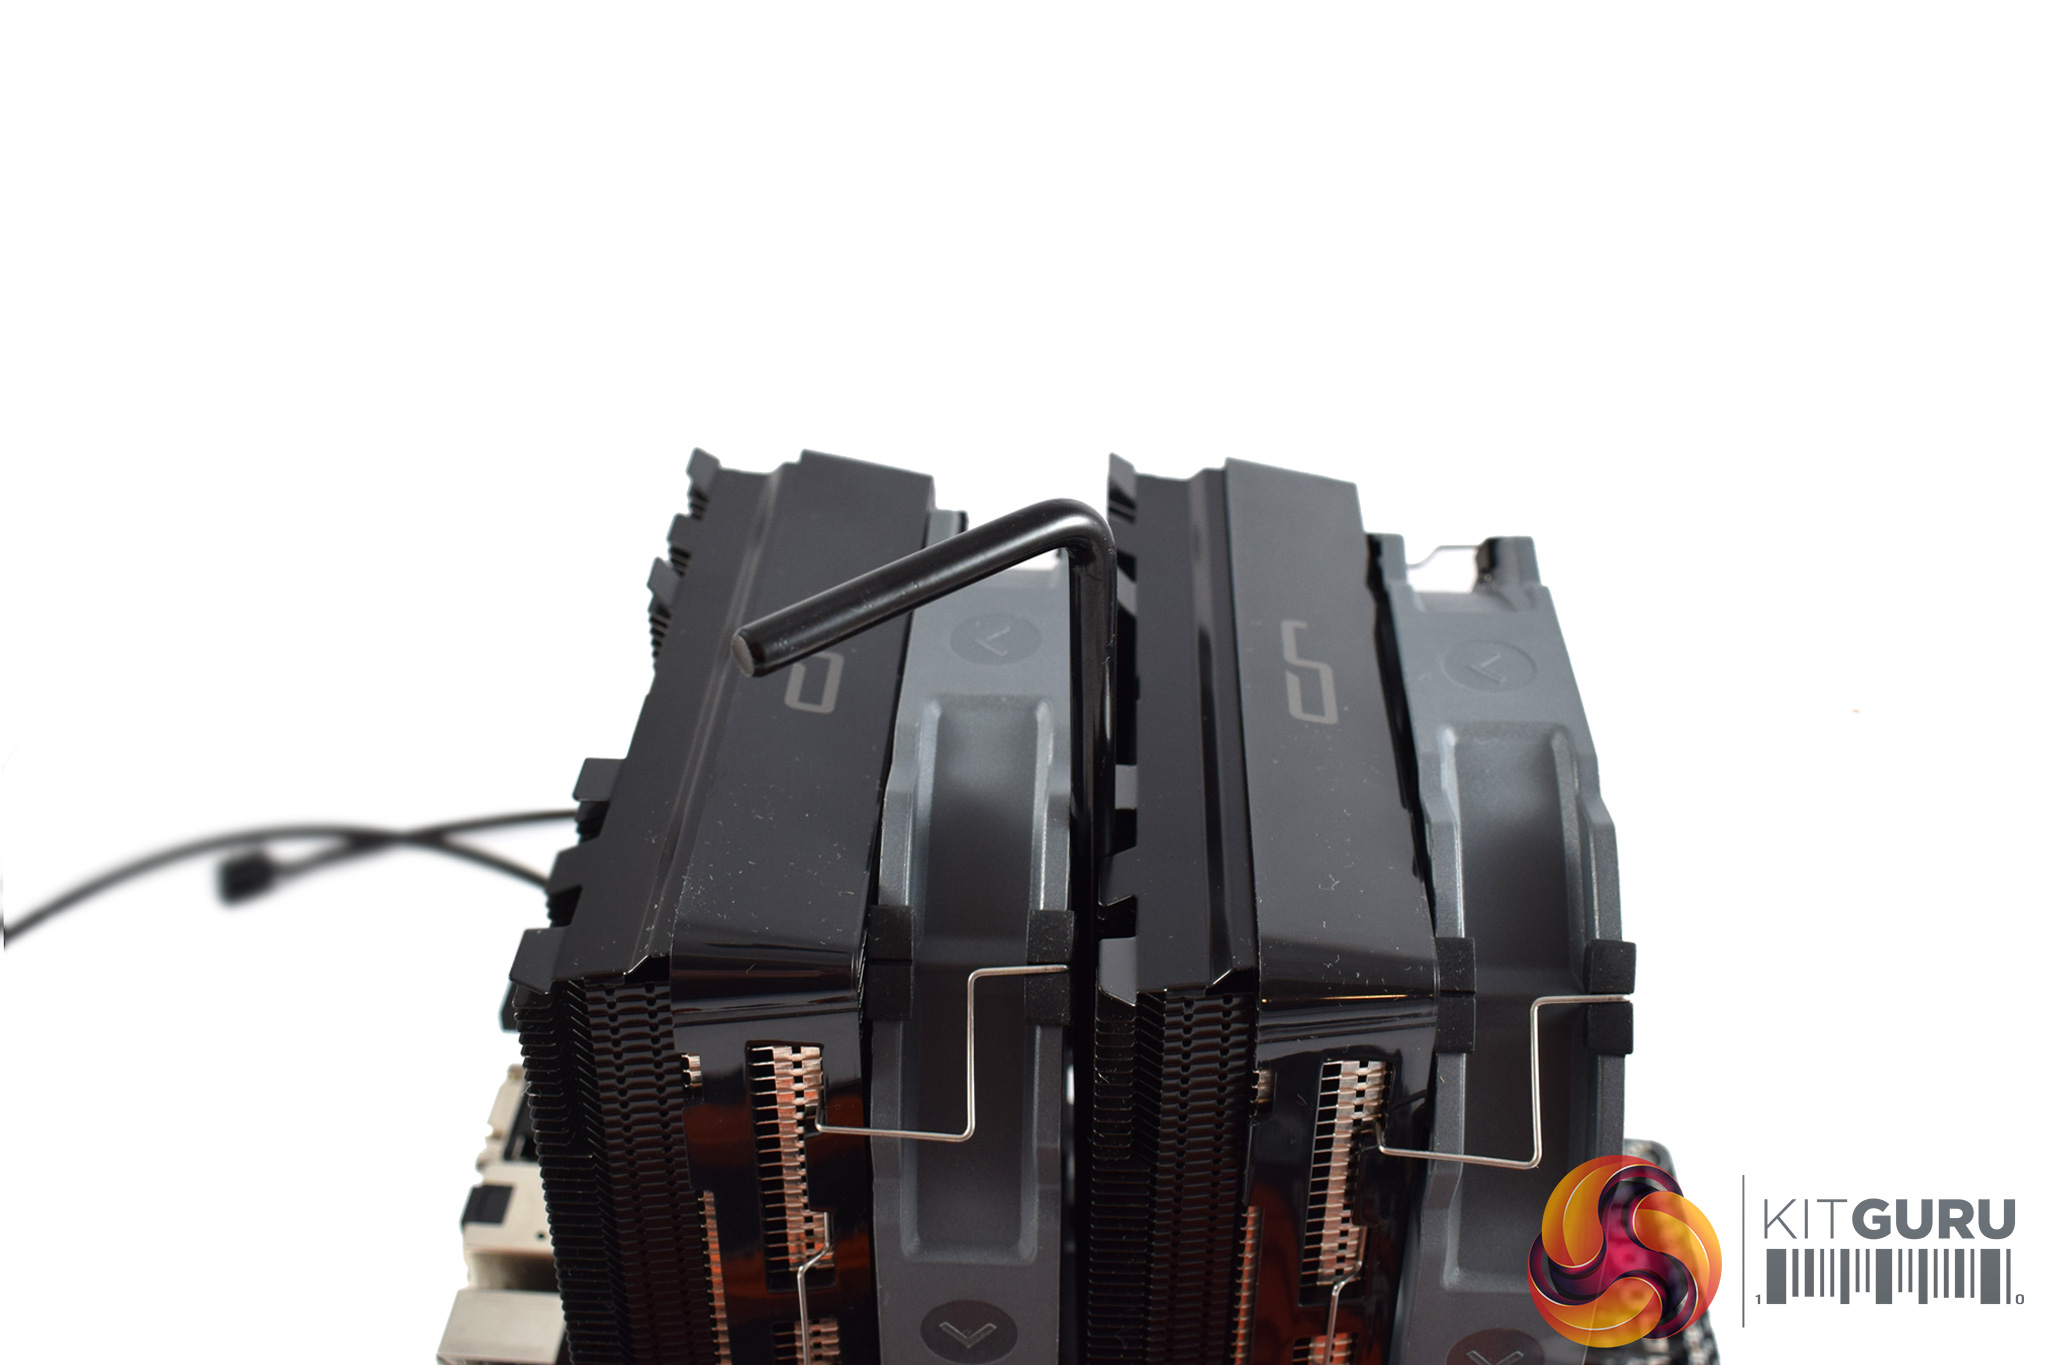
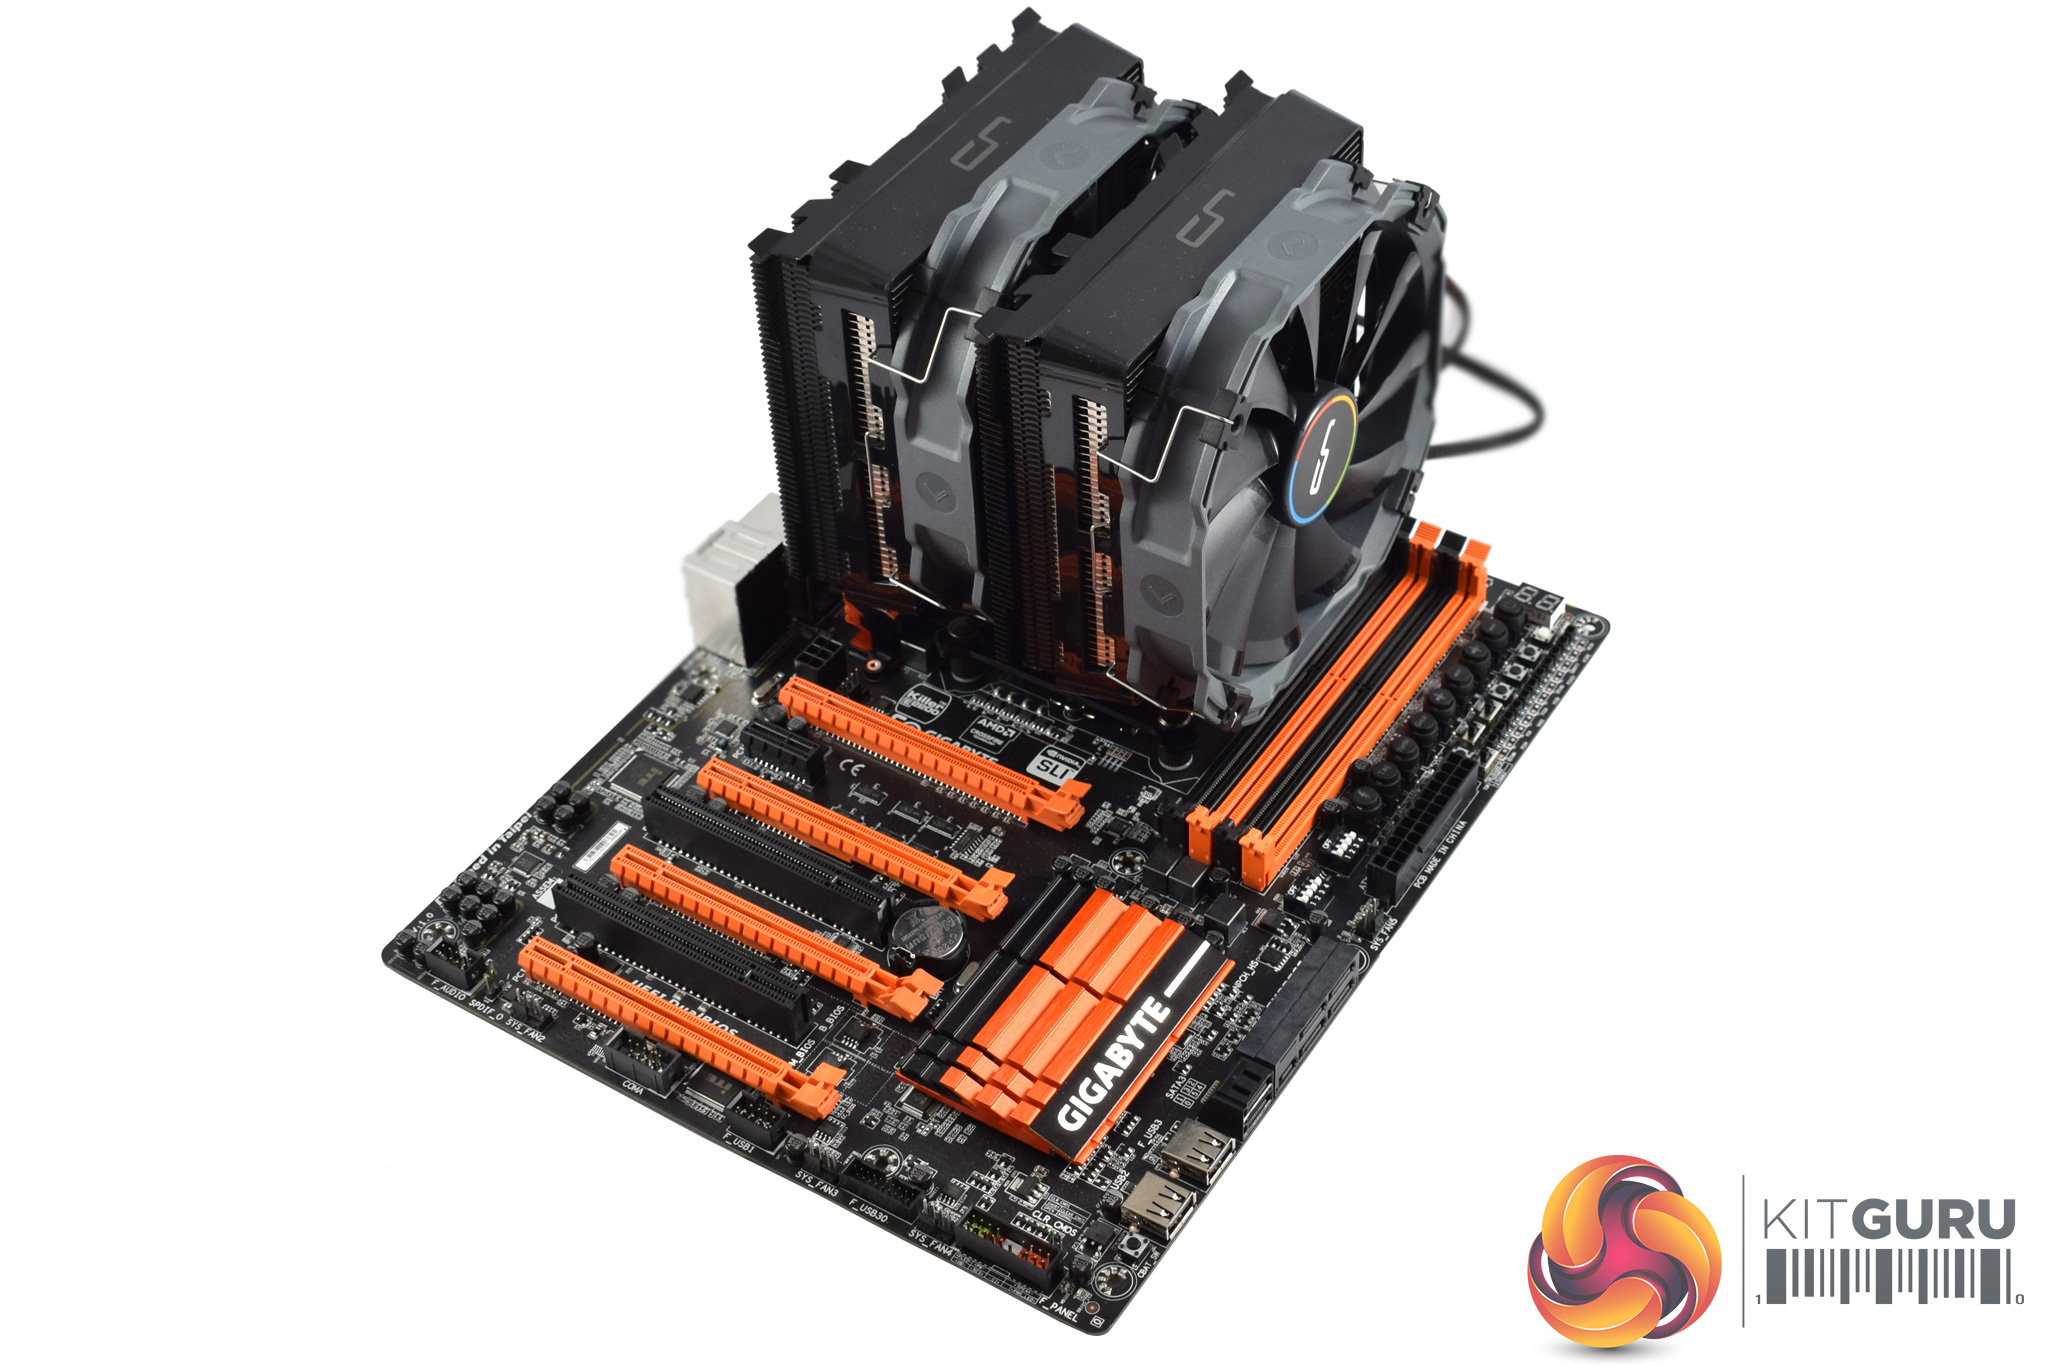
It is truly a monster of an air cooler, featuring dual towers and 2x 140mm XF140 fans to match. Its dimensions are as follows: L142.4 mm x W140 mm x H168.3 mm.
On a subjective note, I also think it is attractive, with its dark-grey fans and black heatsink covers. The fans also have a ring of colour surrounding the central logo, which I think adds a bit of vibrancy.Here I will walk you through the installation process. It is worth noting we test using a Z97 motherboard – socket LGA 1150. The process below reflects that.
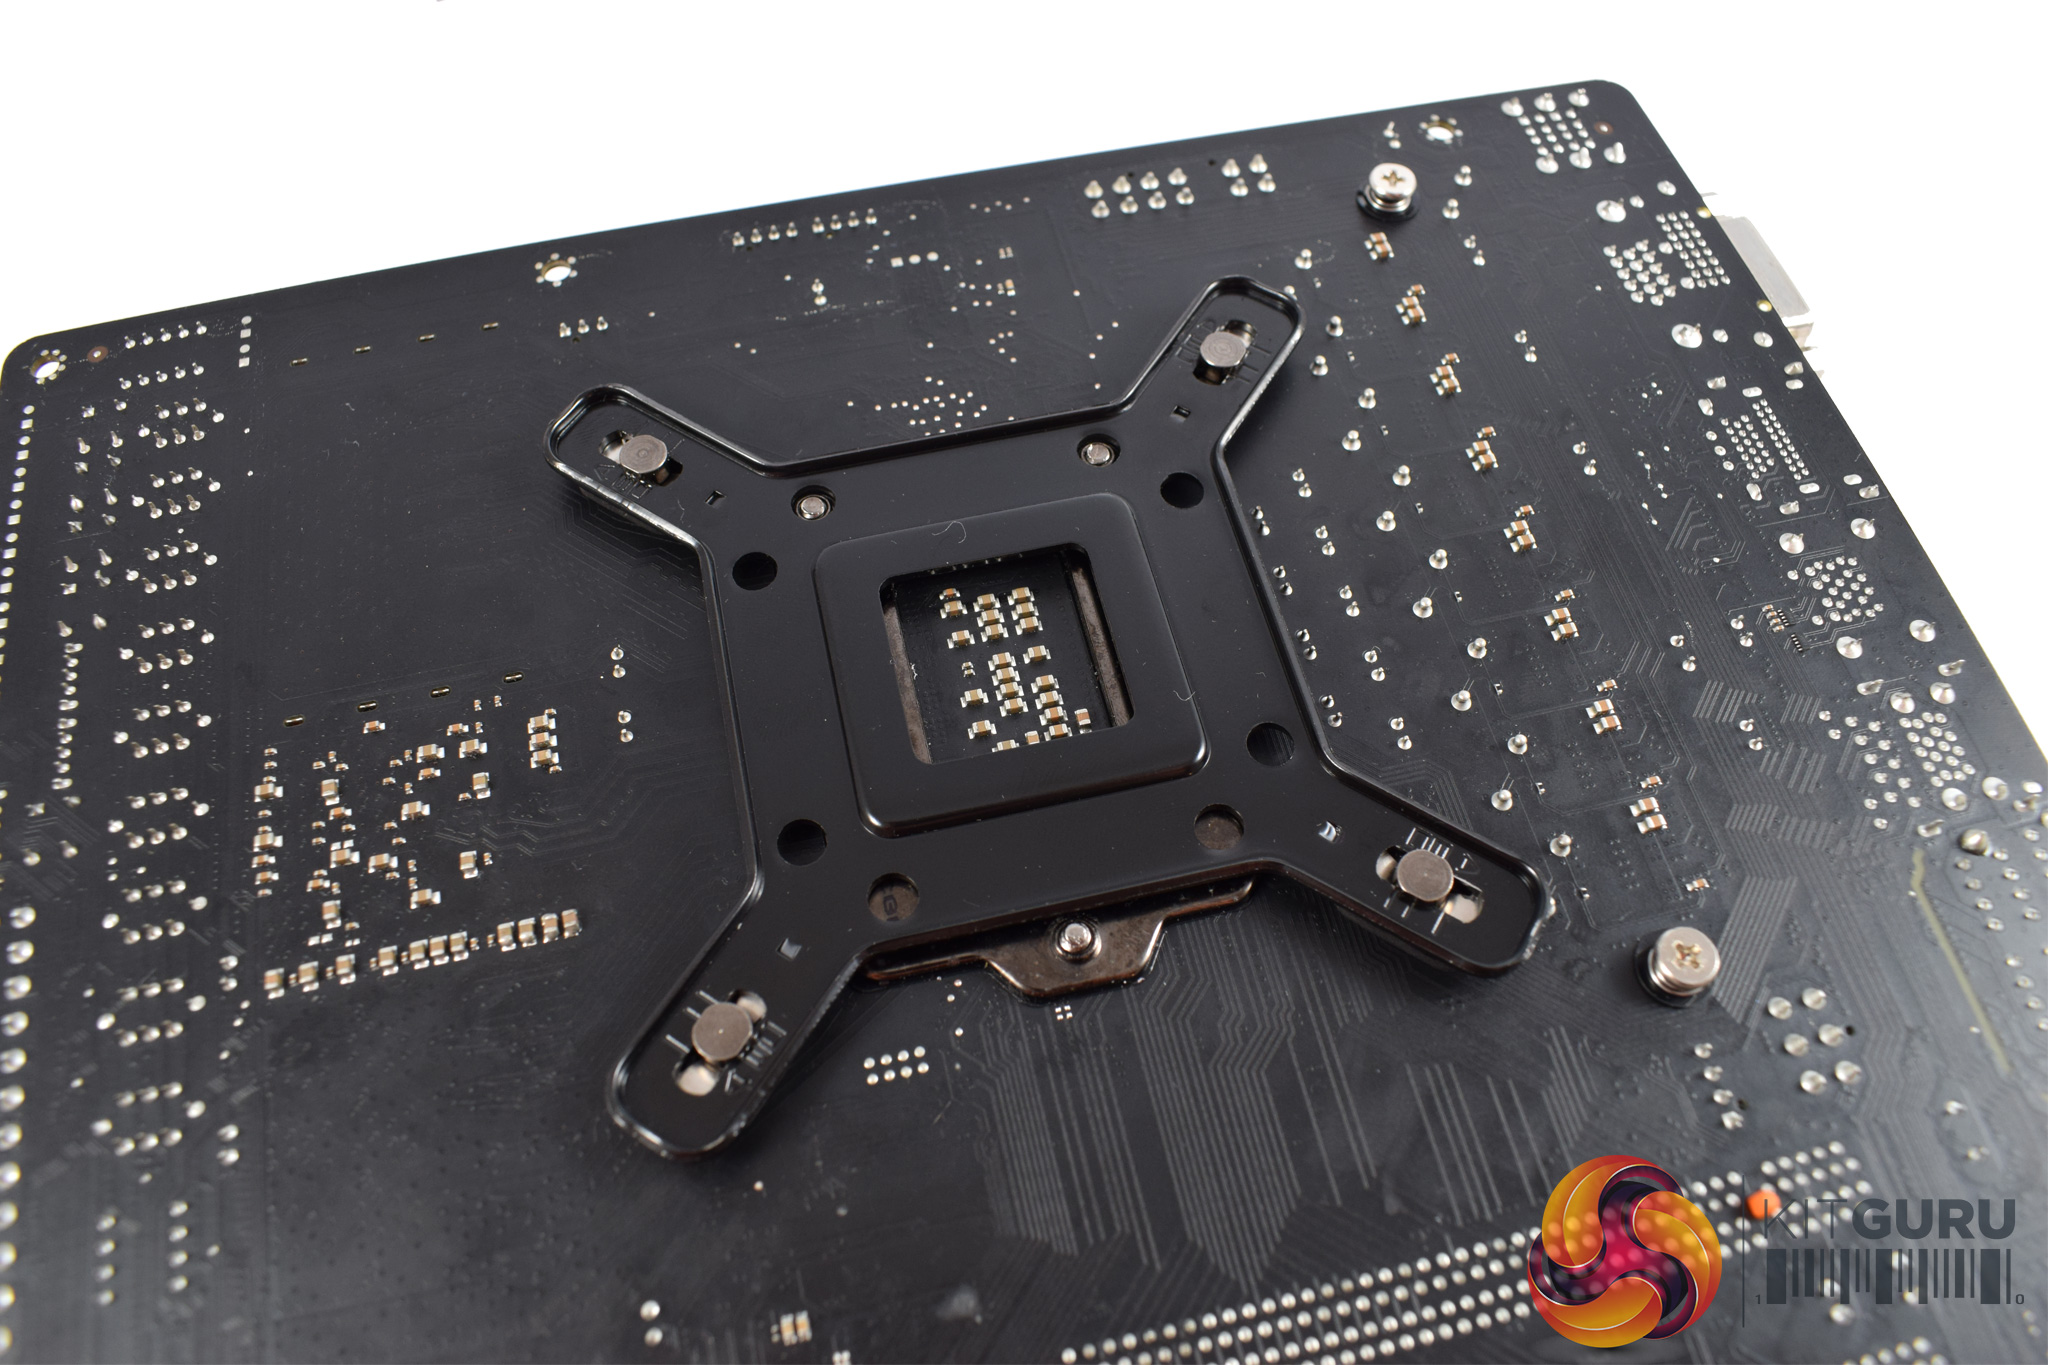
The first thing to do is prepare and install the backplate: move the four pre-attached screws to the central position (for LGA 155x systems), and then slot the backplate into place behind the motherboard.
After that, four standoffs need to be installed to the backplate screws, as above.
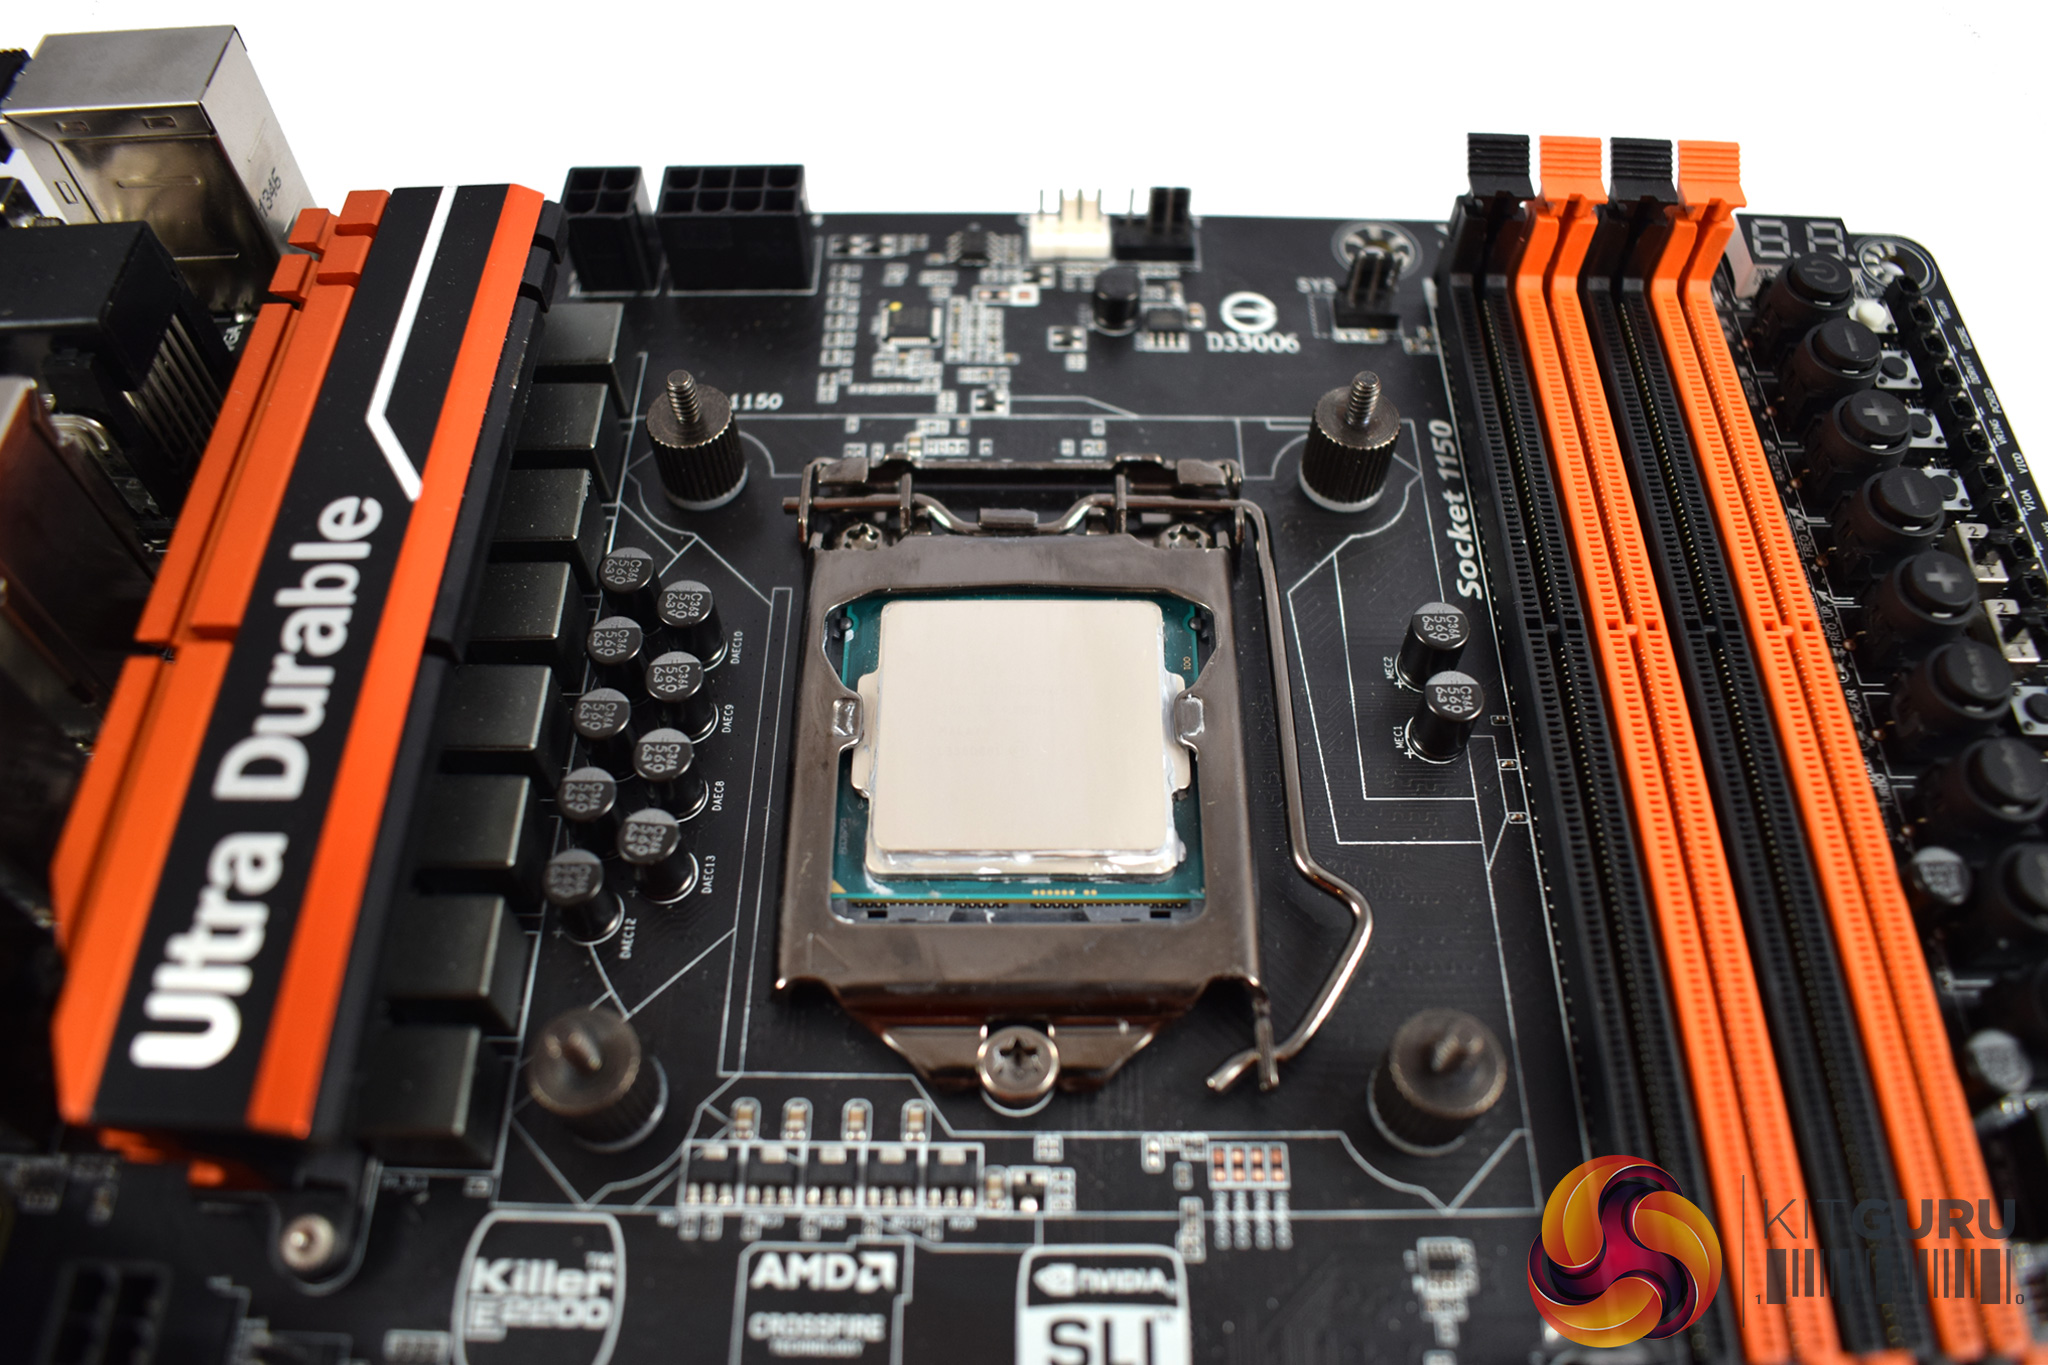
Next, the Intel-compatible rails should be mounted on-top of the standoffs. If you want the R1 Ultimate to be mounted horizontally, position the rails parallel to the DIMM slots. However, if you want the cooler mounted vertically (as we are doing here), the rails should be mounted as shown above.
Once the rails are on, secure them with four small thumbscrews.
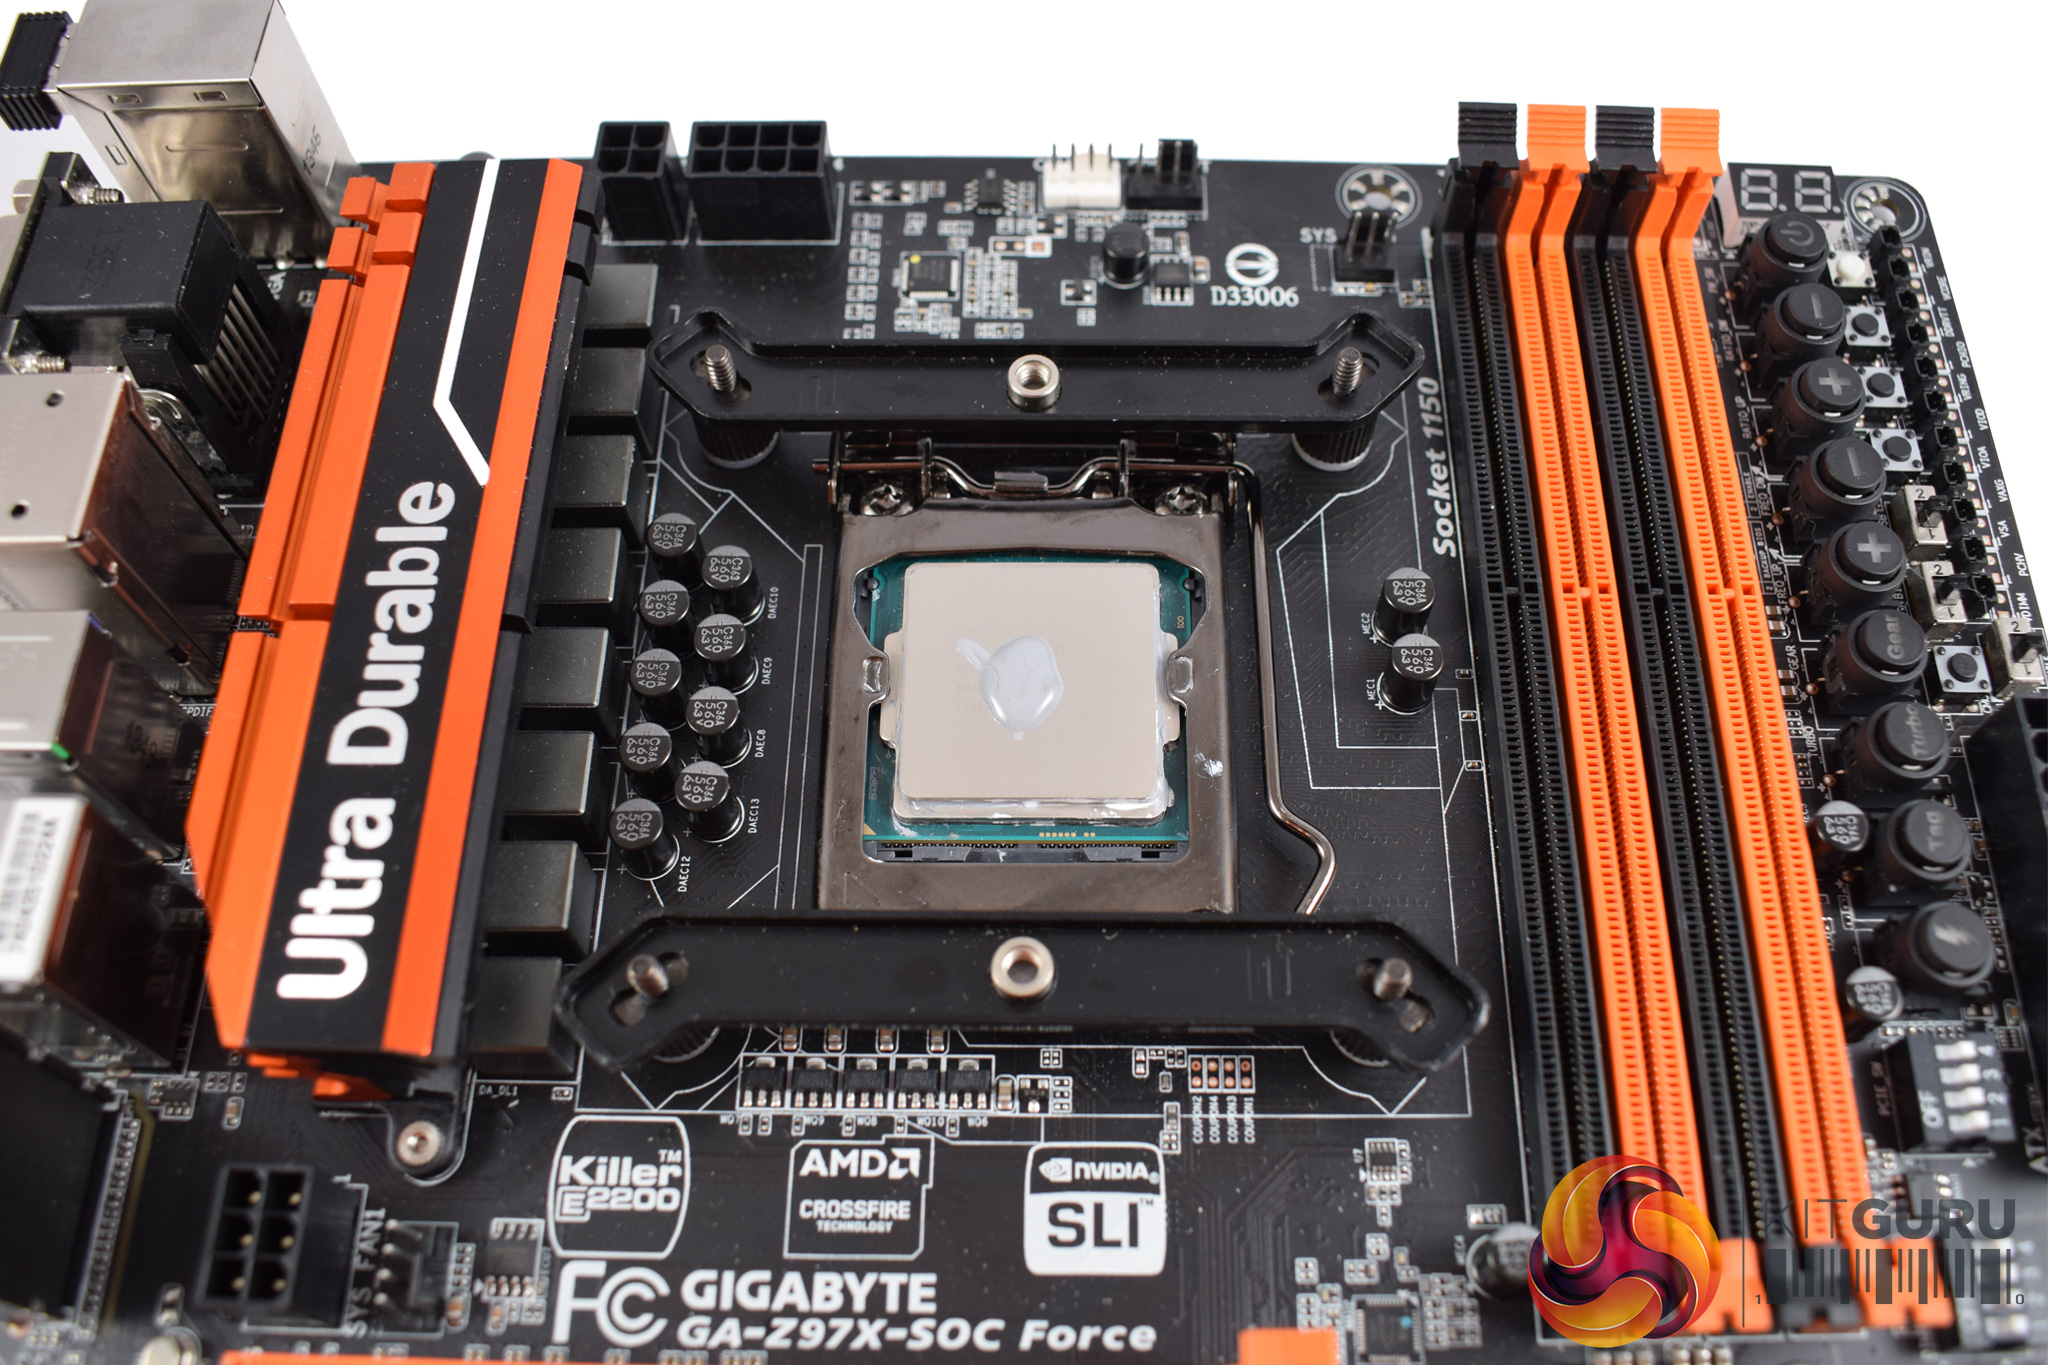
Next, you can go ahead and mount the cooler. All that's left is to secure the pre-installed heatsink screws to the rails.
To help with this part, Cryorig have actually supplied a screwdriver to allow you to easily reach the heatsink's screws. It simply slots in-place in the middle of the cooler and provides easy access to the screws at the bottom.
After that, installation is complete. It is a very simple process and having the right size of screwdriver supplied means there is nothing fiddly about the installation at all. Good job Cryorig.To test all CPU coolers, we devised an easily repeatable test with no variables other than the coolers themselves. This ensures that figures from every cooler we test are comparable with each other.
Test rig
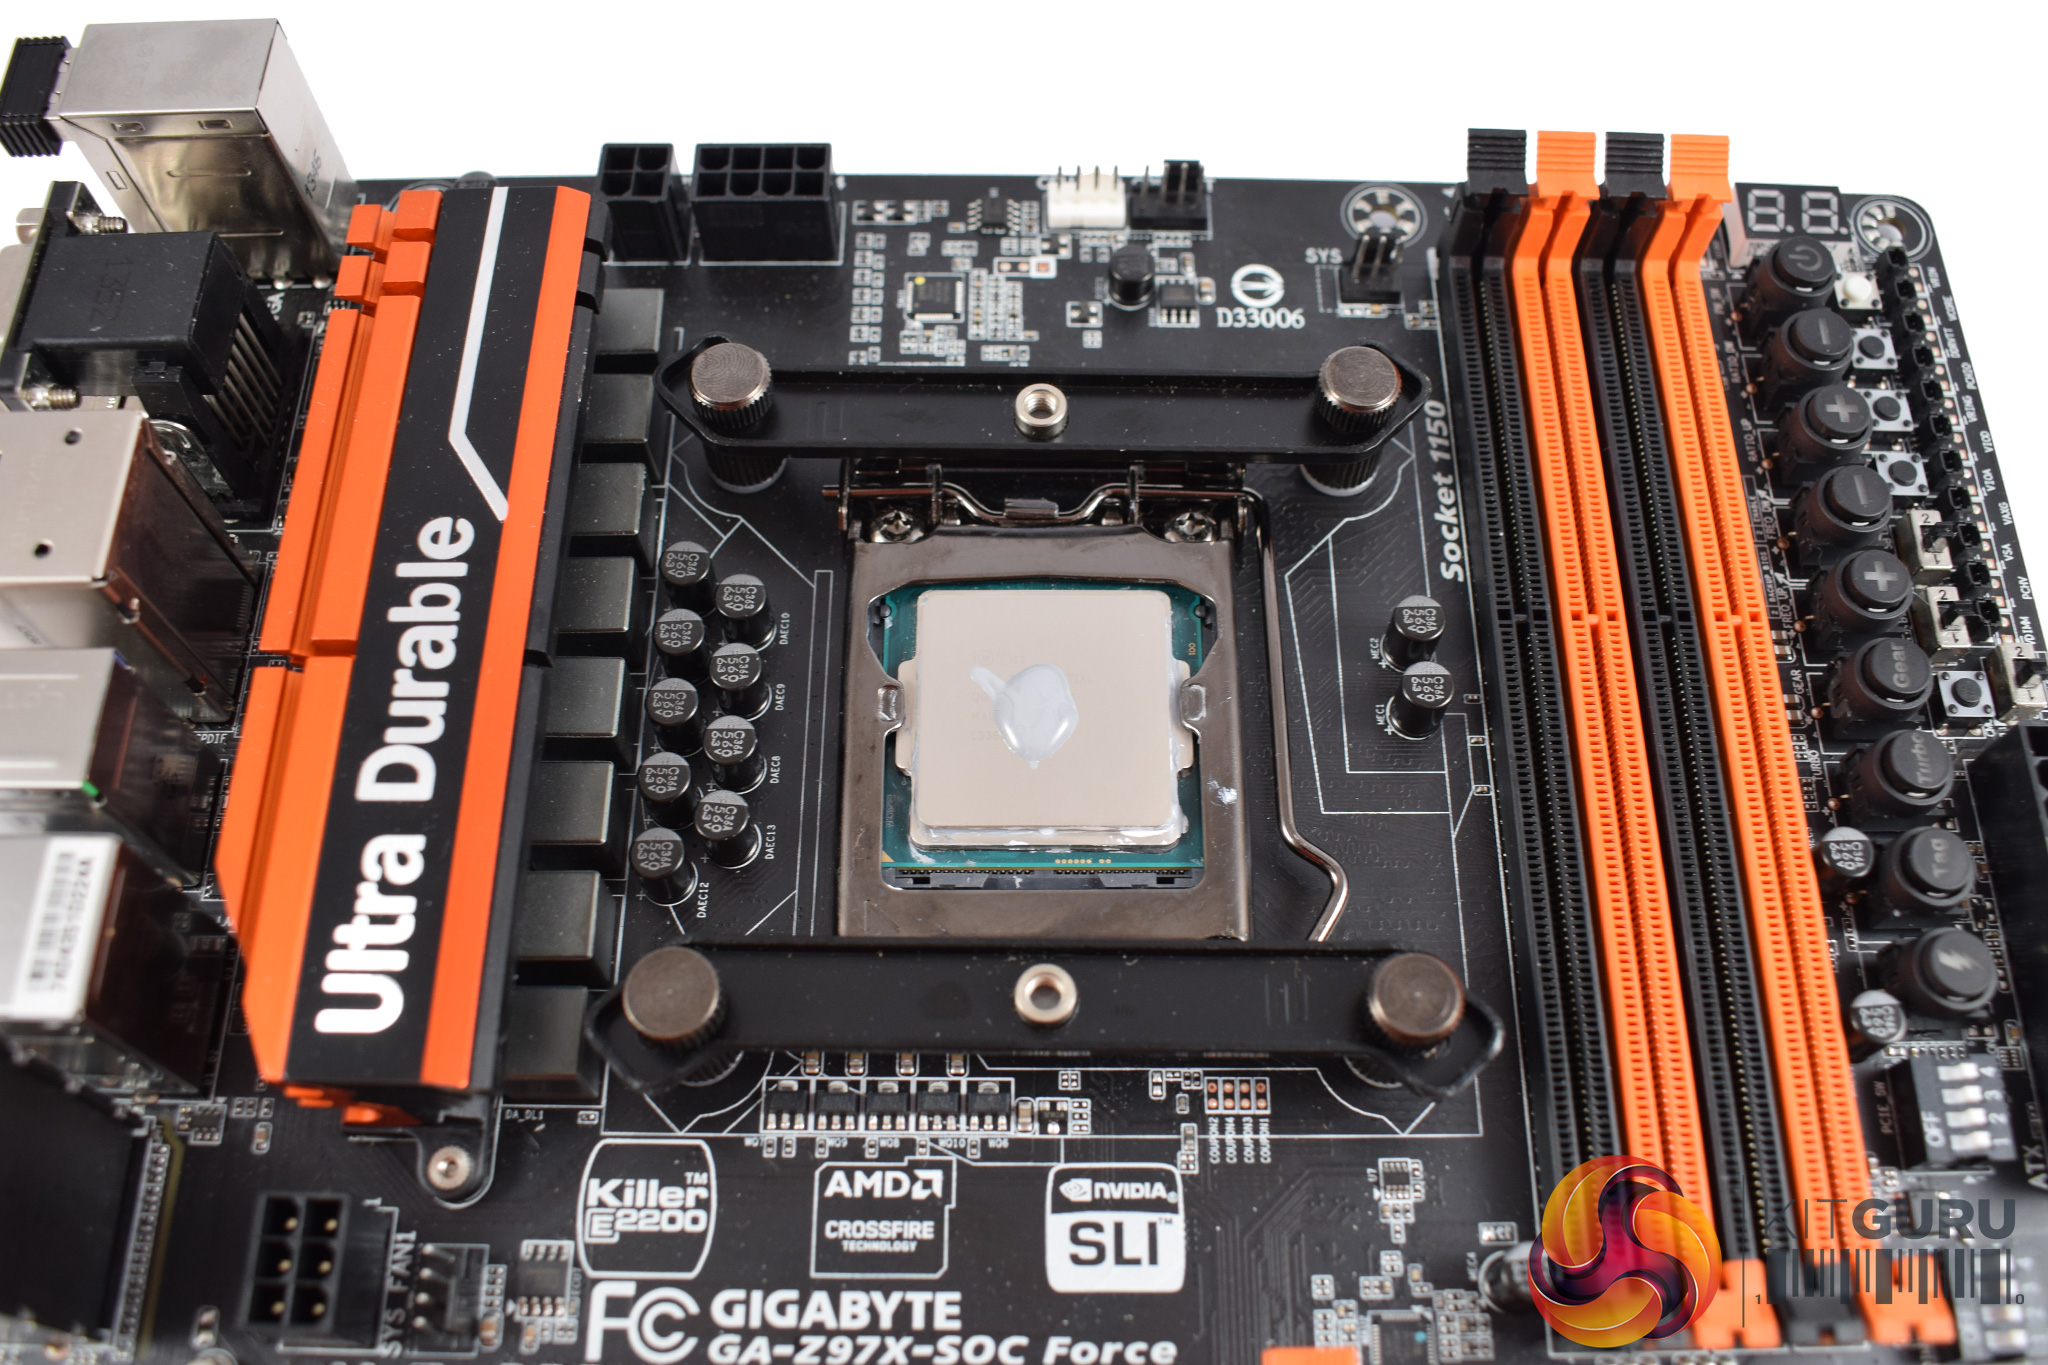
Using an open-air test bench, we deploy an Intel Core i7-4790K plugged into a Gigabyte Z97X-SOC Force motherboard. Alongside this is 16GB of 2400MHz Corsair Vengeance DDR3, as well as a 120GB OCZ Trion 150 SSD. Powering everything is a Corsair RM750x PSU.
The test process
Testing coolers involves taking a total of 4 temperature readings per cooler. First, we measure the idle temperature of the i7-4790K at stock speeds (turbo boost disabled), before measuring its temperature under load at stock speeds. Next, we overclock the CPU to 4.5GHz using a 1.3 Vcore, ensuring greater heat output. In its overclocked state we then measure the idle and load temperatures of the CPU again. The figures we present are temperature deltas – meaning we take each temperature reading and minus the ambient temperature from it. This allows us to test in an environment that is not temperature-controlled.
To ward off potential comments or questions, we know 4.5GHz using a 1.3 Vcore is not the ‘best’ overclock – this particular CPU could reach that frequency at closer to 1.25 on the Vcore, which is more efficient. That is not the point, however. We are trying to stress the coolers to see how they deal with excess heat … hence the higher than necessary Vcore.
Where possible, each cooler’s fans are plugged directly into the motherboard using the CPU_Fan or CPU_Opt headers. Some AIOs, however, ship with their own fan controllers or PWM hubs. If we are unable to plug the fans directly into the motherboard, it is specified in the performance section of the review.
An idle reading comes from leaving Windows on the desktop for 15 minutes. A load reading comes from running Prime95’s (version 26.6) Small FFTs test for 15 minutes – enough time for temperatures to plateau.
Noise output
Unfortunately I am unable to properly measure the sound output of CPU coolers using a digital sound meter. This is because I am based alongside a busy road (with high ambient noise levels). Using a sound meter is, as such, not possible as there are variables out of my control. However, I will try my best to subjectively describe the noise output in a helpful manner.Temperatures
All temperature charts are sorted with lowest load temperatures at the top.
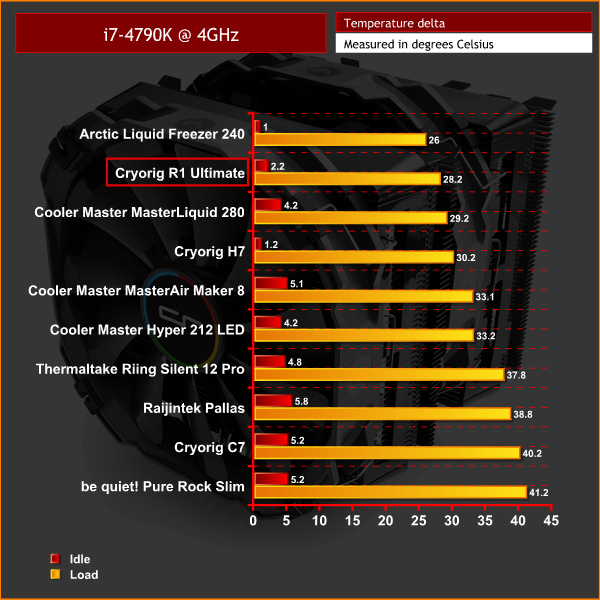

As you can see, the Cryorig R1 Ultimate is a very competent air cooler. When our CPU was left at stock clocks, it came second in that test – just 2.2 degrees shy of first place. Once we applied the CPU overclock, it was slightly bettered by the Cooler Master MasterLiquid 280, but still provides very strong performance for an air cooler, comfortably beating the MasterAir Maker 8.
For those not wishing to put a liquid cooler in their system, for whatever reason, choosing the Cryorig R1 Ultimate means you barely lose out in-terms of thermal performance.
Acoustics
Considering the H7 was a near-silent air cooler, I must admit to being slightly disappointed with the R1 Ultimate in this regard. It is not exactly loud – the fans peak at 1300 rpm, give or take 10% – but it is louder than I would've liked. When pushing the system to 100% load, the fans ramped up very quickly and emitted a strong hum. Compared to the MasterAir Maker 8, another huge air cooler, the noise was was definitely more noticeable.Given the fact that Cryorig‘s H7 cooler performed so well, we had high hopes for the R1 Ultimate.
It got off to a very good start, thanks to its good-looks and the fact that all the installation hardware comes in labelled bags.
Installation is also a doddle, and Cryorig even supply the right-size of screwdriver to prevent any stress on your behalf should your own screwdriver not fit. This is definitely a touch of class that many will appreciate.
Thermal performance is also excellent. The R1 Ultimate was pushing the MasterLiquid 280 all the way, and accordingly offers top-notch performance for an air cooler. As I mentioned on the previous page, if you don't want to buy a liquid cooler, the R1 Ultimate currently offers the best performance from any air cooler that we've seen to-date.
It is only when we get to the acoustics that things start to look less-than-perfect. To be clear, the R1 Ultimate is far from loud, but it is definitely louder than the Cooler Master MasterAir Maker 8 when CPU load reaches 100%. Perhaps I expected too much considering the H7 was near-silent, but for those looking for a beefy but very quiet cooler, the MasterAir Maker 8 may be the better bet.
That being said, many will be interested in the Cryorig R1 Ultimate thanks to its excellent thermal performance. Because of its strong performance, and easy installation process, we are happy to give it our ‘Worth Buying' award.
![]()
You can buy the R1 Ultimate for £76.99 inc. VAT from Overclockers UK HERE.
Discuss on our Facebook page, over HERE.
Pros
- Looks good.
- Easy to install.
- Screwdriver is included.
- Offers the best cooling performance from any air cooler that we've seen.
Cons
- It is louder than the similarly-sized Cooler Master MasterAir Maker 8.
KitGuru says: For those looking for the best performing air cooler on the market, the Cryorig R1 Ultimate is currently the cooler to beat. It is louder than the MasterAir Maker 8, but still offers a lot to make it worth buying.

Be sure to check out our sponsors store EKWB here