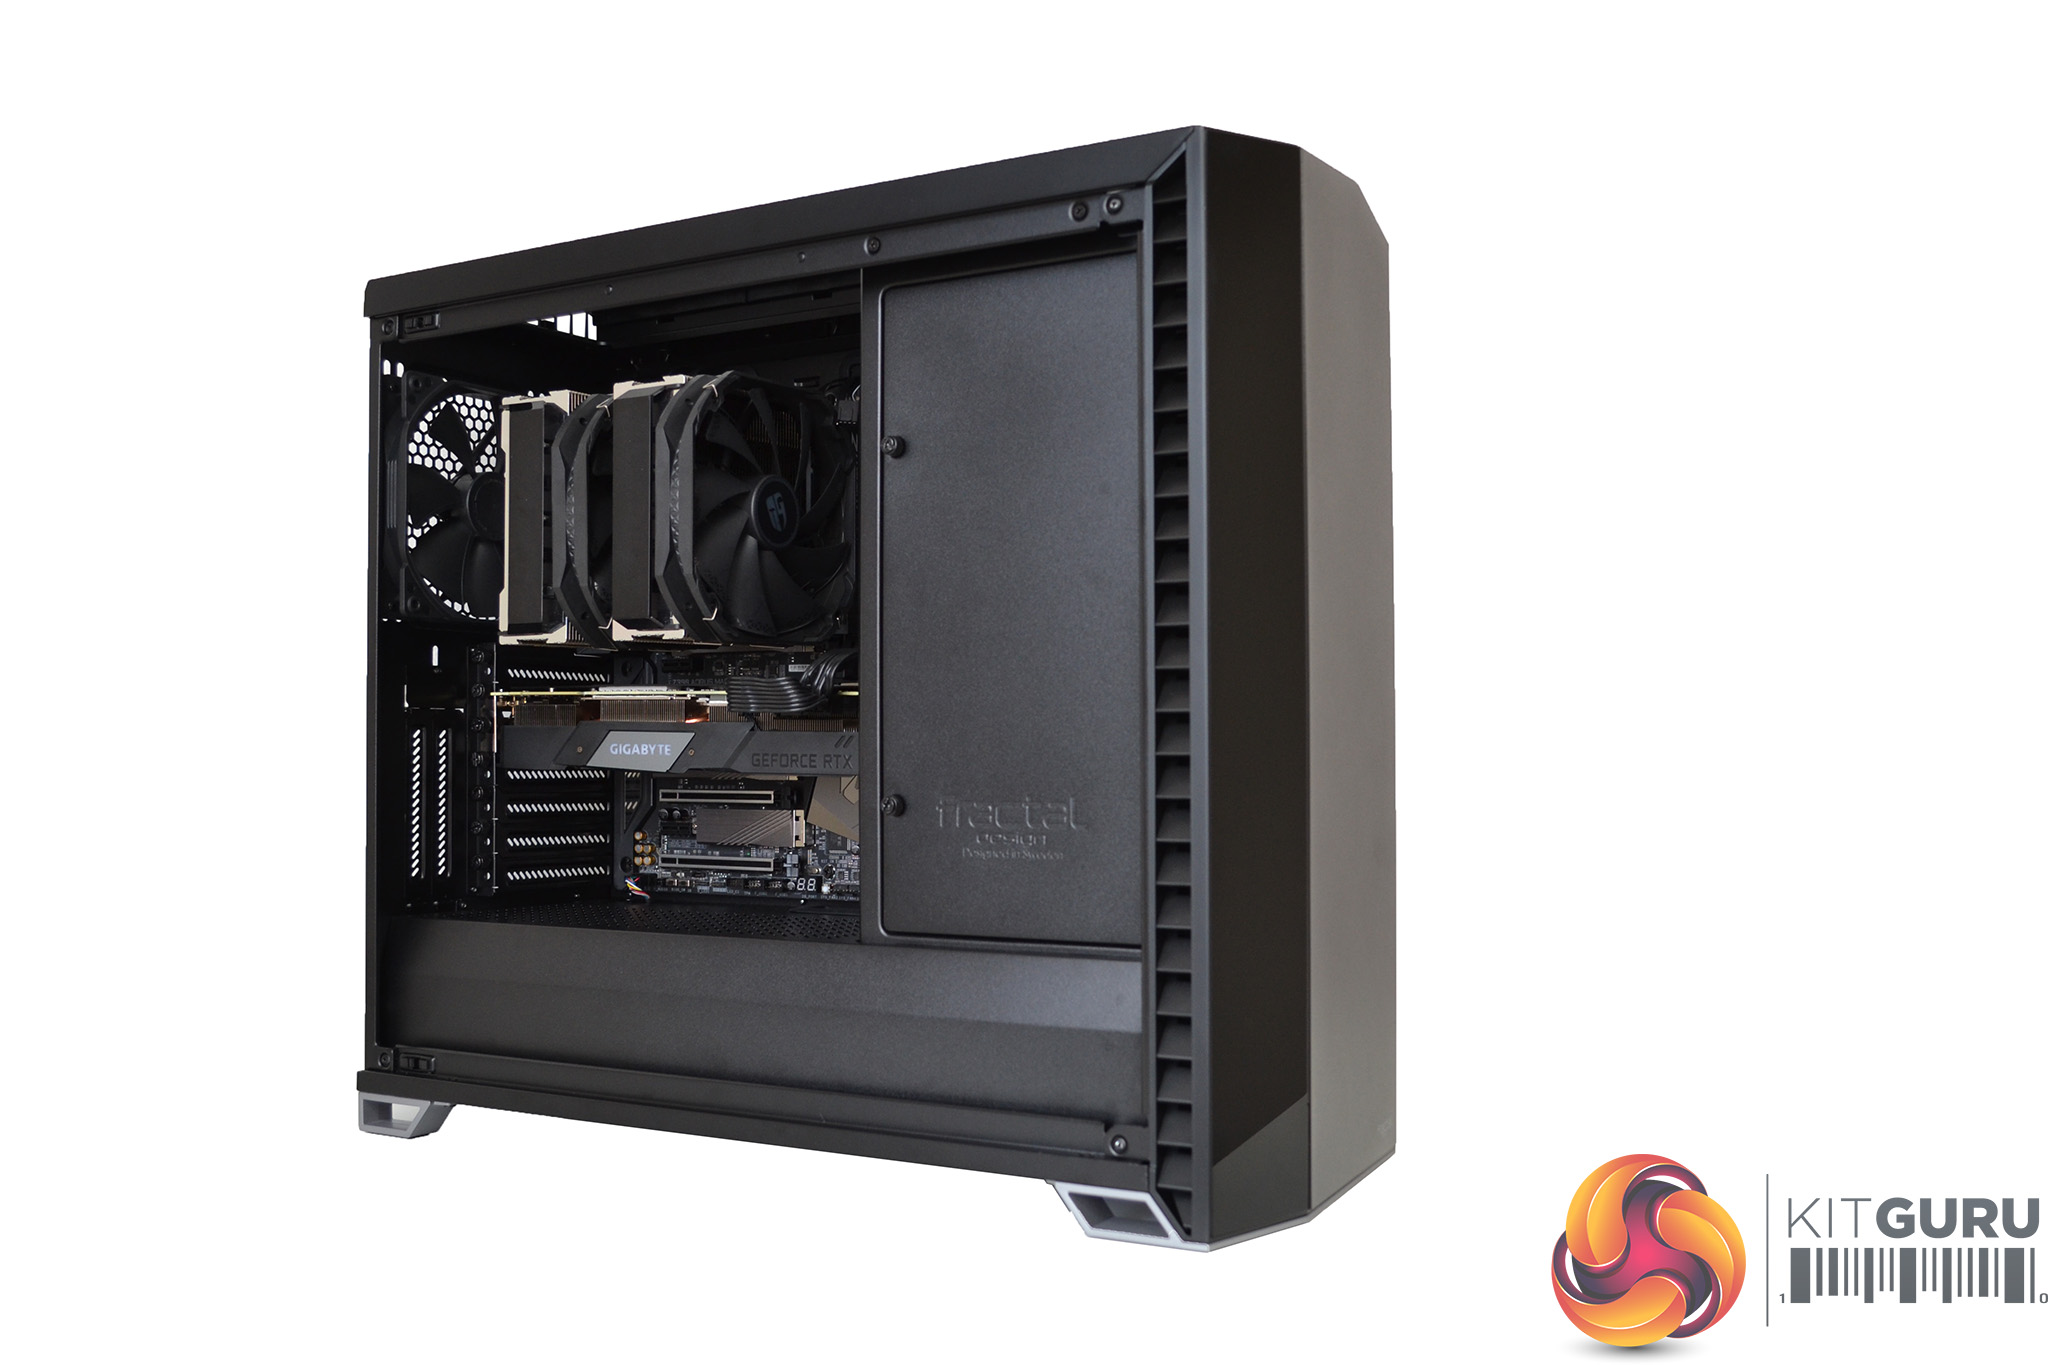
Due to the copious amount of space and vast options inside the Vector RS, it has been a pleasure to build a system into. During both our air and liquid cooling installations, the process was a breeze.
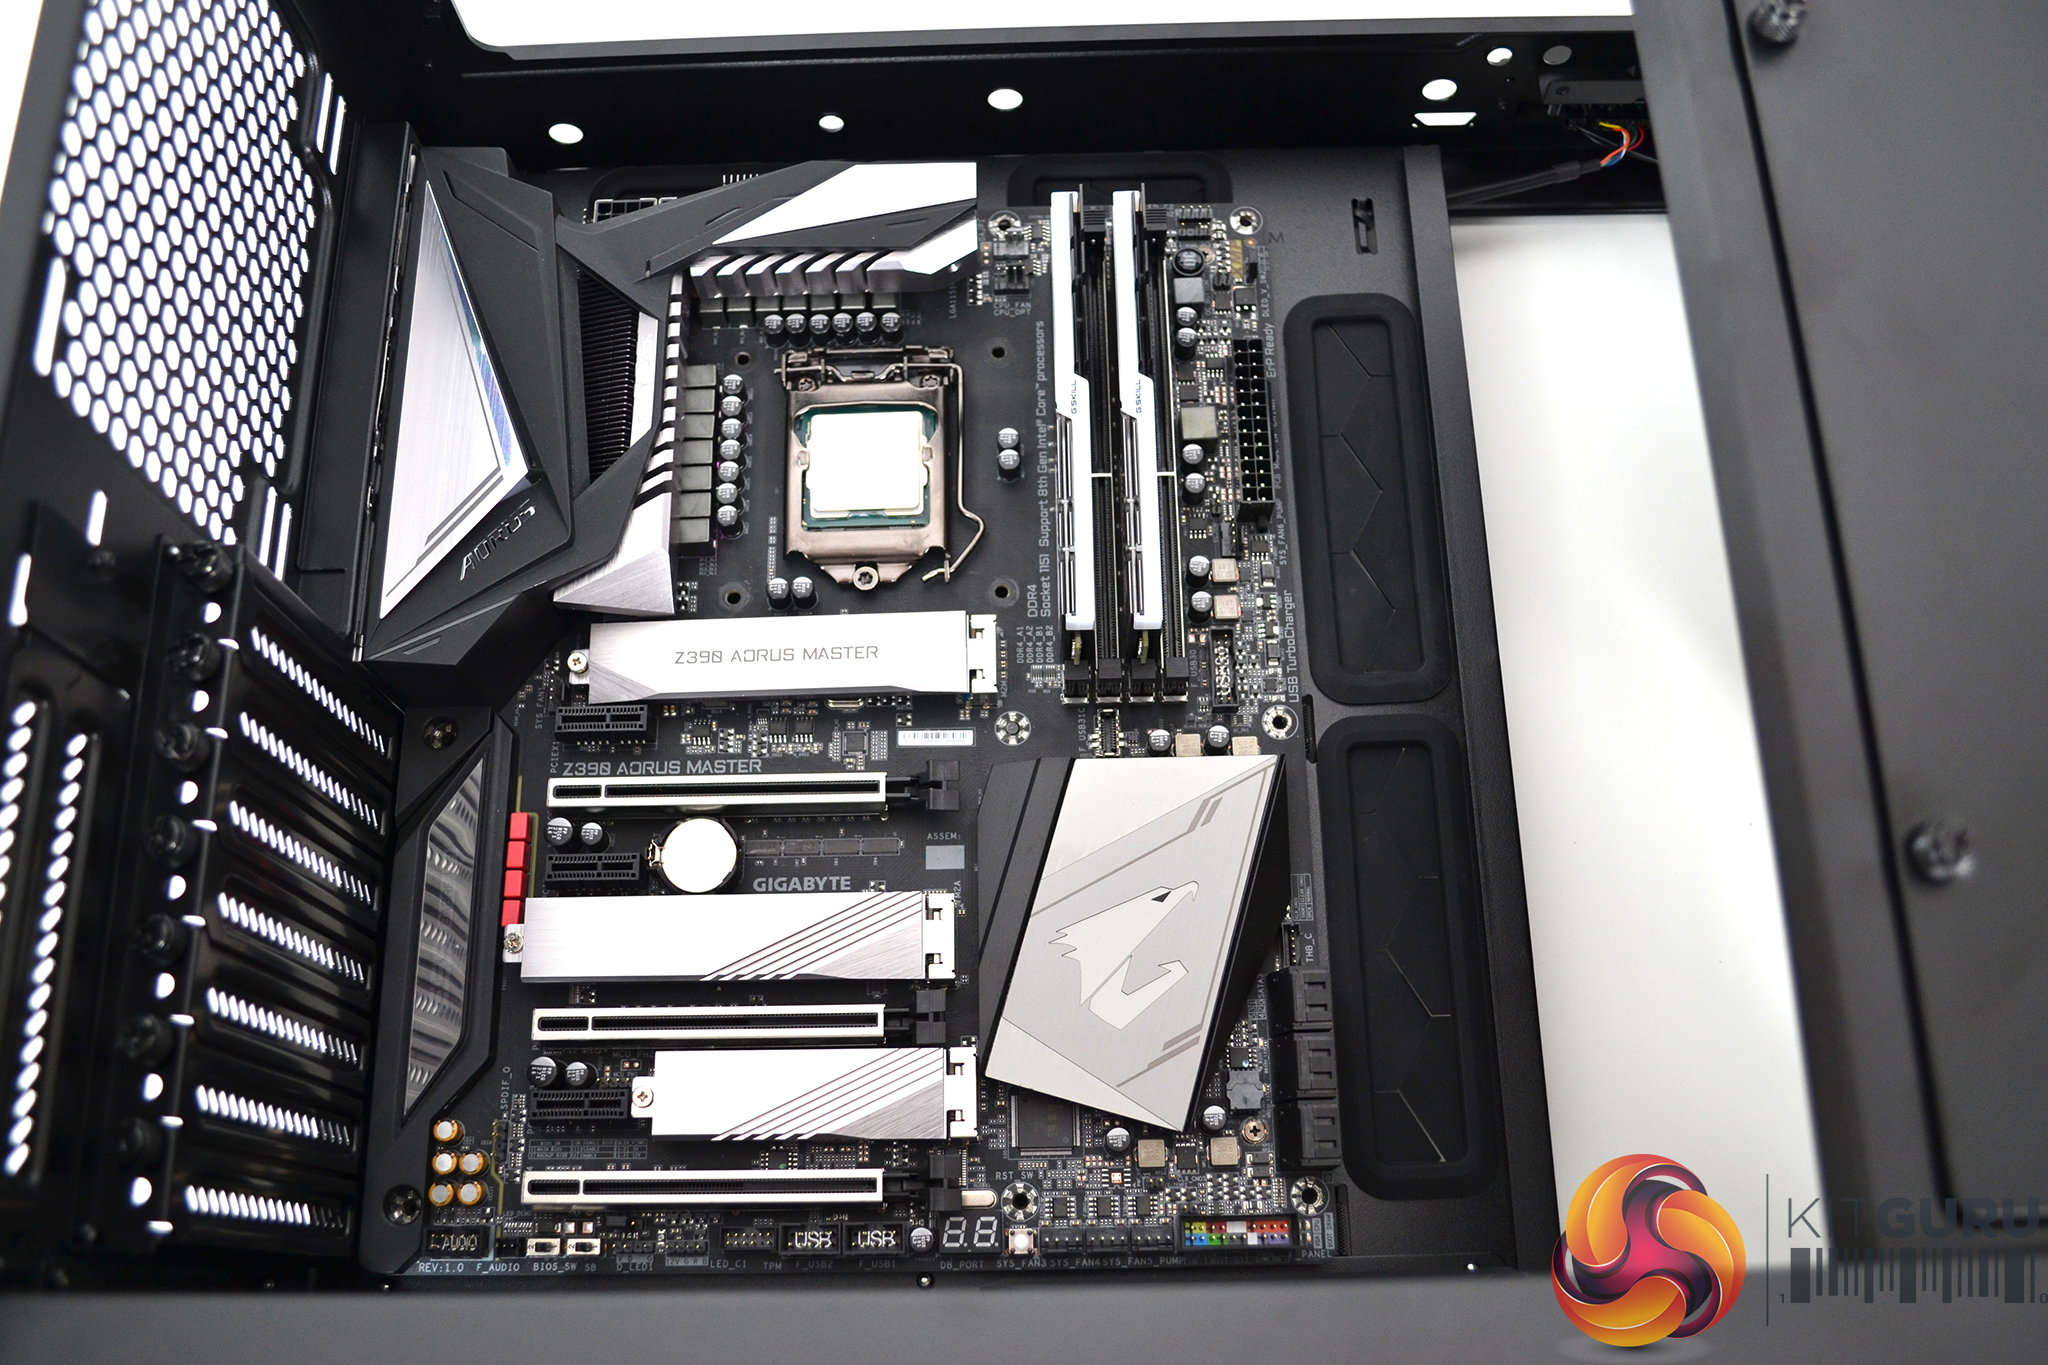
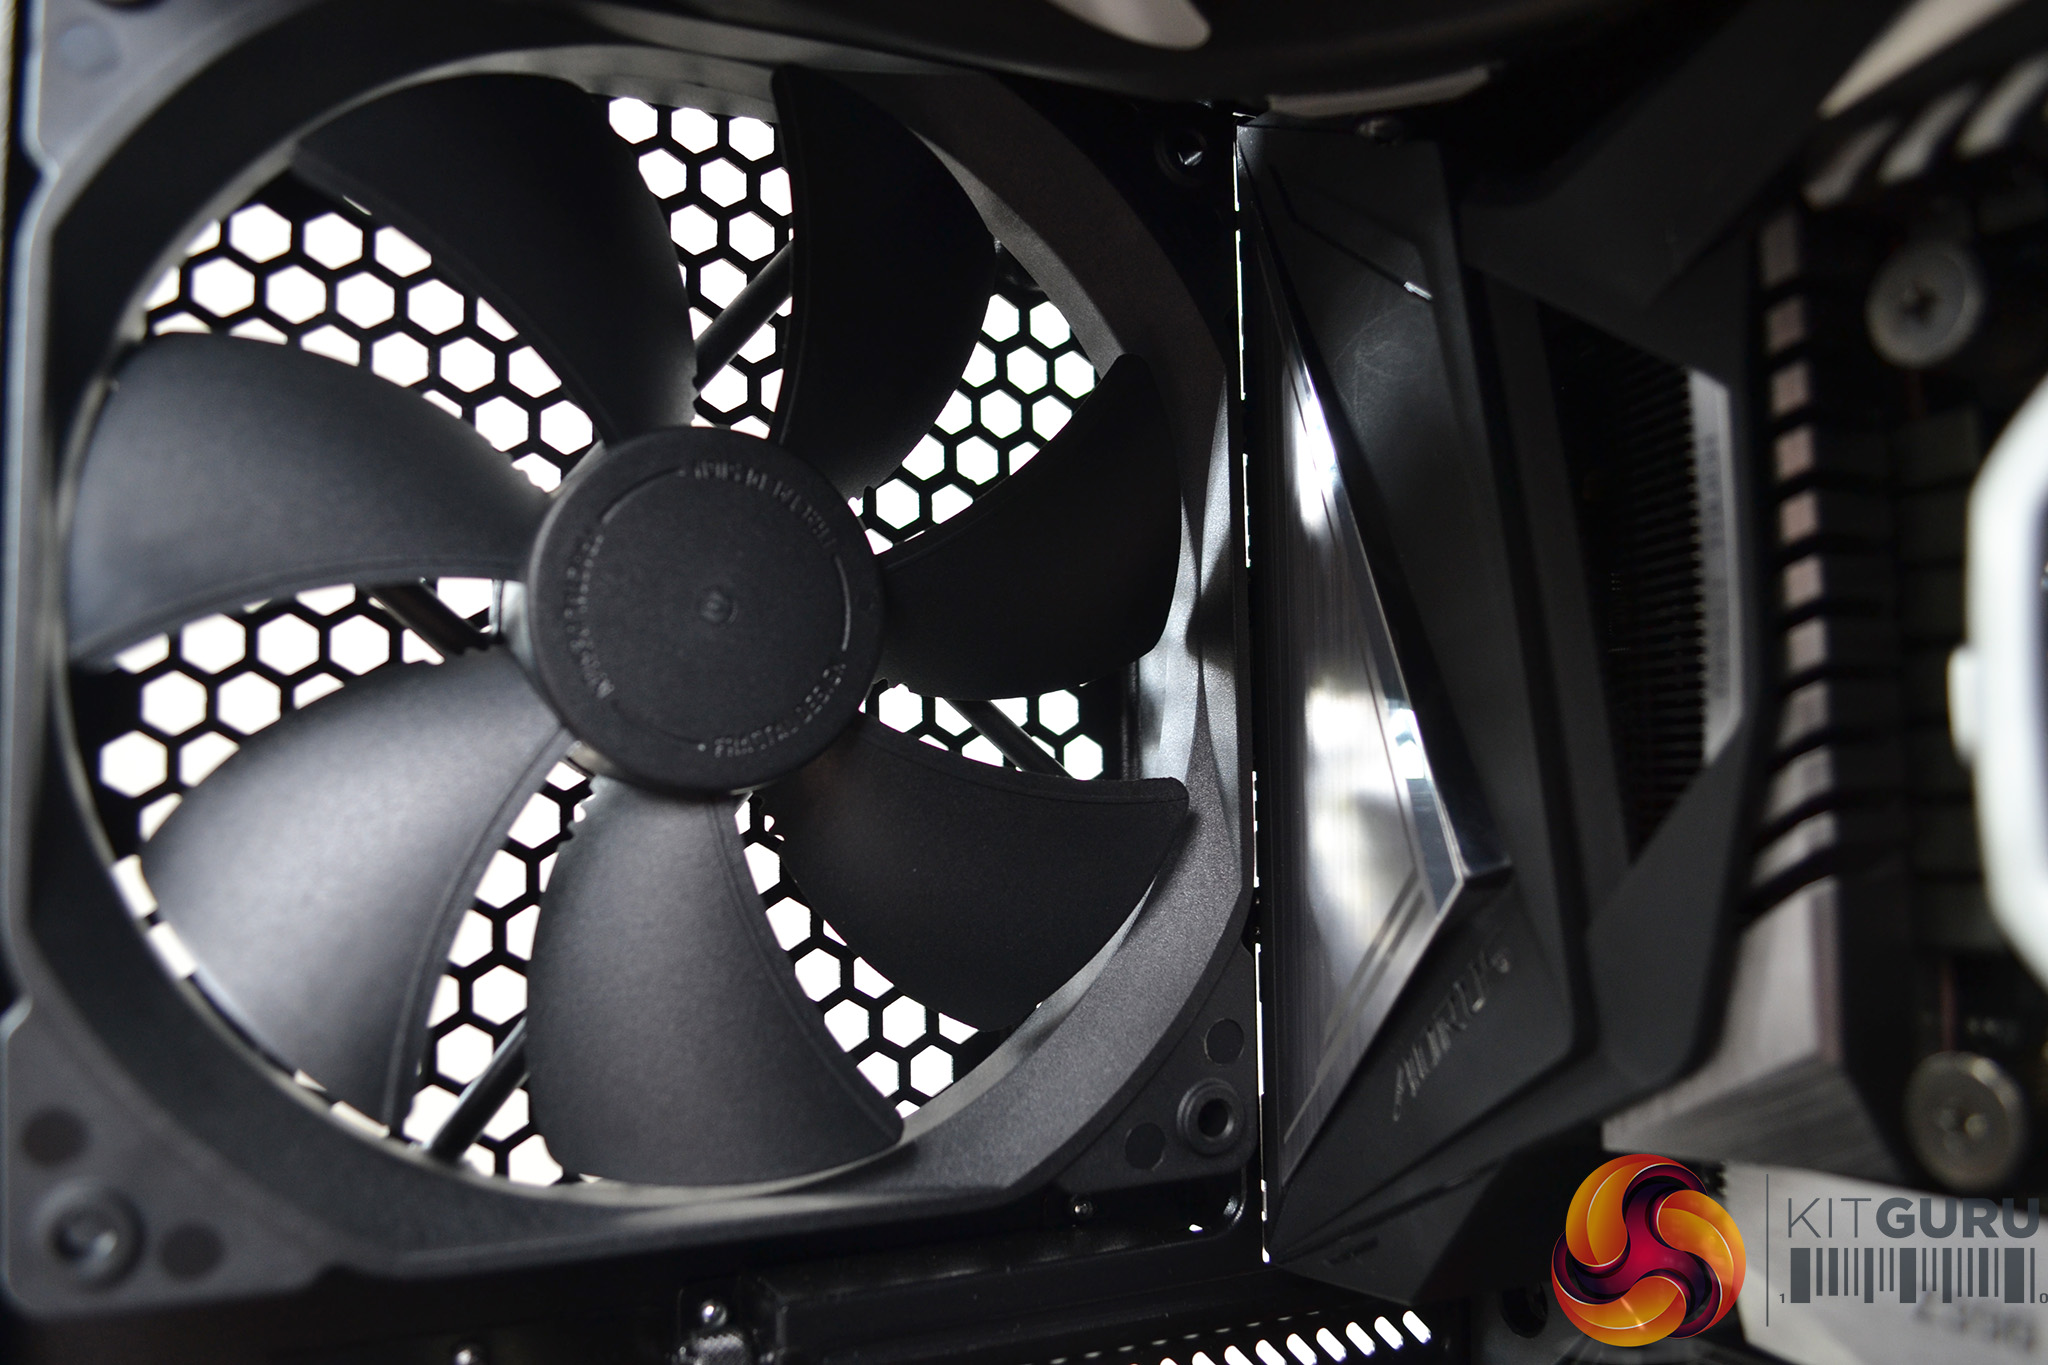
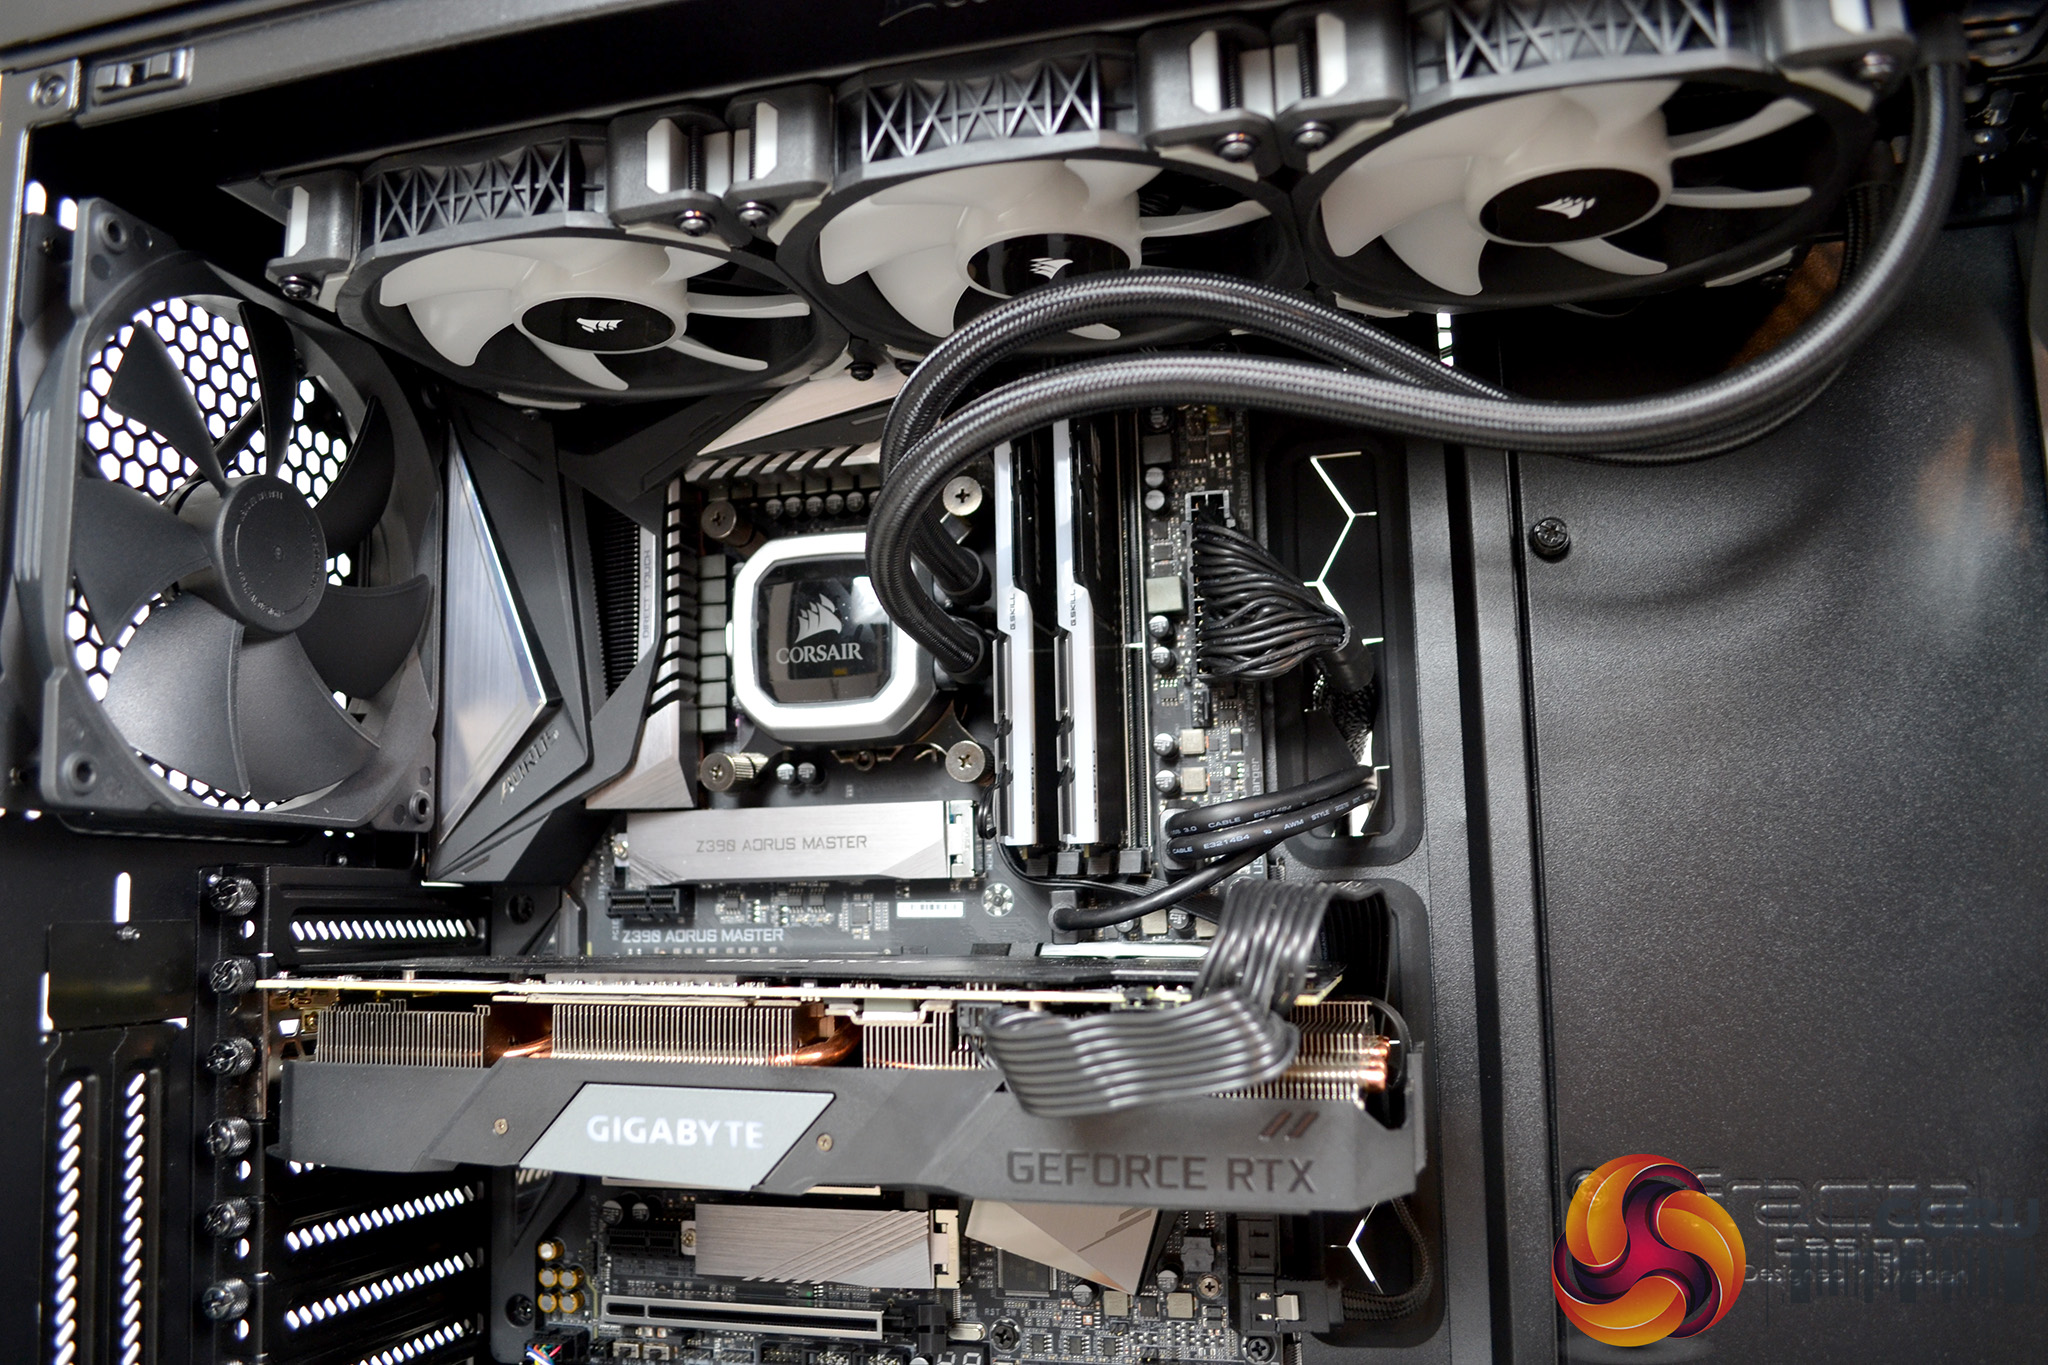
Installation of the motherboard is assisted by the fact there is plenty of space around to work with. All the pre-installed stand offs lined up correctly. The rear fan was very close to the integrated I/O shield on our Gigabyte board so for an easier installation, removal of the fan is advised.
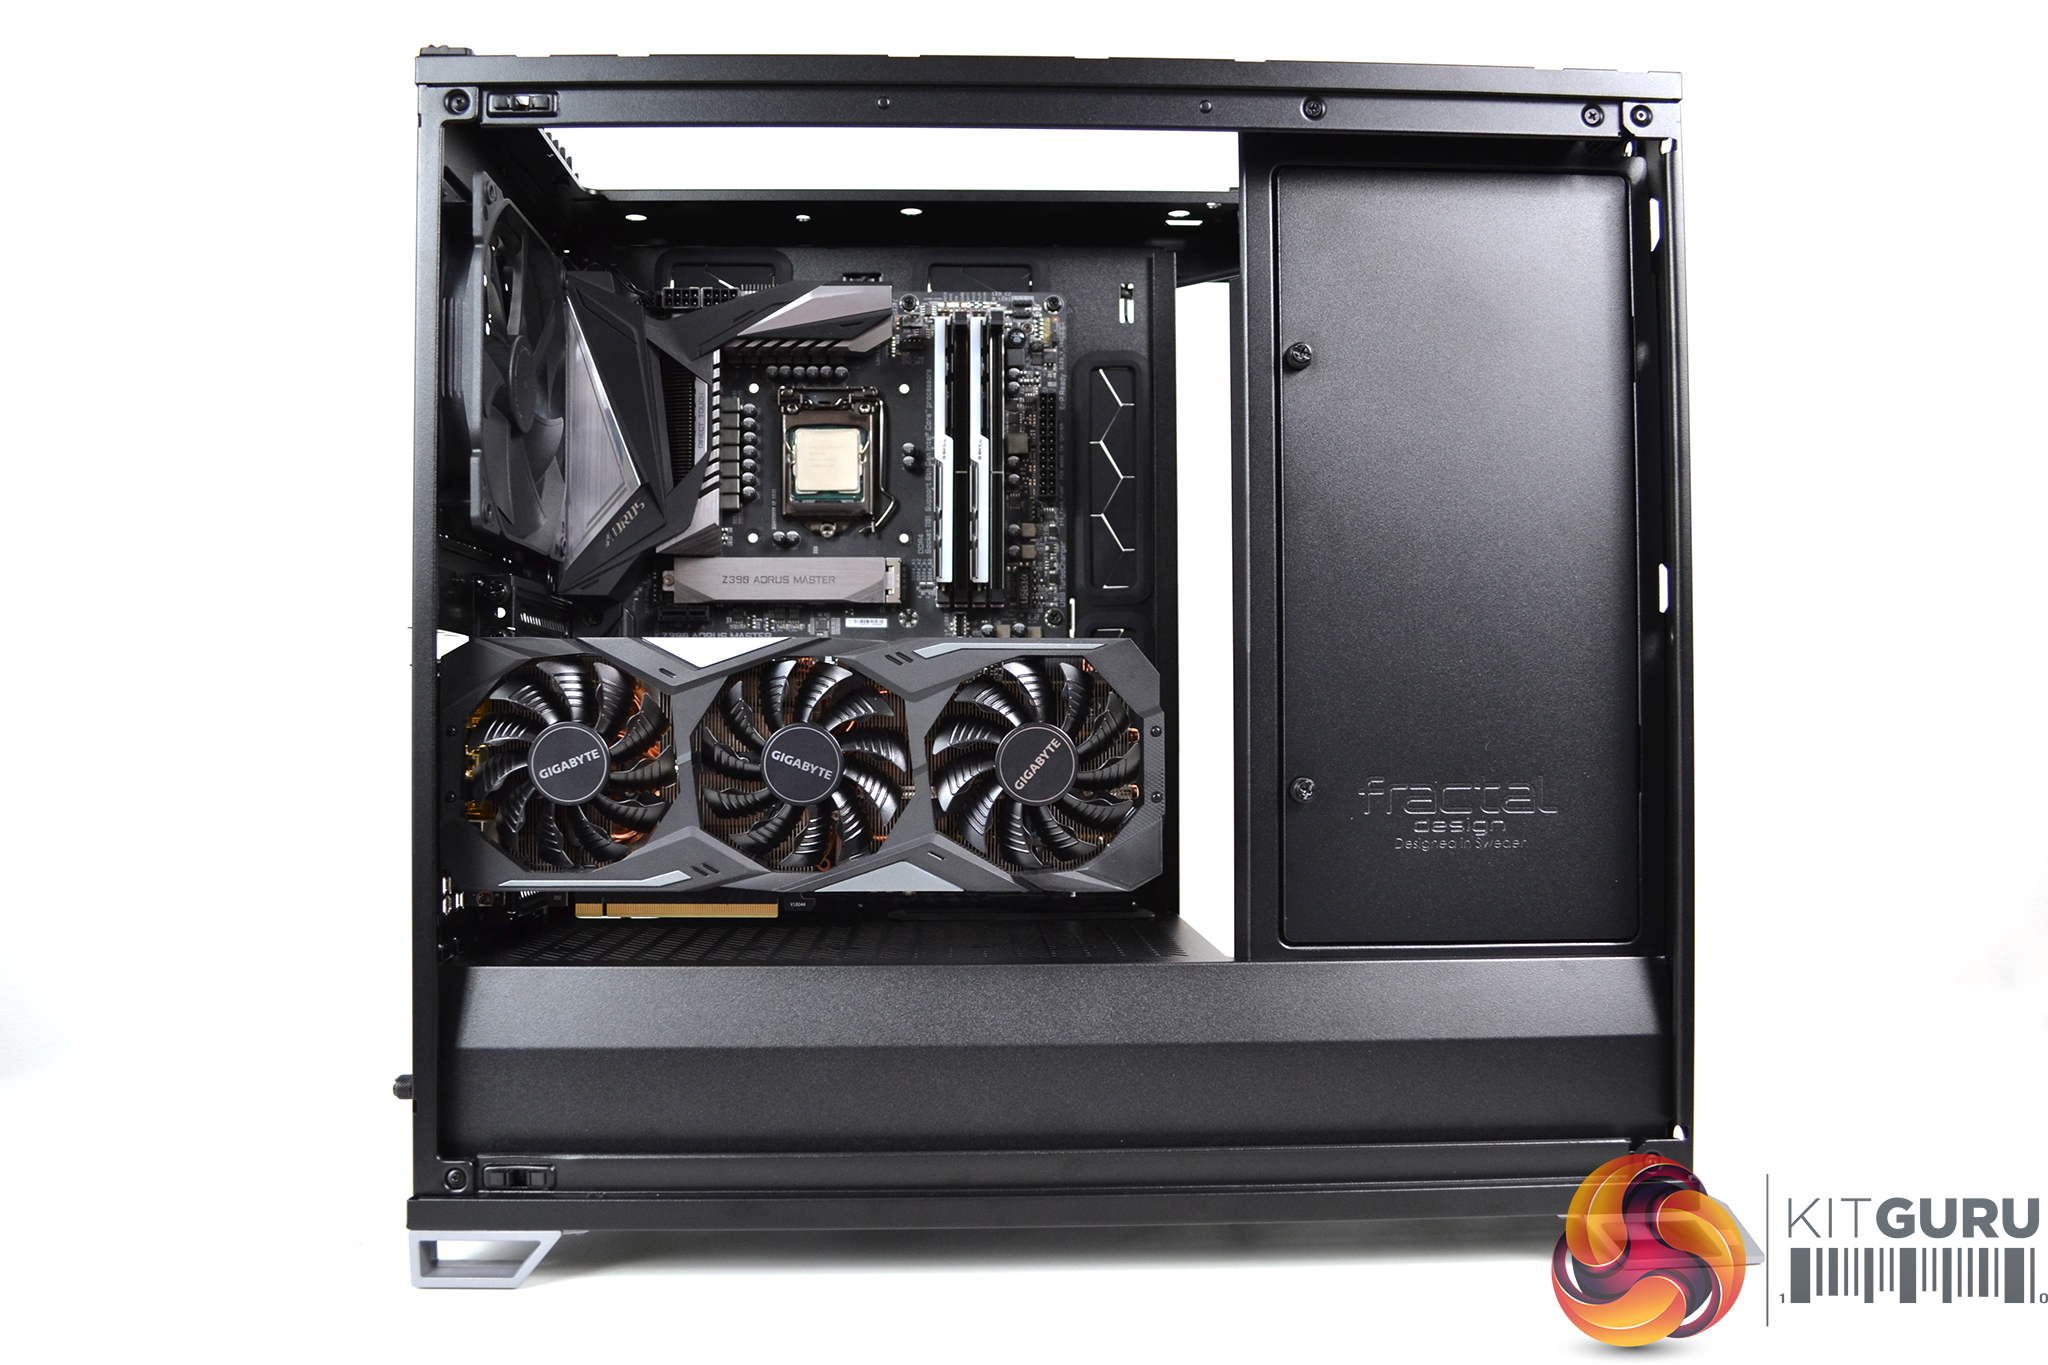
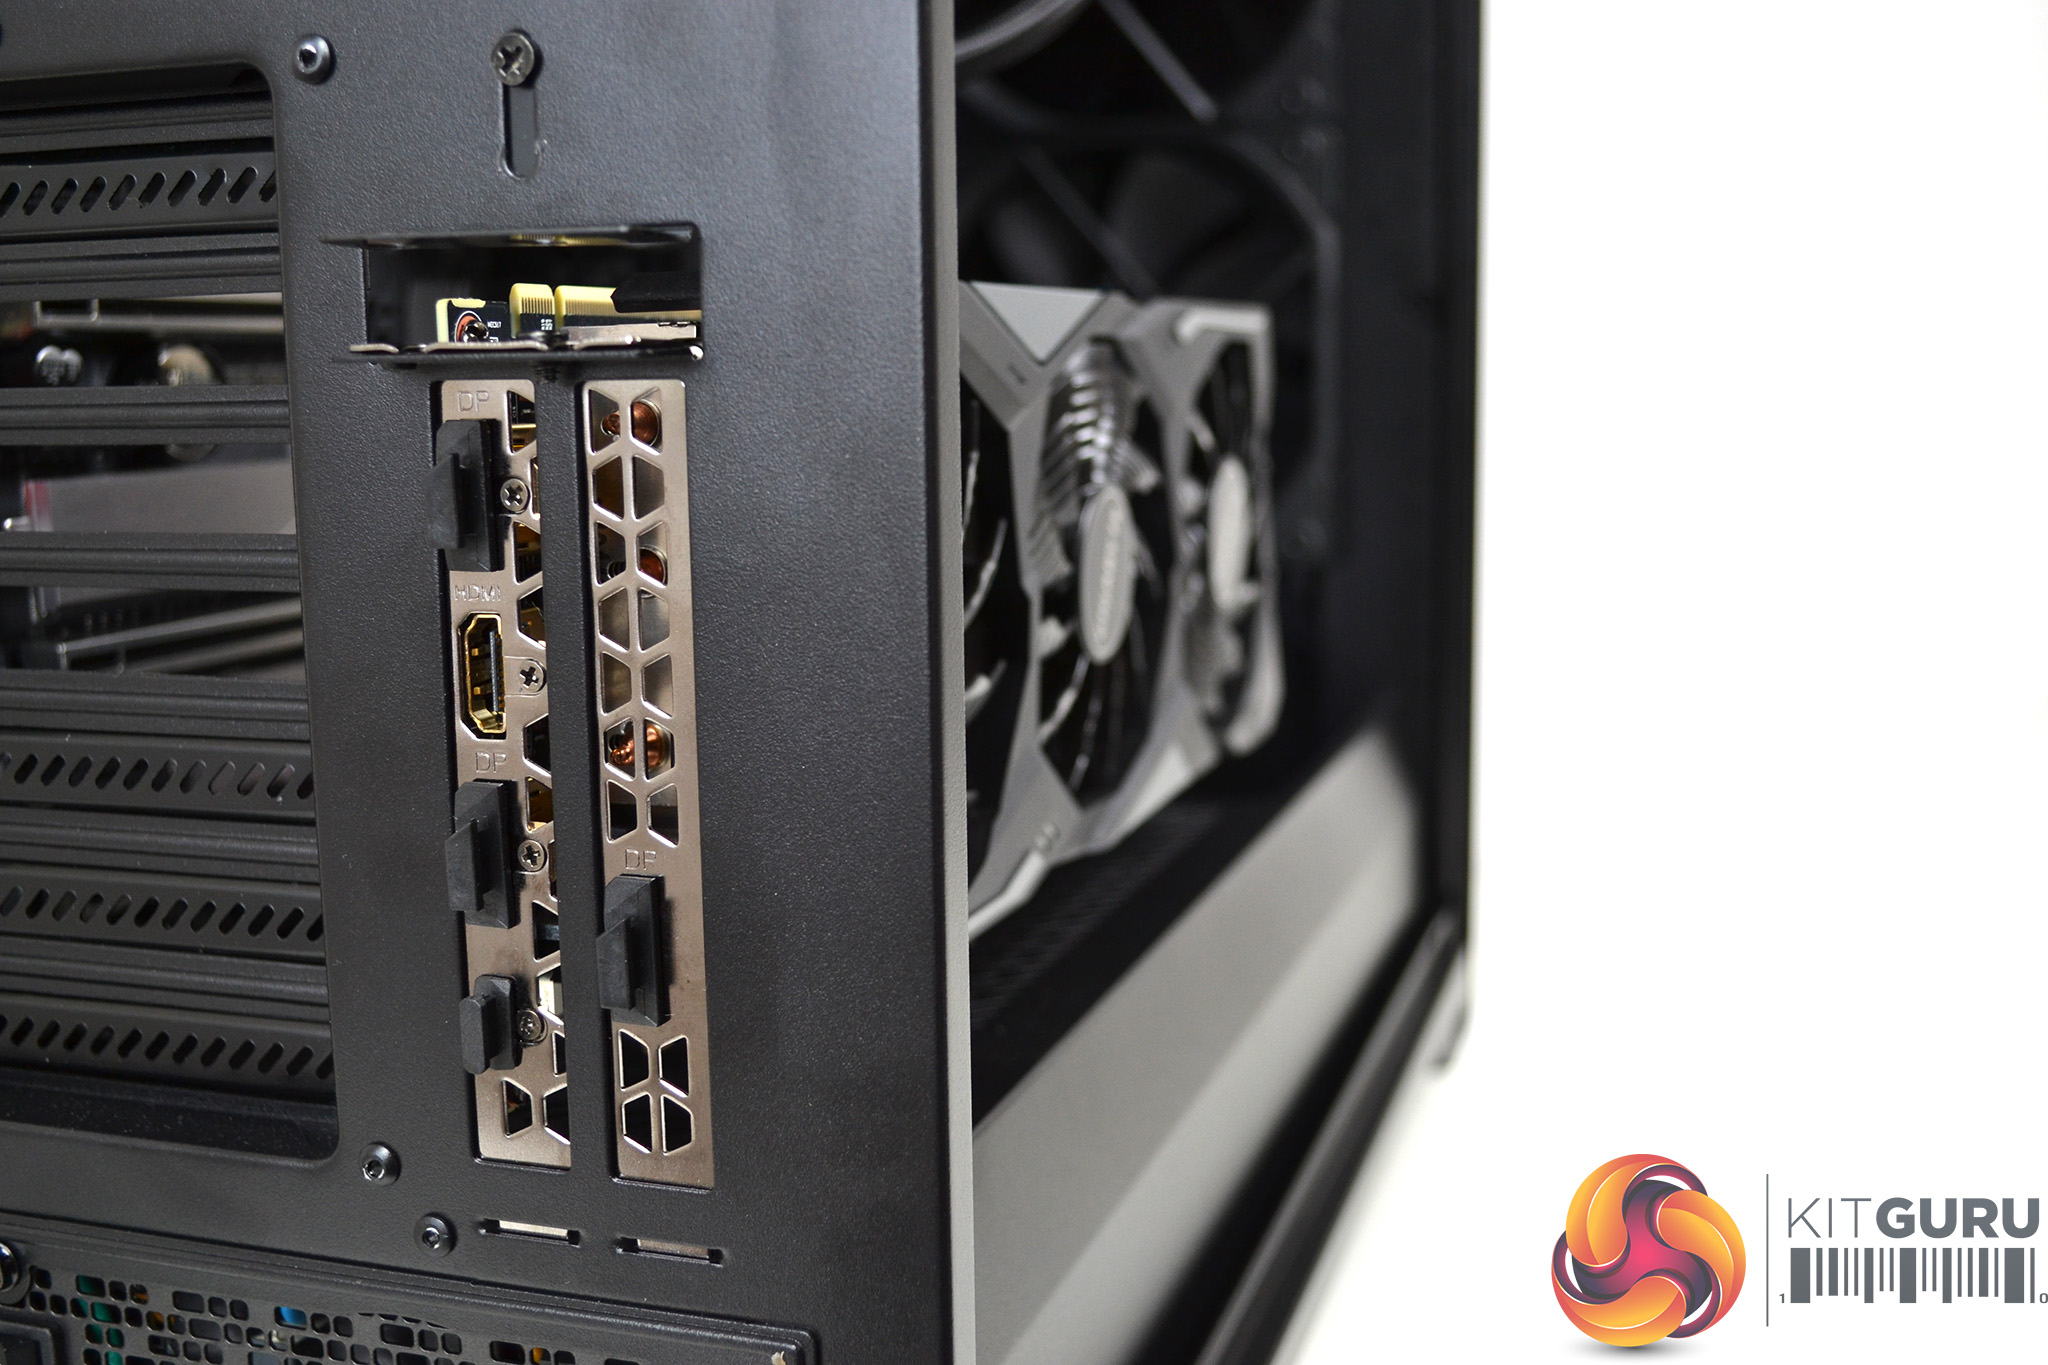
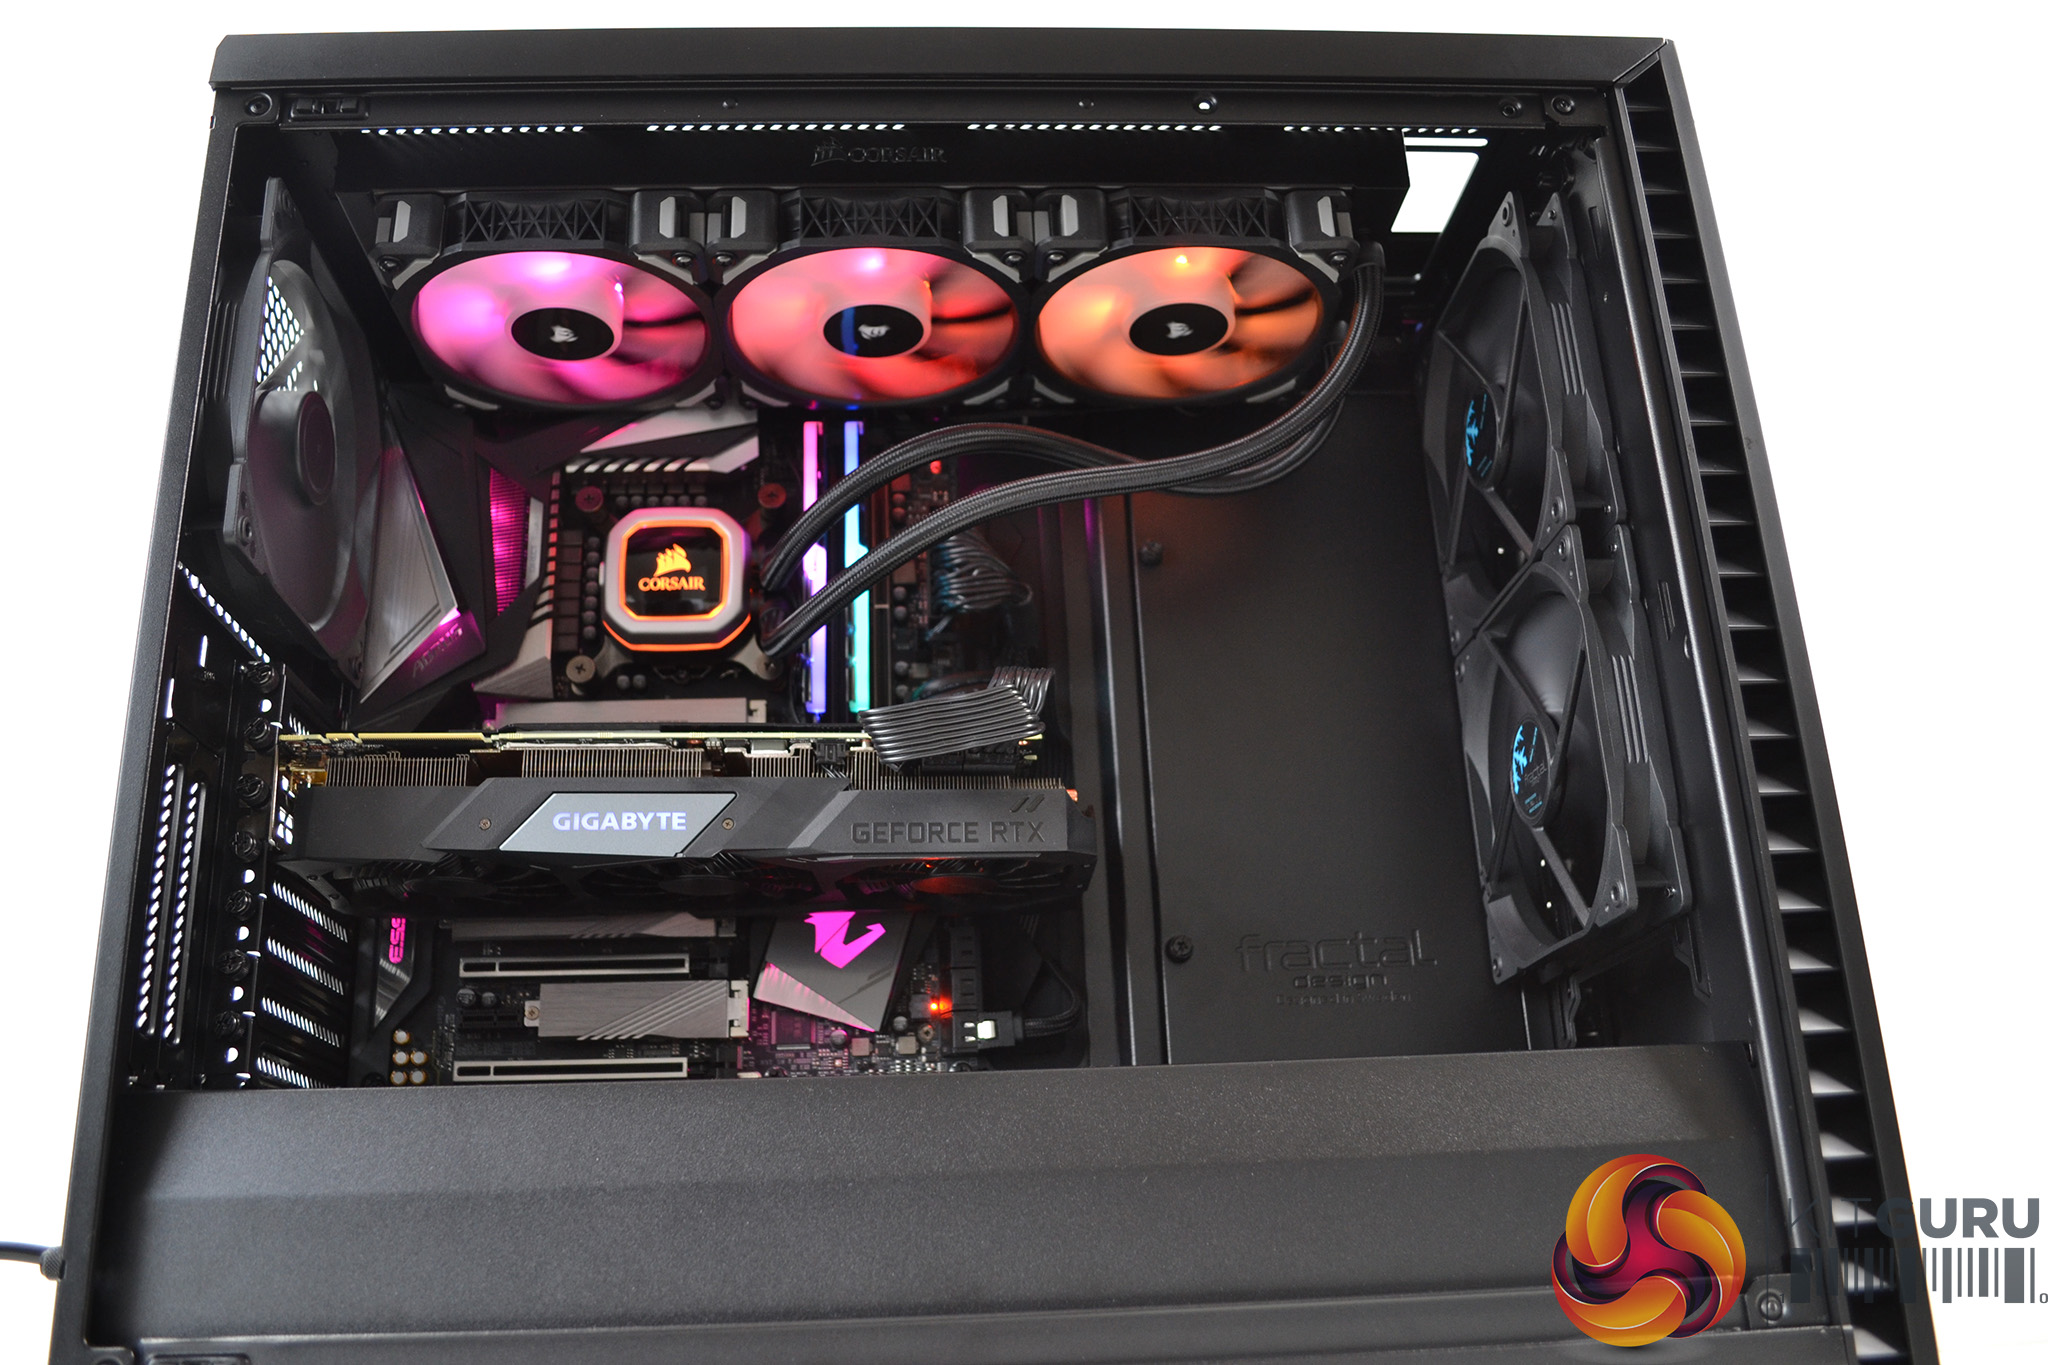
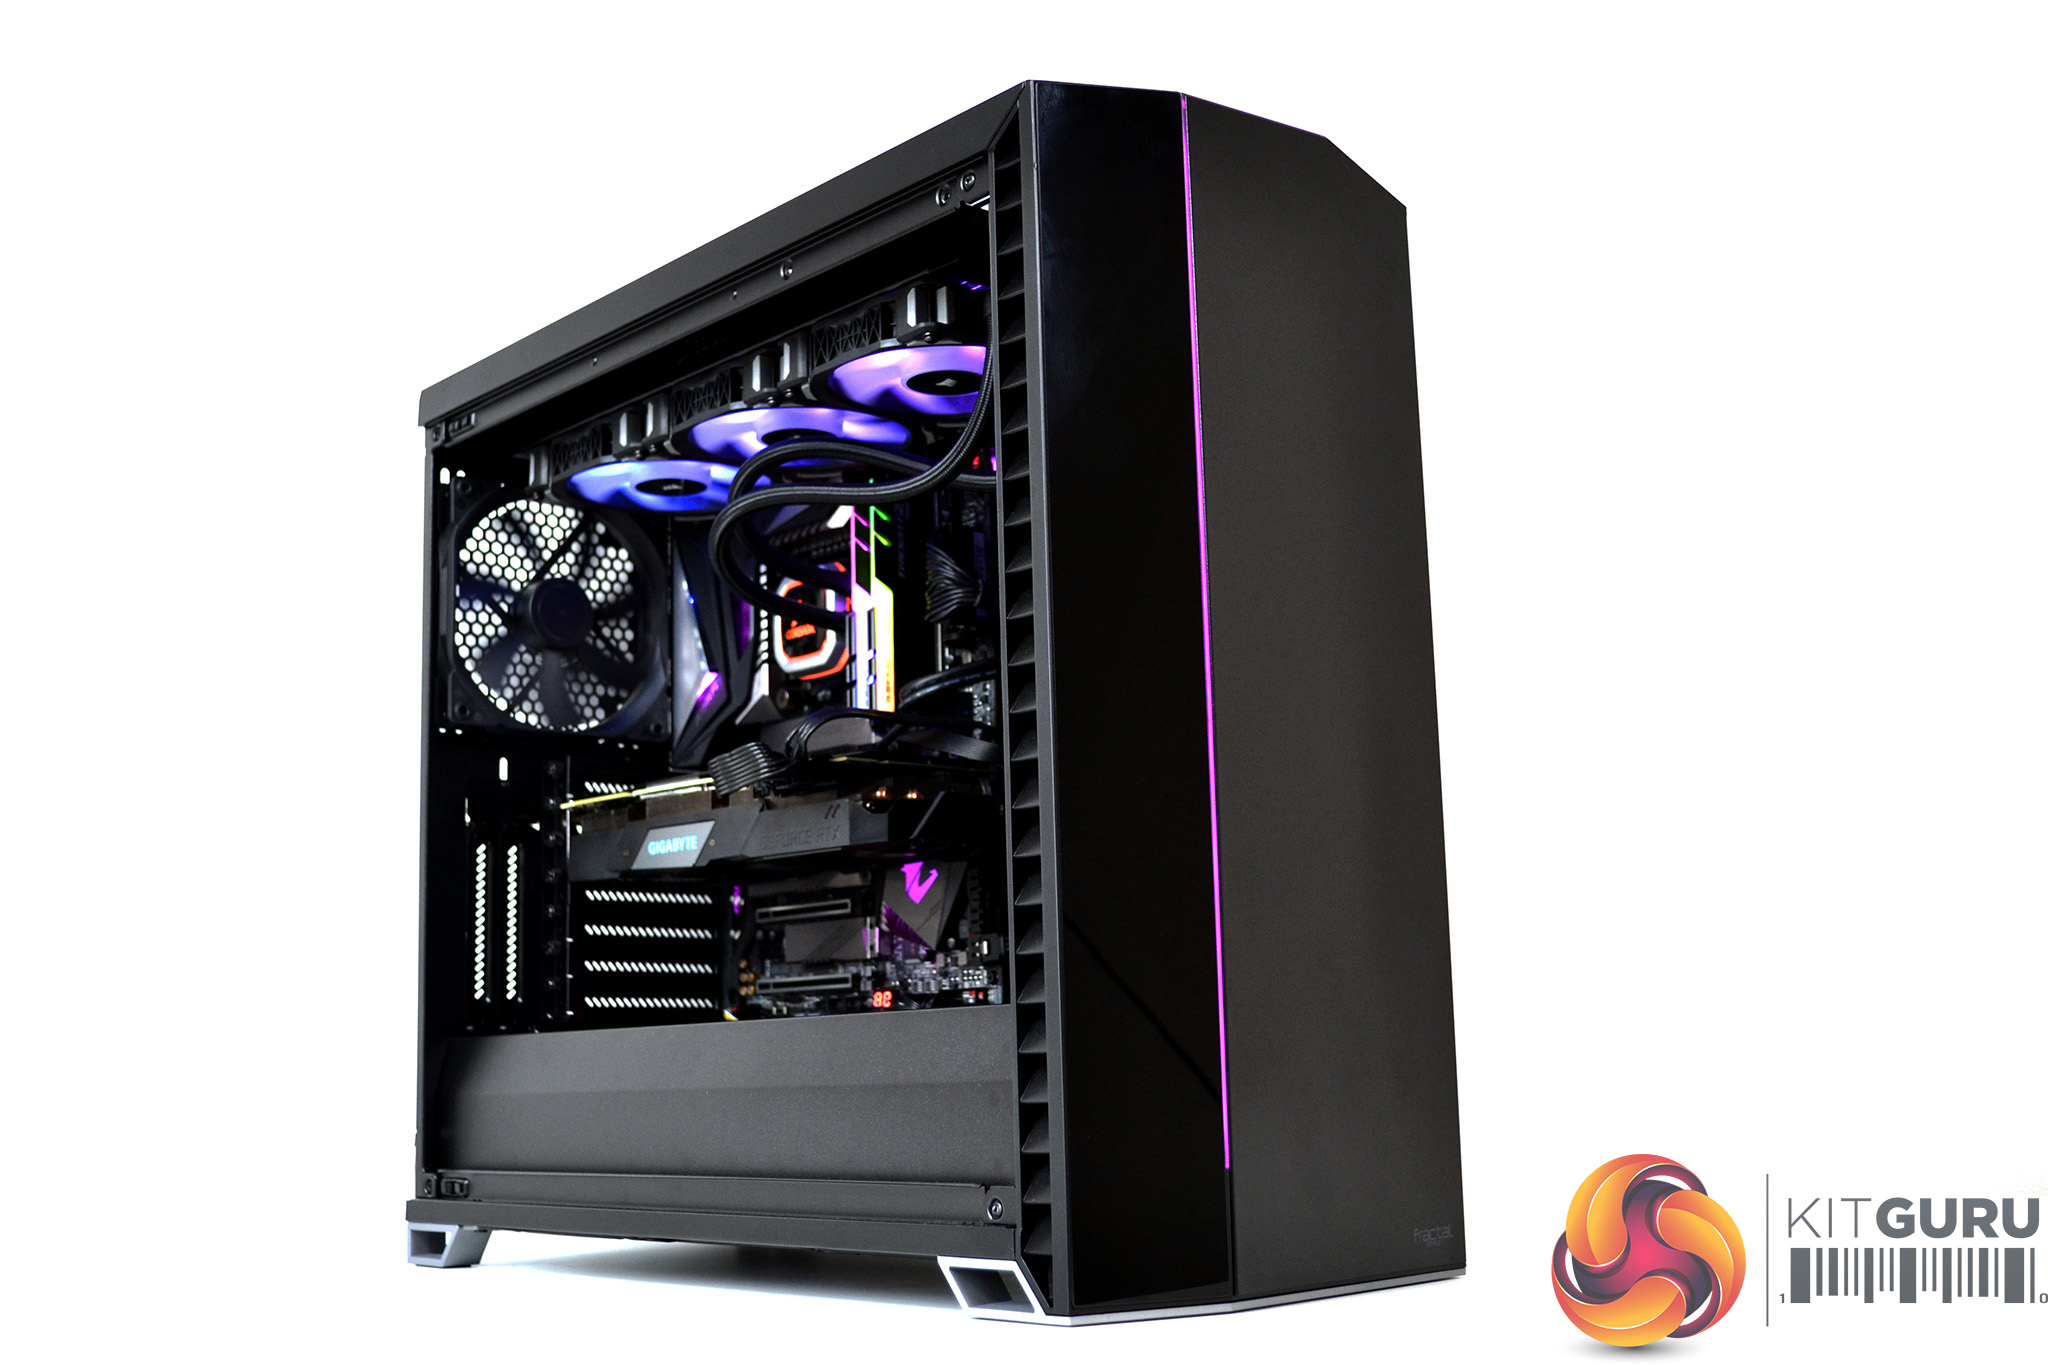
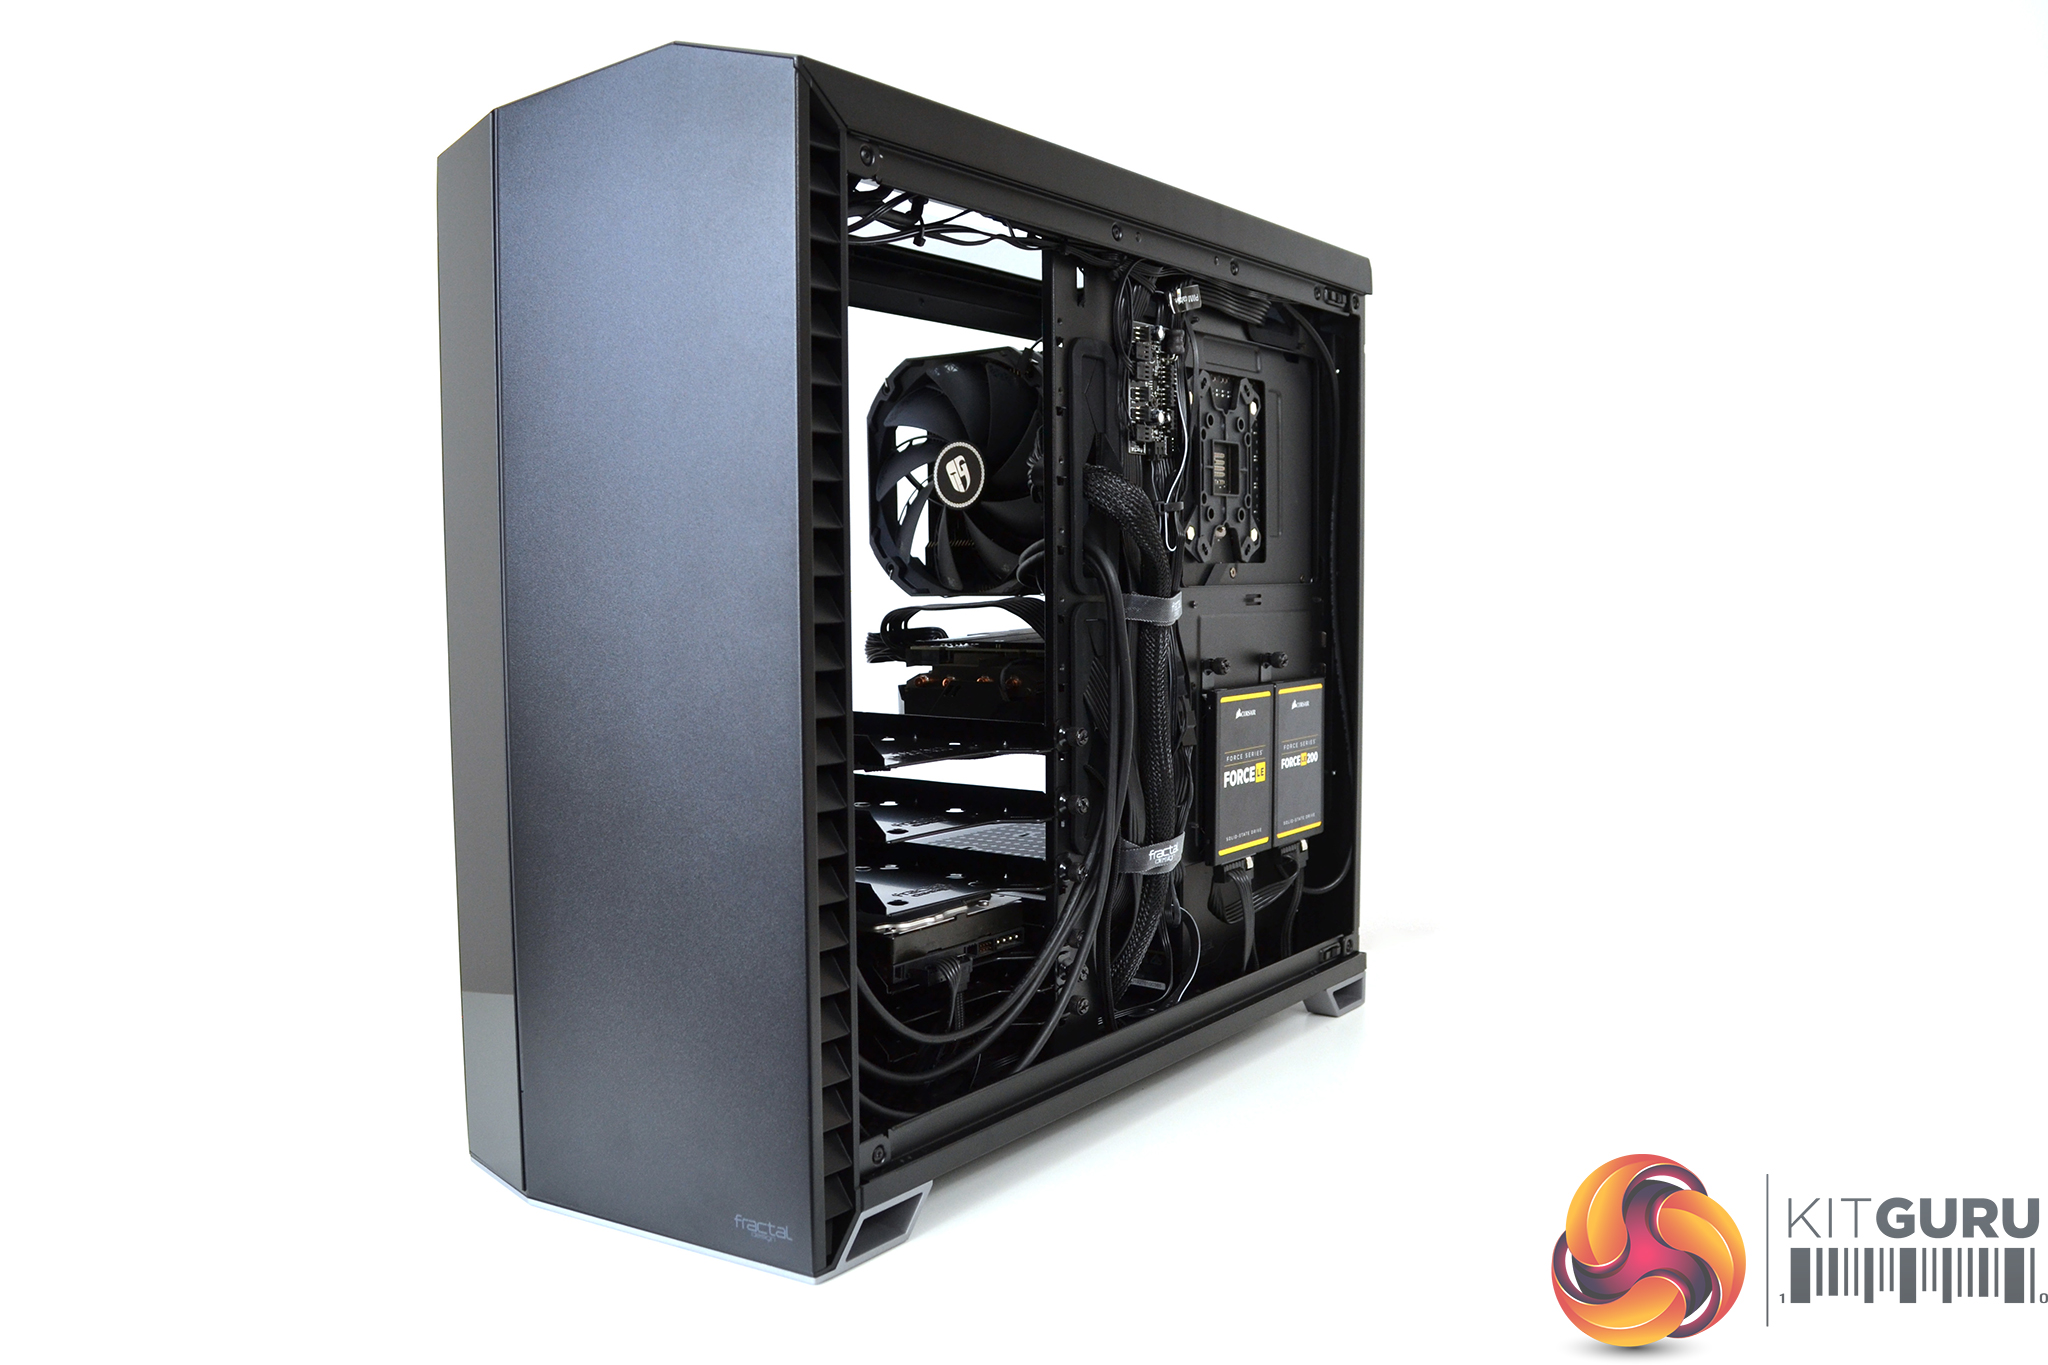
As we touched on earlier, the GPU can be mounted vertically in the vector RS. Our 2.5 slot wide Gigabyte RTX 2070 Super fitted without problems, which left approximately 20mm to the tempered glass side panel.
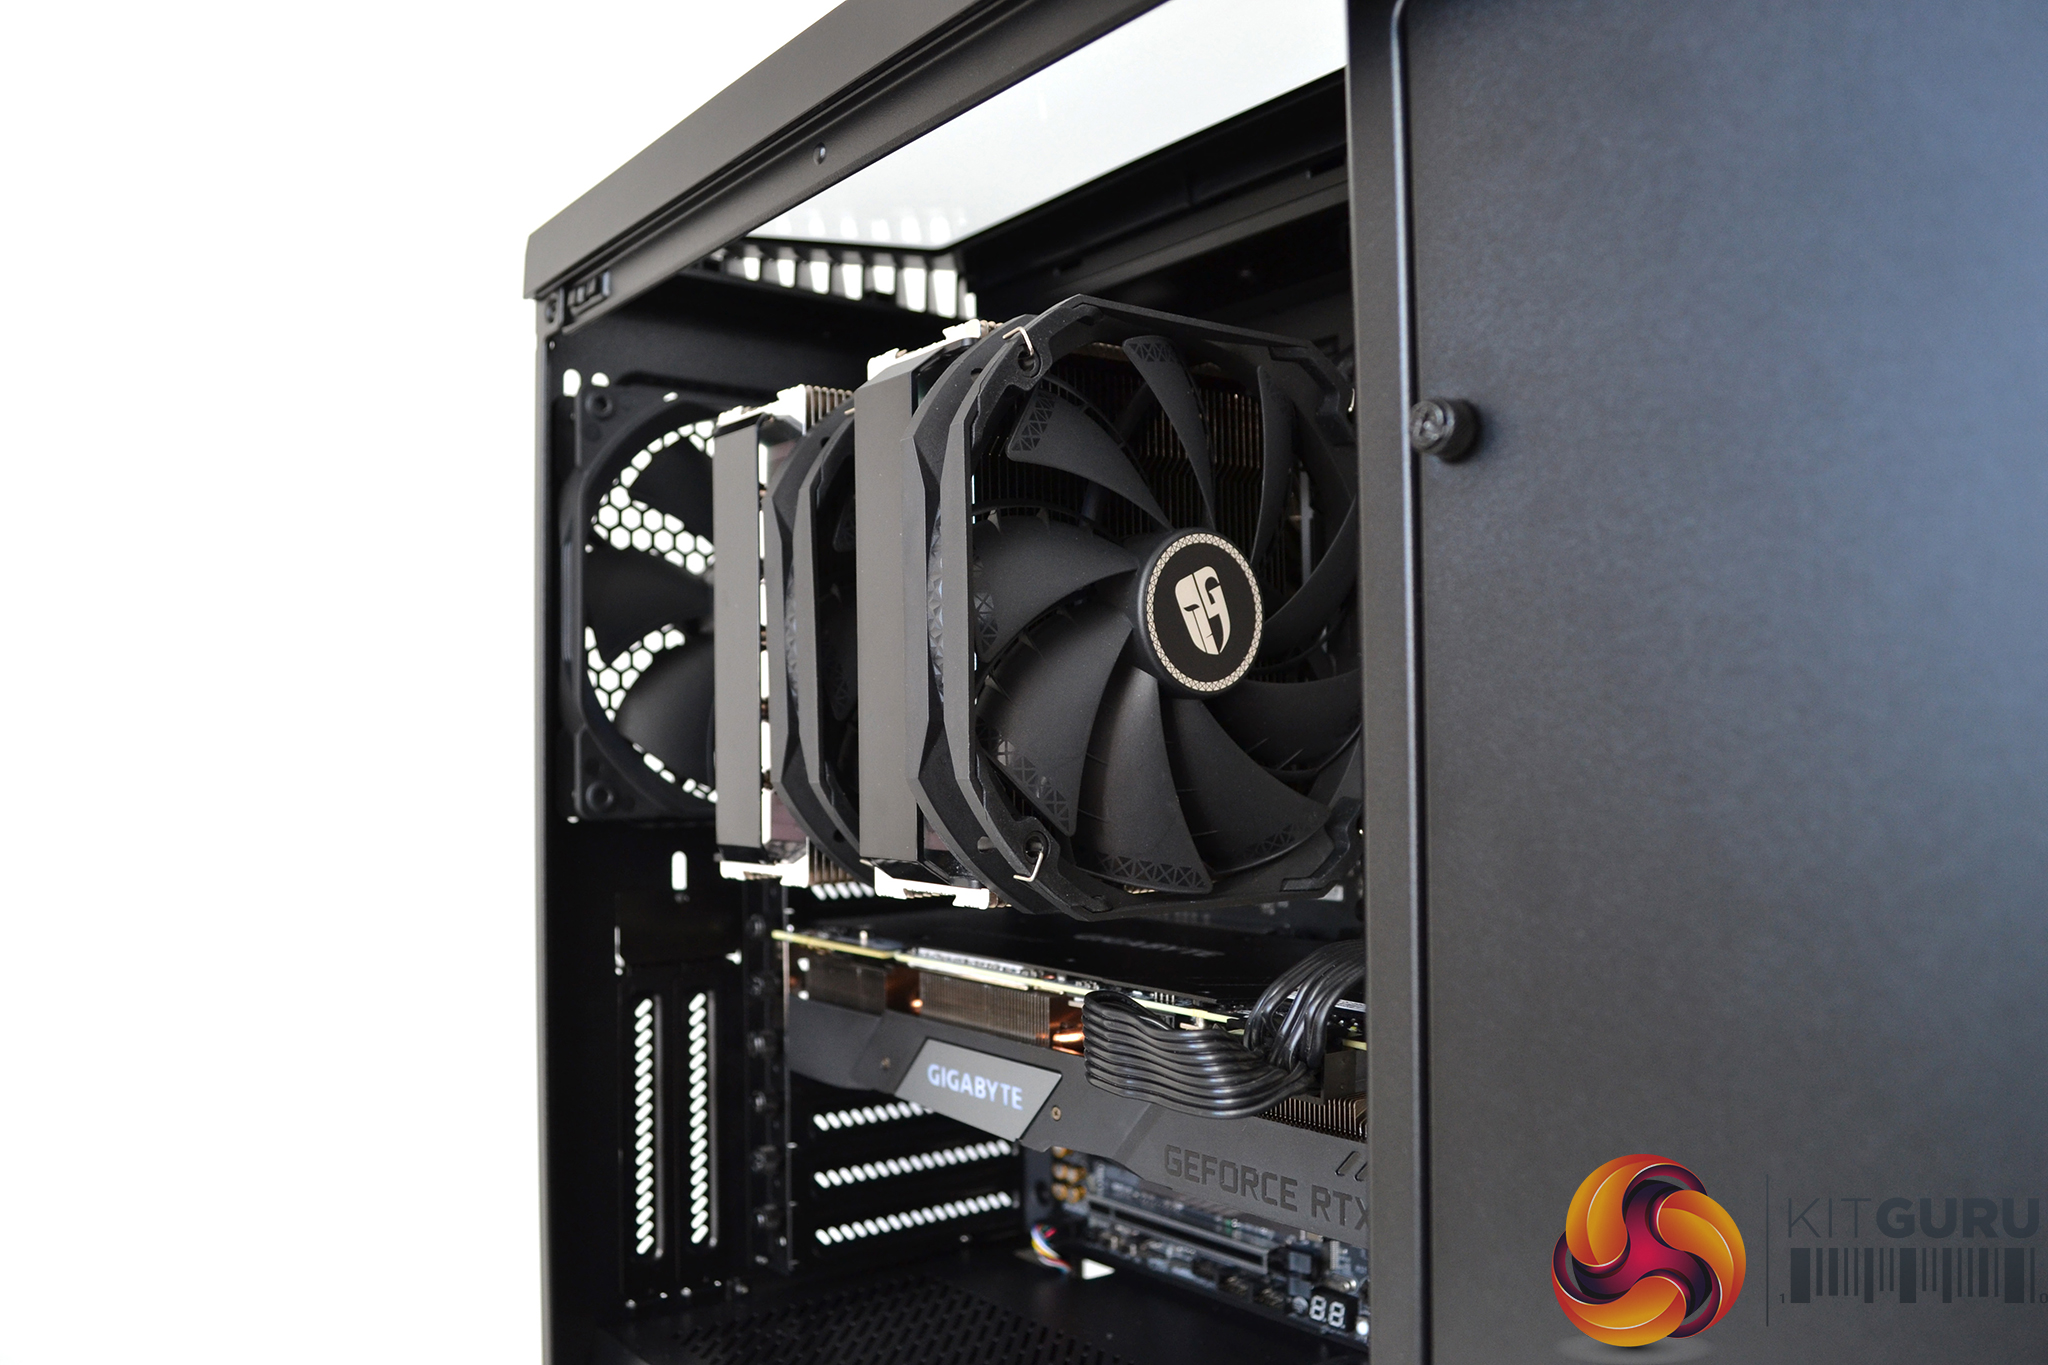
Since we like to test the cooling potential of both air and AIO liquid cooling in cases, we installed the upcoming huge Assassin III dual tower air cooler to begin with. At 165mm tall, the Assassin III is one of the tallest air coolers available, however, it fits in the Vector RS with room to spare even with the front fan lifted to clear our G.SKILL trident Z RGB RAM.
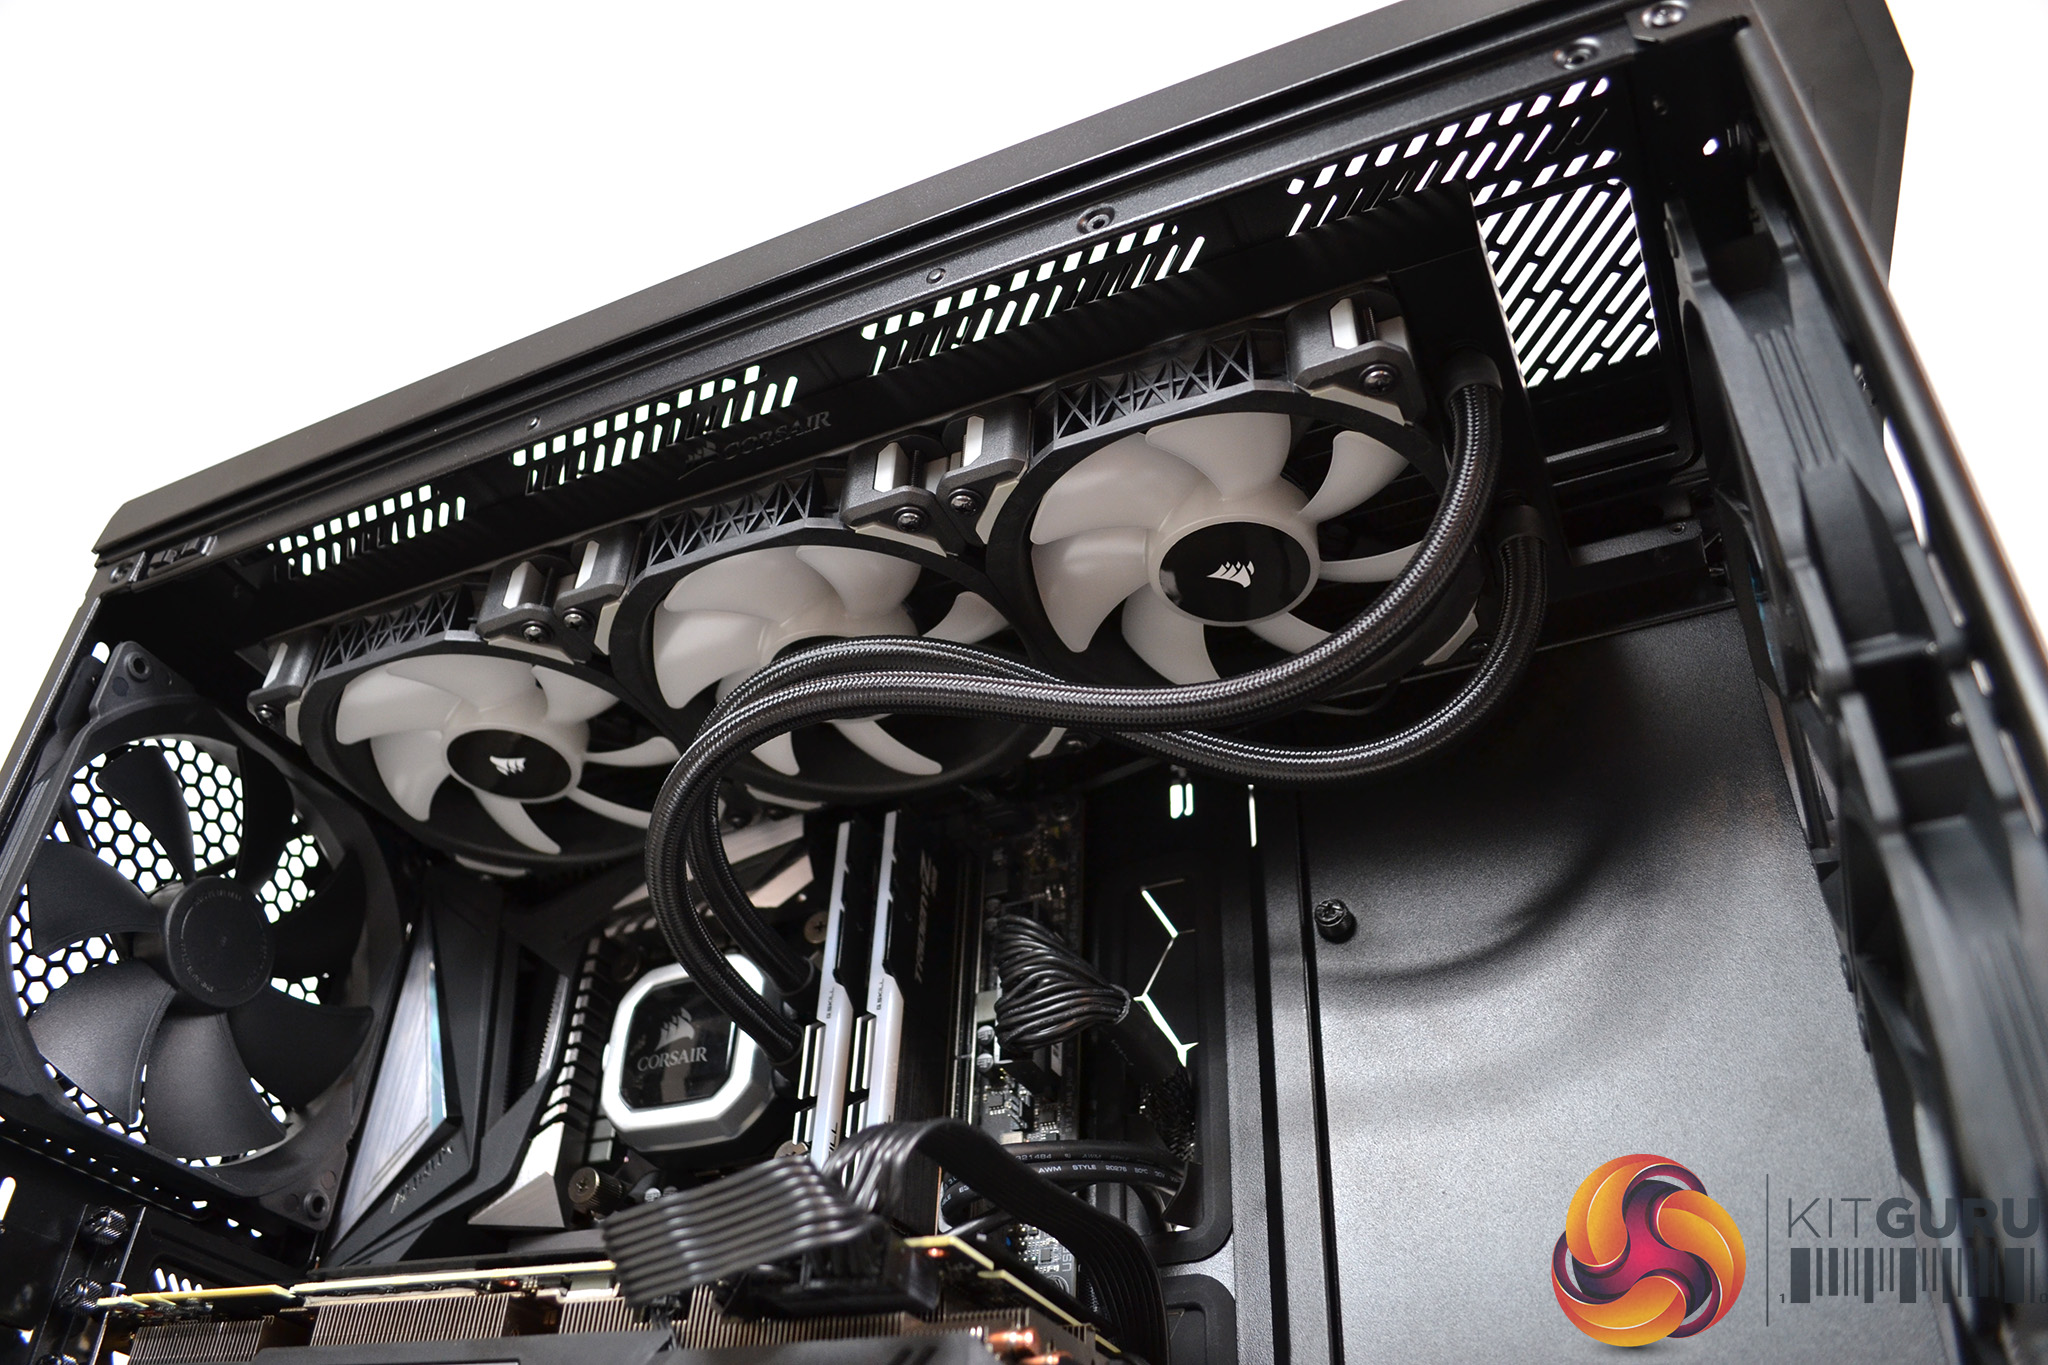
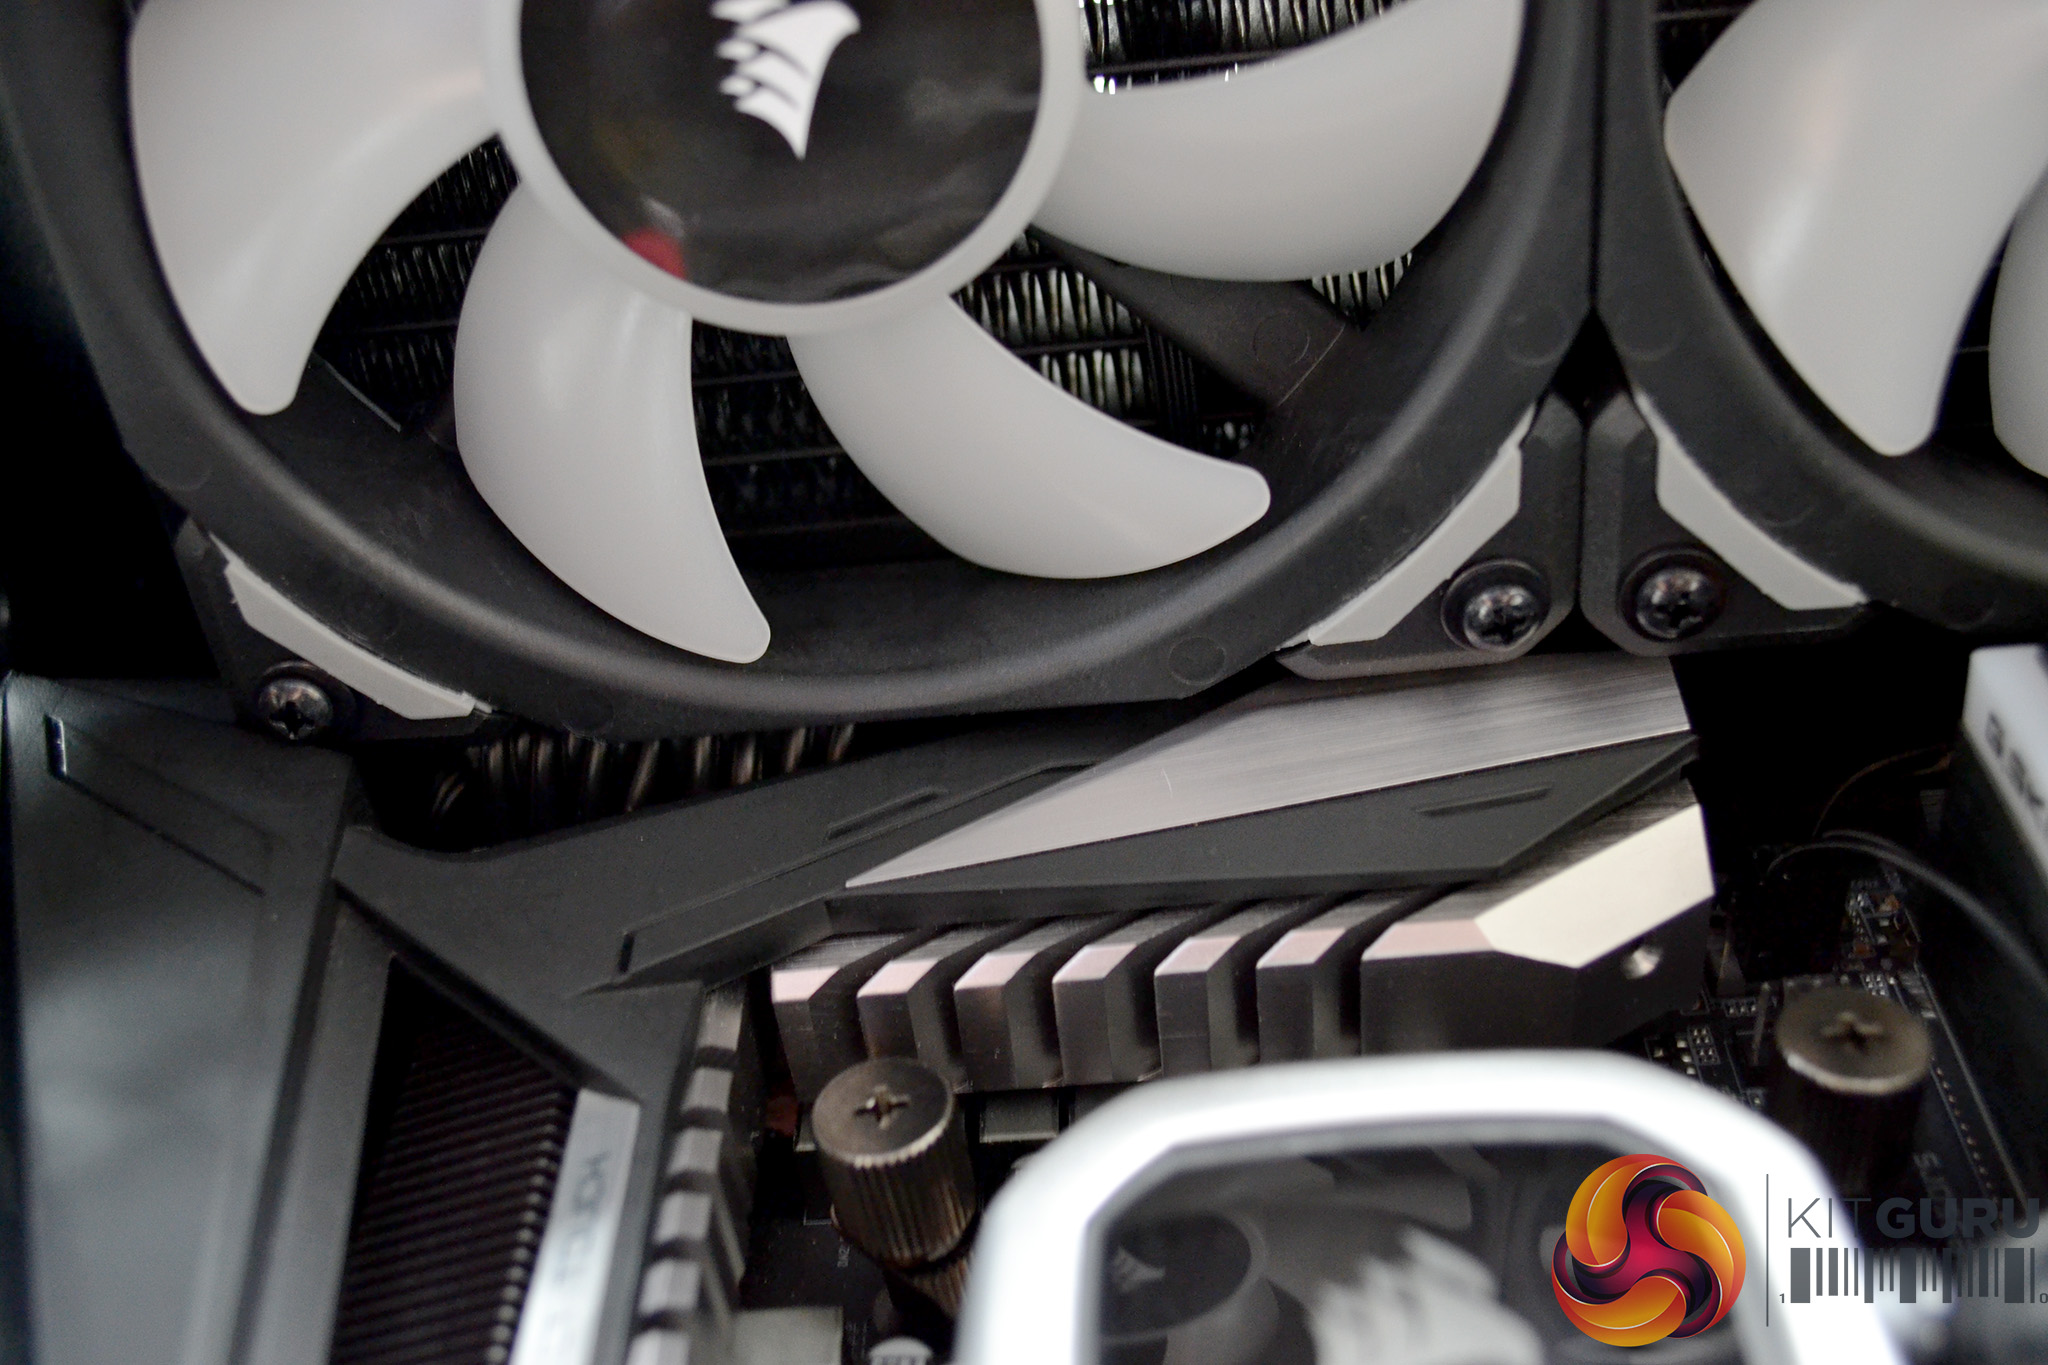
You can opt to install a 360mm radiator in the Vector RS either in the front or top (with optional cooling bracket). We chose the top. Installation was simple. However, it is worth noting the large VRM cooling on our motherboard was very close to the radiator fans.
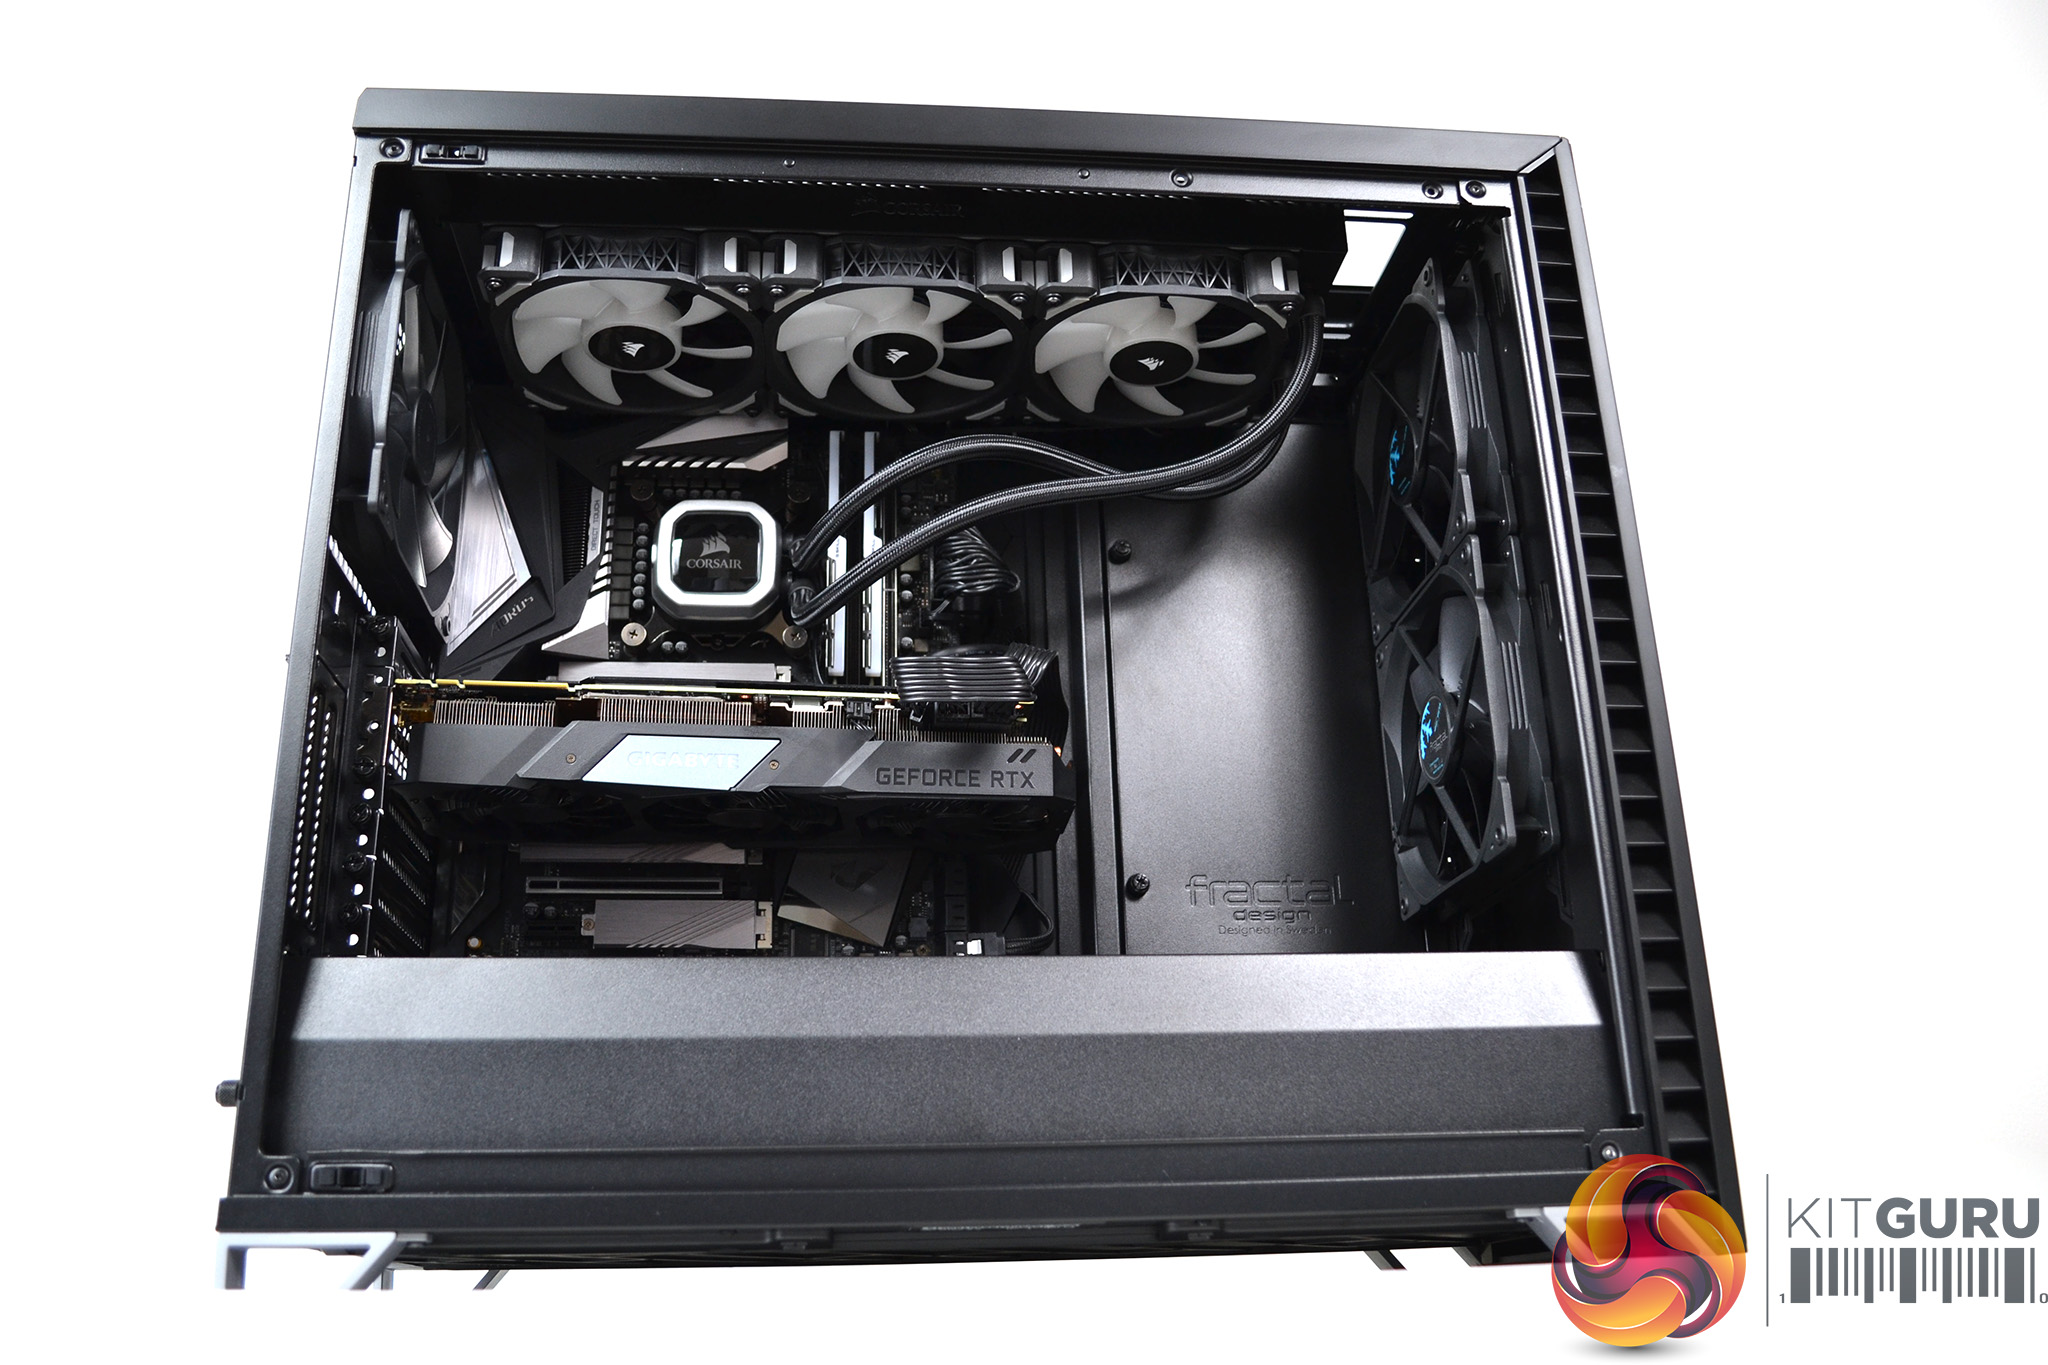
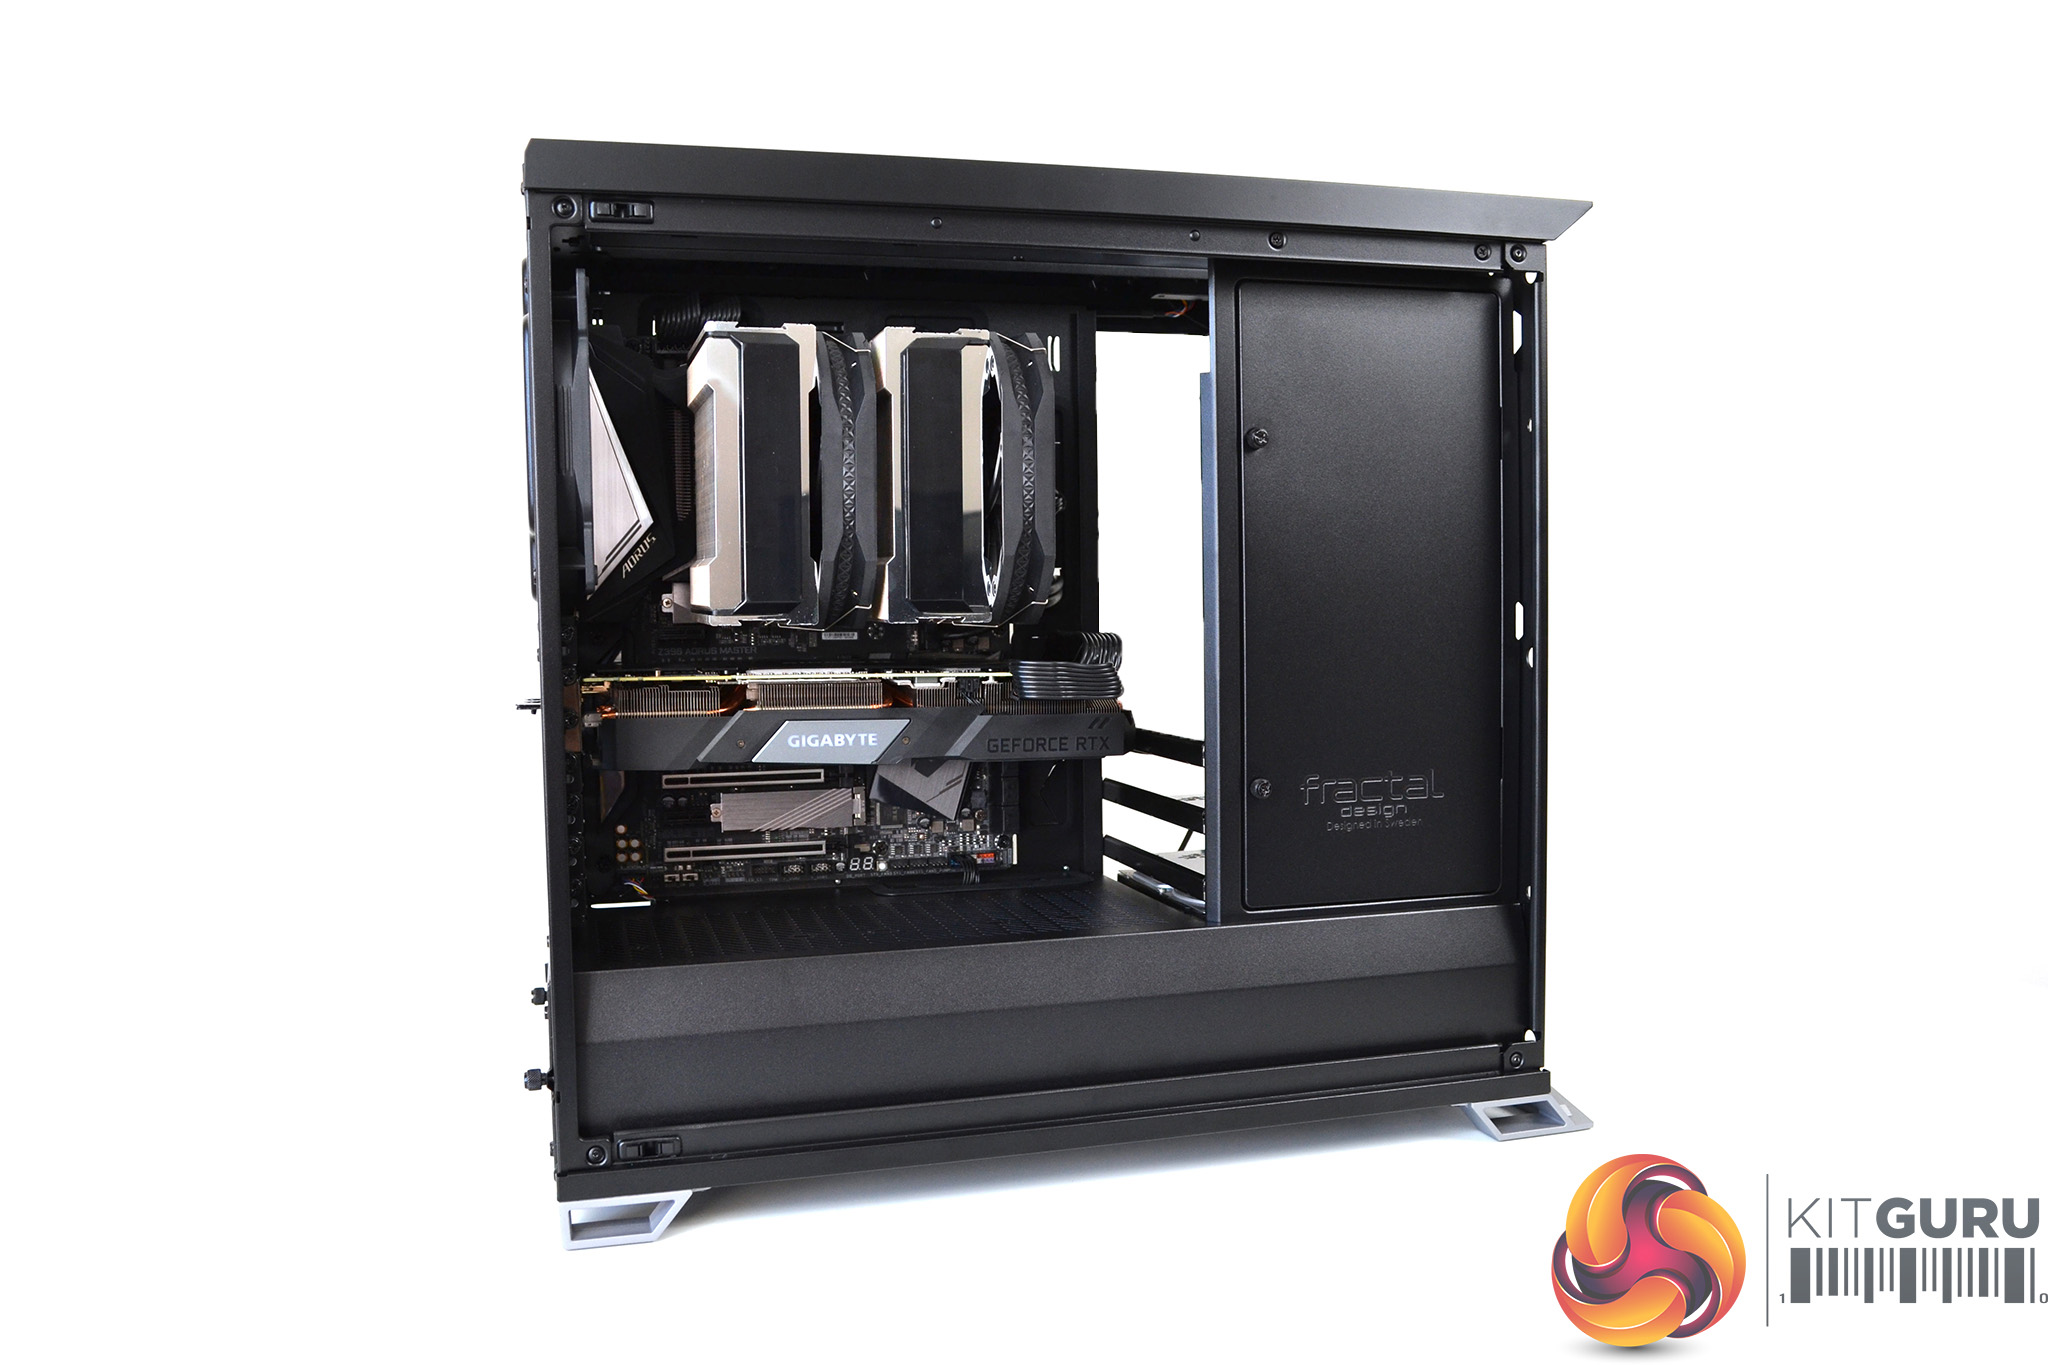
Even with a large GPU installed in the Vector RS, there is ample room. Our Gigabyte RTX 2070 Super left us a whopping 165mm of space to the front fans in the open configuration, so great potential for custom cooling loop installs. A large radiator with a pump/reservoir mounted in front should fit without any problems.
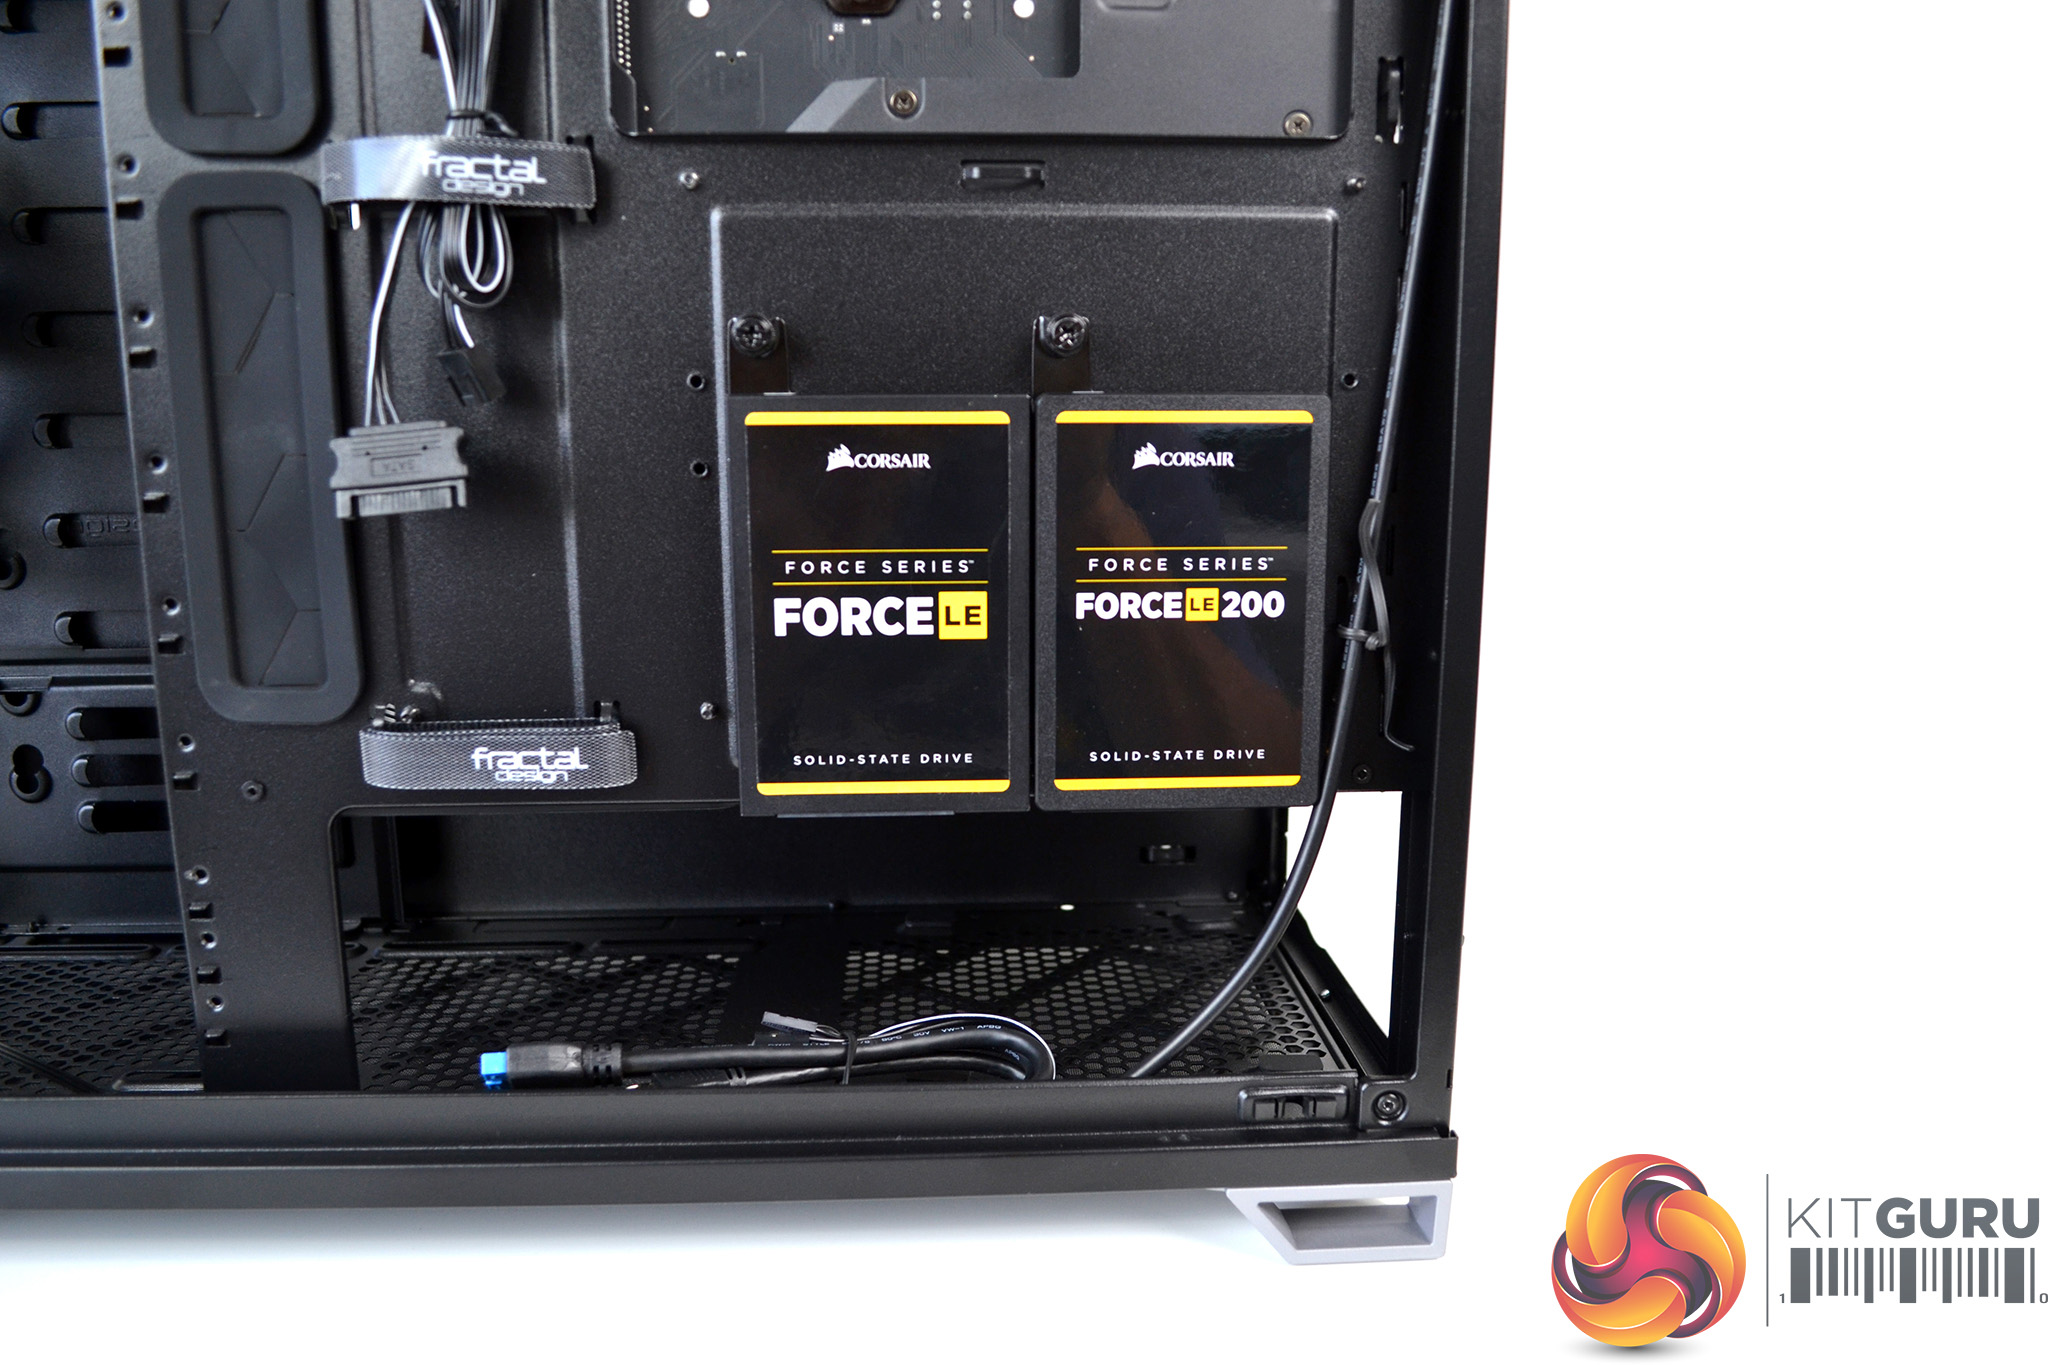
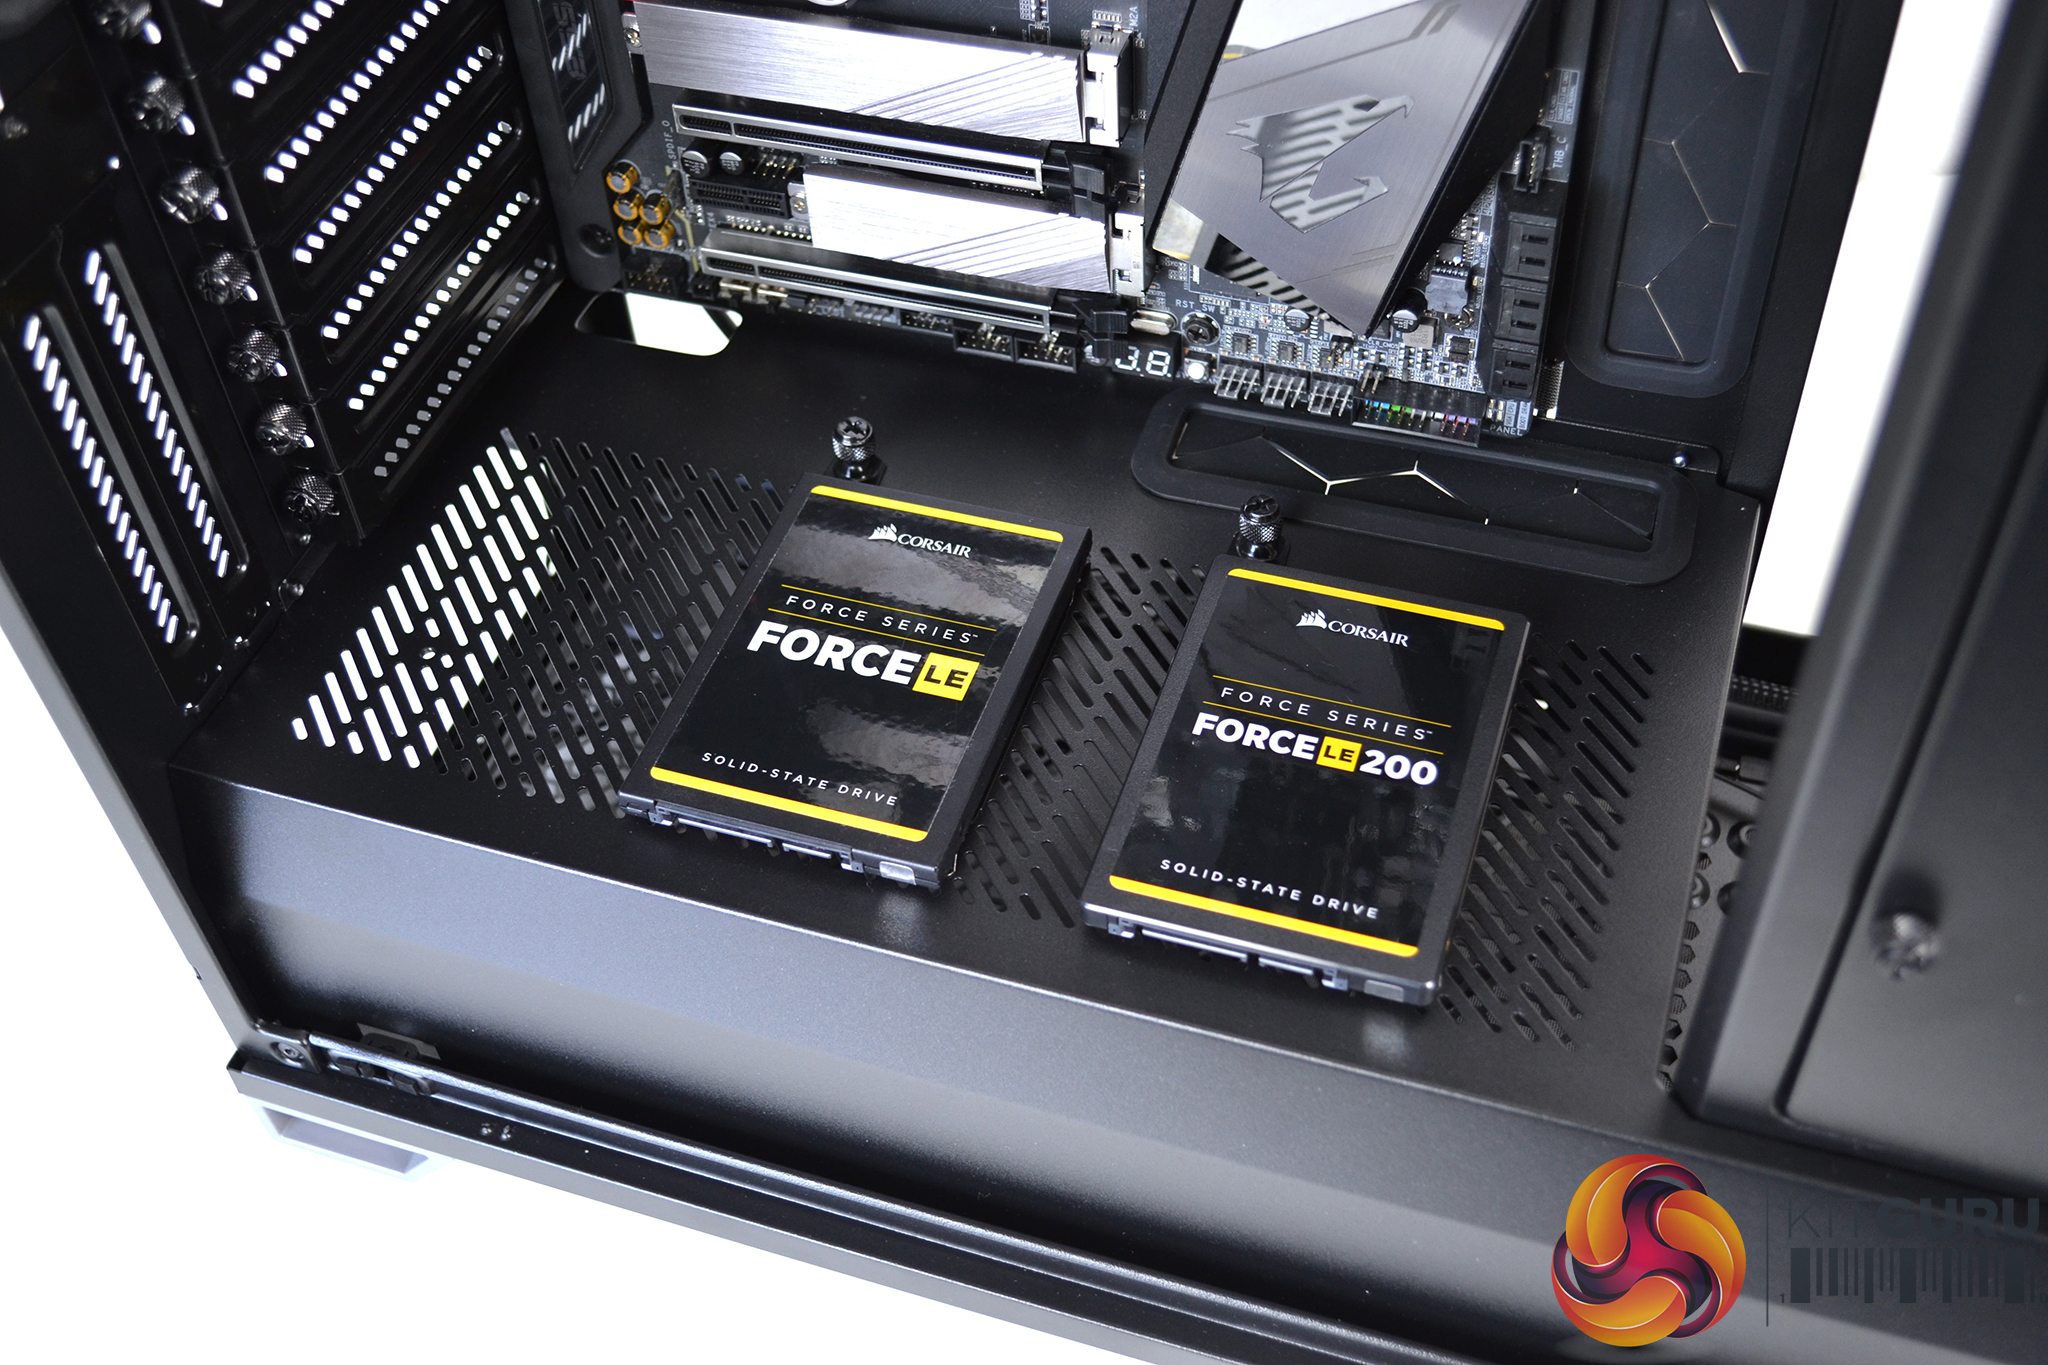
Installation of SSD drives is carried out by removing the pre-installed brackets, fixing the SSD to the bracket with four screws then sliding the brackets back into their locators and securing with the captive thumbscrew. Two SDD drives can be installed either at the rear of the motherboard or on top of the PSU shroud.
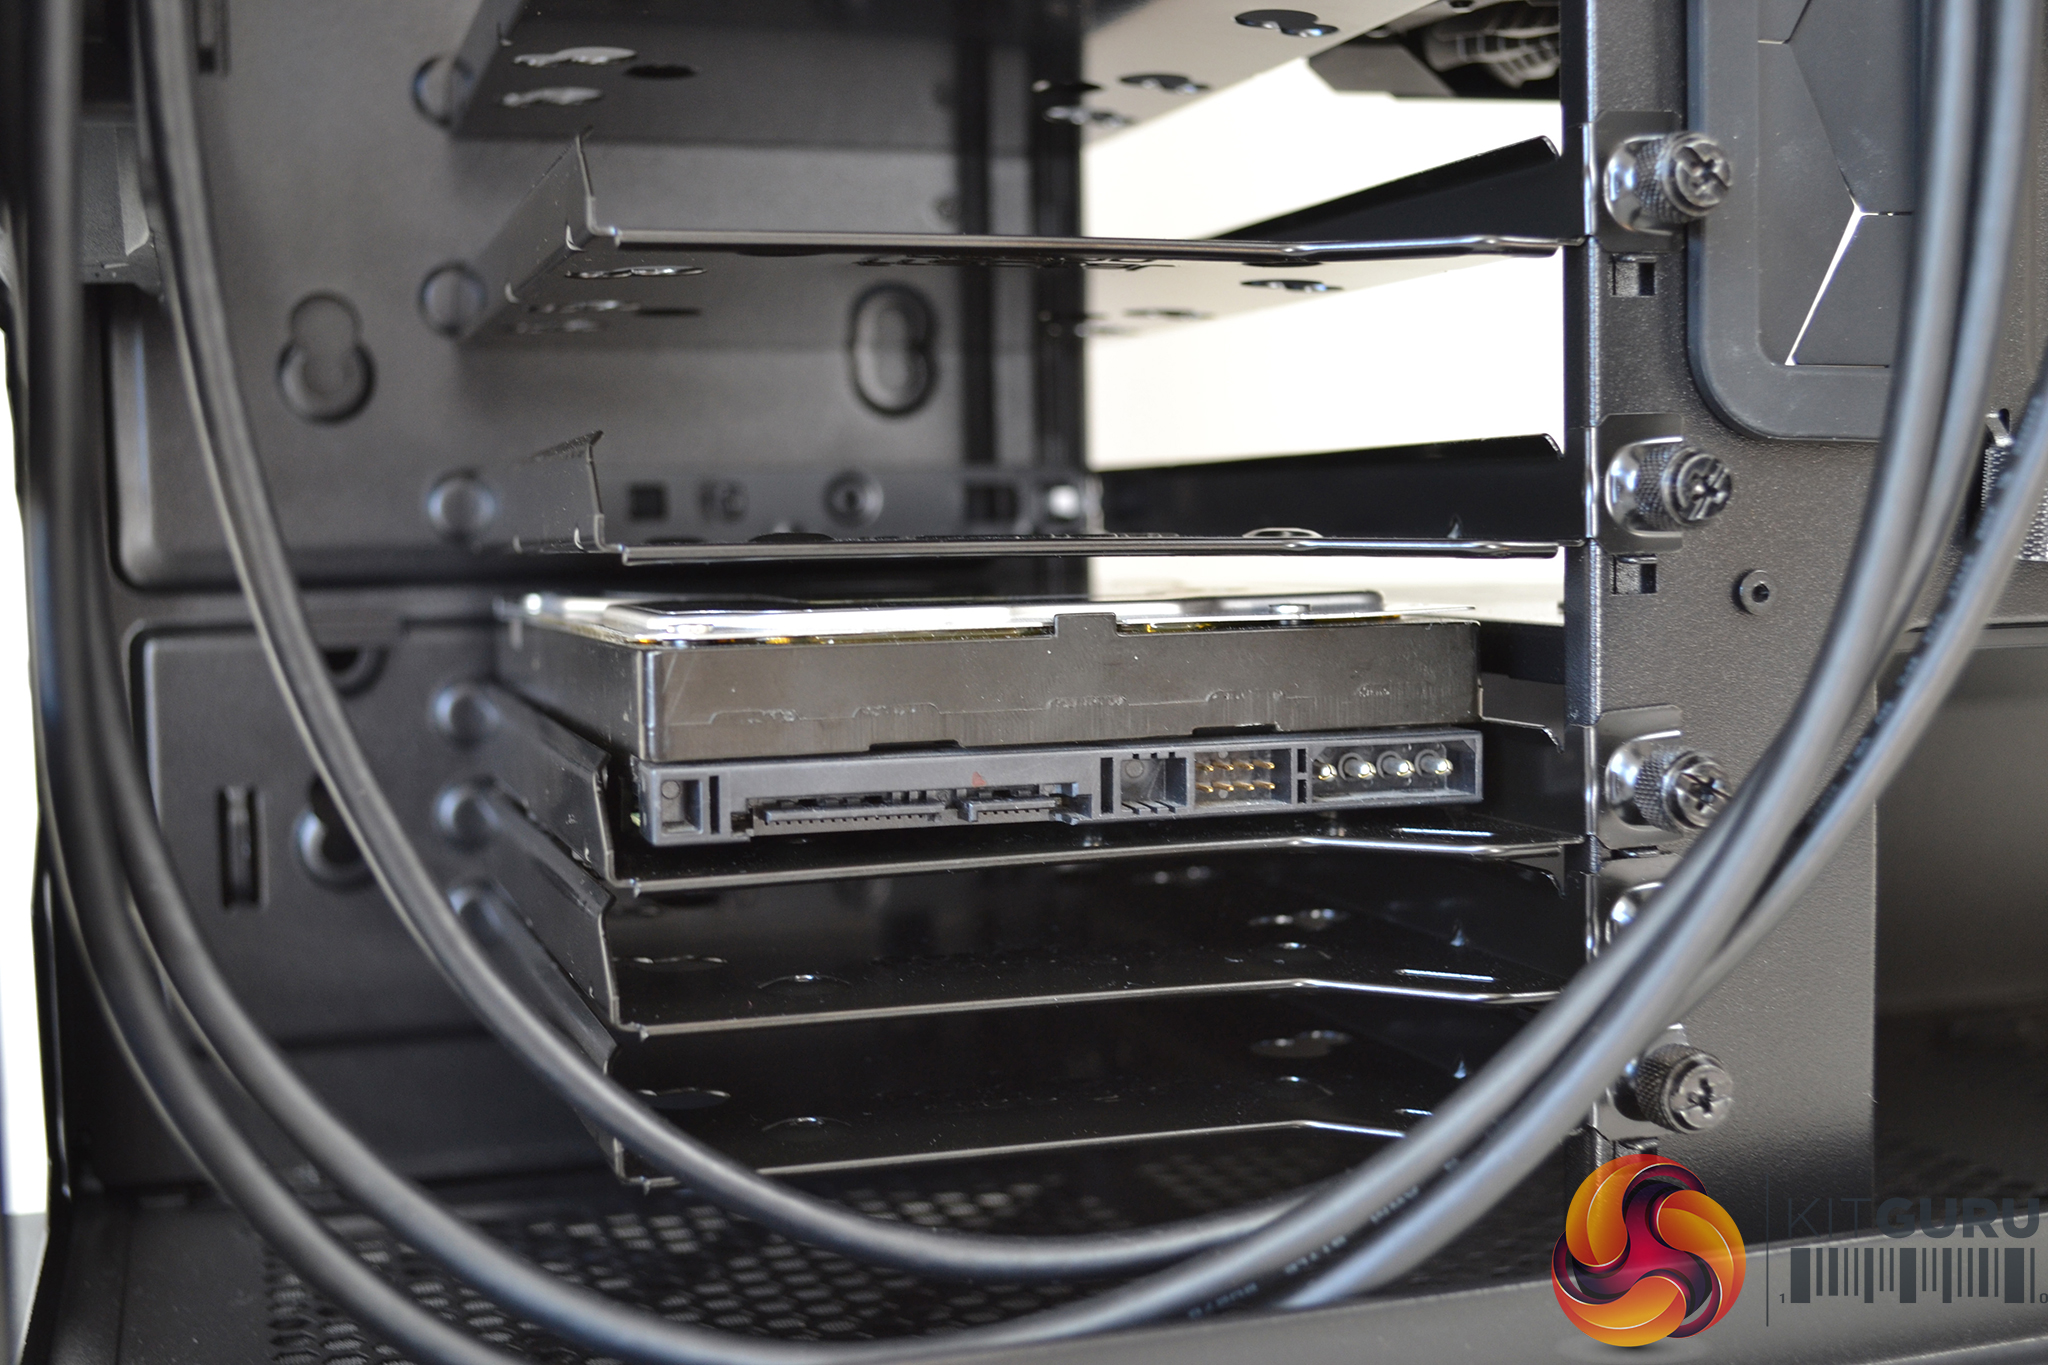
HDD installation is also a simple operation. Loosen the captive thumbscrew to remove the HDD cage, install the anti-vibration grommets, then with the correct screws secure the drive in place. Install the cage back on its bracket and tighten the thumbscrew to secure. An extra screw can be fixed in the front of the HDD cage behind the storage panel for extra security.
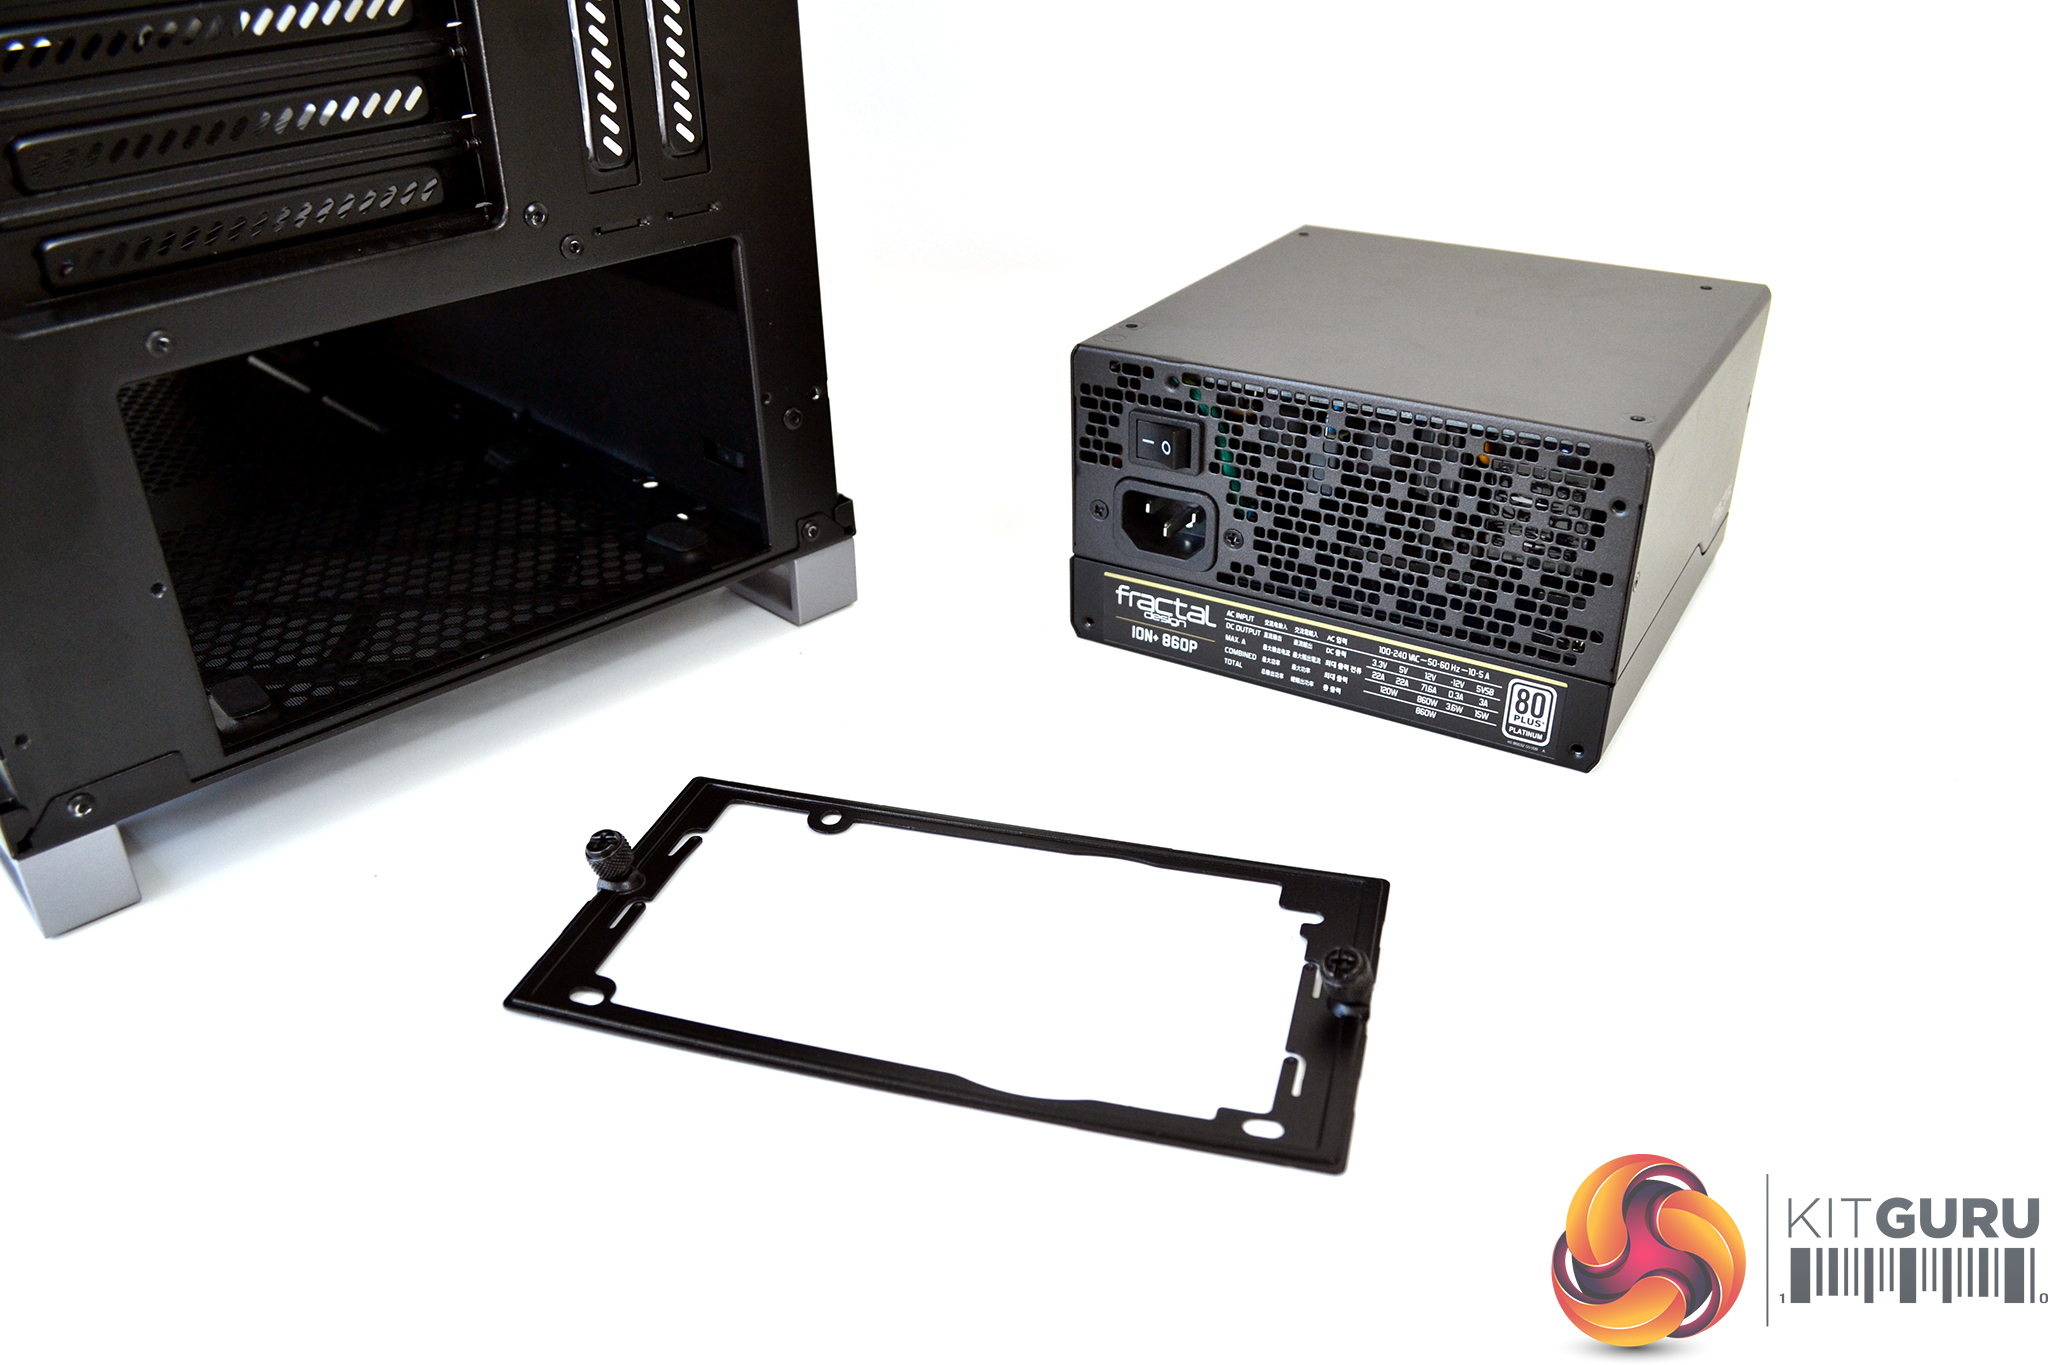
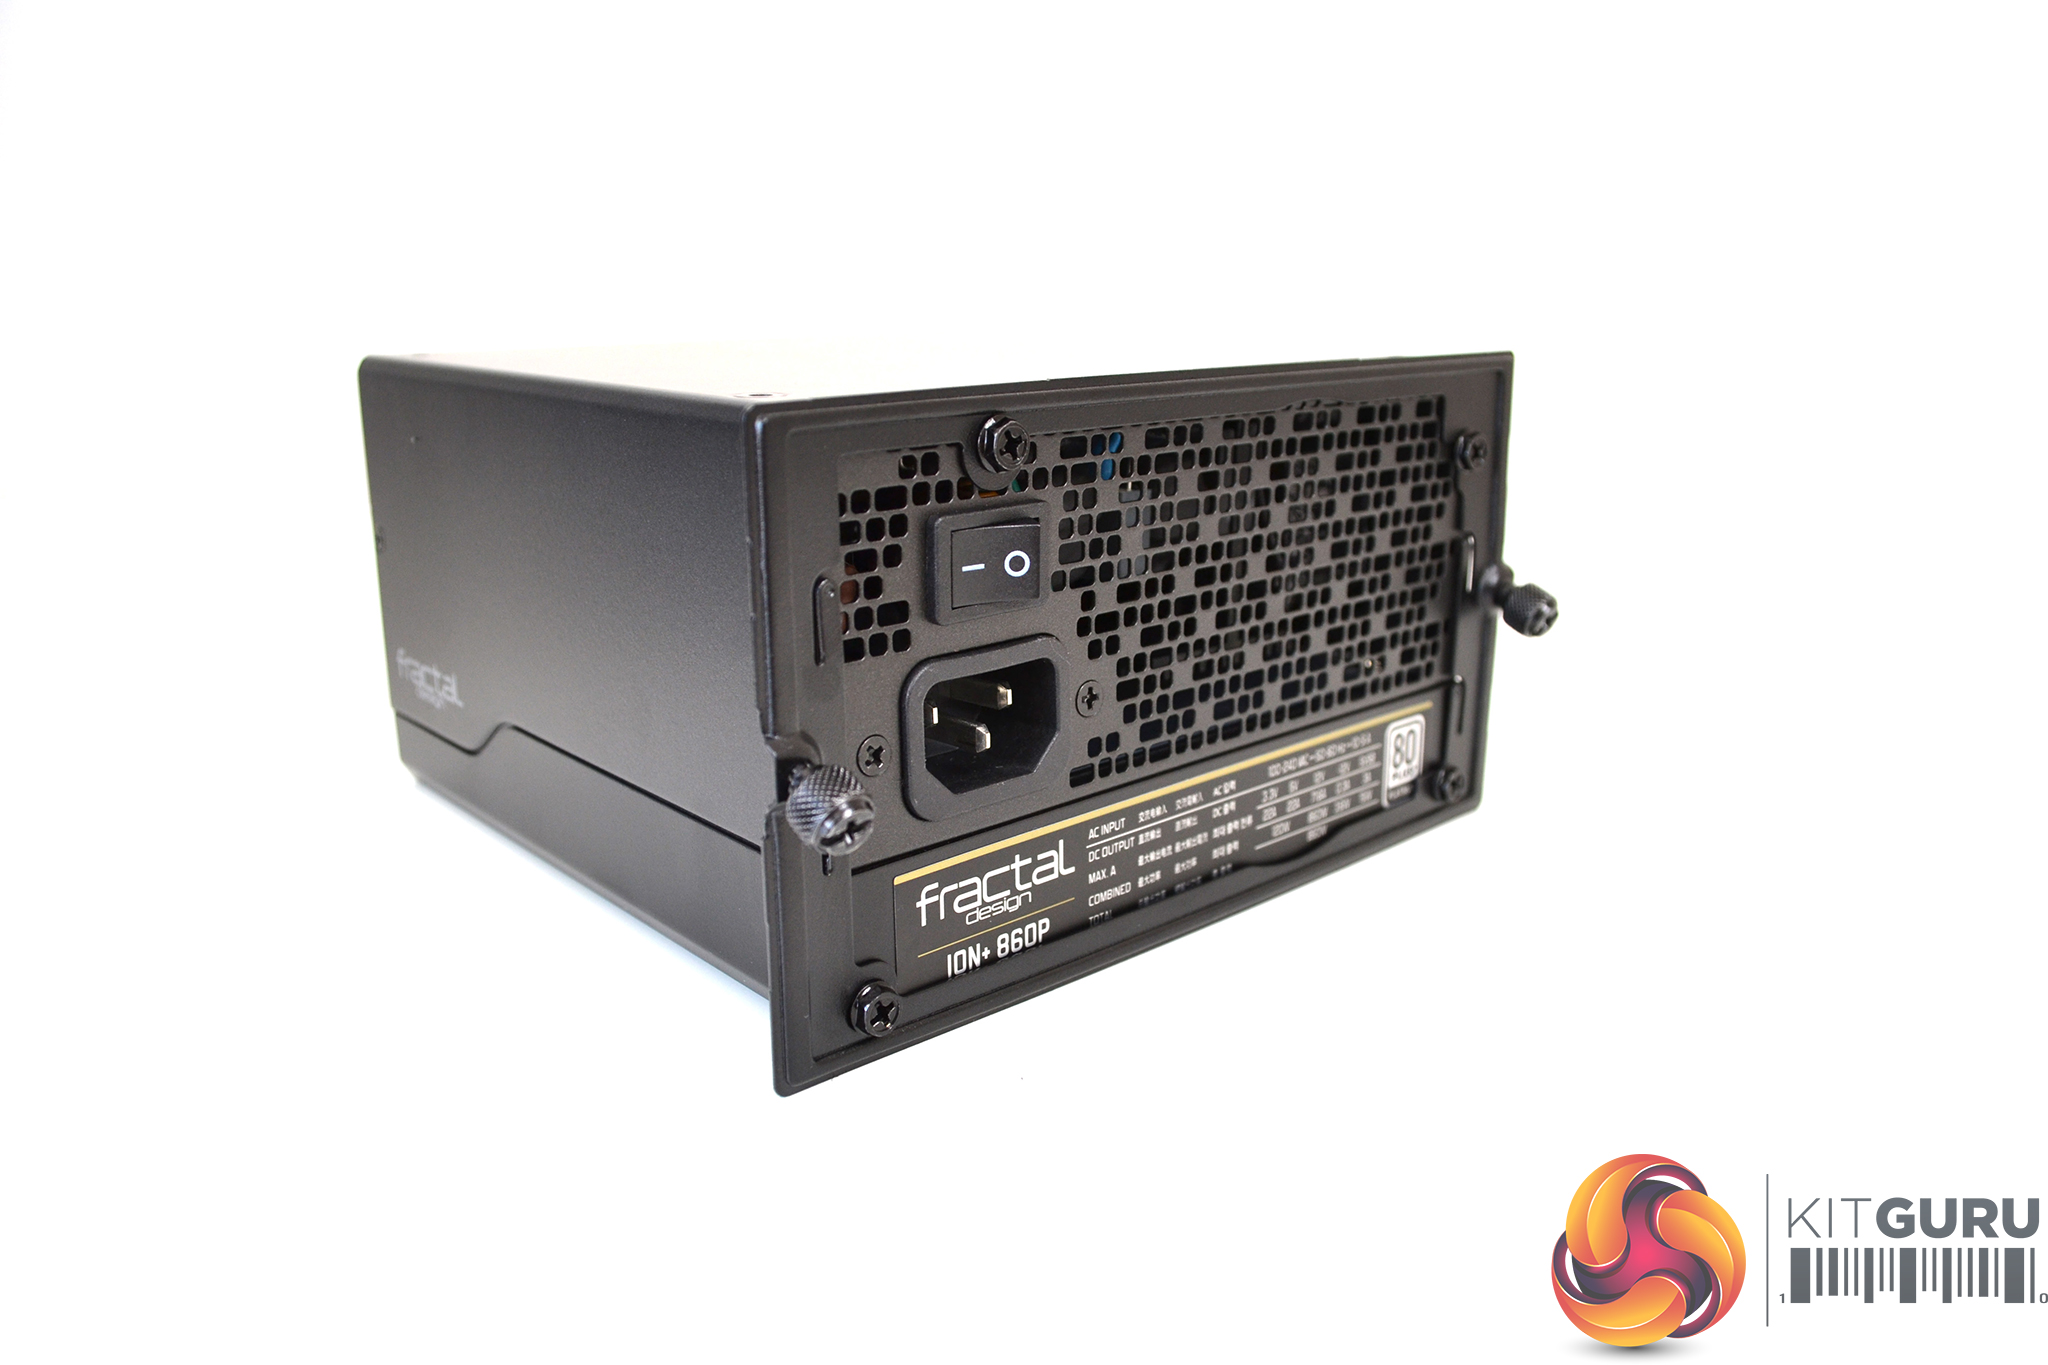
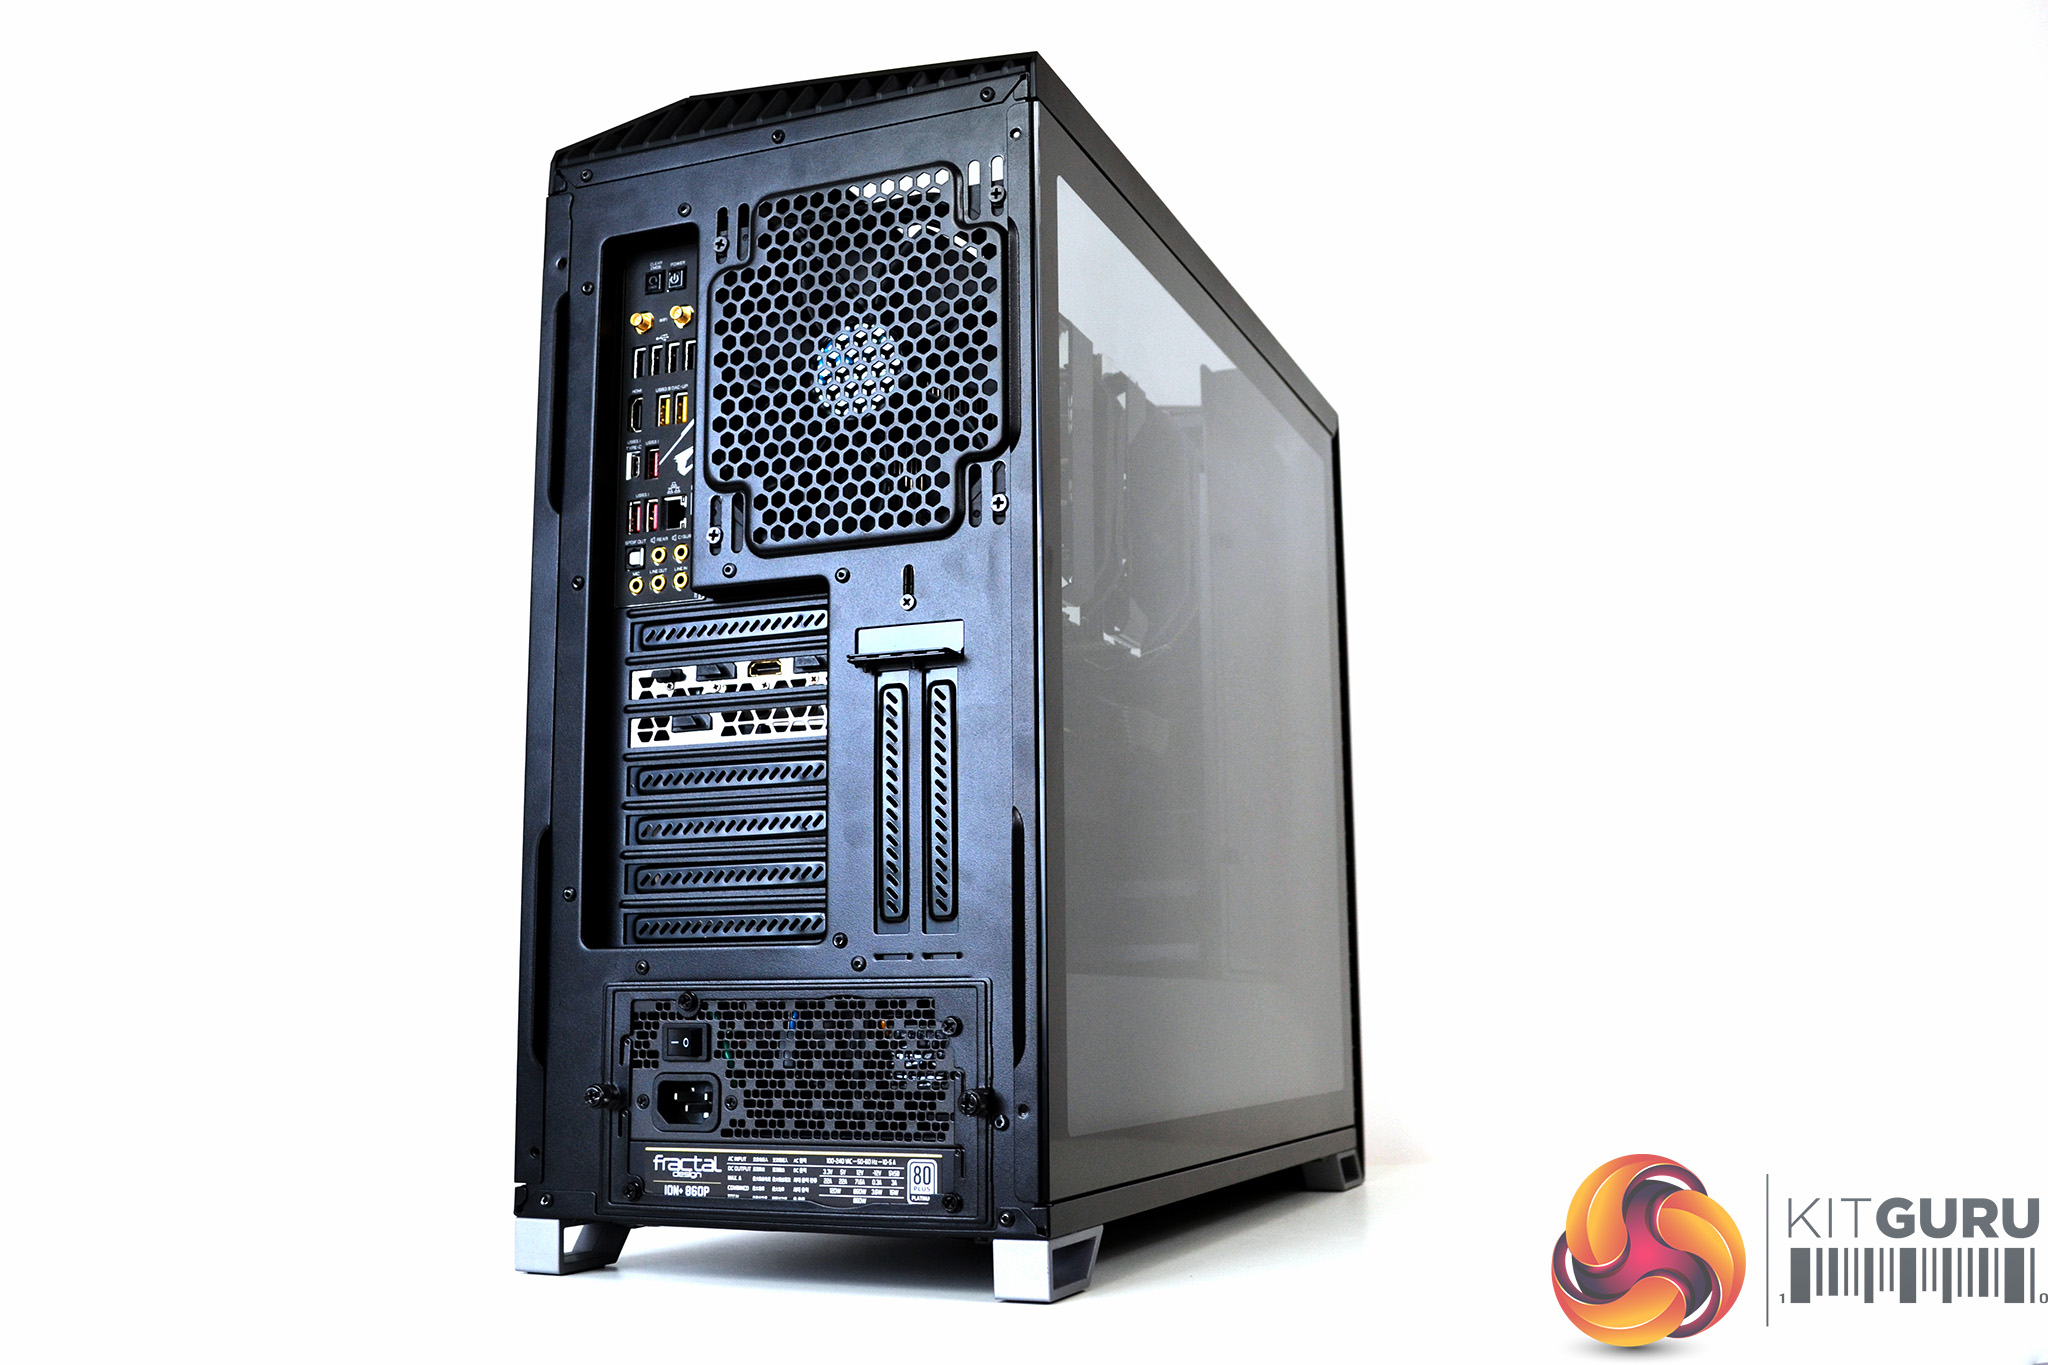
Again, power supply installation is a straightforward process. Simply remove the PSU bracket from the rear of the case, attach the power supply to the bracket with four screws, slide it in place and secure with the two captive thumbscrews. Once installed there is plenty of room to add extra cables if necessary.
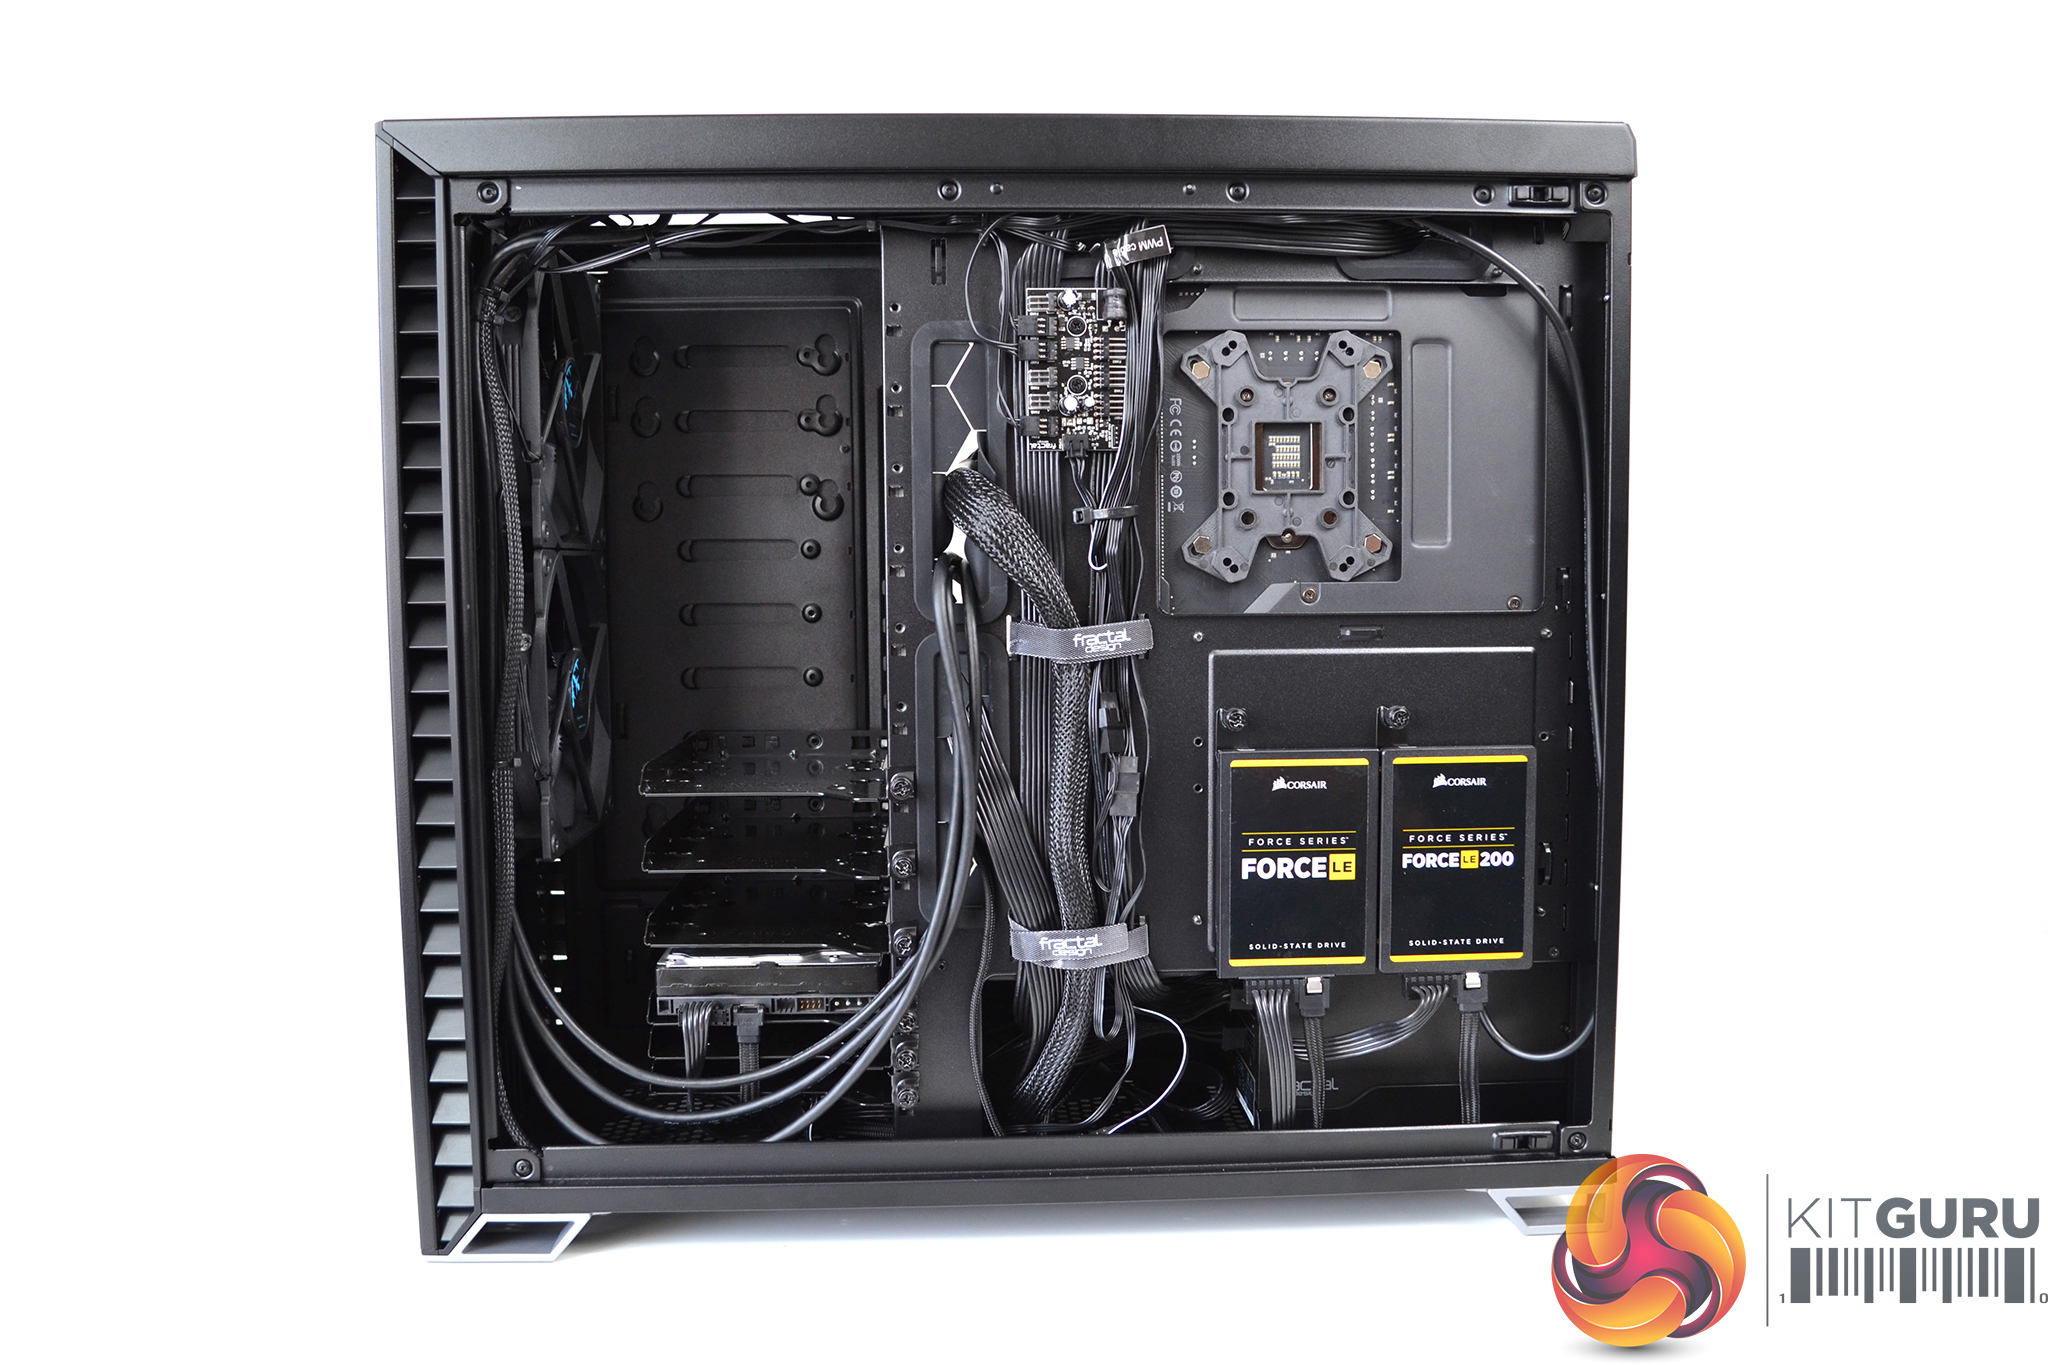
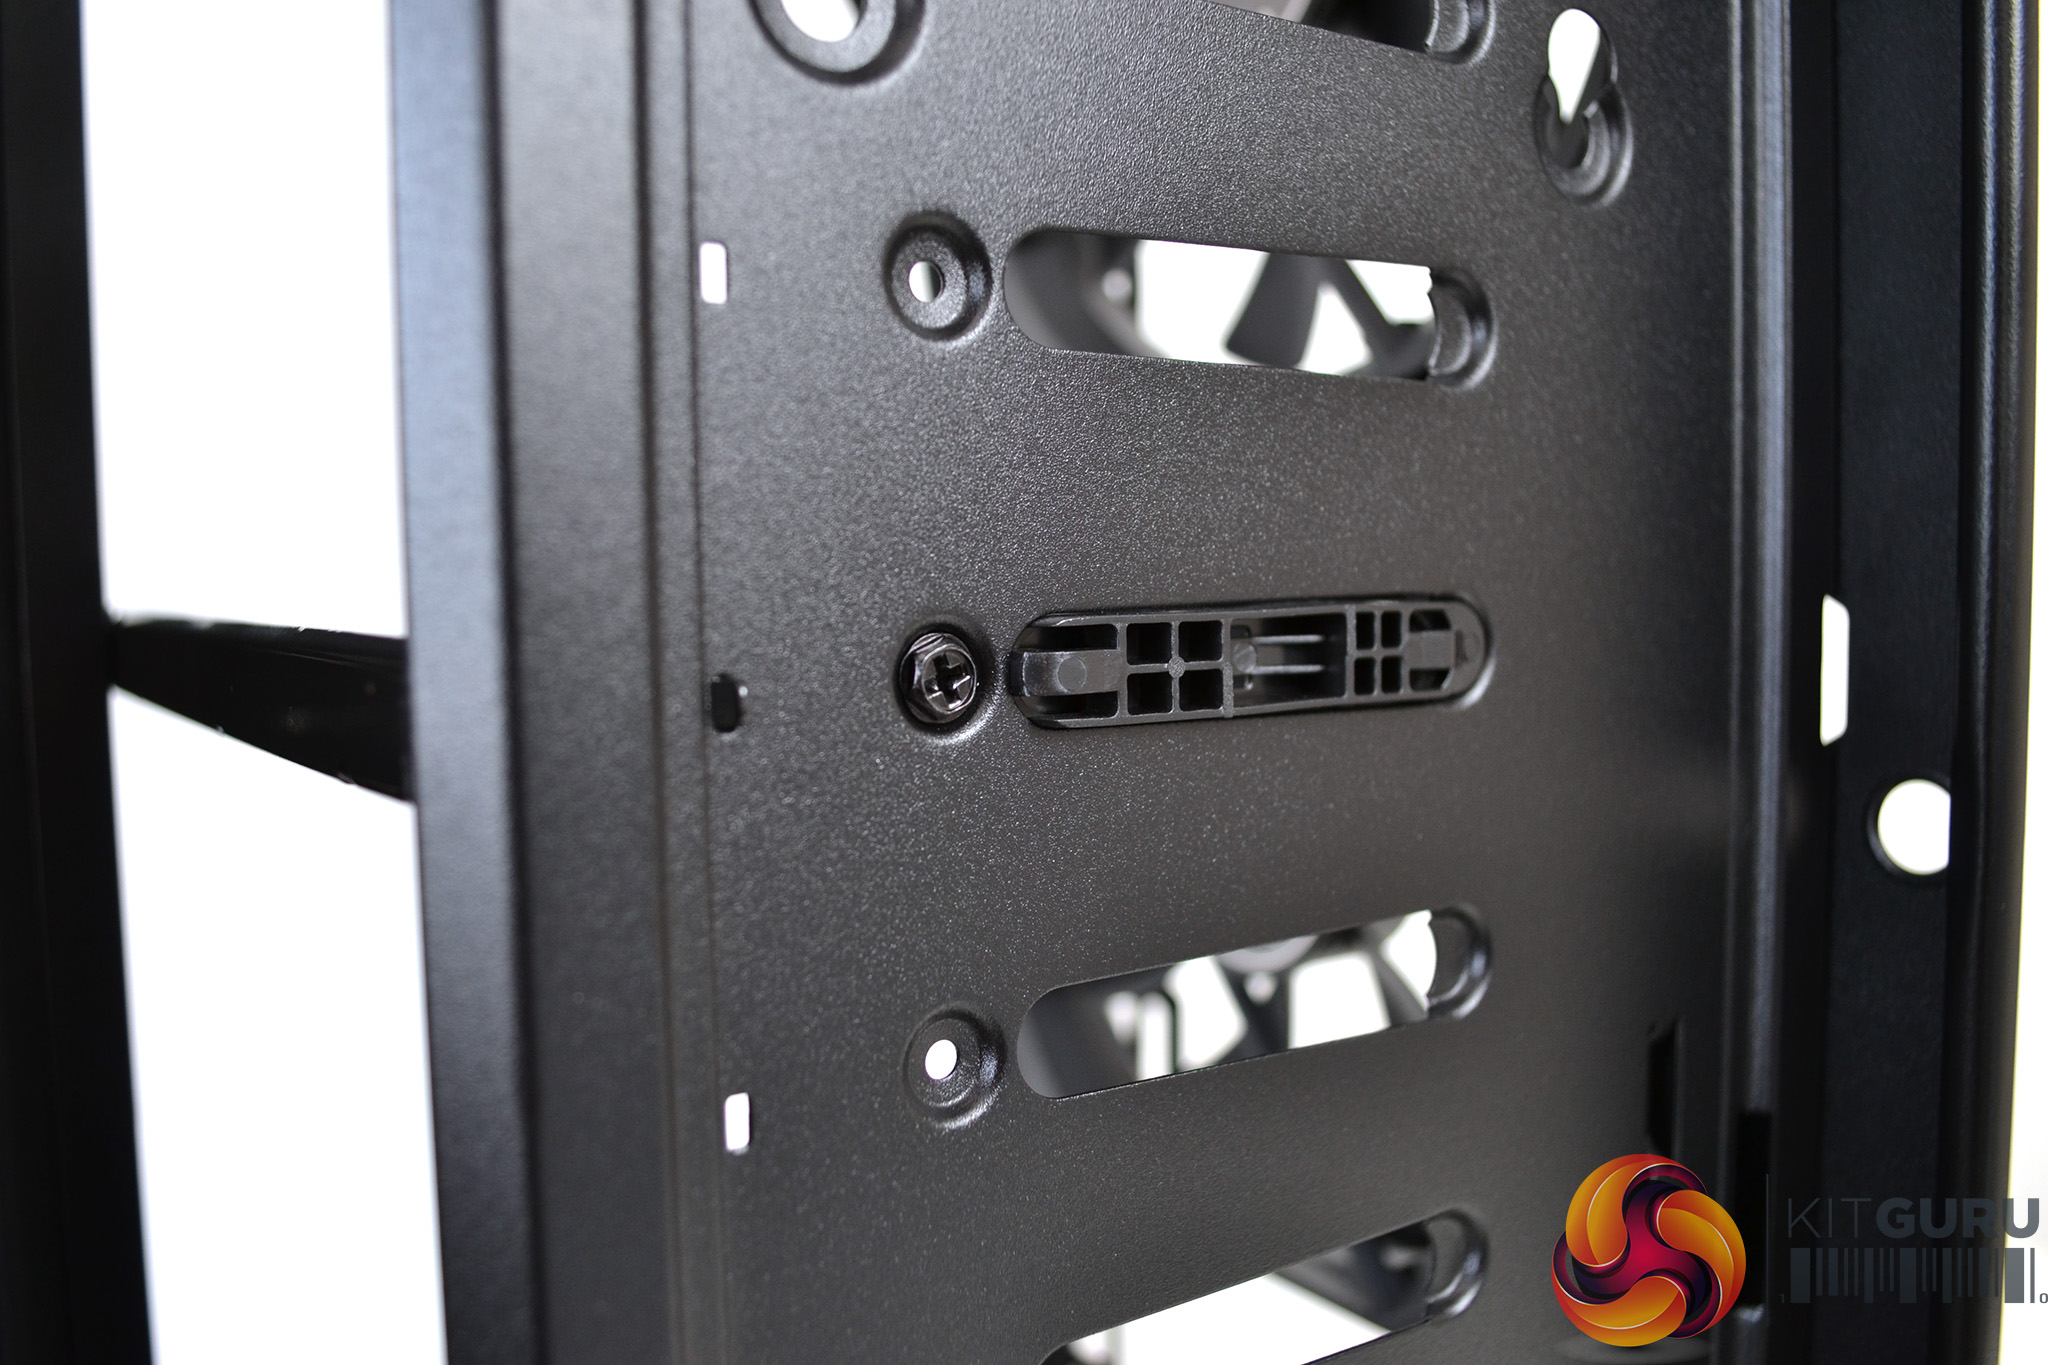
In terms of cable management, the Vector RS excels. There is a good 23mm space behind the motherboard to hide cables. Two Velcro straps are pre-installed with a total of 19 tie down points.
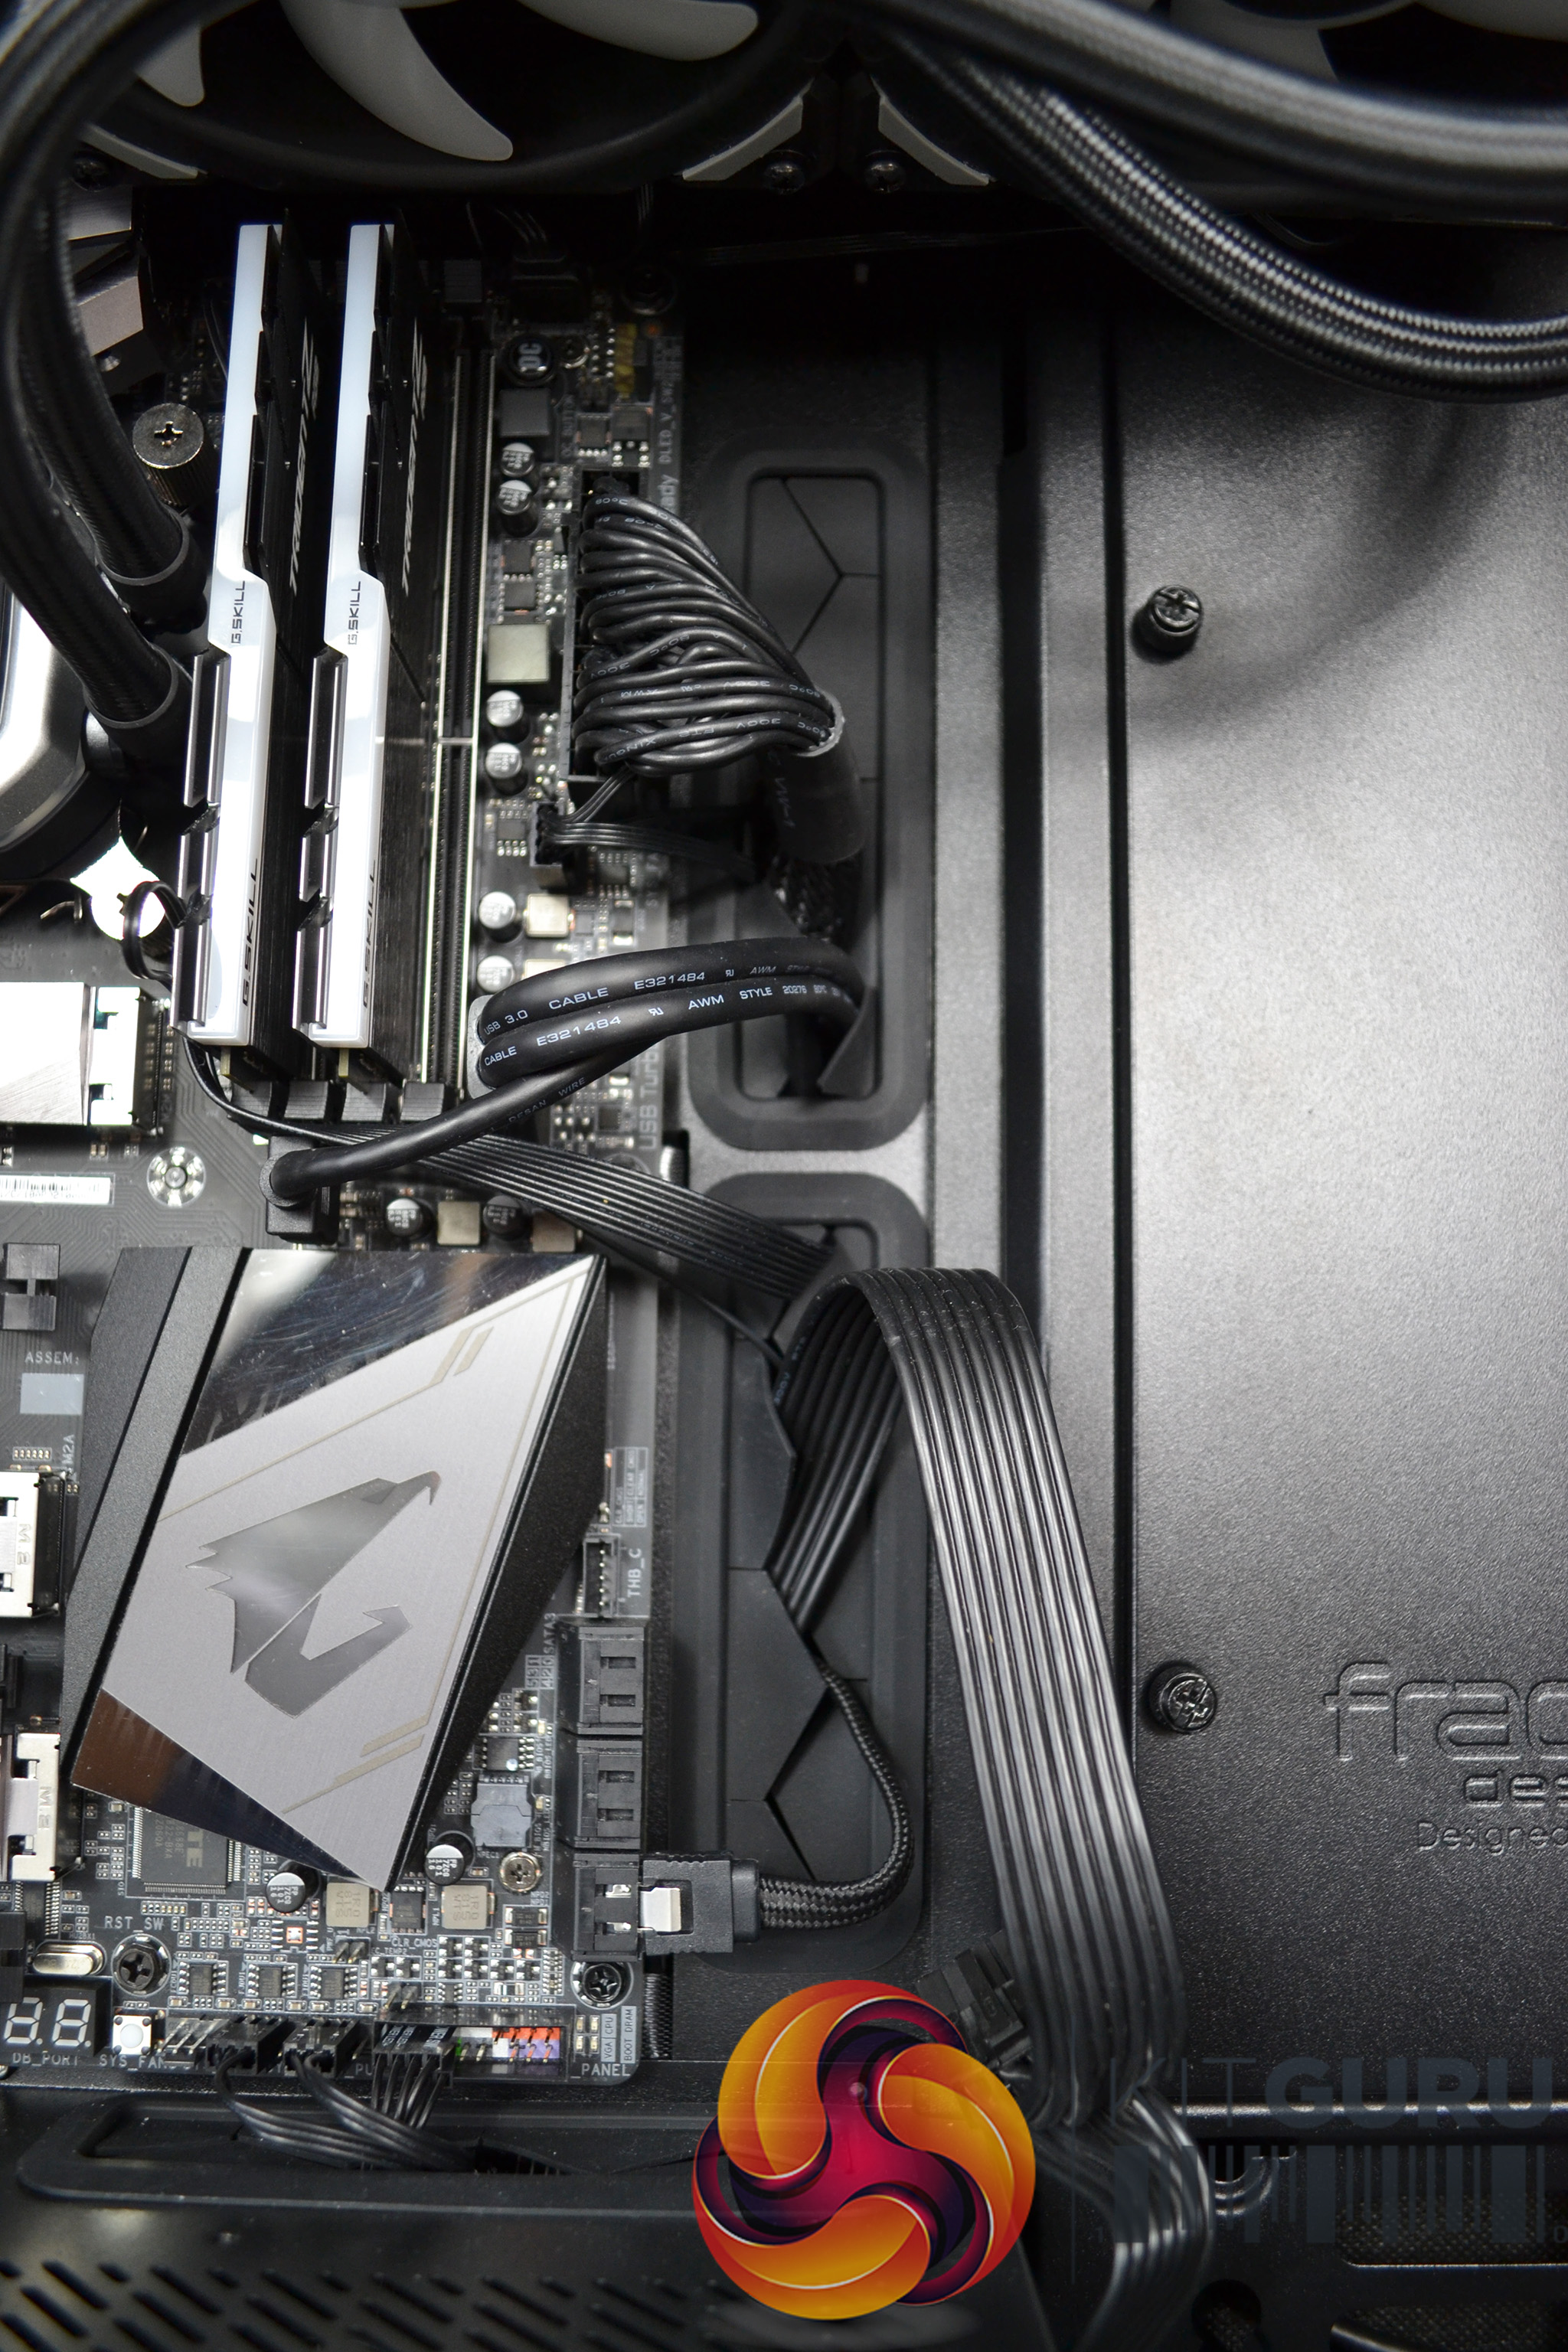
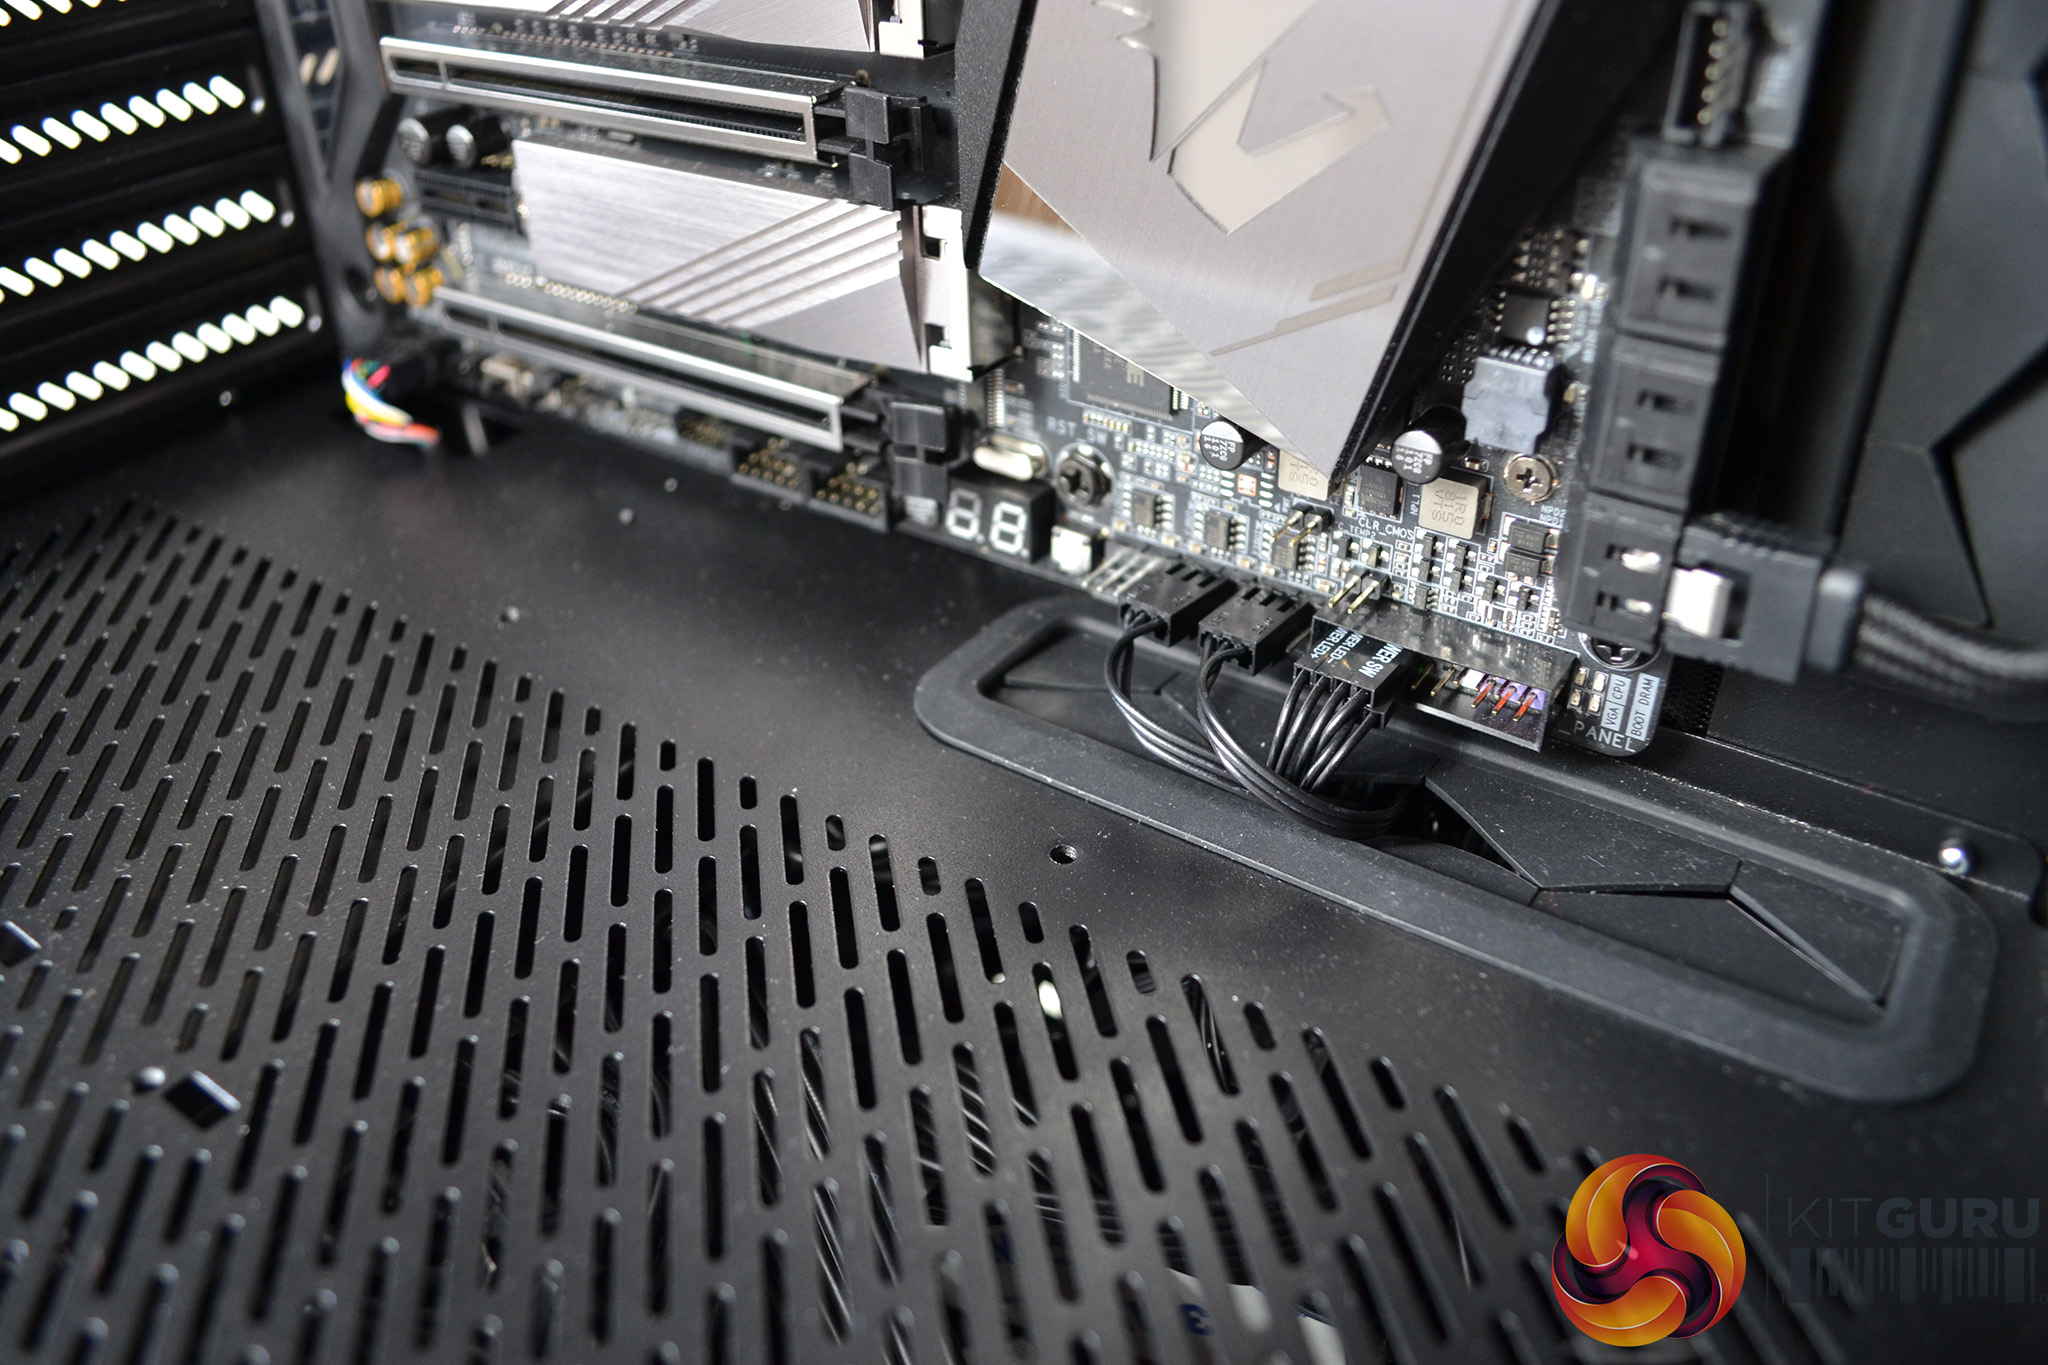
Cable management cut outs are found in all the right places – two large cut outs to the right of the motherboard, two more at the top and a further two more at the bottom. All cut outs have rubber grommets protecting cables, except for one below the motherboard which seems a little odd.
Build Gallery