

Here I will walk you through the installation process. It is worth noting we test using a Z97 motherboard – socket LGA 1150. The process below reflects that.
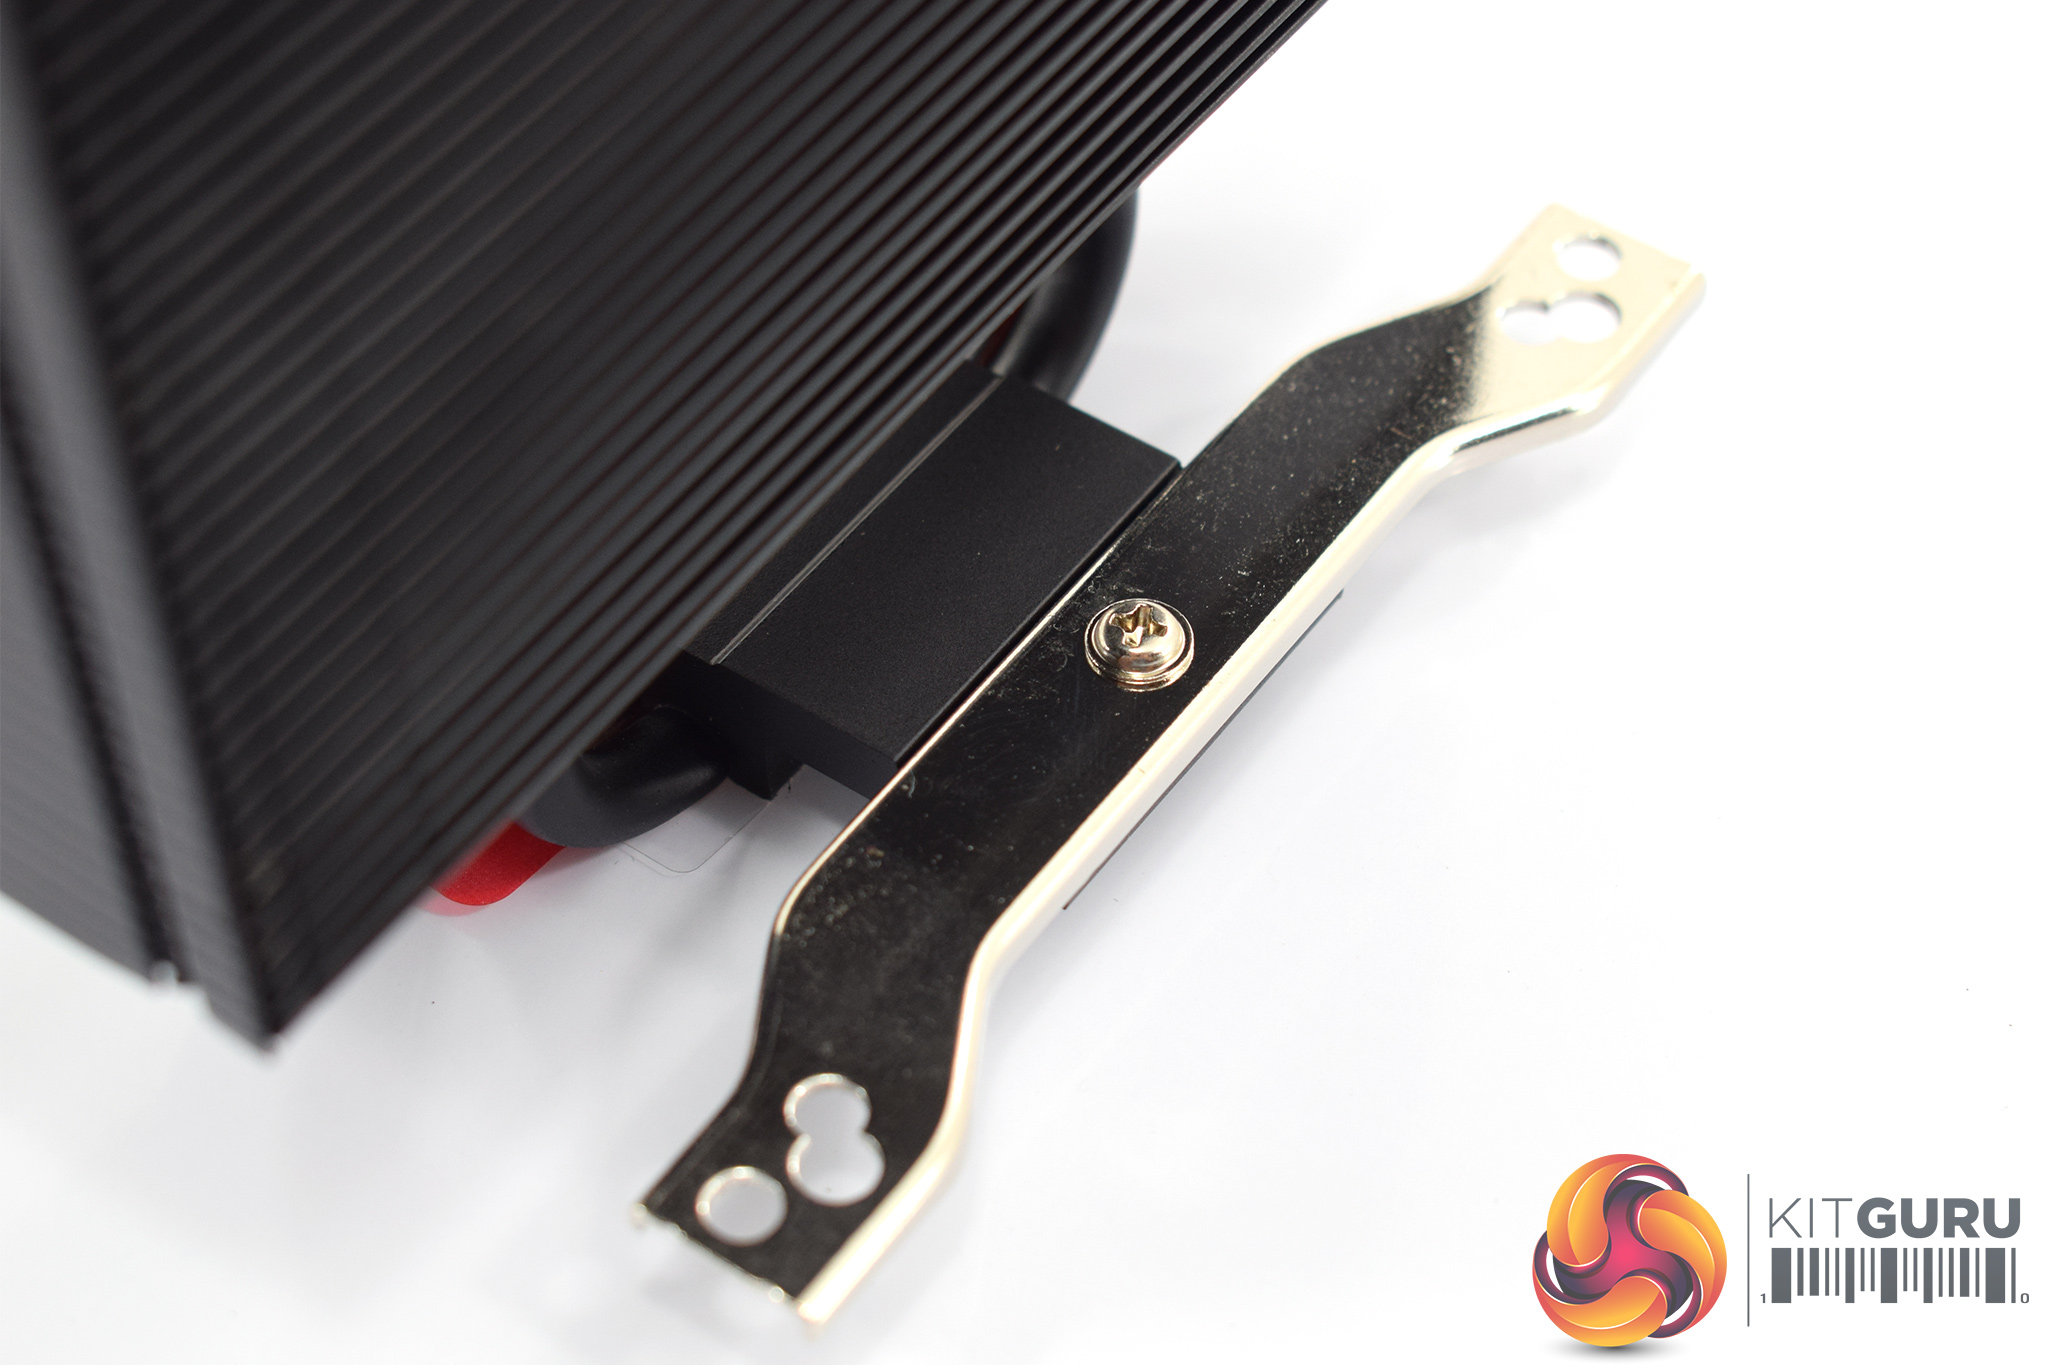
First of all, the mounting arms need to be screwed onto the heatsink's base. To do this, the pre-installed fan does need to be removed but we can easily pop that back on later. Each arm uses a single screw to secure it in place.
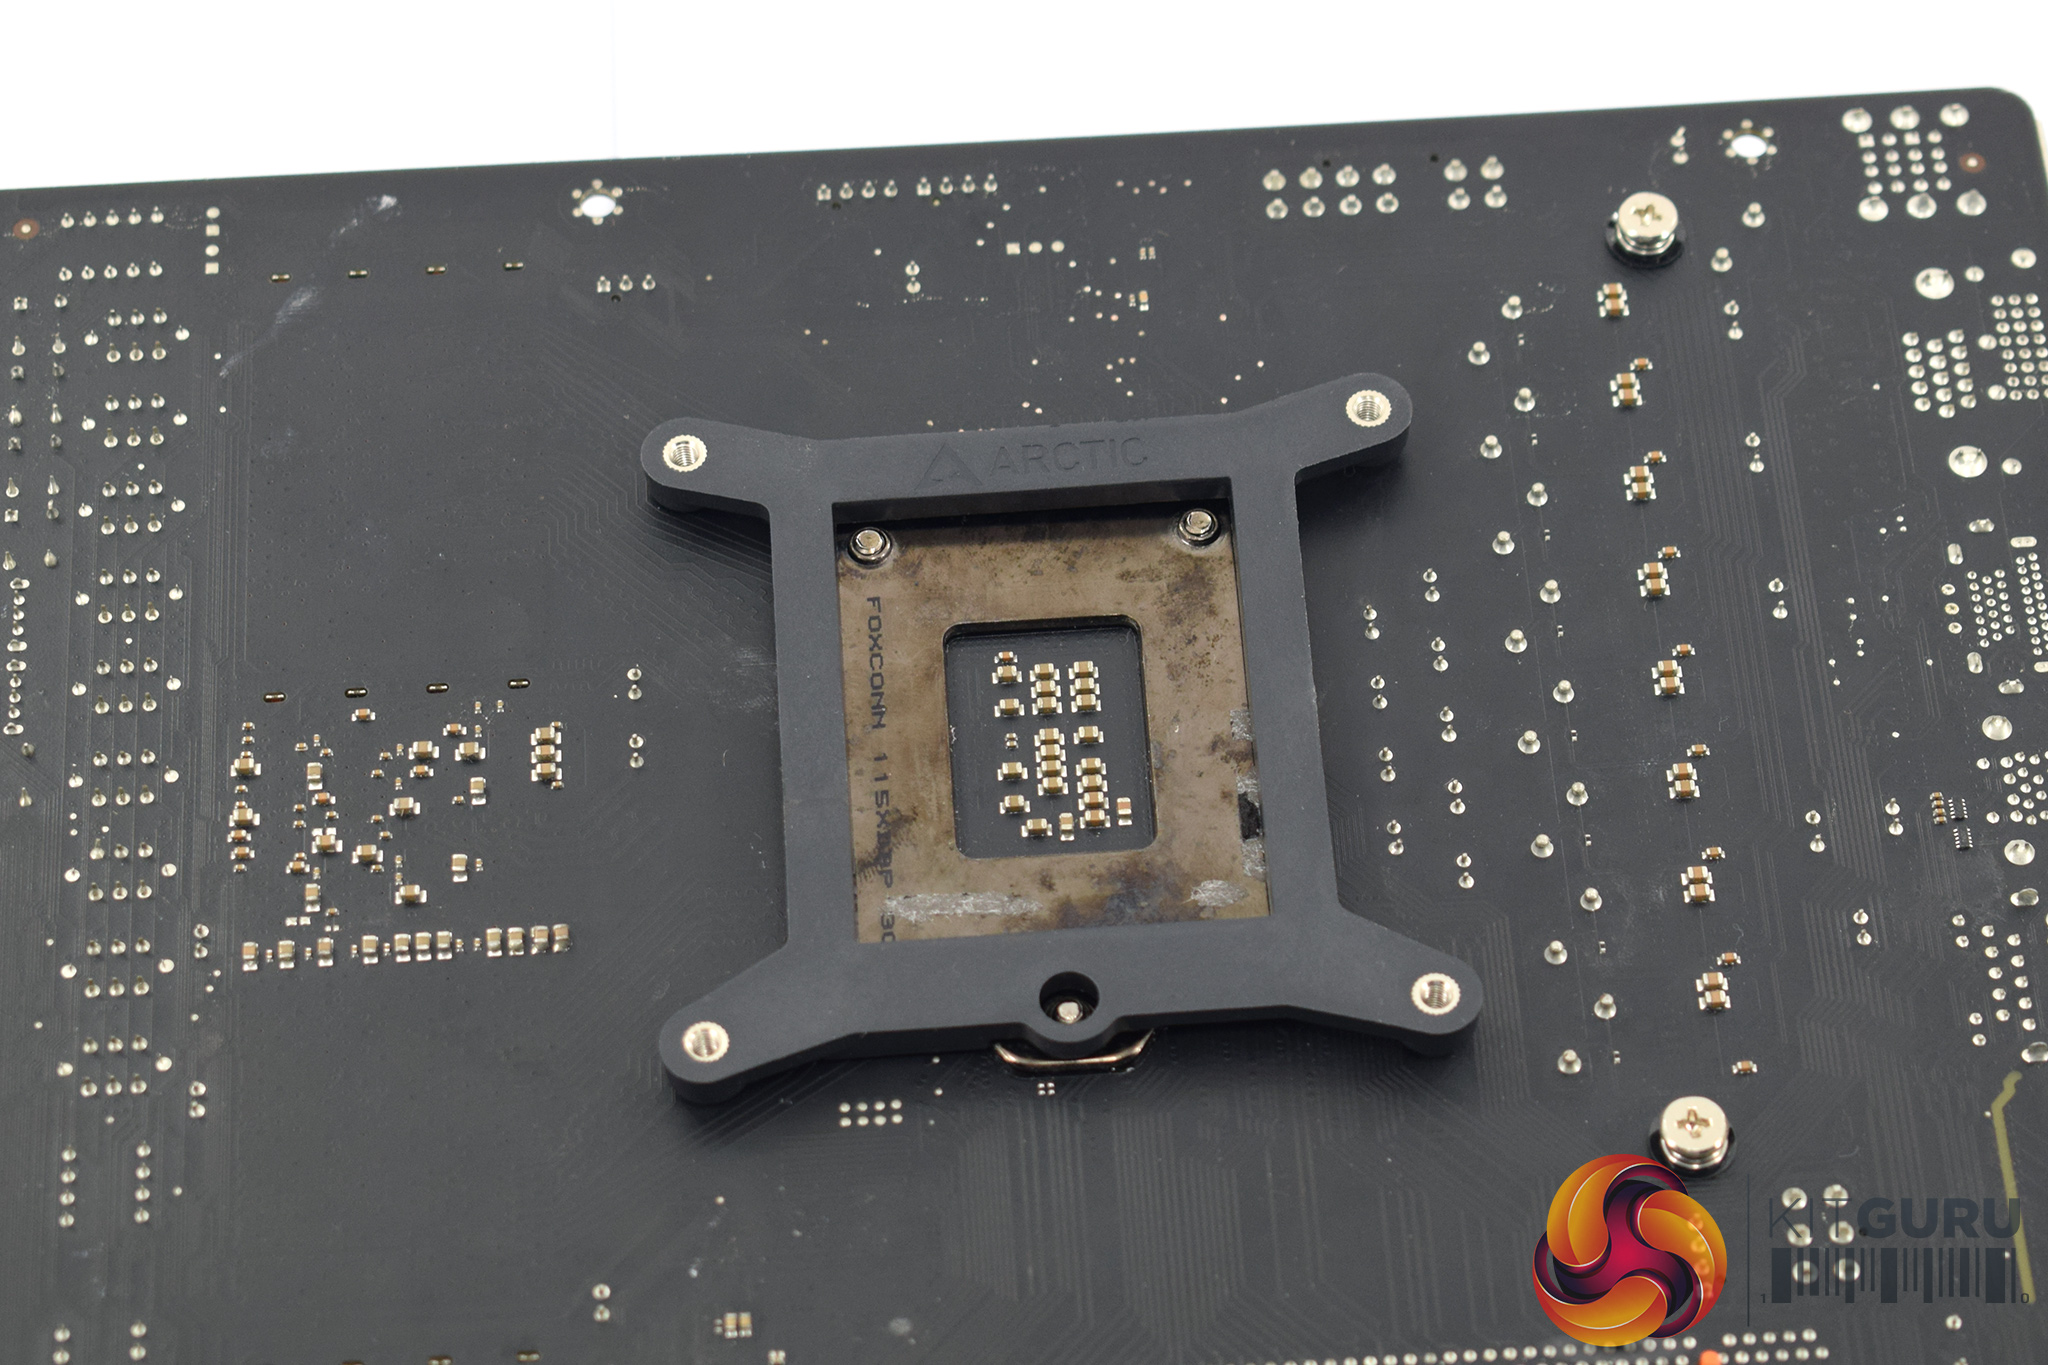
After that, as we are testing with the LGA 1150 socket, we need to place our backplate behind the CPU socket area.
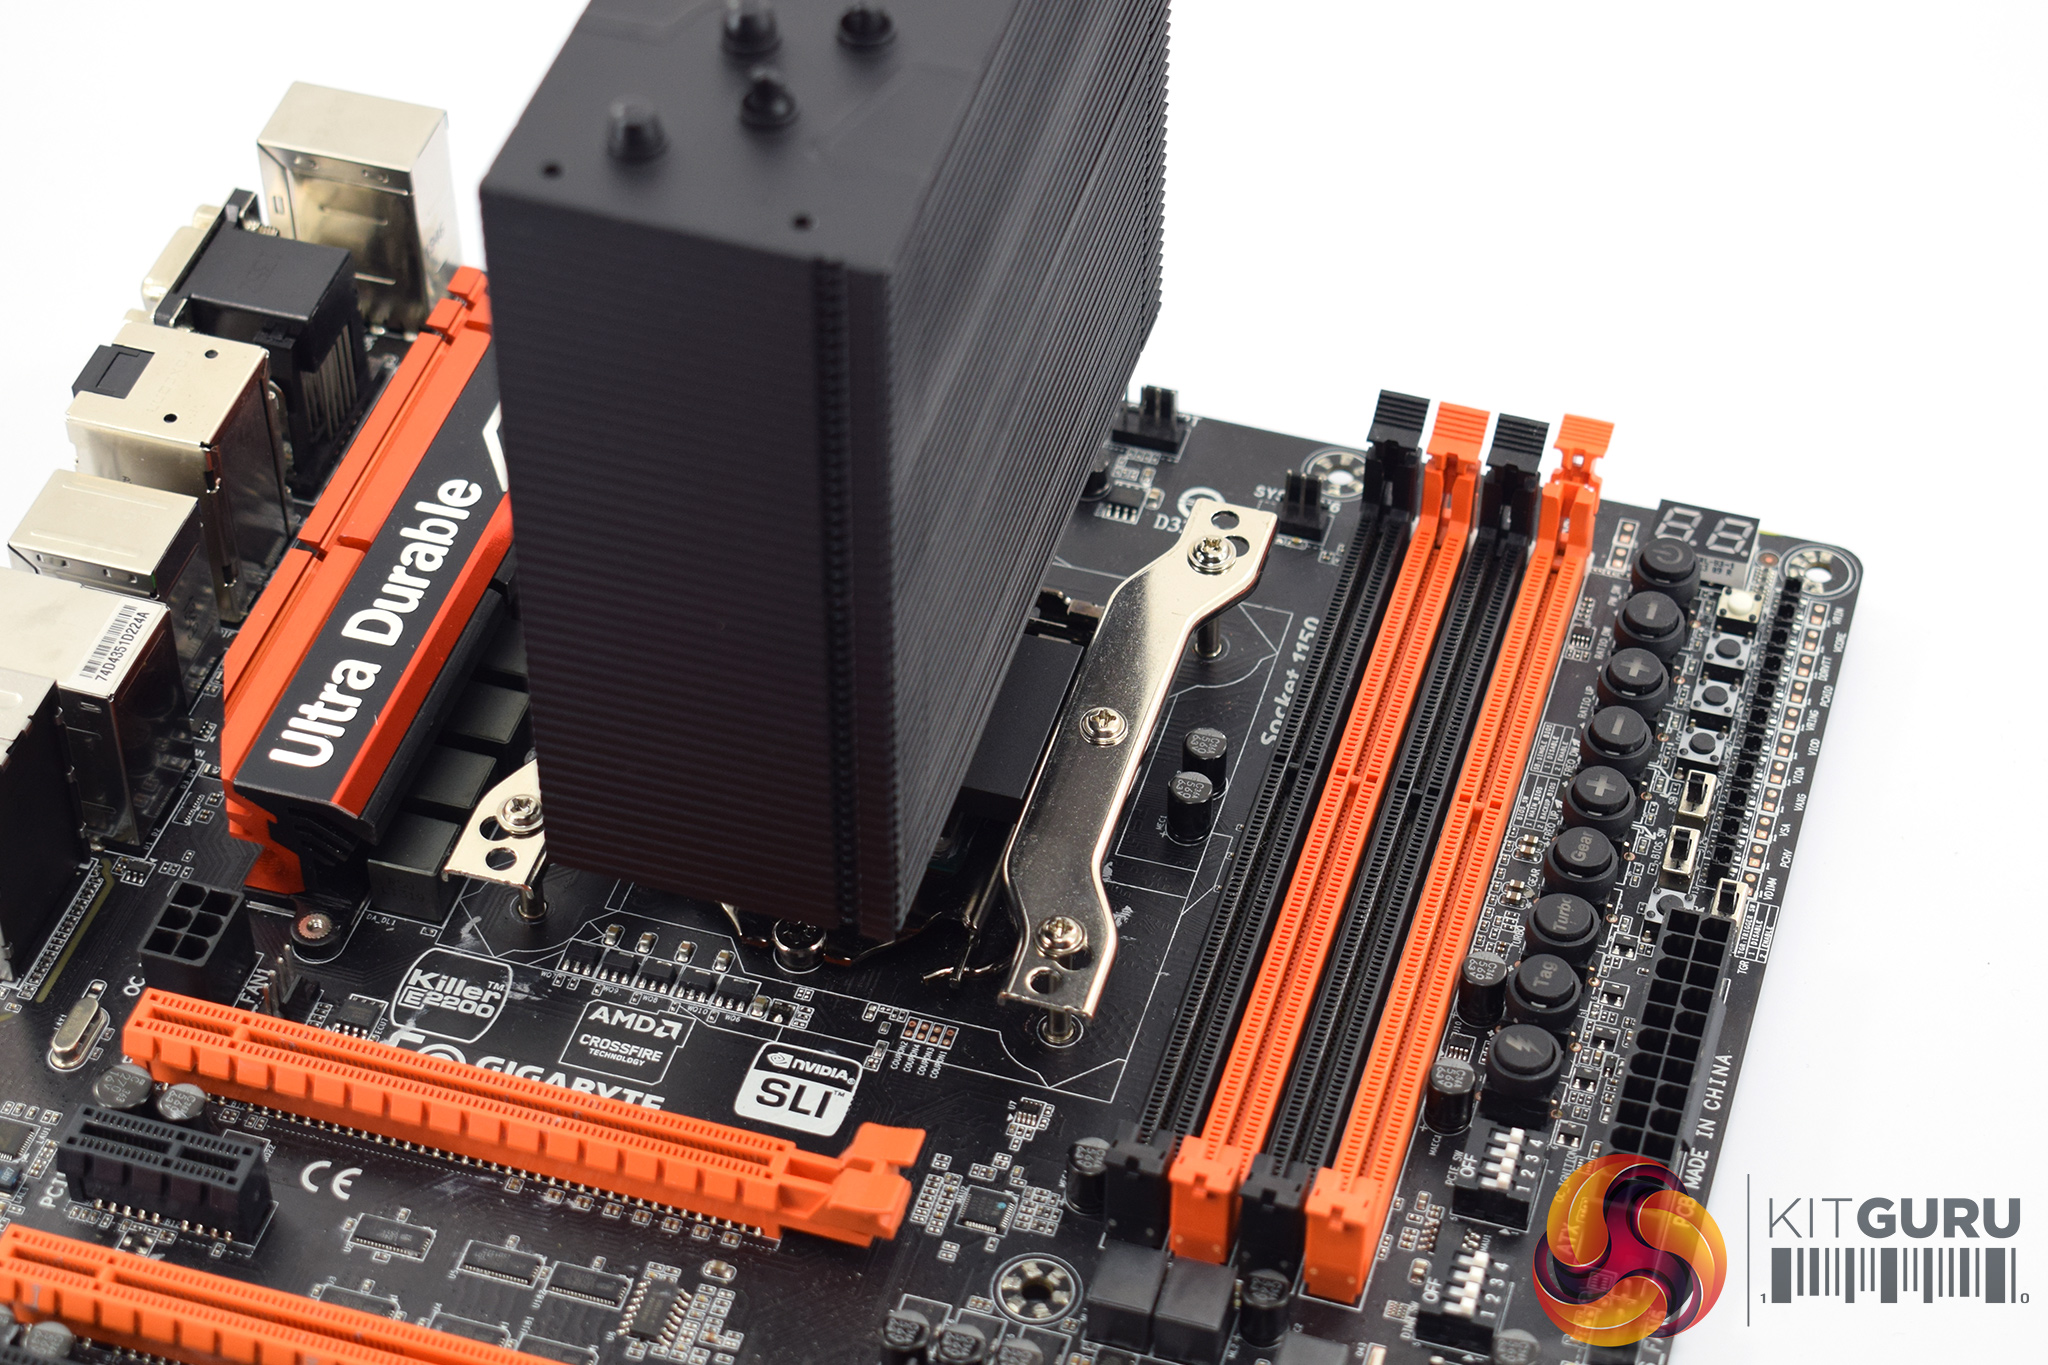
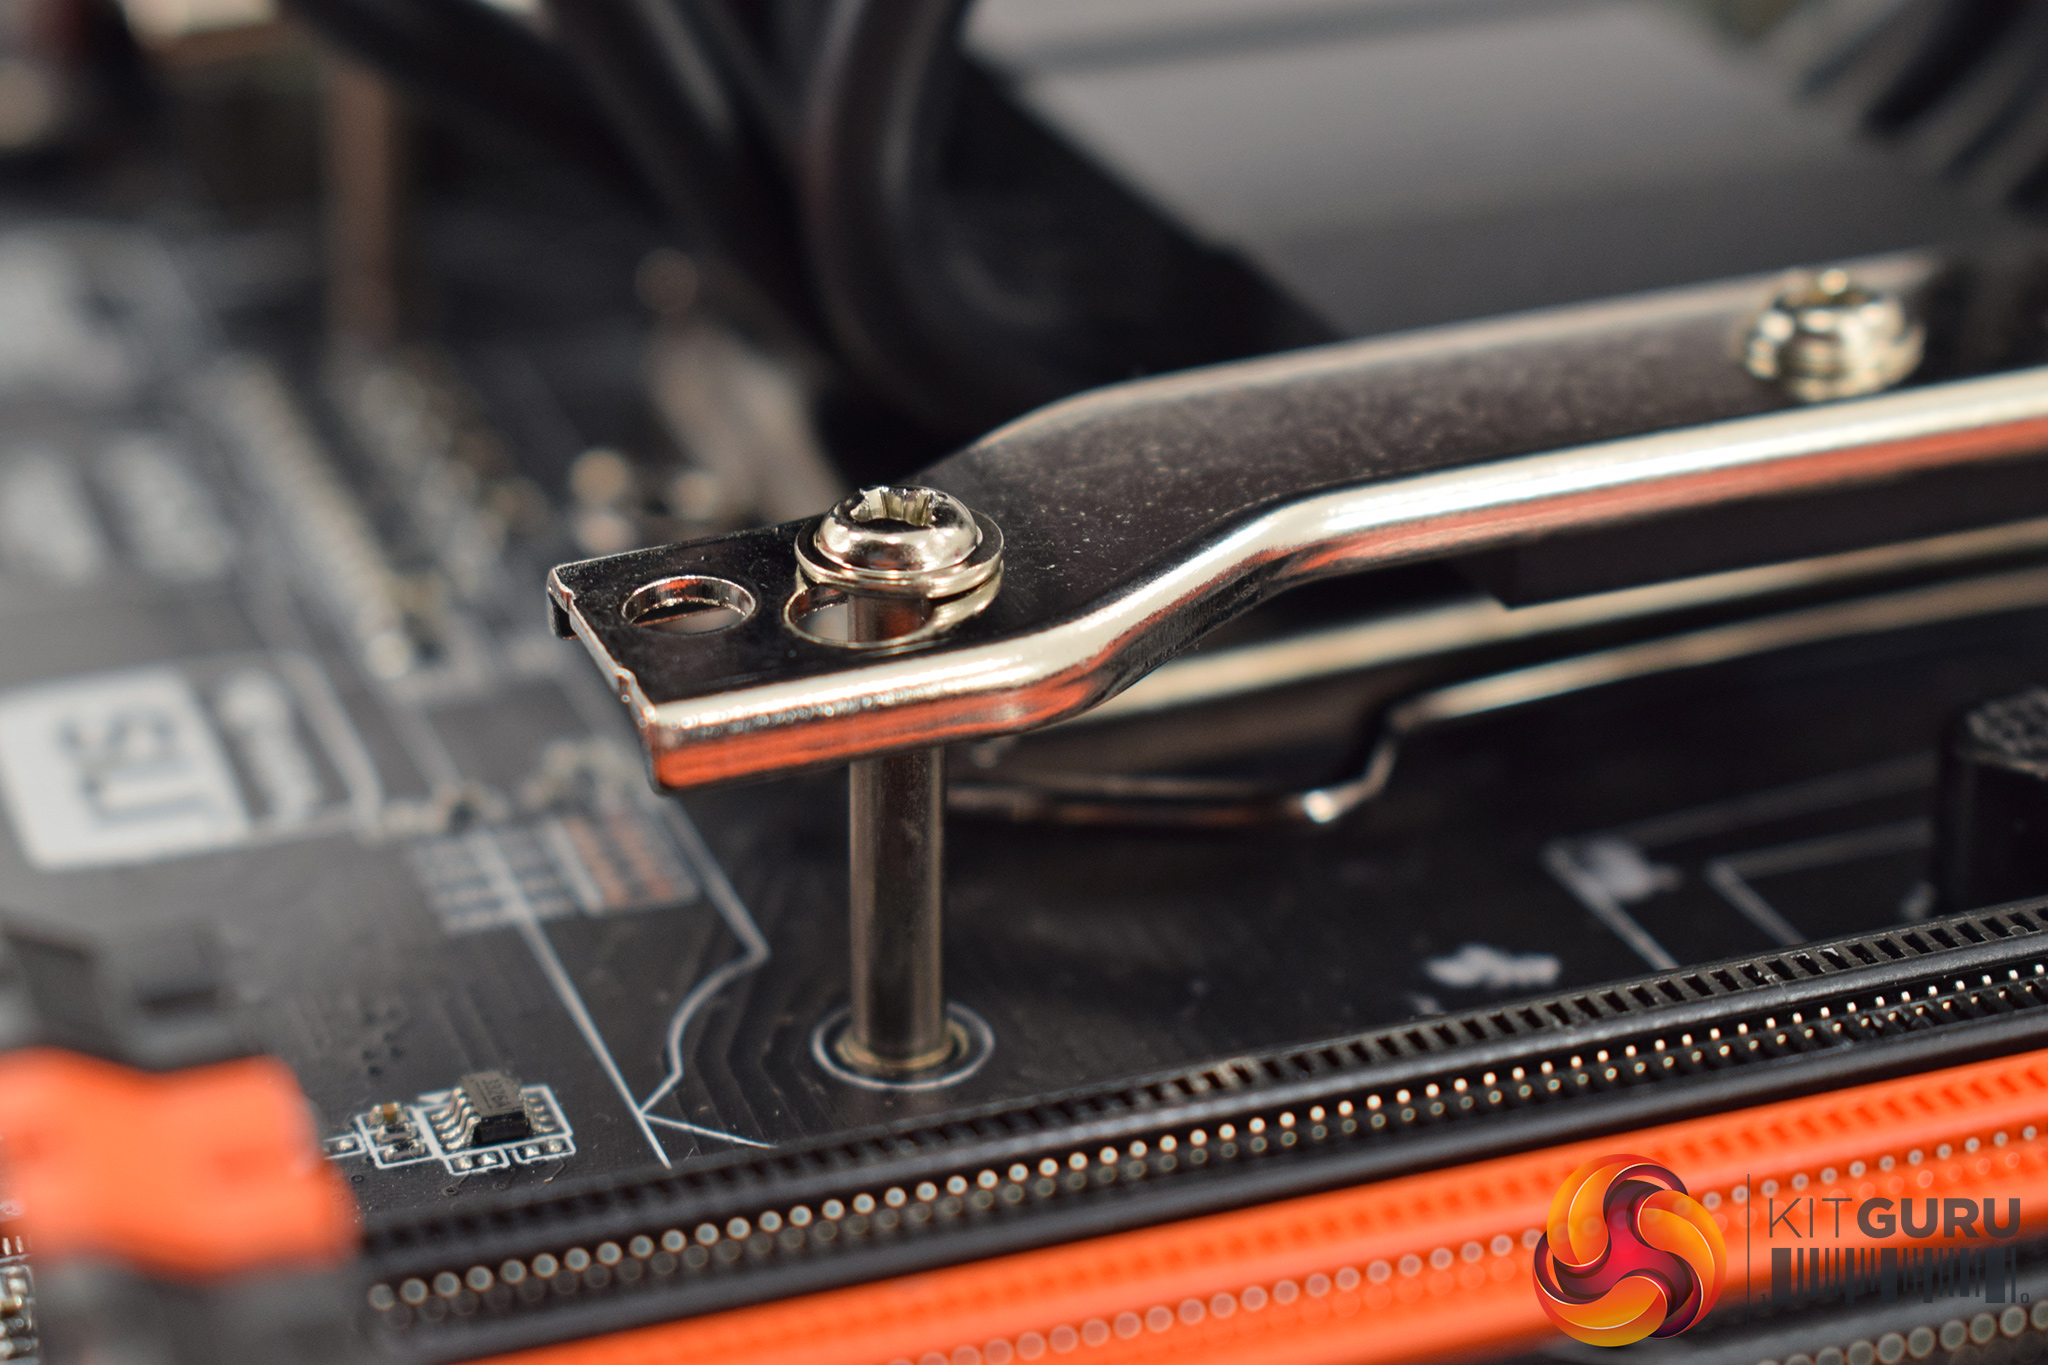
Next, with the backplate in place, the heatsink can be secured to the CPU. This is the fiddly part of the installation process as the four long screws need to pass through the mounting arms and then into the backplate. It sounds easy enough, but in practice I found it tricky to get all four screws aligned perfectly, so it took a few tries to get all the screws in properly.
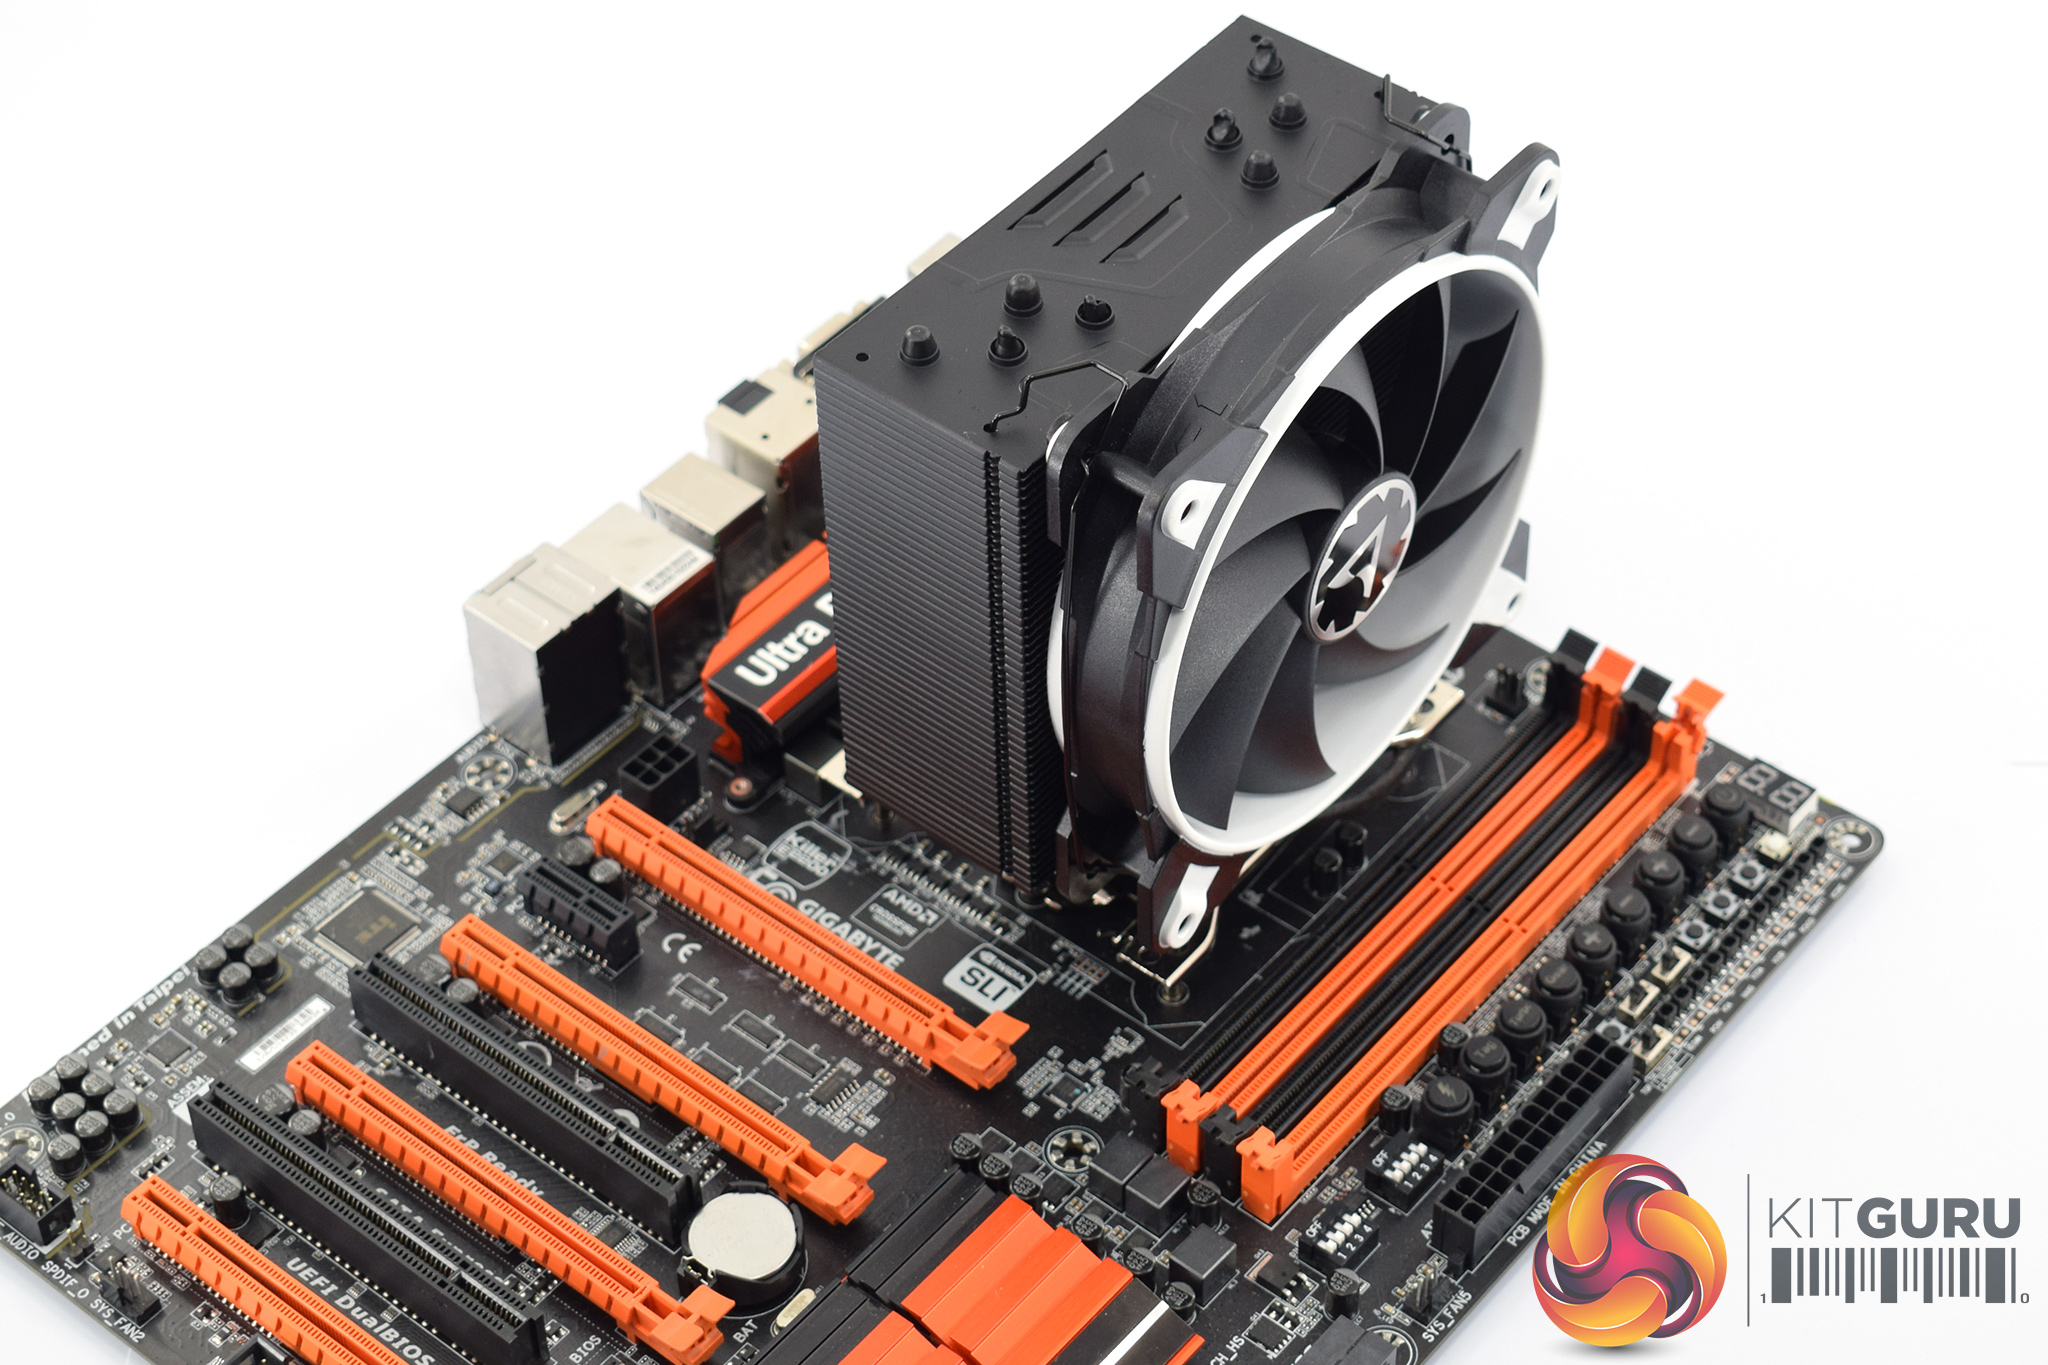
Once you do manage that, though, the process is nearly complete – the fan just needs to be re-attached to the heatsink using the fan clips.
All-in-all, the installation process is quite simple. I do think mounting the heatsink to the CPU is a bit fiddly and could cause a bit of frustration, but on the whole the process is relatively straightforward.
The Amazon link you give prices this at a tad over £35 not £29.99
That is the prime price, you can also order it for £29.99 > https://www.amazon.co.uk/gp/offer-listing/B076LQ39XV/ref=dp_olp_new?ie=UTF8&condition=new