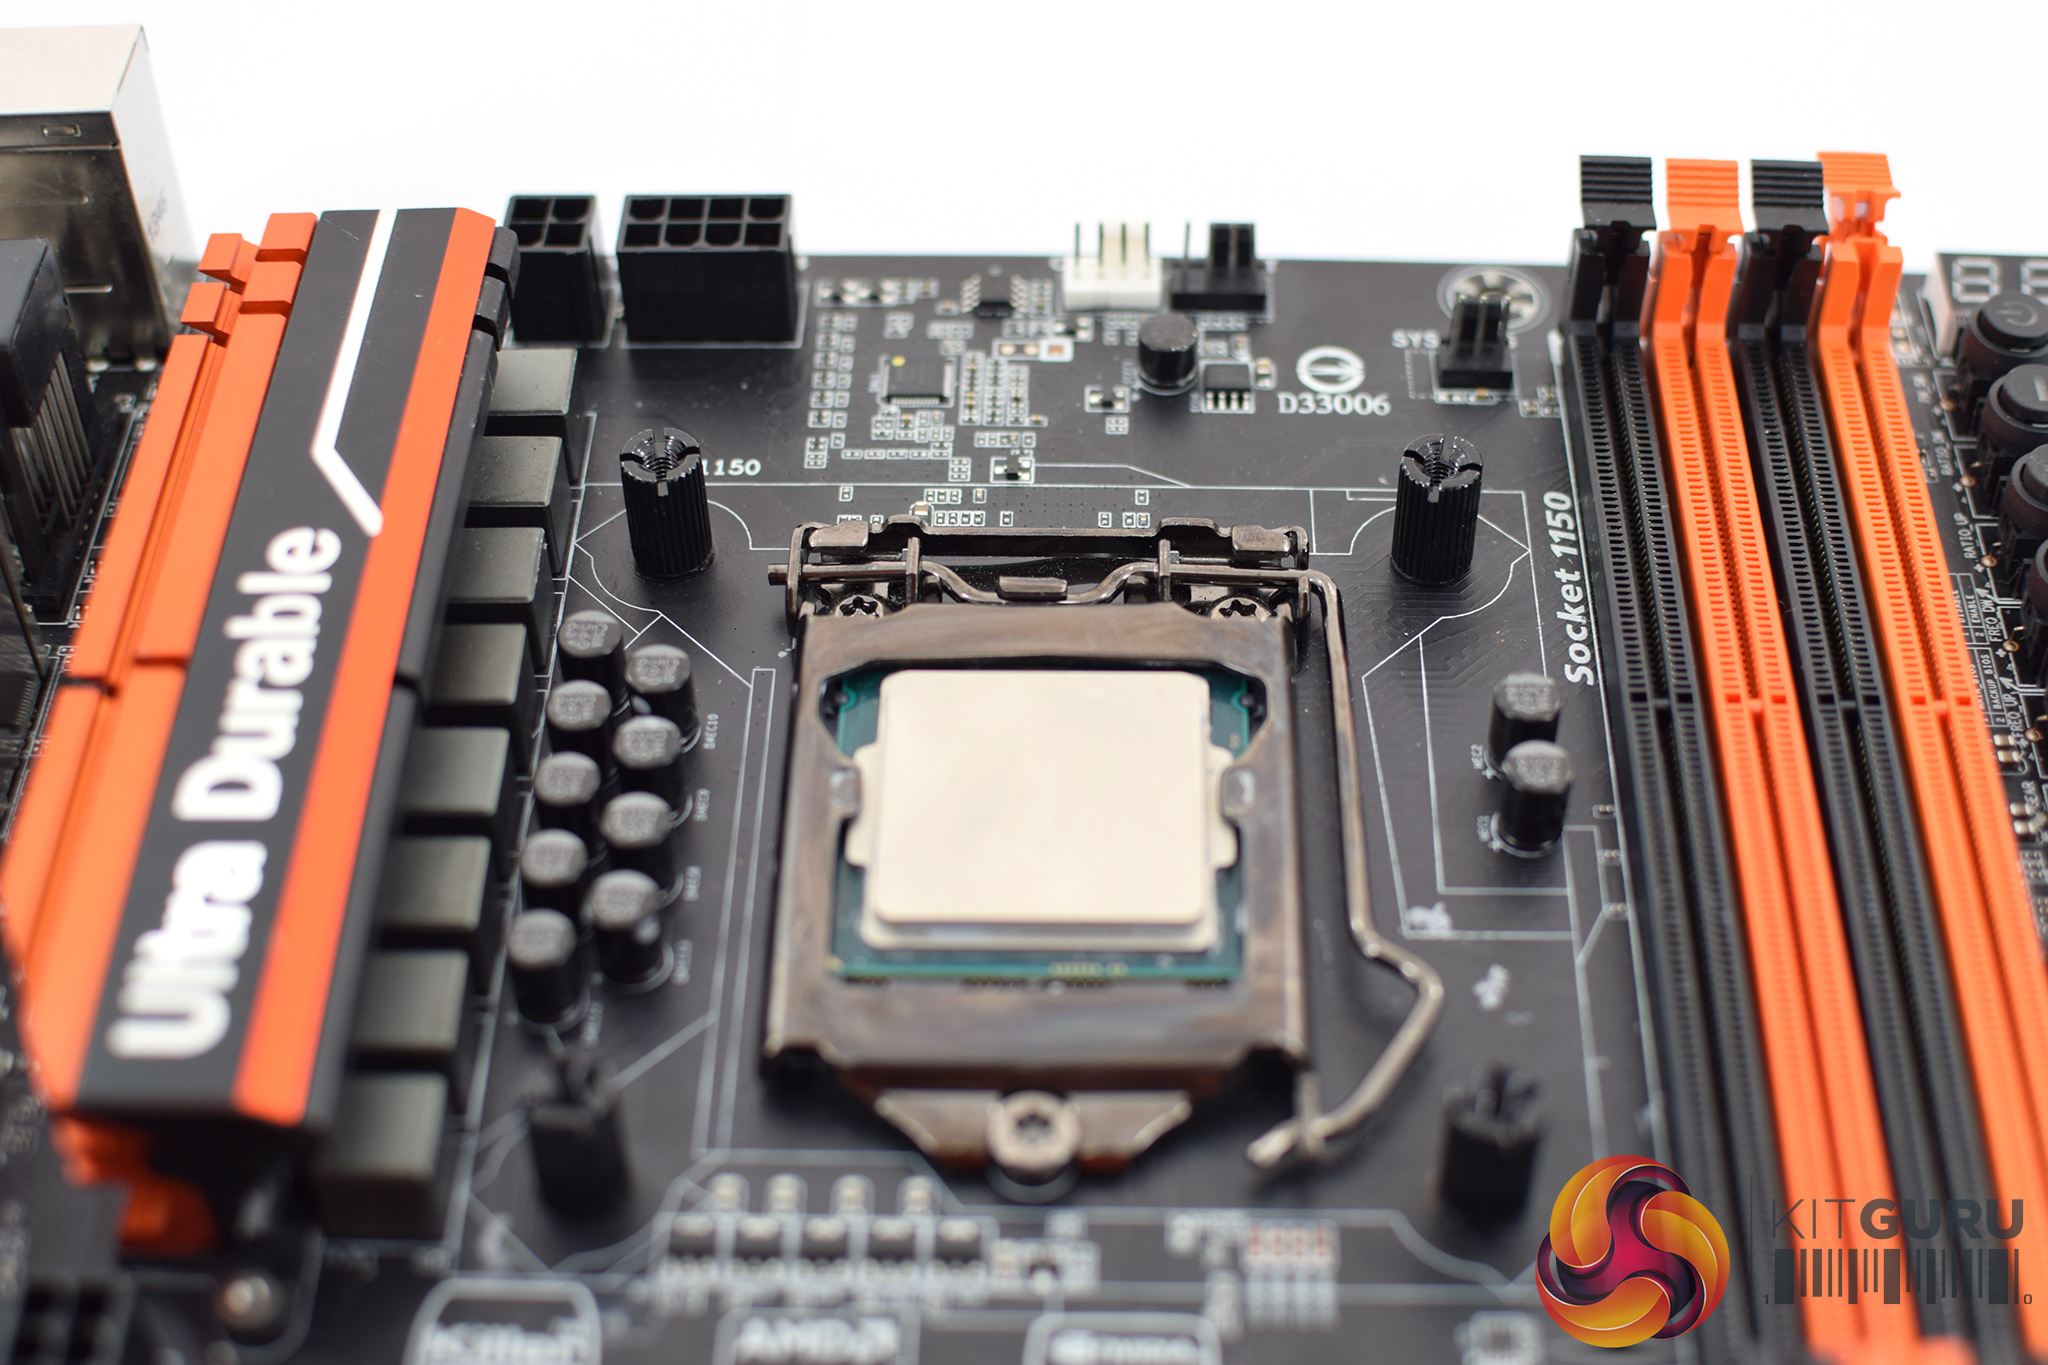
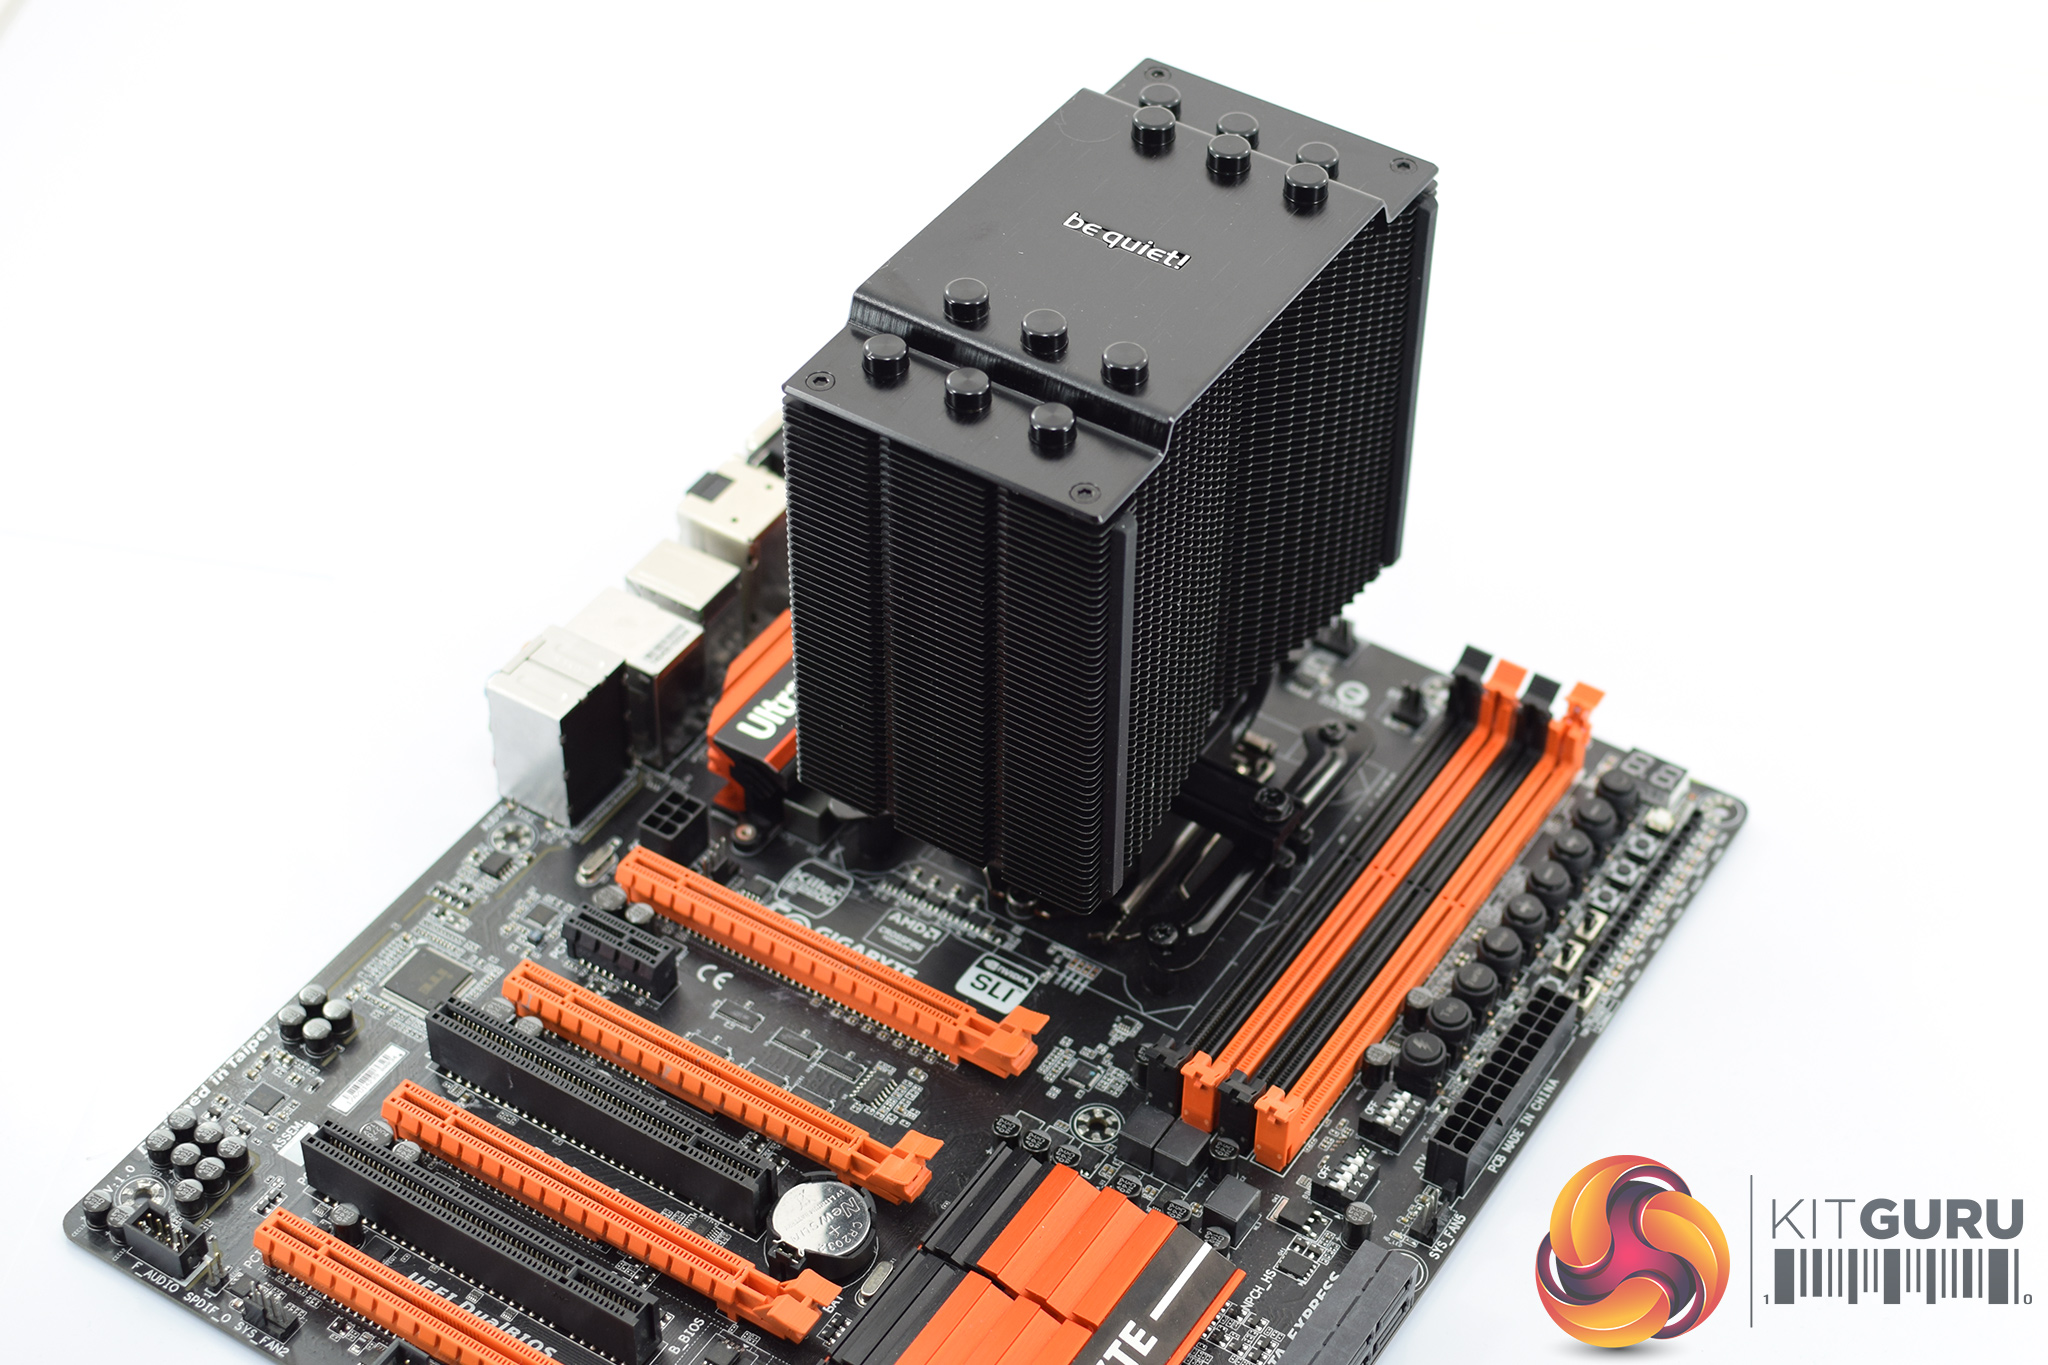
Here I will walk you through the installation process. It is worth noting we test using a Z97 motherboard – socket LGA 1150. The process below reflects that.
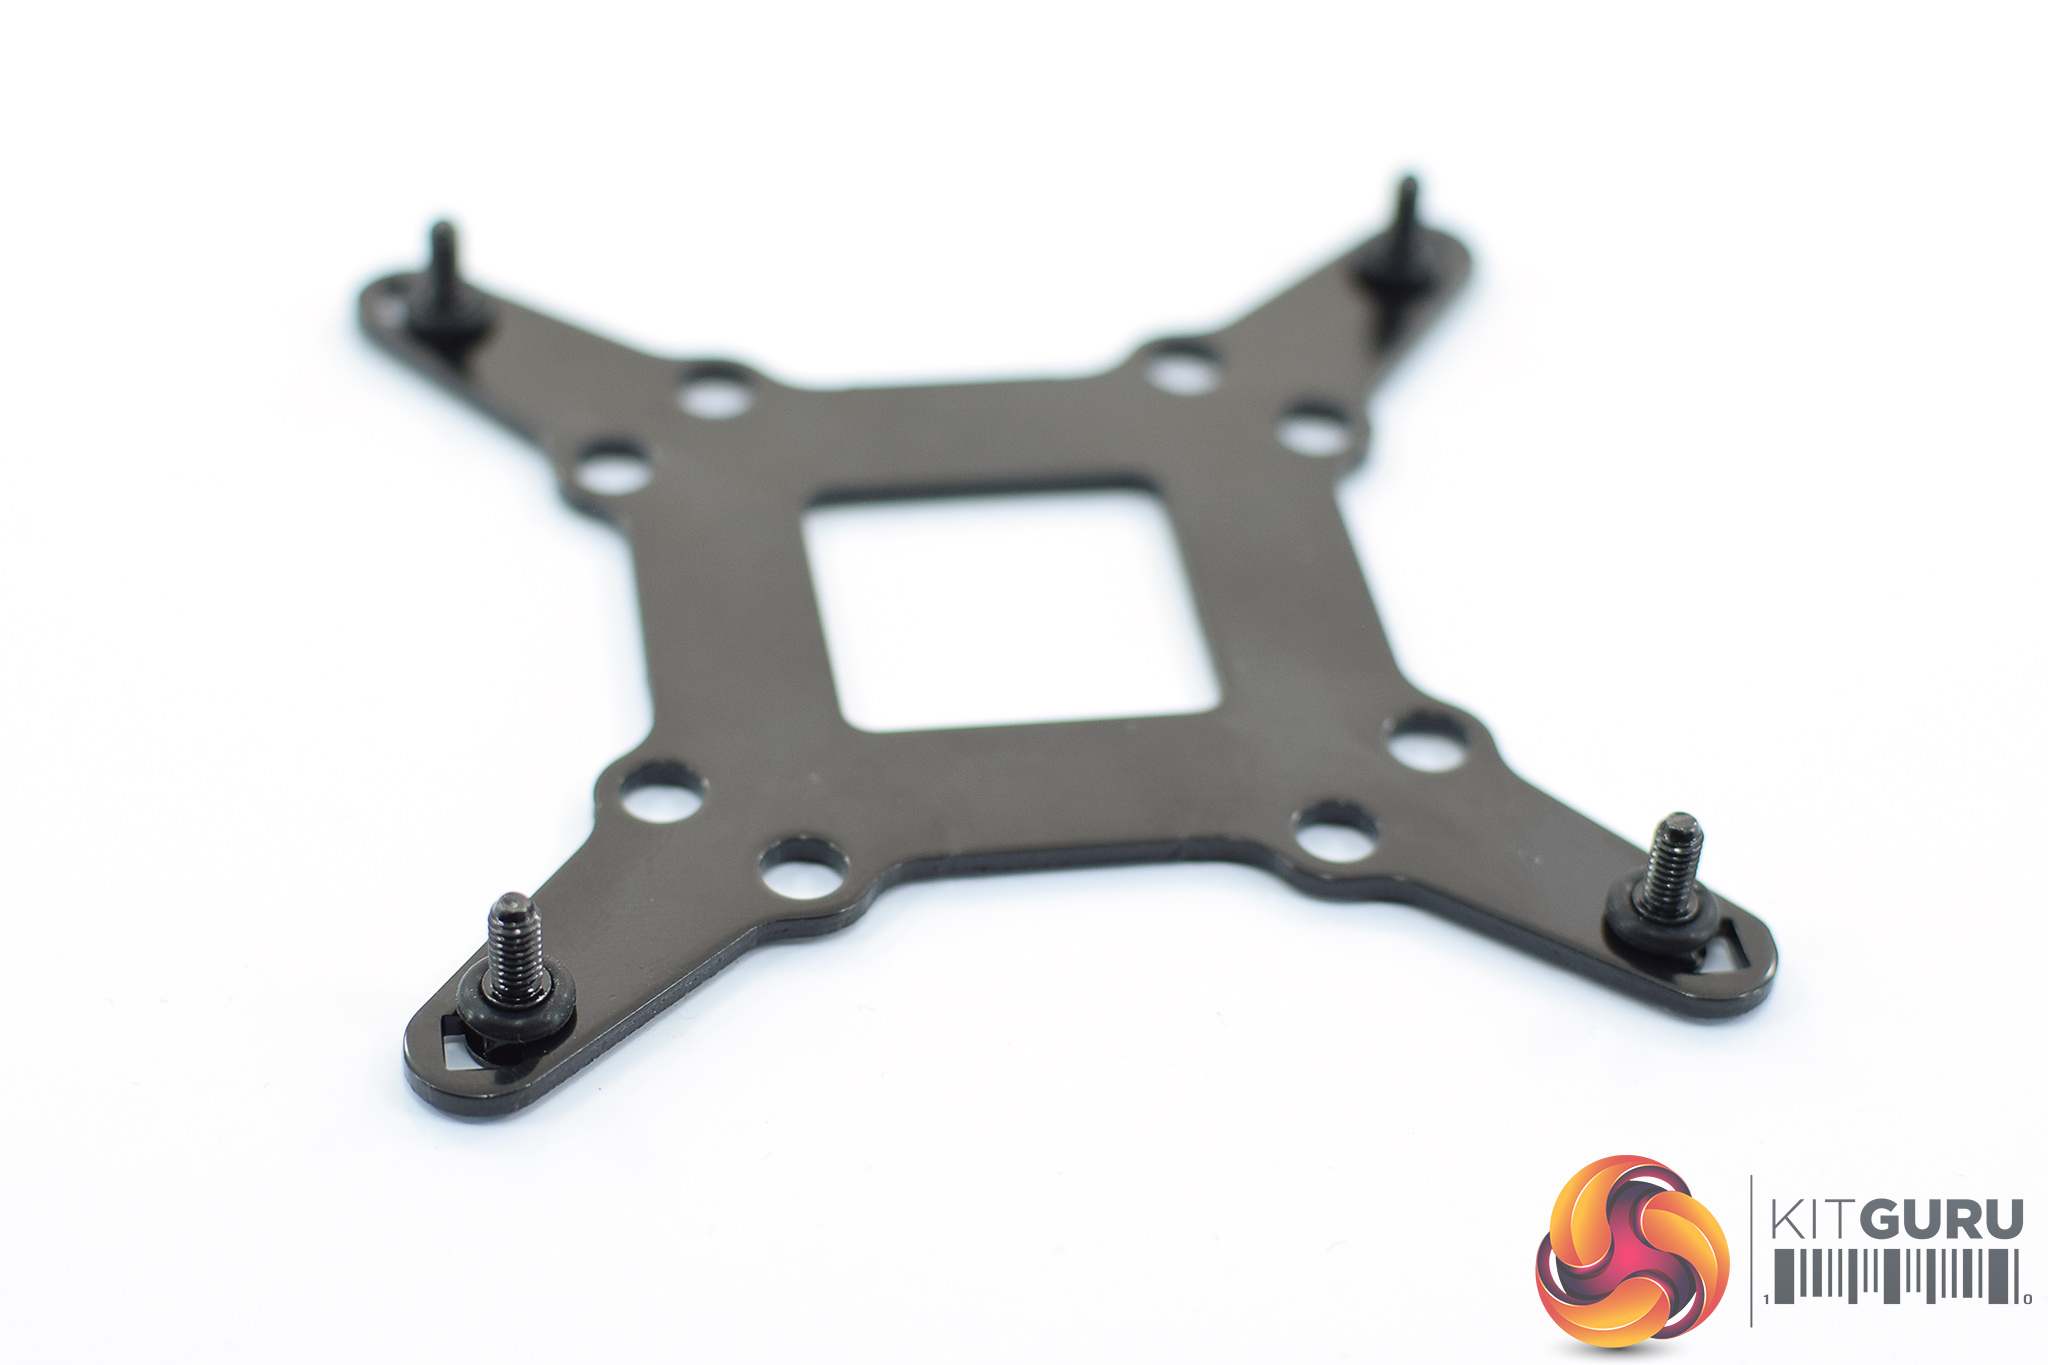

The first step is to prepare the backplate. For LGA 115x sockets, this means slotting four screws through the inner-most holes, and then placing four rubber washers over those screws to keep them in place (as above).
With that simple step done, the backplate can be mounted behind the motherboard socket.
After that, four standoffs can be threaded onto the four backplate screws.
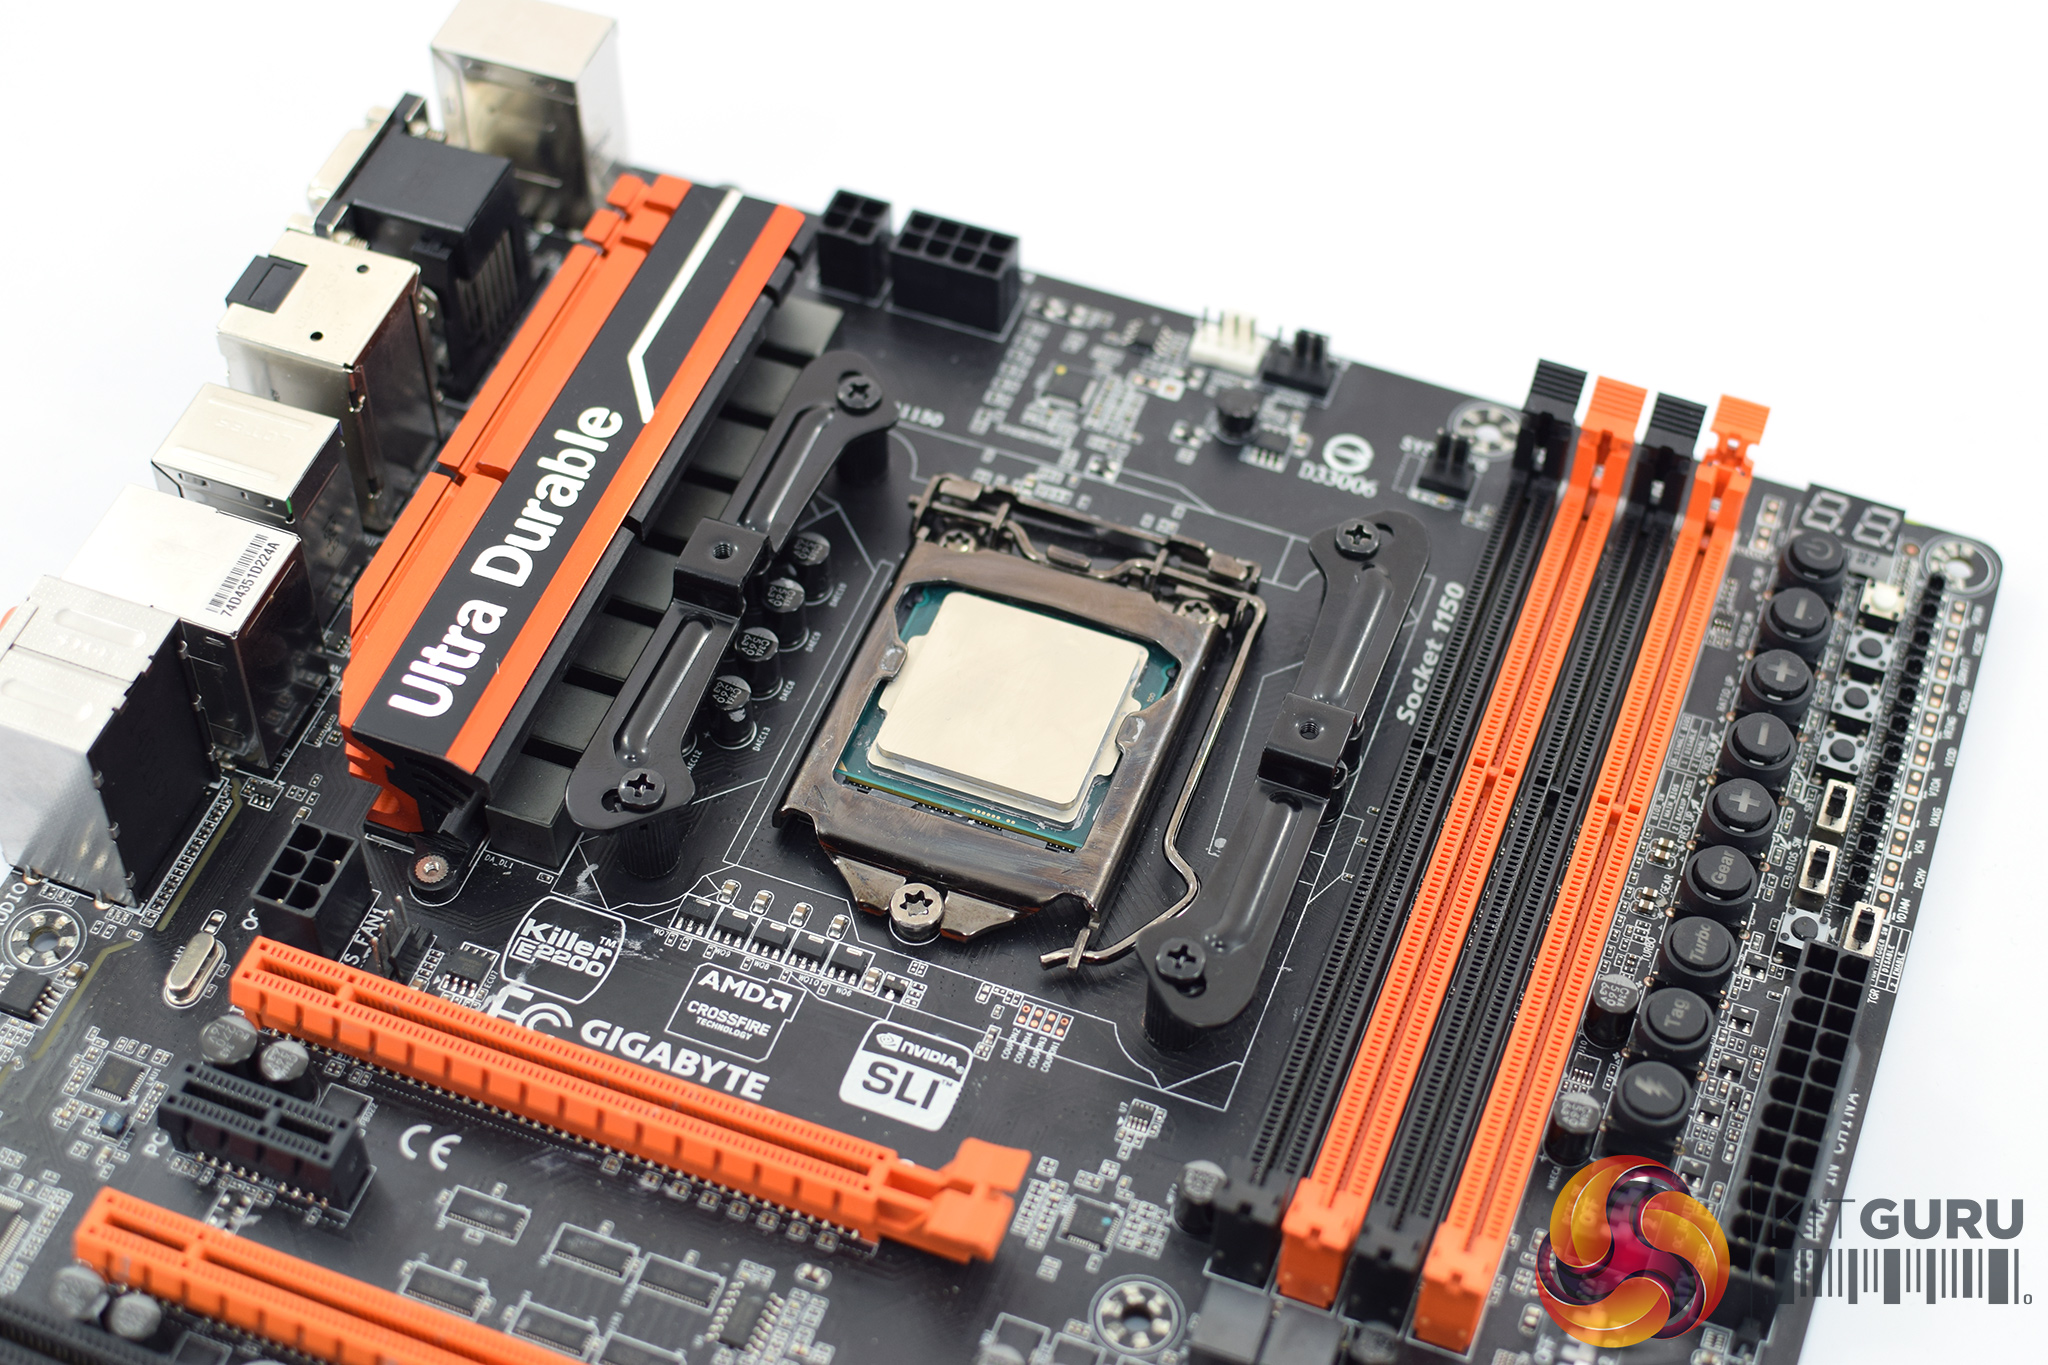
The two mounting brackets can then be screwed onto those standoffs. Here, it is important to attach the brackets vertically (parallel to the RAM slots), assuming you want the cooler to be mounted vertically as is standard.
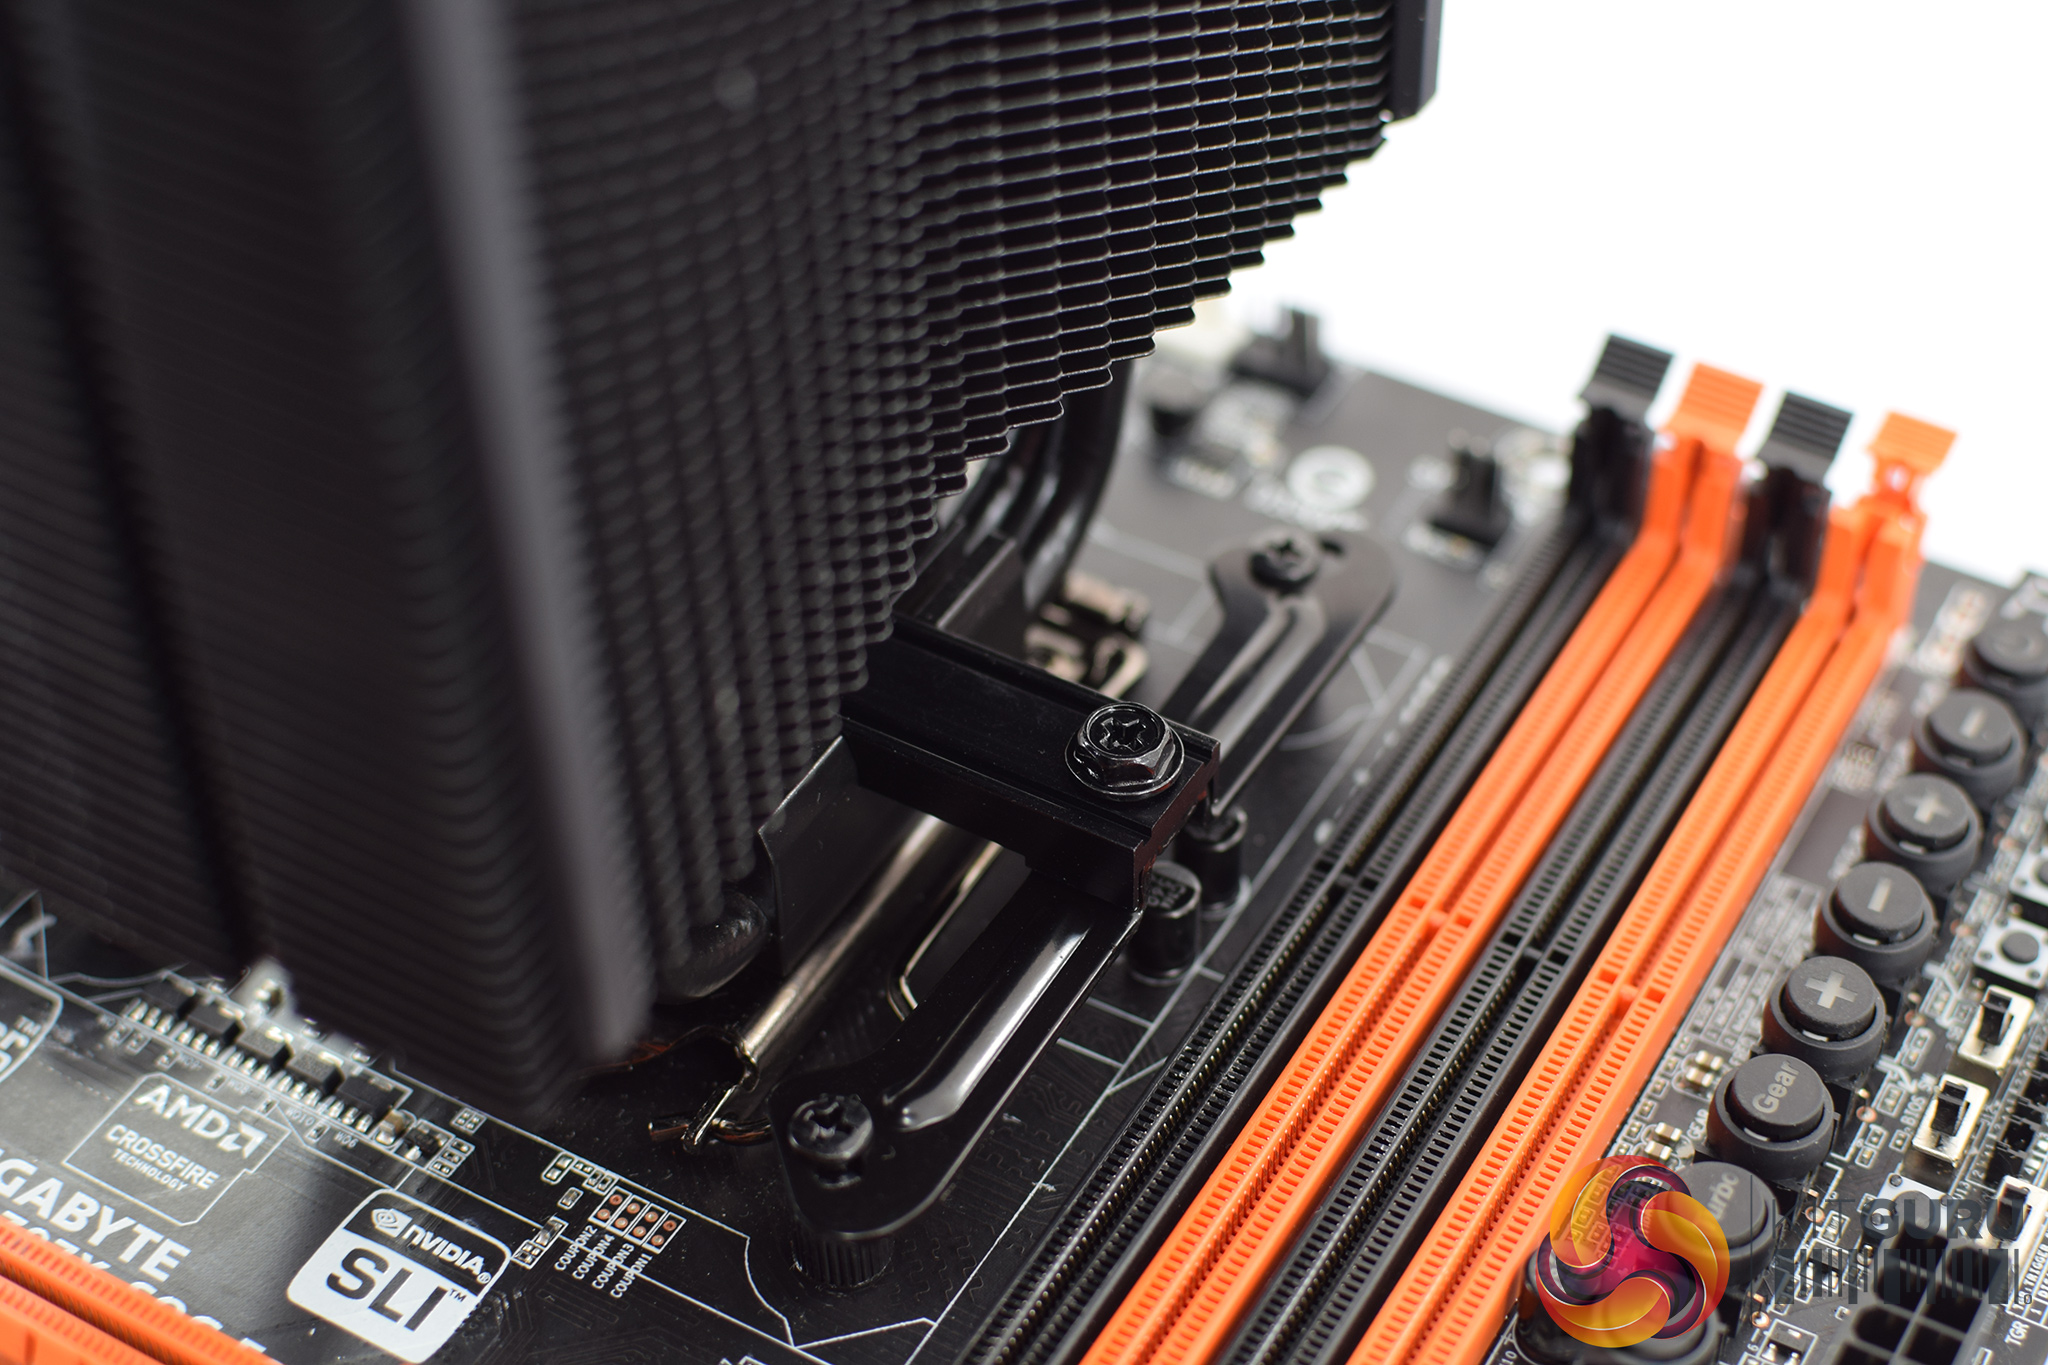
After that, the heatsink itself can be mounted to the processor, and it is secured to the mounting brackets thanks to a metal bar which slots into the bottom of the heatsink. The bar is locked-down with two sturdy screws, and this is where the included screwdriver really helps – its long neck means you are not fighting with the heatsink to get the screws properly threaded. Thanks, be quiet!
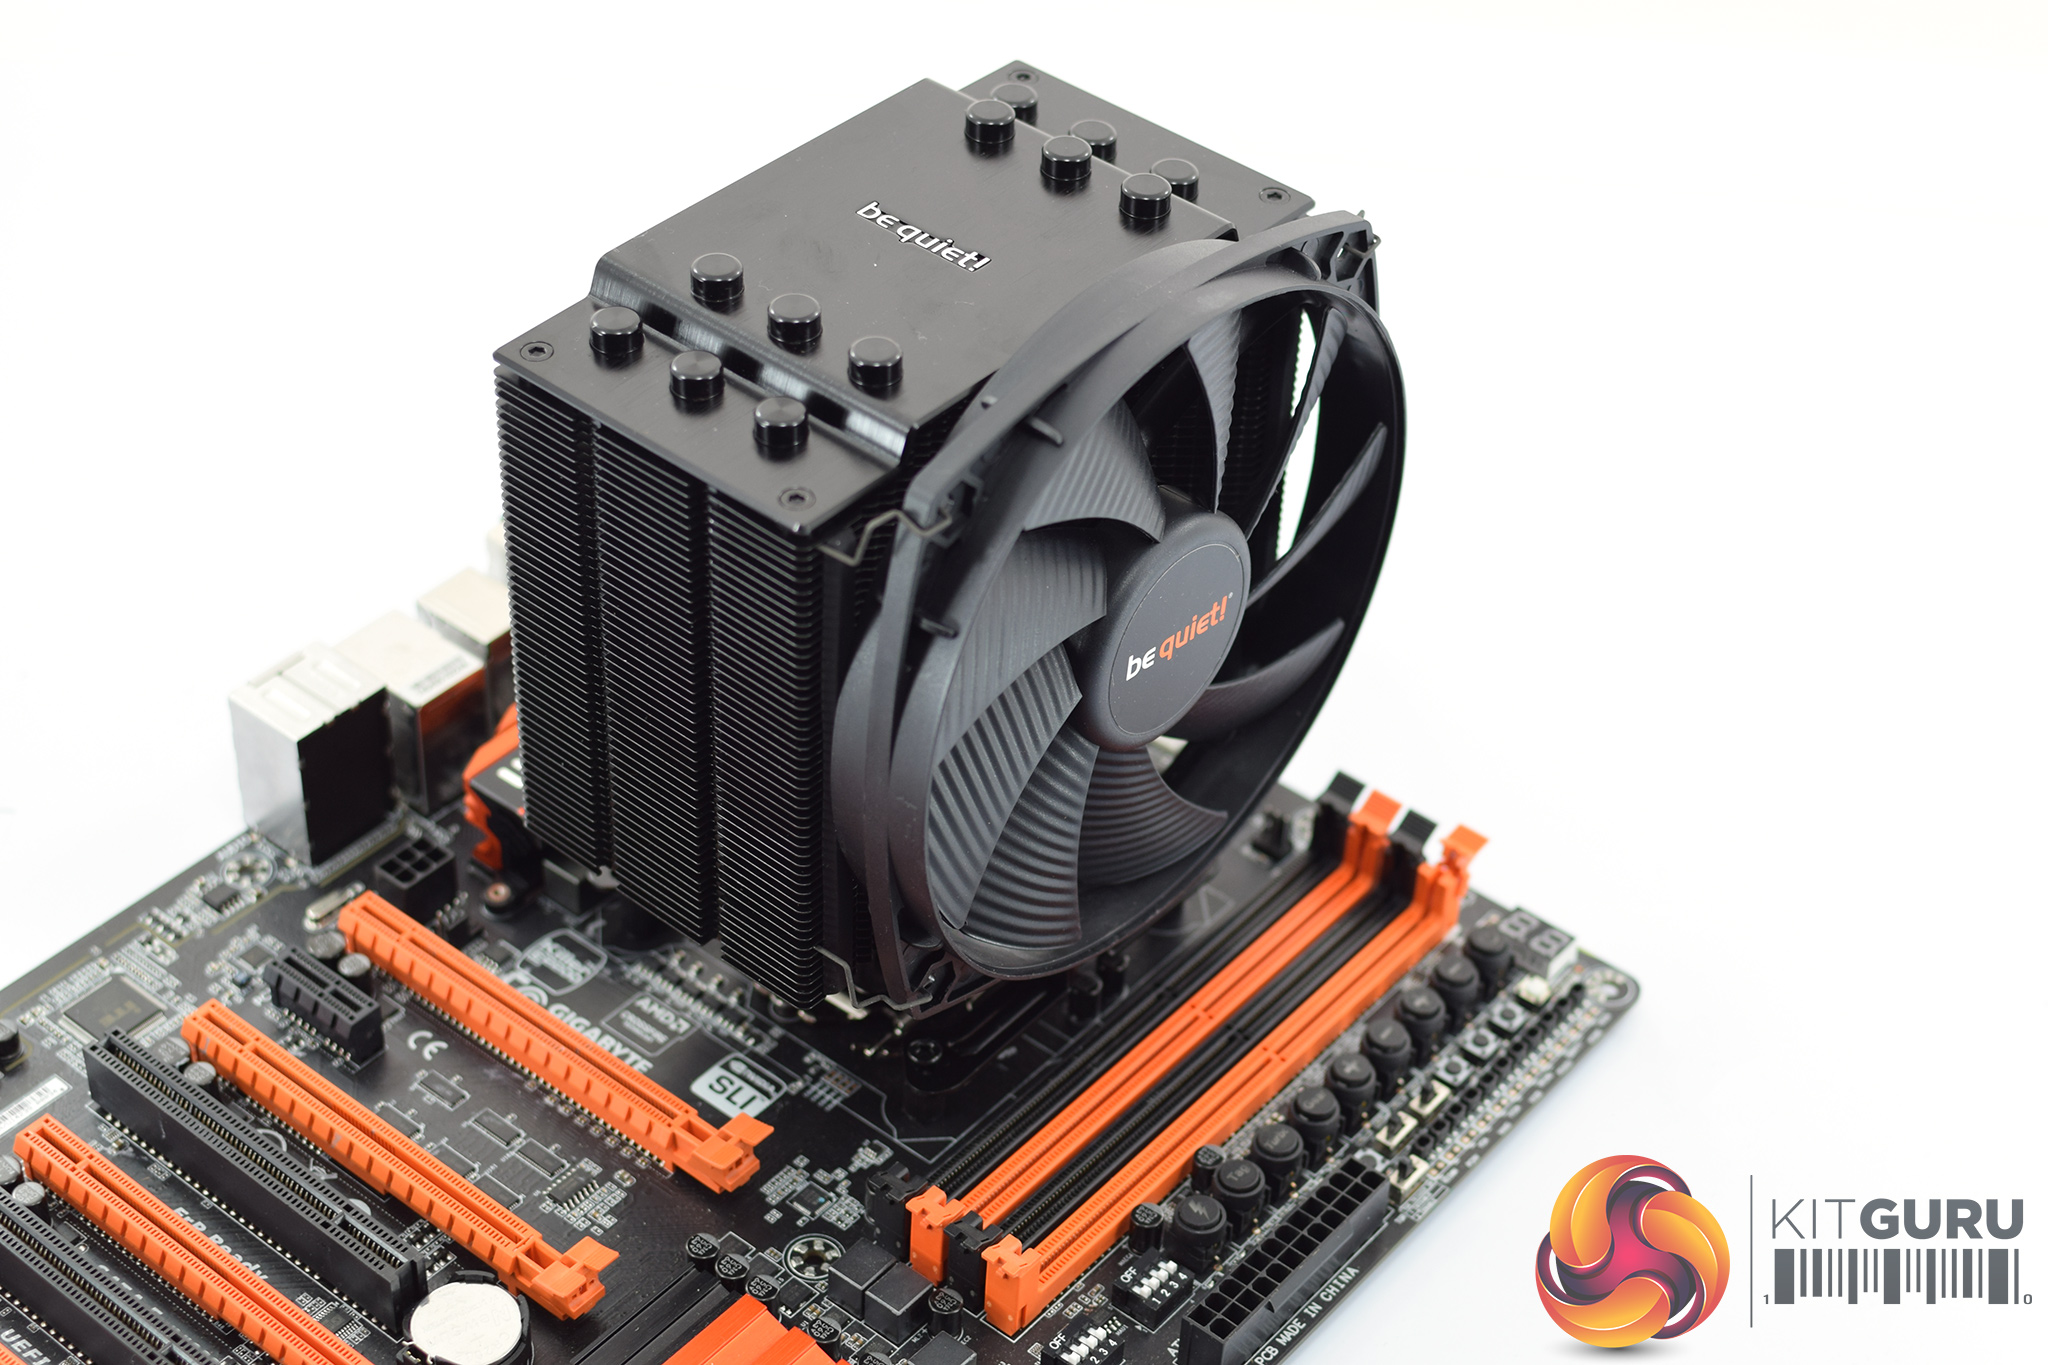
With that done, all that is left is to mount the Silent Wings fan using the provided fan clips, and installation is complete.
All-in-all, it is really good to see be quiet! has finally managed to implement a straightforward mounting solutions for its coolers. The Dark Rock 4 is mounted like most coolers on the market, and the process is much more beginner-friendly than the previous Dark Rock 3.