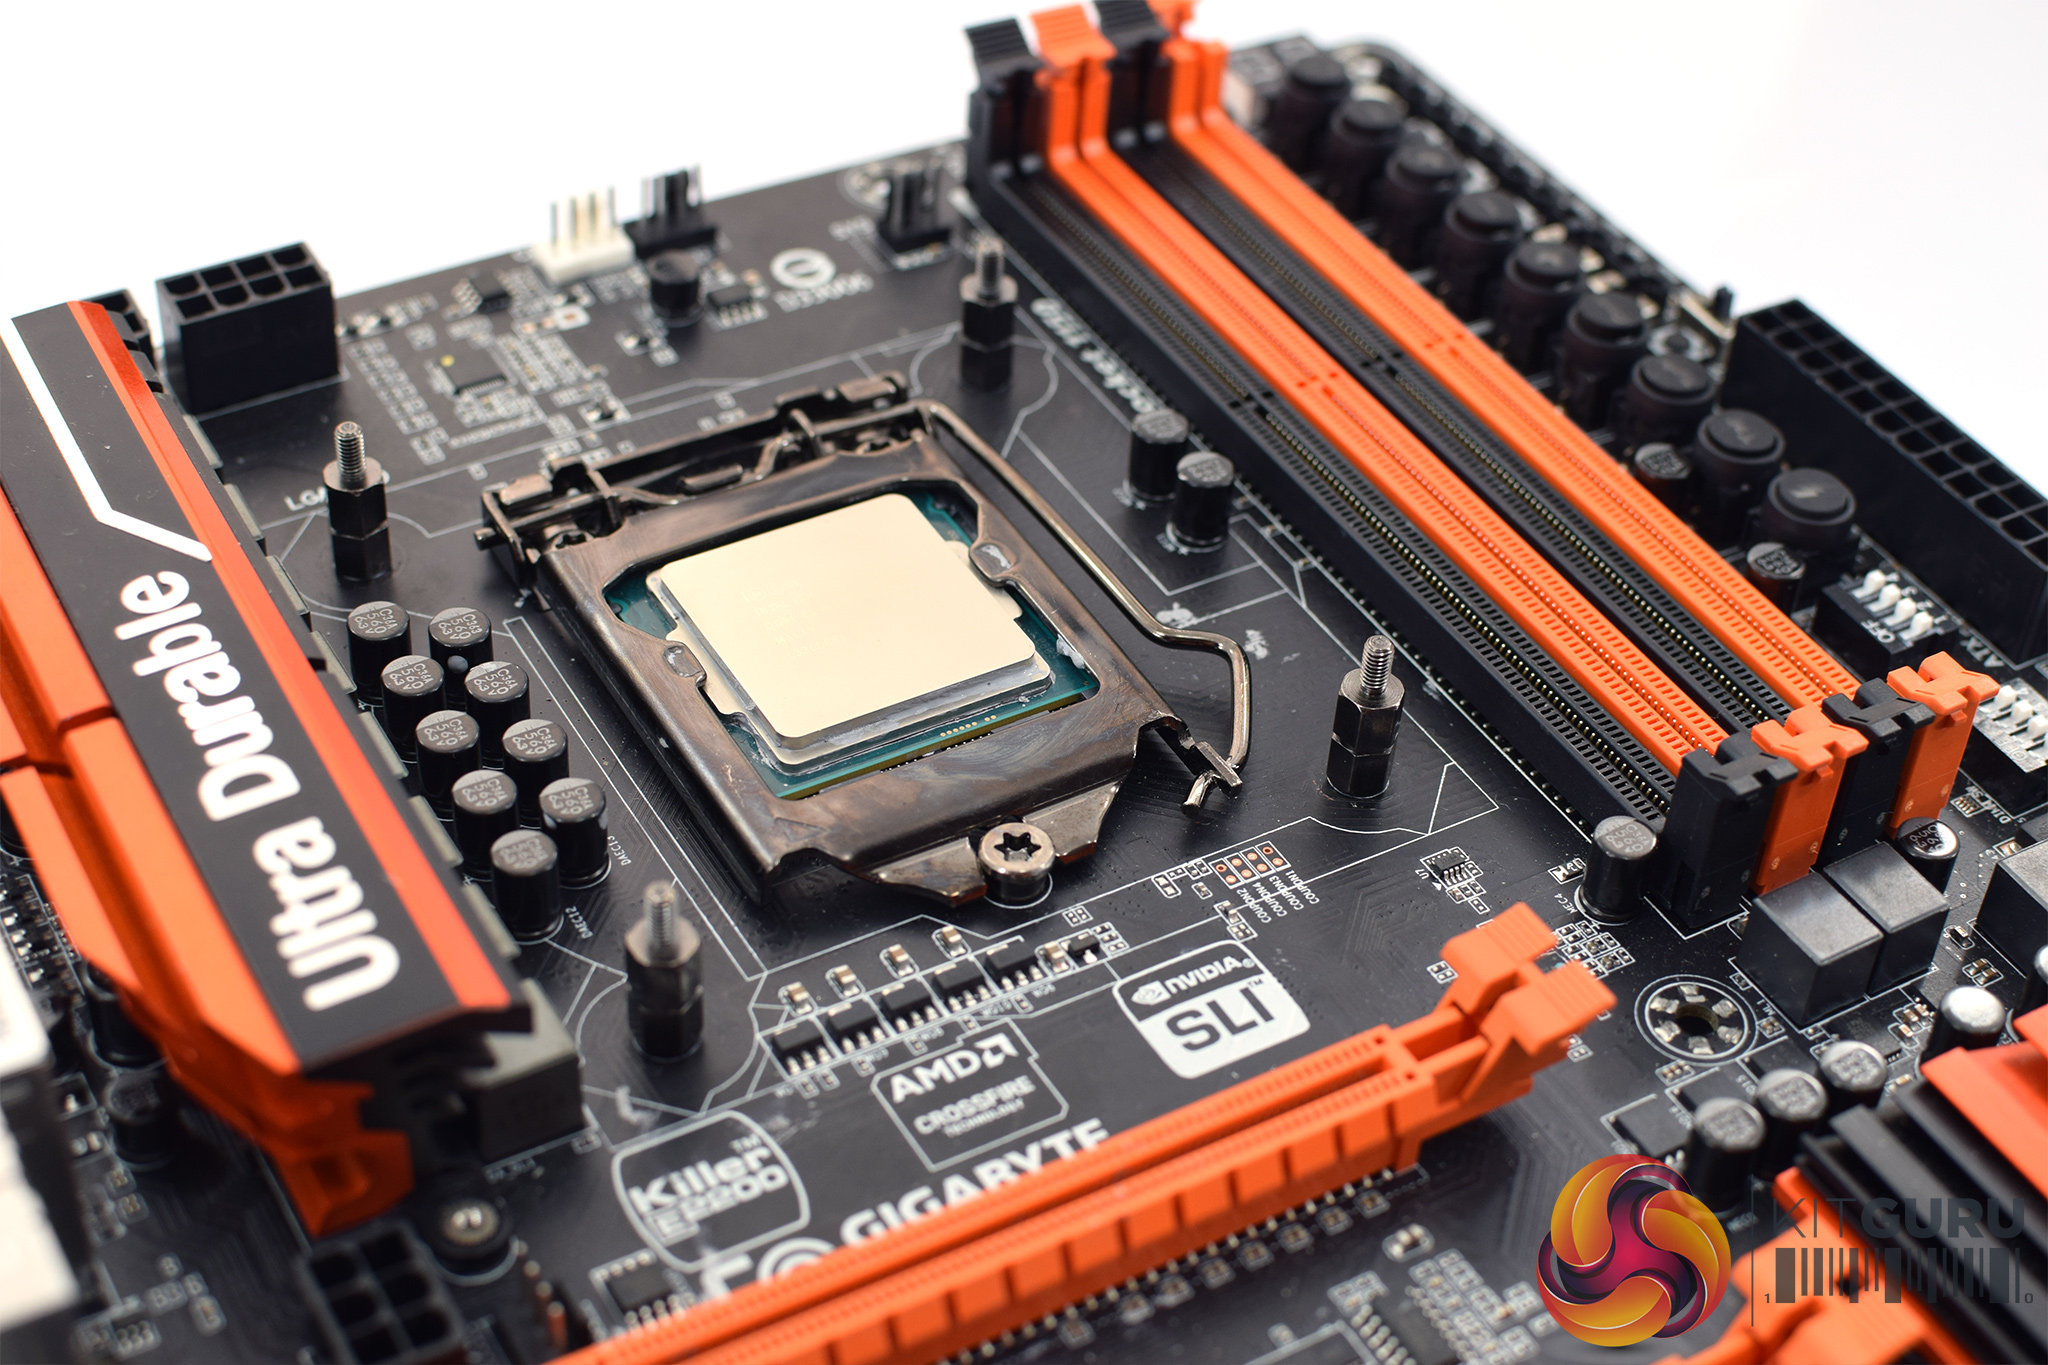
Here I will walk you through the installation process. It is worth noting we test using a Z97 motherboard – socket LGA 1150. The process below reflects that.
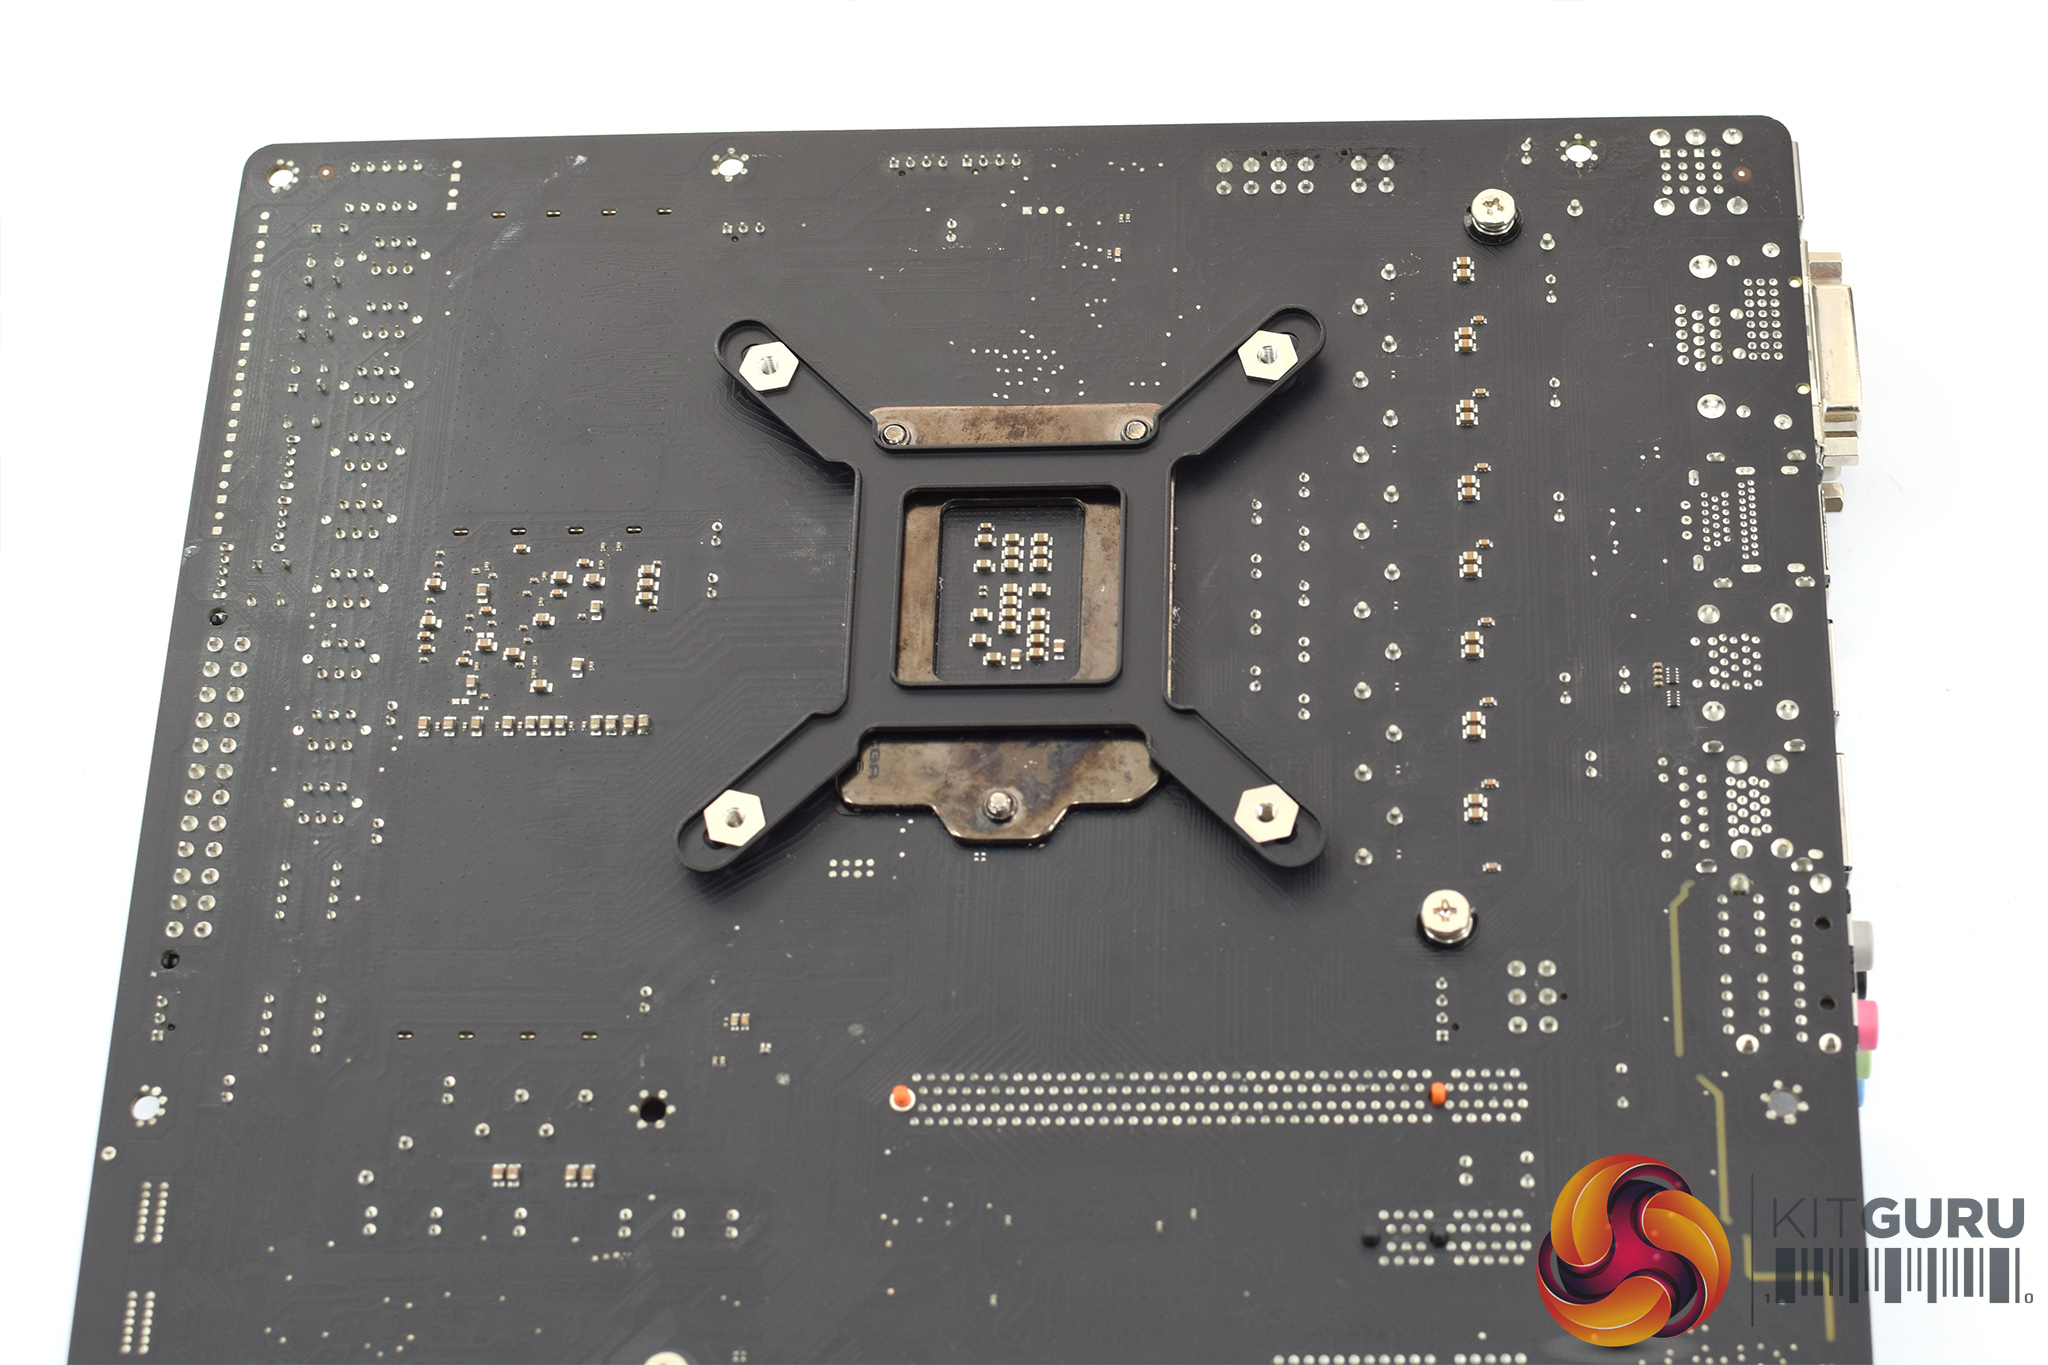
First of all, the backplate needs to be positioned behind the motherboard so the four small screws poke through the motherboard socket holes.
After that, four standoffs can be threaded onto the backplate.
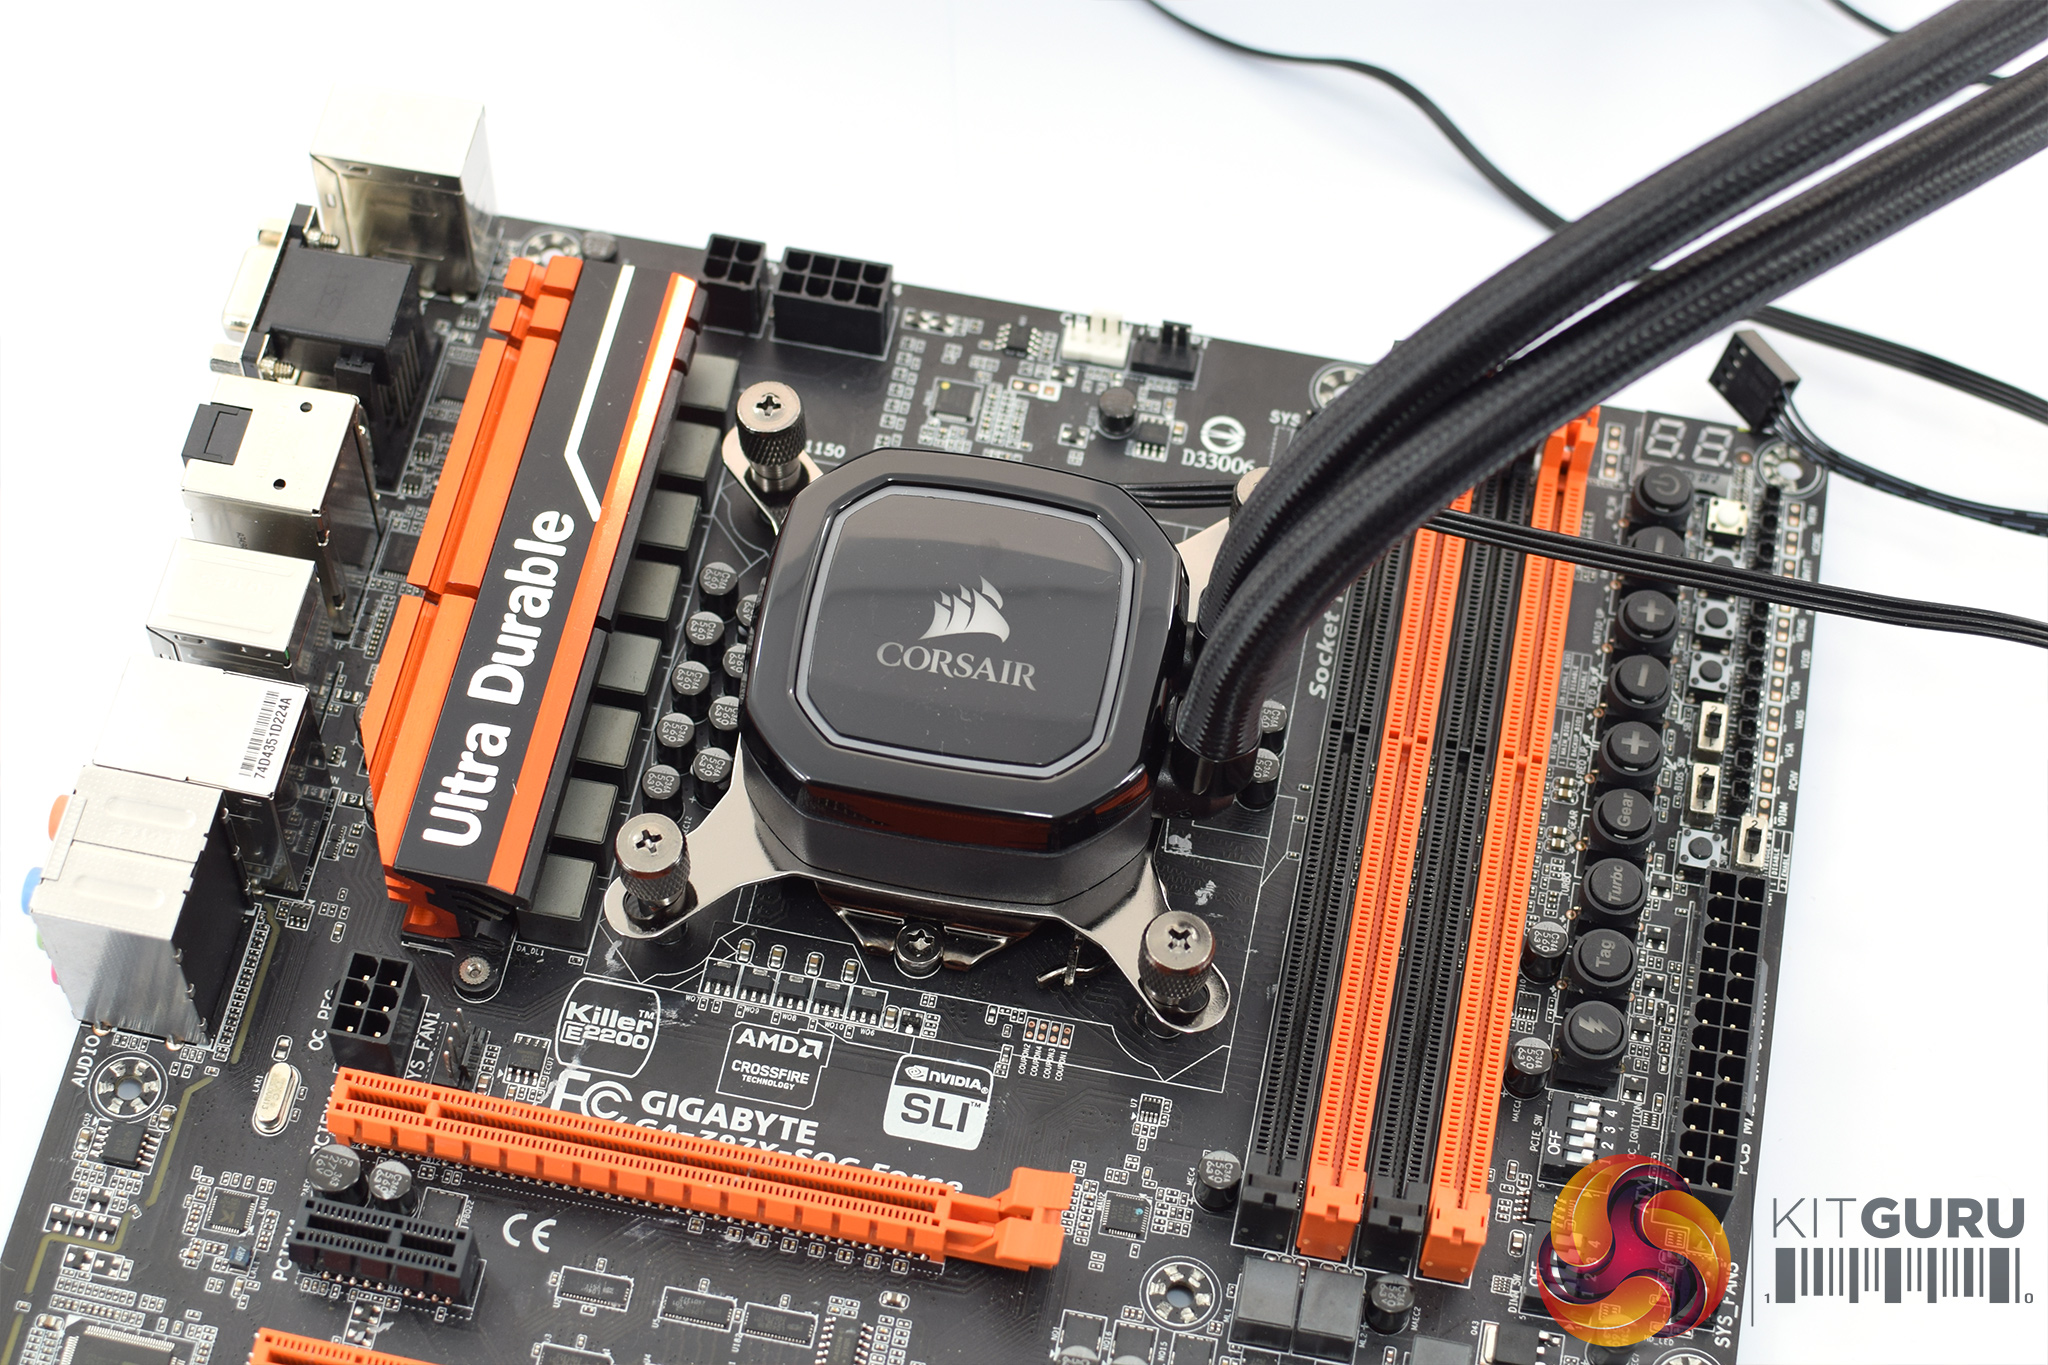
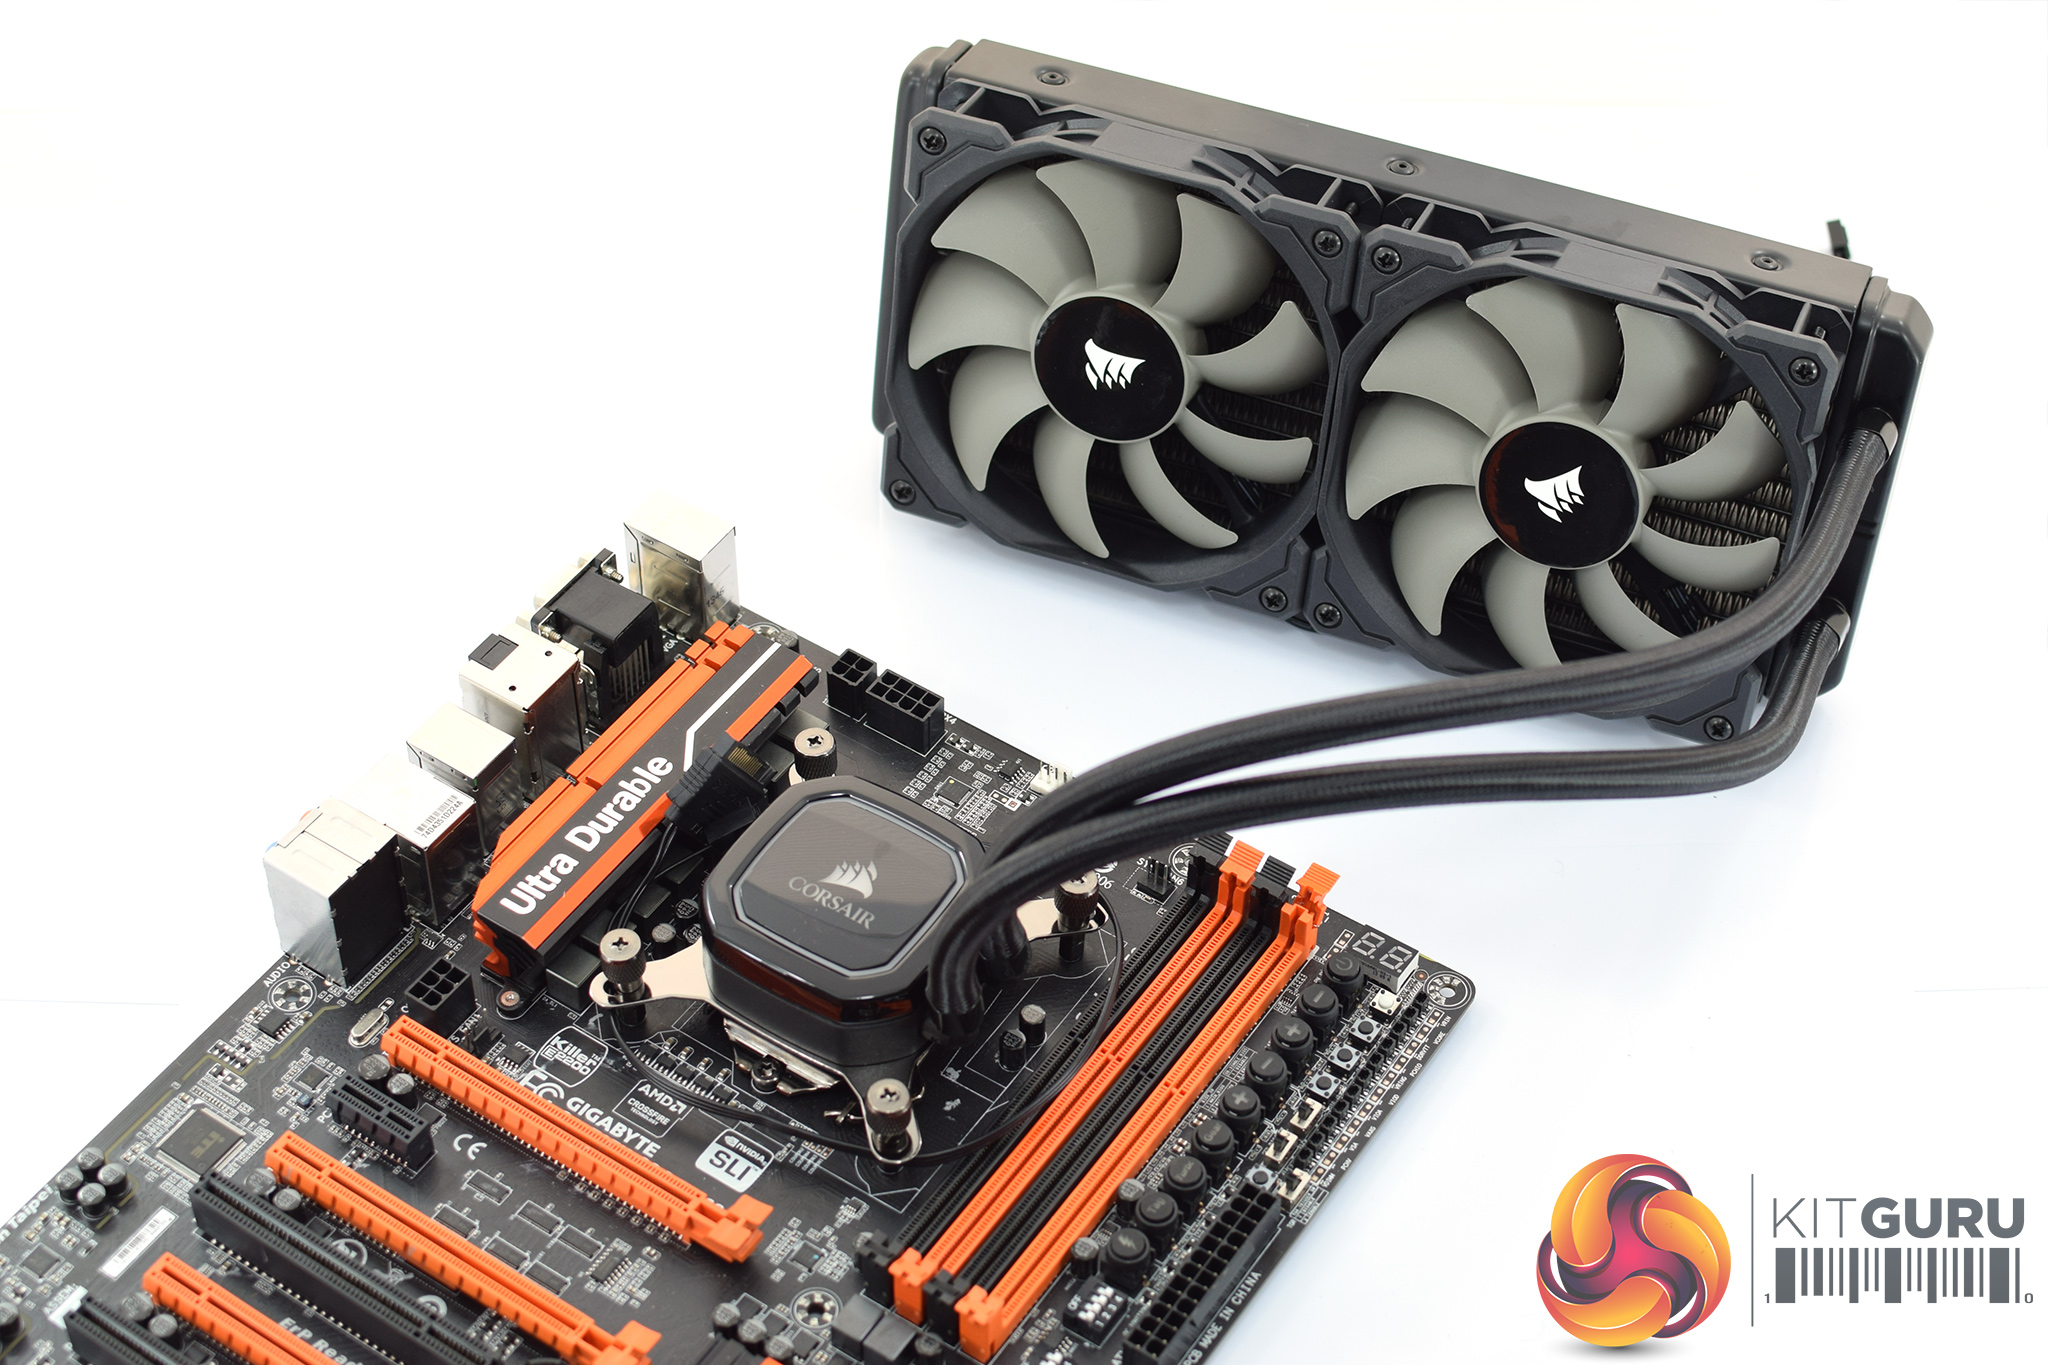
Next, the pump can be mounted to the CPU (thermal paste is pre-applied with the H100x). Four thumbscrews secure the pump unit to the standoffs and backplate.
And that's it! It's the exact same installation method we've seen from other Corsair liquid coolers over the last few years, so installation is an absolute doddle.
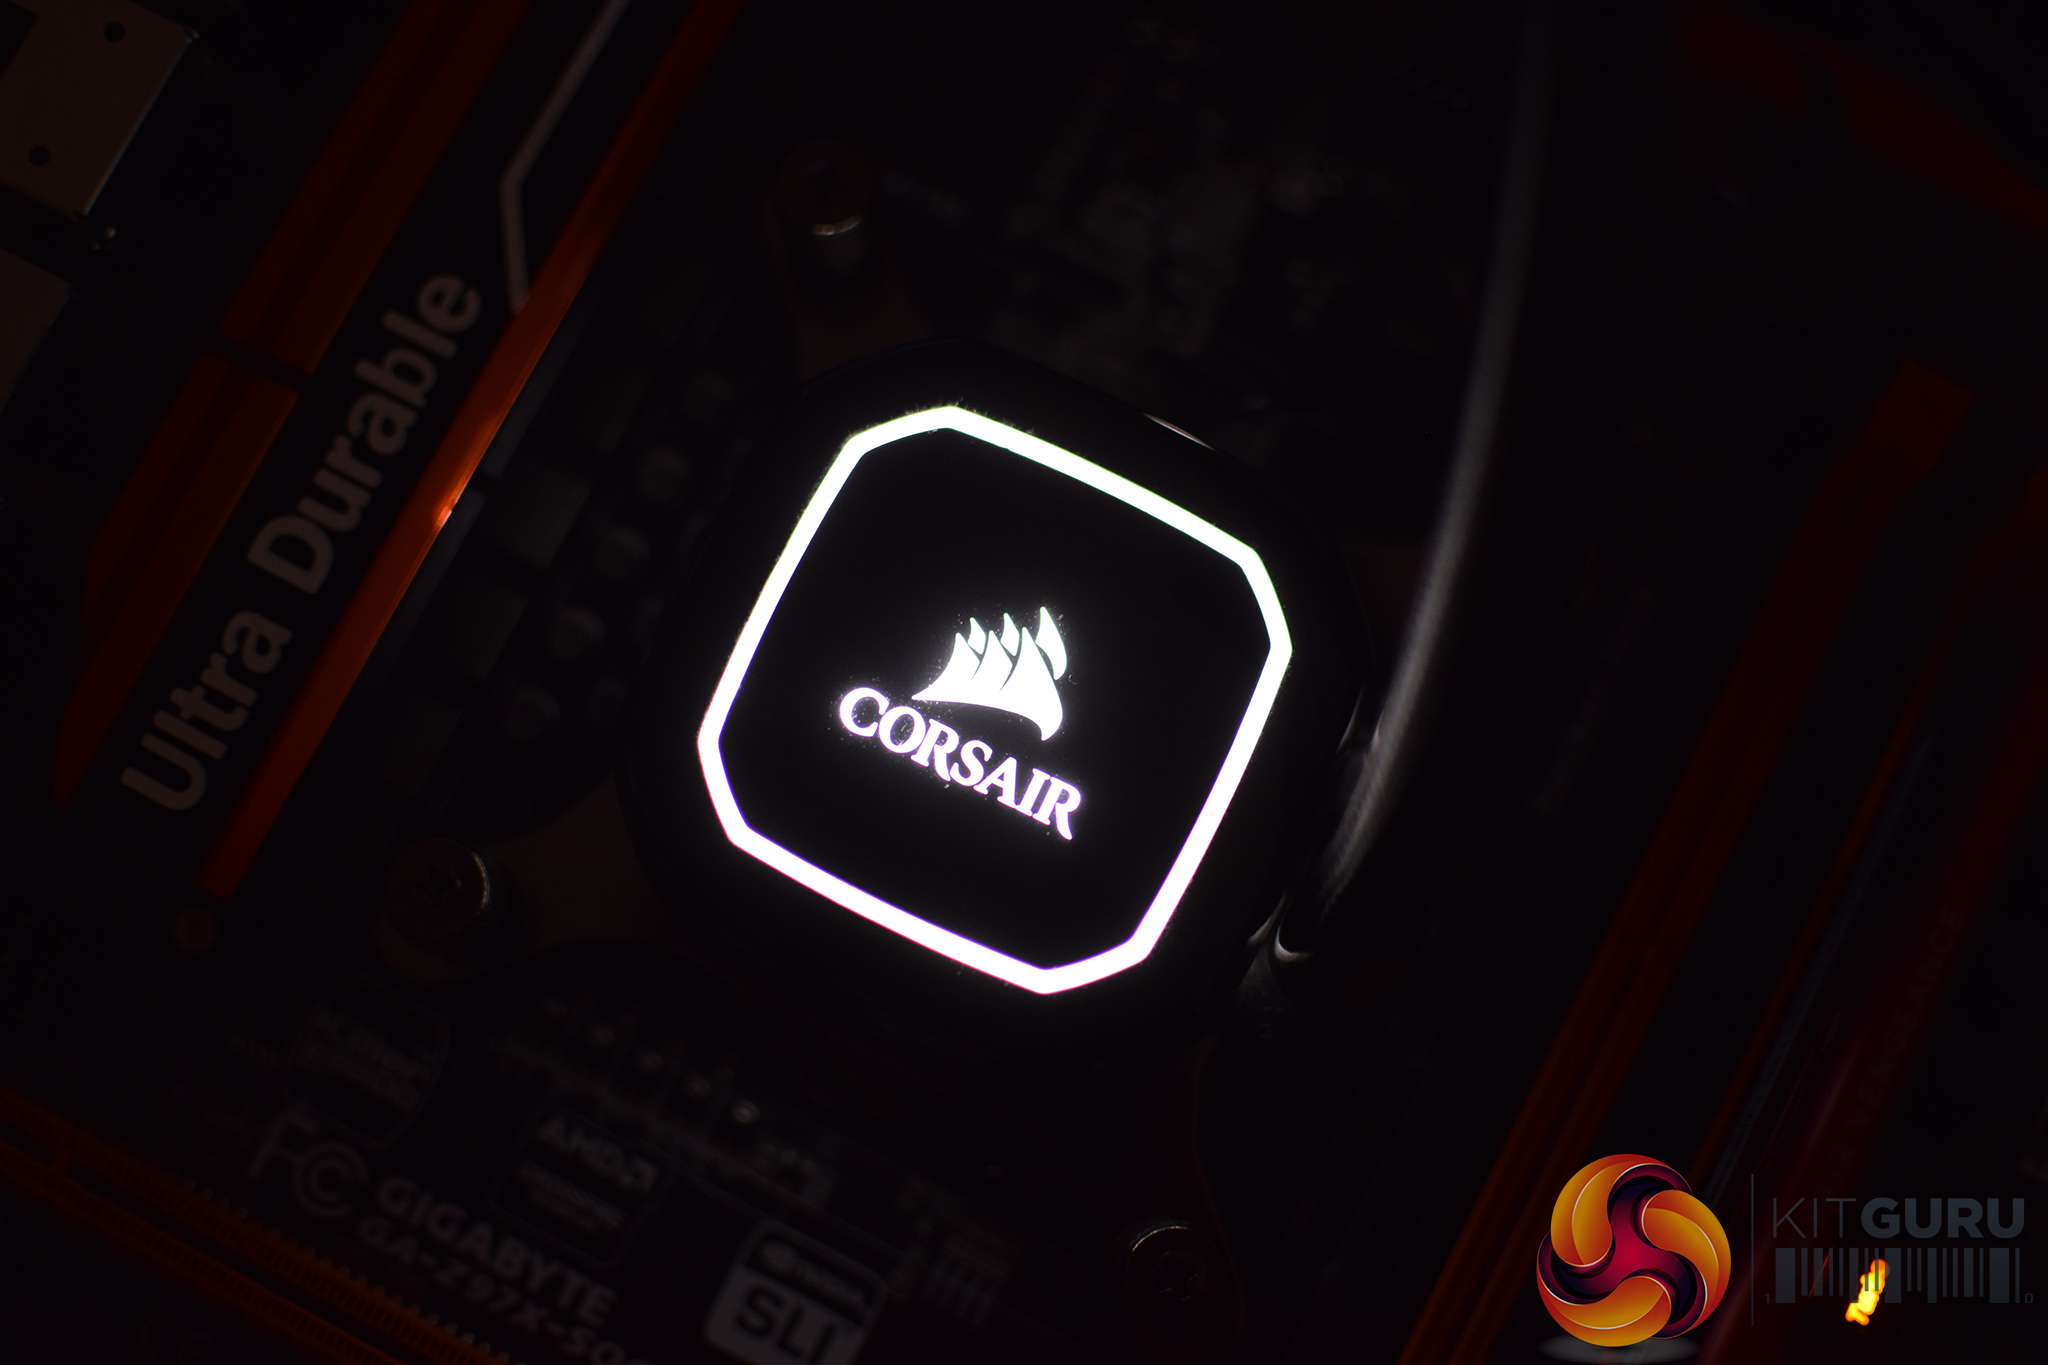
Lastly, once the unit is powered, the backlight turns on. As I mentioned, it is a static white-only light so it is not hugely exciting. However, the white light is unlikely to clash with a system's colour scheme and I think it looks quite clean and understated – a welcome relief from the ‘RGB all the things' trend!