

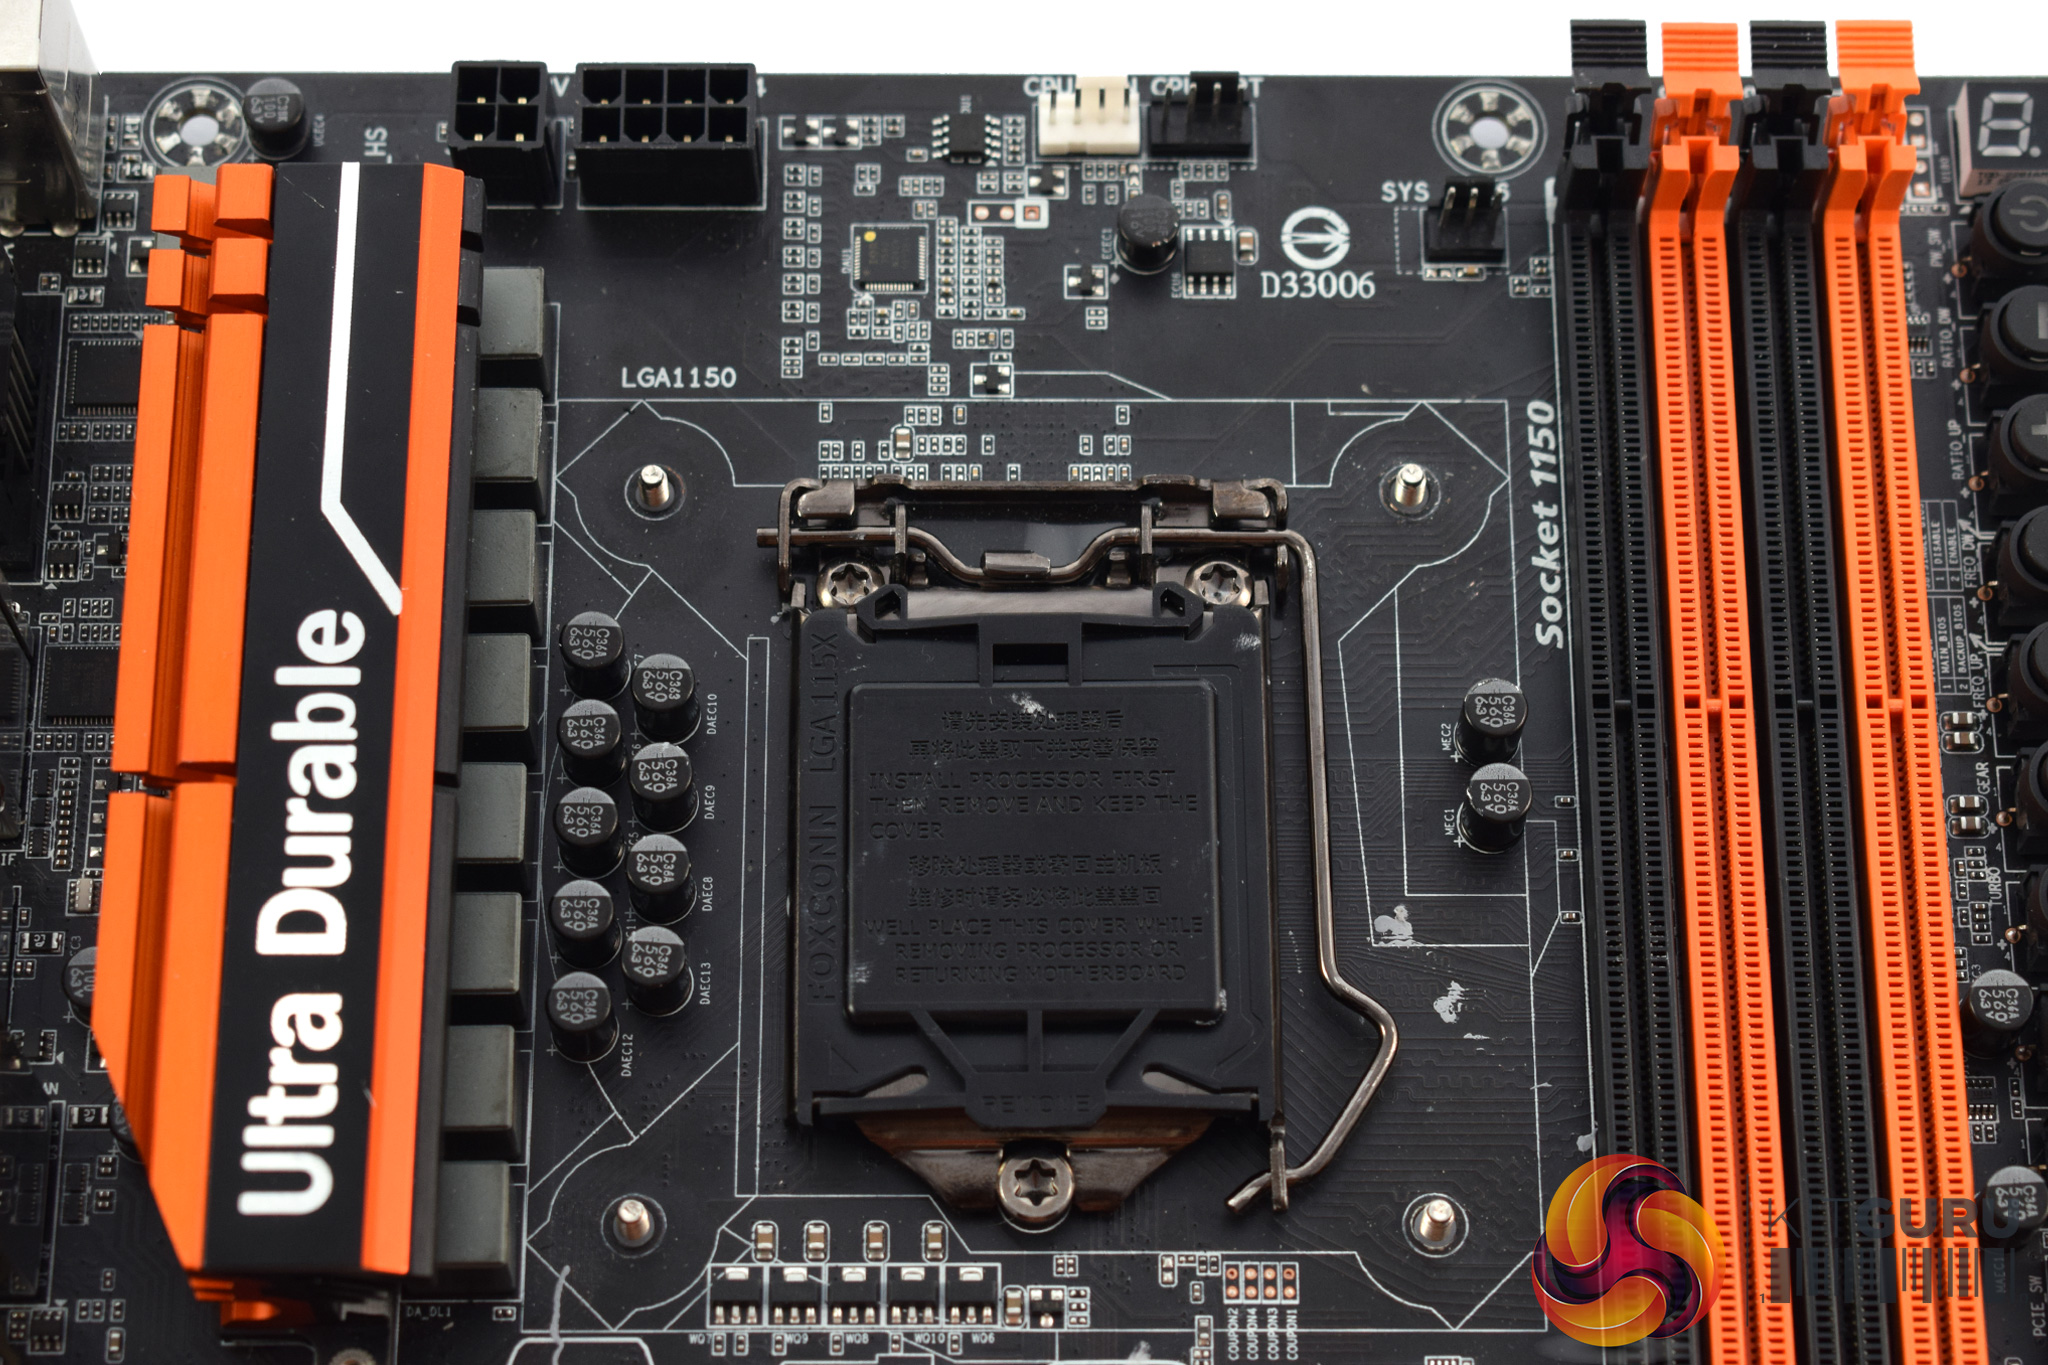
Here I will walk you through the installation process. It is worth noting we test using a Z97 motherboard – socket LGA 1150. The process below reflects that.
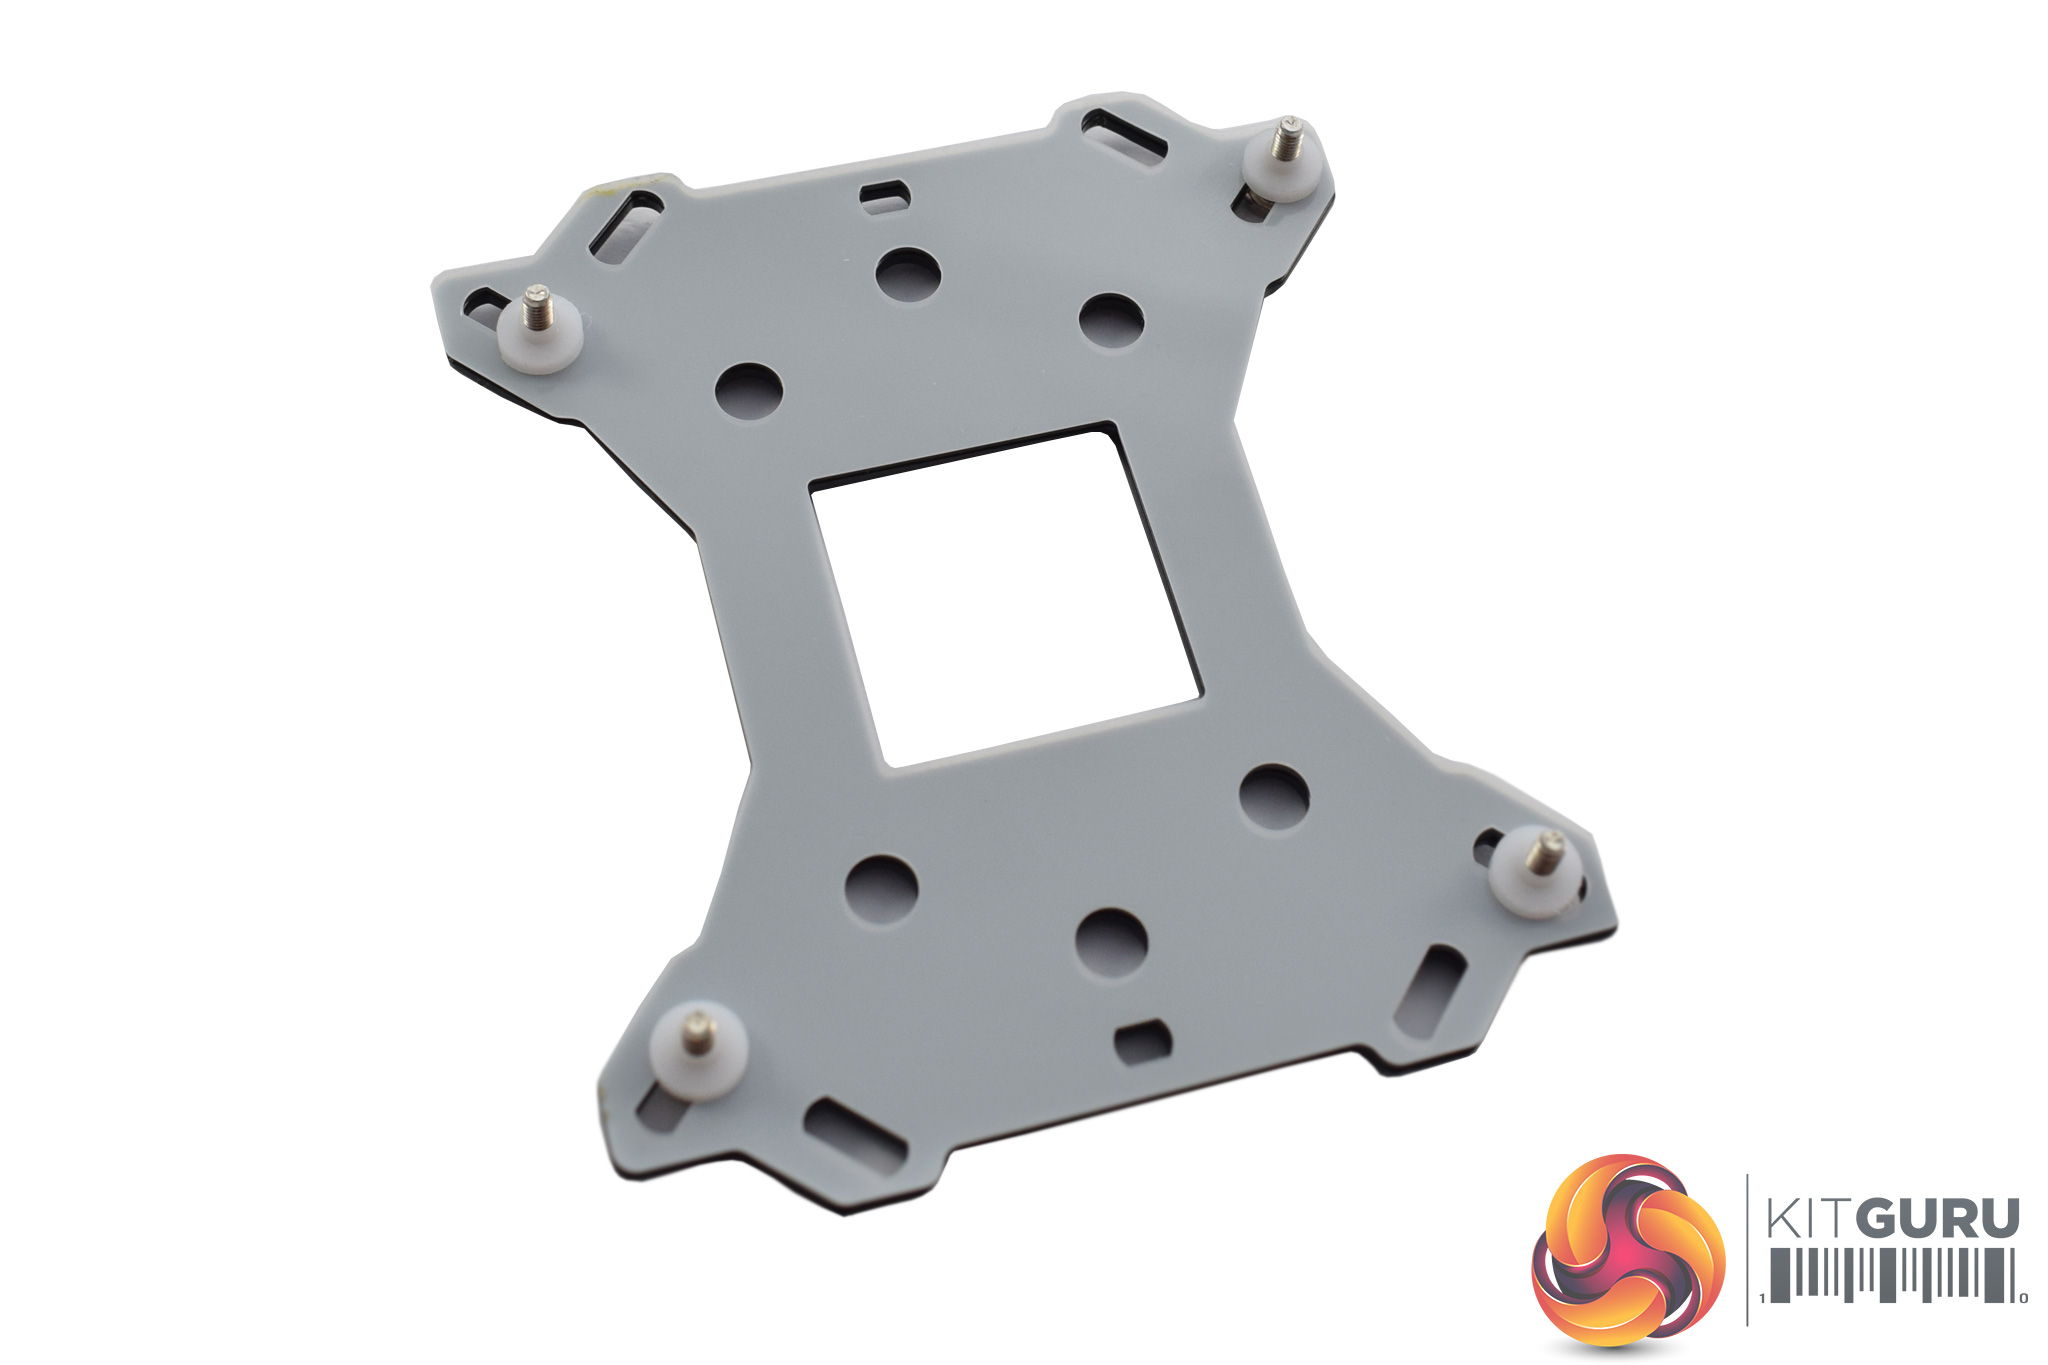
First of all, prepare the backplate by passing four screws through the Intel LGA 115x mounting holes. A plastic washer is placed over each screw to keep them in-place.
Next, go ahead and place the backplate behind the motherboard's socket area so the screws come through the four socket holes.
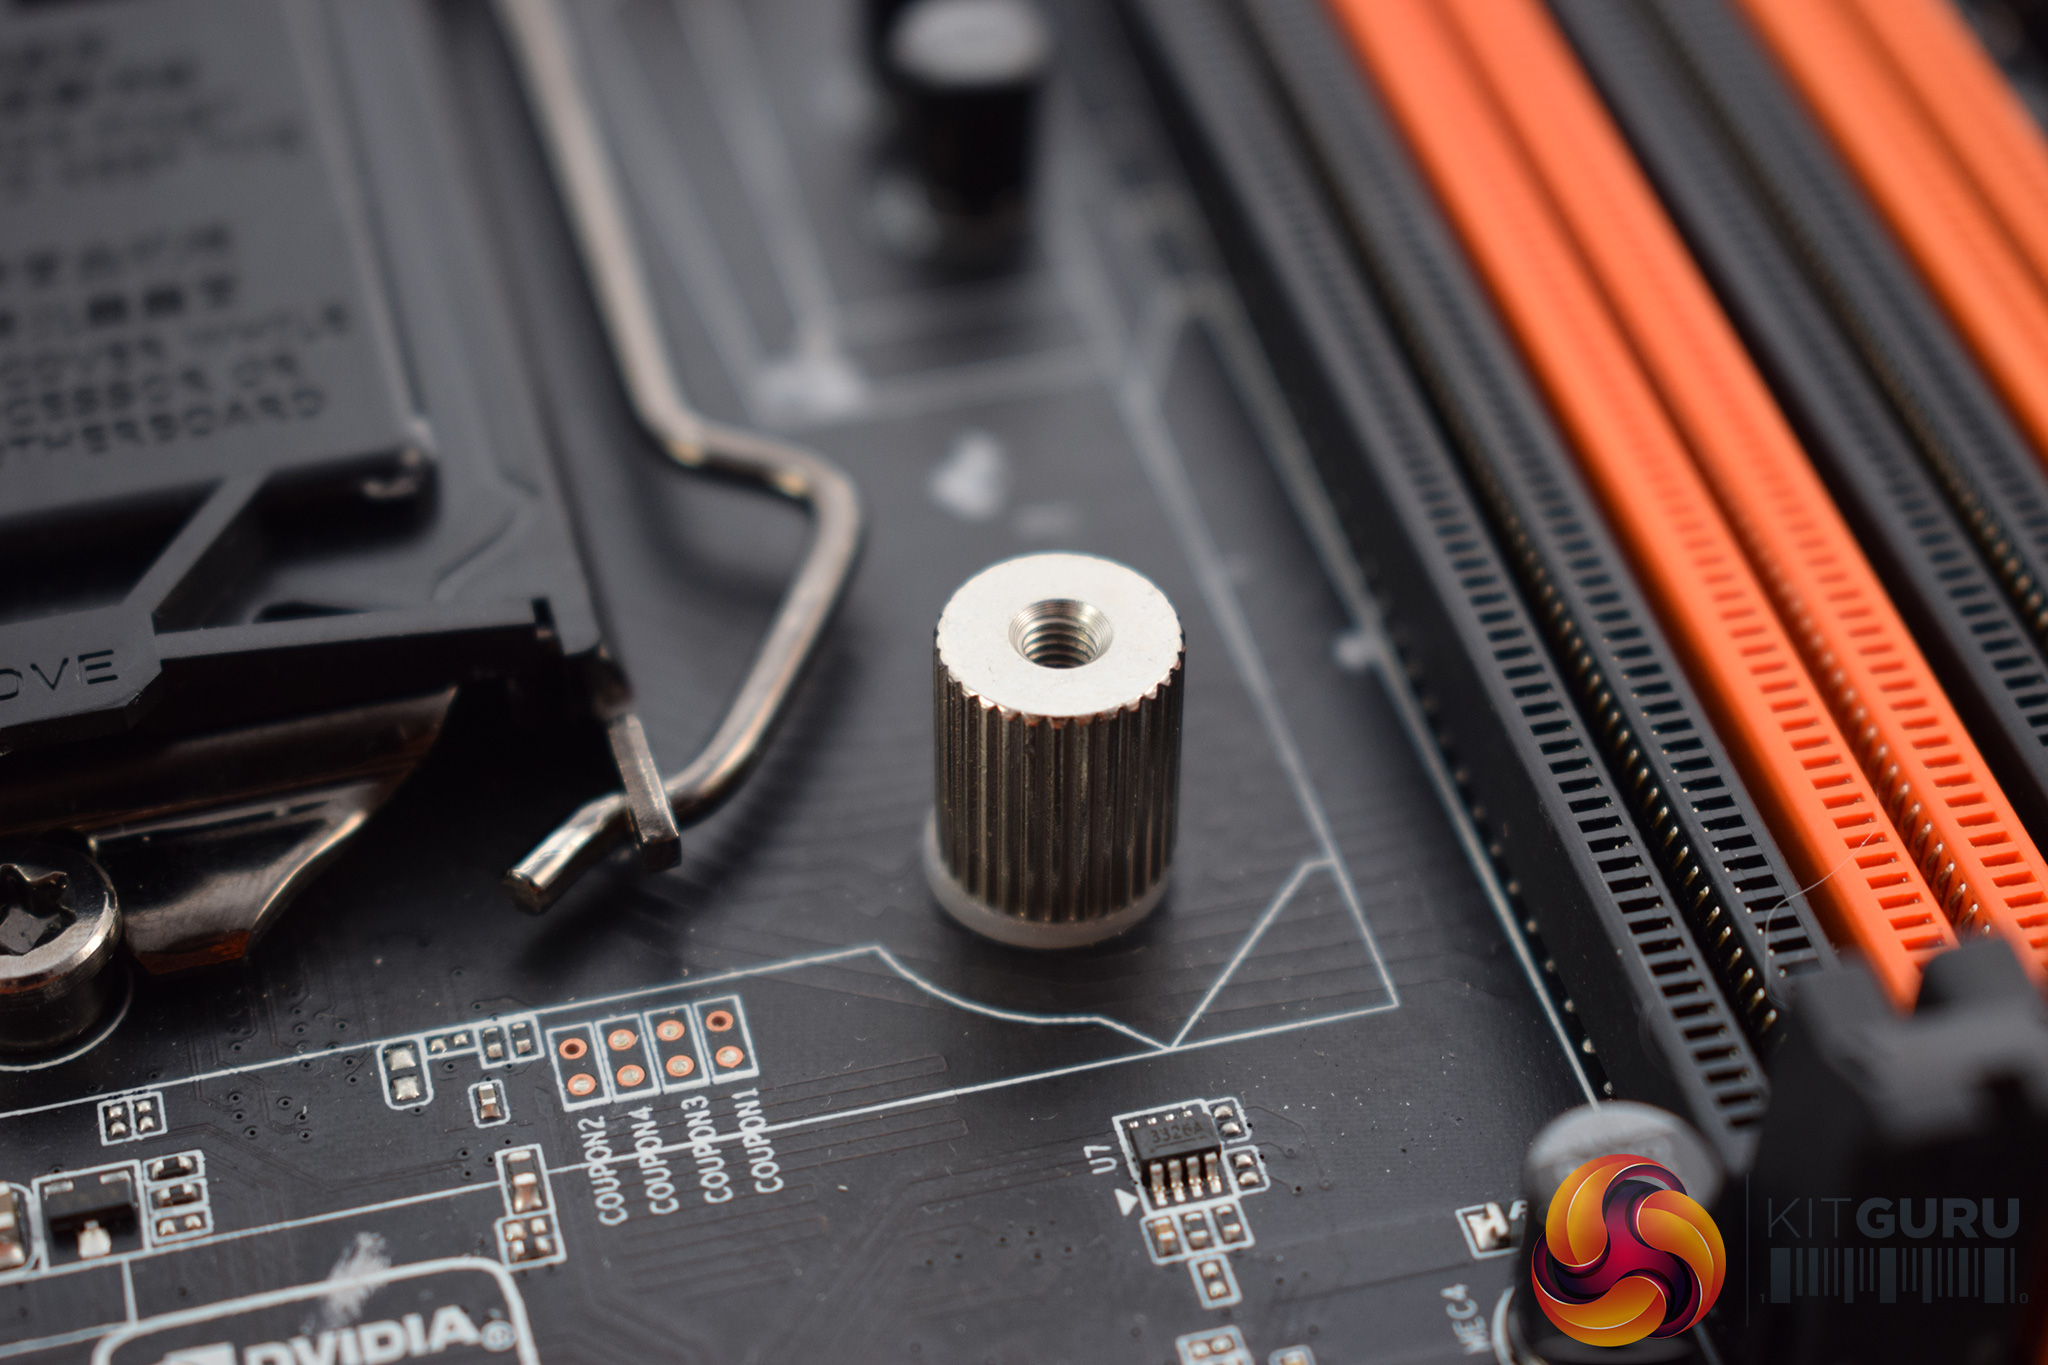
After that, four large nuts can be attached to the backplate screws.
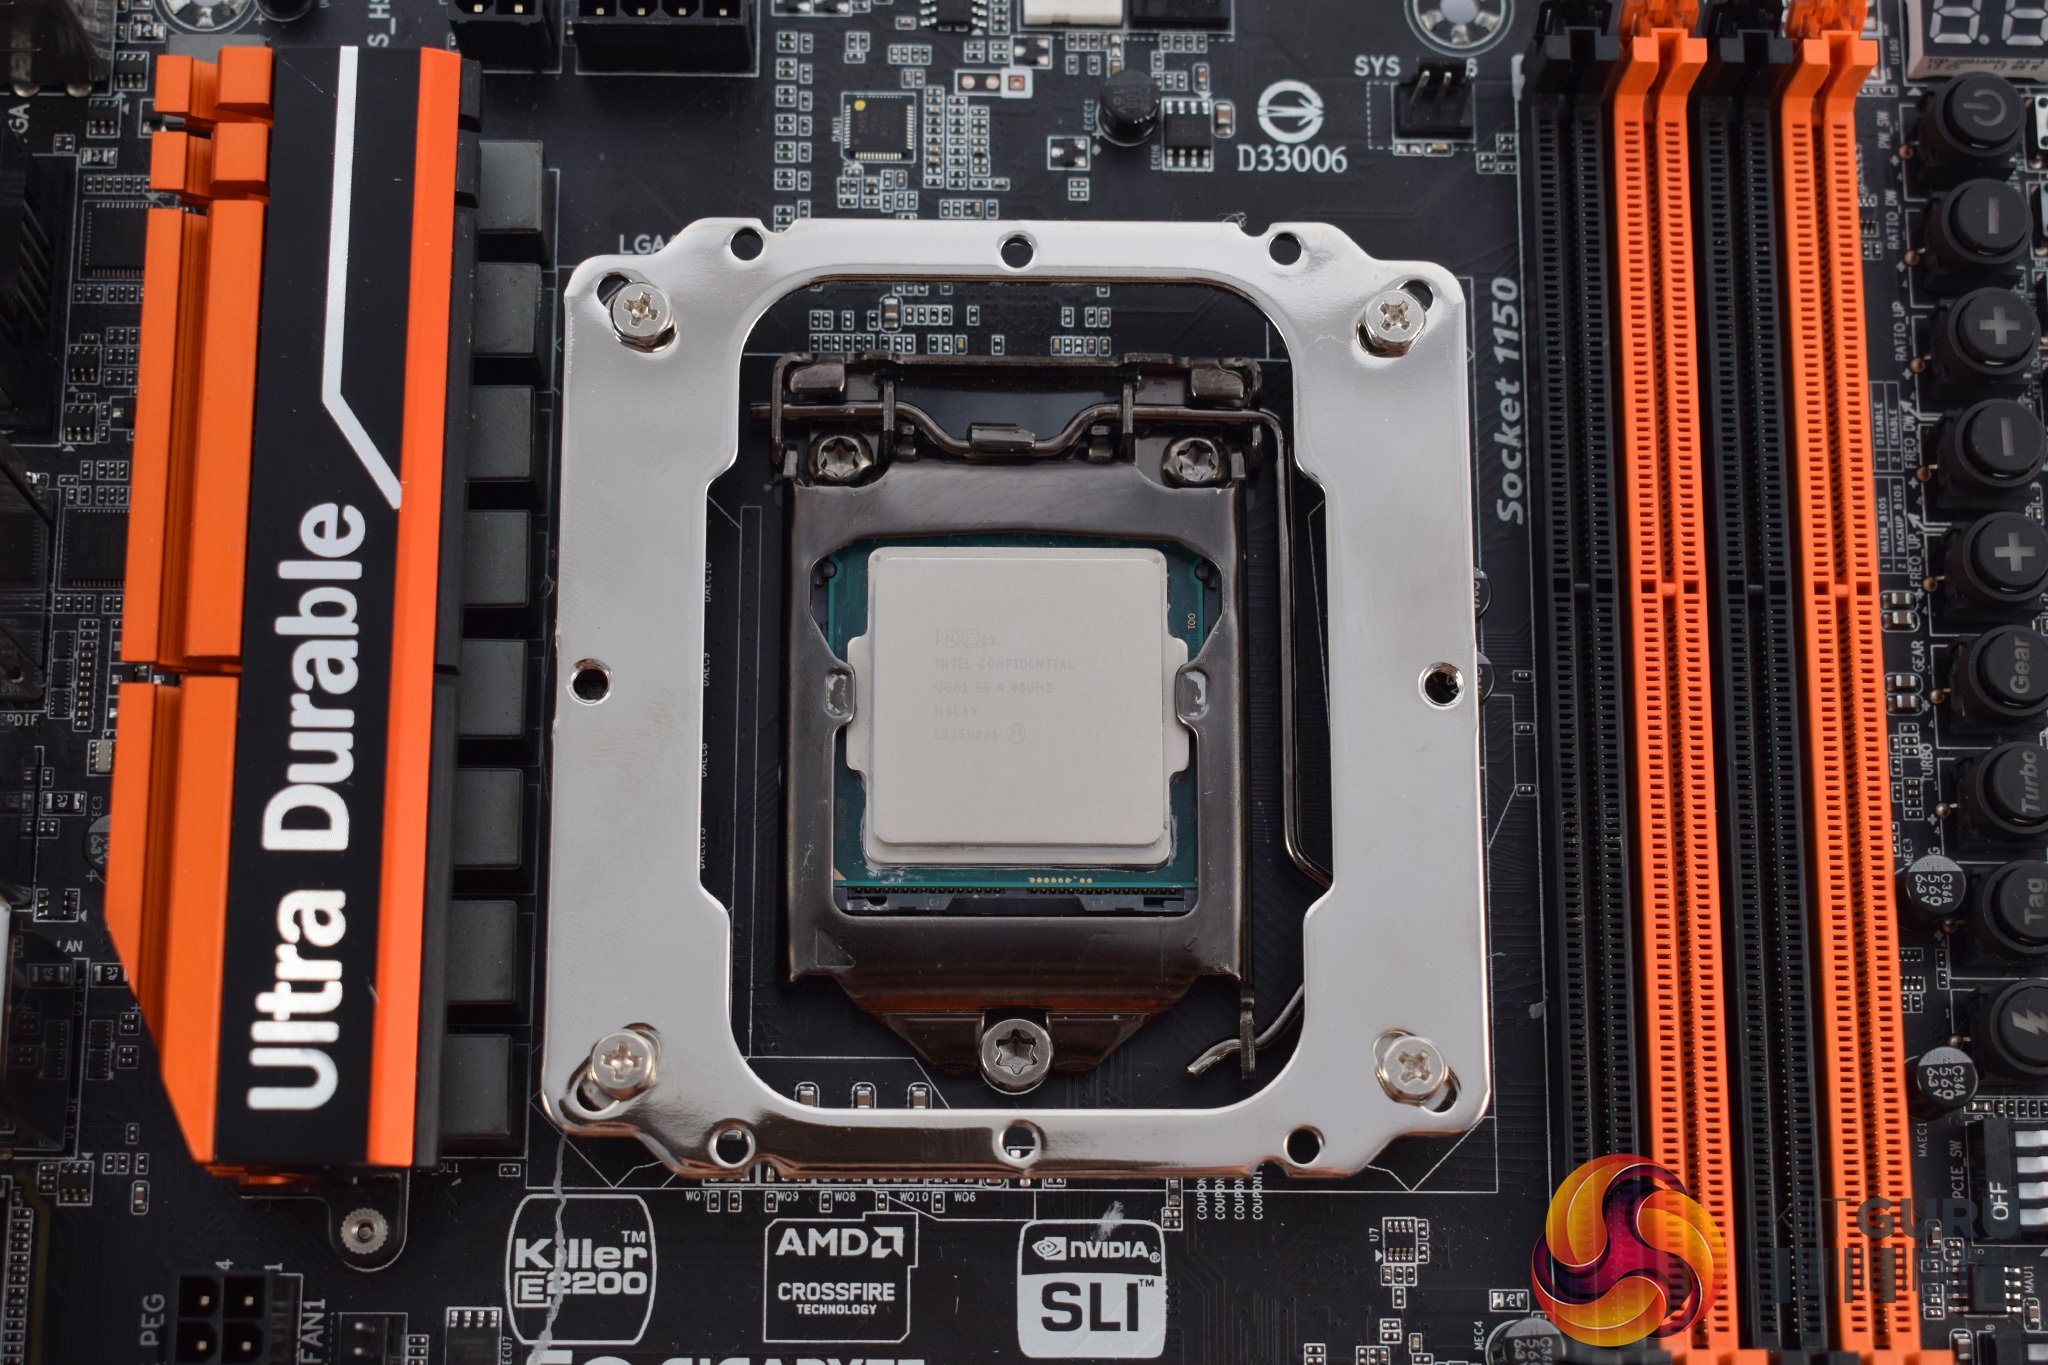
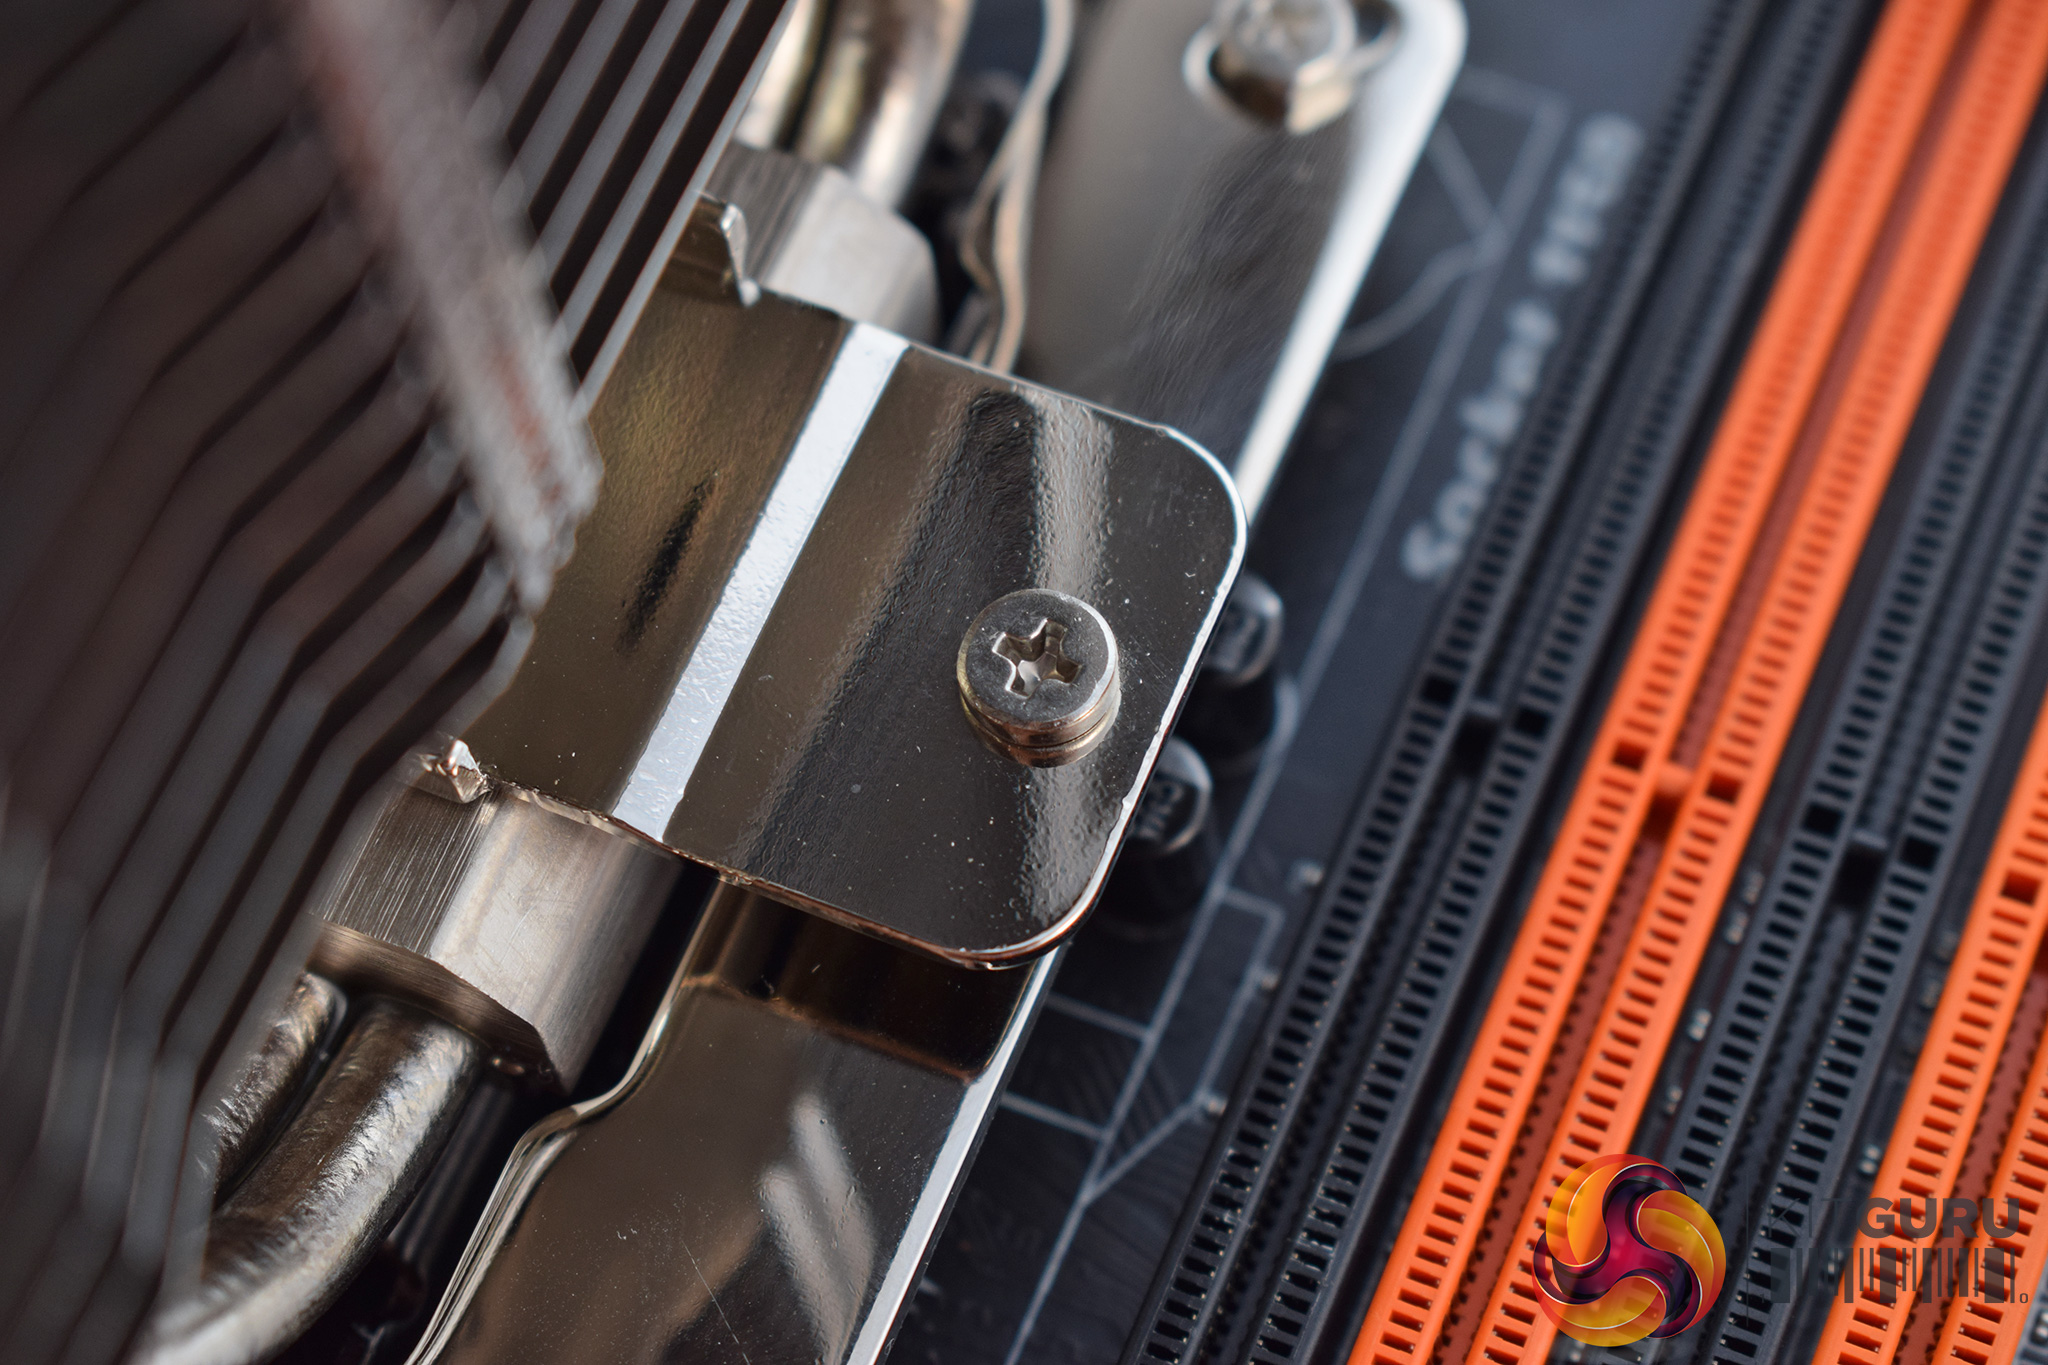
With that done, you can place the metal mounting bracket on-top of the nuts before securing it with four small screws.
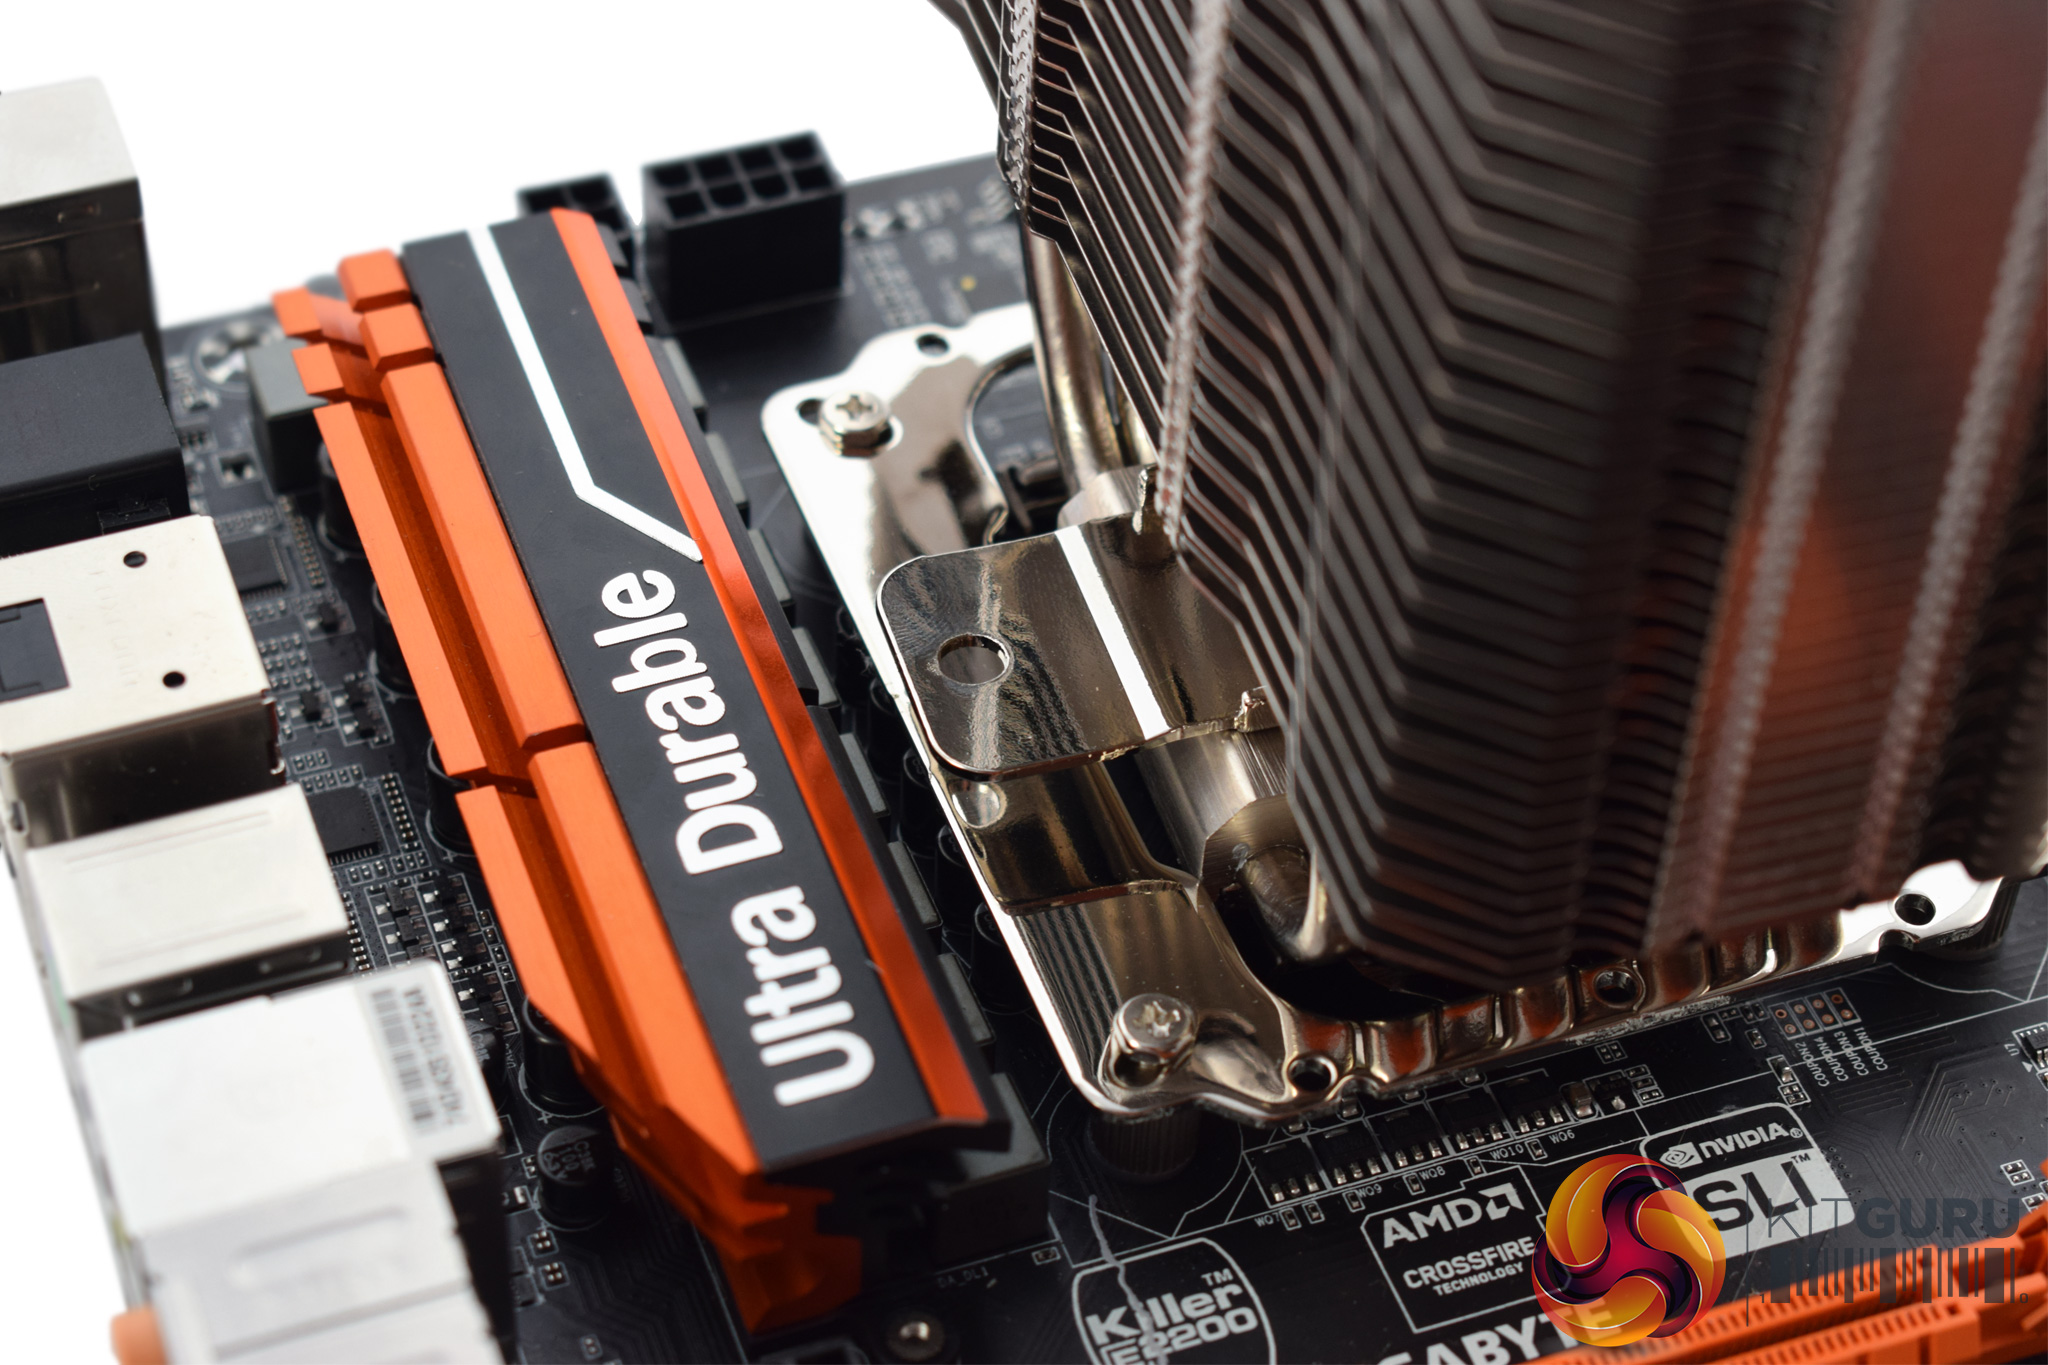
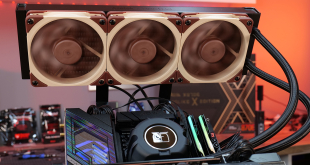
Now it's time to apply thermal paste and mount the cooler. The cooler's mounting bar should align with the two screw holes on the bracket we just installed.
When you've got everything lined up, use the last two screws to lock the cooler down.
![]()
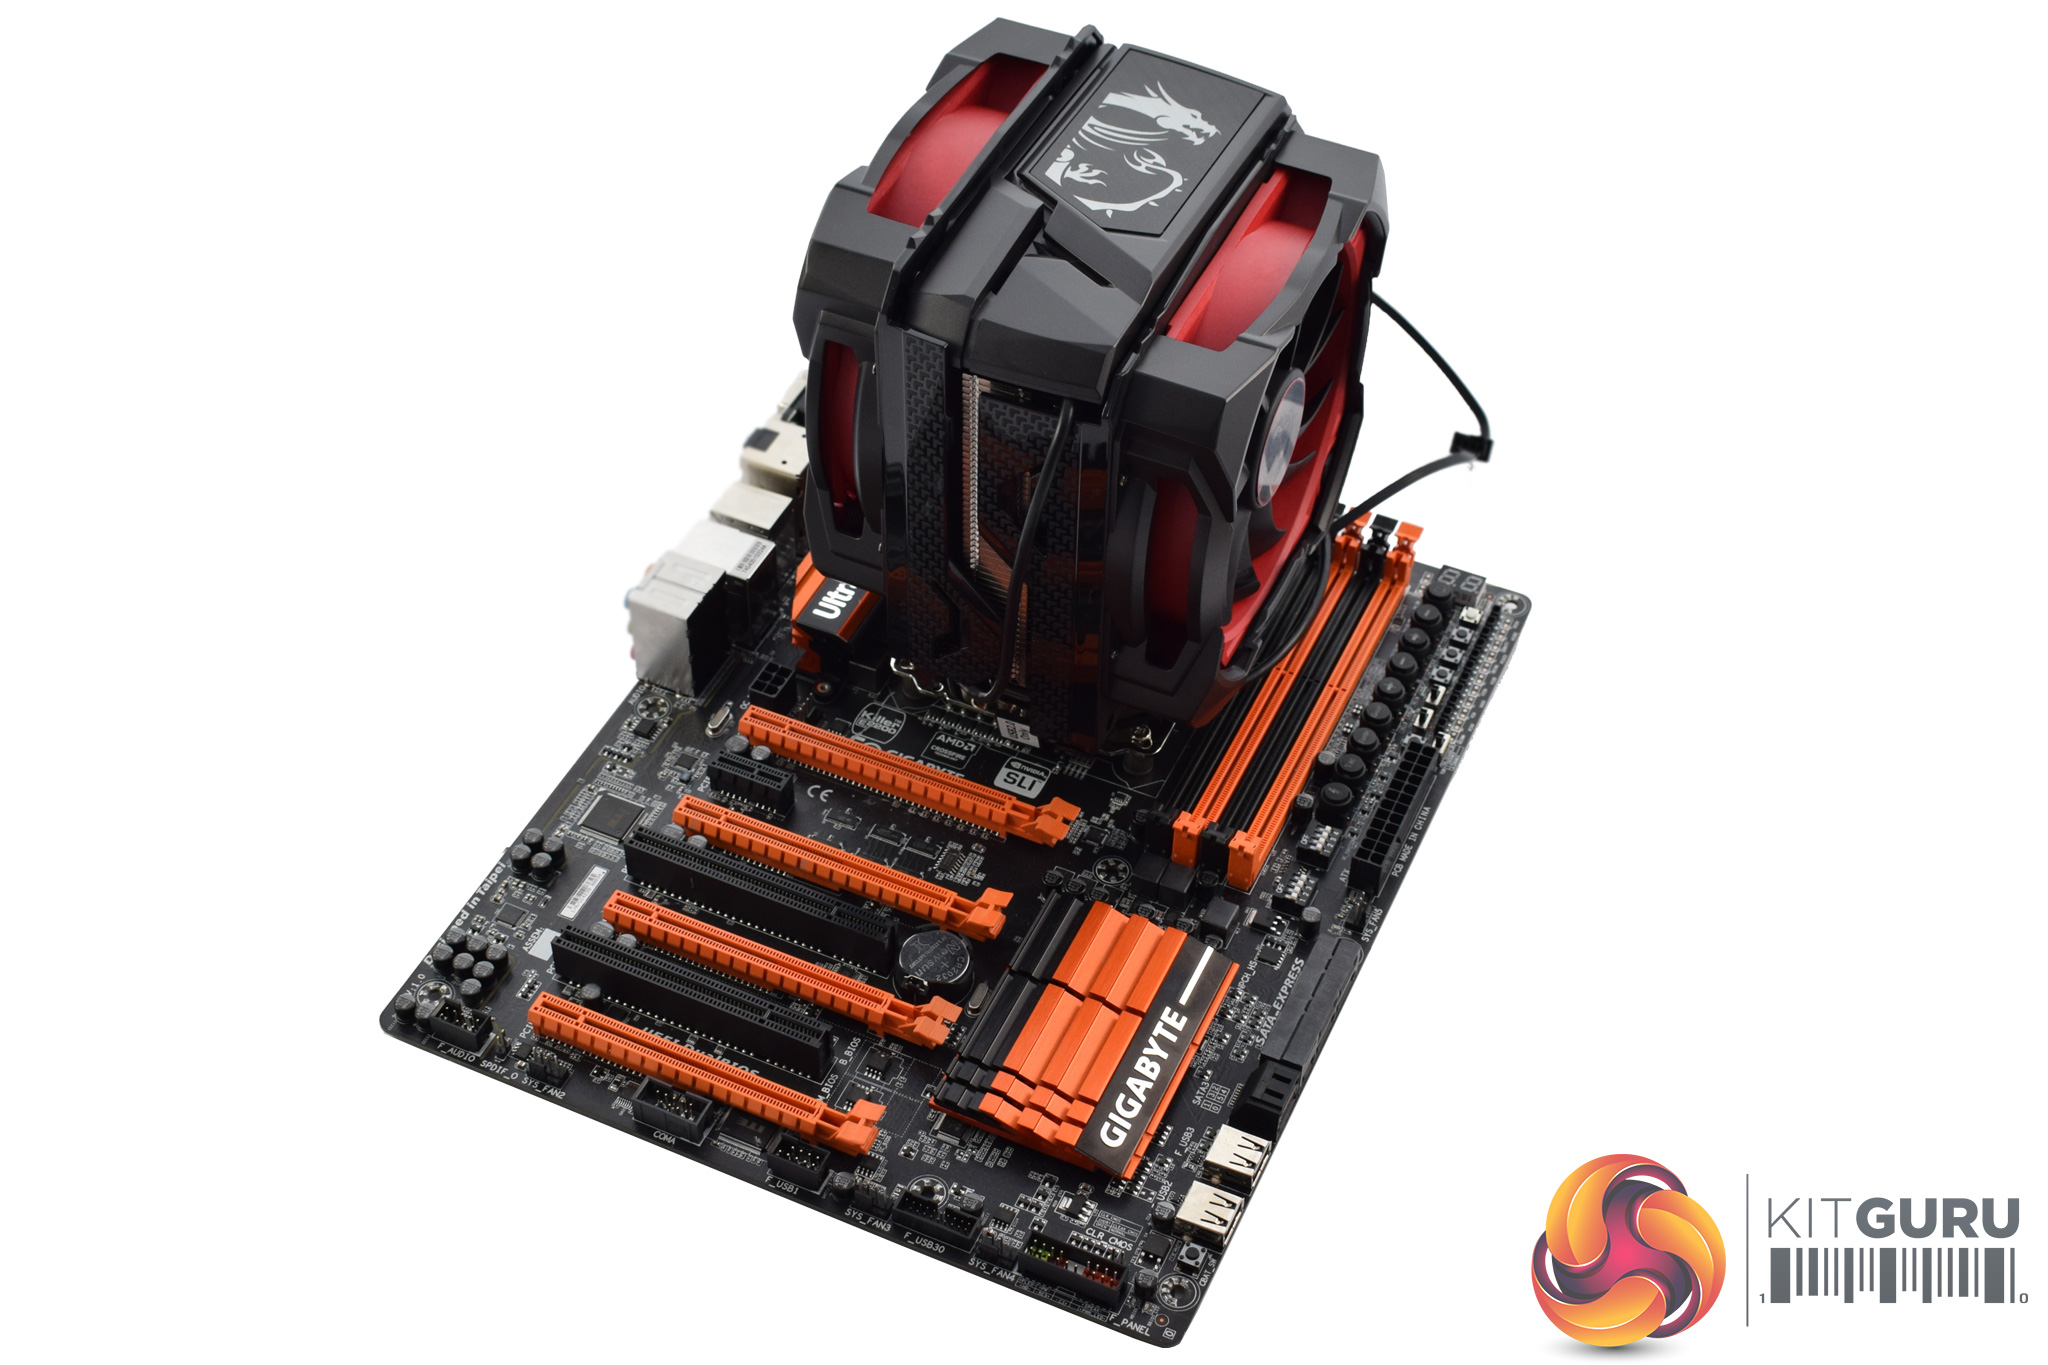
With that done, installation is complete. Overall, it is very conventional and simple process so no complaints from me.
It is also worth pointing out that the fans can be re-positioned higher up the heatsink to allow for use of memory modules up to 55mm tall. You can see my Corsair Vengeance DDR3 fits no problem, even in the furthest DIMM slot, with the fan raised slightly.
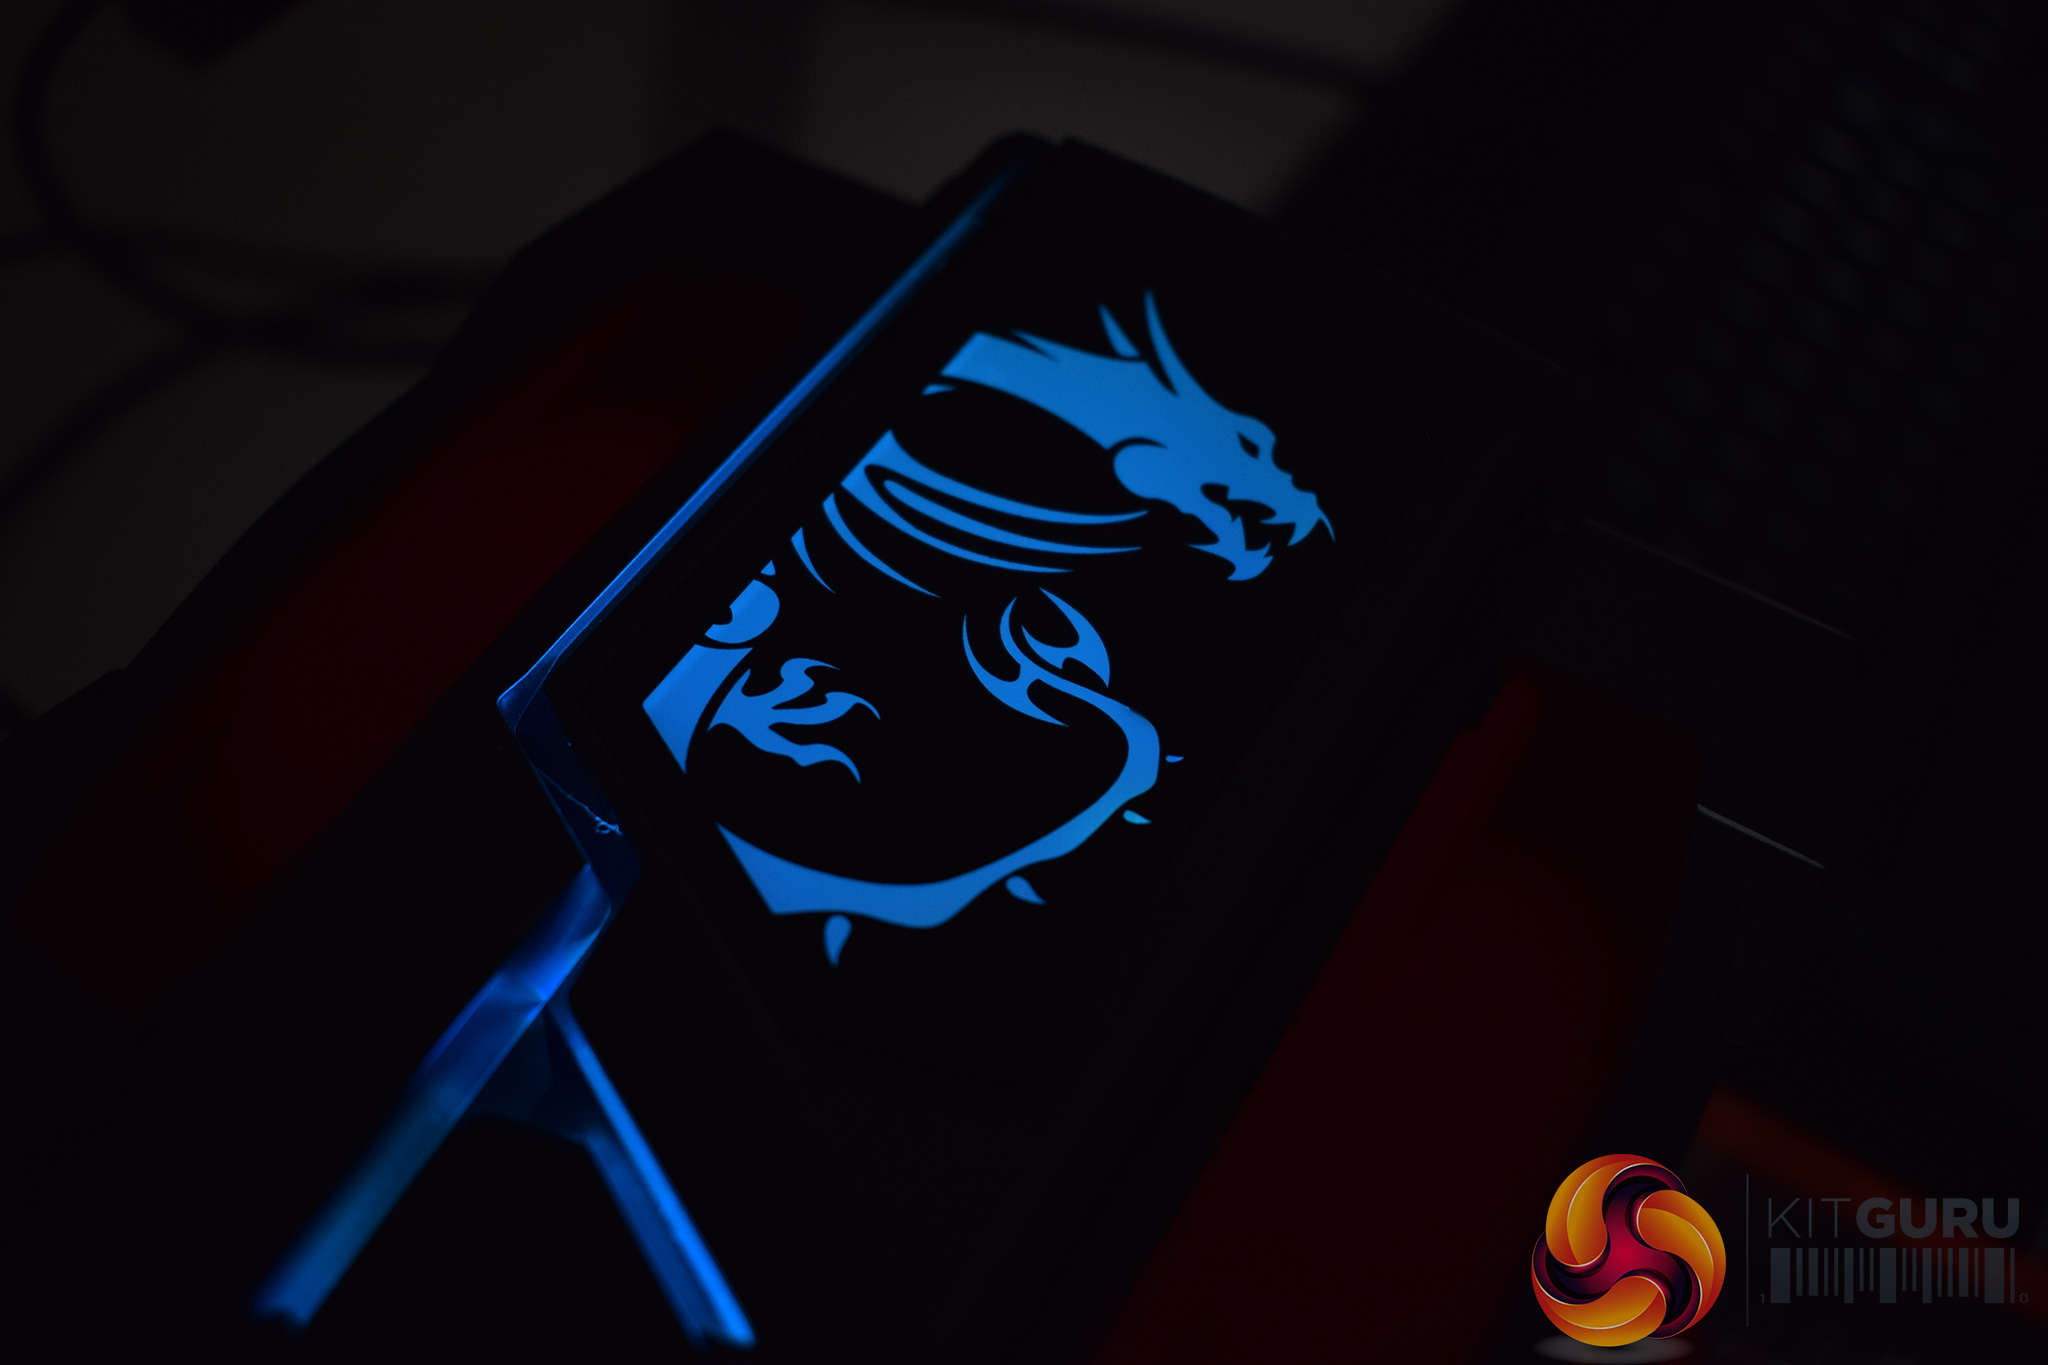
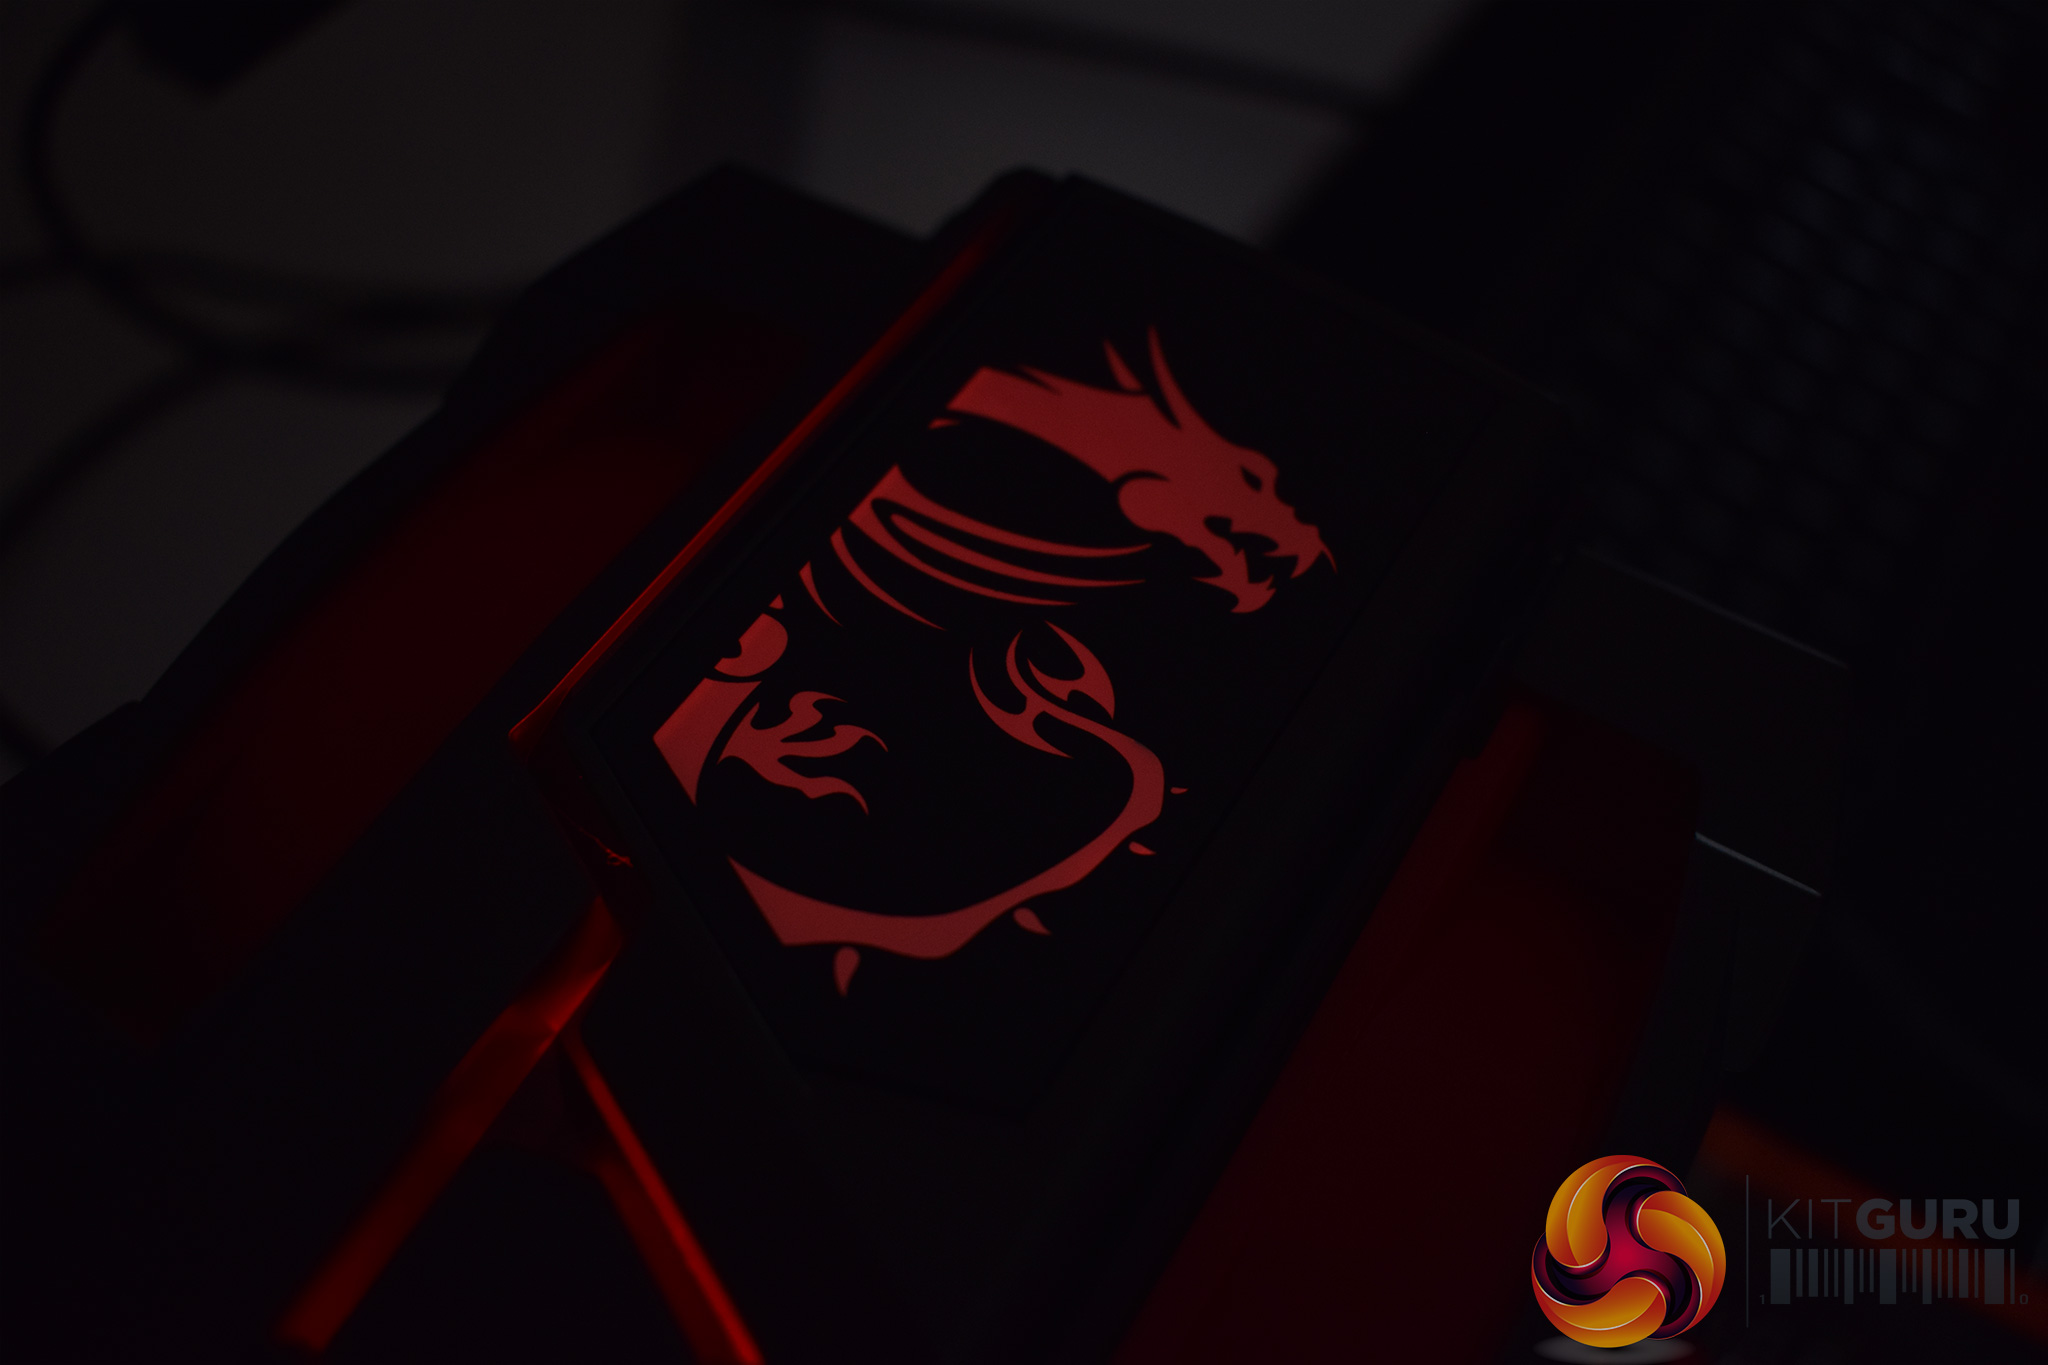

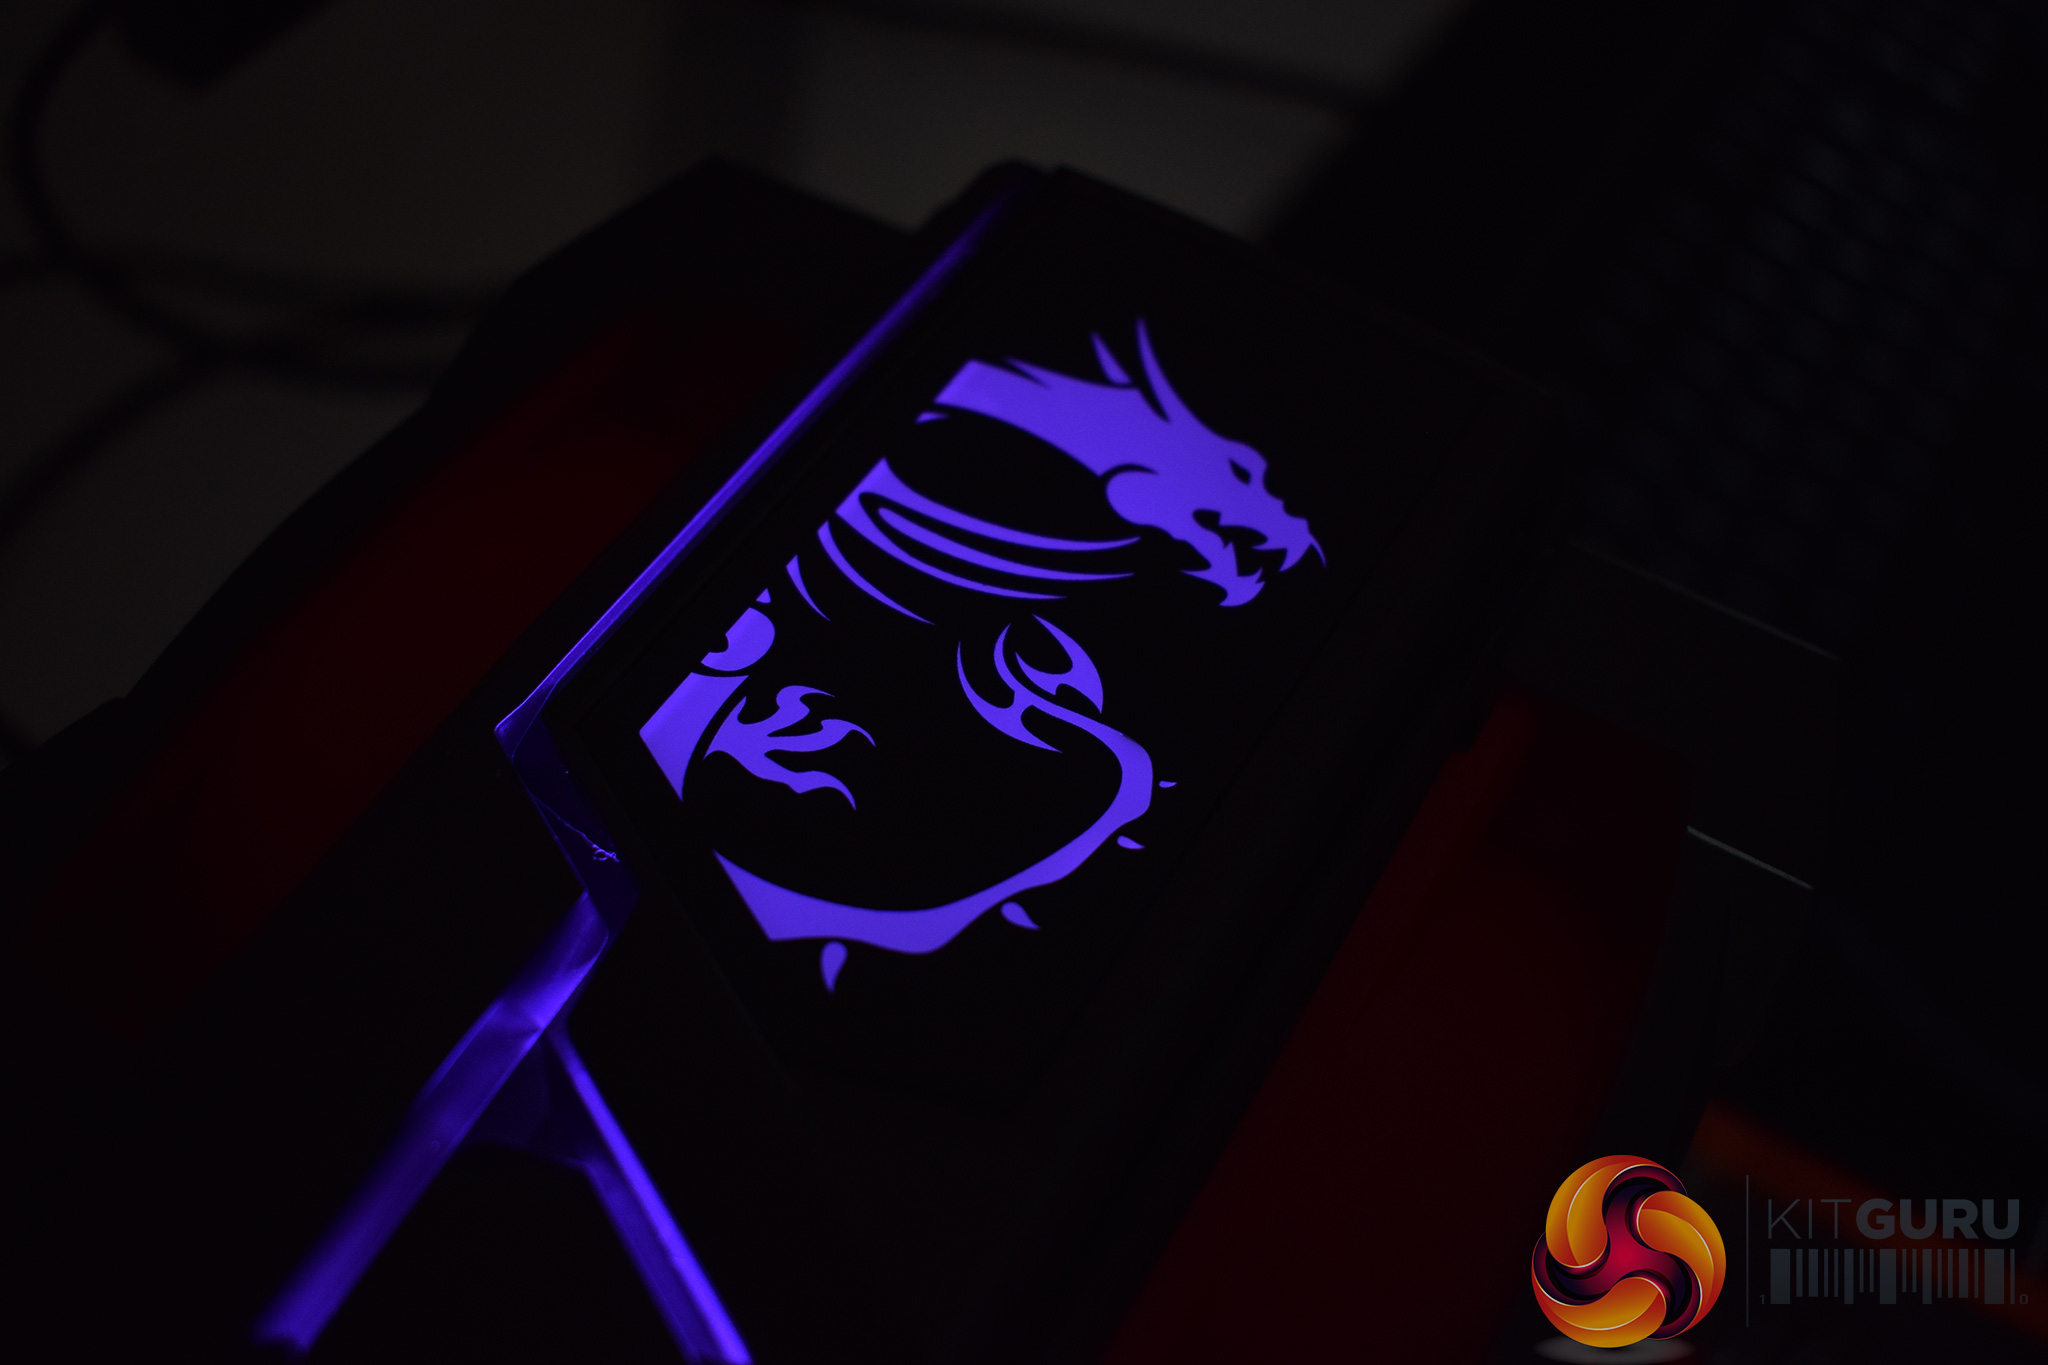
The RGB lighting is worth touching on, too. By default, the MSI dragon cycles through the colour spectrum but if you download the Mystic Light utility, you can customise the lighting – choosing from effects including ‘breathing', ‘random' and ‘rainbow'.
If you have a MSI Mystic Light-compatible motherboard you can also synchronise the lighting that way, too.
Great first cooler from MSI I am very impressed
MSI’s second actually. The first is the Core Frozr L, which performed rather well. https://www.msi.com/Graphics-card/CORE-FROZR-L.html
Products168
Still nothing to switch the Dark Rock for
perfecto, me parece siendo gratis que quieres jaja