ThermalTake are back with a new air cooler – the Riing Silent 12 Pro. As the name suggests, this cooler comes fitted with one of ThermalTake's own Riing LED fans, something which should be well received as these fans have certainly proved popular with consumers in the past. How does the Riing Silent 12 Pro stack up against the competition?
Having reviewed several good-quality air coolers from ThermalTake in the past, we certainly have high hopes for the new Riing Silent 12 Pro. Whether or not it lives up to these expectations is another matter, though, so read on for the full review where we assess the cooler's features, installation process and performance before giving our final verdict.

Specification
- Dimensions (total): 140 x 160 x 102 mm (W x H x L)
- Material: Copper (heatpipes), aluminium (slats)
- Weight: 884 g
- Heatpipes: 5x Ø 6 mm
- Fan Dimensions: 120 x 120 x 25 mm (W x H x T)
- Colour: Black / Blue
- LED lights: Blue
- Volume: 12 – 19 dB (A)
- Speed: 300-1400 U / min
- Air flow: 90.05 m³ / h
- Static pressure: 1.23 mm H2O
- Power (Watt): 2.52 W
- Life expectancy: 40,000 hours
- Connector: 4-pin PWM + LNC (low Noise Cable)
- Compatibility: Intel Socket 775, 115x, 1366, 2011 2011 V3 & AMD Socket FM1, FM2, AM2, AM2+, AM3, AM3+


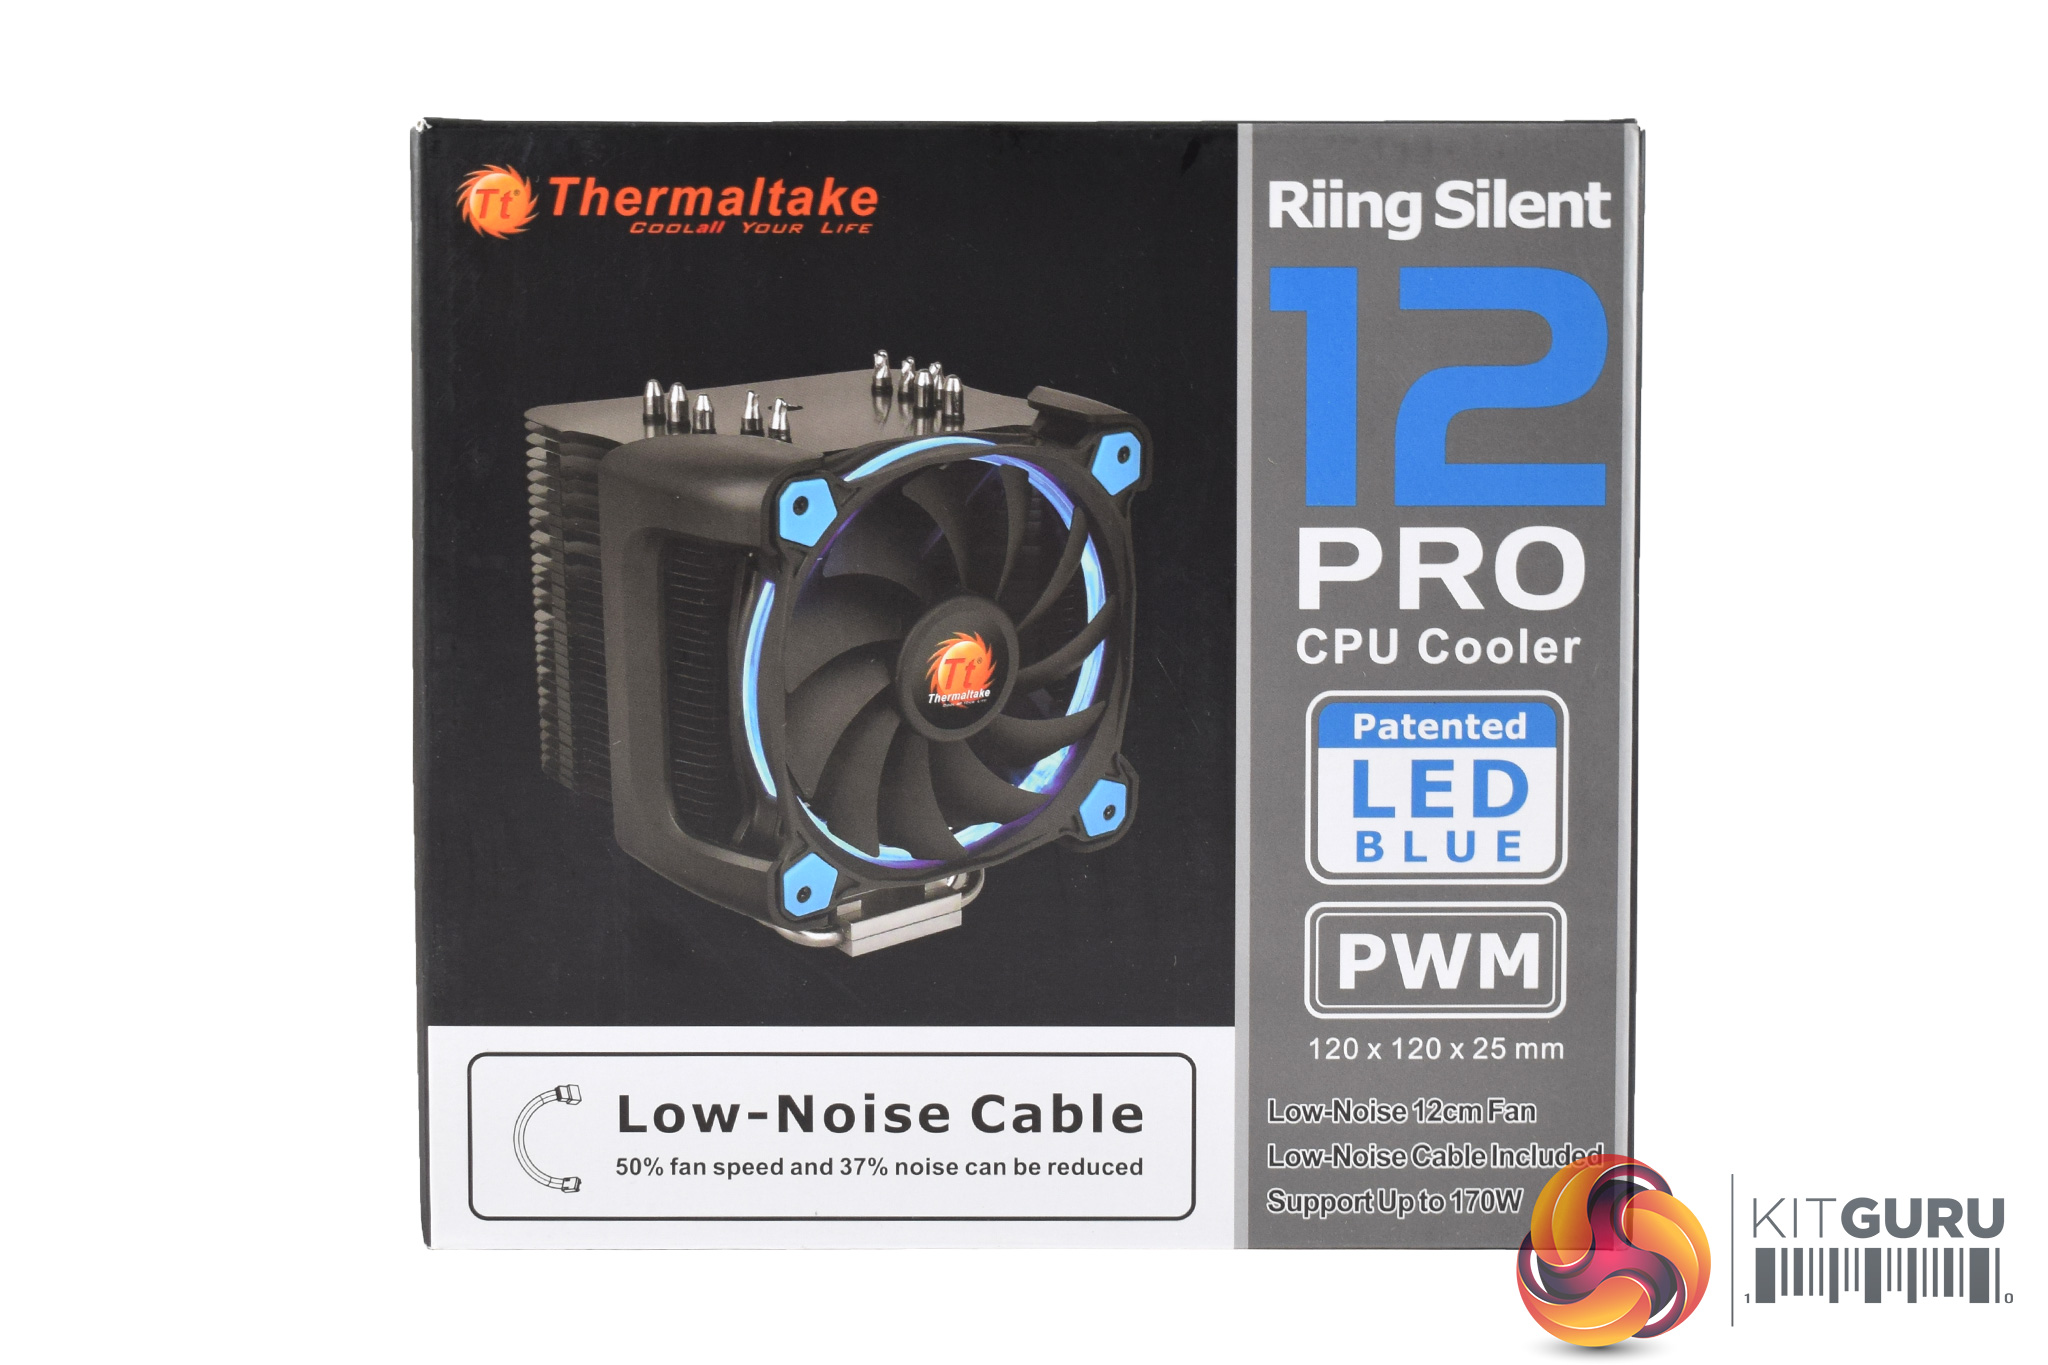

The ThermalTake Riing Silent 12 Pro ships in a medium-sized box, while there is a photo of the cooler itself visible from the front.
Inside, I am pleased to say that all the necessary screws and brackets are packaged in labelled bags – something I wish more manufacturers did as it makes the installation process a lot simpler.
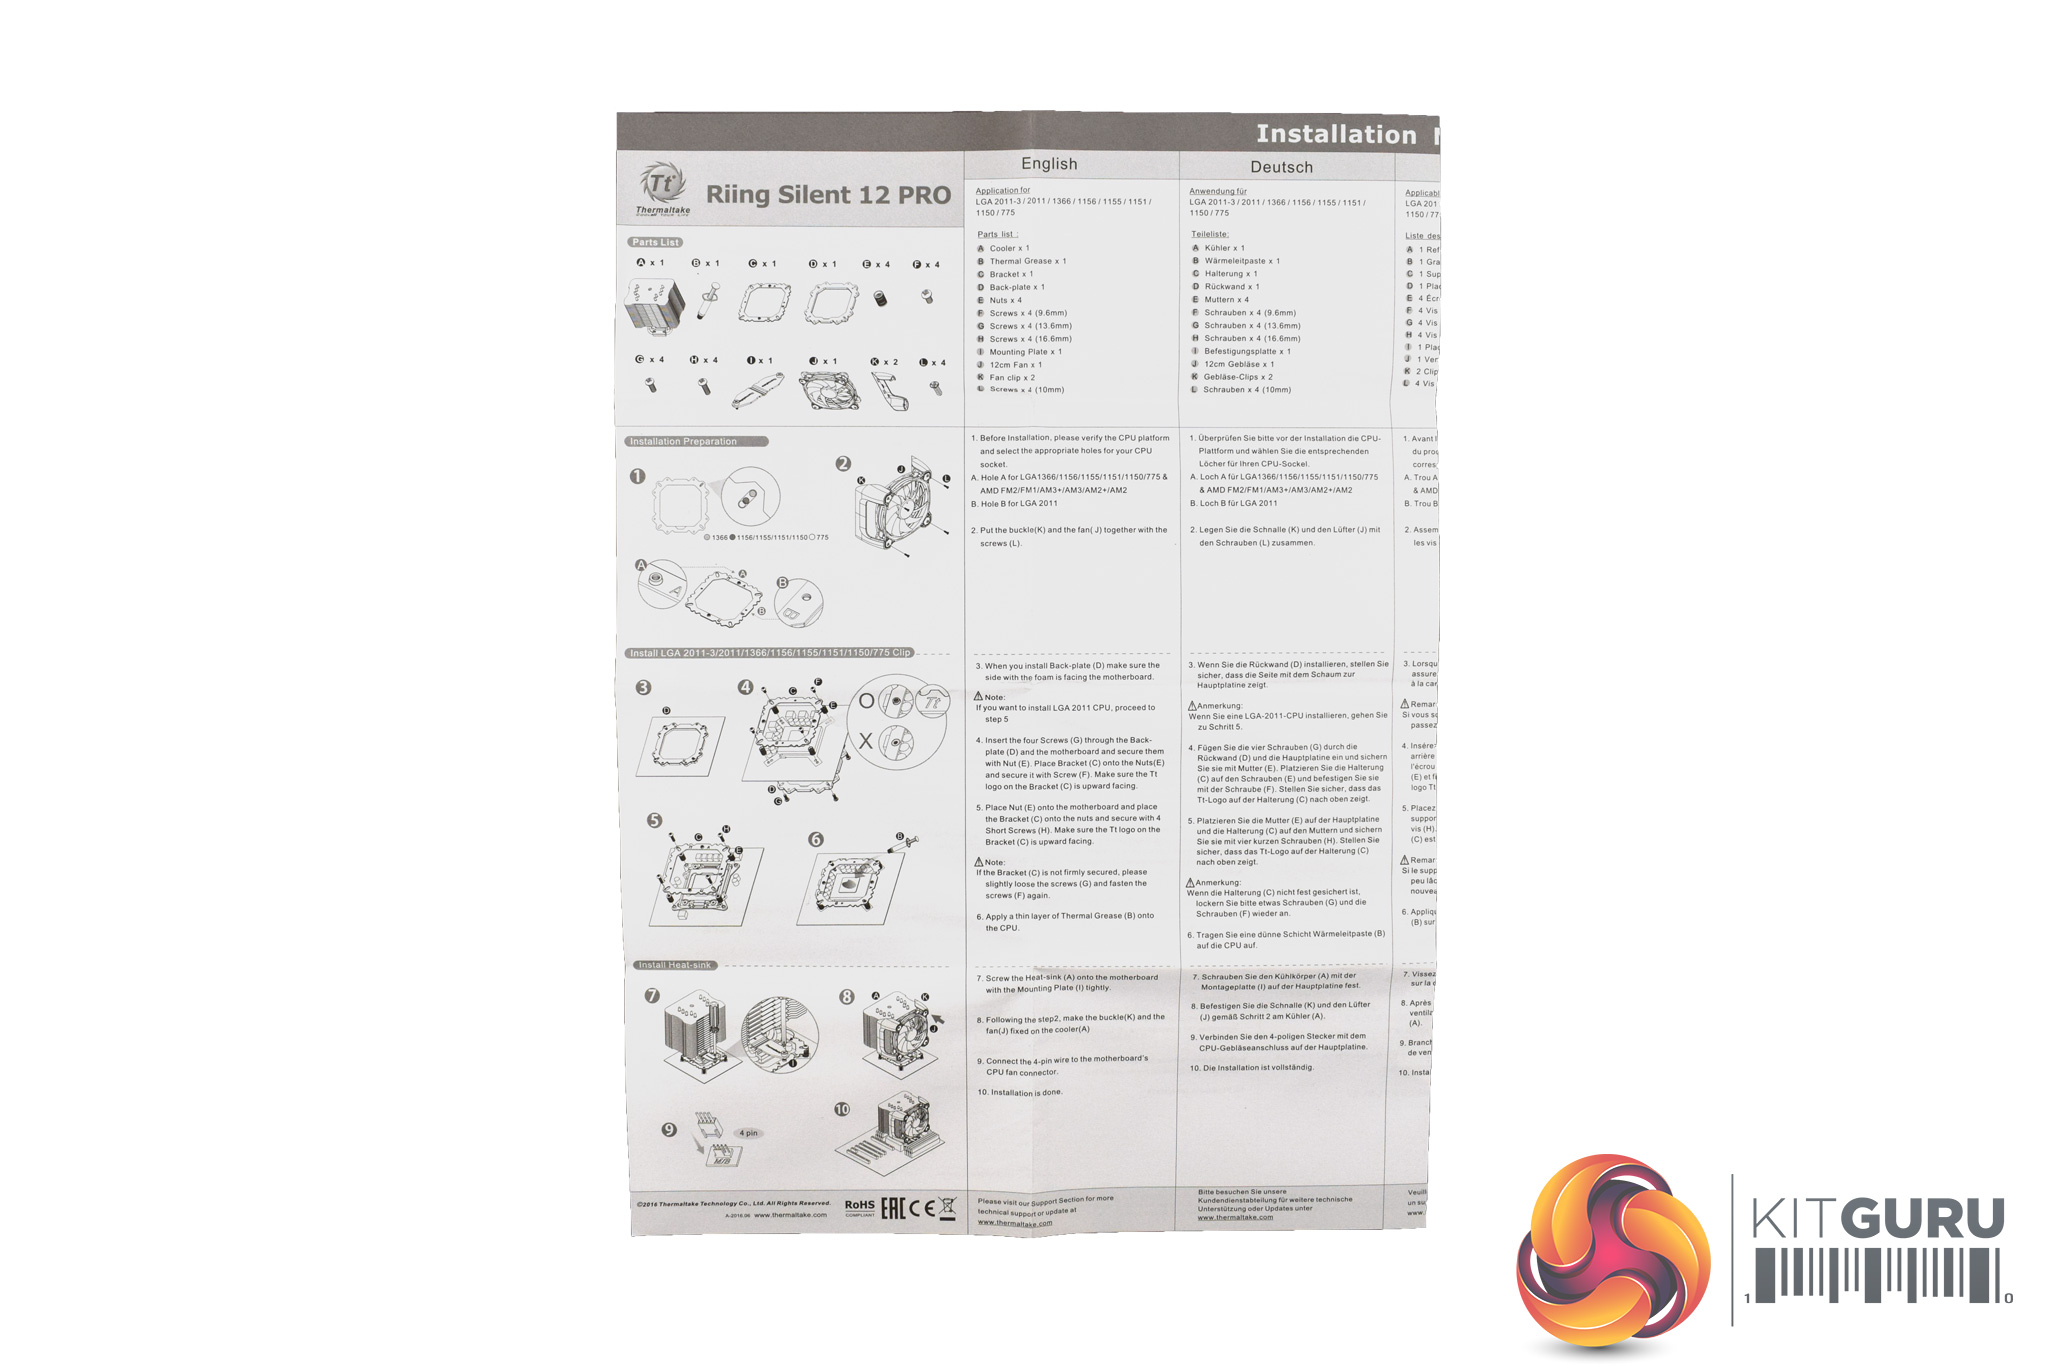
The included manual is also decent, with helpful diagrams which compliment the written instructions.

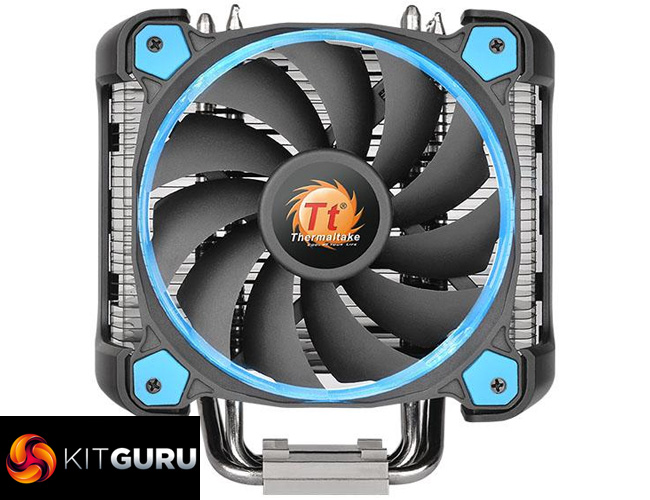
The included fan is one of ThermalTake's Riing models – this one is 120mm in size and features a blue LED ring. There is also the option for a red LED model, although it does not look like the Riing Silent 12 Pro has an RGB LED option.
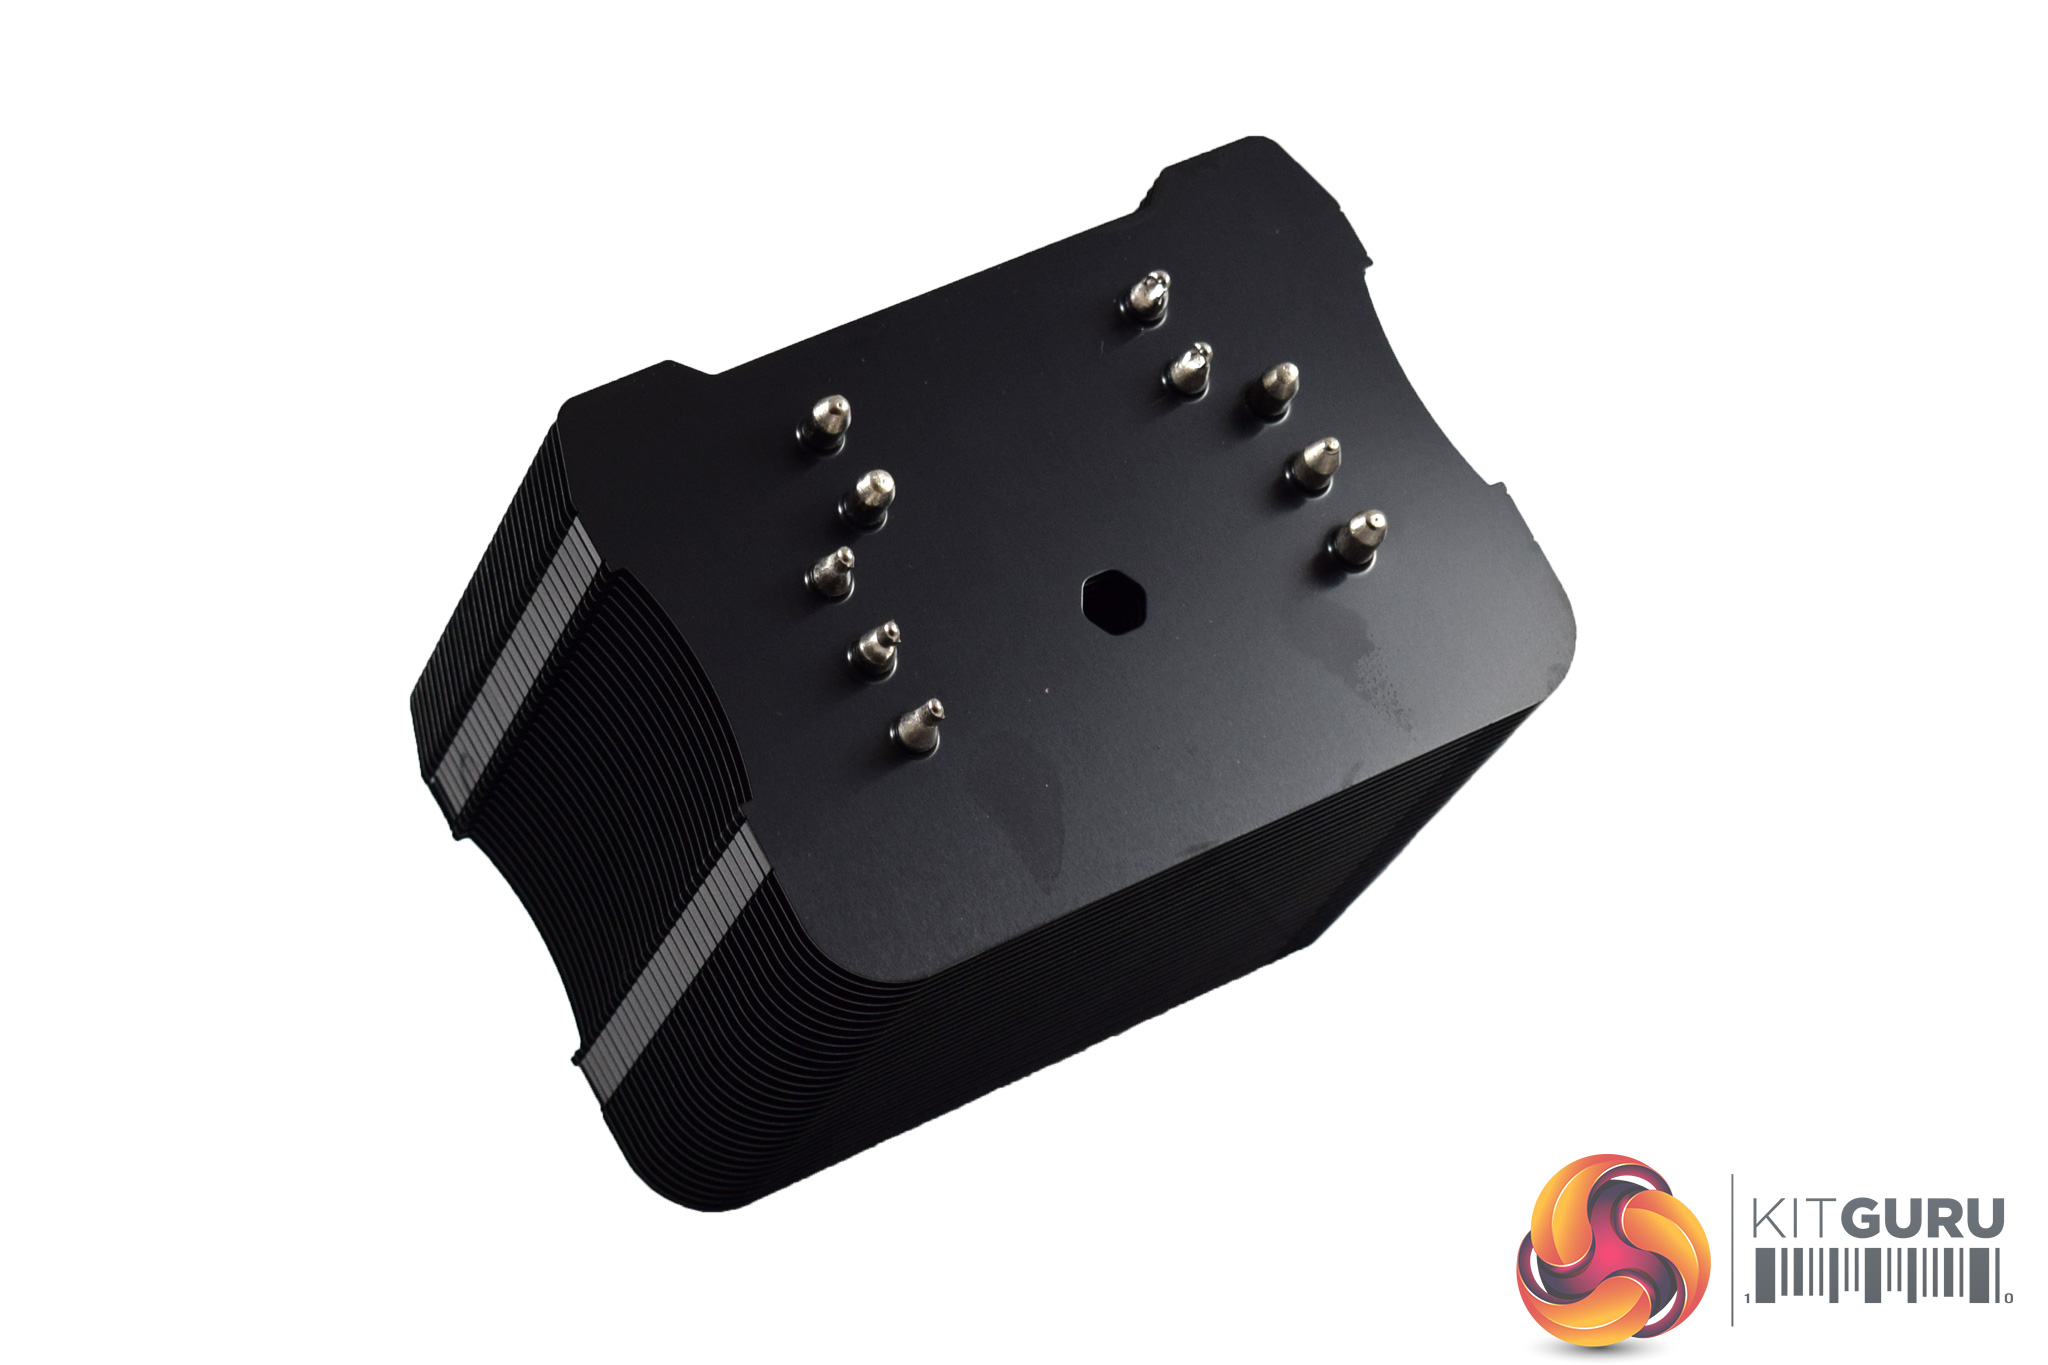
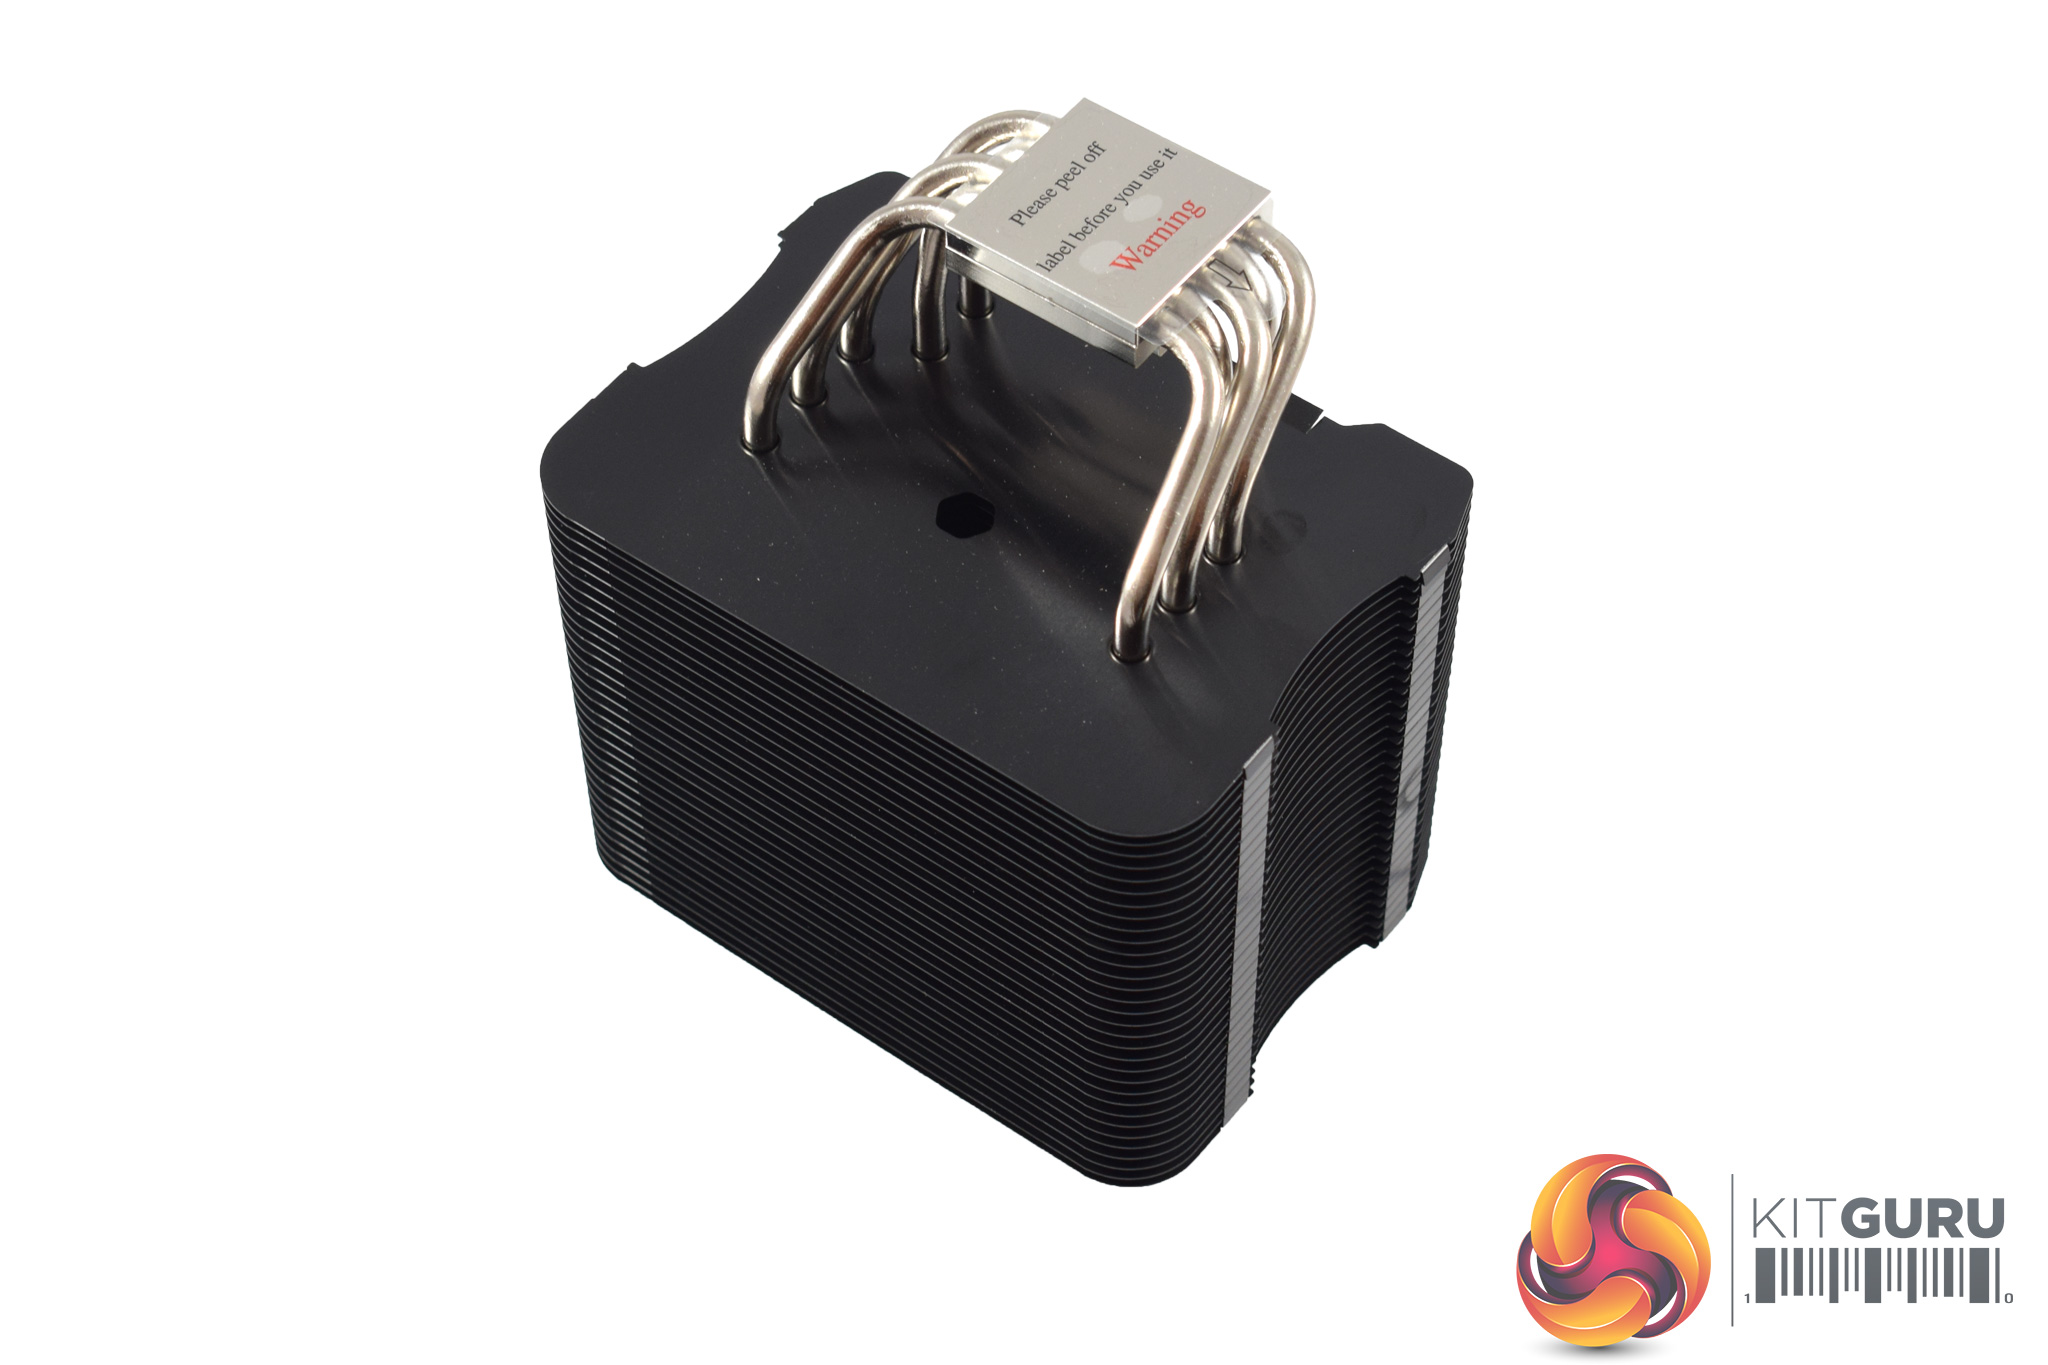
Lastly, the heatsink is a jet-black slab of metal, complete with 5 copper heatsinks. Incidentally, these heatpipes, along with the CPU block, are nickel-plated, and I think the chrome/nickel look contrasts very nicely against the black heatsink.Here I will walk you through the installation process. It is worth noting we test using a Z97 motherboard – socket LGA 1150. The process below reflects that.

The first thing to do is attach the fan to the two brackets – the fan simply screws in-place, as above.


Next, go ahead and place the backplate on the underside of the motherboard's socket area.
After that, slide 4 screws through the mounting holes, so they come out through to the other side of the motherboard.

With the four screws sticking out through the motherboard's socket holes, you then need to mount four standoffs/ nuts to those screws.
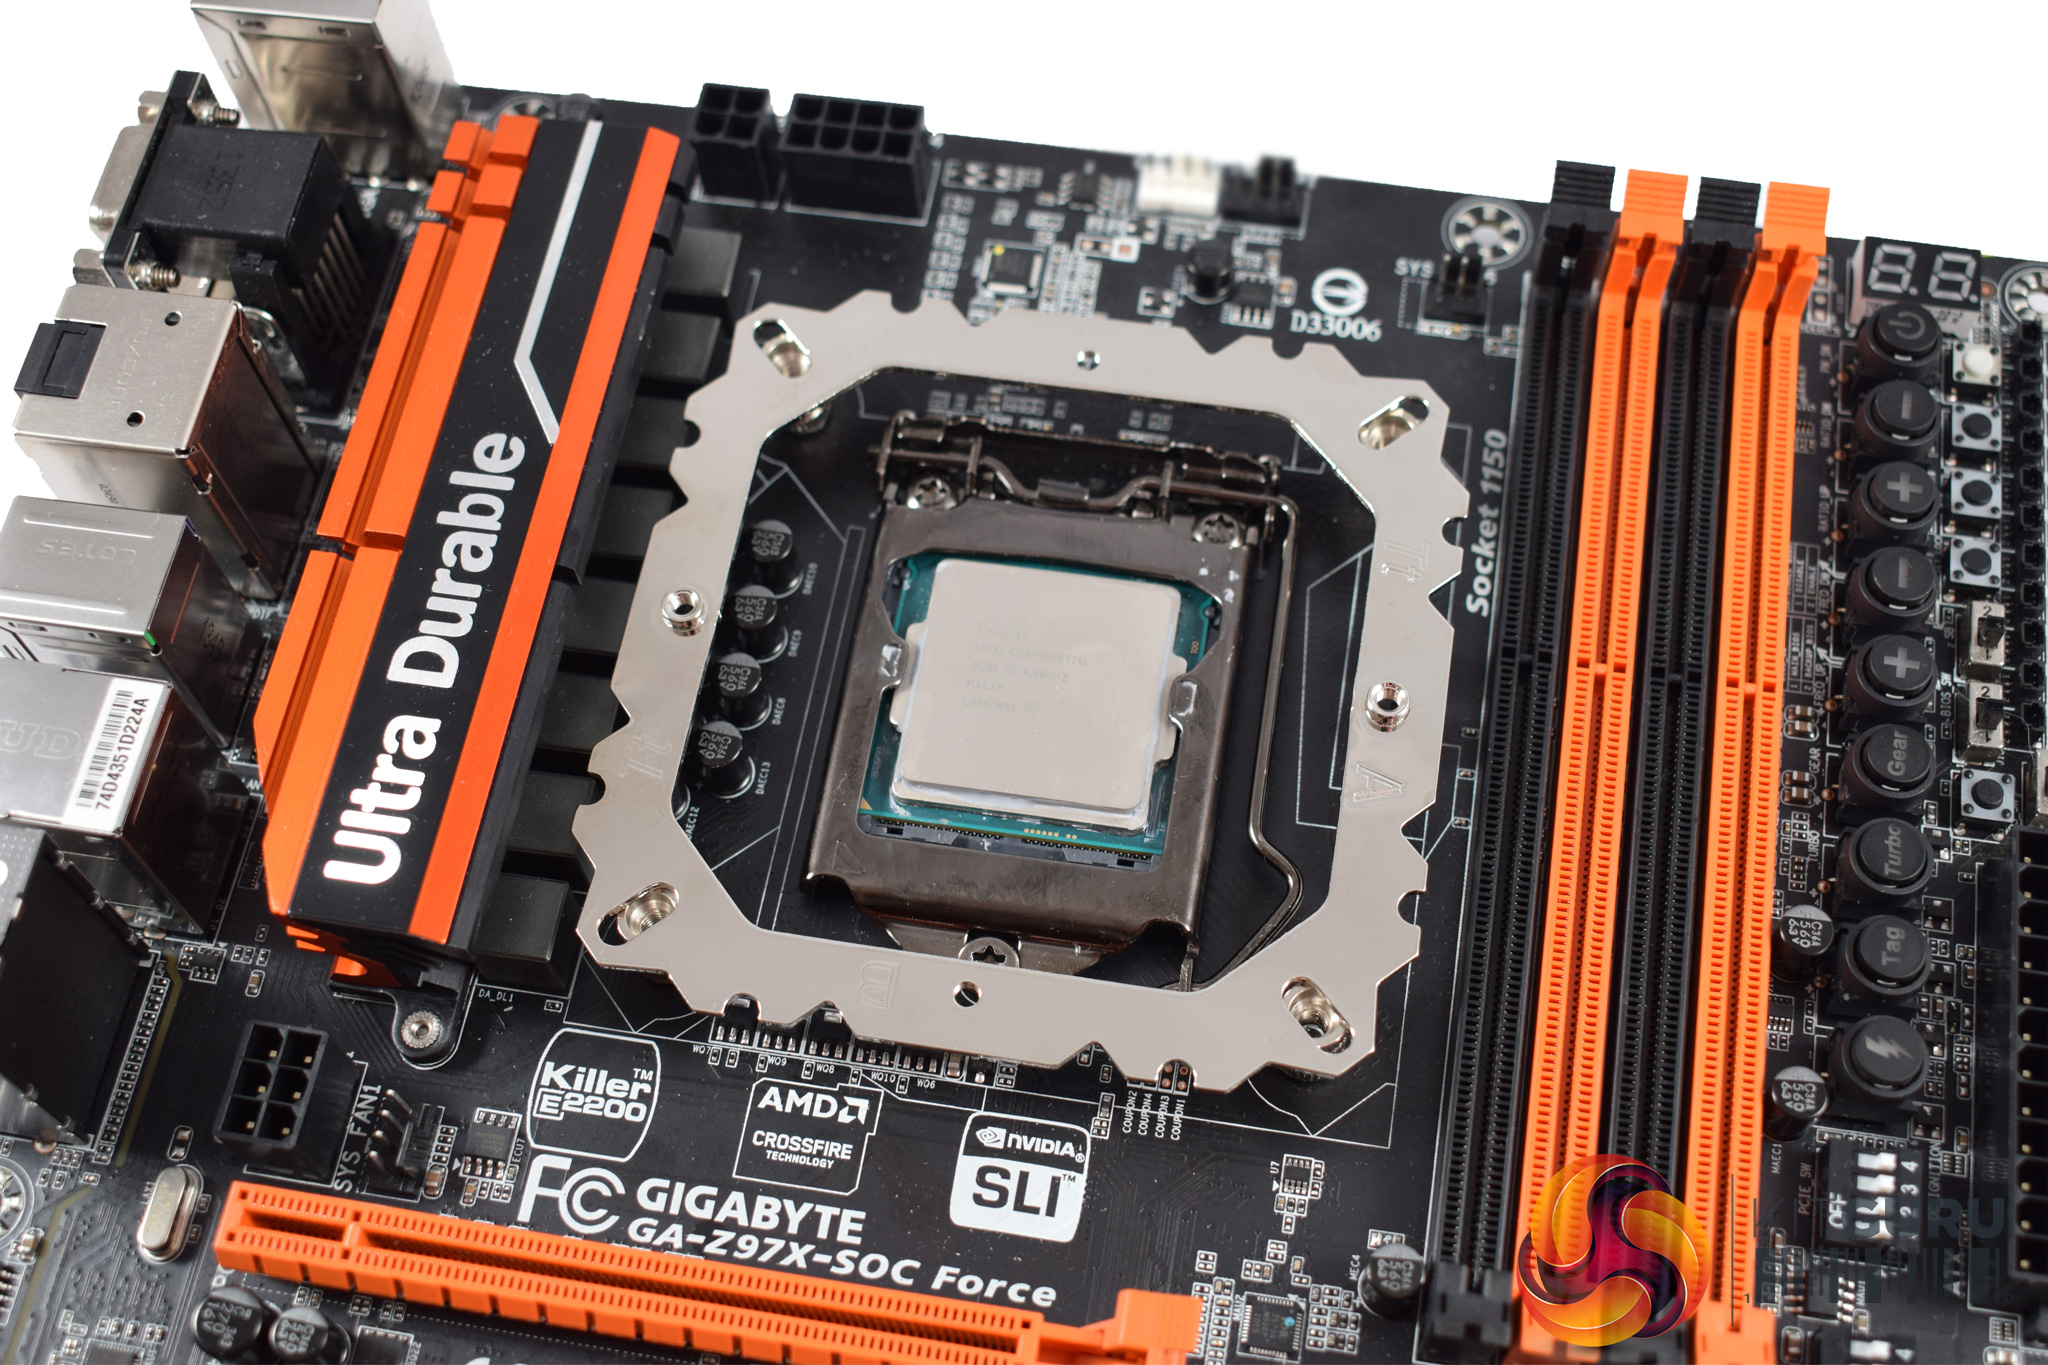

Another mounting plate then sits on-top of these standoffs, and is secured with four black screws.
You can also see in the images above that the mounting plate has two raised screw holes, one on either side – this is where the heatsink will be mounted to the plate.
You can then mount the cooler on-top of the CPU. To secure it to the supporting plate, two small screws are needed. One is easy to access as it is to the right of the heatsink and is thus unobstructed by the heatsink.
The other screw requires you to thread your screwdriver through a cut-out in the heatsink itself. In practice, I found my screwdriver was actually too large to fit as the cut-out is quite slim. If ThermalTake provided a thin screwdriver to help with this task, that would be ideal.

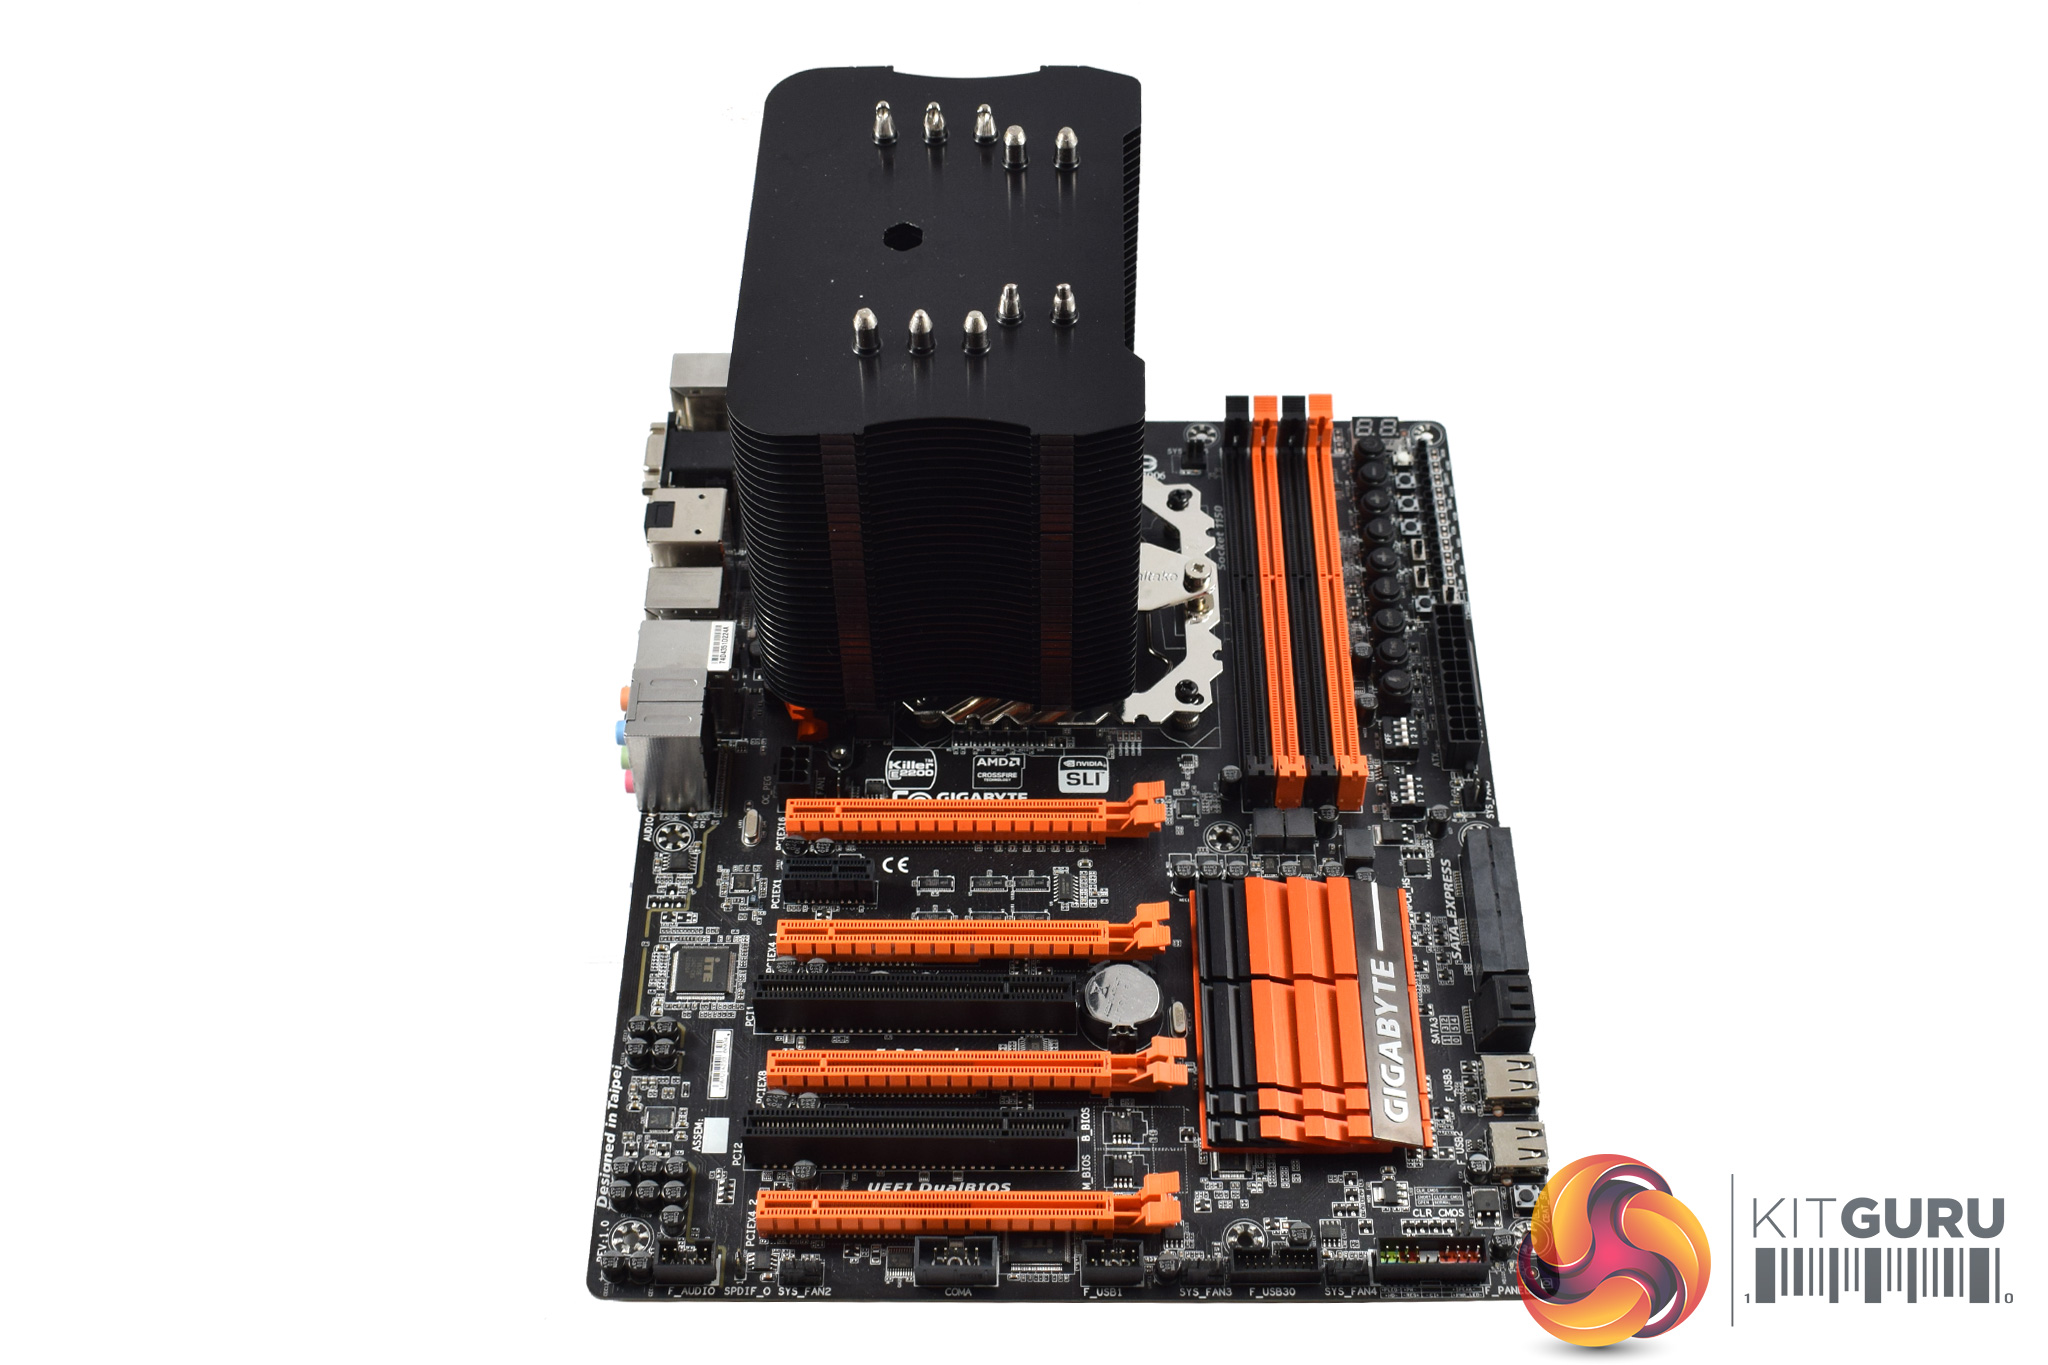
After that, though, installation is complete, and you can clip the fan in-place. The overall process is slightly on the time-consuming side – when compared with other coolers like the Hyper 212 LED and Cryorig H7, for example – but it is not overly complicated.
I also think the end result looks very good thanks to the black heatsink, nickel-plated heatpipes and blue LED fan.
To test all CPU coolers, we devised an easily repeatable test with no variables other than the coolers themselves. This ensures that figures from every cooler we test are comparable with each other.
Test rig
Using an open-air test bench, we deploy an Intel Core i7-4790K plugged into a Gigabyte Z97X-SOC Force motherboard. Alongside this is 16GB of 2400MHz Corsair Vengeance DDR3, as well as a 120GB OCZ Trion 150 SSD. Powering everything is a Corsair RM750x PSU.
The test process
Testing coolers involves taking a total of 4 temperature readings per cooler. First, we measure the idle temperature of the i7-4790K at stock speeds (turbo boost disabled), before measuring its temperature under load at stock speeds. Next, we overclock the CPU to 4.5GHz using a 1.3 Vcore, ensuring greater heat output. In its overclocked state we then measure the idle and load temperatures of the CPU again. The figures we present are temperature deltas – meaning we take each temperature reading and minus the ambient temperature from it. This allows us to test in an environment that is not temperature-controlled.
To ward off potential comments or questions, we know 4.5GHz using a 1.3 Vcore is not the ‘best’ overclock – this particular CPU could reach that frequency at closer to 1.25 on the Vcore, which is more efficient. That is not the point, however. We are trying to stress the coolers to see how they deal with excess heat … hence the higher than necessary Vcore.
Where possible, each cooler’s fans are plugged directly into the motherboard using the CPU_Fan or CPU_Opt headers. Some AIOs, however, ship with their own fan controllers or PWM hubs. If we are unable to plug the fans directly into the motherboard, it is specified in the performance section of the review.
An idle reading comes from leaving Windows on the desktop for 15 minutes. A load reading comes from running Prime95’s (version 26.6) Small FFTs test for 15 minutes – enough time for temperatures to plateau.
Noise output
Unfortunately I am unable to properly measure the sound output of CPU coolers using a digital sound meter. This is because I am based alongside a busy road (with high ambient noise levels). Using a sound meter is, as such, not possible as there are variables out of my control. However, I will try my best to subjectively describe the noise output in a helpful manner.Temperatures
All temperature charts are sorted with lowest load temperatures at the top.
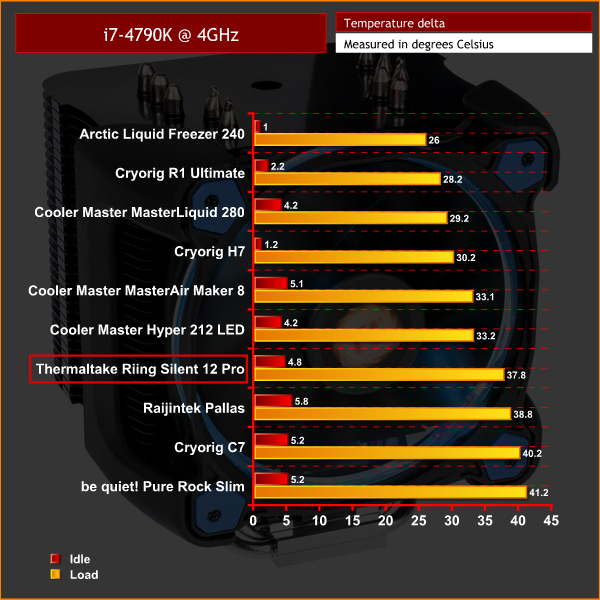
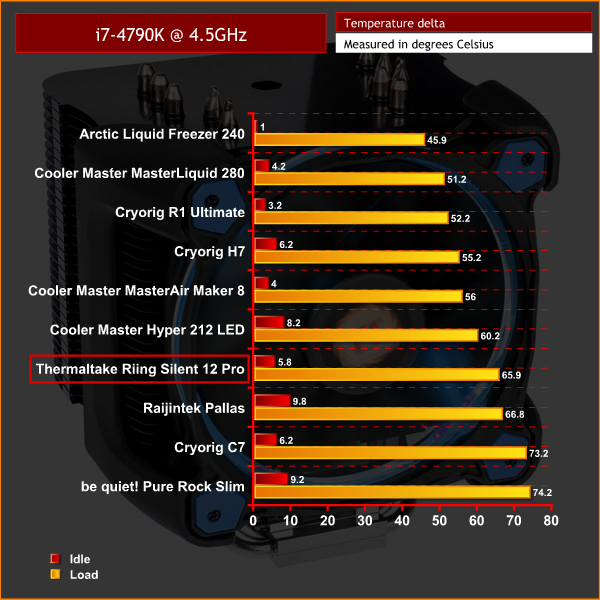
In terms of raw performance levels, the Riing Silent 12 Pro is very average. In both situations, it kept our CPU cool enough that we were not worried about thermal throttling – so it is fine in that regard – but it is also bettered by a few, cheaper alternatives. The Cryorig H7, for example, is around £8 cheaper but outperforms the ThermalTake cooler by a noticeable margin.
Acoustics
The Riing Silent 12 Pro is nice and quiet, though. When idling, its Riing LED fan spins at a mere 300rpm, which emits essentially no noise. It only ramps up to 1400RPM under load, too, which is quite modest for a cooler fan, and this would also explain the slightly lacking thermal performance.
However, the advantage of having a relatively slow-spinning fan is, of course, acoustics – and even under load, the Riing fan is not intrusive at all. It is audible, but it emits a steady and low-pitched hum, meaning it quickly fades into the background if you are not listening out for it.All-in-all, the ThermalTake Riing Silent 12 Pro is a decent, if not class-leading, air cooler.
I do think it looks very good, thanks to its black heatsink and nickel-plate heatpipes, while the Riing LED fans are always popular with consumers.
The installation process is mostly pain-free, and my only gripe is that it can be hard to secure the heatsink to the mounting plate, as you need a pretty thin screwdriver for it to fit through the heatsink cut-out. If ThermalTake provided the right size of screwdriver – a basic model would cost pennies – that would have saved me some hassle.
Thermal performance of the Riing Silent 12 Pro is perhaps the biggest disappointment as it is quite average in this regard, and I saw the cheaper Cryorig H7 out-perform it by a significant margin. It still performs absolutely fine – not even coming close to TJMax – so performance is not a worry, it is just not the best performance available in this price bracket.
The cooler's acoustics are very good, however, as the 120mm Riing is relatively slow-spinning compared to the competition. This means that noise levels were never a concern for me, which is more than can be said for some coolers.
As such, we must conclude our review. For those looking for the best raw-performance, or the best bang-for-the-buck cooler, the ThermalTake Riing Silent 12 Pro is not for you – we saw it bettered by cheaper coolers like the Cooler Master Hyper 212 LED and Cryorig H7.
What this cooler does offer, though, are good-looks and a quiet LED fan, so if you are looking for a quiet yet attractive air cooler, perhaps to compliment your PC's colour scheme, we are happy to recommend the Riing Silent 12 Pro.
![]()
You can buy one from Overclockers UK for £44.99 inc. VAT HERE.
Discuss on our Facebook page, over HERE.
Pros
- Good-looking.
- Riing LED fan adds some visual ‘bling'.
- Very quiet.
- Straightforward installation.
Cons
- Thermal performance is not the best in its price bracket.
- ThermalTake could do with supplying a cheap screwdriver to help installation.
KitGuru says: The Riing Silent 12 Pro may not offer ‘best-in-class' performance, but it is a good-looking and quiet cooler that is deserving of making any final shortlist.