Installation Process
Installation of the Alphacool Eisbaer Aurora 360 is a little more time consuming compared with some other all-in-one CPU coolers, as there is more effort required to assemble the brackets and fixings for mounting to the CPU socket. However, the whole installation process shouldn’t take much longer than around 20 minutes. Our test system is Intel Z390 based, therefore, we will be following the relevant Intel 115X socket installation procedure.
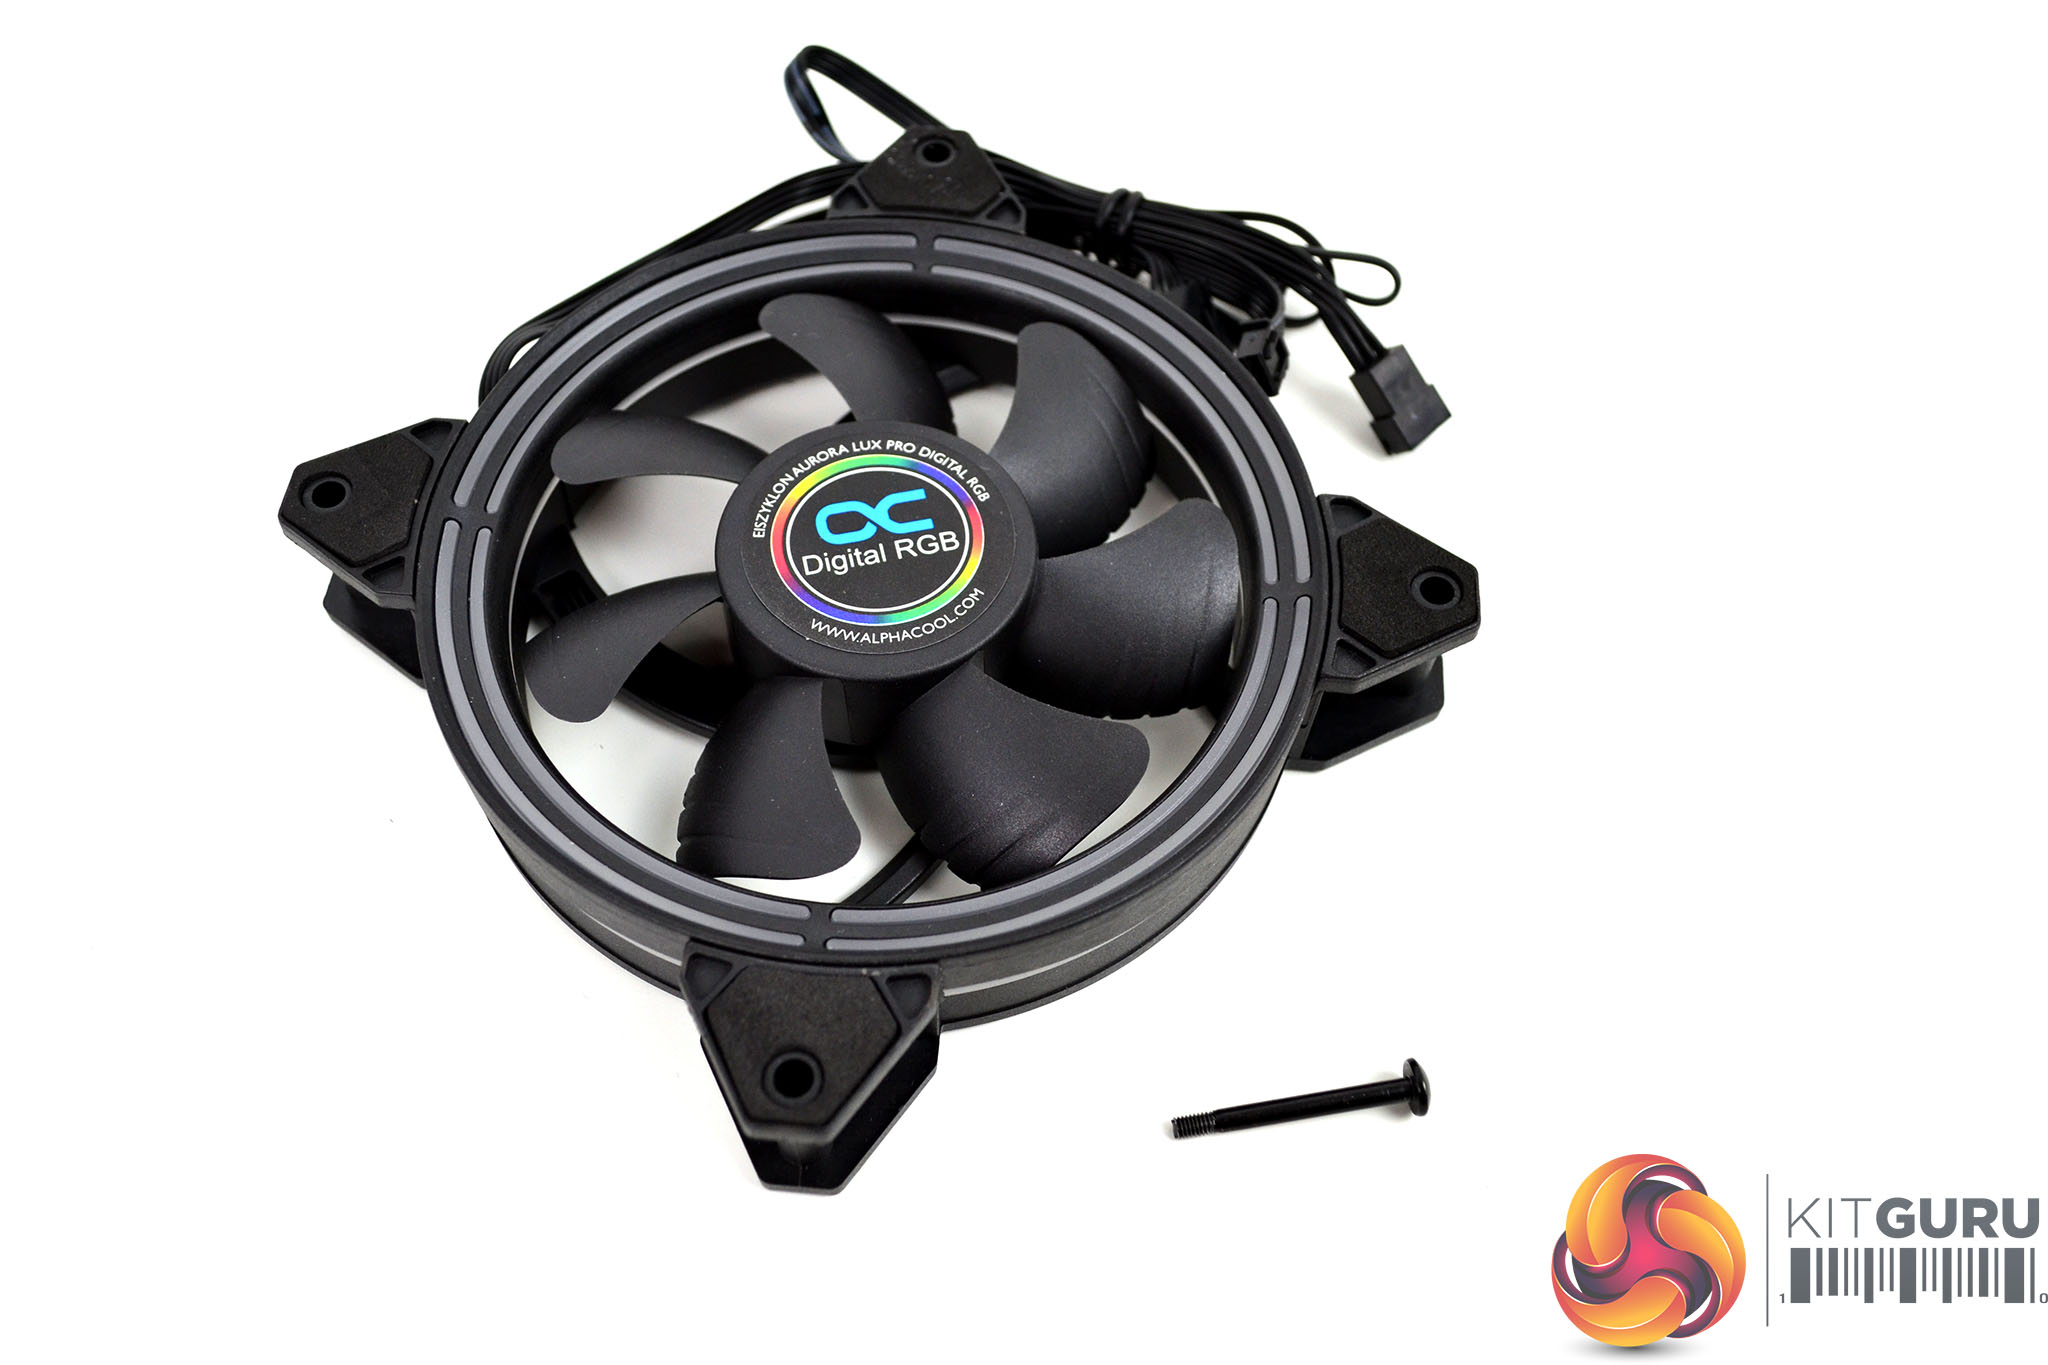
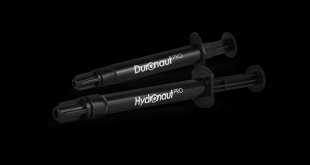
The first step to install any all-in-one CPU cooler is to attach the fans to the radiator. You must first decide whether you want to run the fans in a push or pull configuration, once you have decided, simply use the twelve long black fan screws and fix the fans securely in position to the radiator.
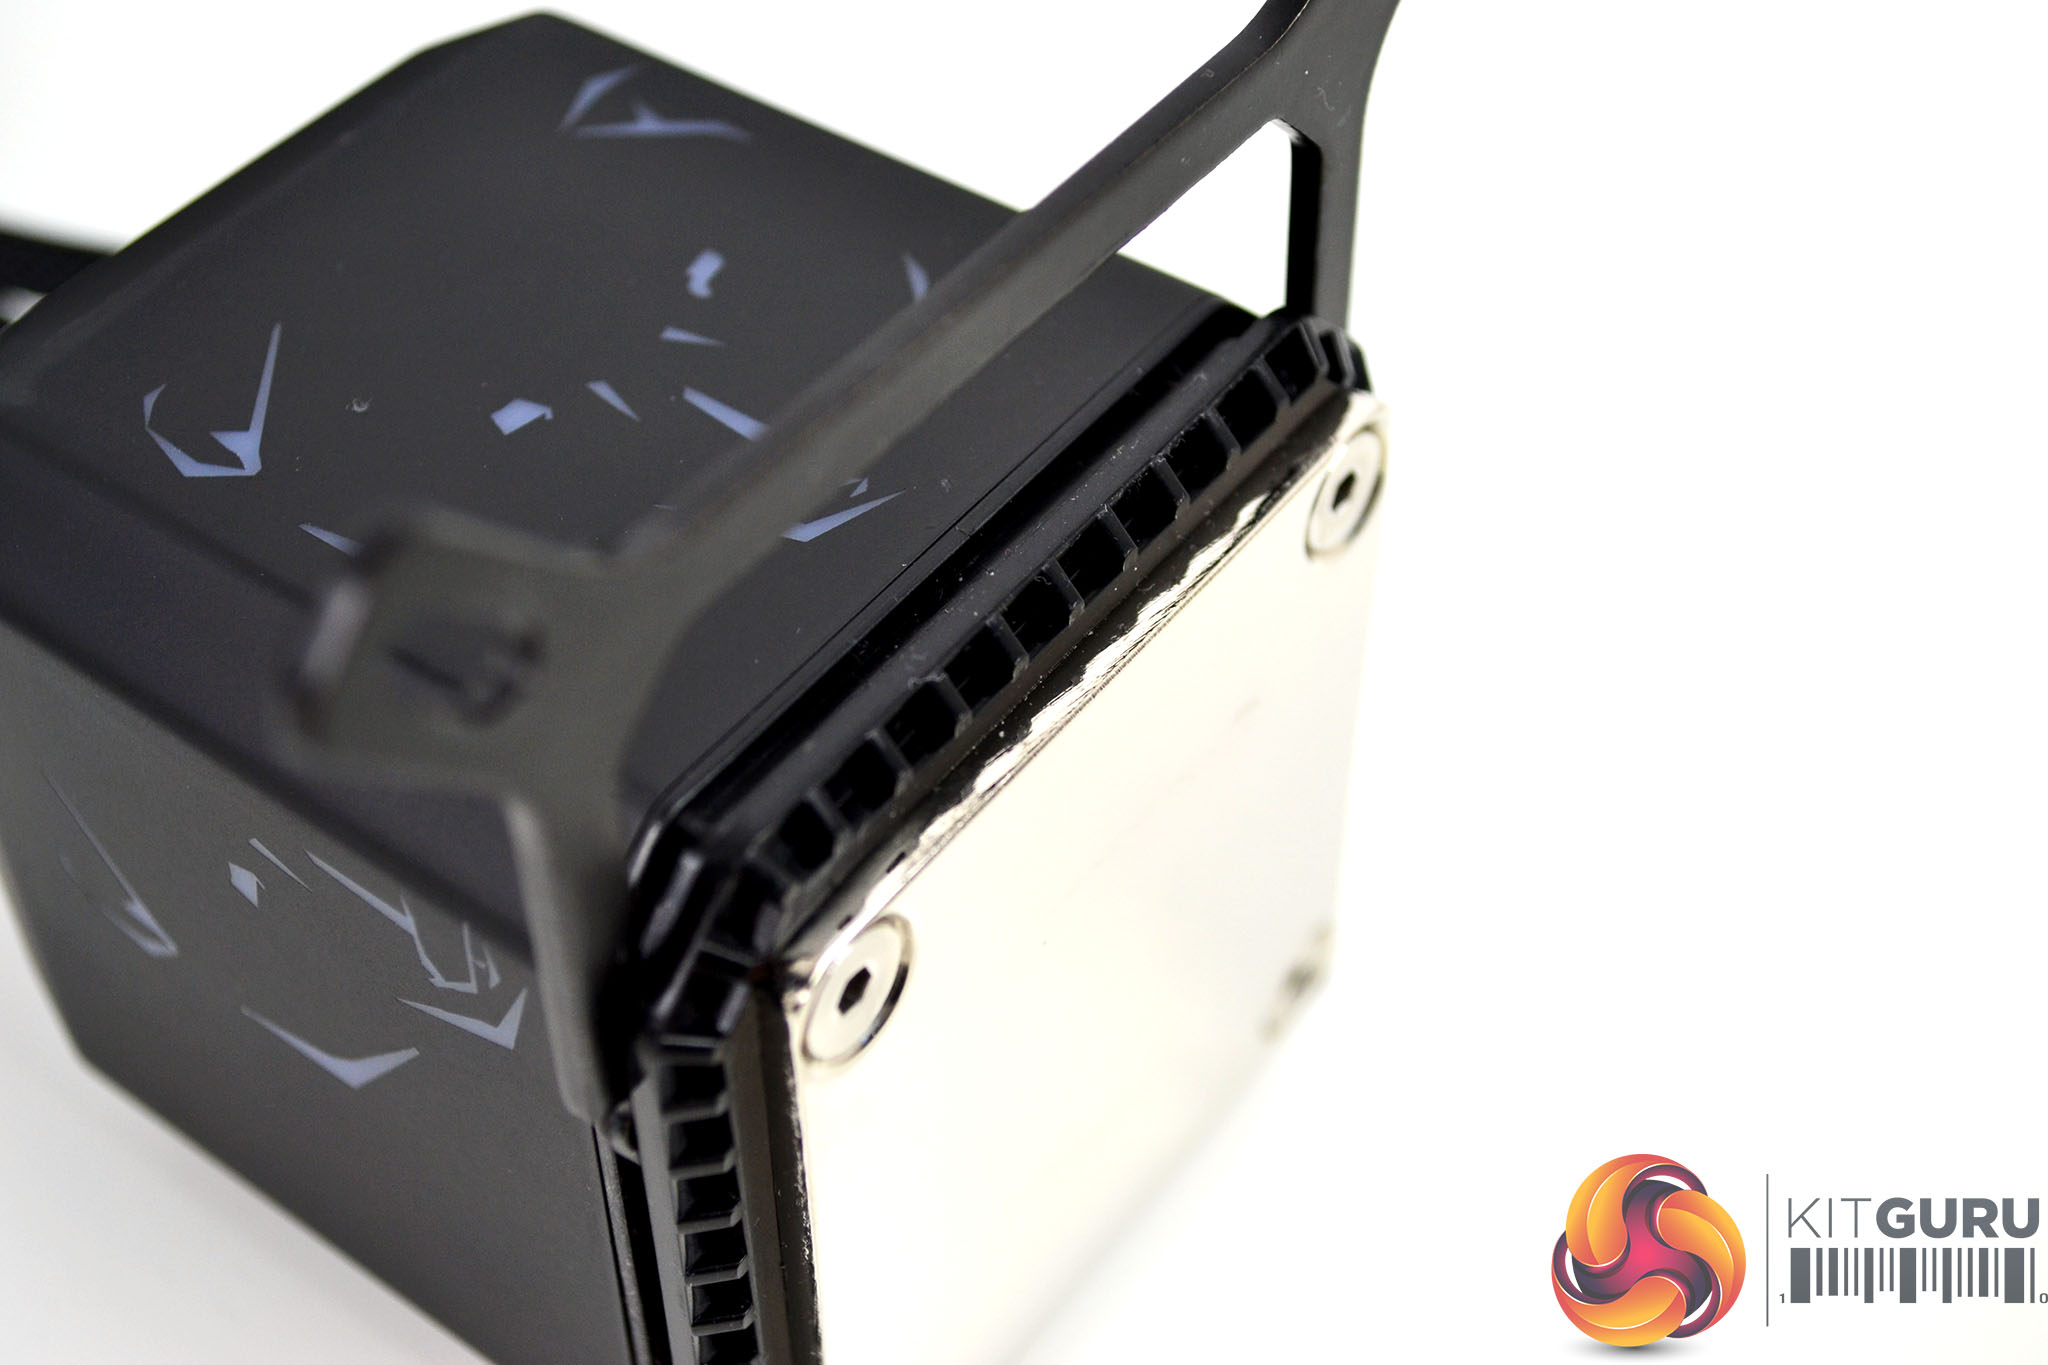
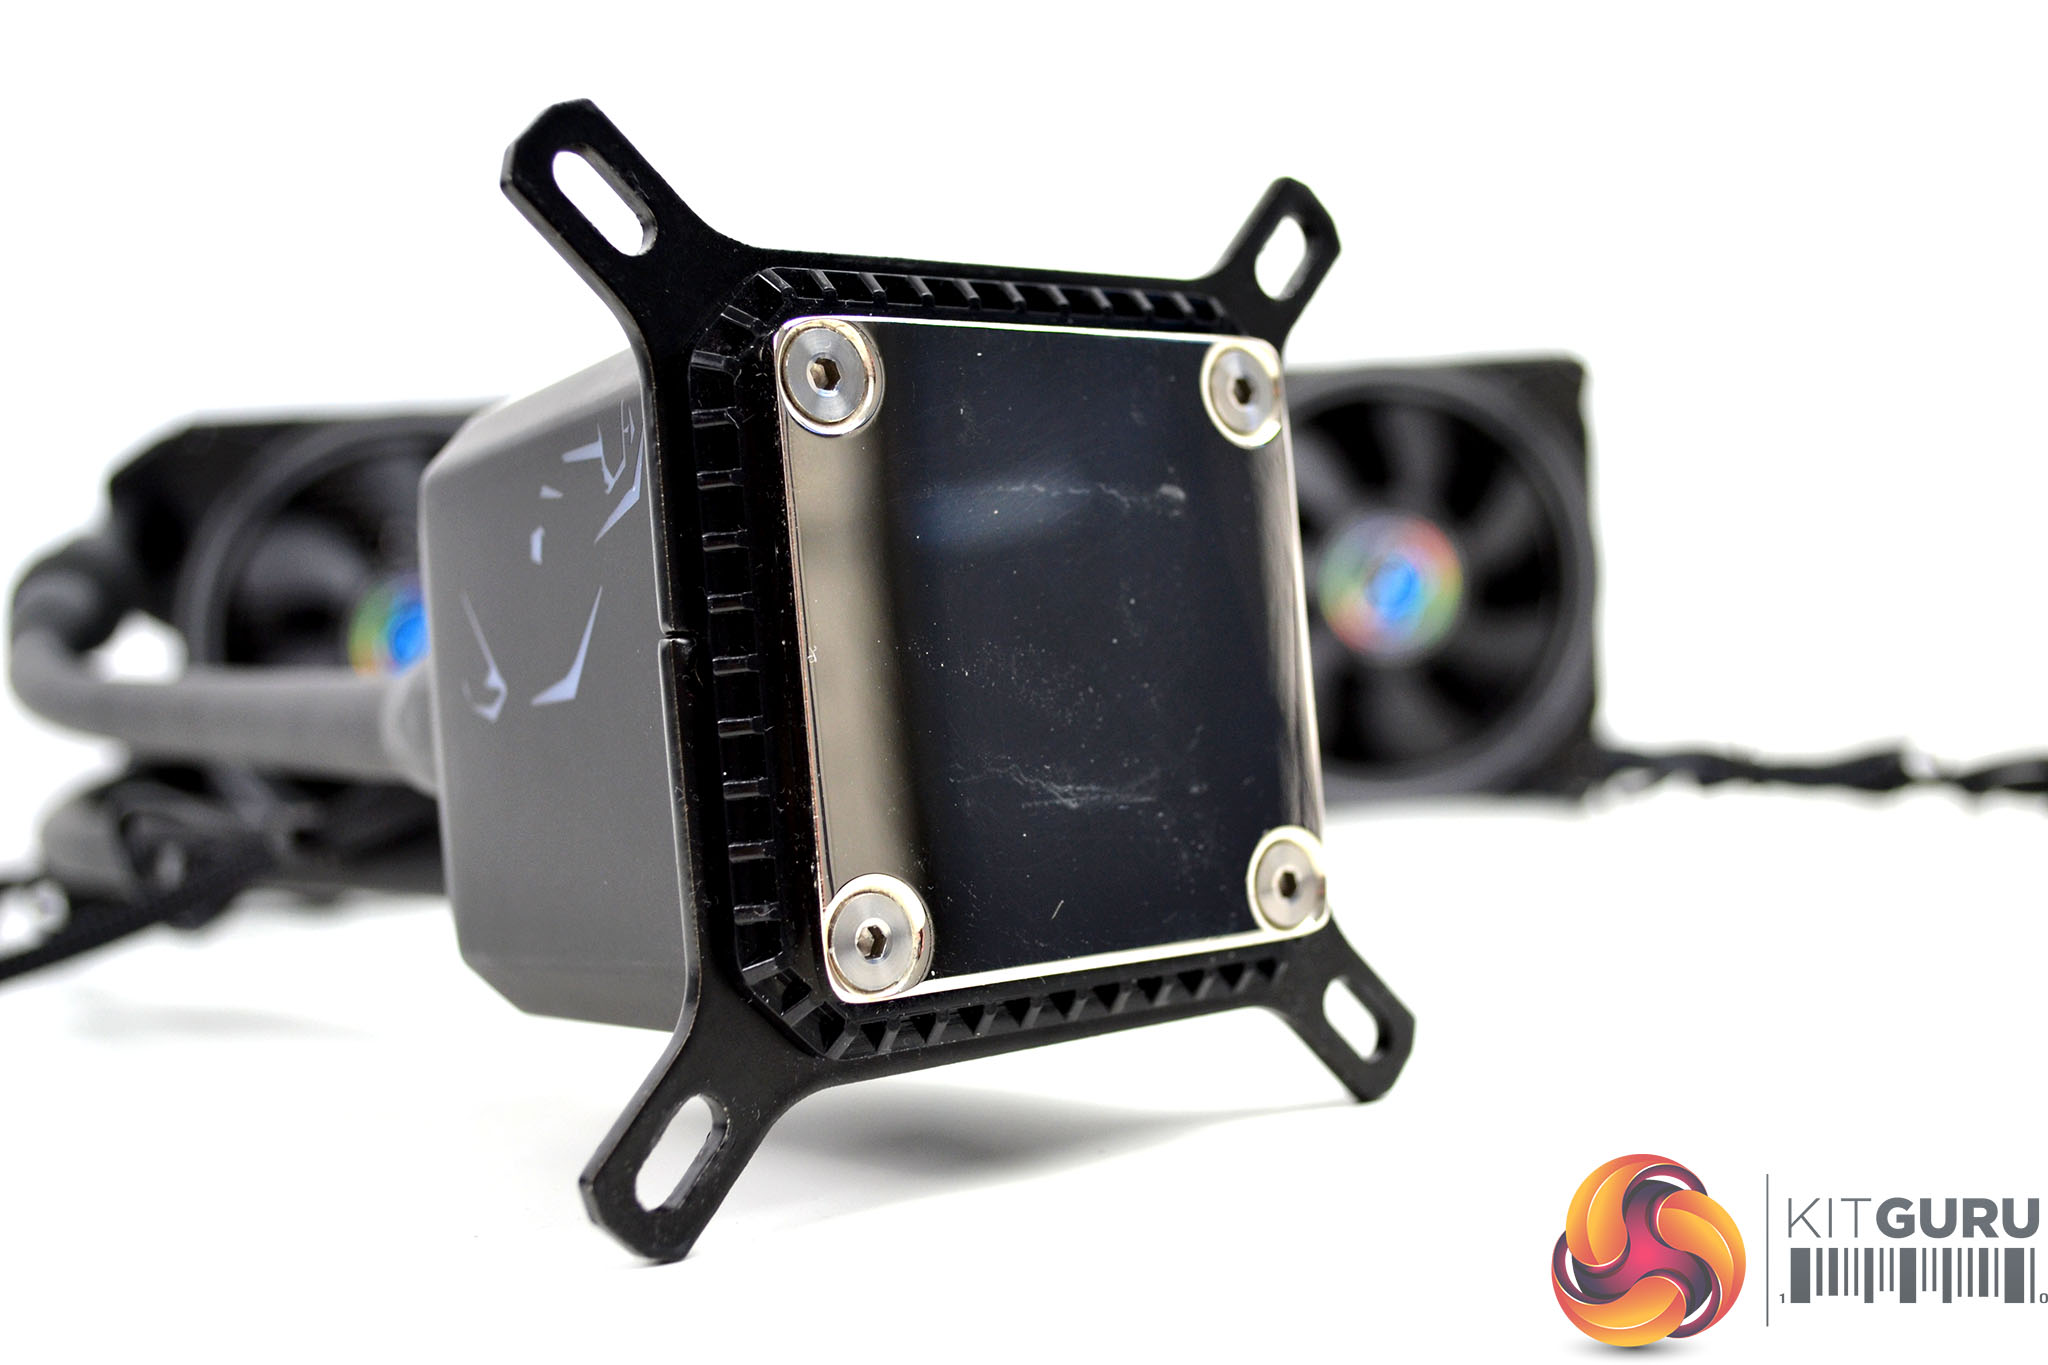
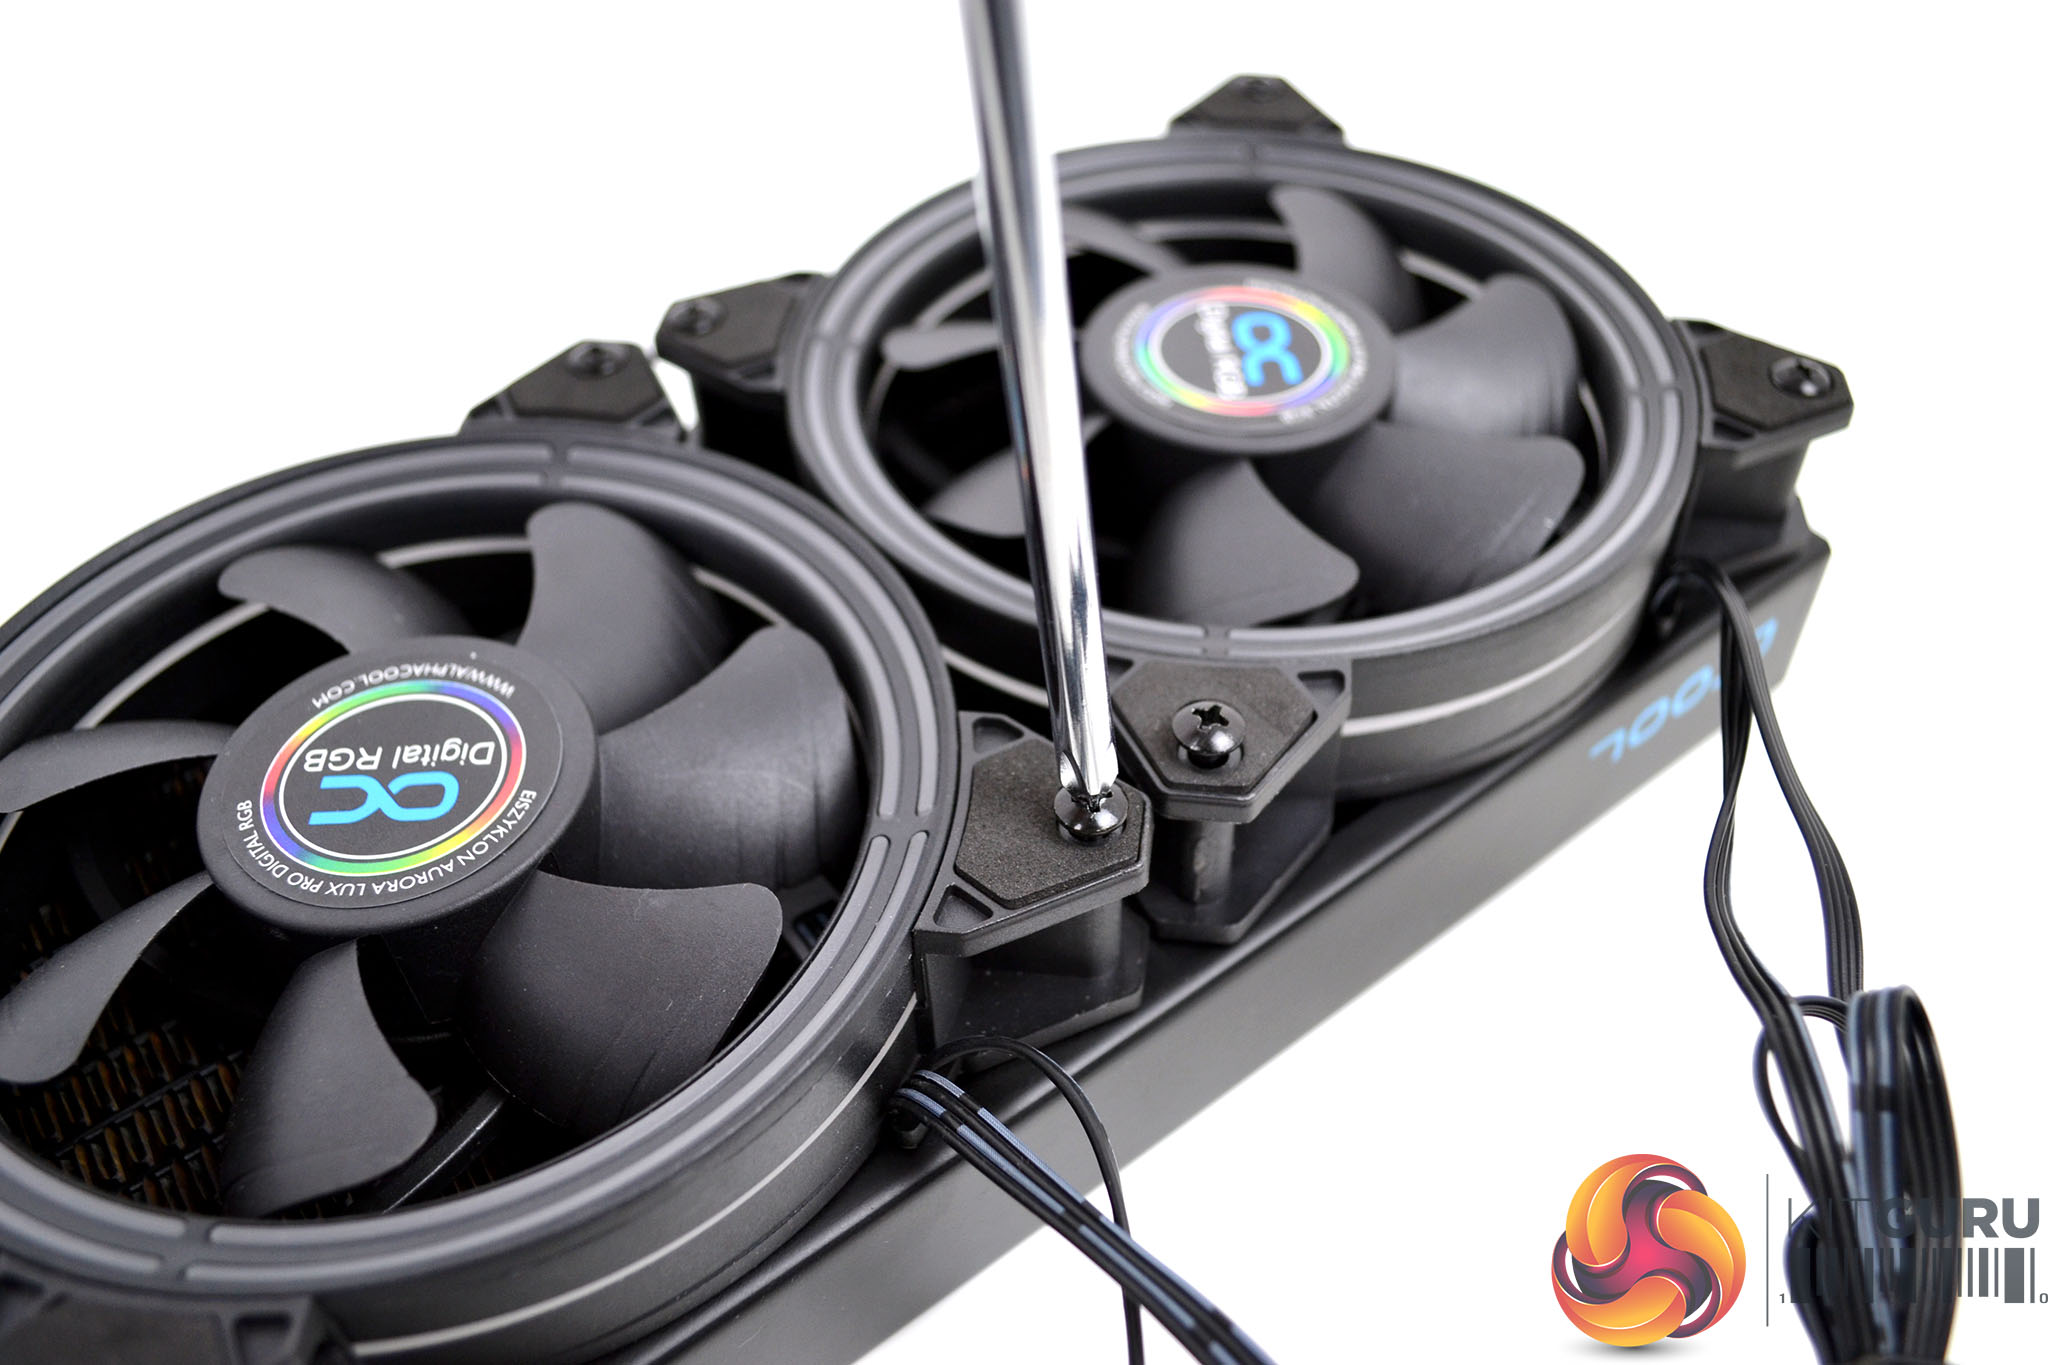
Once the fans are installed onto the radiator, move on to prepare the CPU block. Take the two-piece upper mounting bracket and slide each piece into the groove near the base of the CPU block. The mounting bracket is fully inserted once you hear the two brackets click and lock in place.


The second part of preparing the CPU block is to fit the mounting screws, along with washes, springs and nuts to the upper mounting brackets. For intel 115x platforms, use the long screws with both coarse and fine threads, slip a spring over the screw first, then a washer below.
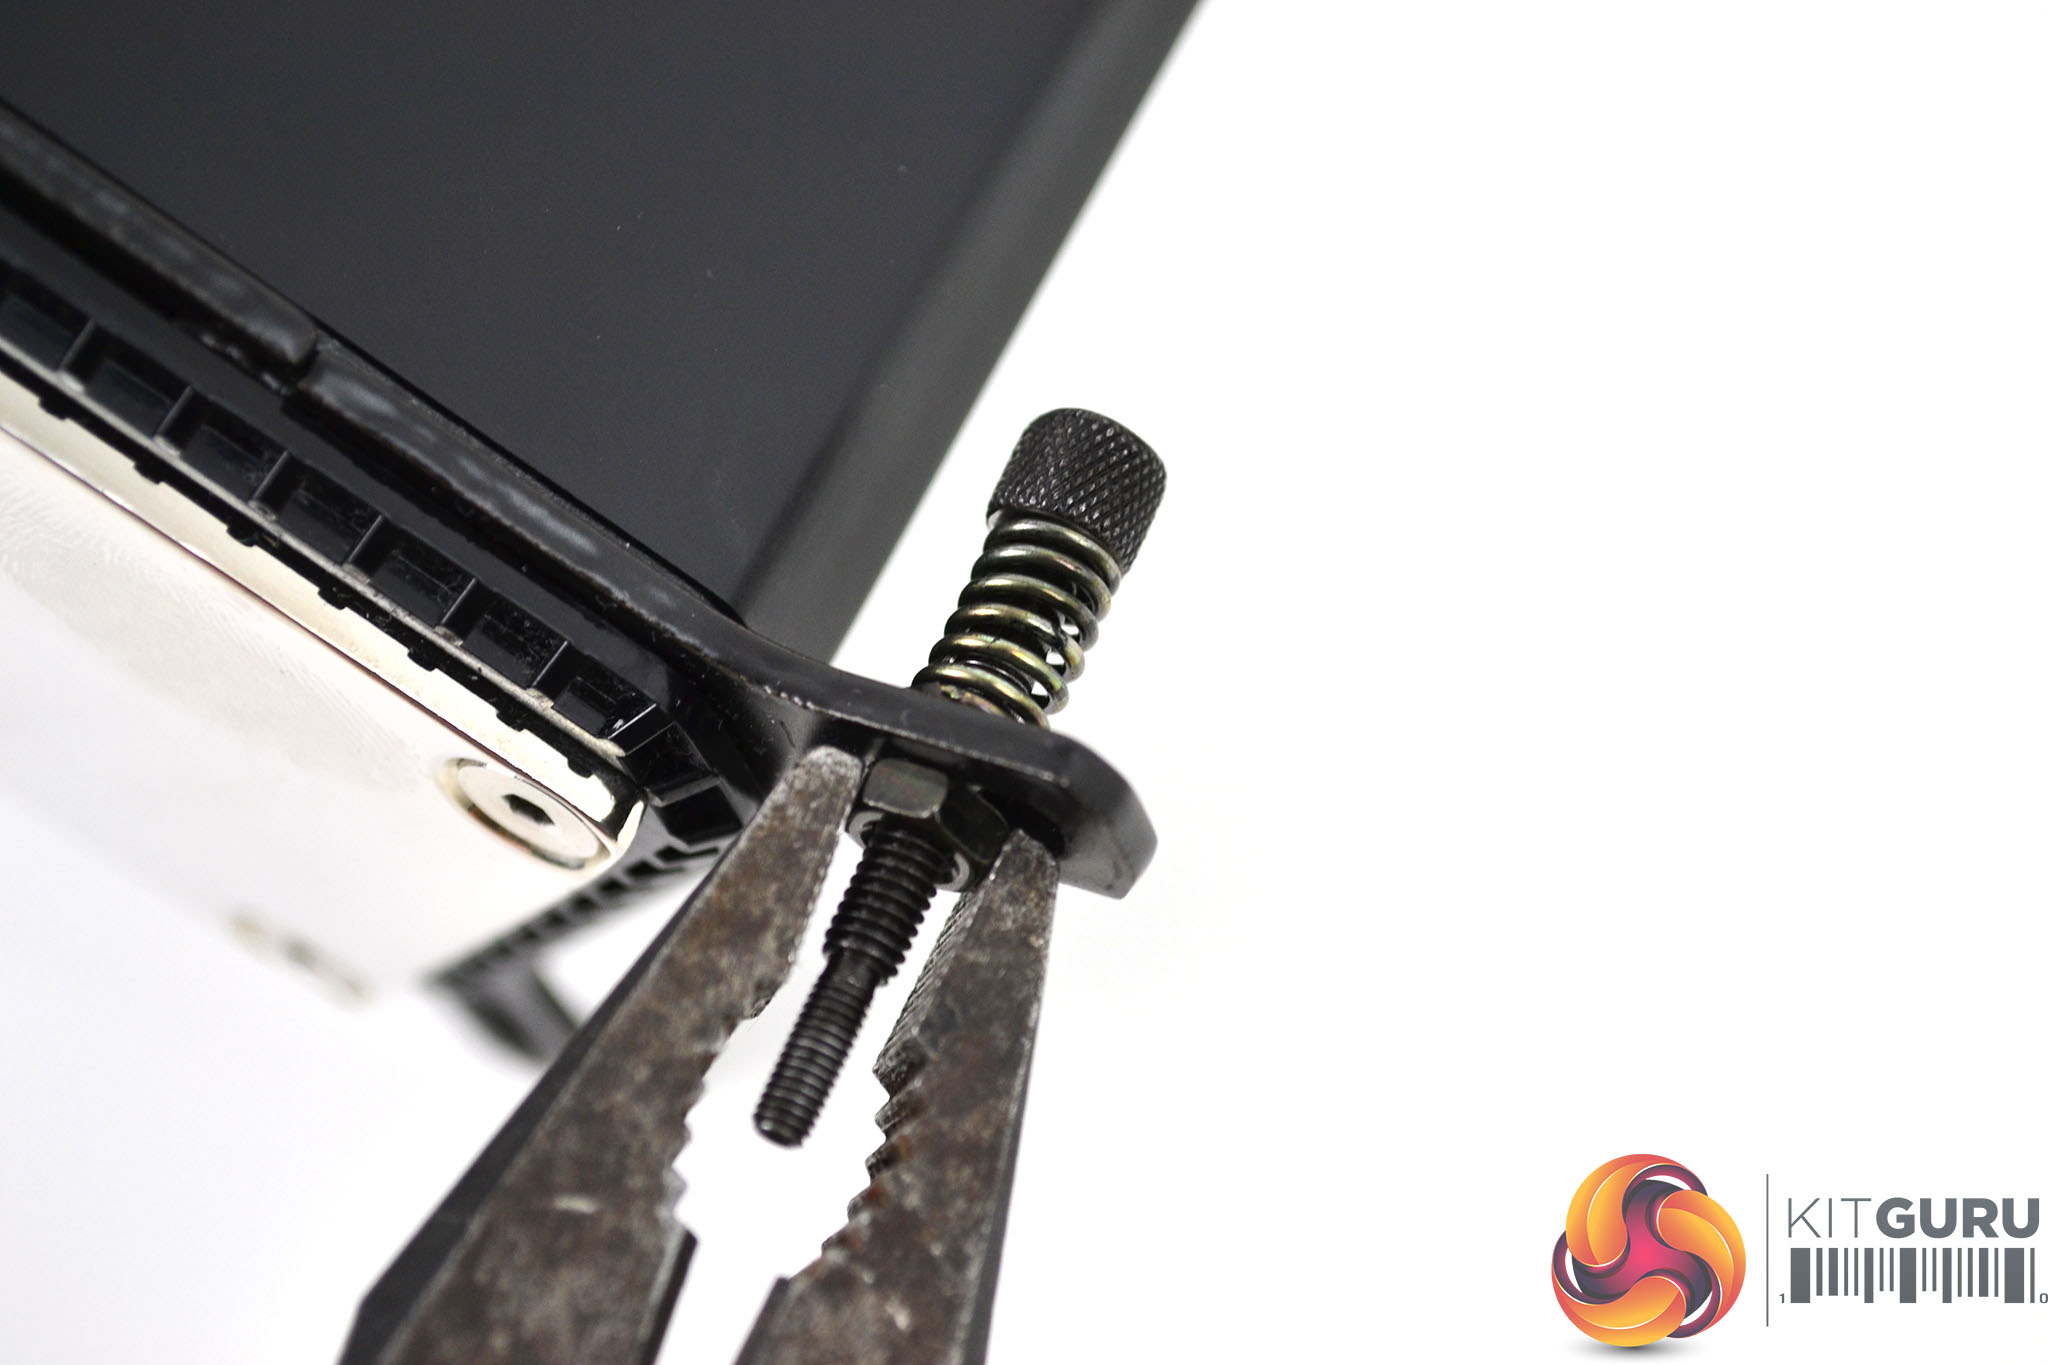
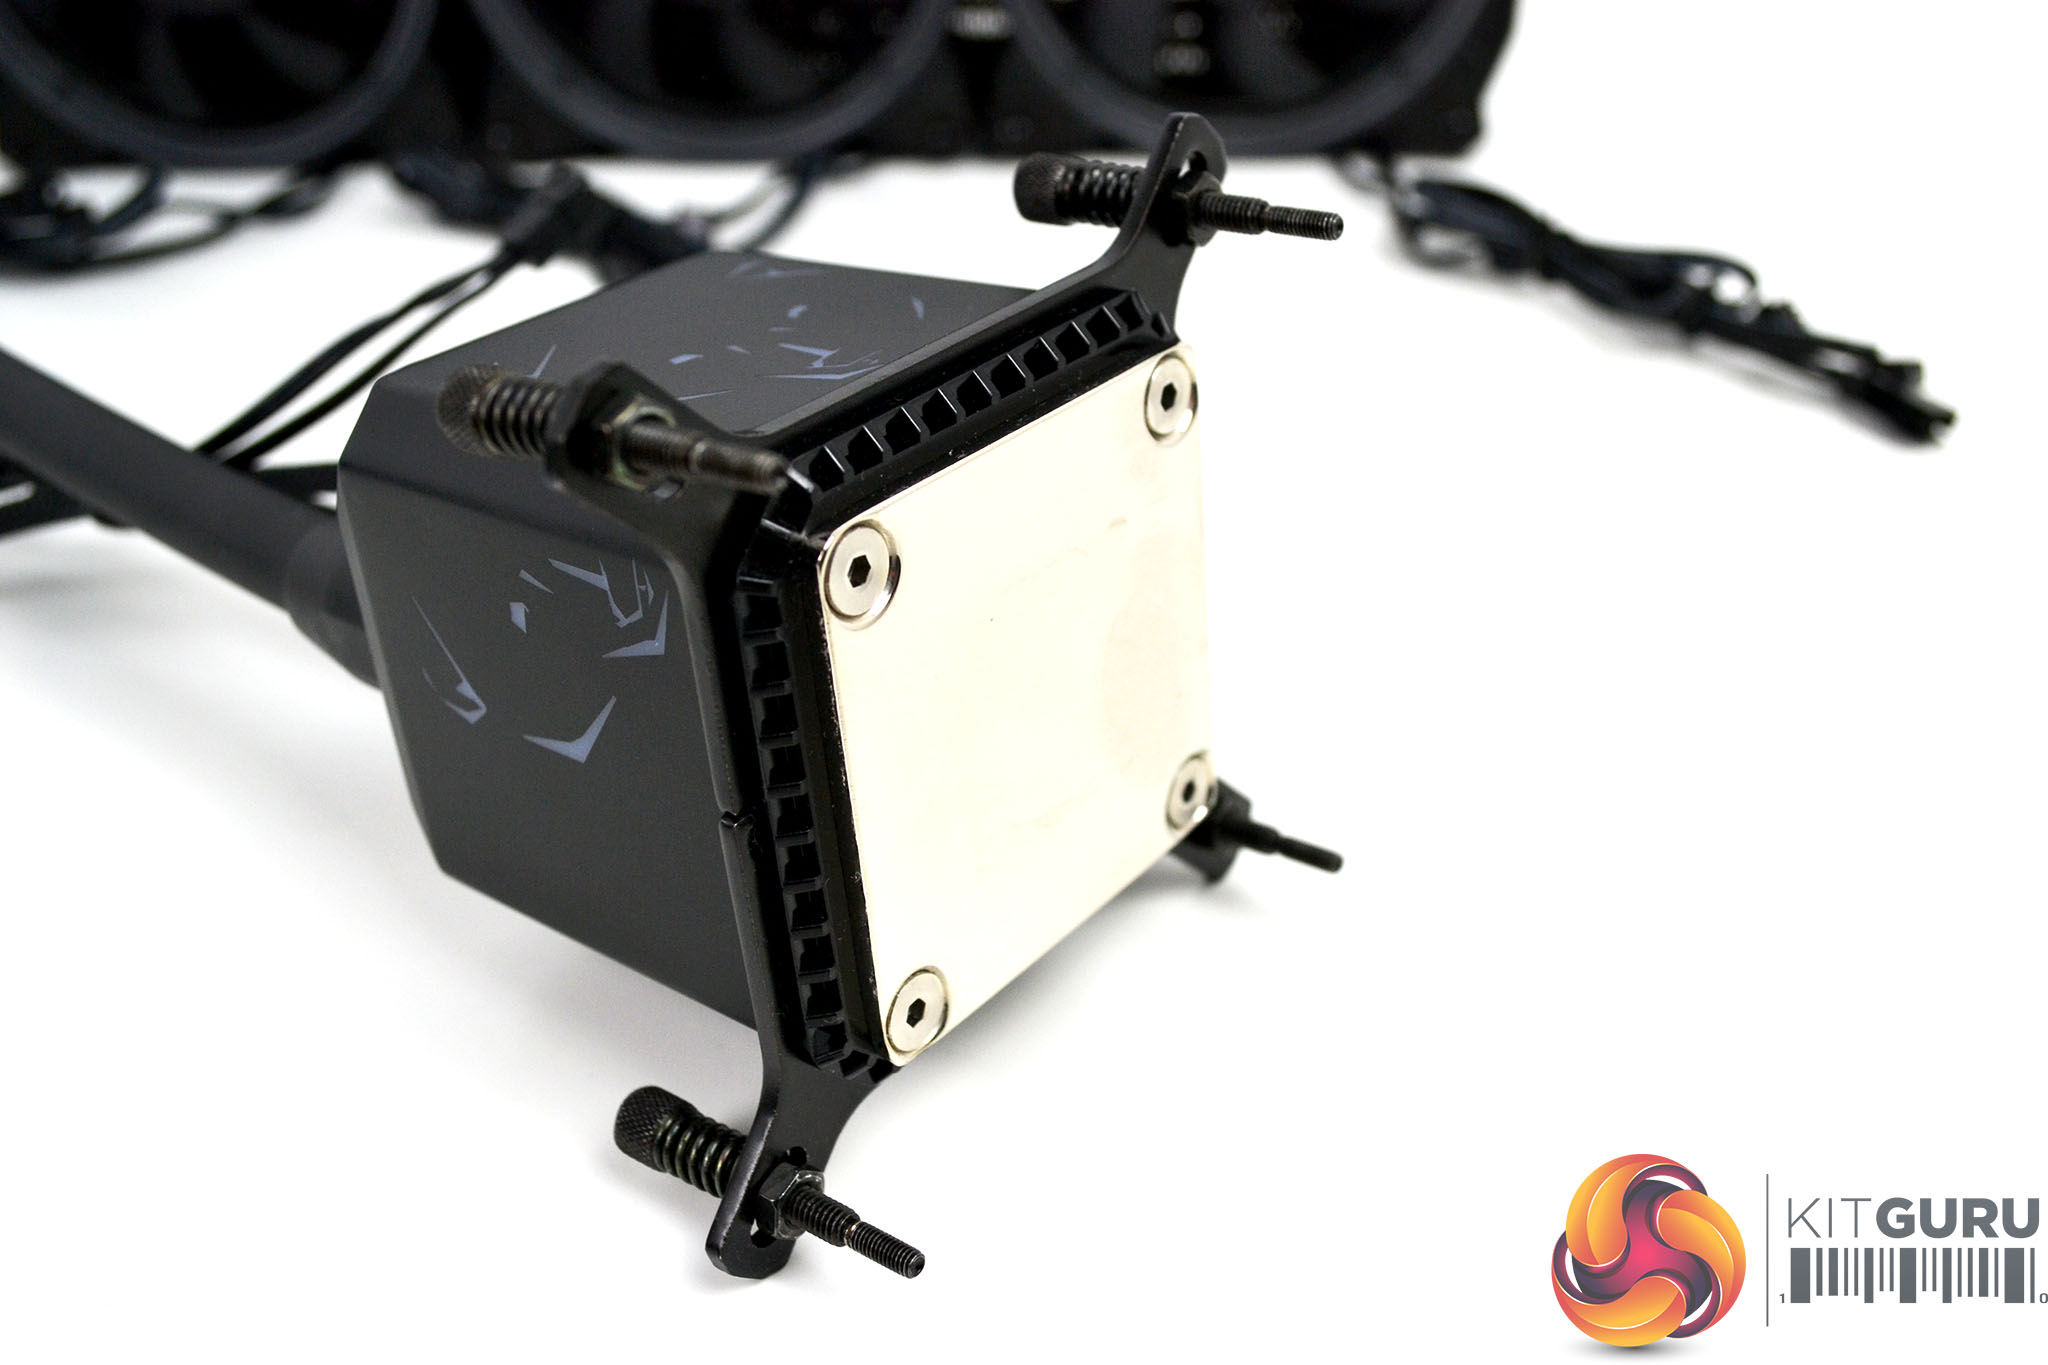
Next insert the screw through one of the mounting holes and then thread a nut onto the screw until it is held tightly in place. Fixing the nuts in place by hand is quite fiddly and may not tighten up completely, you may need to hold the nut with some pliers to tighten it up fully. Repeat this procedure for the remaining three fixings.
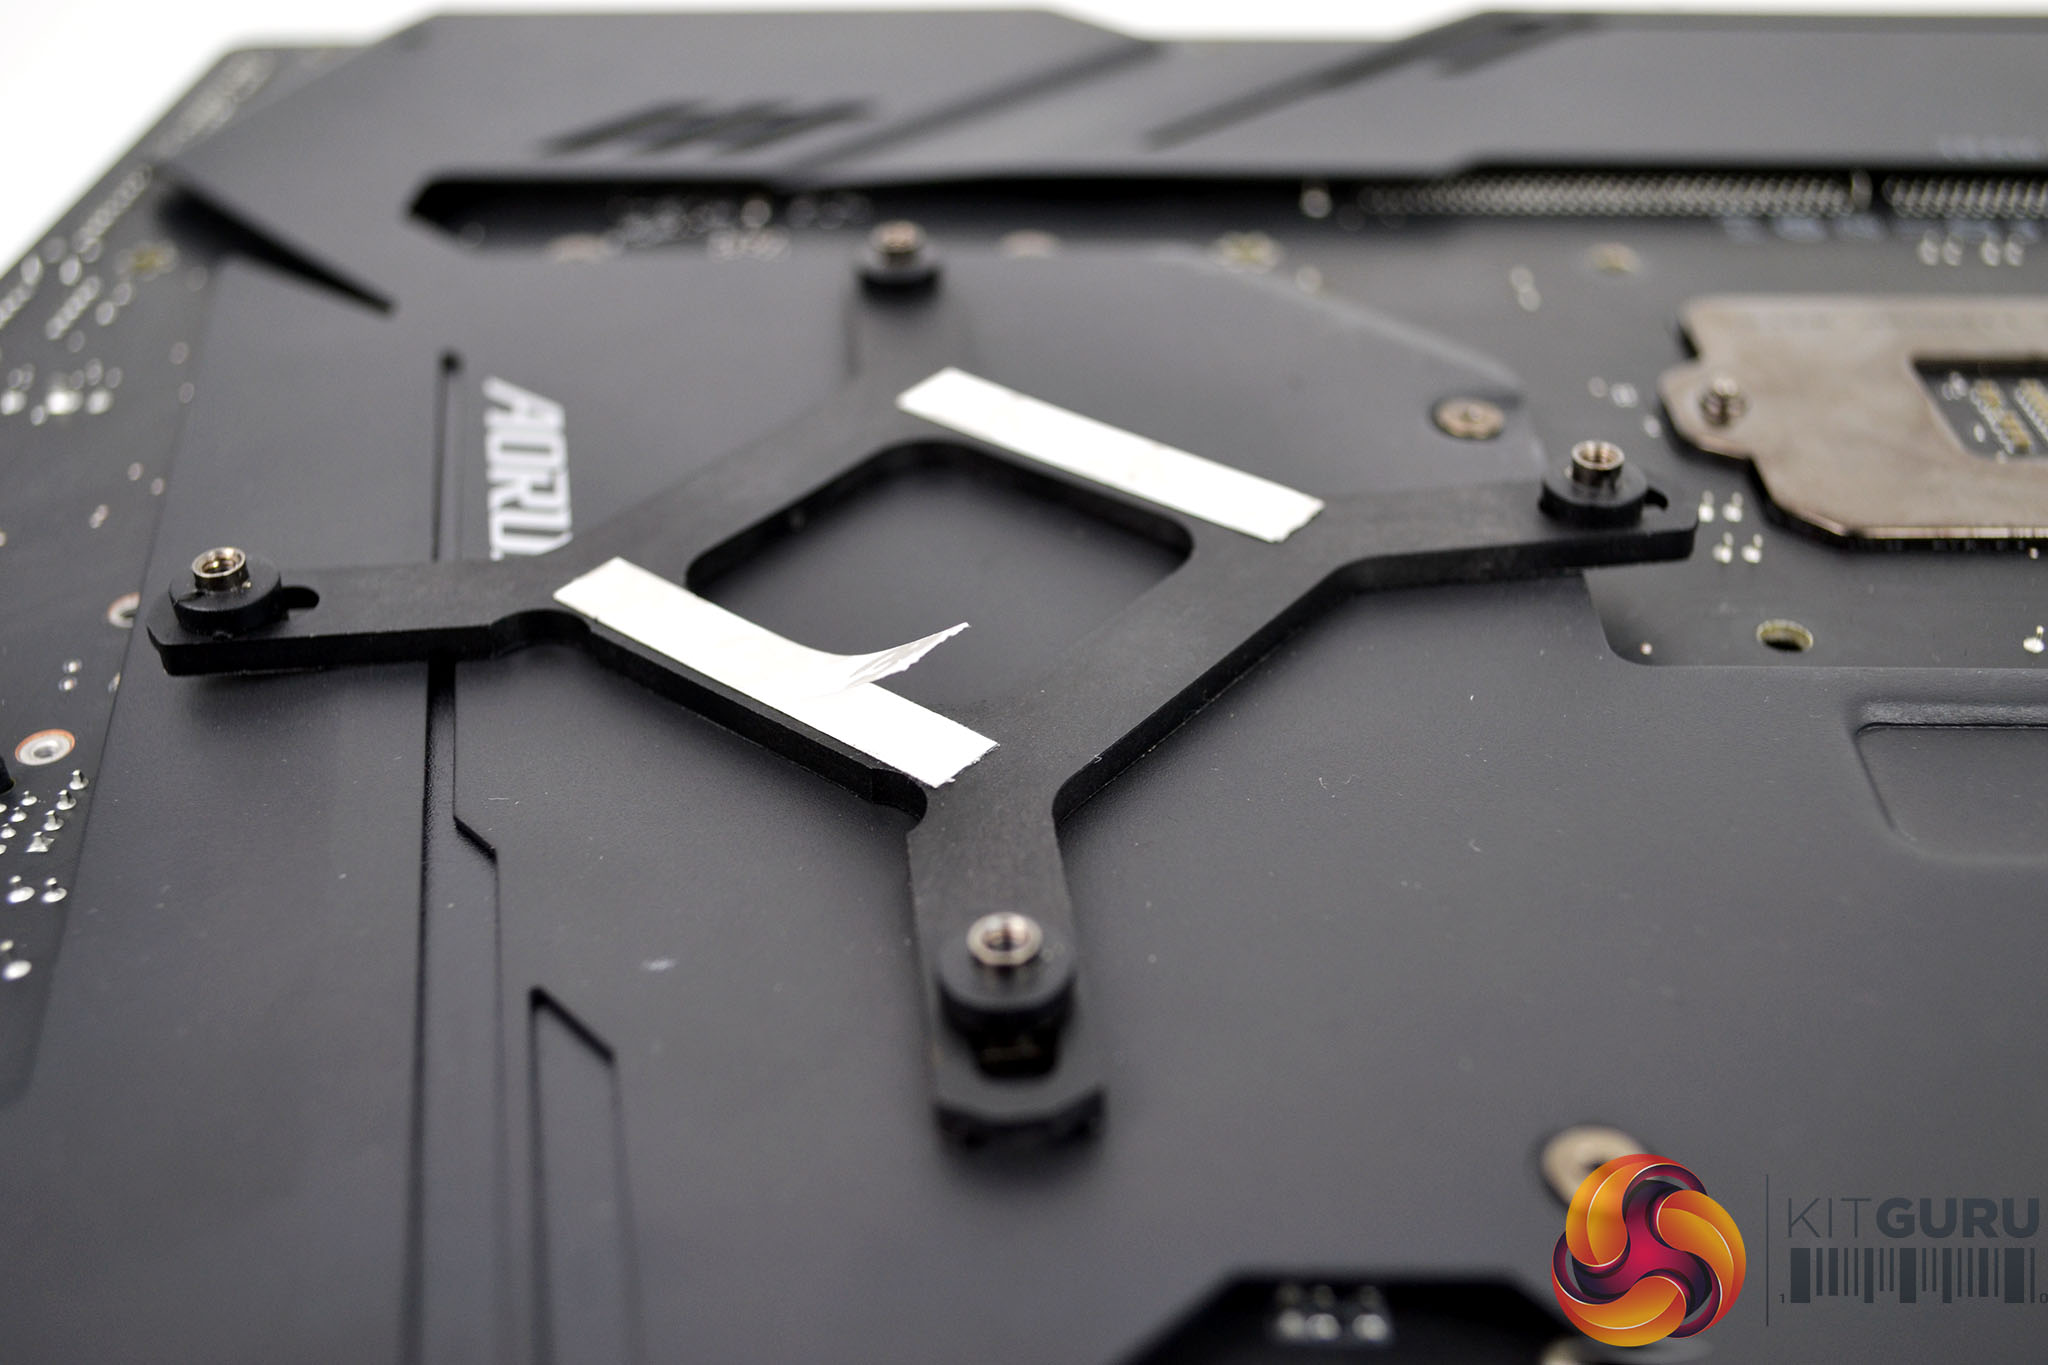
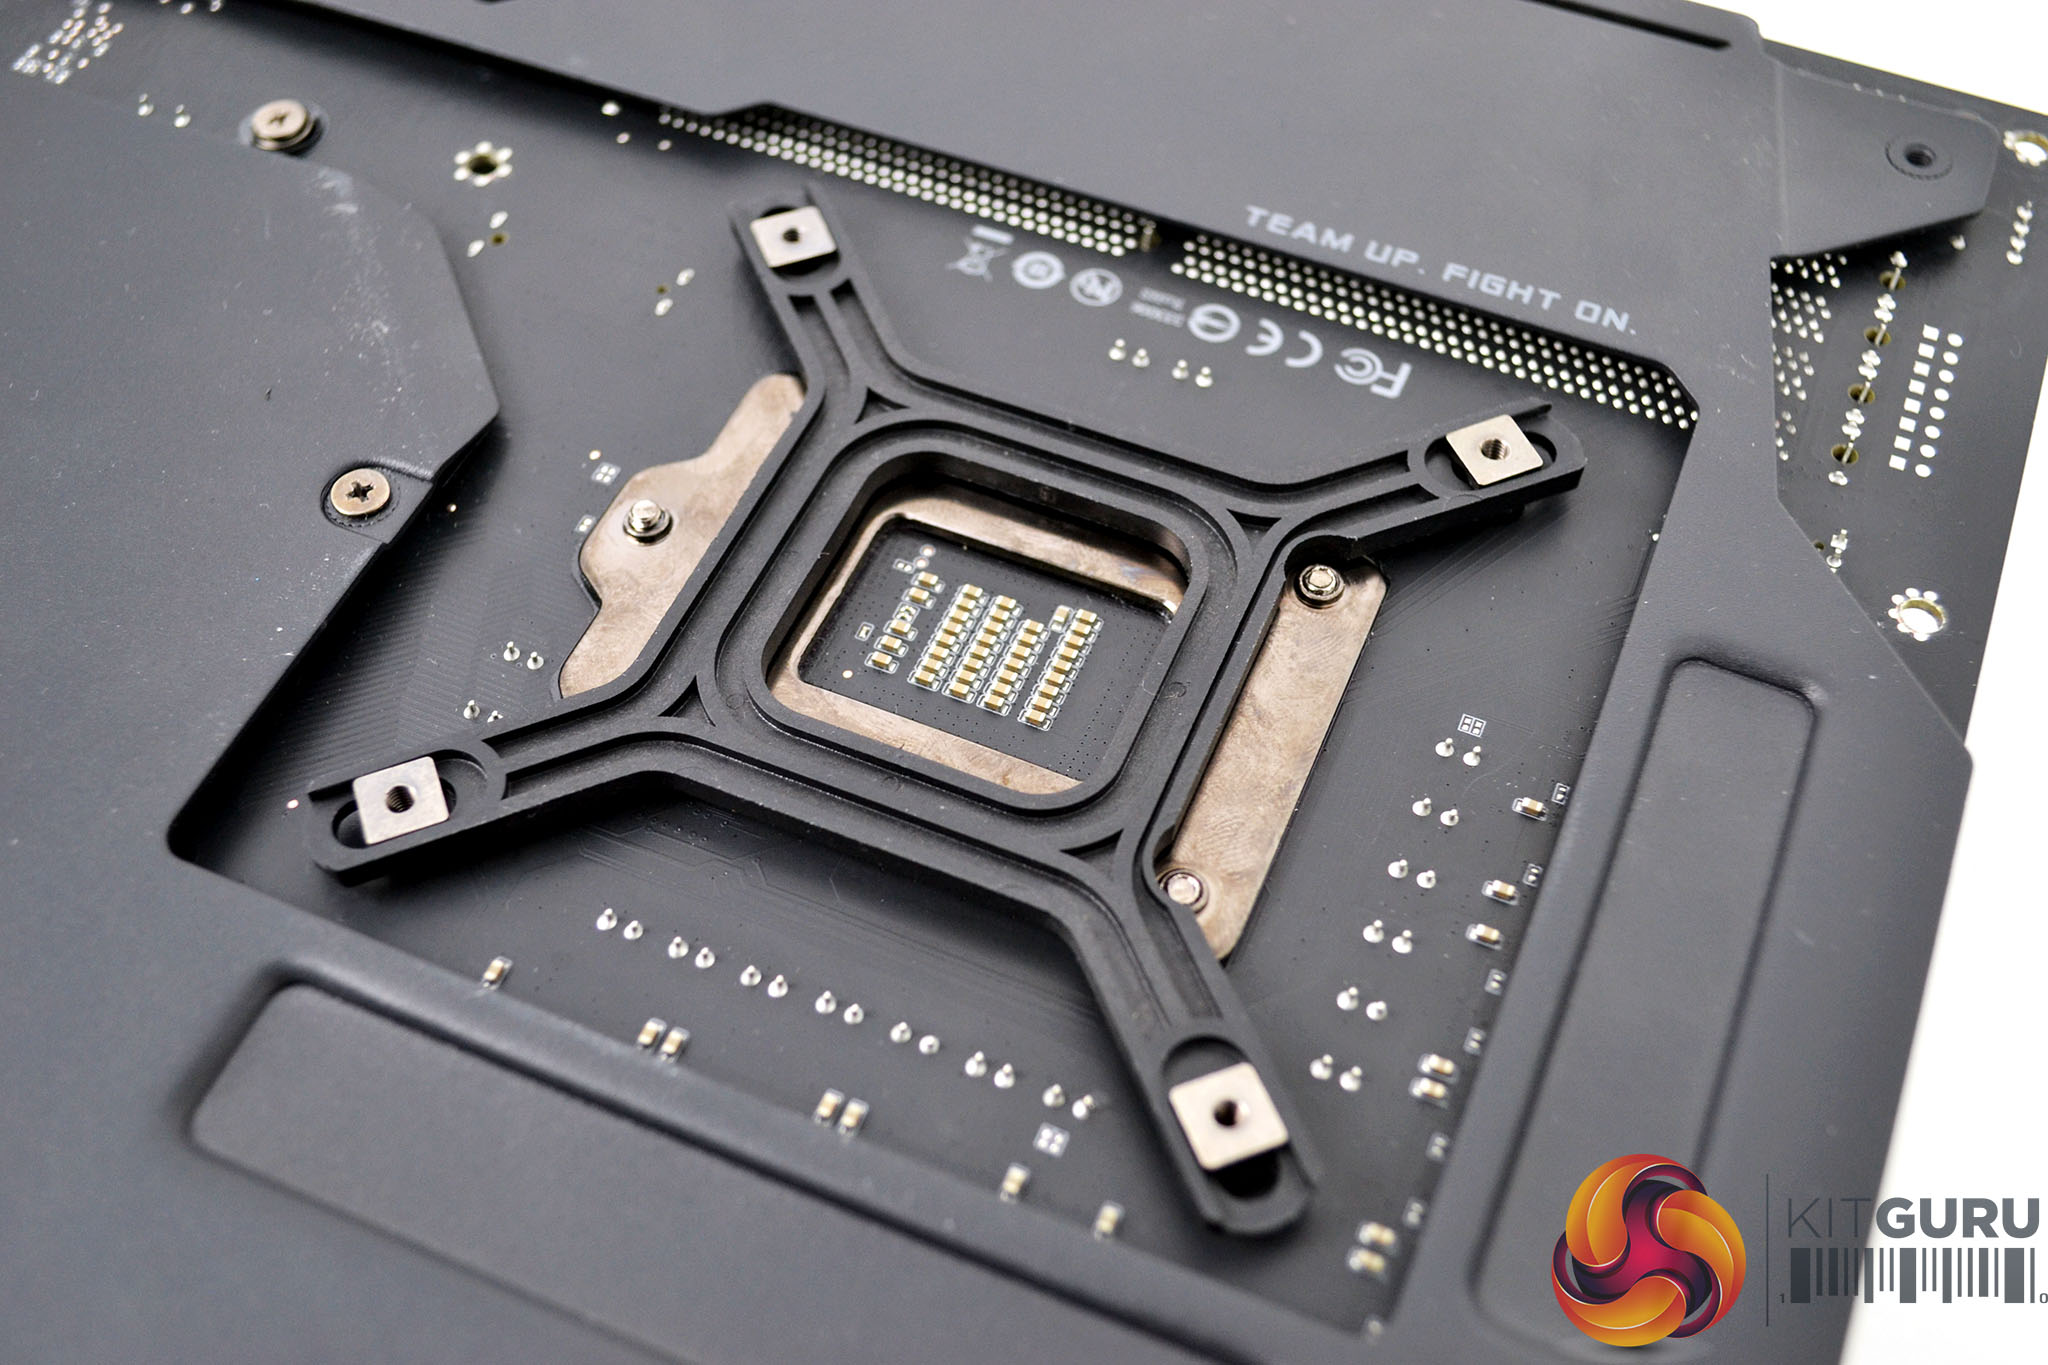
Now move on to prepare the motherboard, Intel socket 115x installation requires the fitting of a retention backplate to the rear of the motherboard. To do this simply flip the motherboard over, if it’s out of the case or access it from the PC case side panel. Peel off the self-adhesive backing on the backplate and line up the motherboard mounting holes with the backplate threads and press the backplate in position until is it stuck in place.
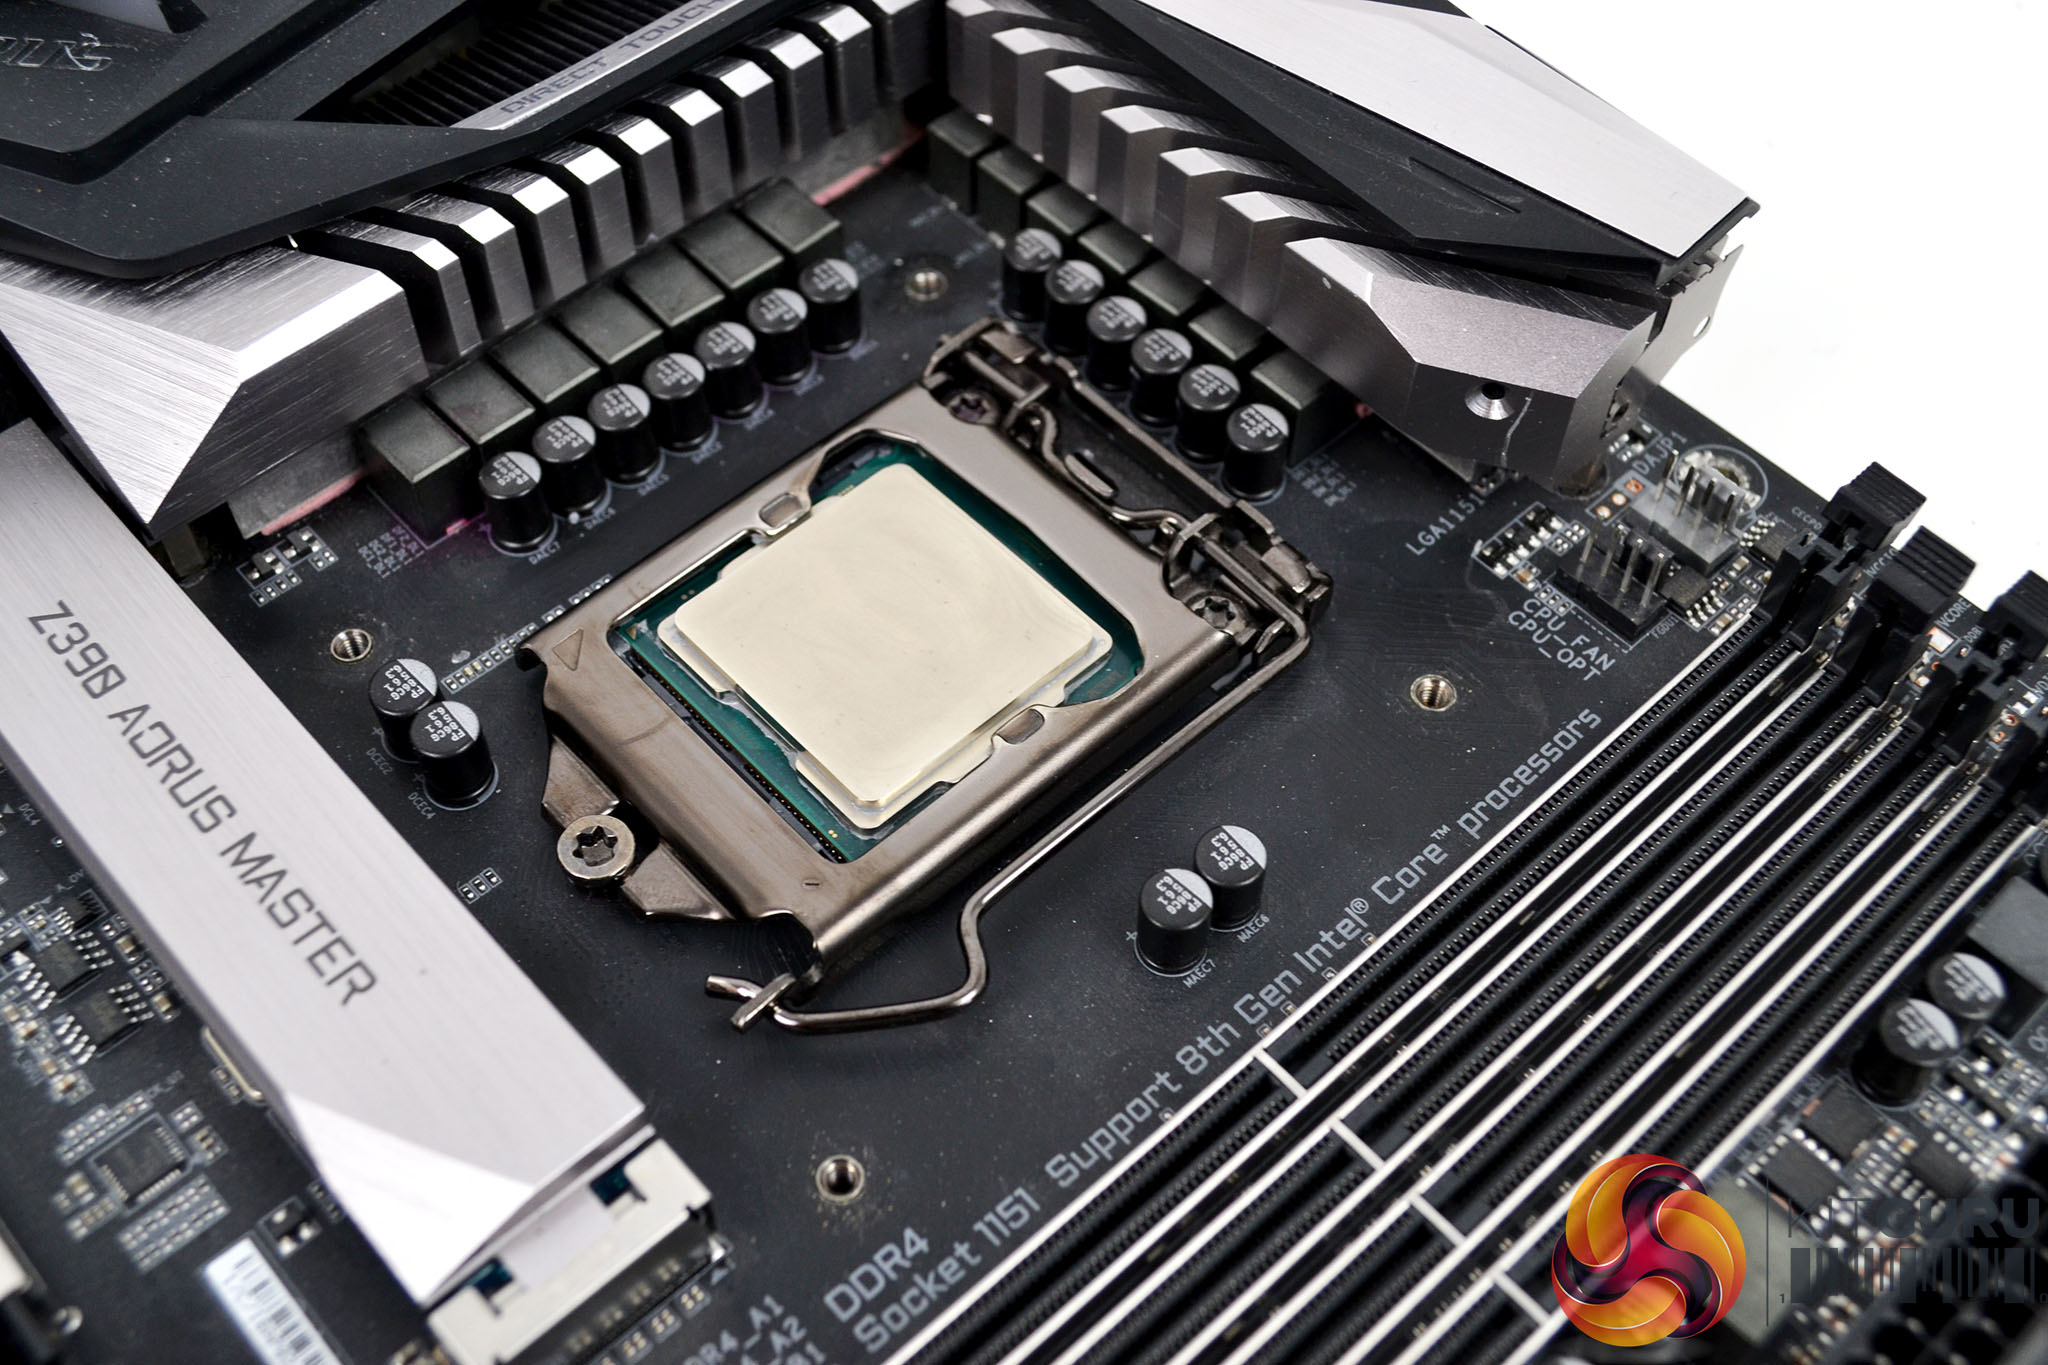
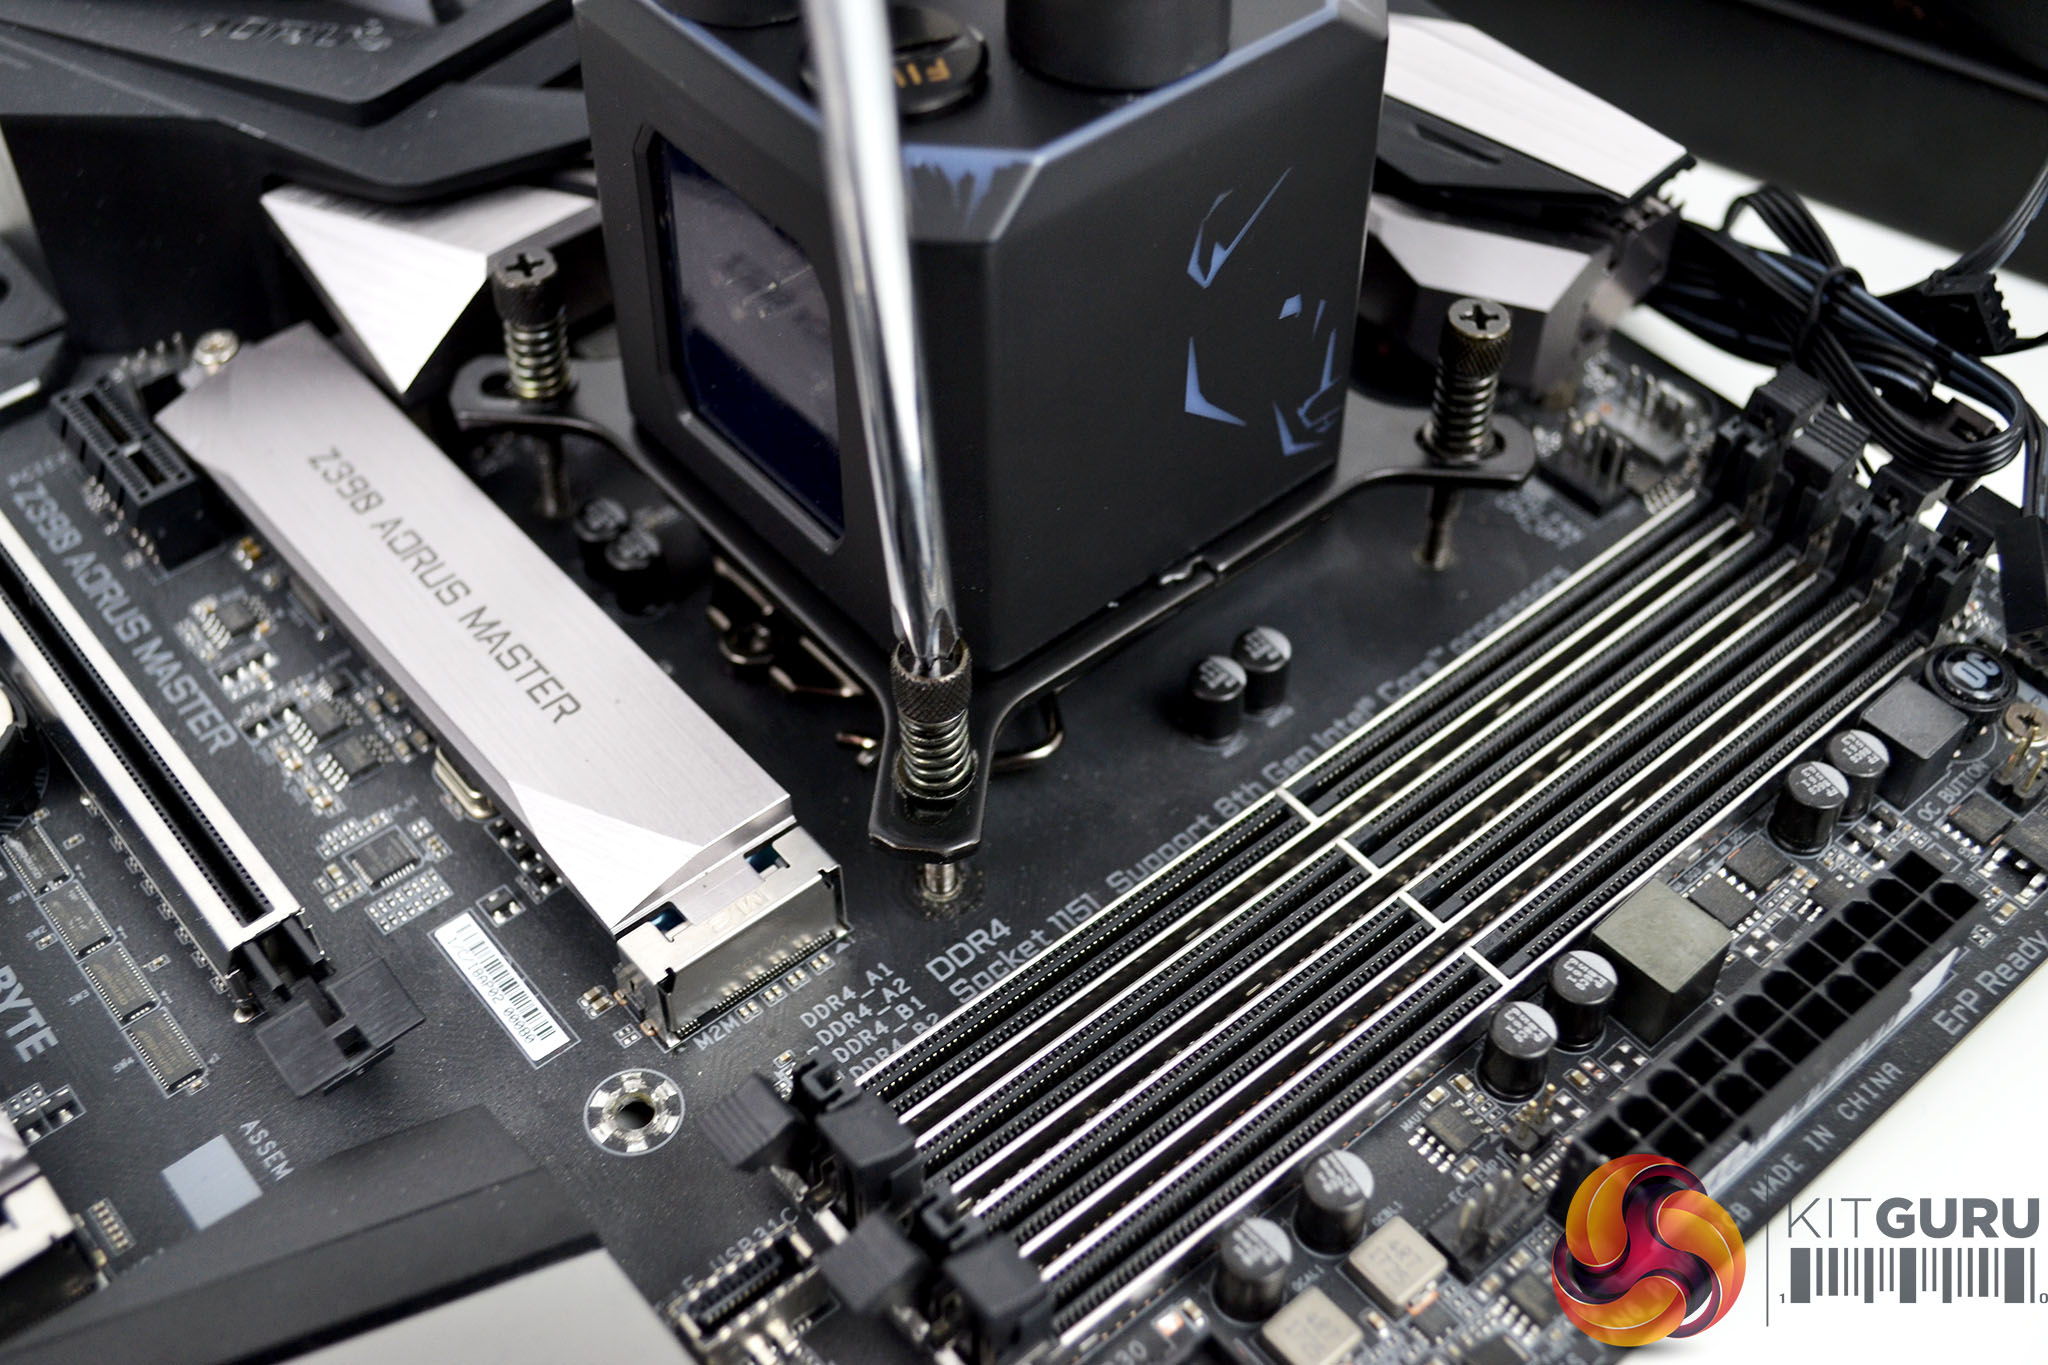
Flip the motherboard back over to install the Eisbaer CPU block to the CPU socket. Apply thermal compound to the CPU, then line up the four mounting screws on the CPU block with the backplate mounting threads, tighten the CPU block in position using an X pattern to evenly distribute pressure. The screw heads should be large enough to tighten by hand, you can also give the screws a final nip up with a Philips screwdriver.
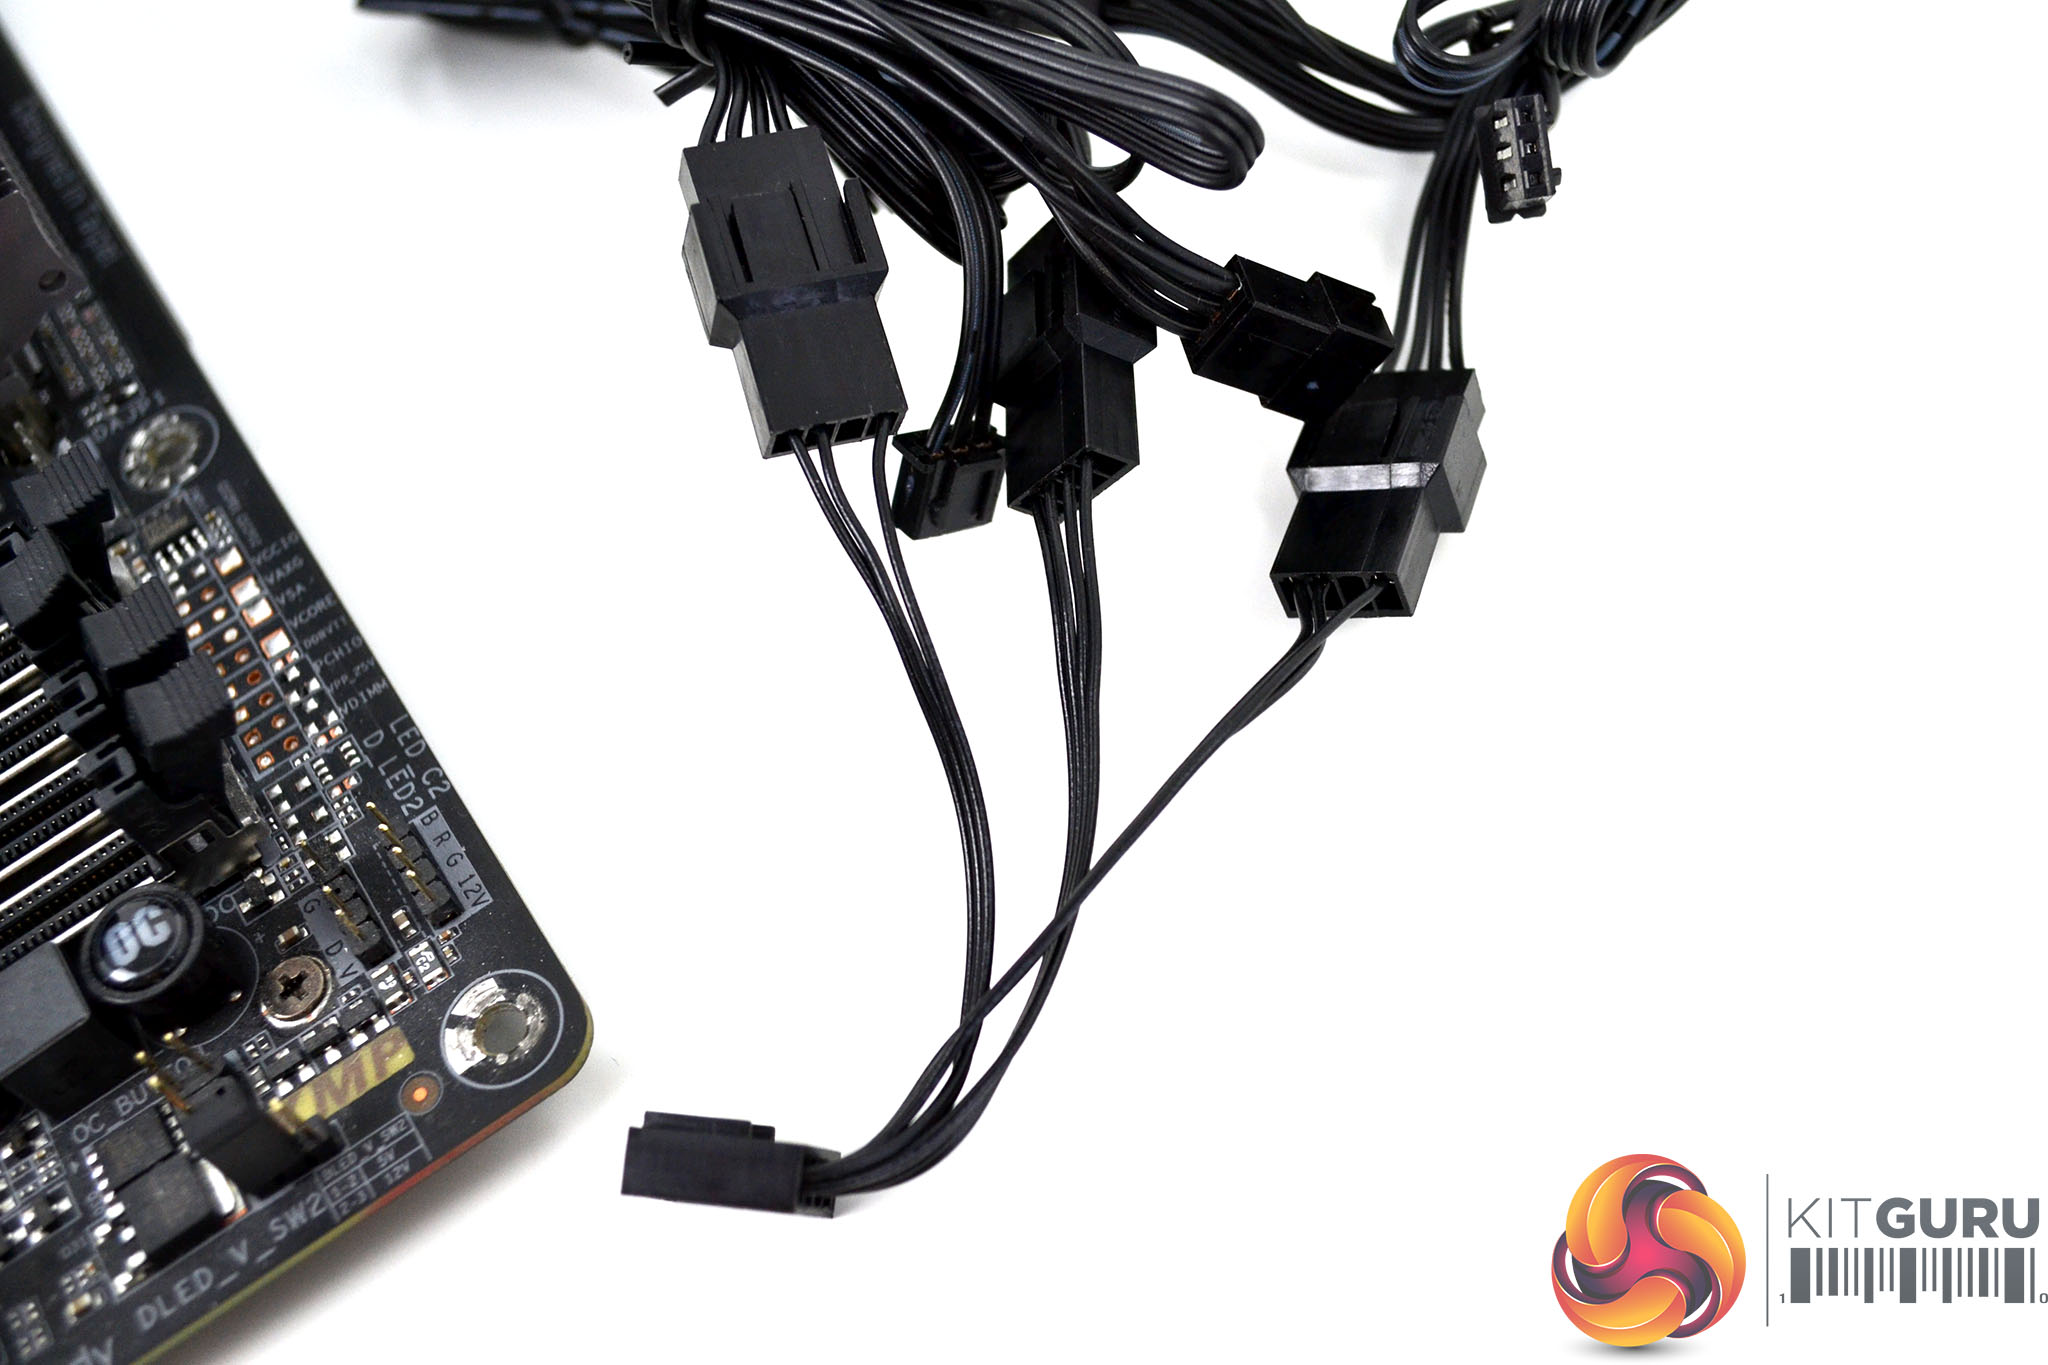
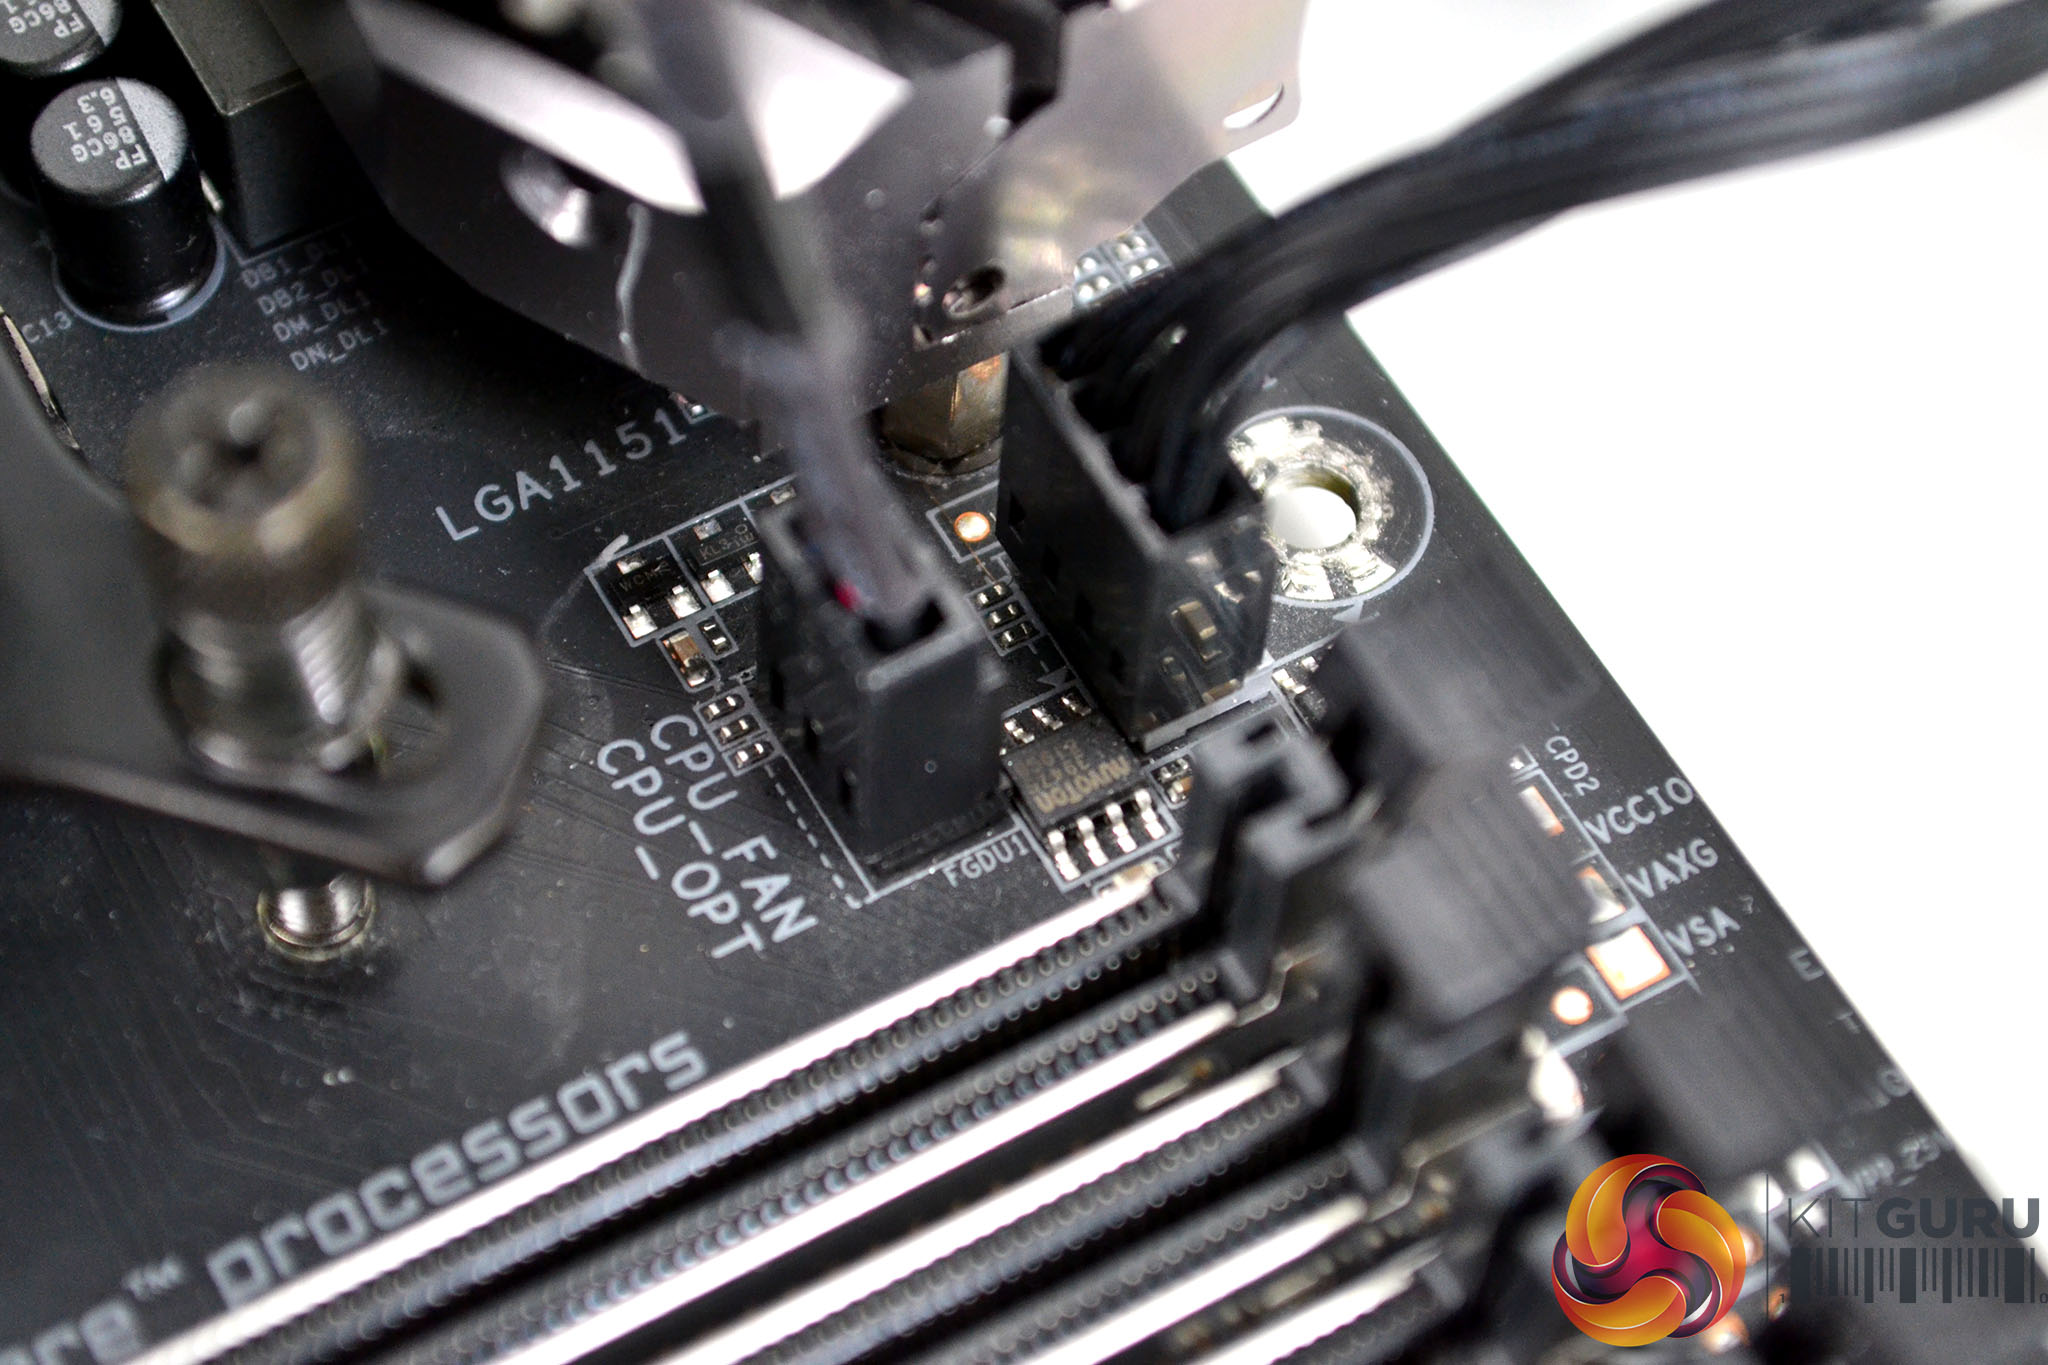
The final stage of installation requires connecting up the fan/pump power and RGB lighting, Connect all three 4-pin PWM cables from the fans to the three-way fan splitter cable and then connect the splitter cable female plug to the motherboard CPU_FAN header. Then connect the 3-pin pump power connector to the motherboard CPU_OPT header.
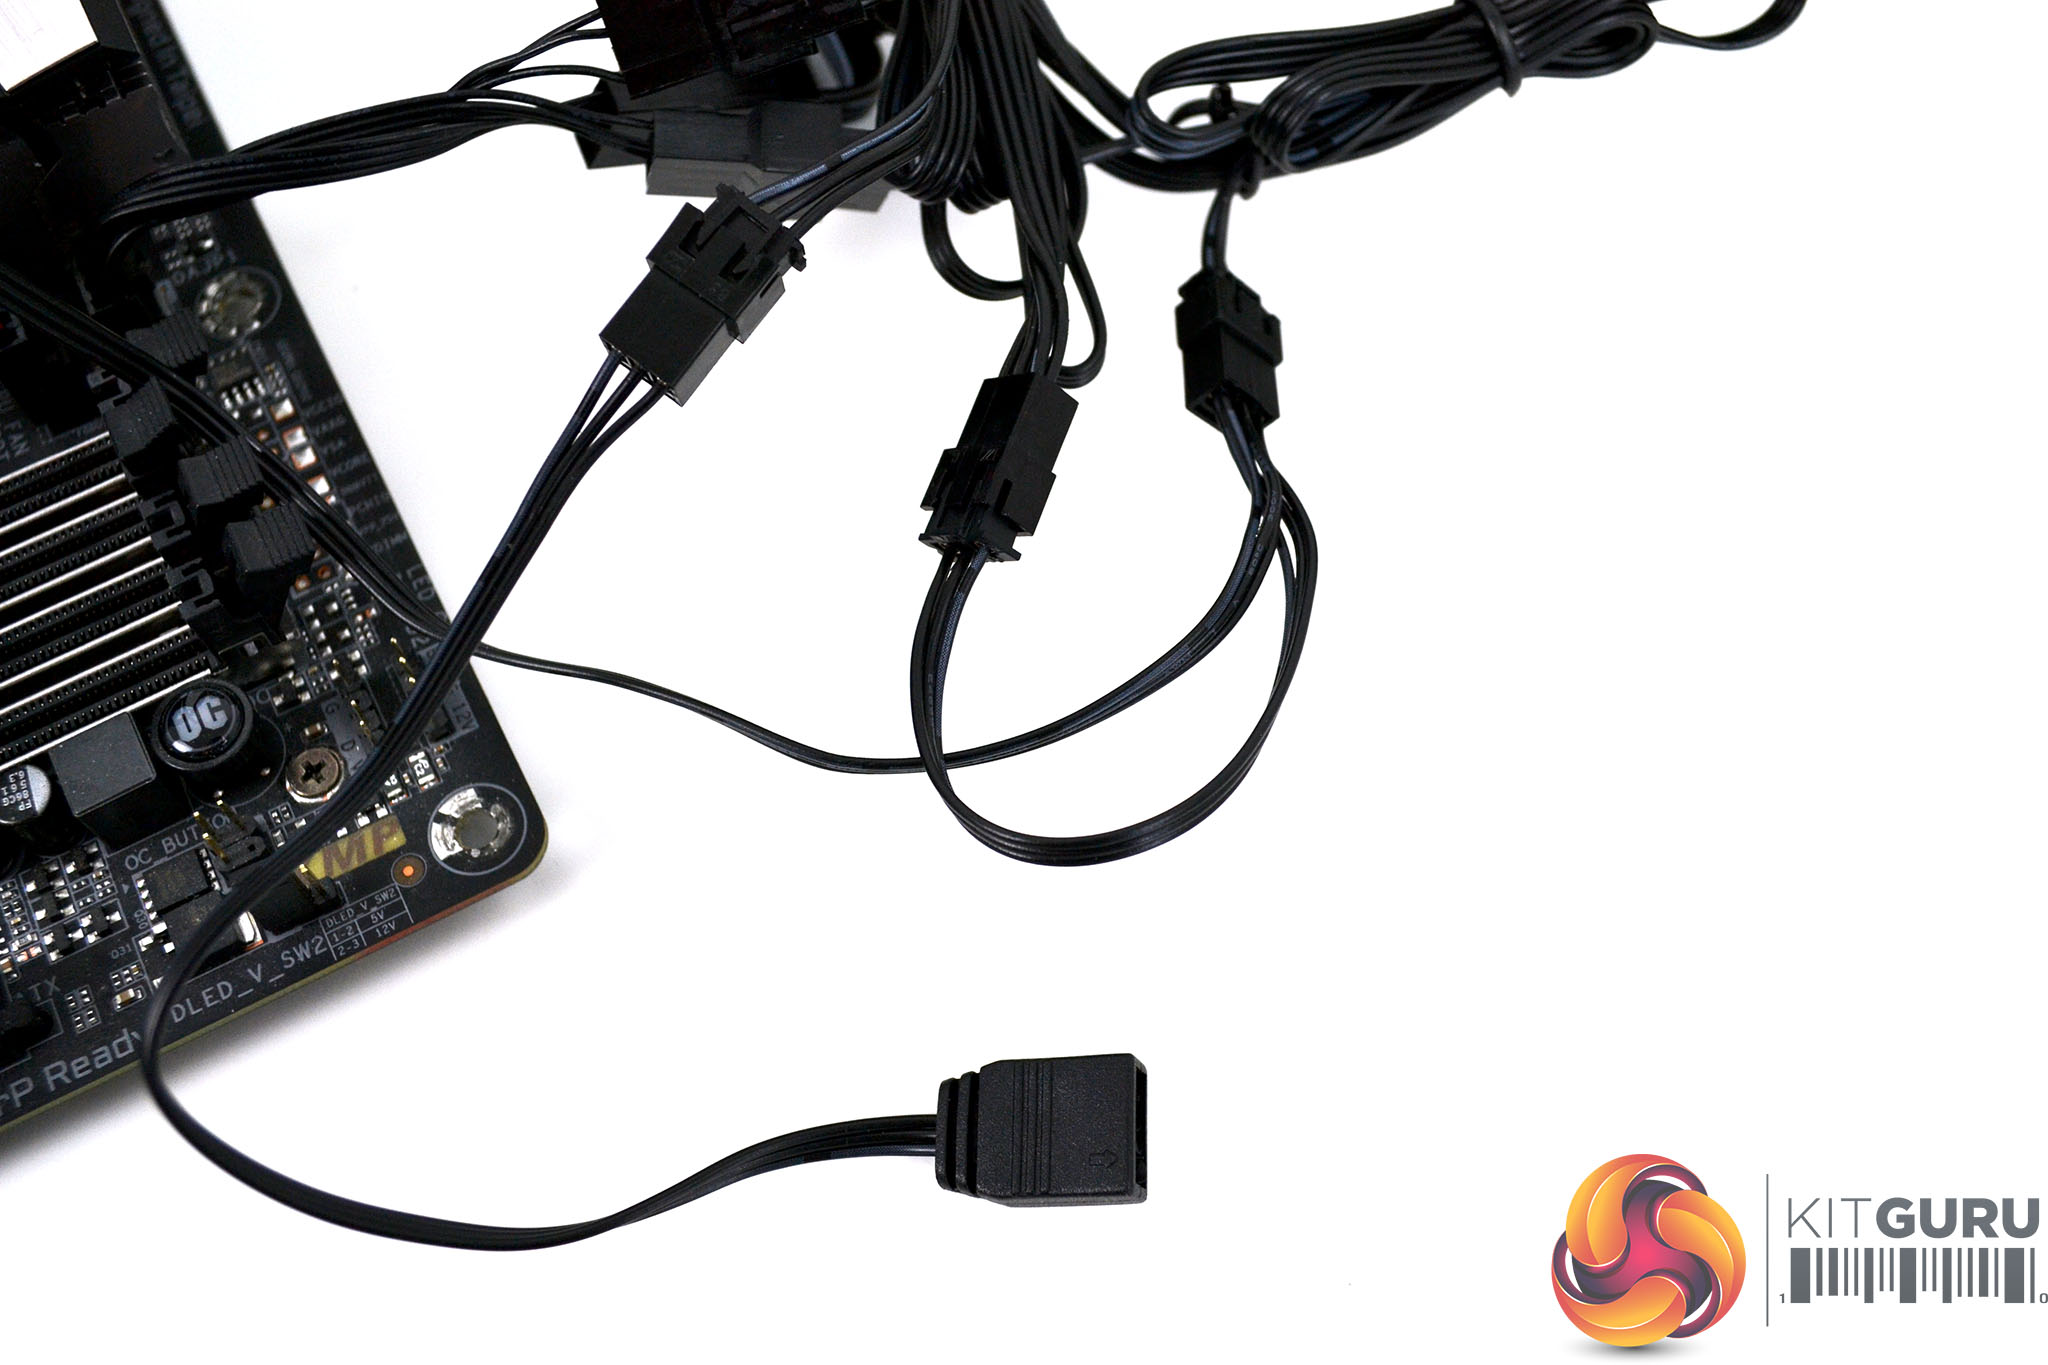
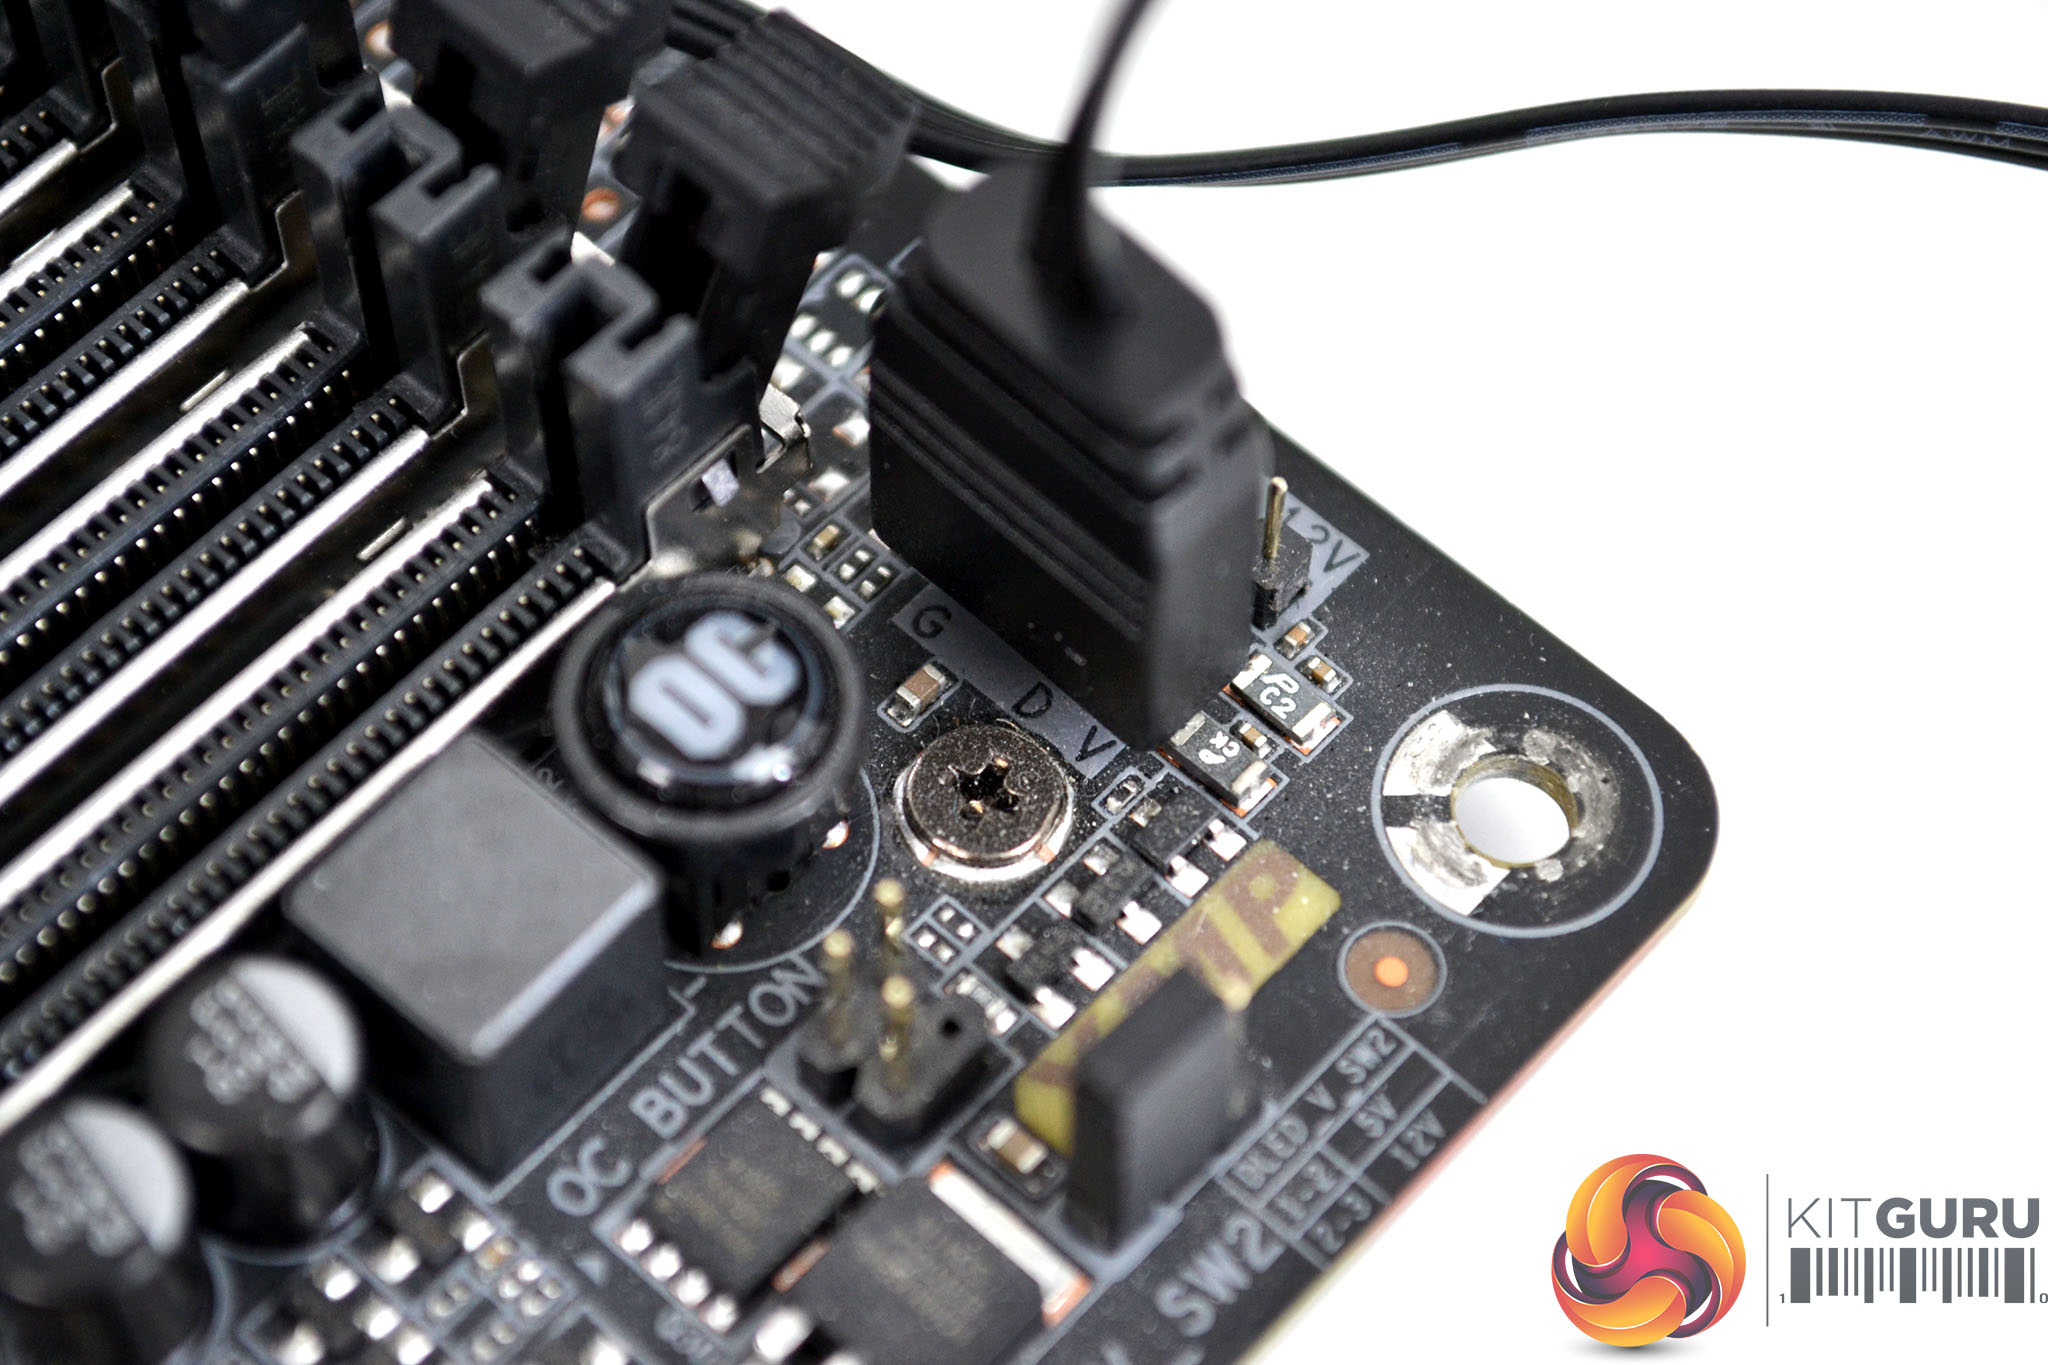
There are two ways to connect the RGB lighting of the Alphacool Eisbaer Aurora. Since our Gigabyte Z390 Aorus Master motherboard is equipped with ARGB lighting headers, we will use this option. Connect the 3-pin RGB cables of all the fans and the CPU block together and using the Alphacool 3-pin ARGB extension cable, connect it to the motherboard 3-pin RGB header. Alternatively, you can connect the 3-pin ARGB cable to the Alphacool RGB controller for standalone RGB control.
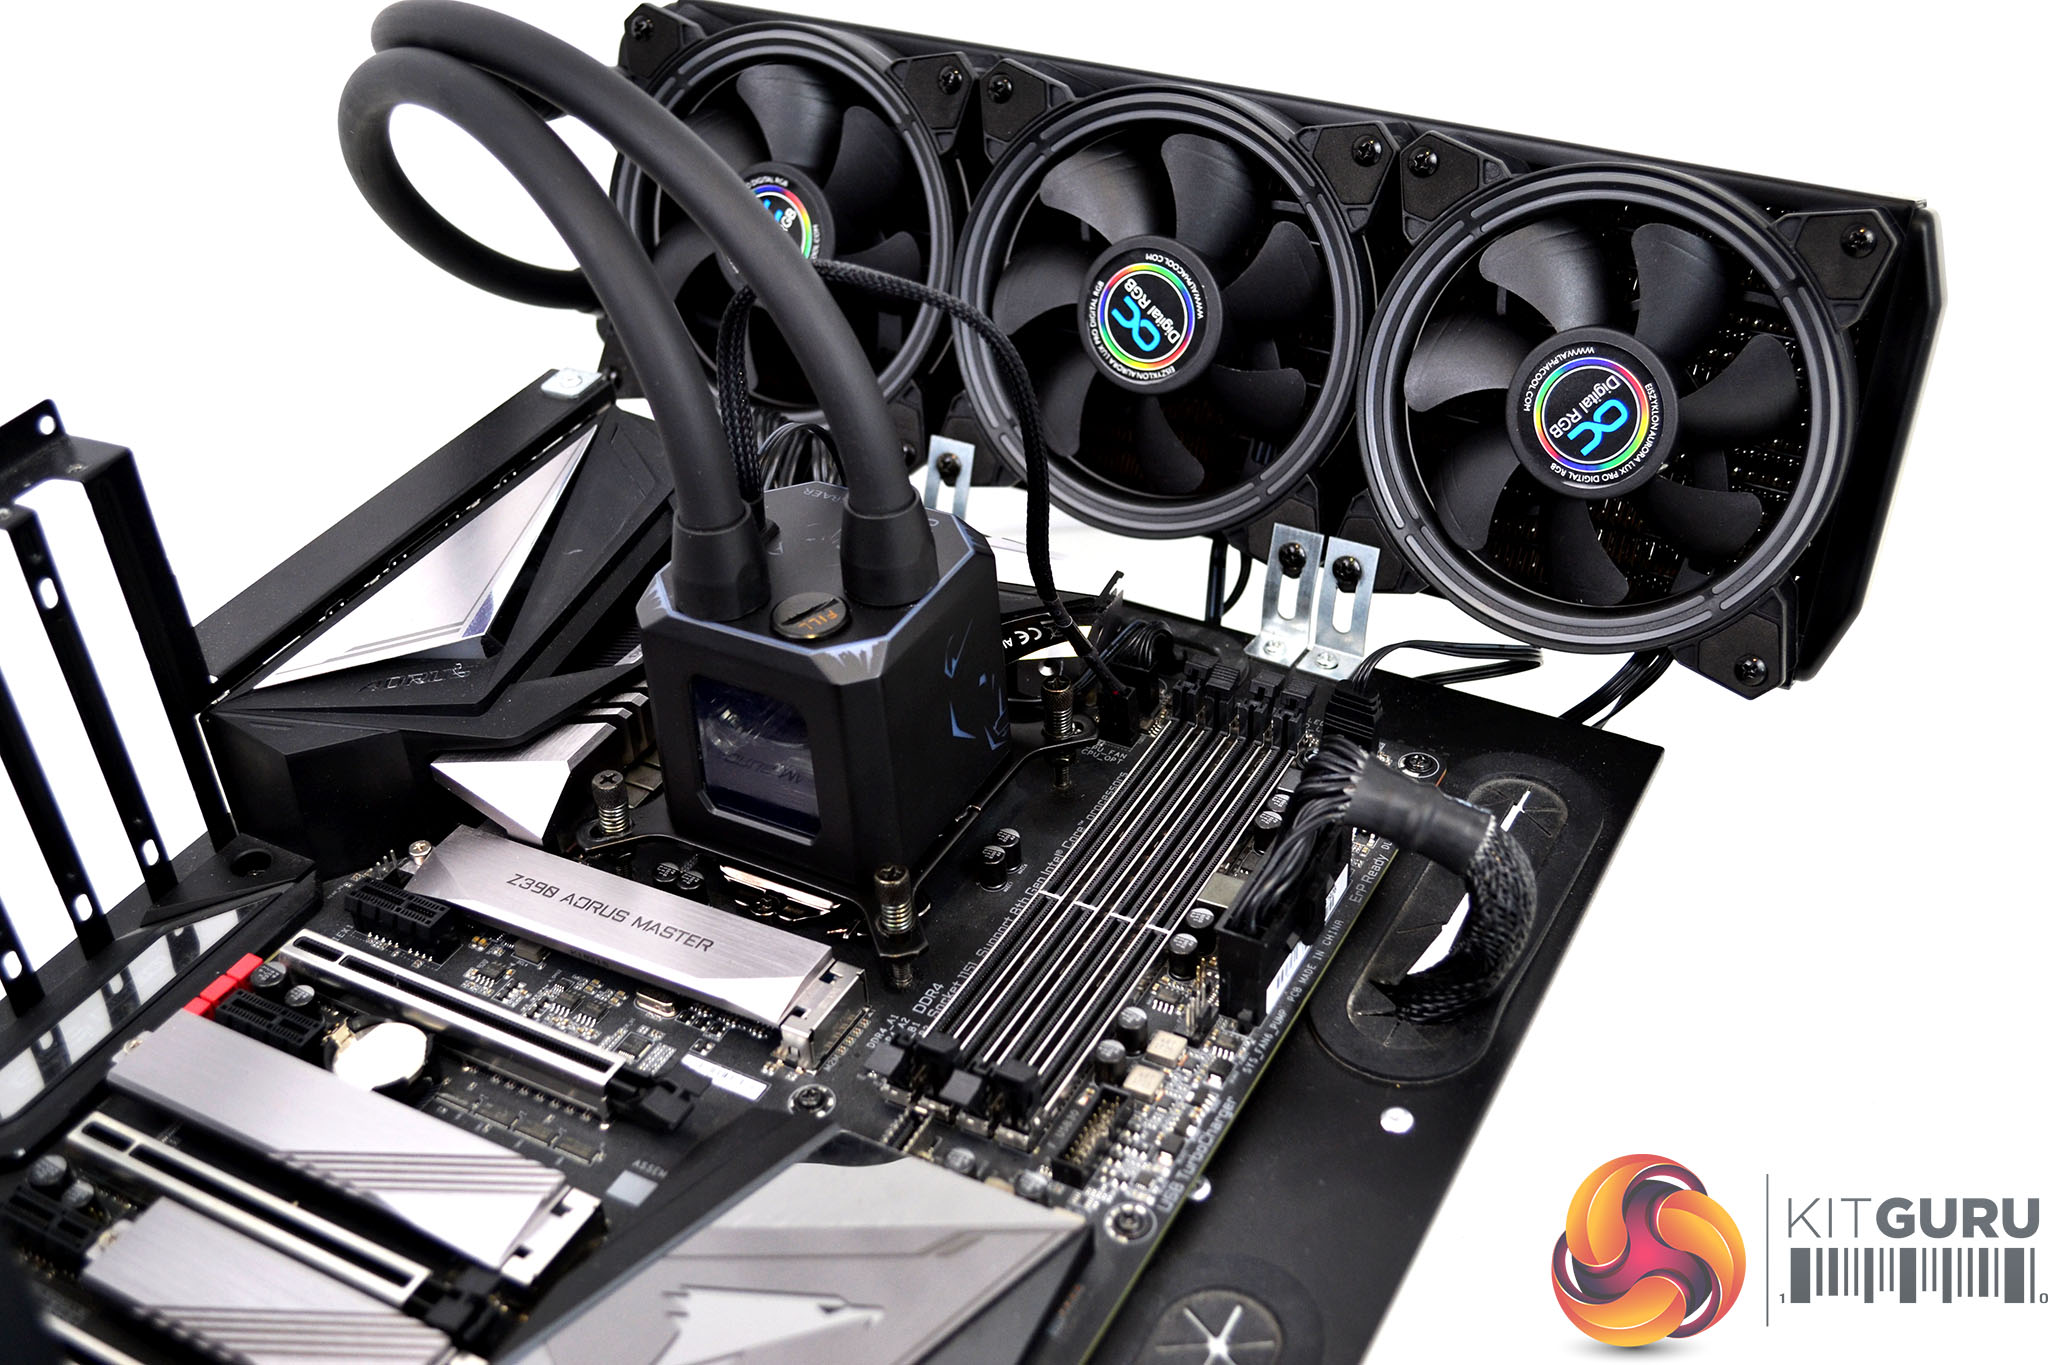

The overall installation of the Alphacool Eisbaer Aurora is a little more involved than some other all-in-one CPU coolers. However, taking the time to read the installation manual beforehand will help you get through the process and it shouldn’t take much more than about 20 minutes to complete the installation.
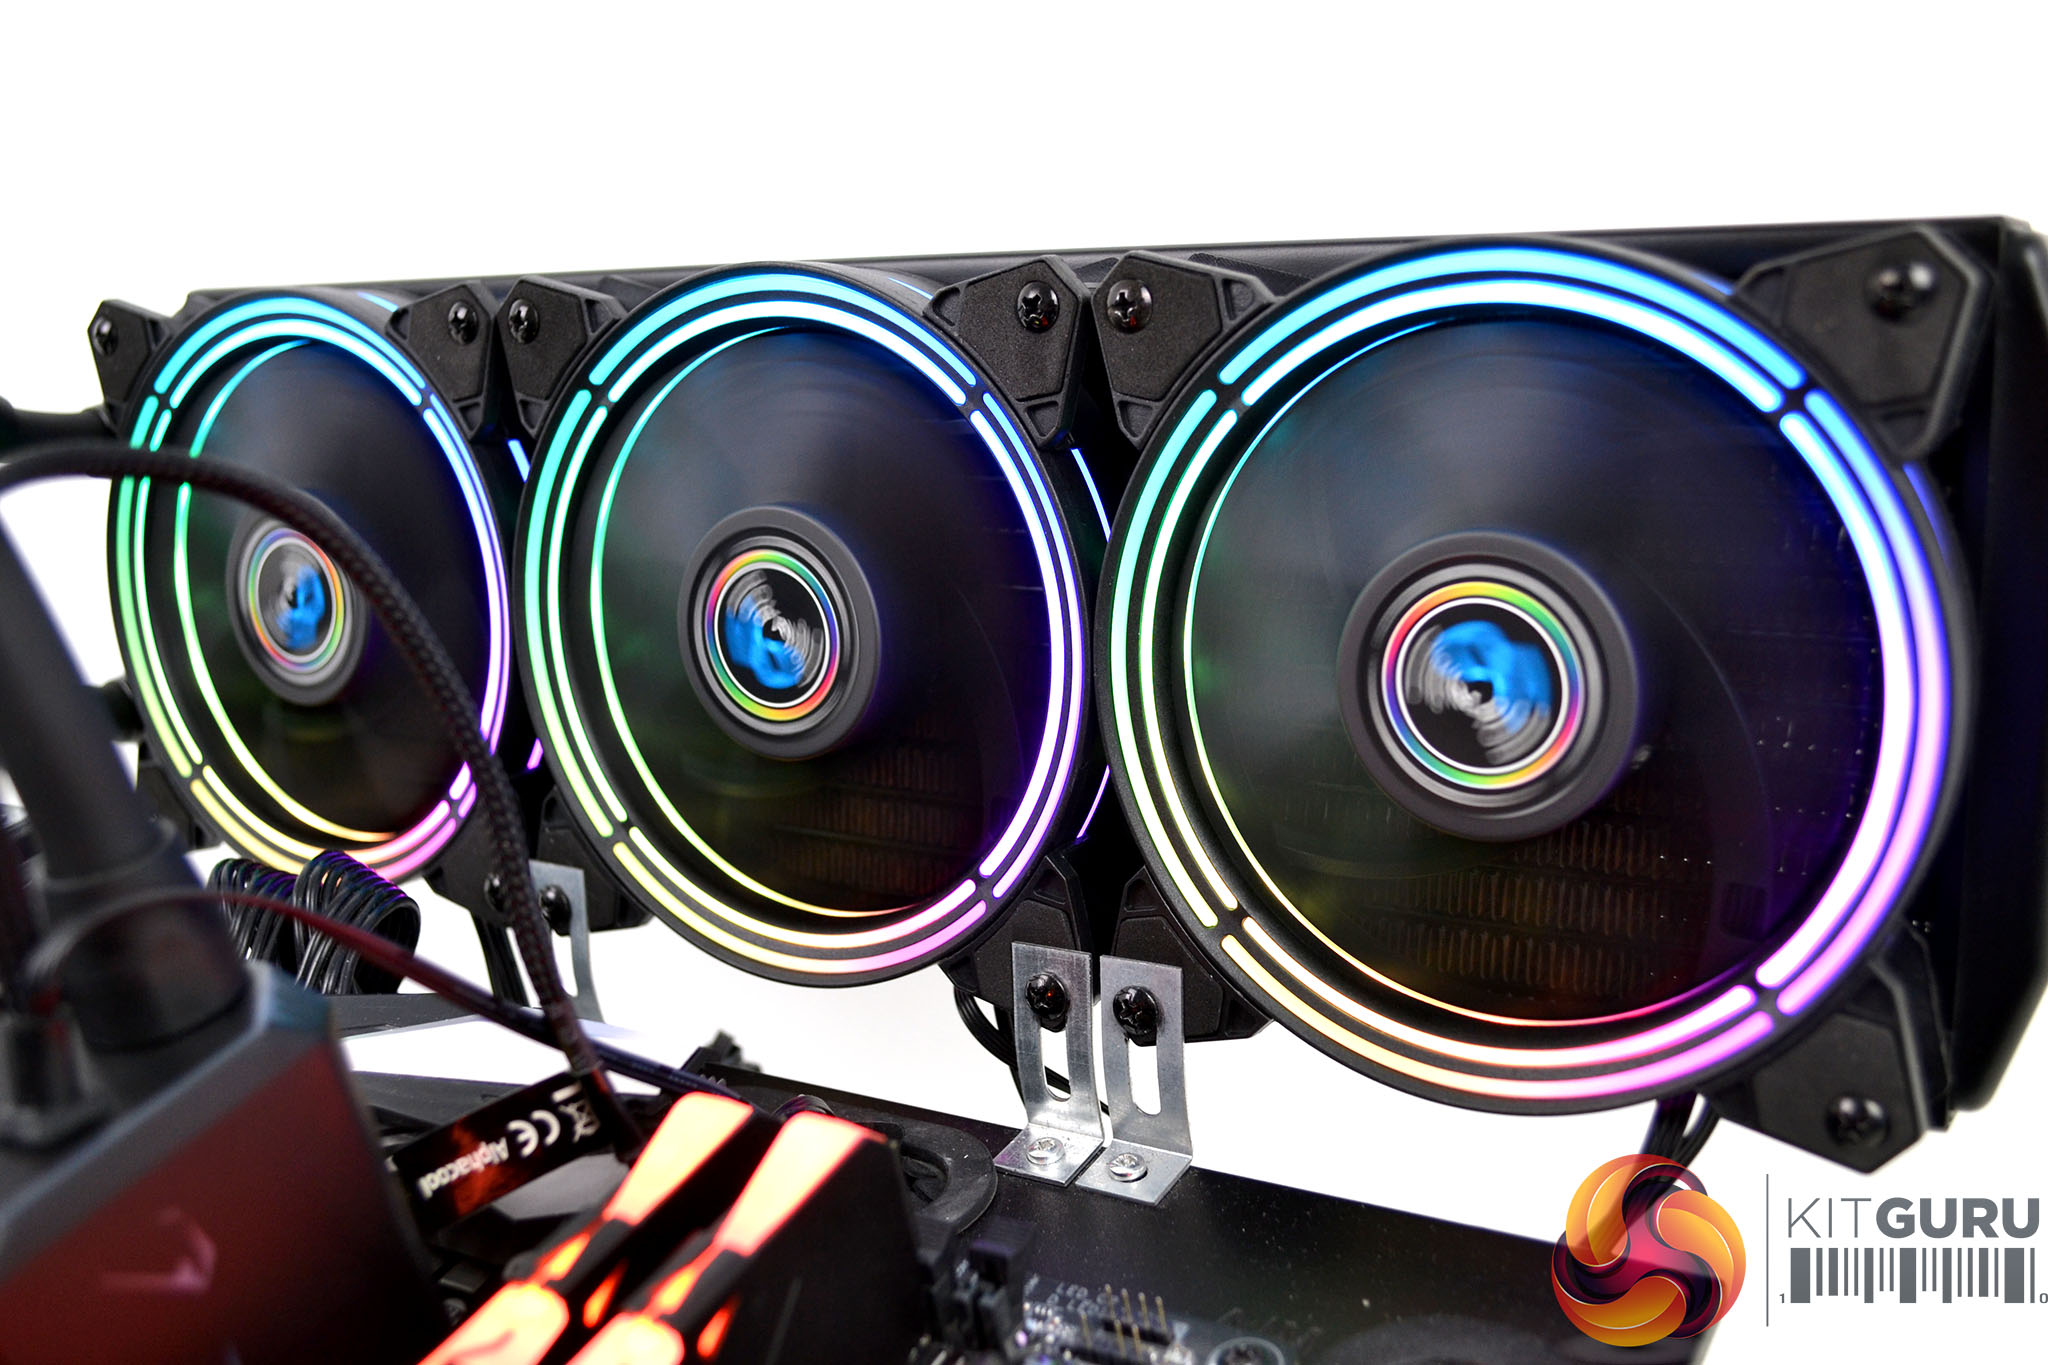
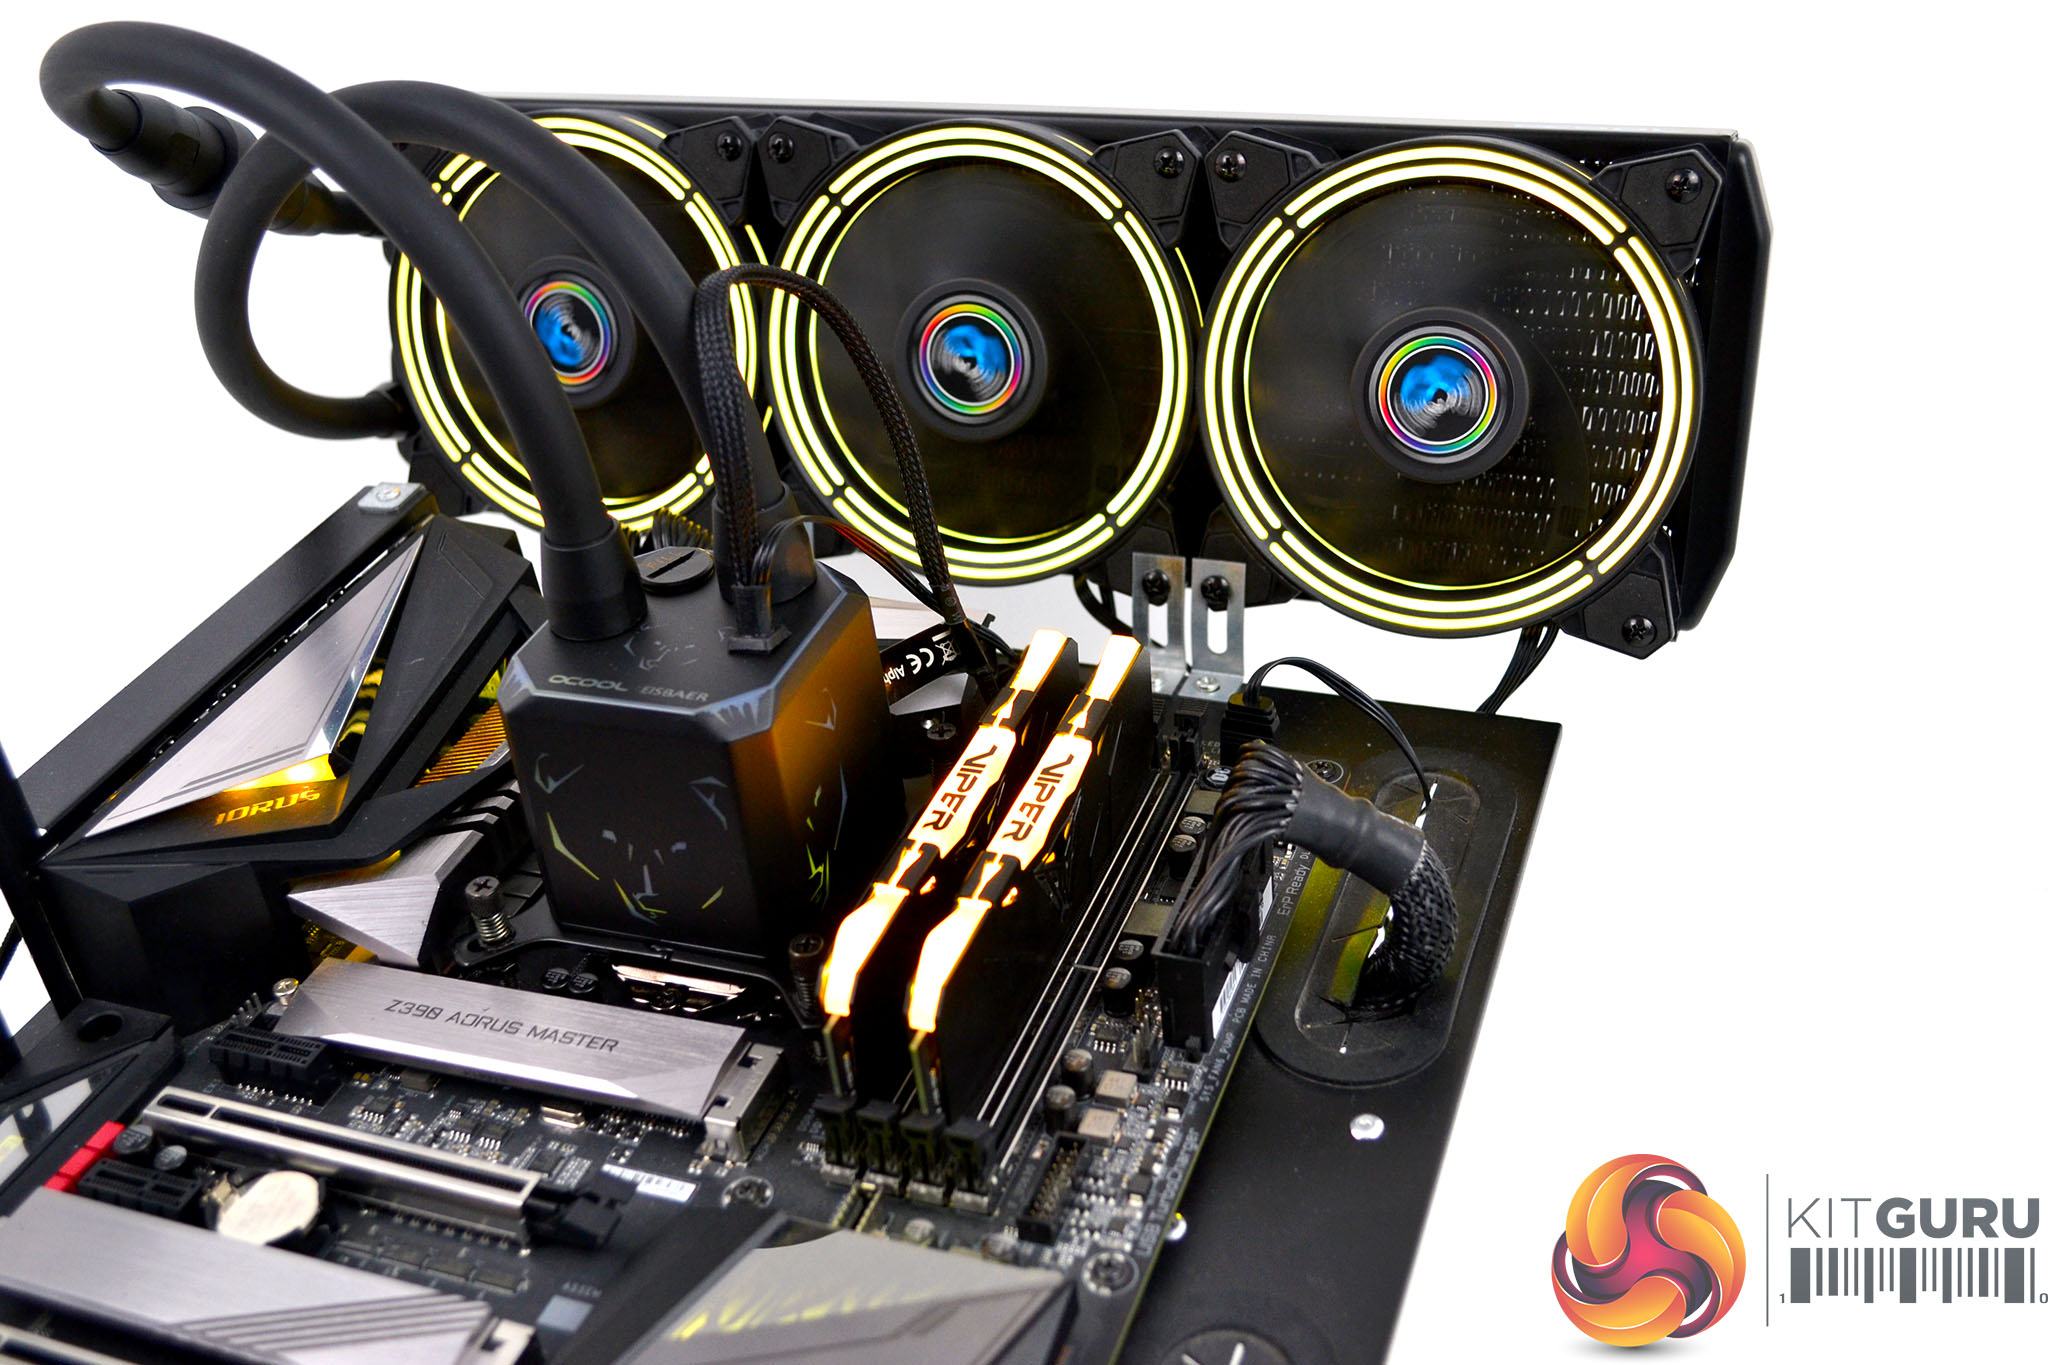
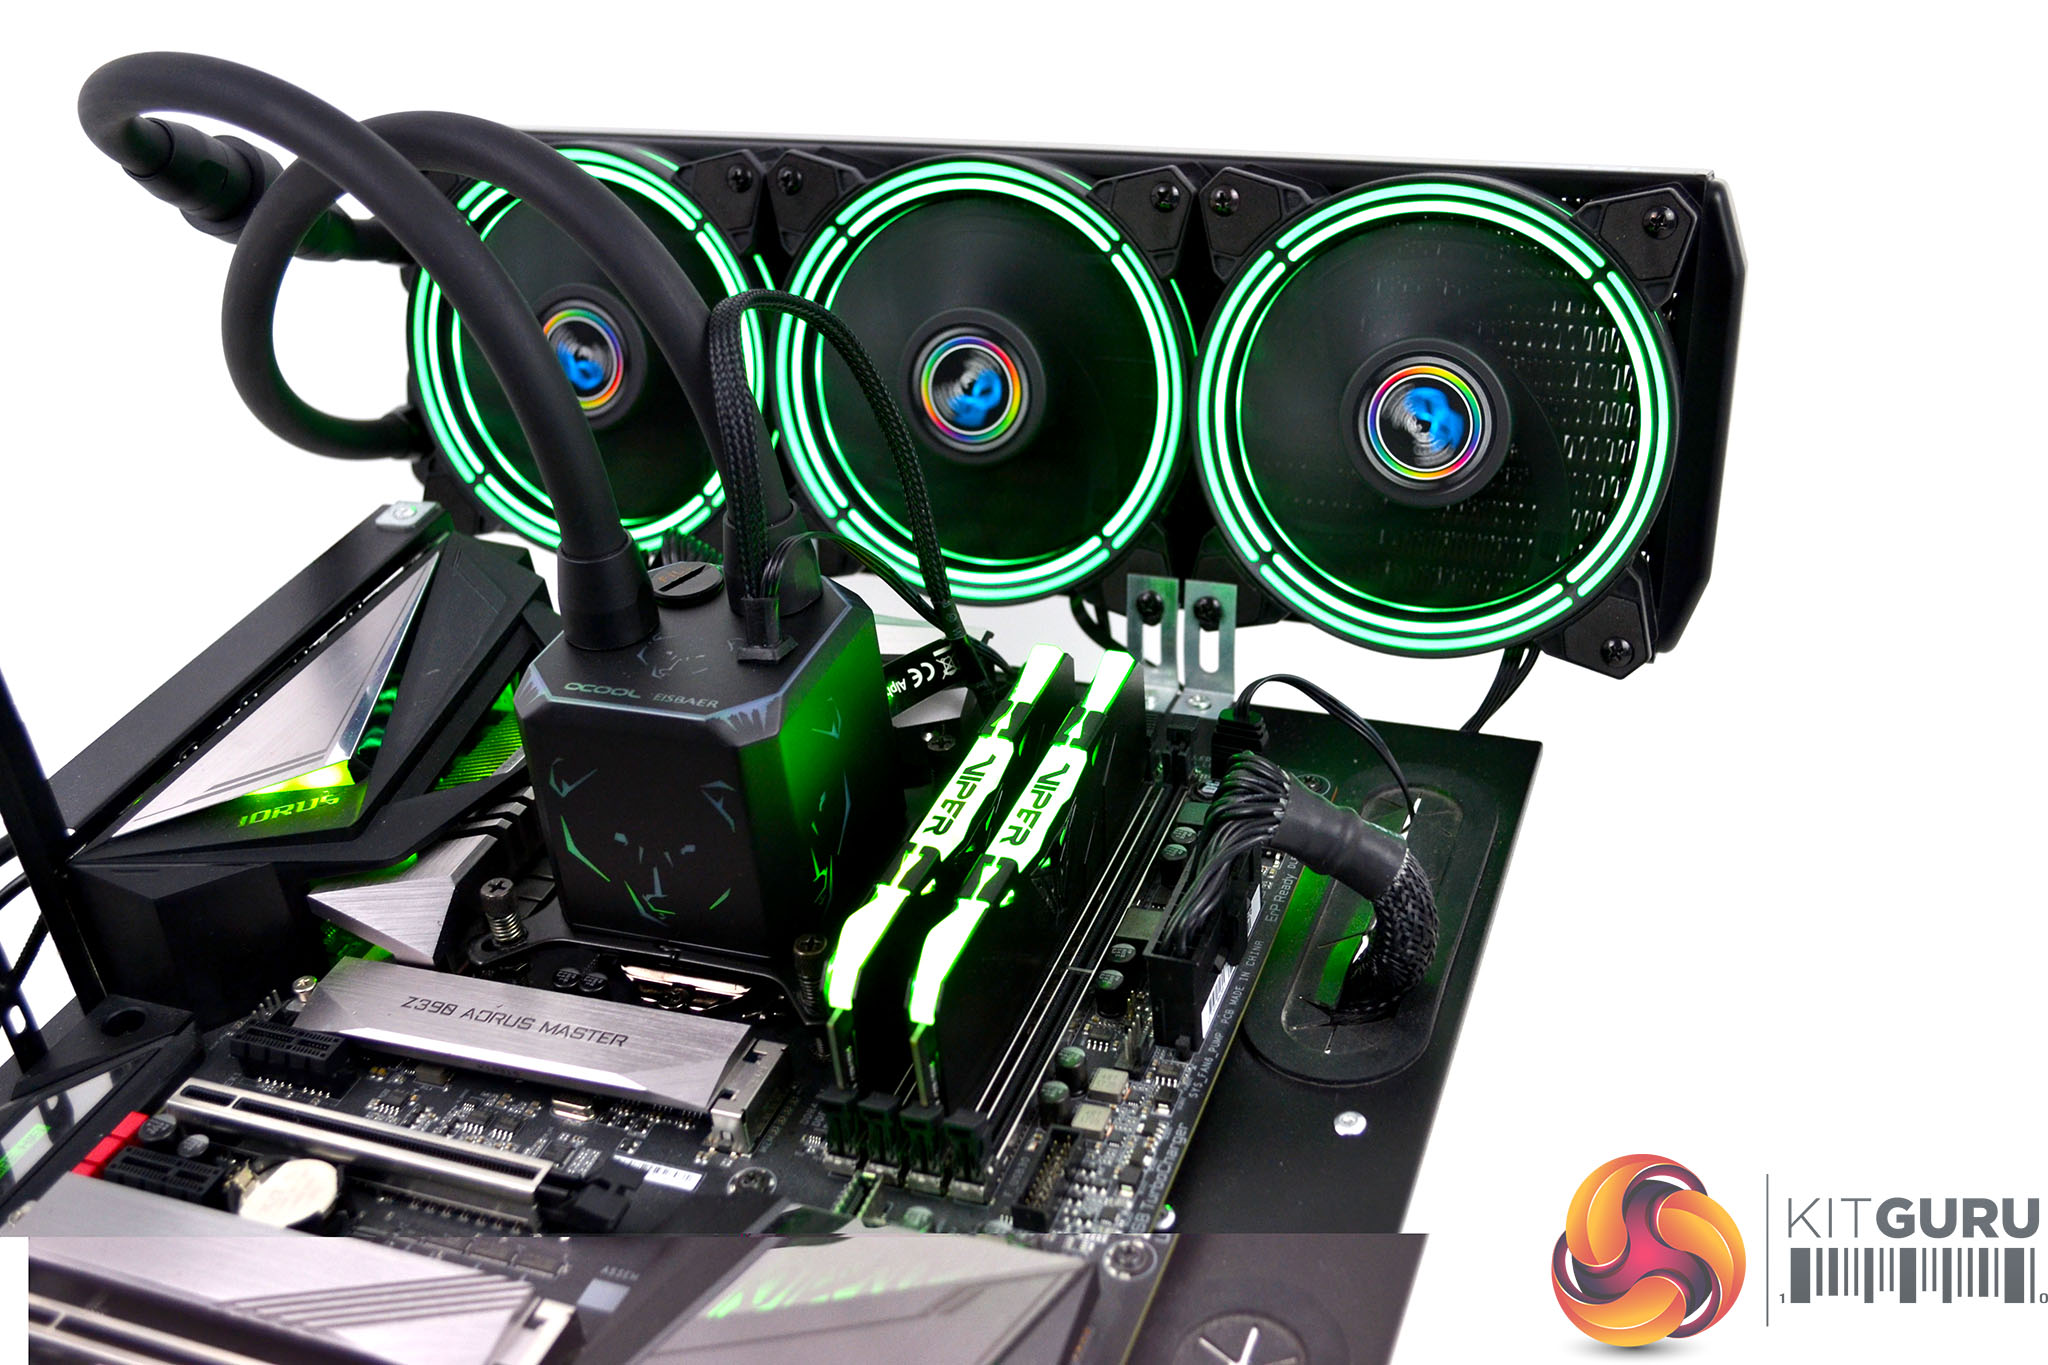
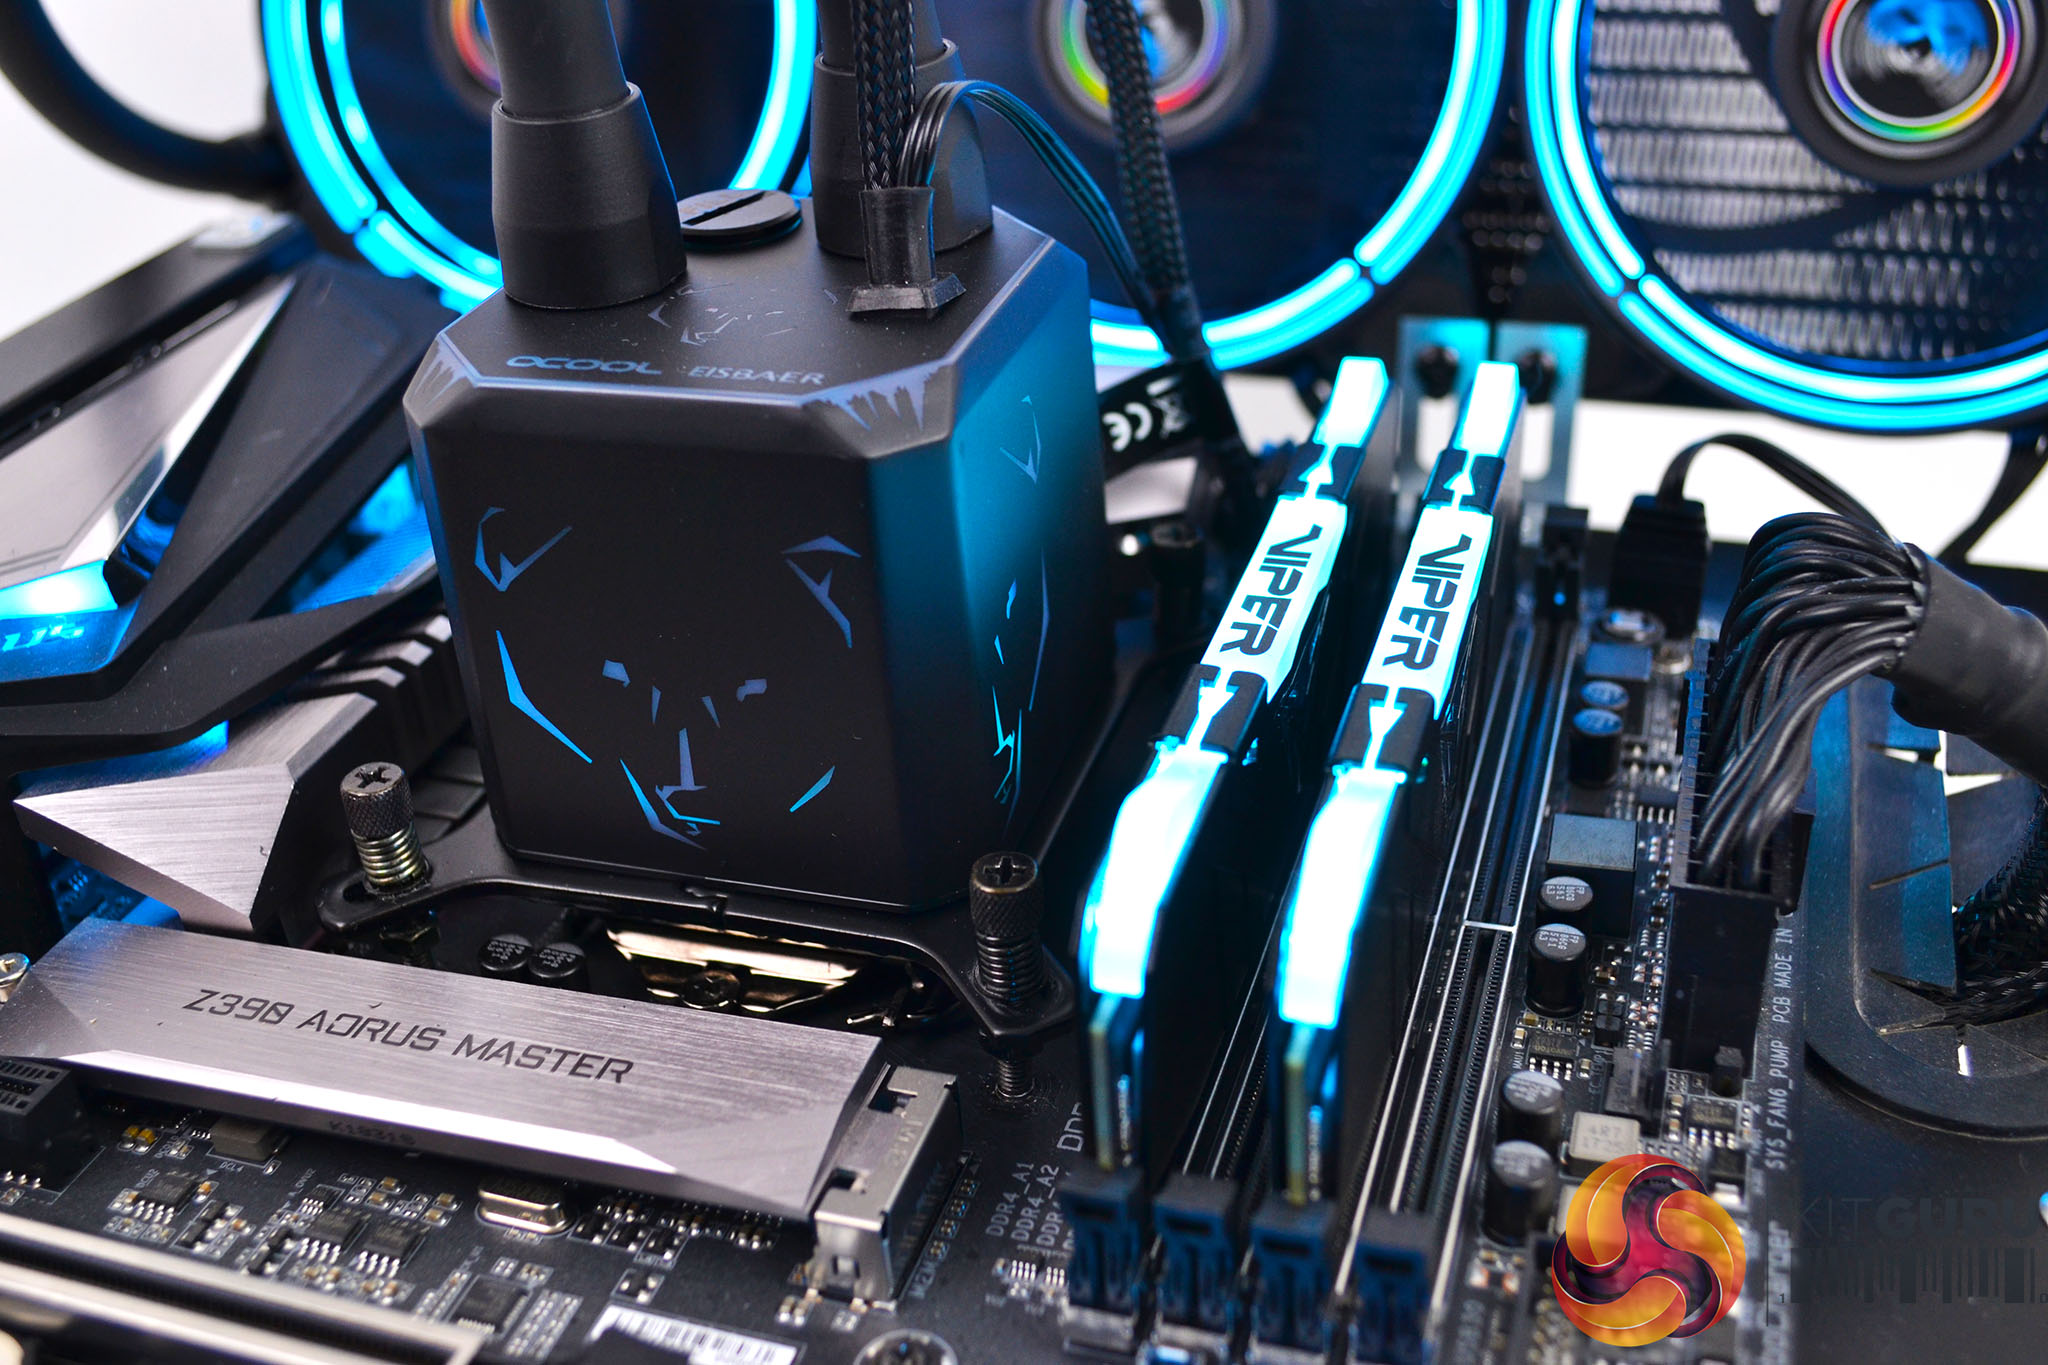
RGB Gallery