Our CPU cooler test system is Intel Z390 based, therefore, we will be following the relevant Intel 115X socket installation procedure. Intel installation requires the use of the included universal be quiet! backplate while AMD installation utilises the stock AM3/AM4 backplate.
After a quick look at the included installation hardware, it seems that the Pure Loop uses a similar mounting method as used by previous be quiet! air coolers, so the process should be straightforward. First, prepare the Intel backplate by inserting the standoff screws through the relevant holes in the backplate and secure in place with the rubber o-rings.
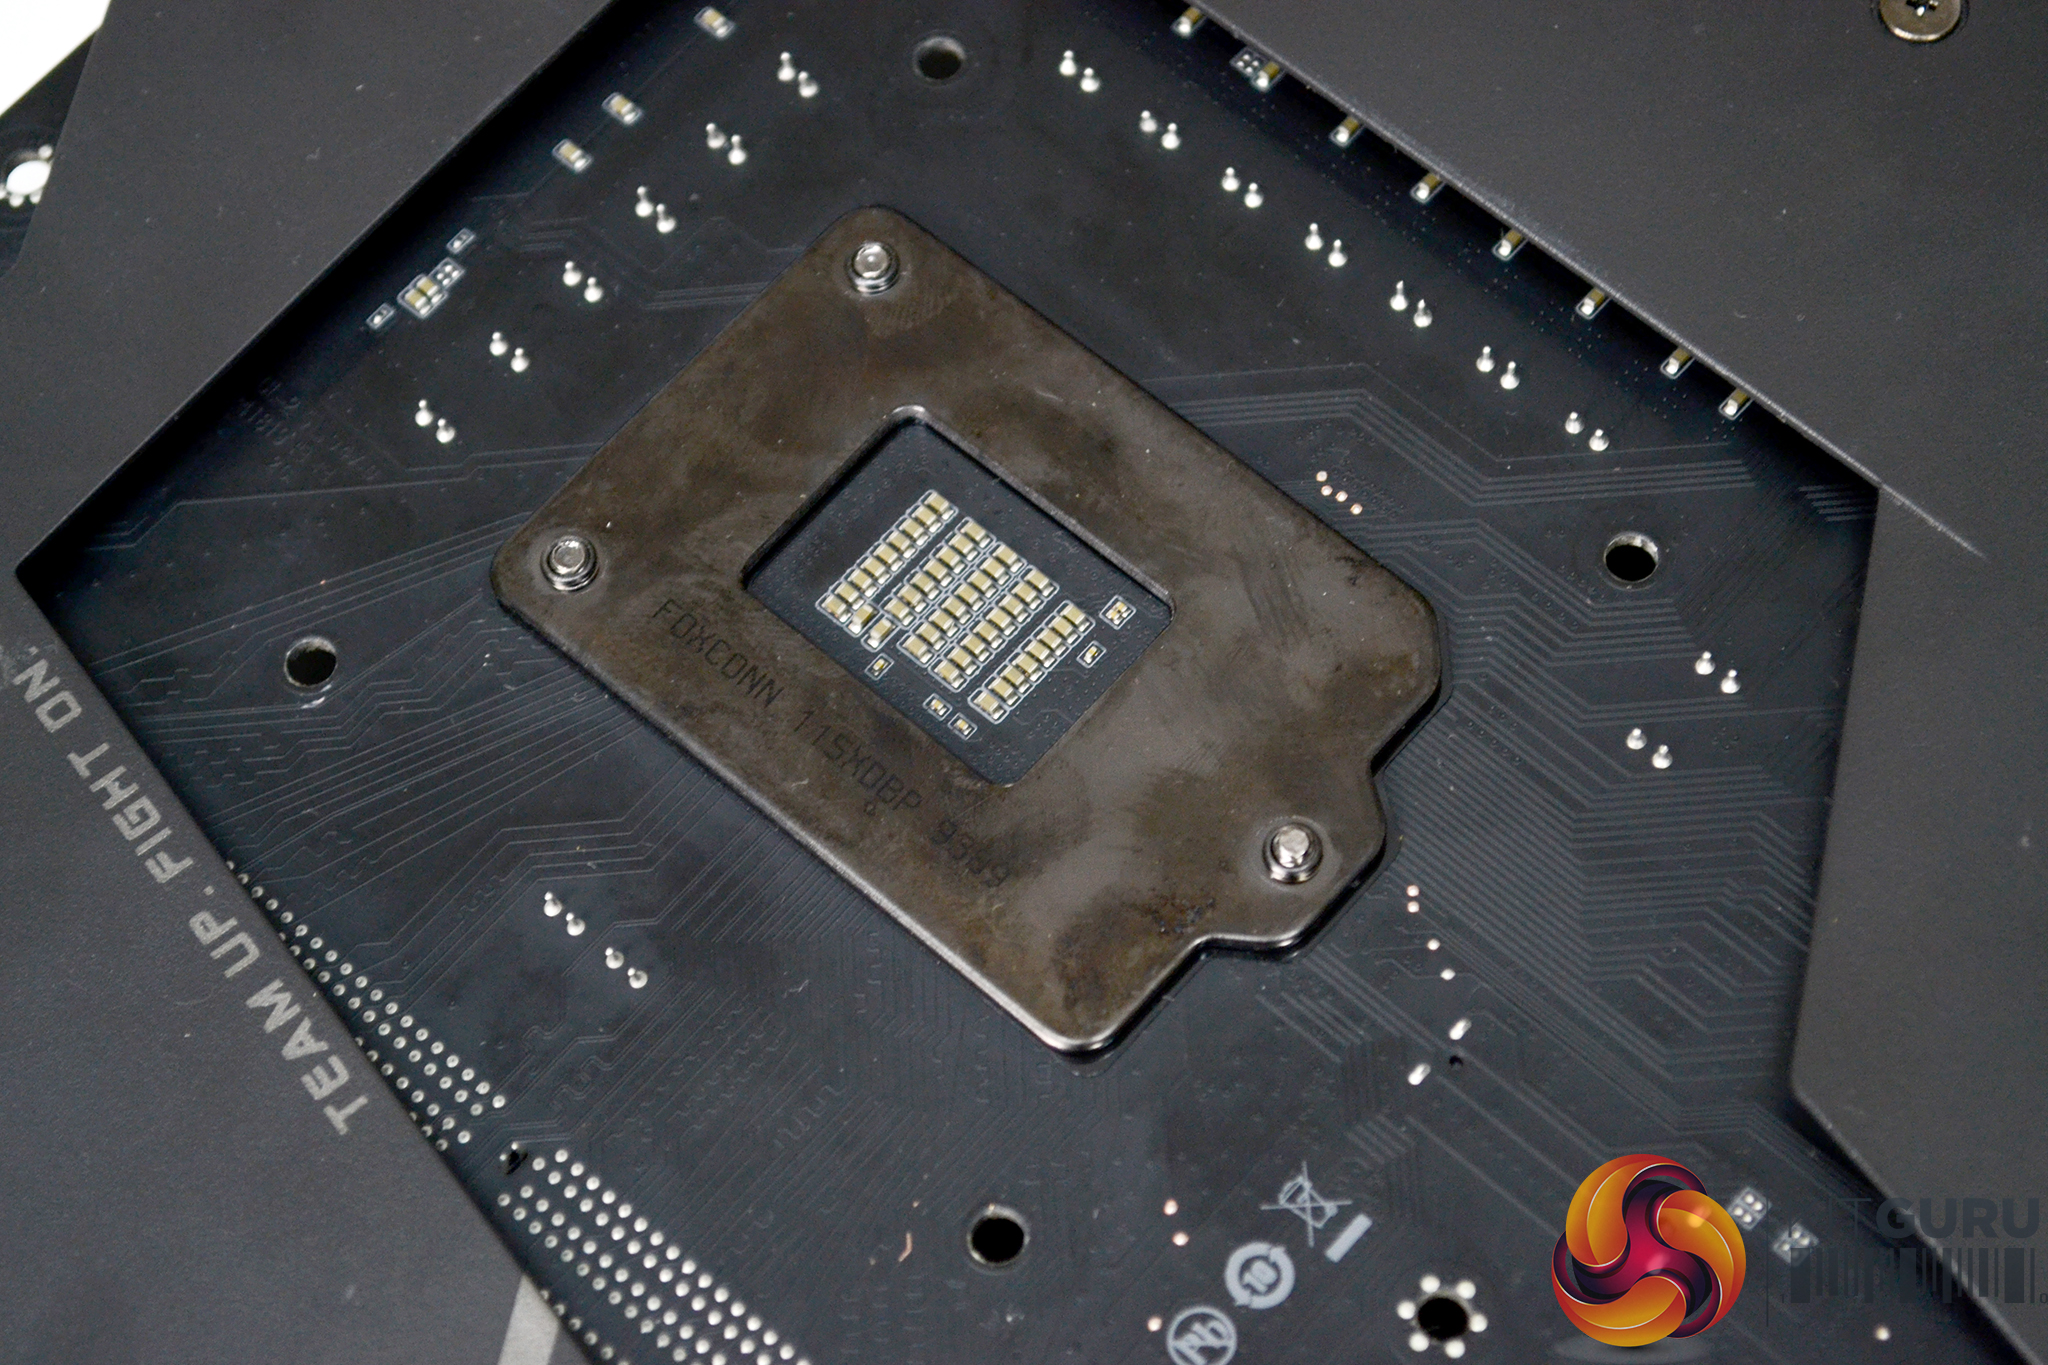
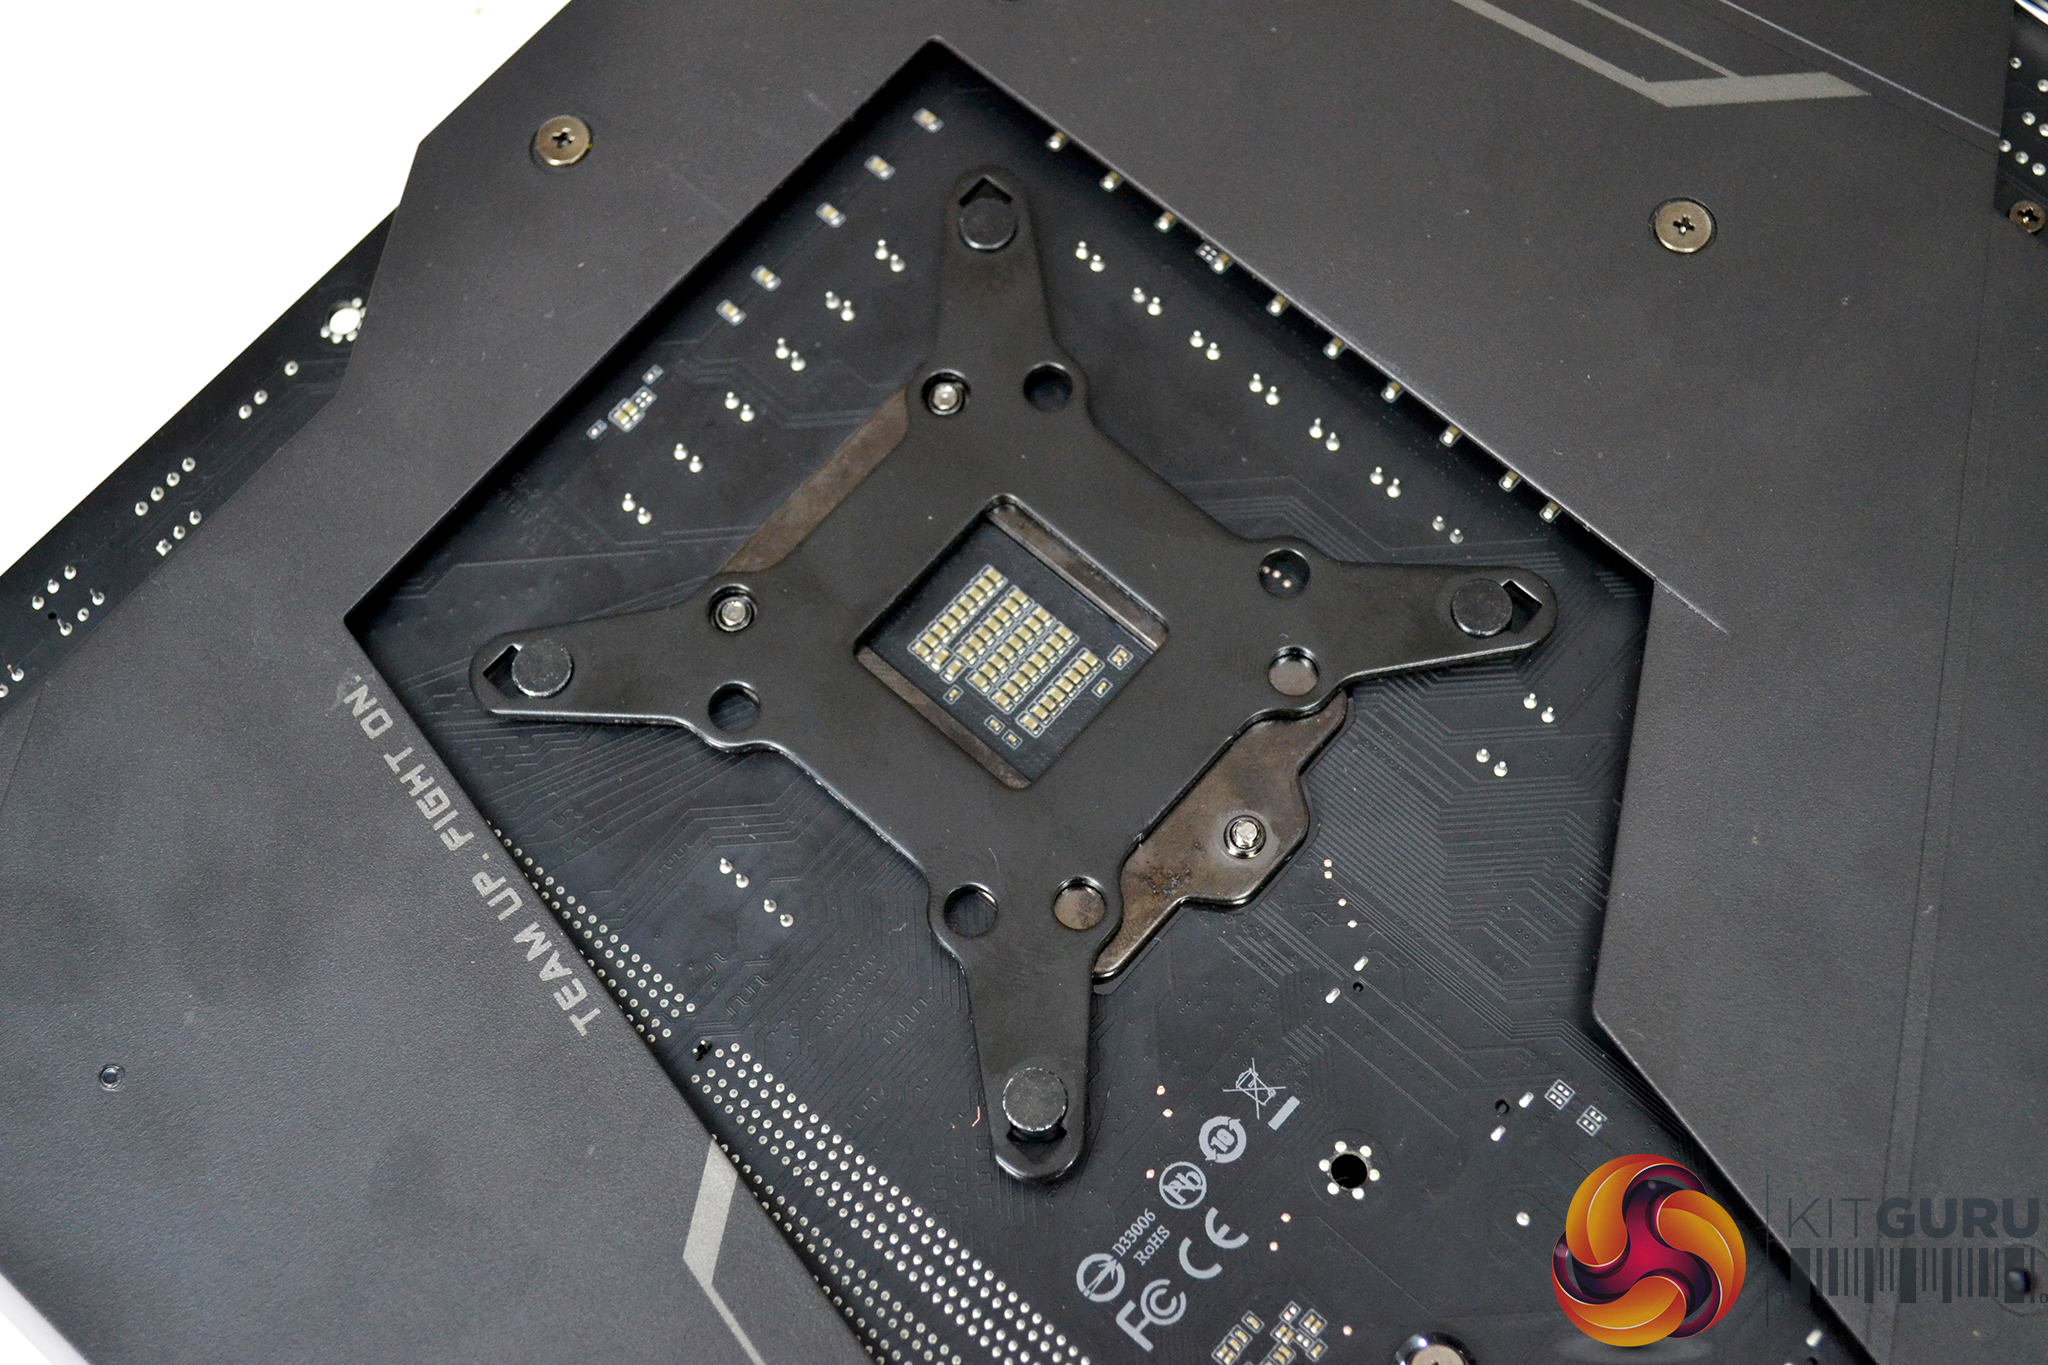
Next, working from the rear of the motherboard, align the assembled backplate with the CPU cooler mounting holes and lower the backplate in position. The backplate is designed to fit any way around so orientation isn't critical.
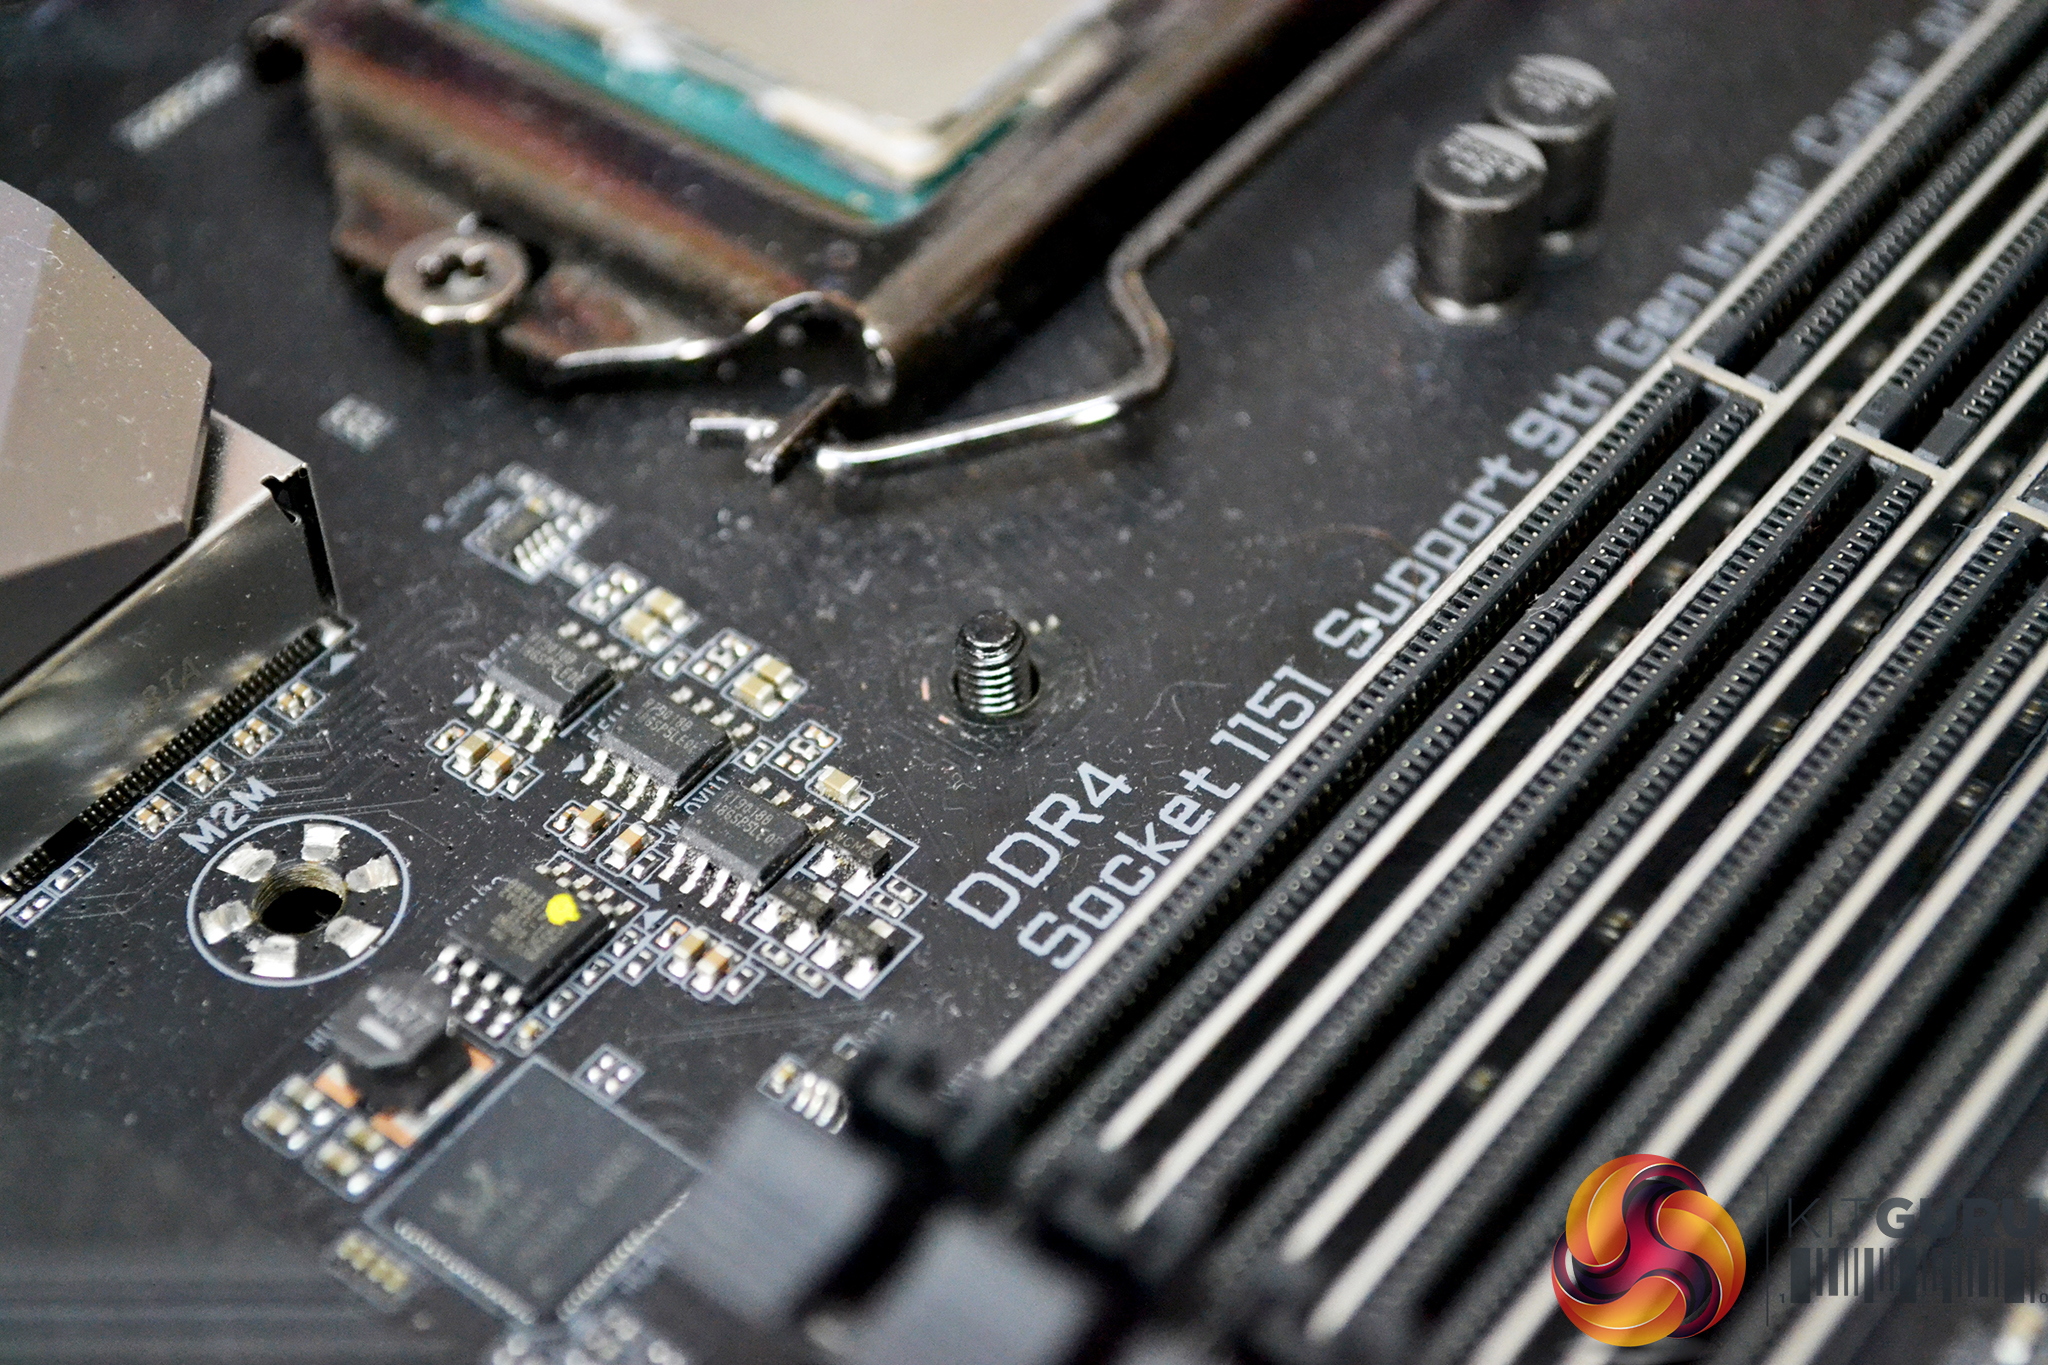
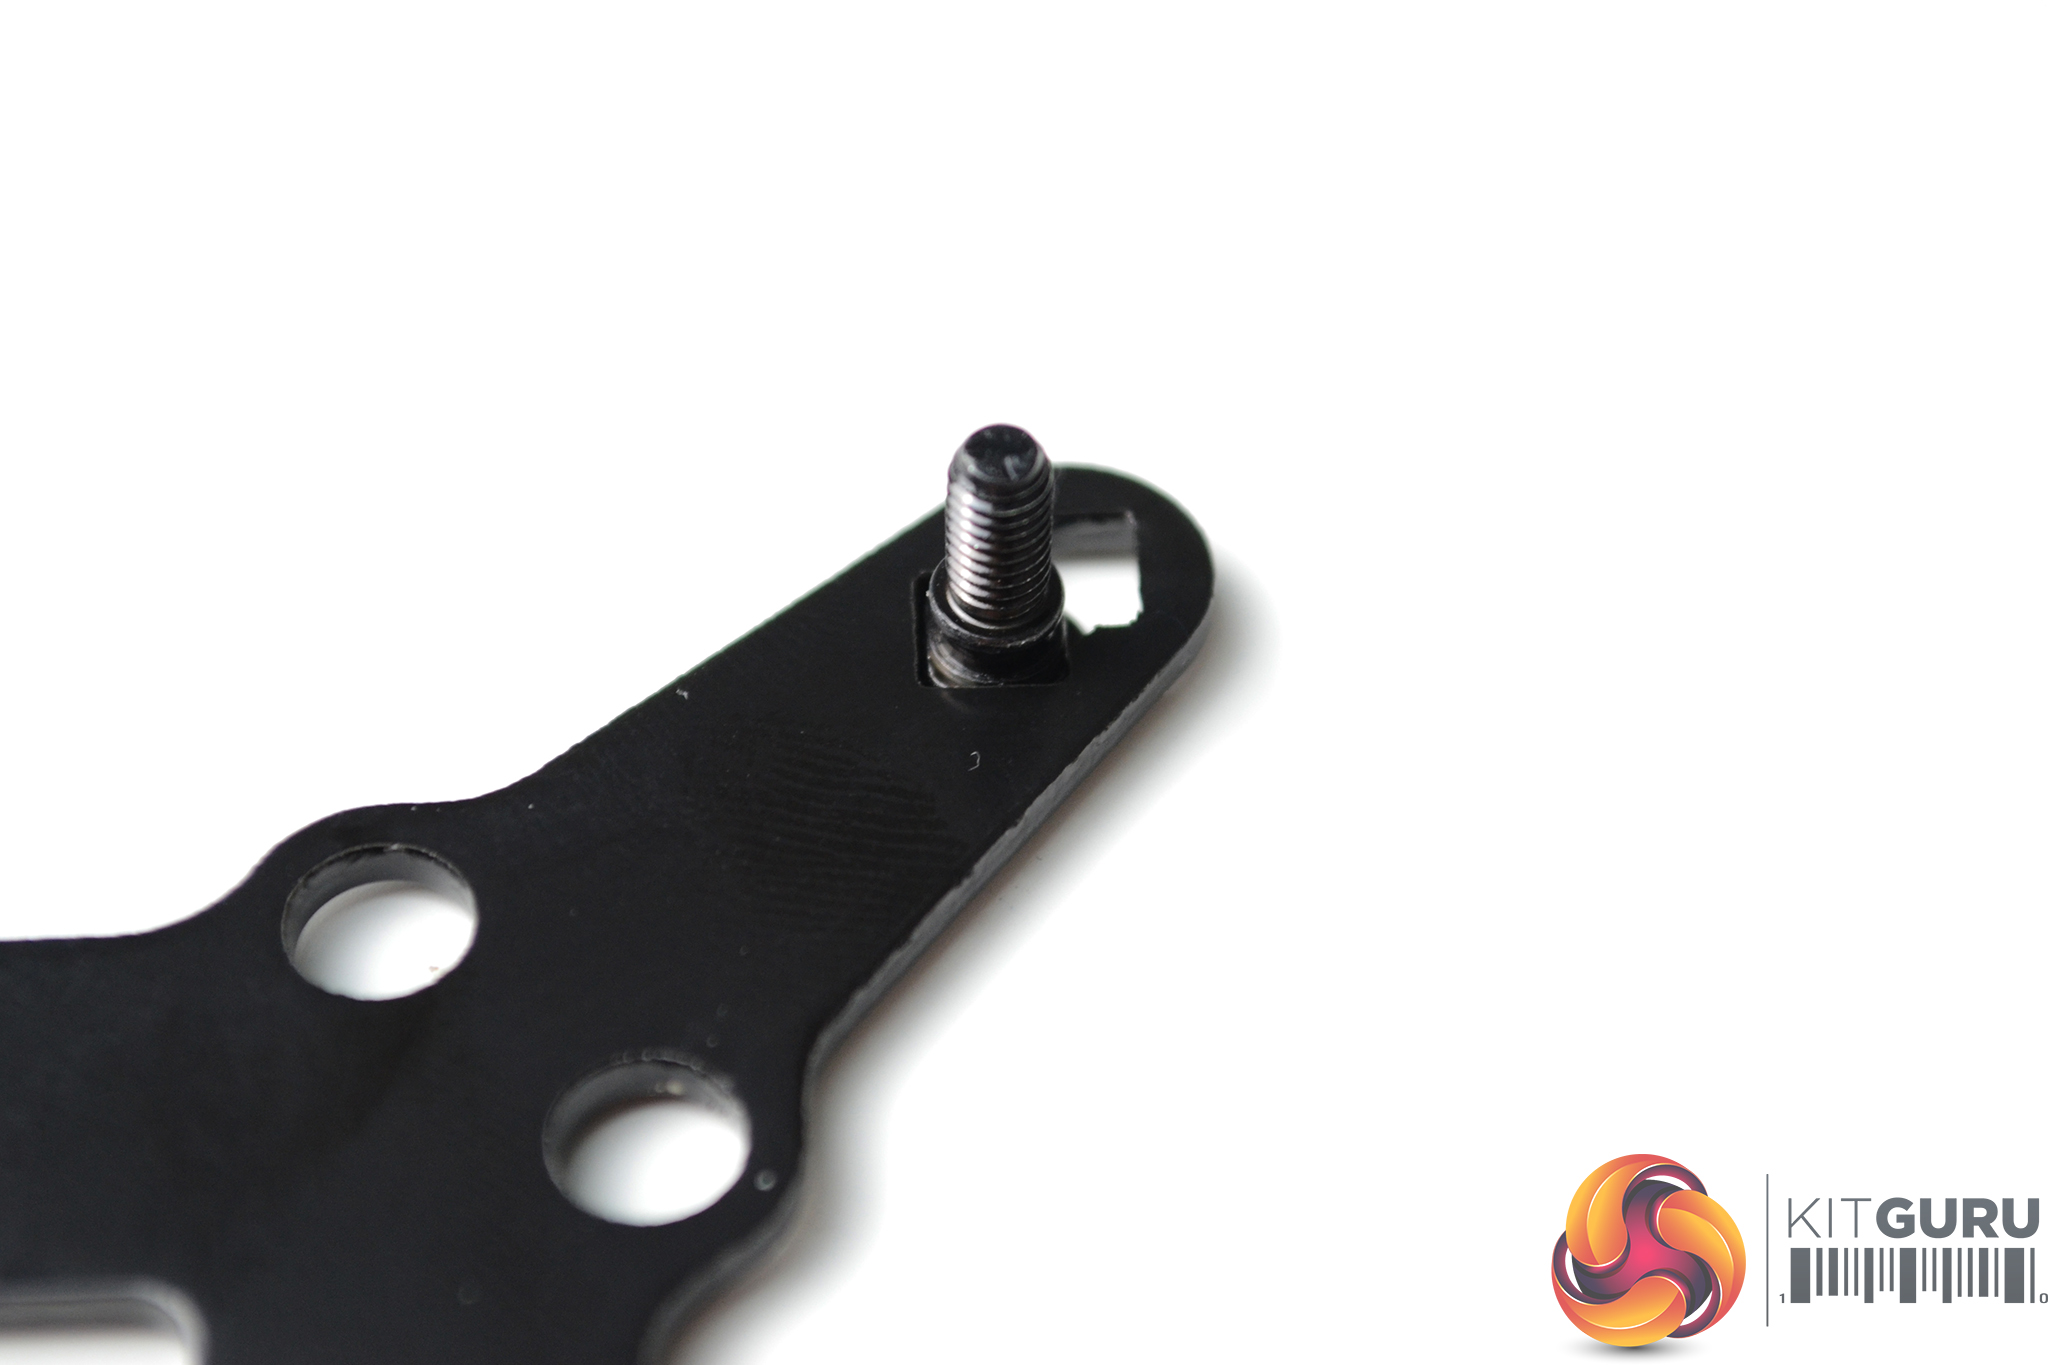
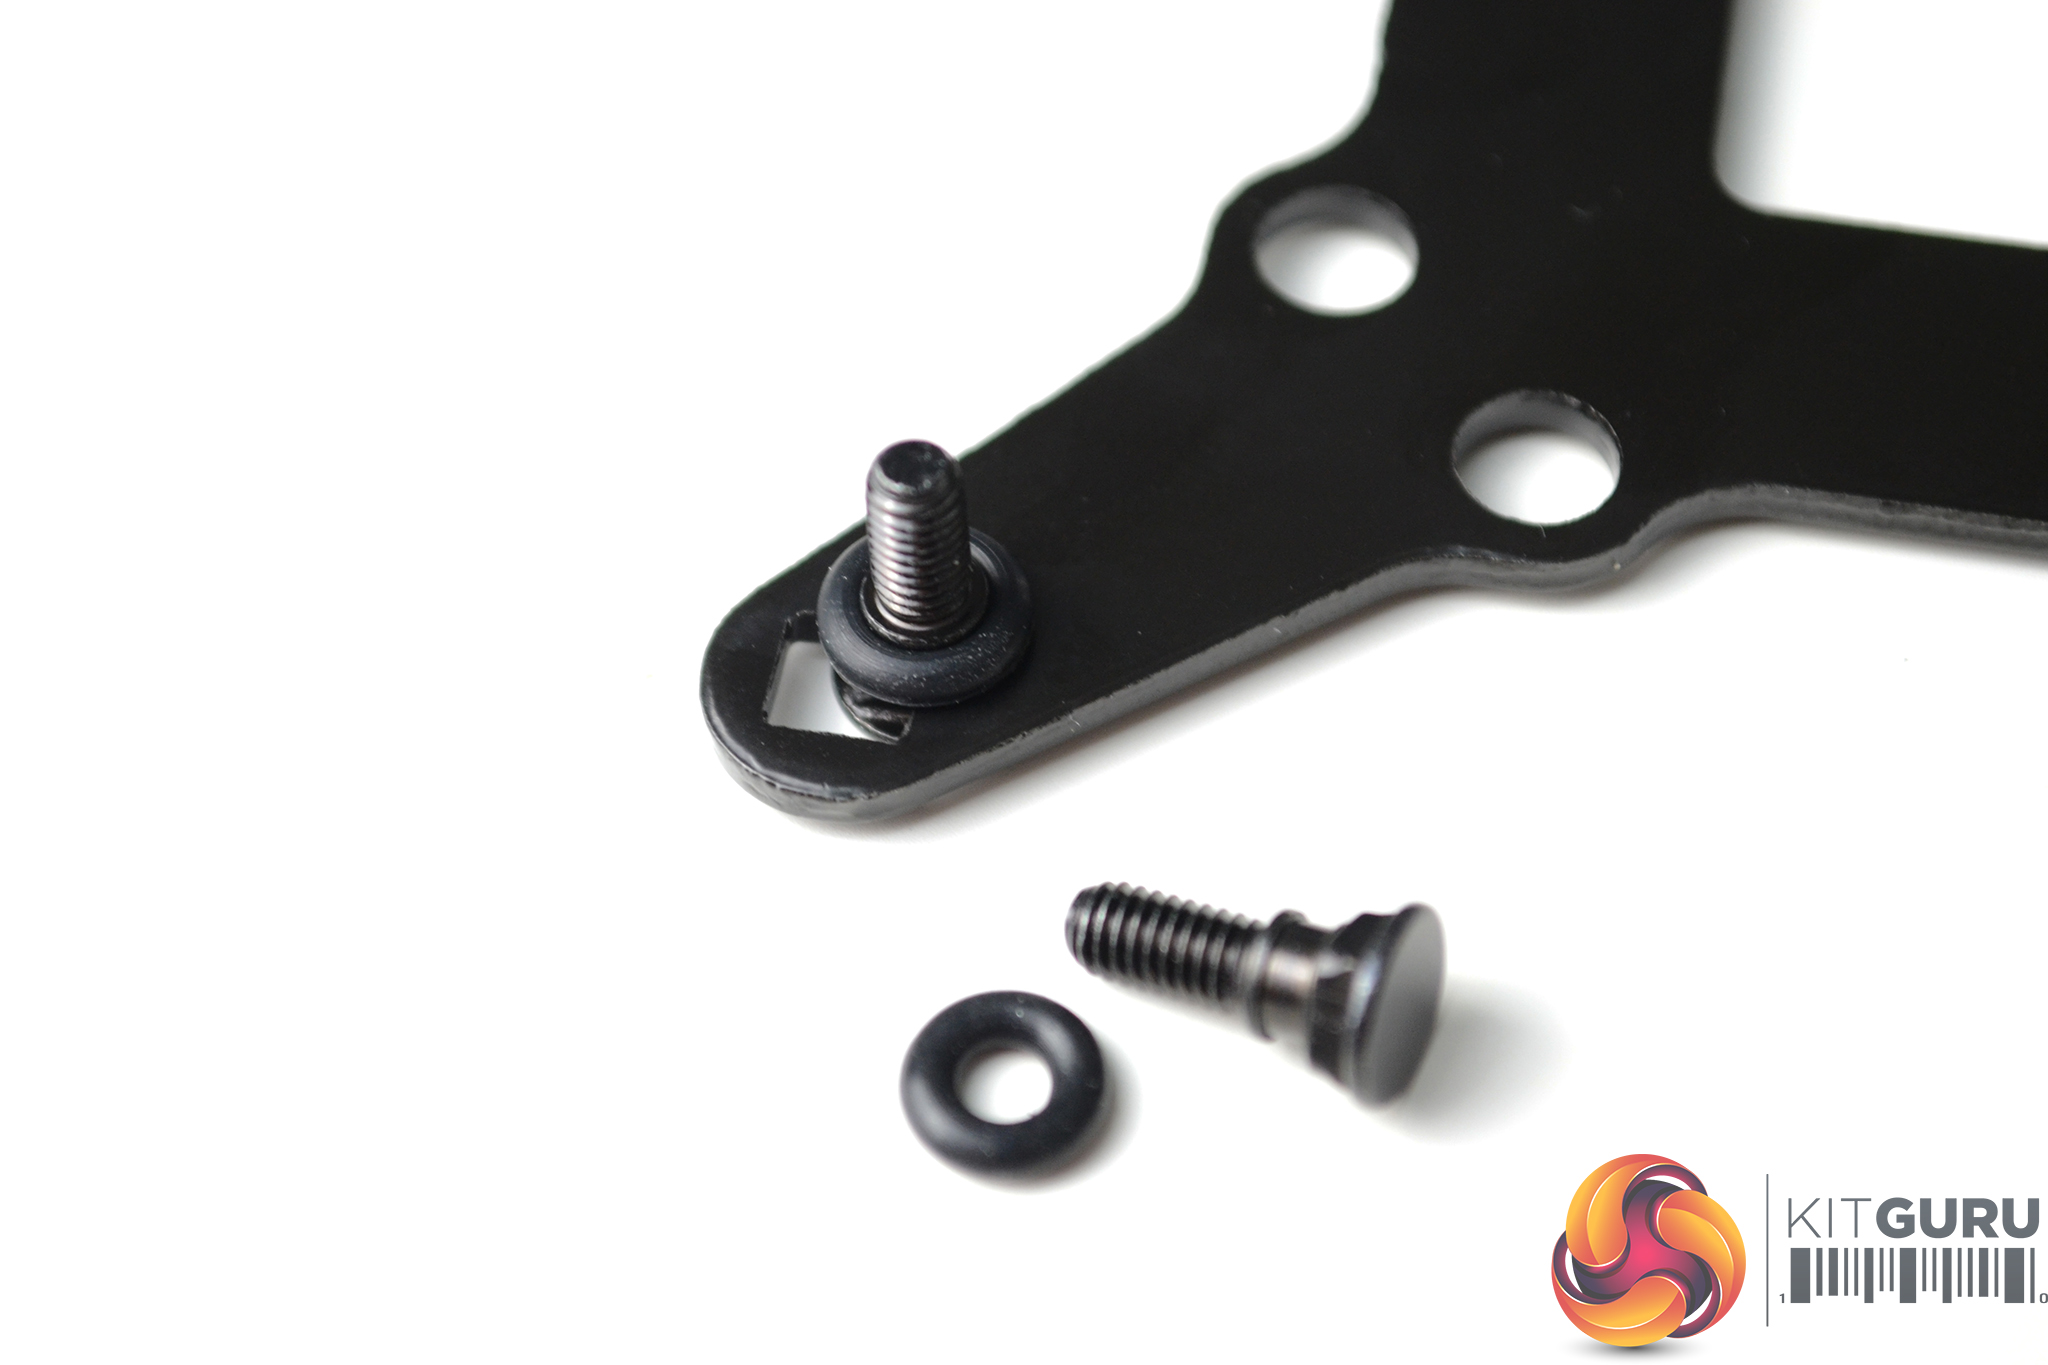
Now working from the CPU side of the motherboard, the backplate standoff screw threads should be visible through the holes. Take the four Intel specific standoffs and fasten the standoffs in position with the integrated plastic insulating washers facing the motherboard surface.
To complete the motherboard preparation, align the upper mounting brackets as shown for Intel 115X installation and secure the upper mounting brackets to the standoffs using the four Philips screw provided.
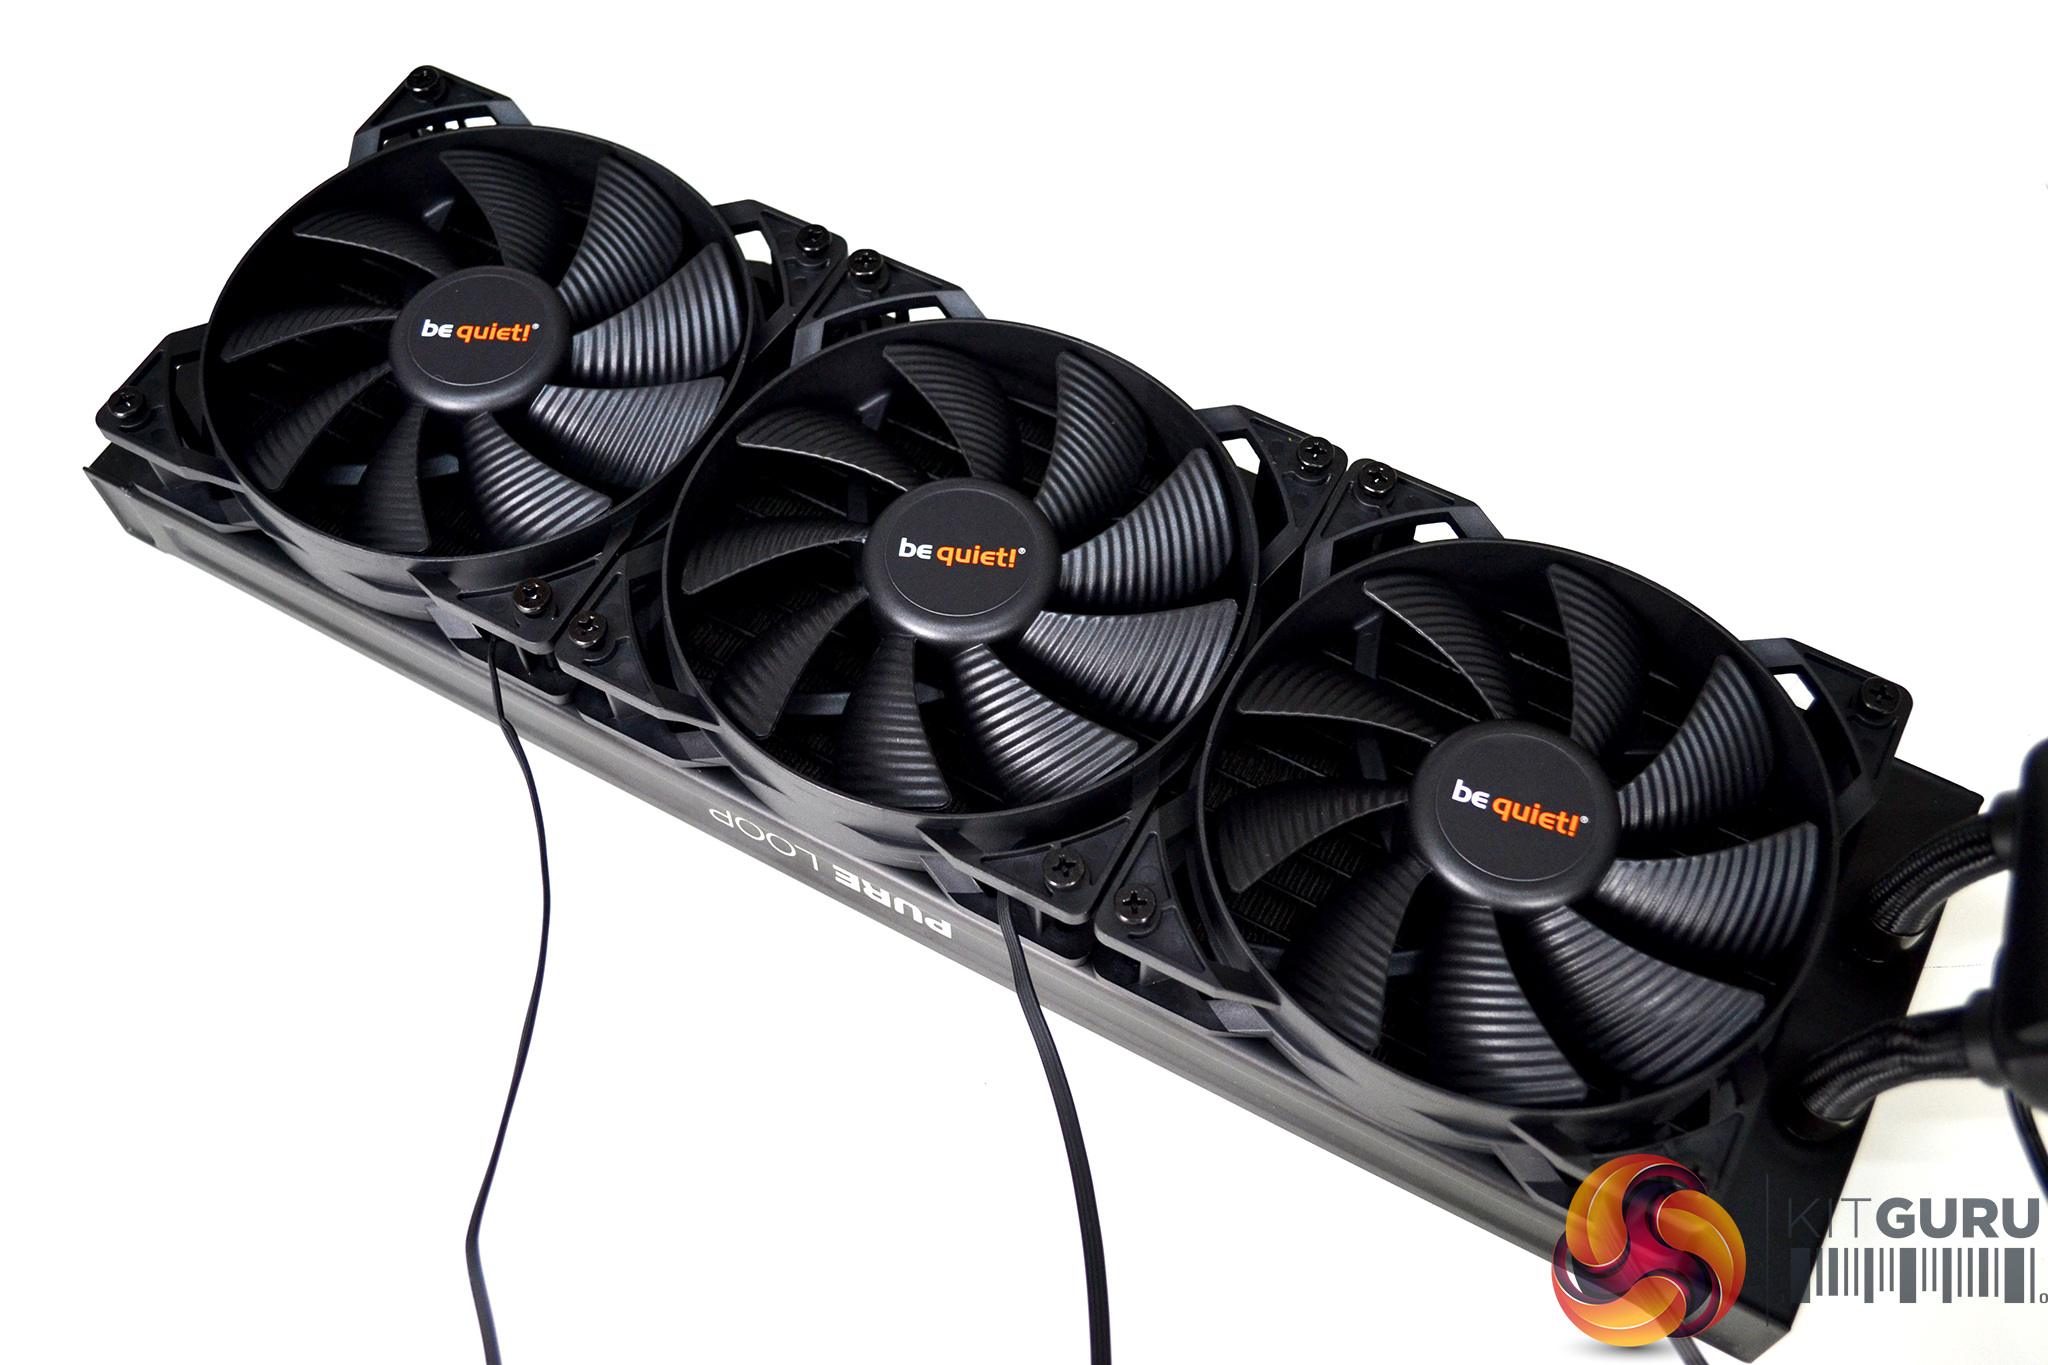

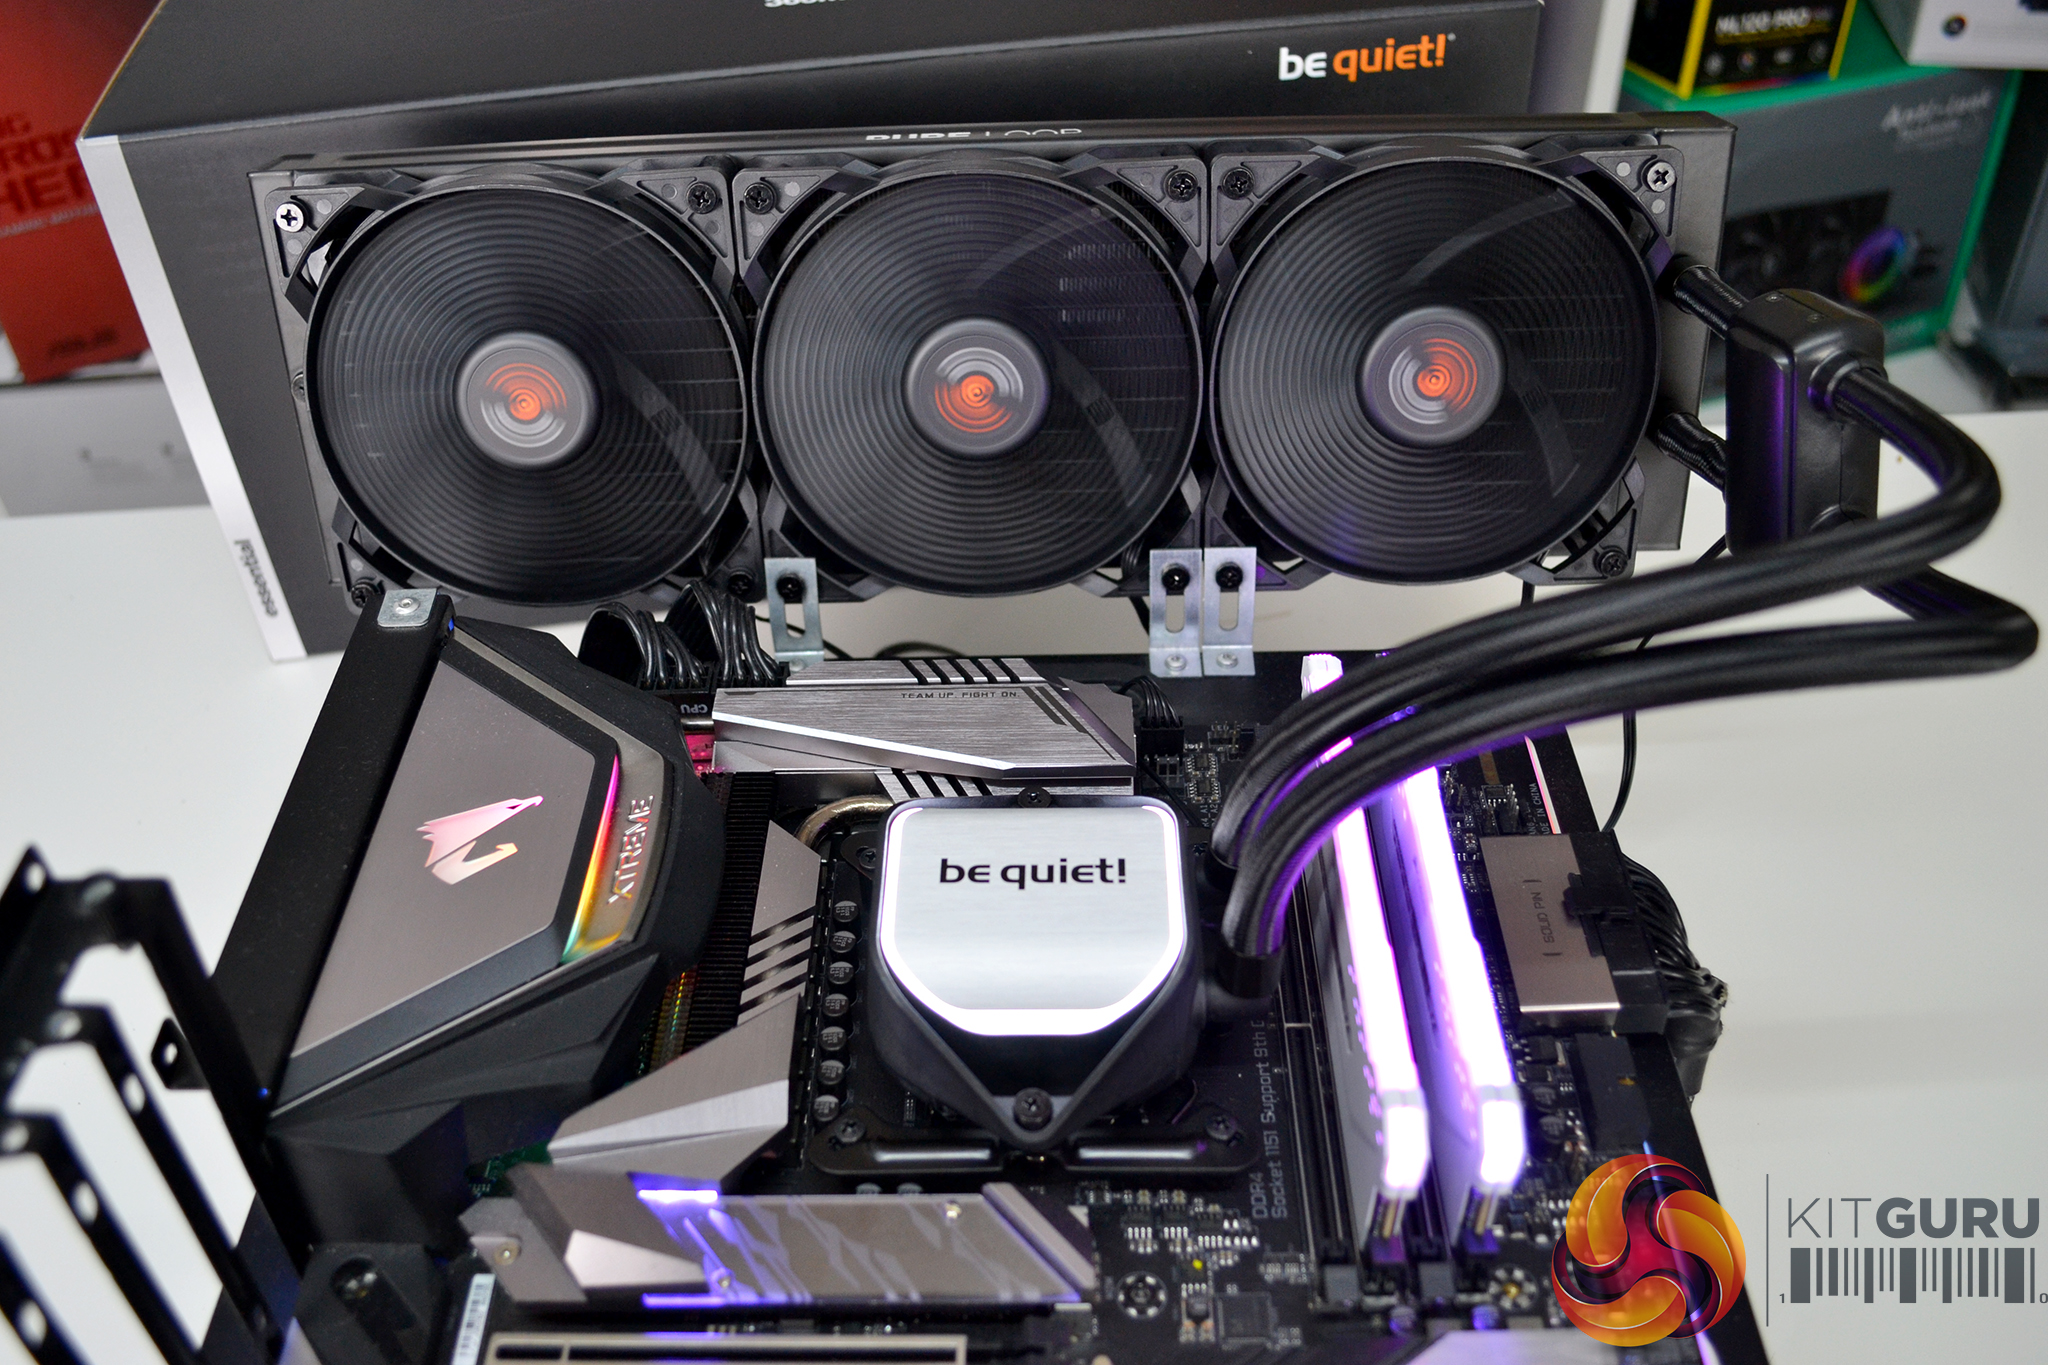
Due to the way that the cooler mounts on our test bench we fit the fans to the radiator next, you may want to delay this step depending on how you decide to mount the radiator in your chassis. To fix the fans to the radiator we simply place the fans onto the radiator in a push configuration and tighten in place using the twelve long black screws provided.
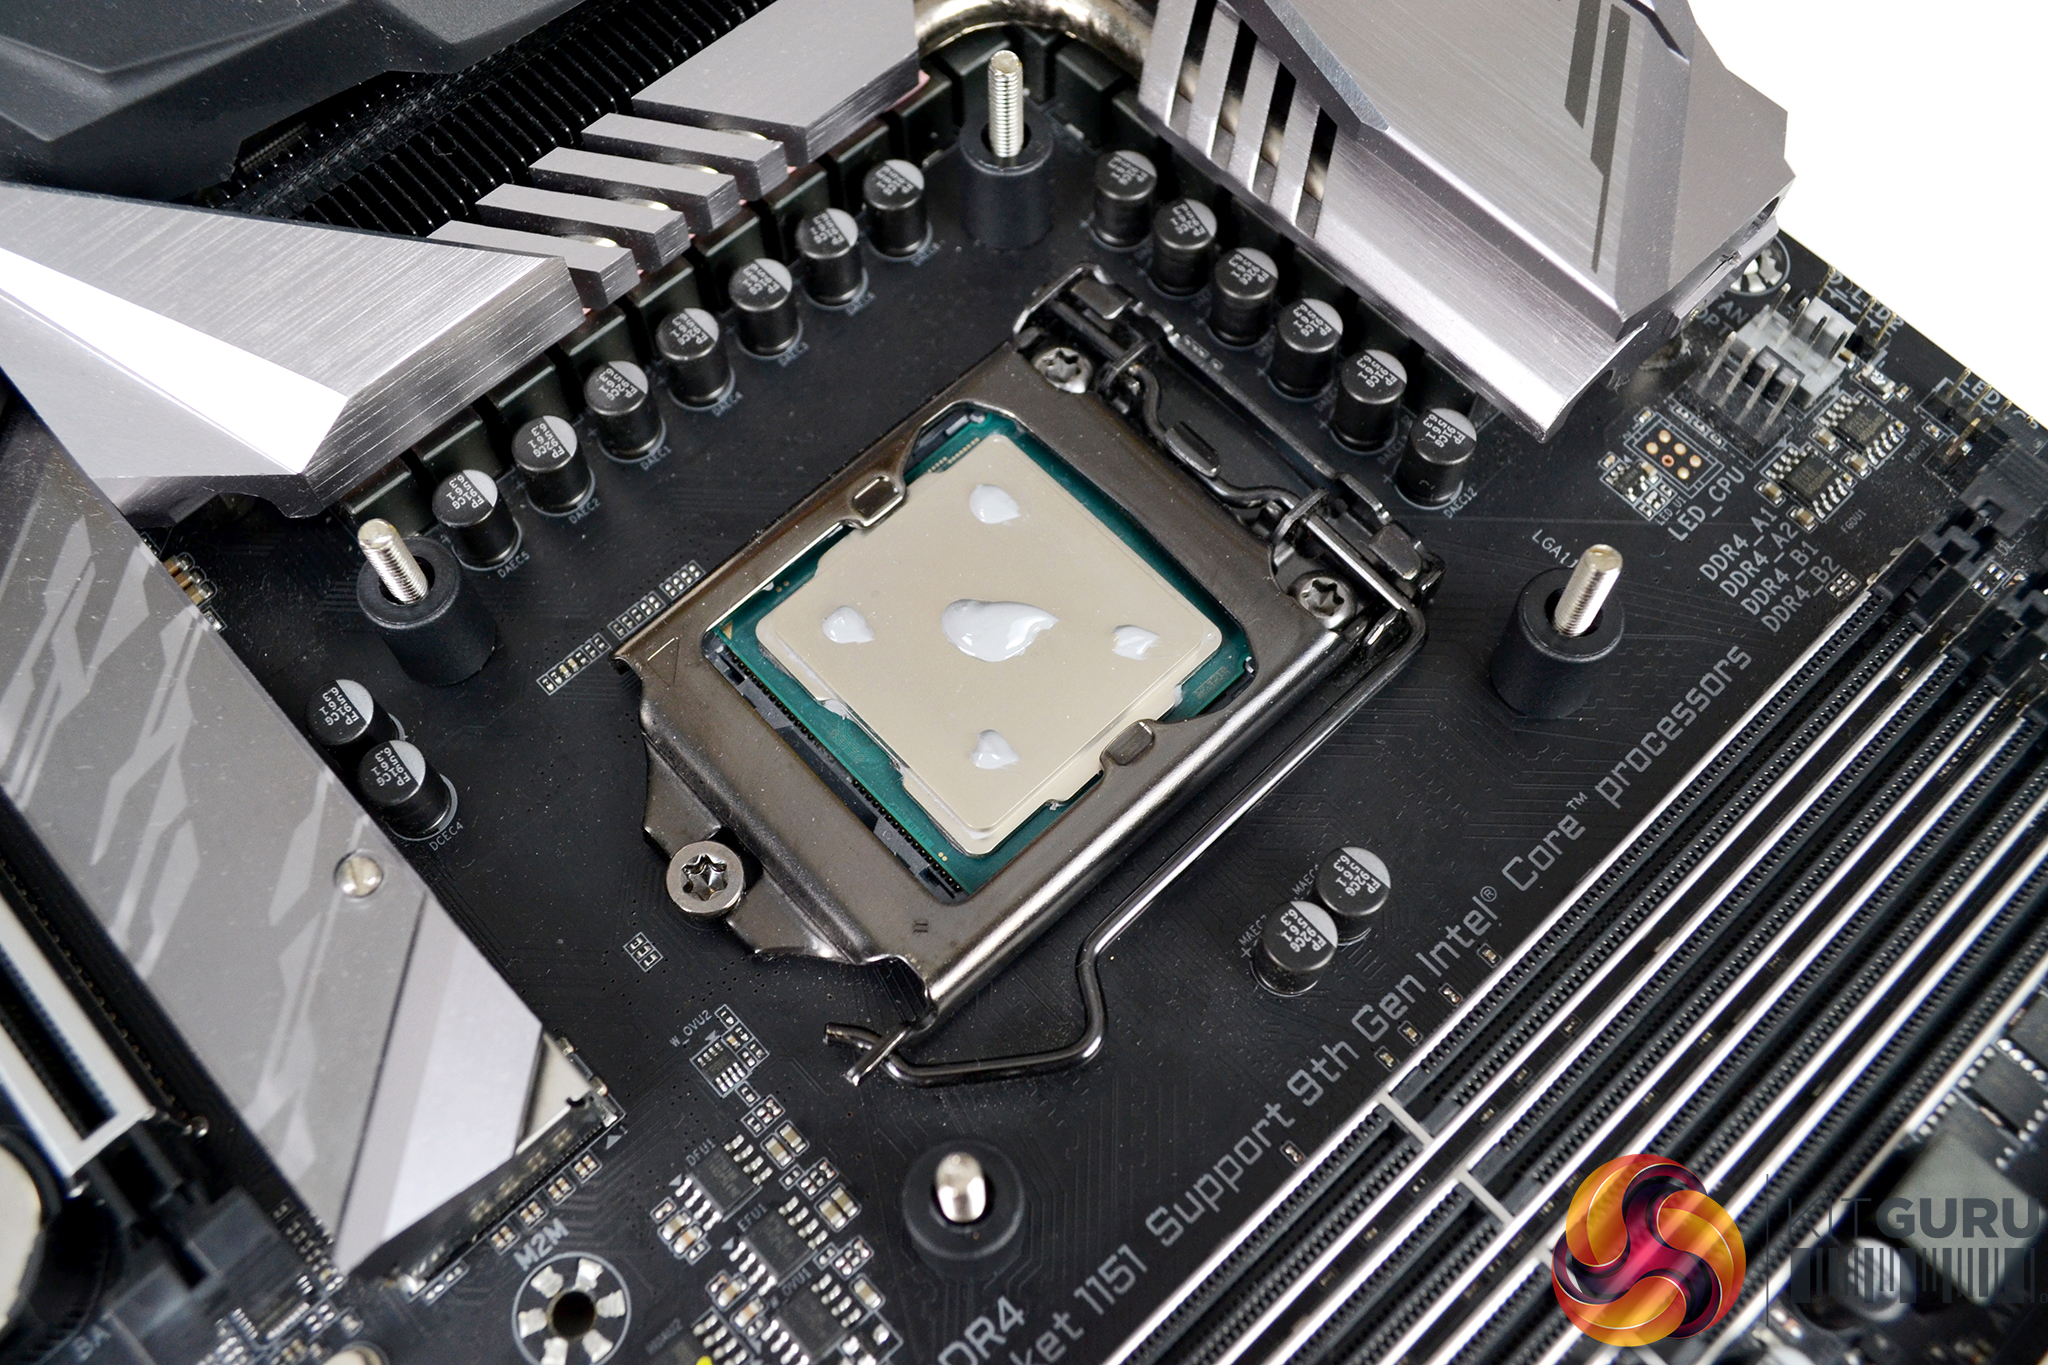
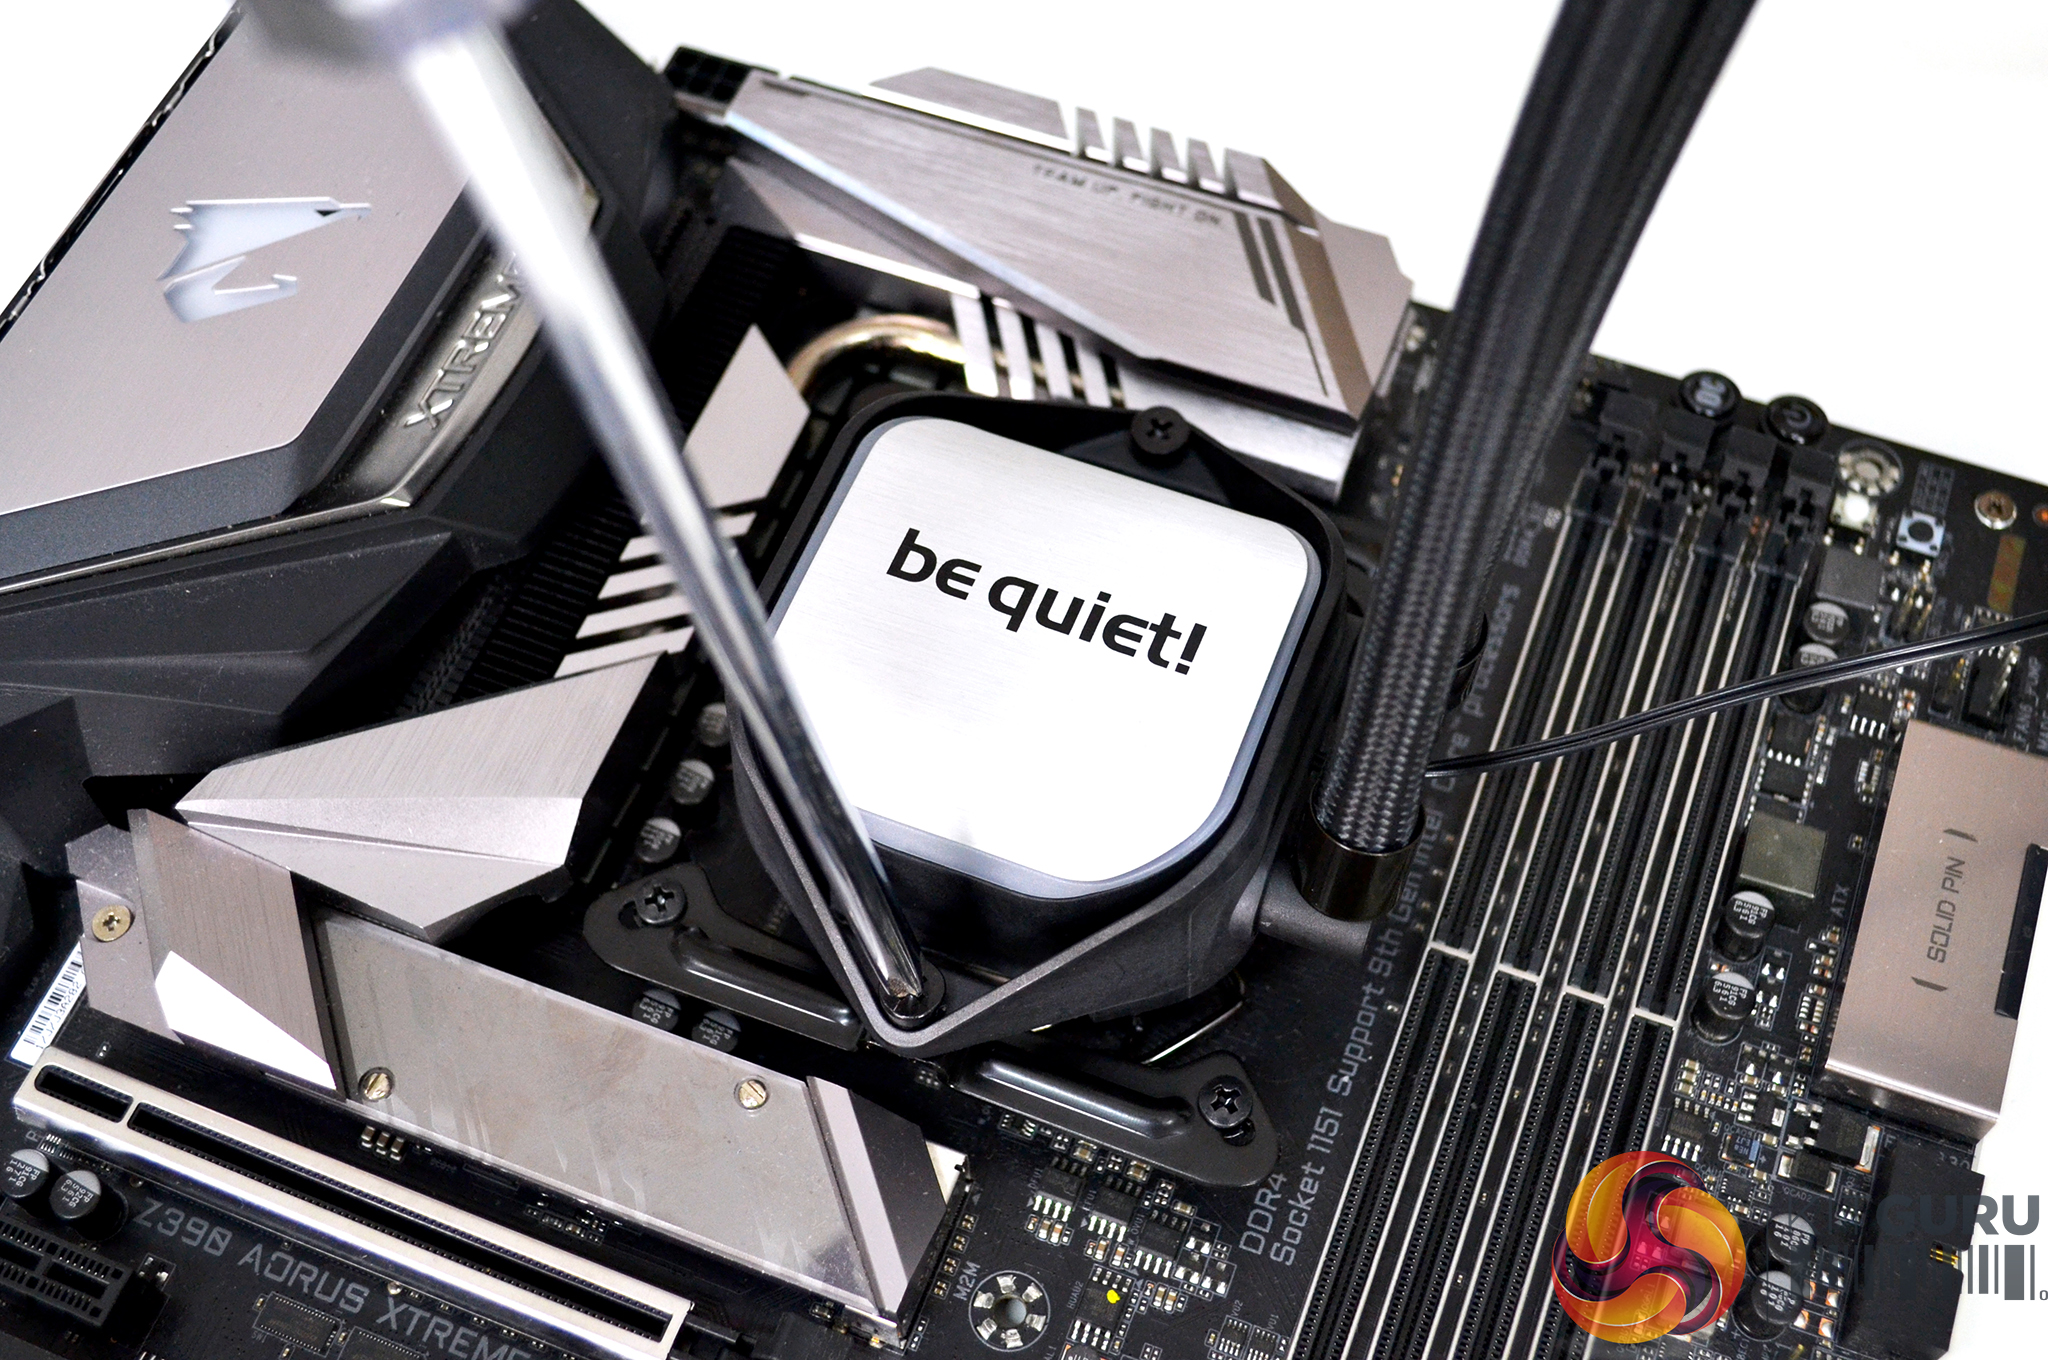
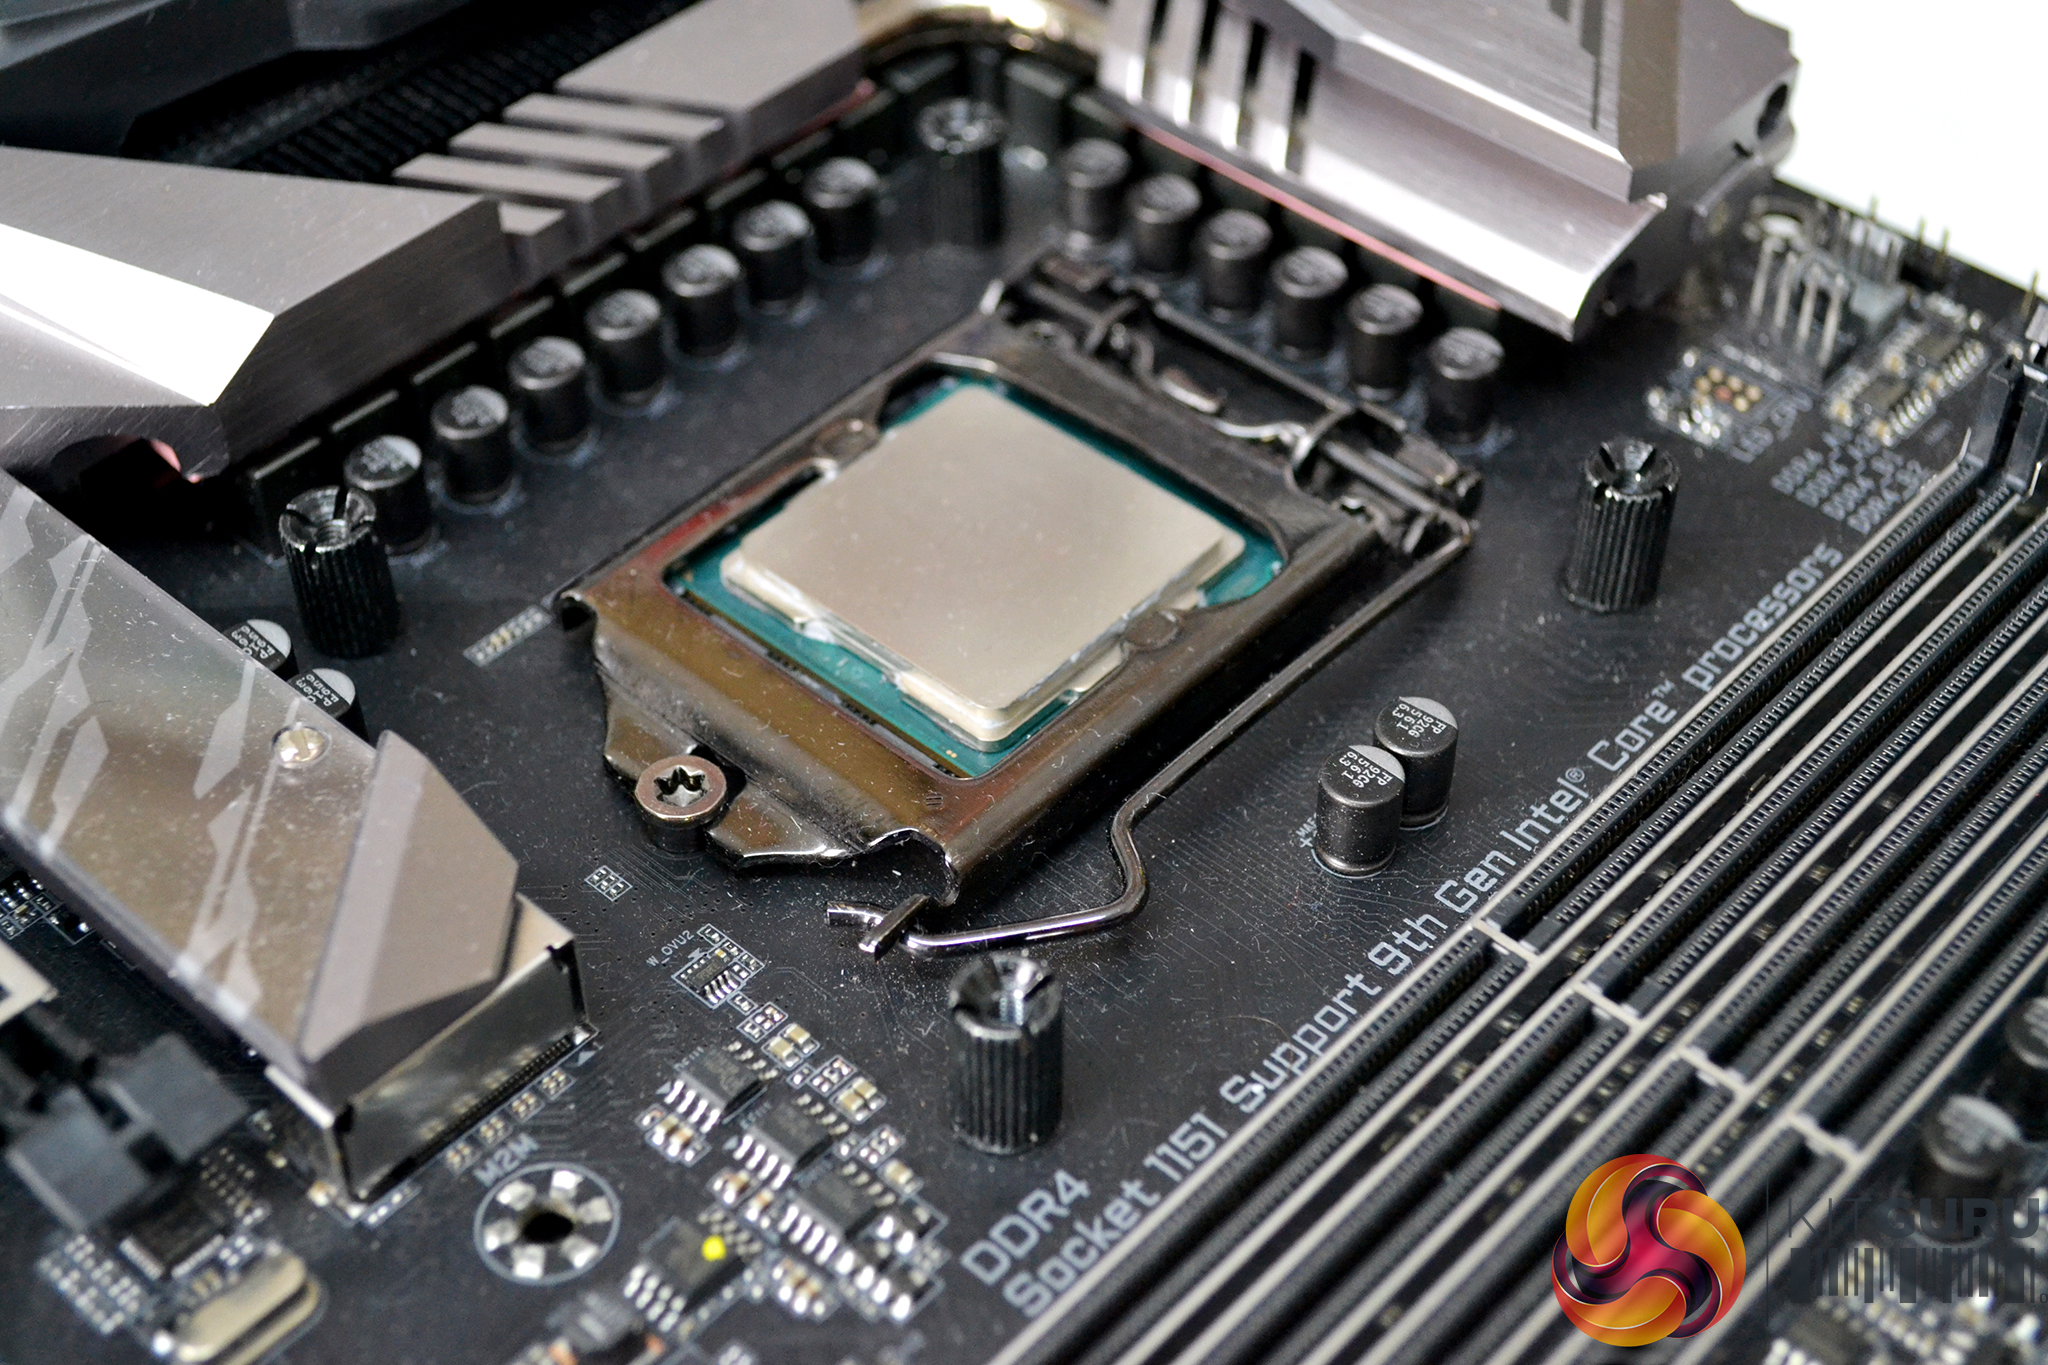
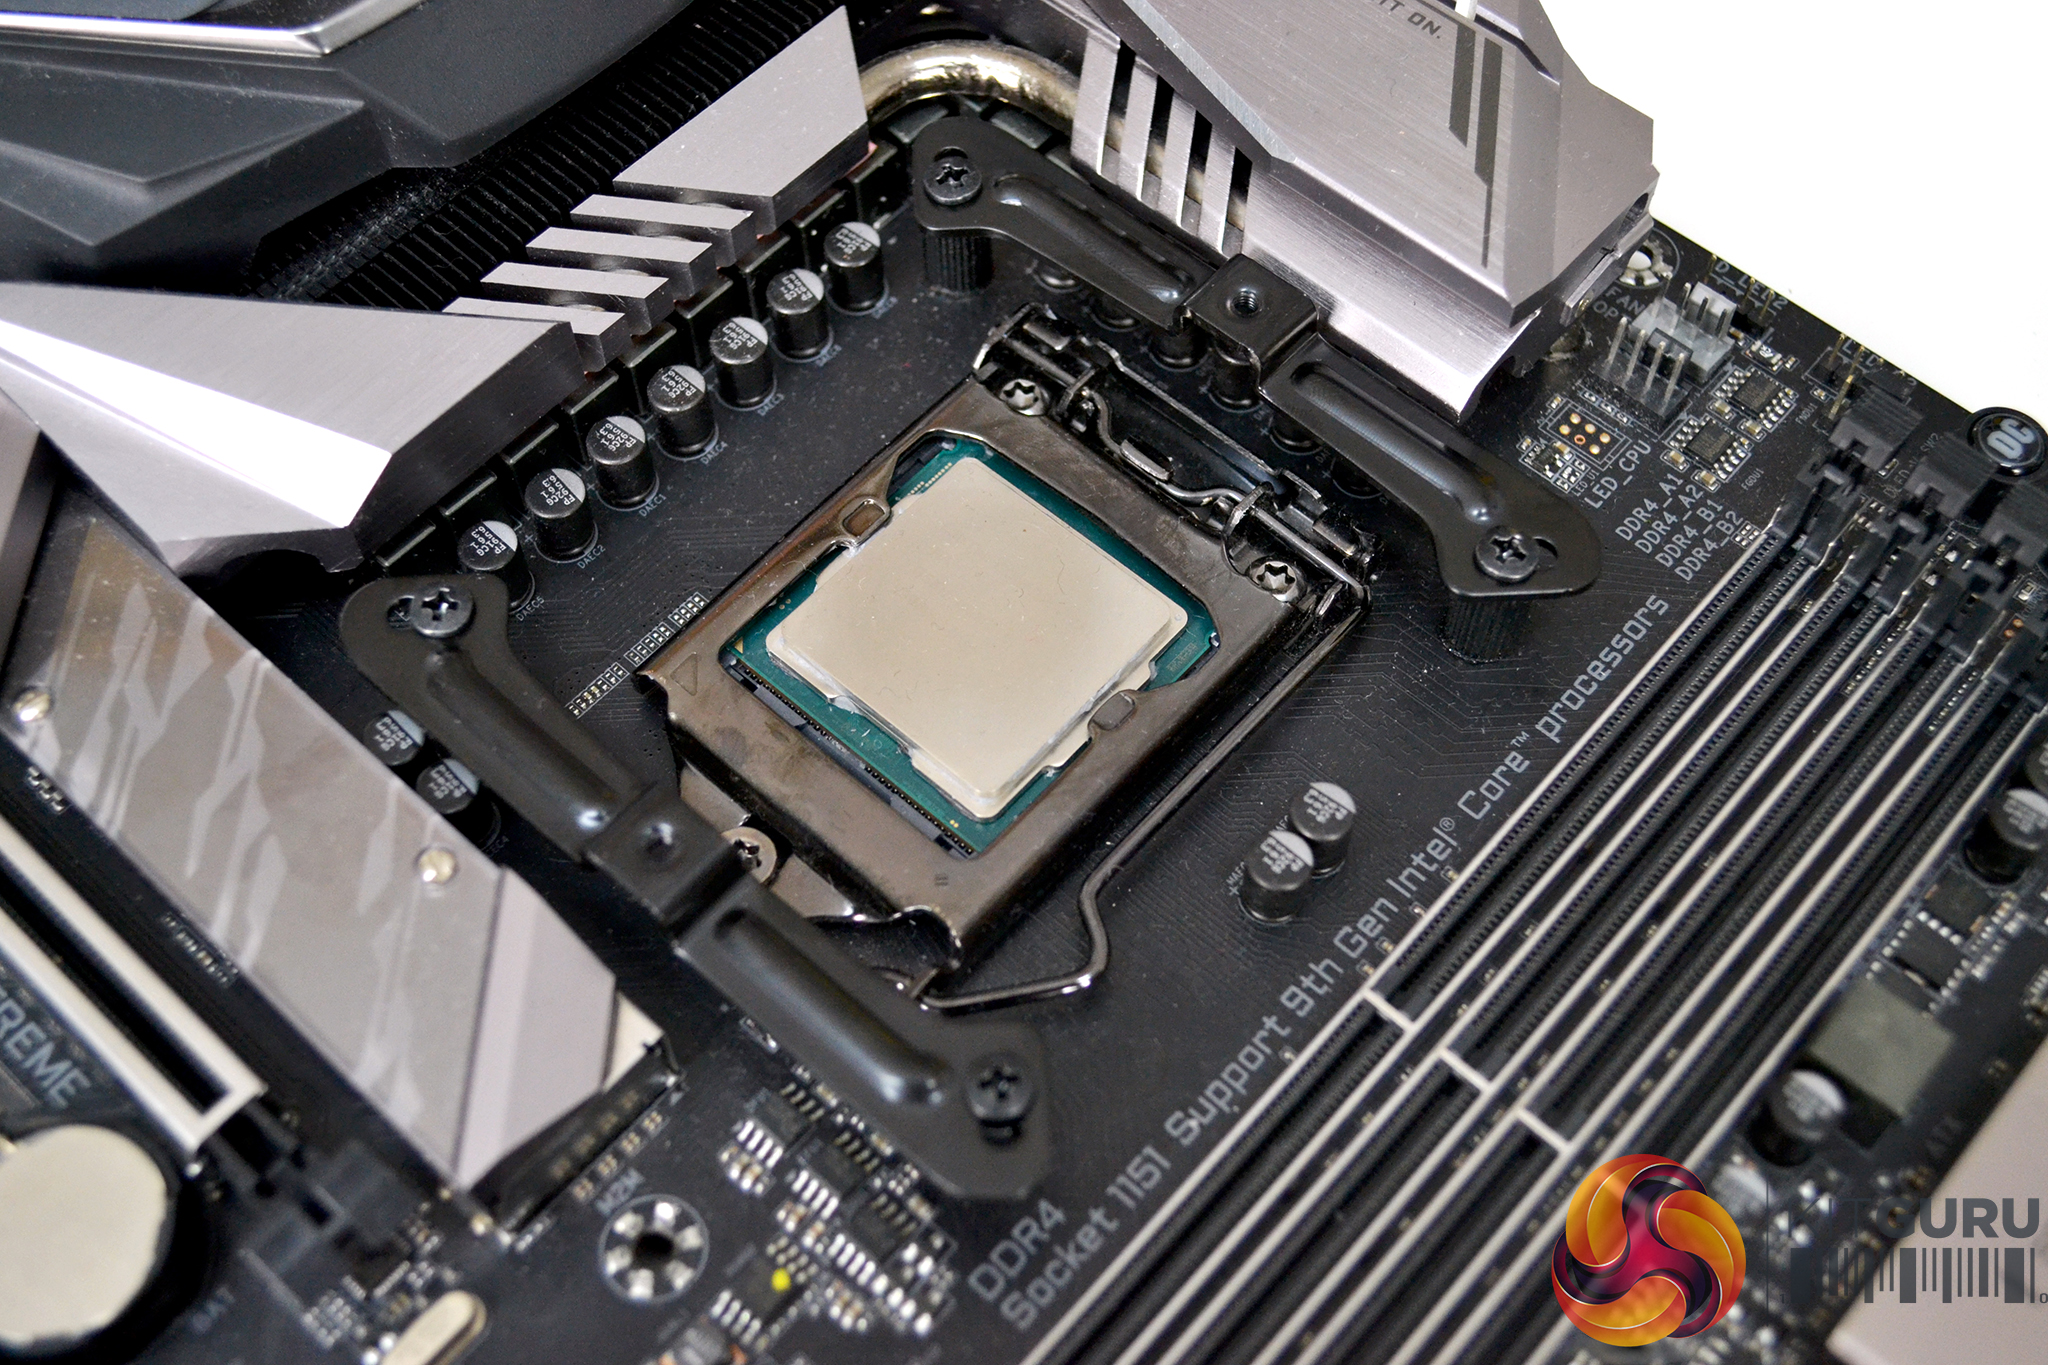
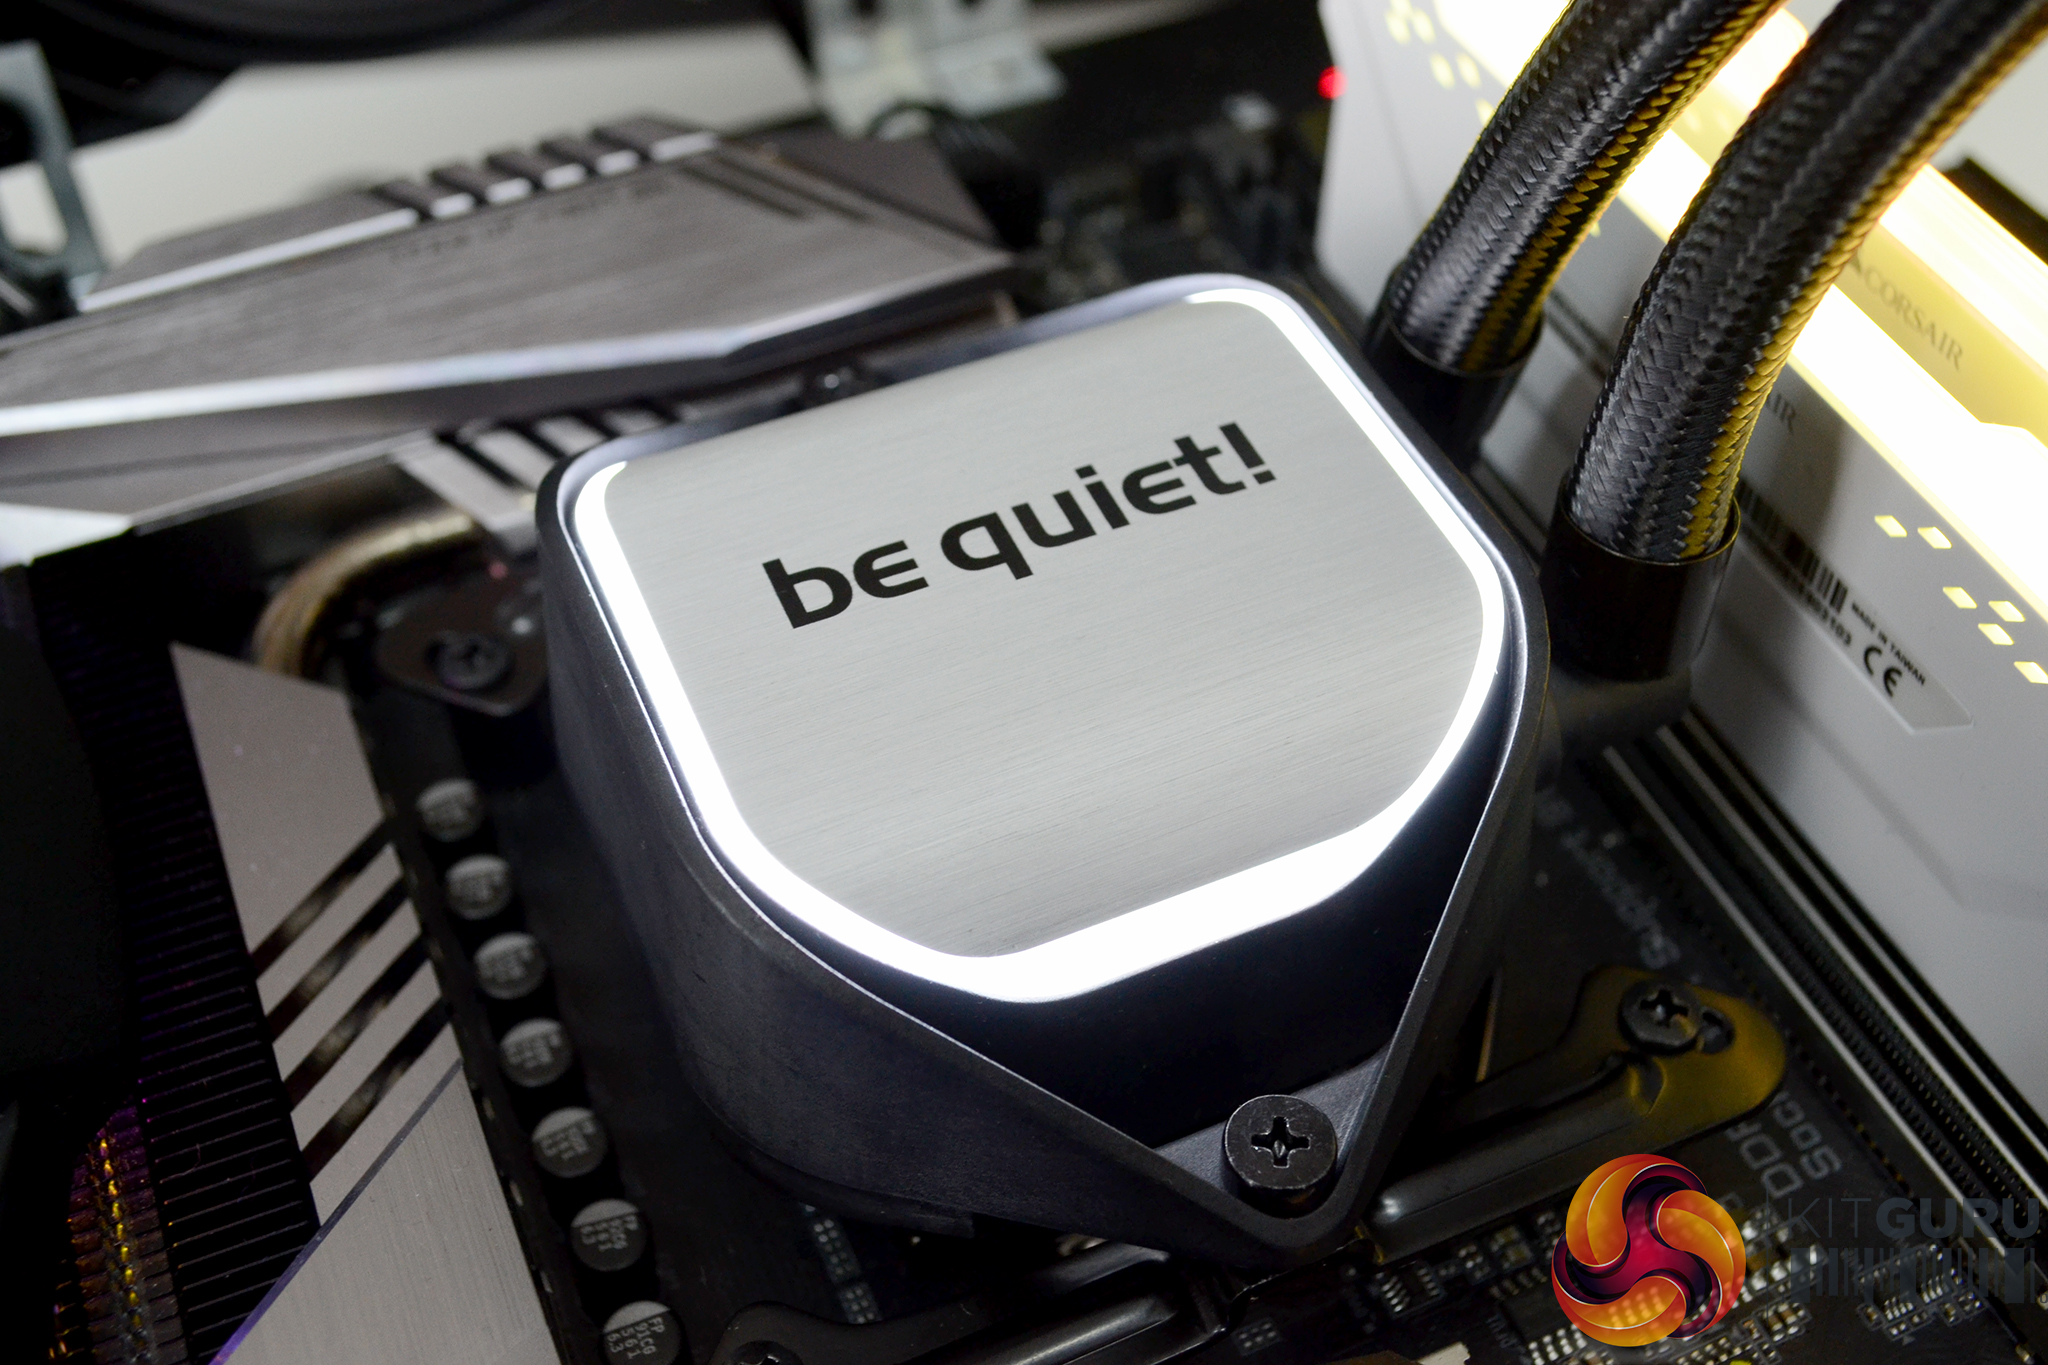
Using your preferred method, apply some thermal compound to the CPU heat spreader, remove the protective sticker from the base of the CPU block, lower down the CPU block aligned with the mounting screw holes and tighten the screws to fix the CPU block in place. be sure to tighten the screws evenly and progressively for optimal CPU block to CPU contact.
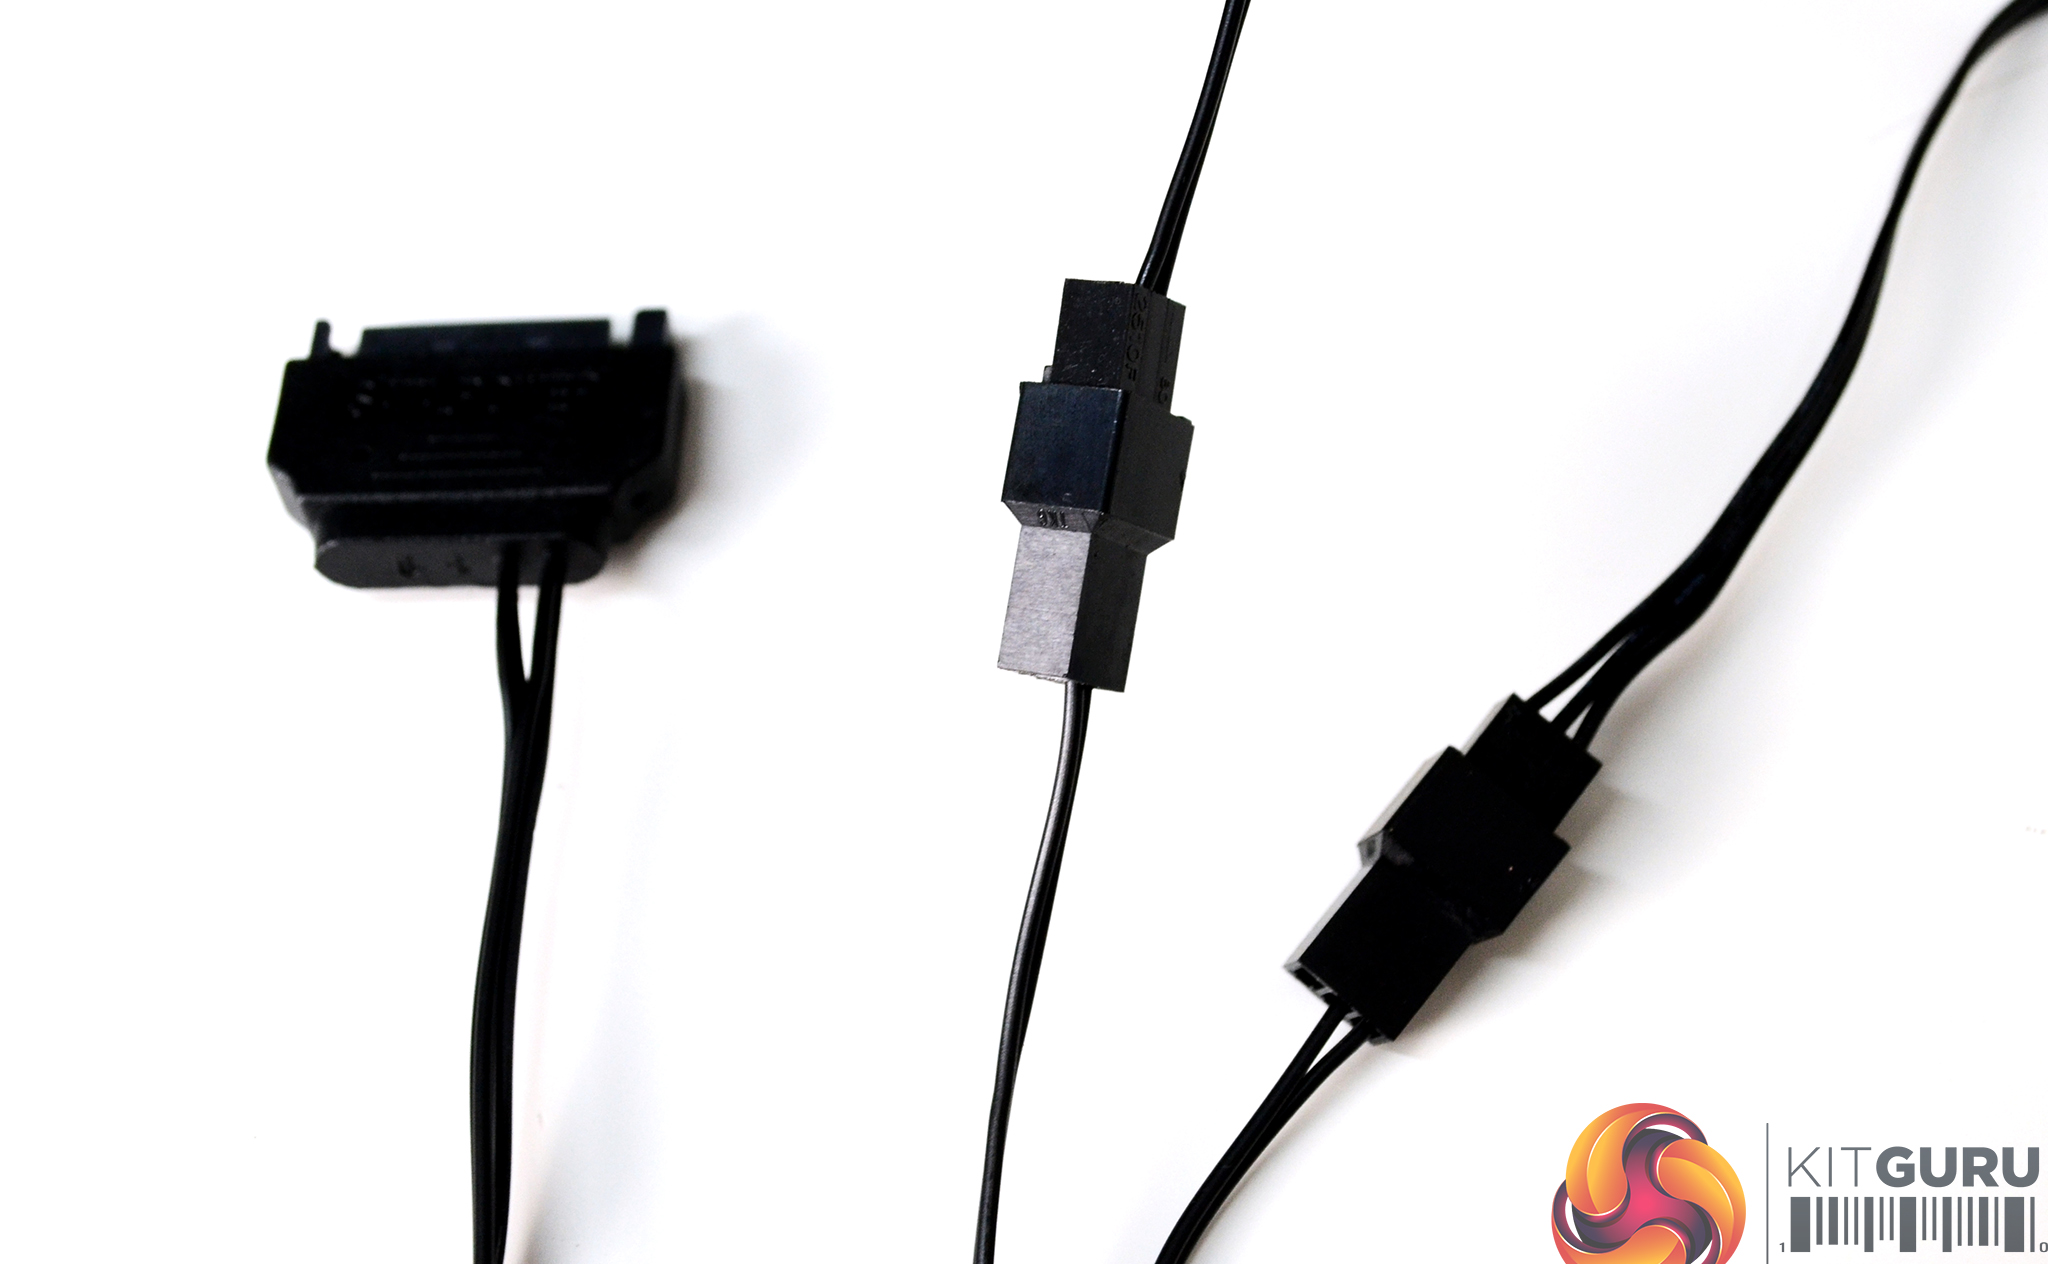
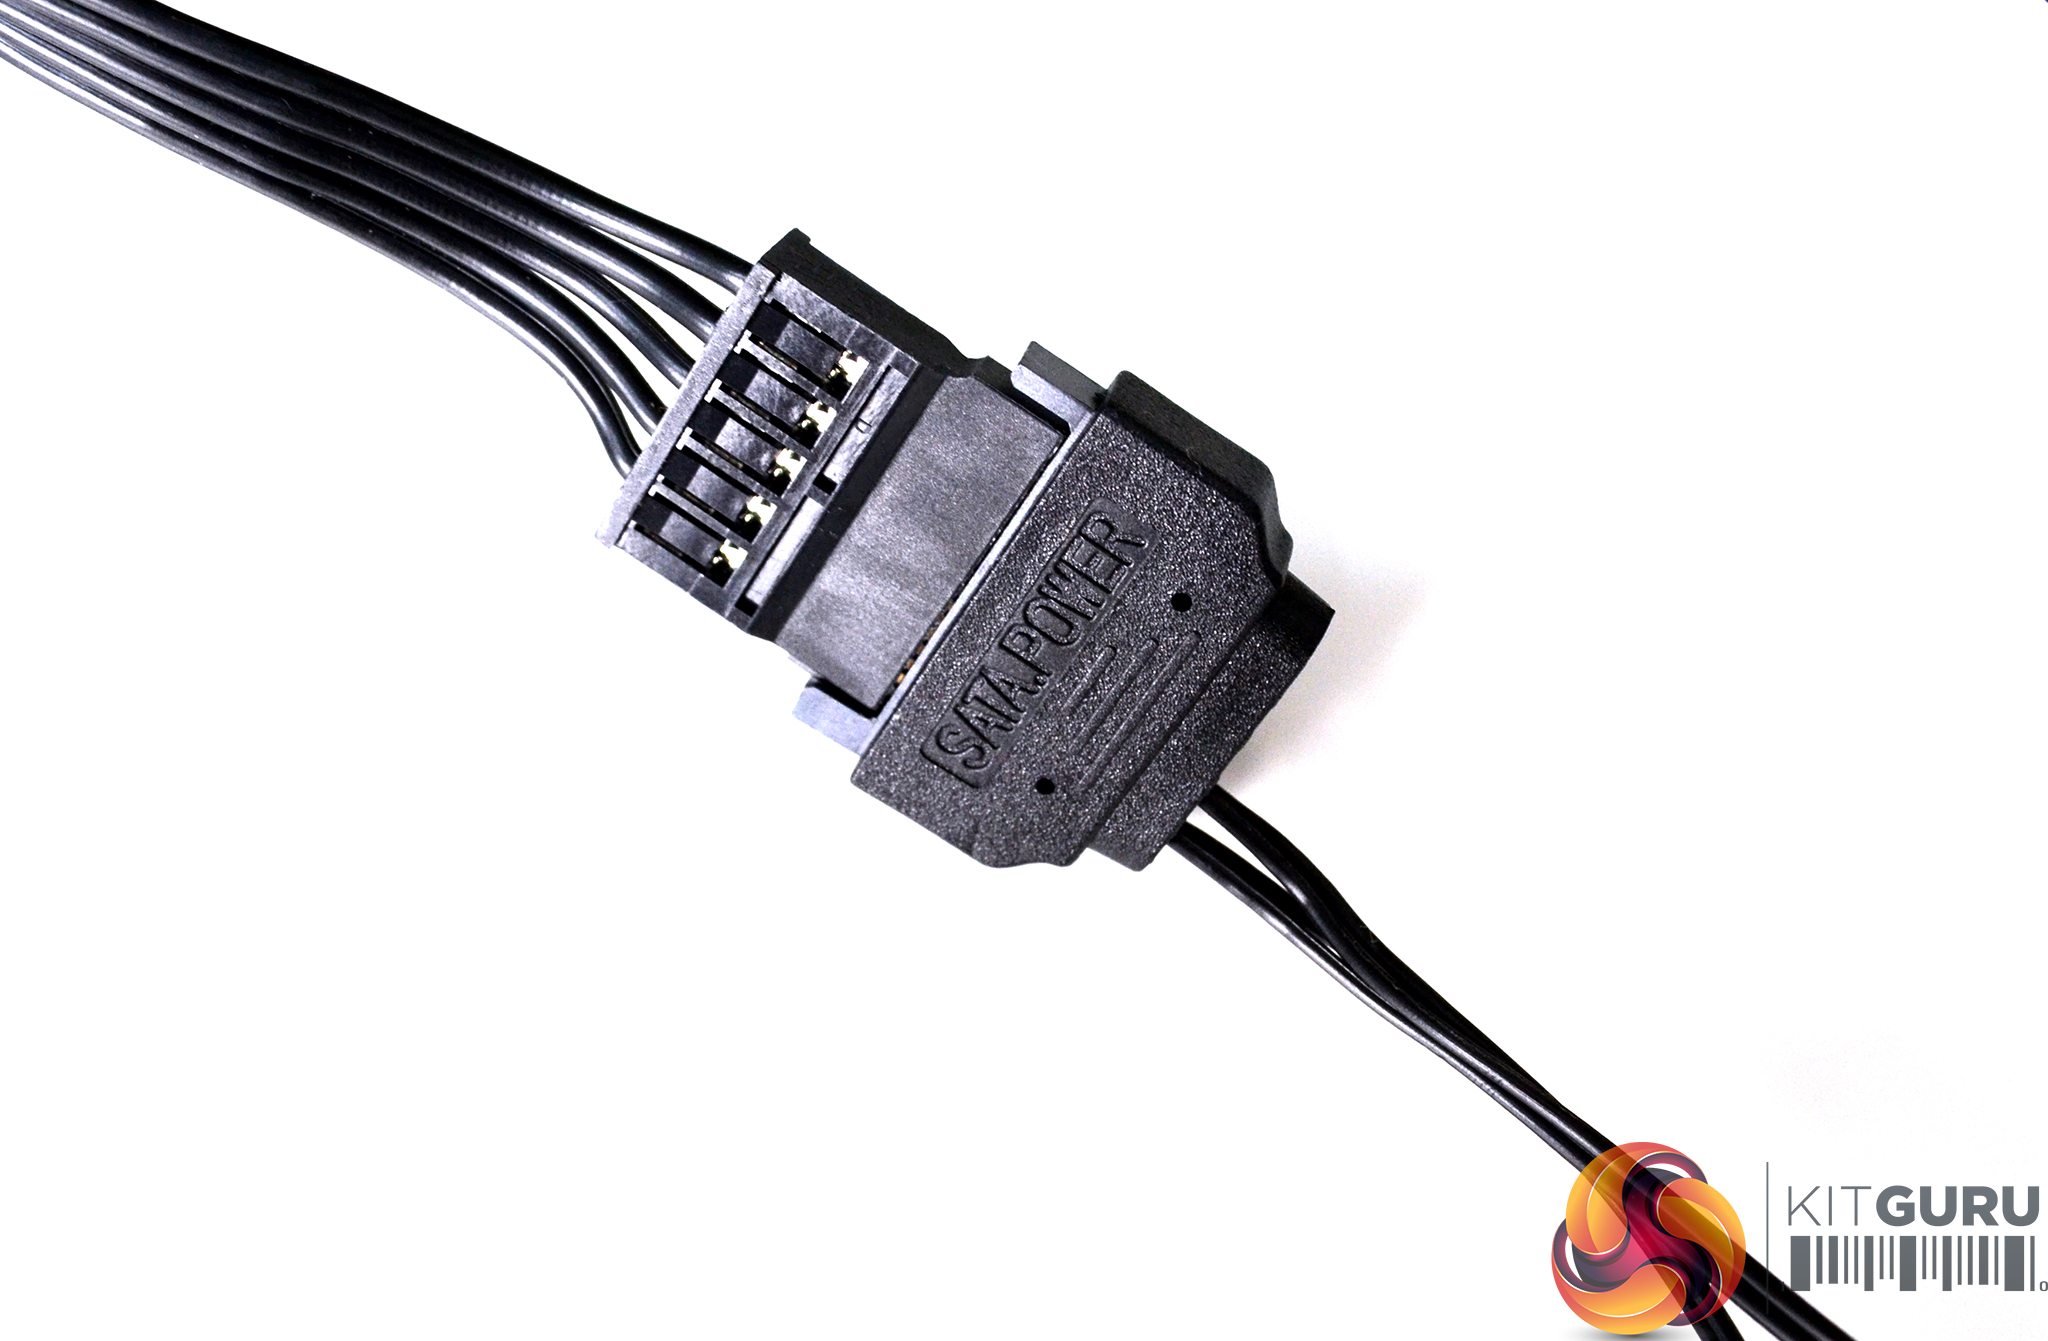
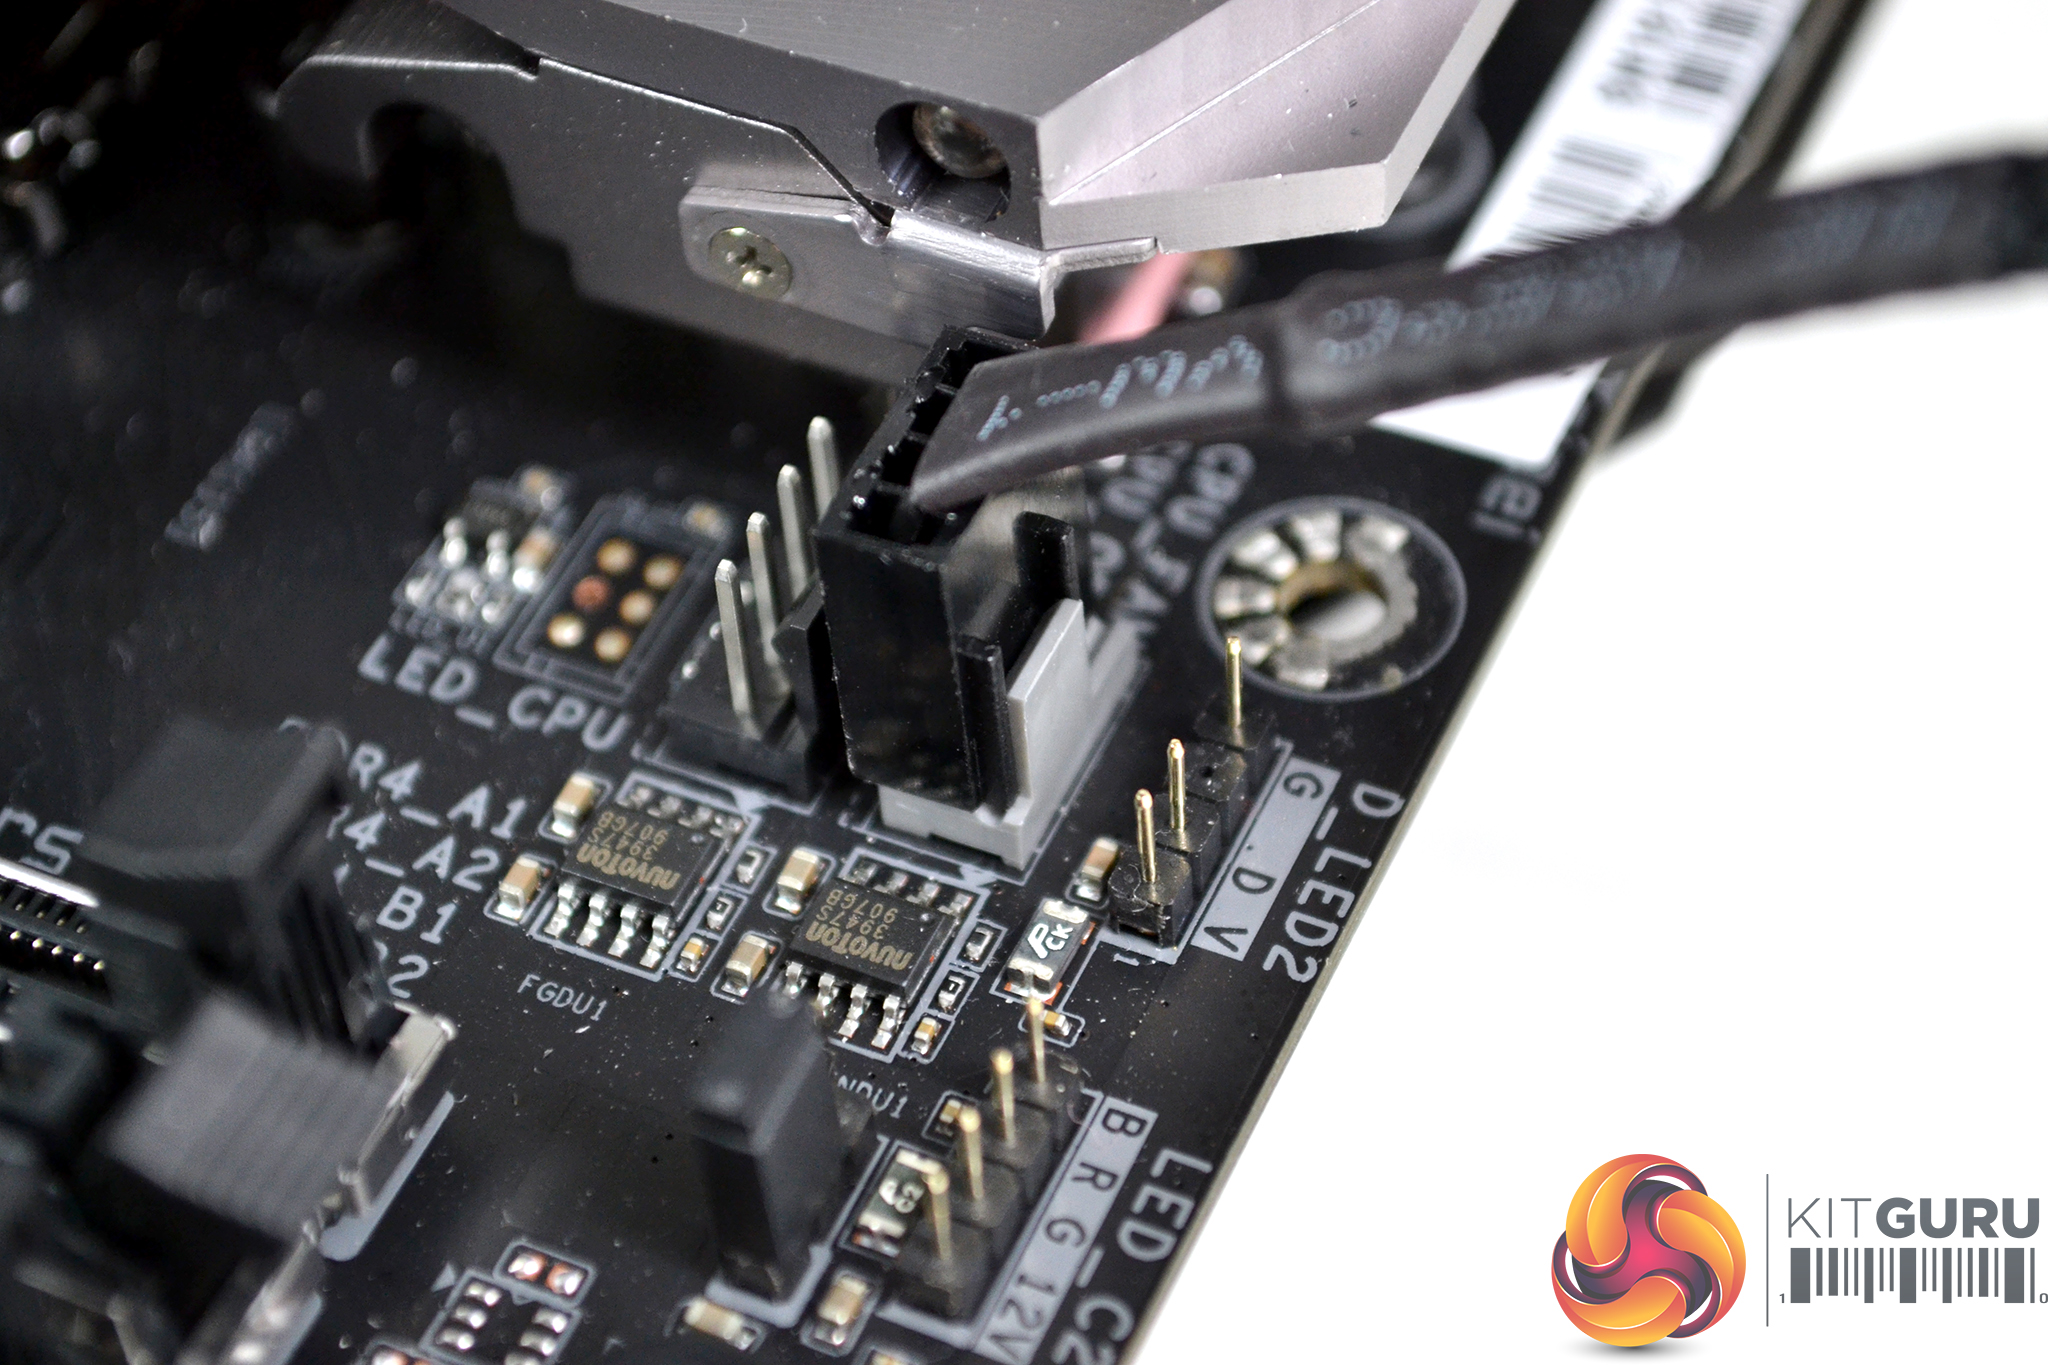
With the motherboard and CPU cooler installed into our test bench, we complete the installation by connecting up the cables. Attach both of the 3-pin power cables from the CPU block and pump to the SATA power adaptor and connect directly to a spare PSU SATA power cable.
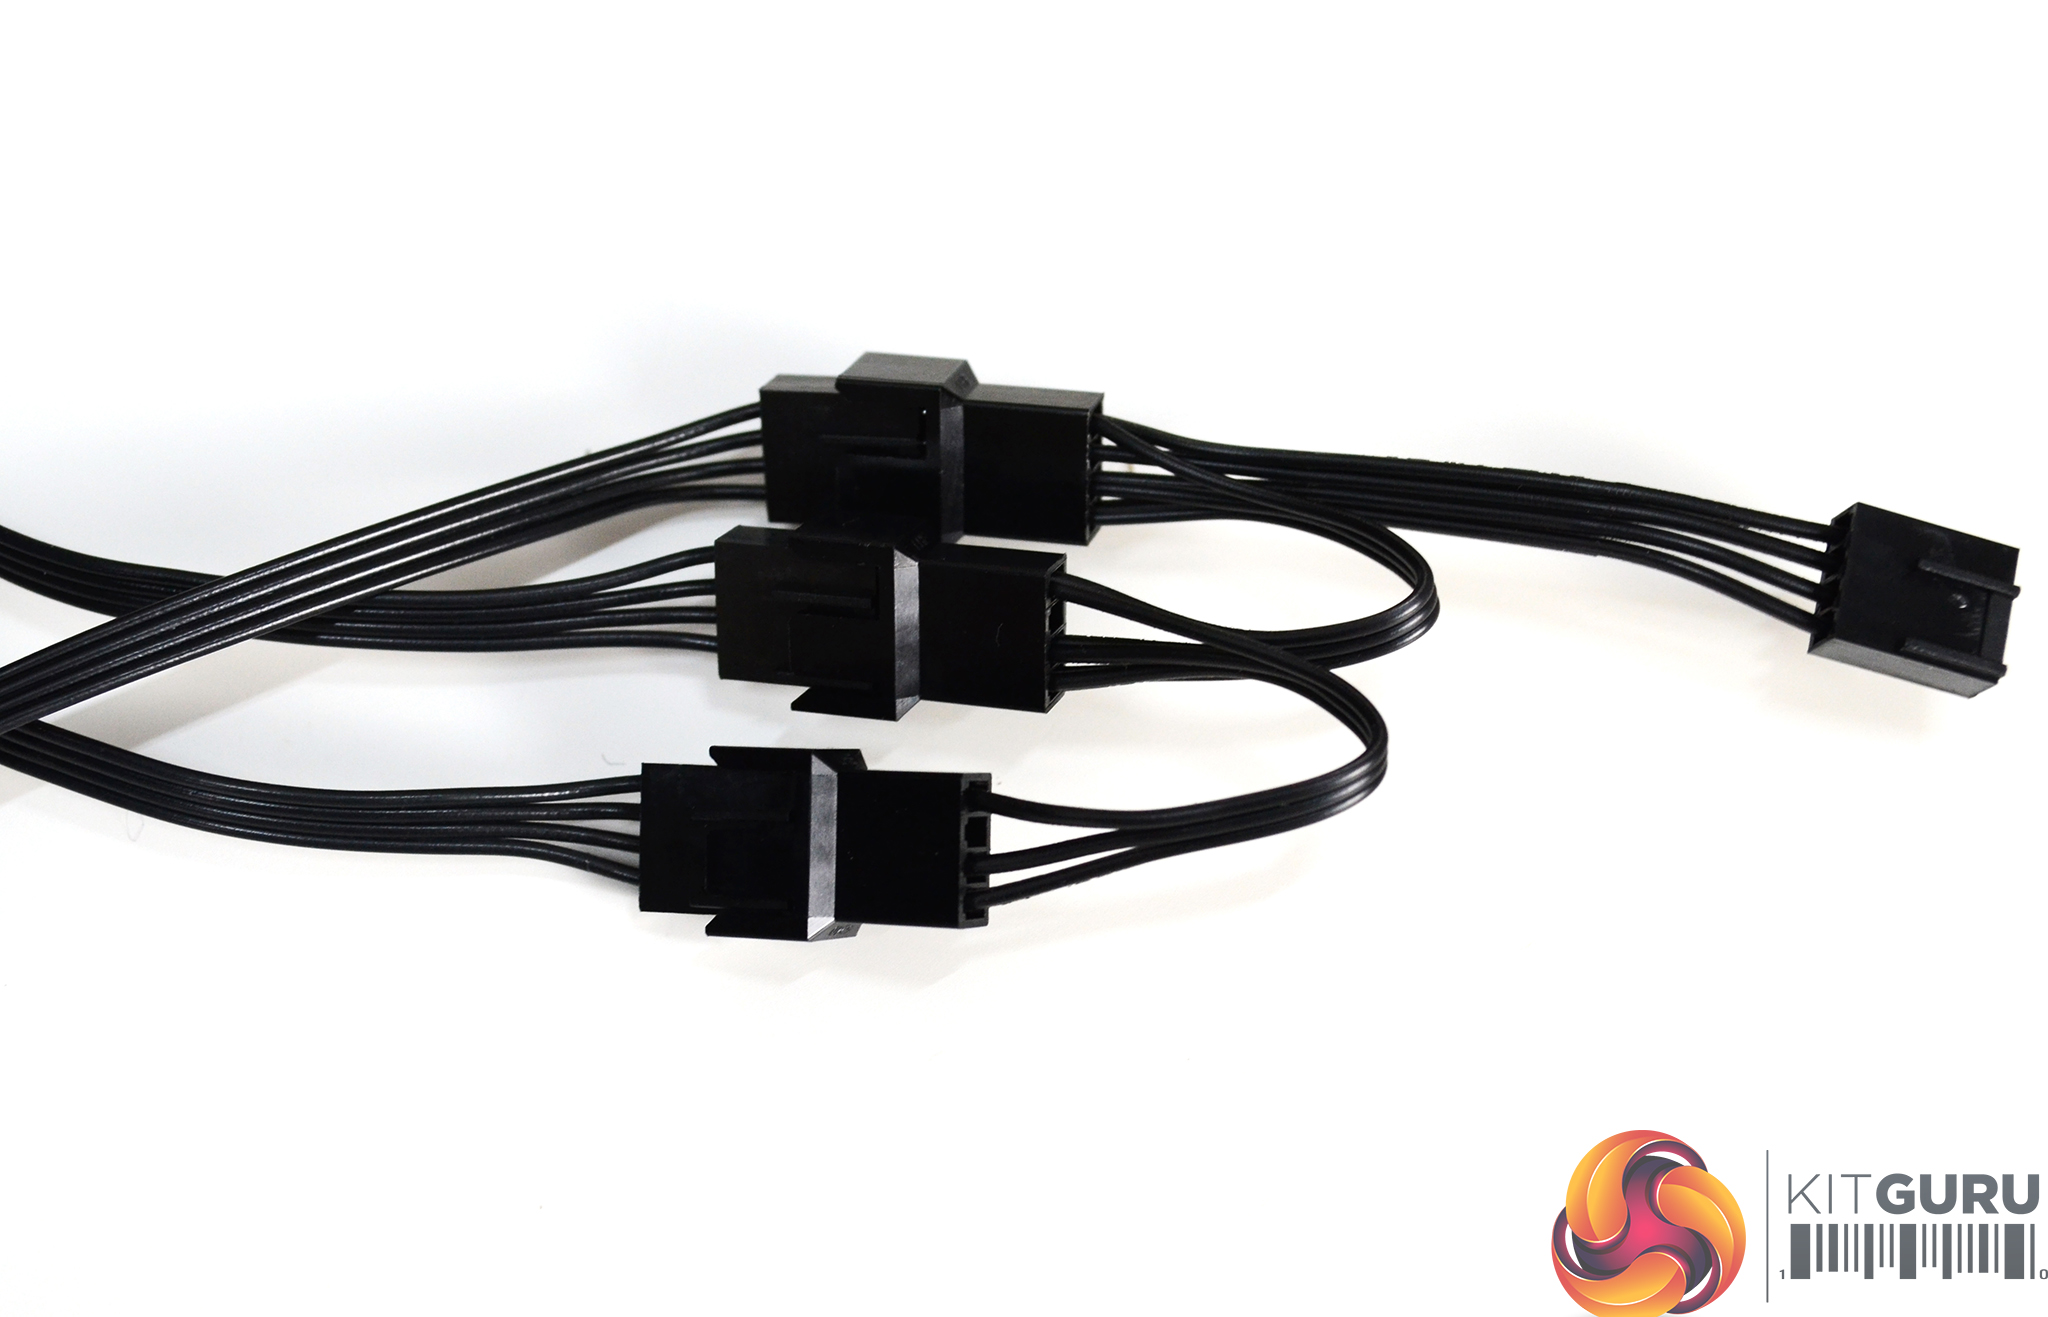
For the final step of the installation, connect the three-way 4-pin PWM fan splitter cable to the three Silent Wings 2 fans and connect the other end of the splitter cable to the motherboard CPU fan header, labelled as CPU_FAN on our Gigabyte Z390 Aorus Xtreme motherboard.
Overall, the installation process of the Pure Loop AIO cooler is straightforward and hassle-free, the installation is similar to other be quiet! air coolers so if you have installed one of those before you will find this a breeze. If this is your first time installing a be quiet! cooler or if you are a PC building novice, the process should still be easy to complete and take no more than 15-20 minutes or so.