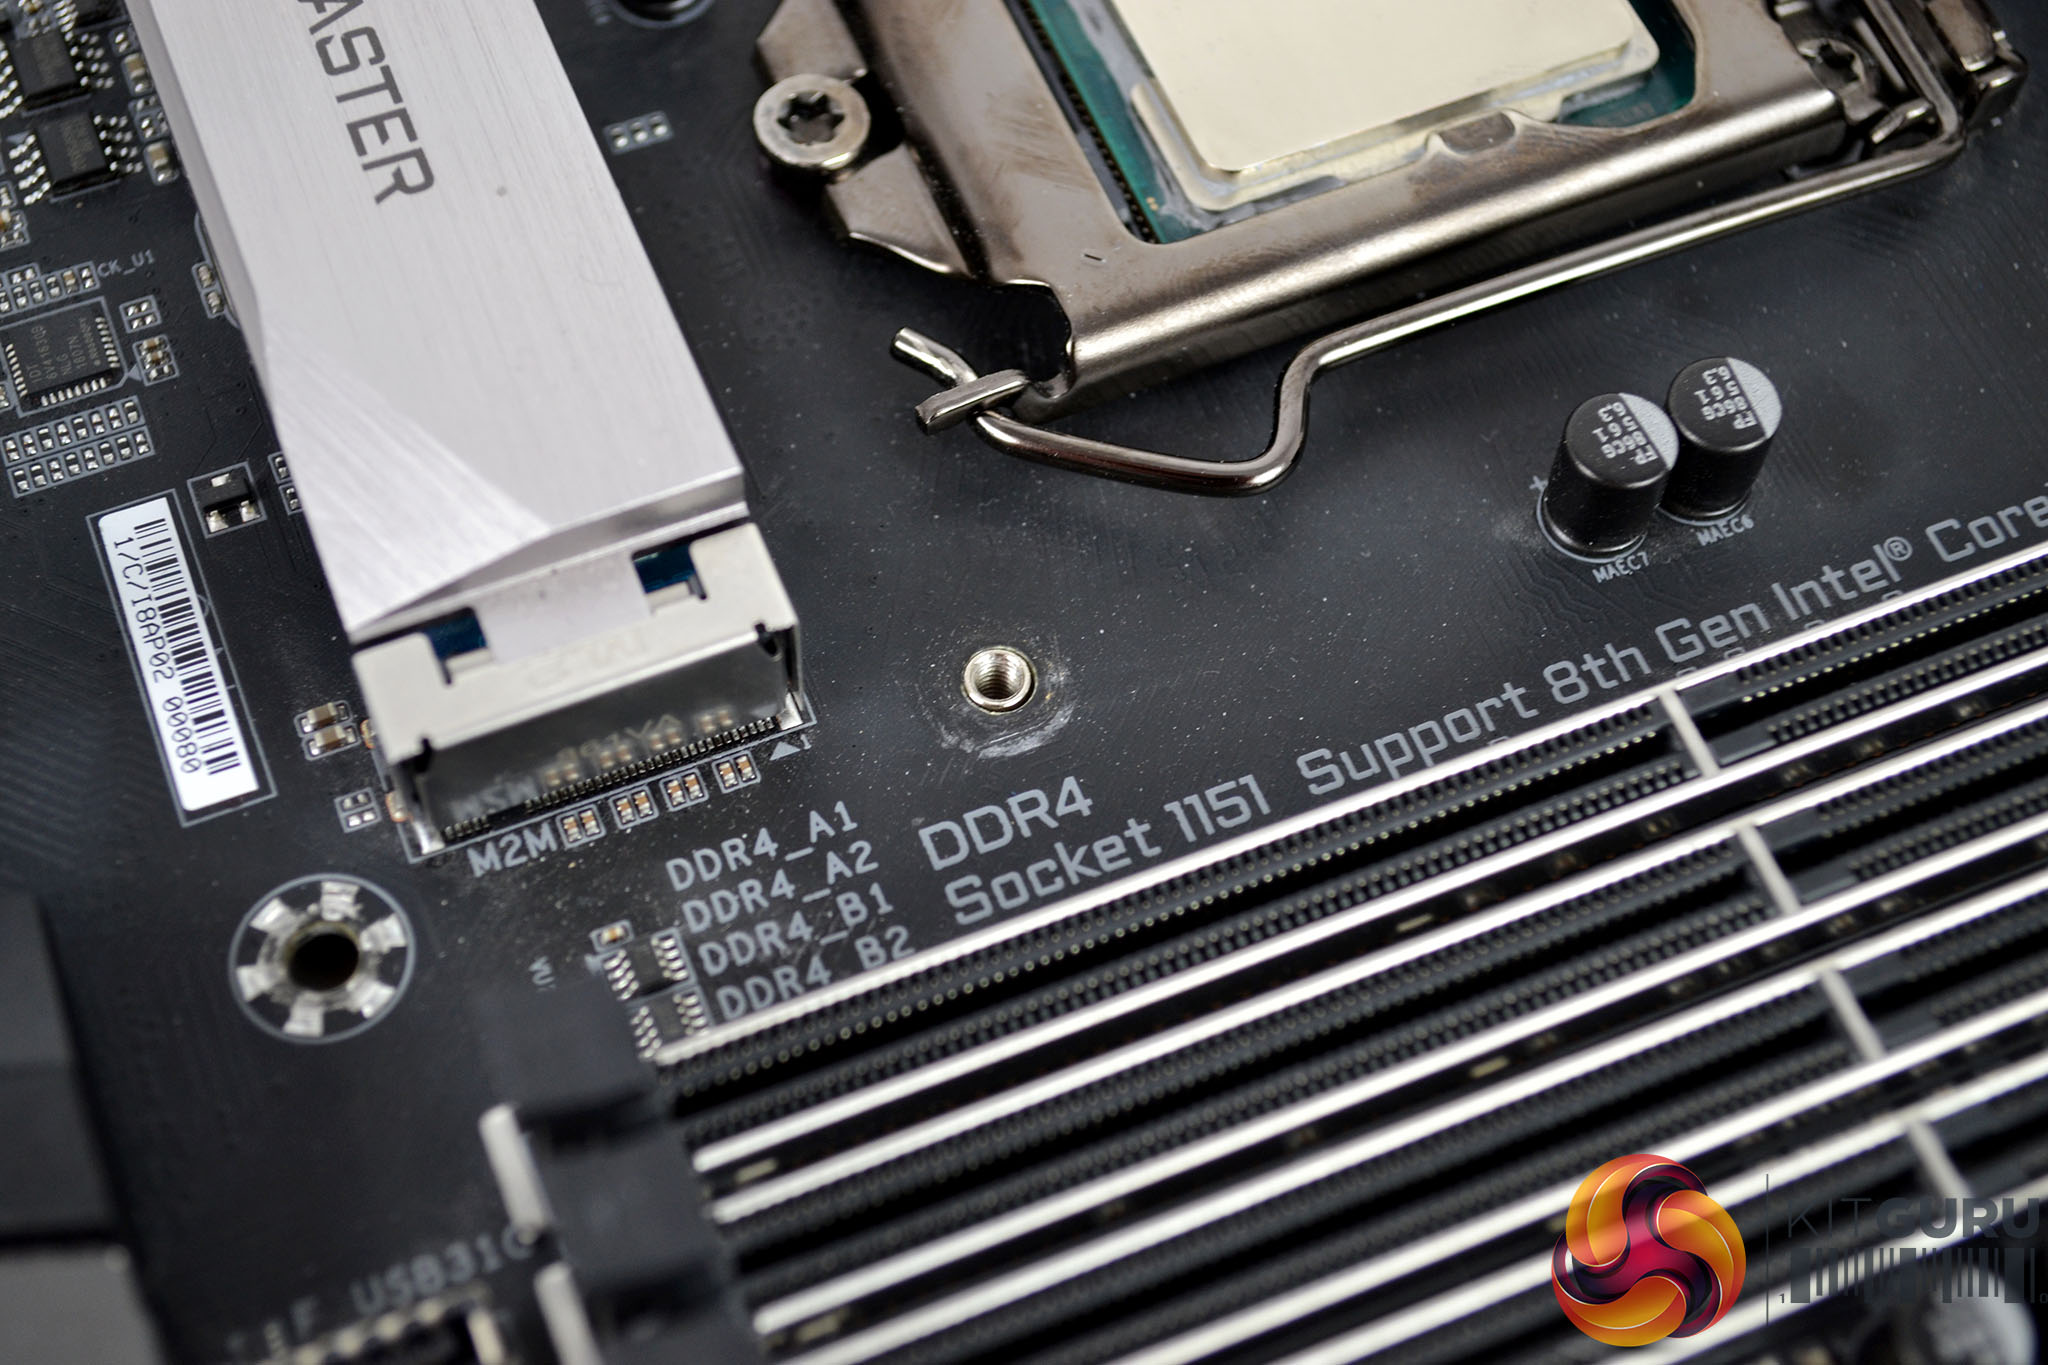
Our test system is Intel Z390 based, therefore, we will be following the relevant Intel 115X socket installation procedure.
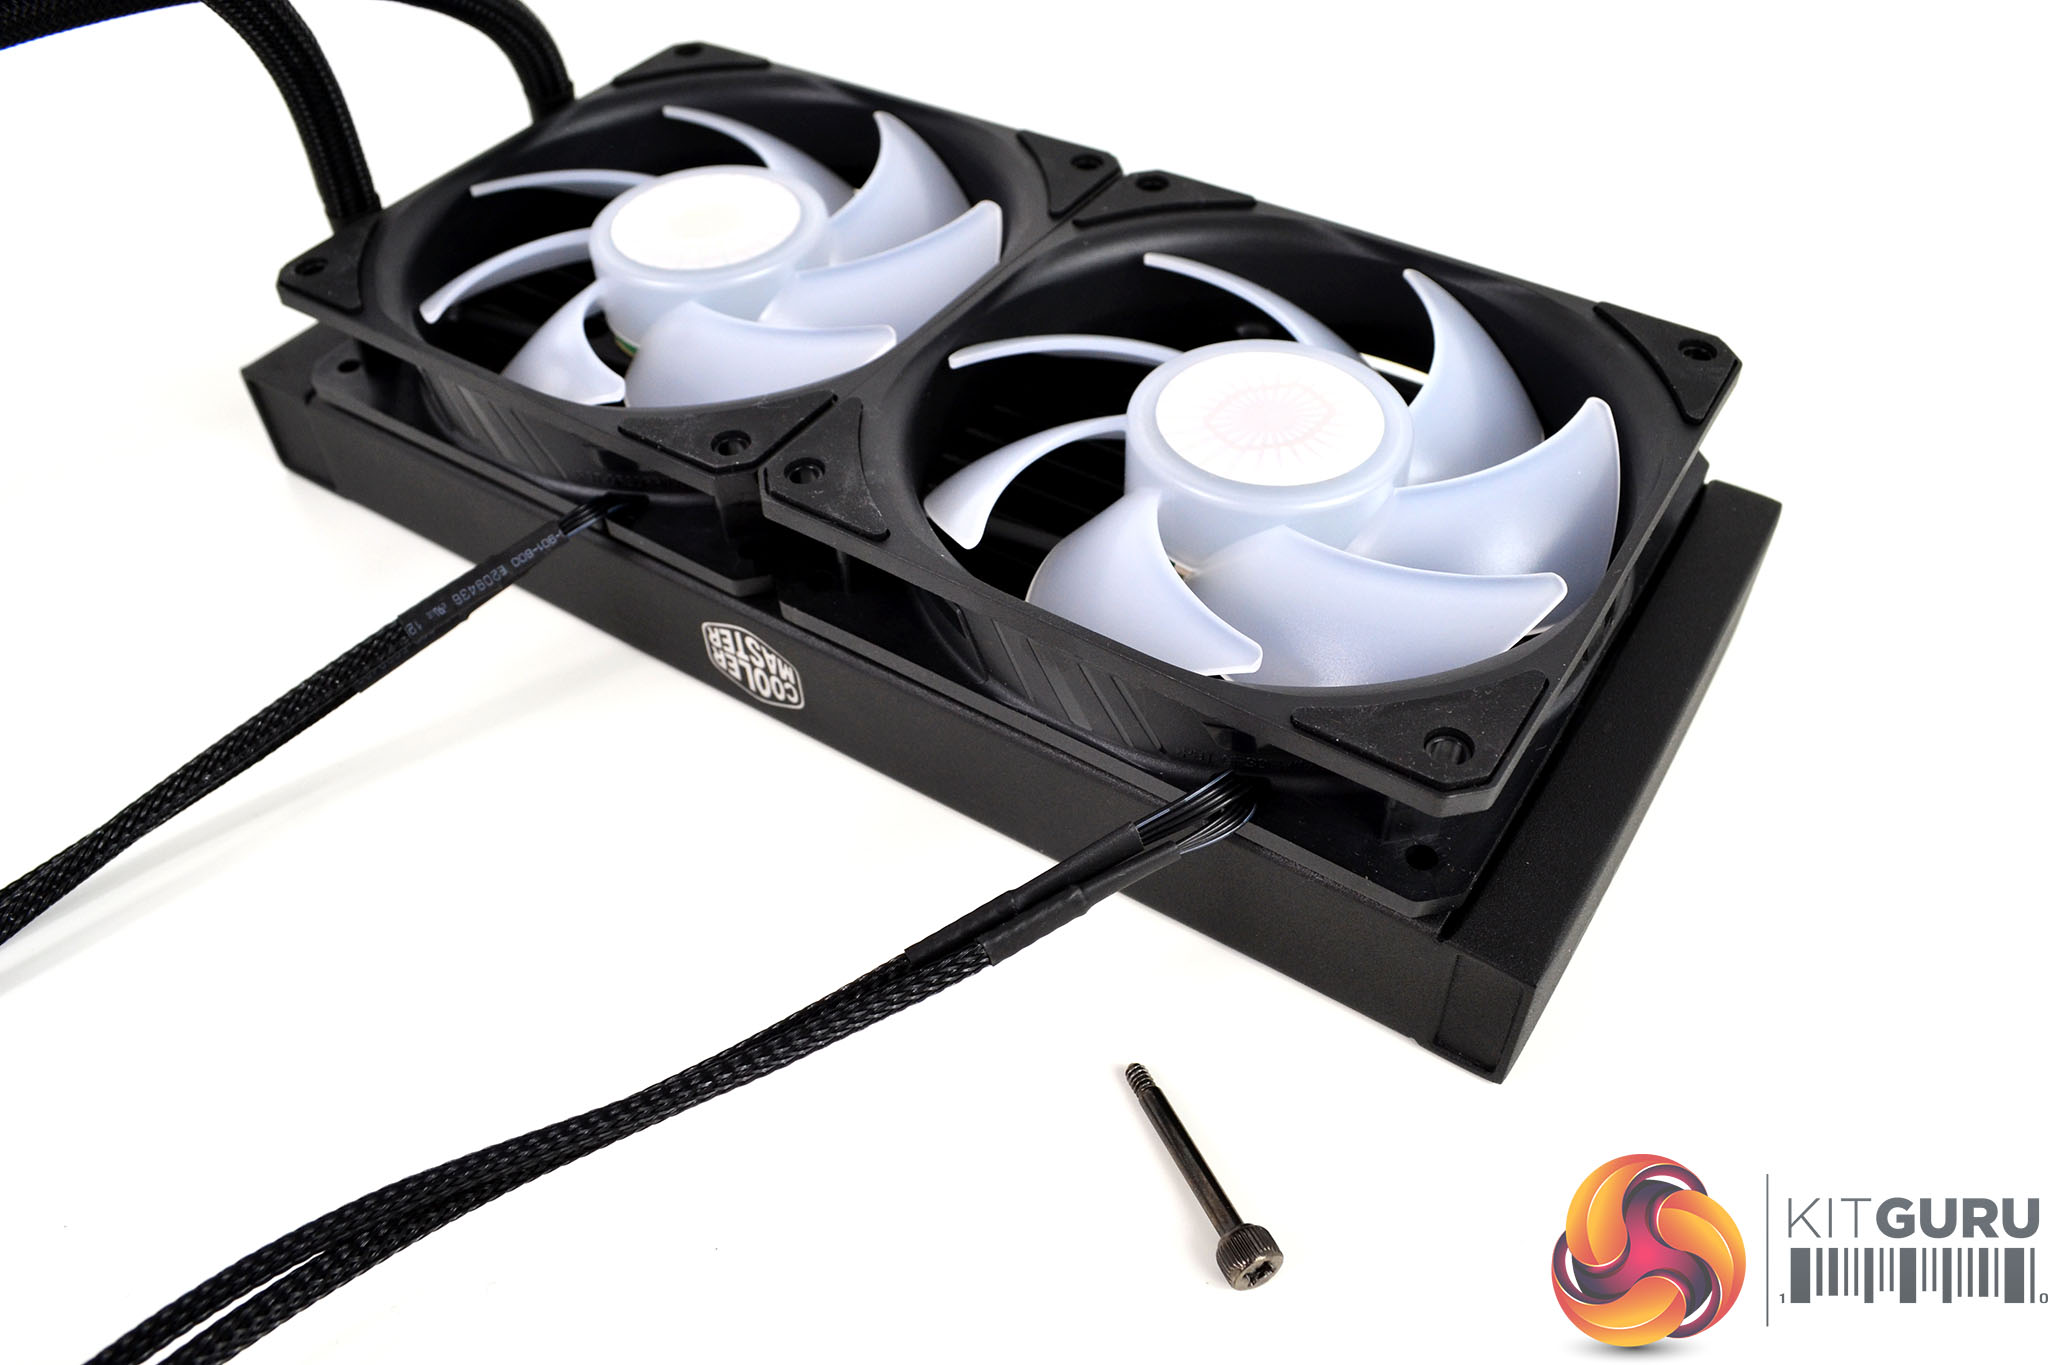
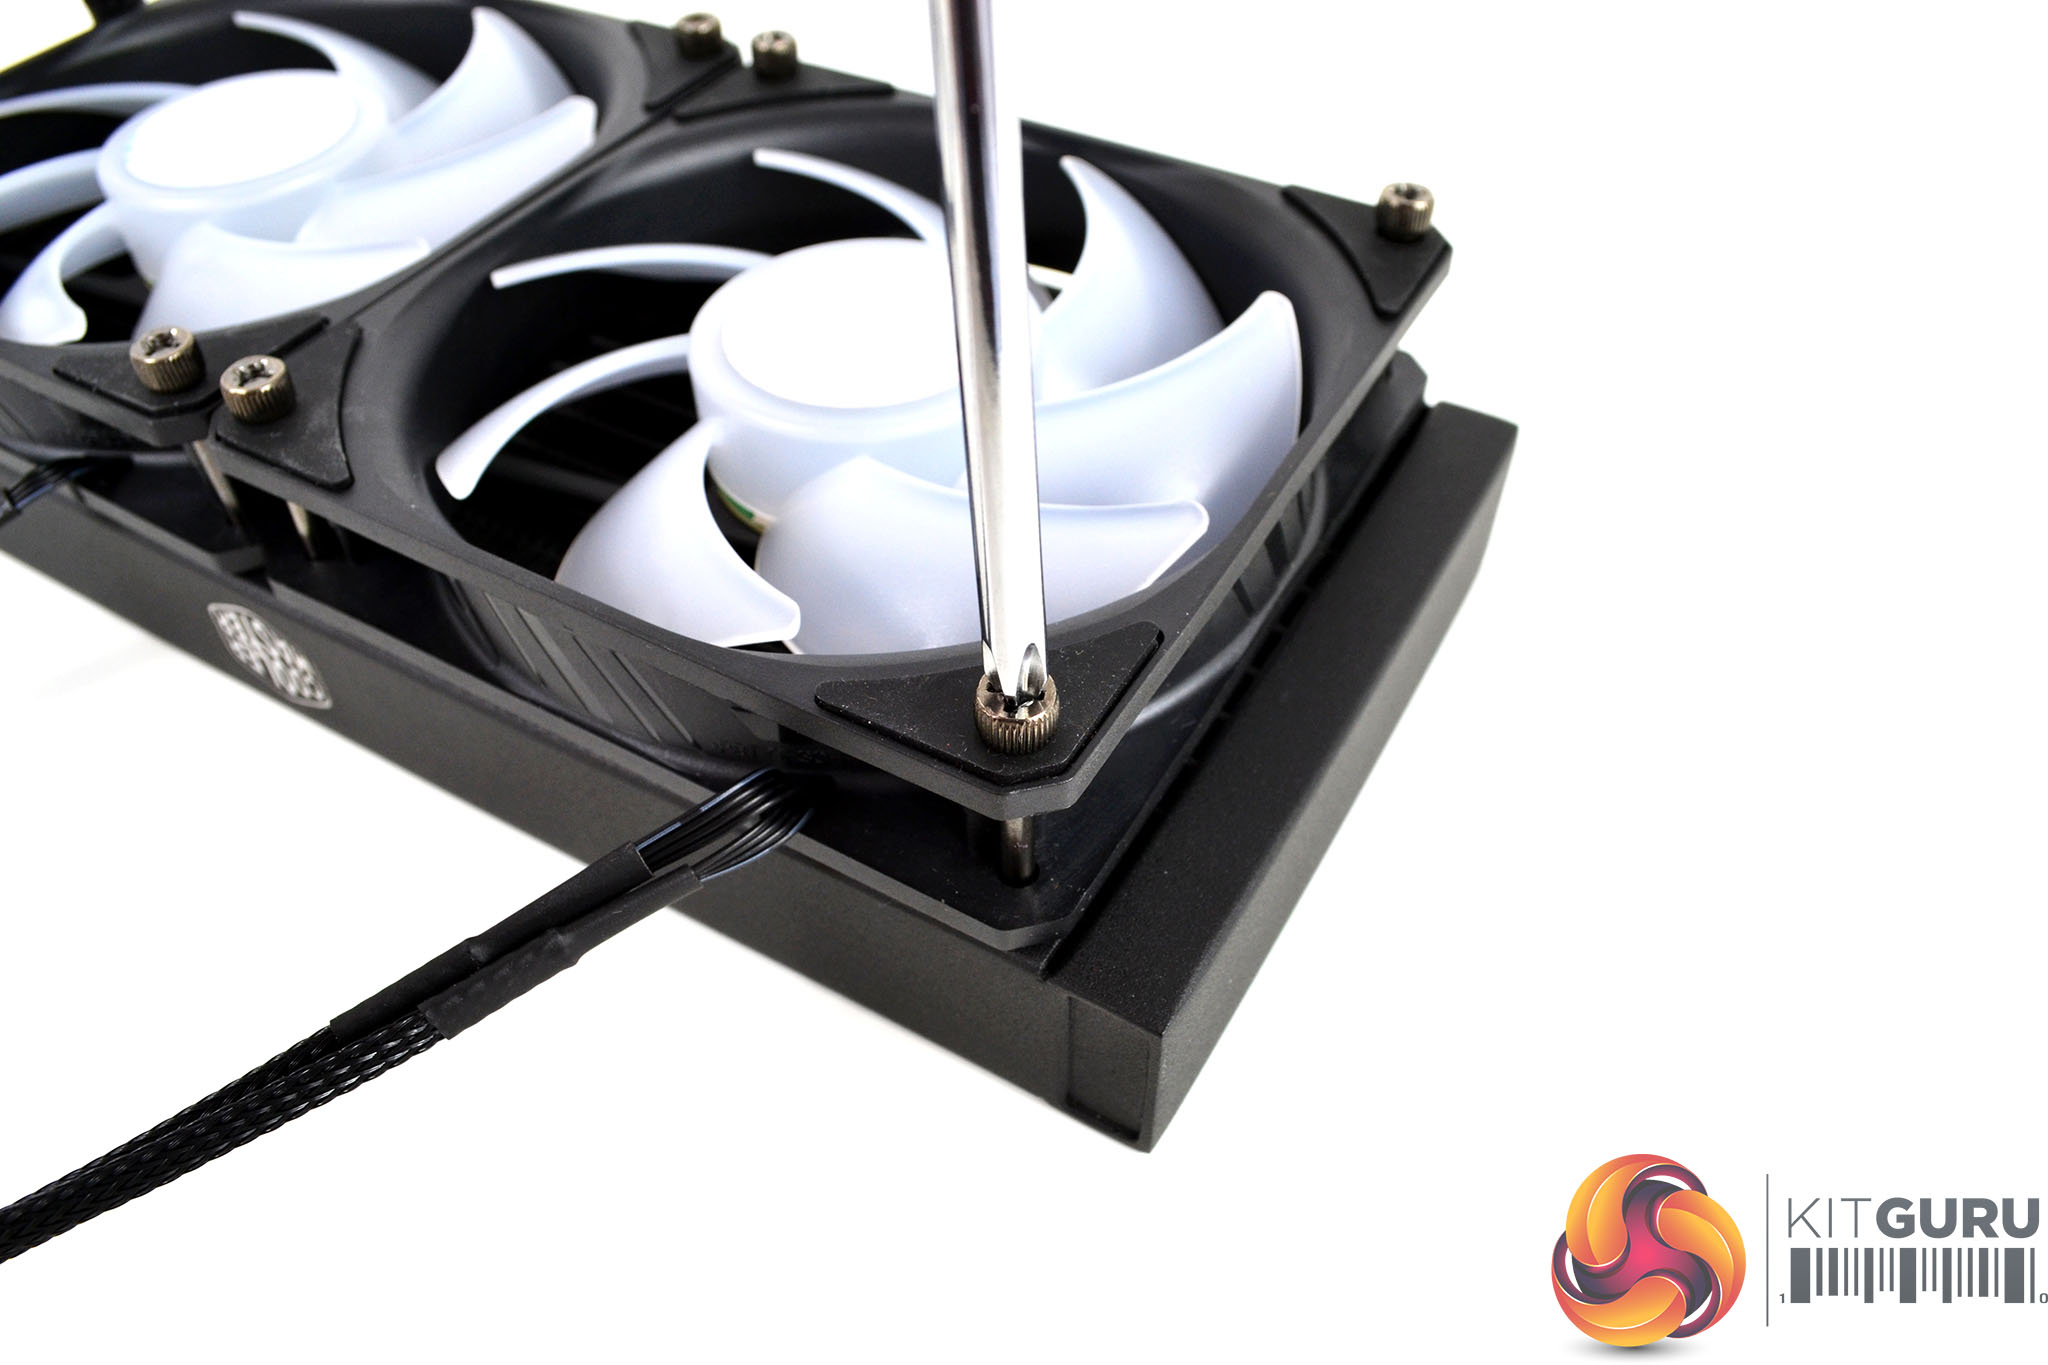
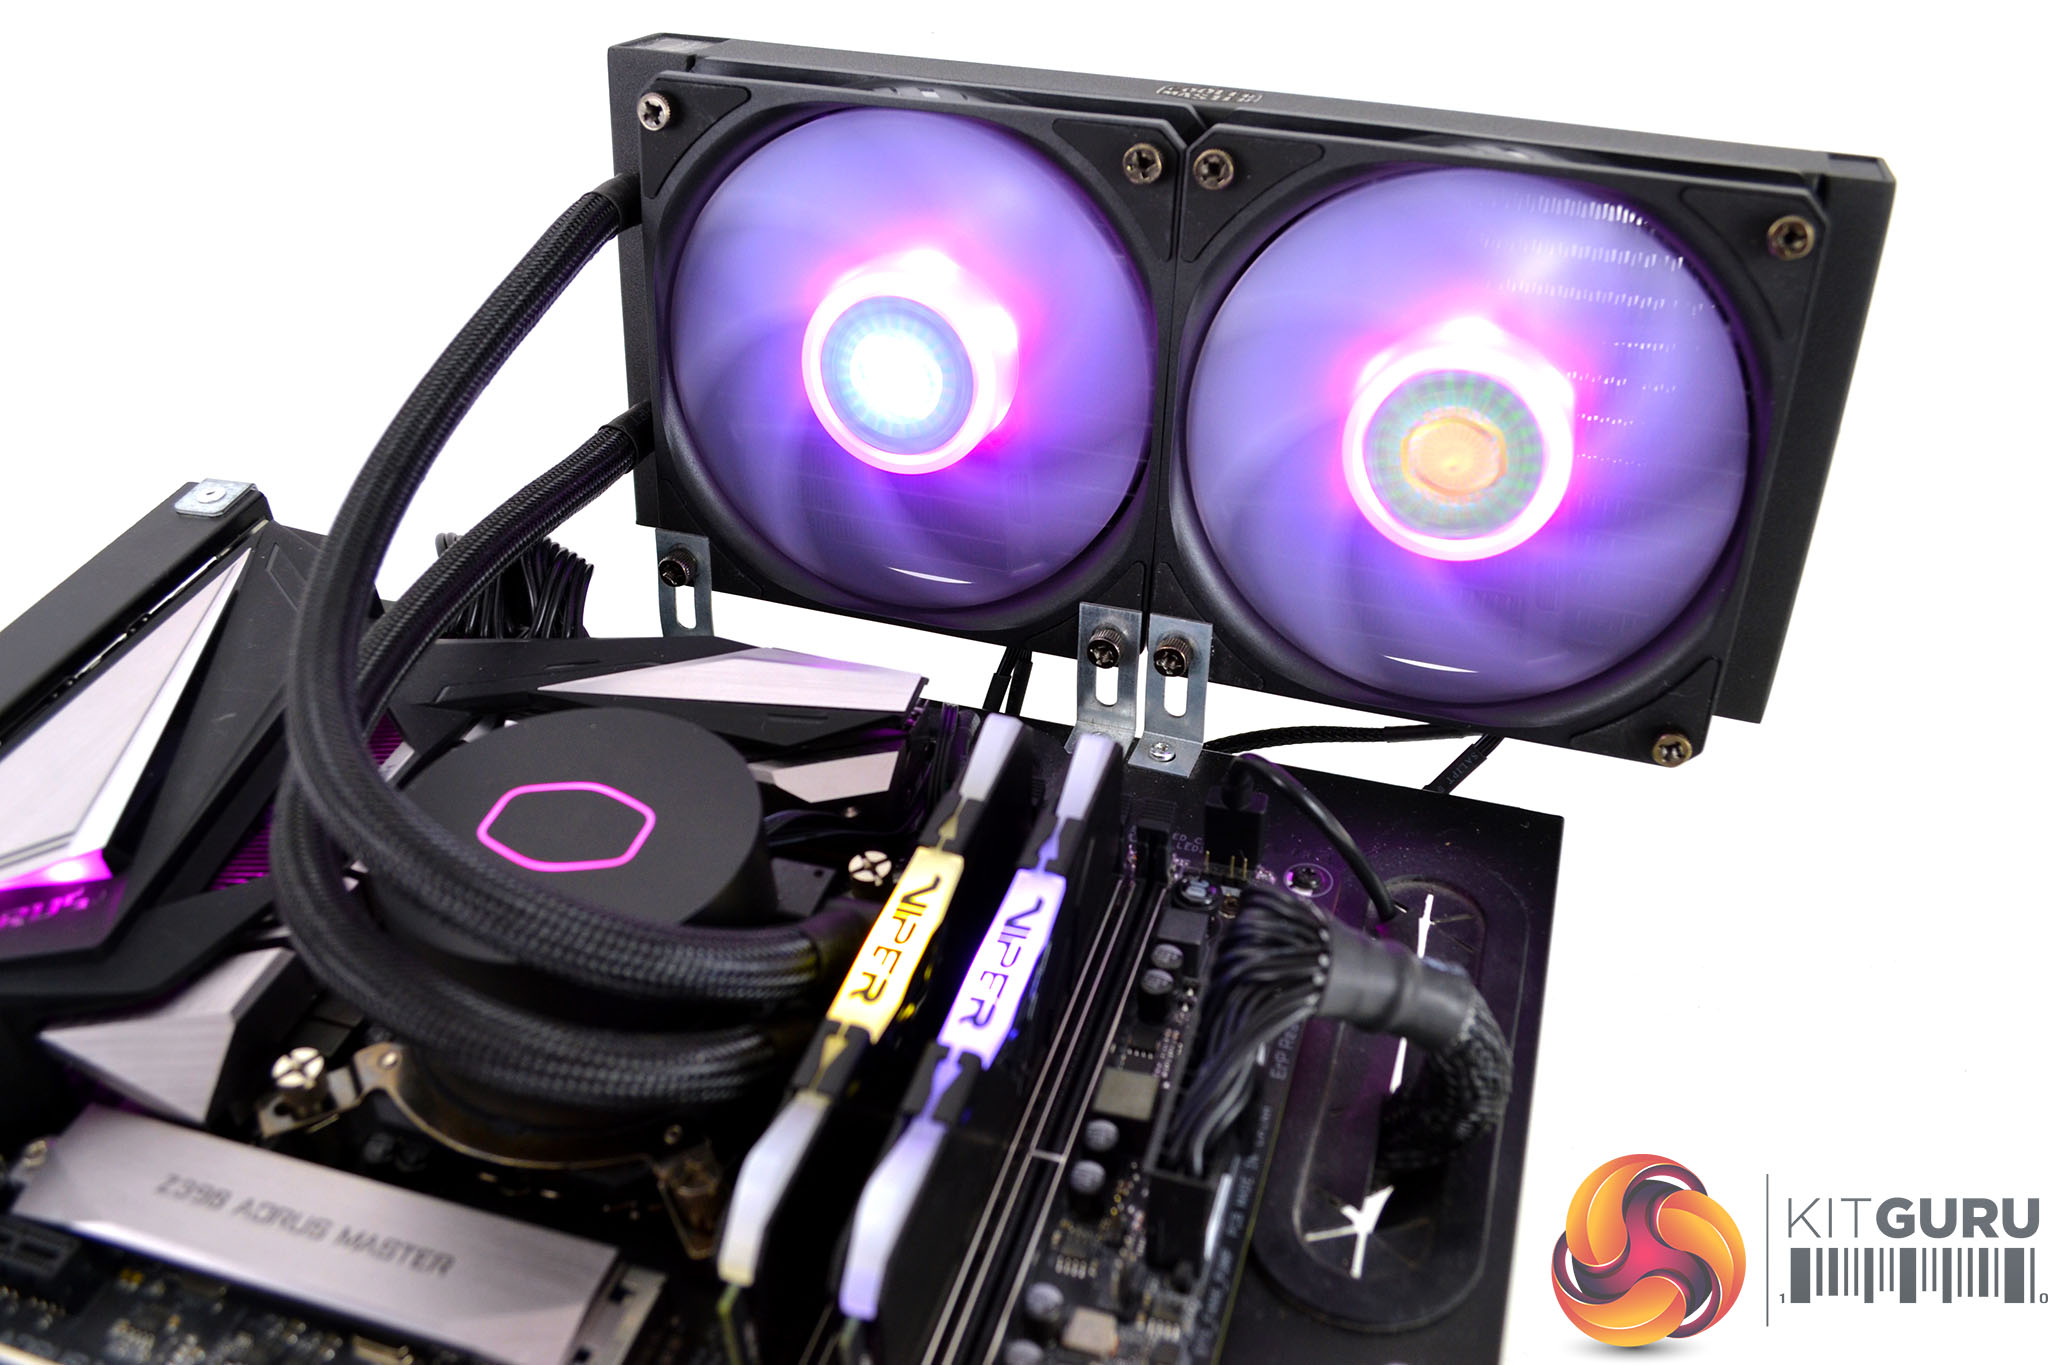
For the first part of the installation, place the fans on the radiator in either a pull or push configuration to suit the position of the radiator in your case. Take the eight long thumbscrews and fix the fans in position, the thumbscrews can be fully tightened in place using a Philips head screwdriver if required.
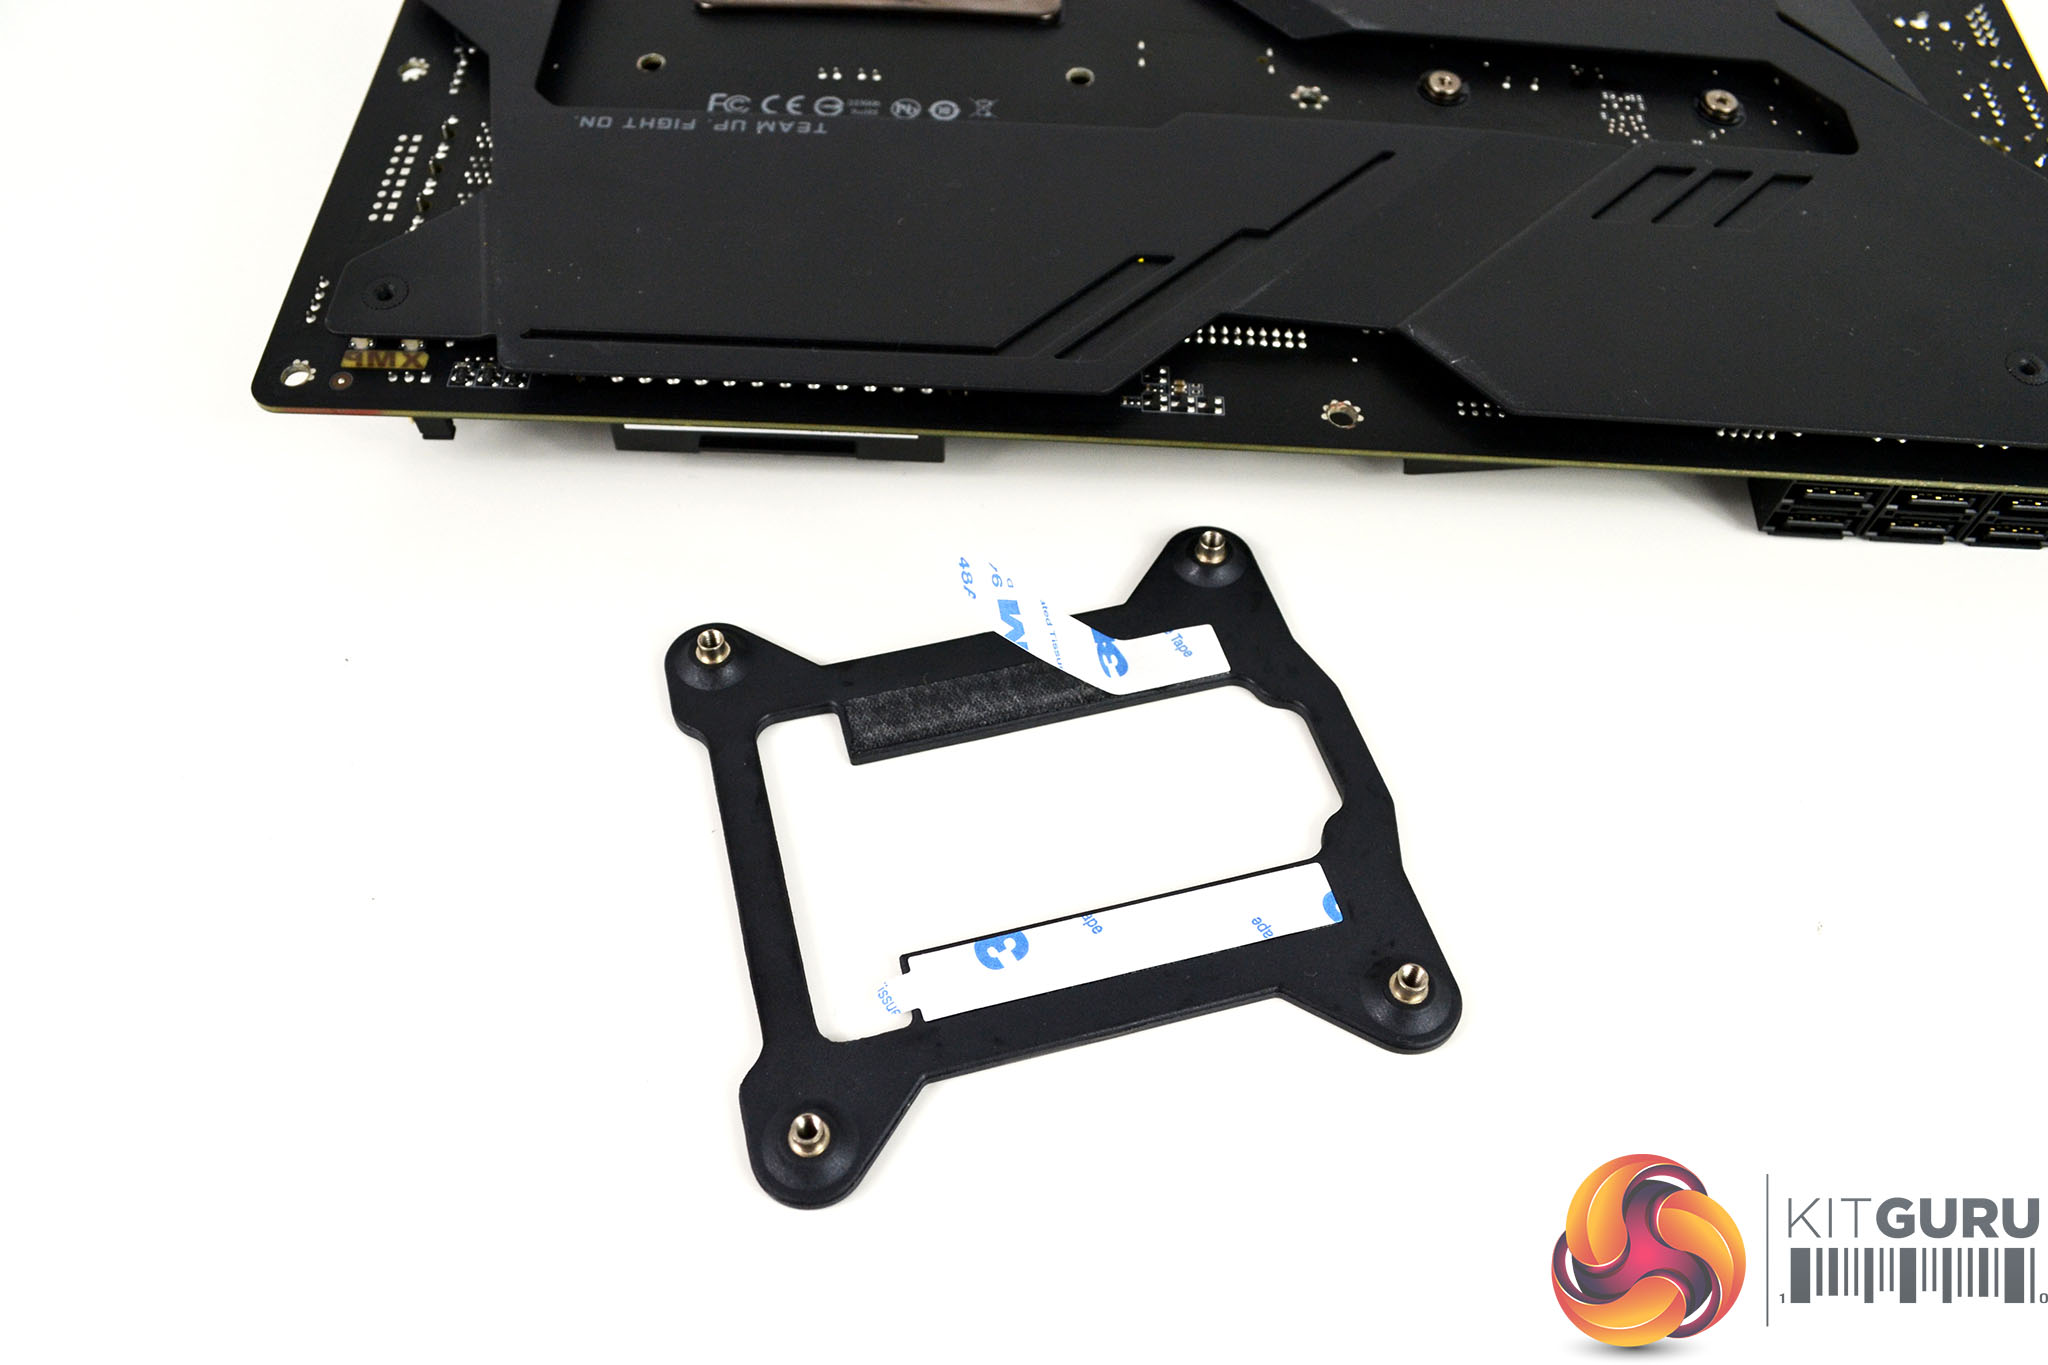
Now we can move on to preparing the motherboard. First, remove the self-adhesive backing from the coolers retention backplate, then lower the backplate in position over the rear of the motherboard aligned with the holes and press it down so it is held by the adhesive strips.
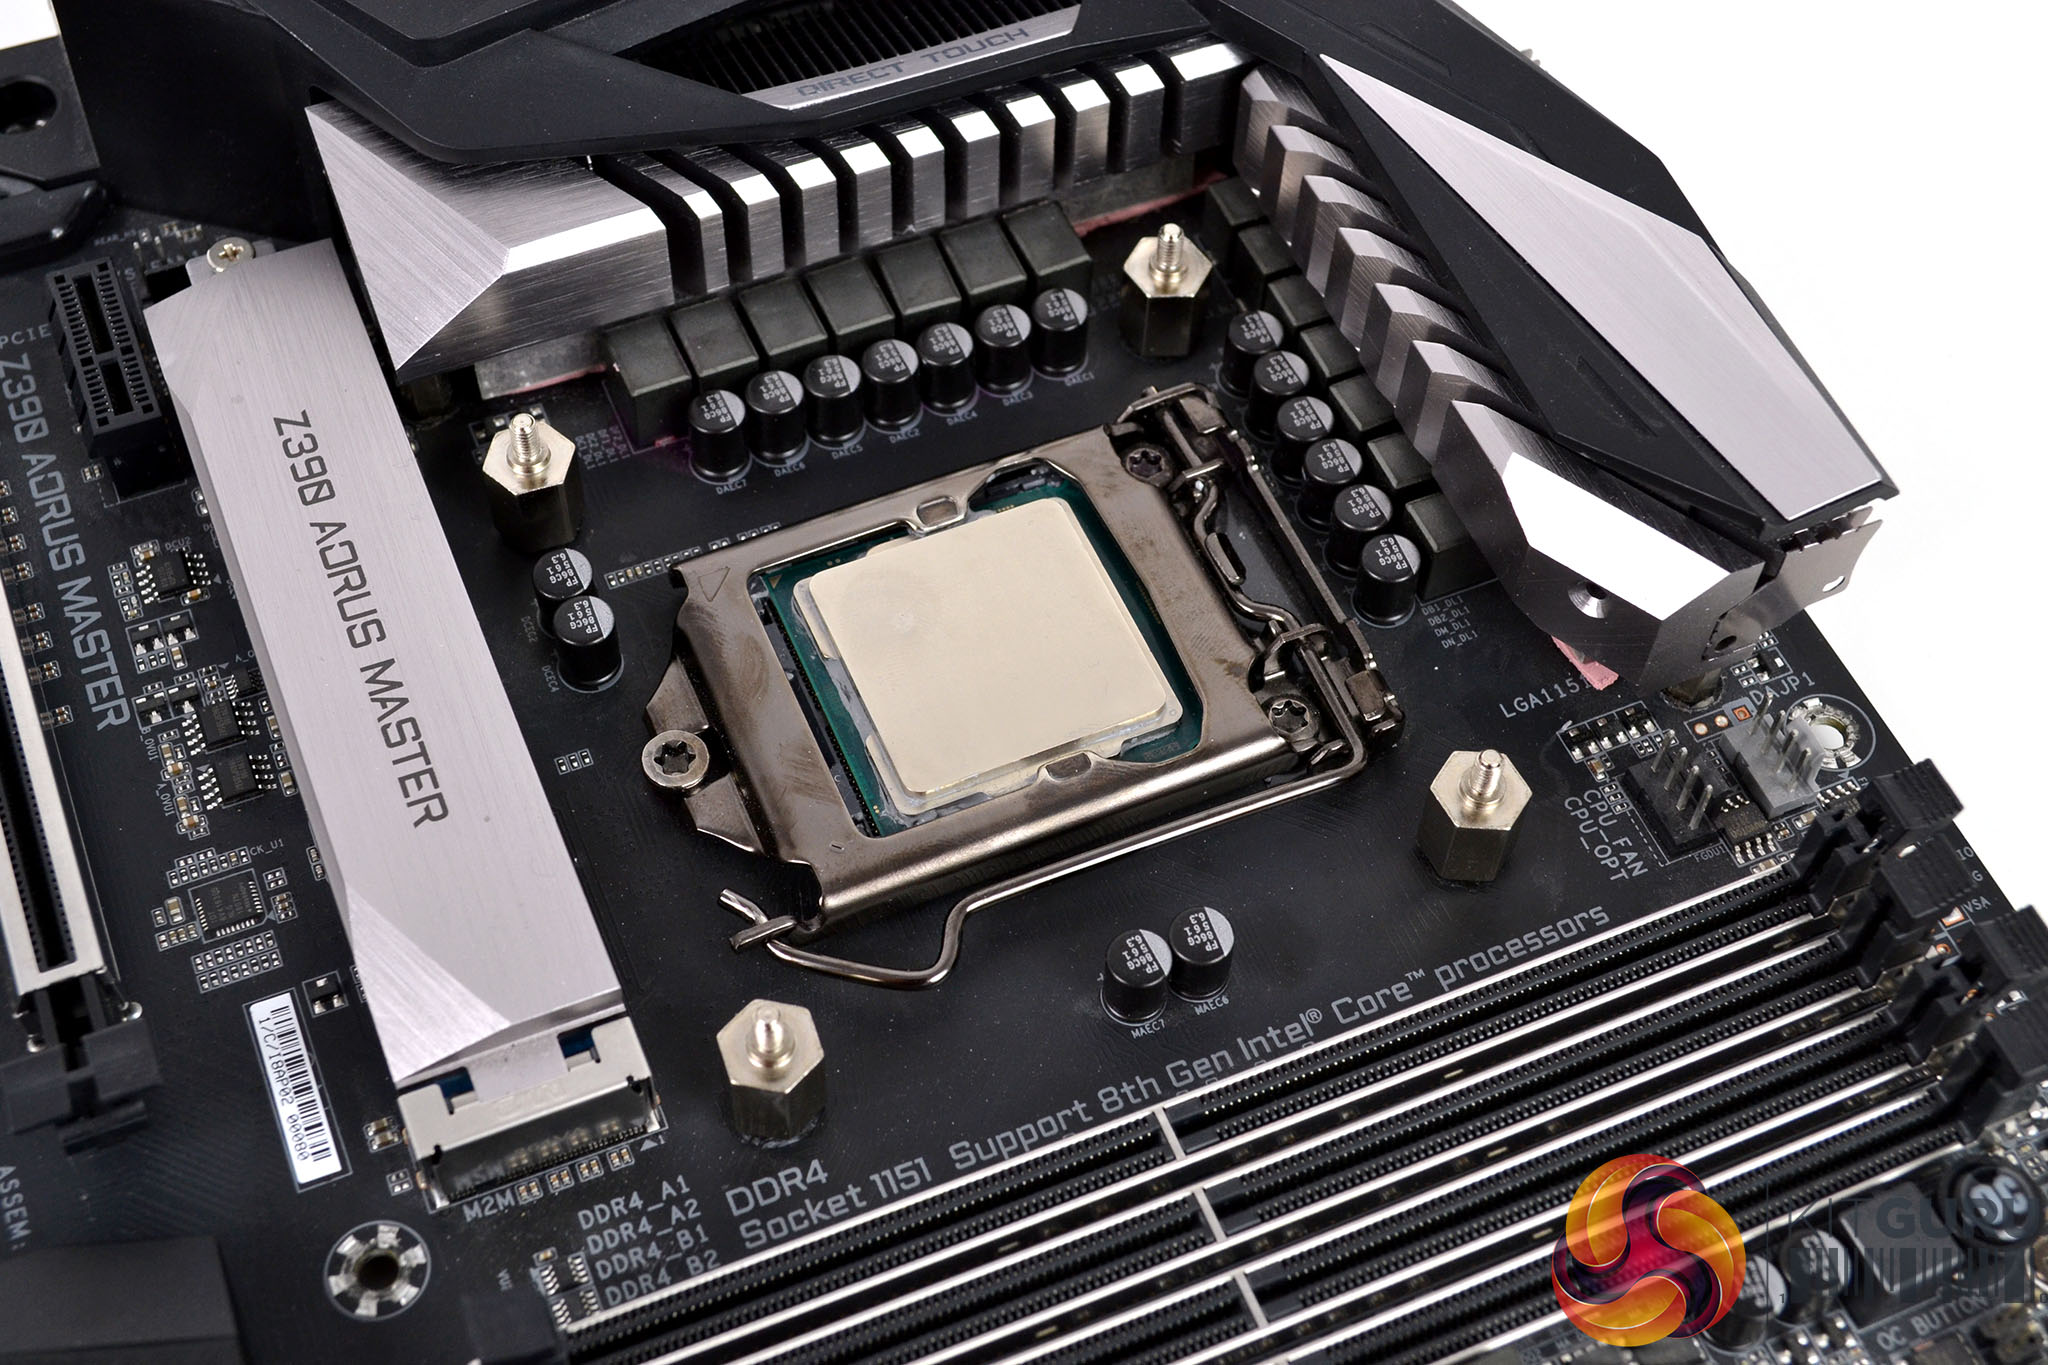
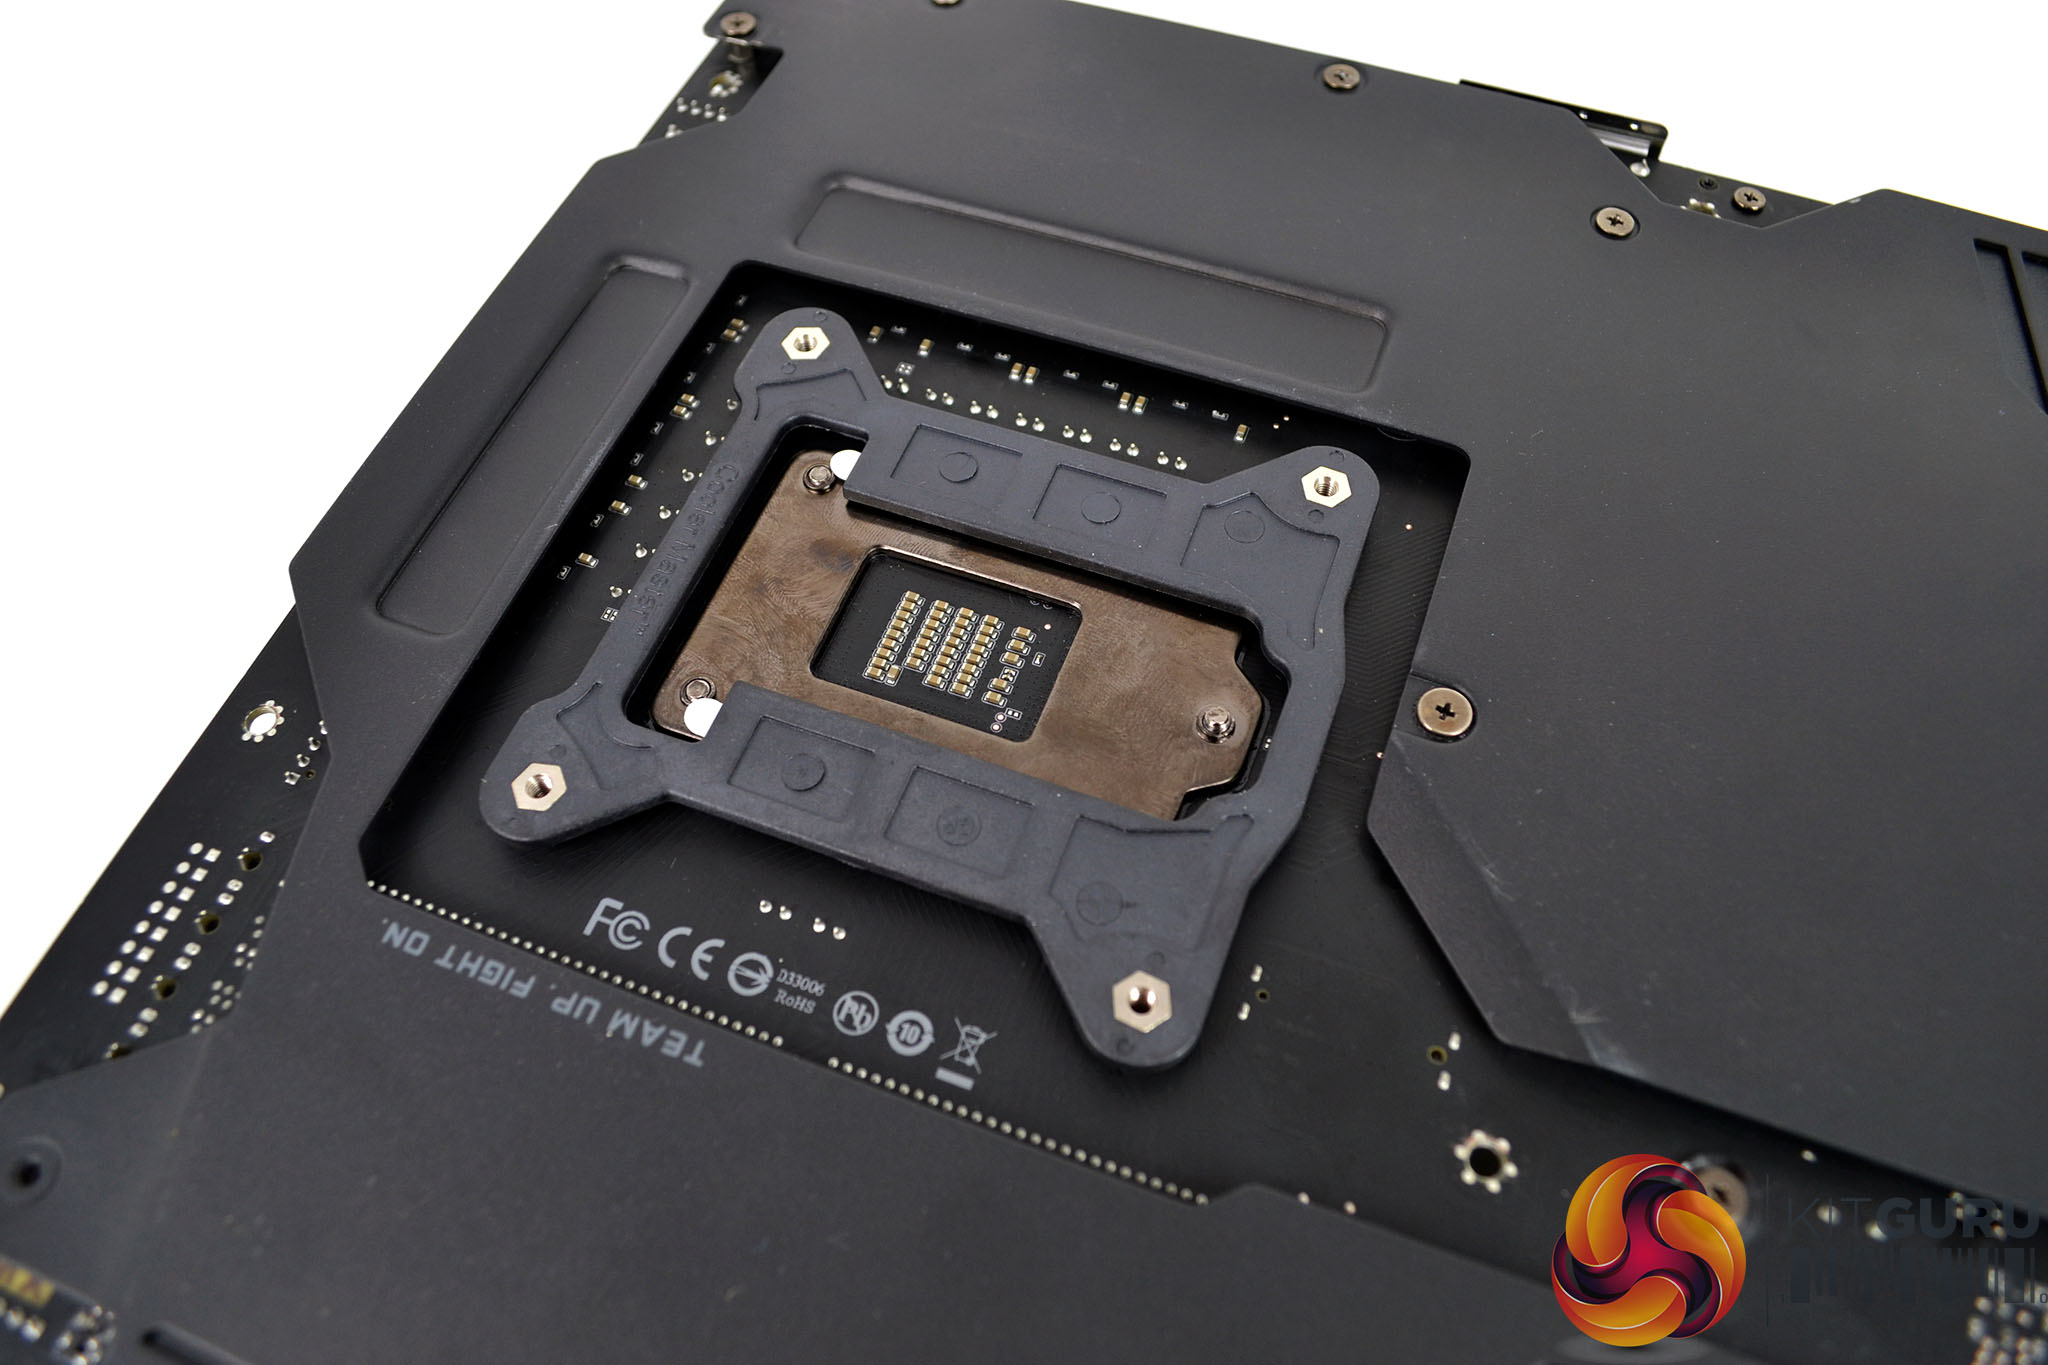
Now flip the motherboard back over and you will notice the screw holes are visible from the top. Take the four Intel standoffs and screw them into the holes of the backplate by hand, you can always nip up the standoffs with a pair of pliers or such like if you feel it is necessary but don’t over-tighten them as it could potentially damage the thread.
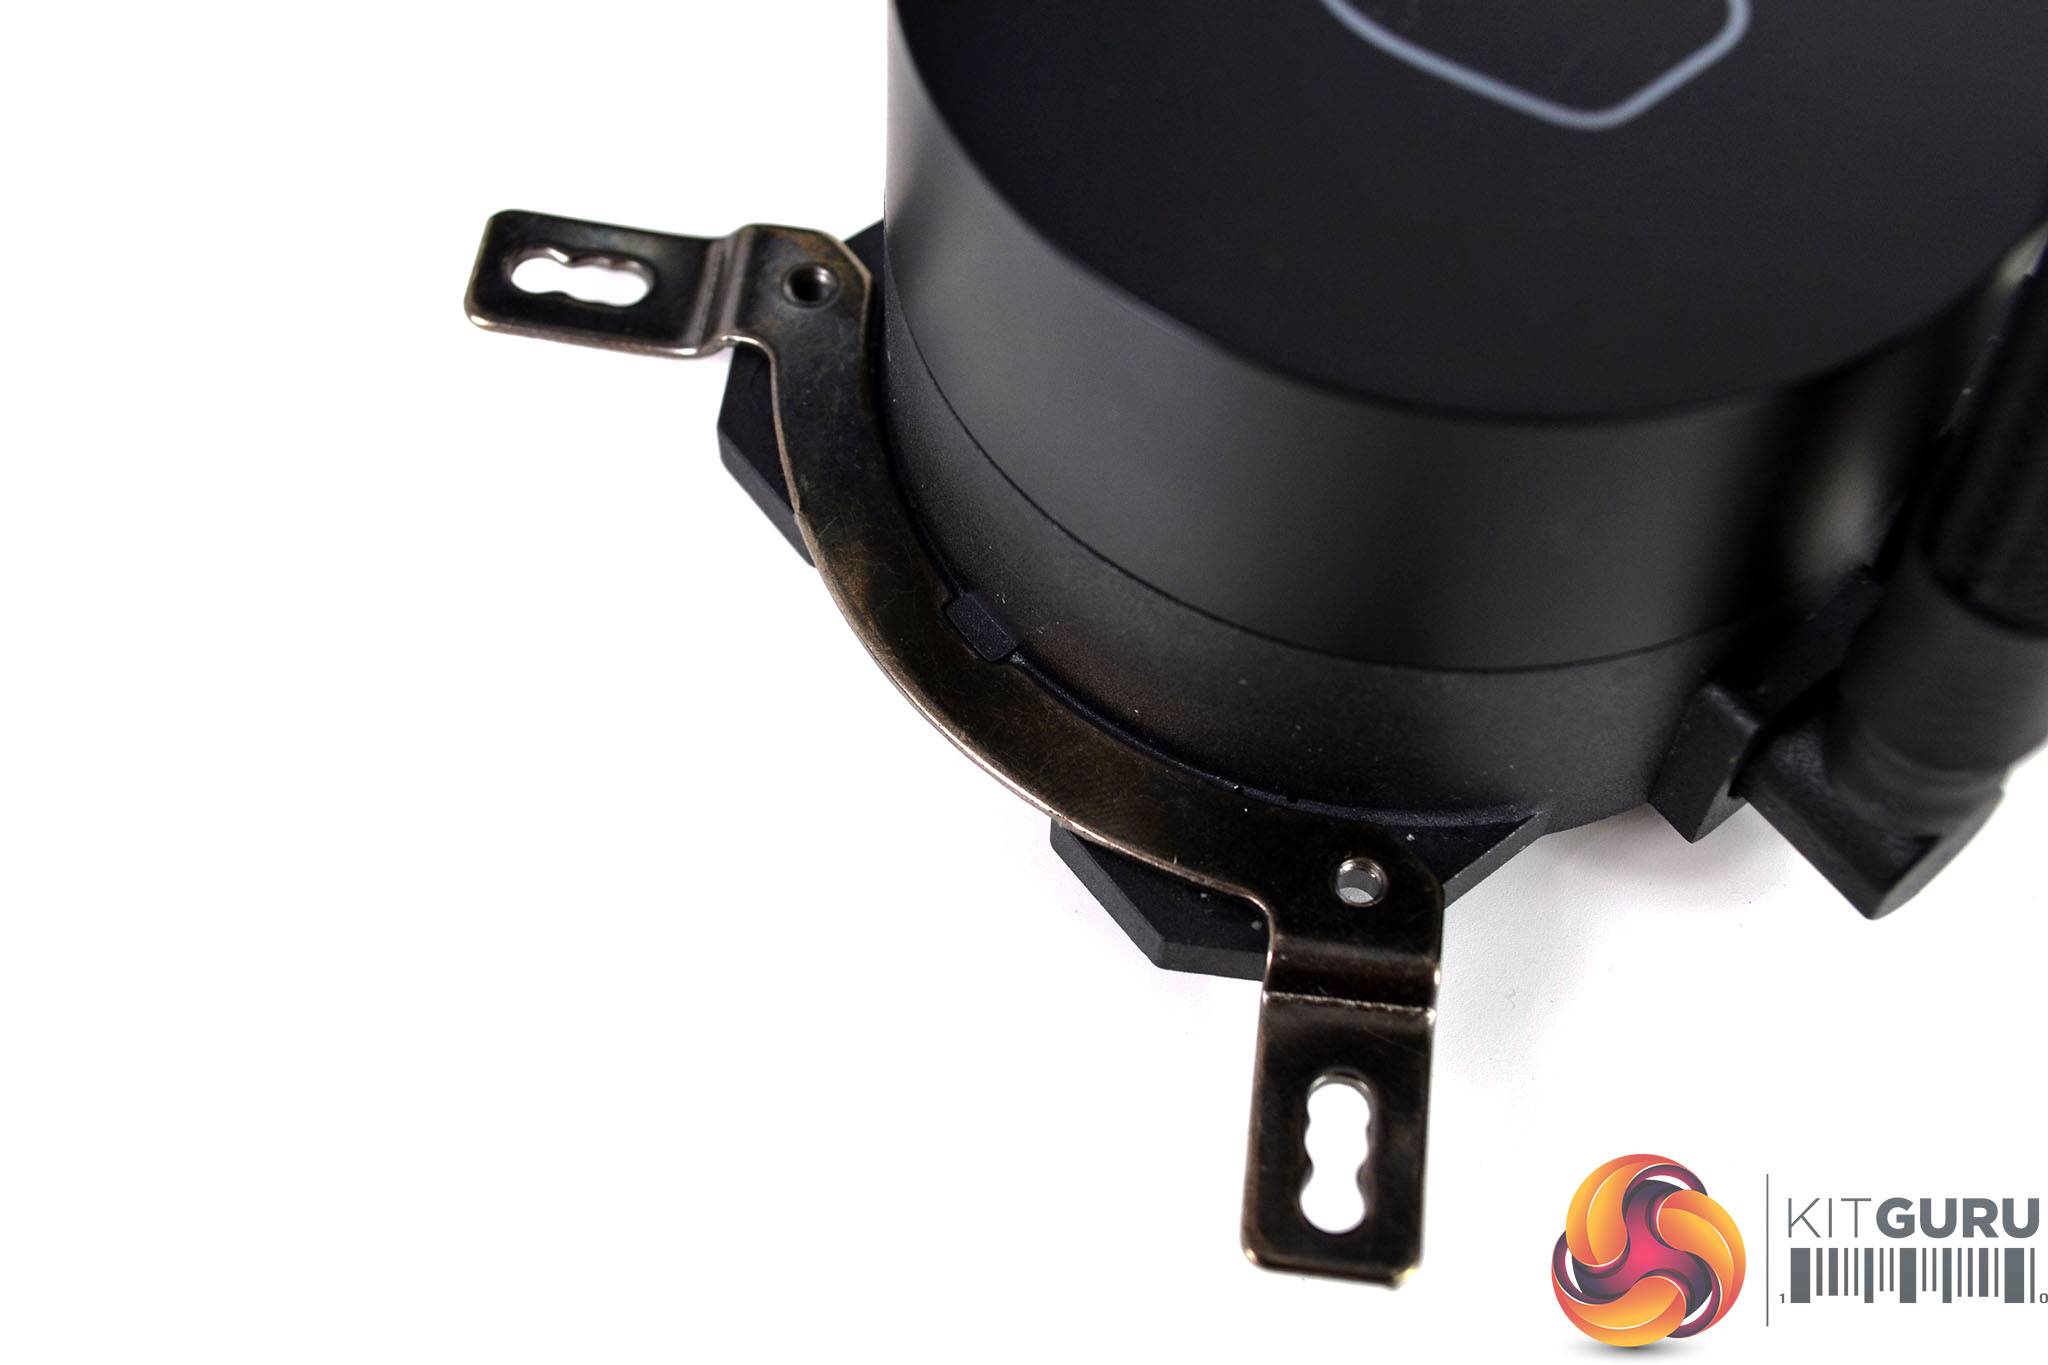
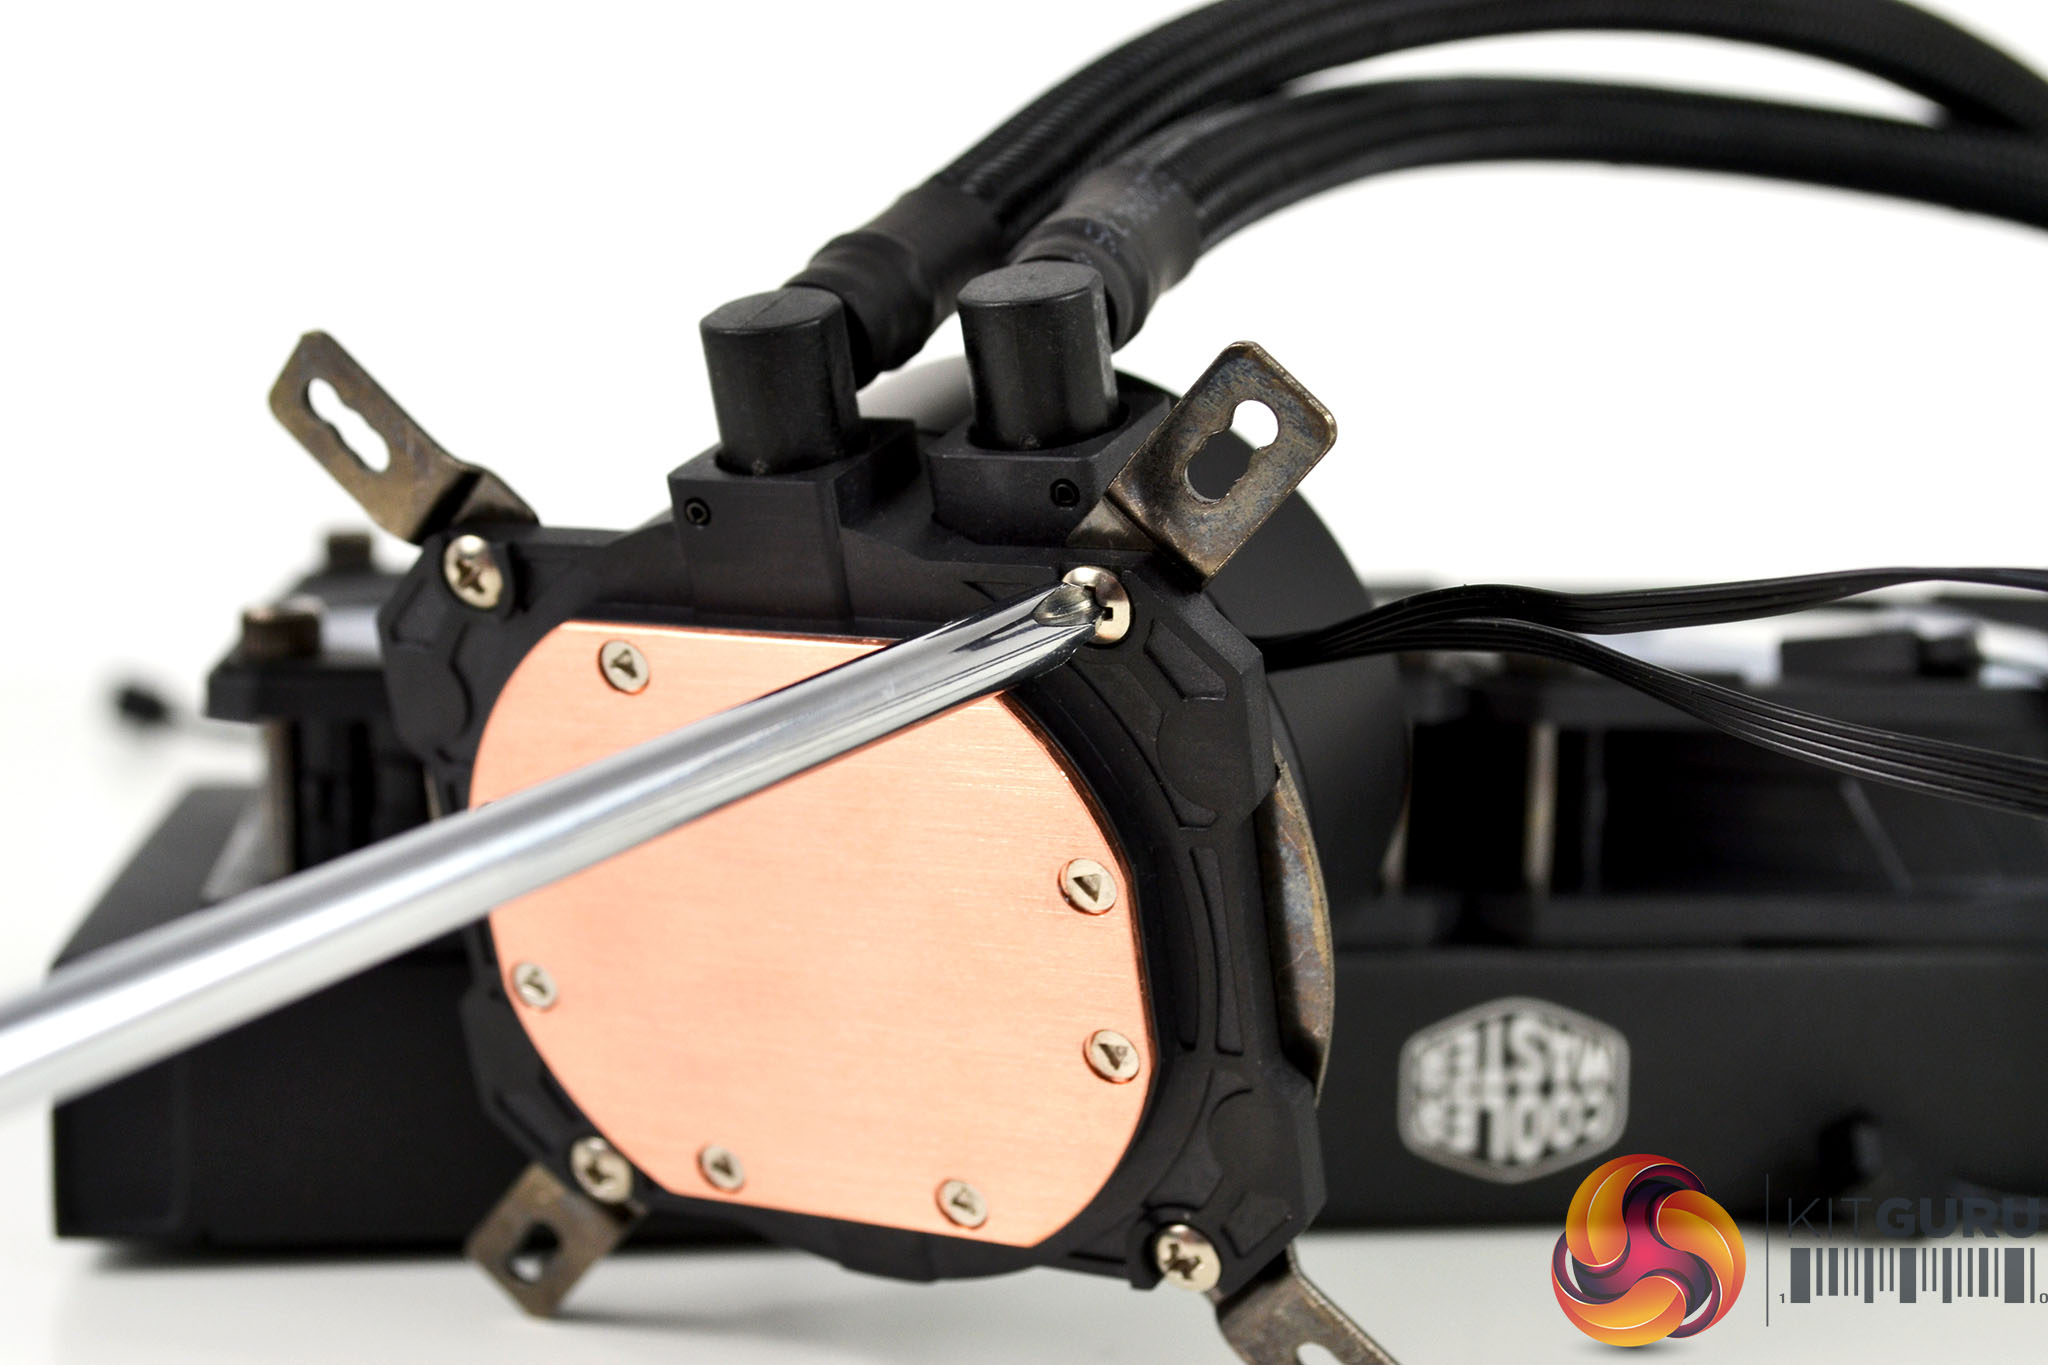
For the next step, we need to fit the Intel mounting brackets to the CPU block. Take the two Intel brackets and align them with the screw holes and notch on the CPU block and fasten them in place from the underside using the provided Philips head screws.

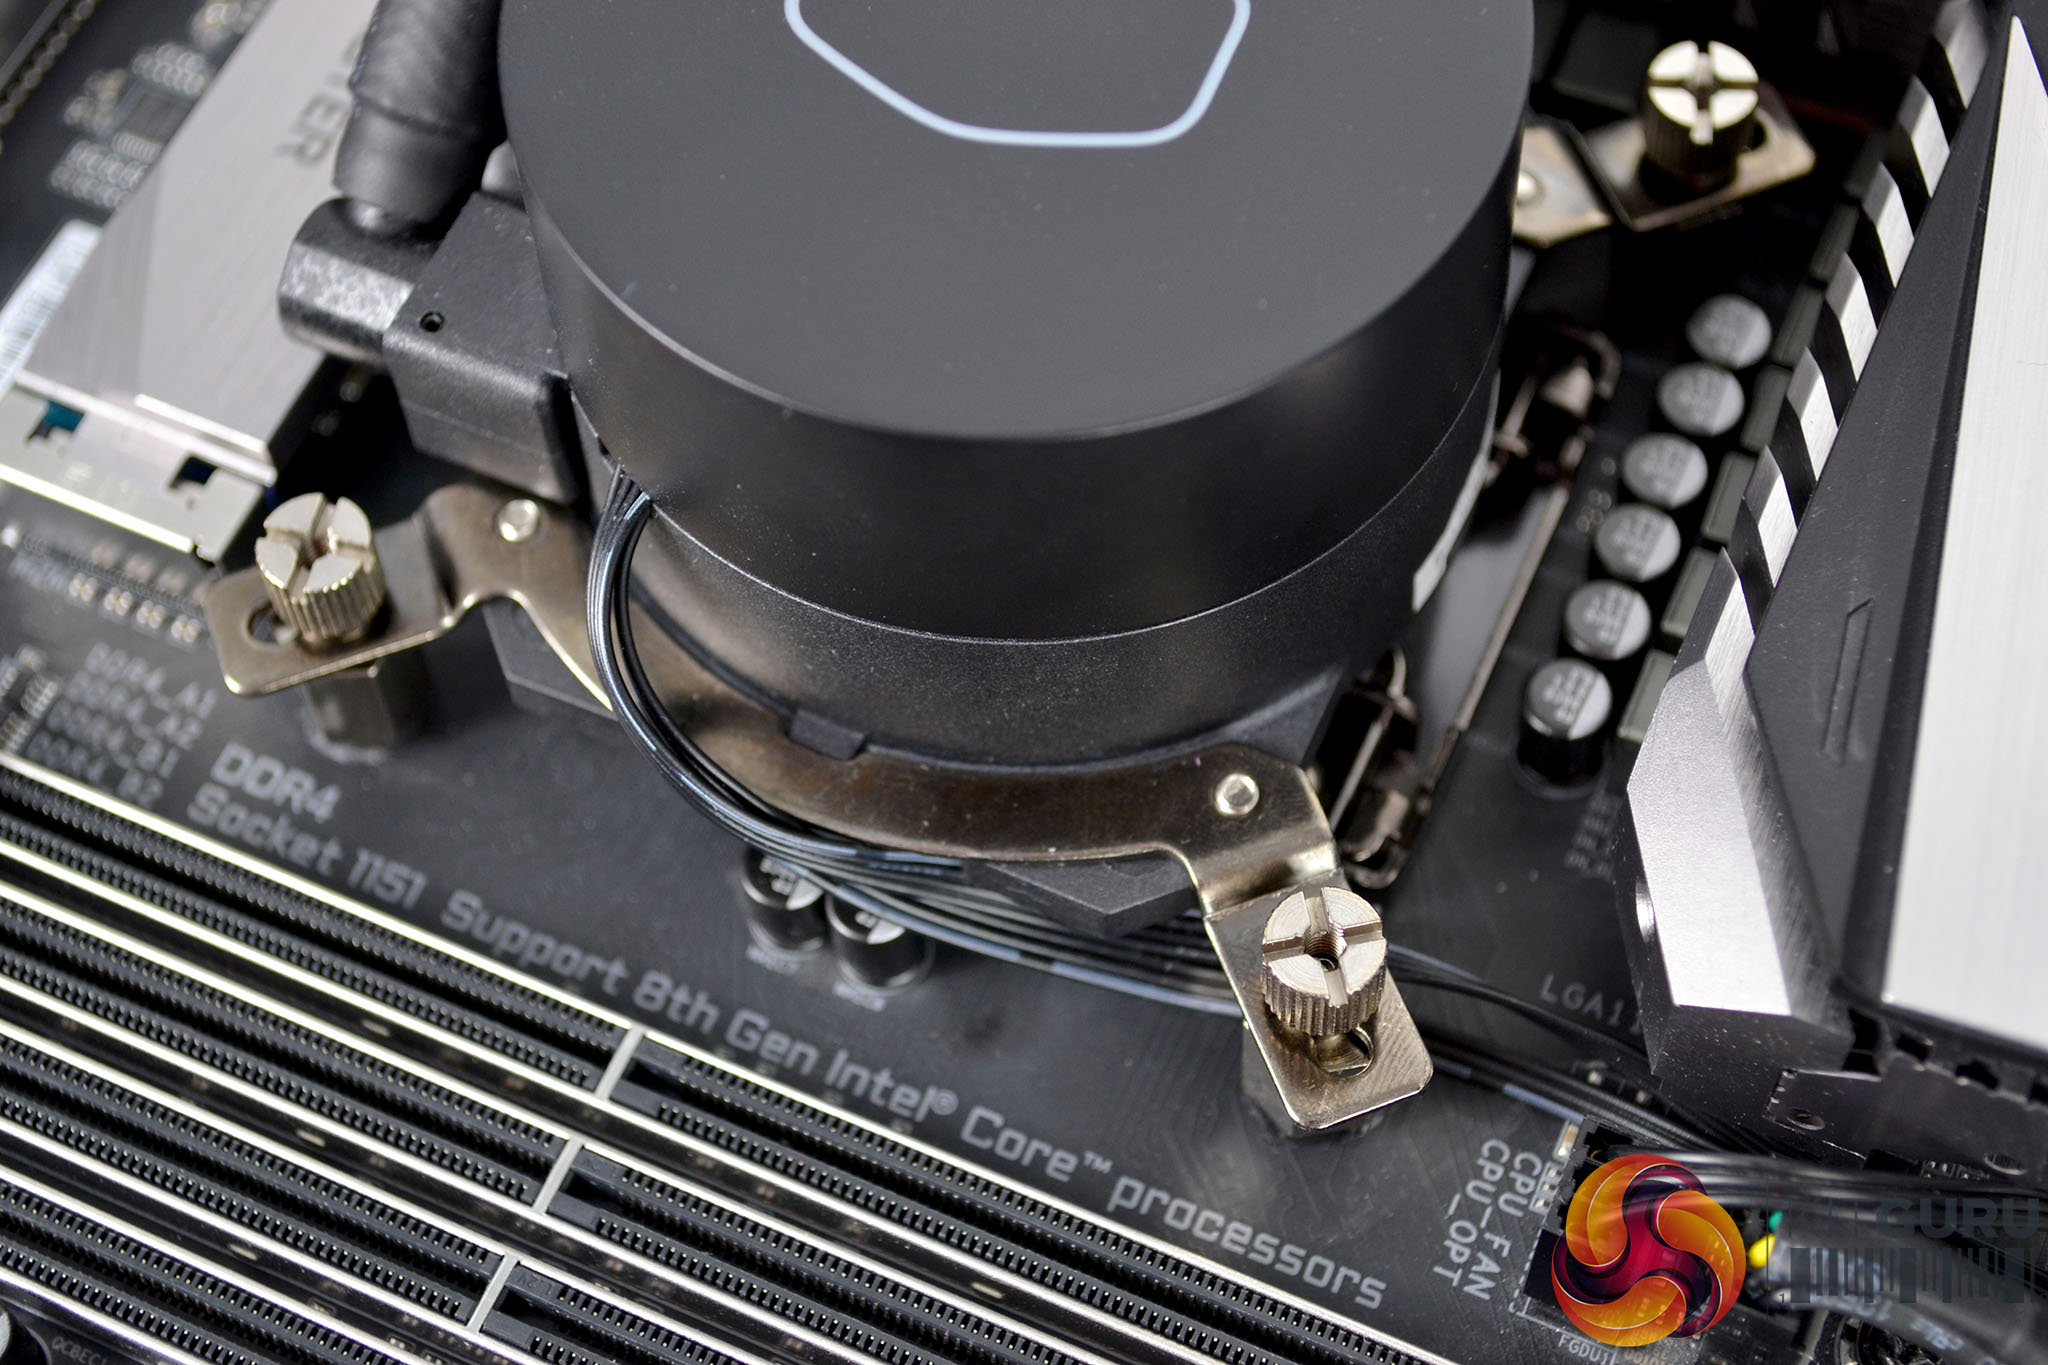
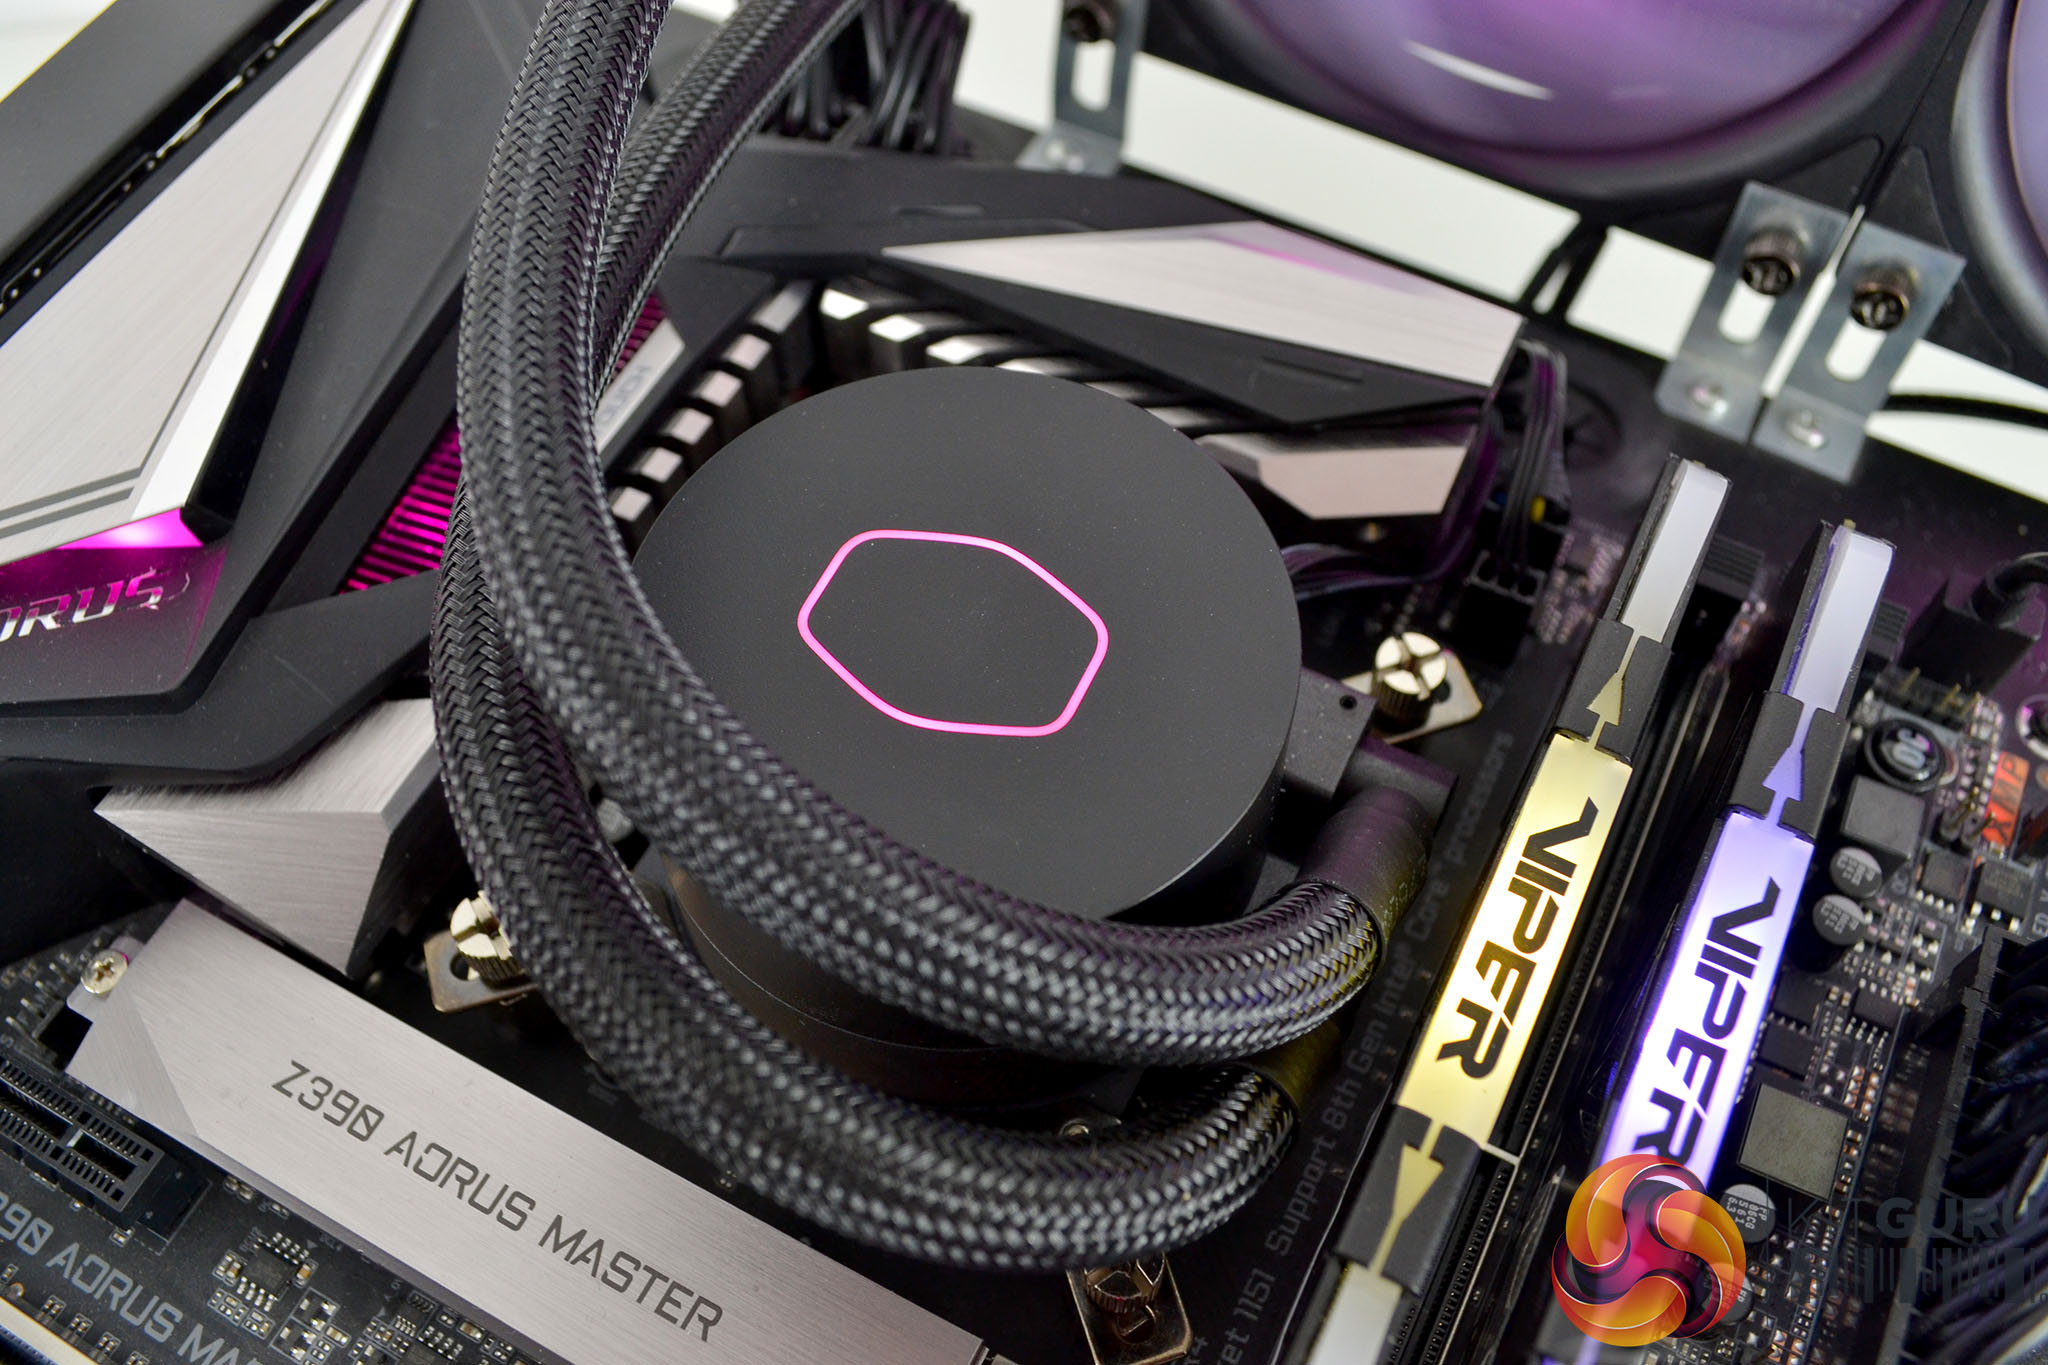
Apply thermal compound to the CPU IHS using your preferred method and then lower the block over the CPU and align the bracket holes with the threads of the standoffs. Now using the four thumbscrews, tighten the CPU block in position using an X pattern to evenly spread pressure over the CPU for optimal thermal plate contact.
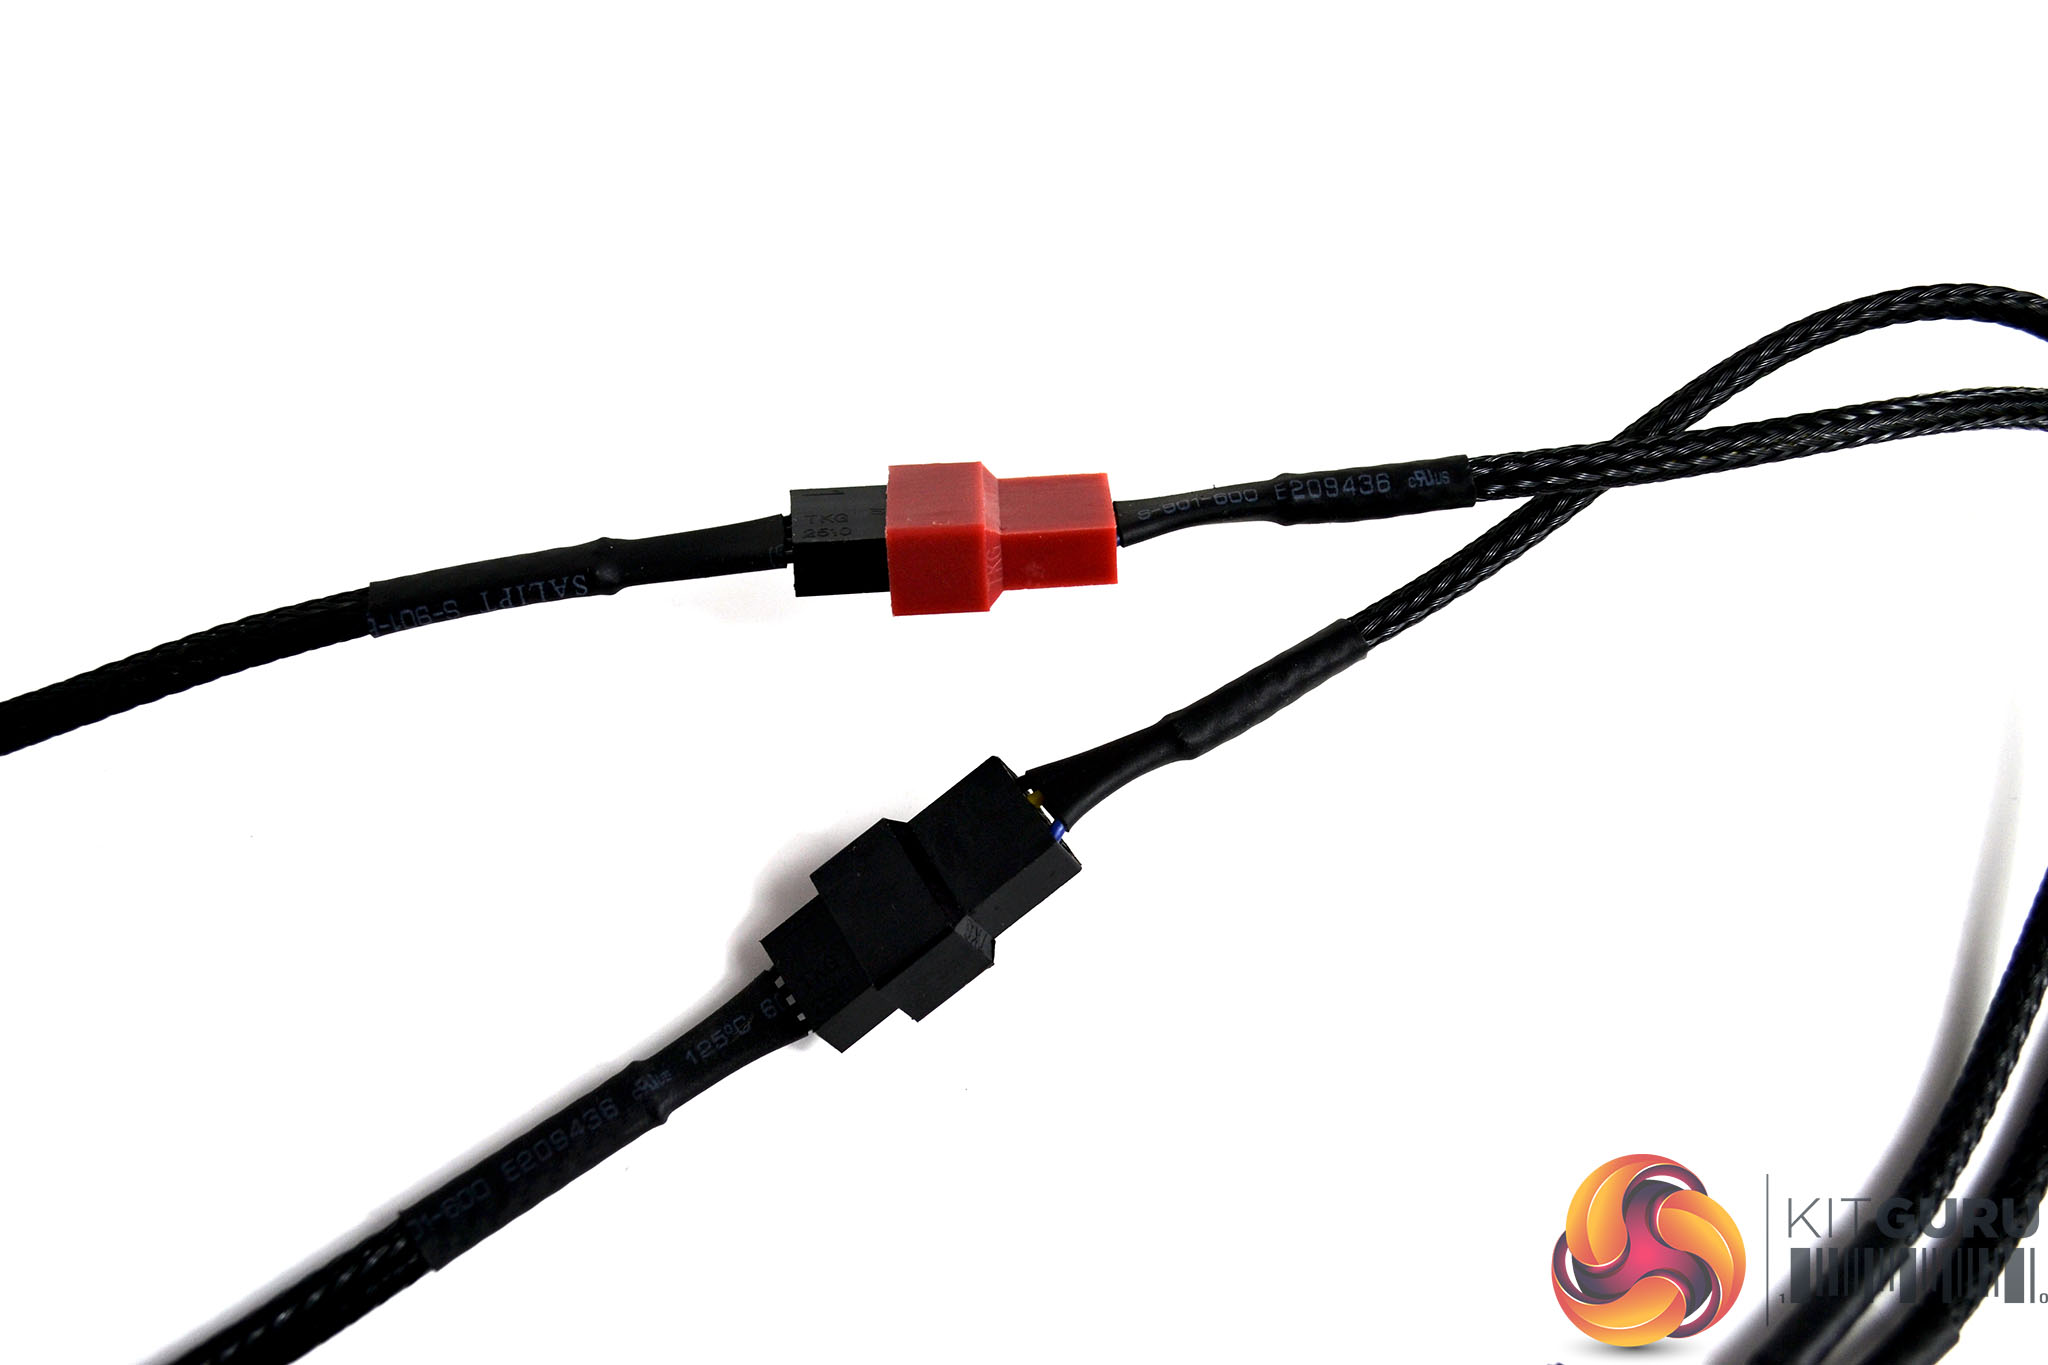
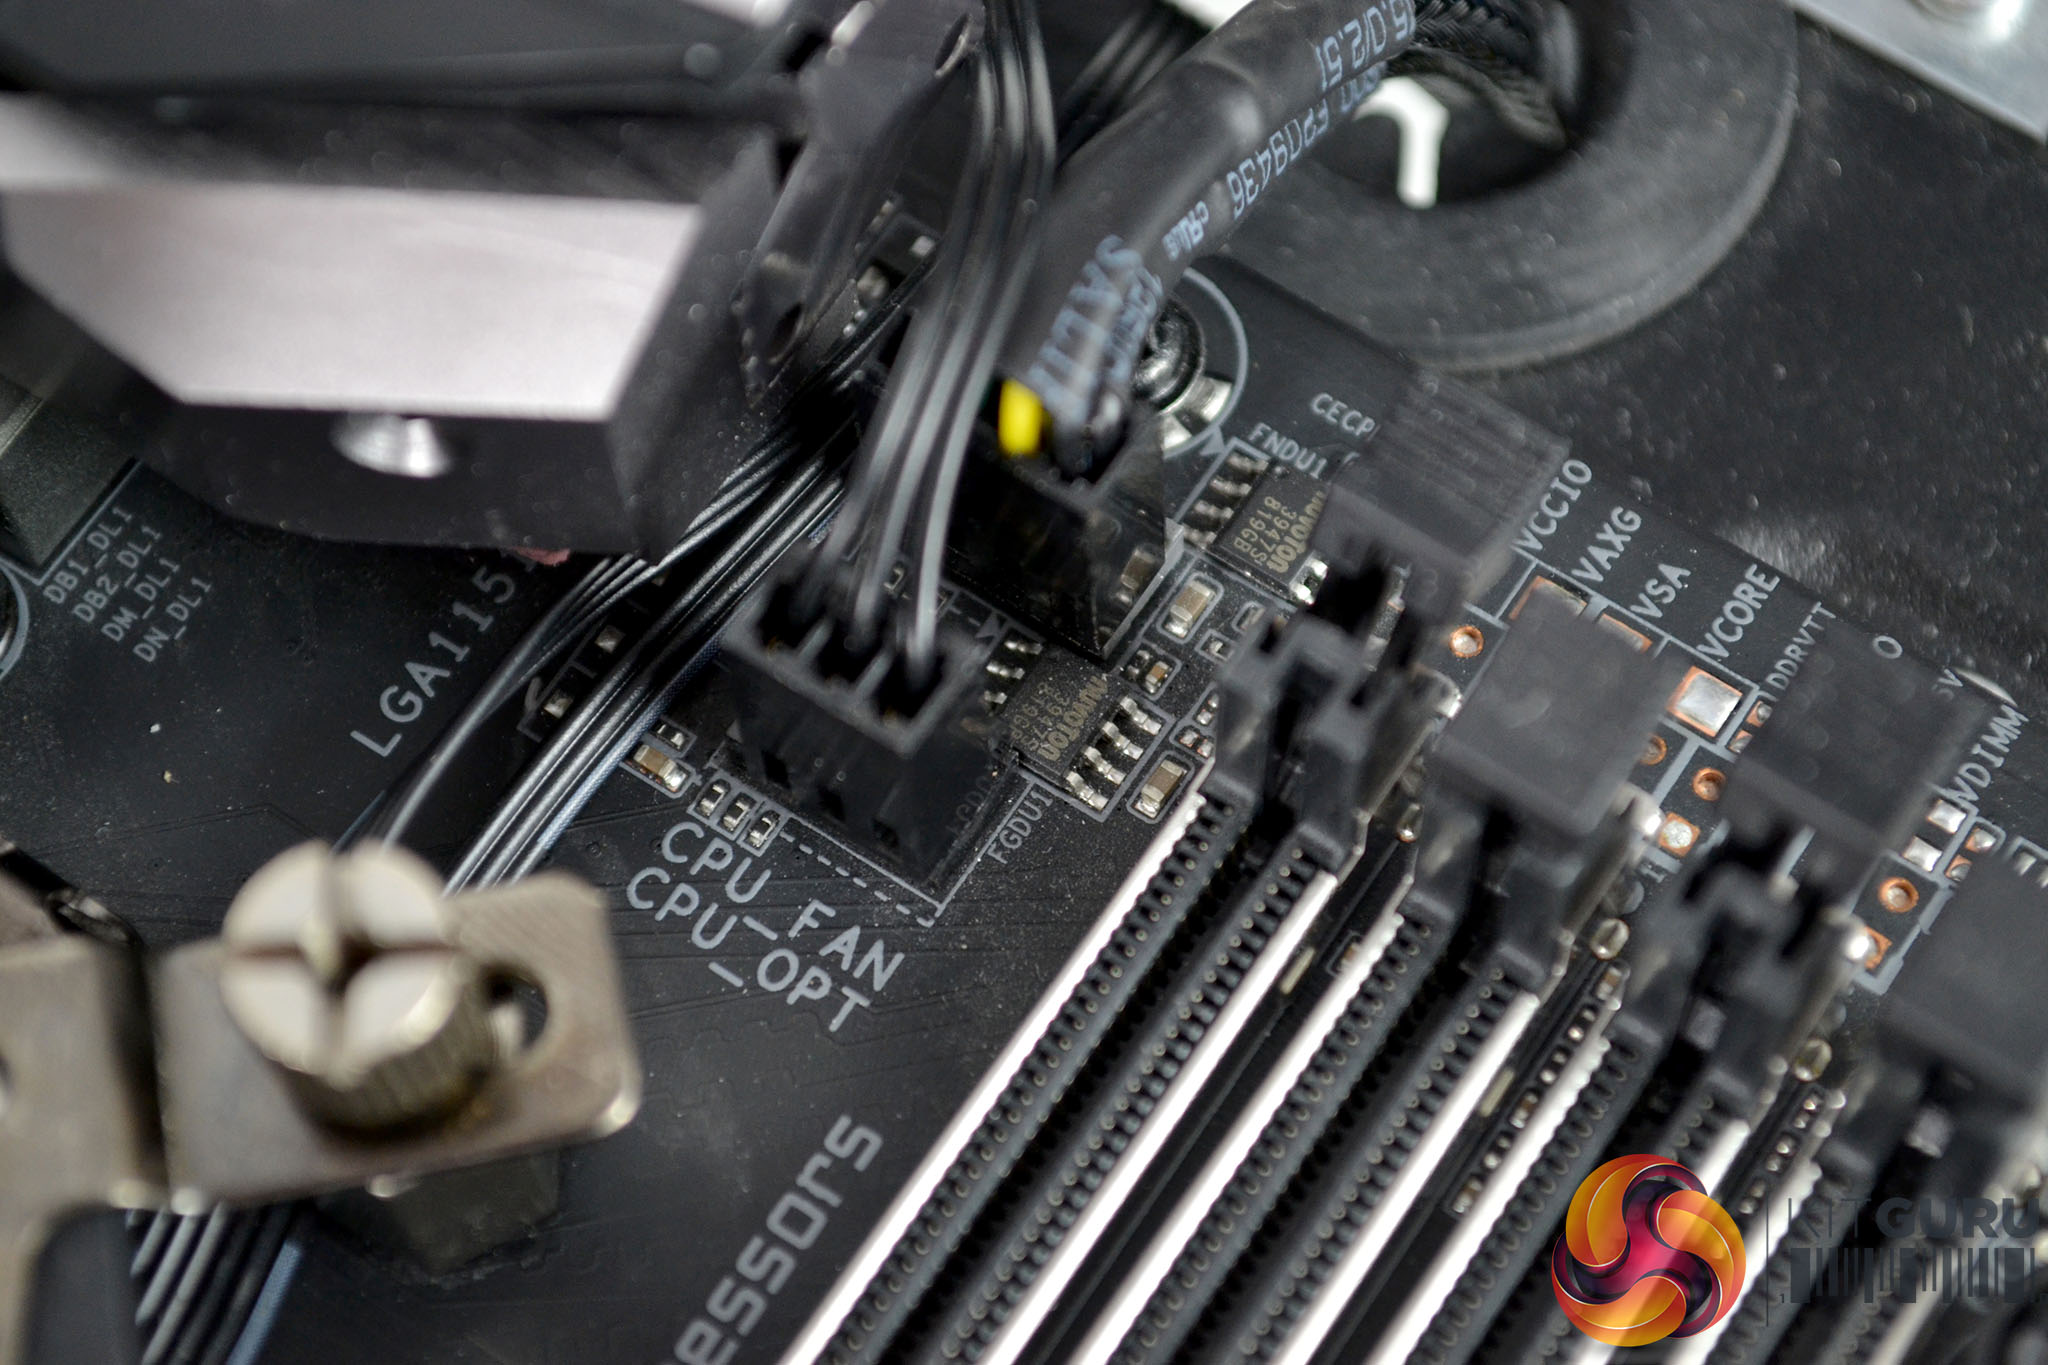
Now we can connect the two fan cables using the 4-pin PWM cable splitter, plug the fan splitter into the CPU_FAN header on the motherboard and connect the 3-pin pump cable to the CPU_OPT header.
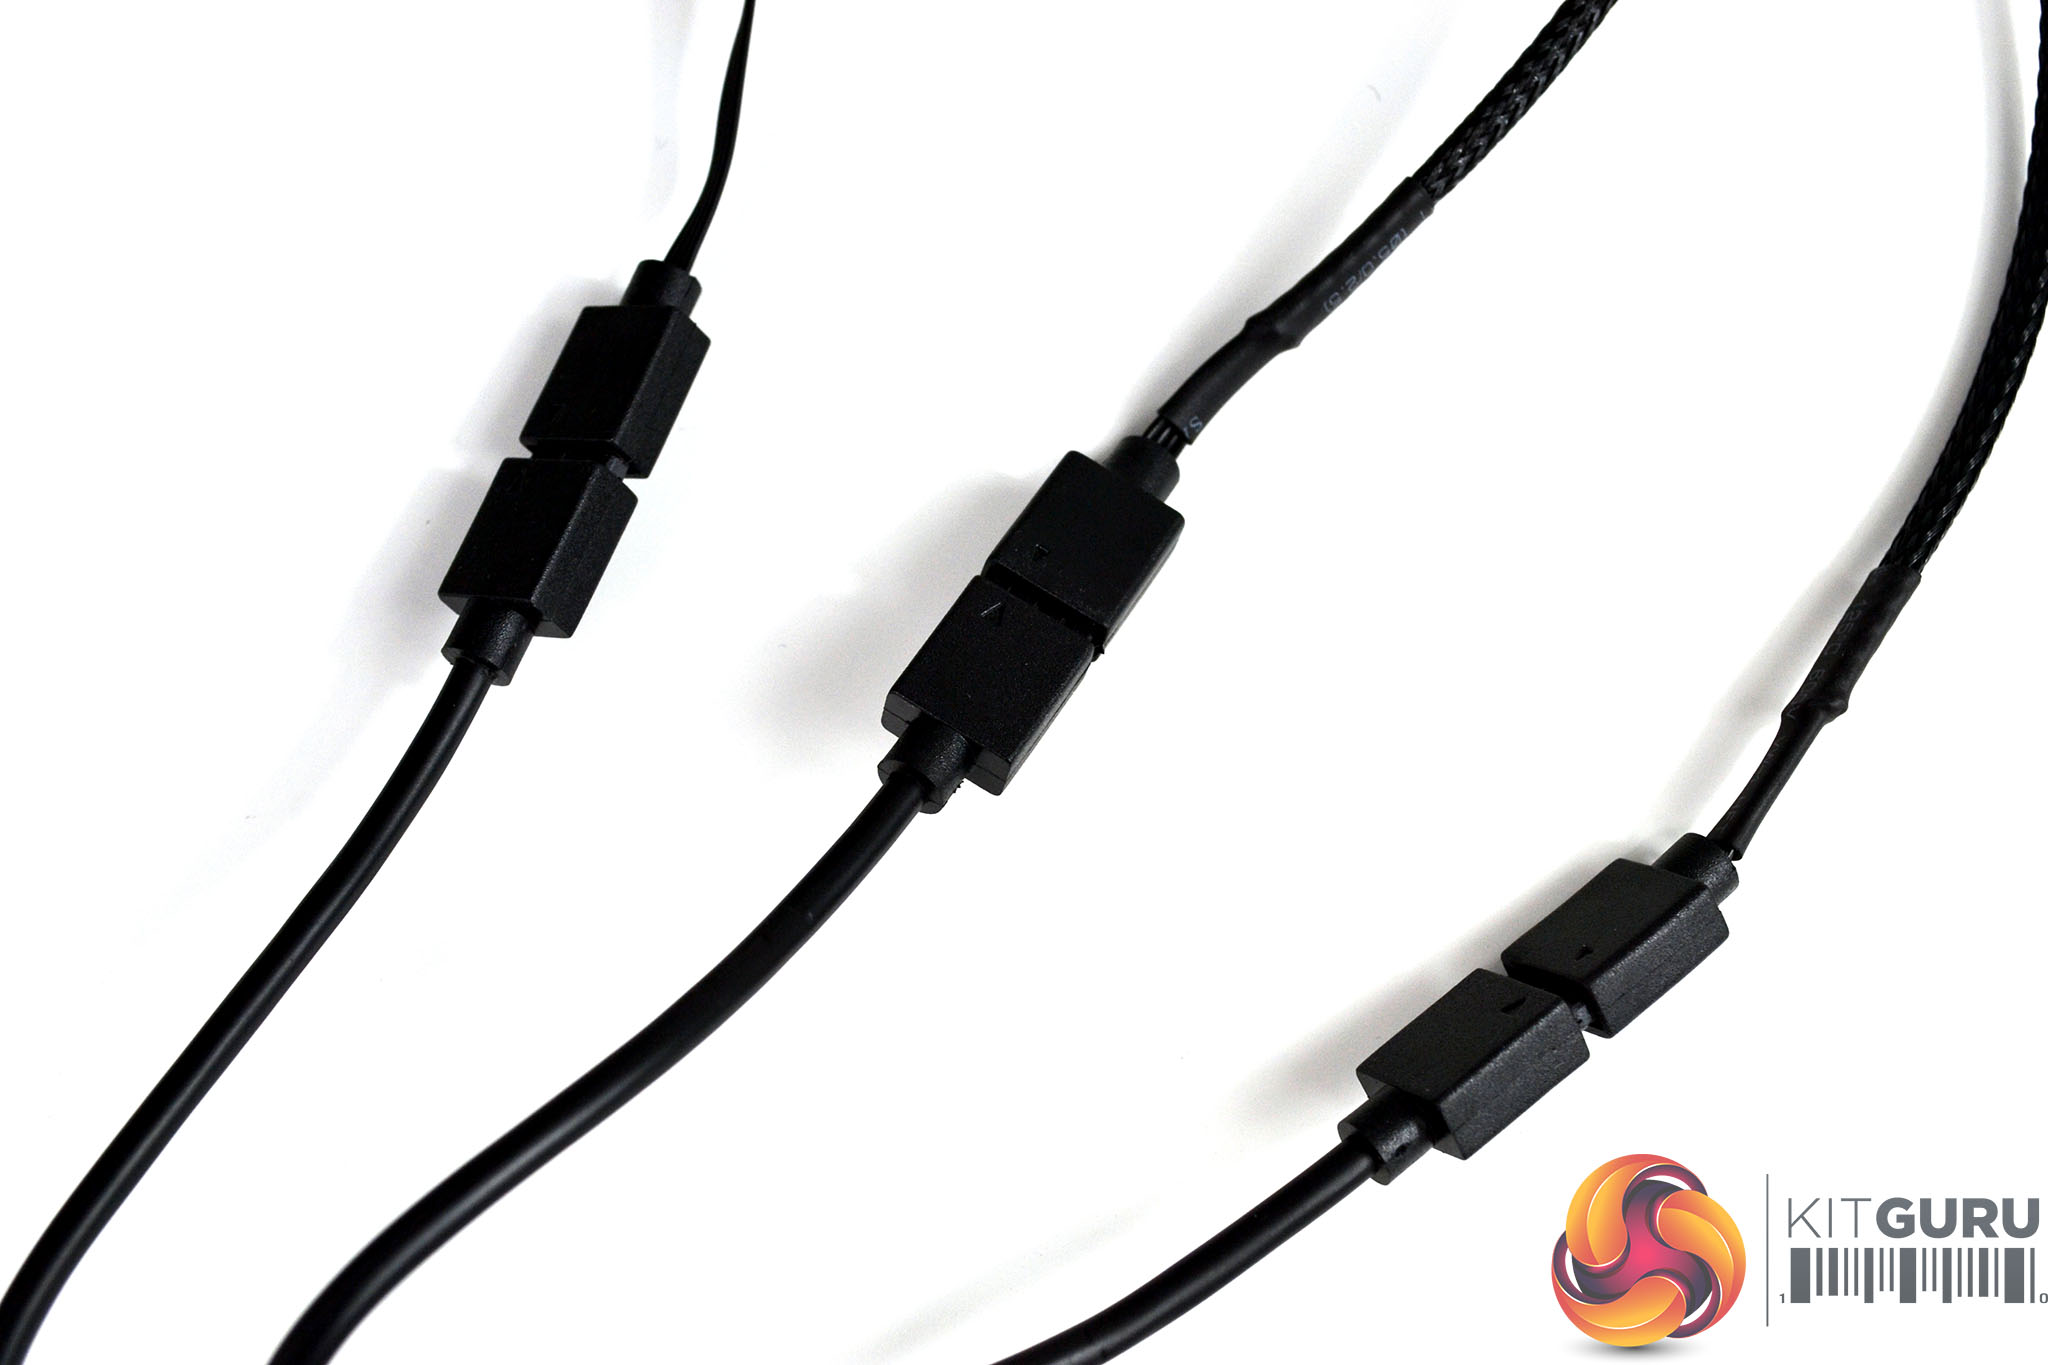
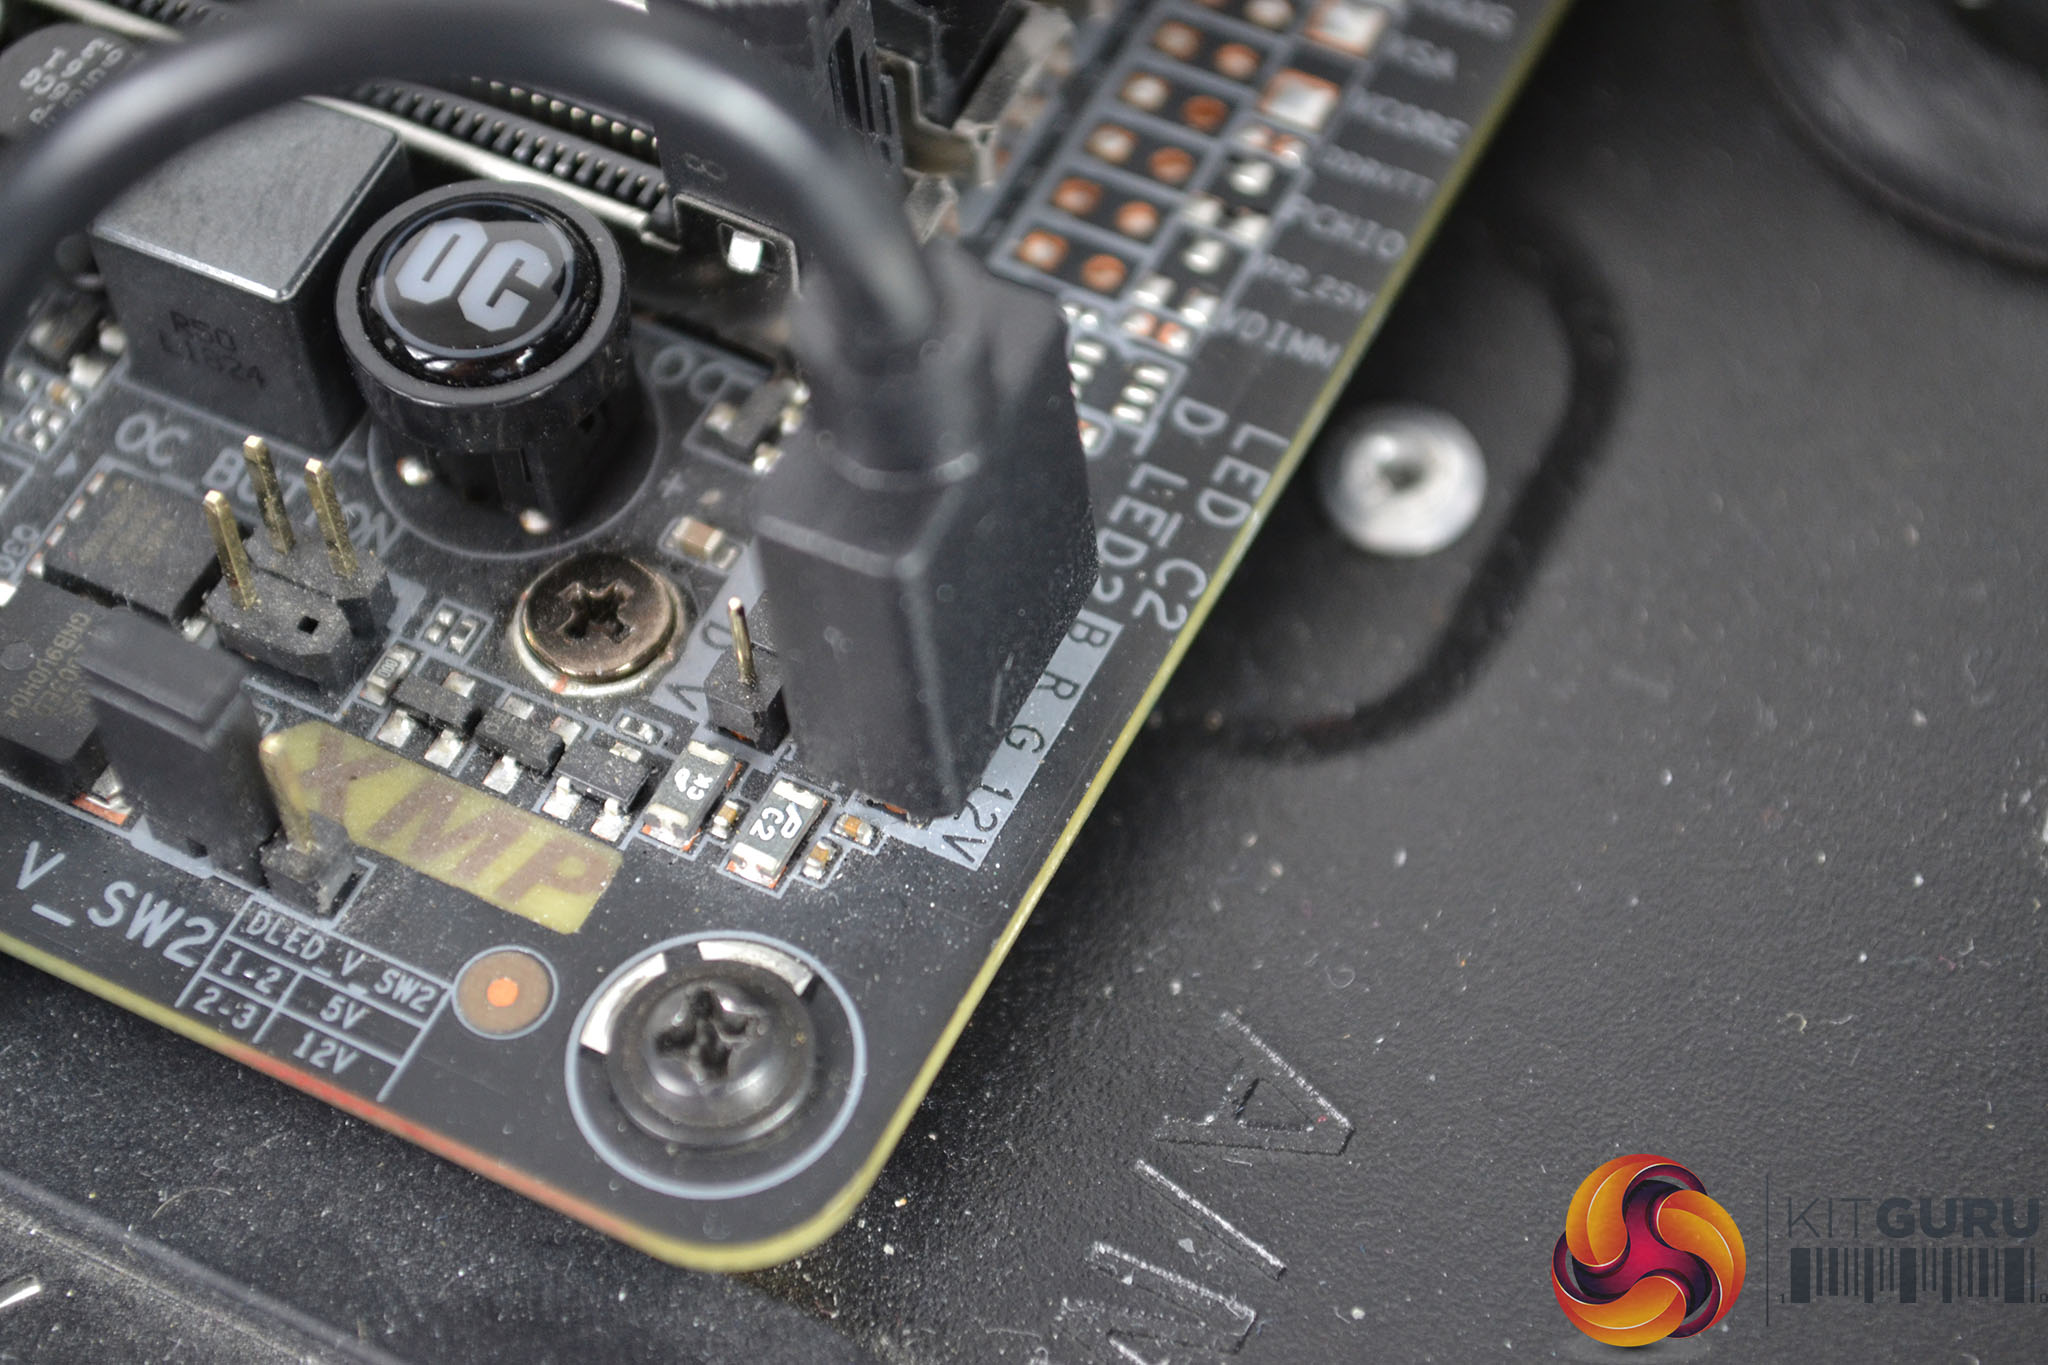
To install the RGB lighting, first, connect both the fan cables and the pump RGB cable to the provided 3-way RGB splitter cable and for motherboard RGB control simply attach the female end of the splitter cable to the 4-pin motherboard RGB header.

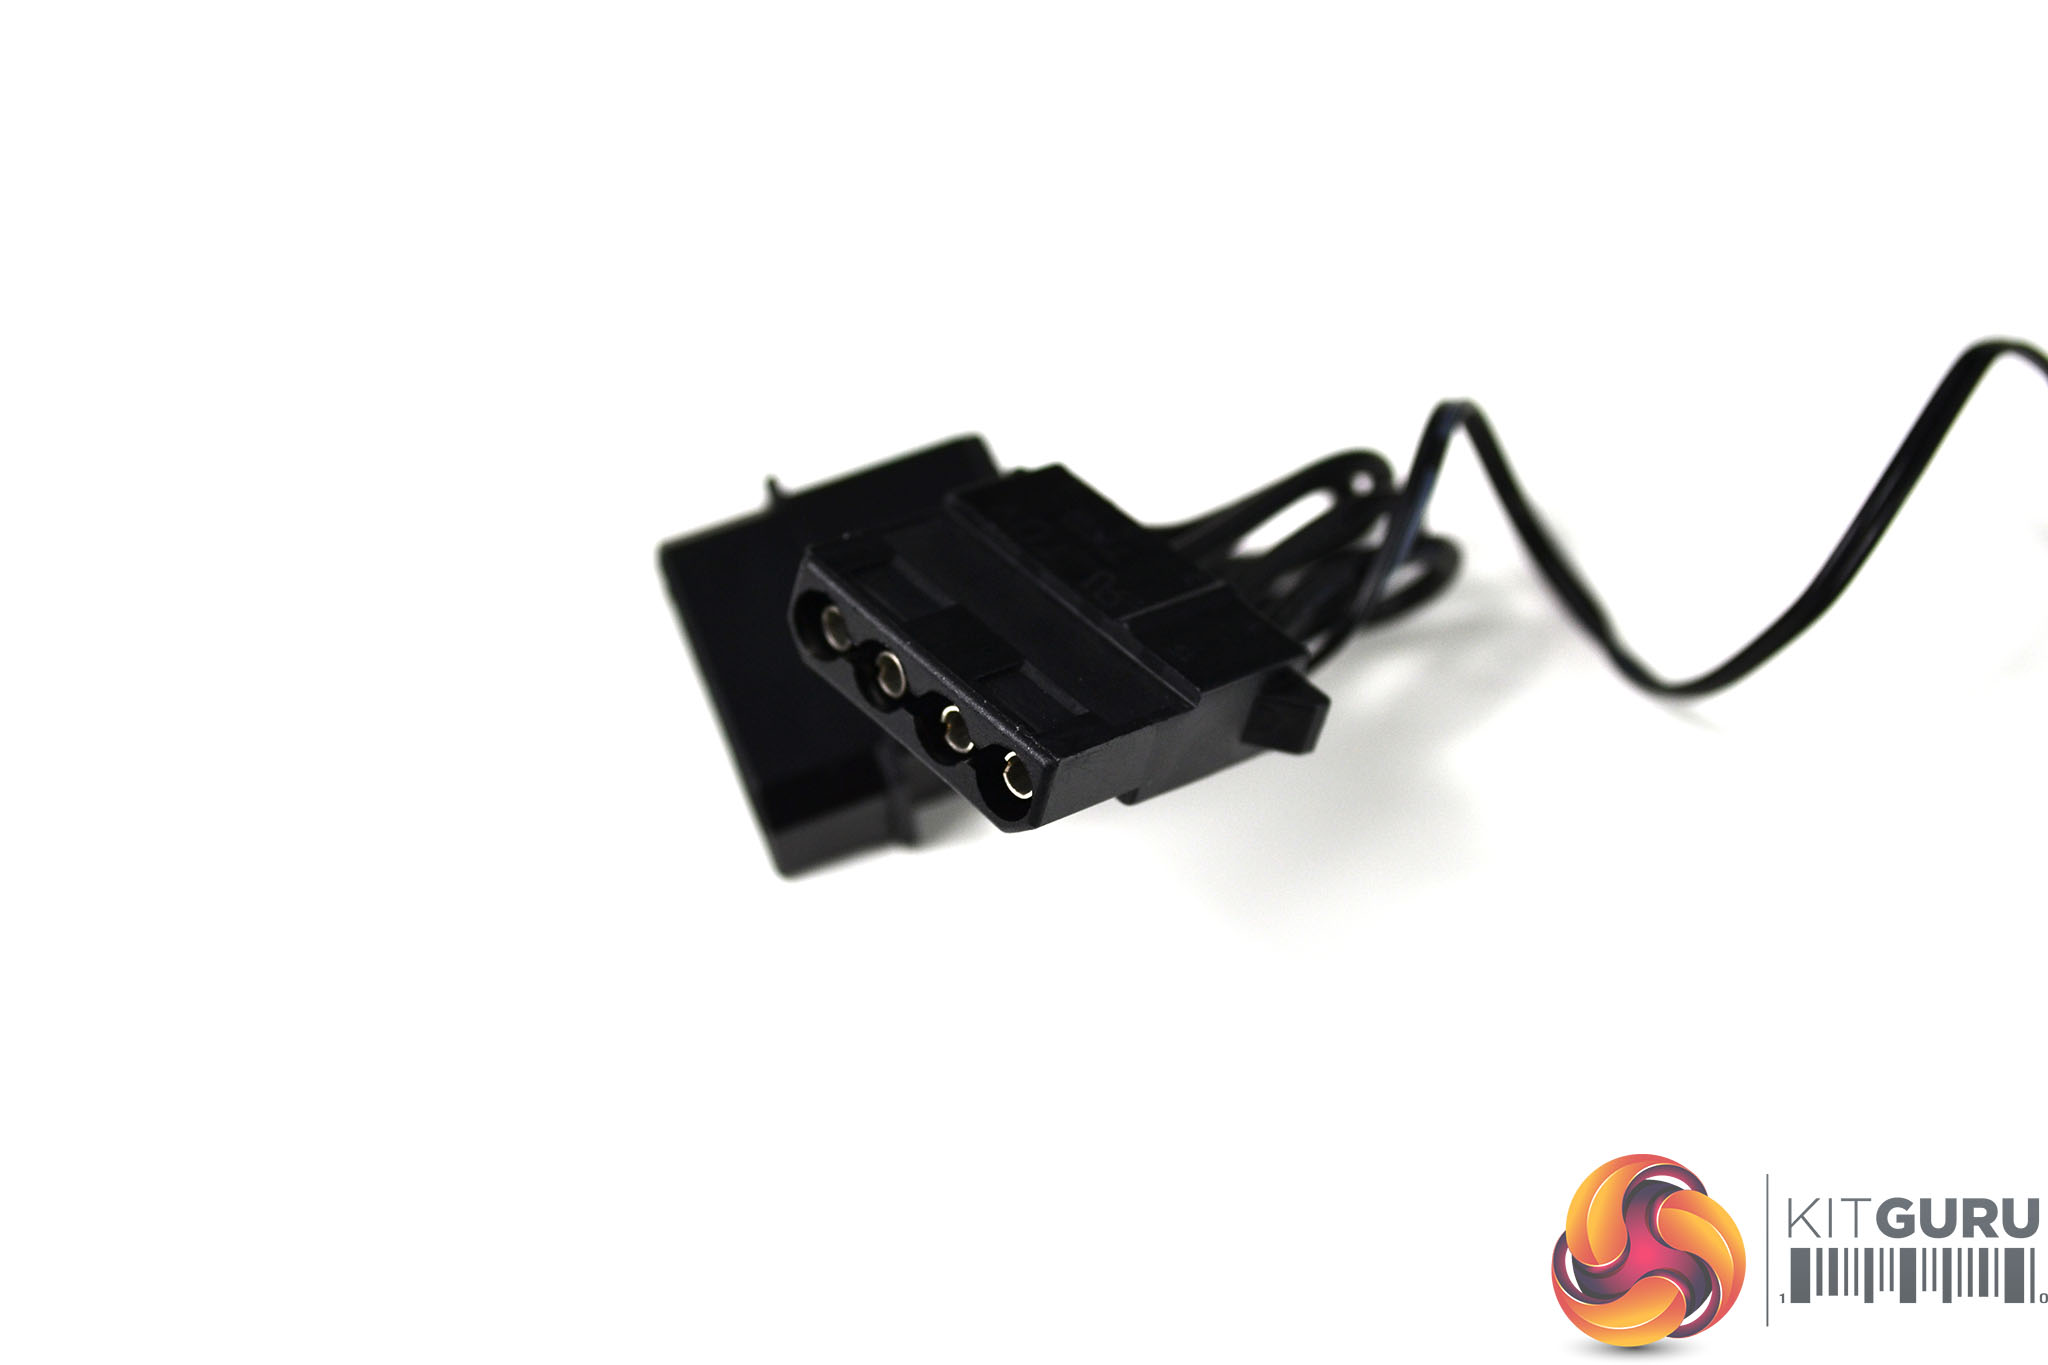
Alternatively, if your motherboard does not support RGB lighting, connect the RGB splitter cable and the Molex power adaptor to the provided RGB controller and then connect the Molex adaptor to a spare Molex connector coming from your PC power supply.
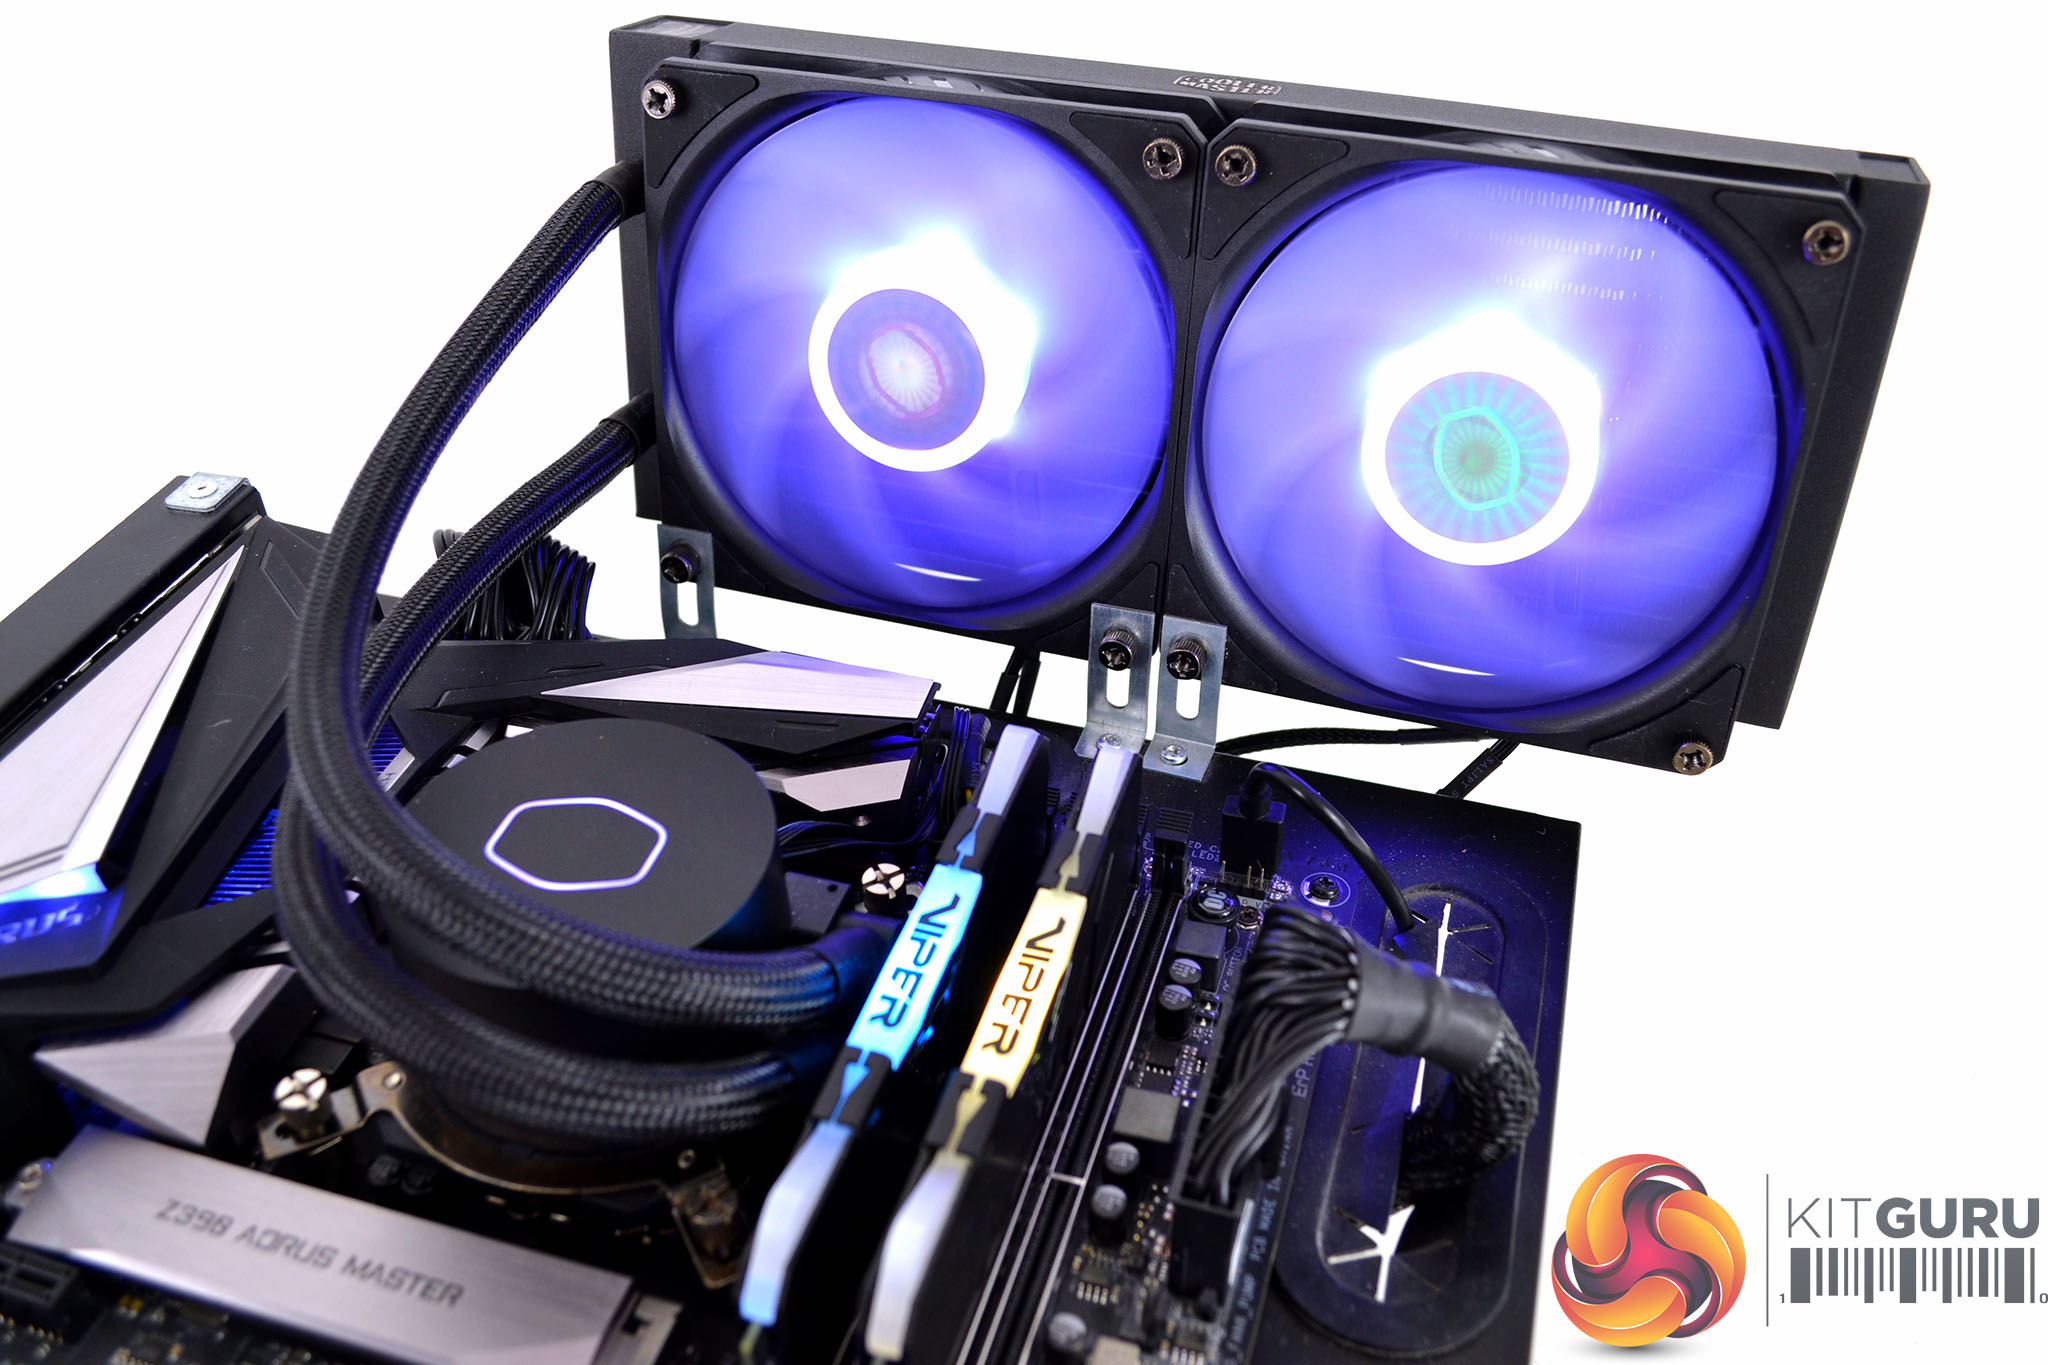
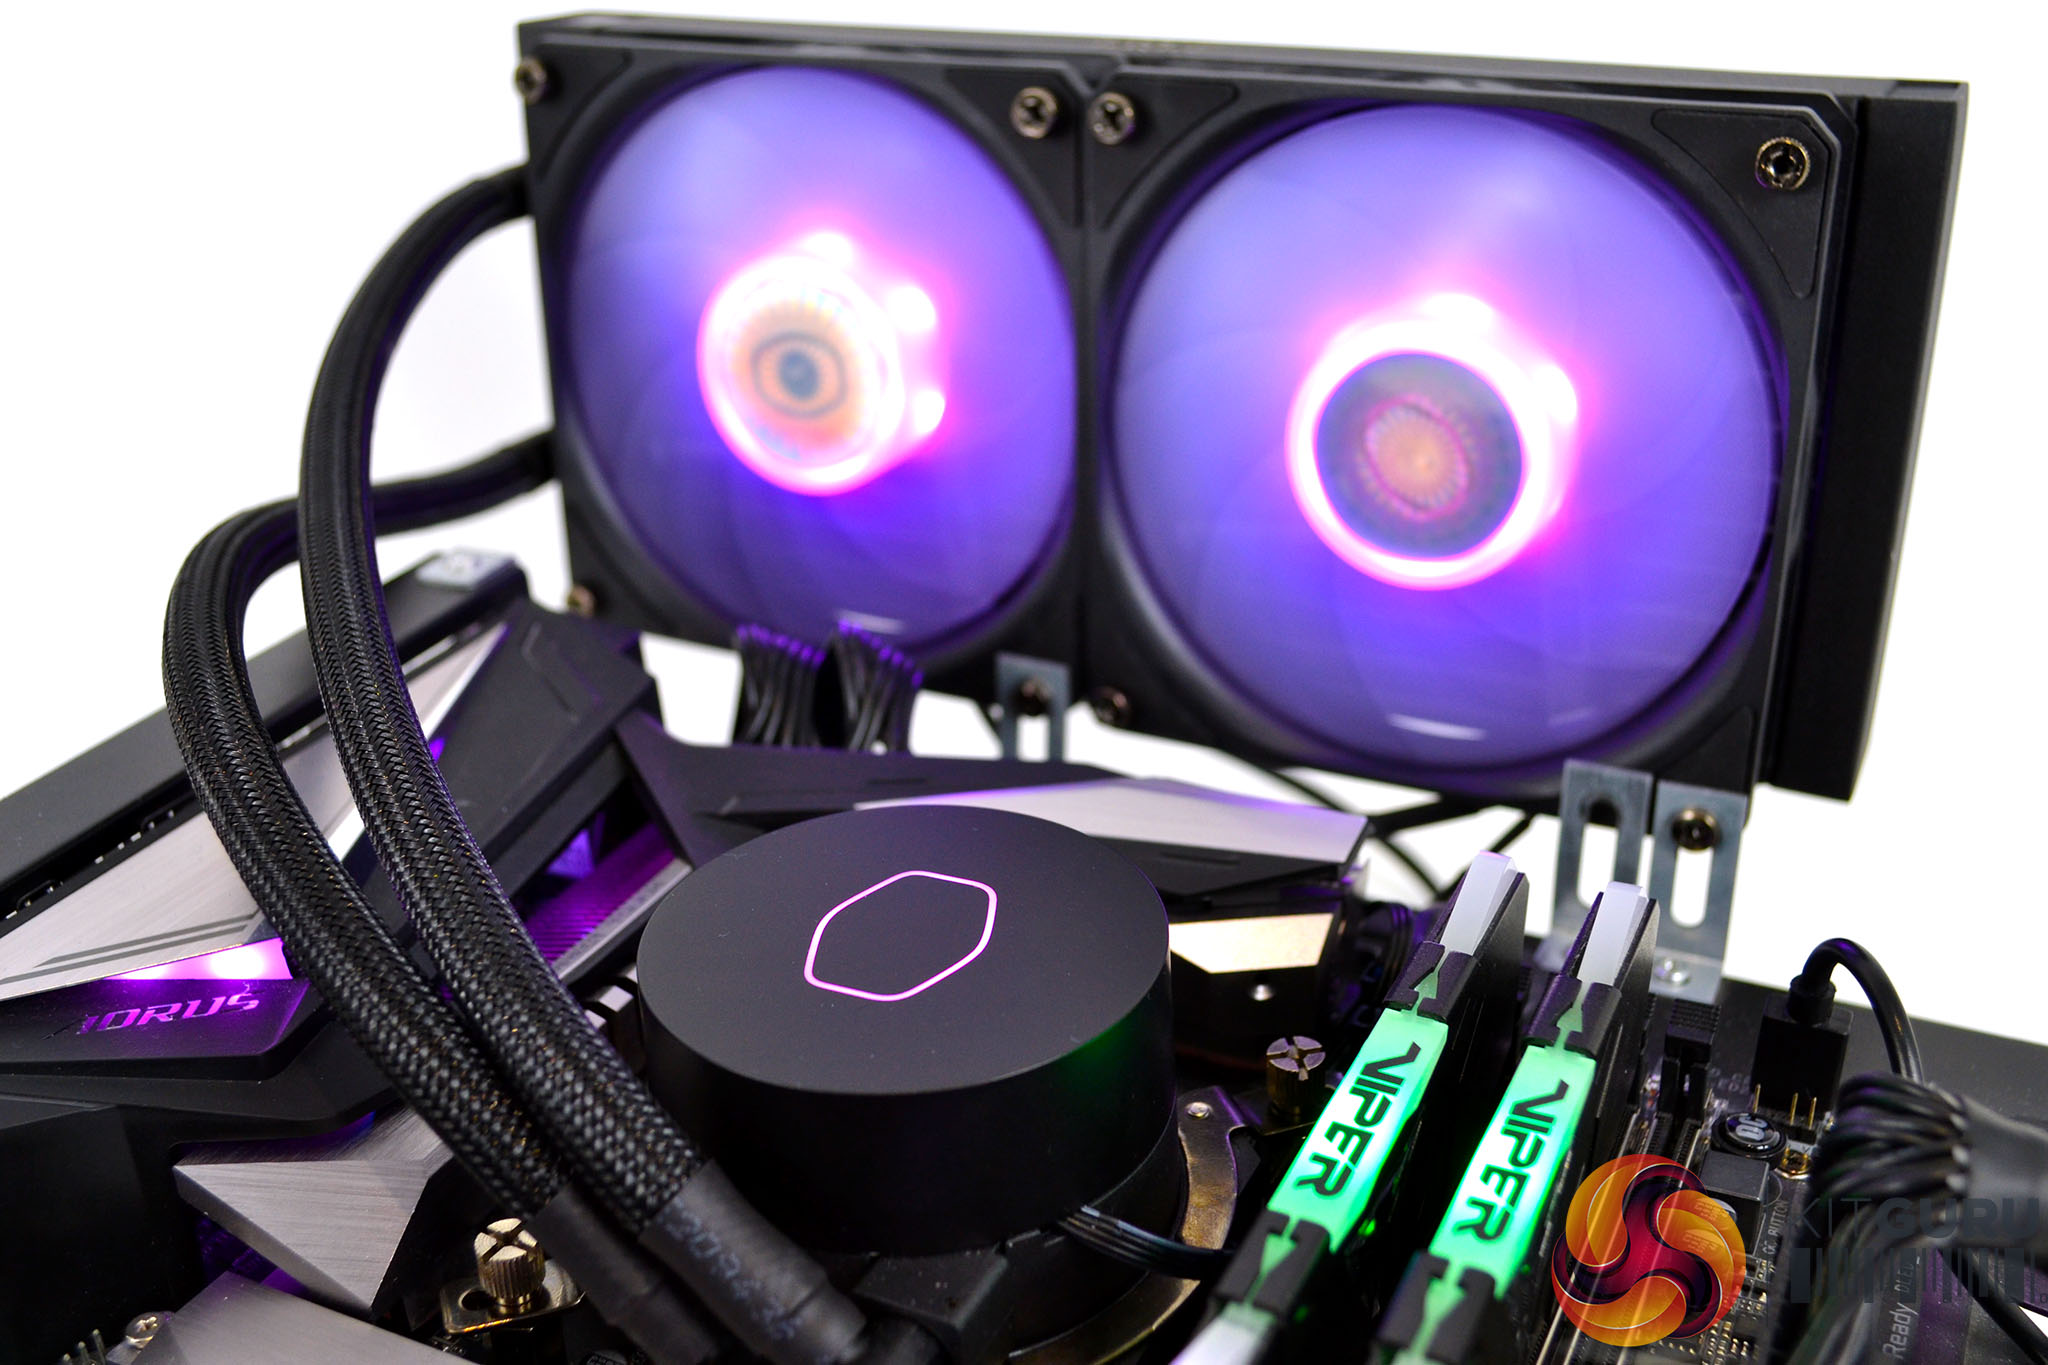
Overall, the installation process is relatively simple, the use of standard cable connections by Cooler Master means the cables are simple to connect and the whole installation process should only take approximately 15-20 minutes. The simple RGB controller is a great addition and means users can still take advantage of the RGB features even if their motherboard does not support RGB lighting.
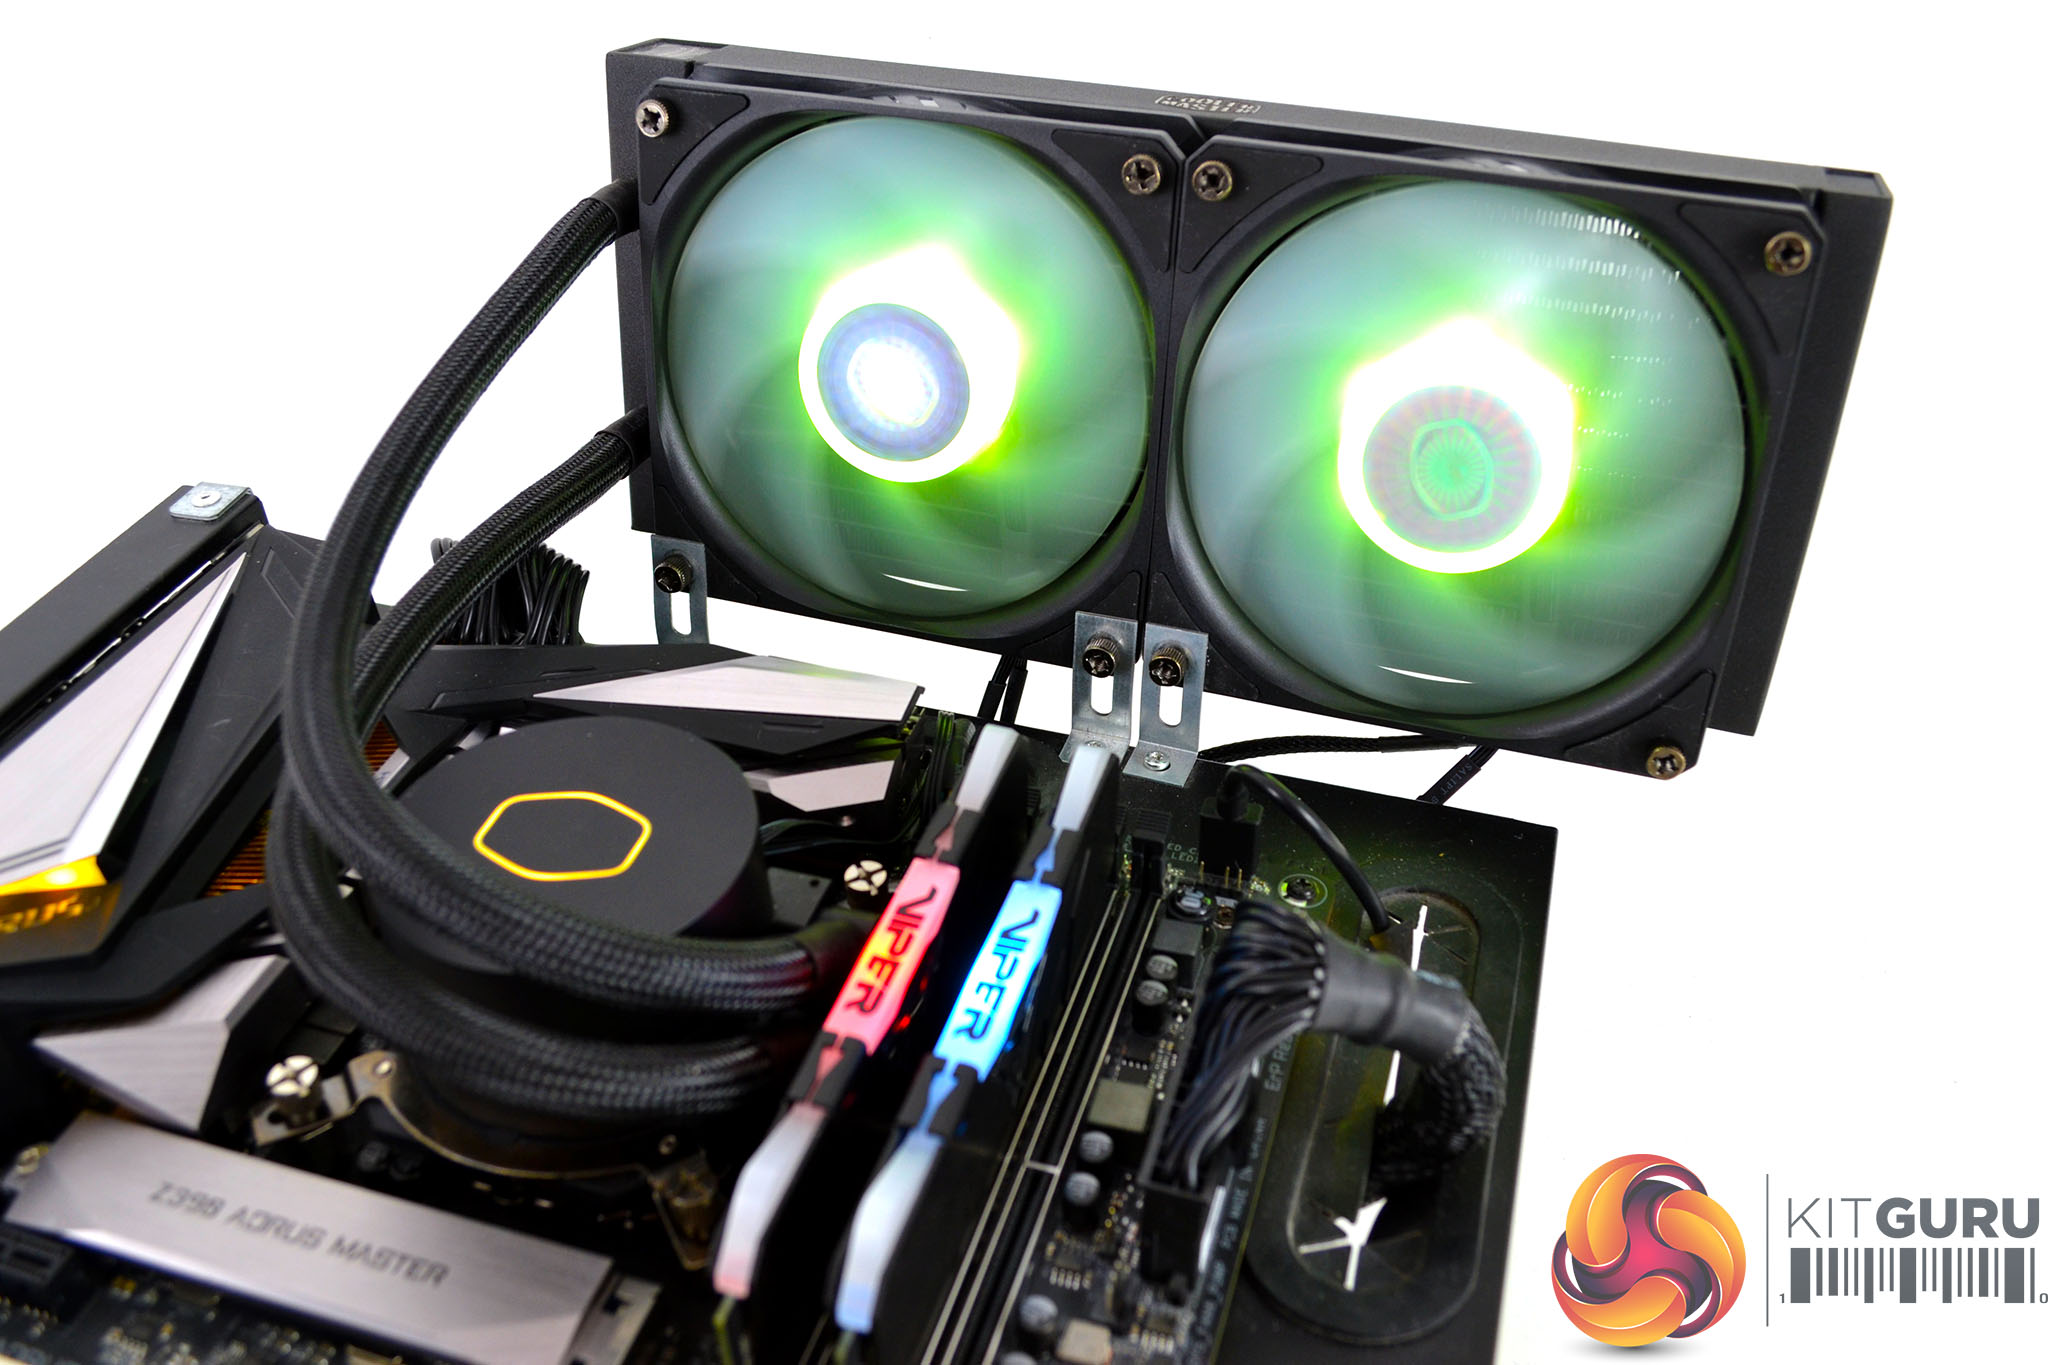
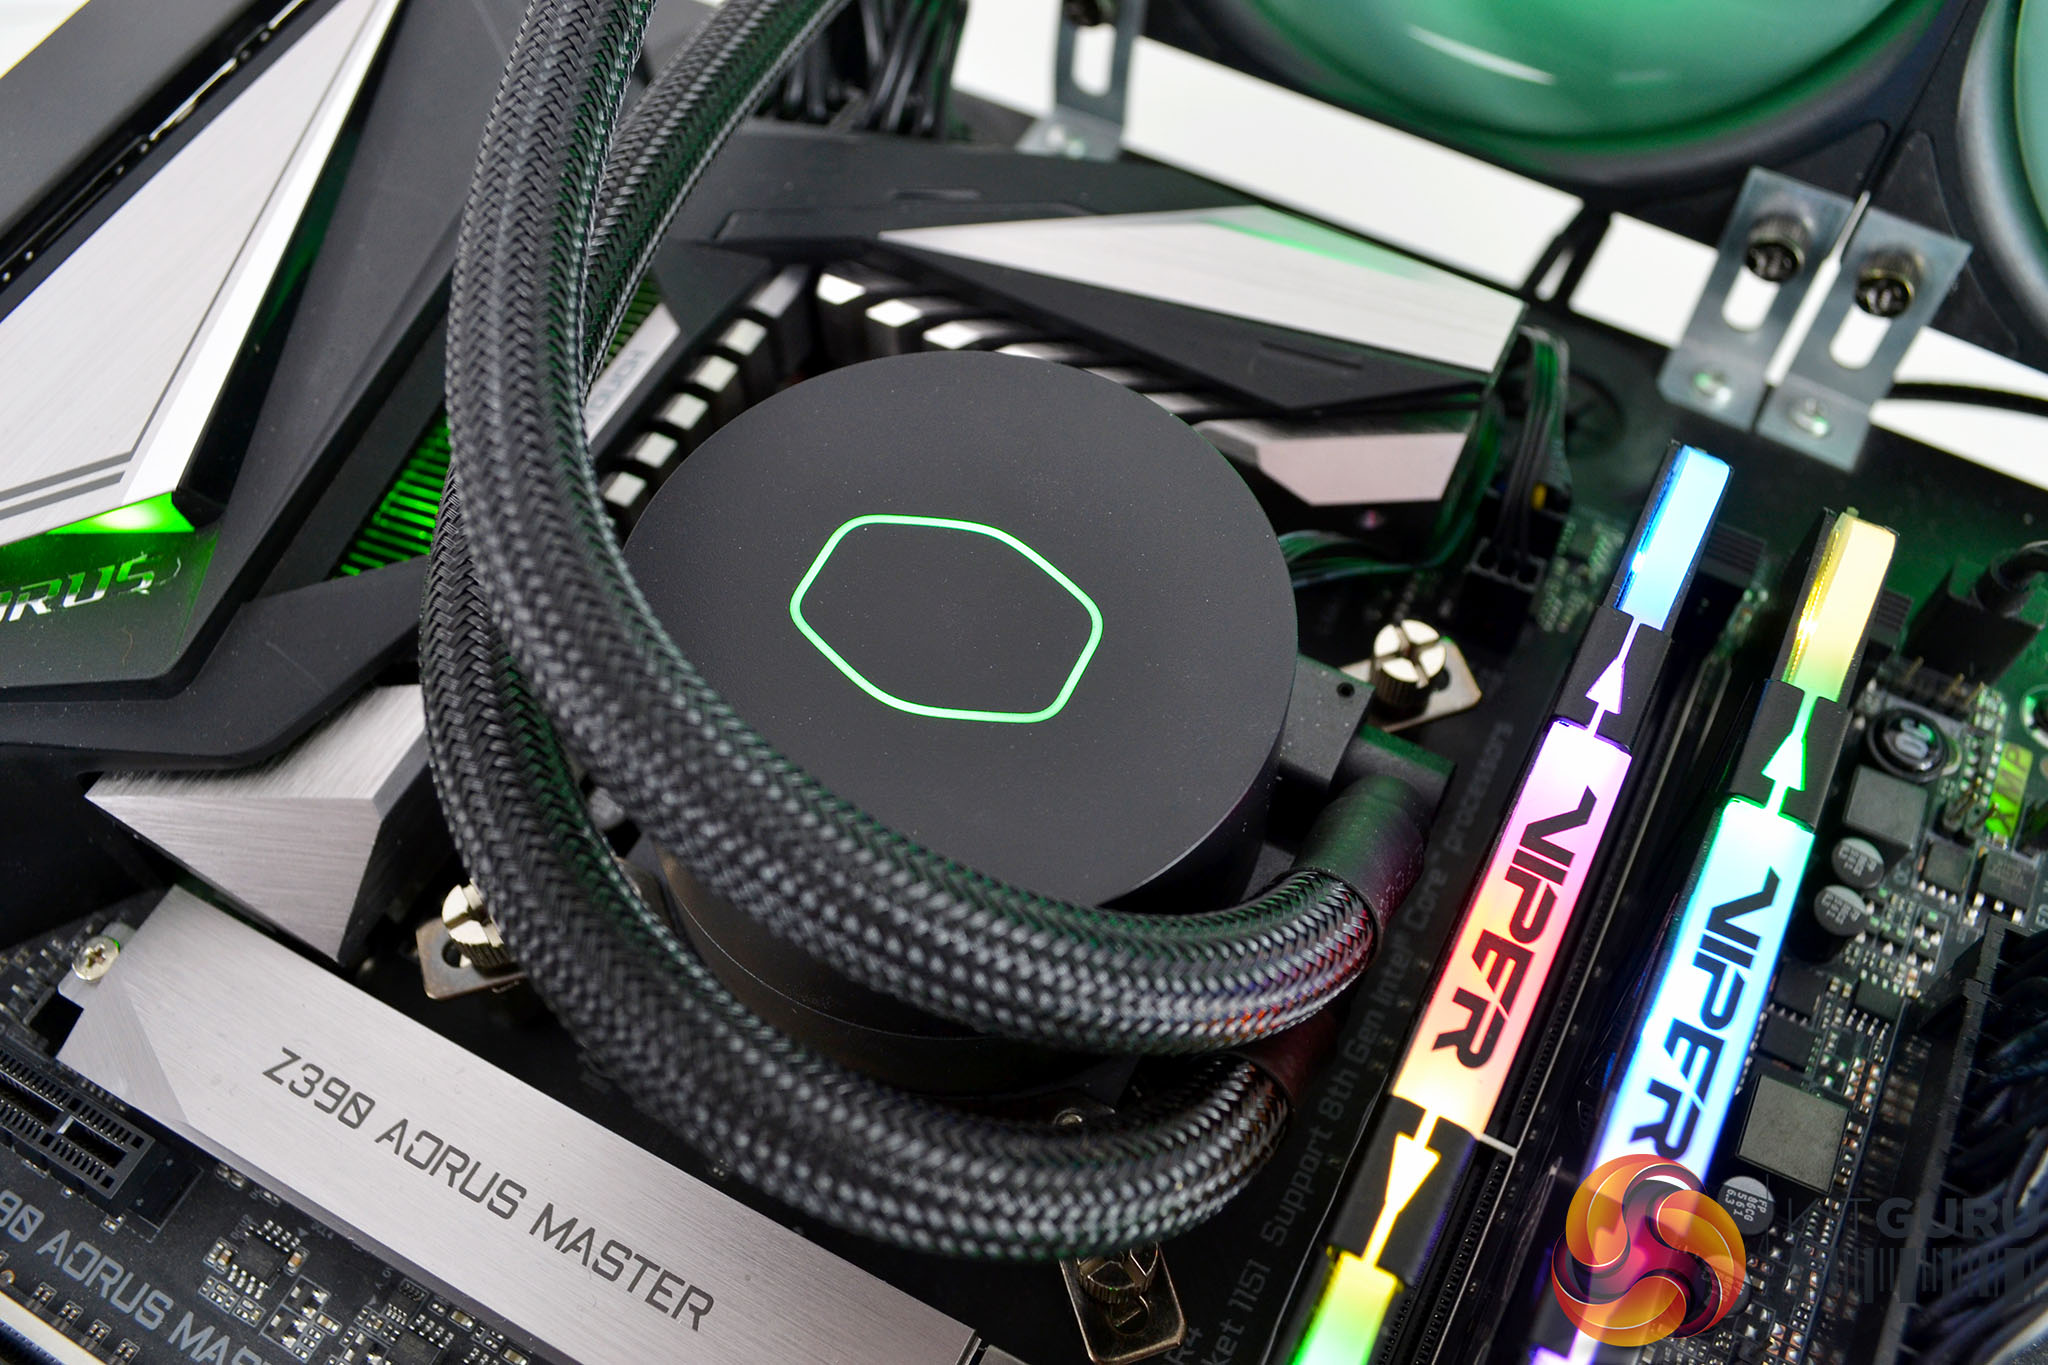
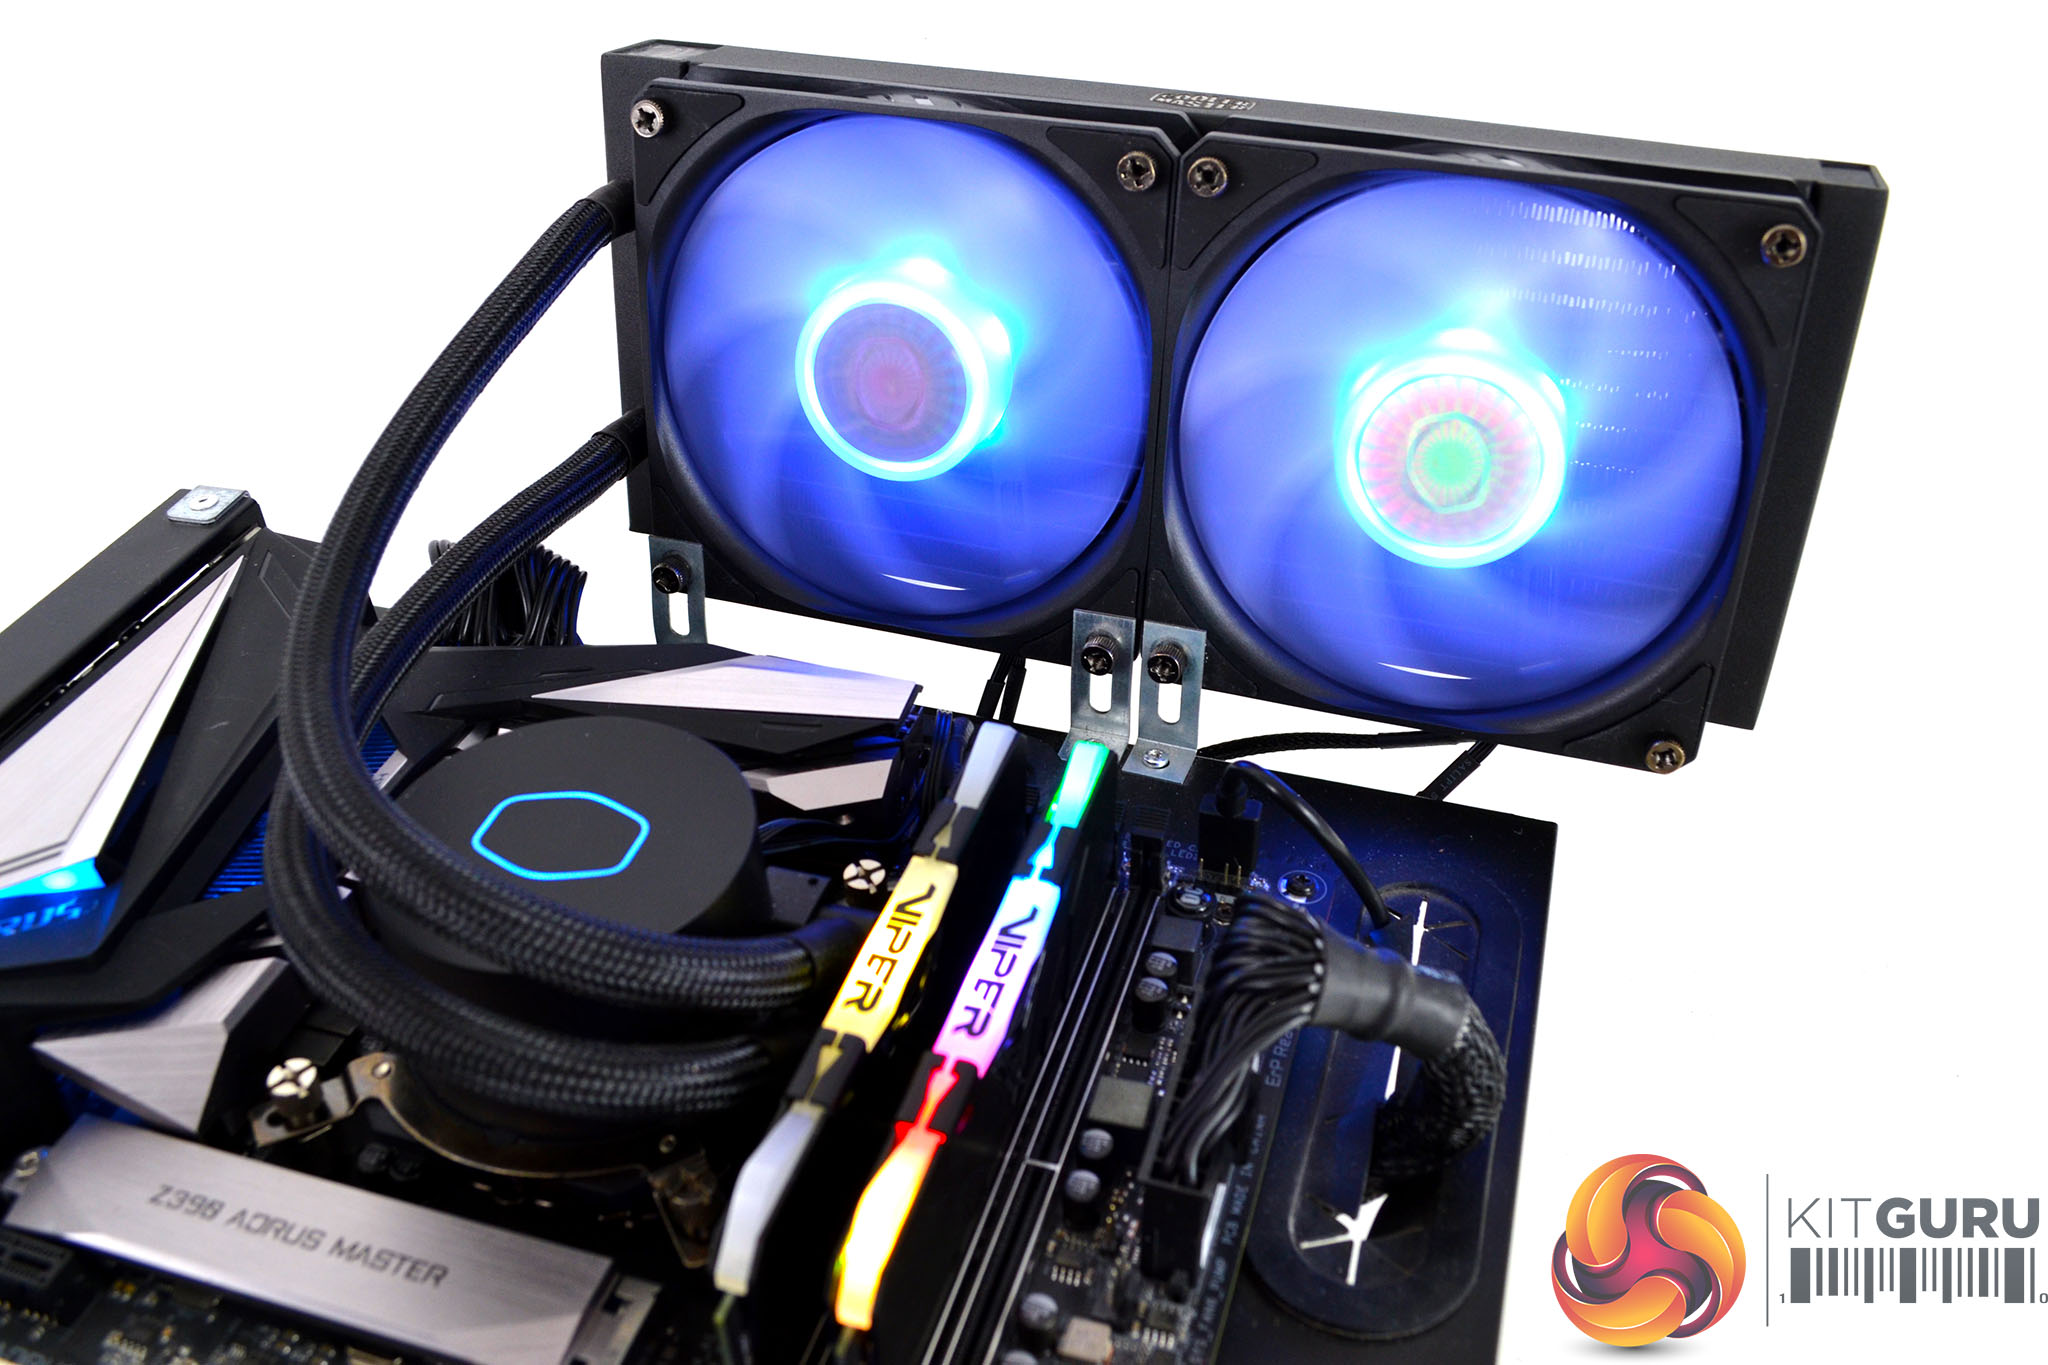
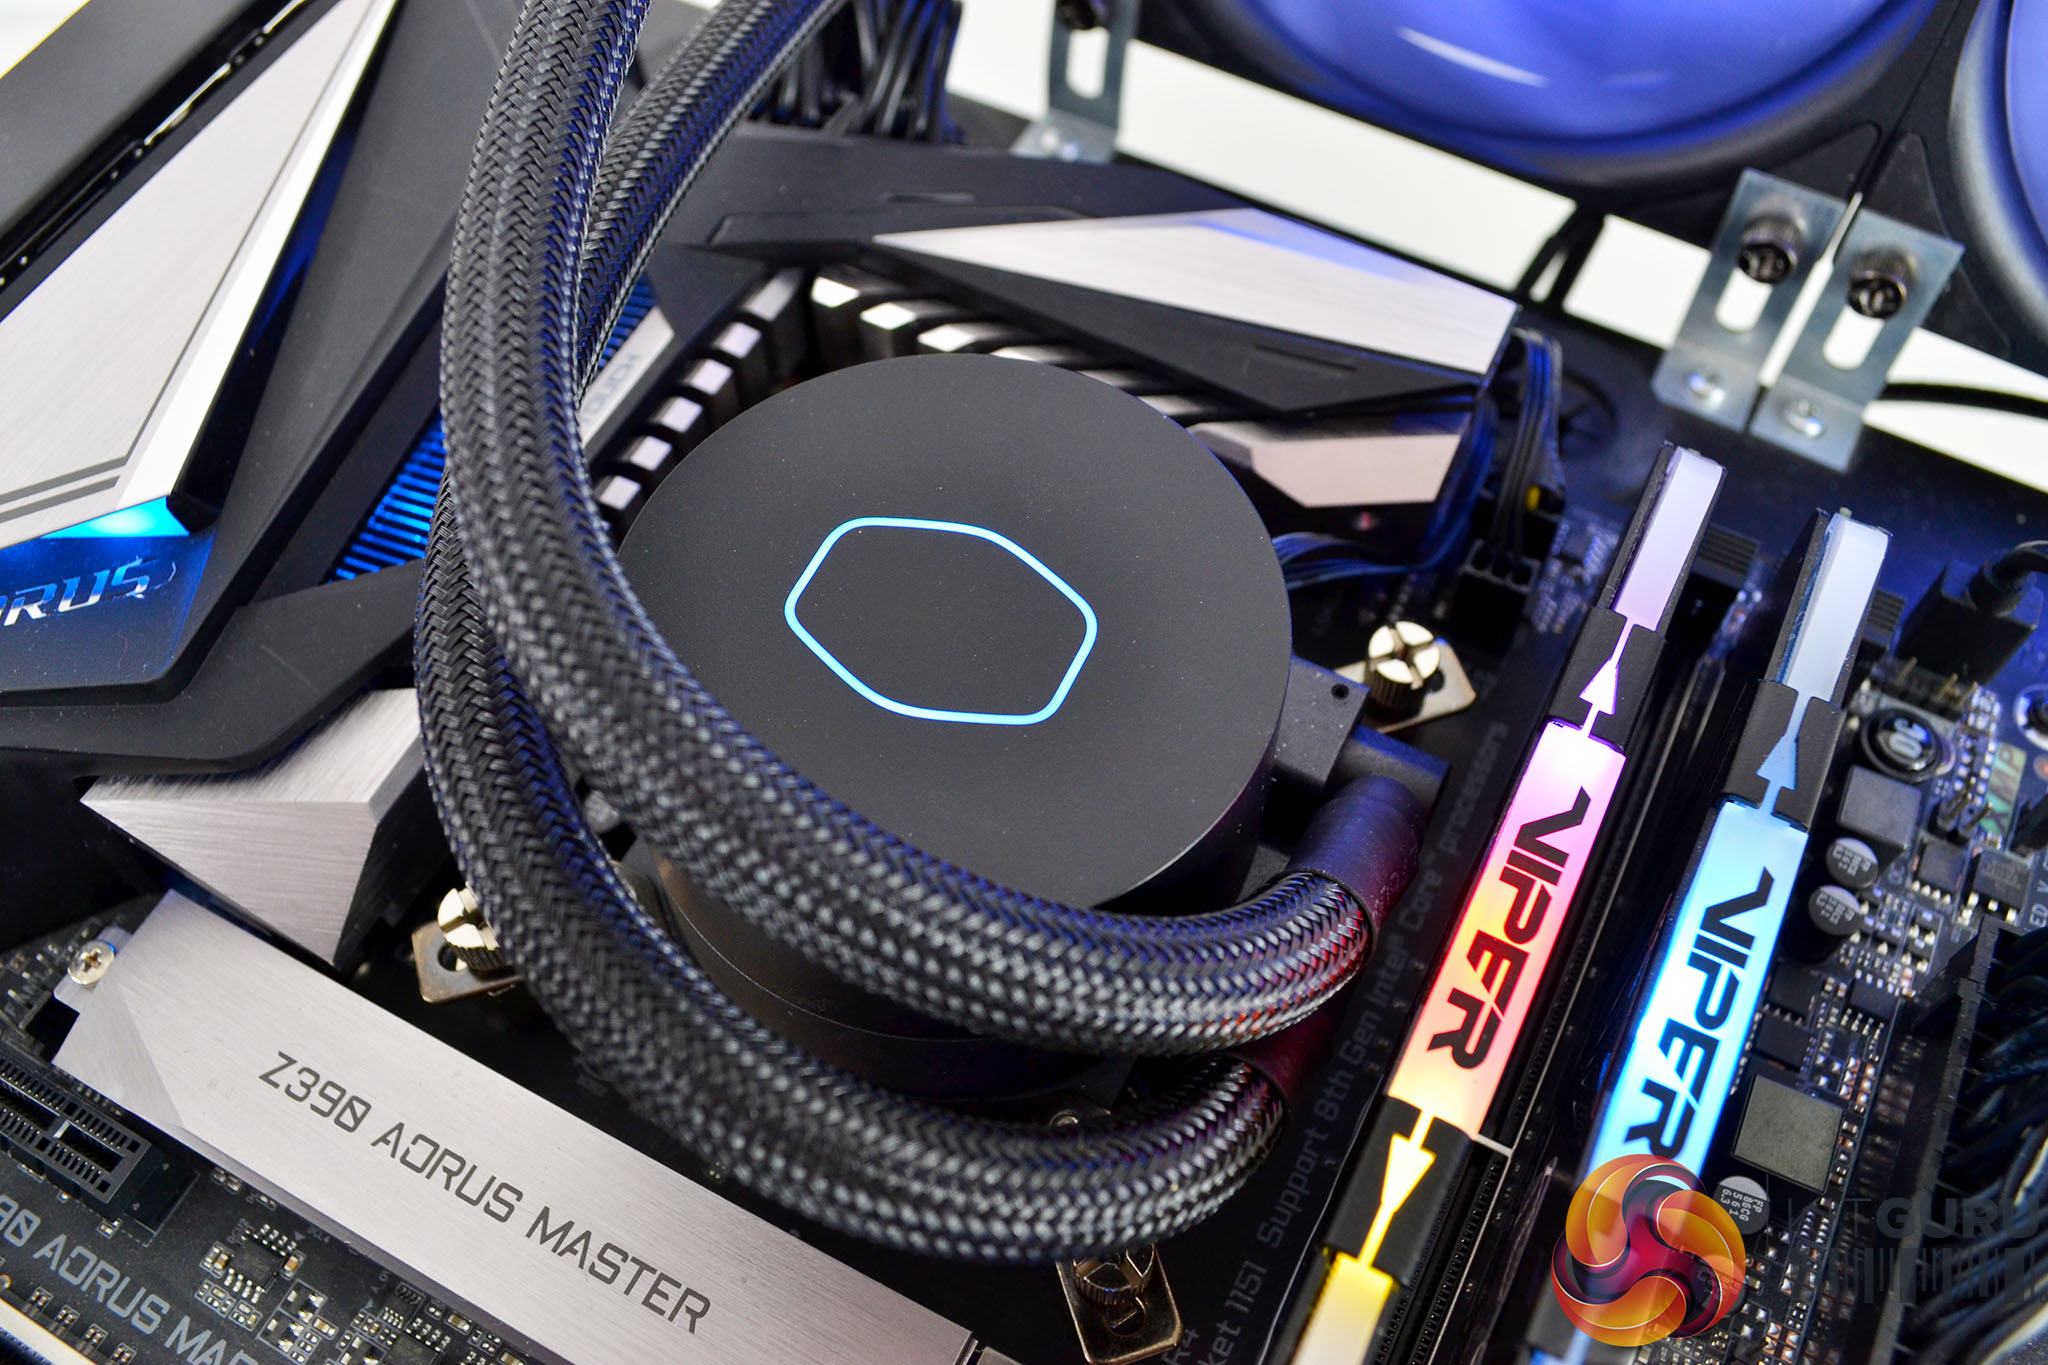
RGB Gallery