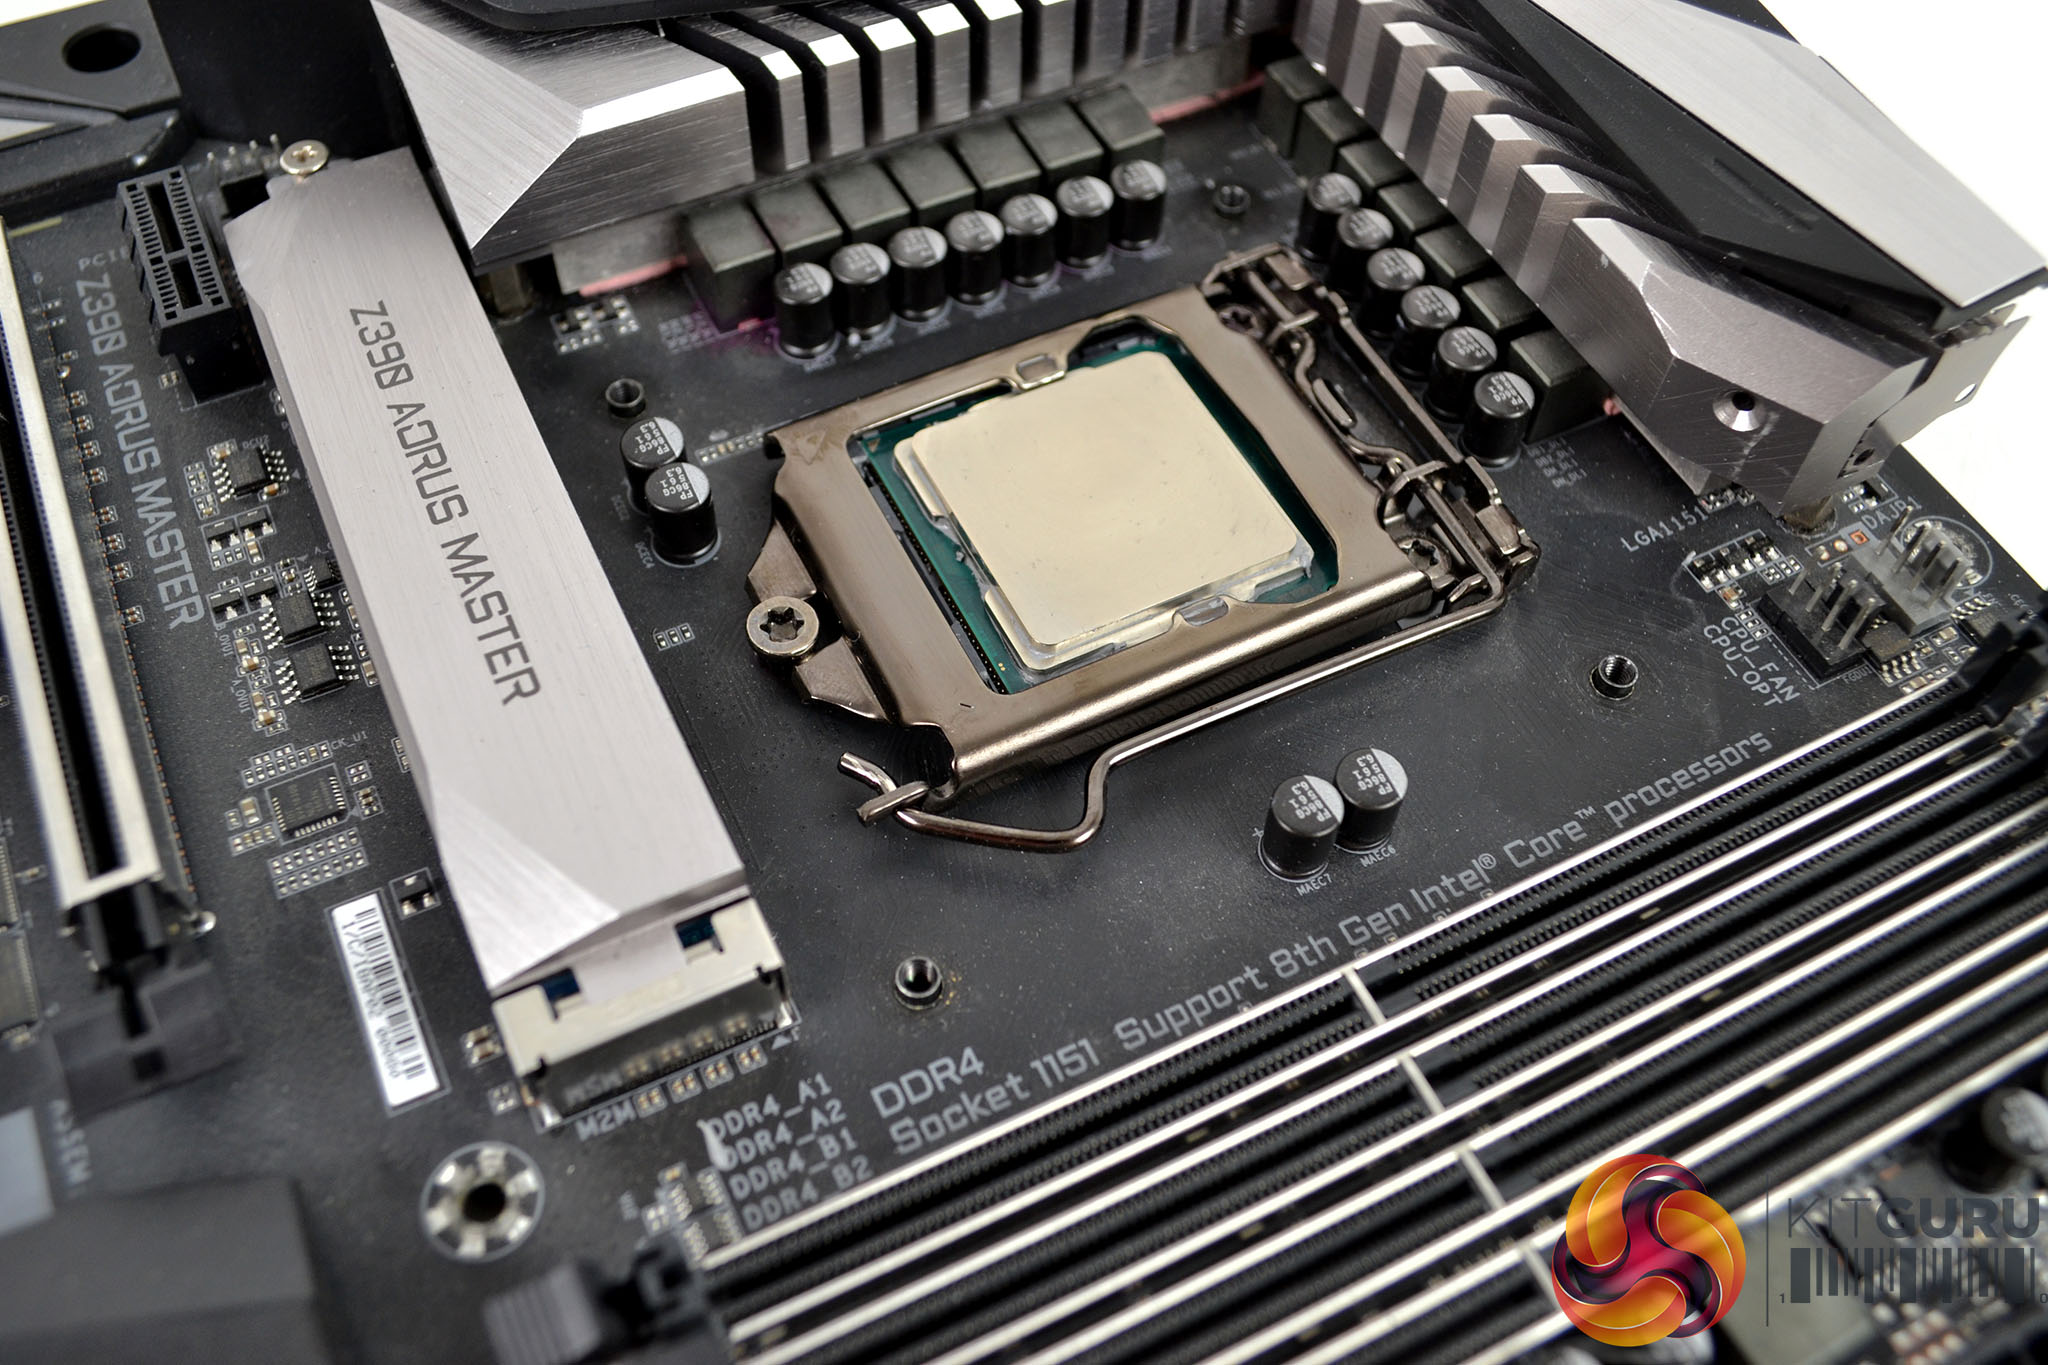
Our test system is Intel Z390 based, therefore, we will be following the relevant Intel 115X socket installation procedure.
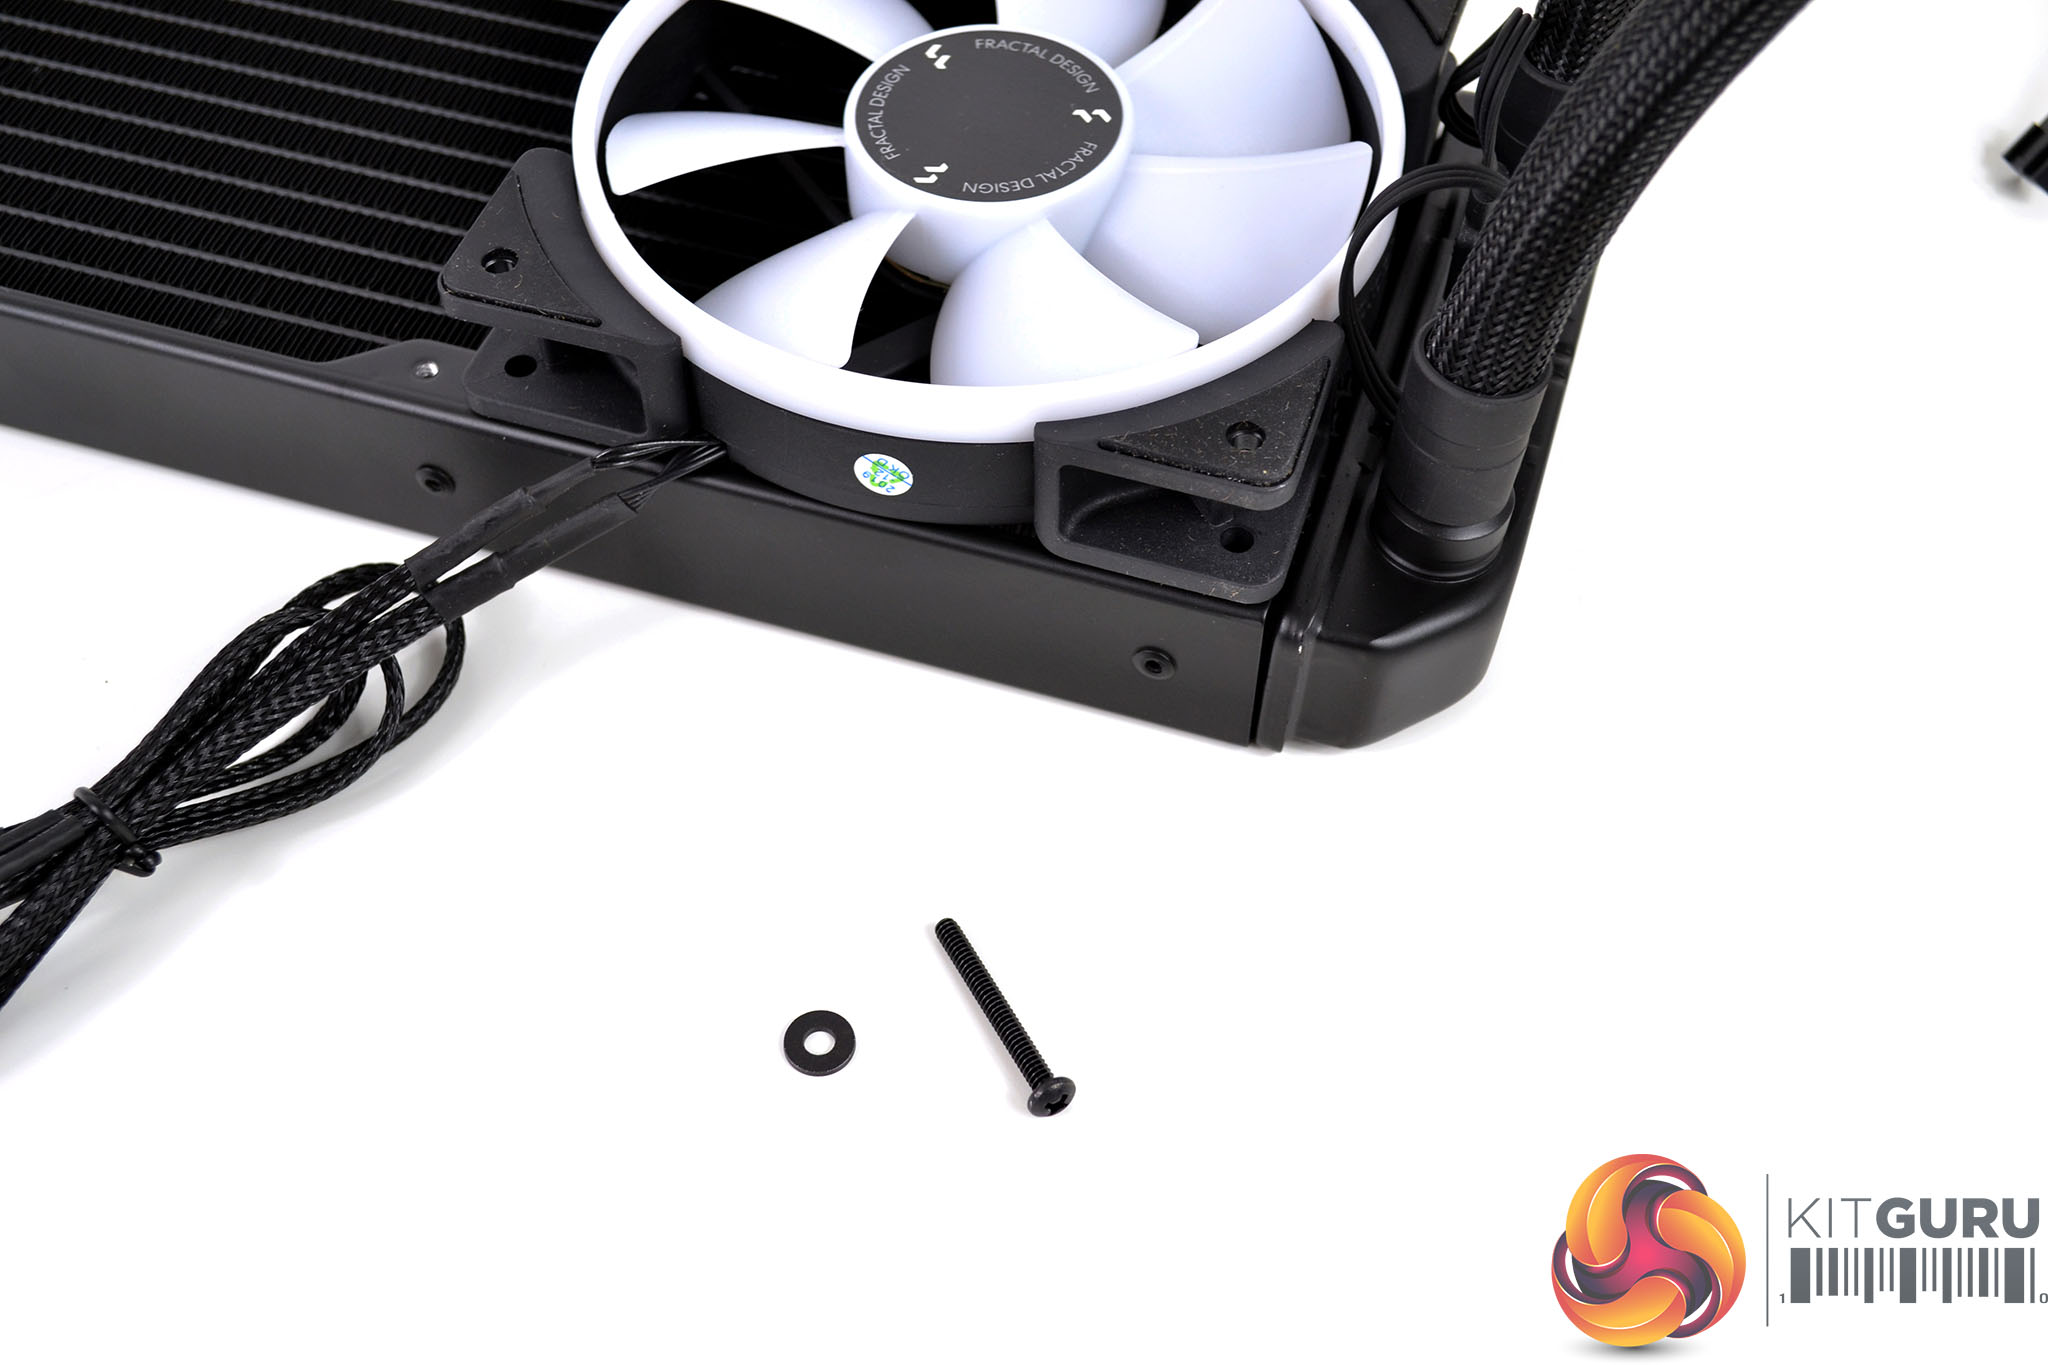
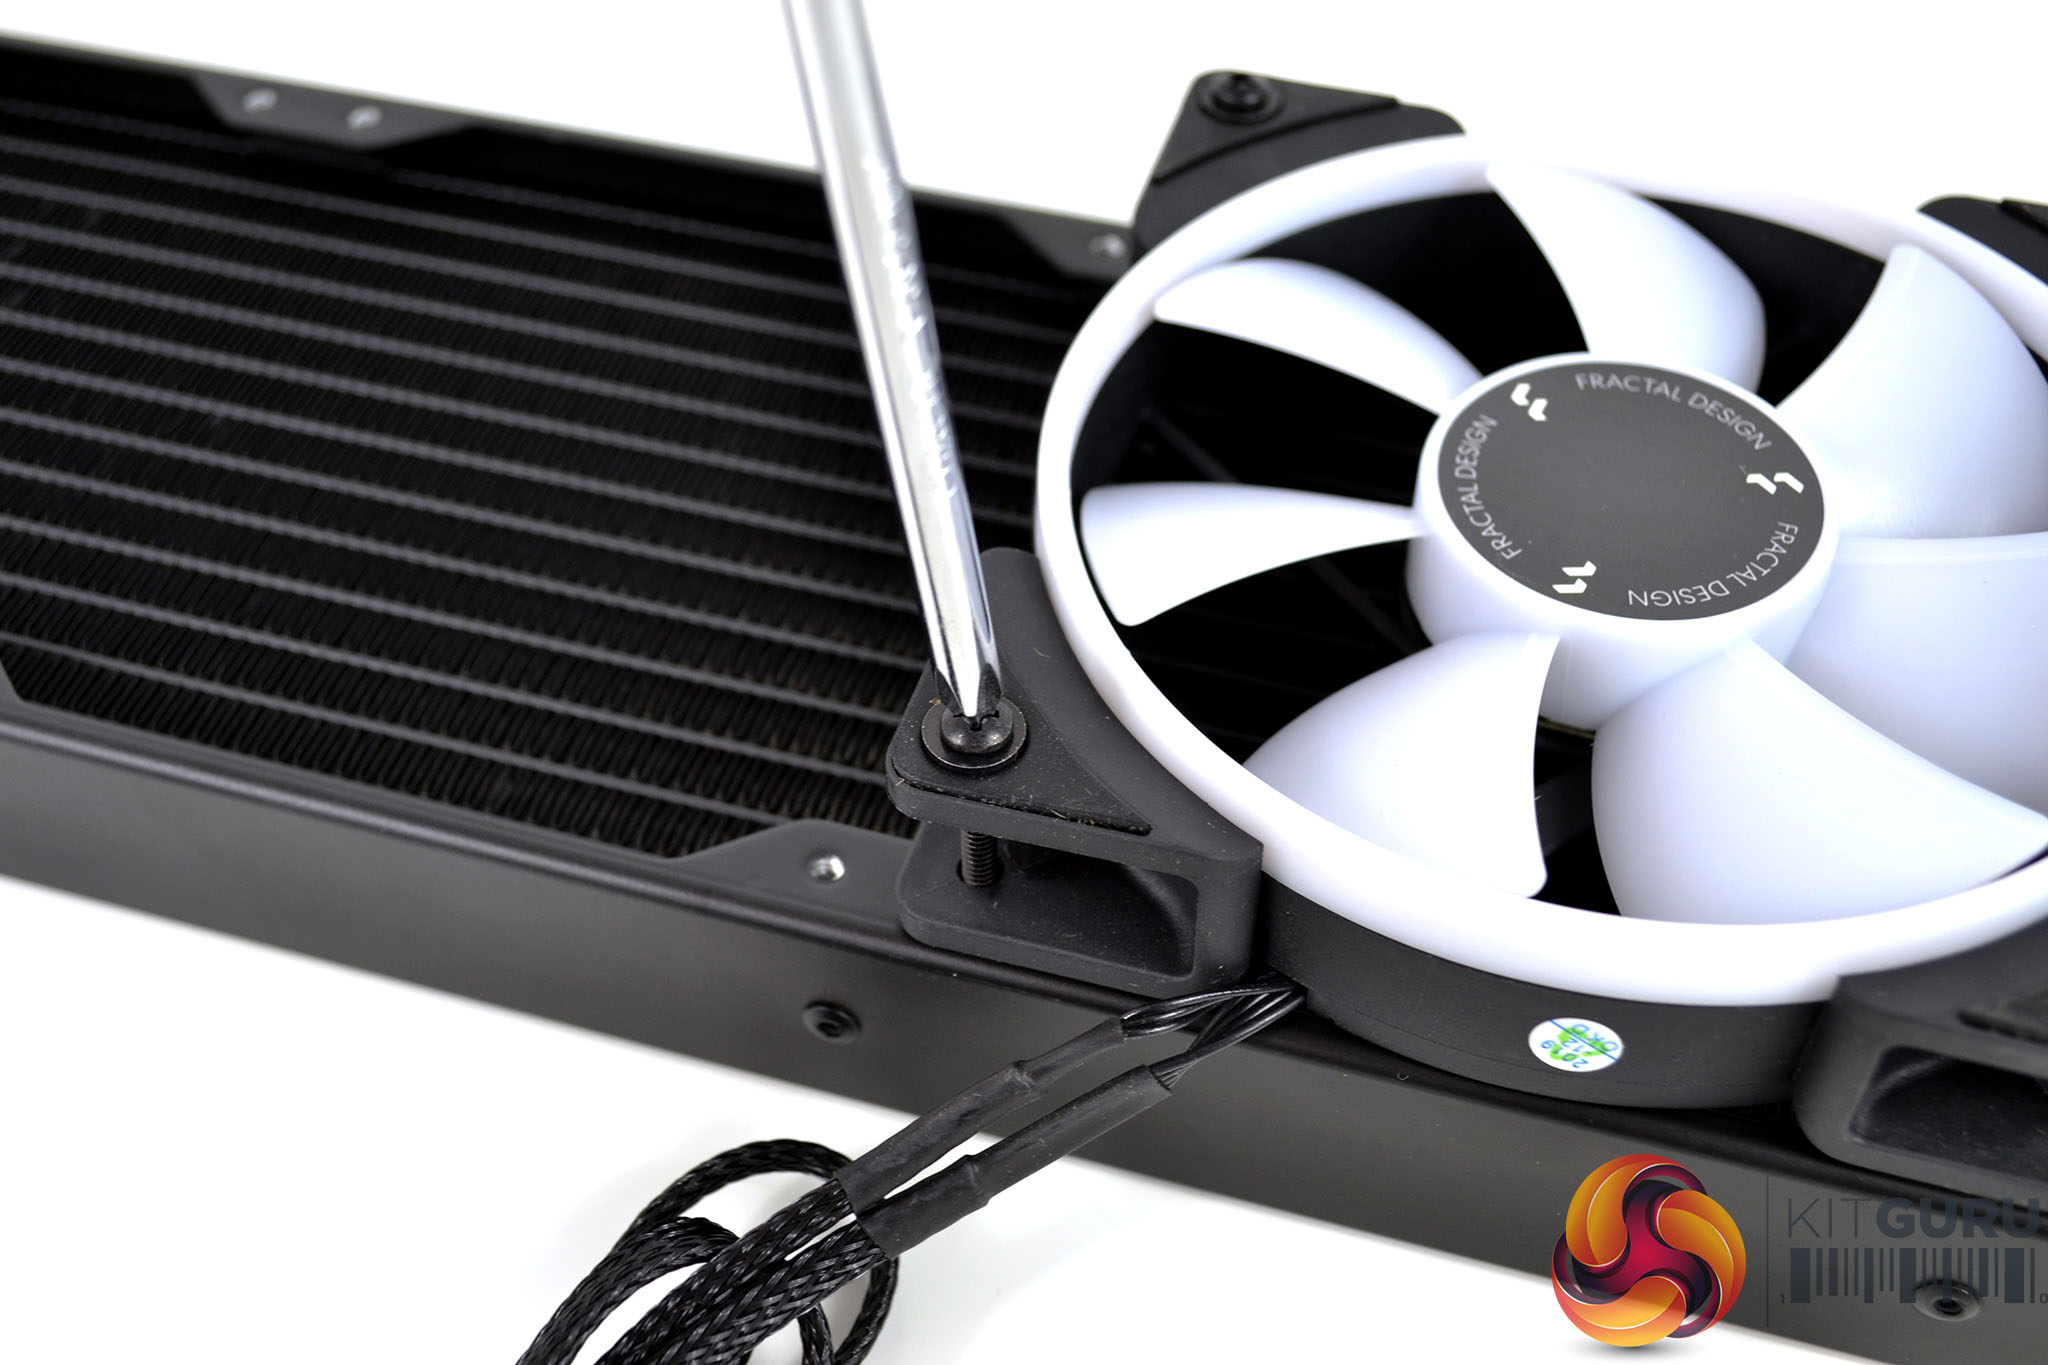
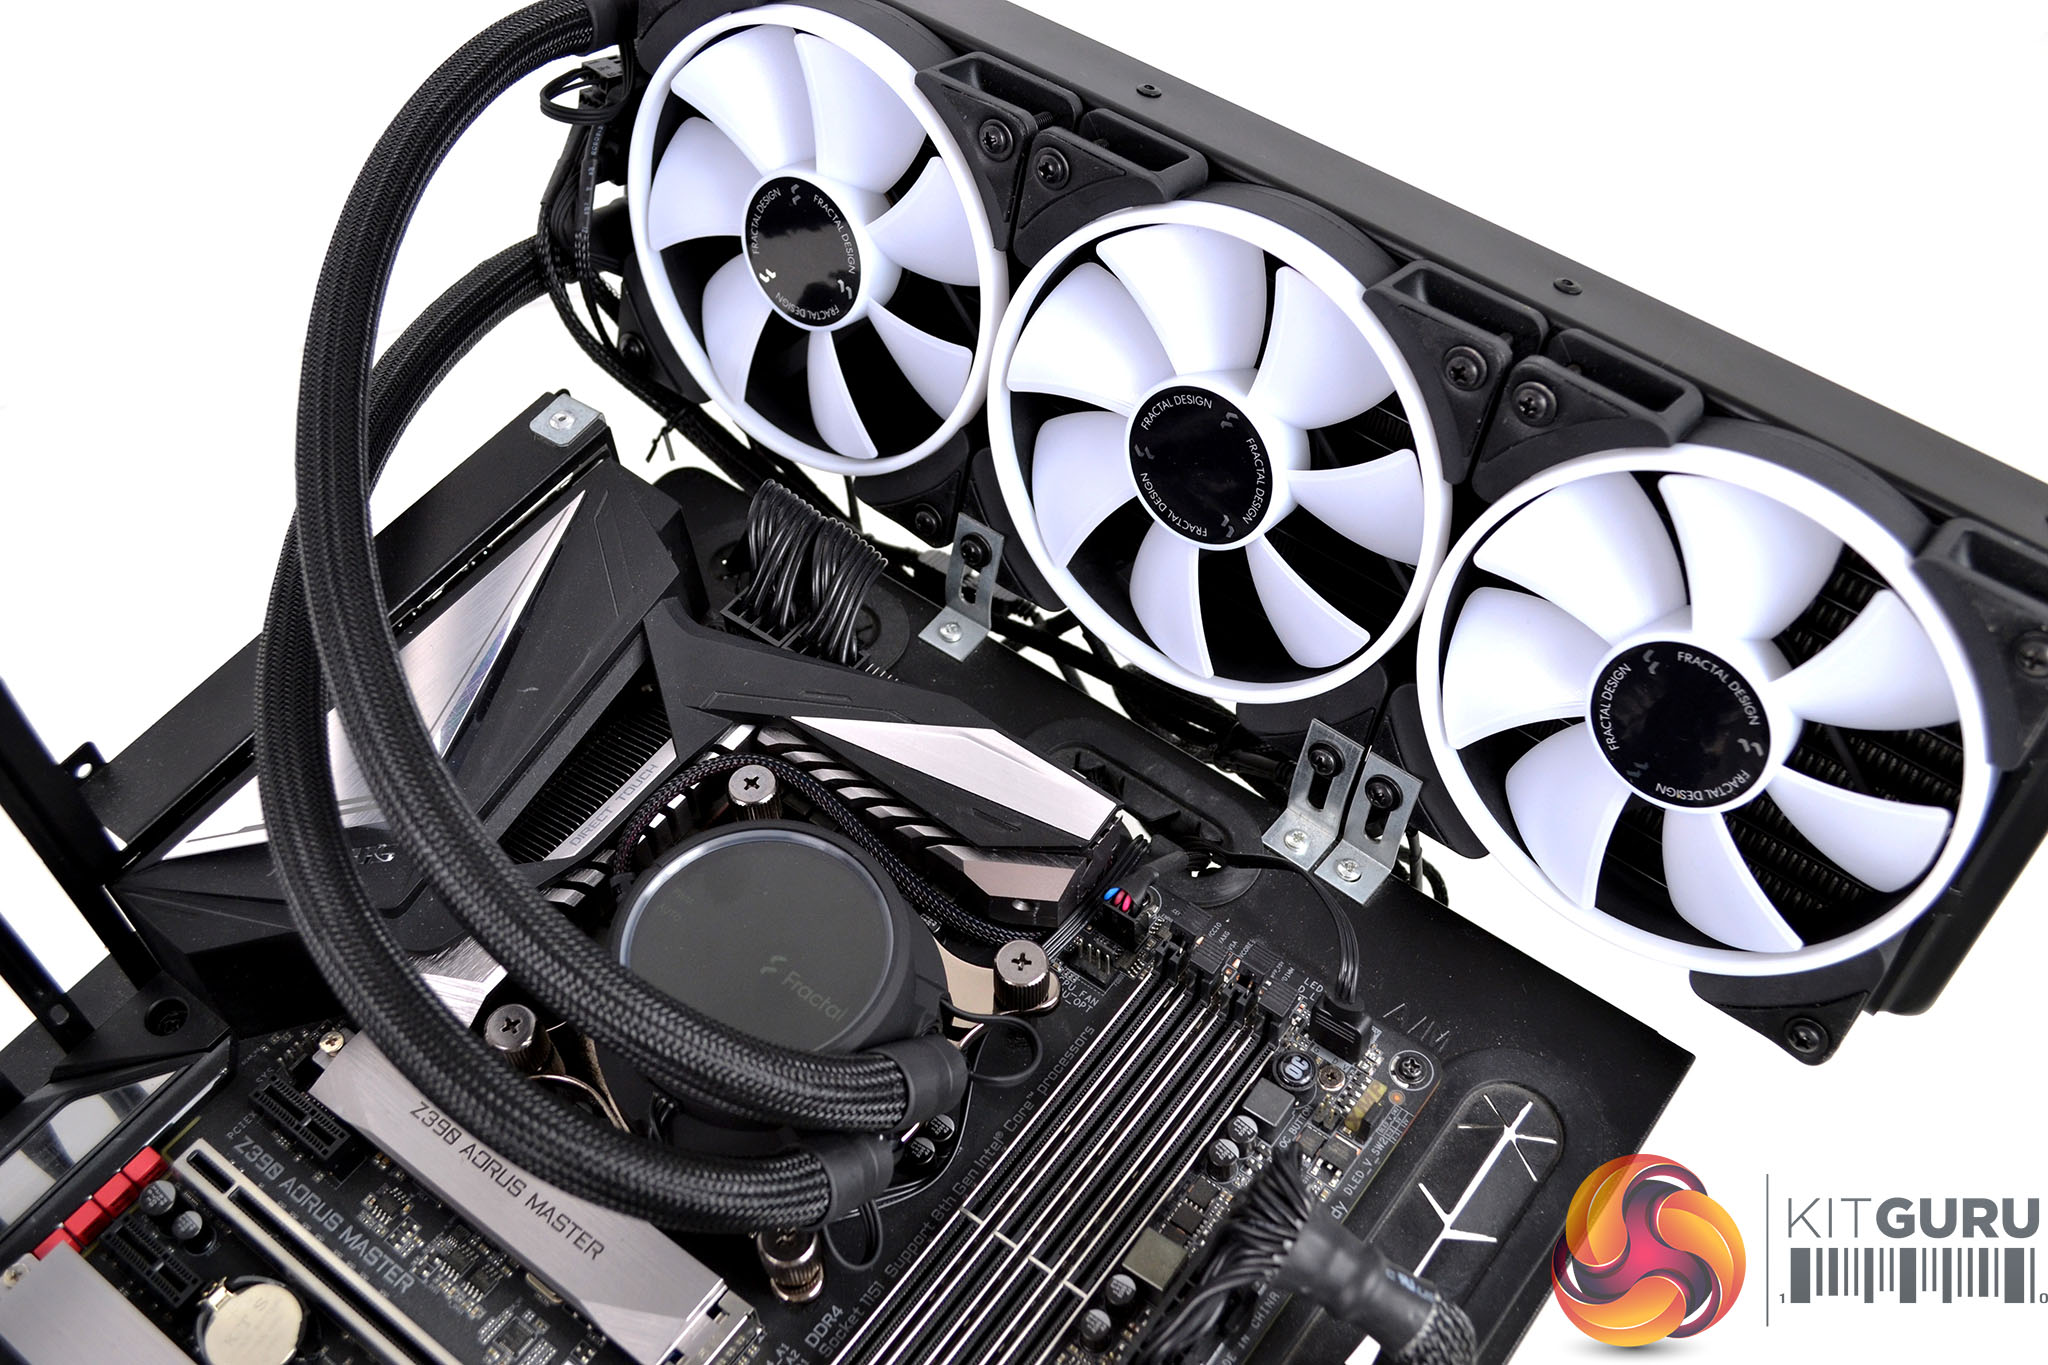
As usual with AIO cooler installation, first we fit the fans to the radiator. Decide whether you want the fans running in a pull or push configuration and then take the long black screws with washes and tighten the fans in position. Be careful not to over-tighten the screws, once you feel a reasonable amount of pressure on the screwdriver this should be tight enough to hold the fans in position.
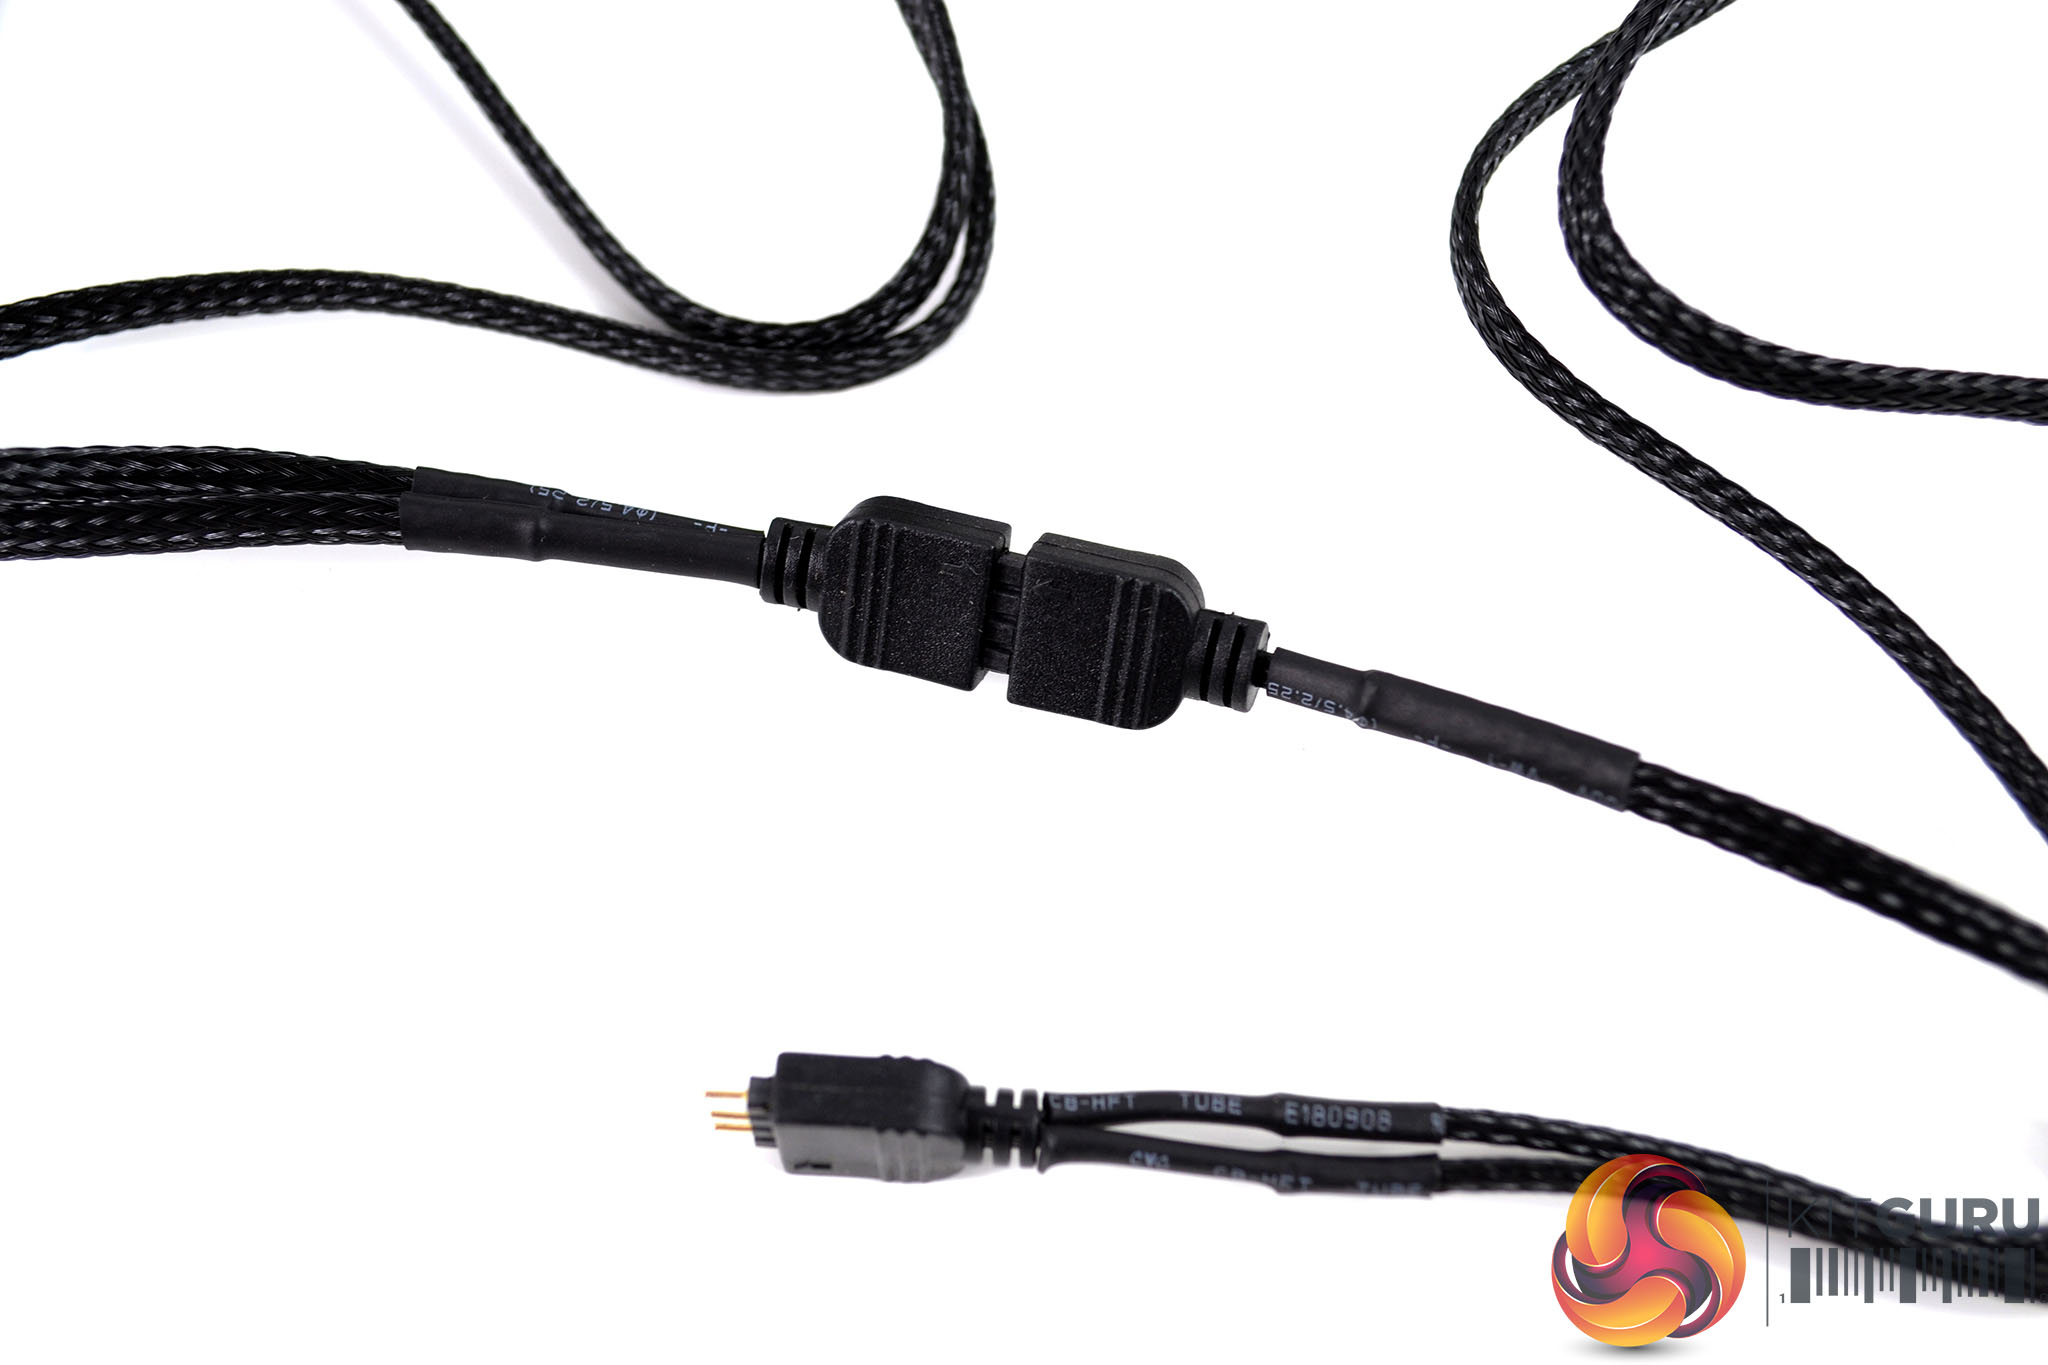
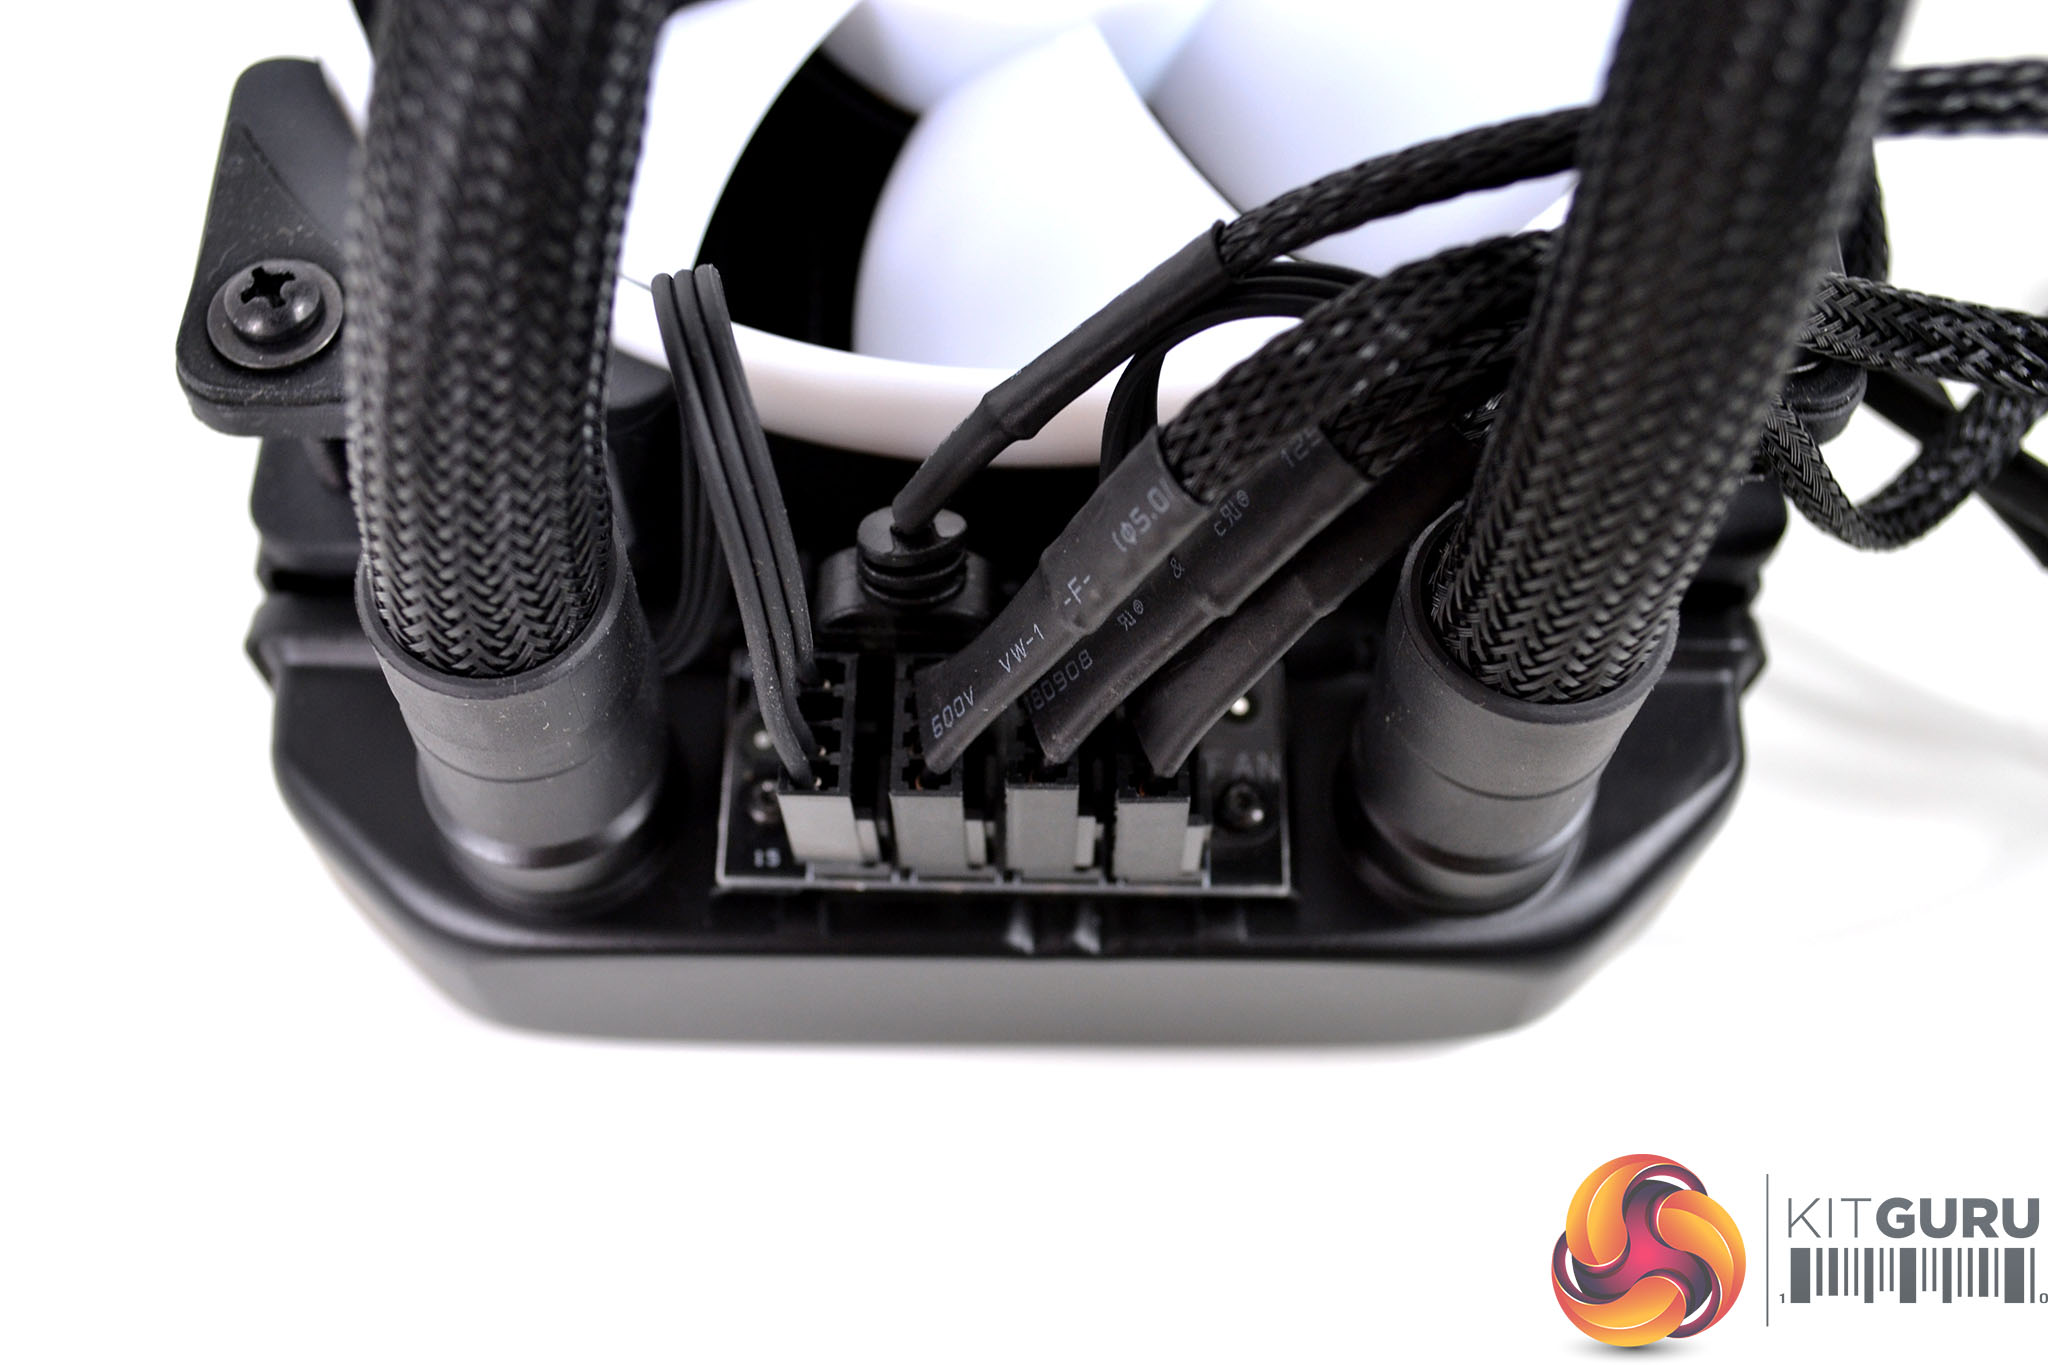
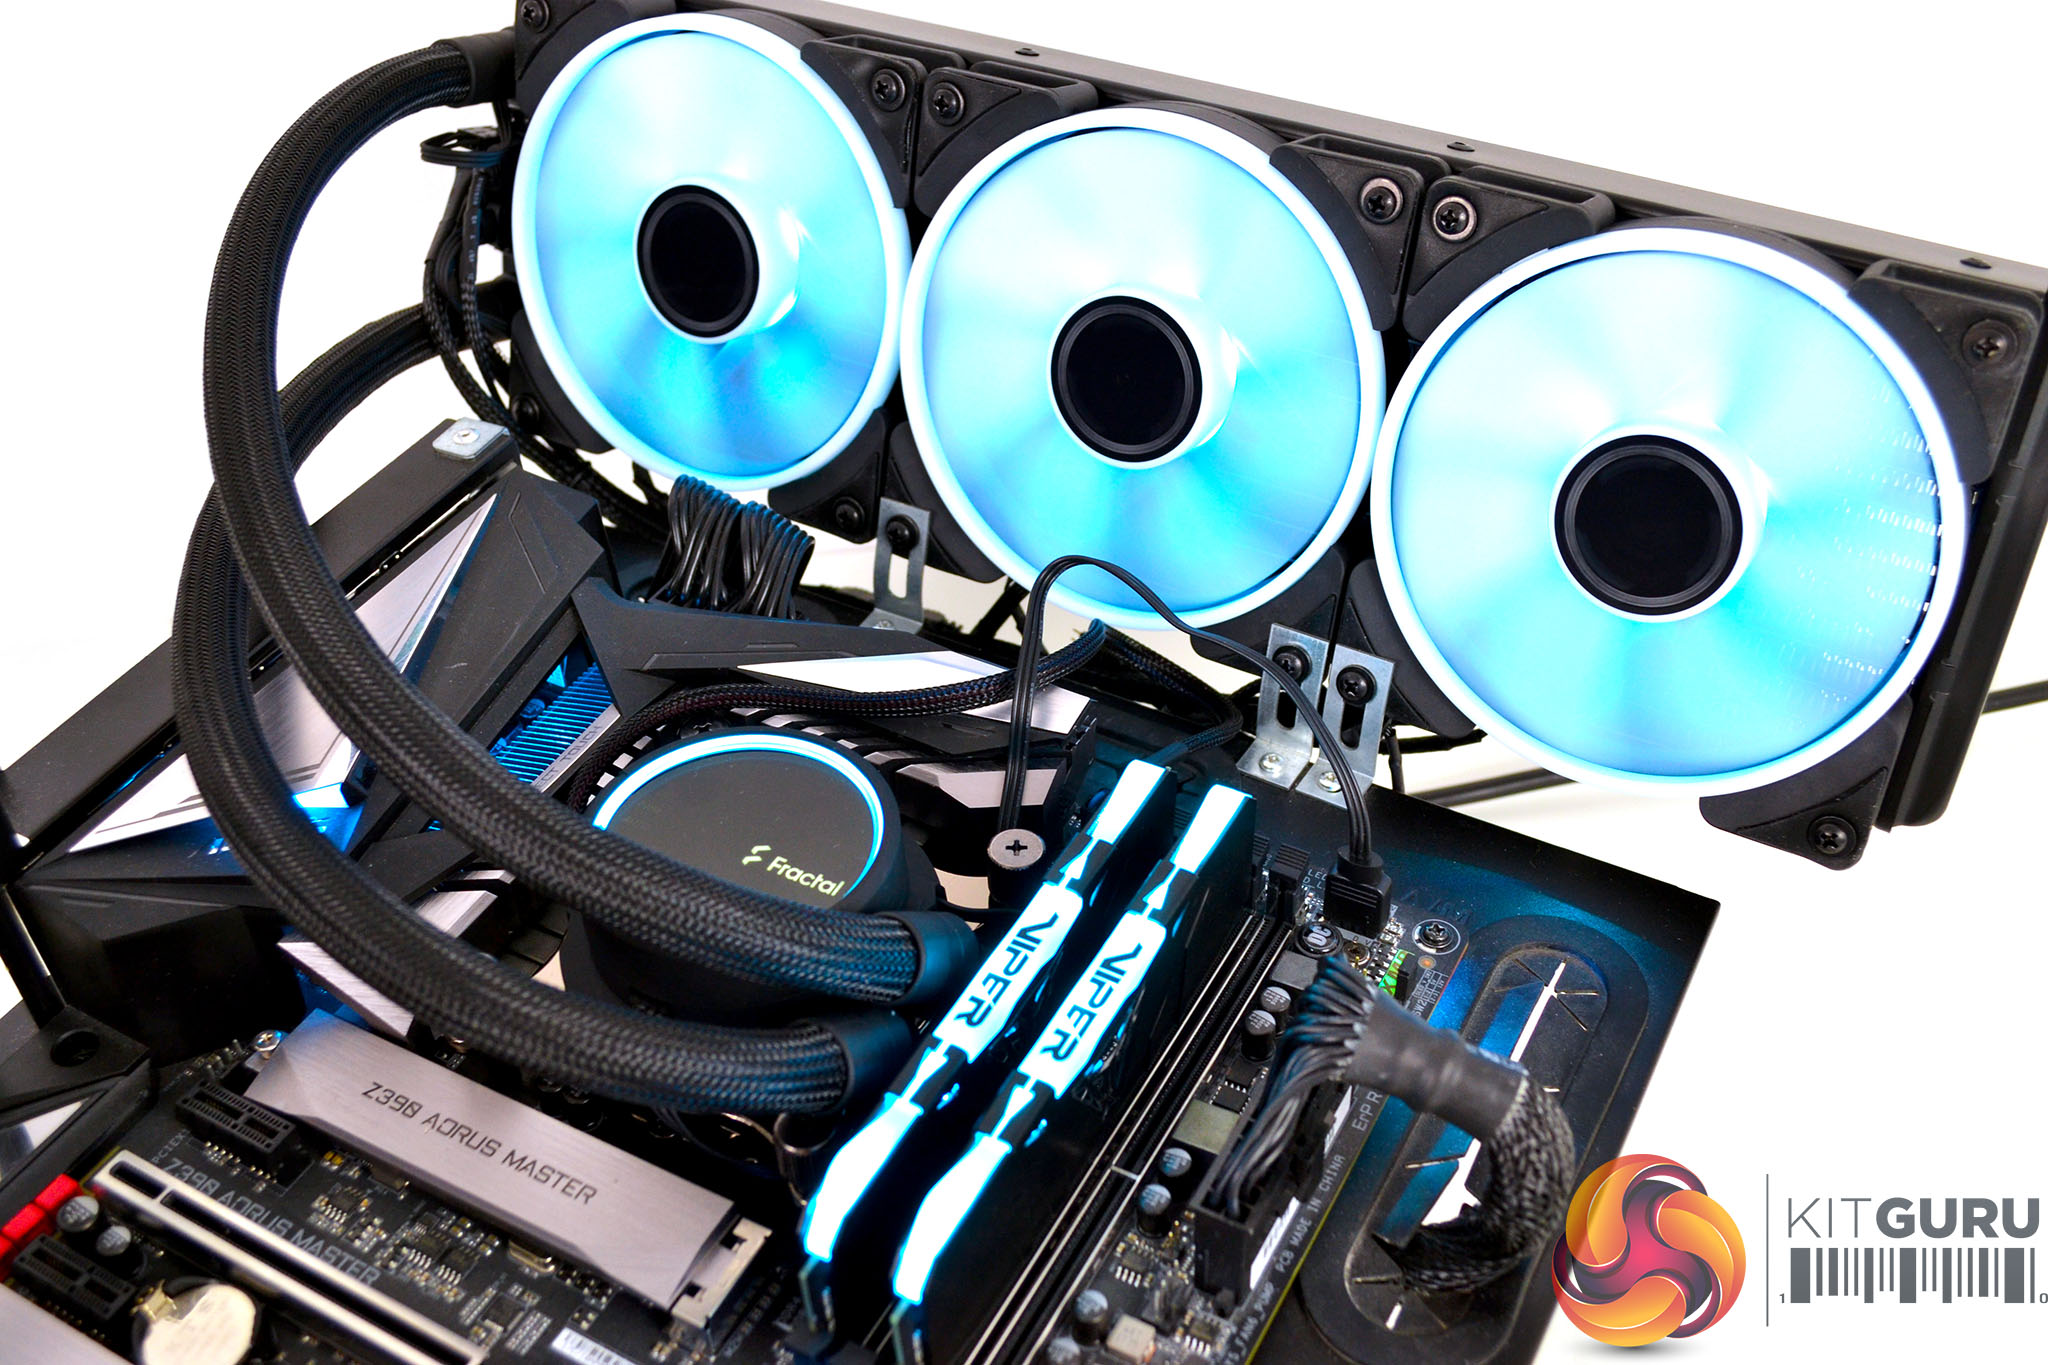
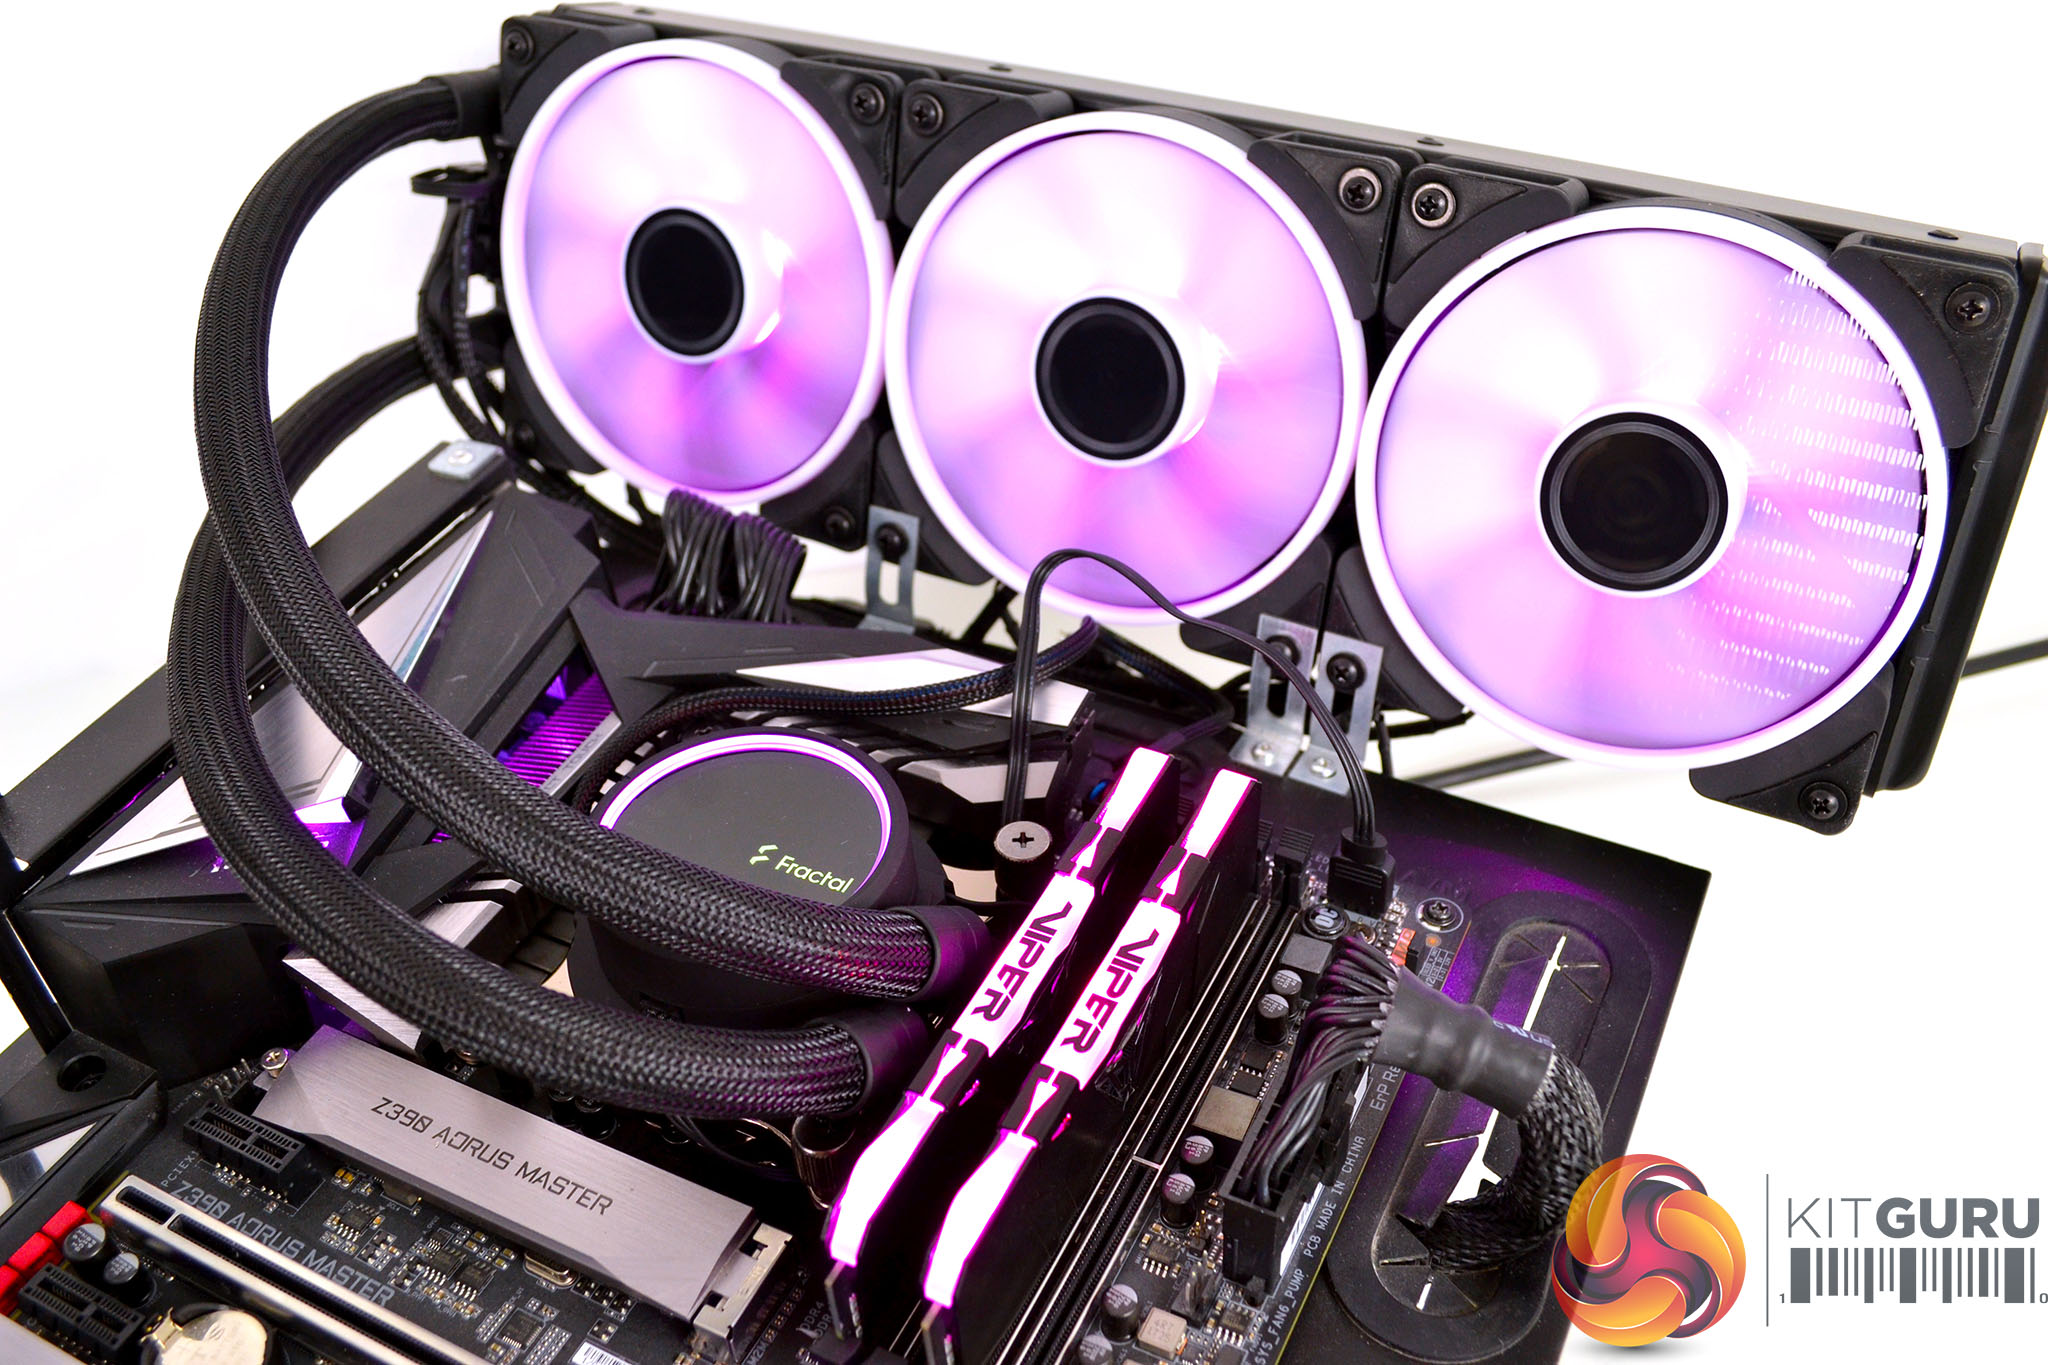
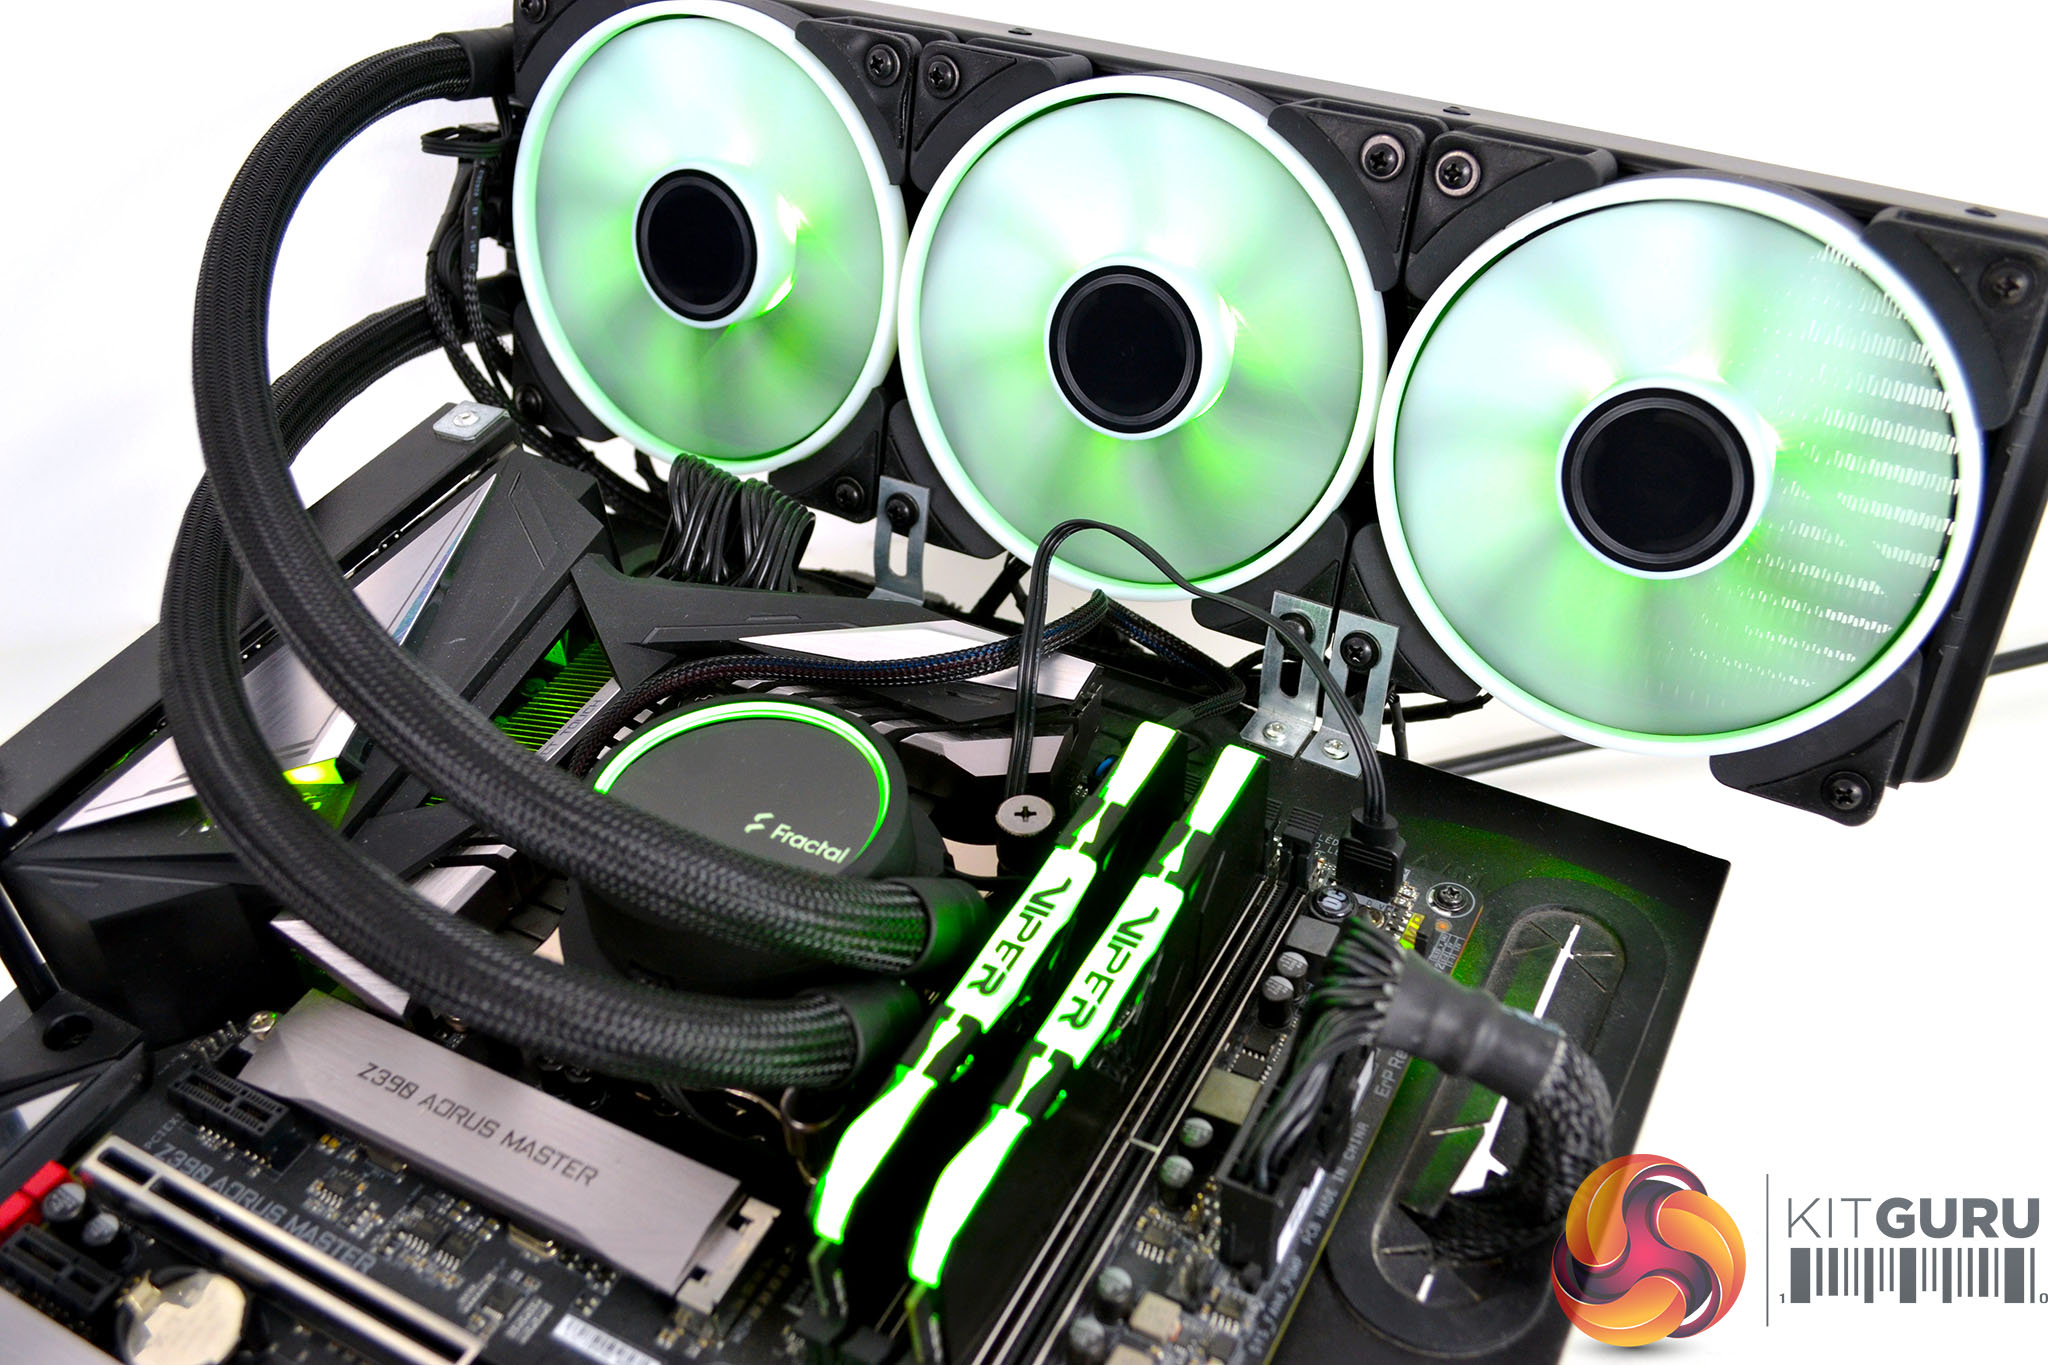
Since the Celsius+ coolers are equipped with this radiator mounted fan hub, it is possible to connect up all the fan wiring now. Fan RGB wiring can be daisy-chained to one another and then connected to the 3-pin RGB header on the fan hub. All three 4-pin fan cables are connected individually to the fan hub. You can neaten up the wiring with the provided self-adhesive clips if necessary.
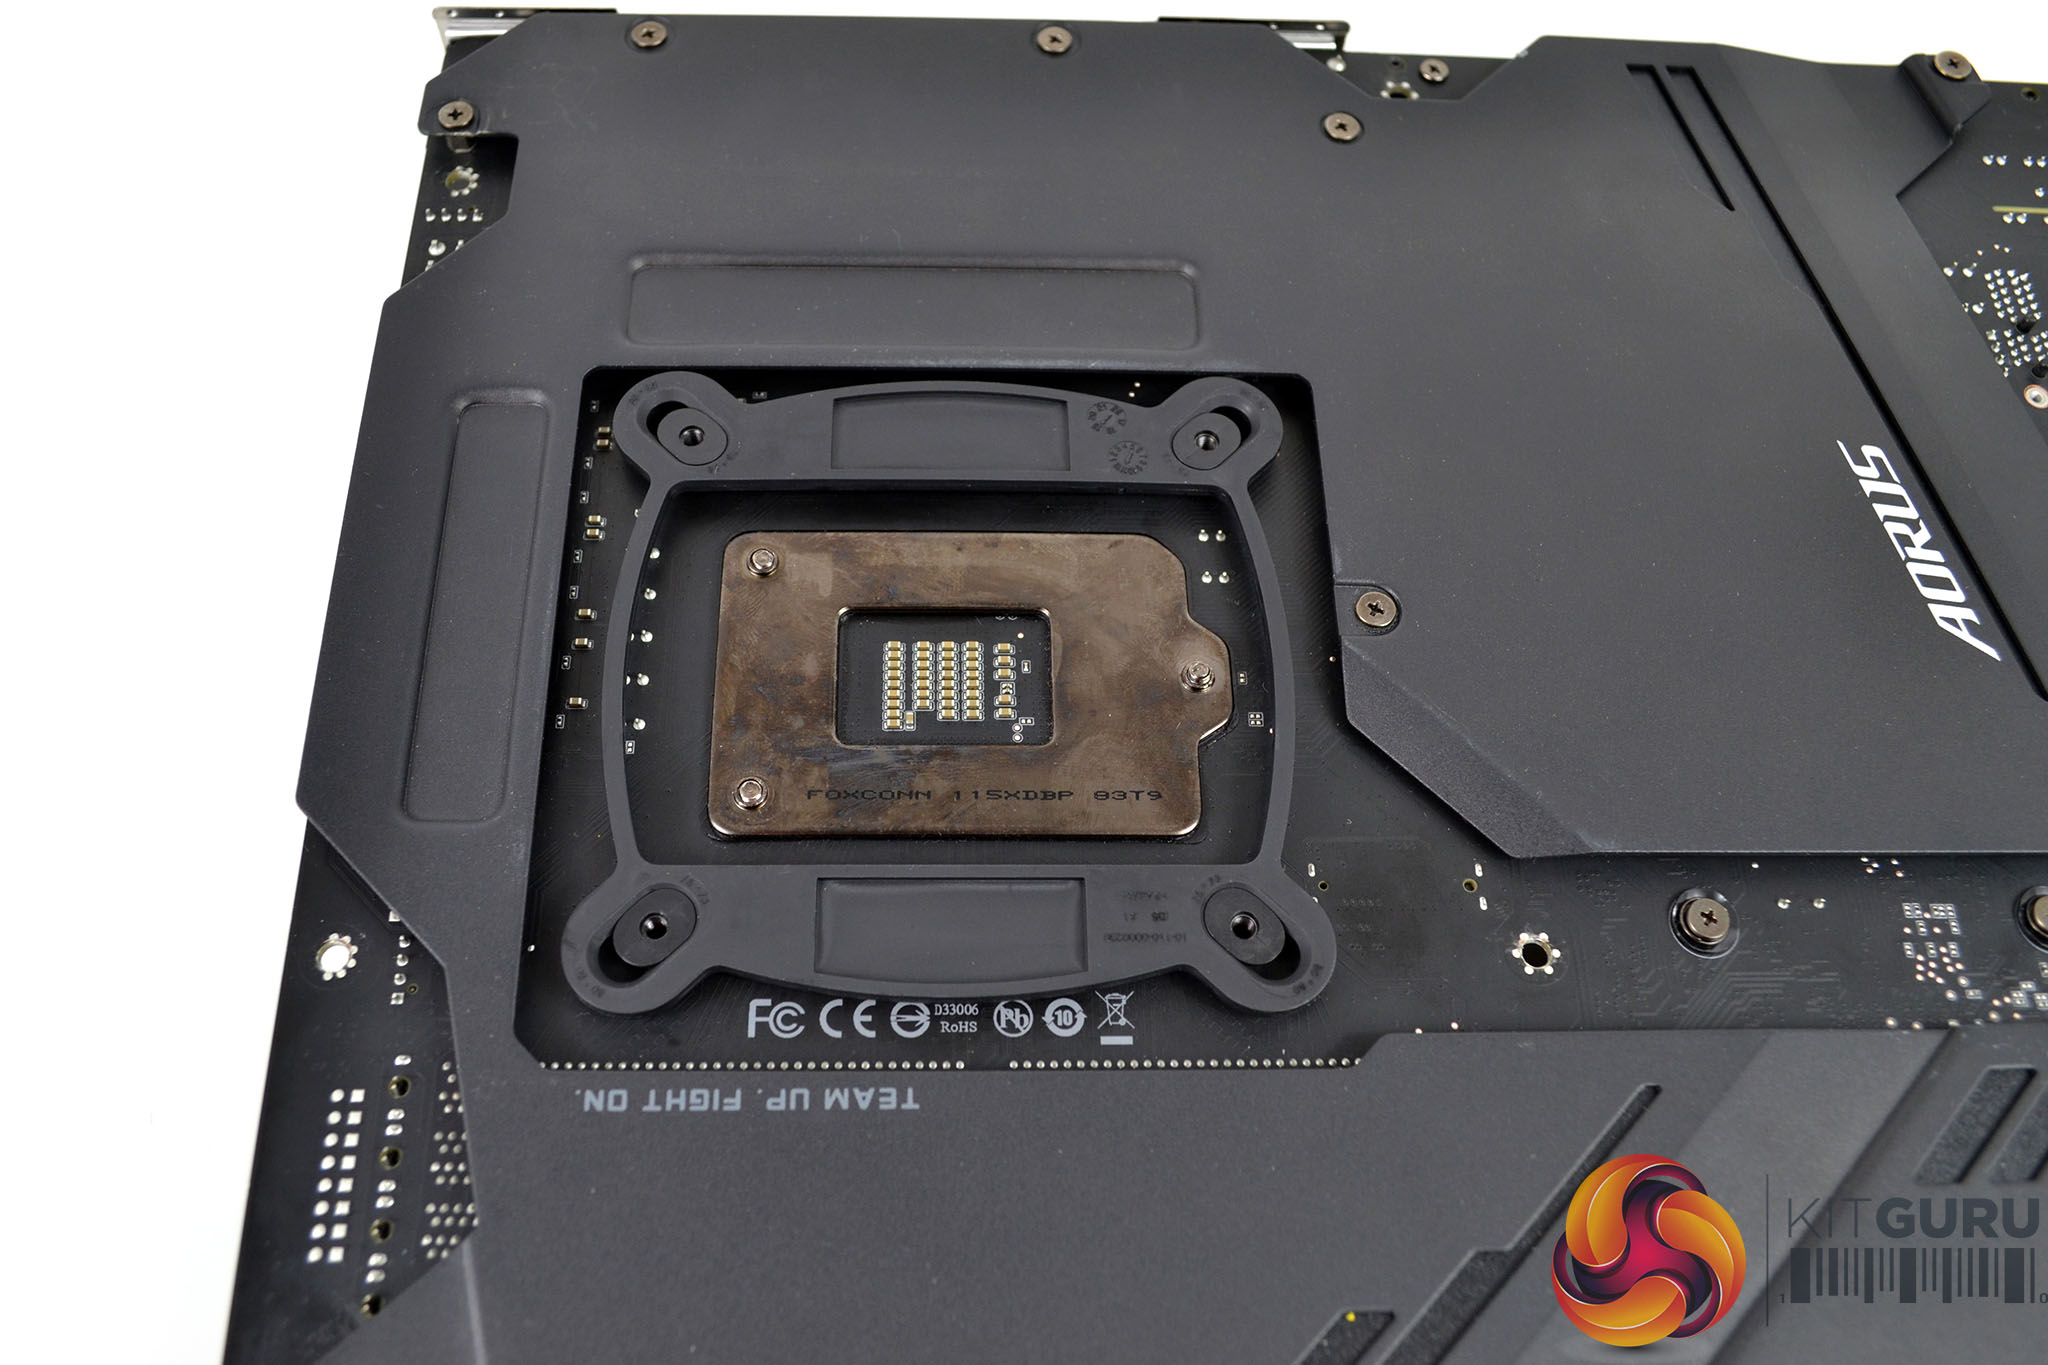
For the next step, place the universal backplate over the CPU socket on the rear of the motherboard. To do this, simply slide the mountings to the correct position for your motherboard platform, locate them in the holes on the motherboard and then turn the motherboard back over ready to install the standoffs.
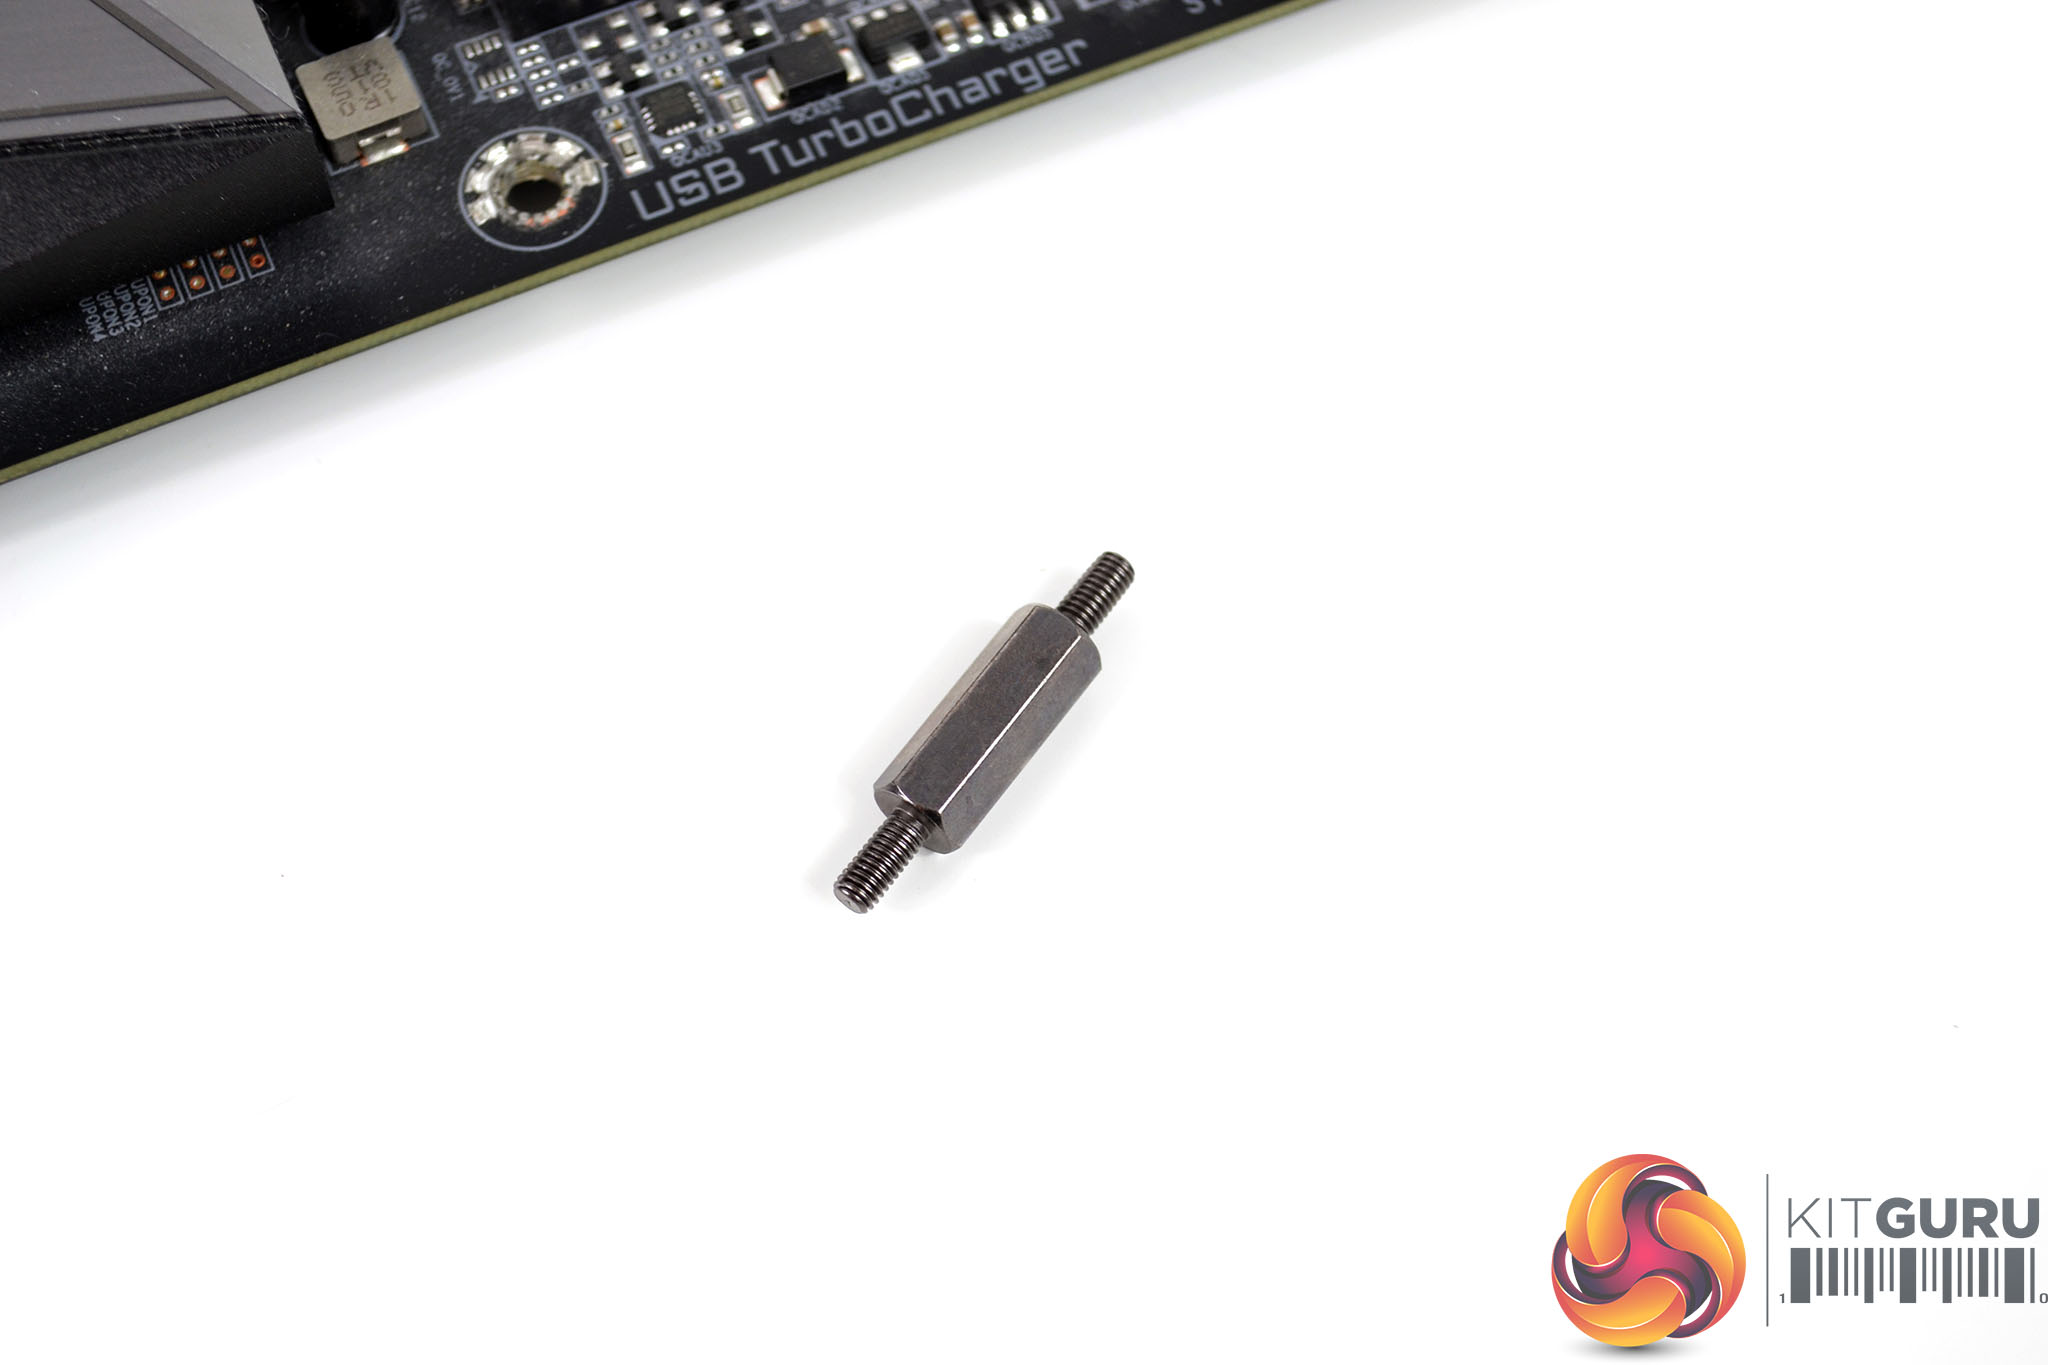
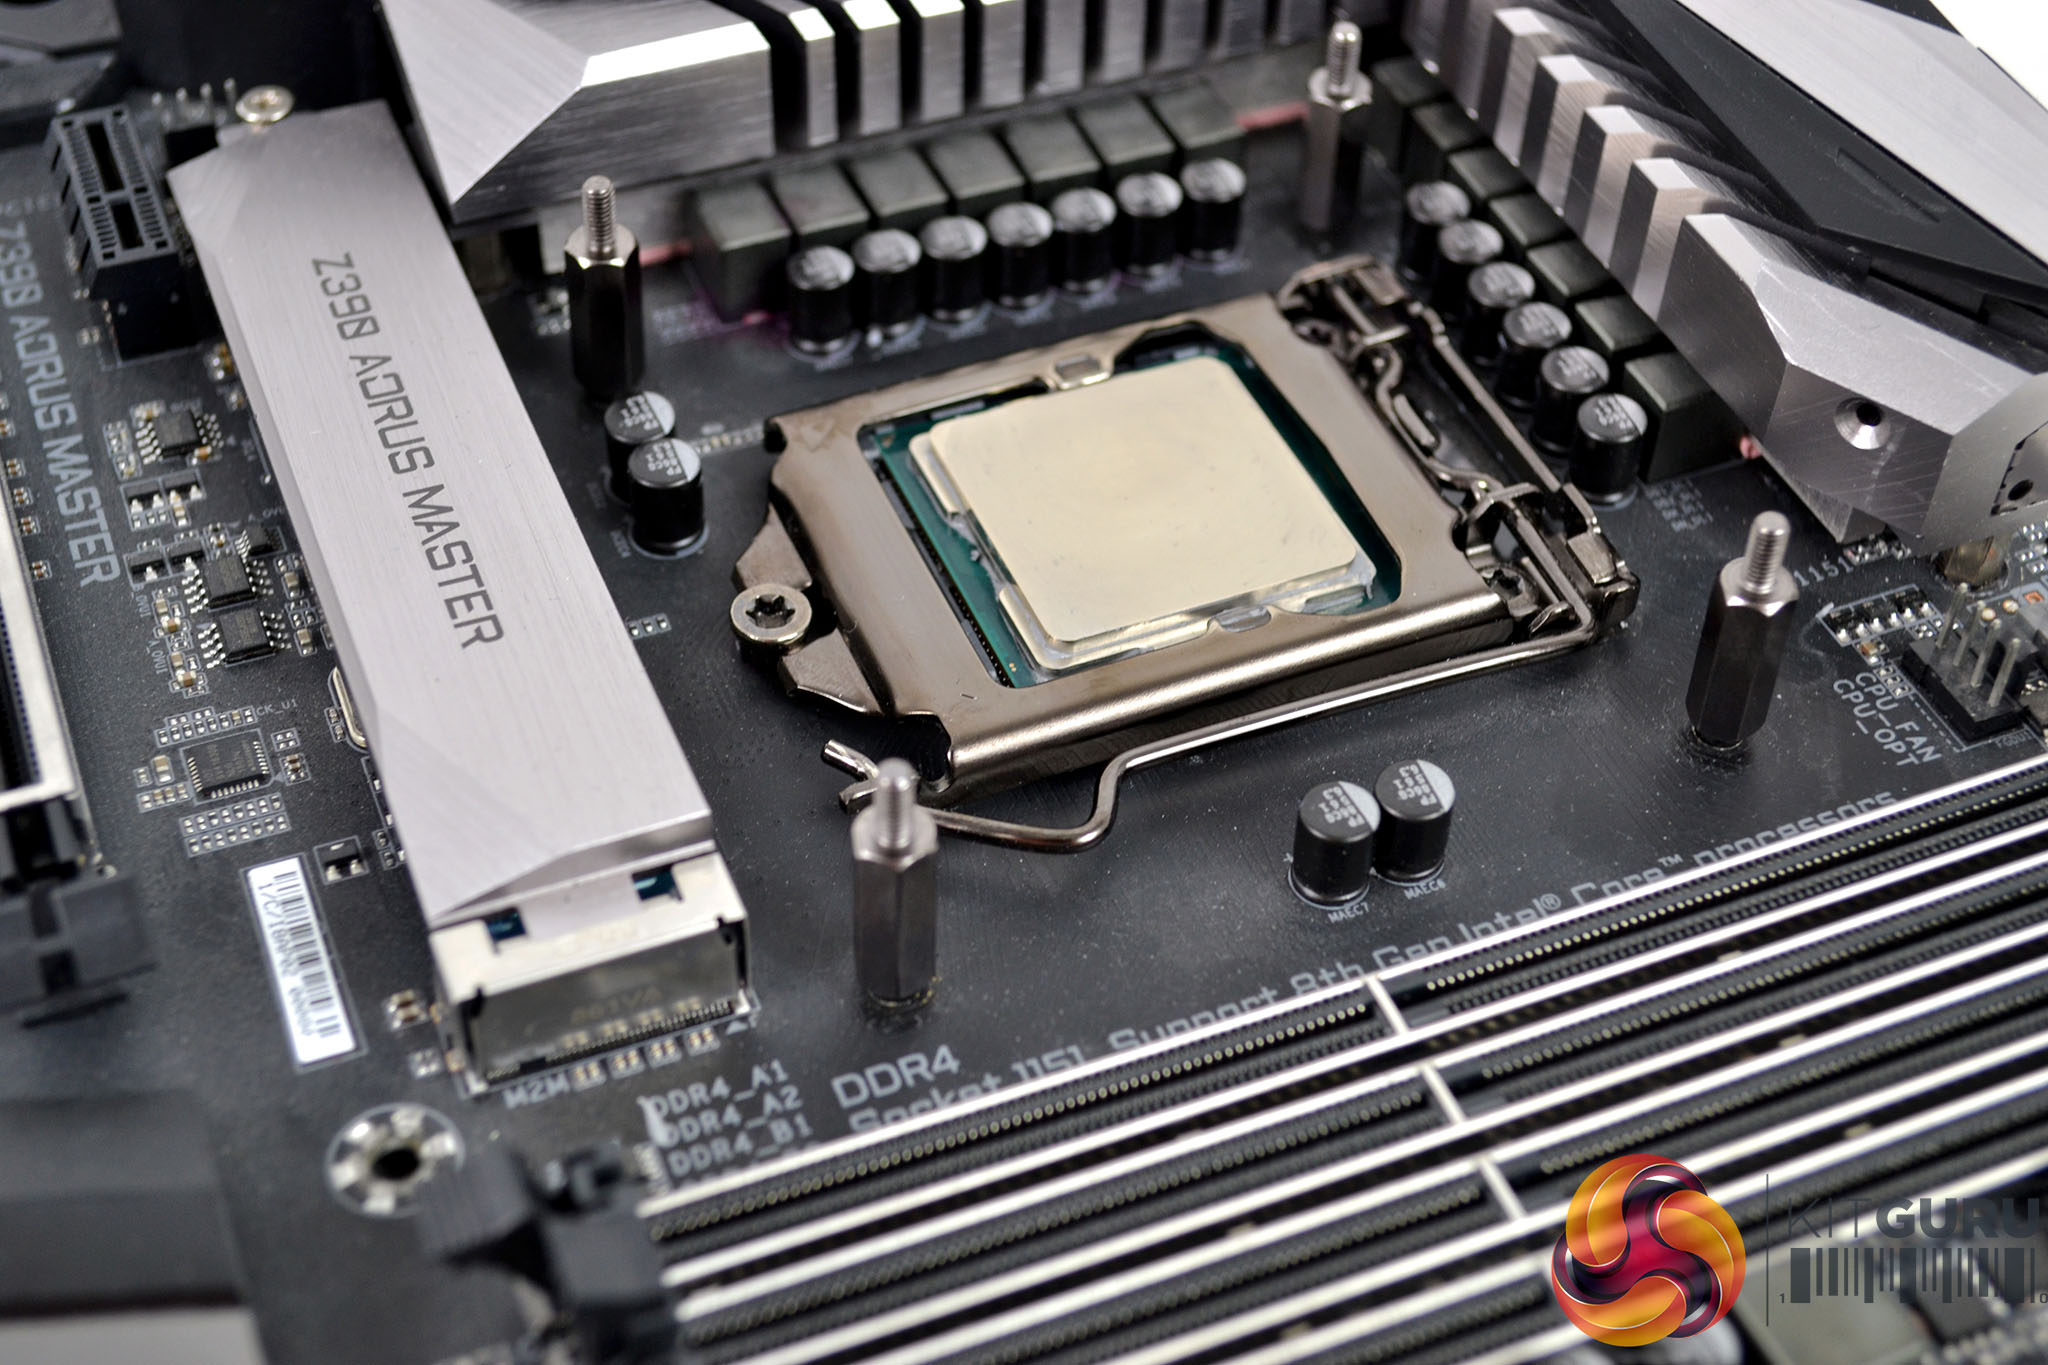
Now that the backplate is in position, select the correct standoffs for your platform, Intel 115x installation requires the use of the long standoffs with fine thread on either end. Tighten the four standoffs in position to the backplate by hand, the use of any tools isn’t technically necessary as it could easily damage the standoff thread or backplate if too much torque is applied.
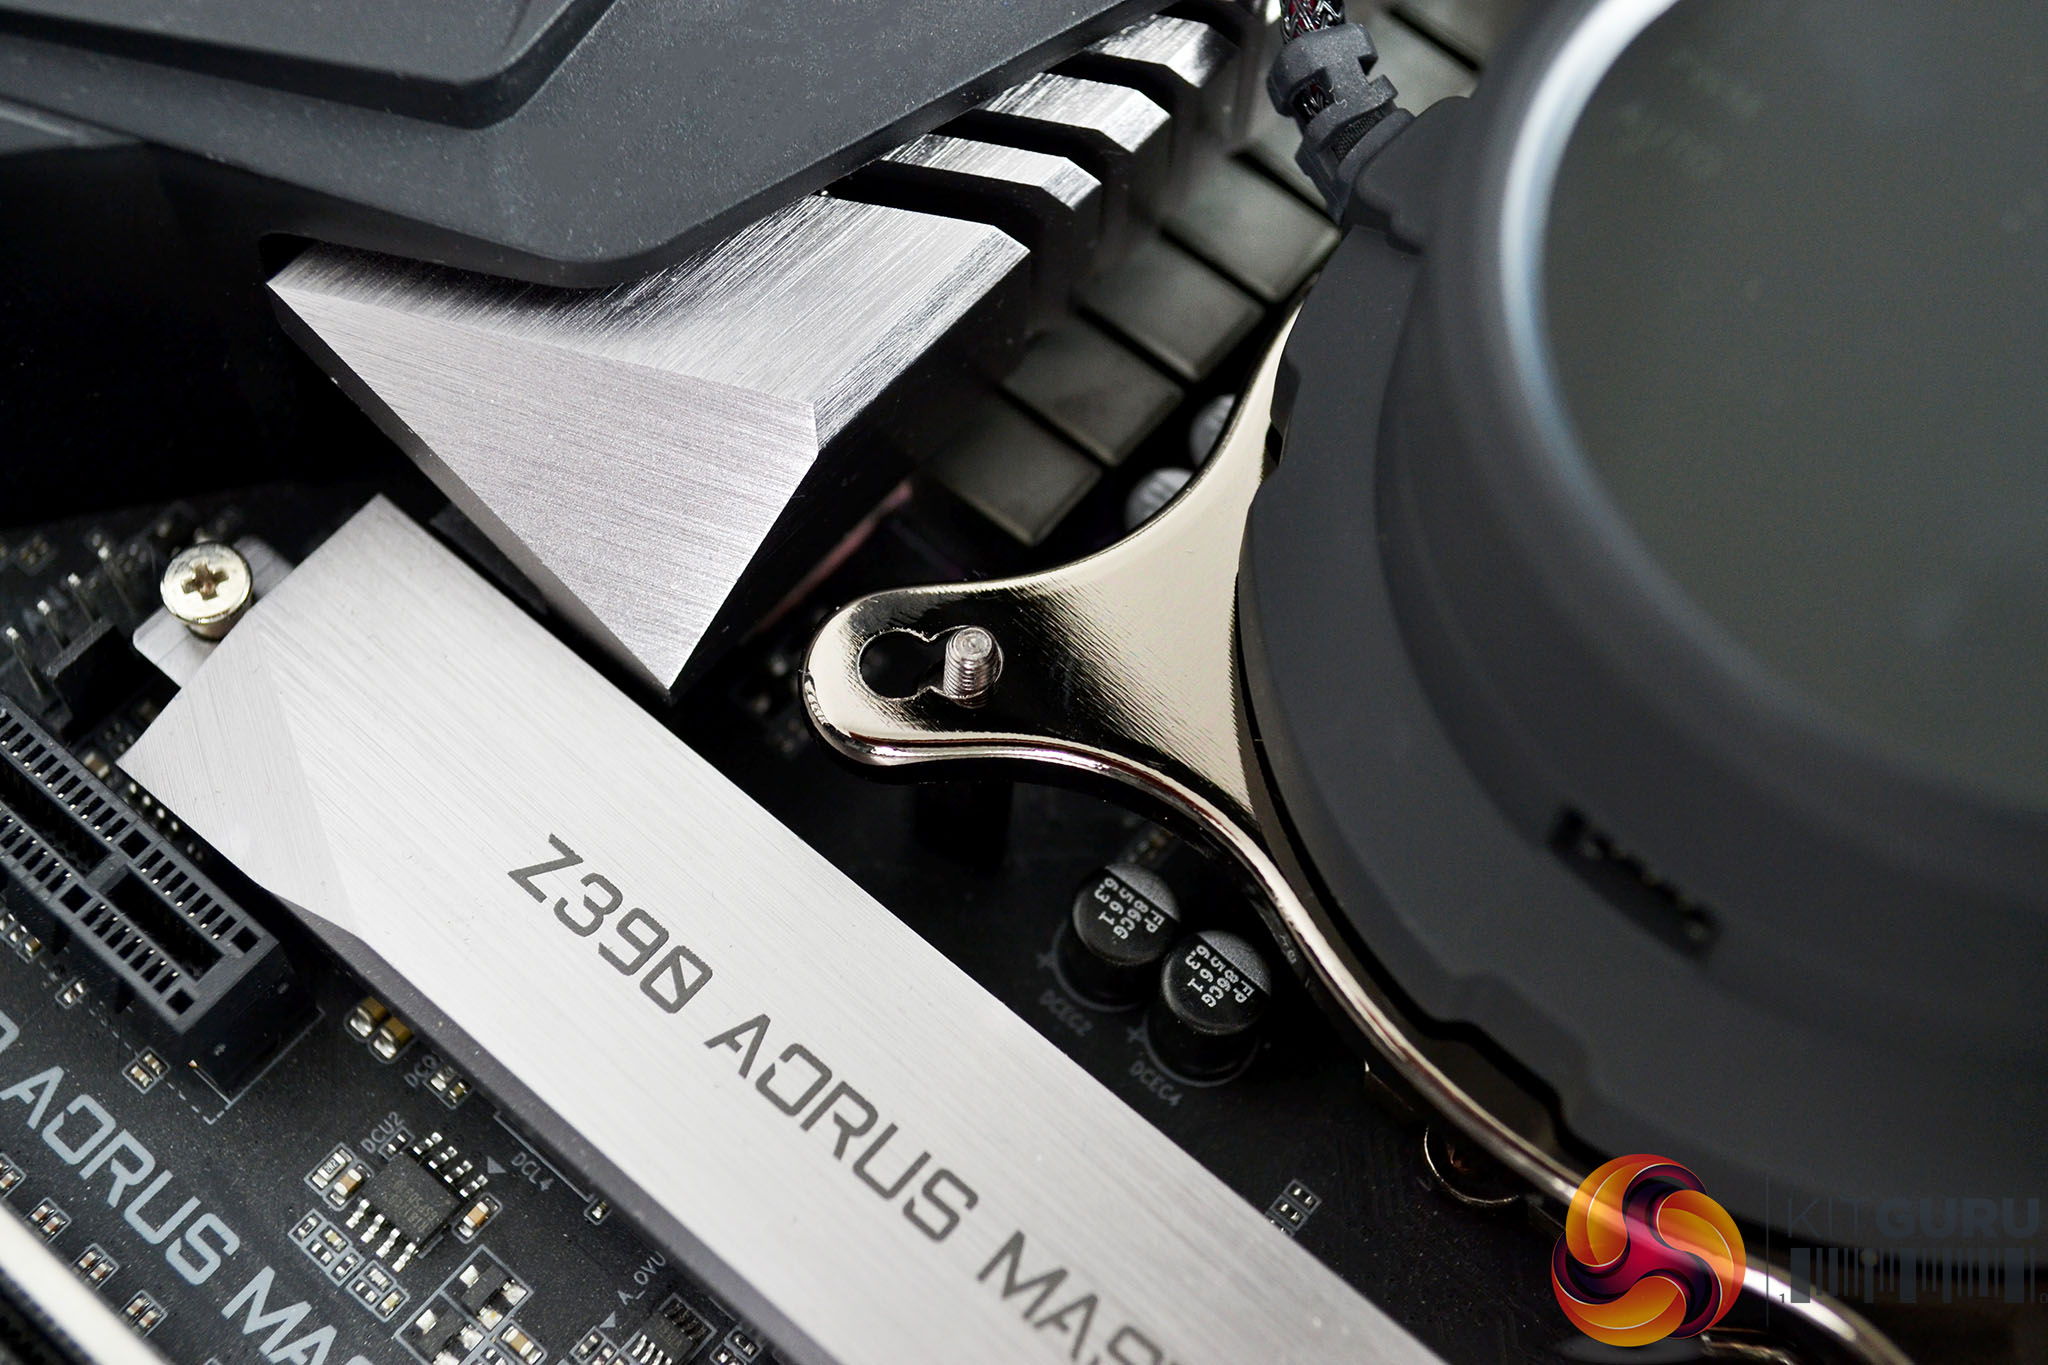
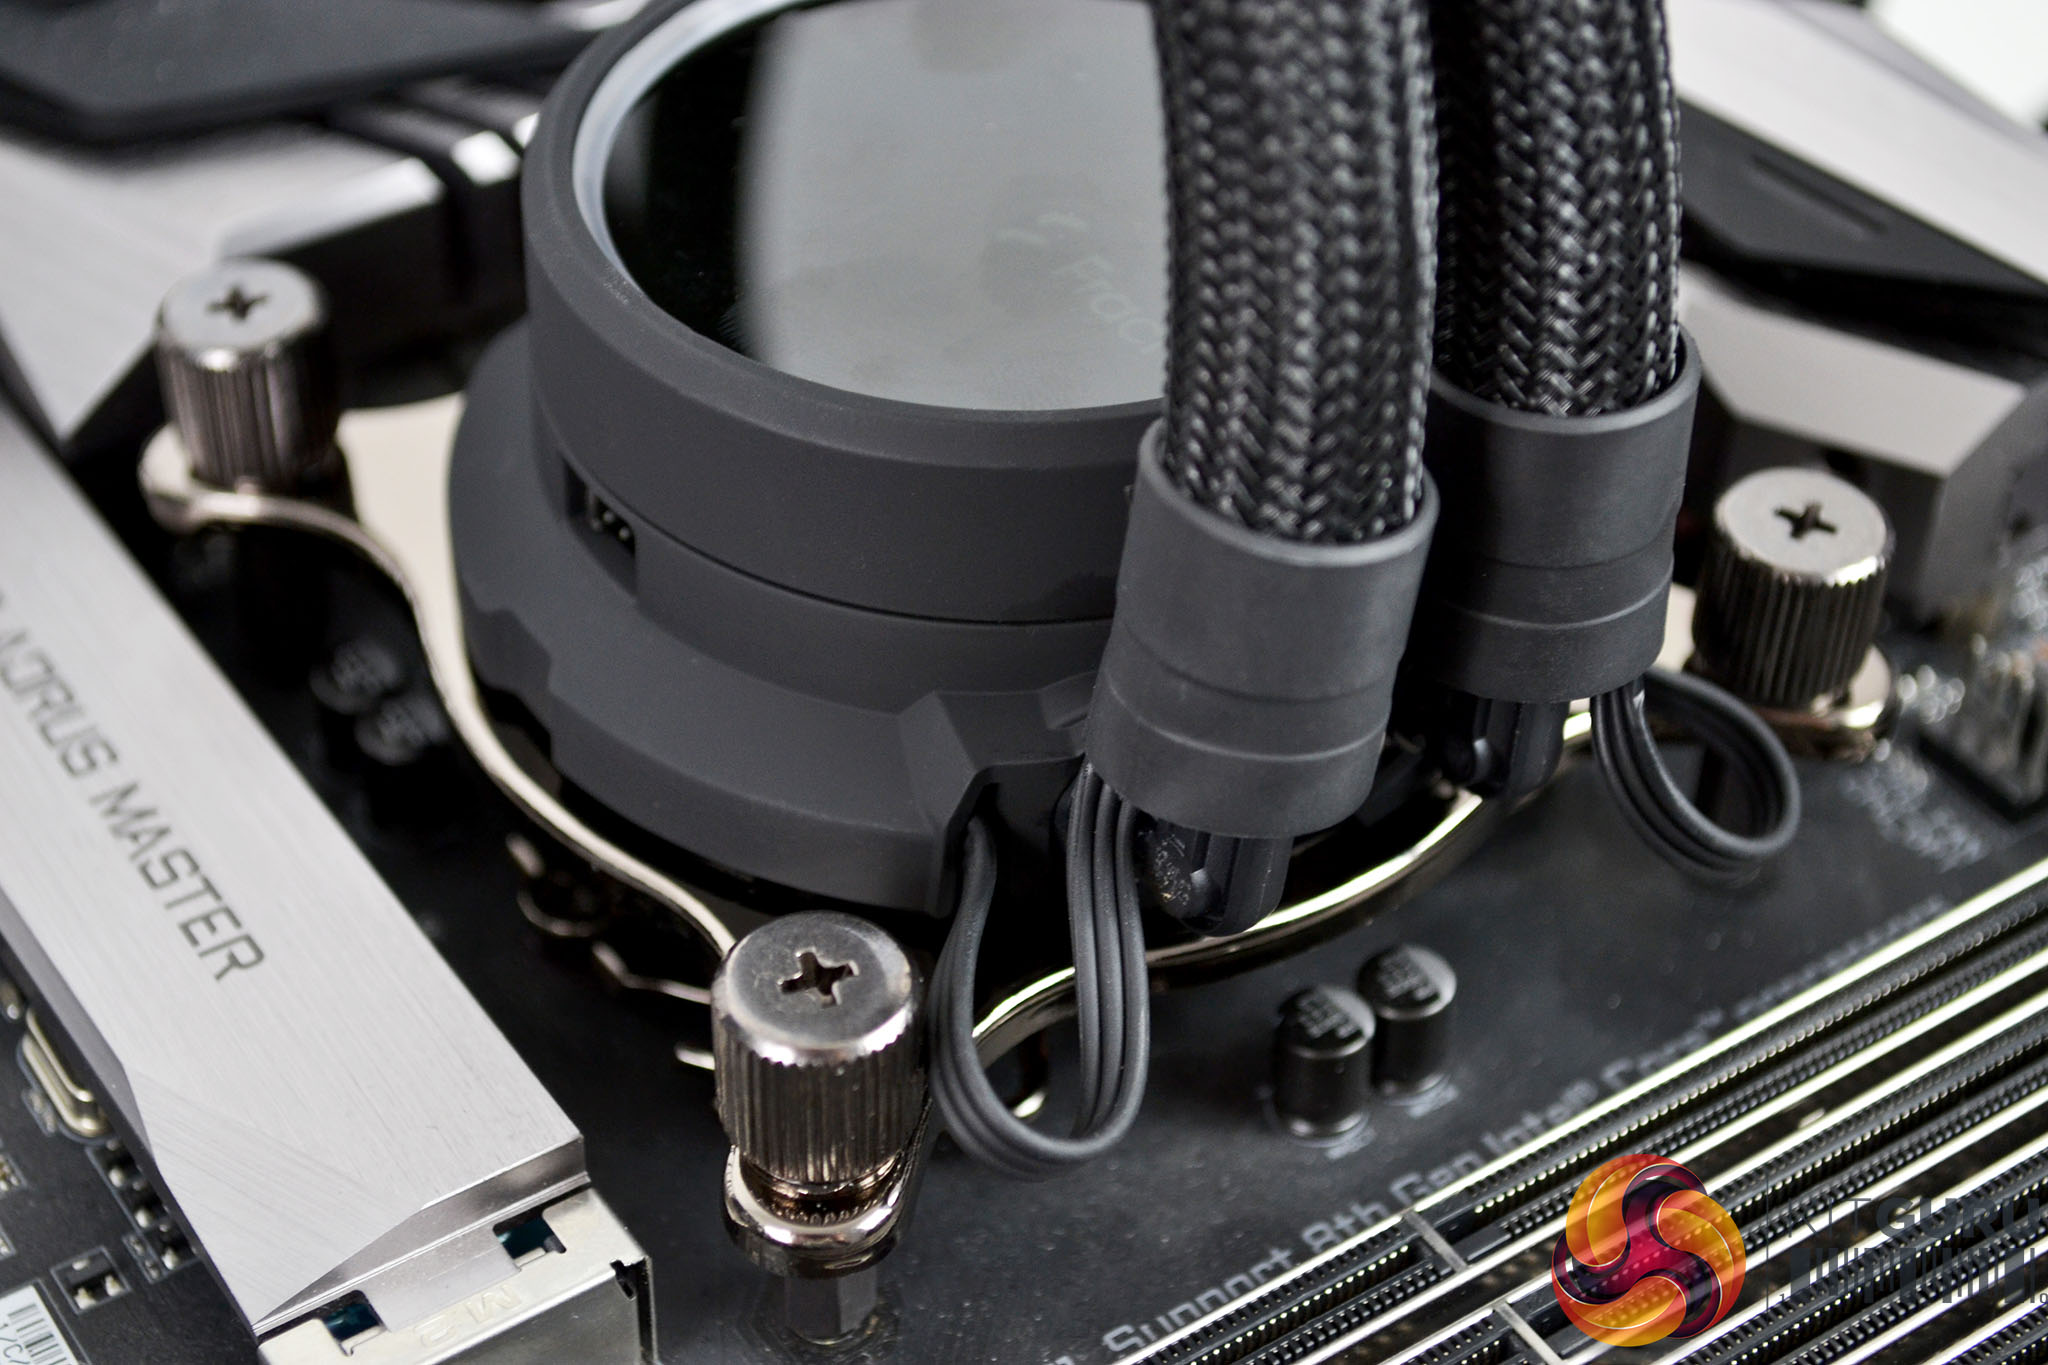
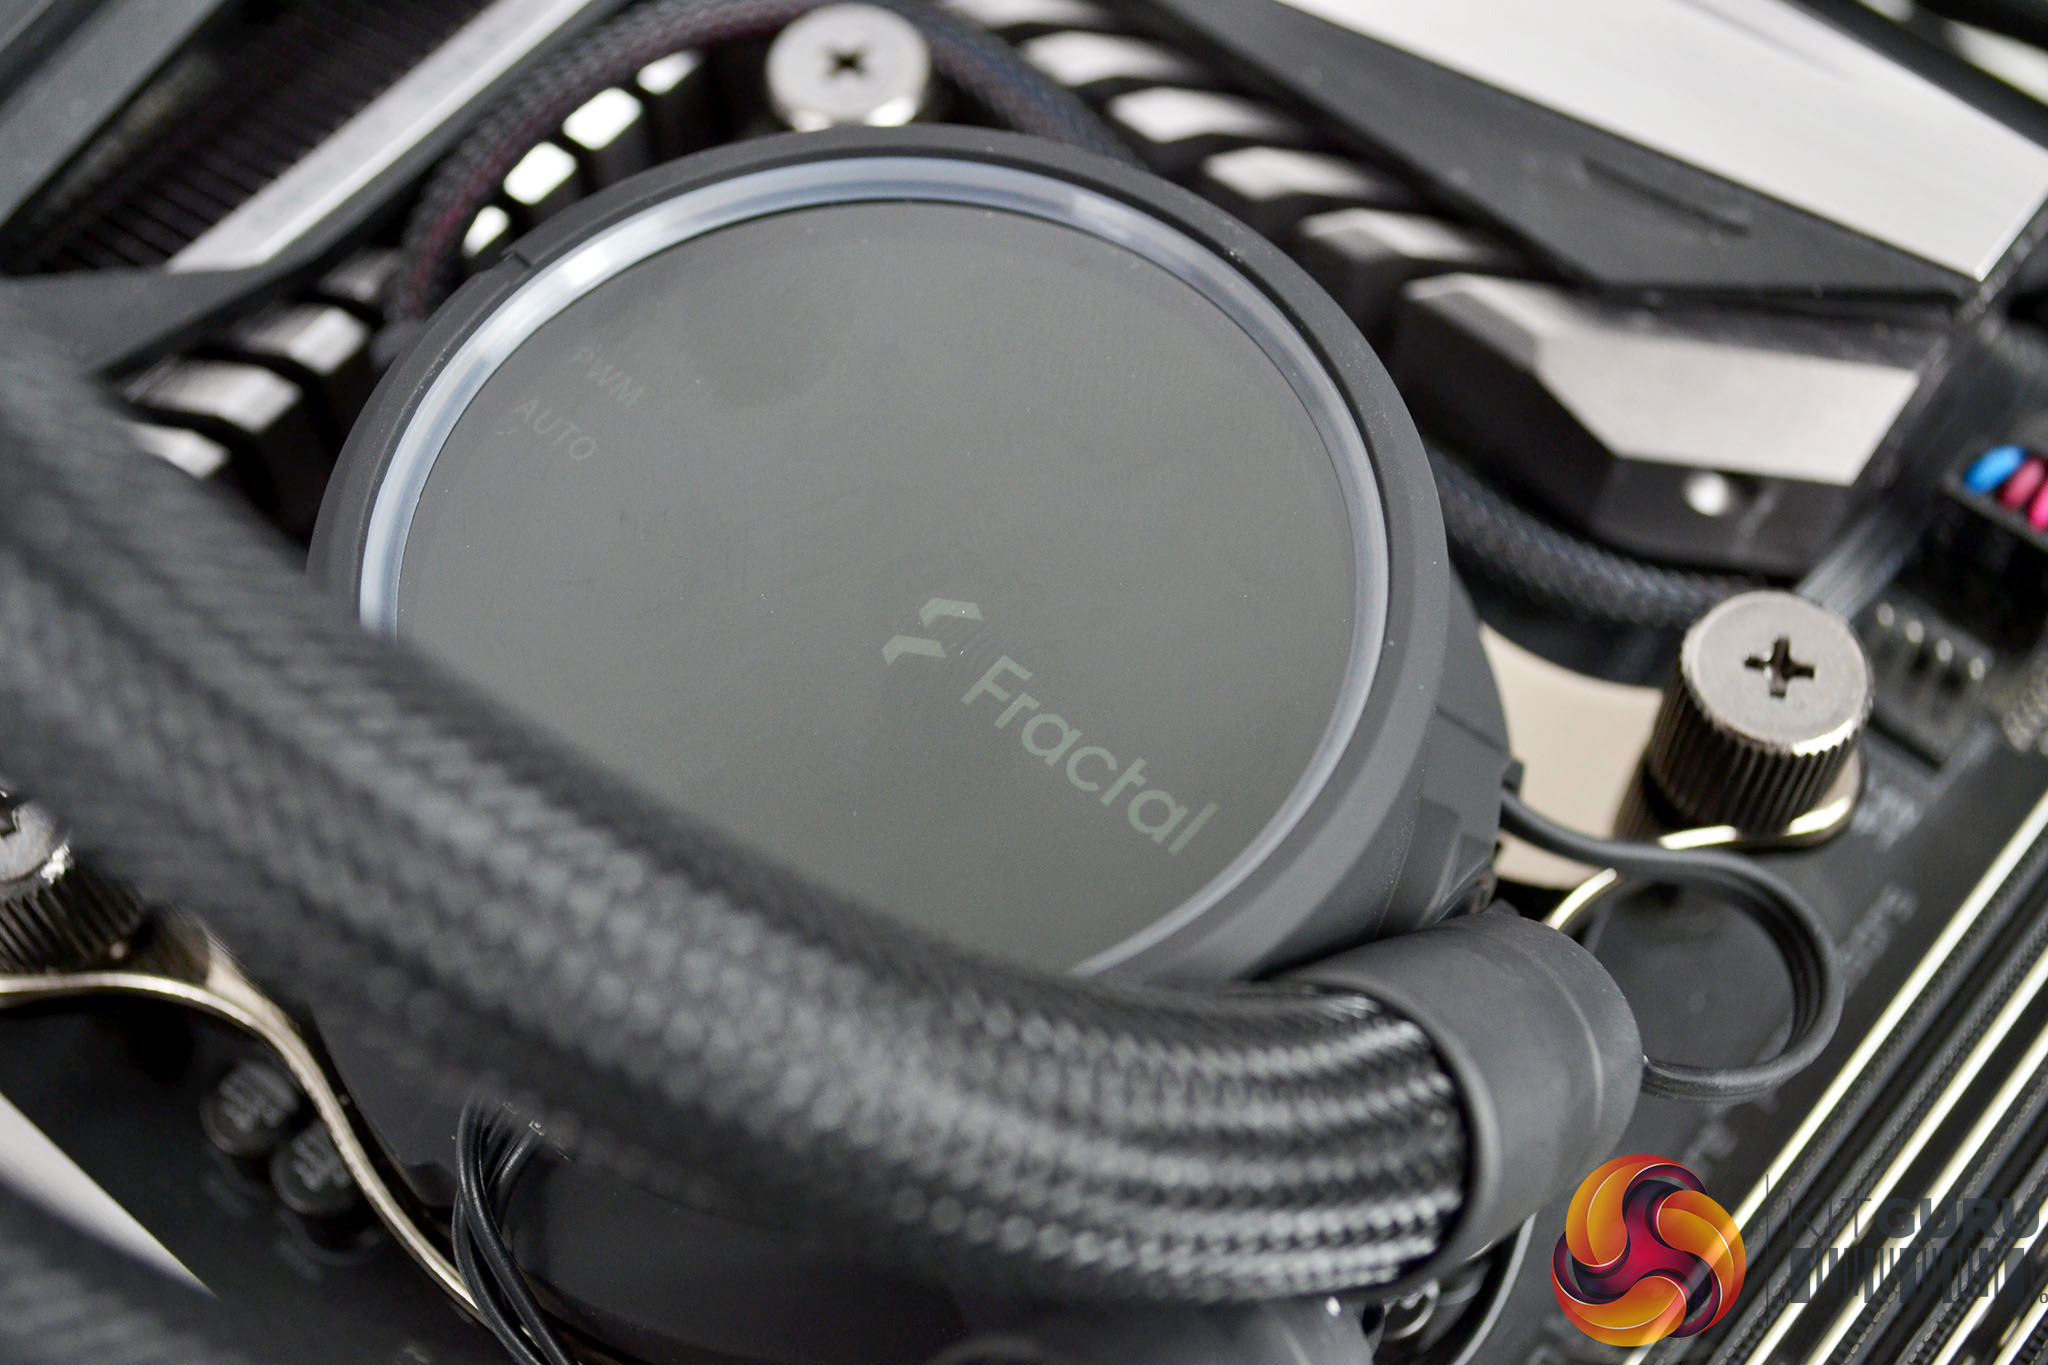
With the motherboard installed into our test bench, we can now fit the CPU block into position. With the upper retaining bracket held in place, lower the CPU block down over the four mounting points and align with the holes in the upper bracket. Take the four thumbscrews and tighten them down in an X pattern to evenly distribute pressure. Final tightening can be finished off with a screwdriver if necessary.
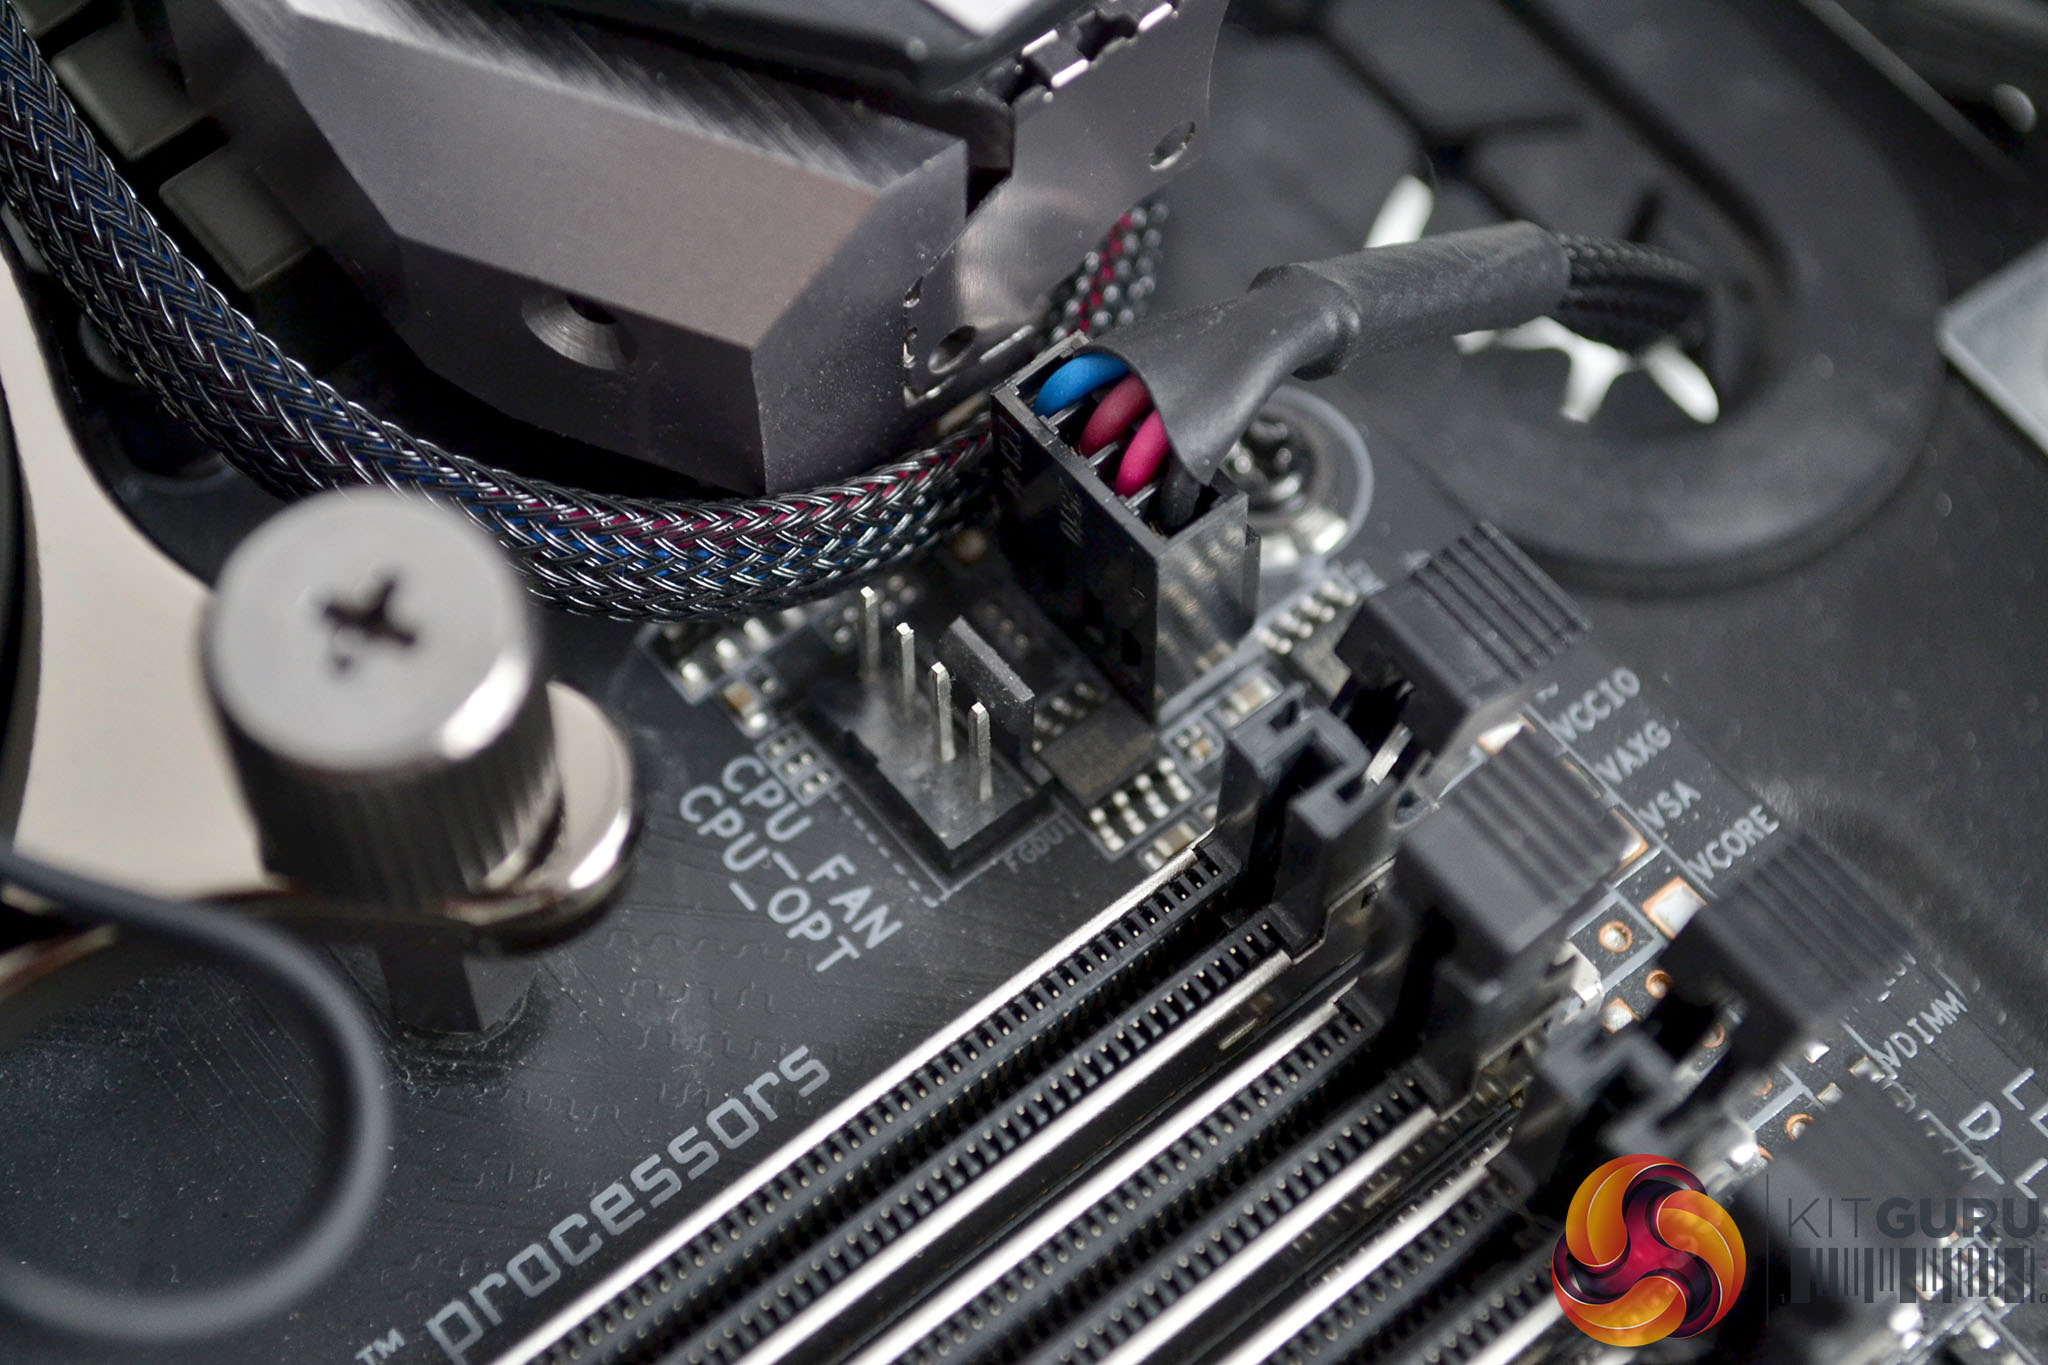

To complete the installation, connect the 4-pin cable from the CPU block to the motherboard CPU_FAN header and using the RGB extensions cable, connect from the CPU block 3-pin RGB socket to the motherboard 3-pin RGB header.
Since the Asetek AIO installation process has been around for many years and has basically remained the same for generations, it is a very refined process. The addition of the radiator mounted fan/RGB hub in the Fractal Design Celsius+ series simplifies managing cables and helps achieve a neat and tidy looking final product. Overall the installation process took around 10-15 minutes and I didn’t come across any major issues along the way.
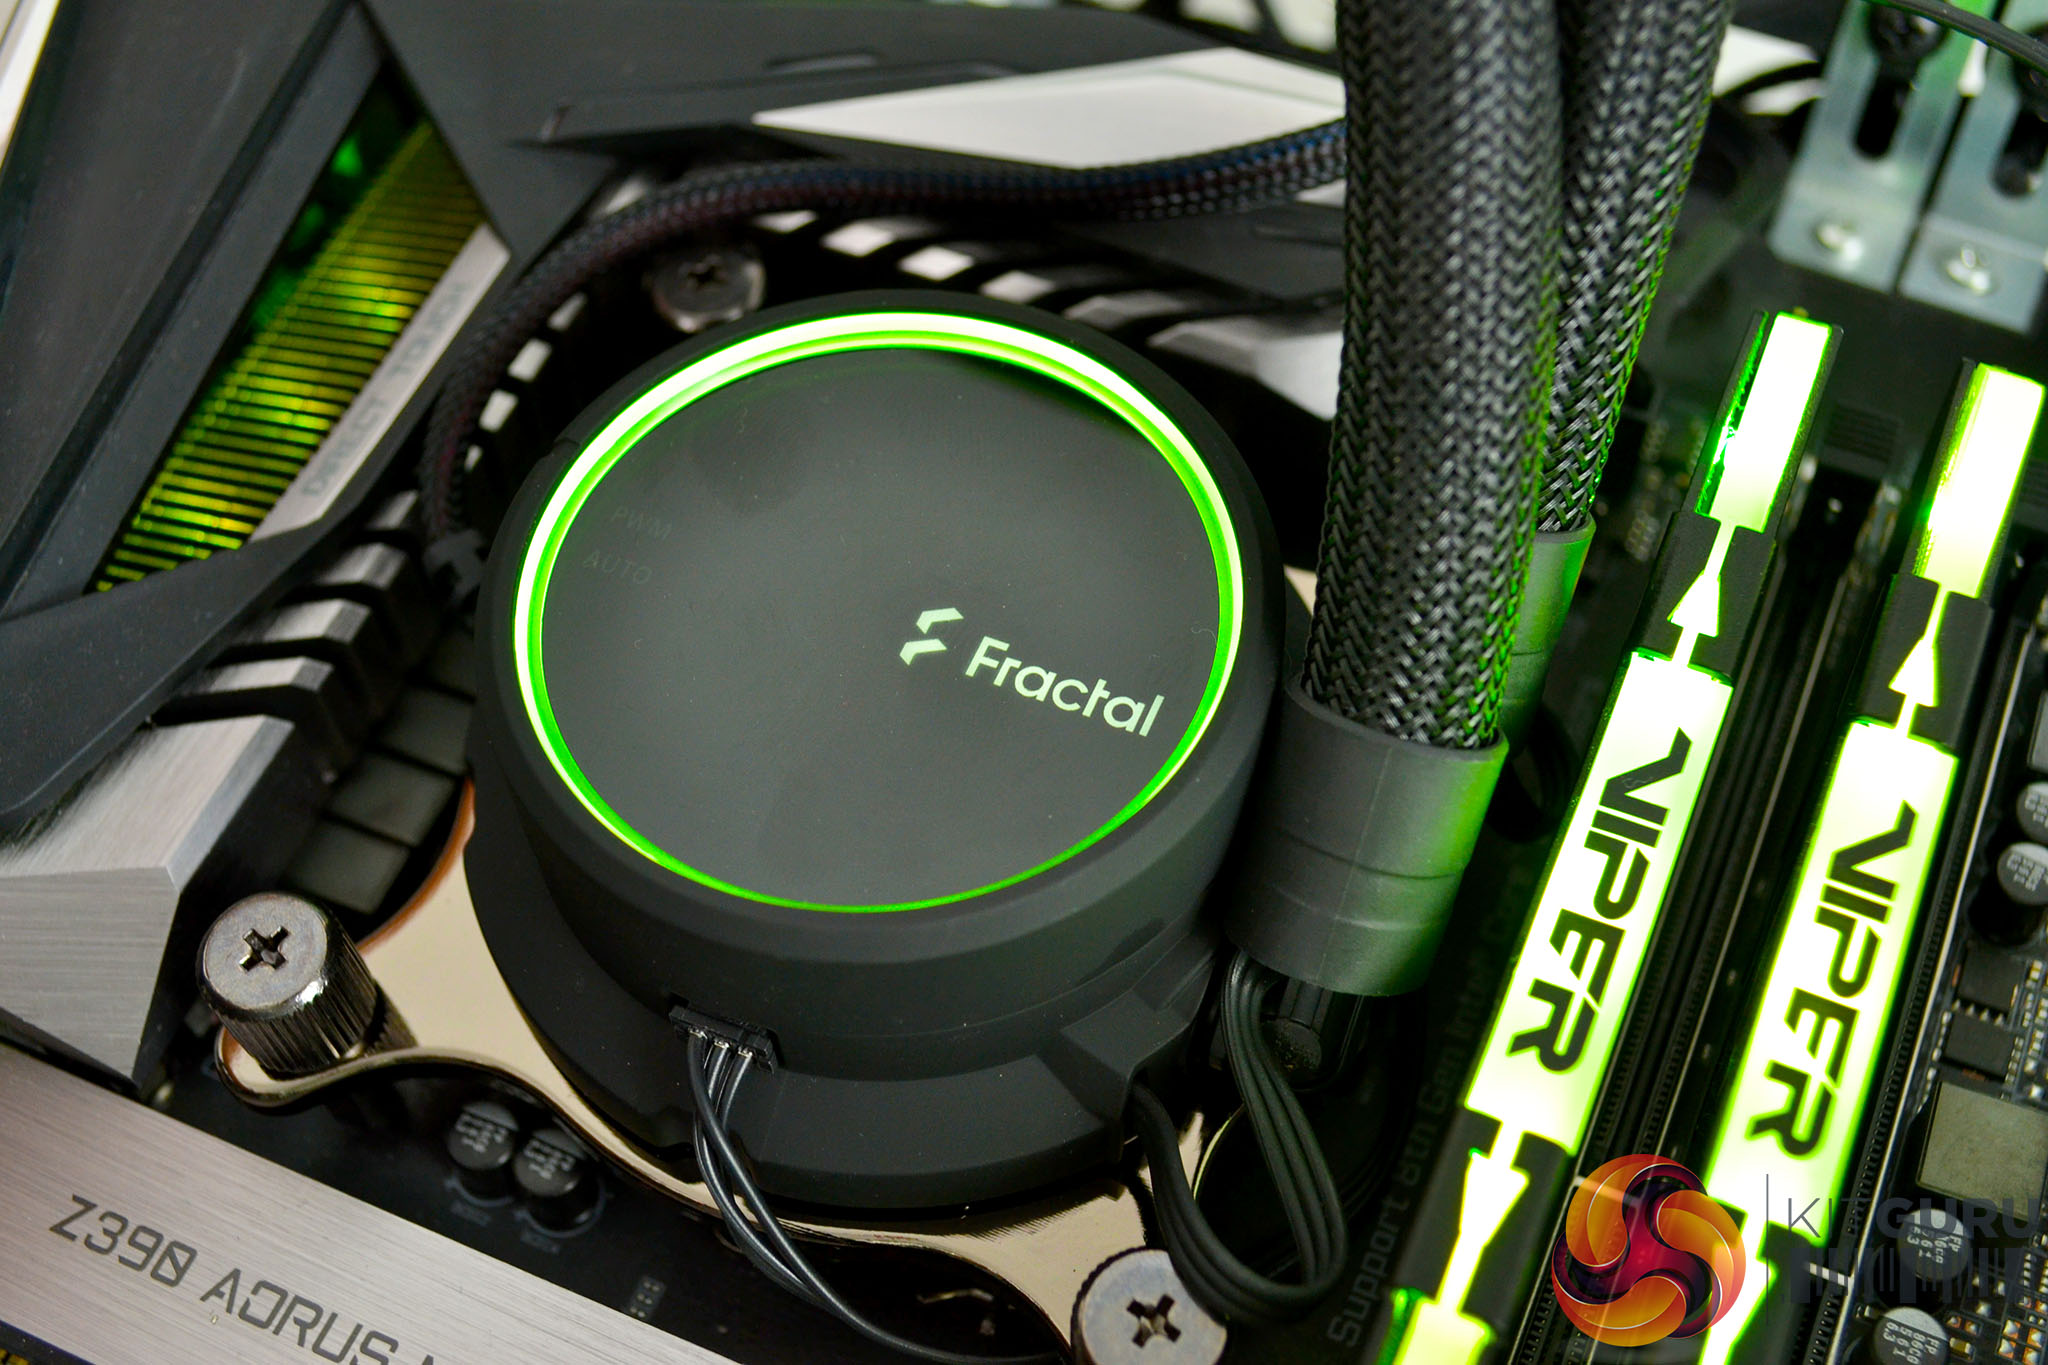
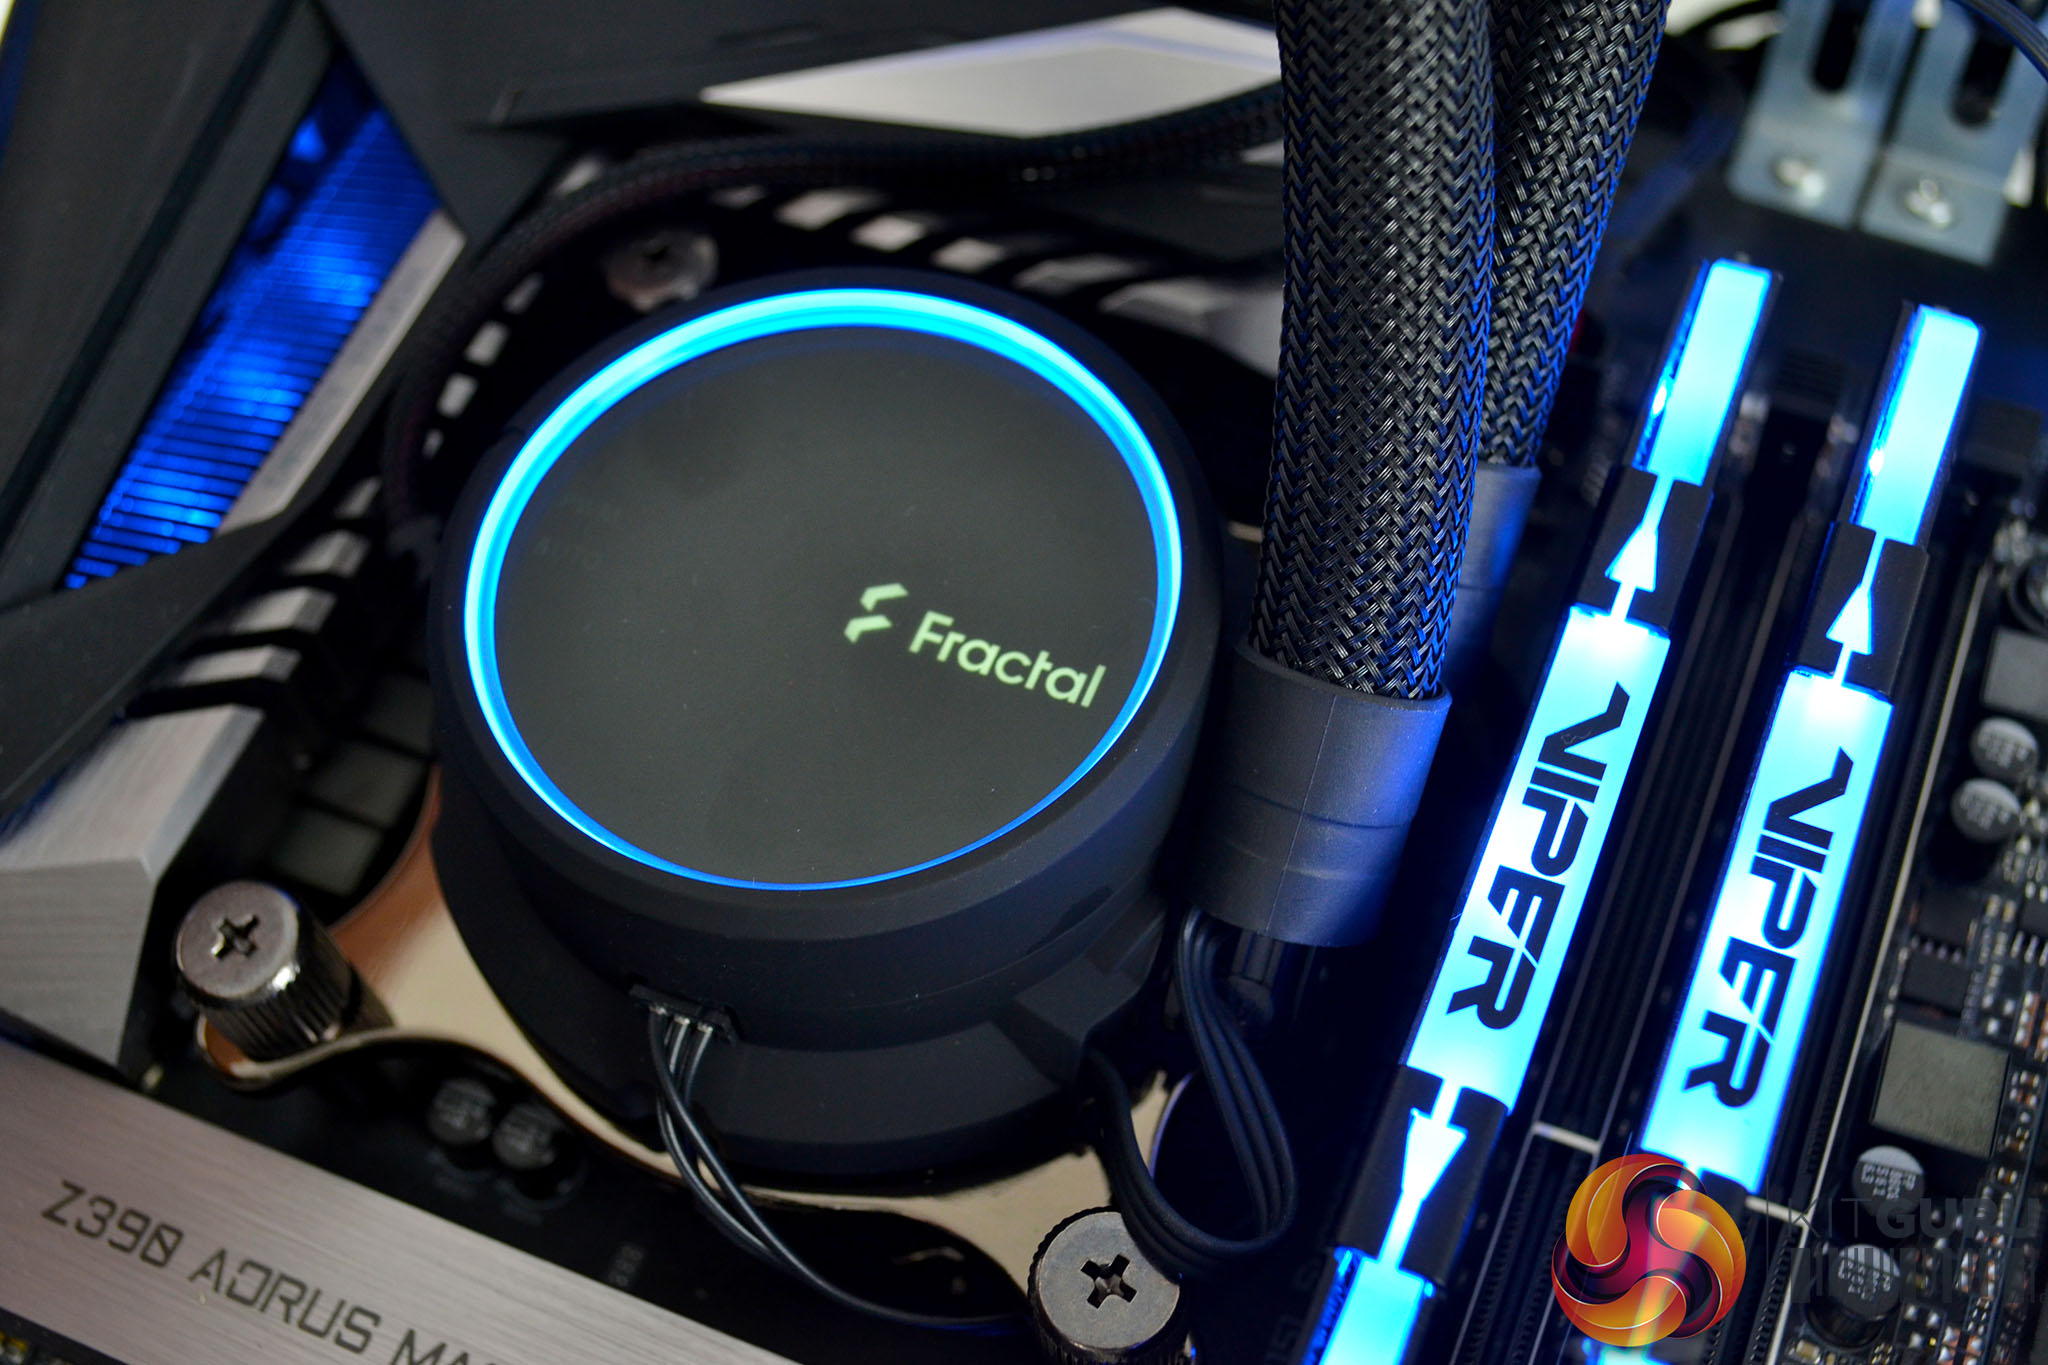
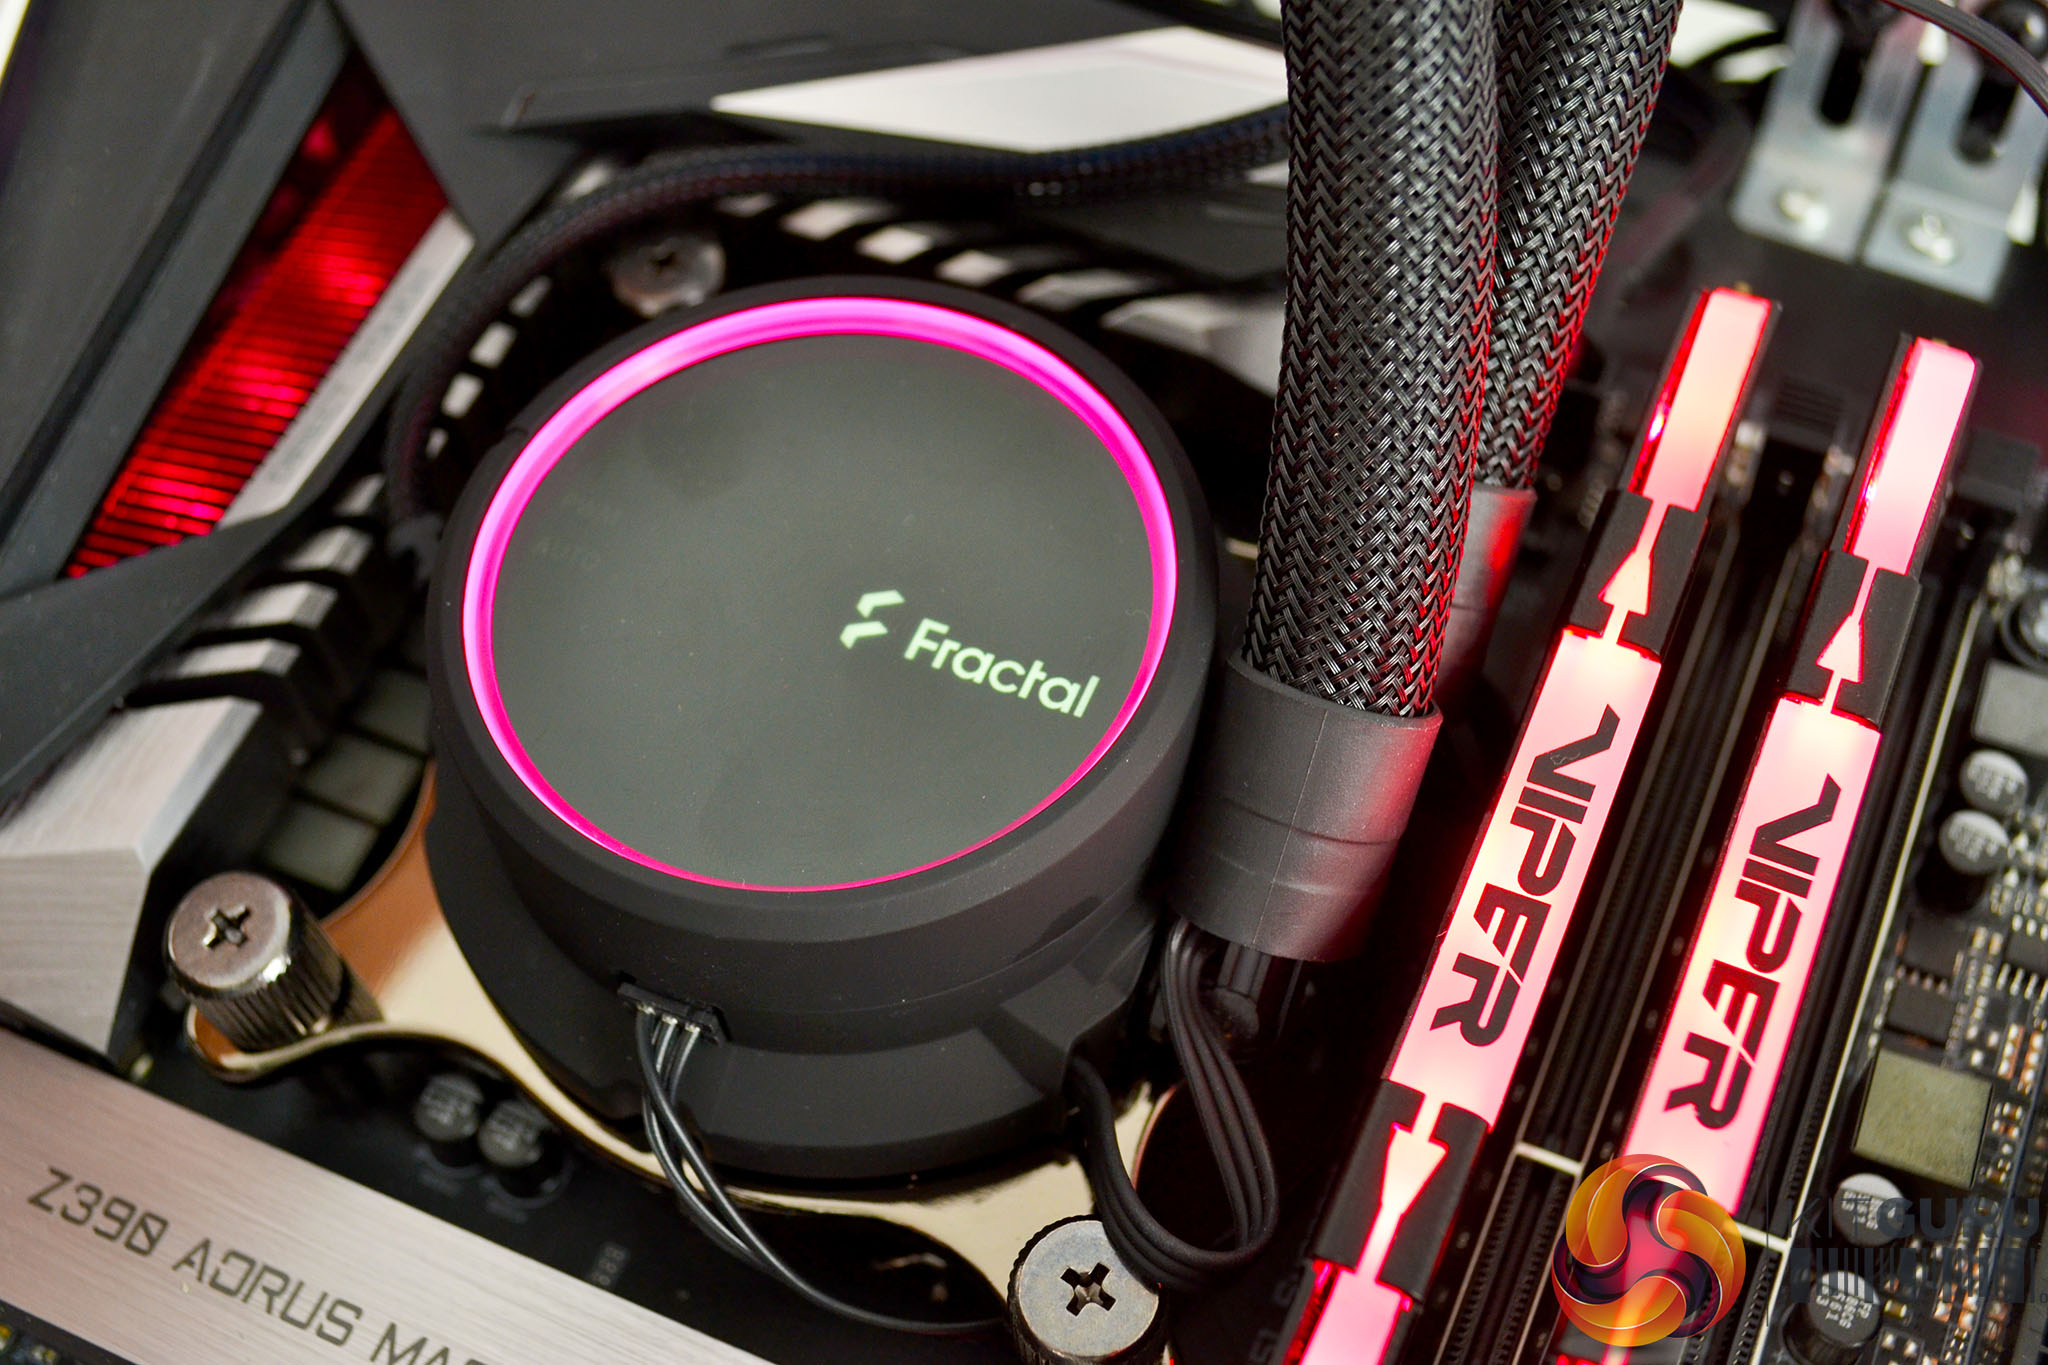
RGB Gallery