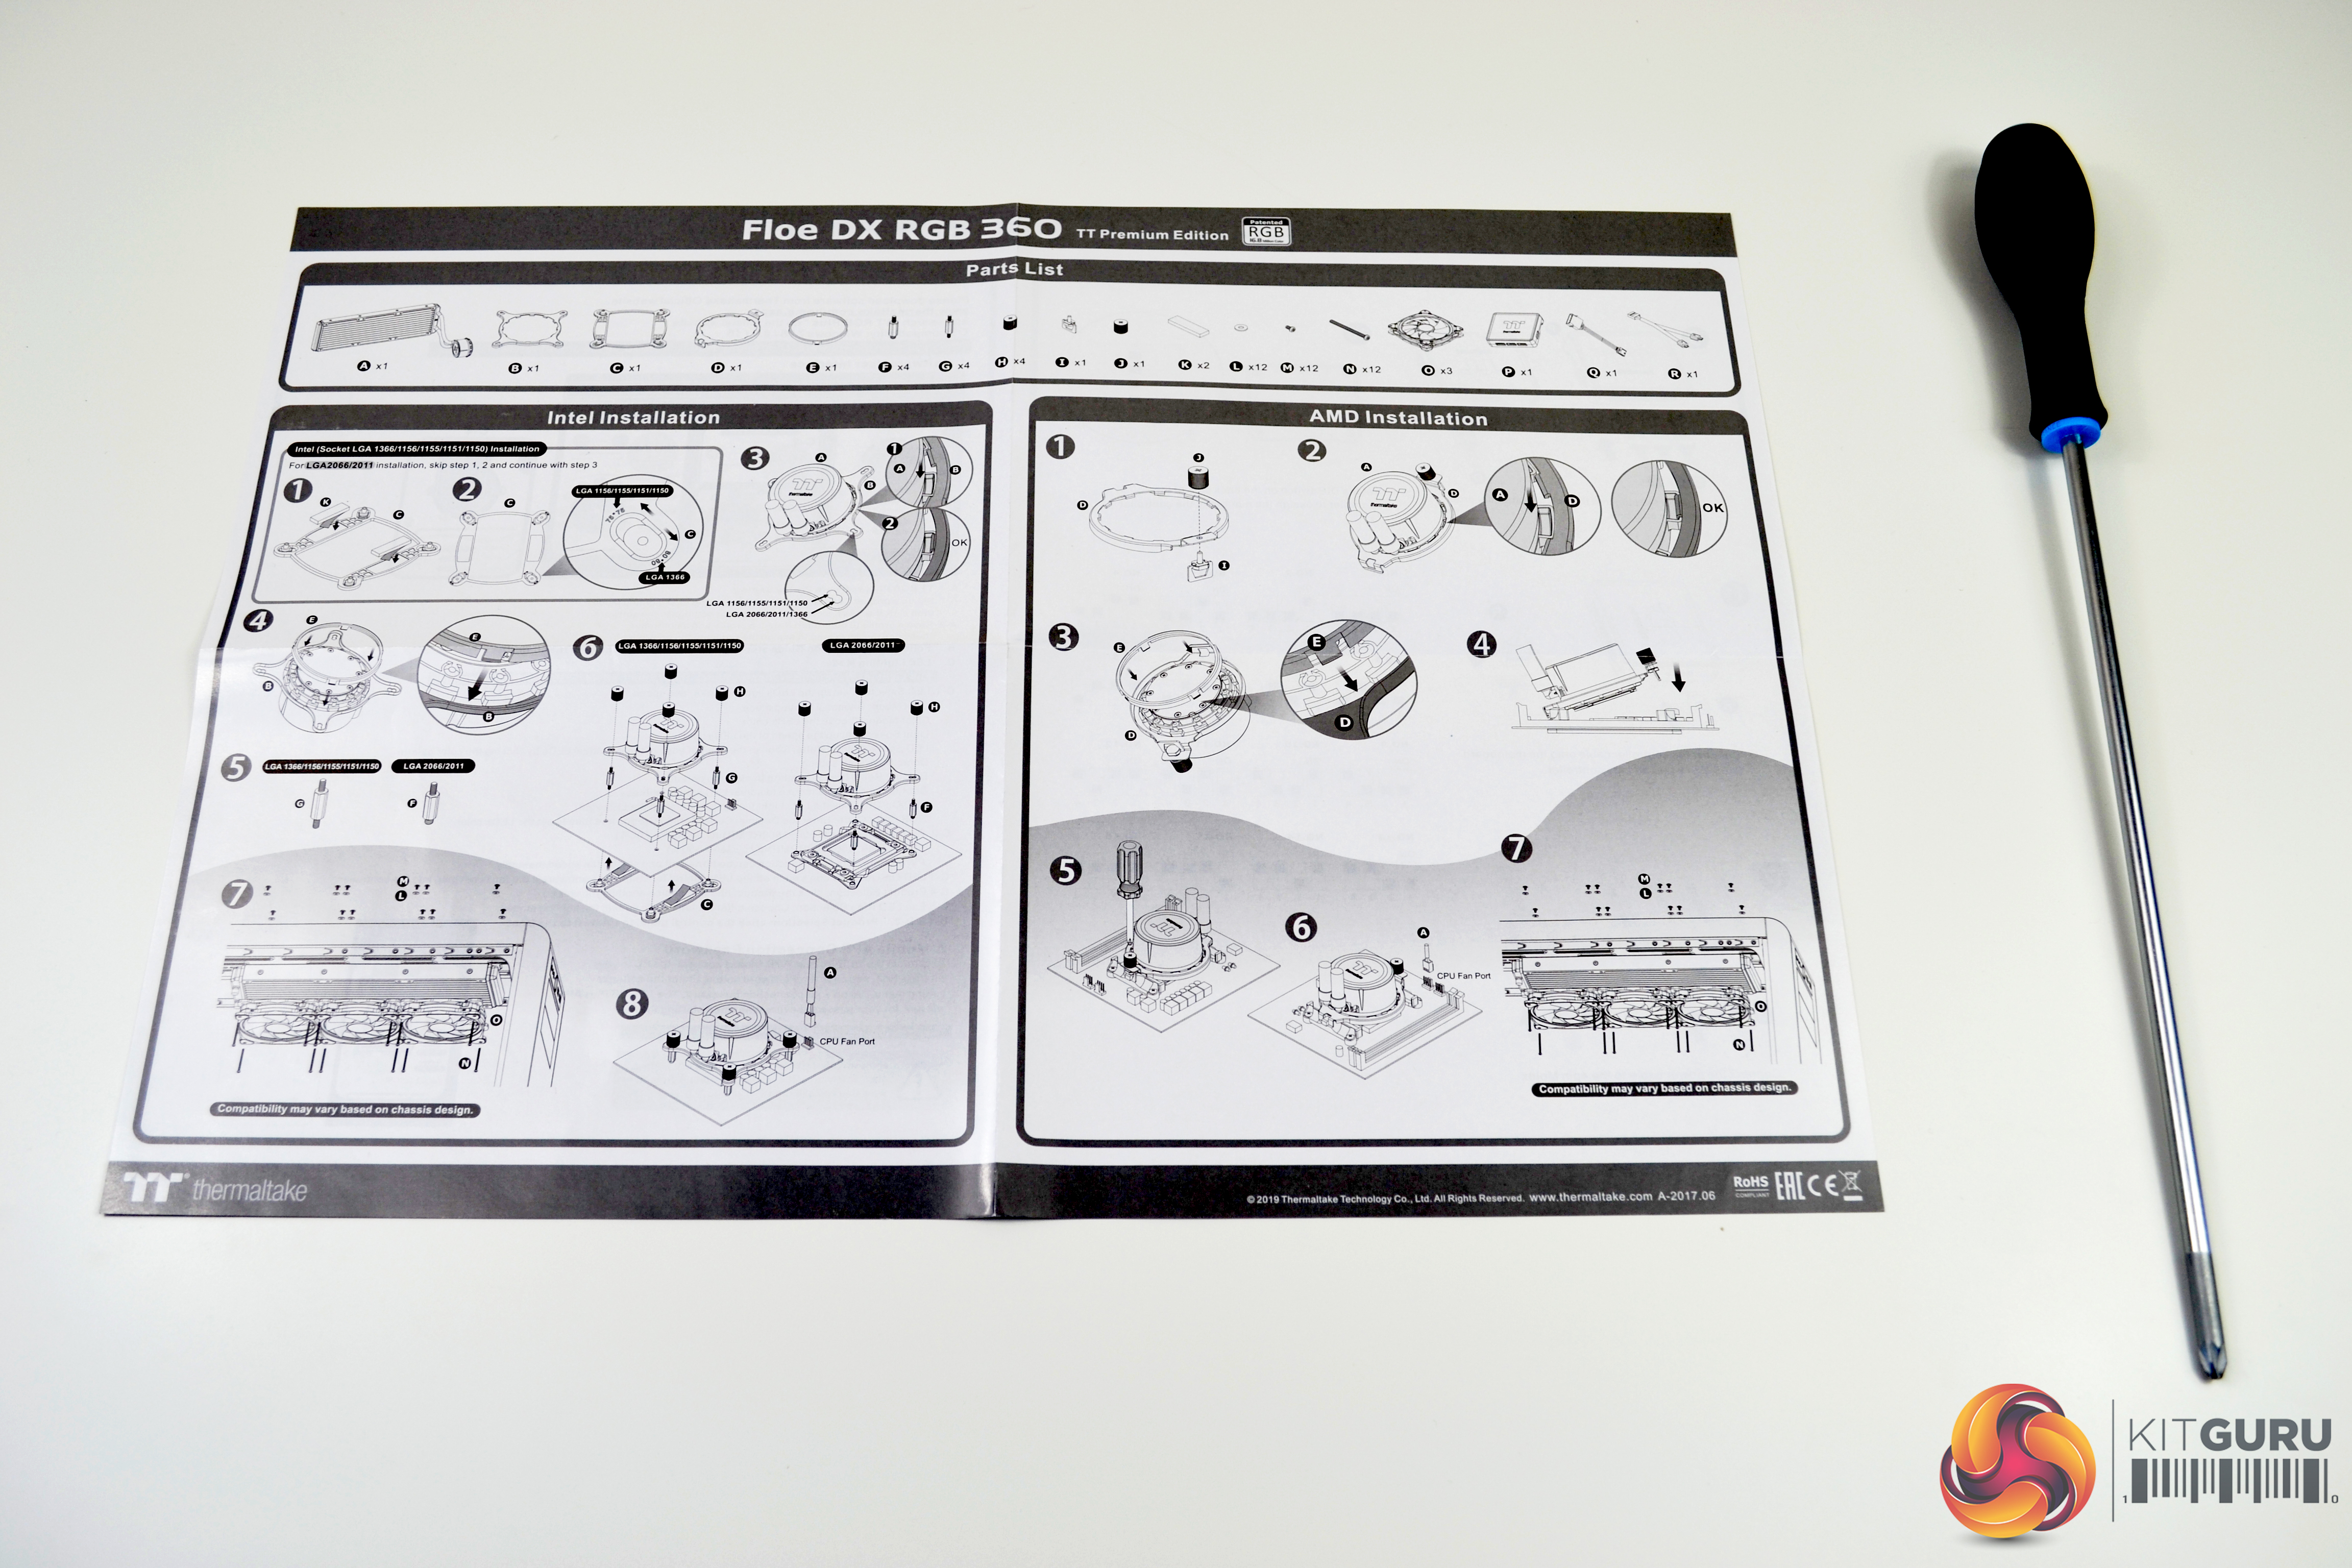
Since Thermaltake uses the Asetek designed pump, the installation process should be like all other Asetek models. This procedure has been documented many times before, but we will go though it again to refresh the memory. Thermaltake provide easy to follow directions with diagrams detailing the installation process.
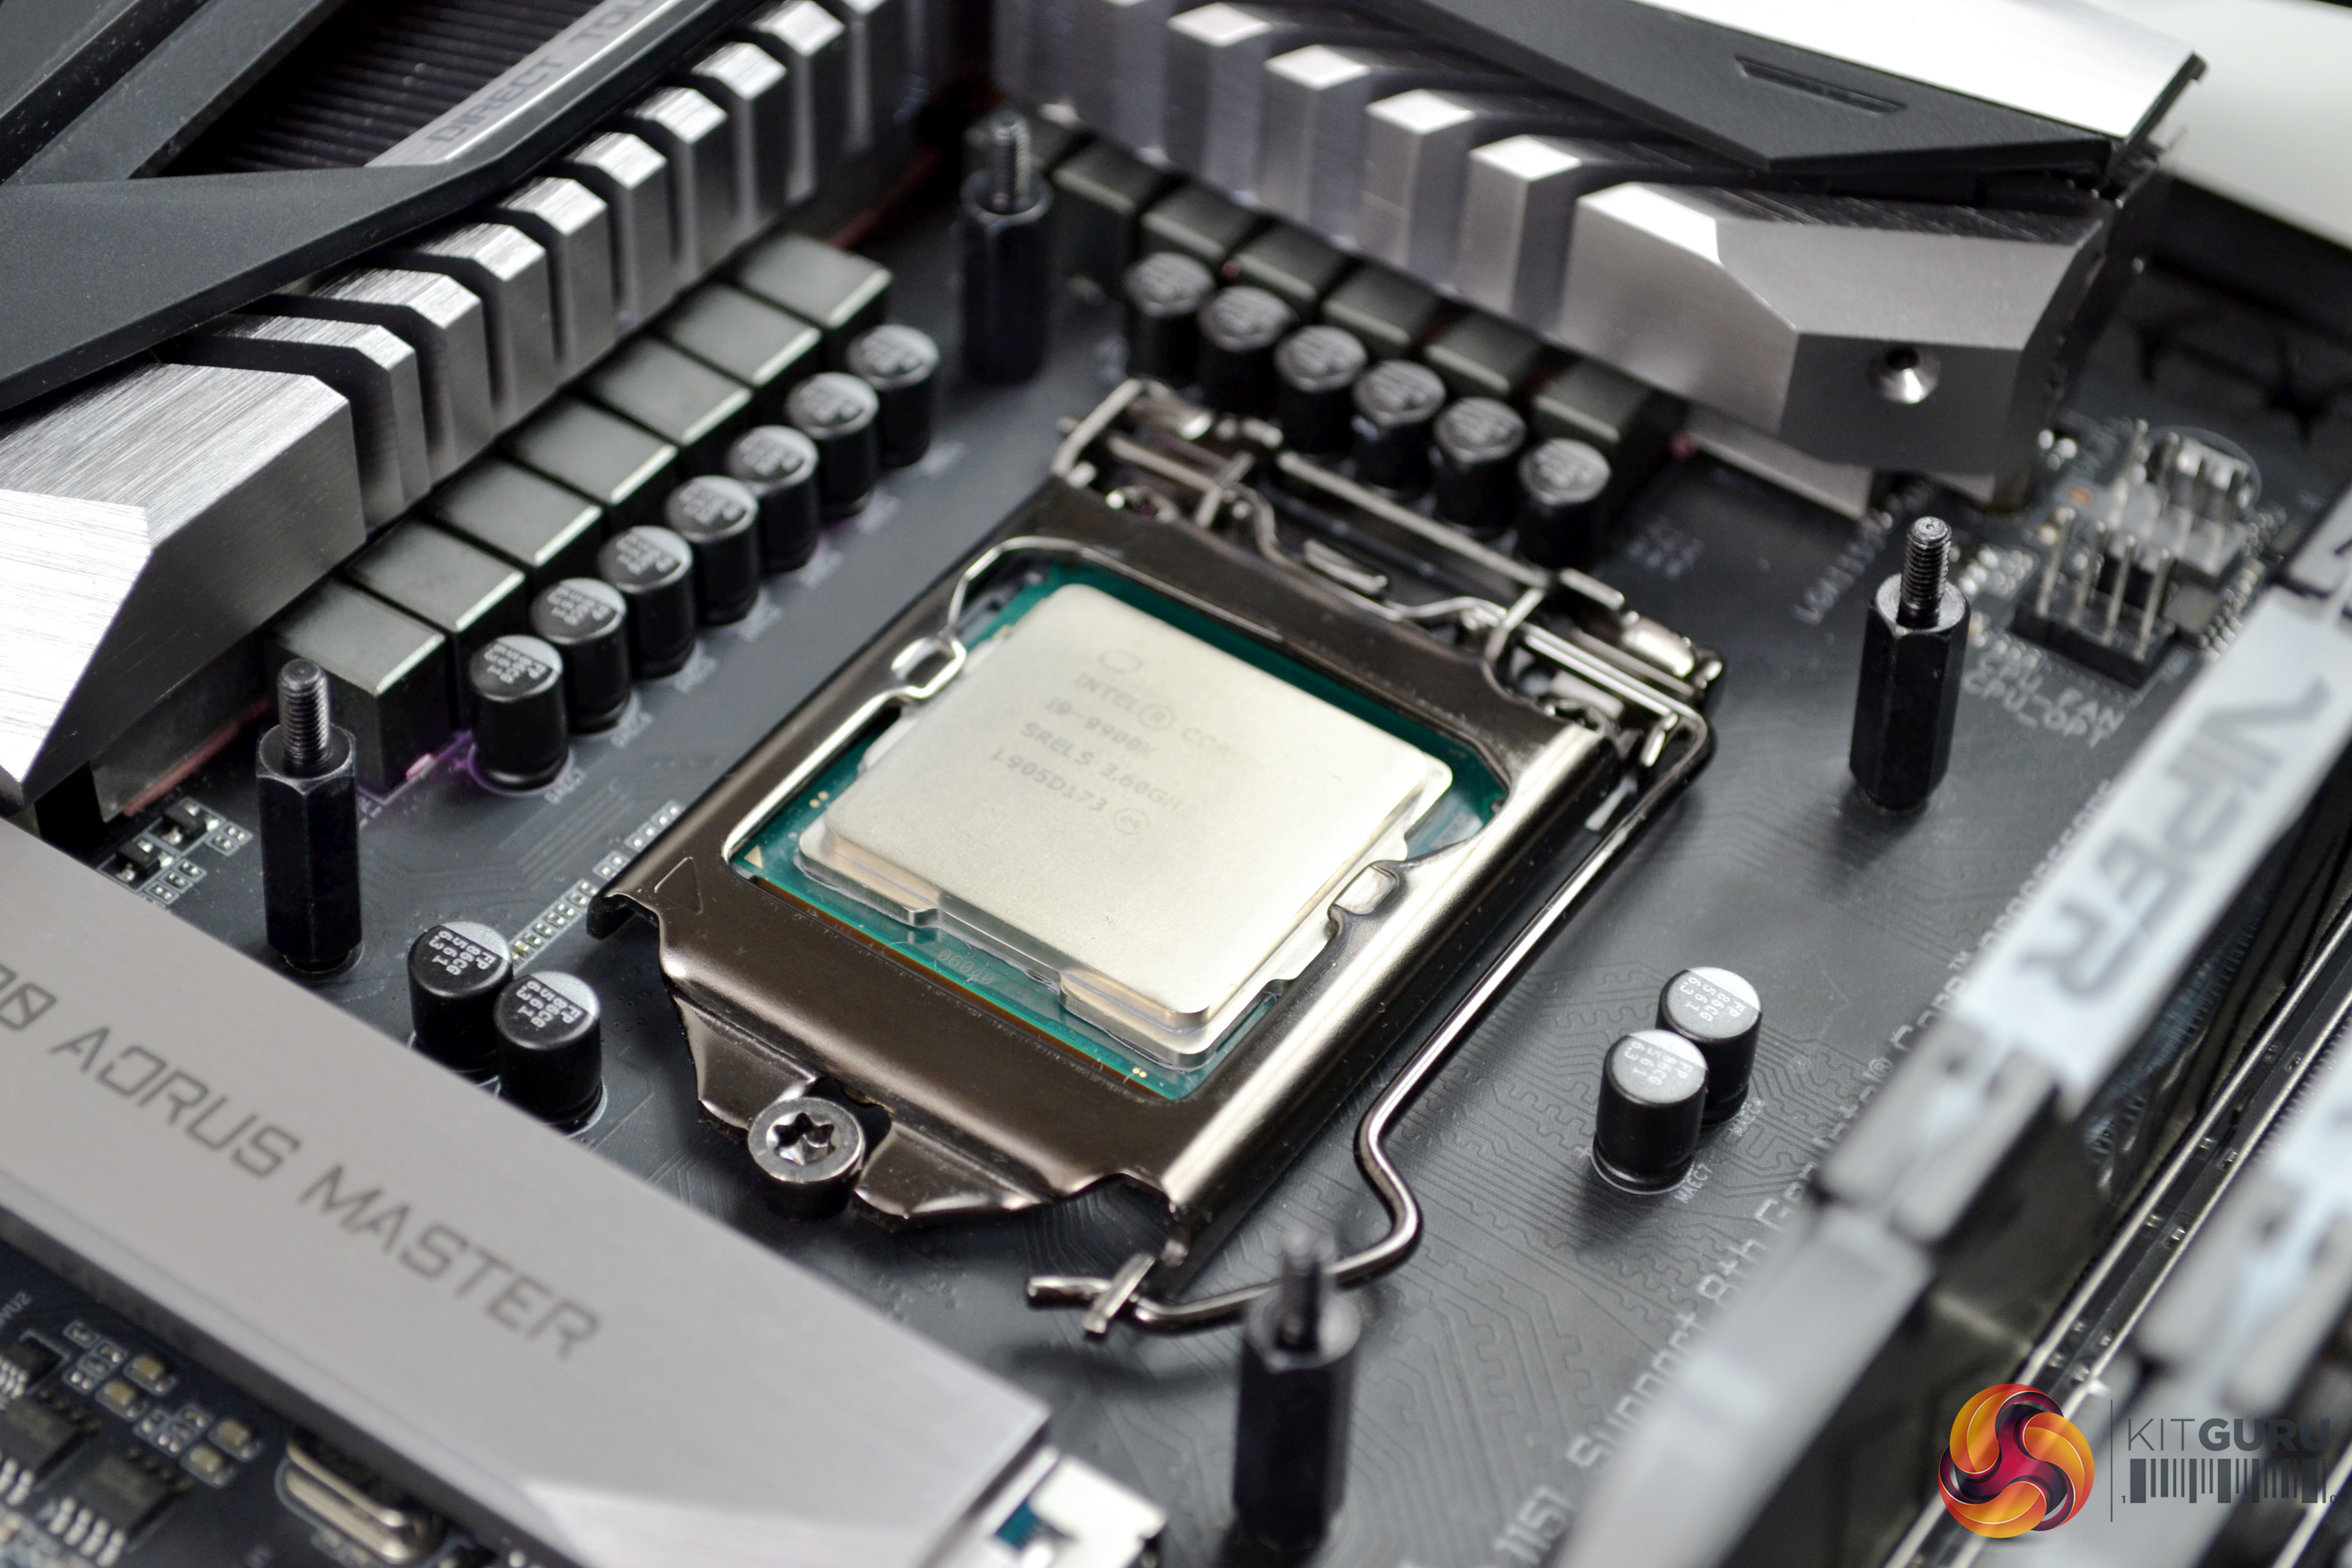
The first part of the installation process should be to select the correct retention back plate to correspond with your system. Our test bench is fitted with an Intel Z390 based motherboard, so we will be using the 115X back plate.
The back plate arrives fully assembled – all that’s required is to ensure the fixing points are in the correct position for socket 1151 motherboards. Ensure the captive steel fixings are pushed all the way to the inside of the elongated hole (marked 75*75).
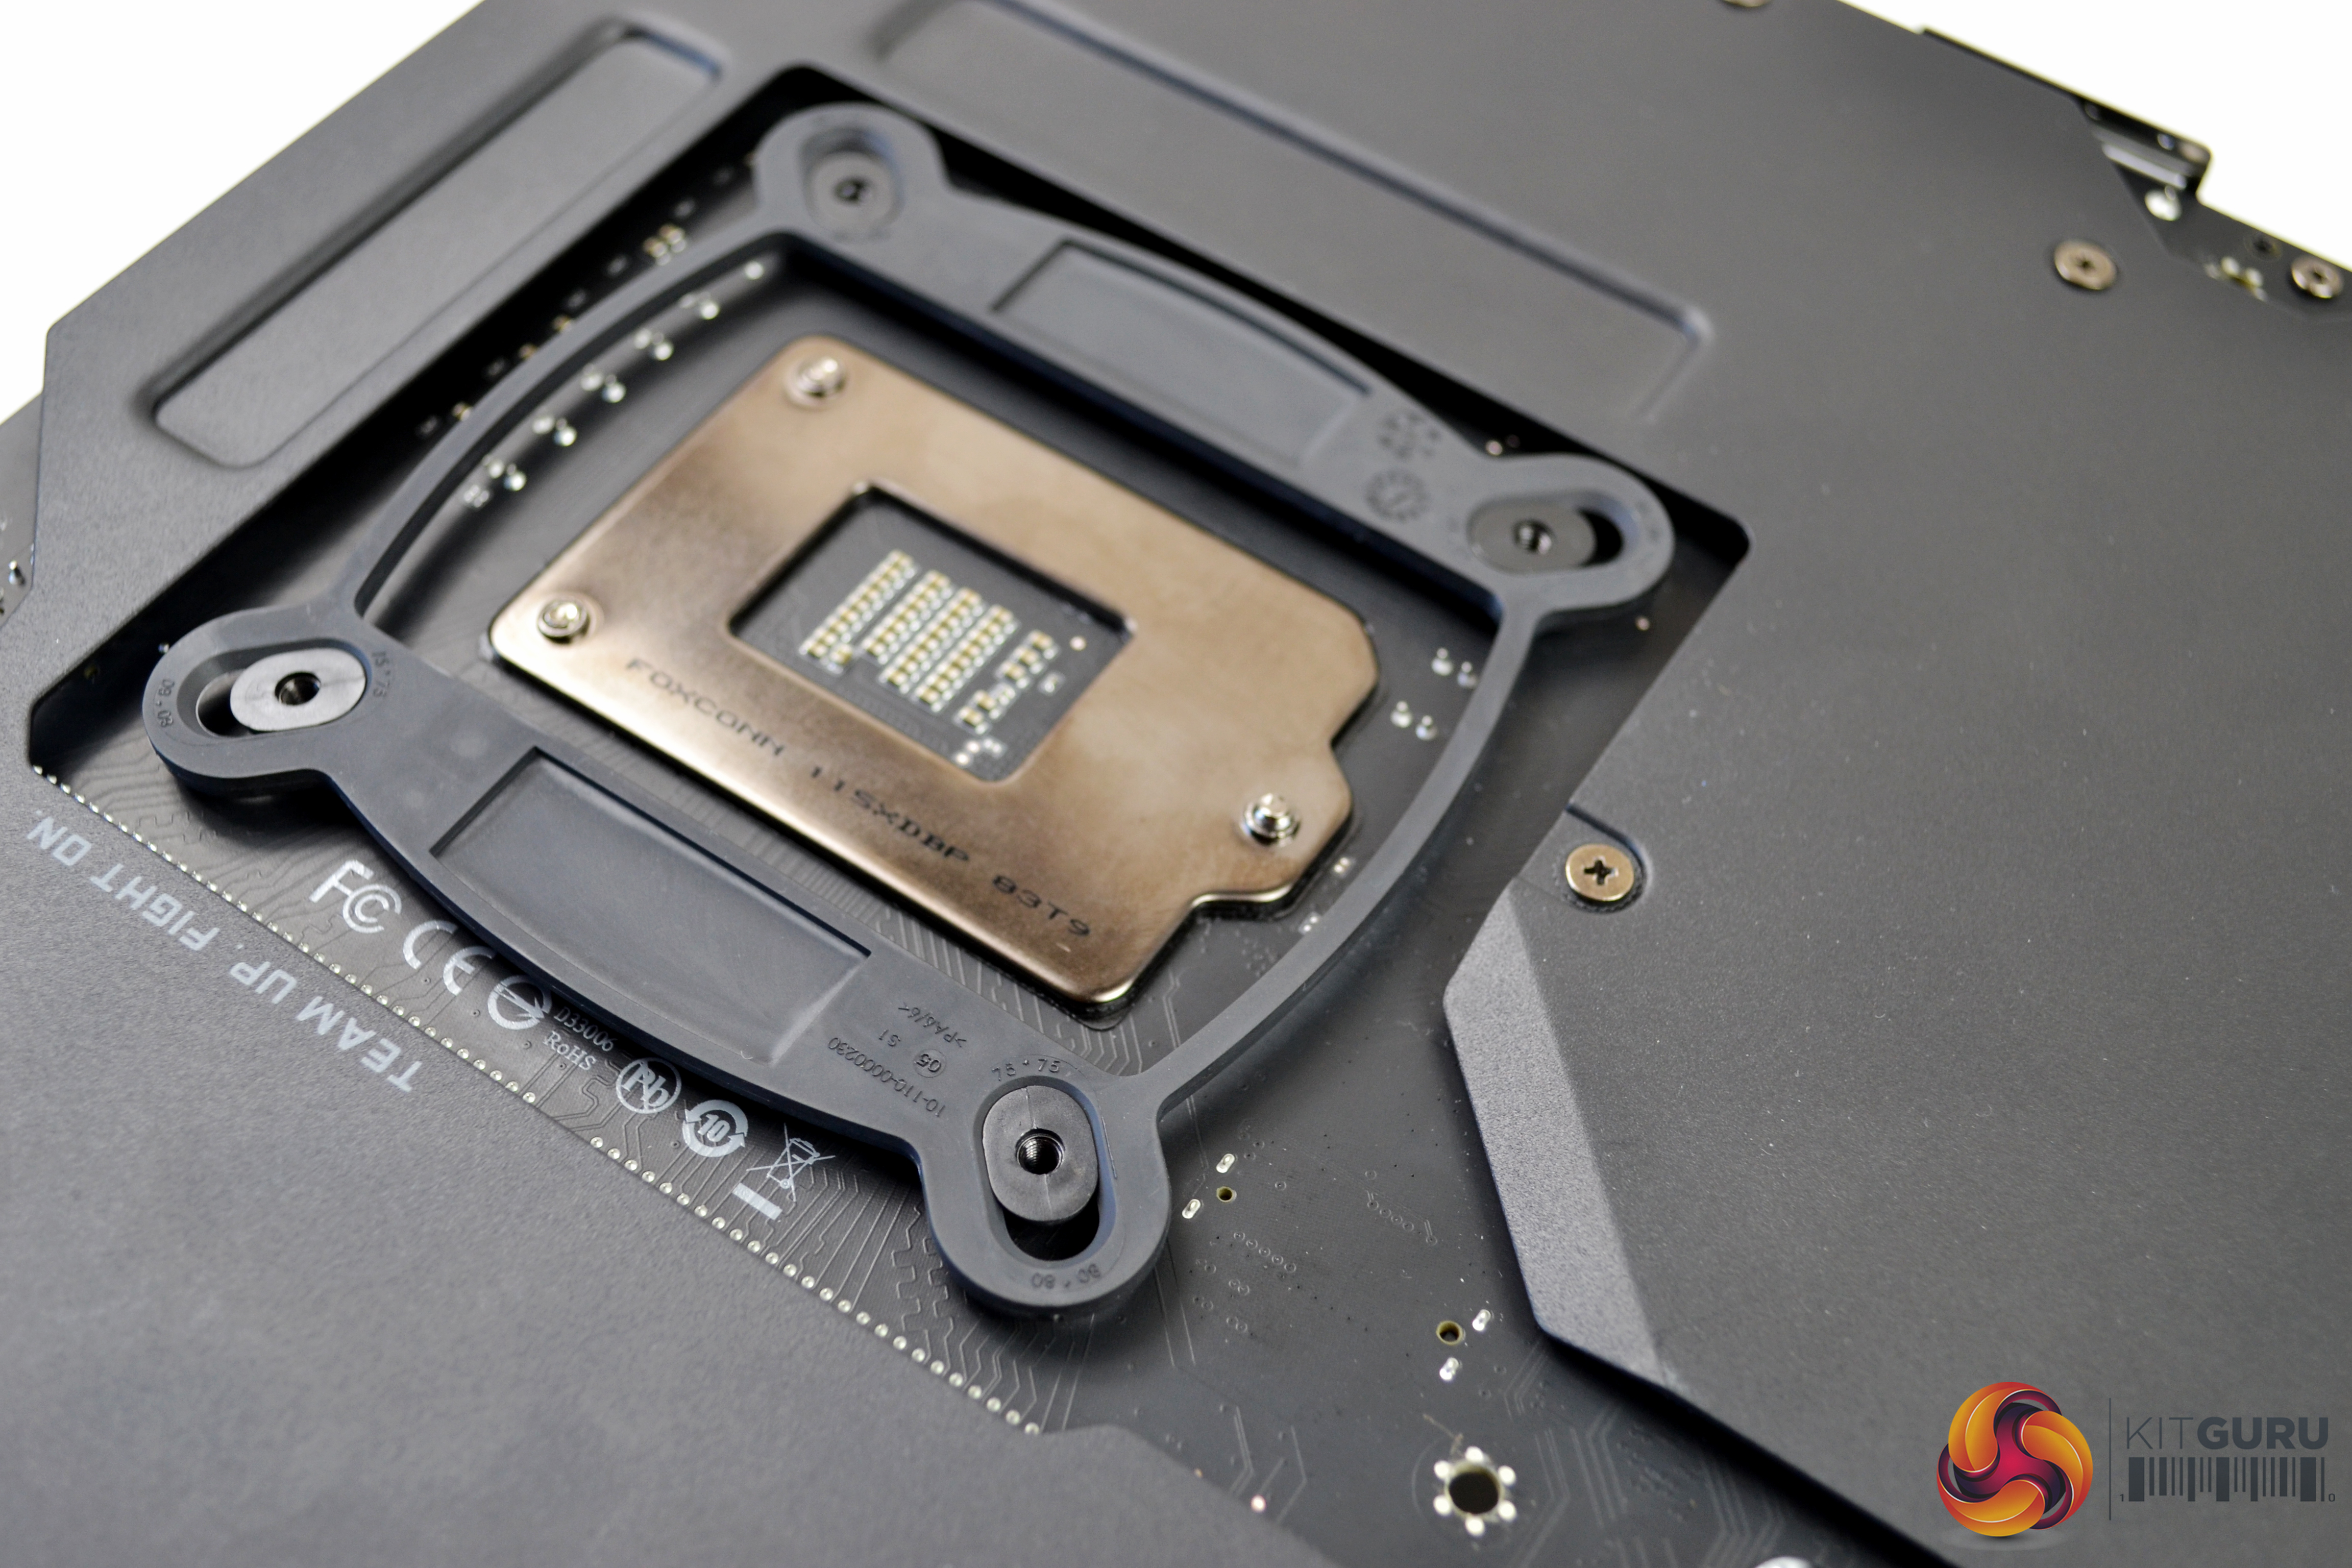
It is then just a simple case of lining up with the holes on the motherboard and putting the back plate in place. You will notice that the fixings slightly protrude through the motherboard on the socket side.
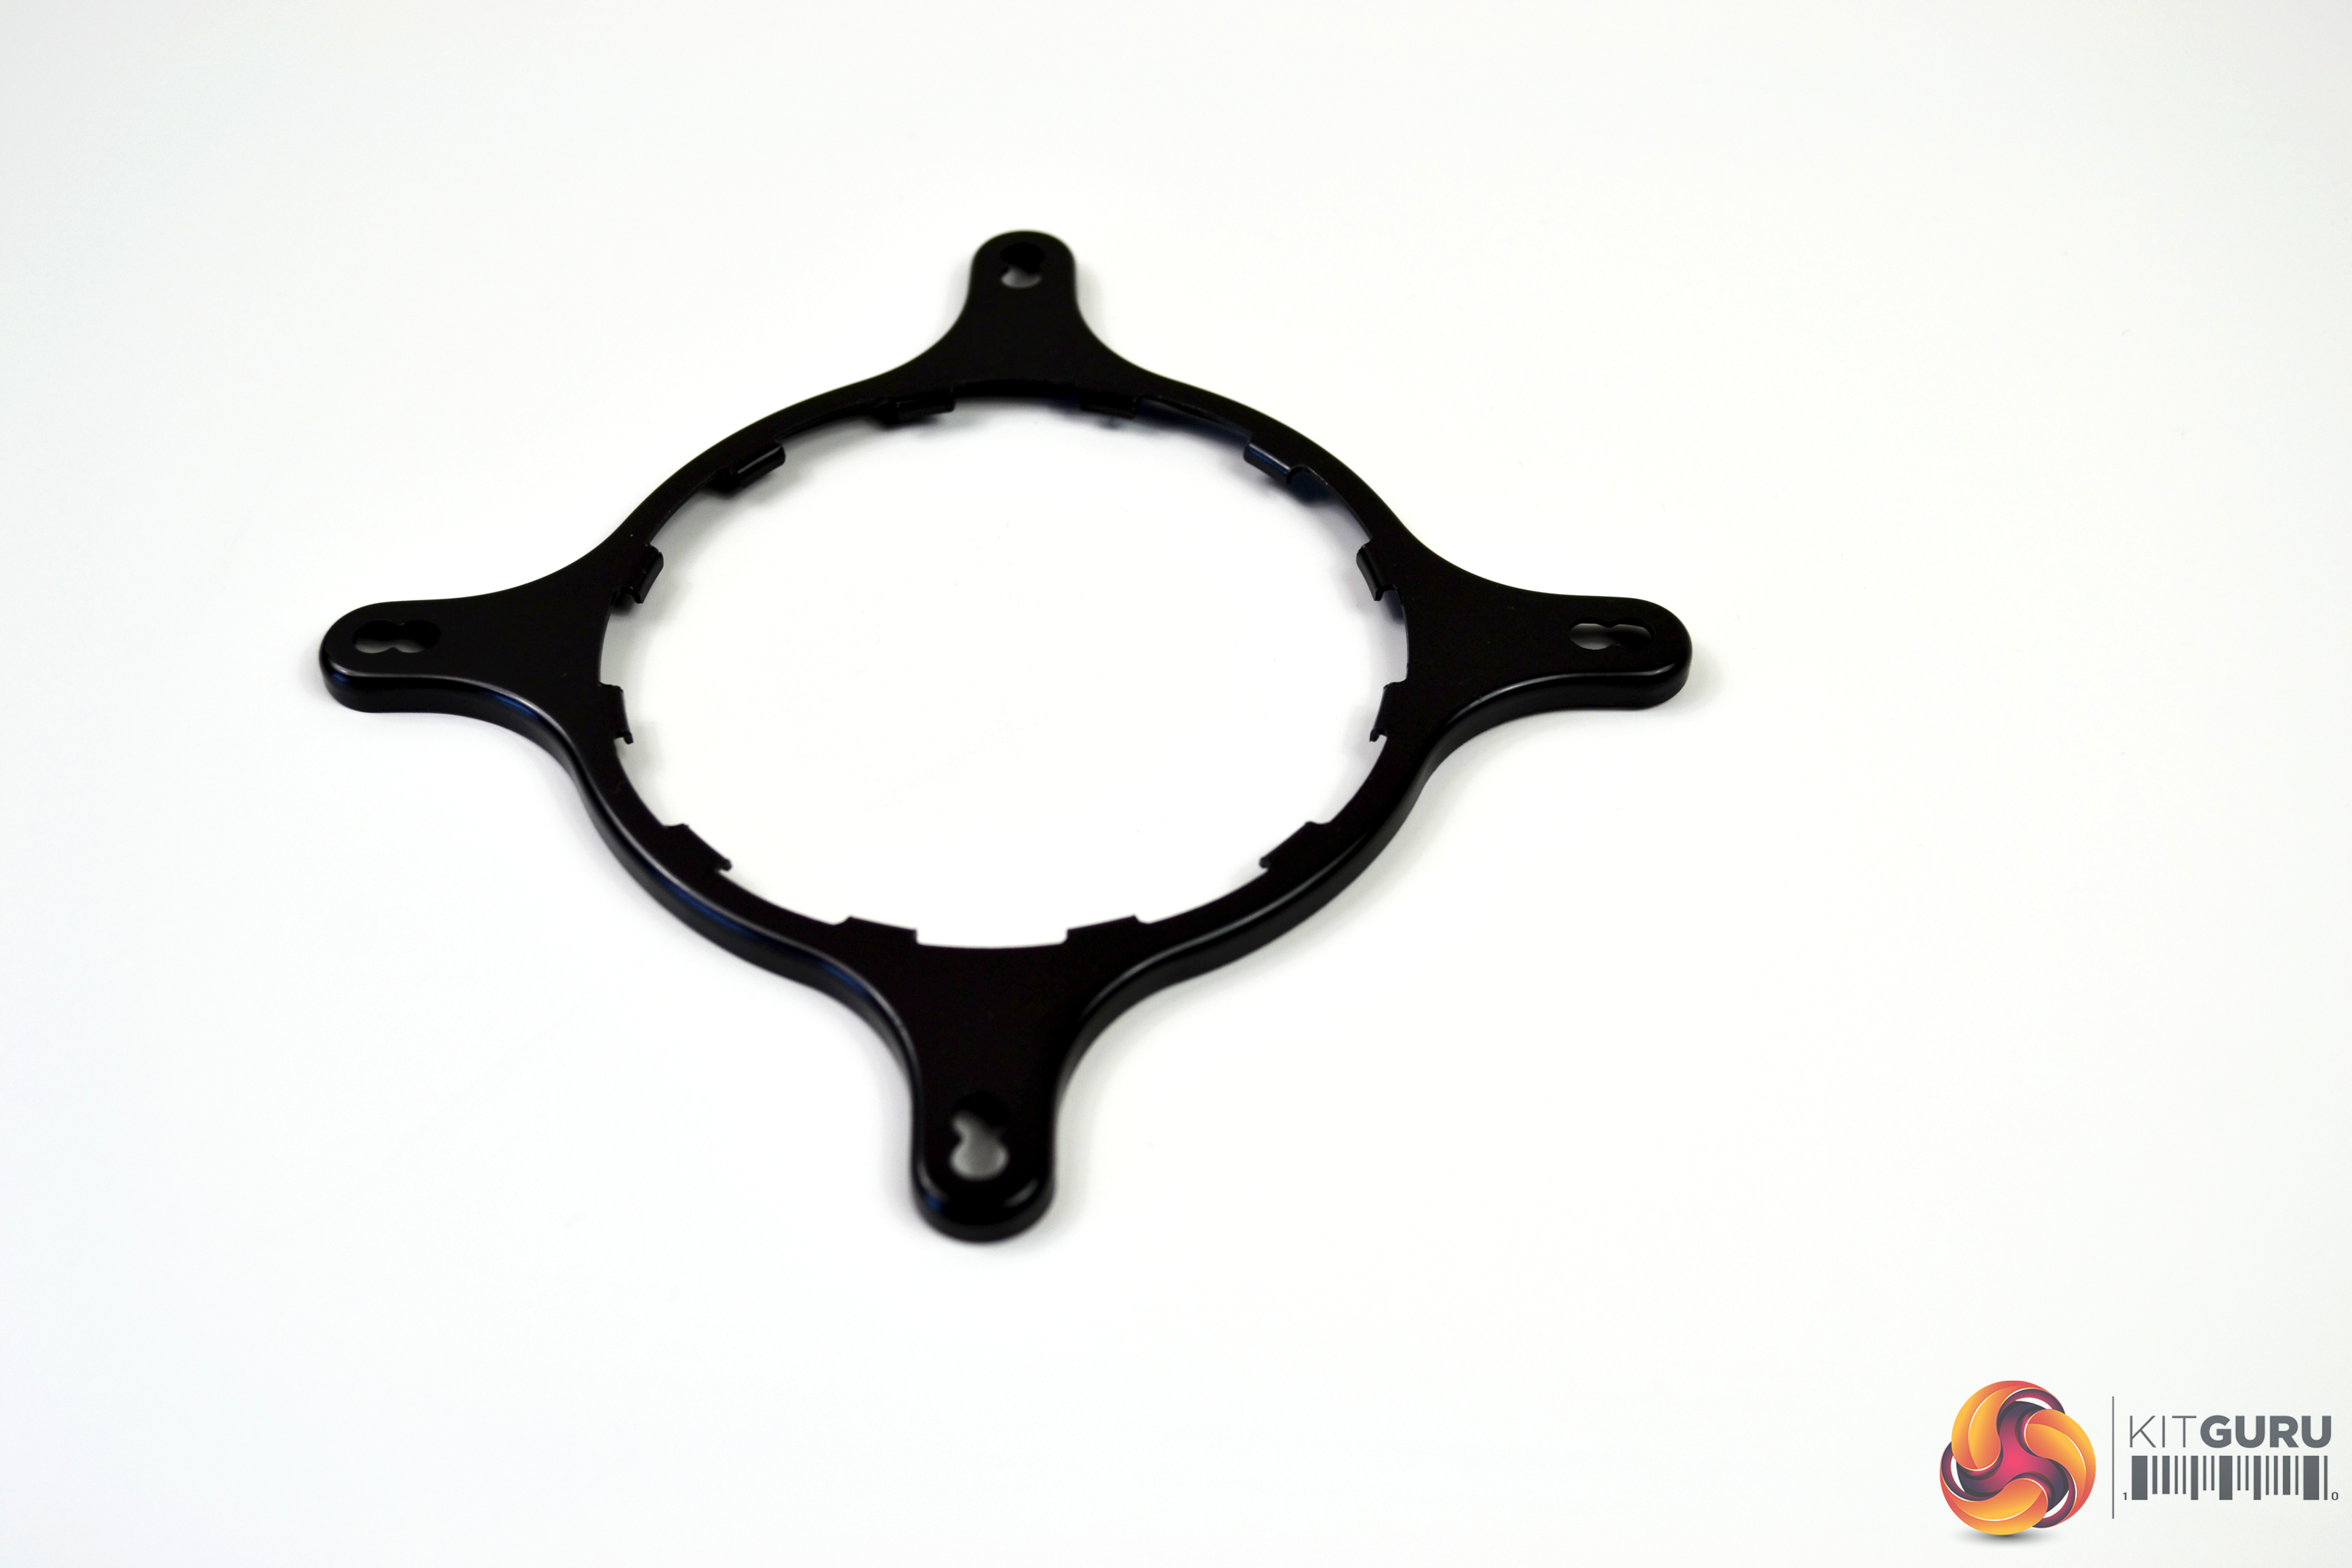
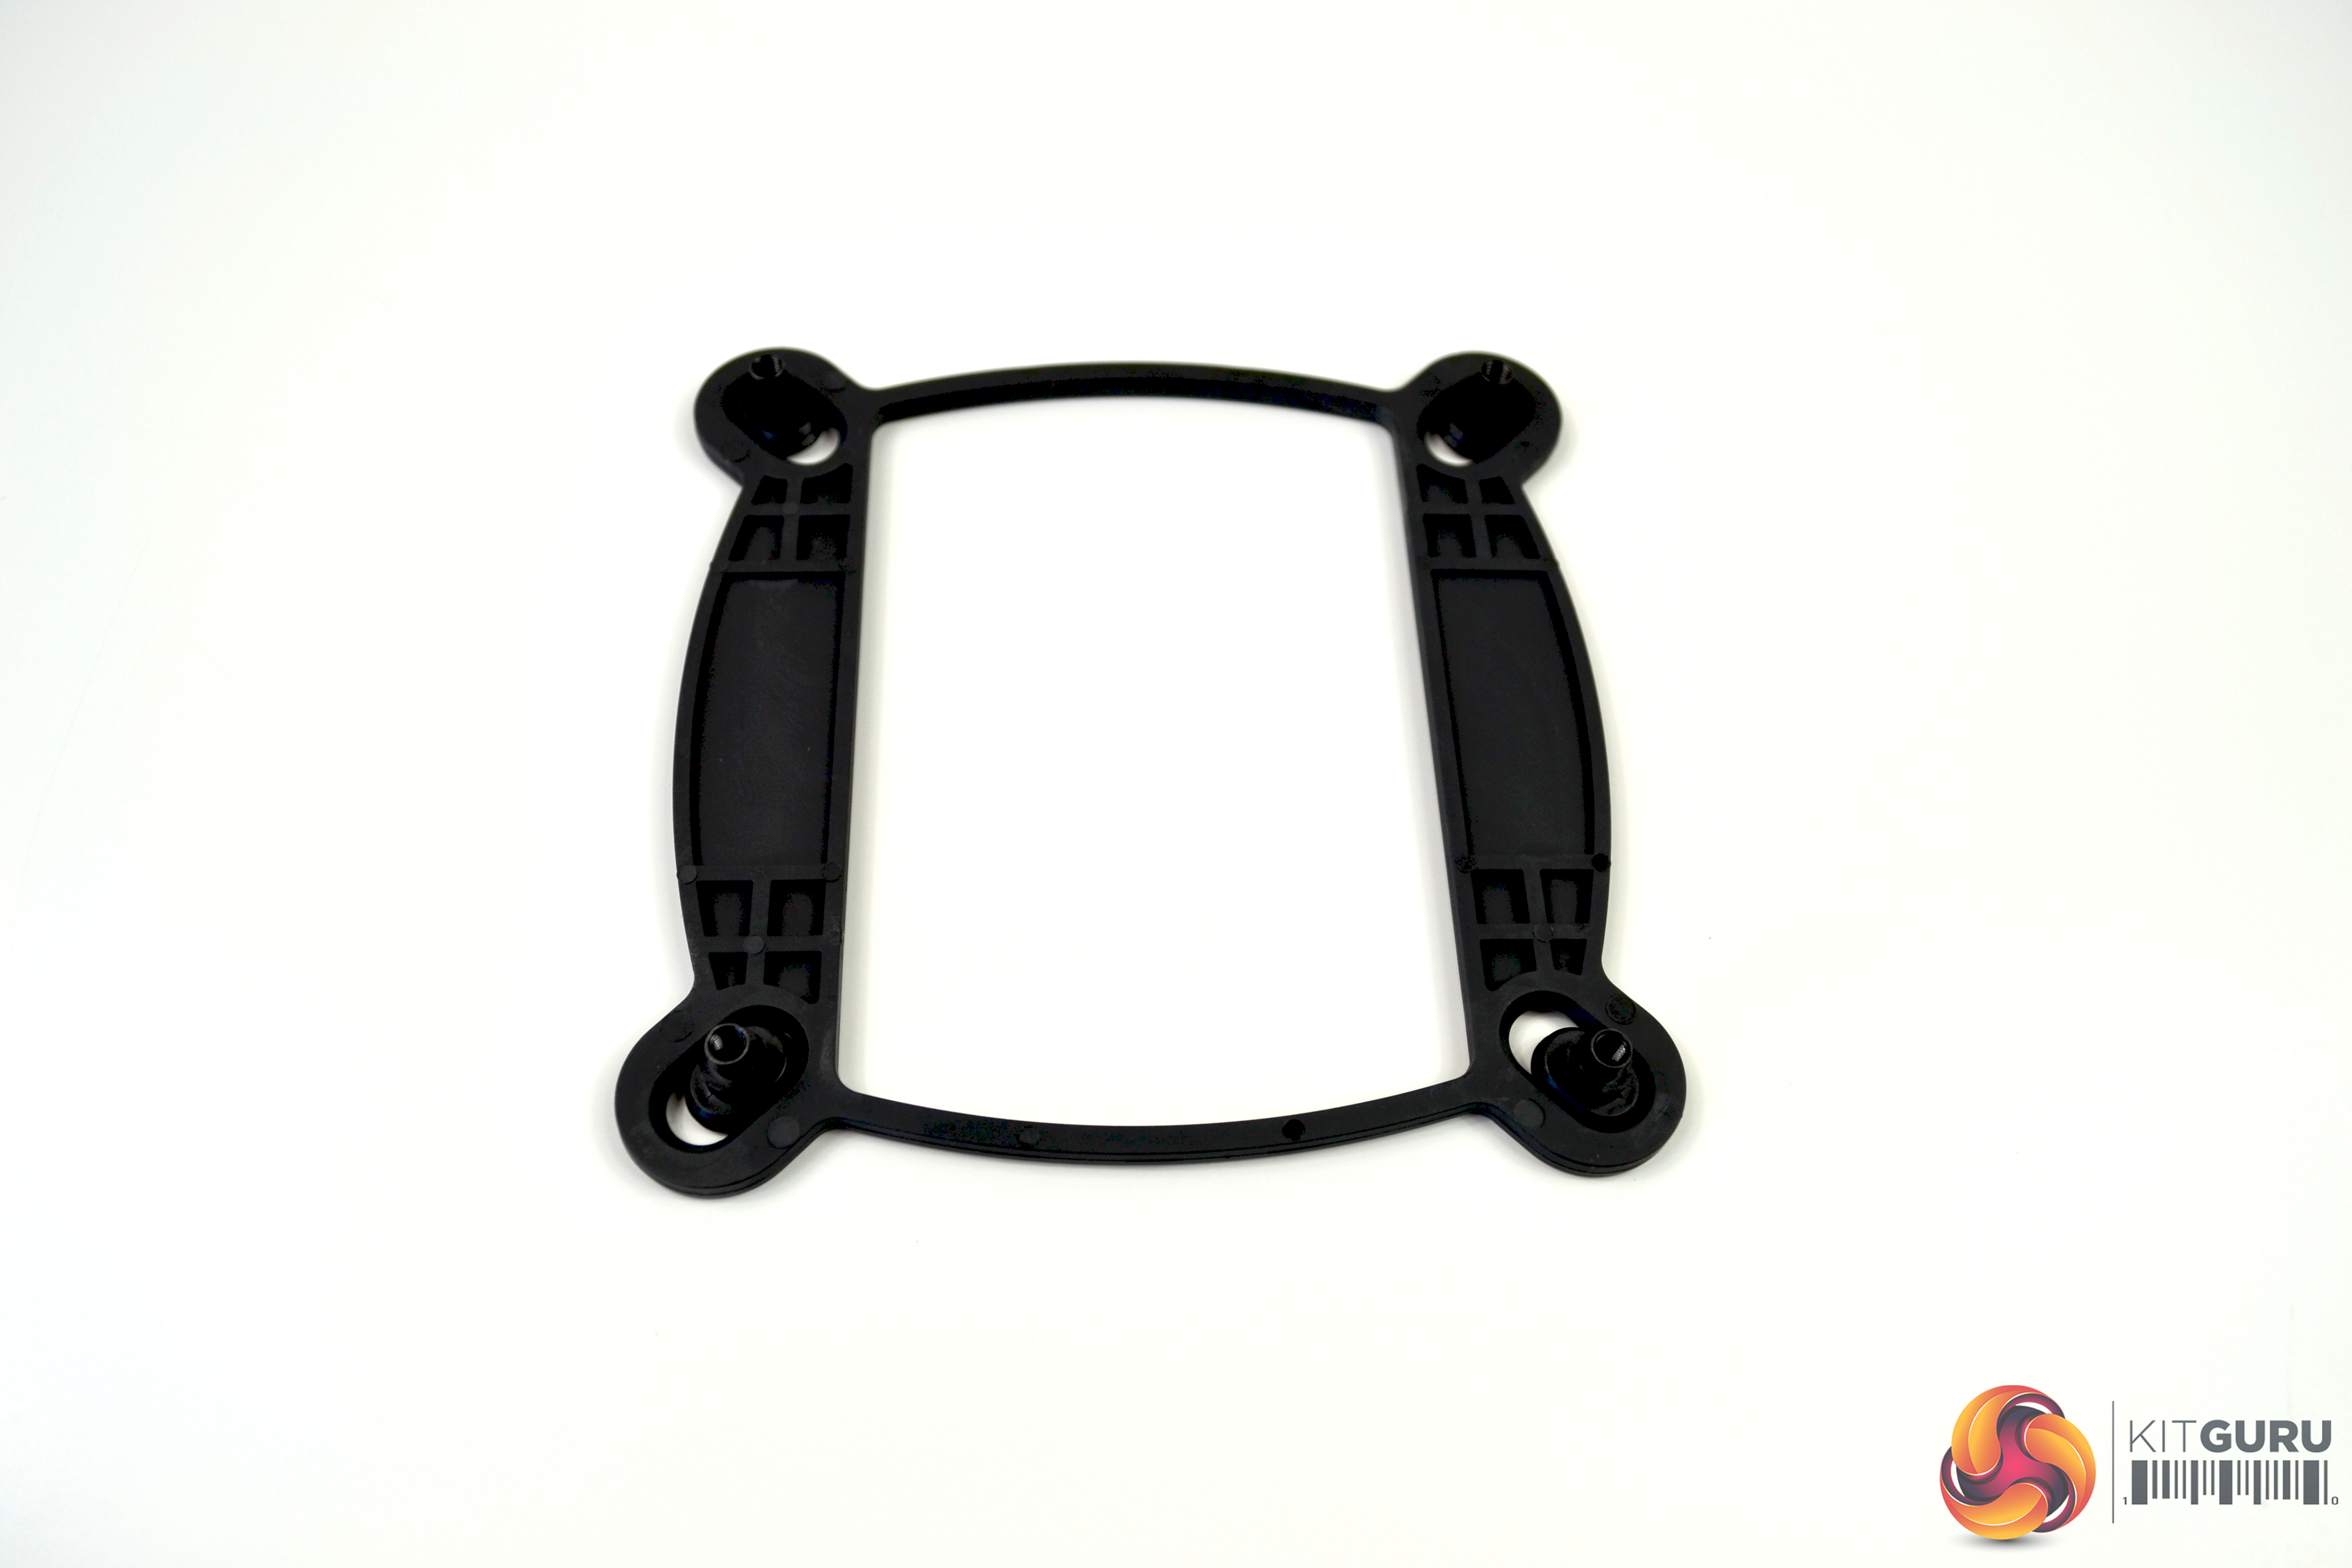
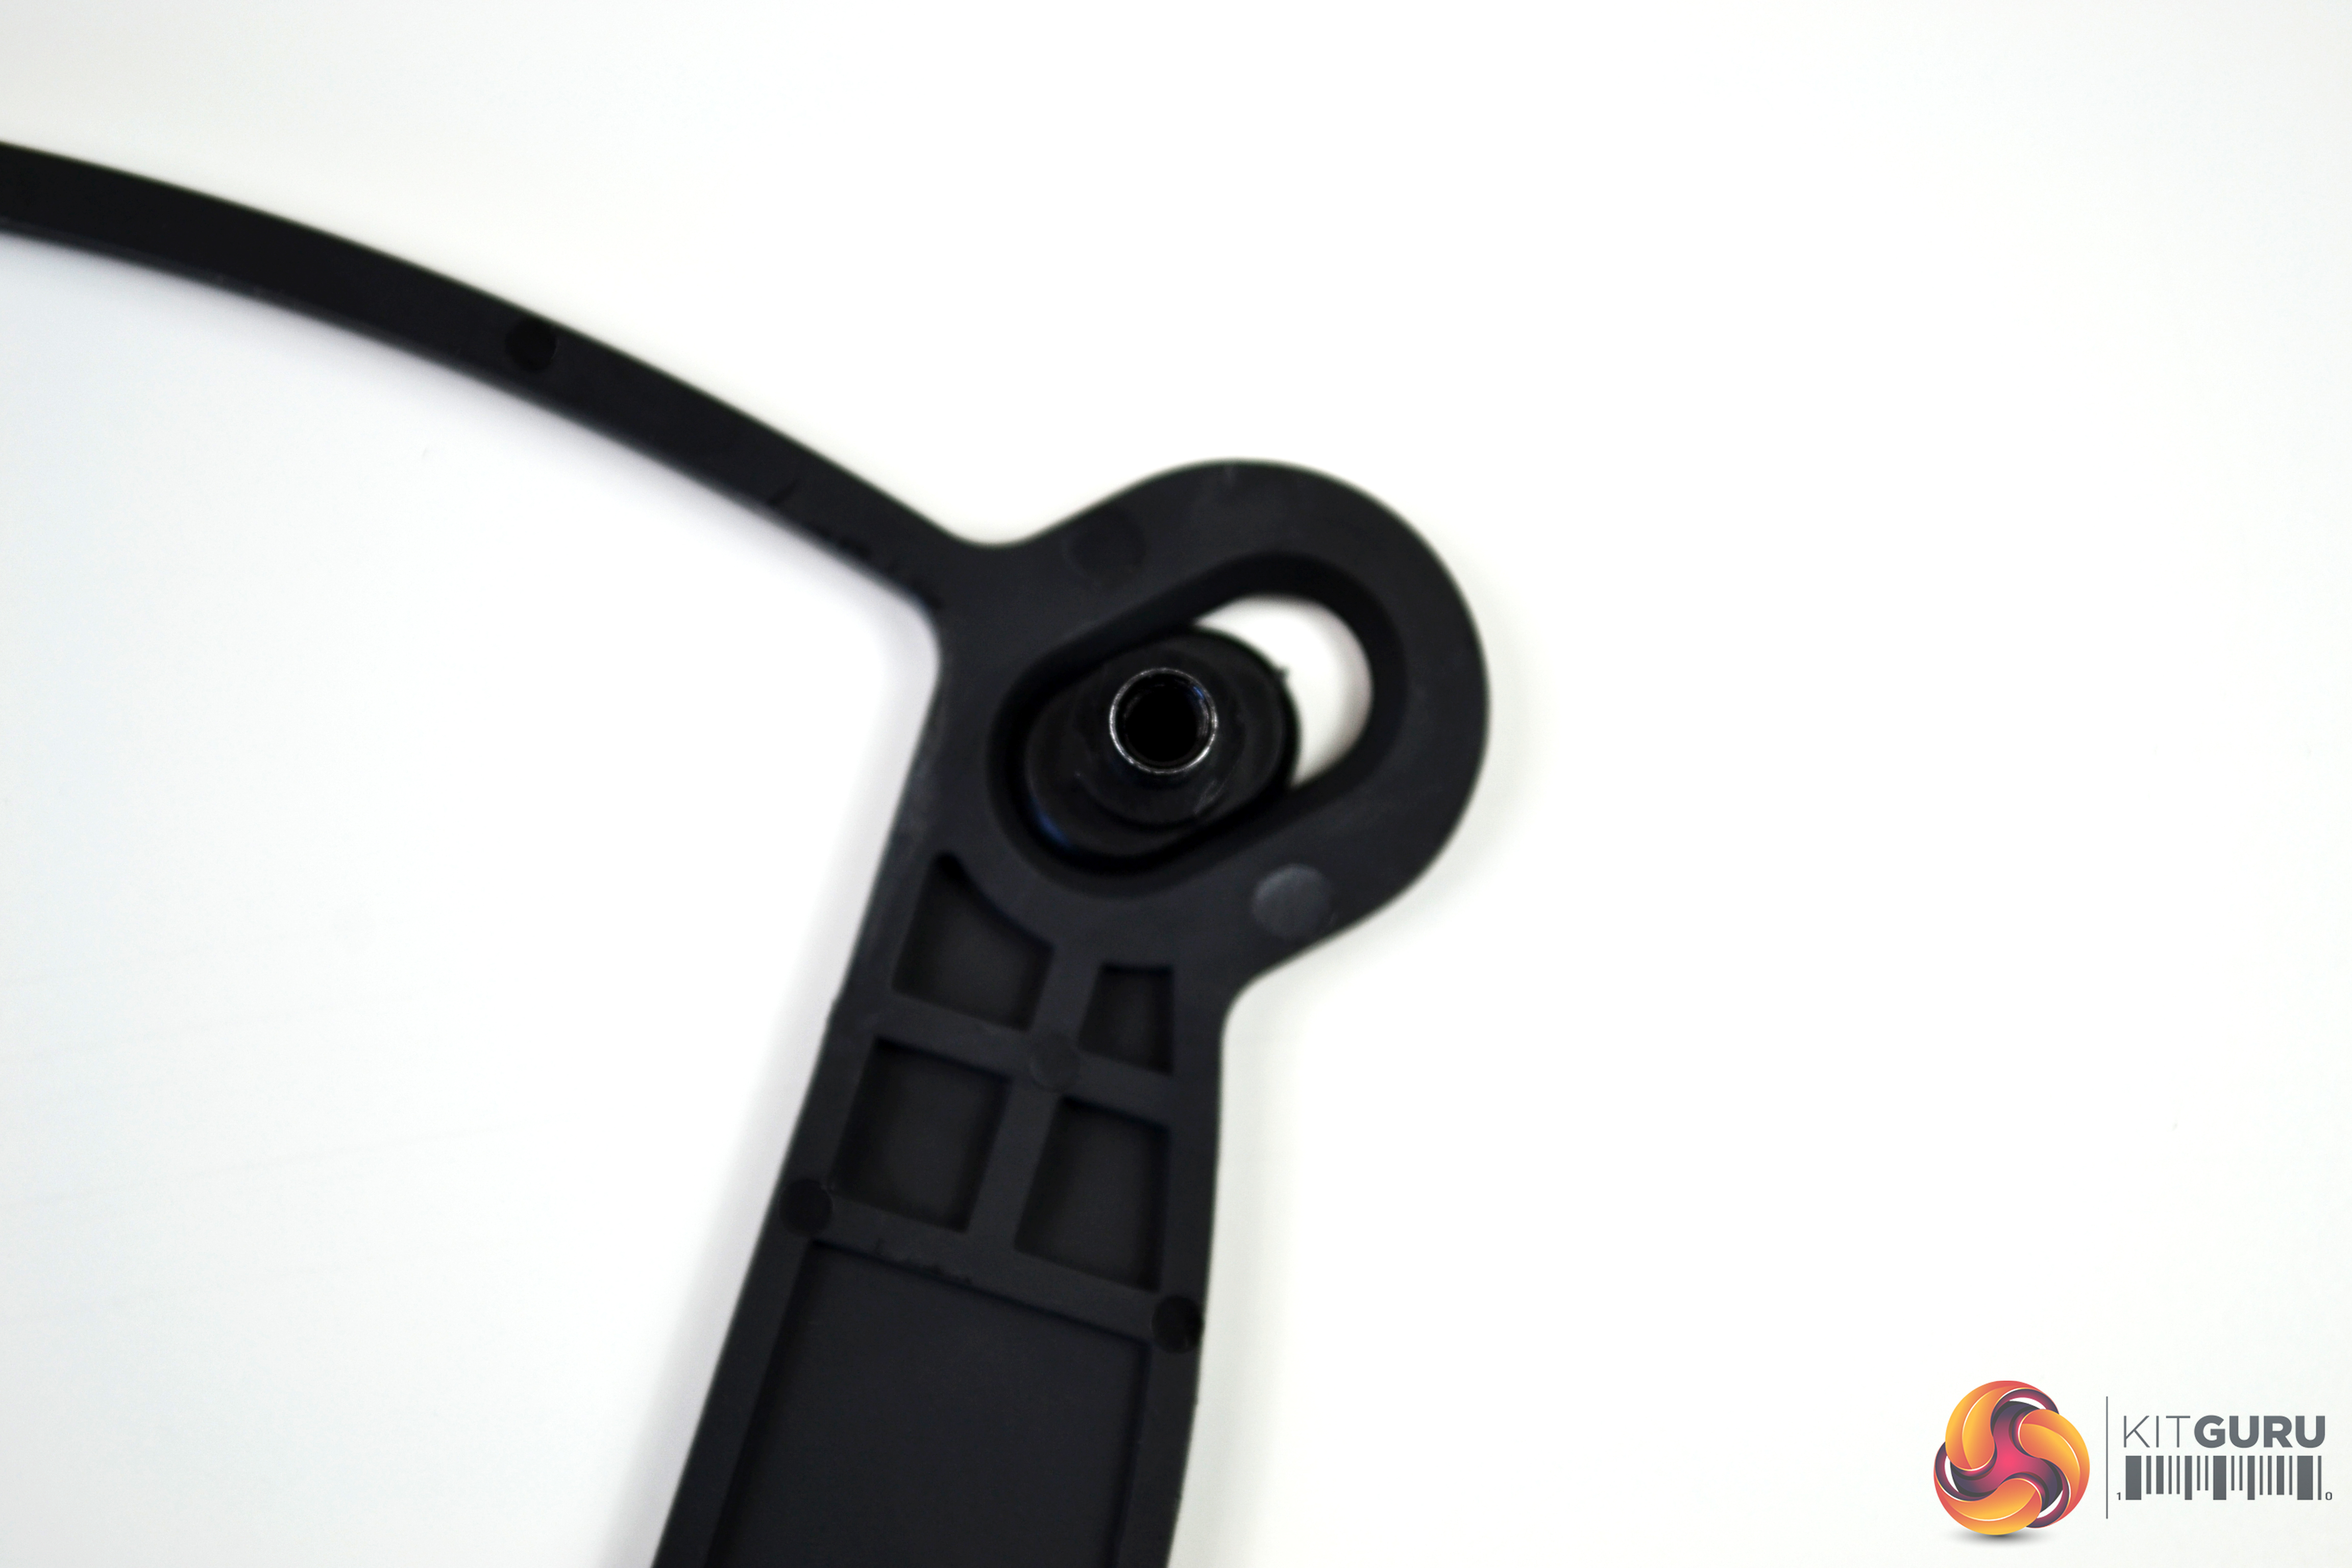
Next, take the appropriate upper retention bracket and slide it over the pump from the underside. Then, rotate it slightly until the hooks on the bracket line up with the notches on the pump.
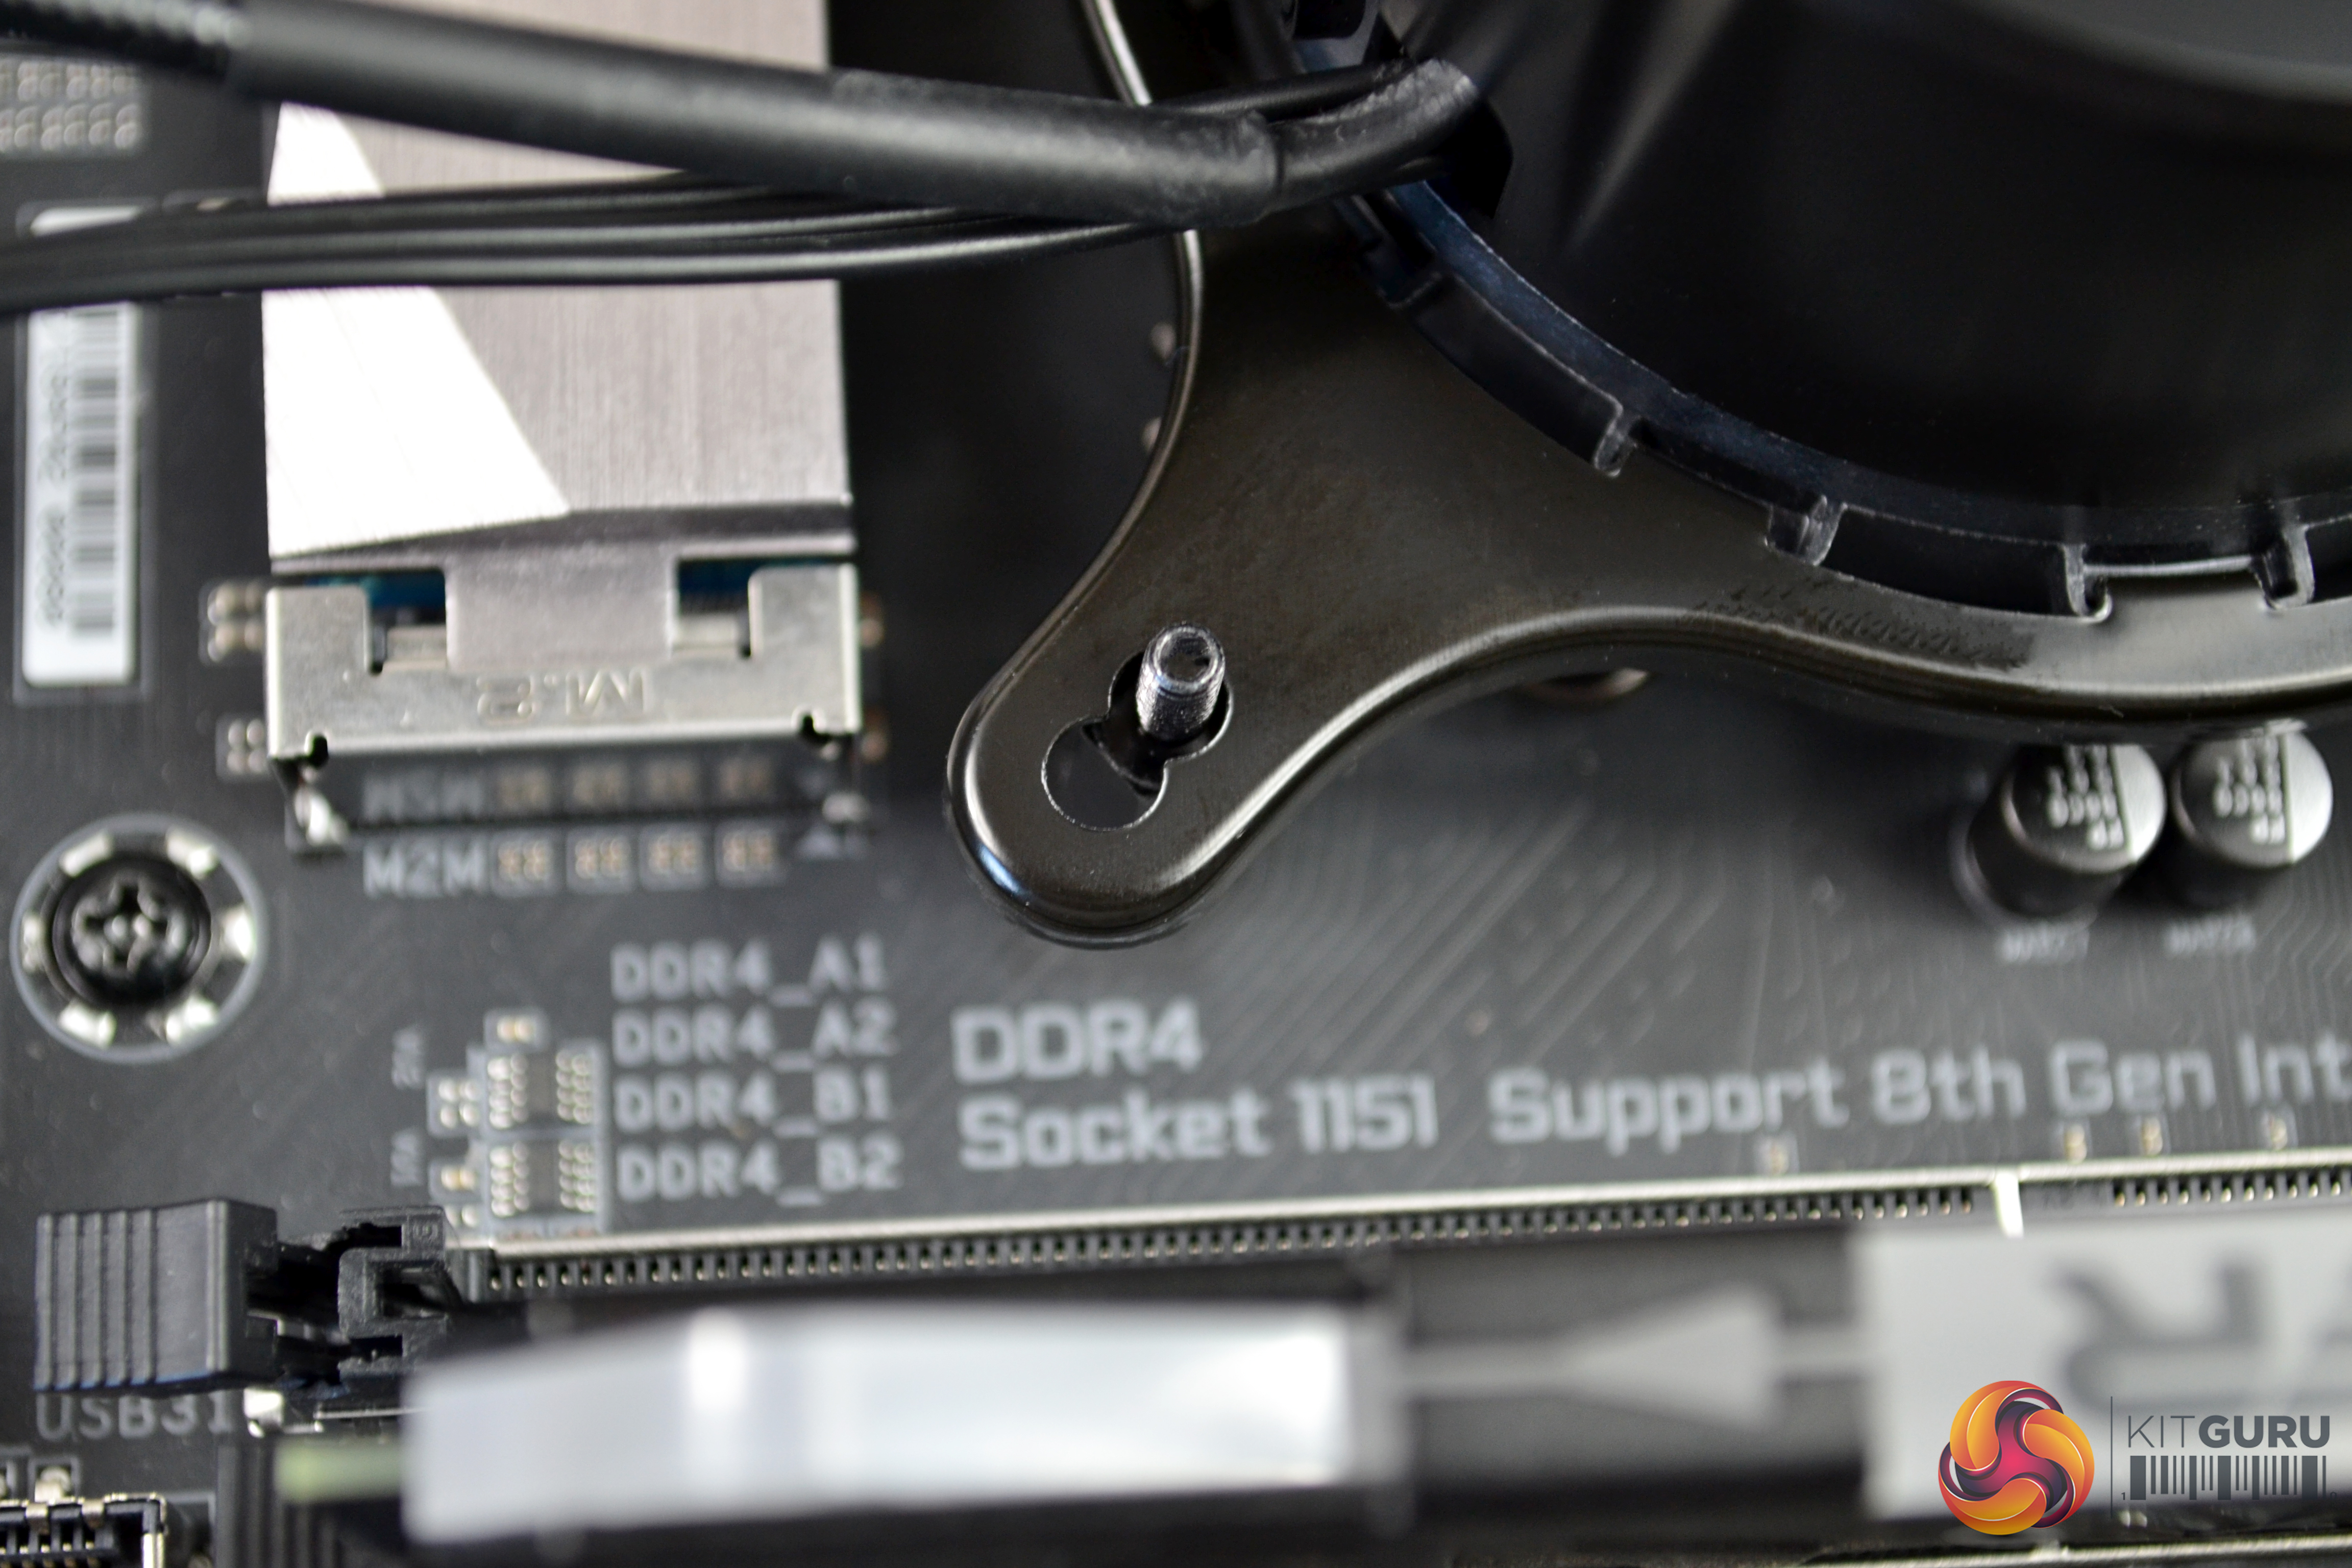
There are four mounting posts for the 1151 socket, labelled ‘G' on the installation manual. Take these and gently screw them into the back plate from the socket side of the motherboard until they are tight. This should be done by hand, as over tightening could cause damage to the mounting posts or back plate.
Now, with the upper retention bracket in place on the pump, align the pump assembly in the correct orientation and lower down onto the mounting posts, making sure all four mounting posts pass through the inner holes on the bracket.
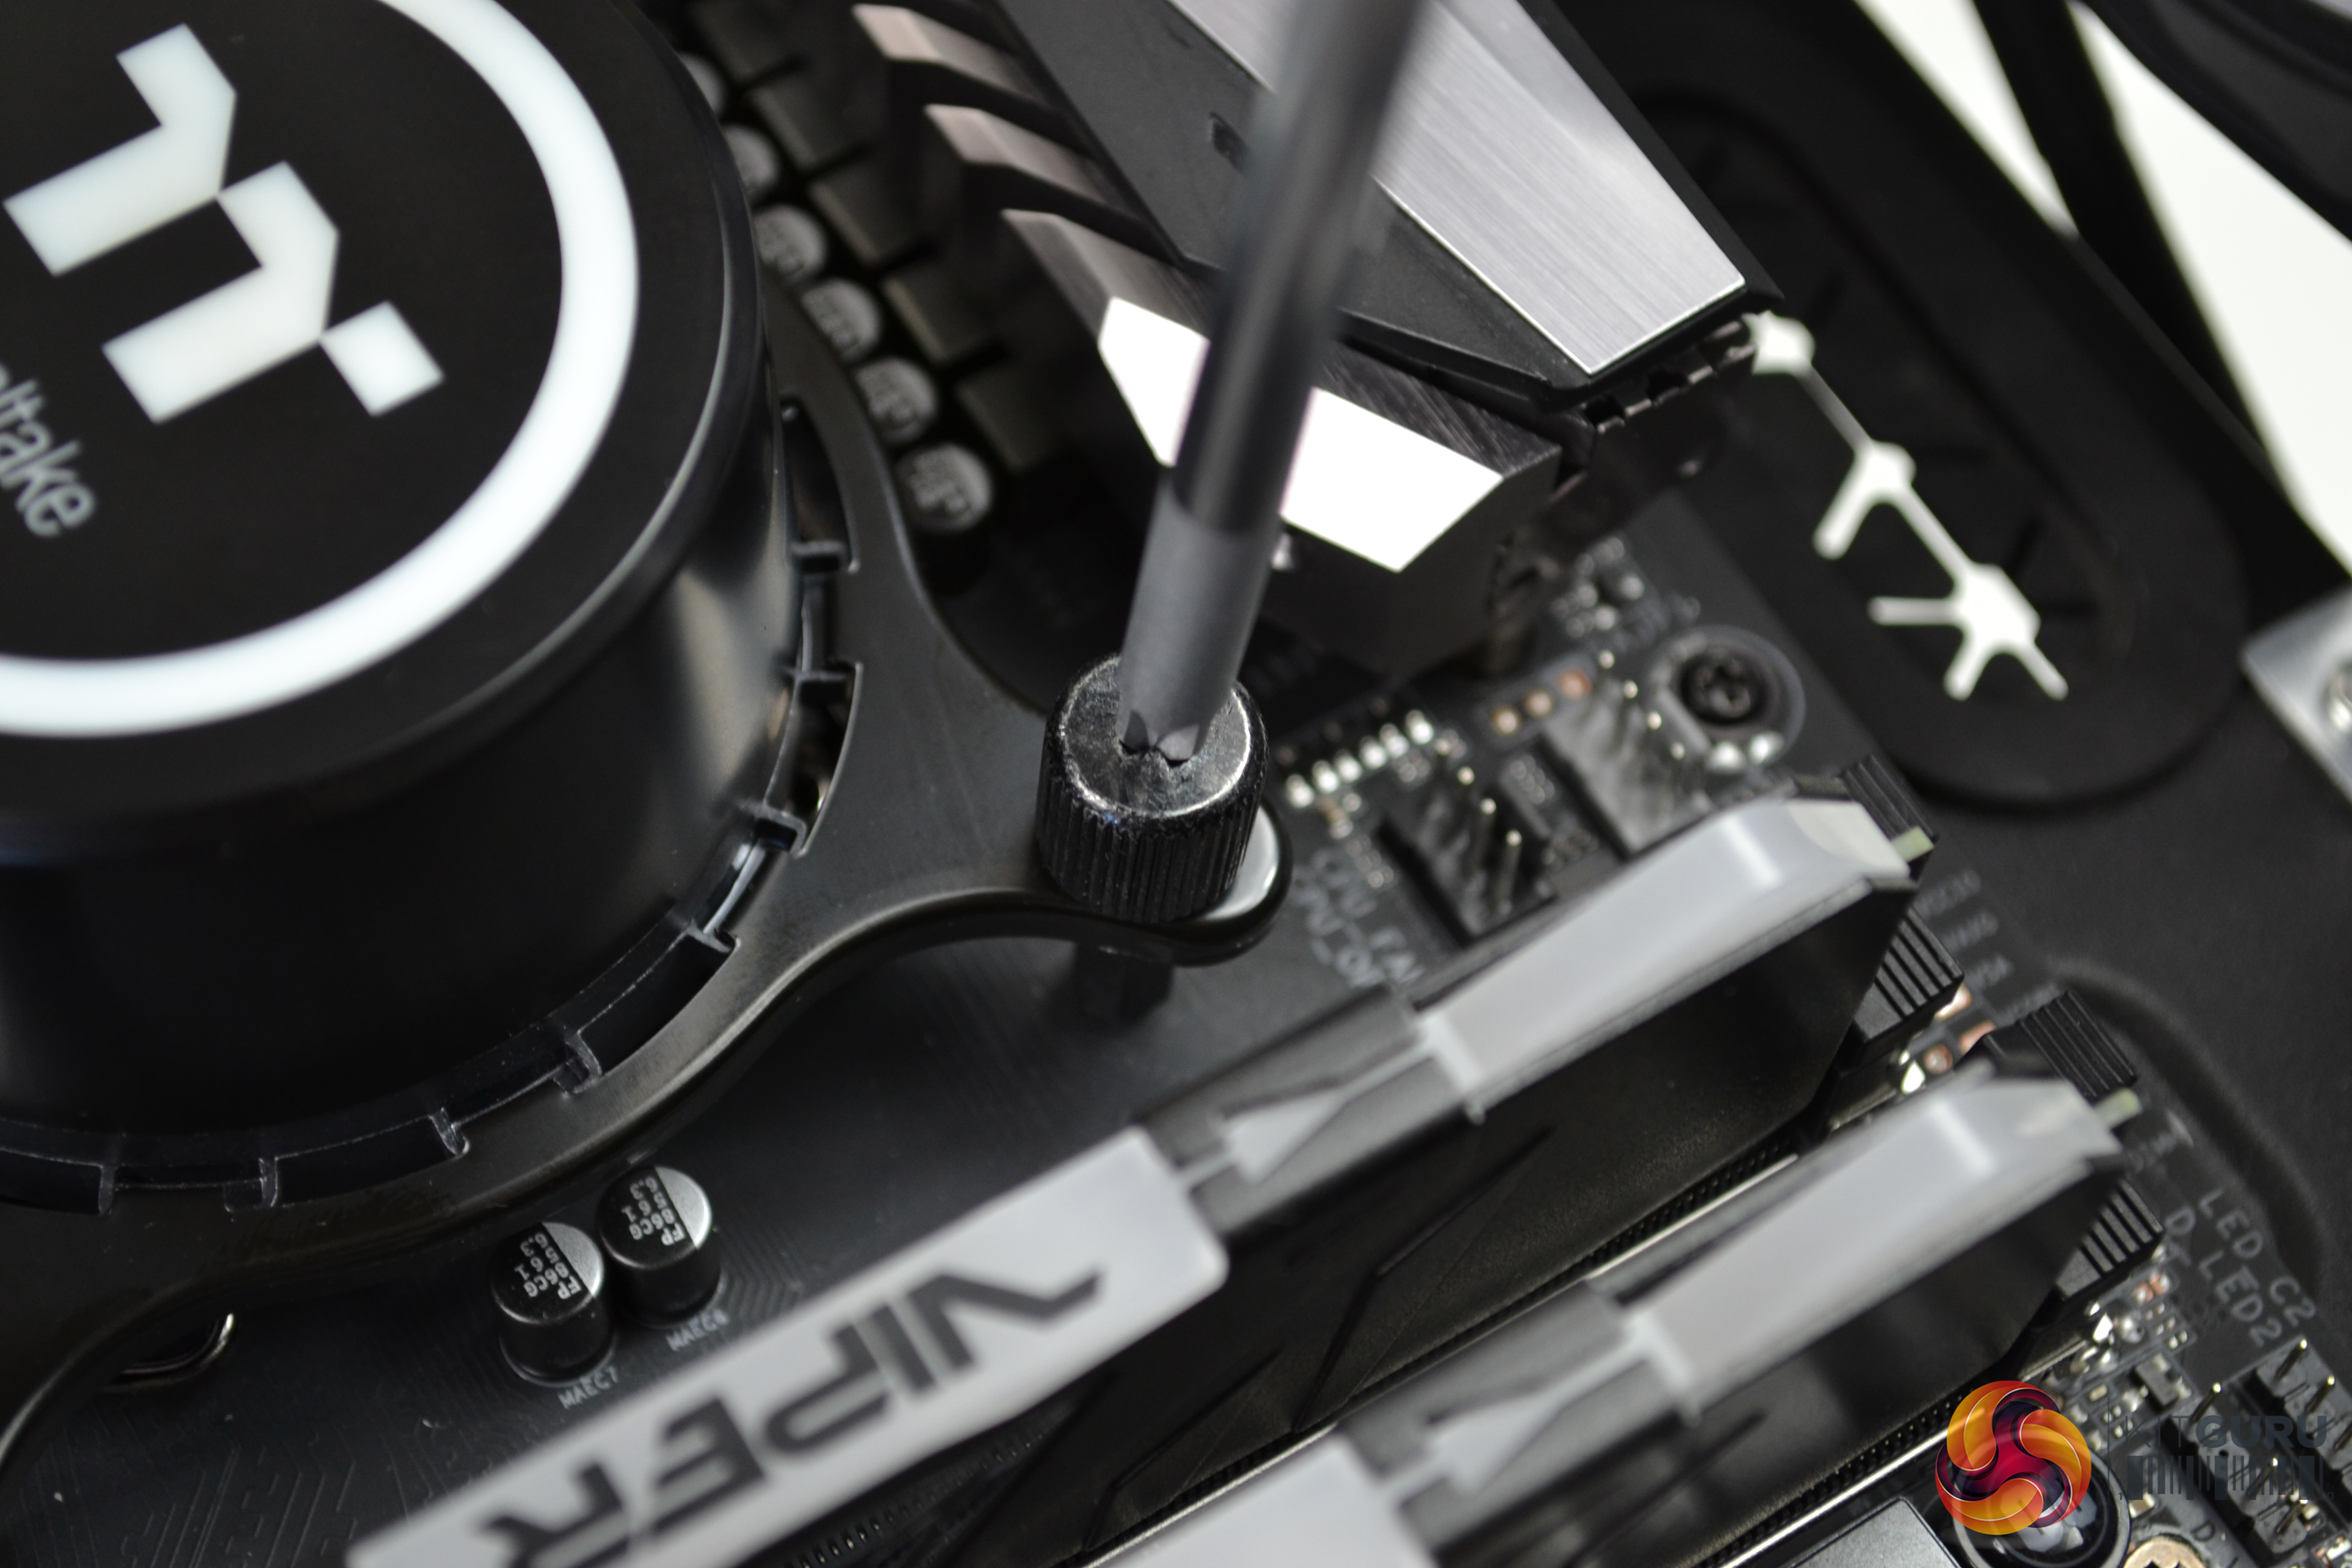
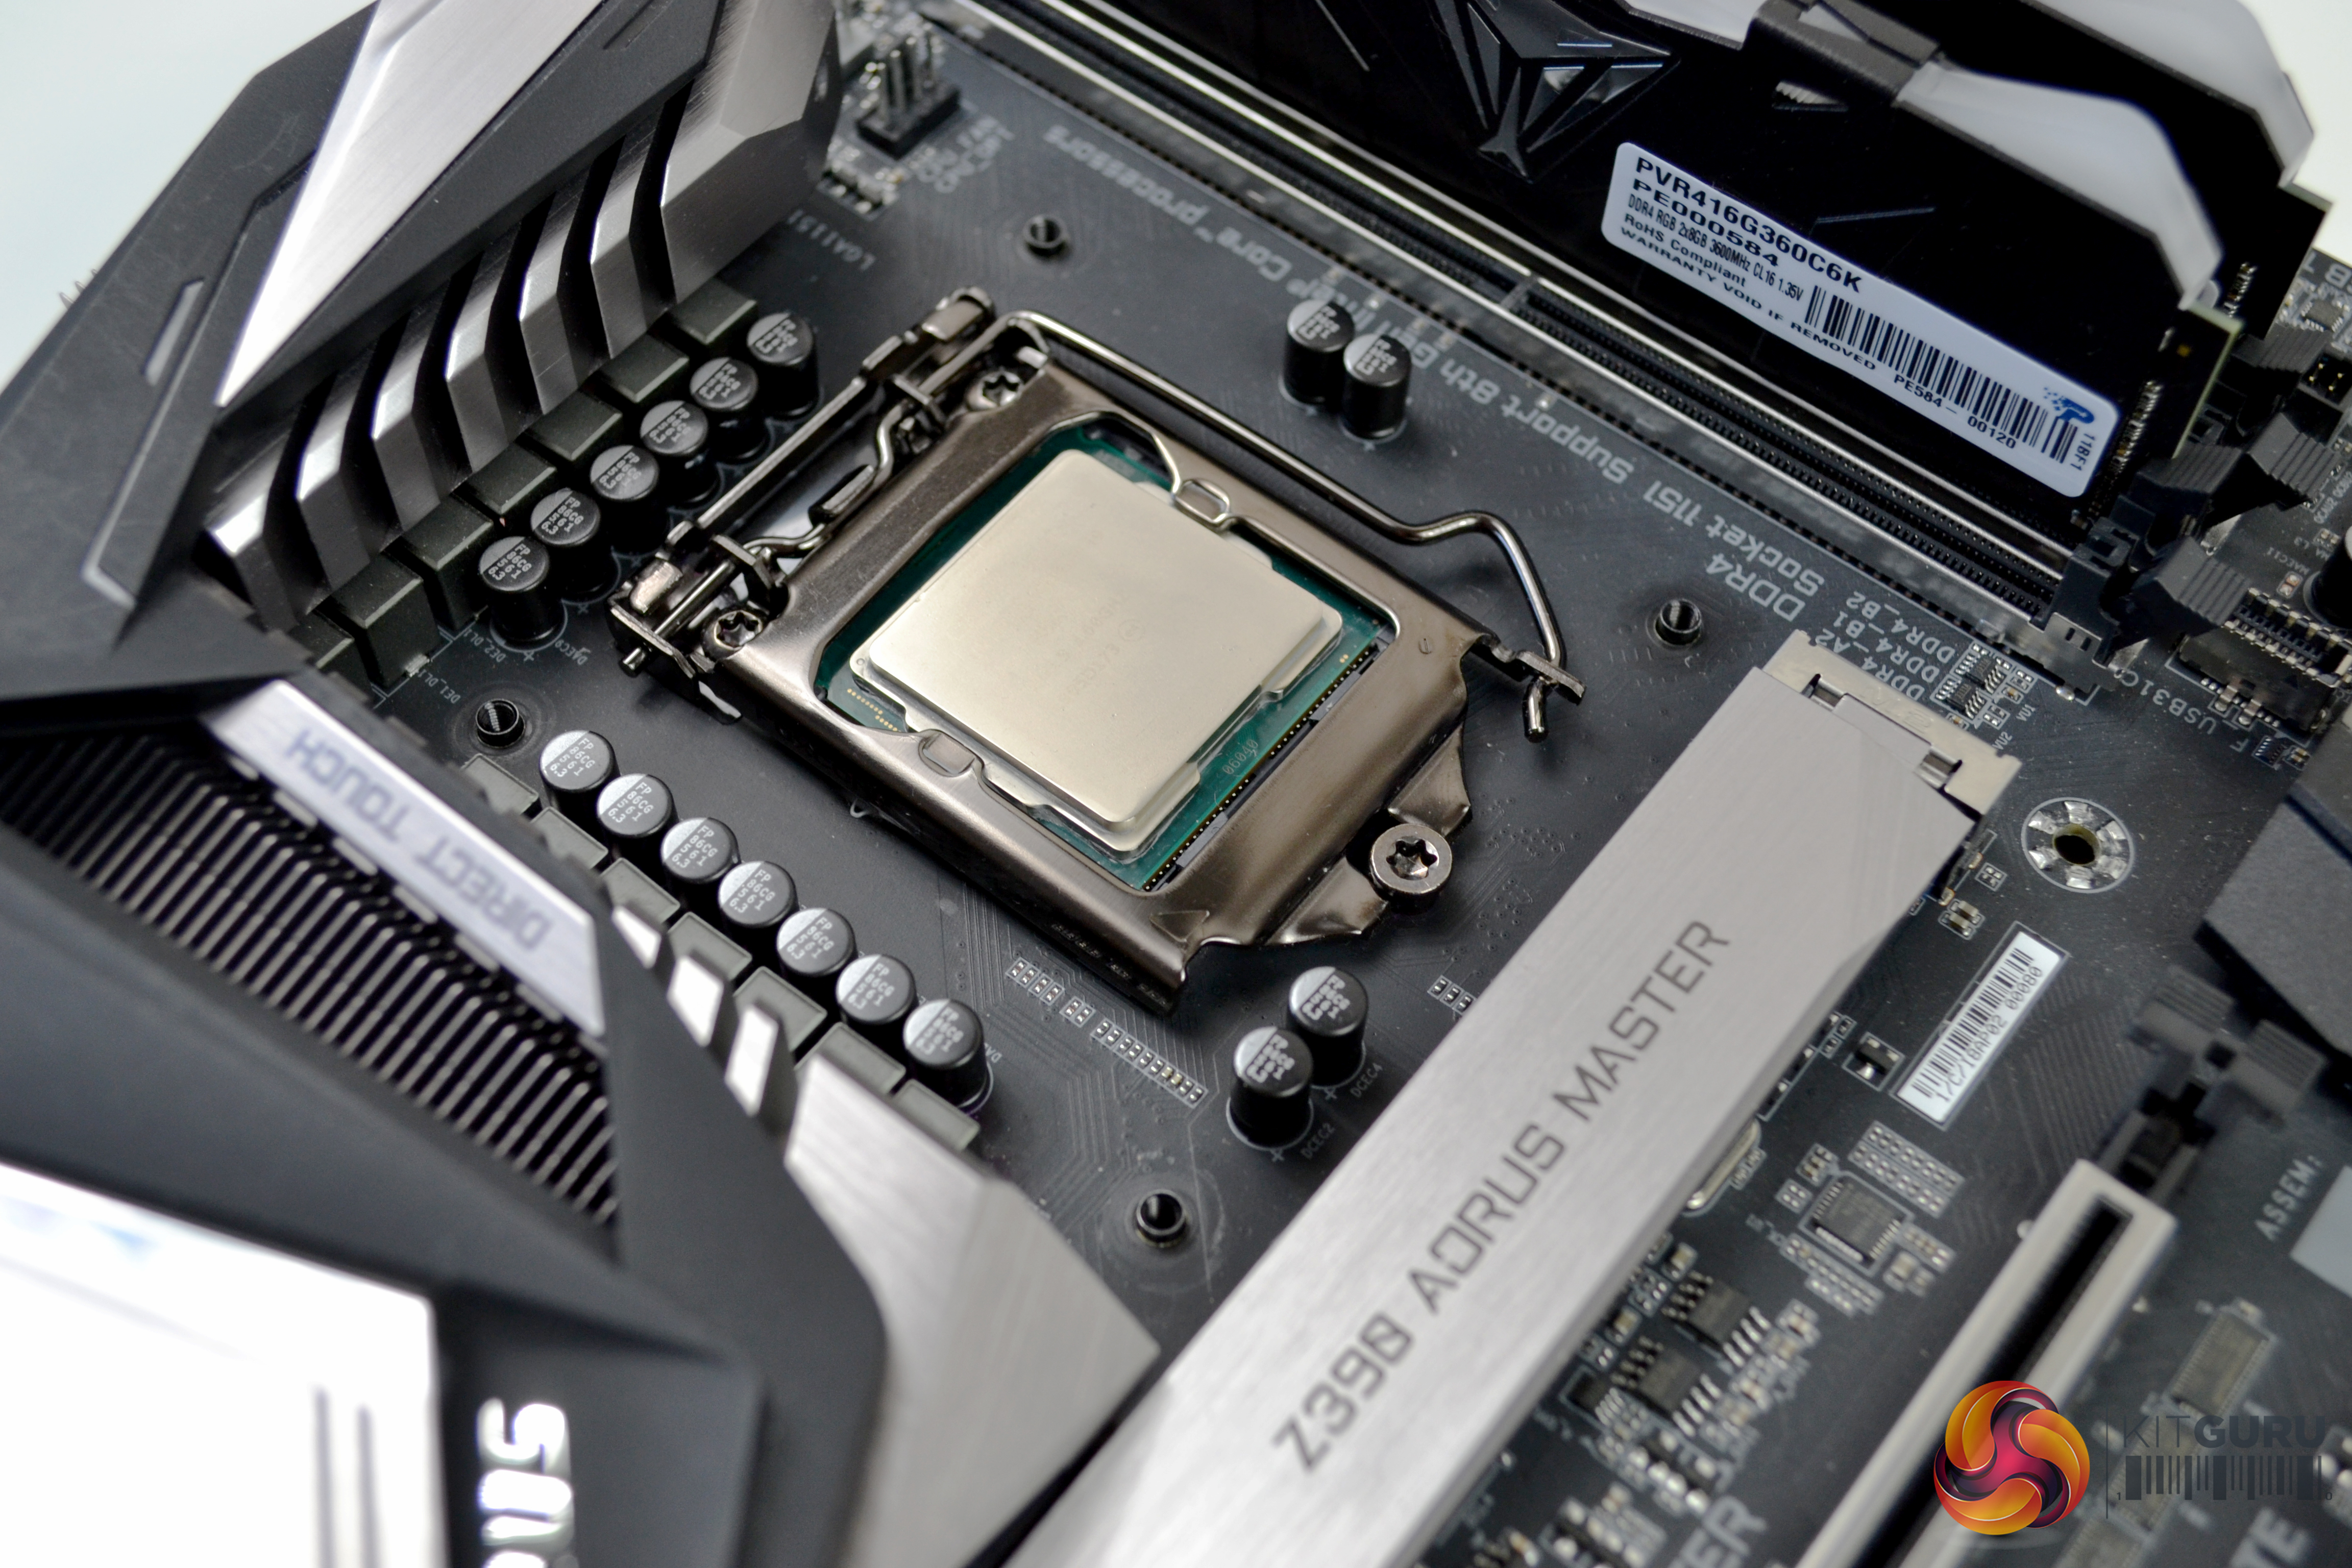
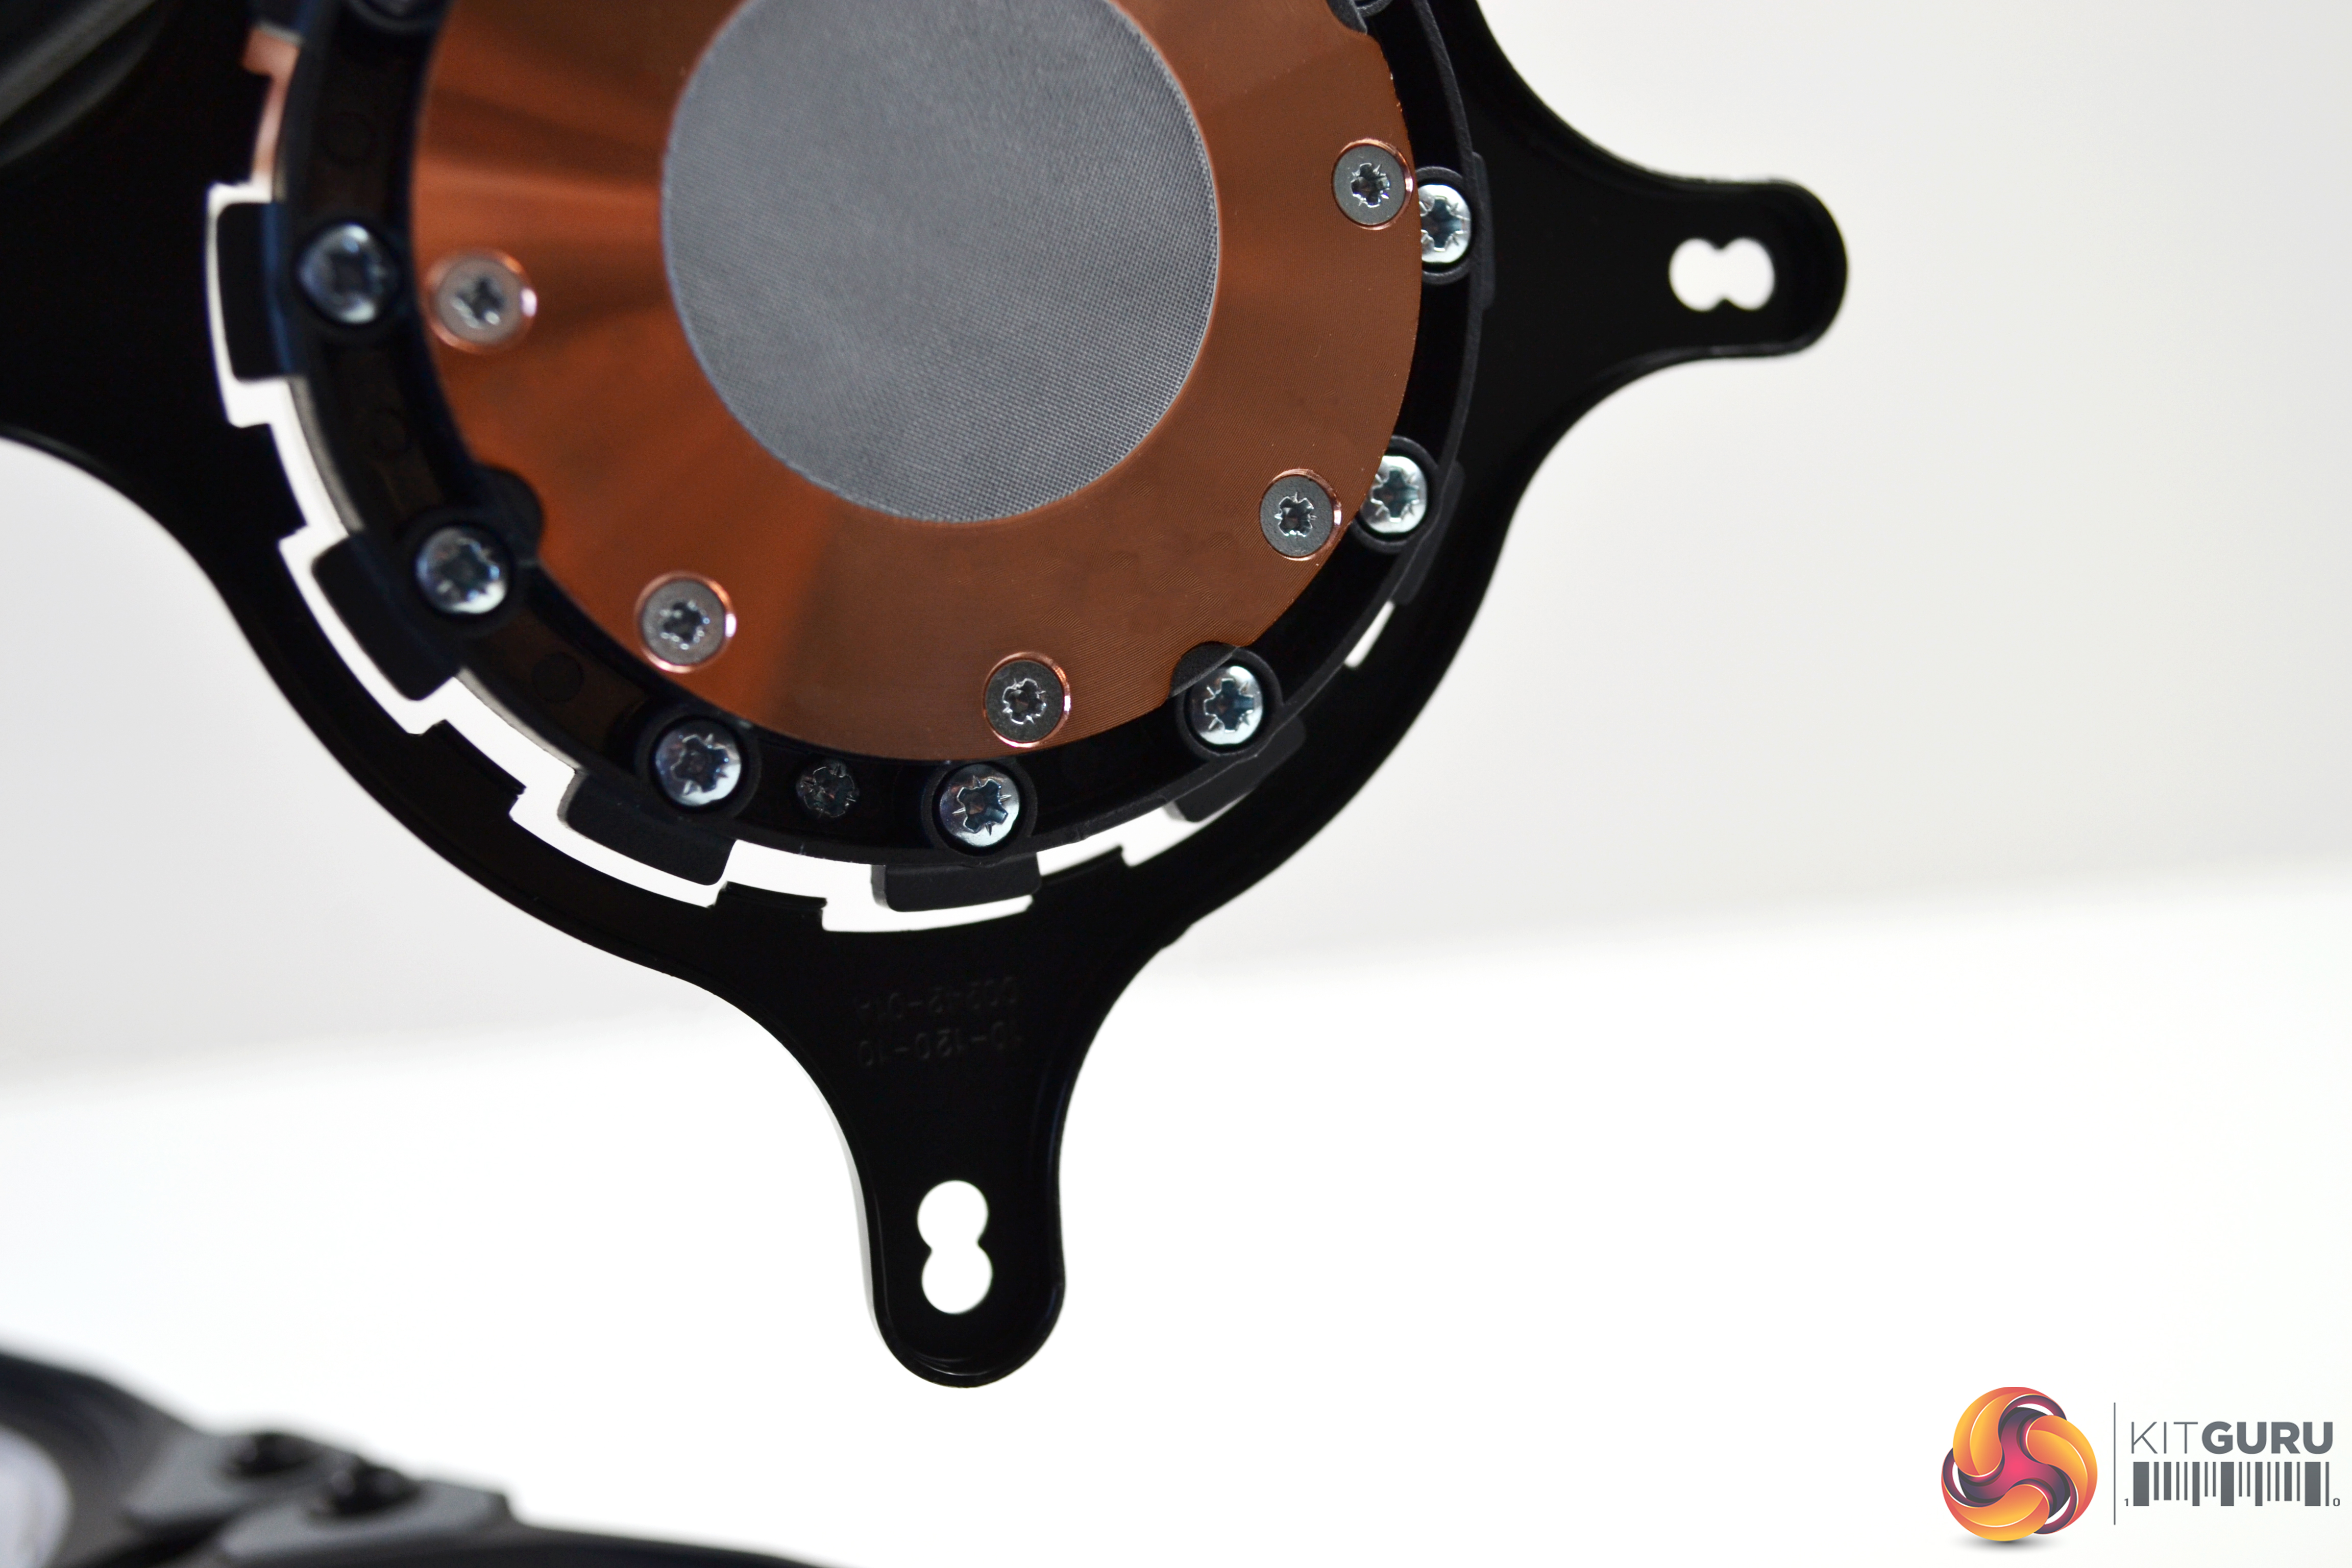
Next, take the four black steel thumbscrews and tighten down equally in an X pattern from corner to corner. This method helps ensure equal pressure and thermal compound spread, when tightening down. Final tightening can be nipped up with a Philips screwdriver. Connect the 3-pin pump cable to the CPU_FAN header on your motherboard.
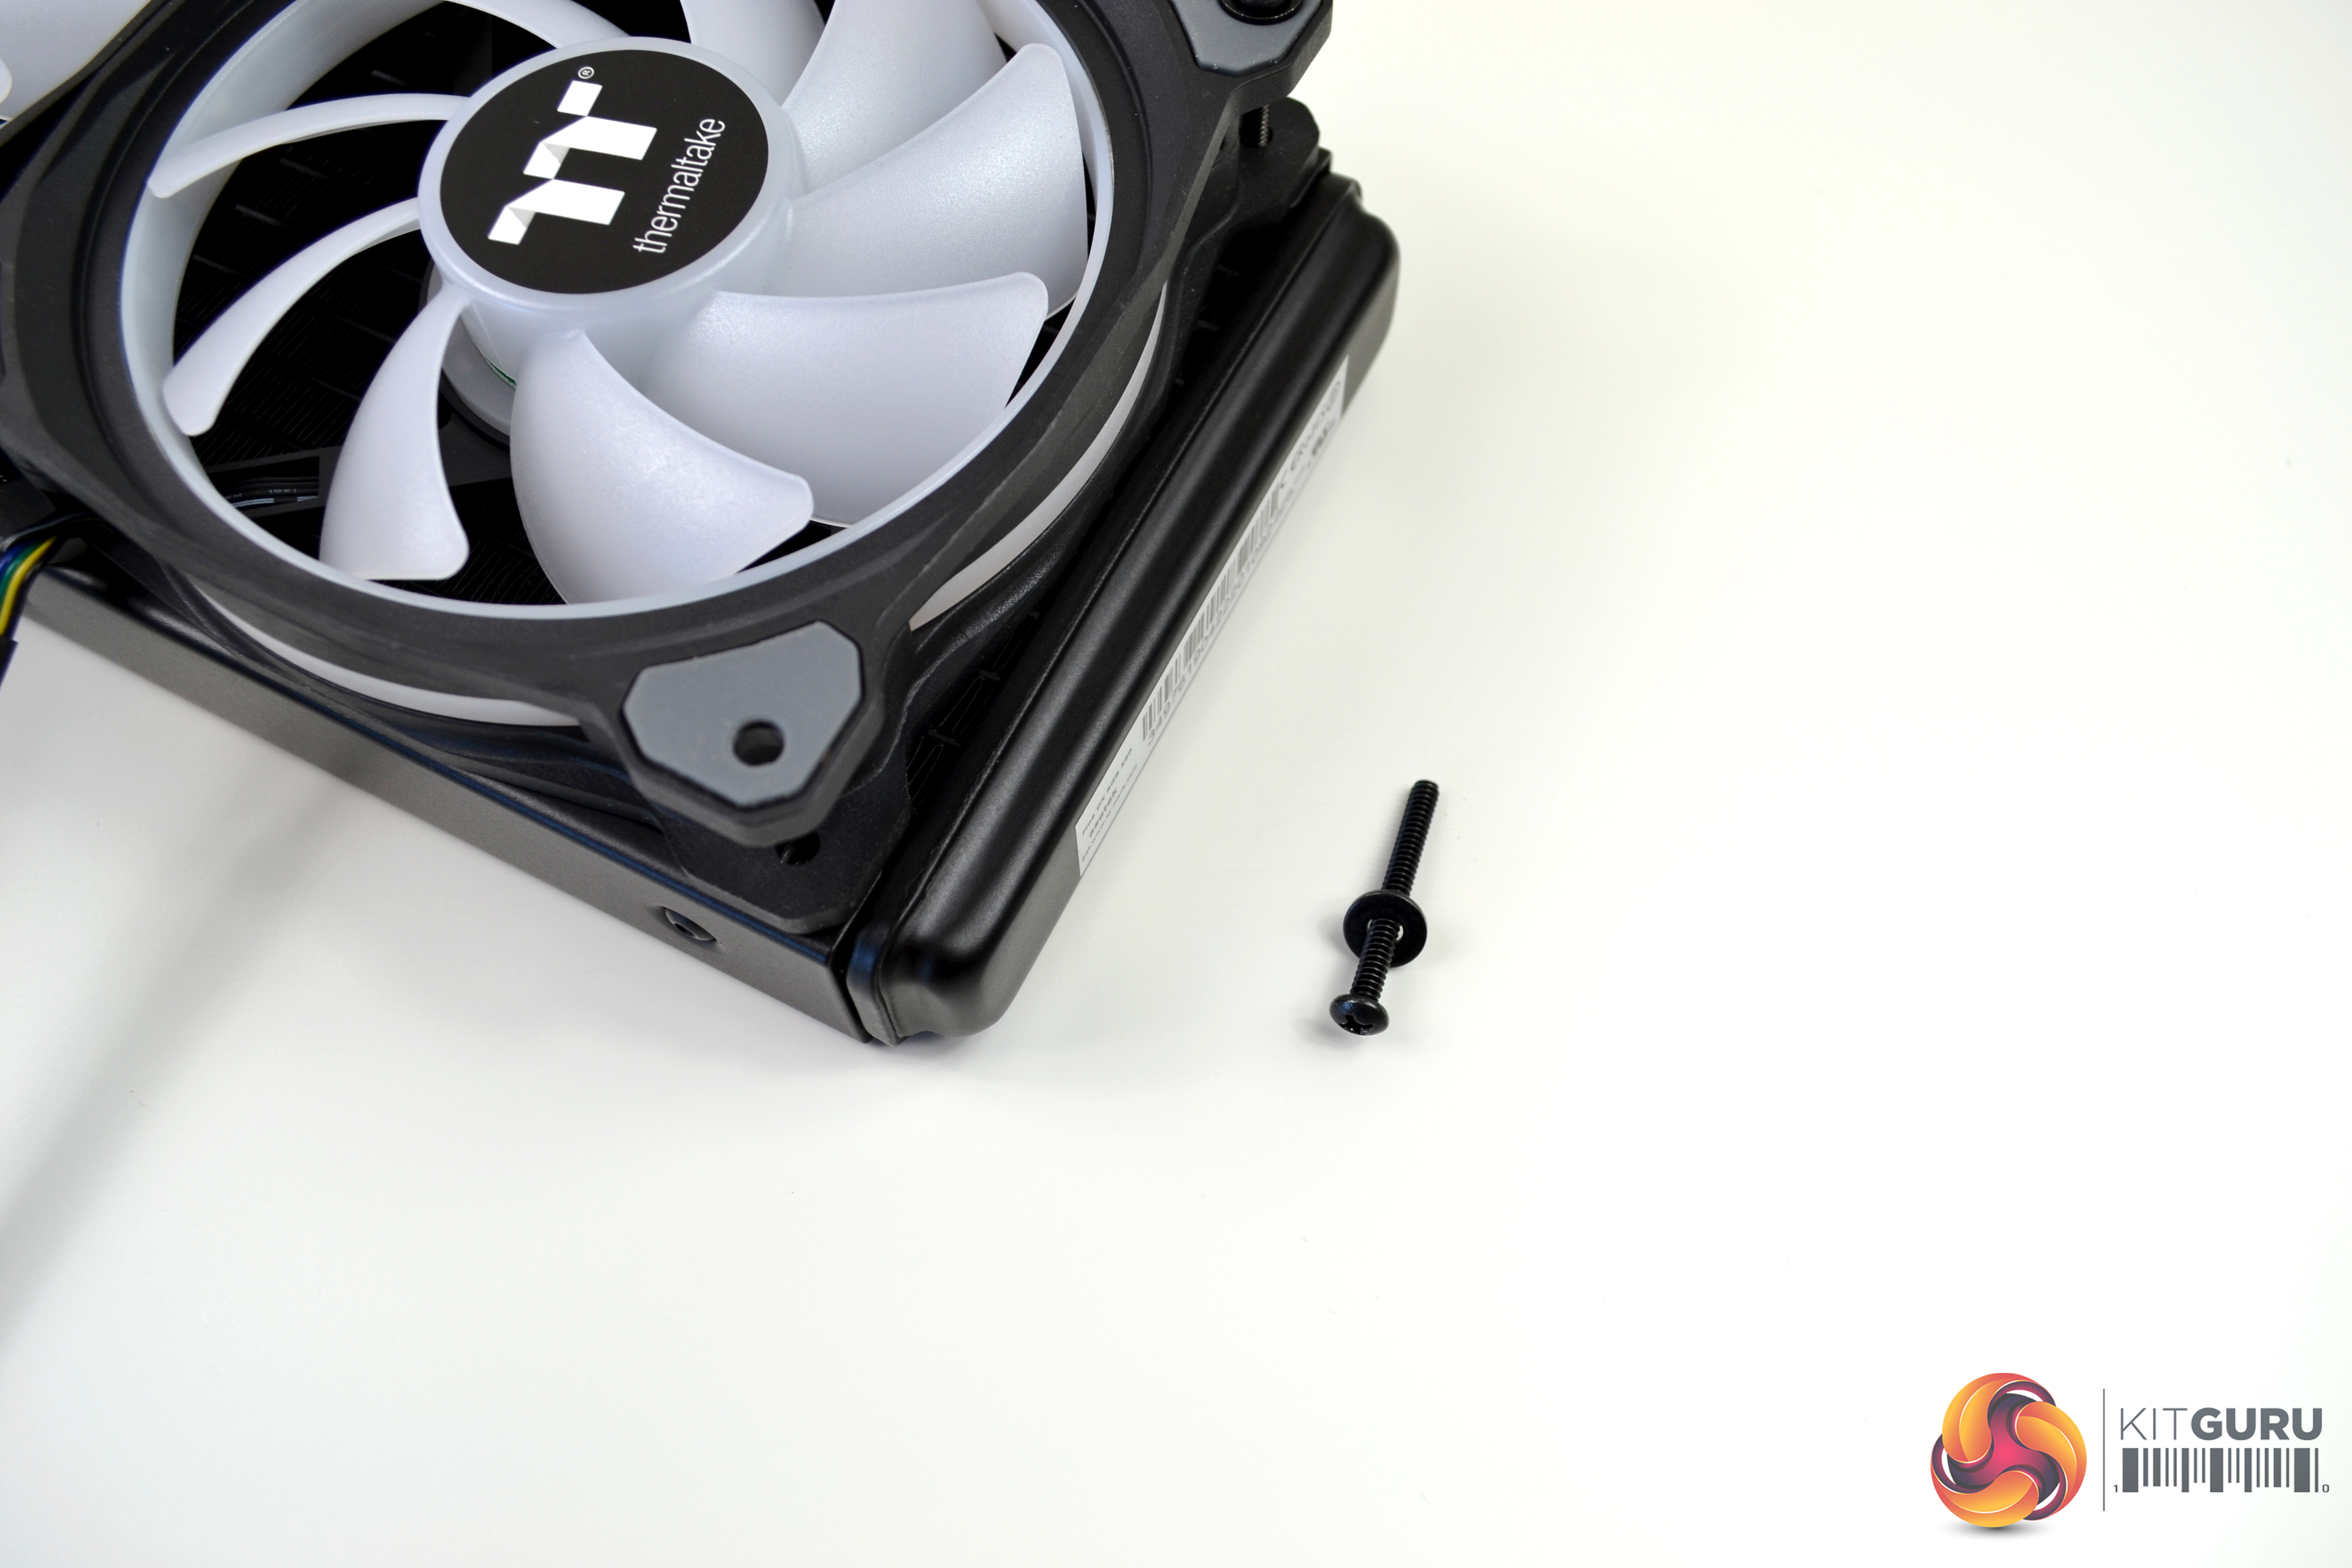
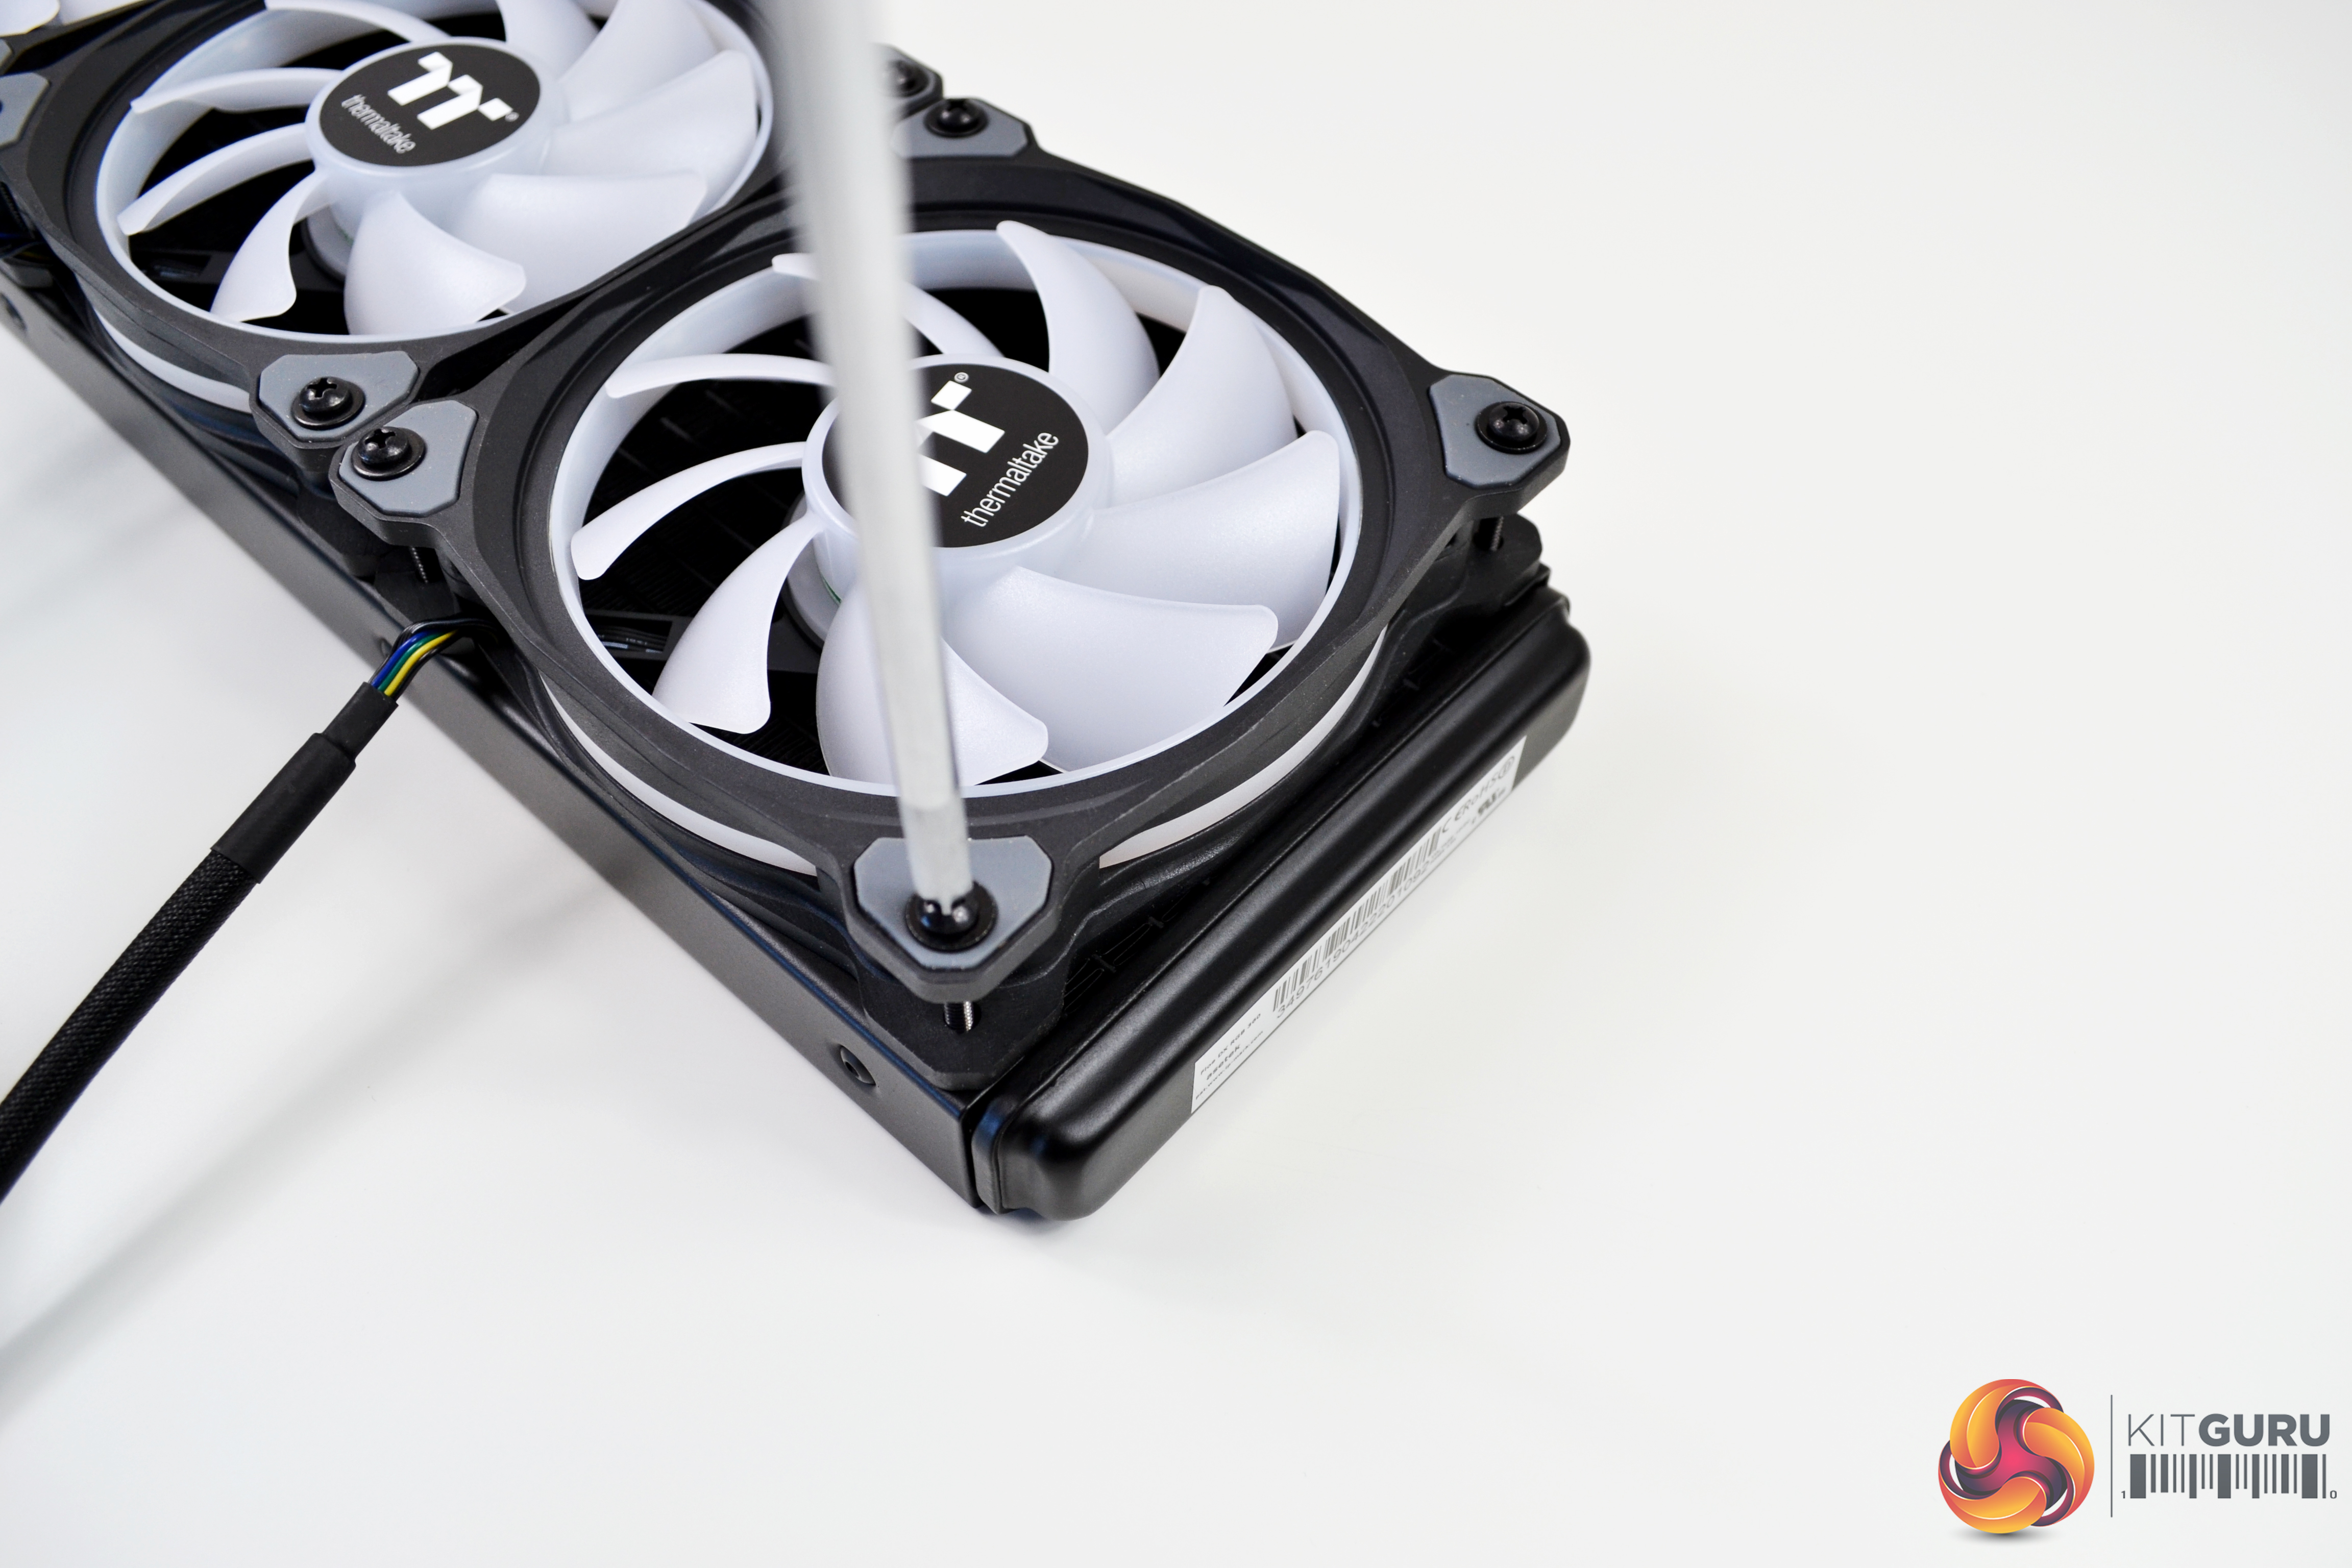
Finally, locate the twelve fan retention screws and black steel washes and secure the three fans to the radiator. Try not to over tighten the screws as it could potentially damage the anti-vibration rubbers, if too much force is applied when tightening.
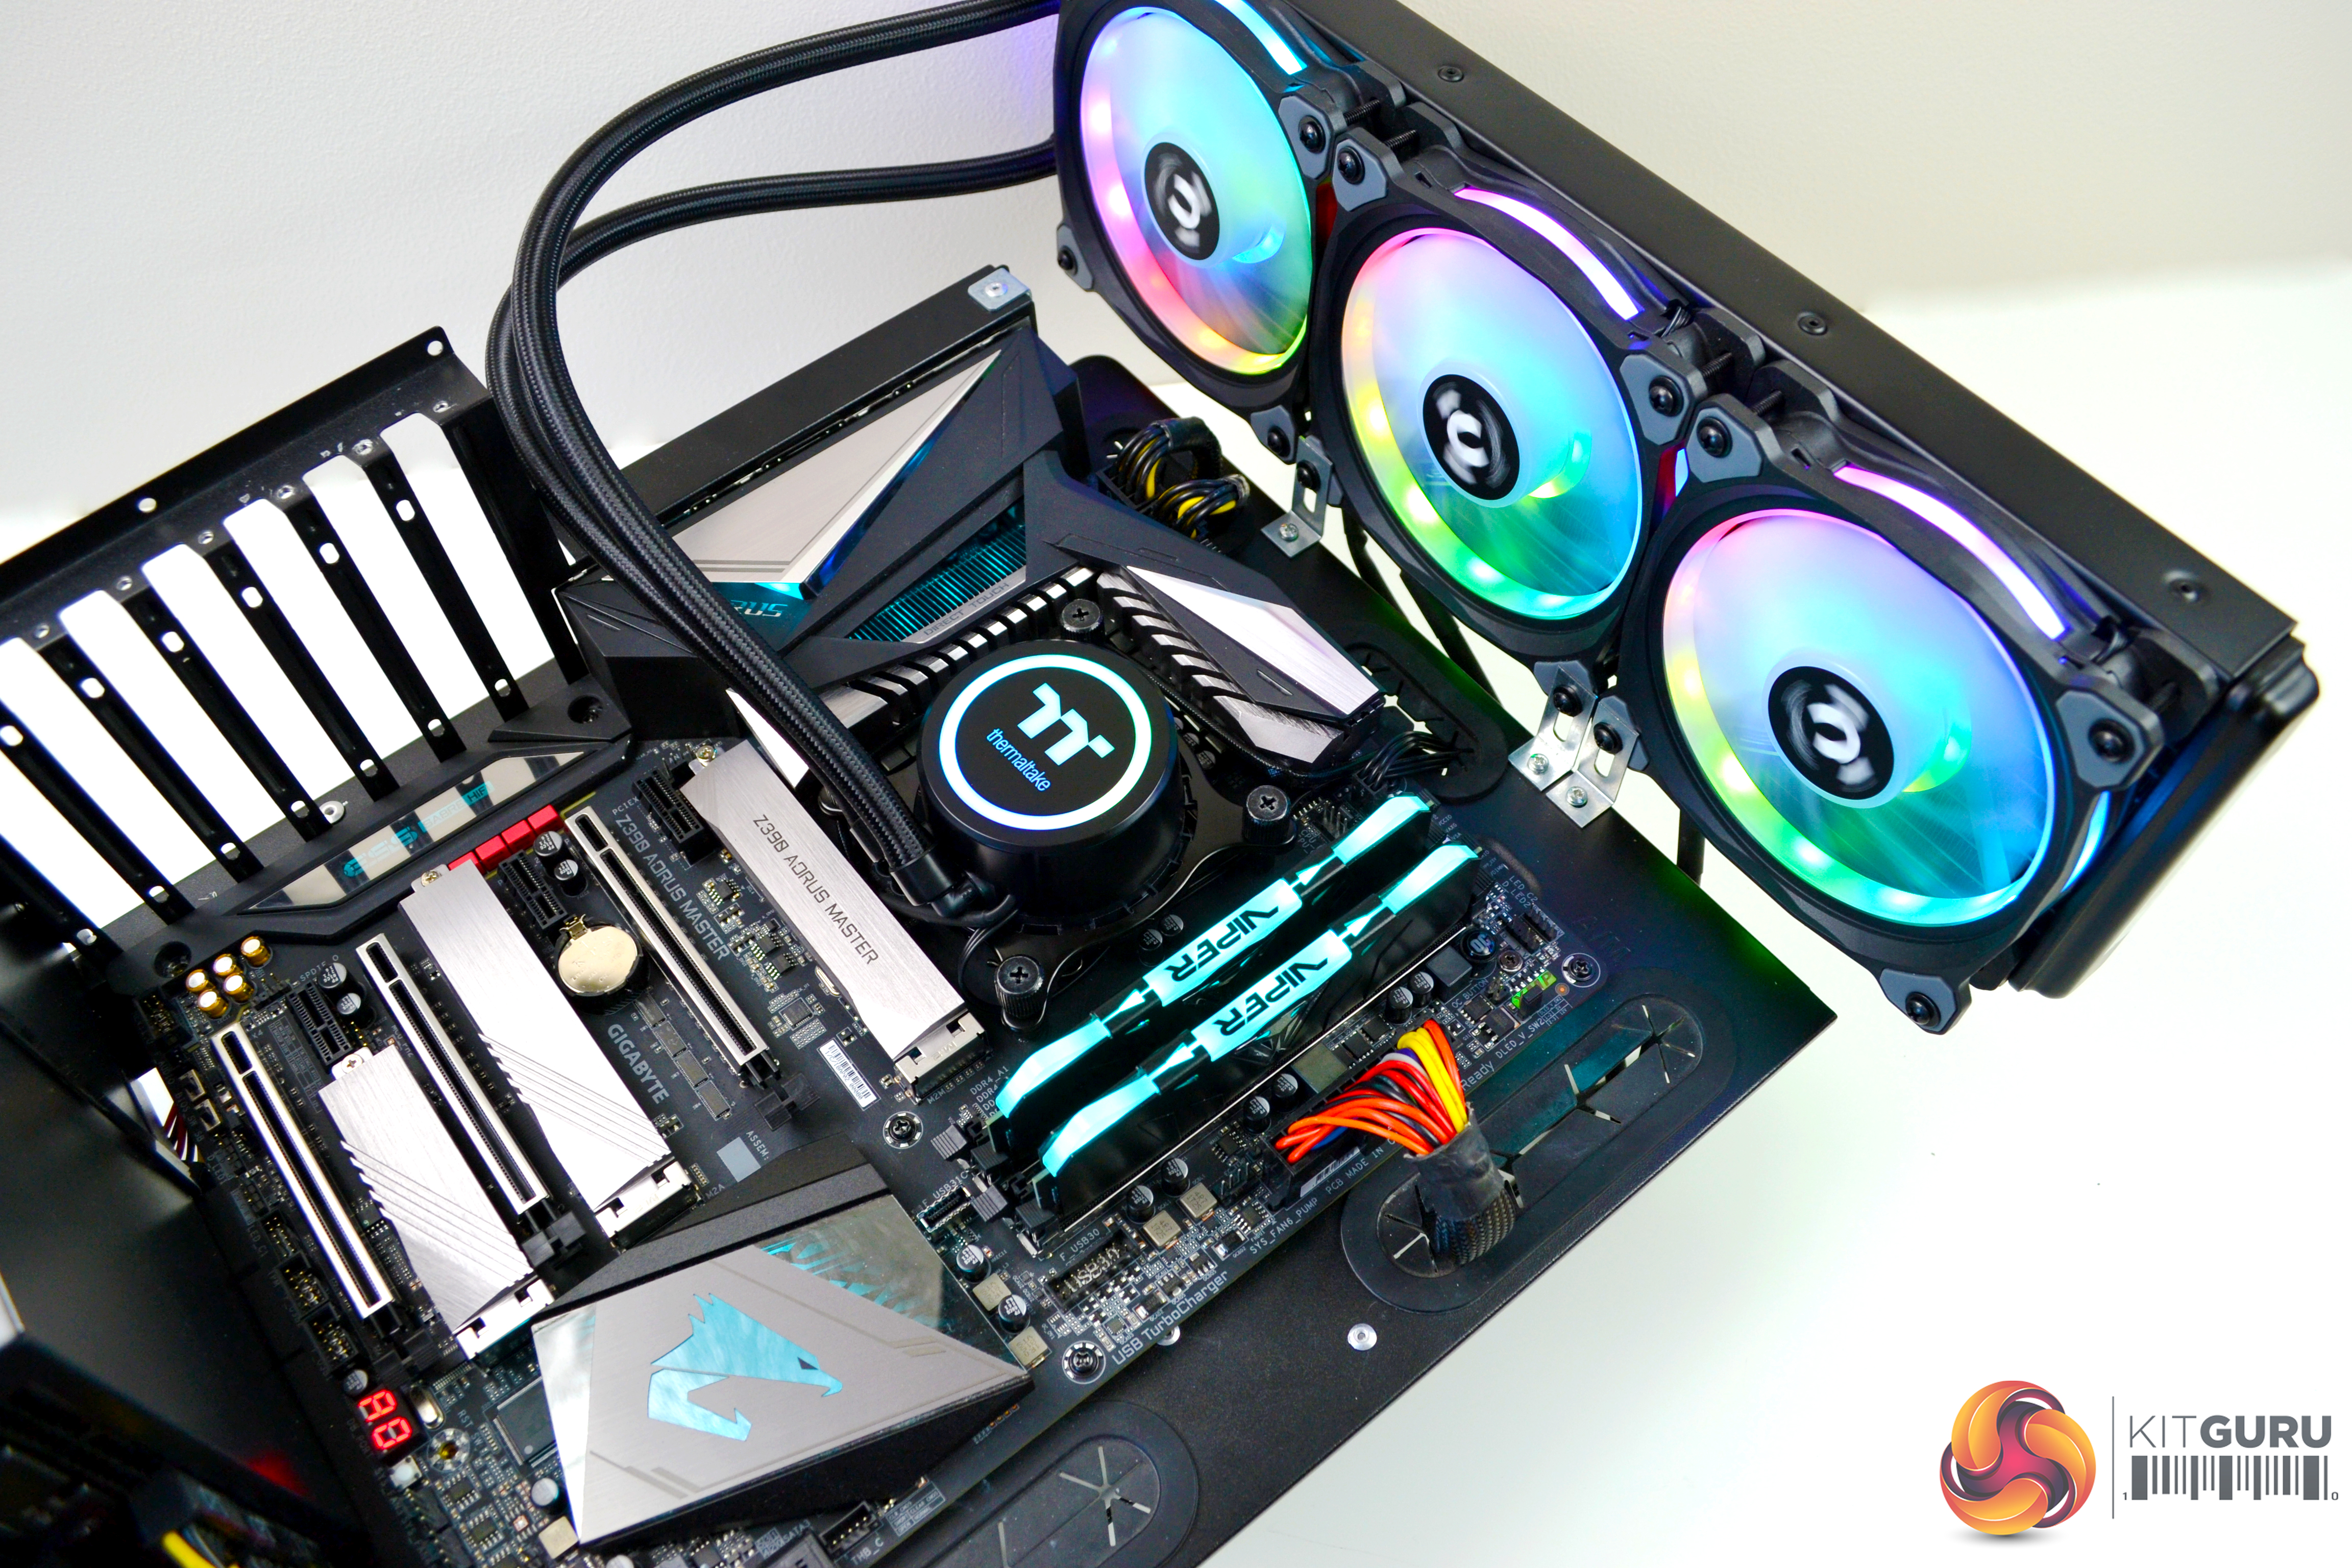
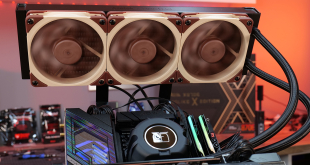
The process of Mounting the radiator on our test bench is significantly different to mounting in a PC case, so it would not be relevant to detail the process. Once you have decided on the location you want to mount the radiator in your case, follow the simple directions in the manual and installation of the radiator should be easy.
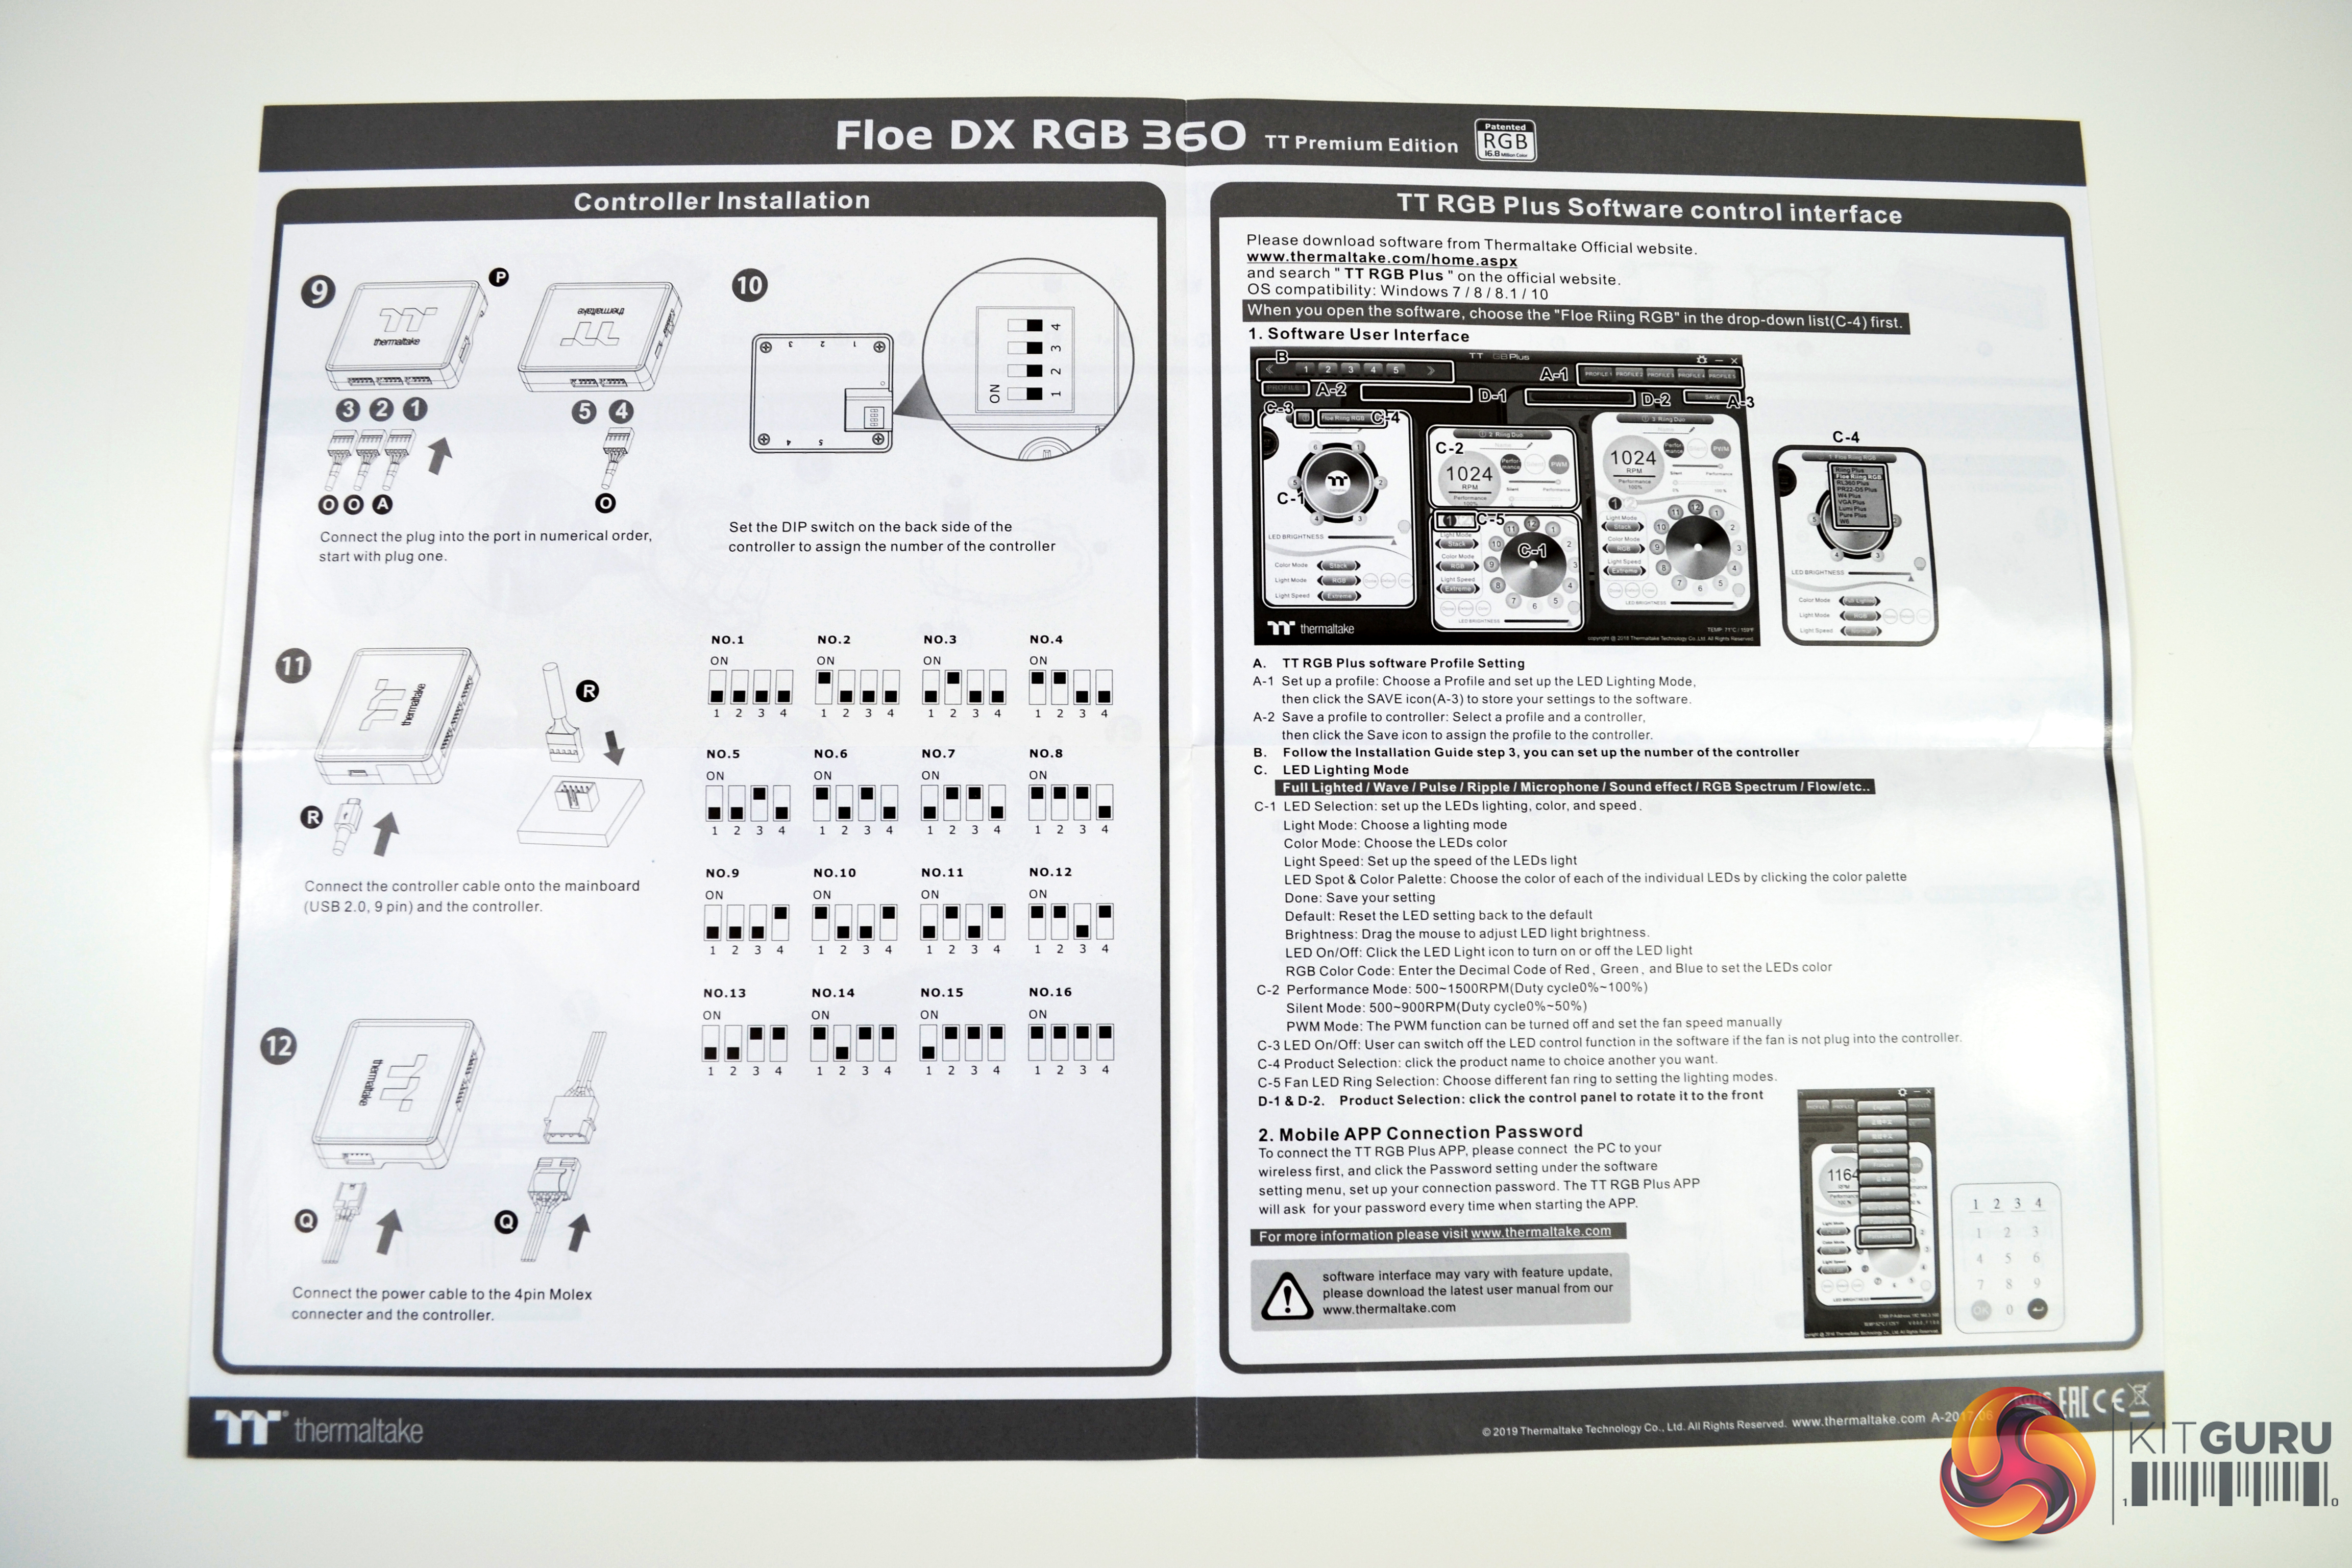
Digital RGB Lighting Controller Installation

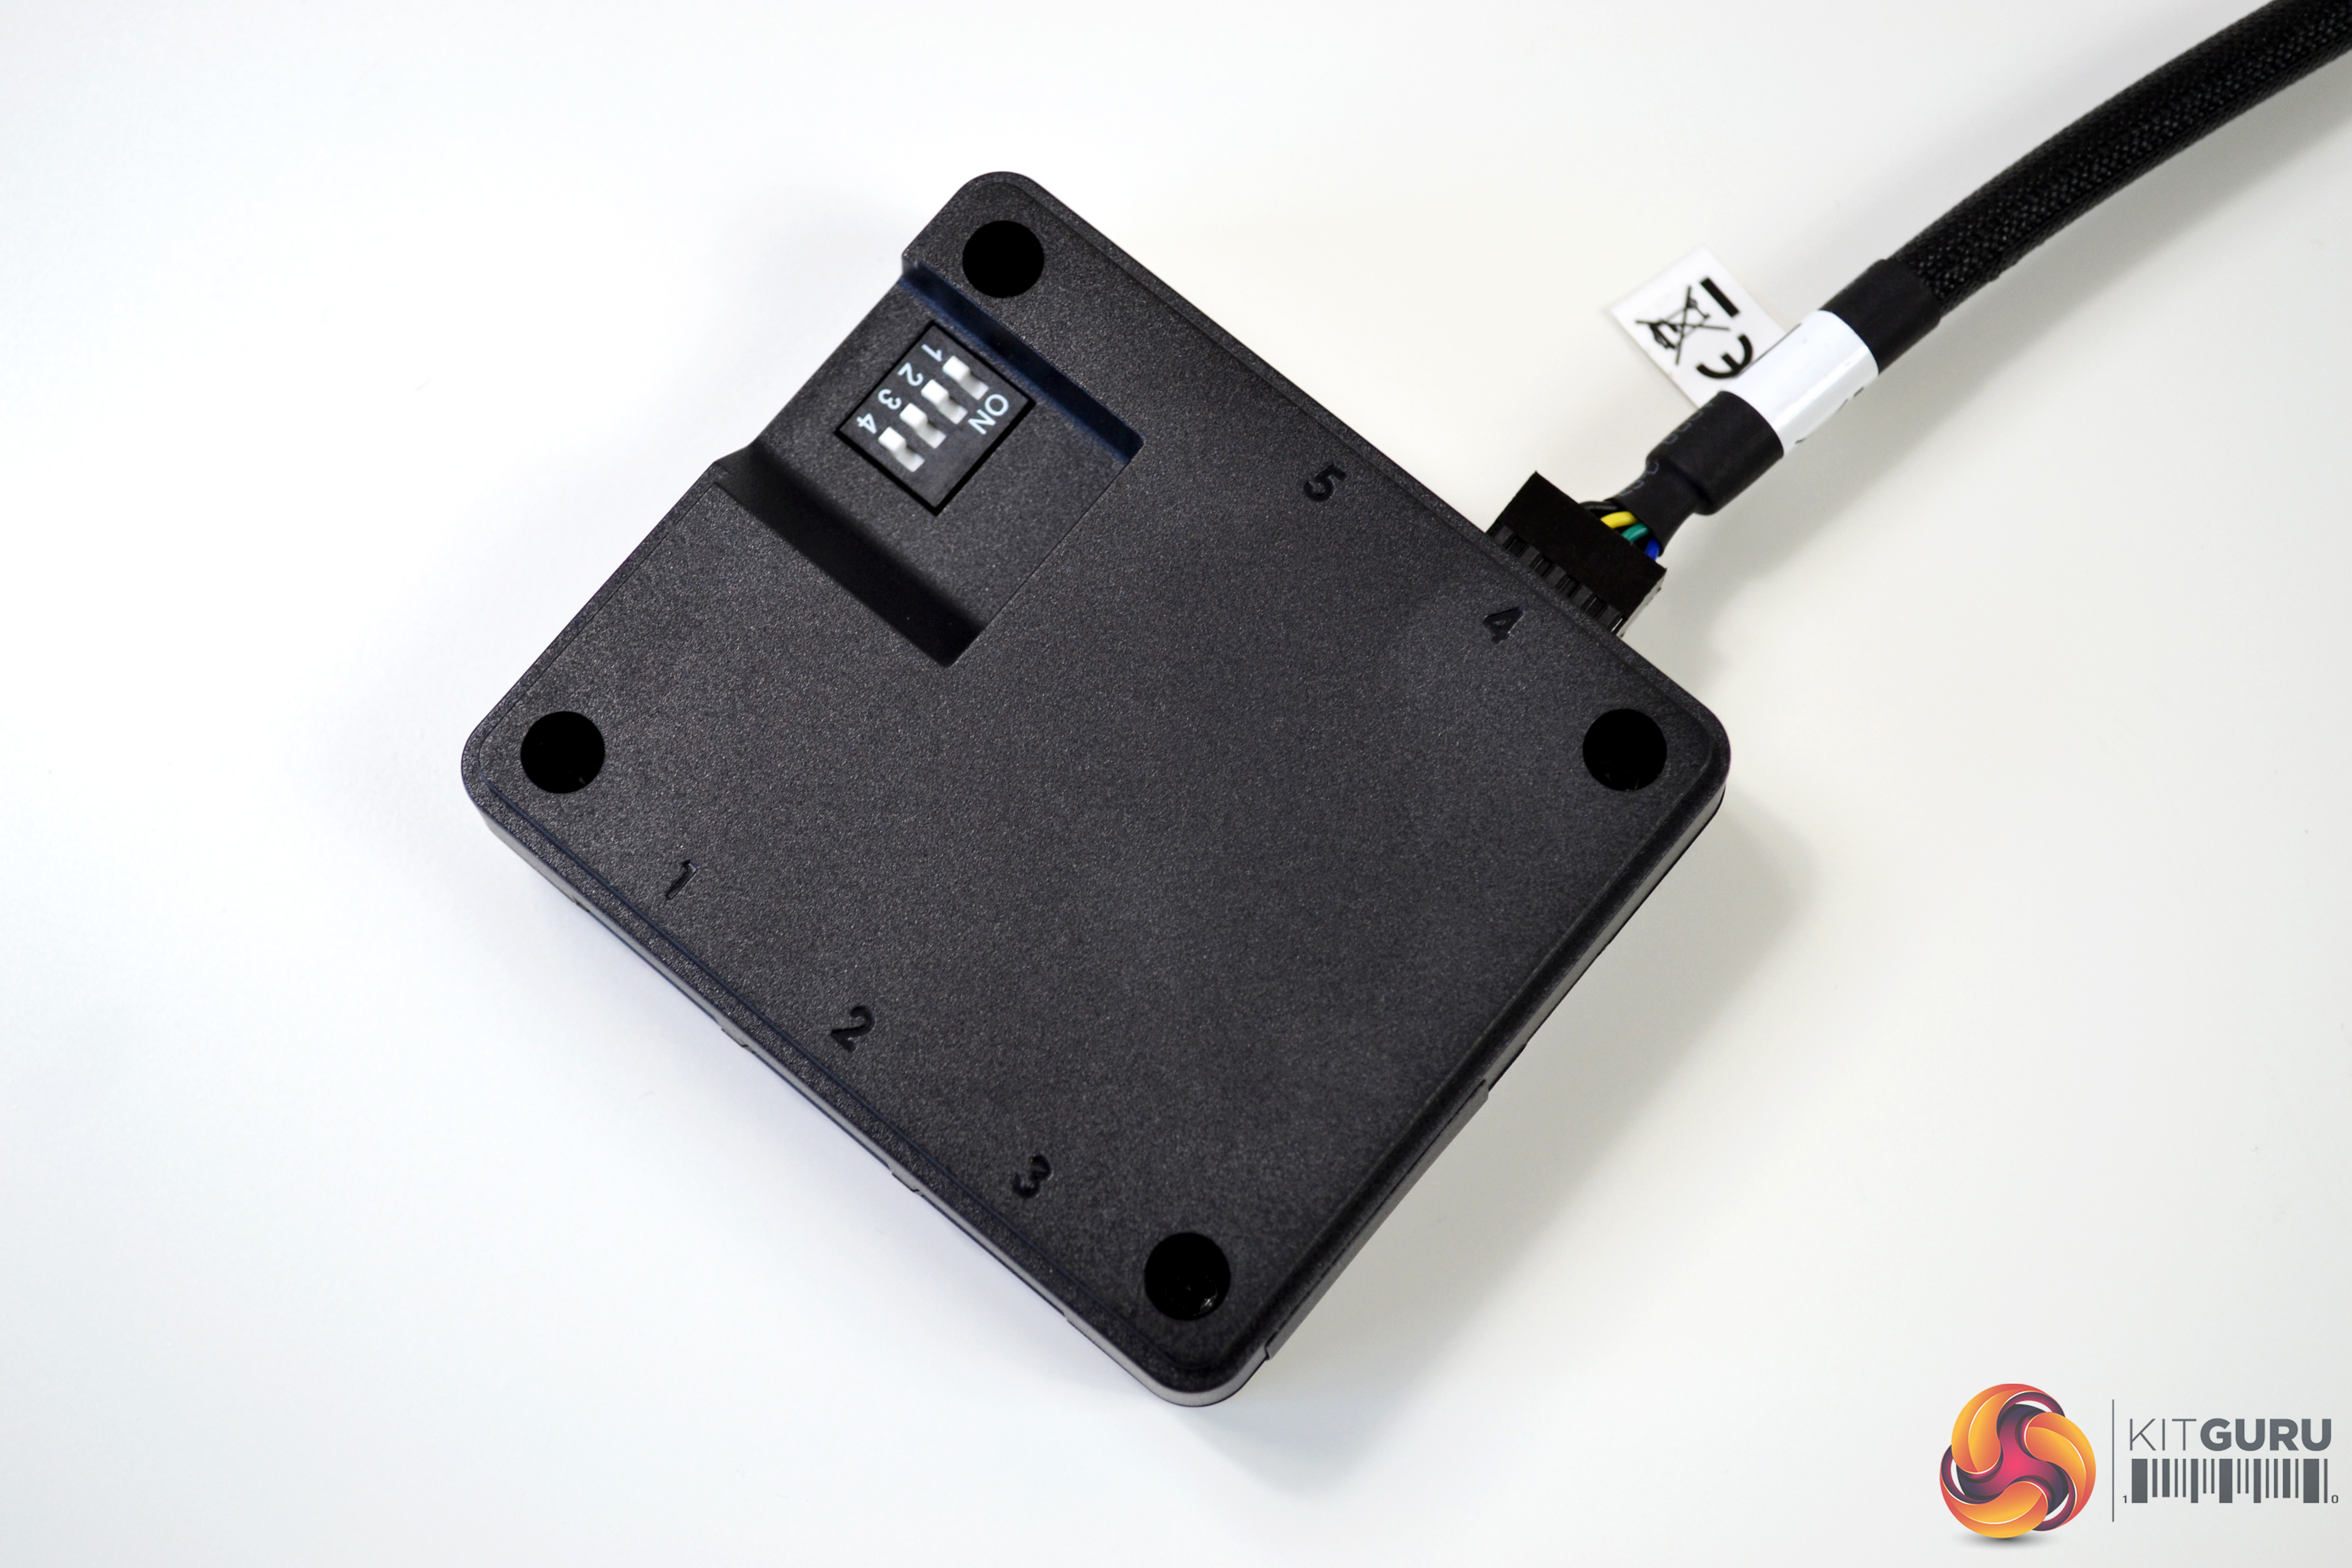
Installation of the digital RGB lighting controller is a straightforward process. On the under side of the controller, there are numbers associated with the RGB ports that the fans and pump connect to. The three fans should be plugged in ports numbered one to three and the pump should be connected to port number four. There are five ports in total on the controller for connecting a range of Thermaltake RGB products, so you could potentially plug one more fan into the controller included with the Floe DX.
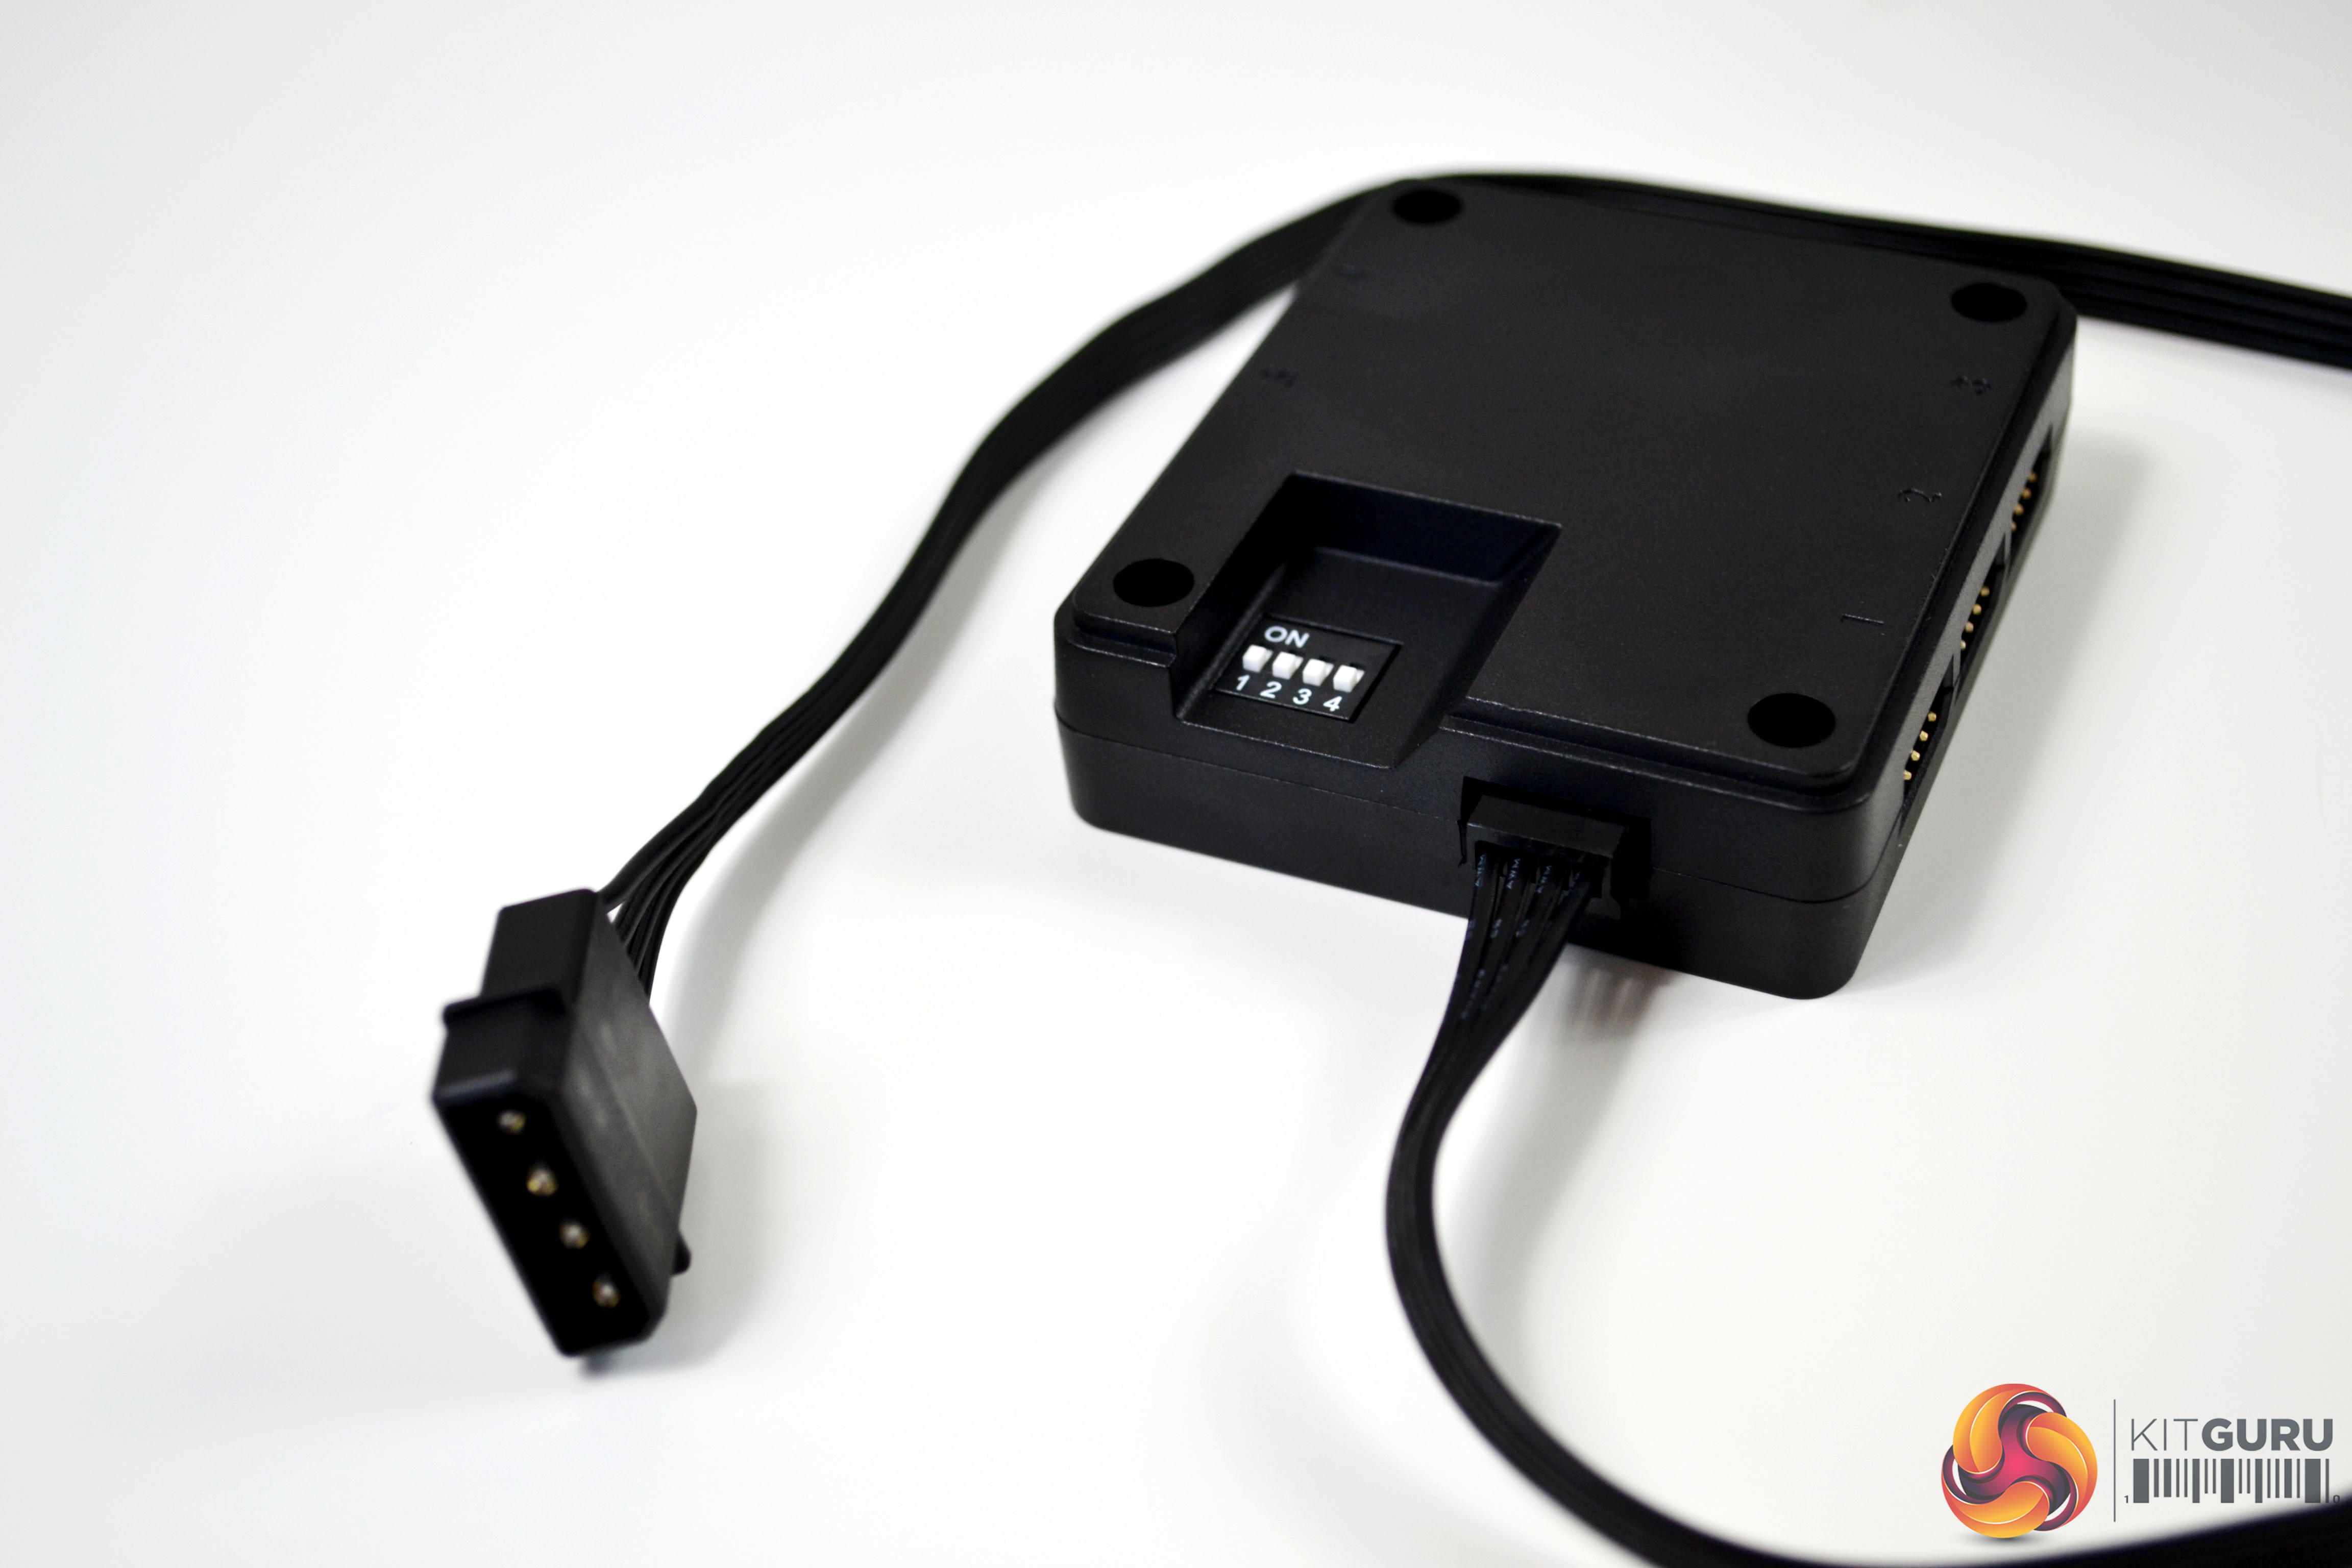
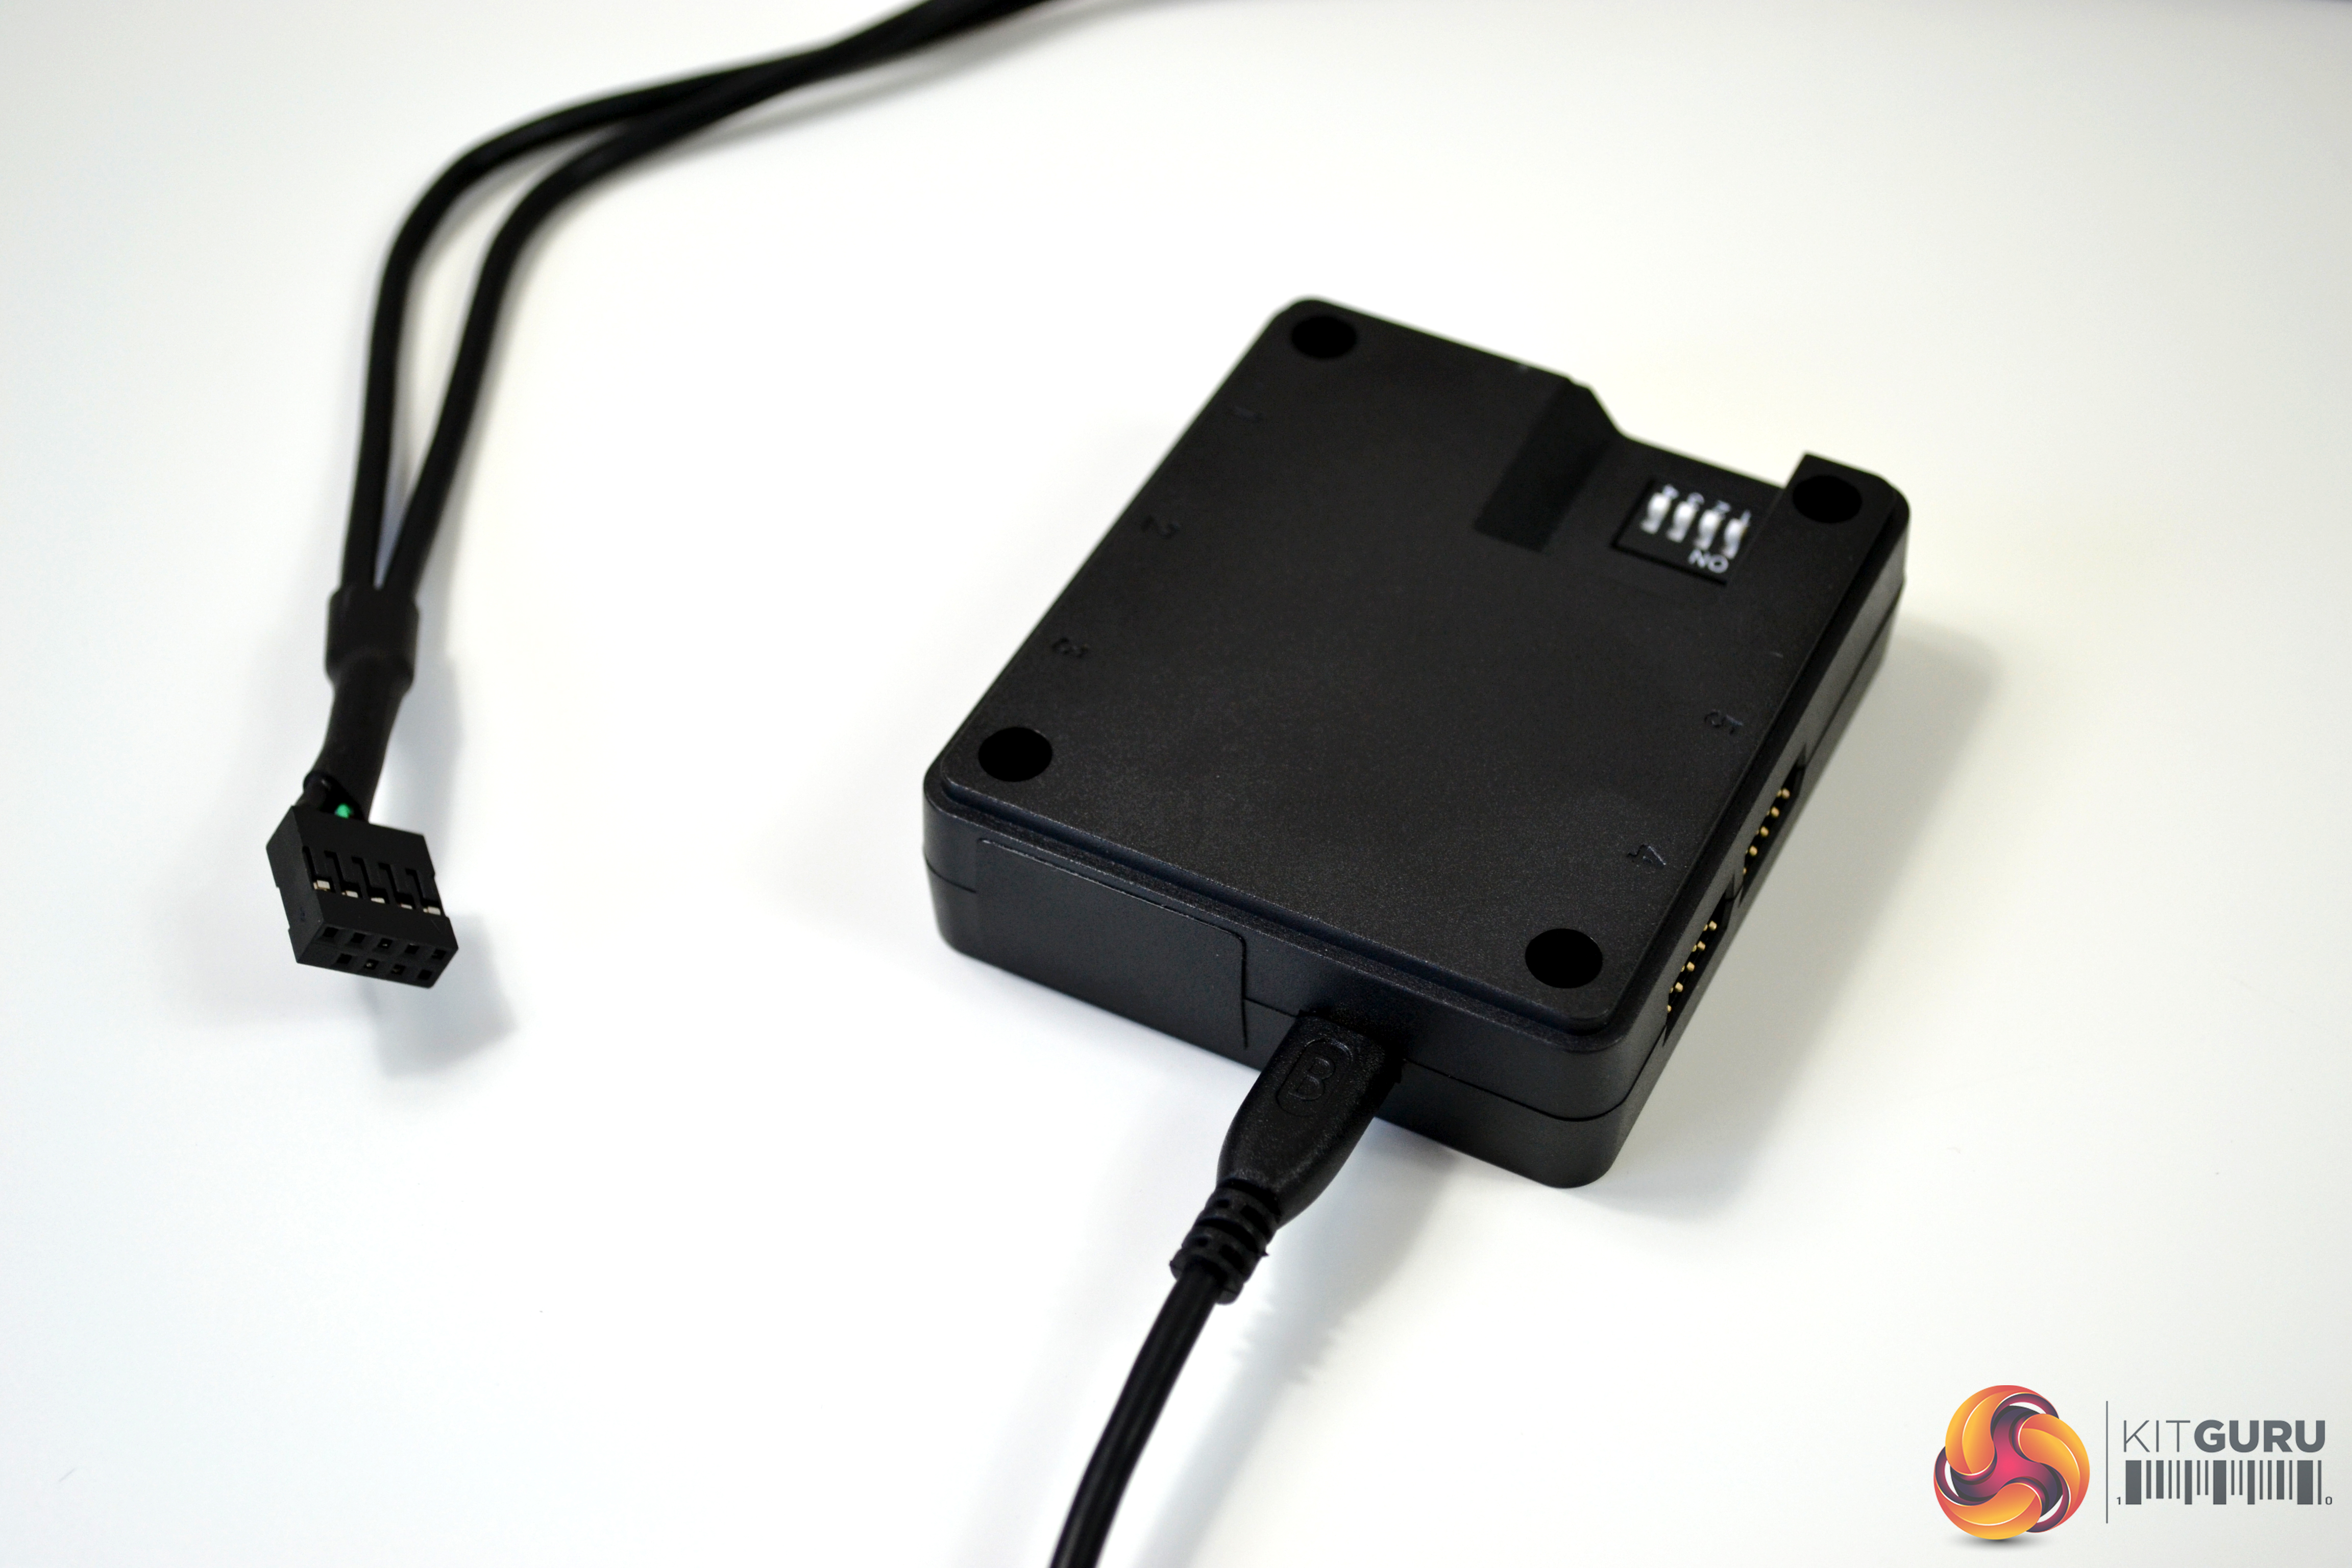
A four pin Molex connection is used to power the controller and a USB cable is supplied to connect the controller to a USB header on your motherboard. The USB connection is used to communicate with the software. The controller will power on without the USB cable connected and will display the default RGB lighting effects.
Thermaltake have made it possible to link multiple controllers to one system, which is useful if you have a large range of their RGB products. On the under side of the controller, there is a DIP switch, which is used to give each controller a number. The configuration is clearly shown in the user manual and it is possible to add up to sixteen controllers in one system.