The installation process is OK but does include a number of steps, which don’t feature heavily with other branded coolers you may have come across in the past. This is primarily due to the unique hardware provided.
The first stage of installation requires removing both fans from the body of the cooler.
The backplate needs to be set up based on your motherboard's socket. As we now test using a Z170 motherboard socket LGA1151, the installation process below reflects this.
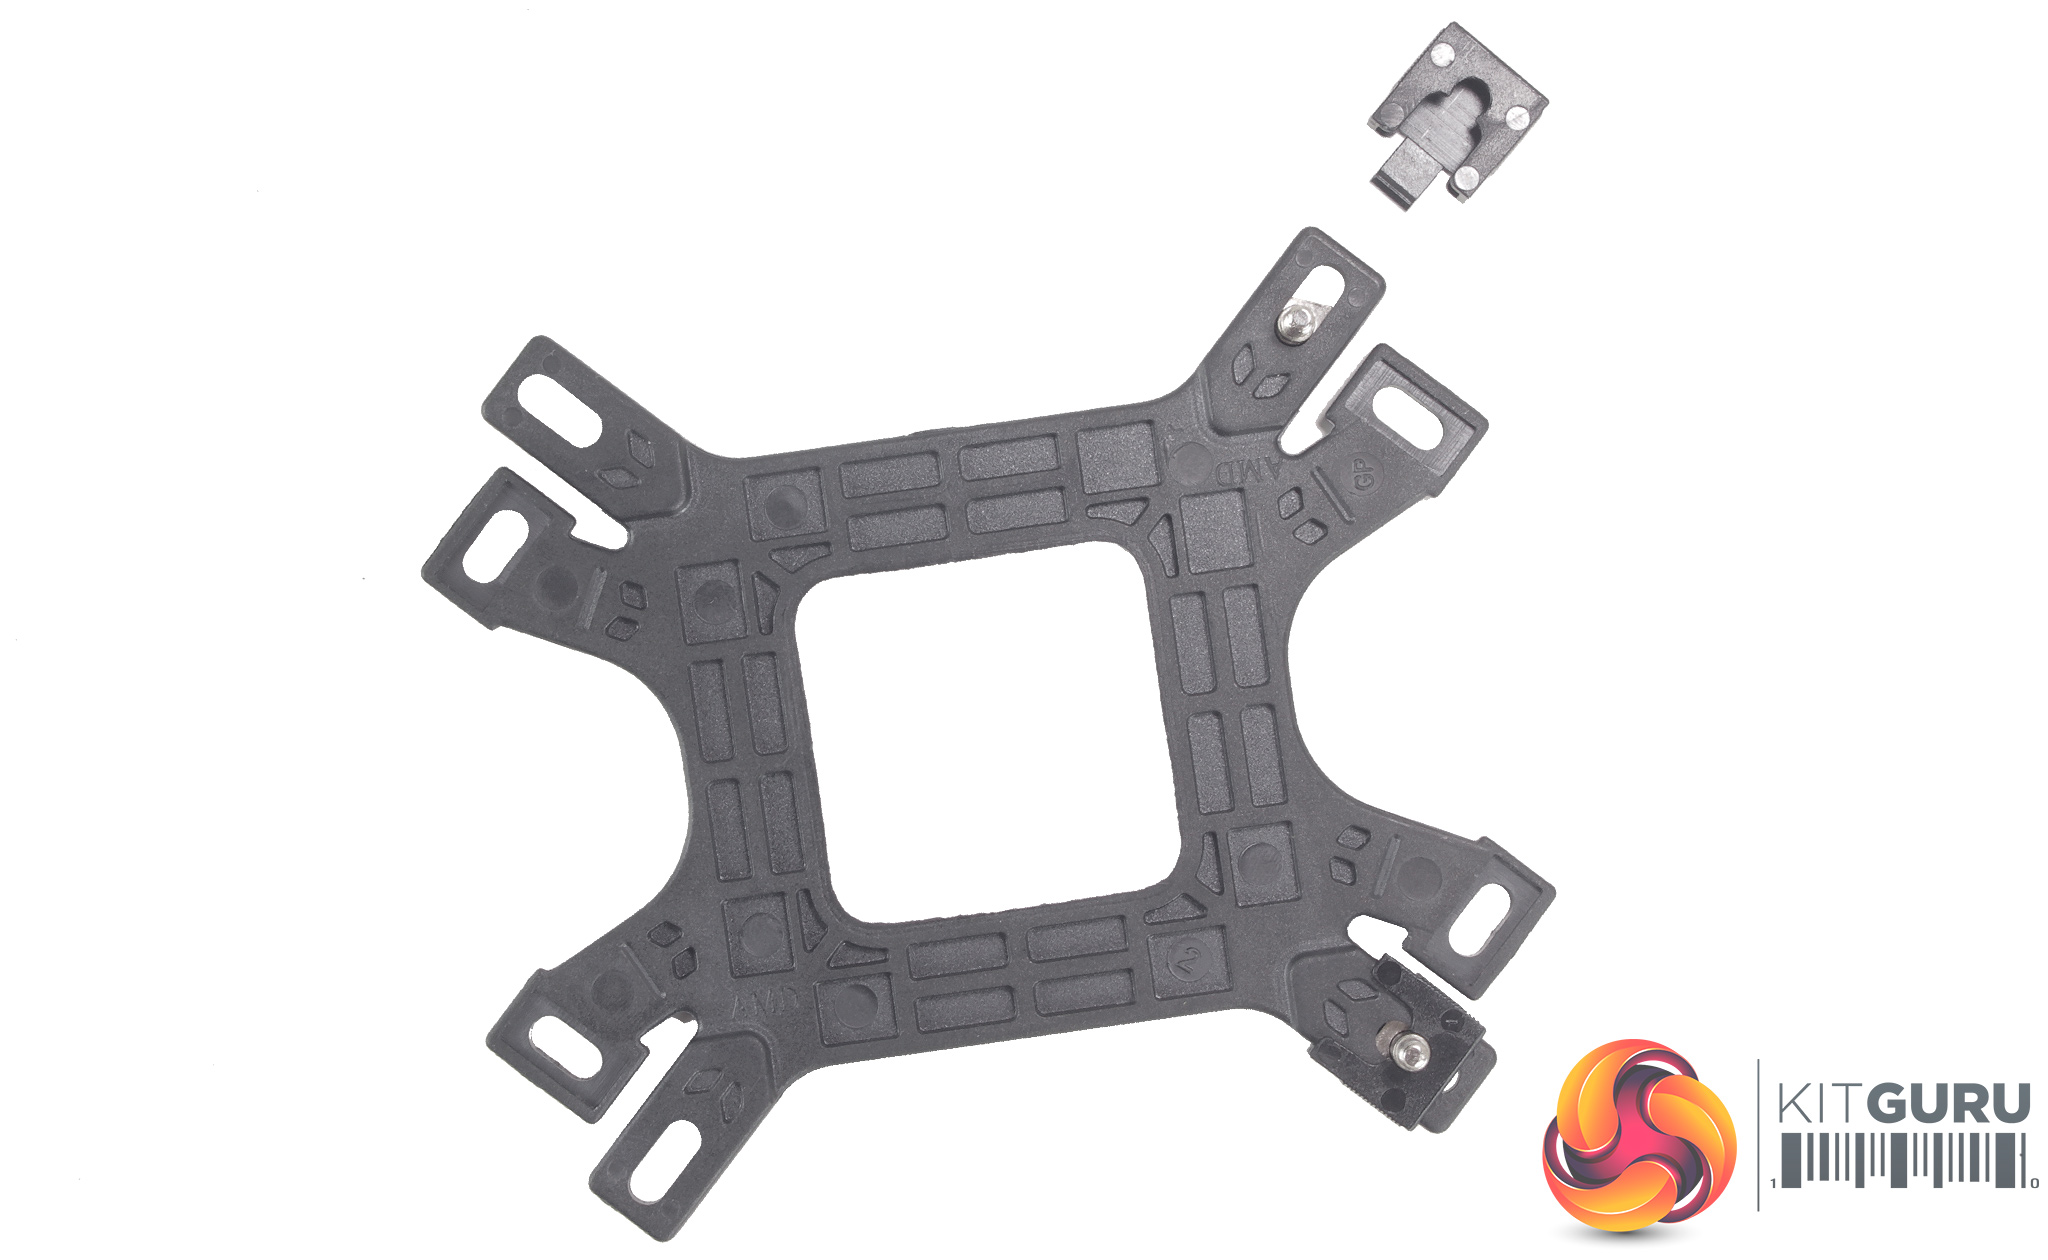
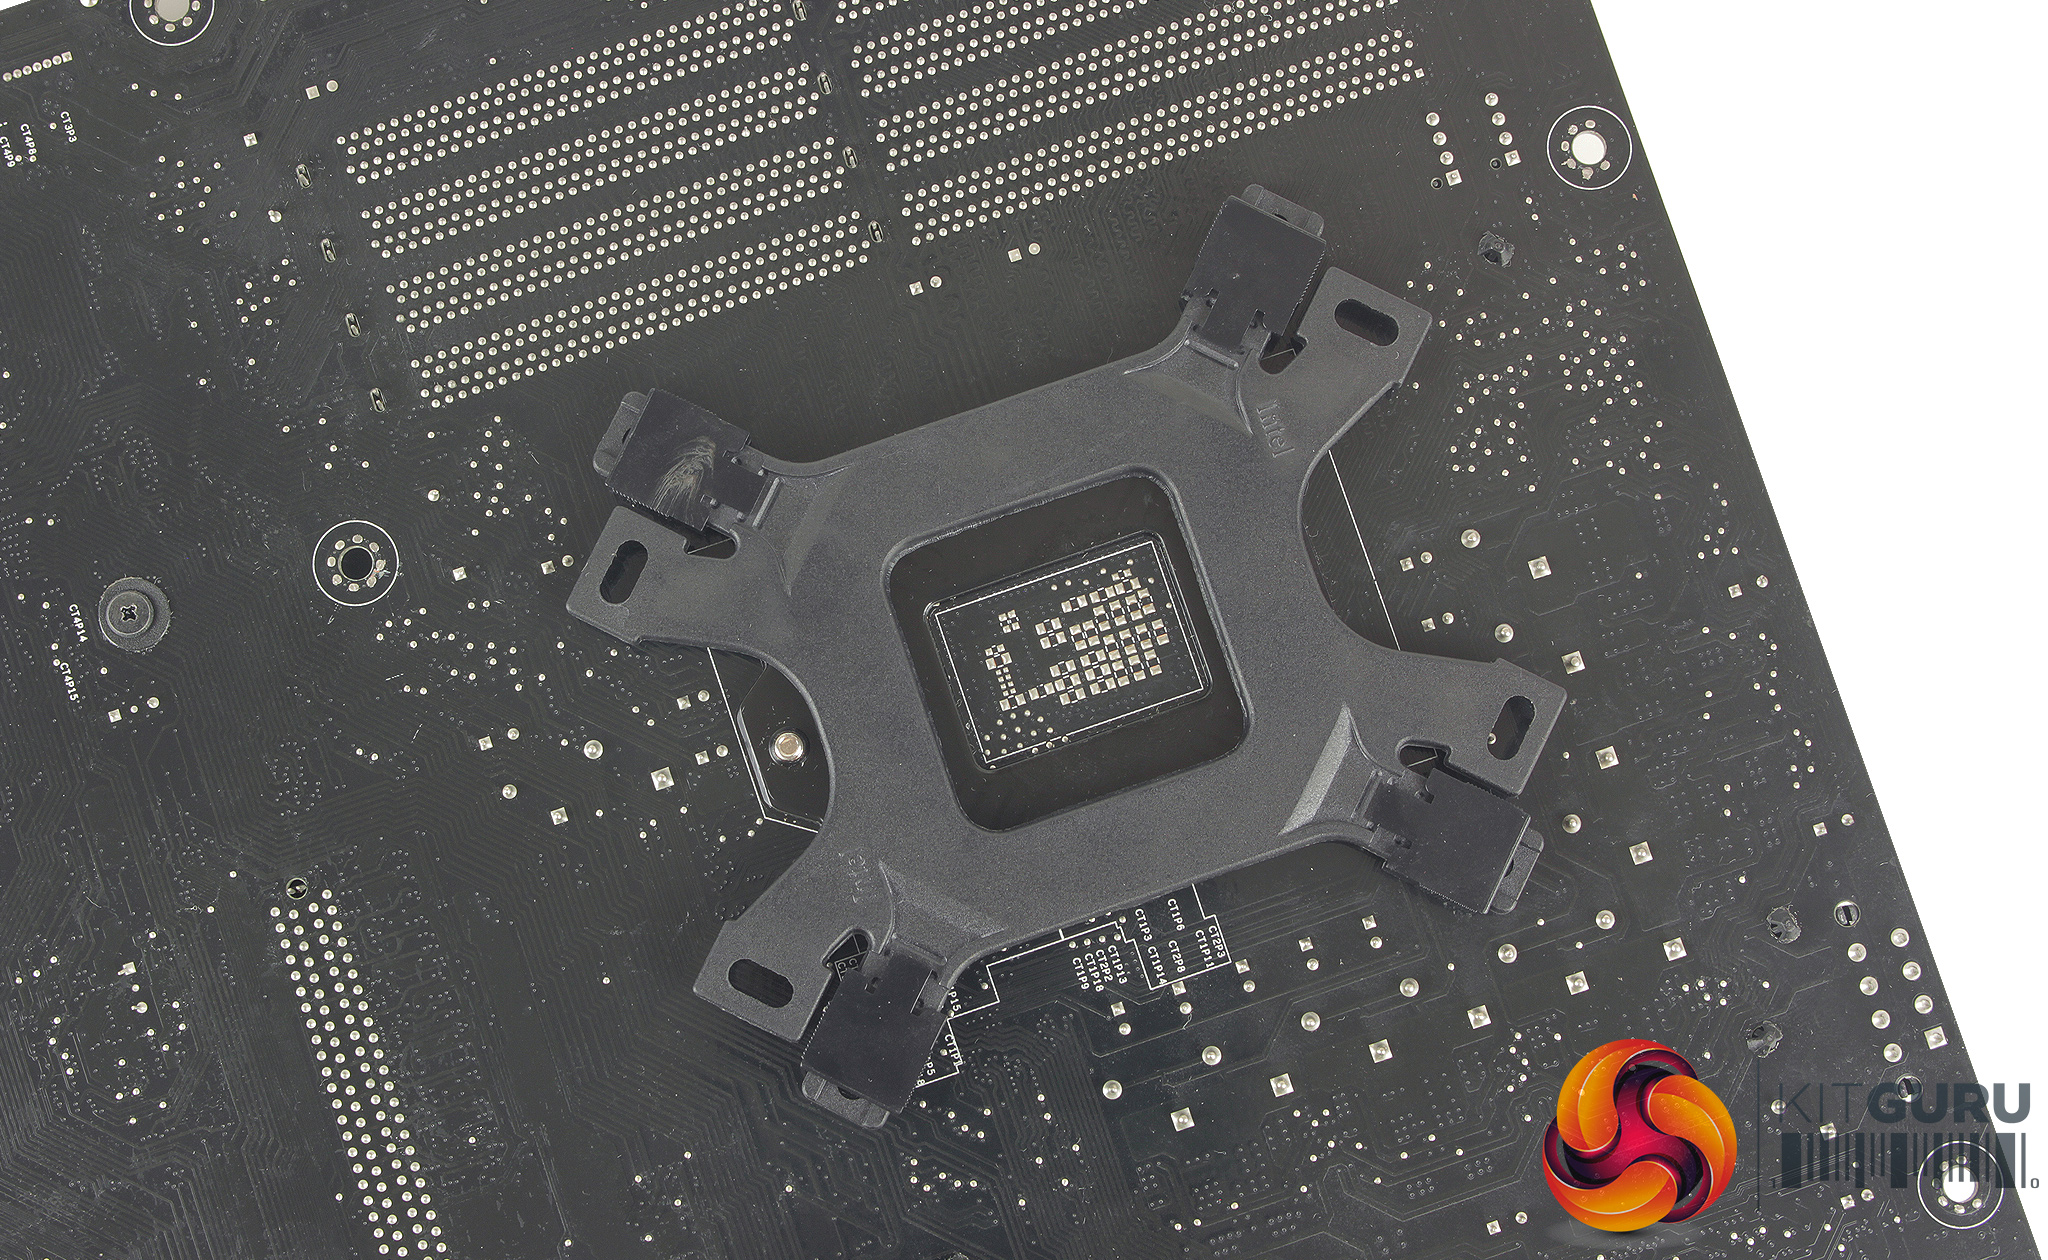
Setting up the backplate requires installing four flat square ended screws and clipping on the plastic screw covers. The backplate can then be placed behind the motherboard so that the four threaded screws pass through the motherboard socket holes.
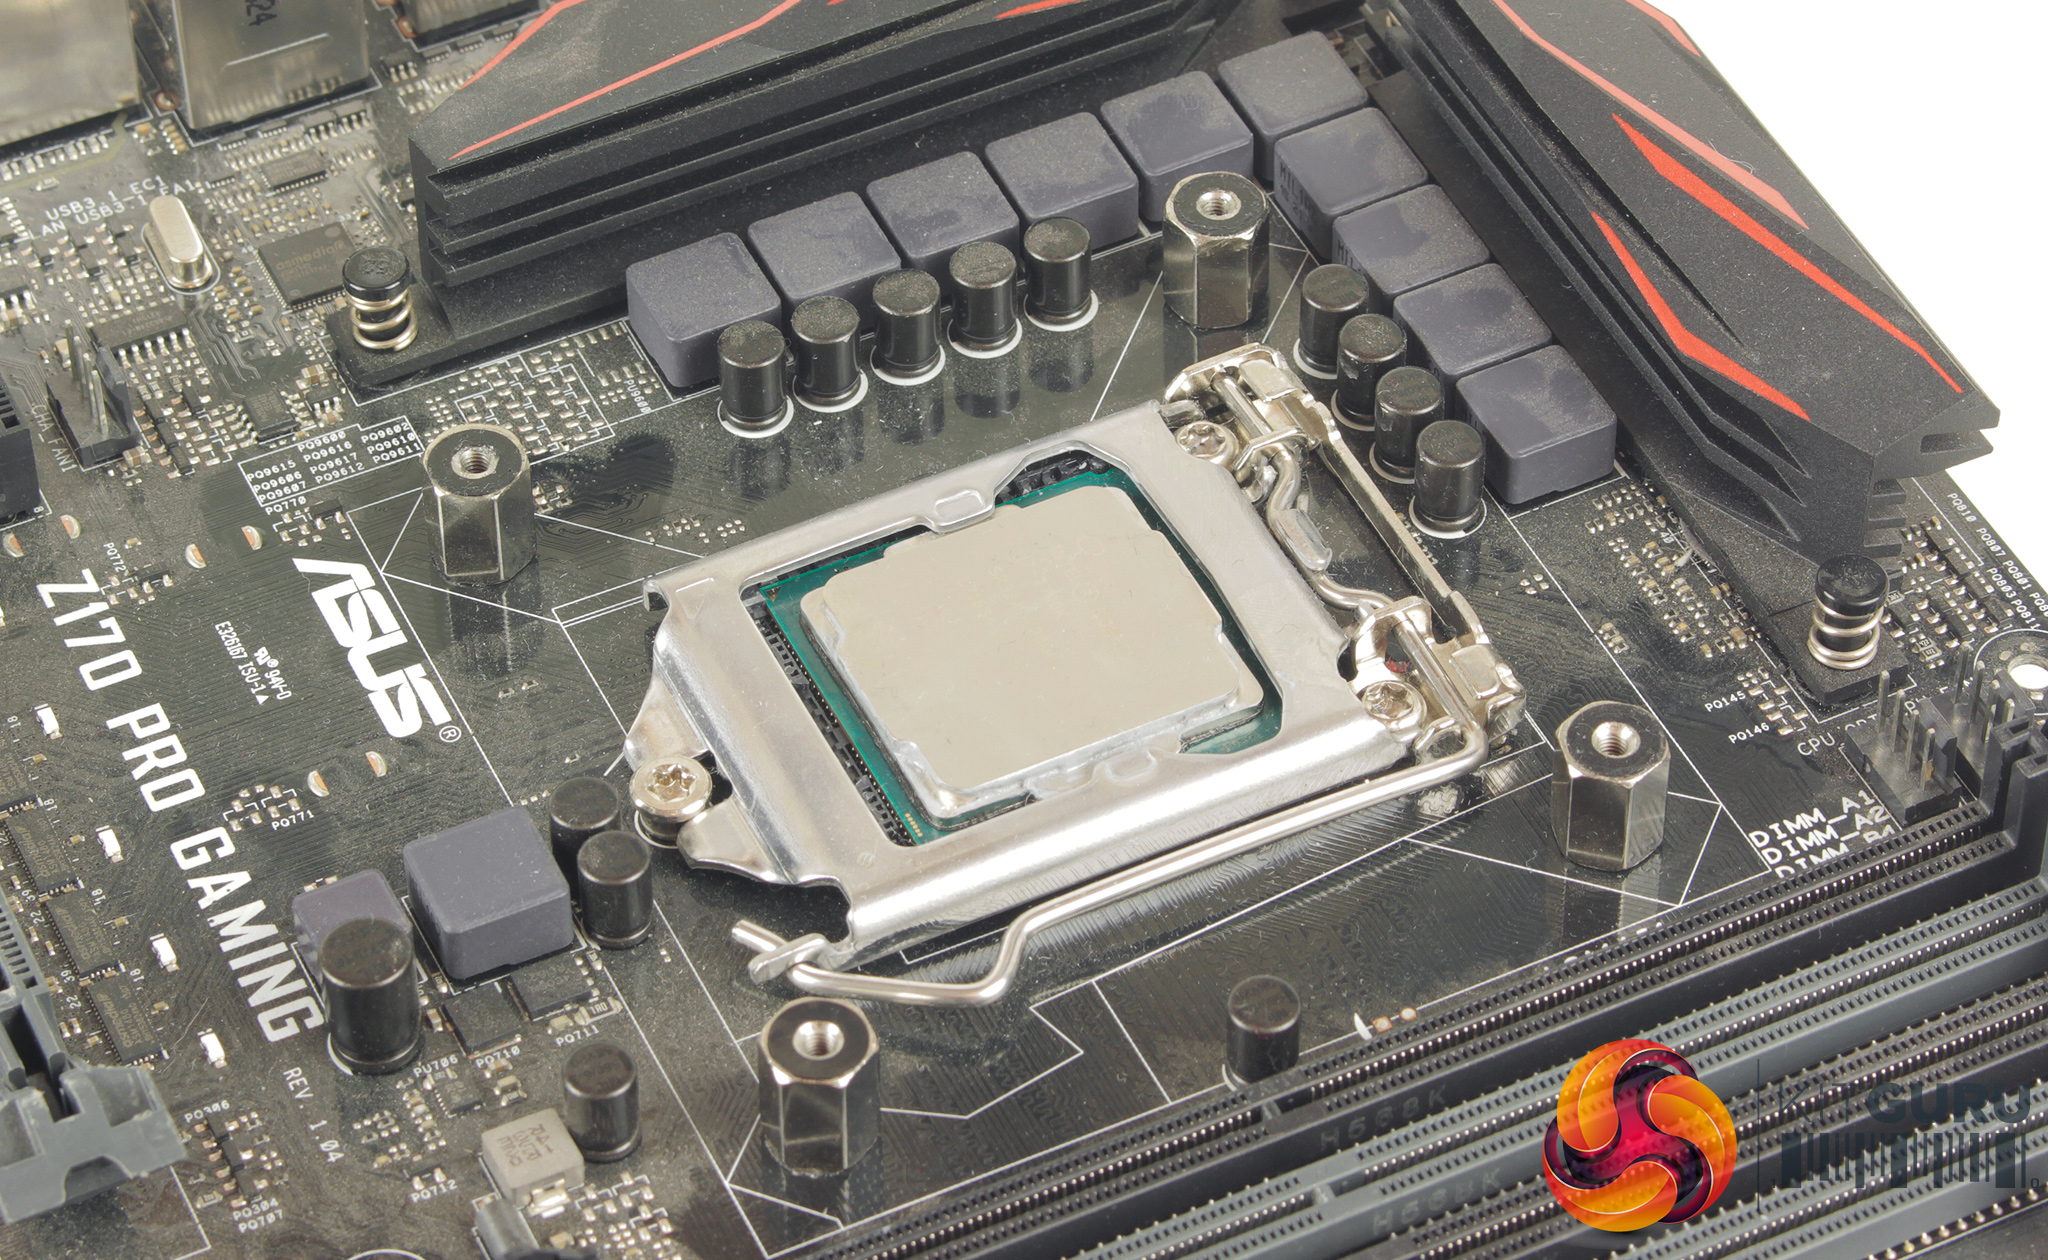
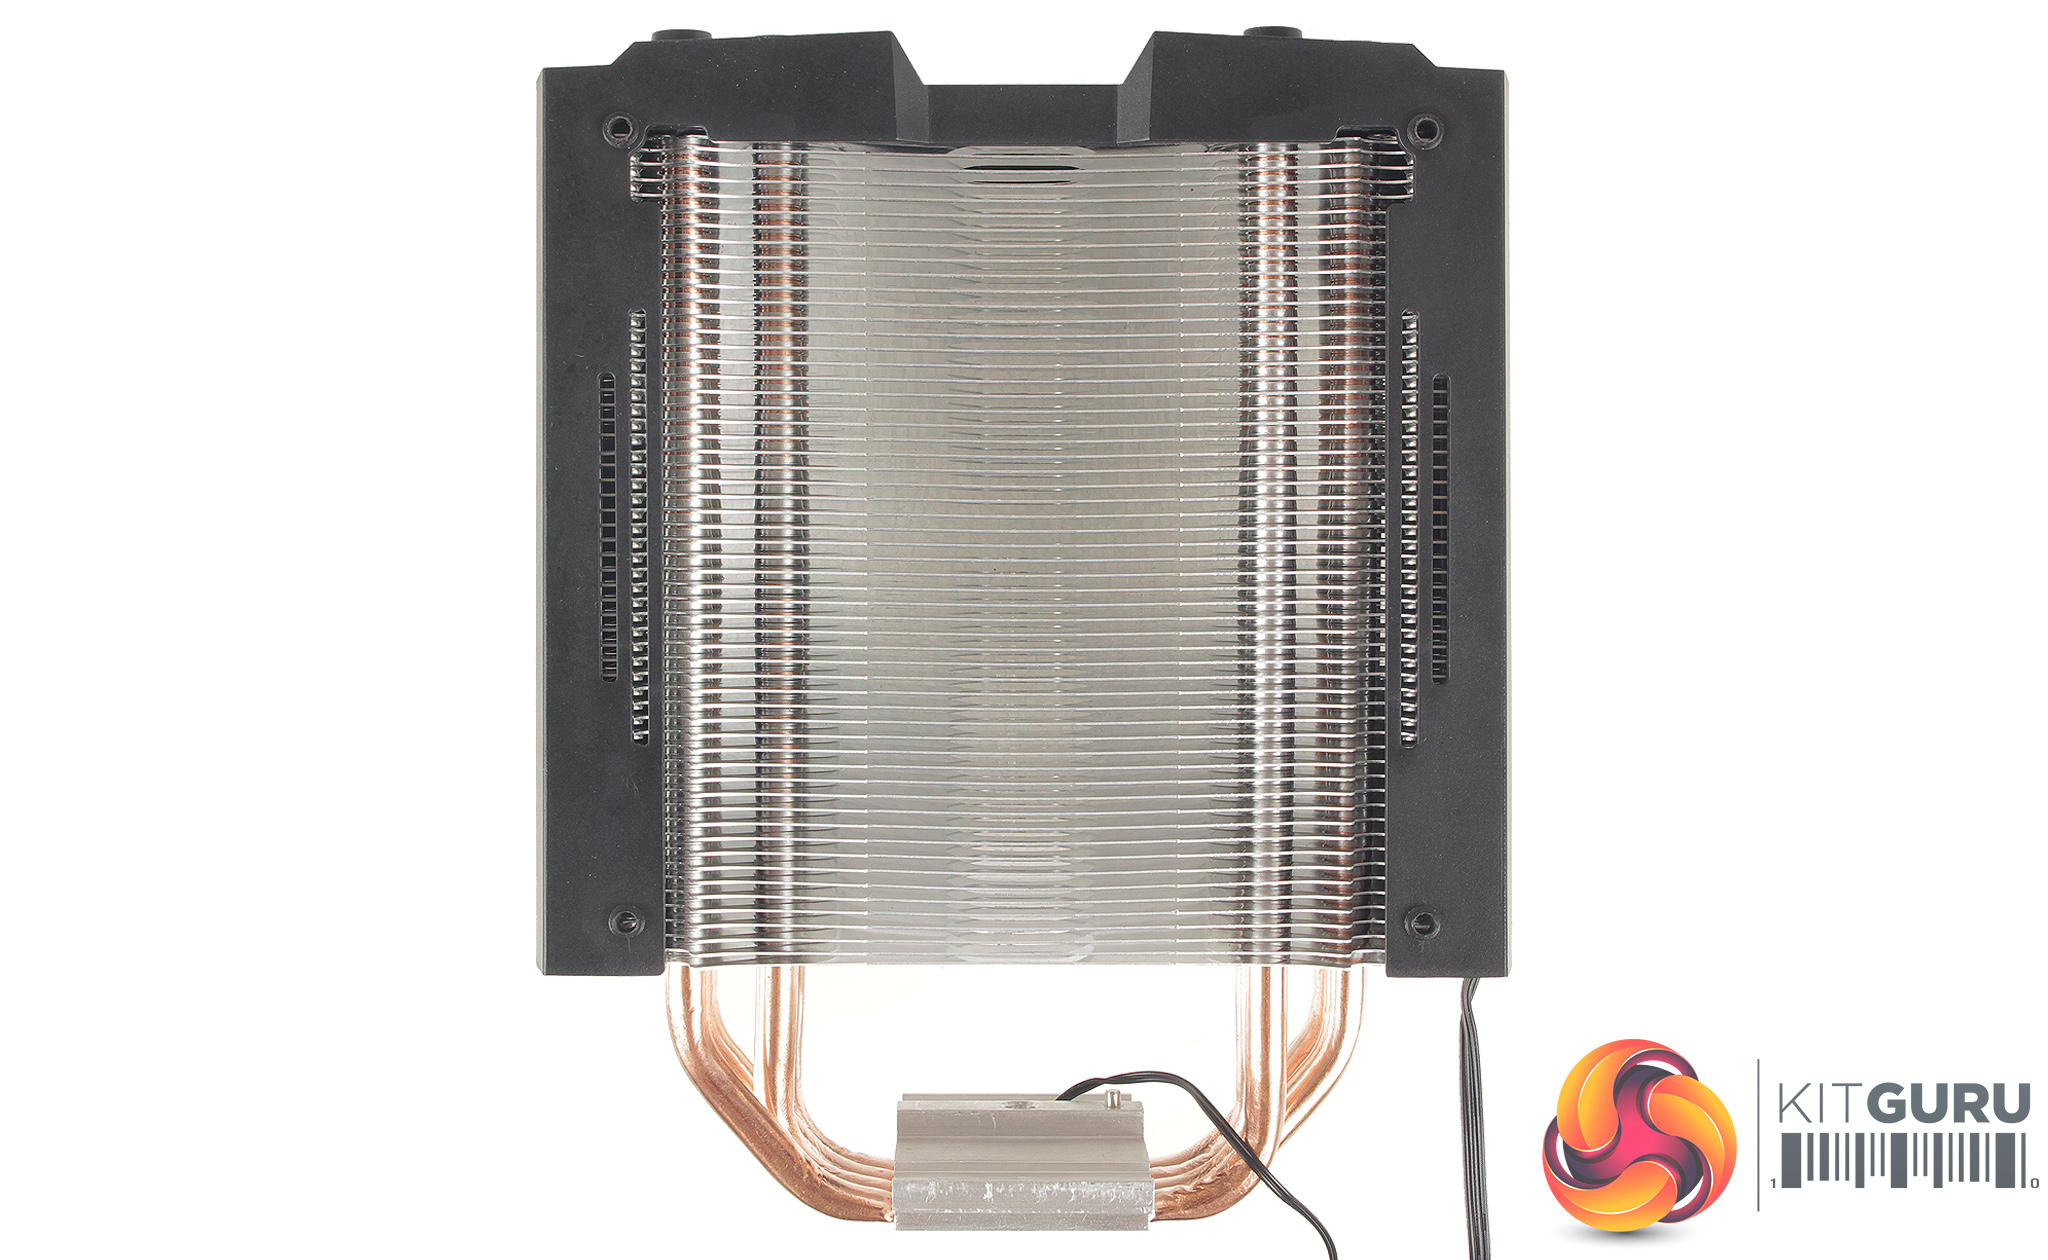
Four hex standoffs can then be threaded onto the backplate. A couple of tools are included in the accessories pack to help with this. Thermal compound is included which can be applied to the CPU heatspreader, before sliding the retention bracket through the gap between the main body of the cooler, and CPU block. There is a small thermal probe cable which needs to be avoided as it does appear a little fragile.
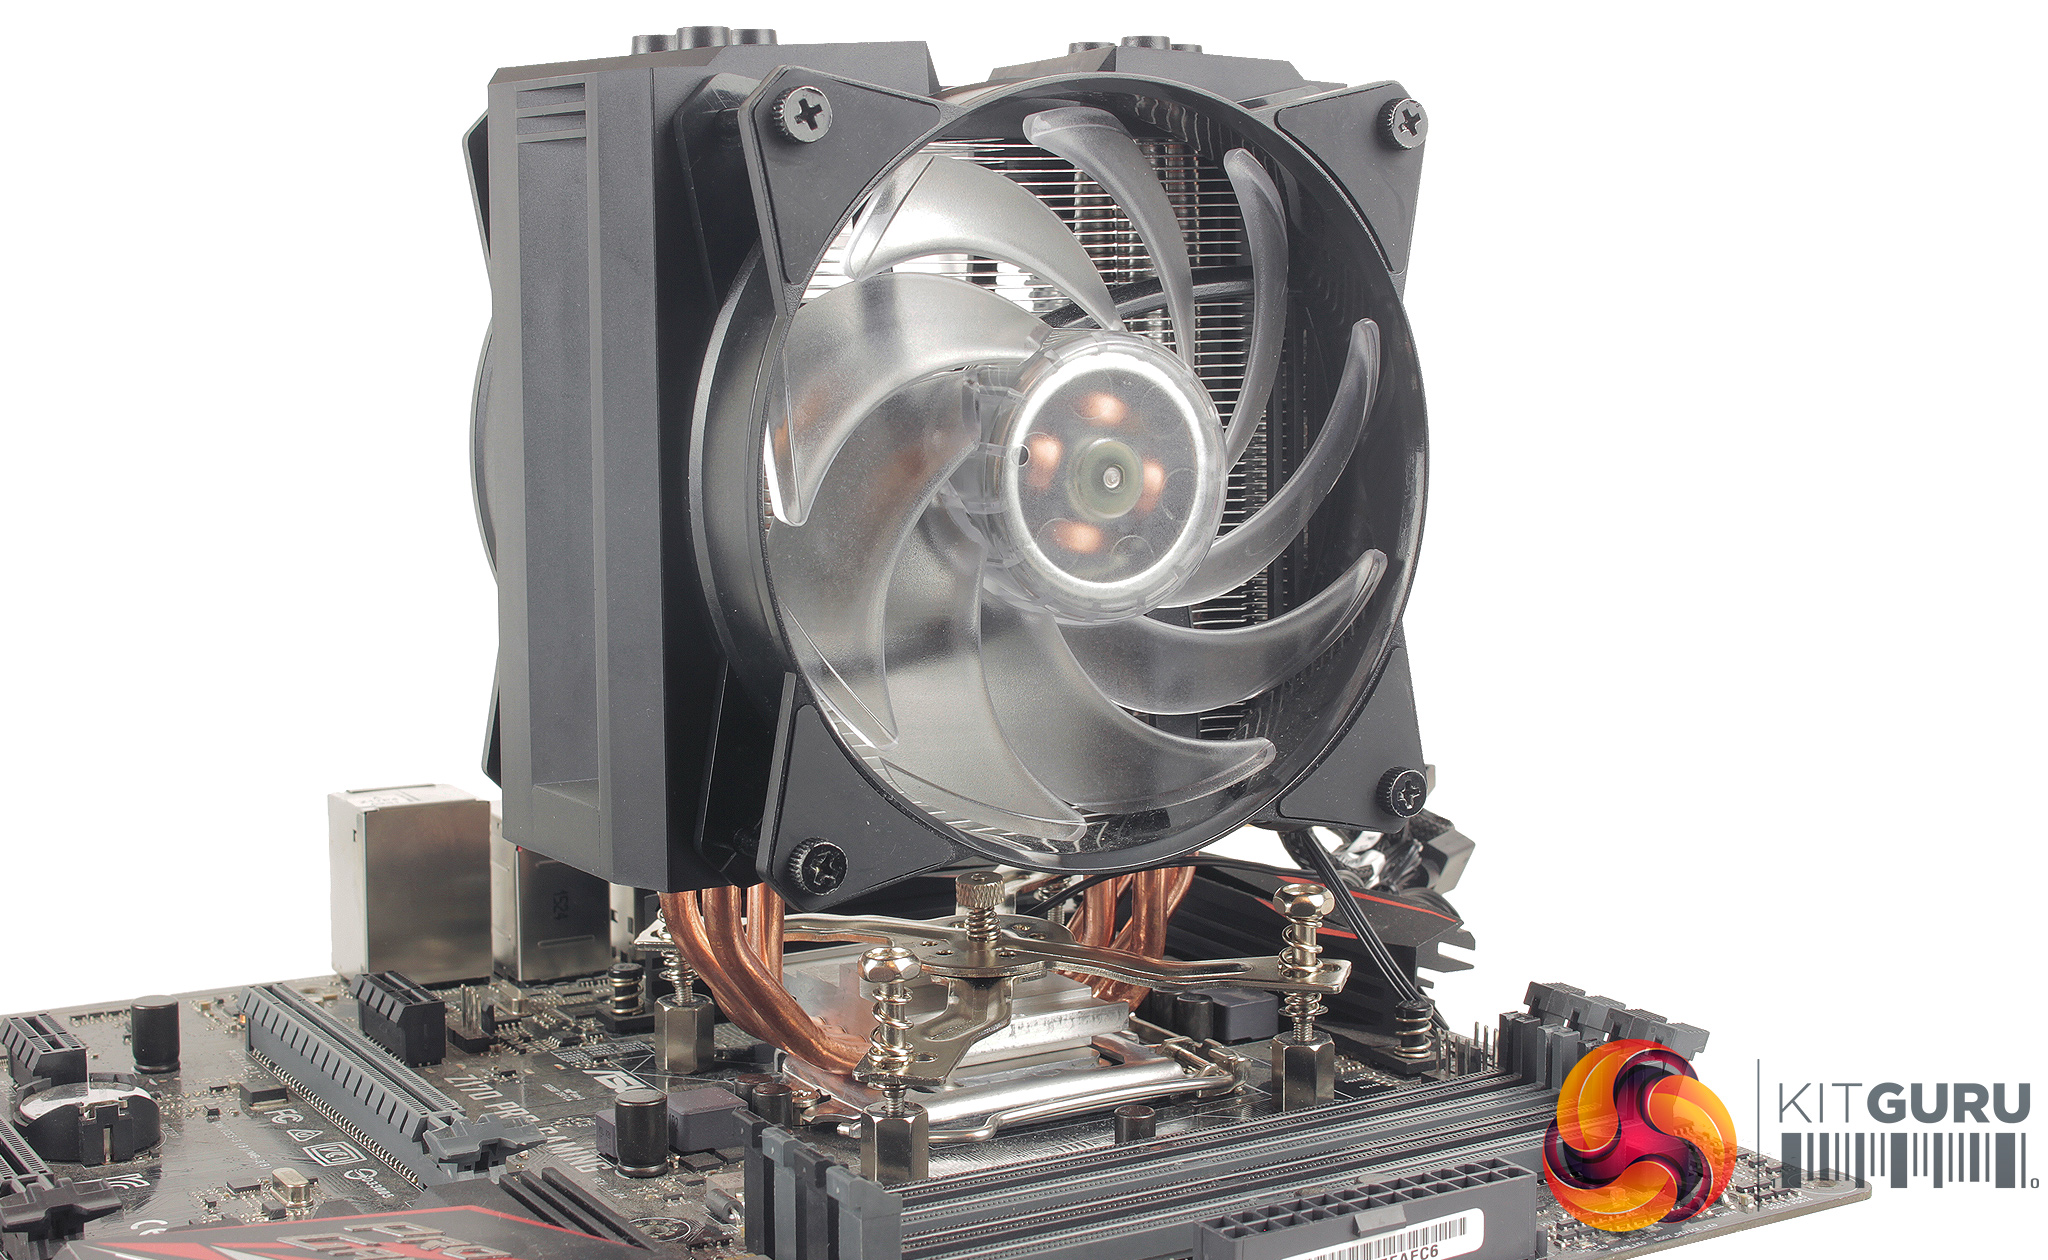
With the cooler installed, there is some cabling required, both connecting the two 4-pin PWM fans up to the splitter adapter, and then to your motherboard's CPU fan header. Connecting the LEDs requires both a temp sensor which can be connected to the first proprietary adapter, and to the controller as well. Then you connect the Addressable RGB connector from the cooler to the controller, and then to your motherboard. The SATA power cable also needs to be plugged in for the controller to receive power.
Installation does require quite a few steps, and is overall a little tricky compared to other brands. The mounting mechanism works well and does allow one or two pieces to function well for a number of different sockets but my experience with mounting coolers does lead me to believe that this could be simplified greatly, more so with good instructions. Installation did take around 20 minutes, and once you have the cooler settled and securely fastened to the motherboard, you do still need to re-install the two fans, mounting them to the cooler shroud. It's a shame the cooler couldn’t have been shipped broken down to aid this process.