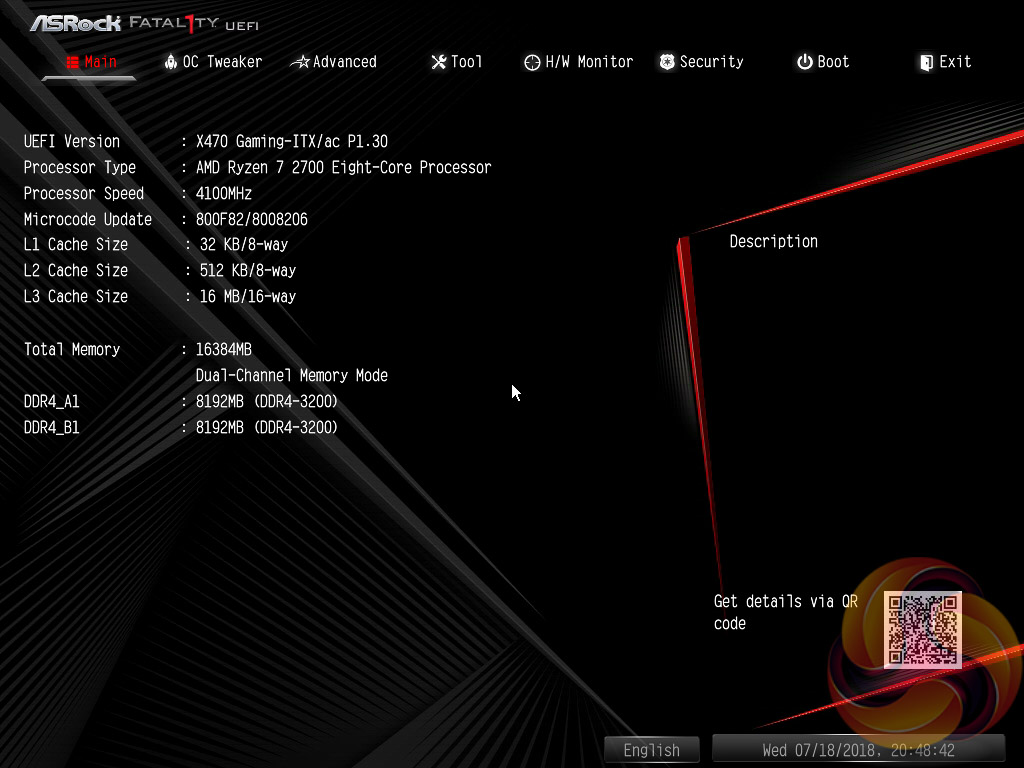
Upon entering the UEFI the first screen shown is the Main tab with ASRock appearing to have ditched the EZ Mode splash screen used on many Intel motherboards that was intended to provide a quick summary of commonly accessed UEFI options.
The Main tab summarises UEFI, CPU and DRAM information but no longer has a MyFavorite section, summarising most recently accessed settings.
If you are unable to display some of the images on these pages, disable your ad blocker as it interferes with our gallery code.
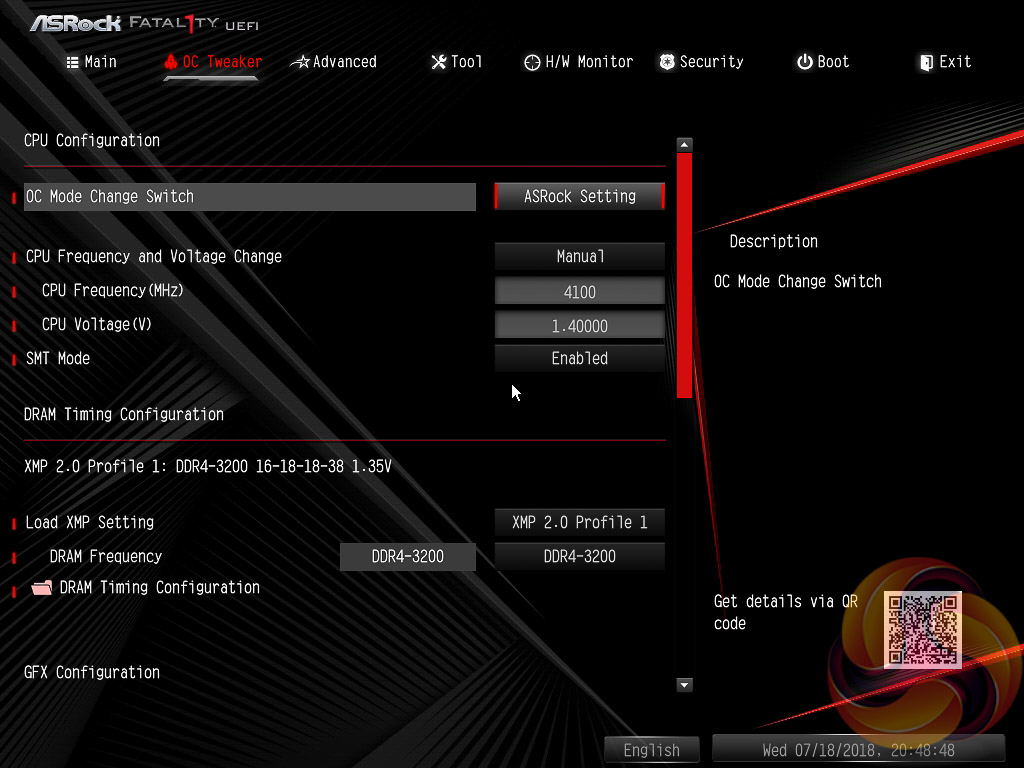
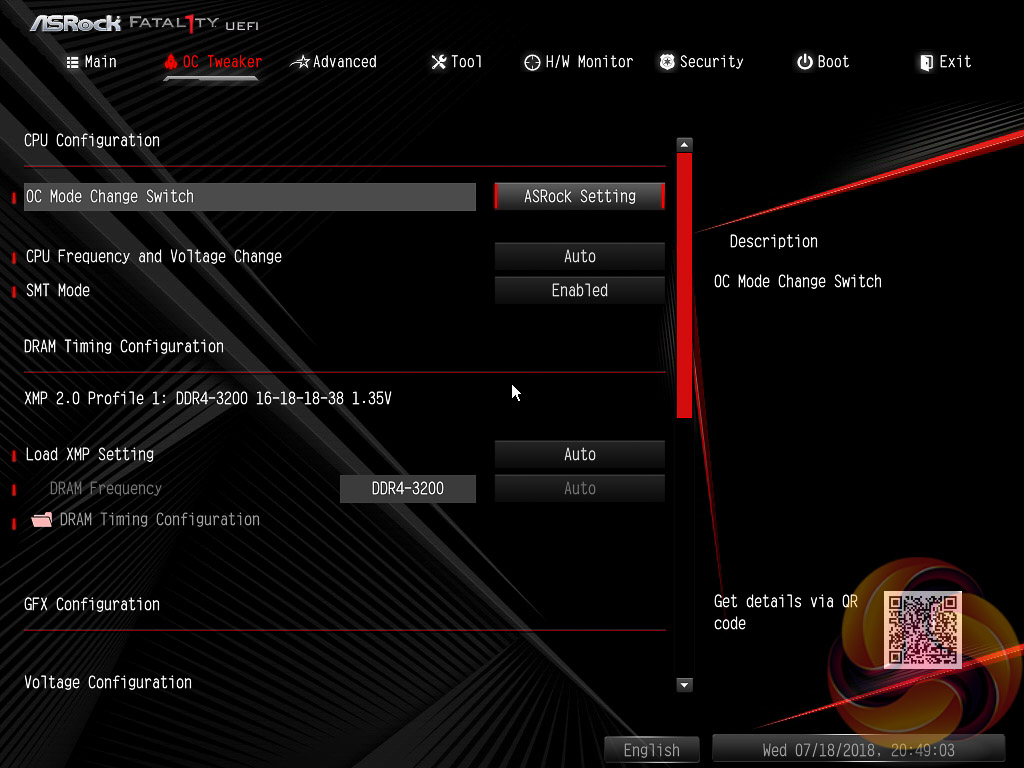
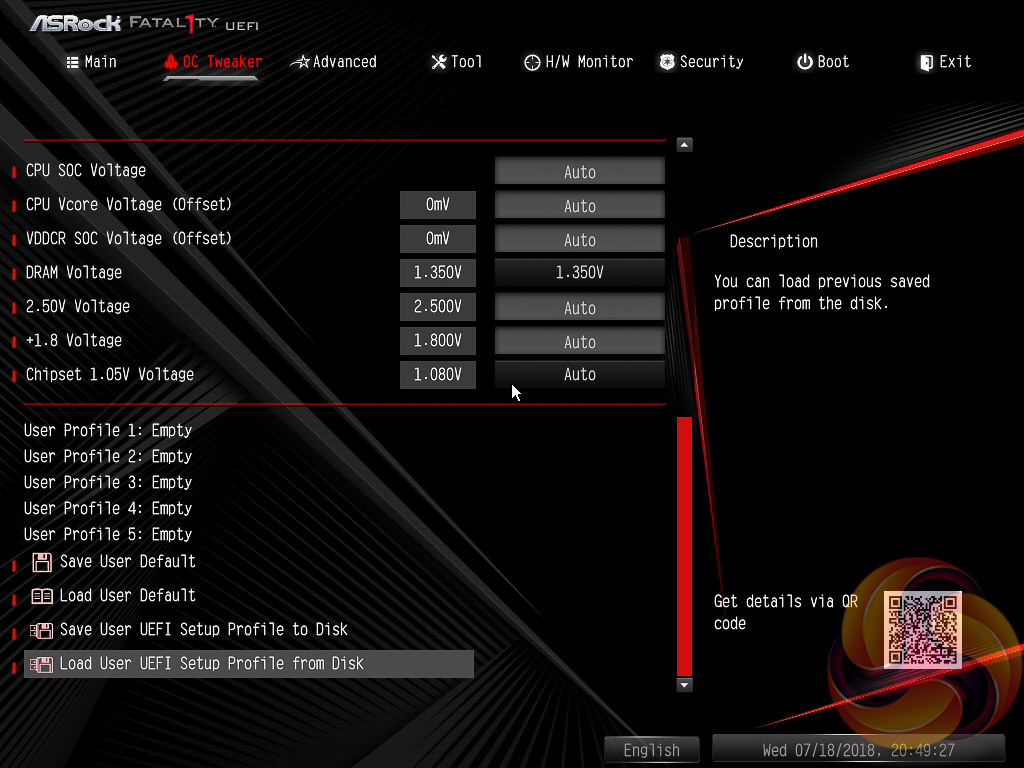
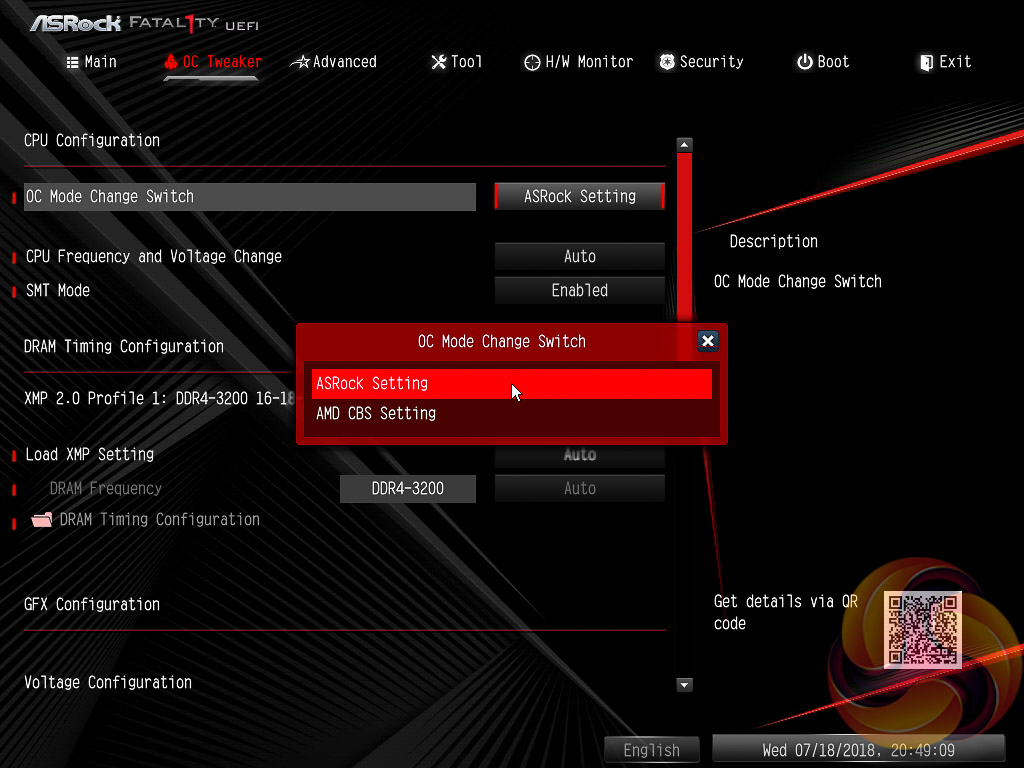
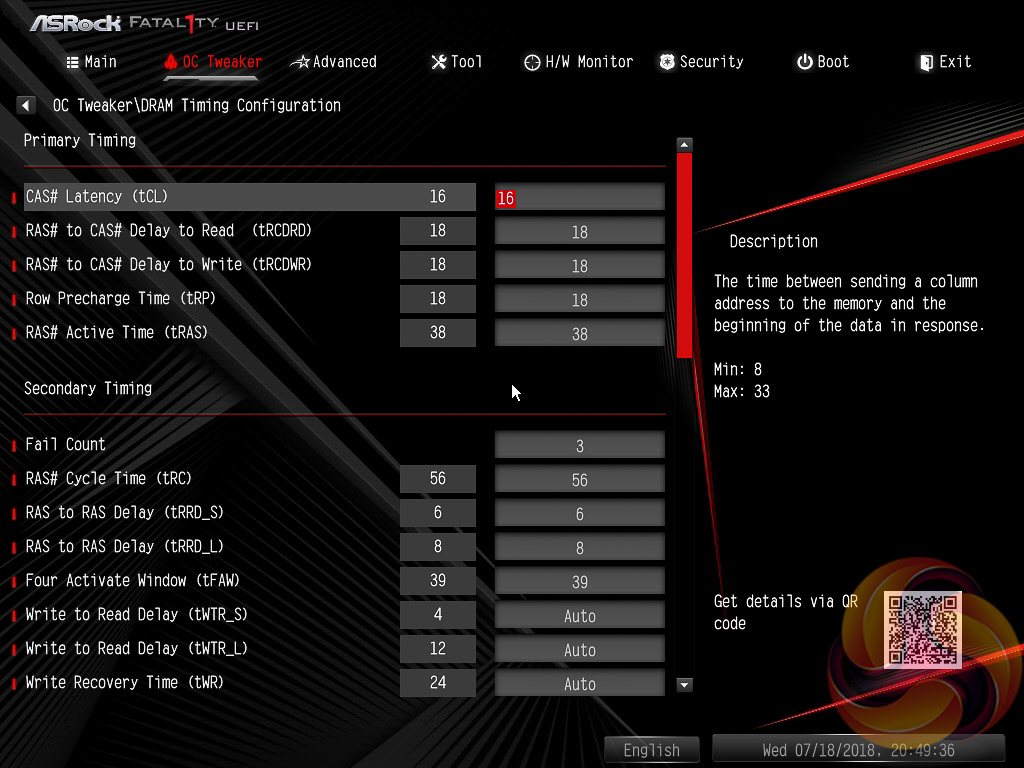
OC Tweaker is the primary section of the UEFI environment for altering settings relating to the CPU, DRAM and Voltage. In here you can set memory profiles, which ASRock still calls “XMP” despite the fact XMP is actually “Intel Extreme Memory Profile” but these can be easily translated to work on AMD platforms by motherboard manufacturers.
OC Tweaker will also allow you to overclock the CPU, the default mode uses “ASRock Setting” which ASRock recommends when overclocking. When setting the CPU Frequency and Voltage Change to manual, overclocking can be set via the multiplier and the core voltage options. There's no specified voltage operation modes but it is possible to configure an offset voltage if so desired or ignore the offset voltage parameter to effectively end up with an override voltage based on the CPU Voltage parameter.
If you are unable to display some of the images on these pages, disable your ad blocker as it interferes with our gallery code.
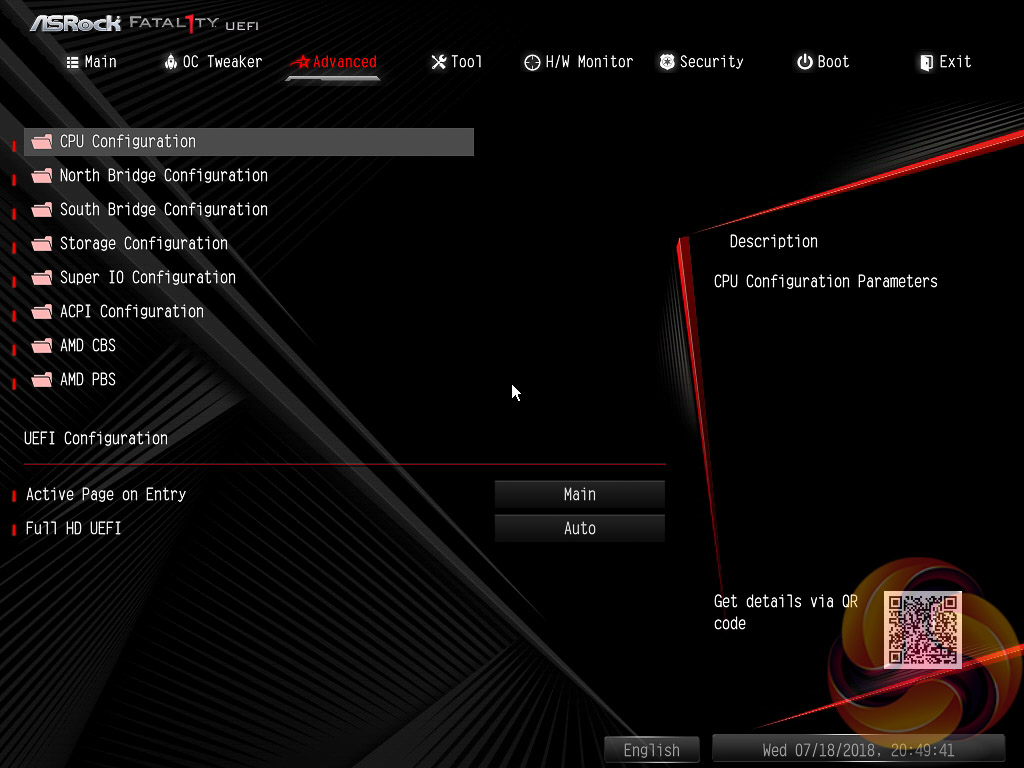
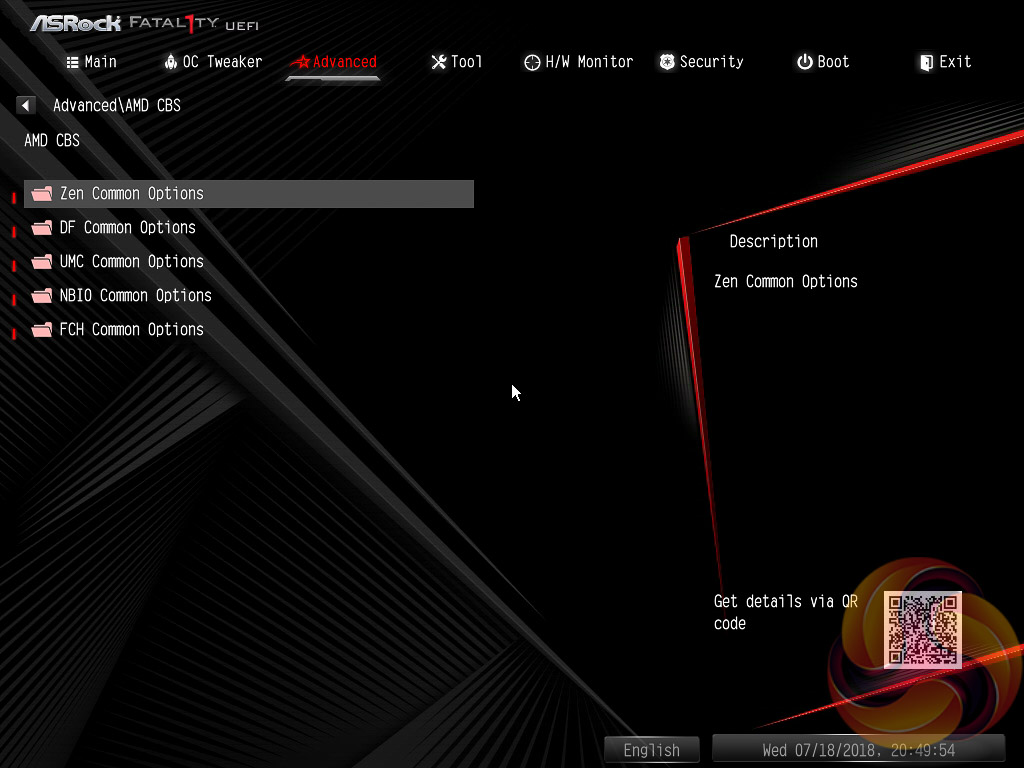
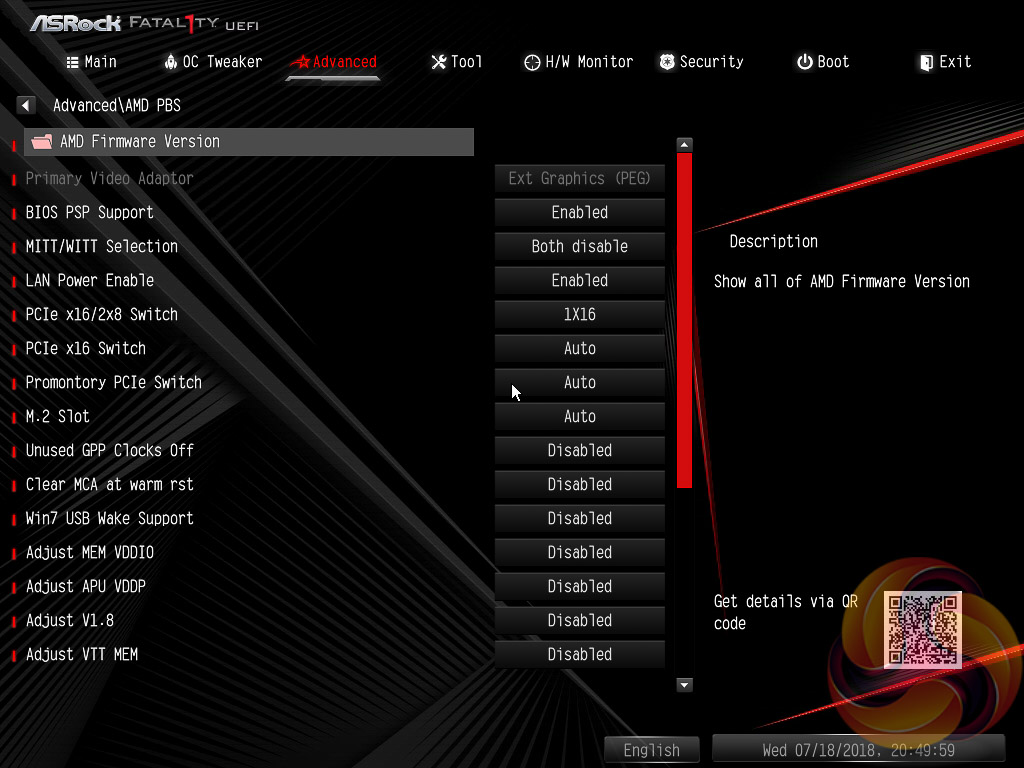
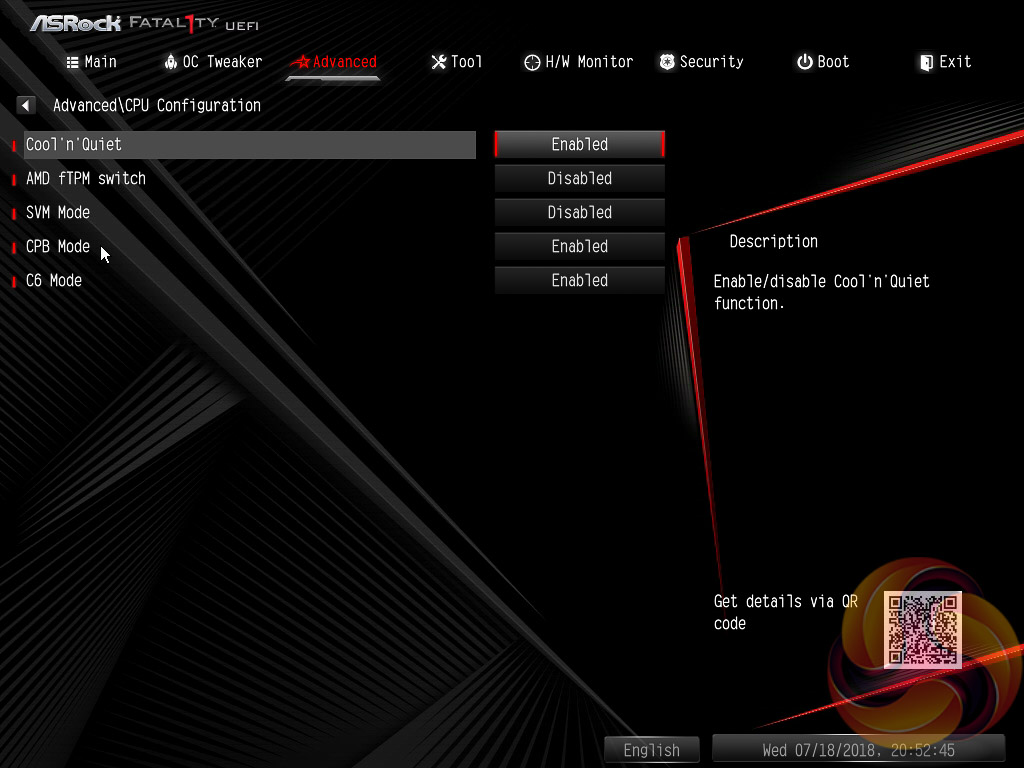
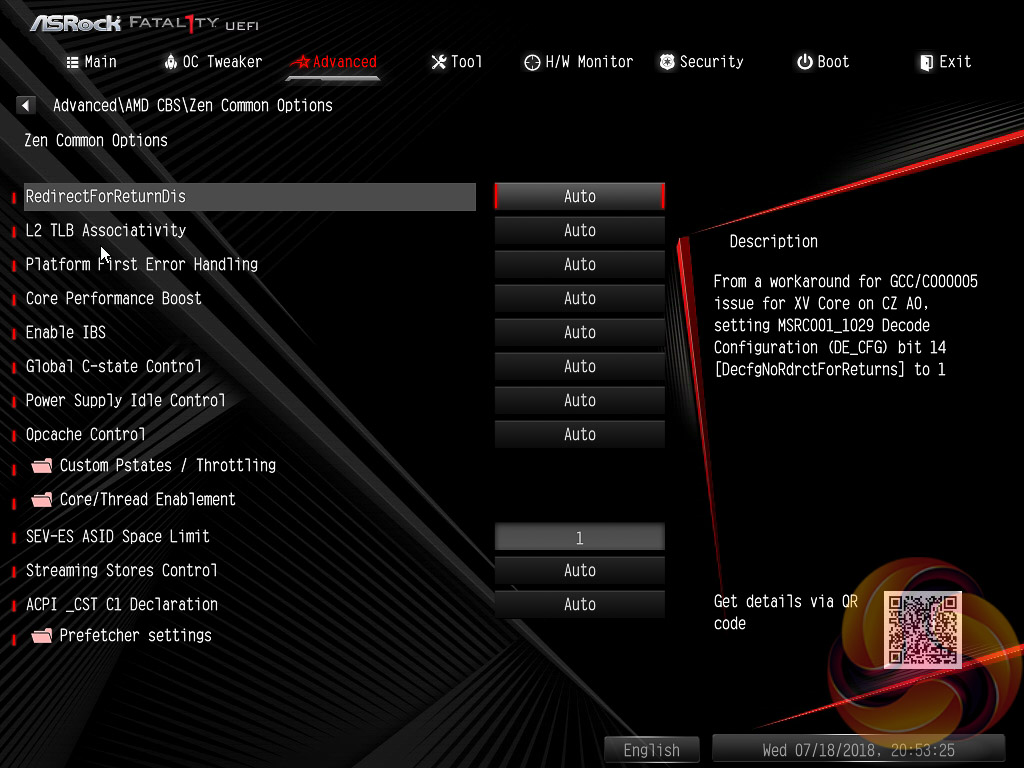
The Advanced section has a many more settings related to system devices, compatibility options and the CPU. Most CPU specific options are nested under the AMD CBS and AMD PBS sections. Most other manufacturers are offering these sections in their UEFIs as it enables all the various parameters of AMD's Zen CPUs and the AMD platform to be grouped together and easily altered.
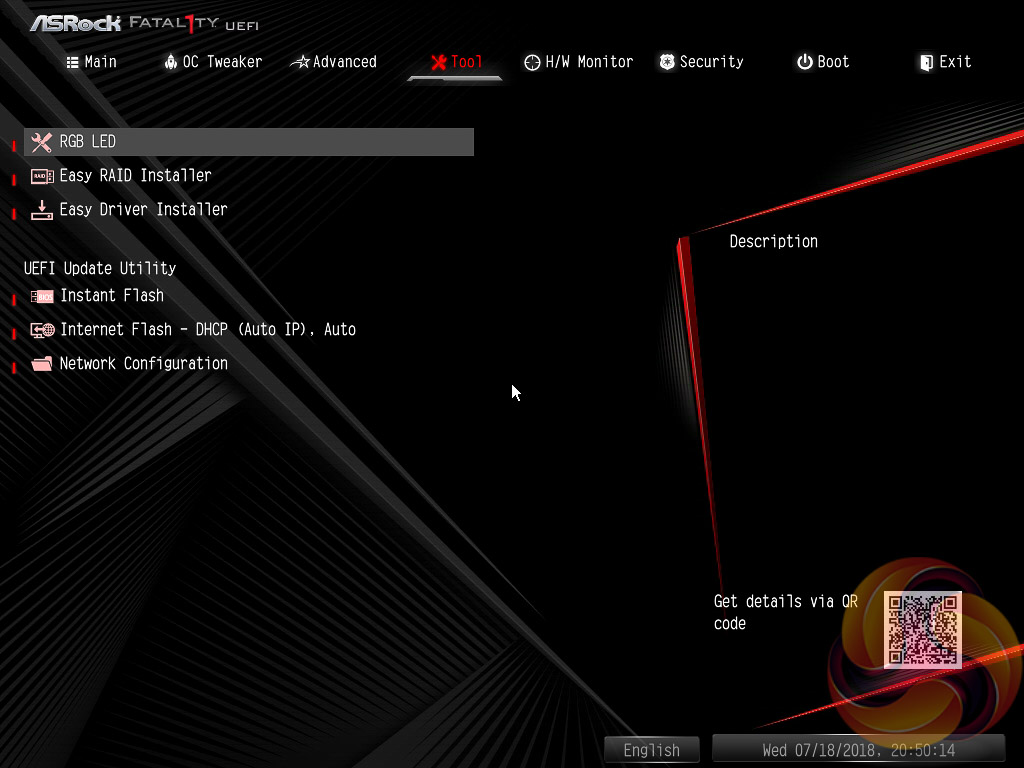
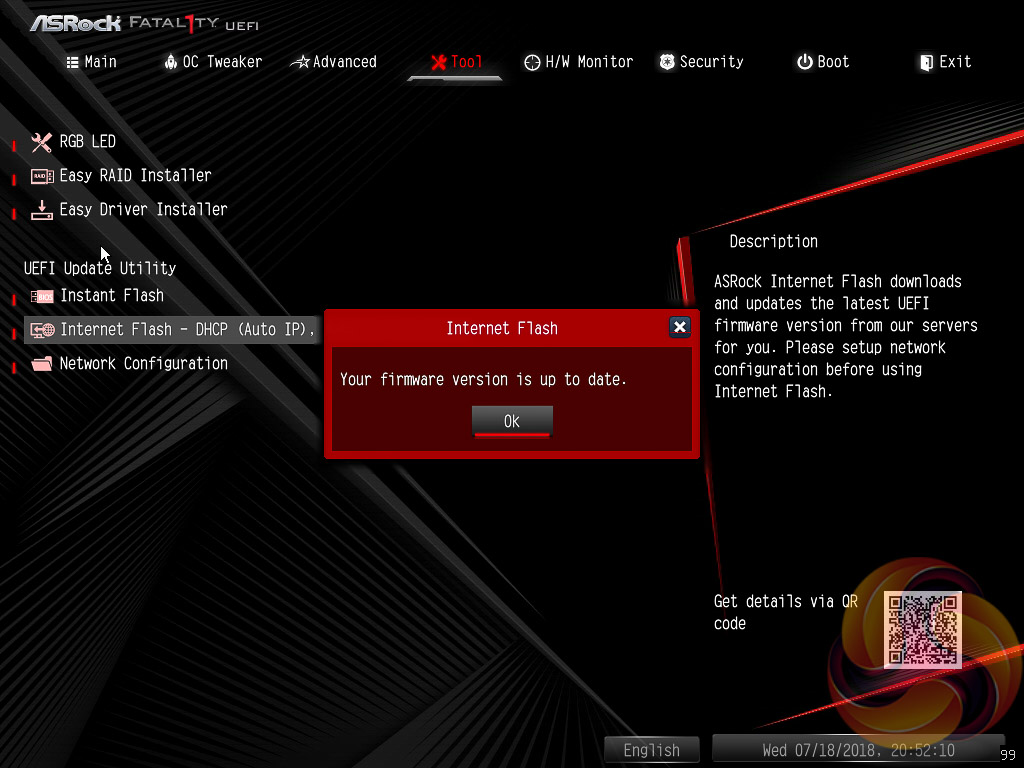
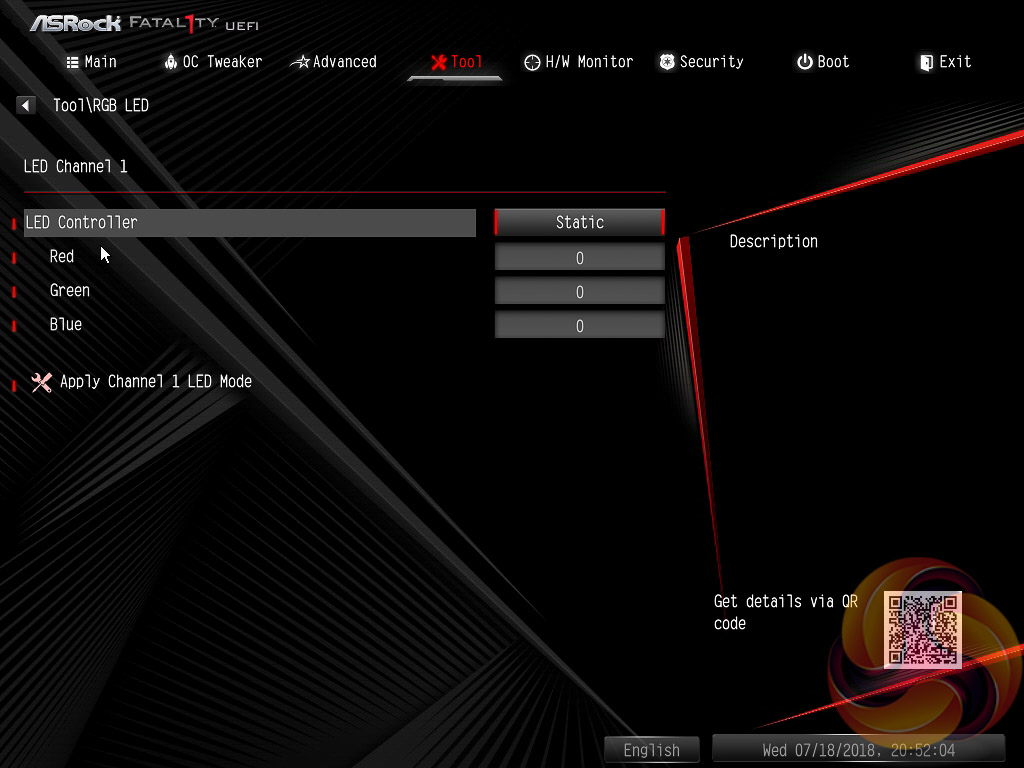
The Tool tab holds the Instant Flash utility which is beautifully simple; attach a USB device, pick the update file and update, or update automatically from the internet. ASRock has cut-back the UEFI RGB controls for this motherboard, there used to be a full graphical user interface, almost identical to the Windows version but now it's a simpler text-based version.
In theory these RGB LED UEFI settings do nothing until you connect an RGB strip to one of the two RGB headers since this motherboard has no onboard RGB LEDs. In any case, we recommend the Windows utility as it is a lot more user-friendly.

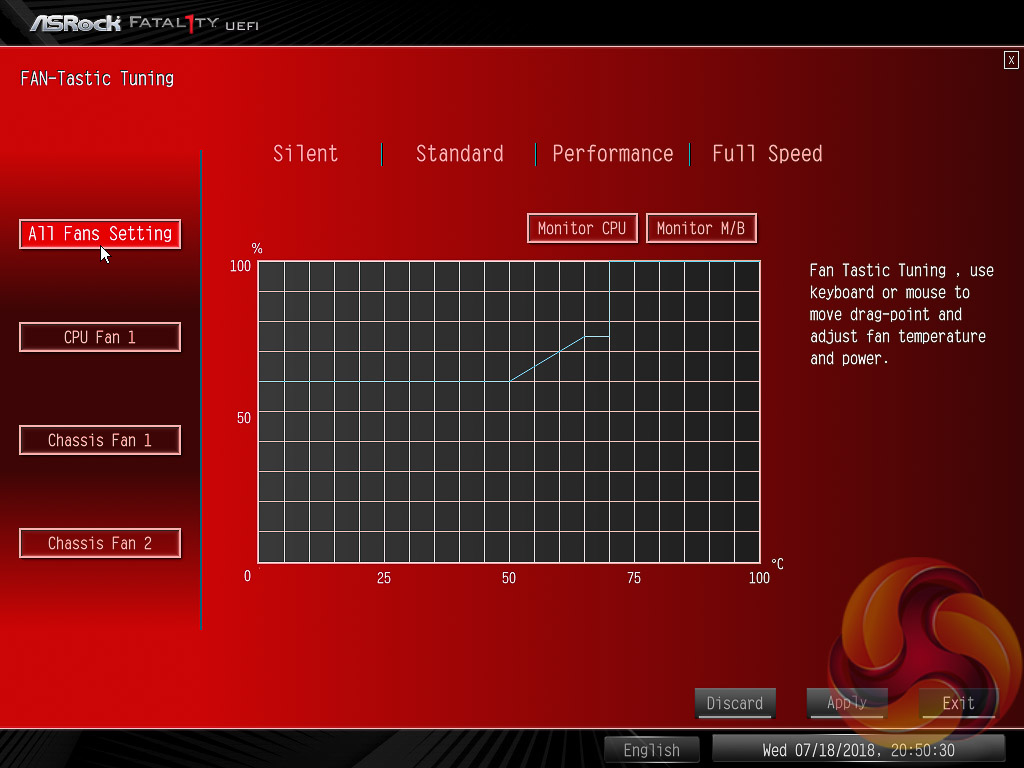
The H/W Monitor section includes a number of voltage, temperature and fan speed read-outs as well as all the CPU and System fan controls. Further fan tuning can be done by first running the “Fan Tuning” wizard to calculate the full fan speed range of each attached fan (minimum and maximum speeds in RPM). Then from within the FAN-Tastic tuning window customised profiles can be set using the fan speed graph and the mouse to drag-and-drop the graph’s line.
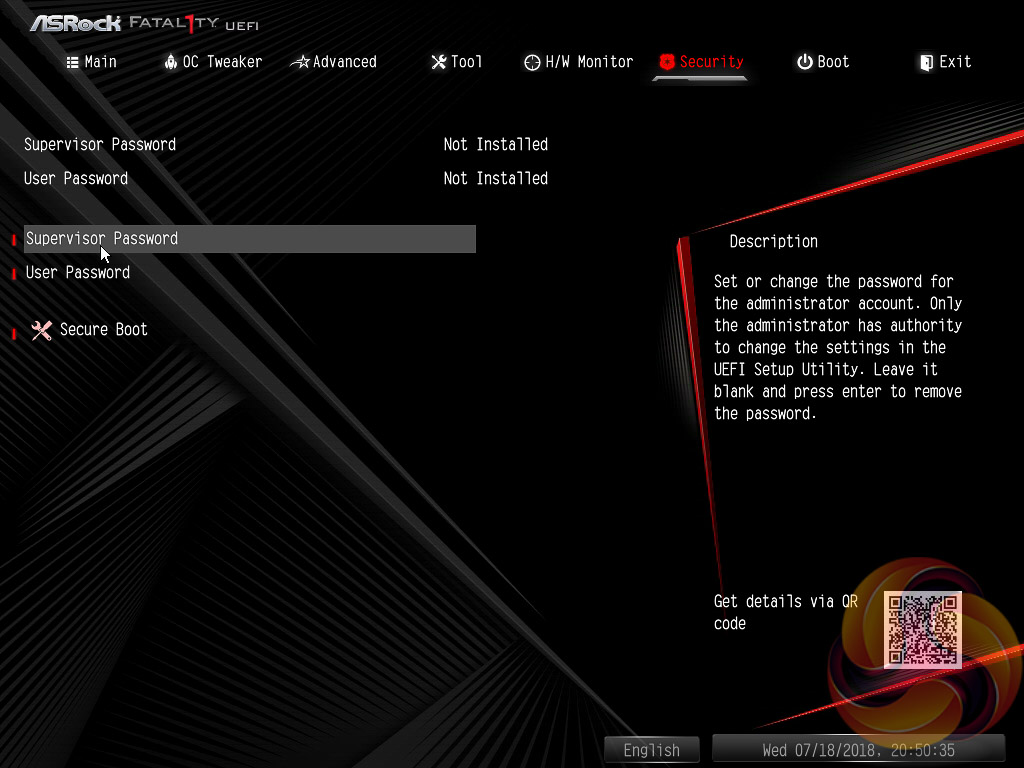
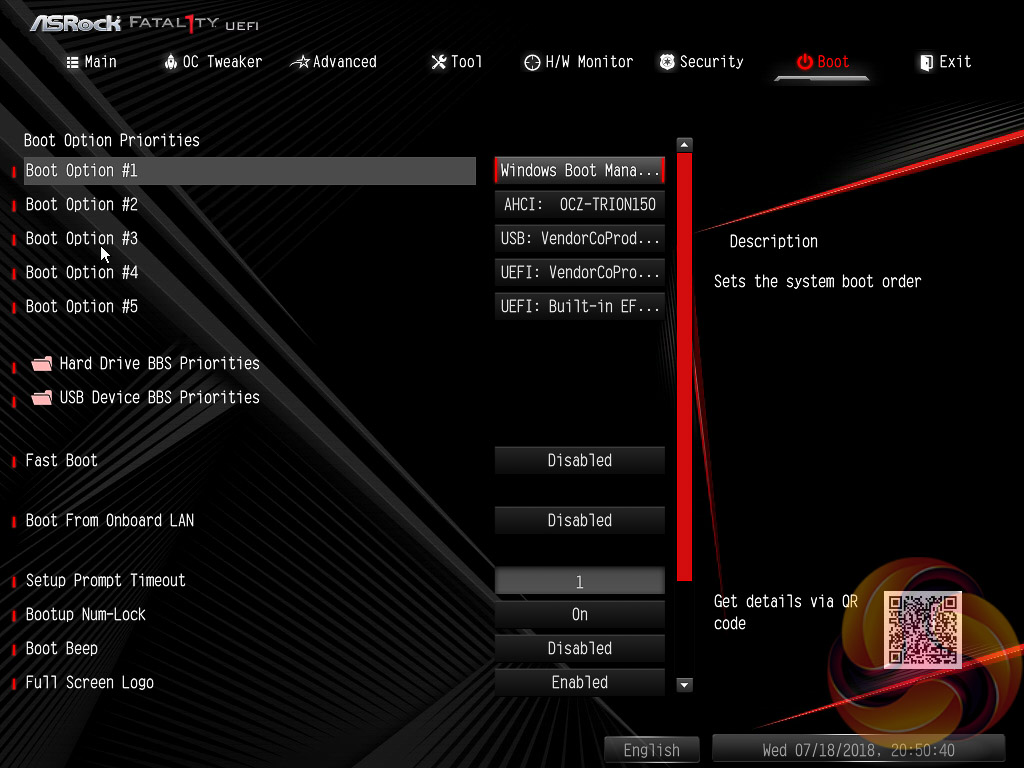
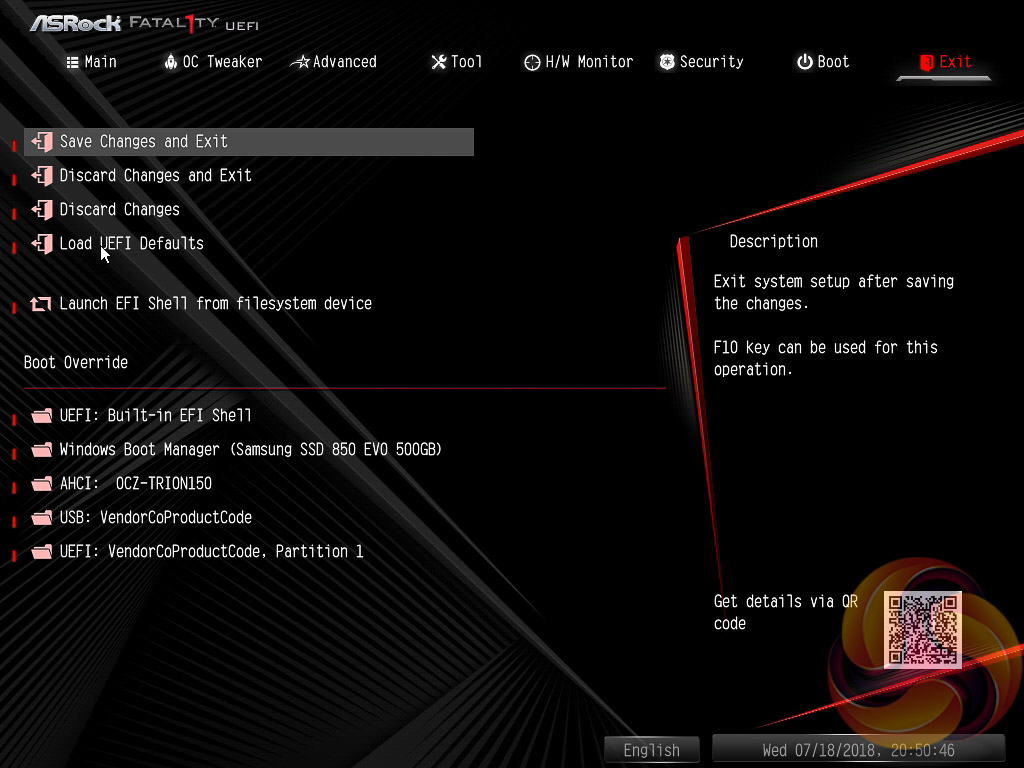
Security, Boot and Exit tabs round off the rest of the ASRock UEFI environment. No summary of UEFI changes made in the session is presented to the user before they save and exit.