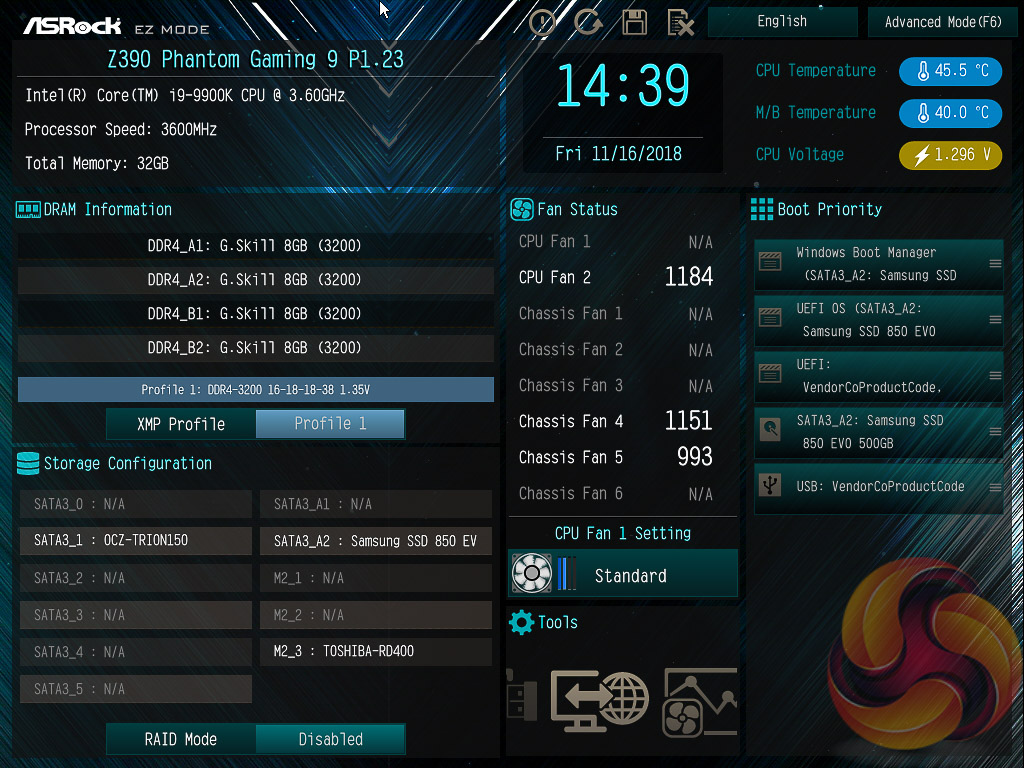
Like all motherboard vendors, the ASRock UEFI offers an “EZ MODE” option (read: easy mode) intended to provide a quick summary of commonly accessed UEFI options like boot order and fan speeds.
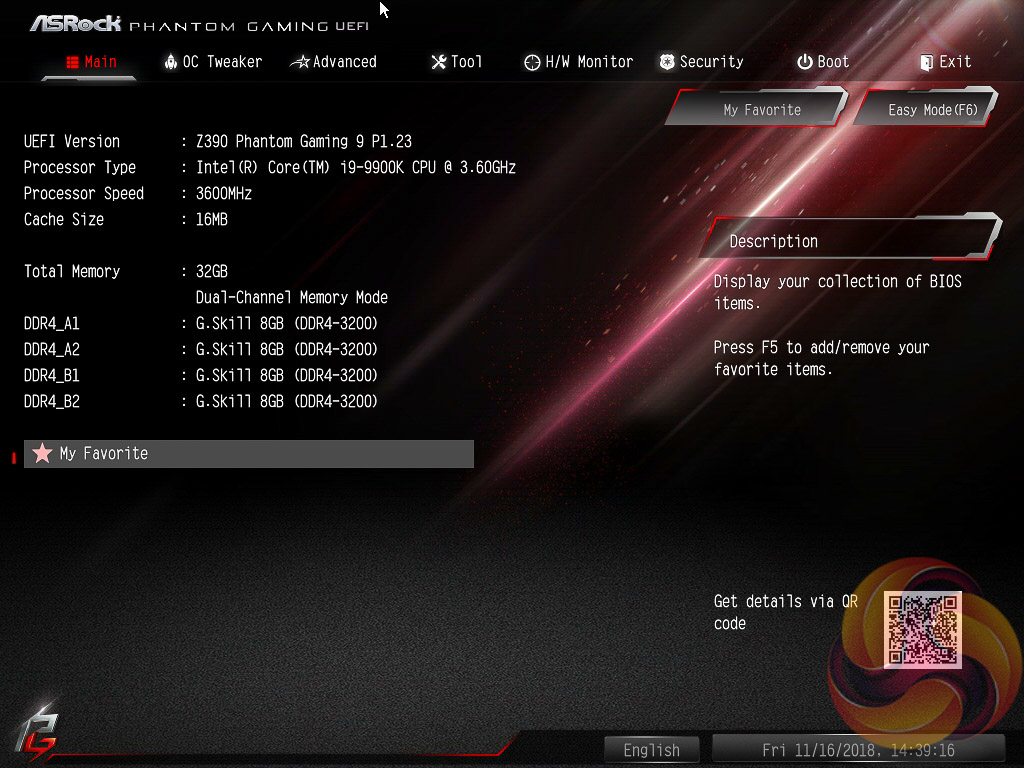
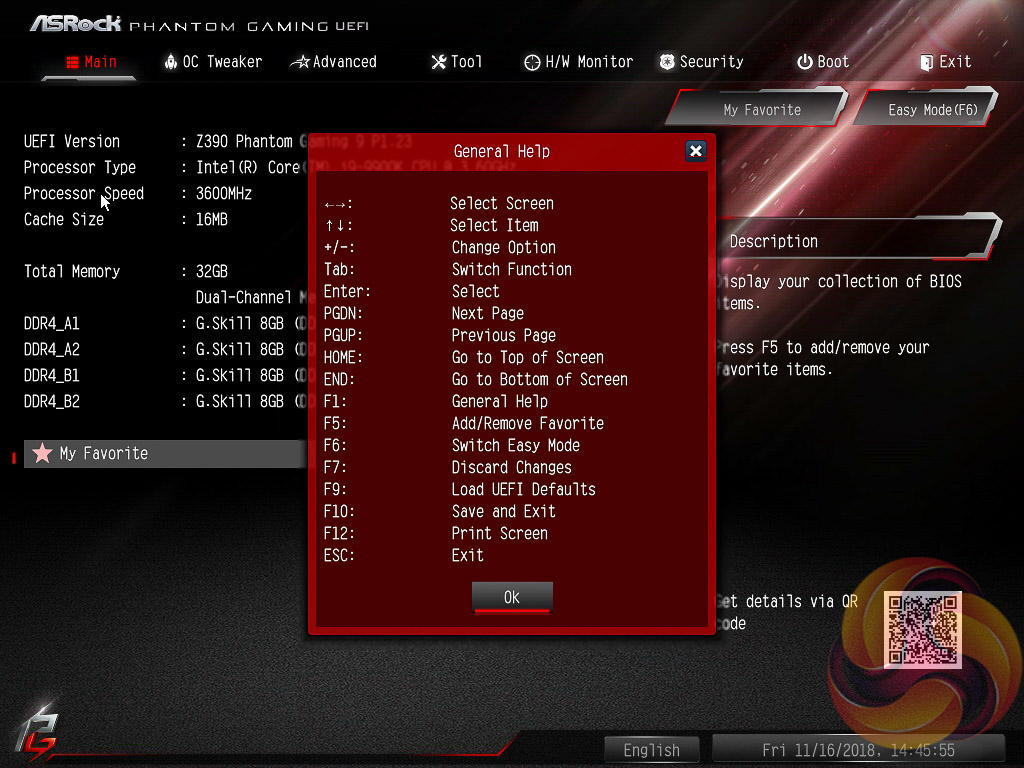
Pressing F6 takes you into the Advanced mode which starts with the Main page that provides an overview of the UEFI version, installed processor and DRAM information.

If you are unable to display some of the images on these pages, disable your ad blocker as it interferes with our gallery code.
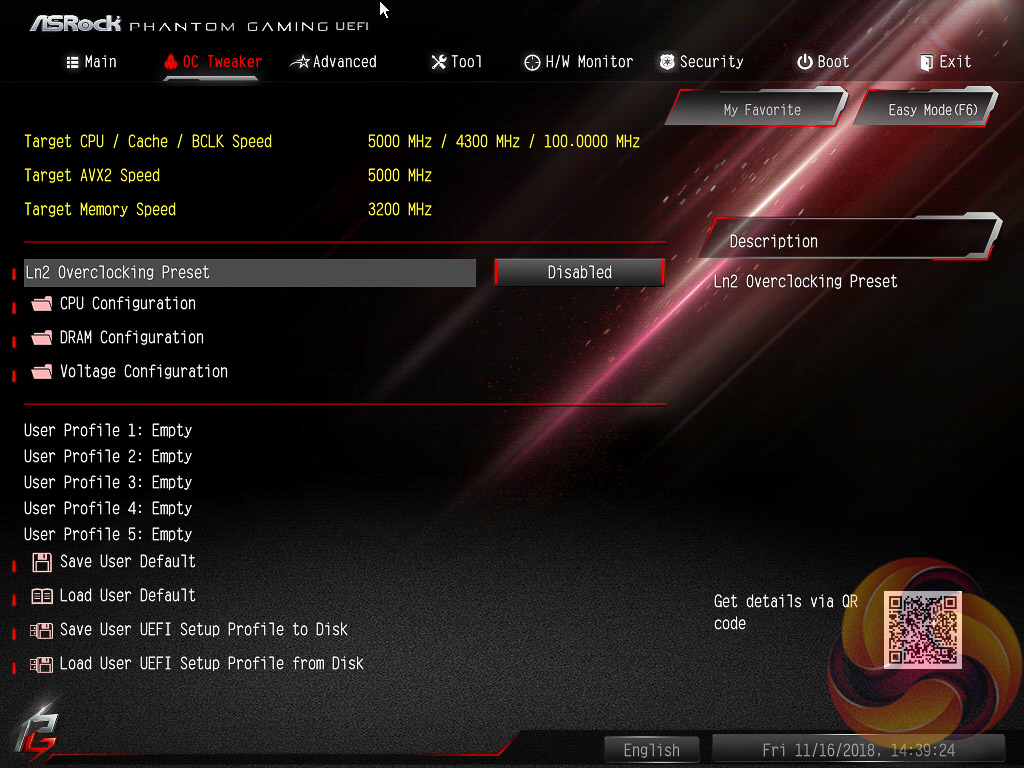
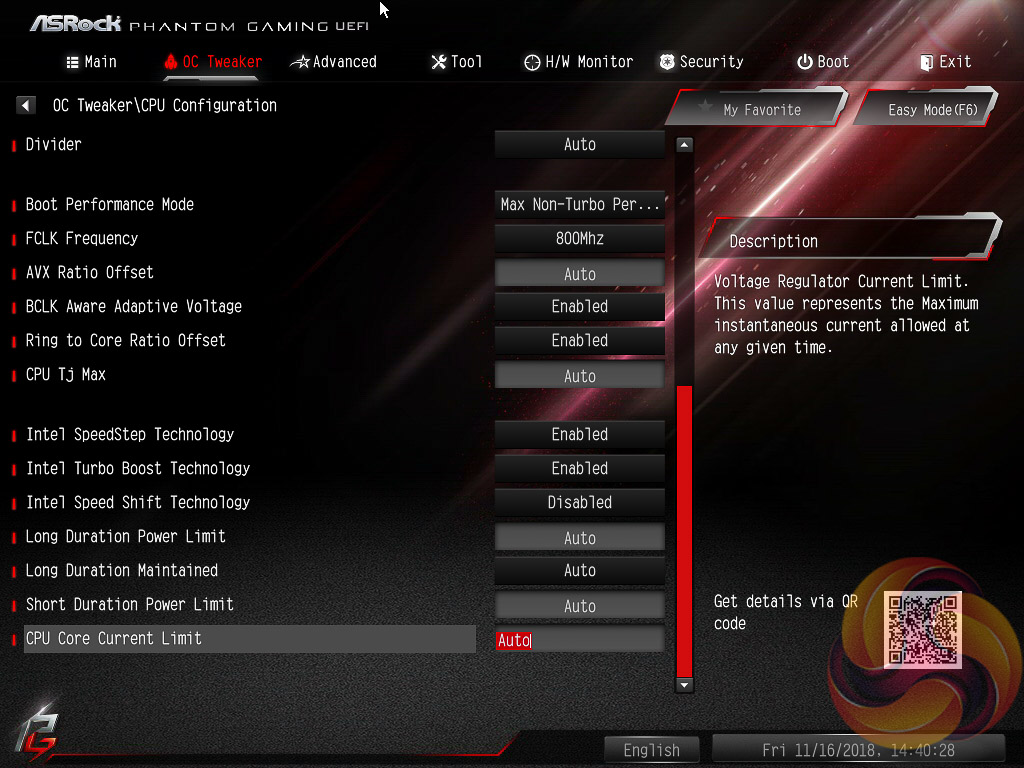
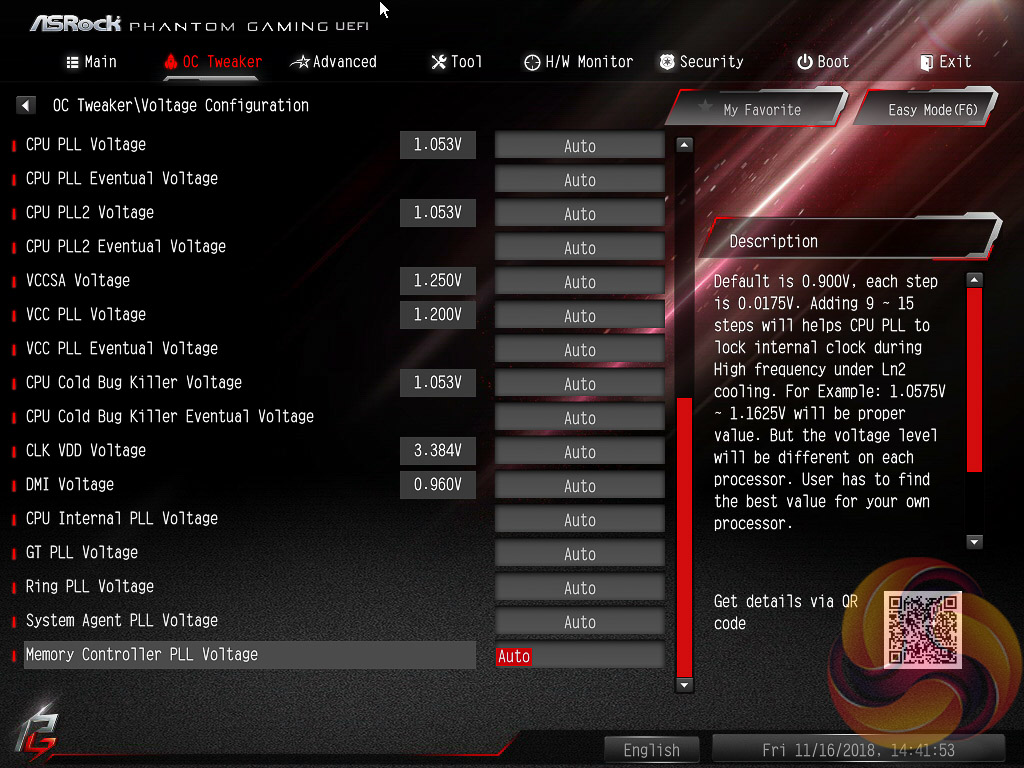
OC Tweaker is the primary section of the UEFI environment for overclocking and performance tuning. ASRock splits off the main parameters into separate sections with CPU, DRAM and Voltage configuration pages.
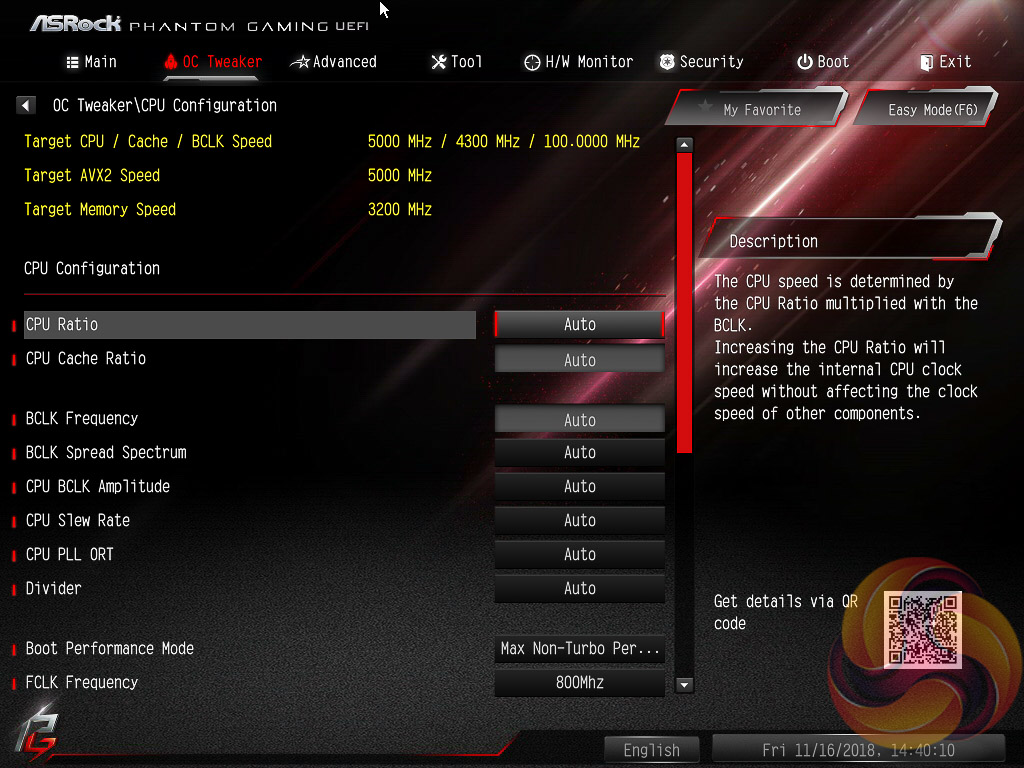
CPU Configuration covers all frequency and performance-related elements of the CPU such as core behaviour, multiplier modes, turbo behaviour, cache ratio, base clock and so on. Power related settings like the short and long duration power limits and CPU Core current limits are also found here.
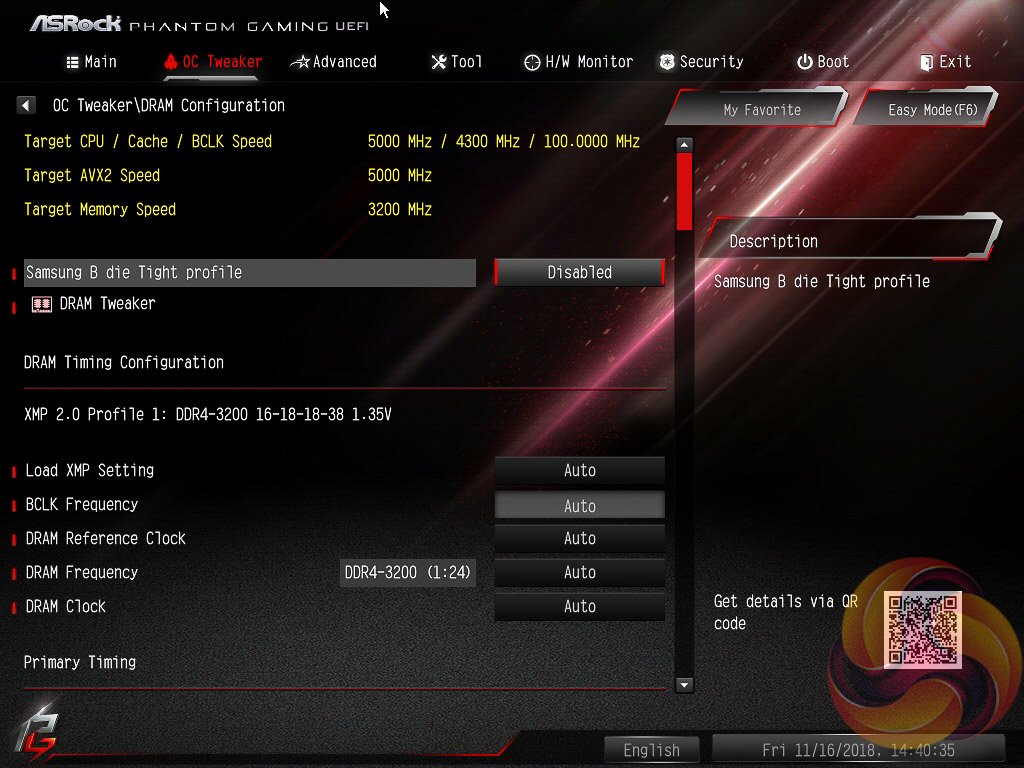
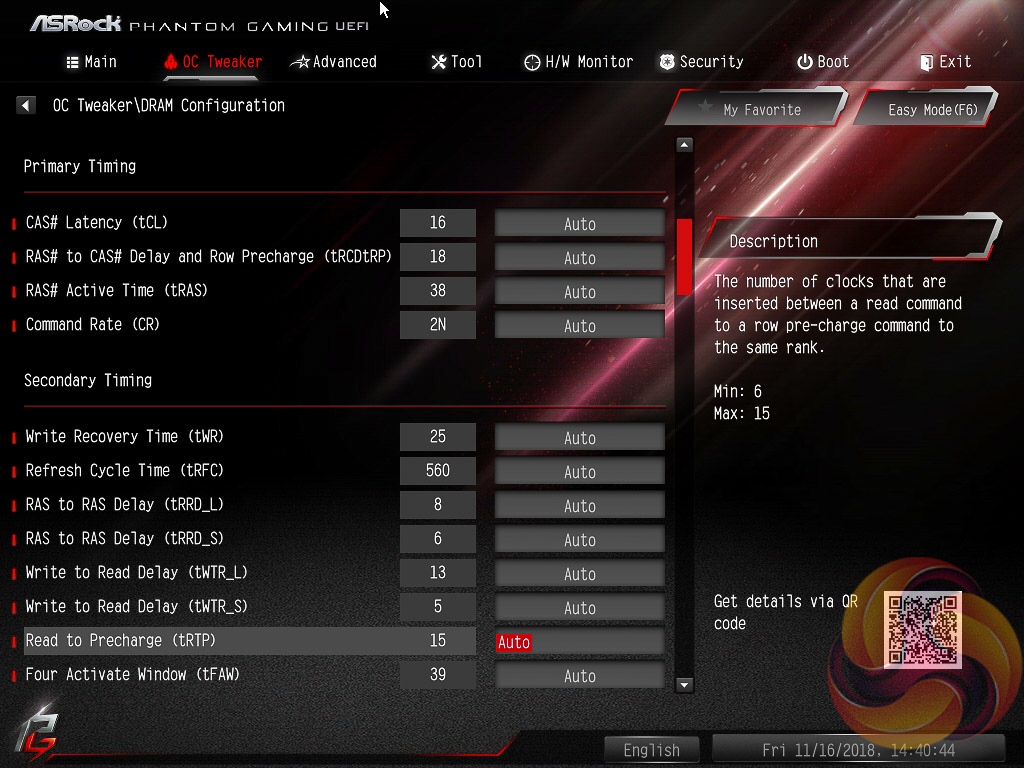
DRAM configuration brings all frequency and performance-related elements for the memory modules including XMP, reference clock and timing controls.
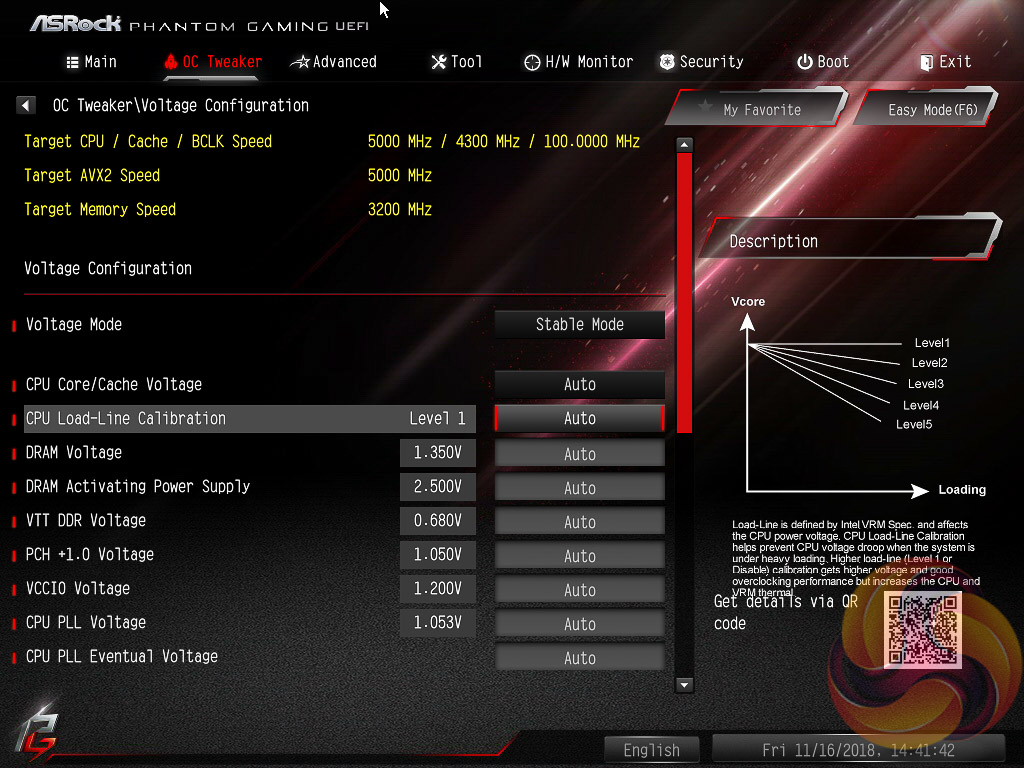
Voltage configuration is for all voltages and LLC settings including CPU VCore, VCCIO, VCCSA and PCH voltages. The CPU load line calibration controls are also held within this section and span five different levels with the Level 1 profile having no reduction under load and Level 5 the most reduction.
Regardless of whether XMP is enabled the “Auto” settings seem to trigger some kind of enhanced Turbo mode that goes beyond Intel's default power limits, as we'll see in the power consumption results later. ASRock offers no obvious method for turning this off, without disabling all Turbo behaviour. For reference, ASUS does offer a way to disable this enhanced turbo behaviour.
ASRock's “Auto” settings effectively extend the Turbo duration to some sufficiently high value that the CPU never falls below 4.7GHz at stock when in Turbo, whereas a system following Intel's Turbo specification will average about 4.2GHz on all cores after the initial peak turbo boost elapses the time limit.
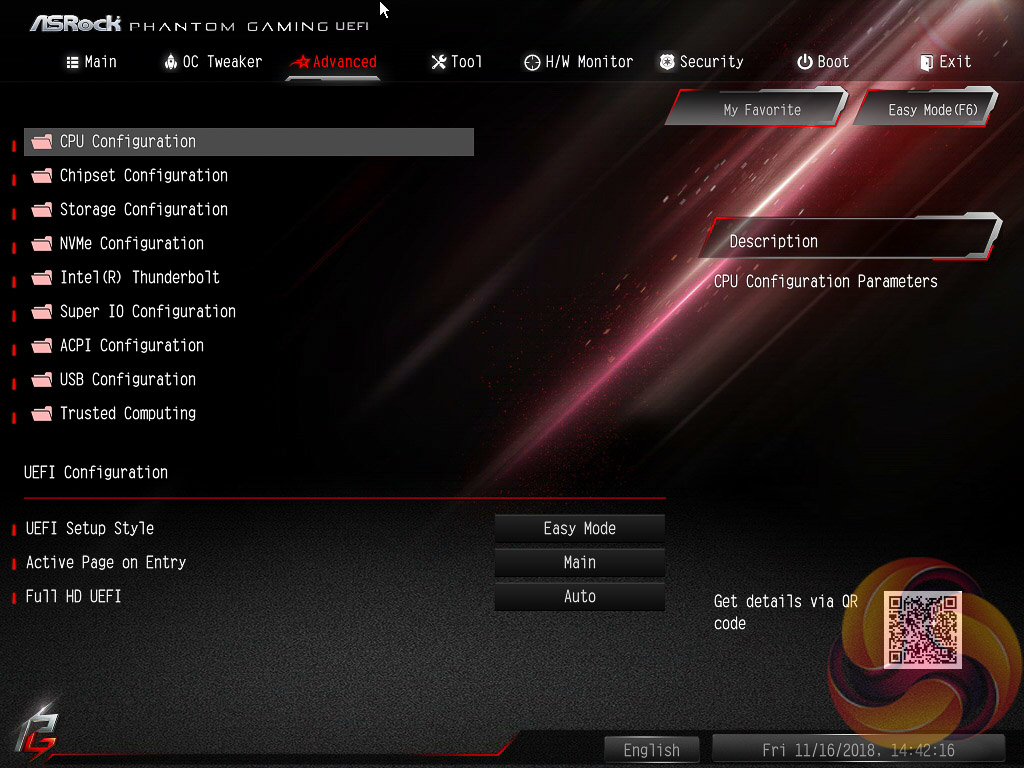
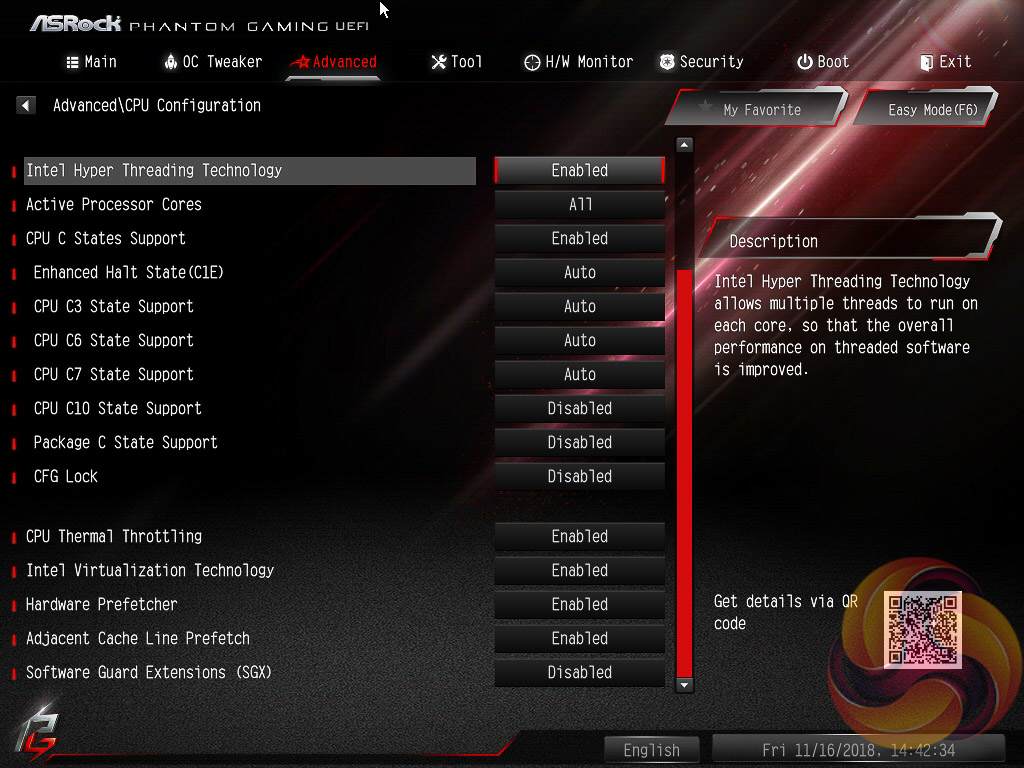
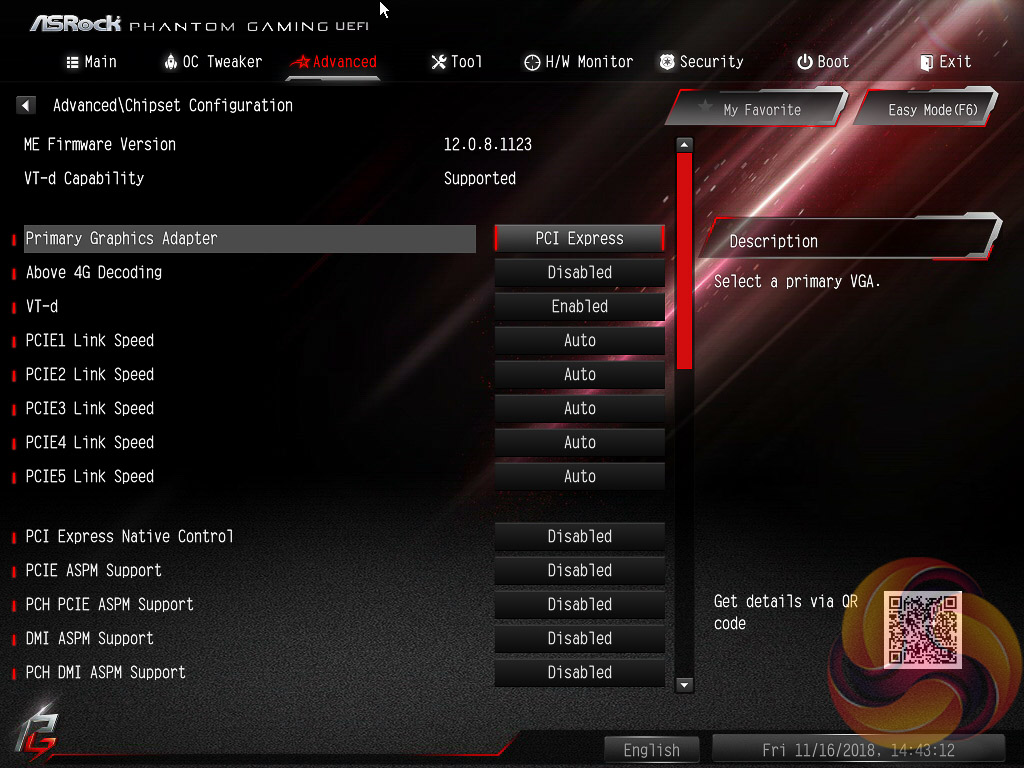
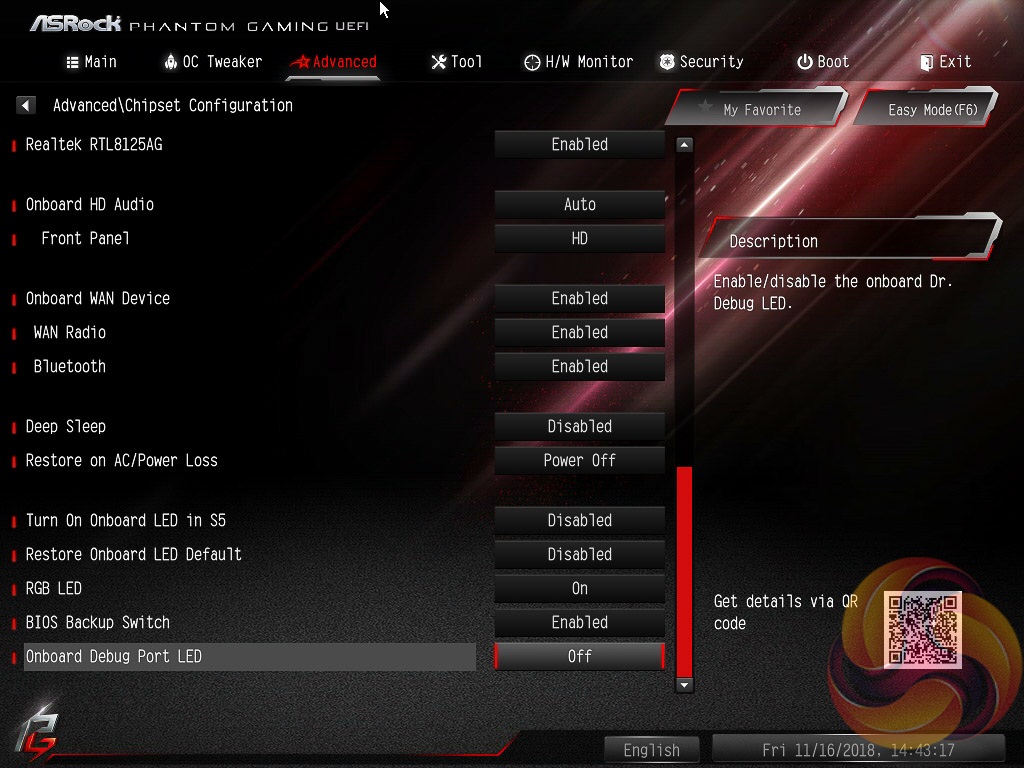
In the Advanced section we find more CPU configuration option. The remit of this section is to give users the “everything else” of compatibility and functional UEFI options for onboard hardware that aren’t found in OC Tweaker.
An inclusion at the bottom of the Advanced section is the ability to toggle the UEFI into a full HD mode which is disabled by default, at least it was on our test system monitor, and picking the default UEFI landing page from either EZ or Advanced..
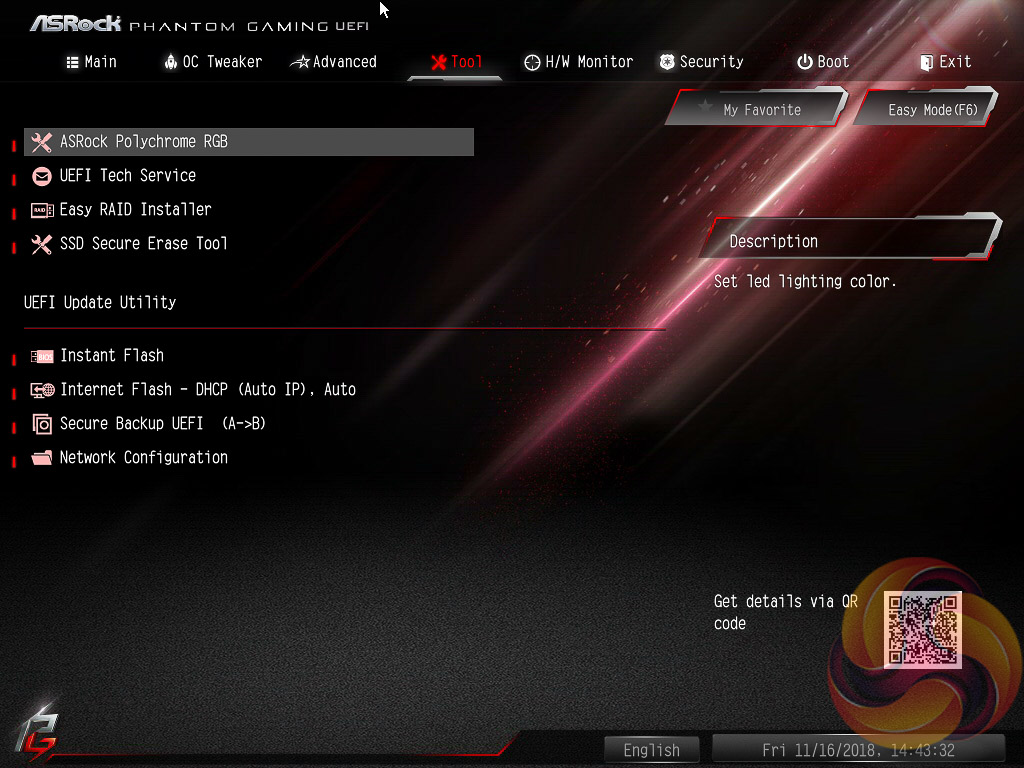
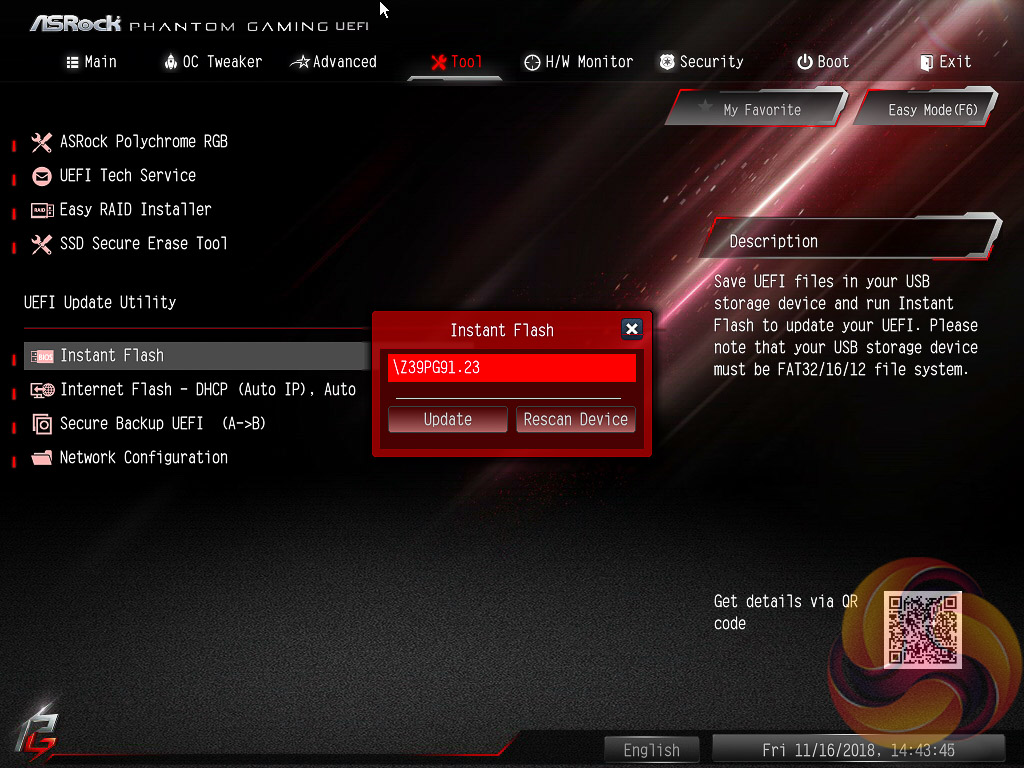
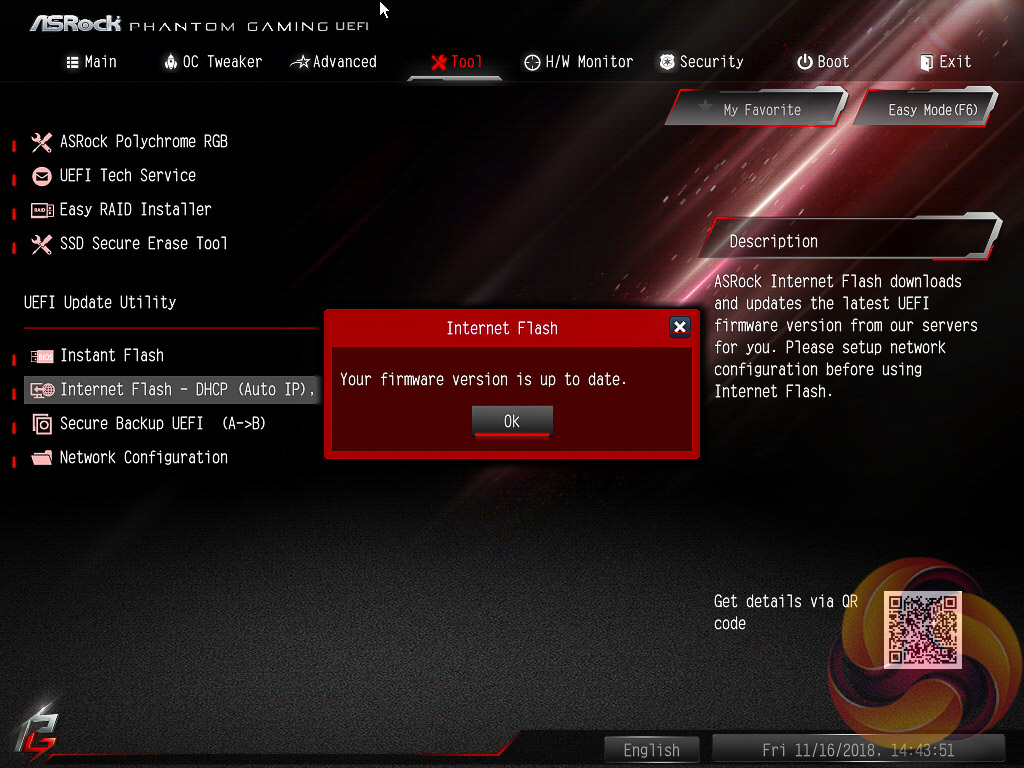
The Tool tab holds the Instant Flash utility which is beautifully simple. Attach a USB device, pick the update file and update, or update automatically from the internet. It seemed on this motherboard only one of the Ethernet ports was configured to work with Internet flash, the Intel I219V port nearest the audio connections, once it connected up to the internet it worked a treat to run the update.
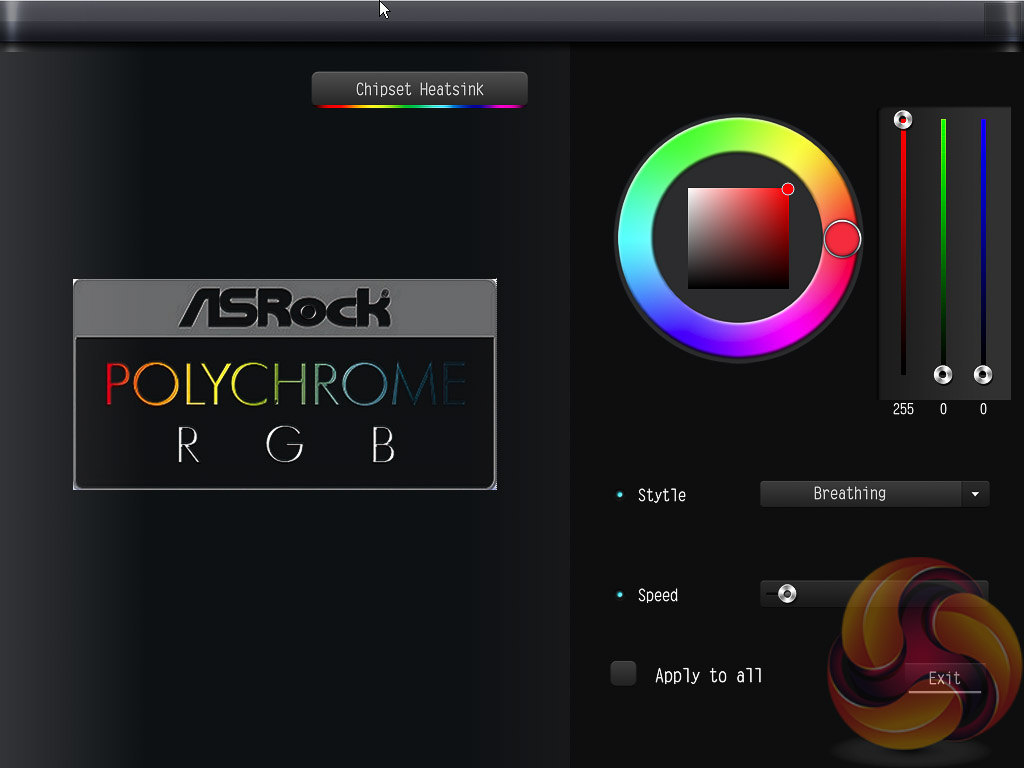
ASRock has provided its Polychrome RGB tool within the UEFI environment on this model and it works roughly the same as the software does. Firstly, pick the lighting region. Secondly, change the colour using the ring, square or RGB sliders. Thirdly, select the style and speed from the lower right list and then choose to apply only to that lighting region (do nothing) or tick all to apply to all.
ASRock is, to our knowledge, the only motherboard vendor that puts RGB LED controls in the UEFI environment. It’s a unique approach and it’s pleasing to say the UEFI version of ASRock’s RGB LED doesn’t lose any features compared the Windows version.
The only downside is that once the profile is set within the UEFI the user has to re-enter the UEFI to make any further changes. The upside is, of course, less software clutter within Windows for those who have an aversion to motherboard software.
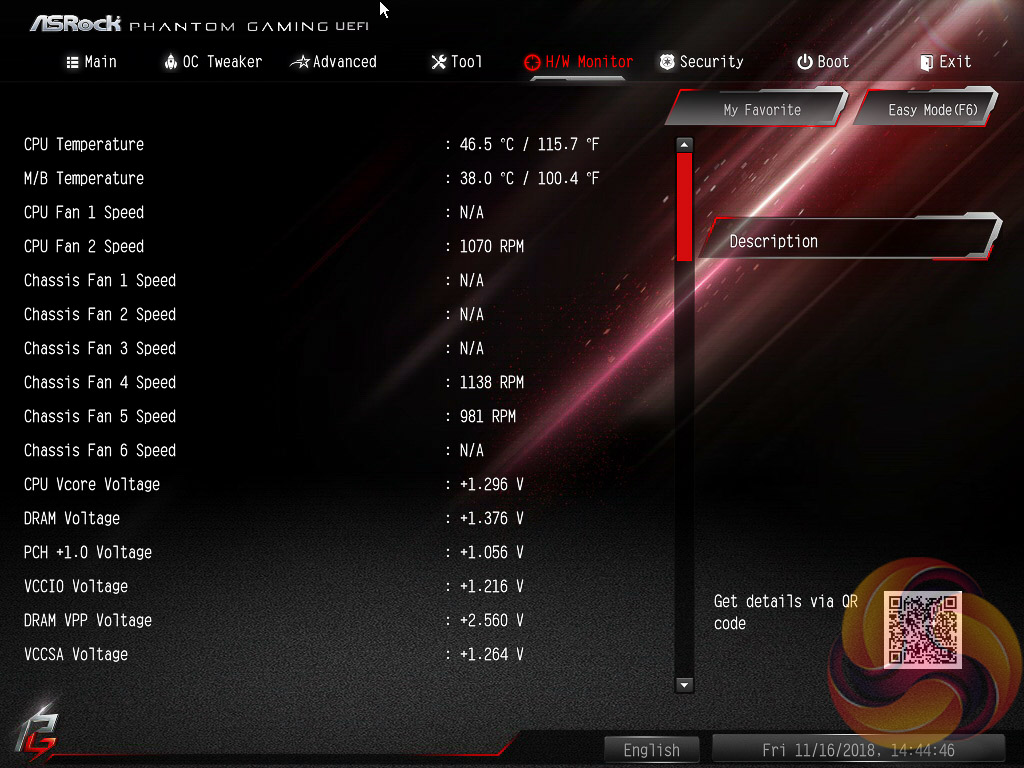
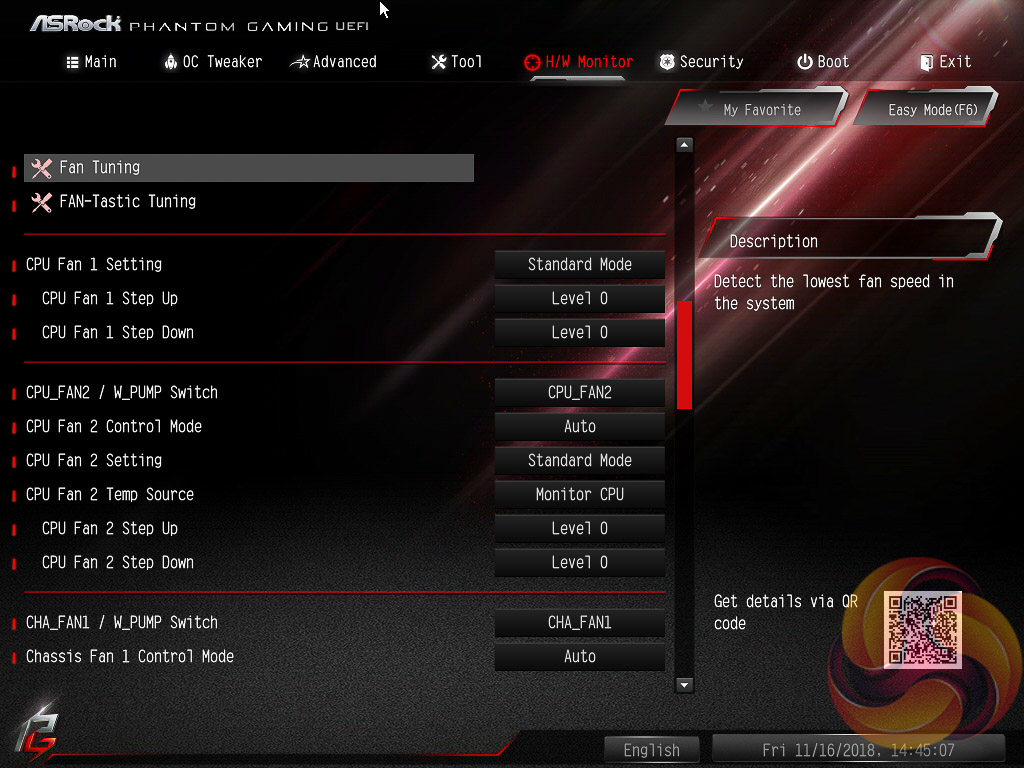
The Monitor section includes a number of voltage, temperature and fan speed read-outs as well as all the CPU and System fan controls. Further fan tuning can be done by first running the “Fan Tuning” wizard to calculate the full fan speed range of each attached fan (minimum and maximum speeds in RPM).
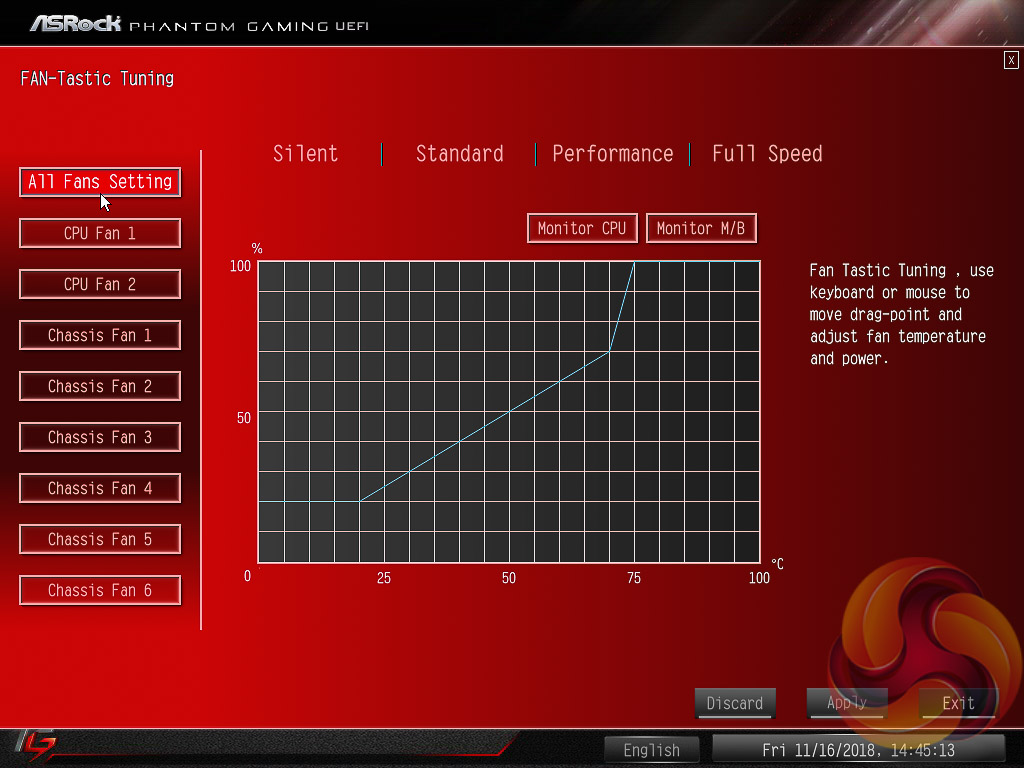
Then from within the FAN-Tastic tuning window, customised profiles can be set using the fan speed graph and the mouse to drag-and-drop the curve/line.
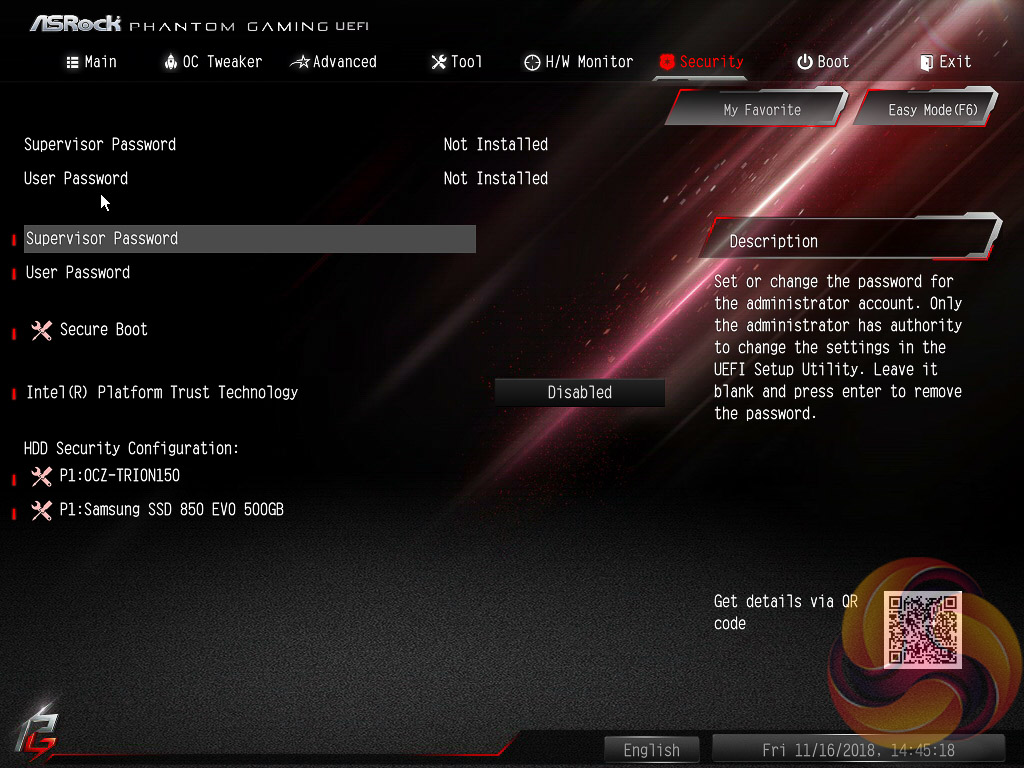
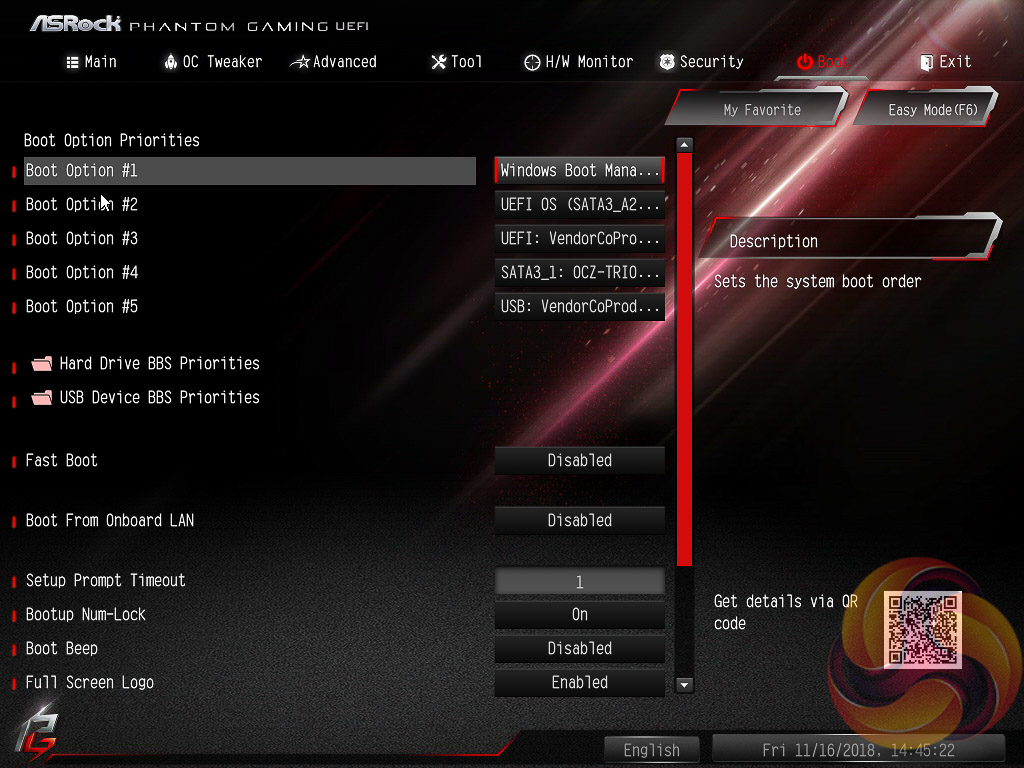
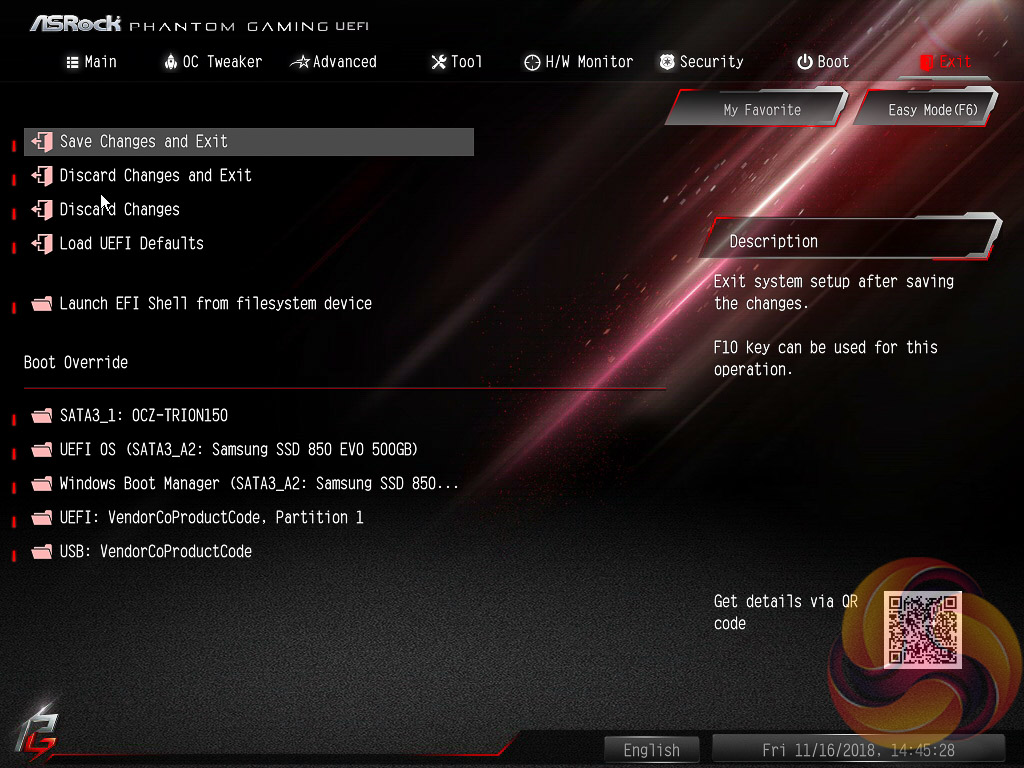
Security, Boot and Exit tabs round off the rest of the ASRock UEFI environment. Note that no summary of changes is presented to the user upon exiting the UEFI environment.