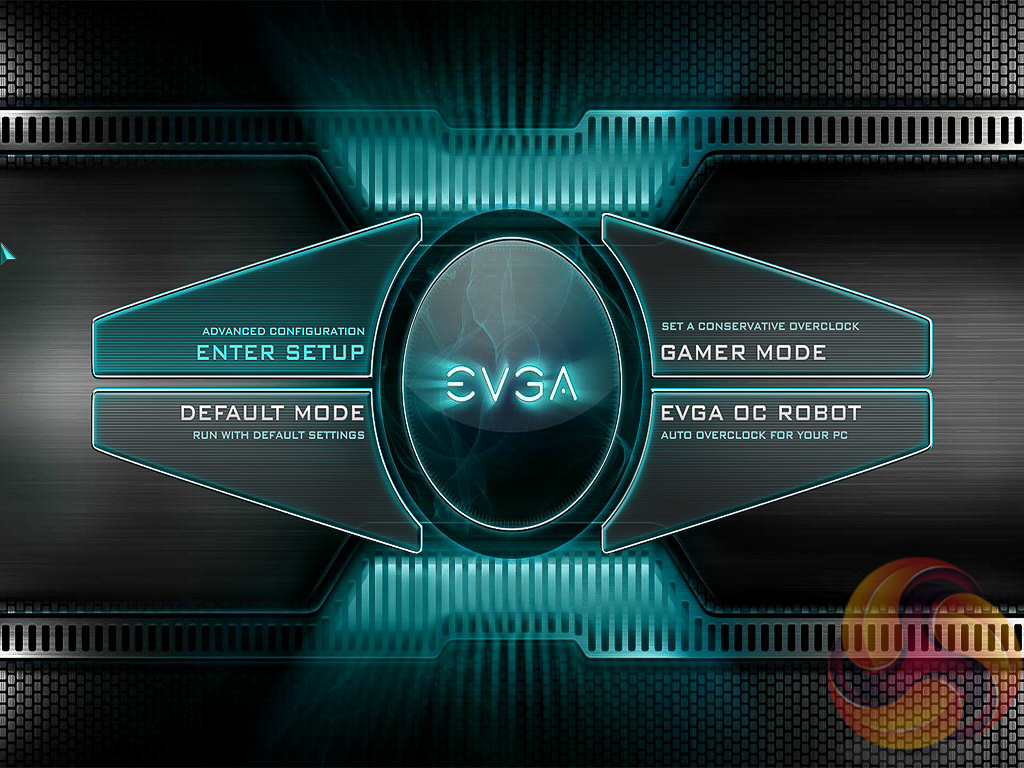
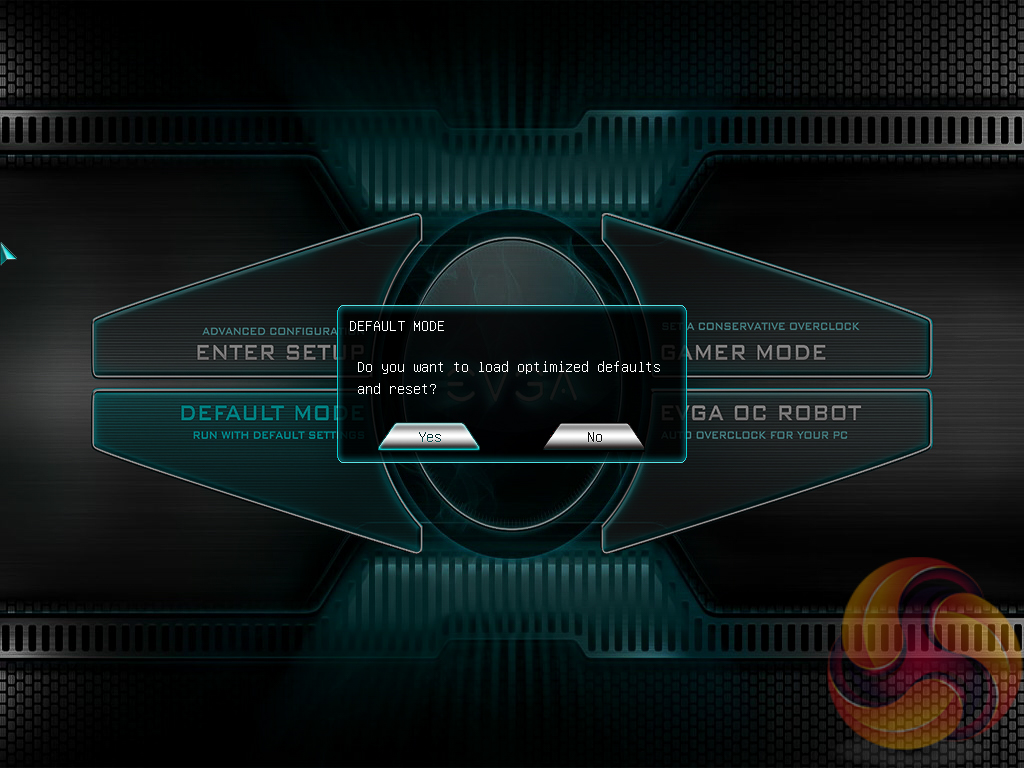
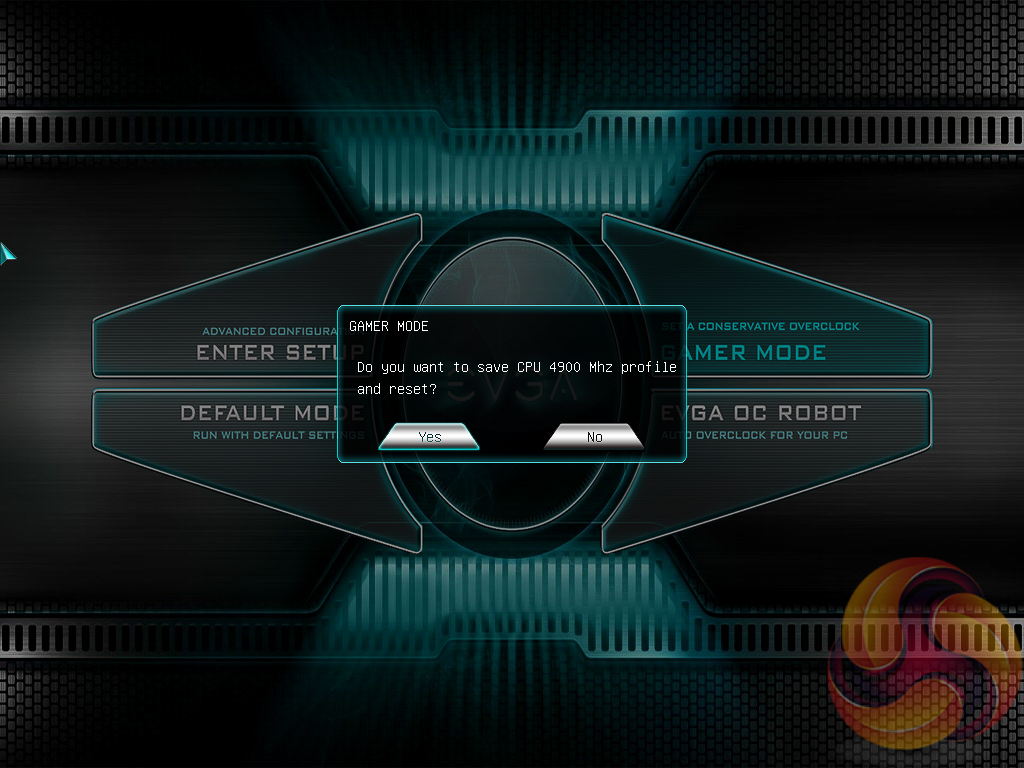
The EVGA Z390 FTW UEFI enters onto a 4-option splash screen. The “Enter Setup” option will take the user into the traditional BIOS environment, “Default Mode” loads optimised defaults while “Gamer Mode” applies a pre-calculated 4.9GHz overclock profile (to an i9-9900K).
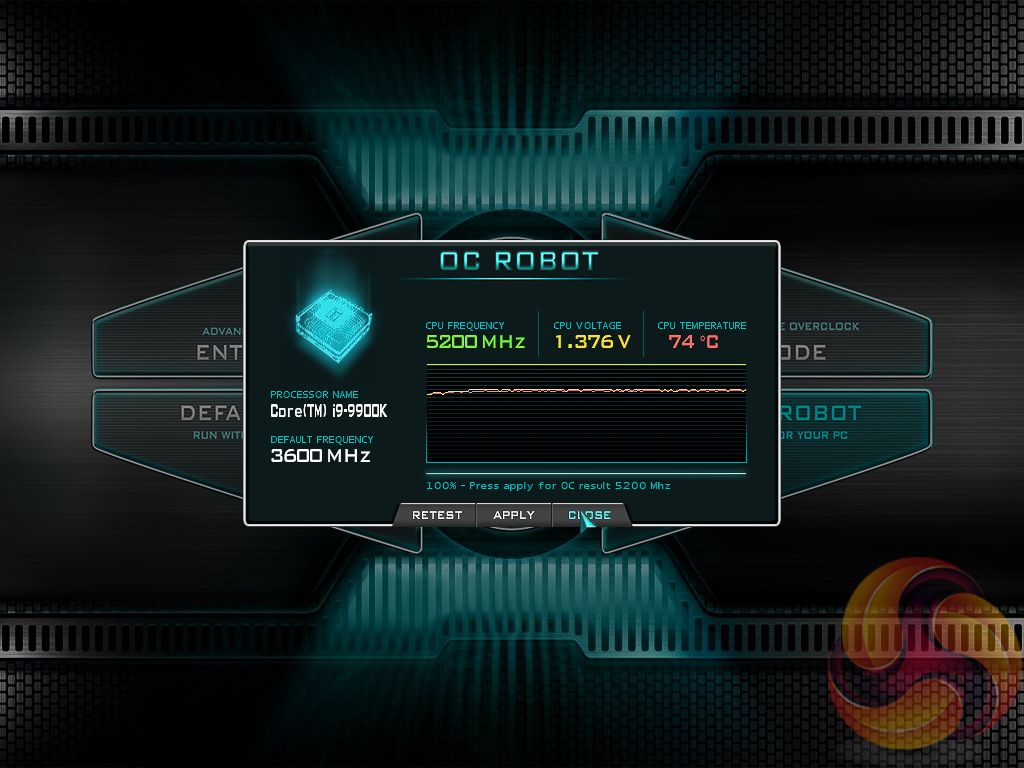
The “EVGA OC Robot” is a tool that will continually overclock the CPU trying to find the maximum stable clock speed and voltage, within acceptable temperatures. In our testing it found 5.2GHz at 1.376v, however, this would not boot into Windows so we're not sure how the in-UEFI tool determines if the overclock is stable or not. It also still wouldn't boot in at 5.1GHz with 1.376v.
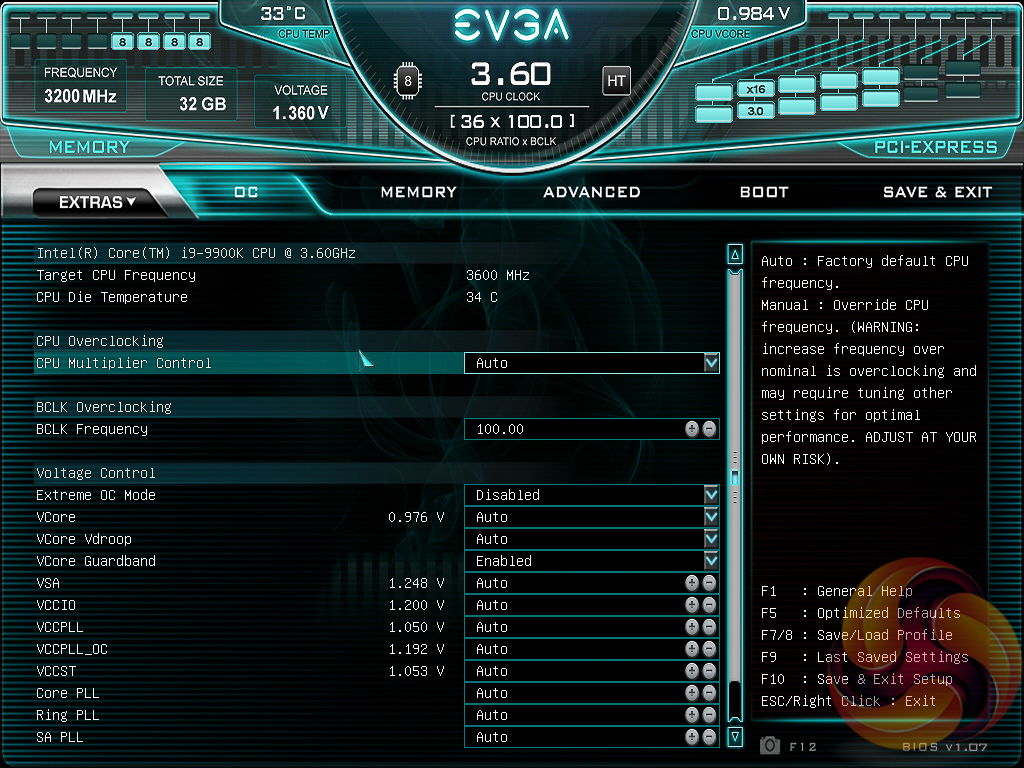
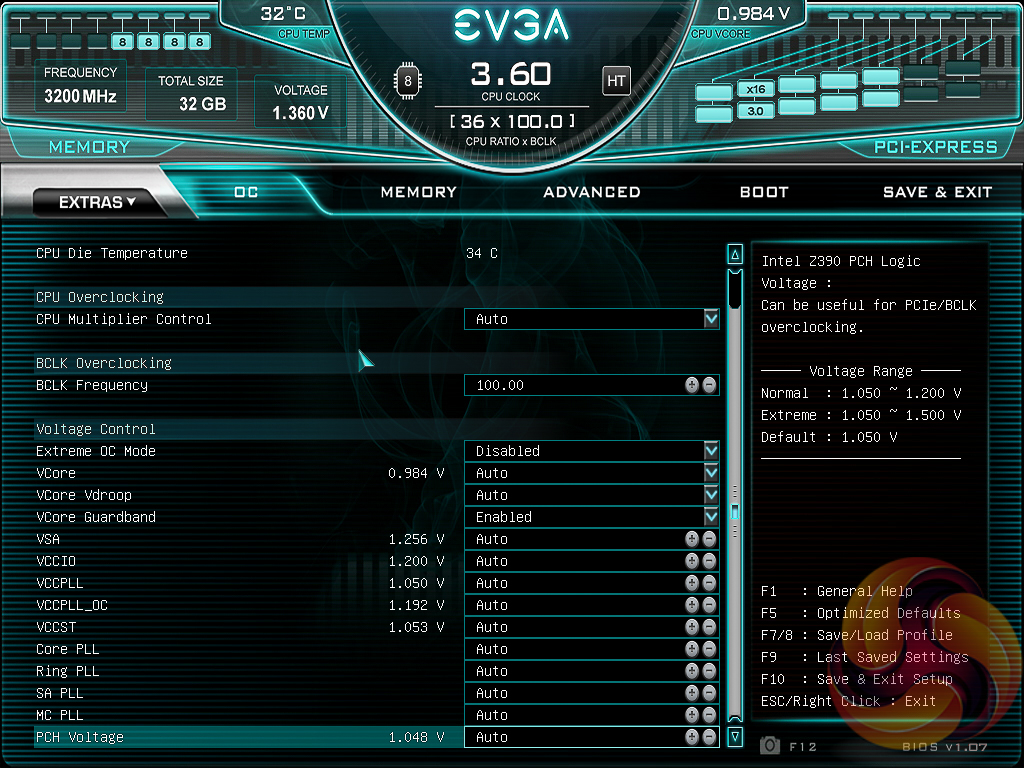
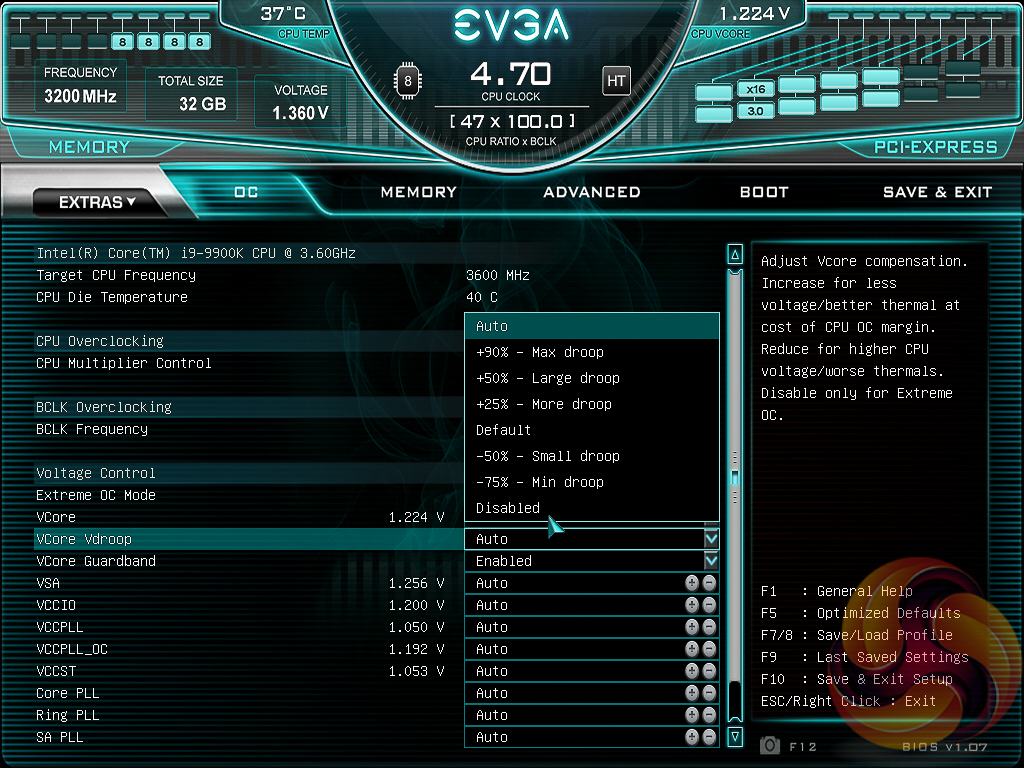
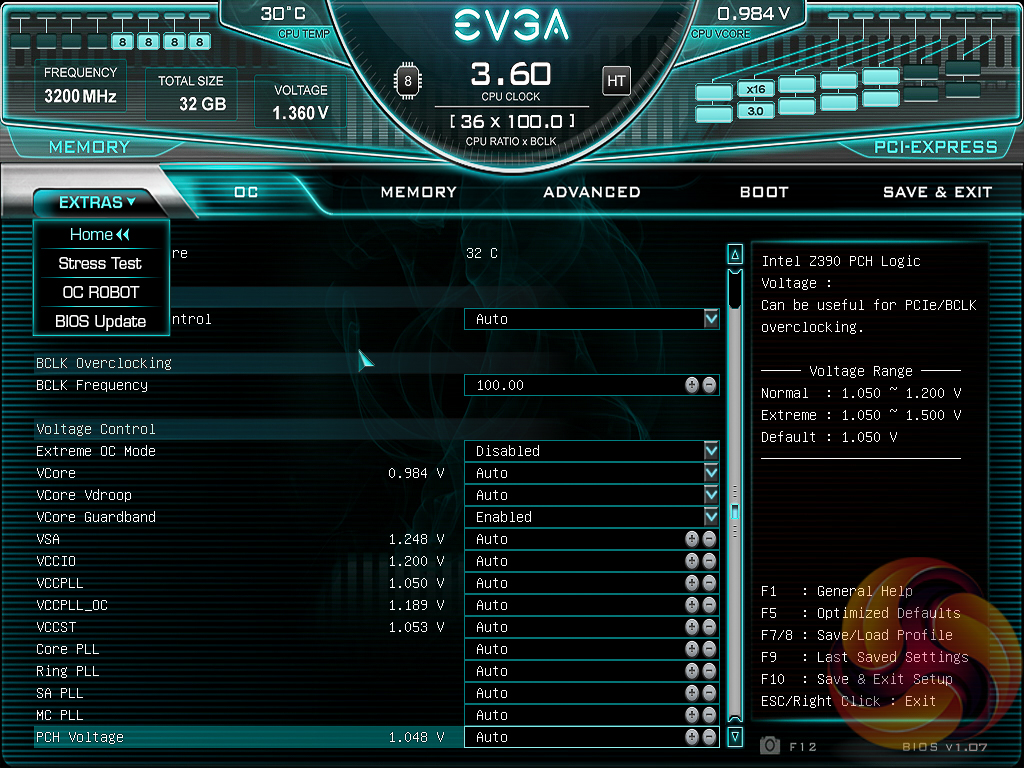
The OC tab is where clock speeds are defined and voltages are set. EVGA offers adaptive or override voltage modes for the VCore as well as an option to control “VCore Vdroop”, effectively what most users understand to be Load Line Calibration (LLC) on other motherboards. However, the granularity of the controls offered and the intuitiveness of using them was less than ideal.
There is no way of controlling the PL1 and PL2 power limit and duration, which is somewhat surprising since that level of performance control is available on most other motherboards.
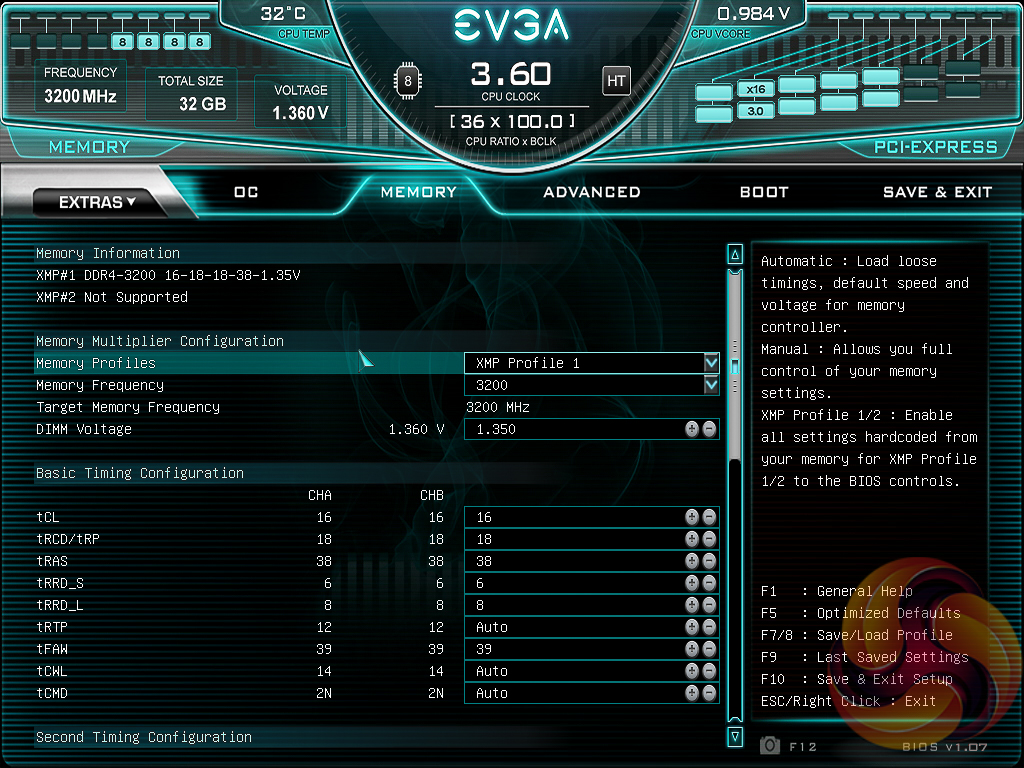
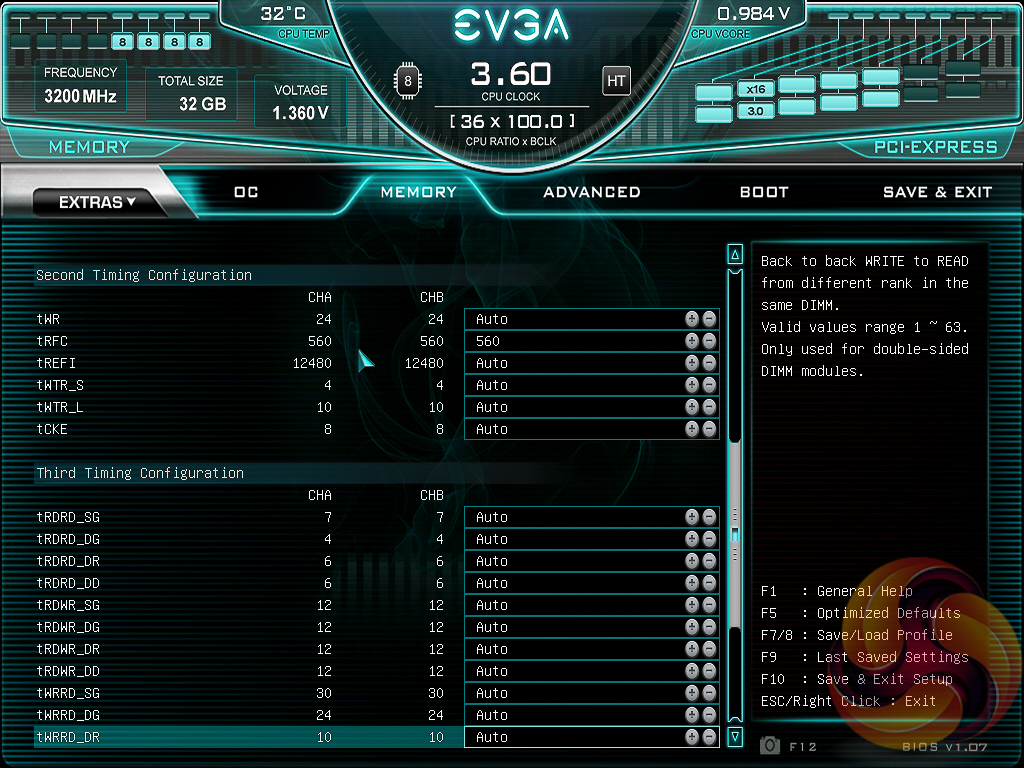

The memory tab is where the user would set XMP profiles, memory frequency, timings and voltages.
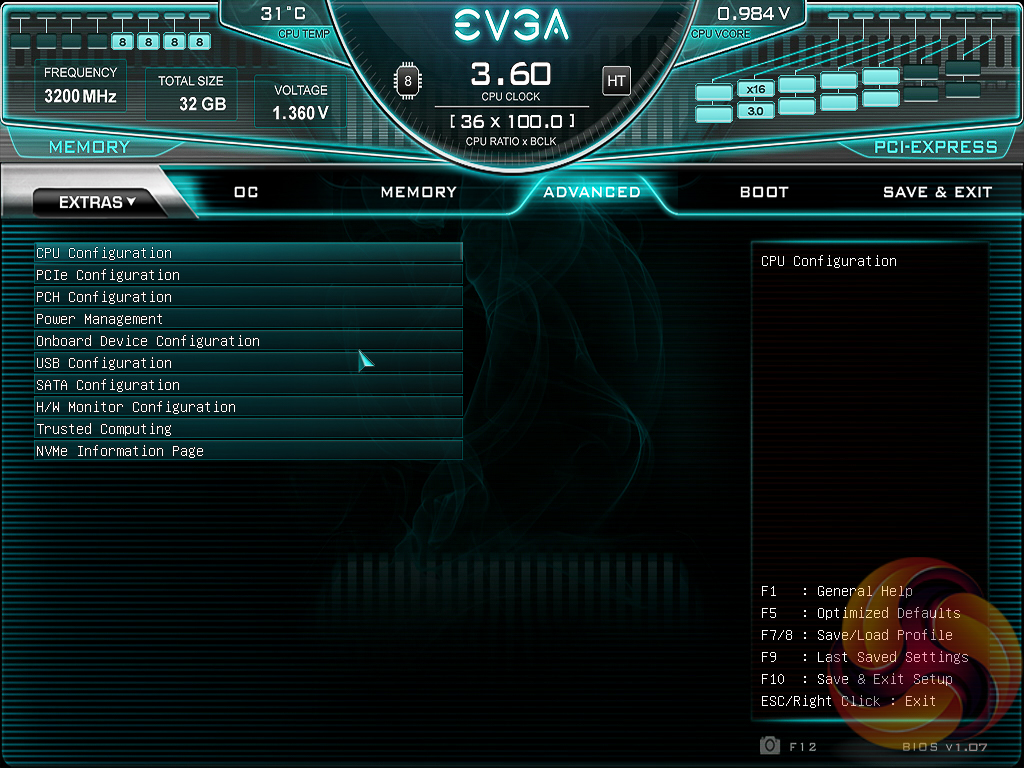
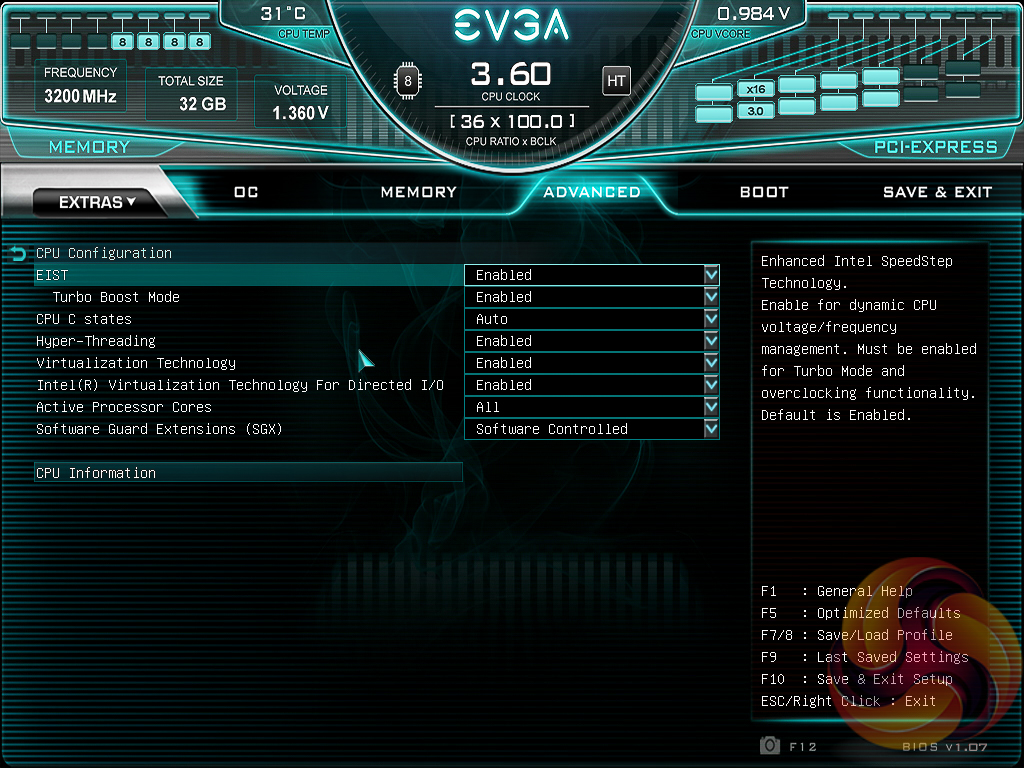
The Advanced tab contains the “everything else” of compatibility and feature settings for all on-board hardware and supported devices. The CPU section, unfortunately, has few options in regards to how power delivery is controlled.
EVGA enables the “Turbo Boost Mode” by default which enhances the Turbo behaviour of the CPU but there's no support for stock Intel Turbo specification. The user can either enable Turbo Boost Mode, and will get a 4.6 to 4.7GHz all-core Turbo (depending on the workload), considerably outside Intel's 95-watt power envelope. Or the user can disable it and the CPU will never go beyond 3.6GHz and will barely sip more than 65-watts.

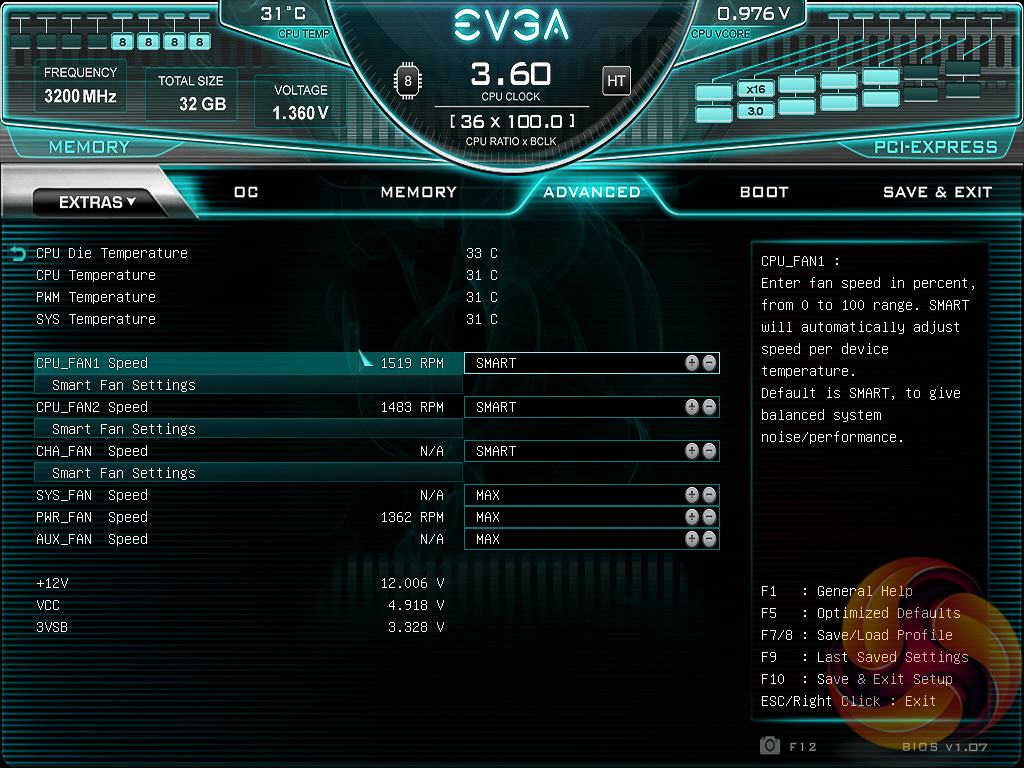
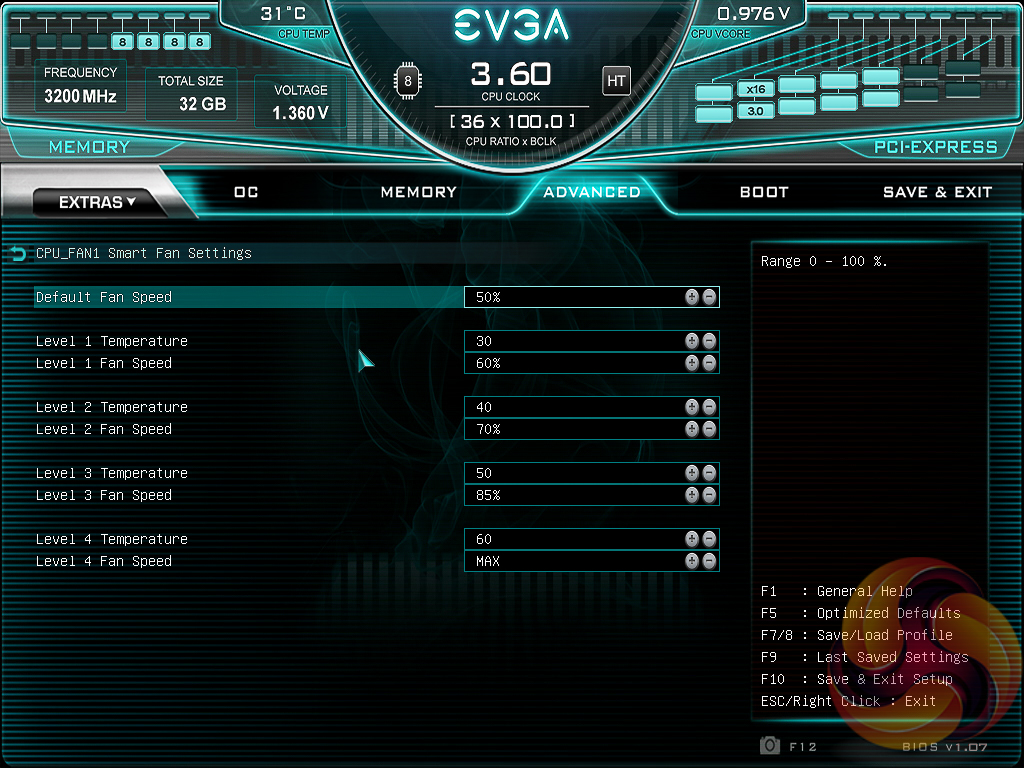
Fan control is done in the Advanced under H/W Monitor Configuration. The options available are to manually program a fan speed (i.e. 50%) or to set it to “SMART” mode. Once set to “SMART” the “Smart Fan Settings” will allow the user to configure five fan levels: the baseline level (default fan speed) and then four additional fan speeds that will be activated once the designated temperature thresholds are reached.
There is no fan tuning tool or GUI to assist with the process, which can make it a little tricky and tiresome.
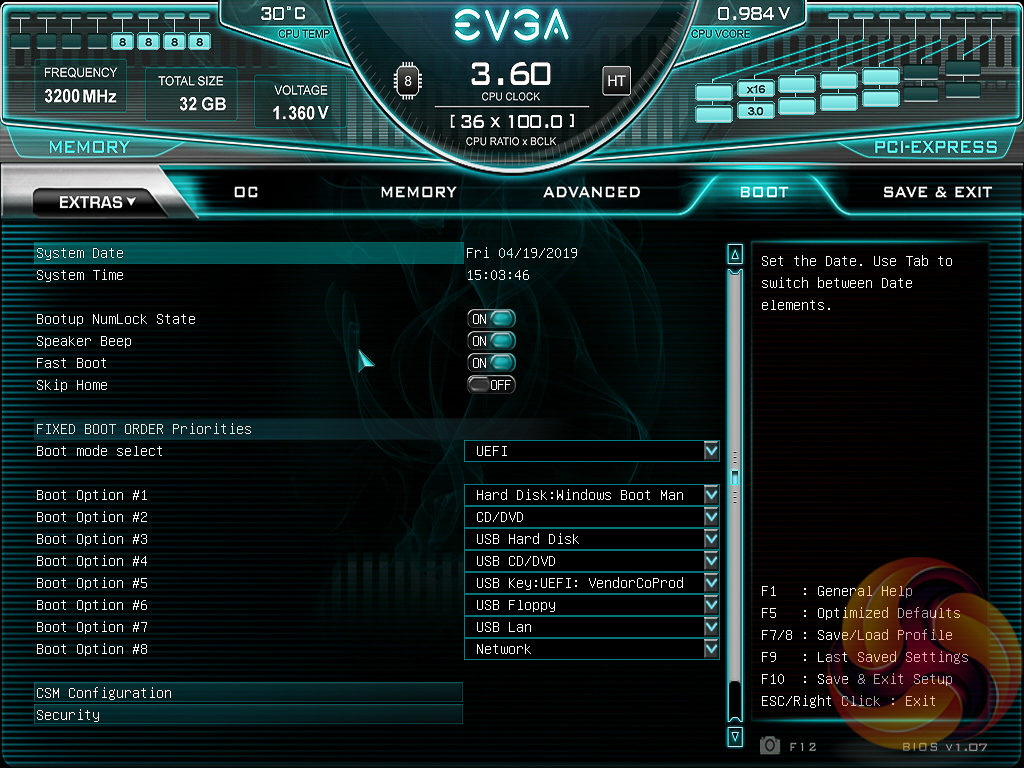
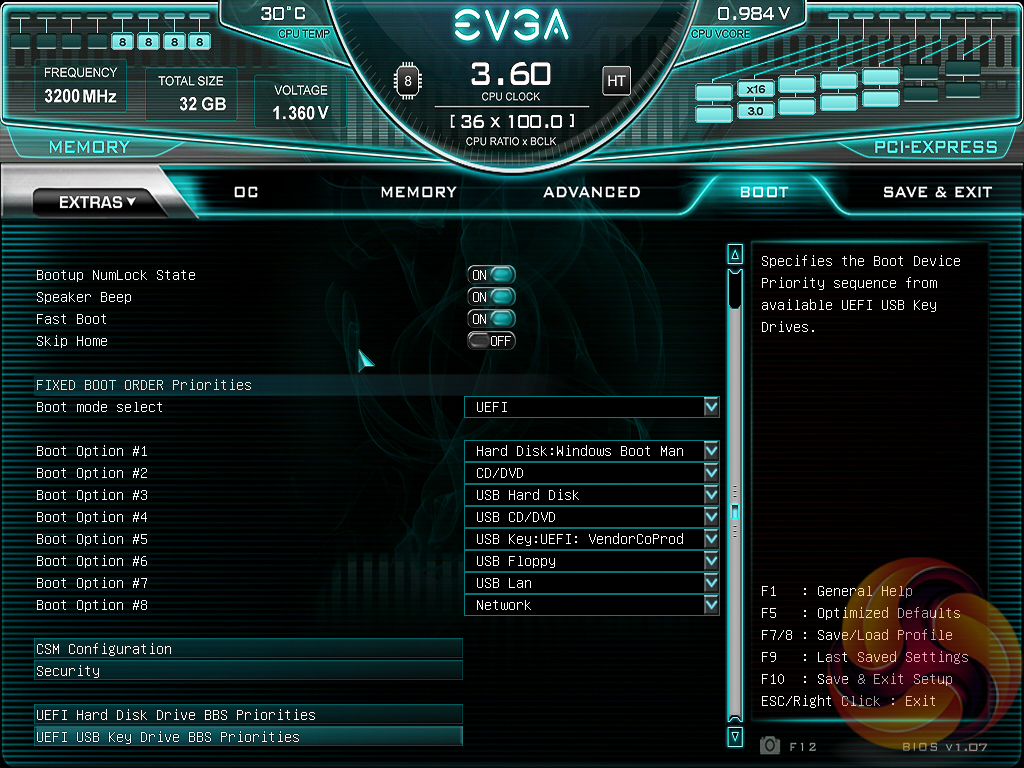
The Boot tab contains standard boot order and priority options.
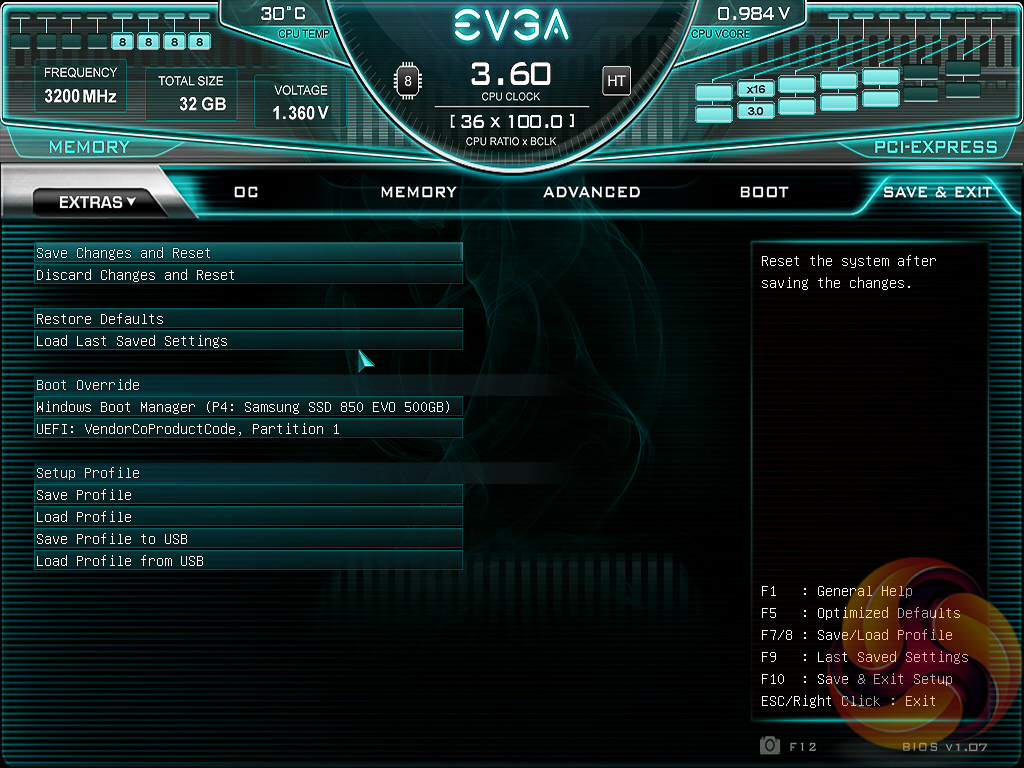
Save & Exit is exactly how it sounds, though it does also have Boot Override options. A summary of changes made to the BIOS settings is presented to the user upon exiting.
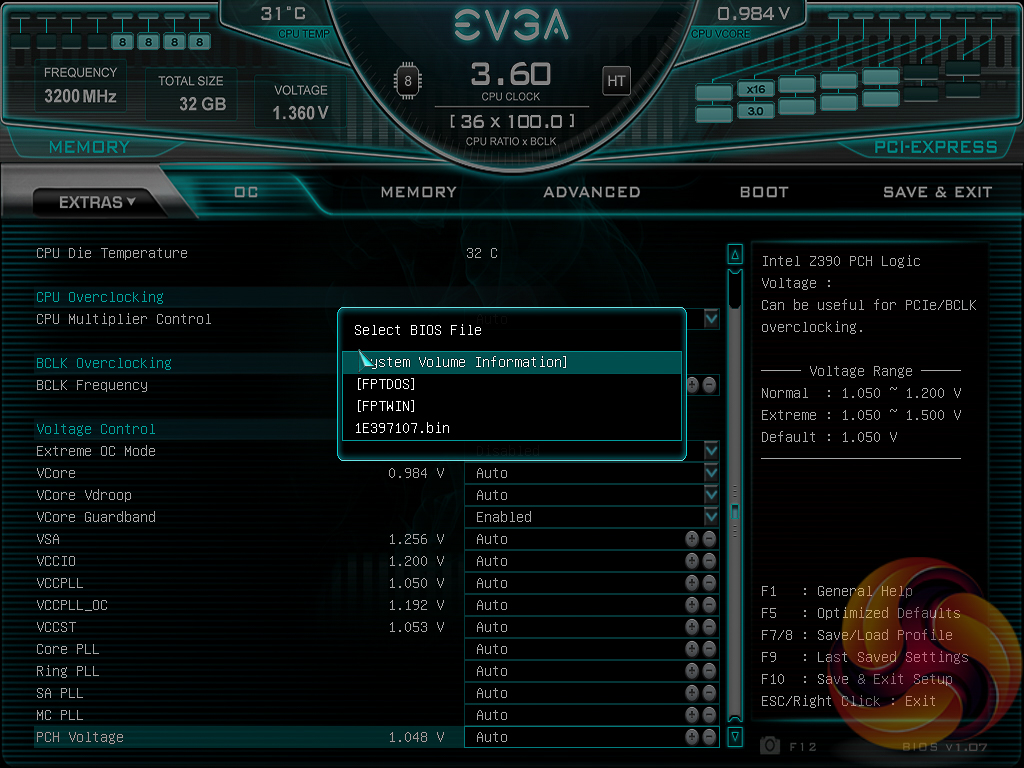
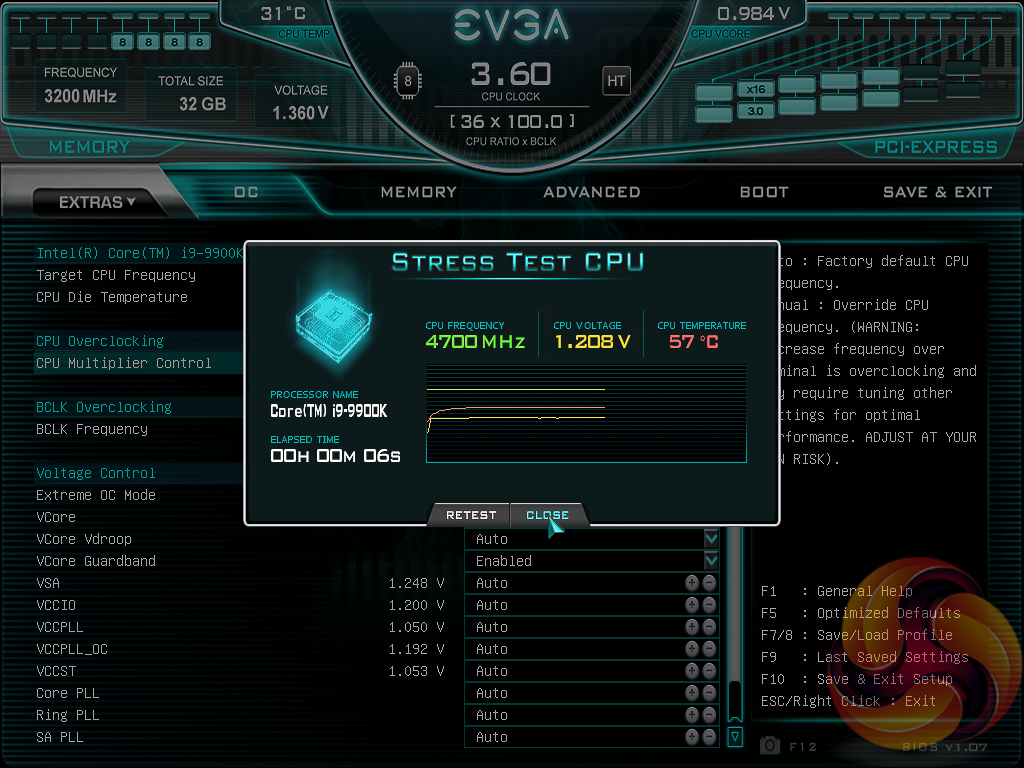
Under the “Extras” menu are three tools – a Stress Test for checking the stability of overclocks, the same OC Robot utility found on the landing page and a light-weight BIOS Update tool. This EVGA motherboard can update one of two ways – by the BIOS flashback USB port without any hardware installed (CPU, memory, etc.) or from a BIOS file on a USB stick accessed within the BIOS Update utility when there is a fully functioning system.