Since we have already gone over the hardware components that make up the system, in this section we will cover the case internals and the overall installation and how it has been implemented.

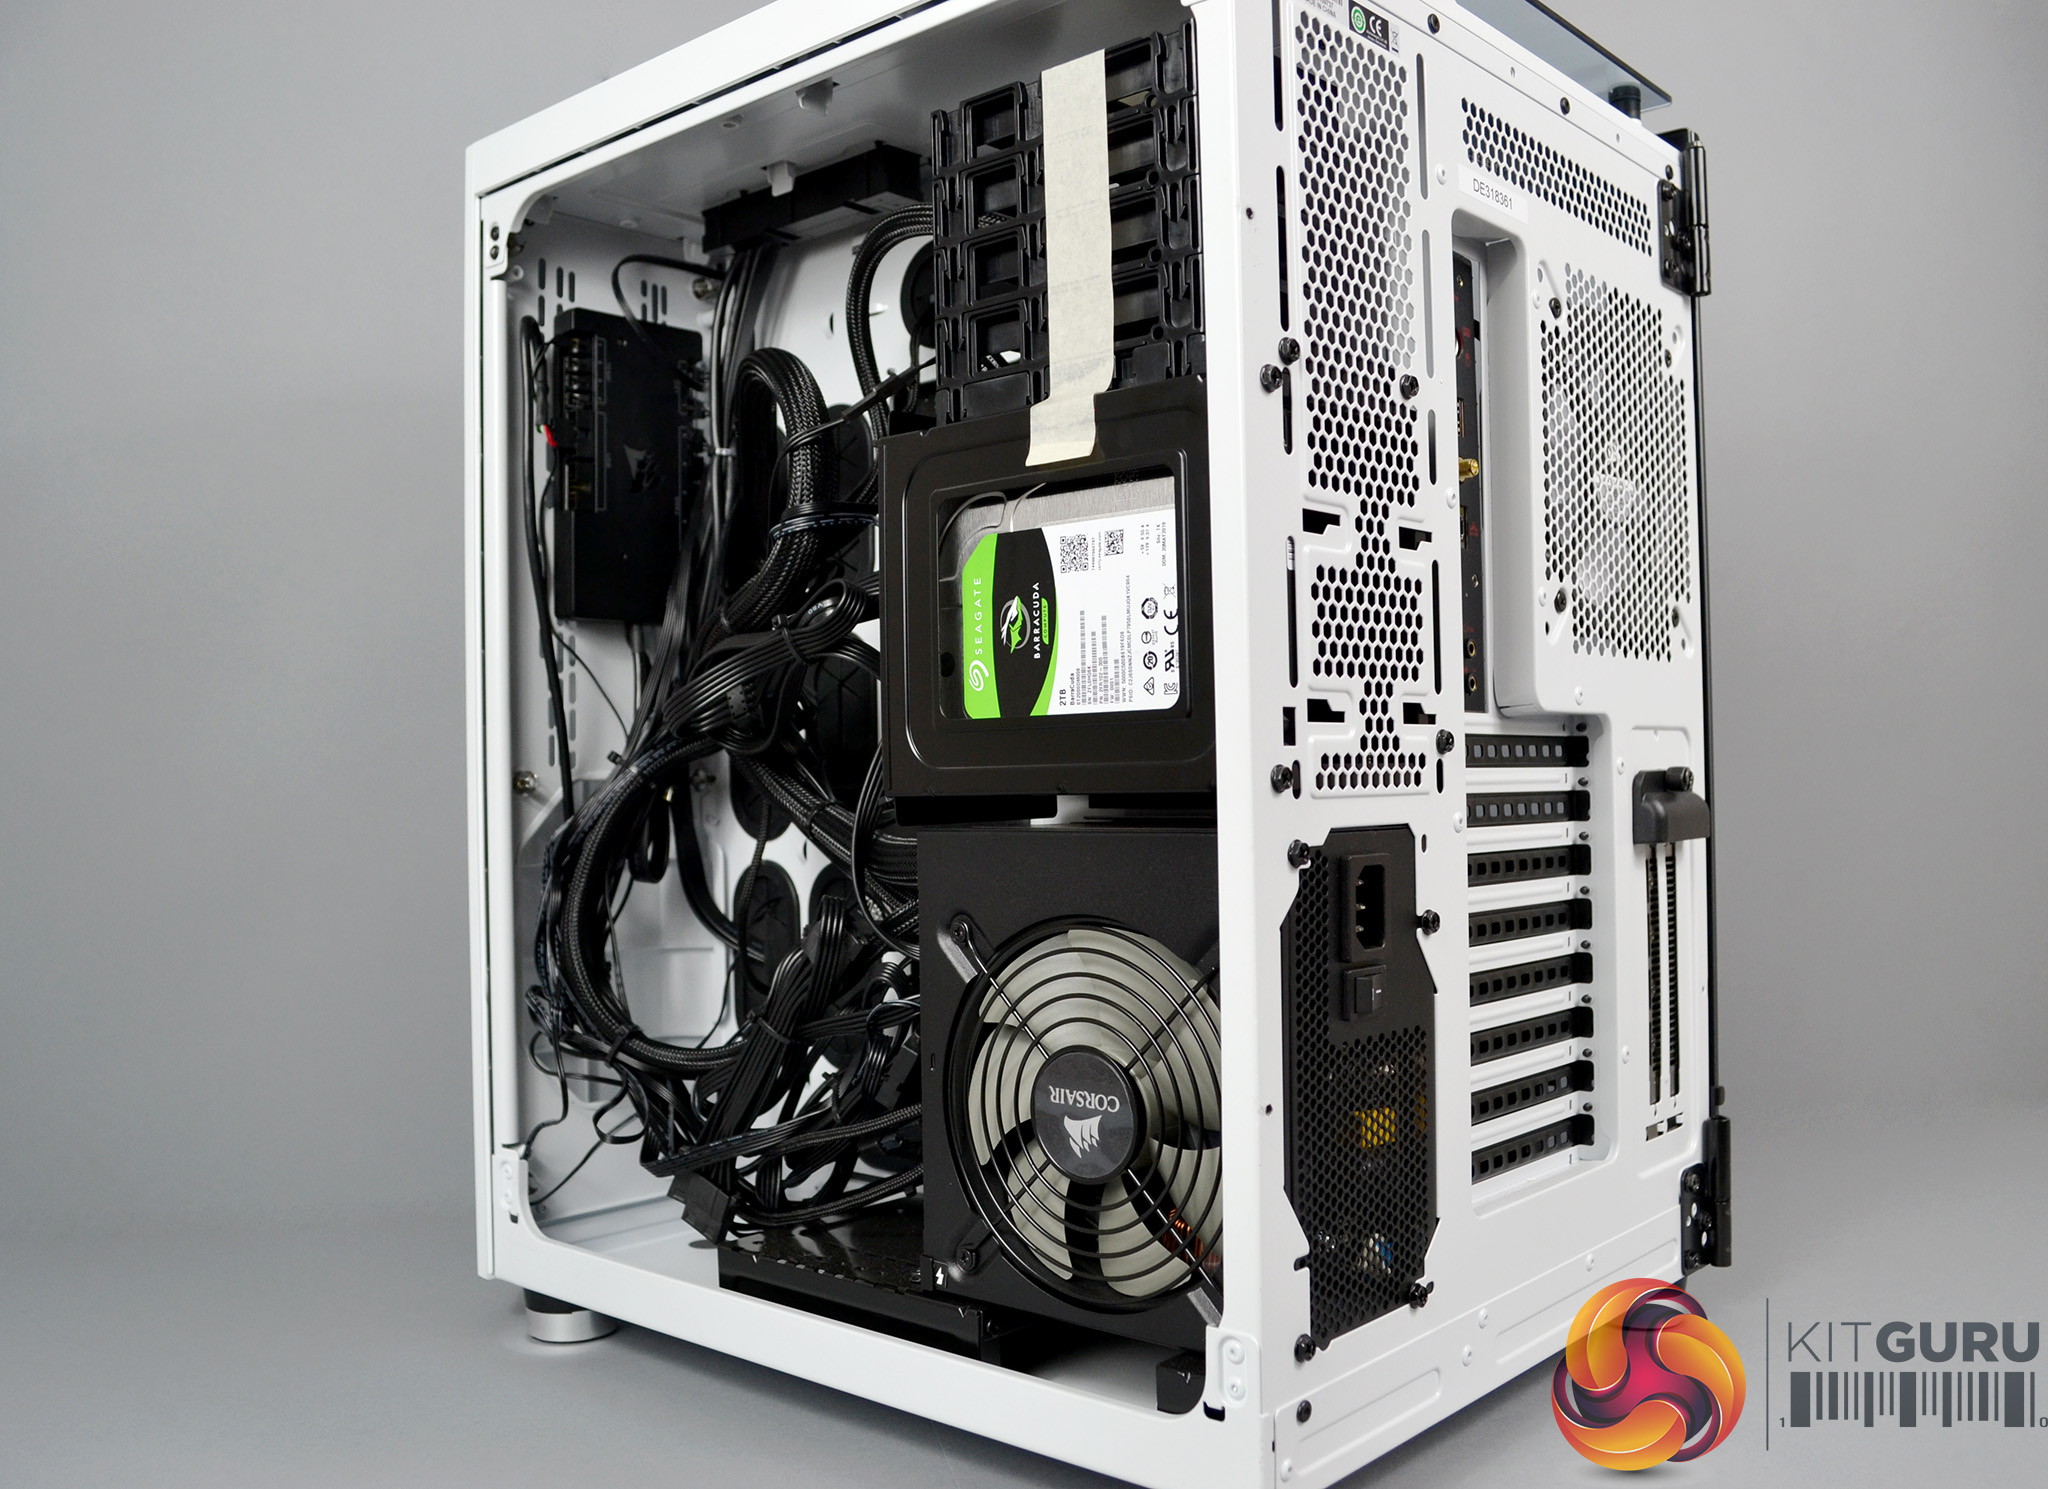
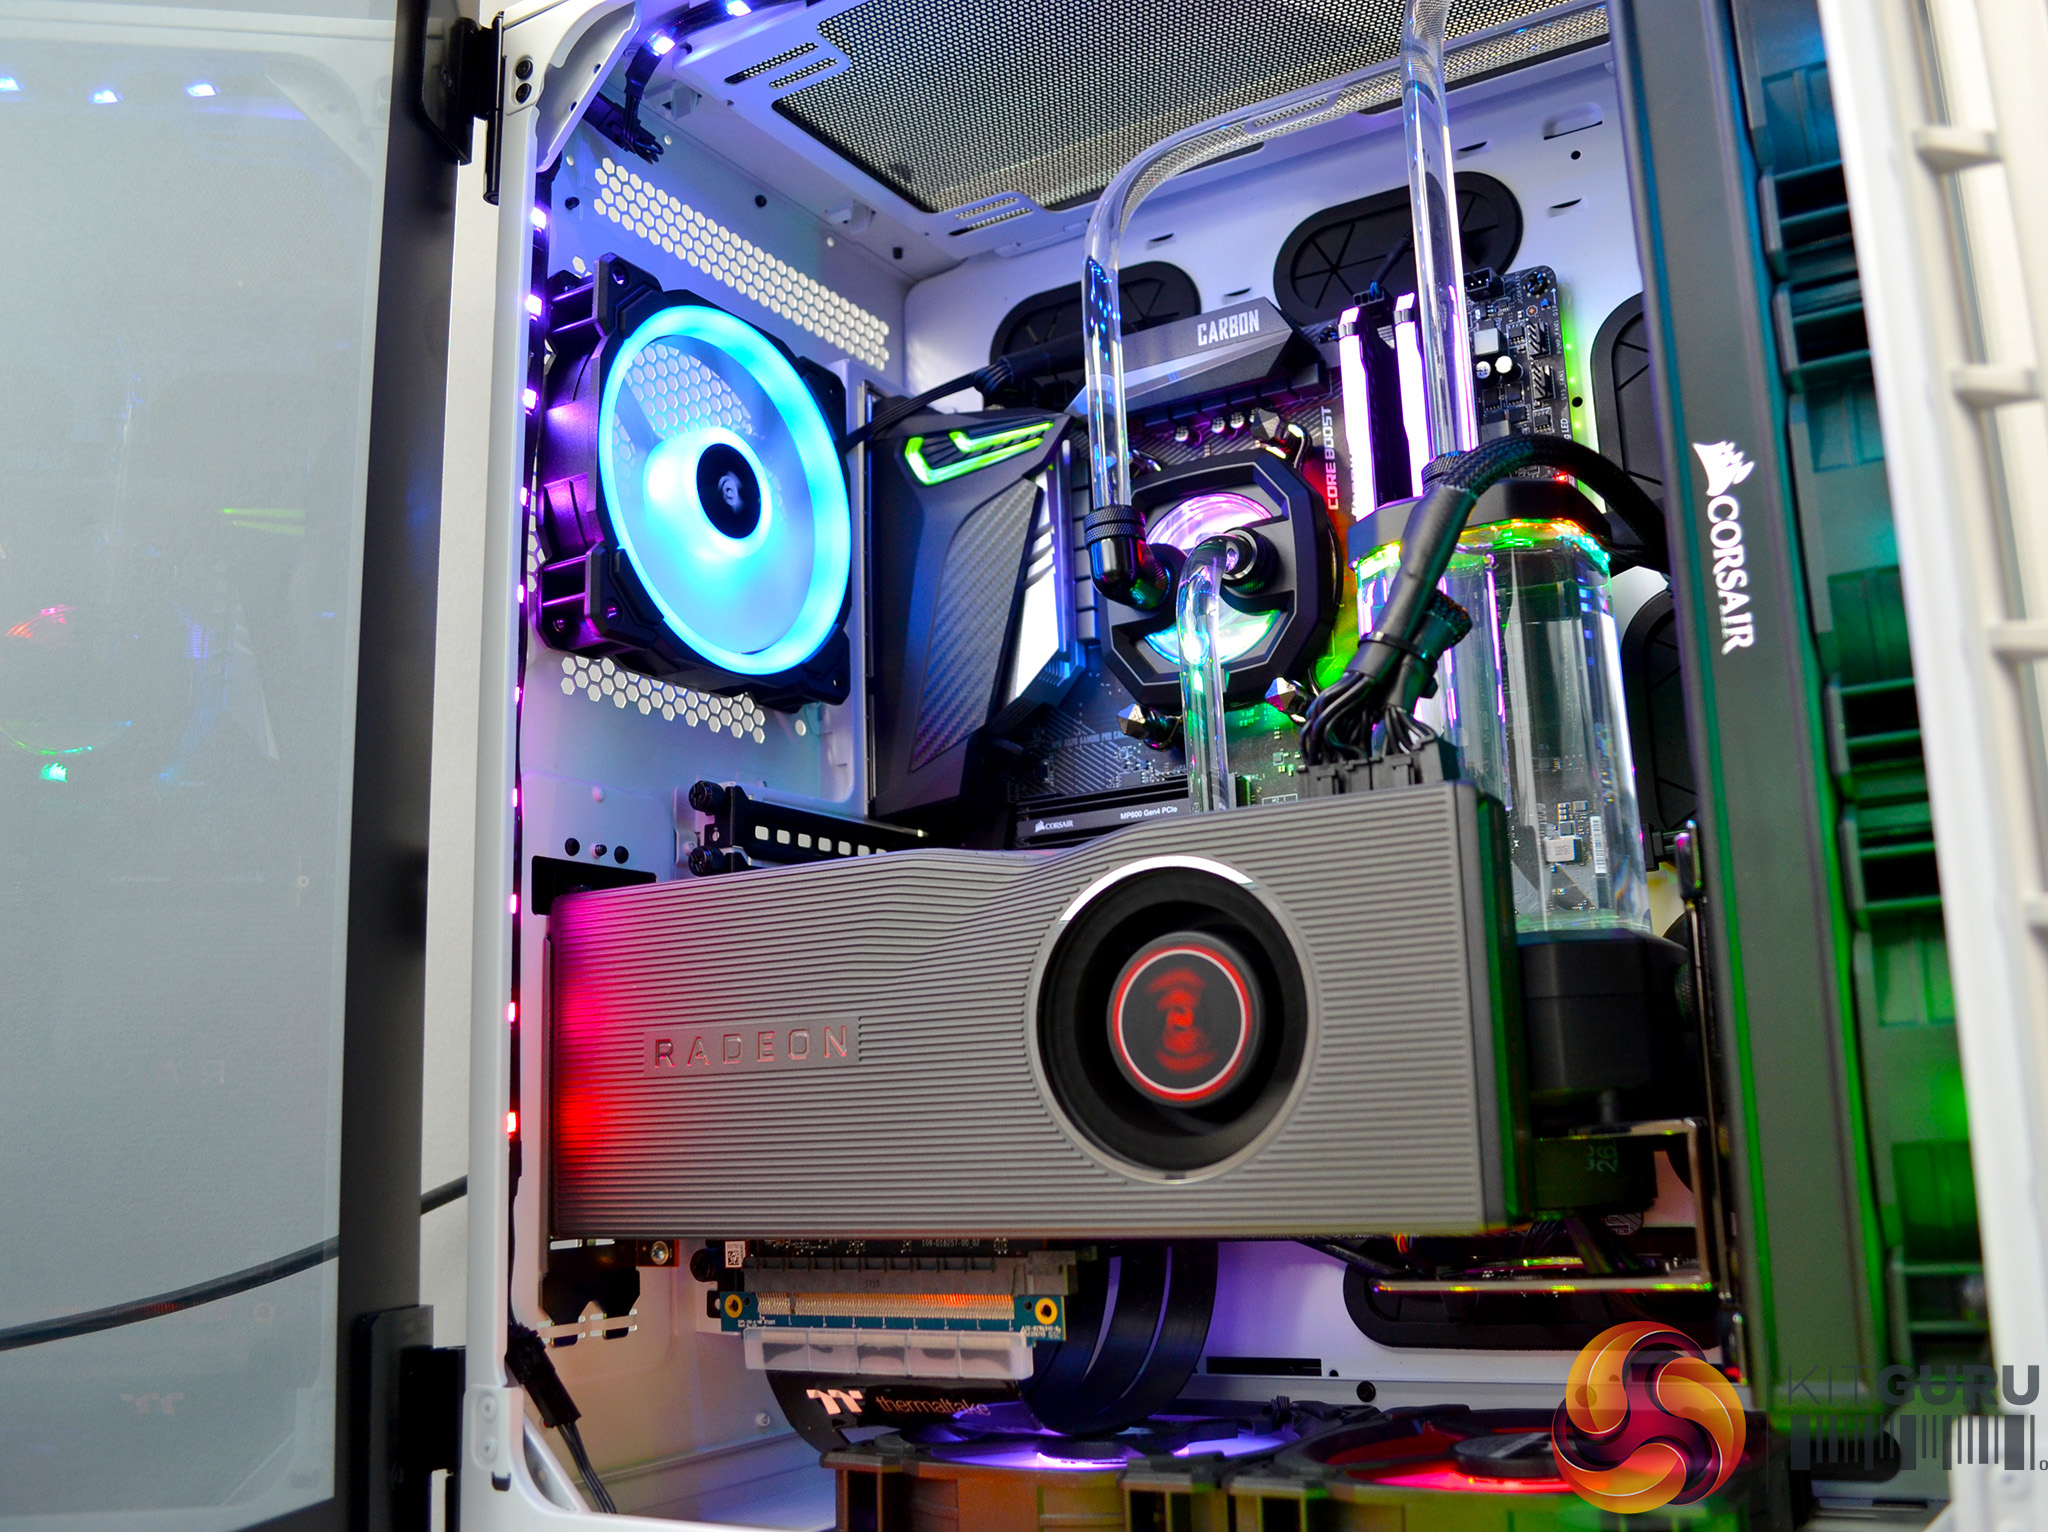
After opening the left-hand tempered glass side panel, we can clearly see what’s going on inside. The interior of the Corsair Crystal 680X is quite spacious, with two separate internal chambers. The left-hand section contains all the good stuff. The right-hand section contains the power supply, cables and storage devices.
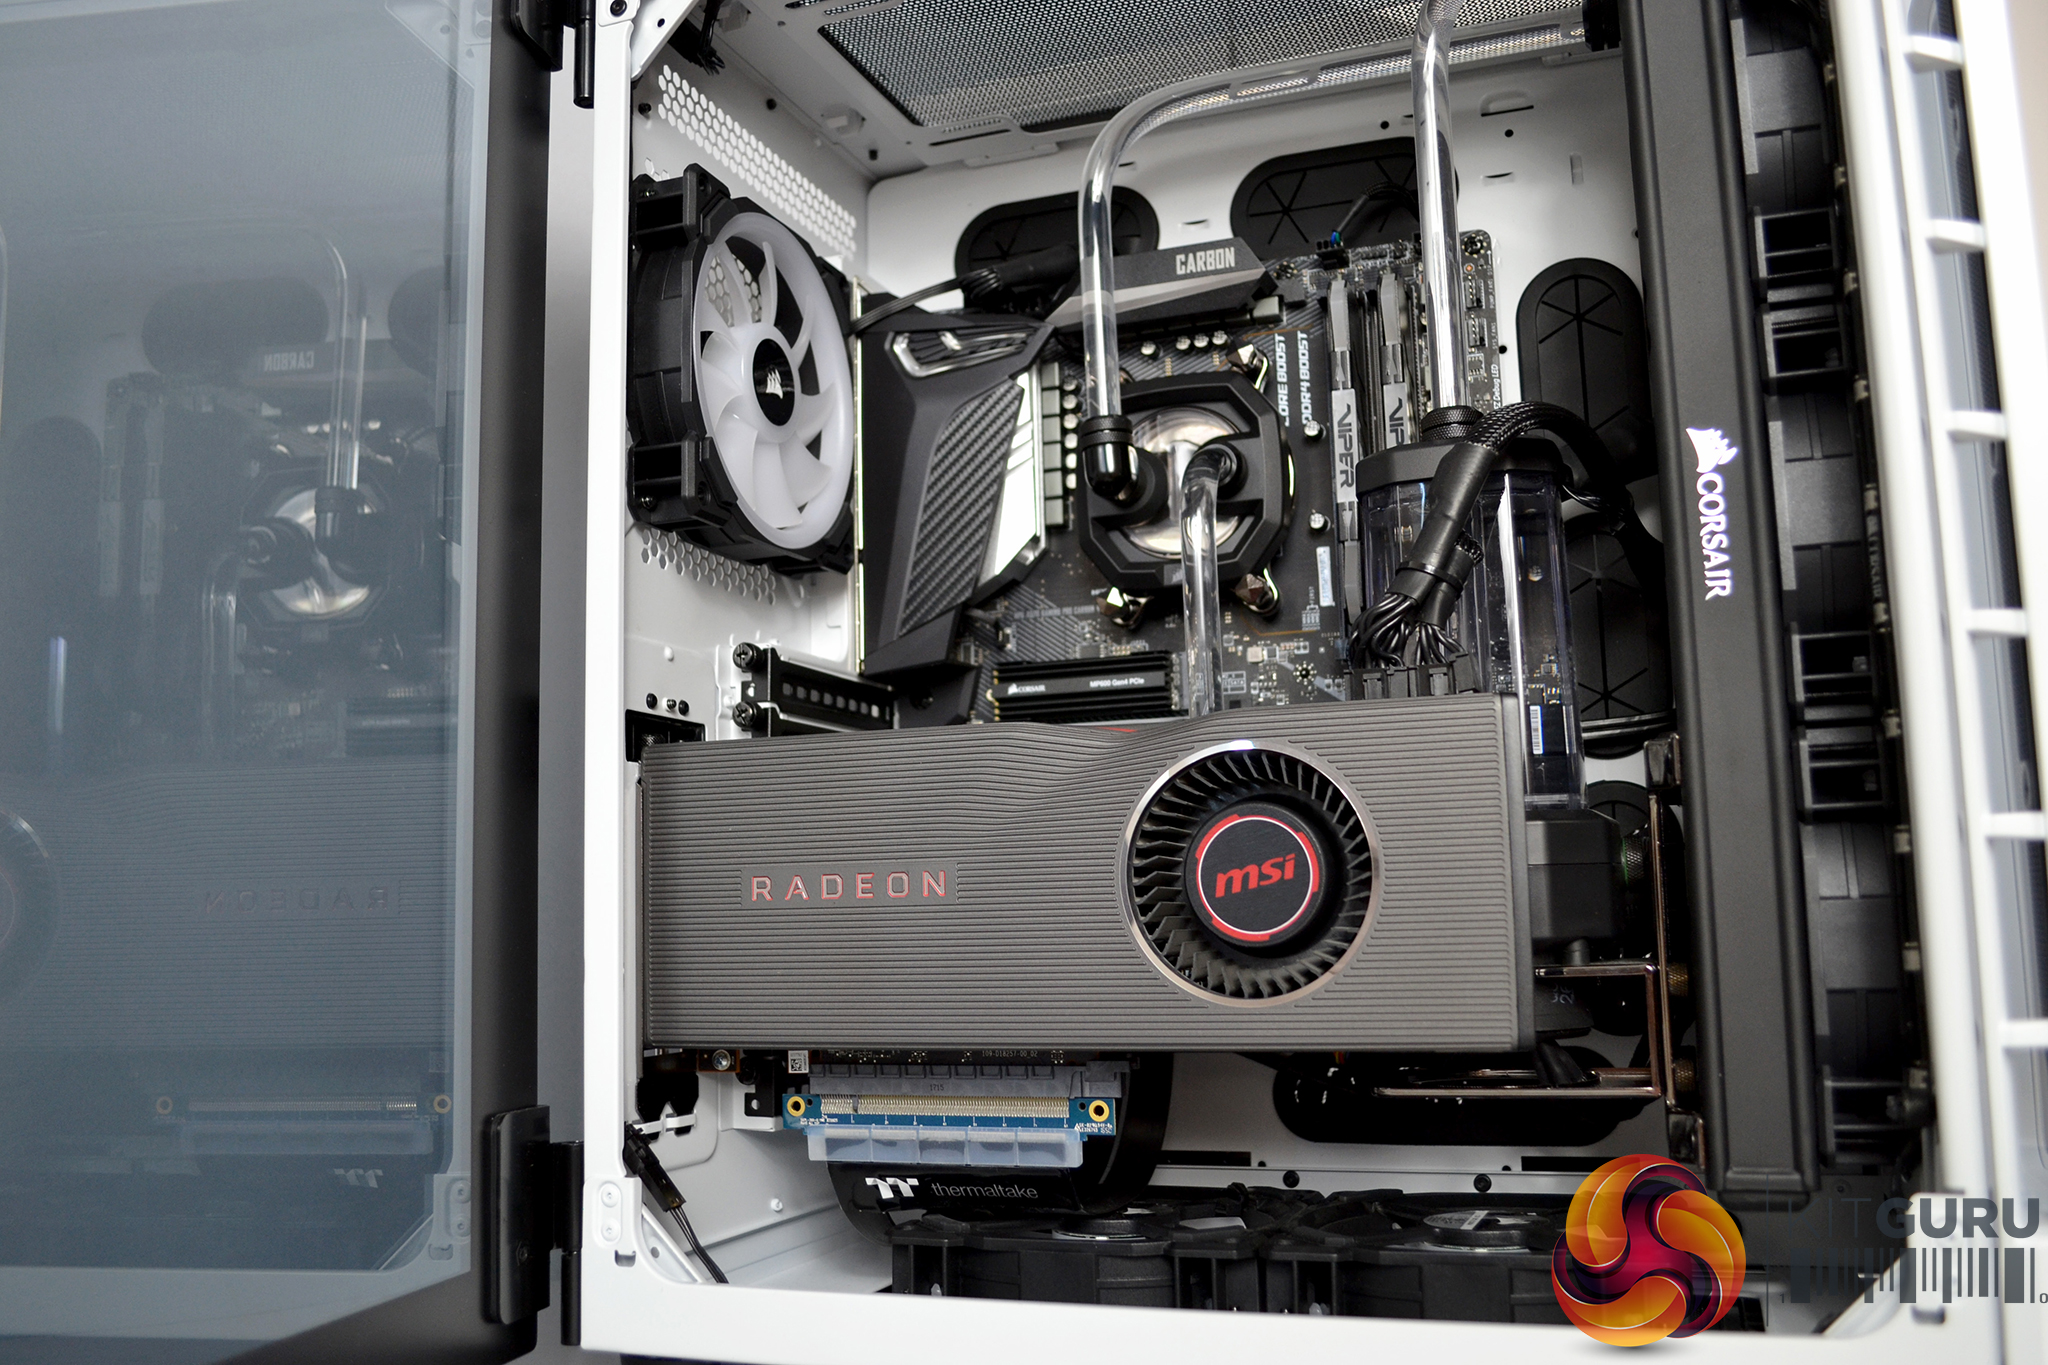
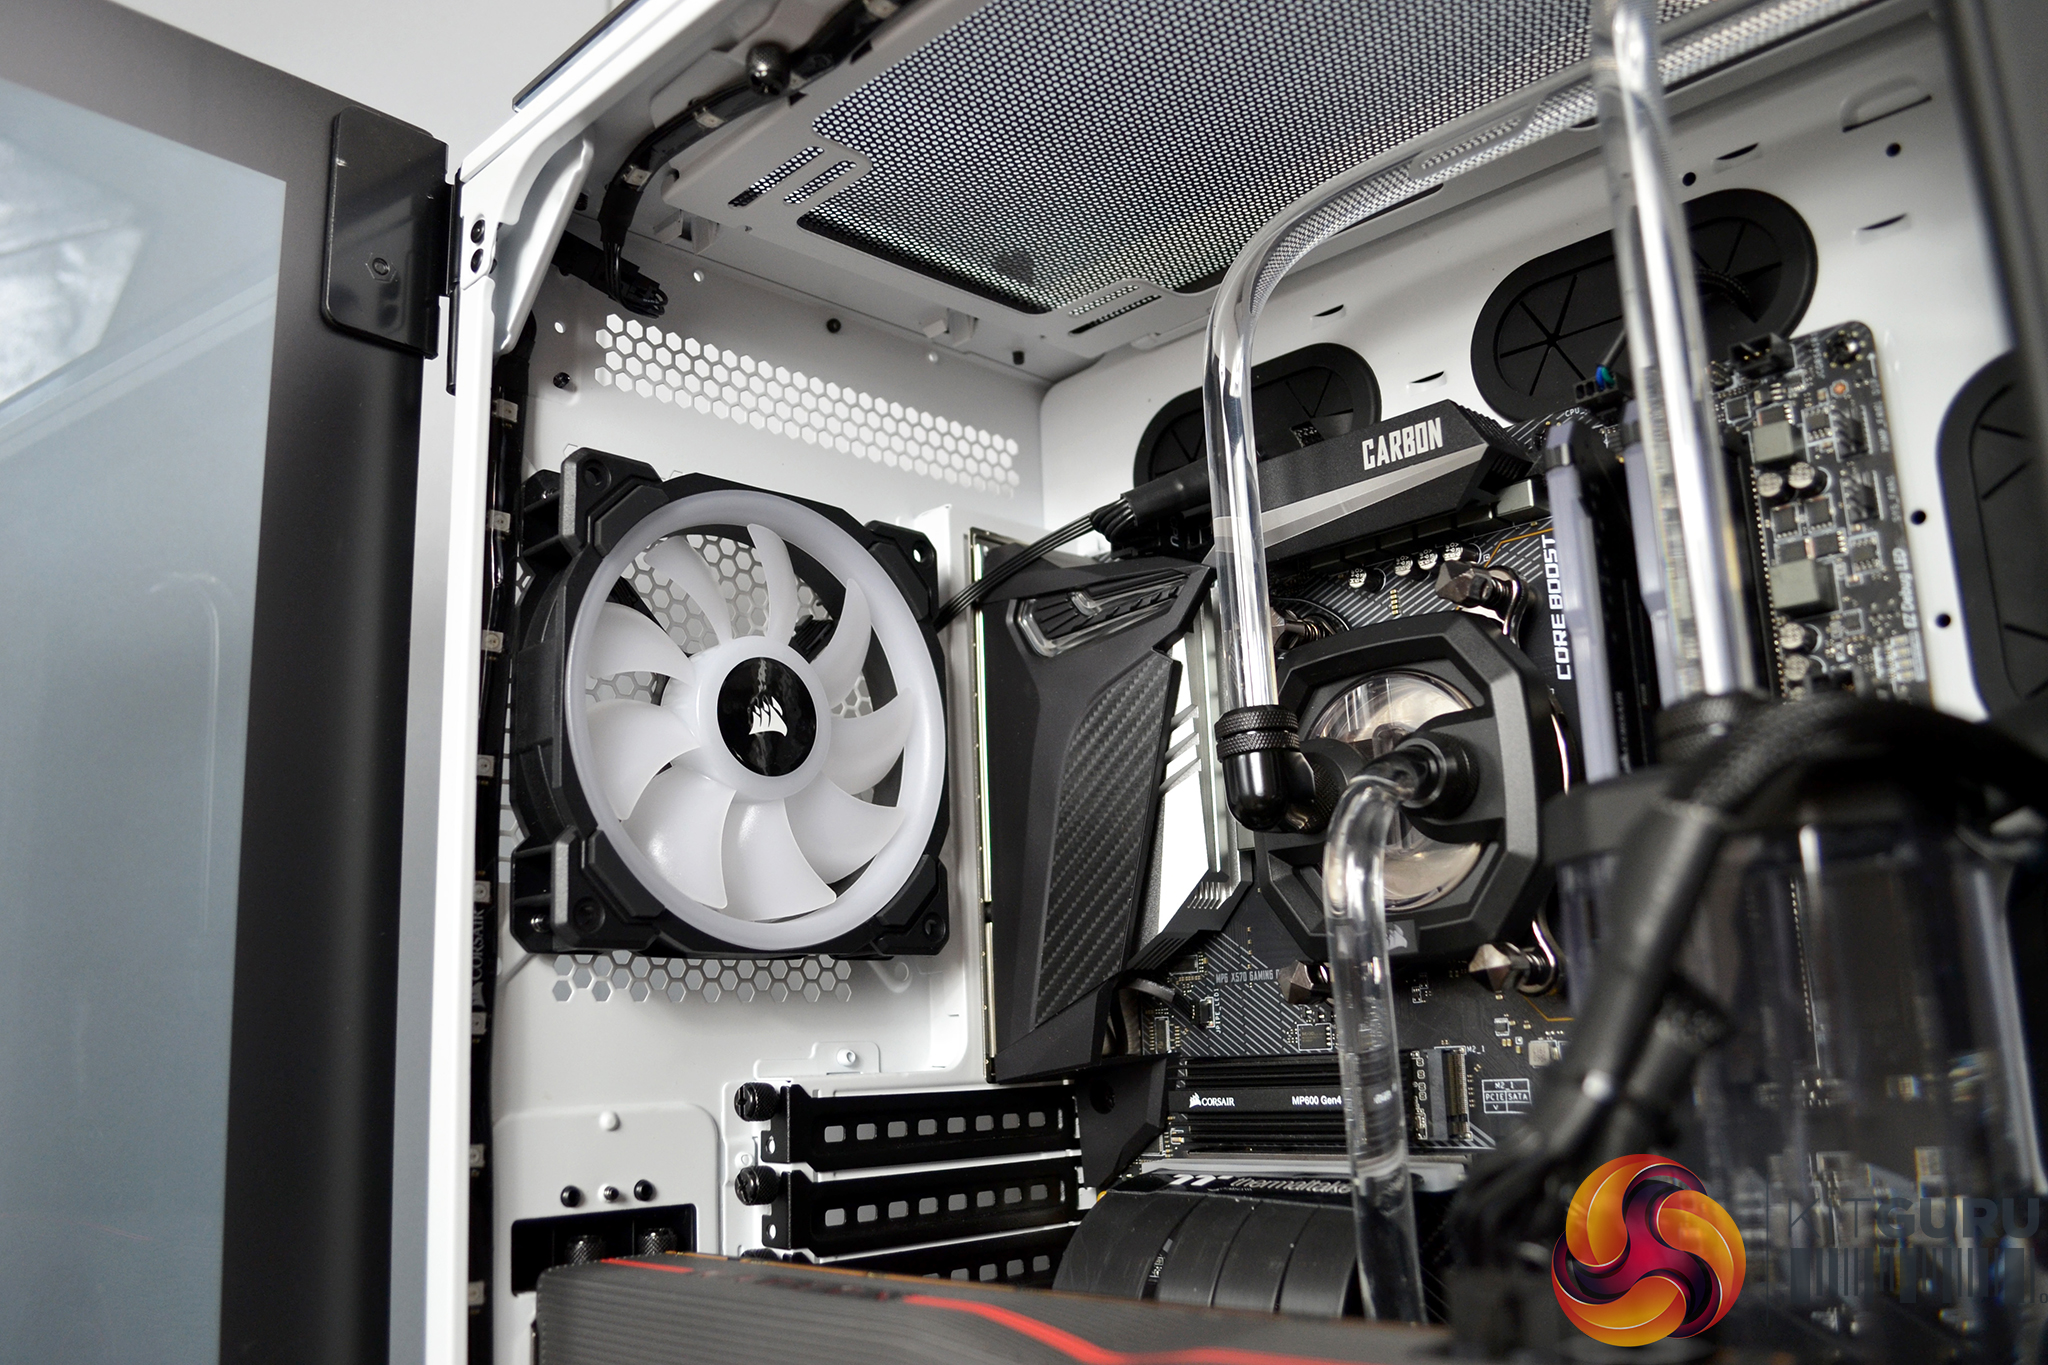
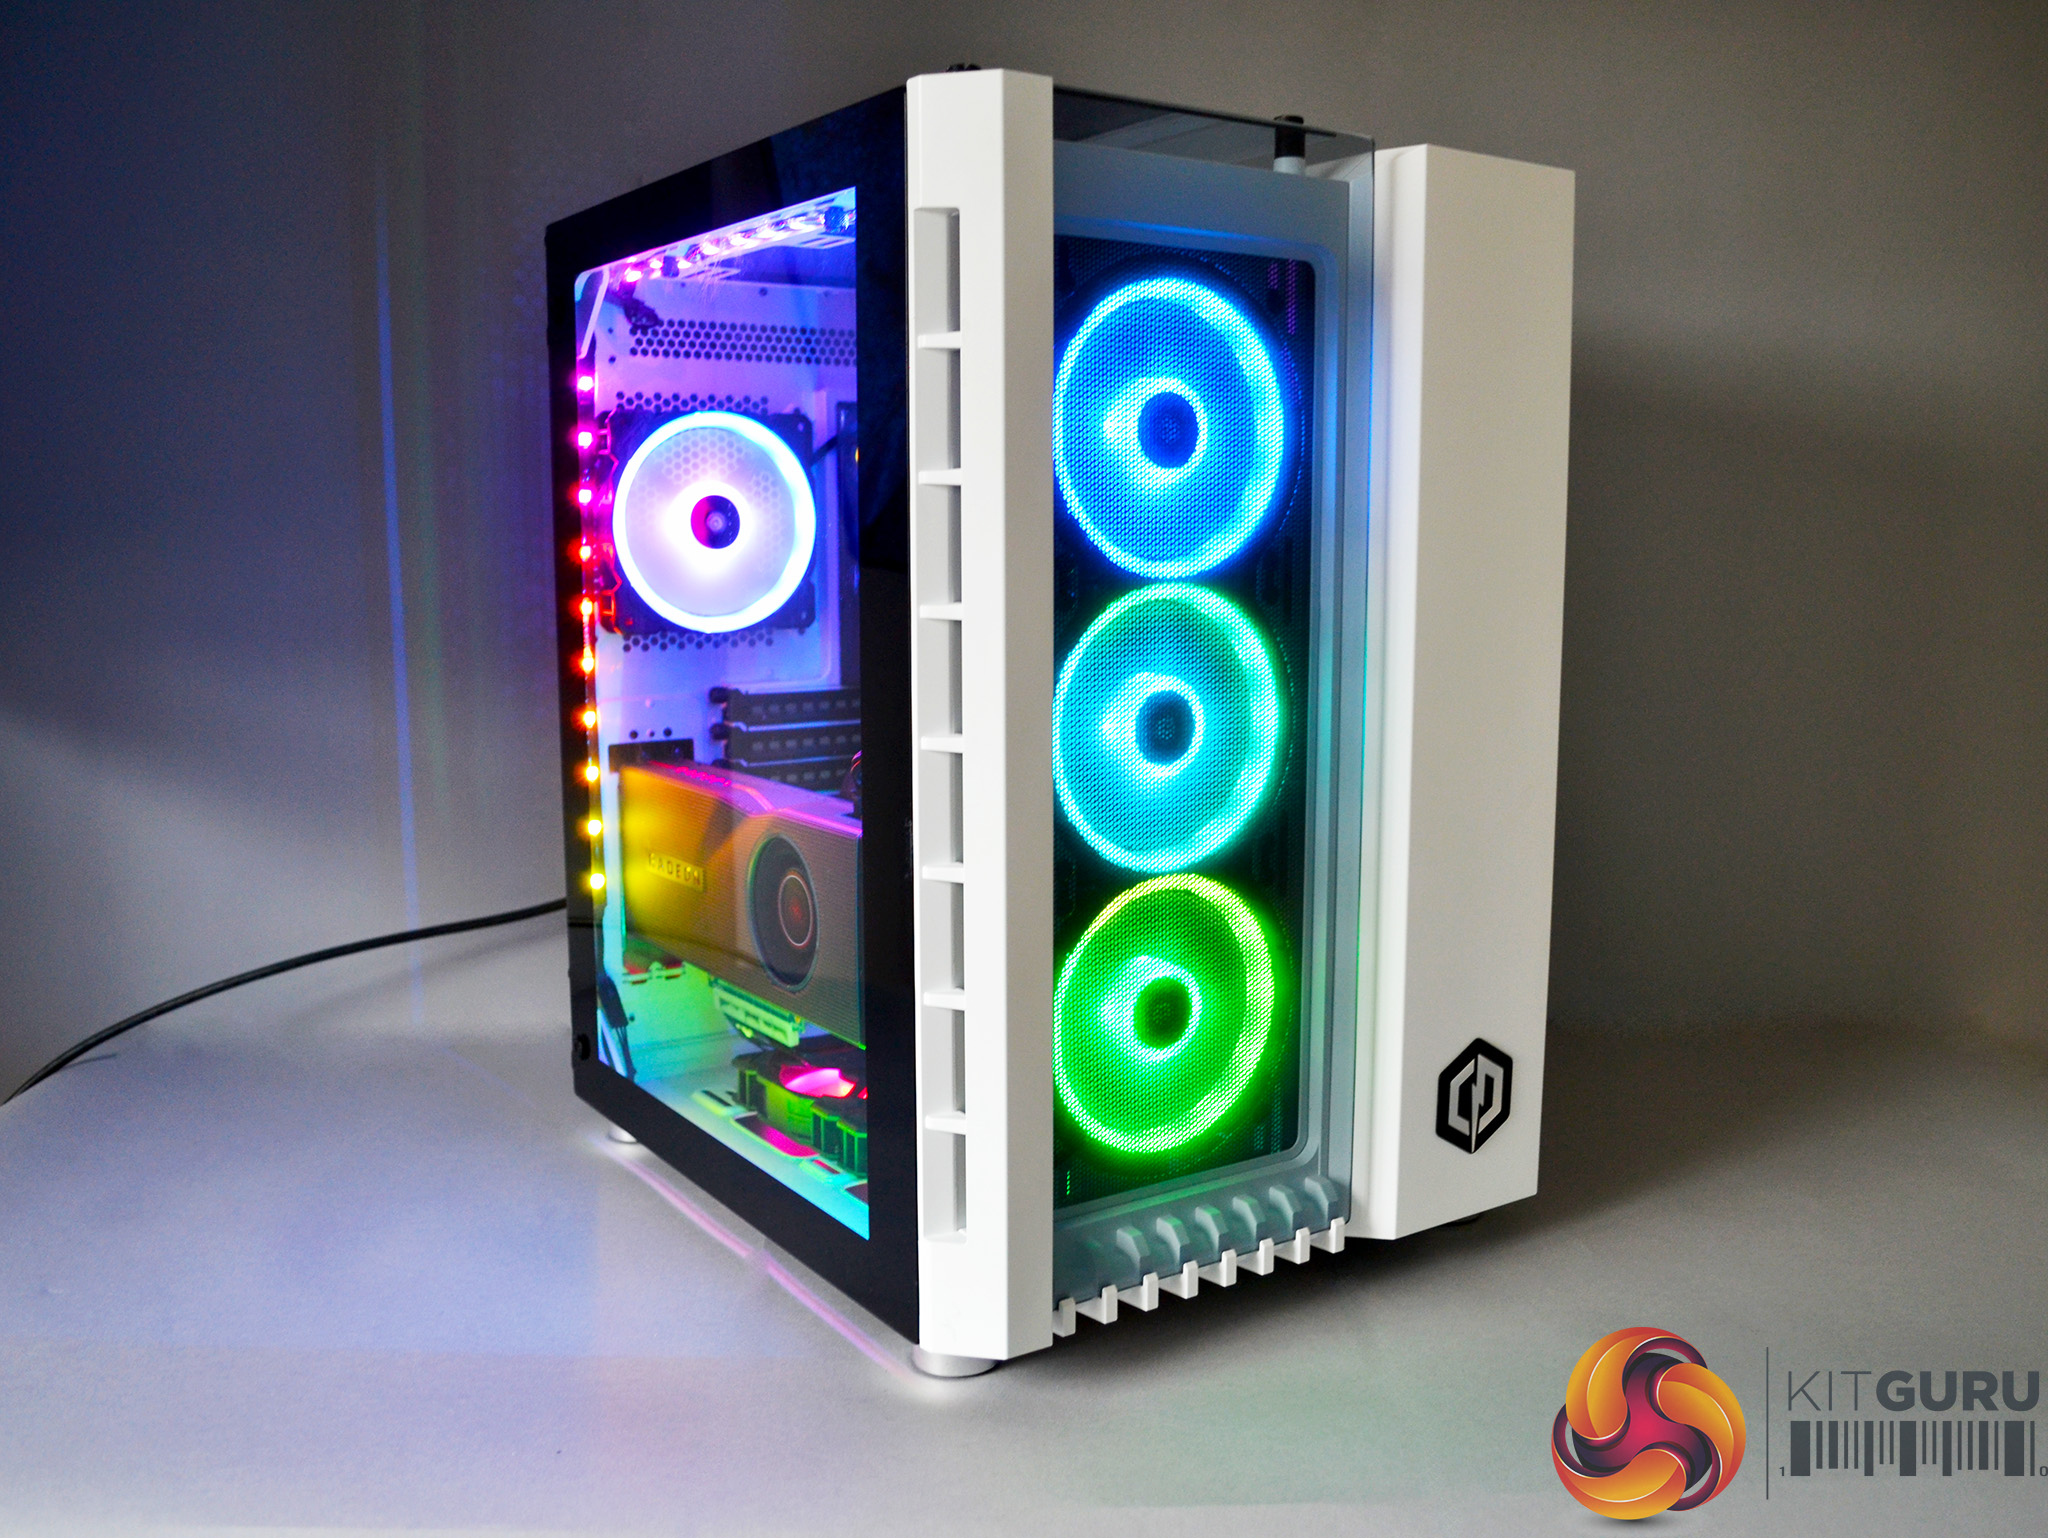
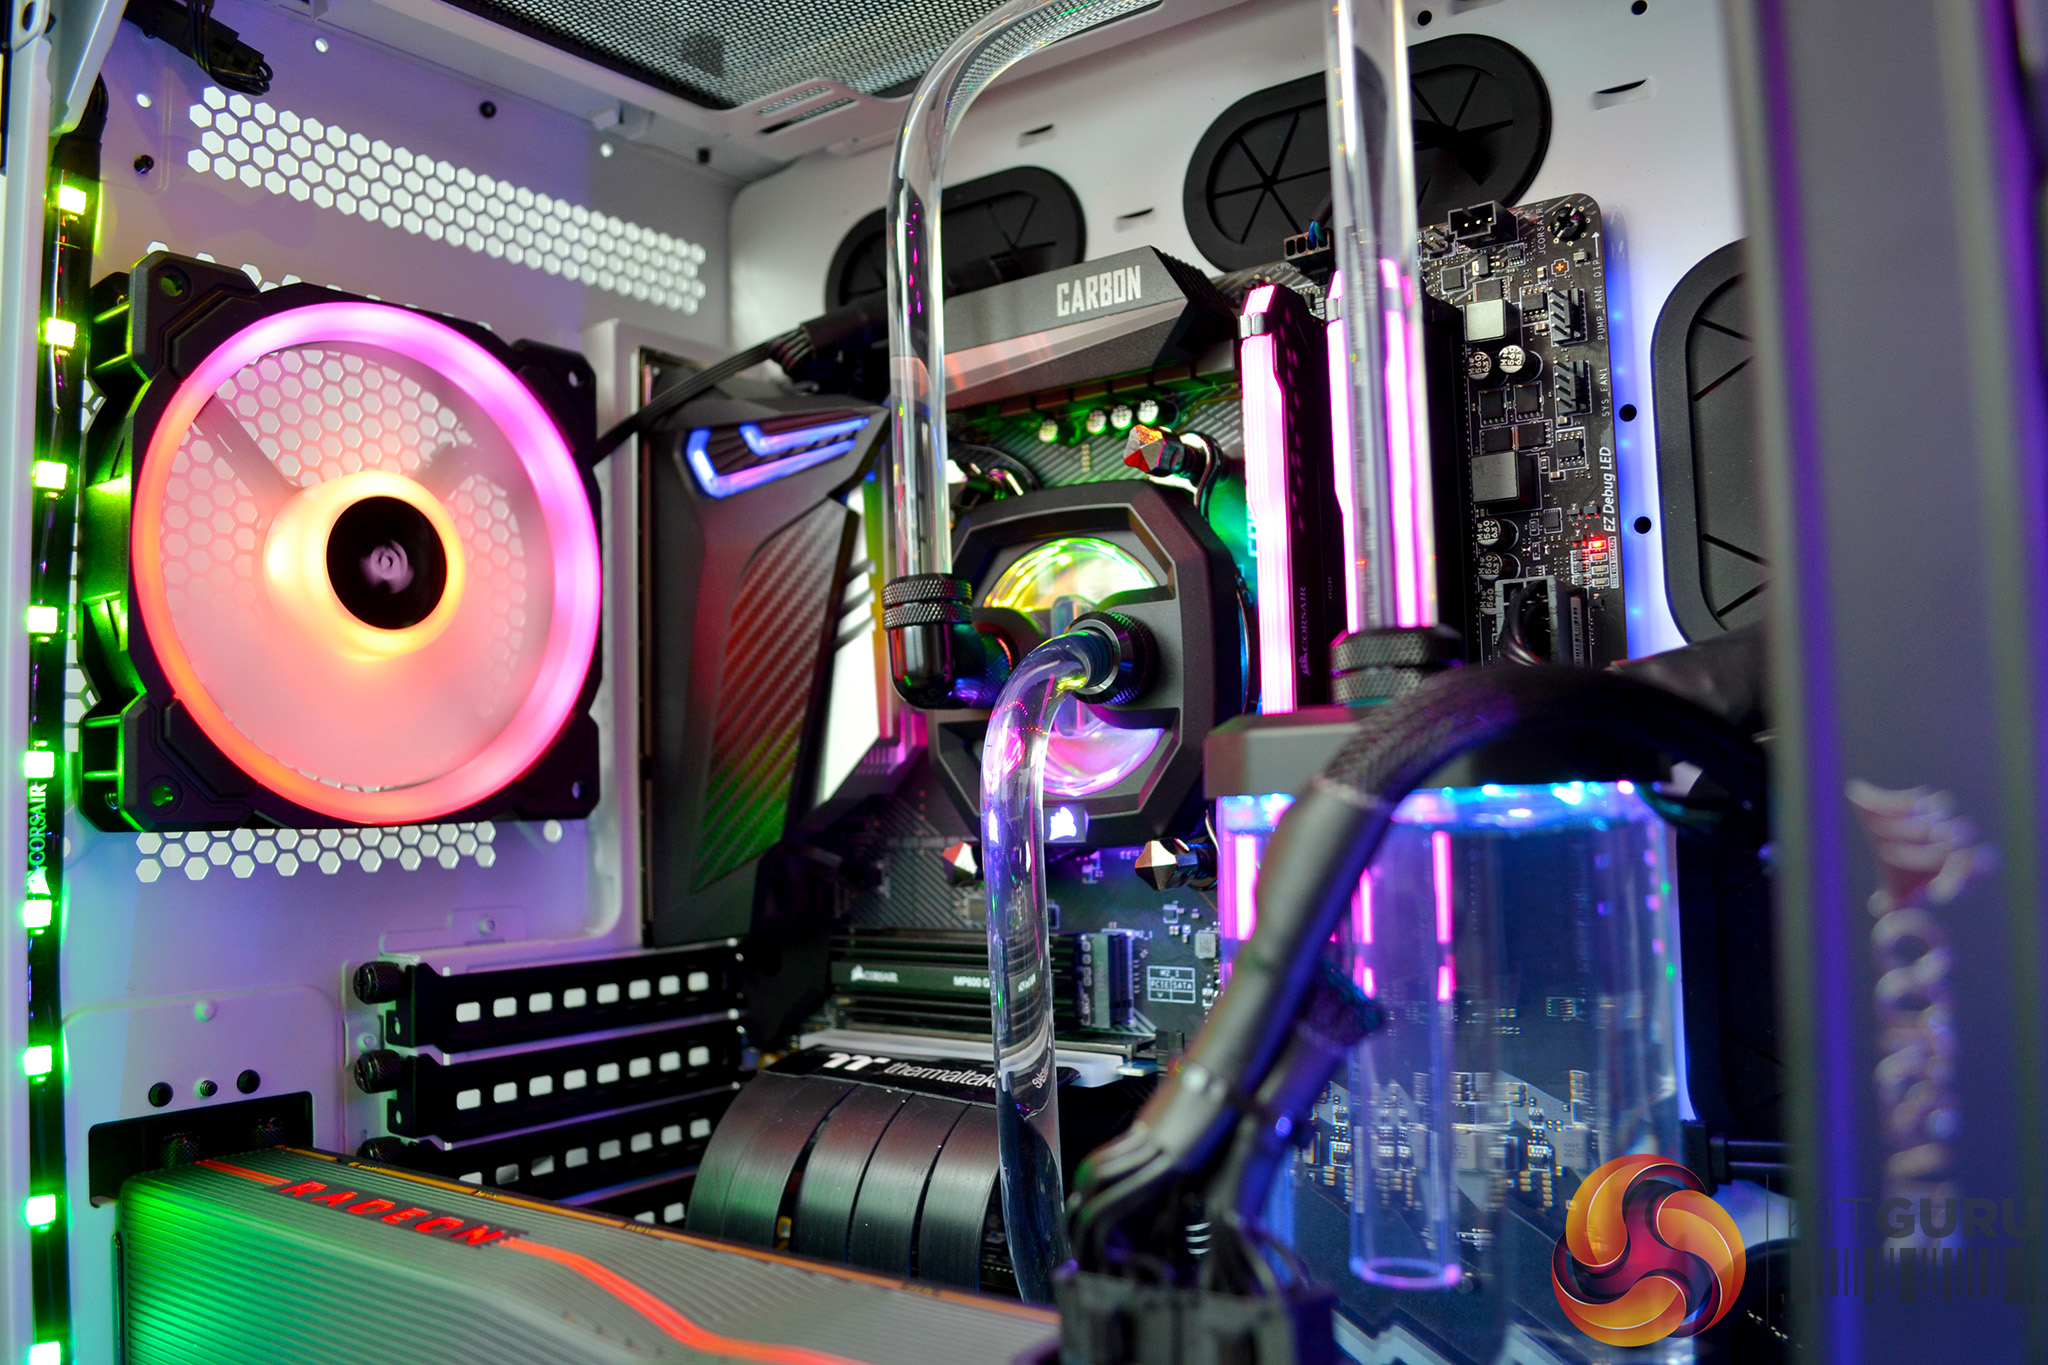
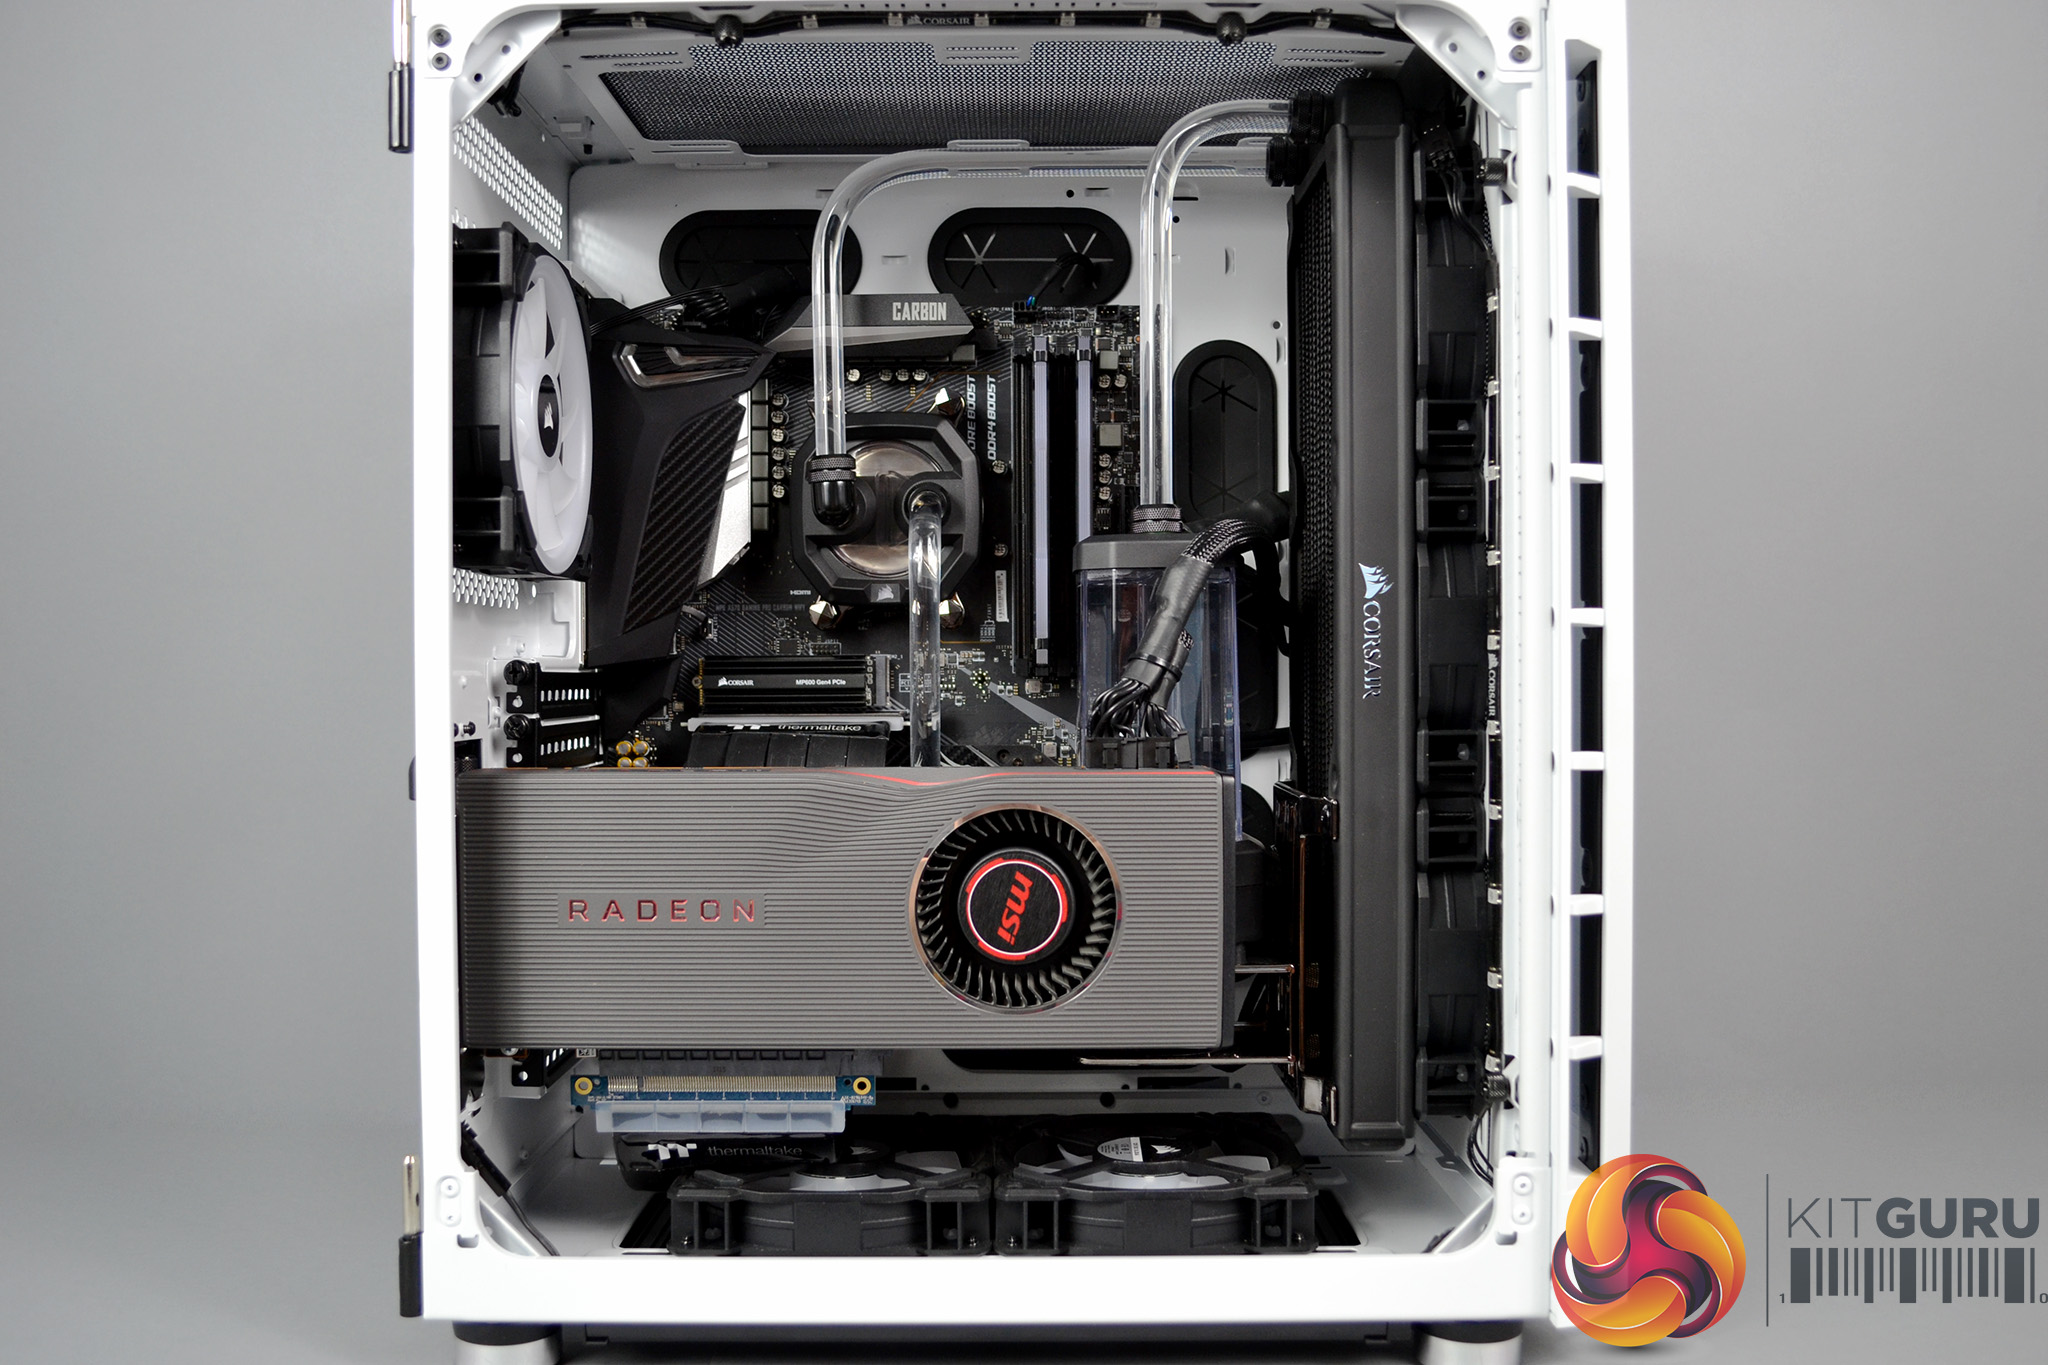
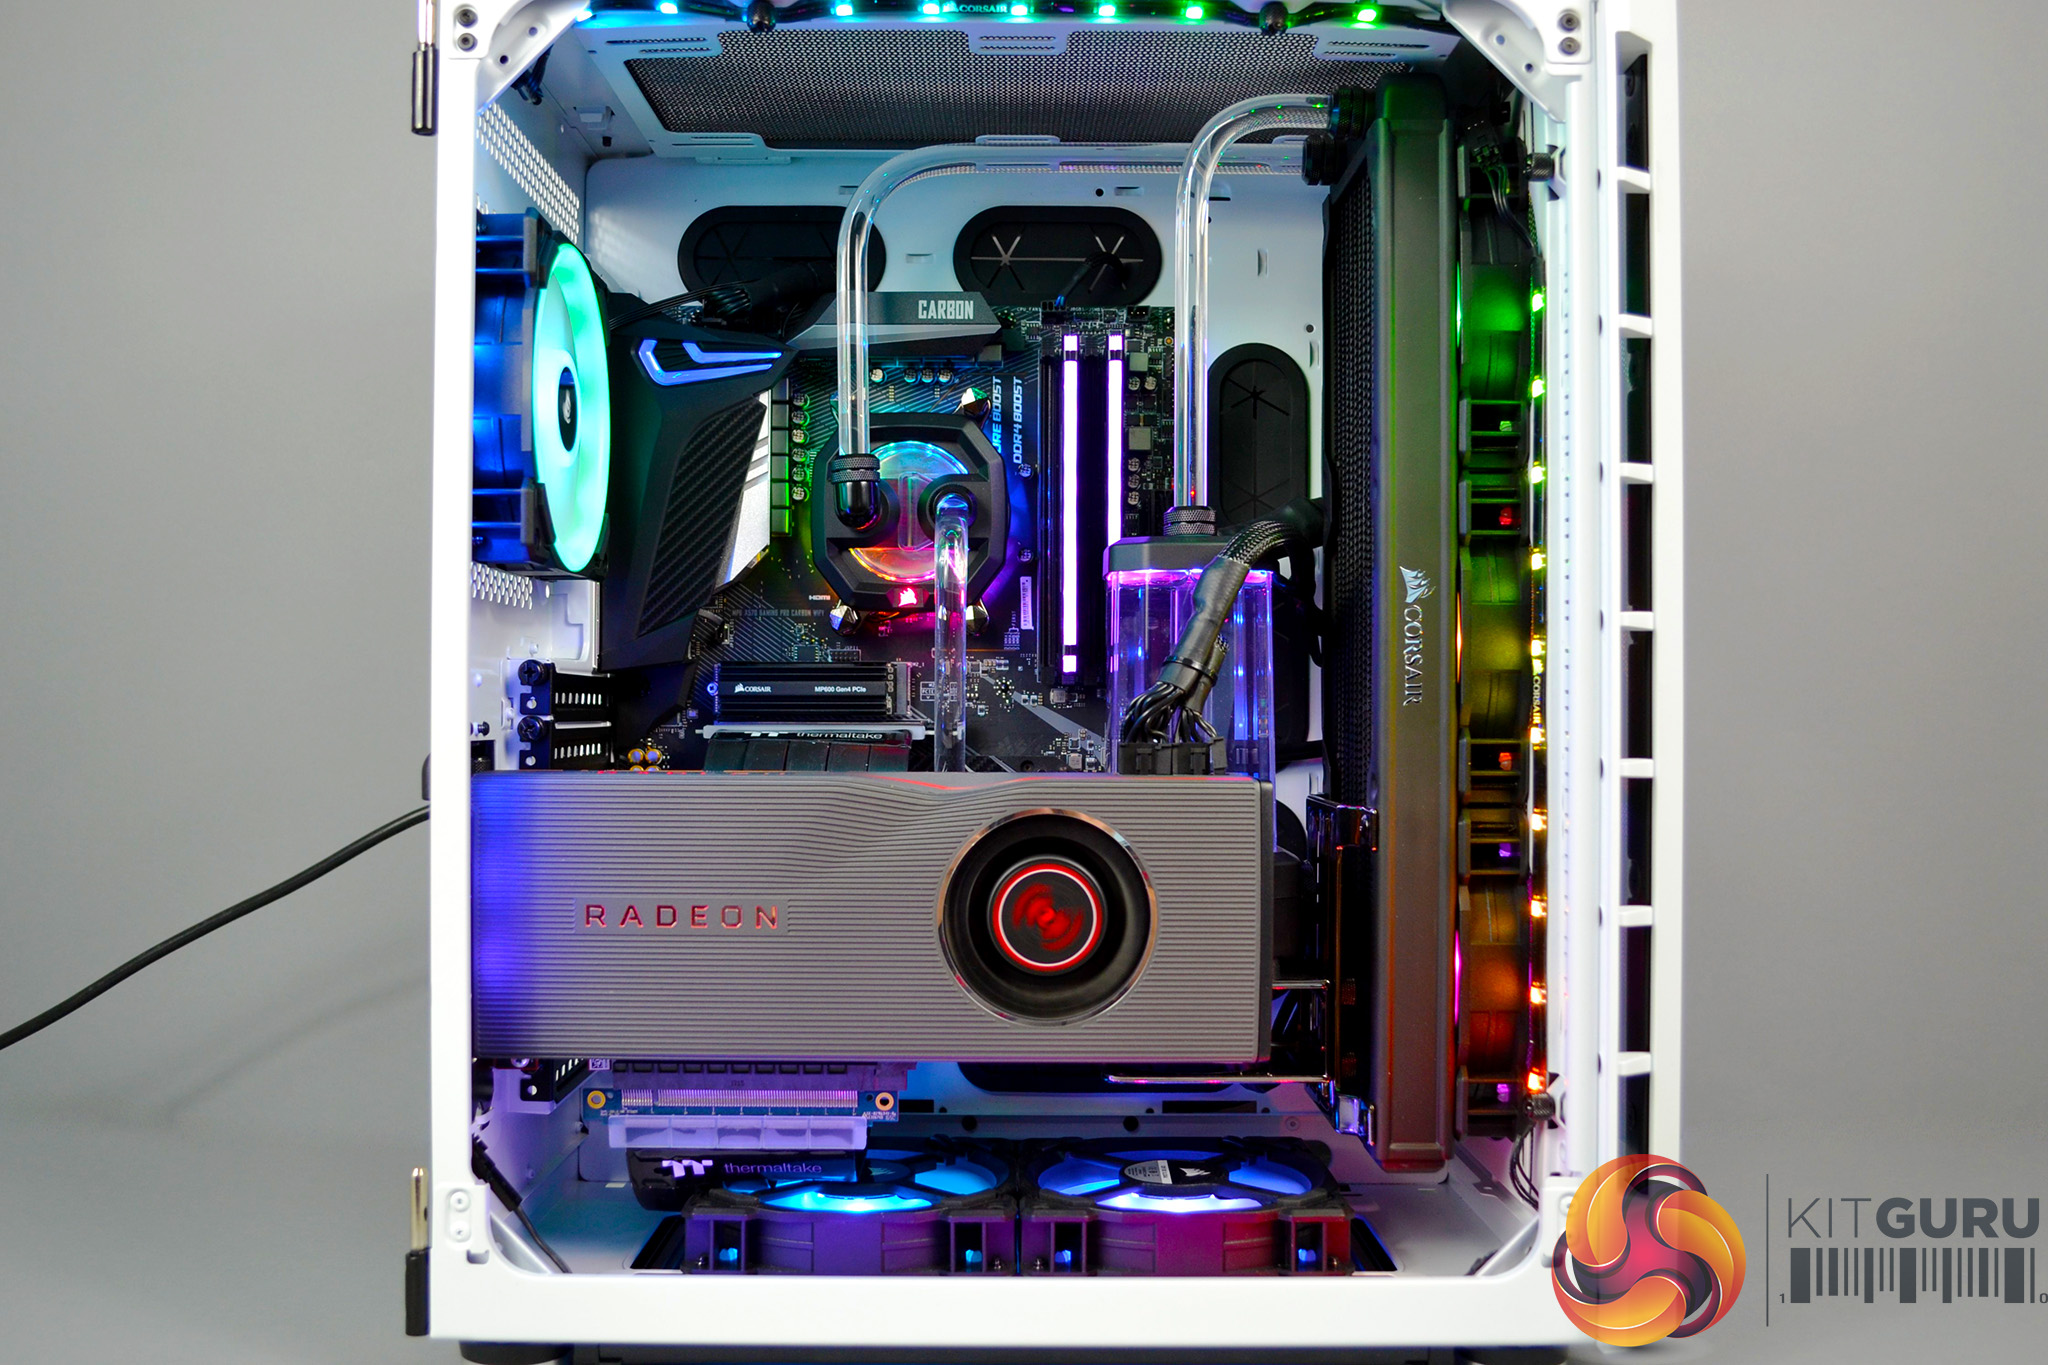
On first inspection, the motherboard area looks quite a tidy build and cable management looks neat. The internal hardware is made up of mostly black components with grey or silver highlights, which contrast well with the white case interior.
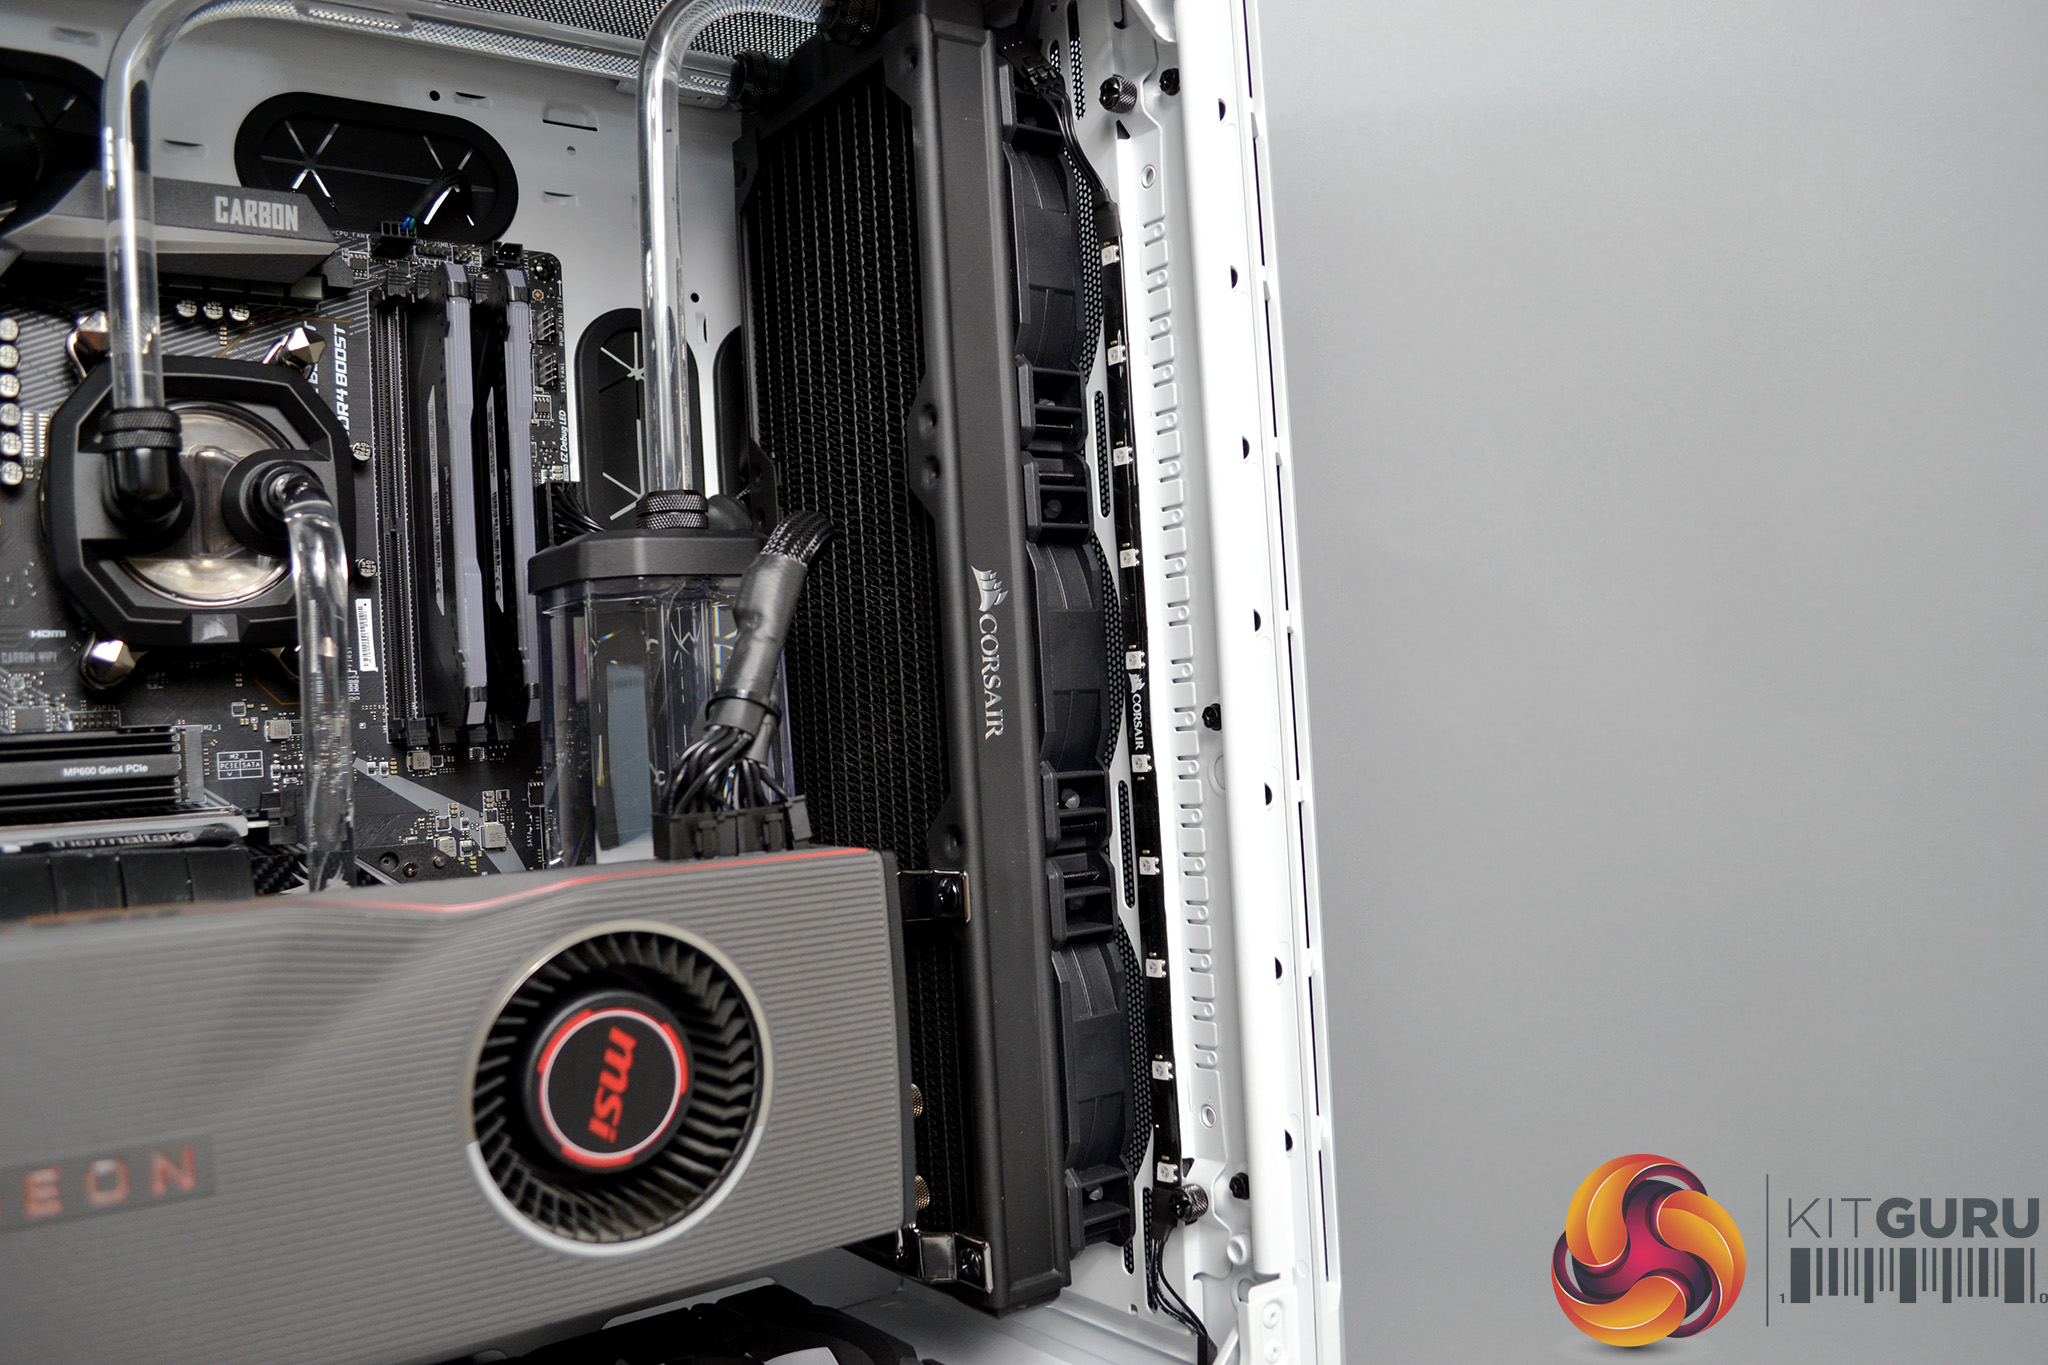
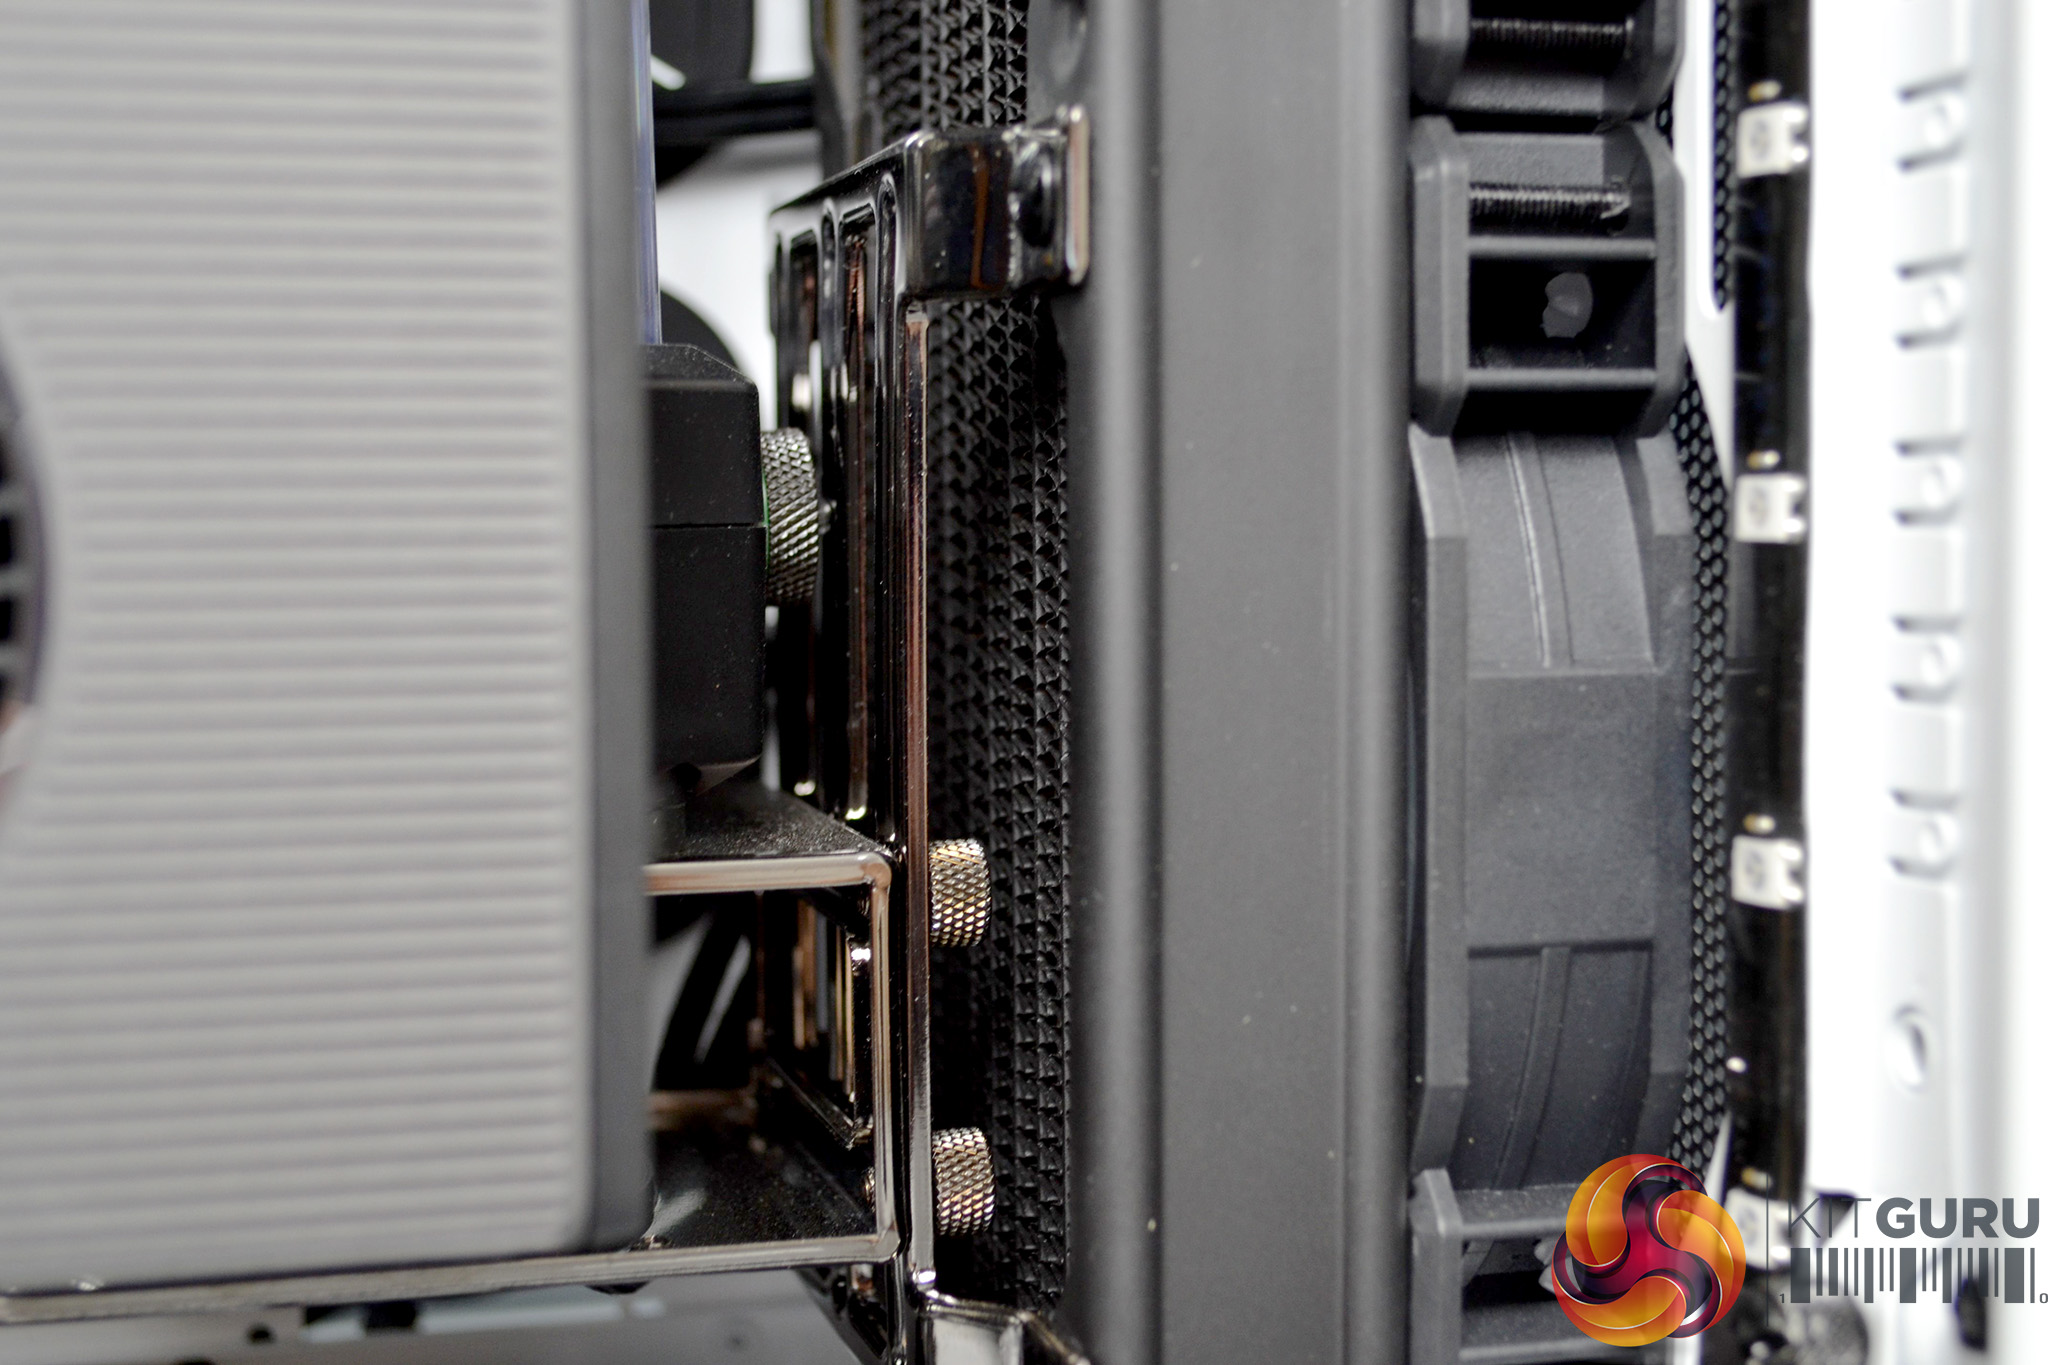
At the front of the case, we can see the 360mm Corsair radiator which makes up part of the CPU cooling loop. Fixed to the radiator via a black chrome bracket is the Corsair pump/reservoir combo, which again fits the colour theme of the system.
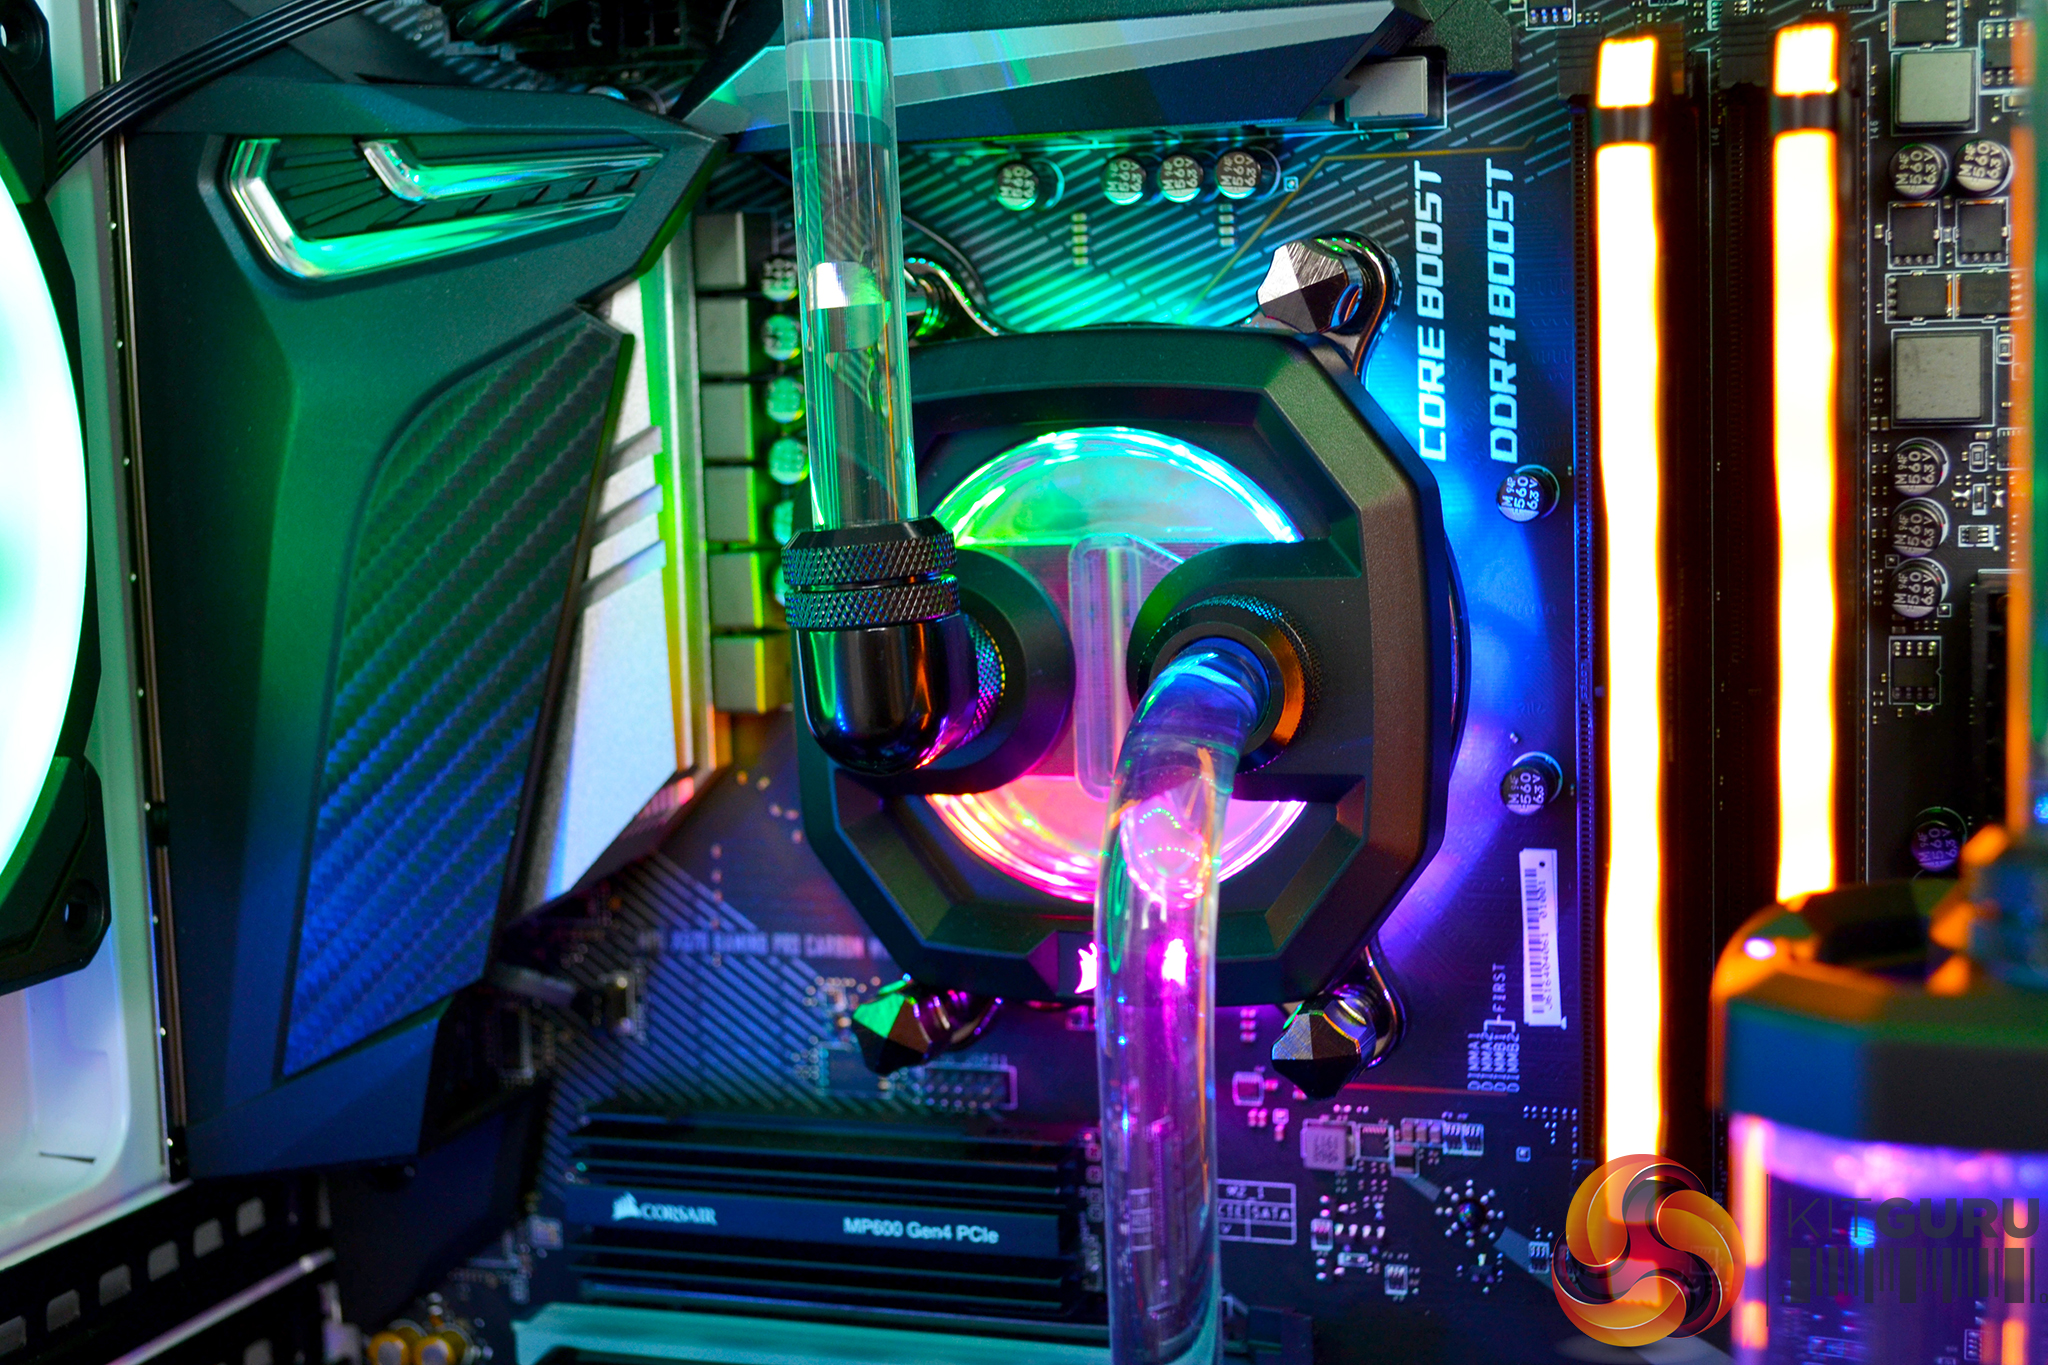
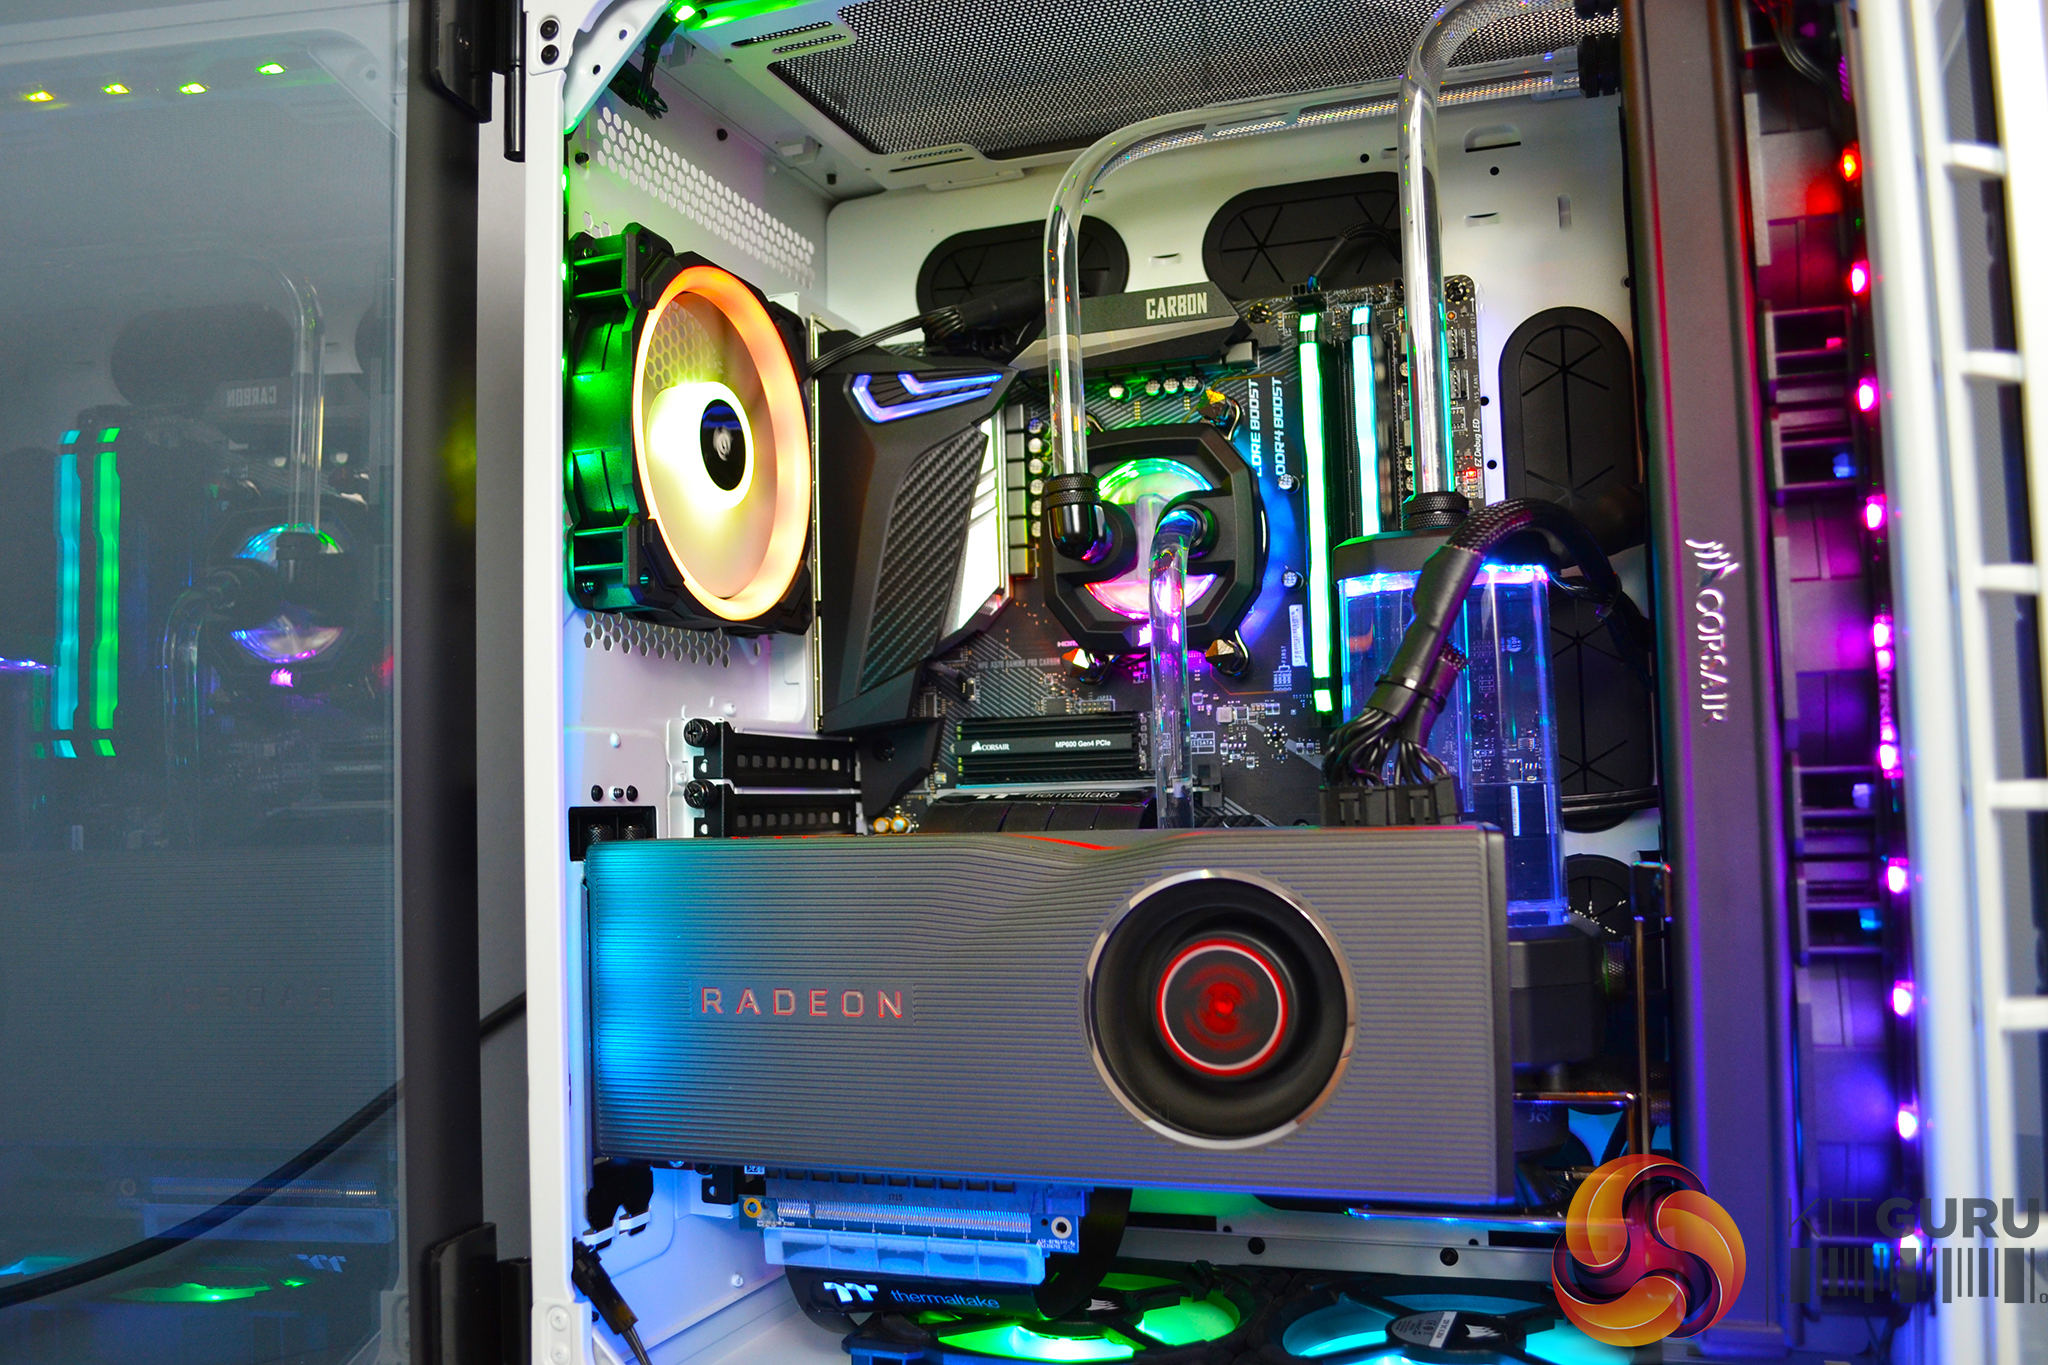
Transparent hard tubing is used throughout the CPU cooling loop, with clear coolant, which gives a crystal-clear look. The CPU cooling block has a black outer rim, with a clear transparent top and a RGB lighting glow. The hard tubing looks to be fitted nice and straight, with good smooth bends. Black fittings have been used on the tubing, which again looks good and fits the theme.
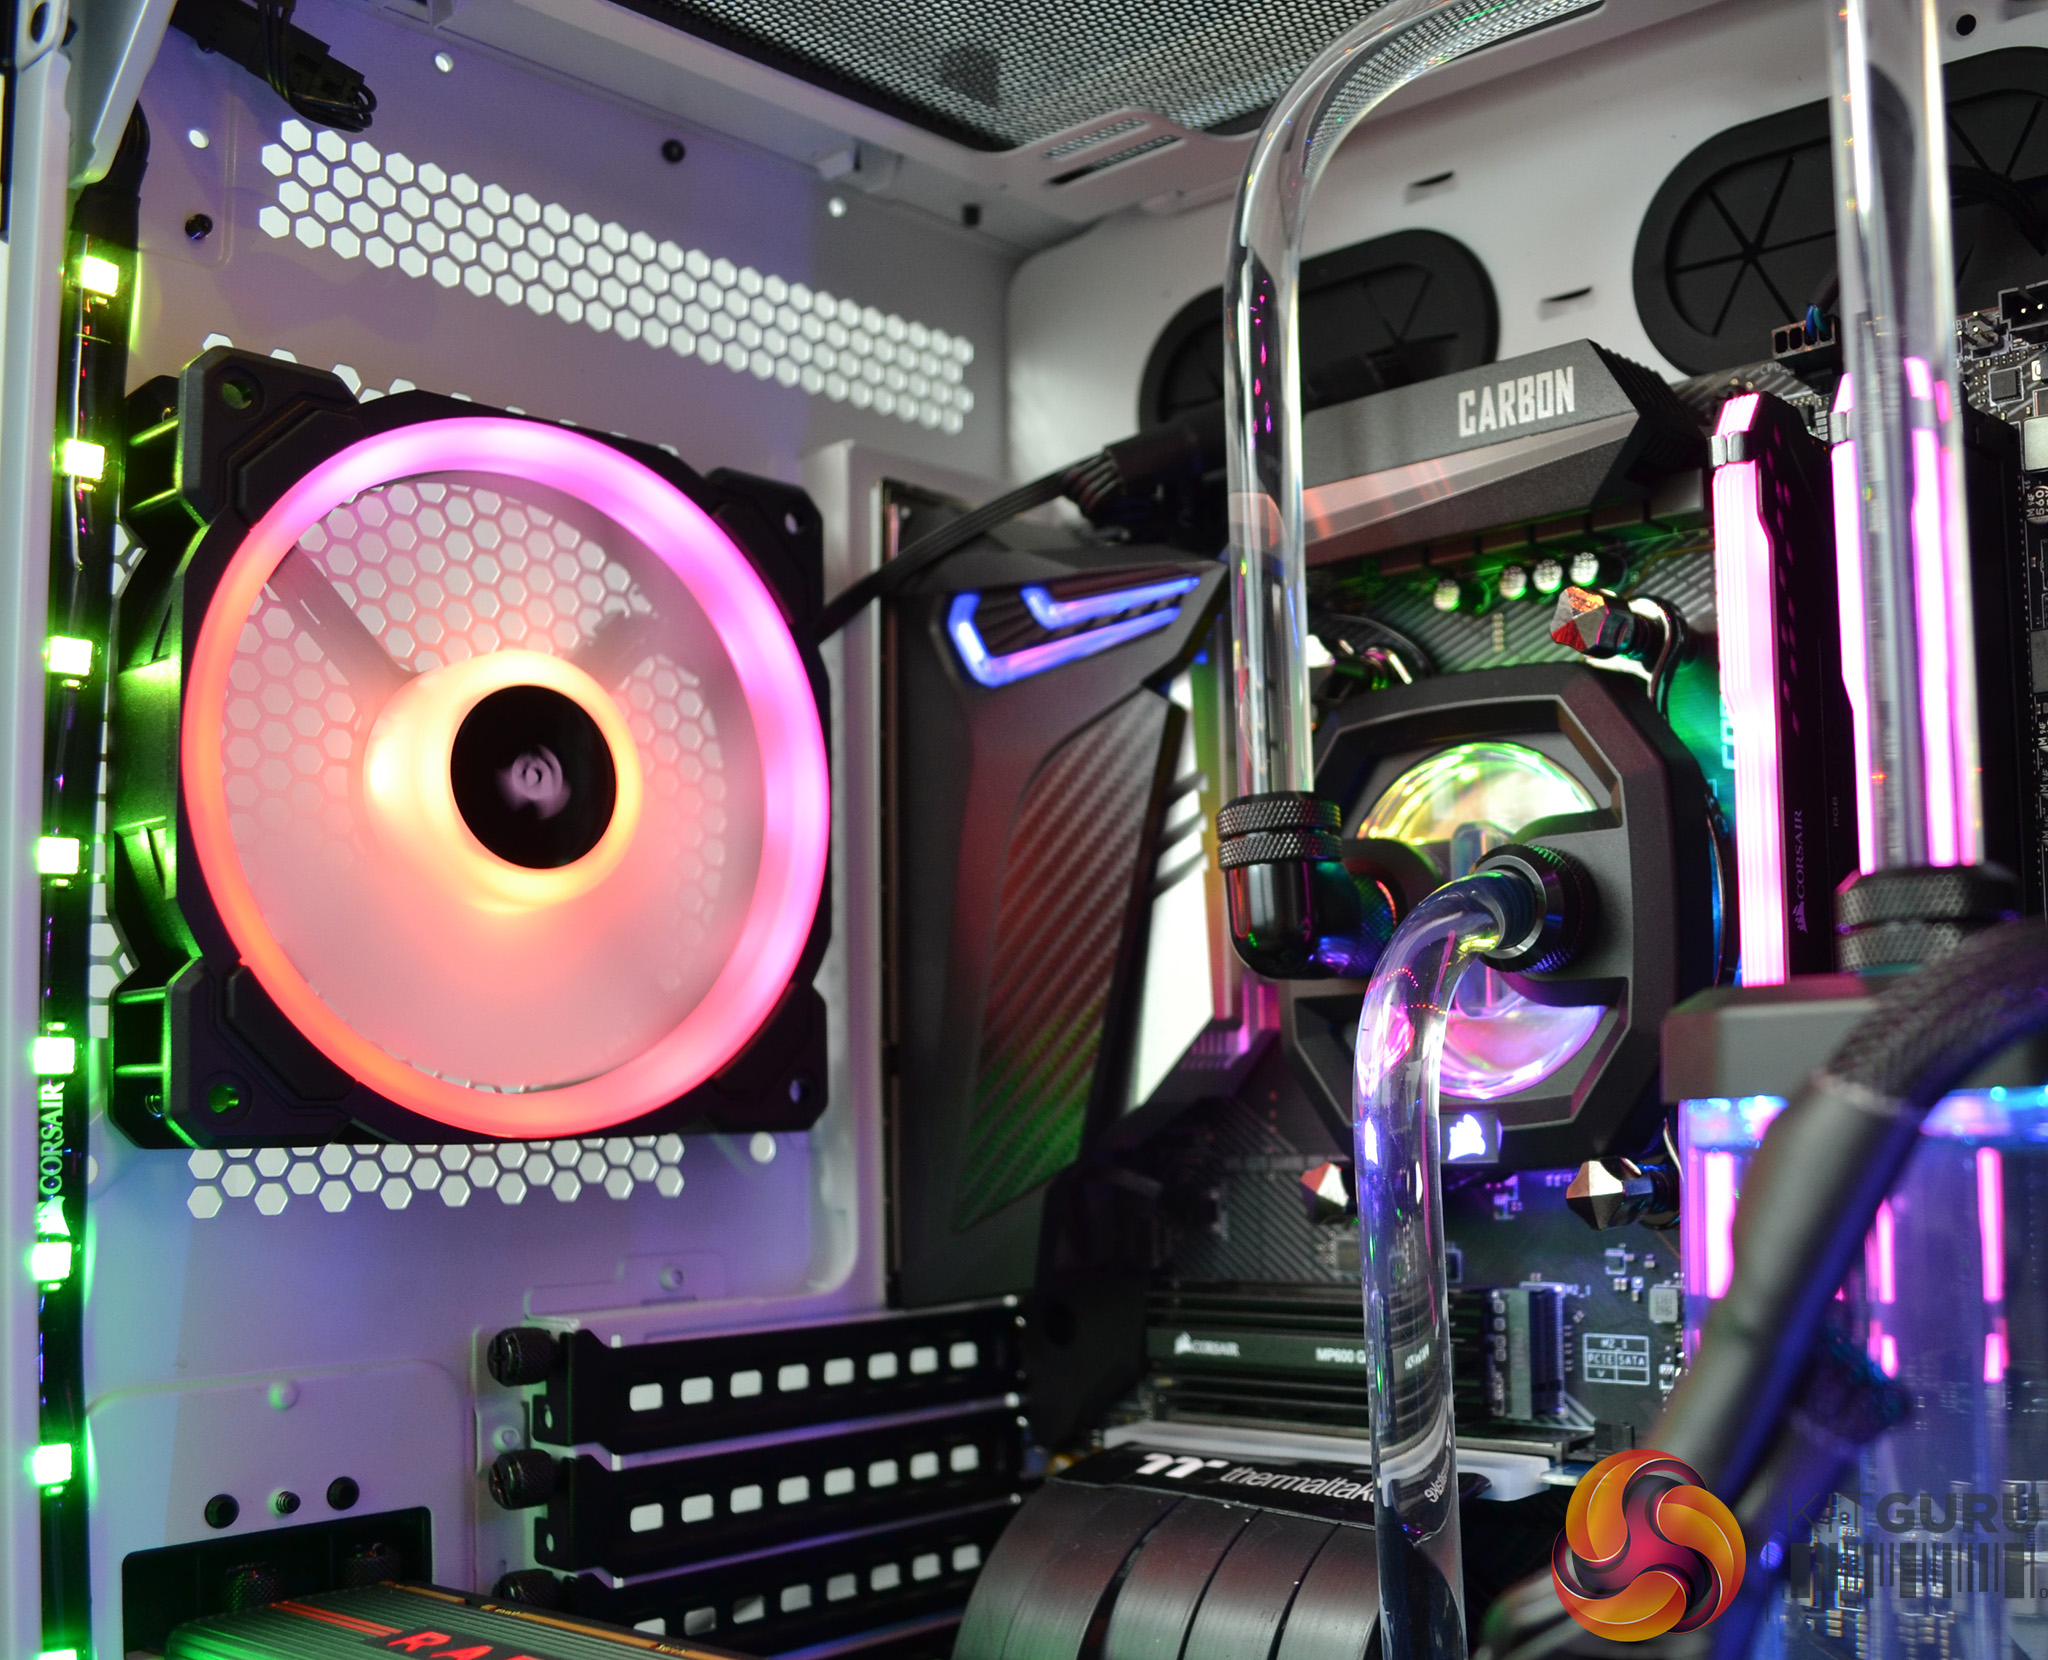
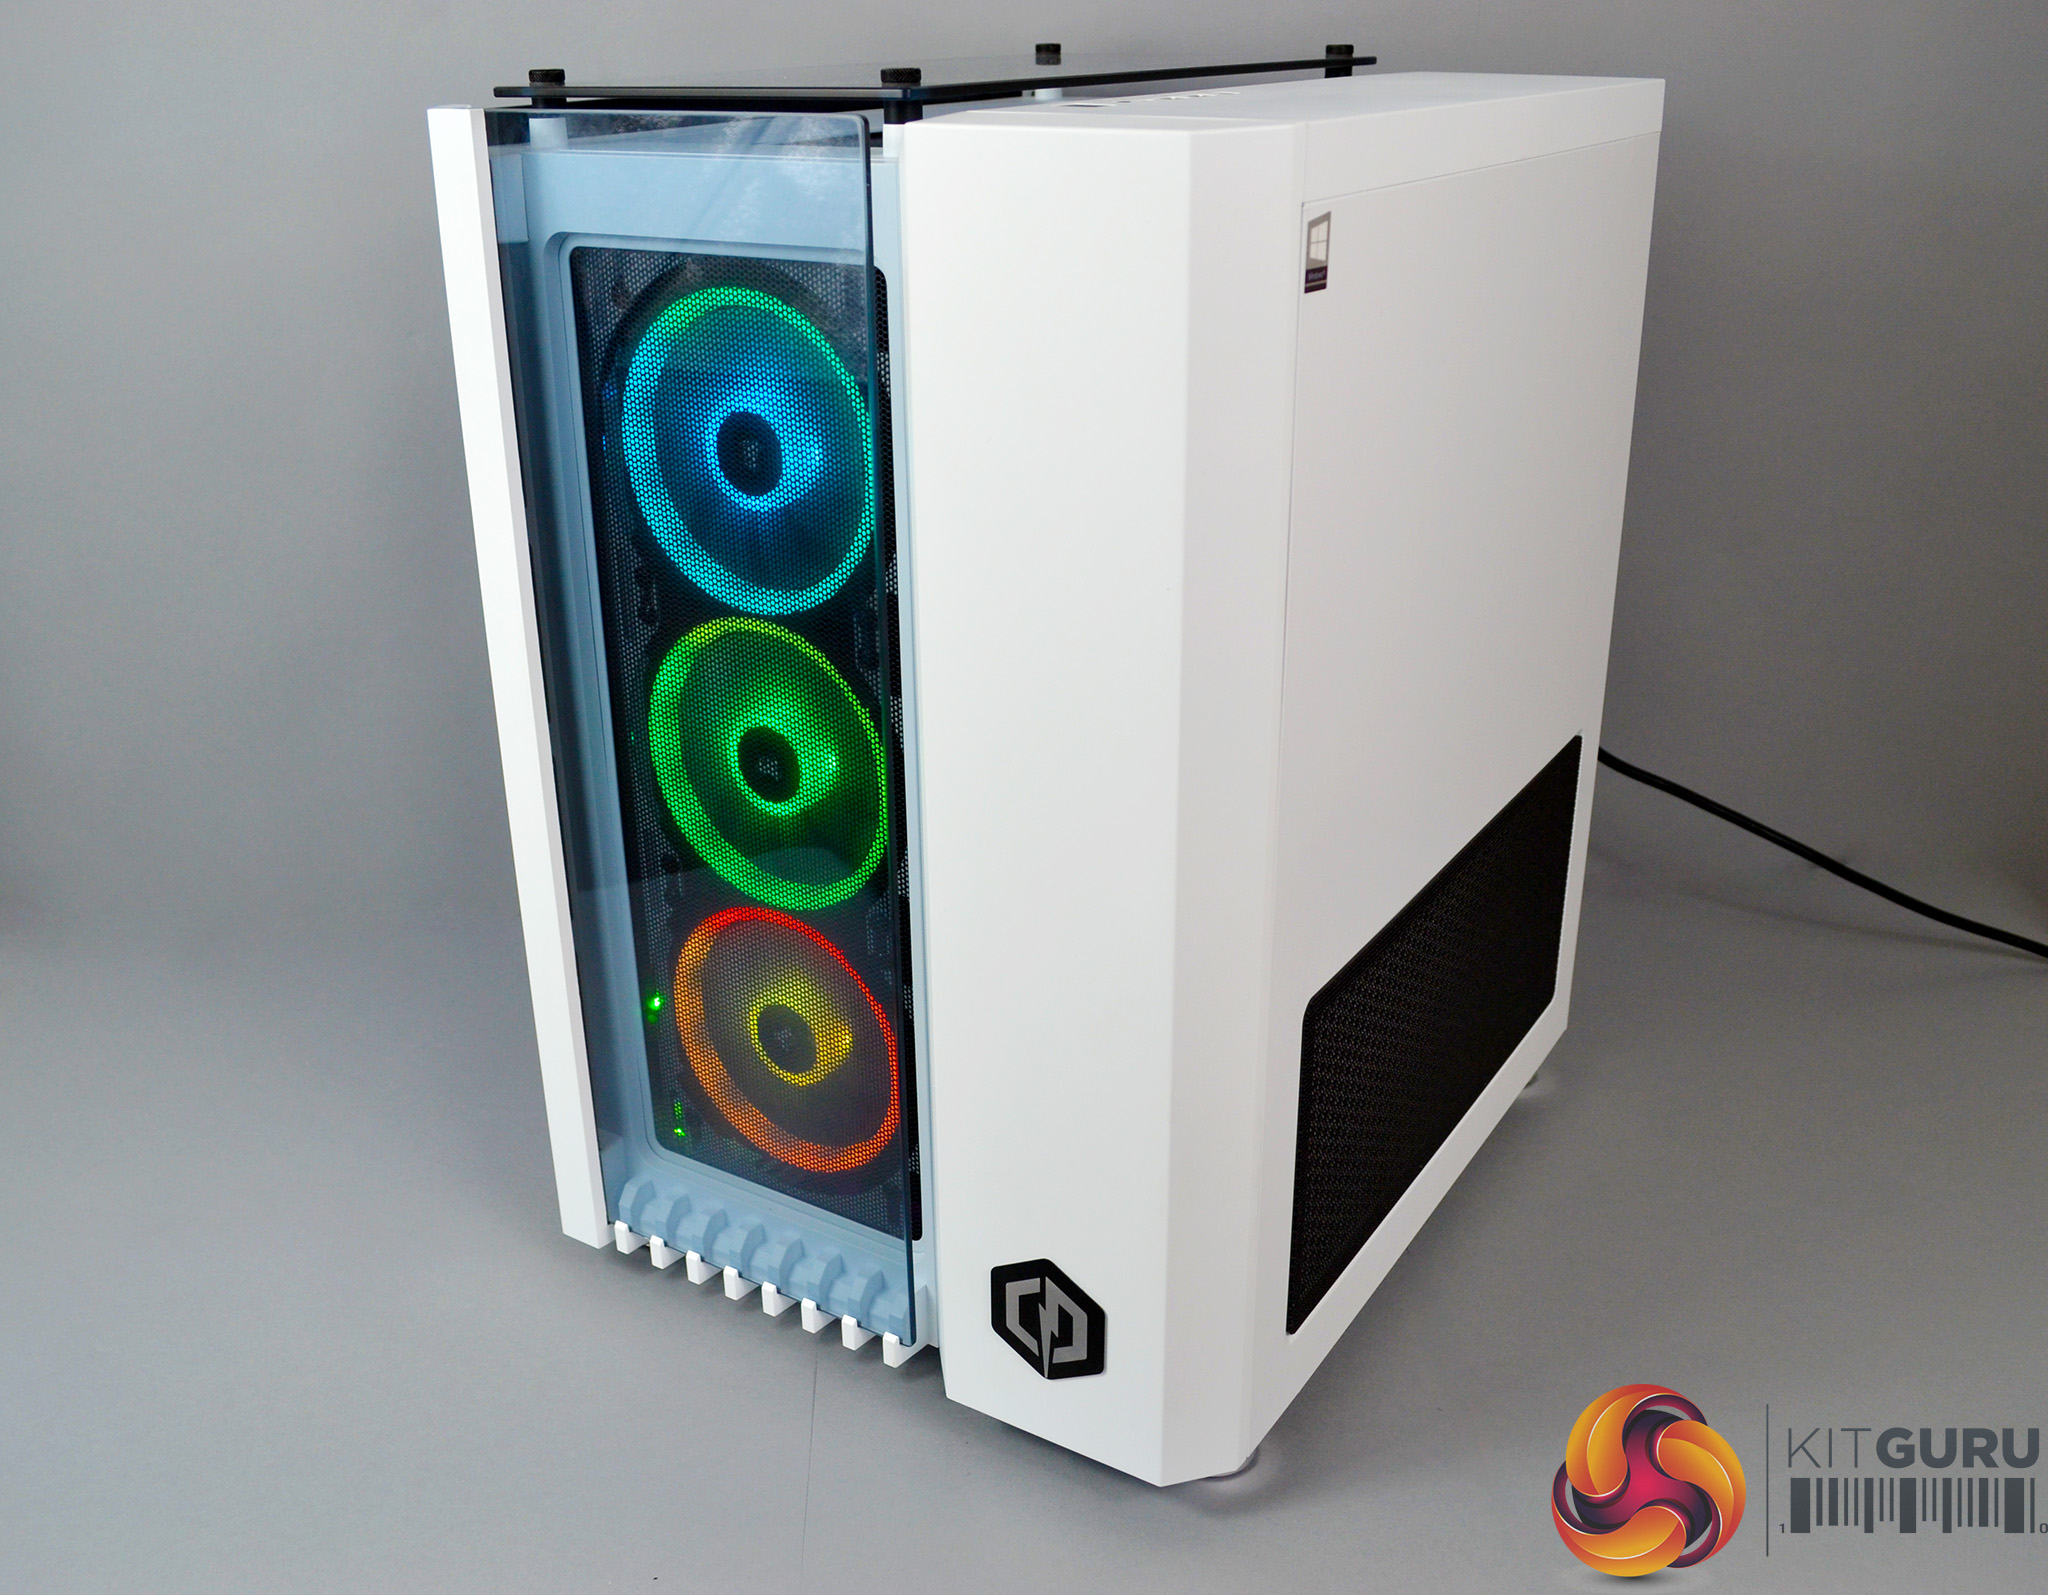
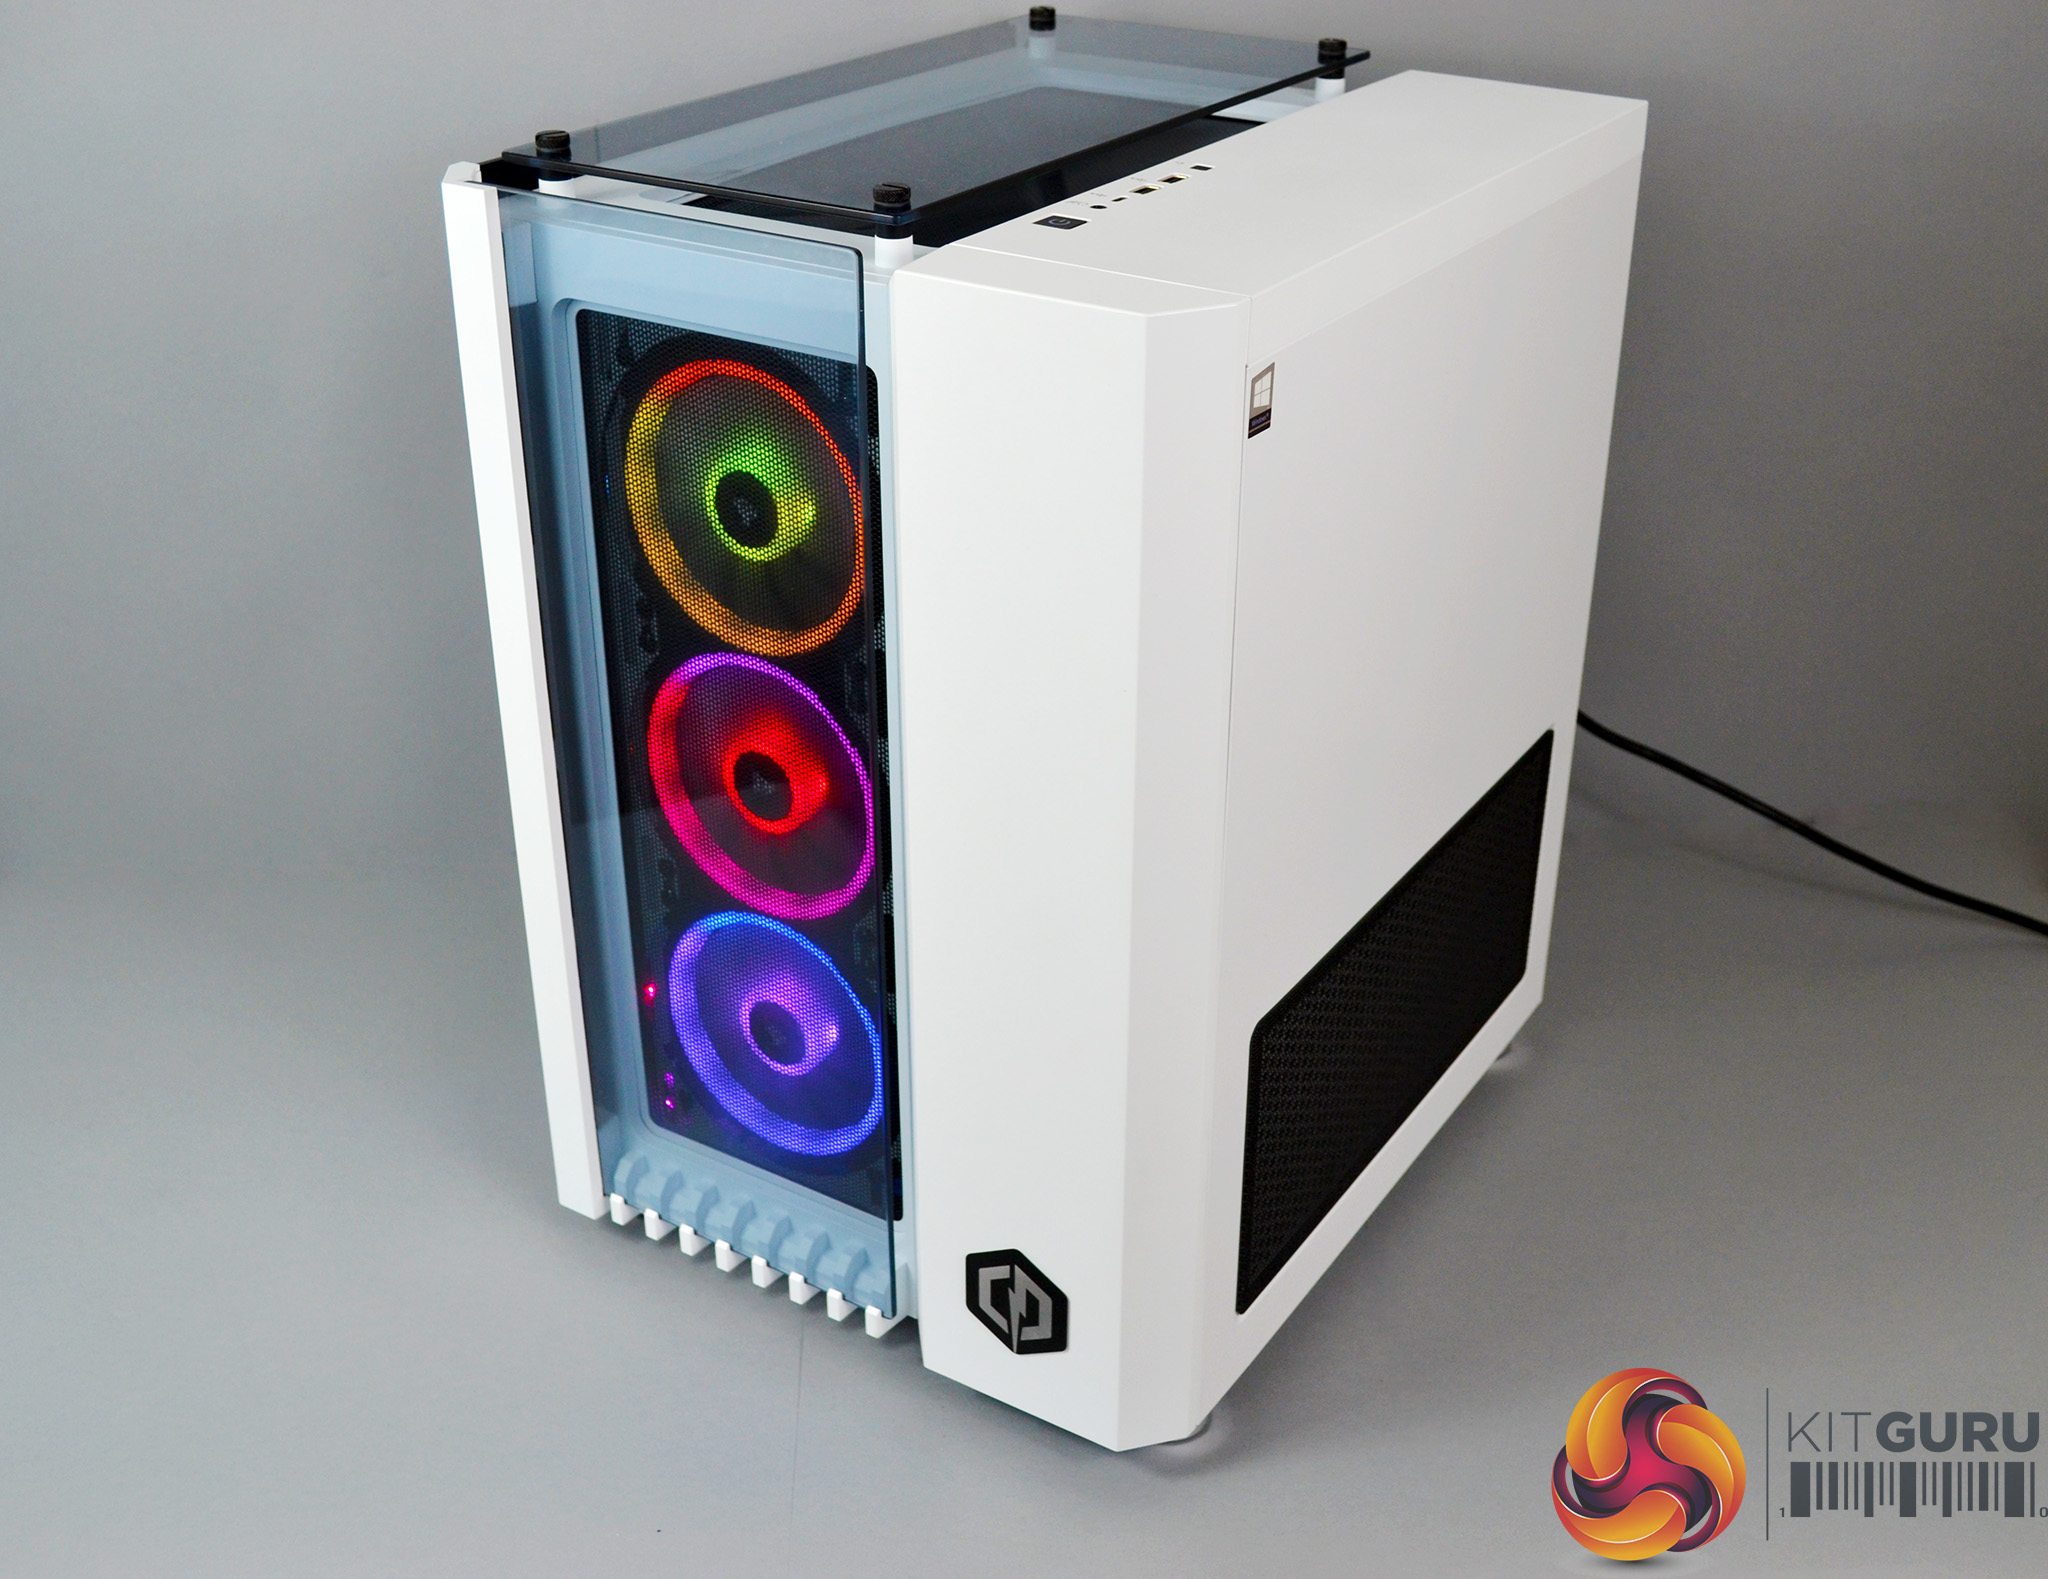
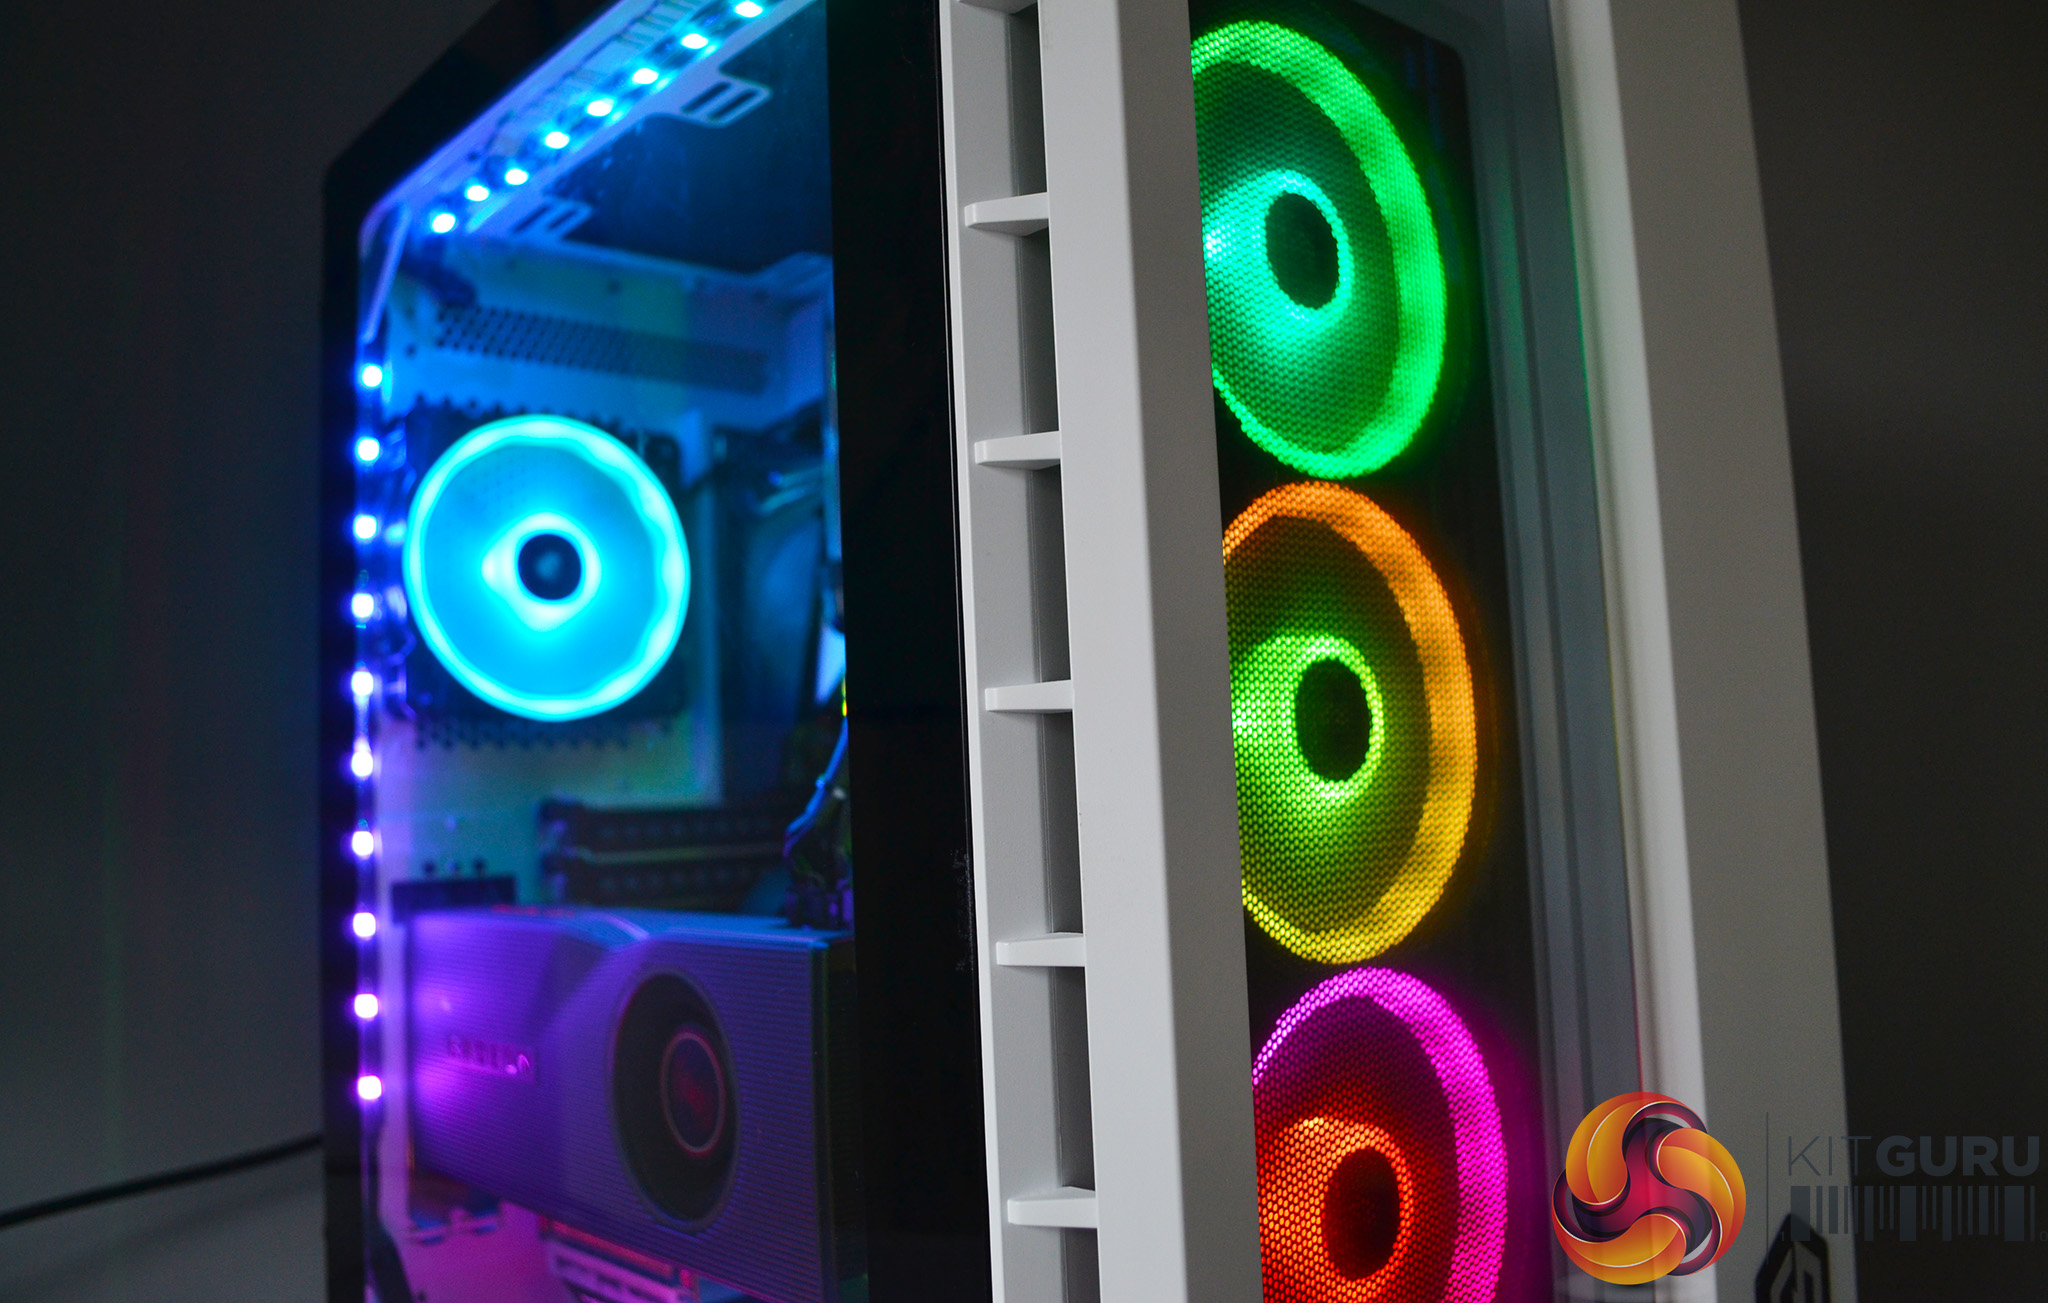
Fixed to the floor of the case are two Corsair LL120 RGB fans pulling in air from outside. In the rear is a single LL120, which is acting as an exhaust, blowing out hot air. Around the opening of the tempered glass side panel are four Corsair ARGB LED strips, which add even more RGB bling to the already colourful system.

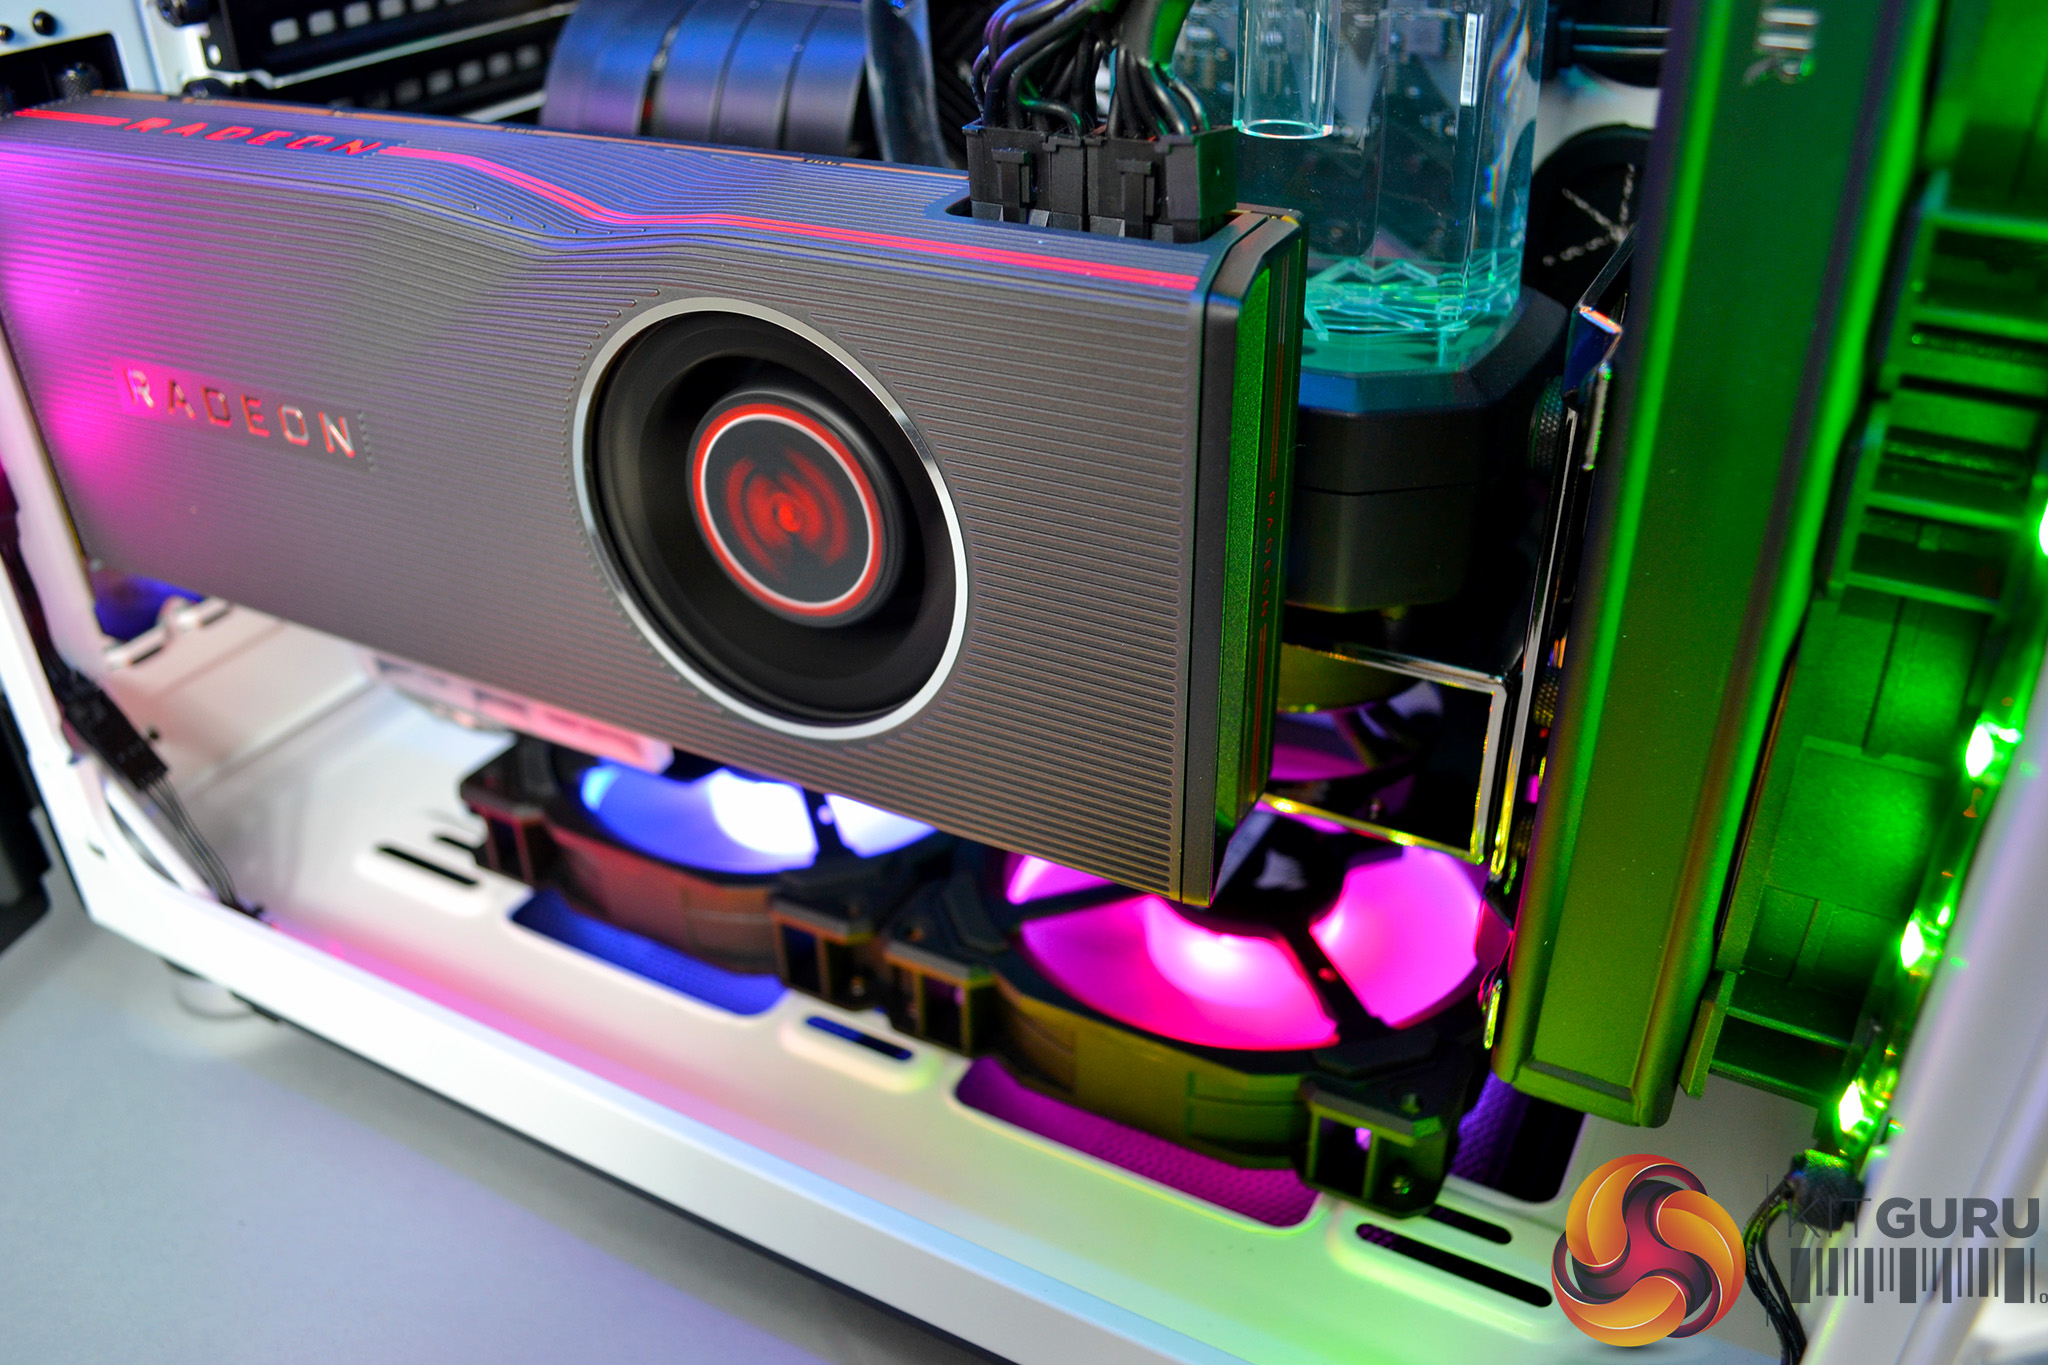
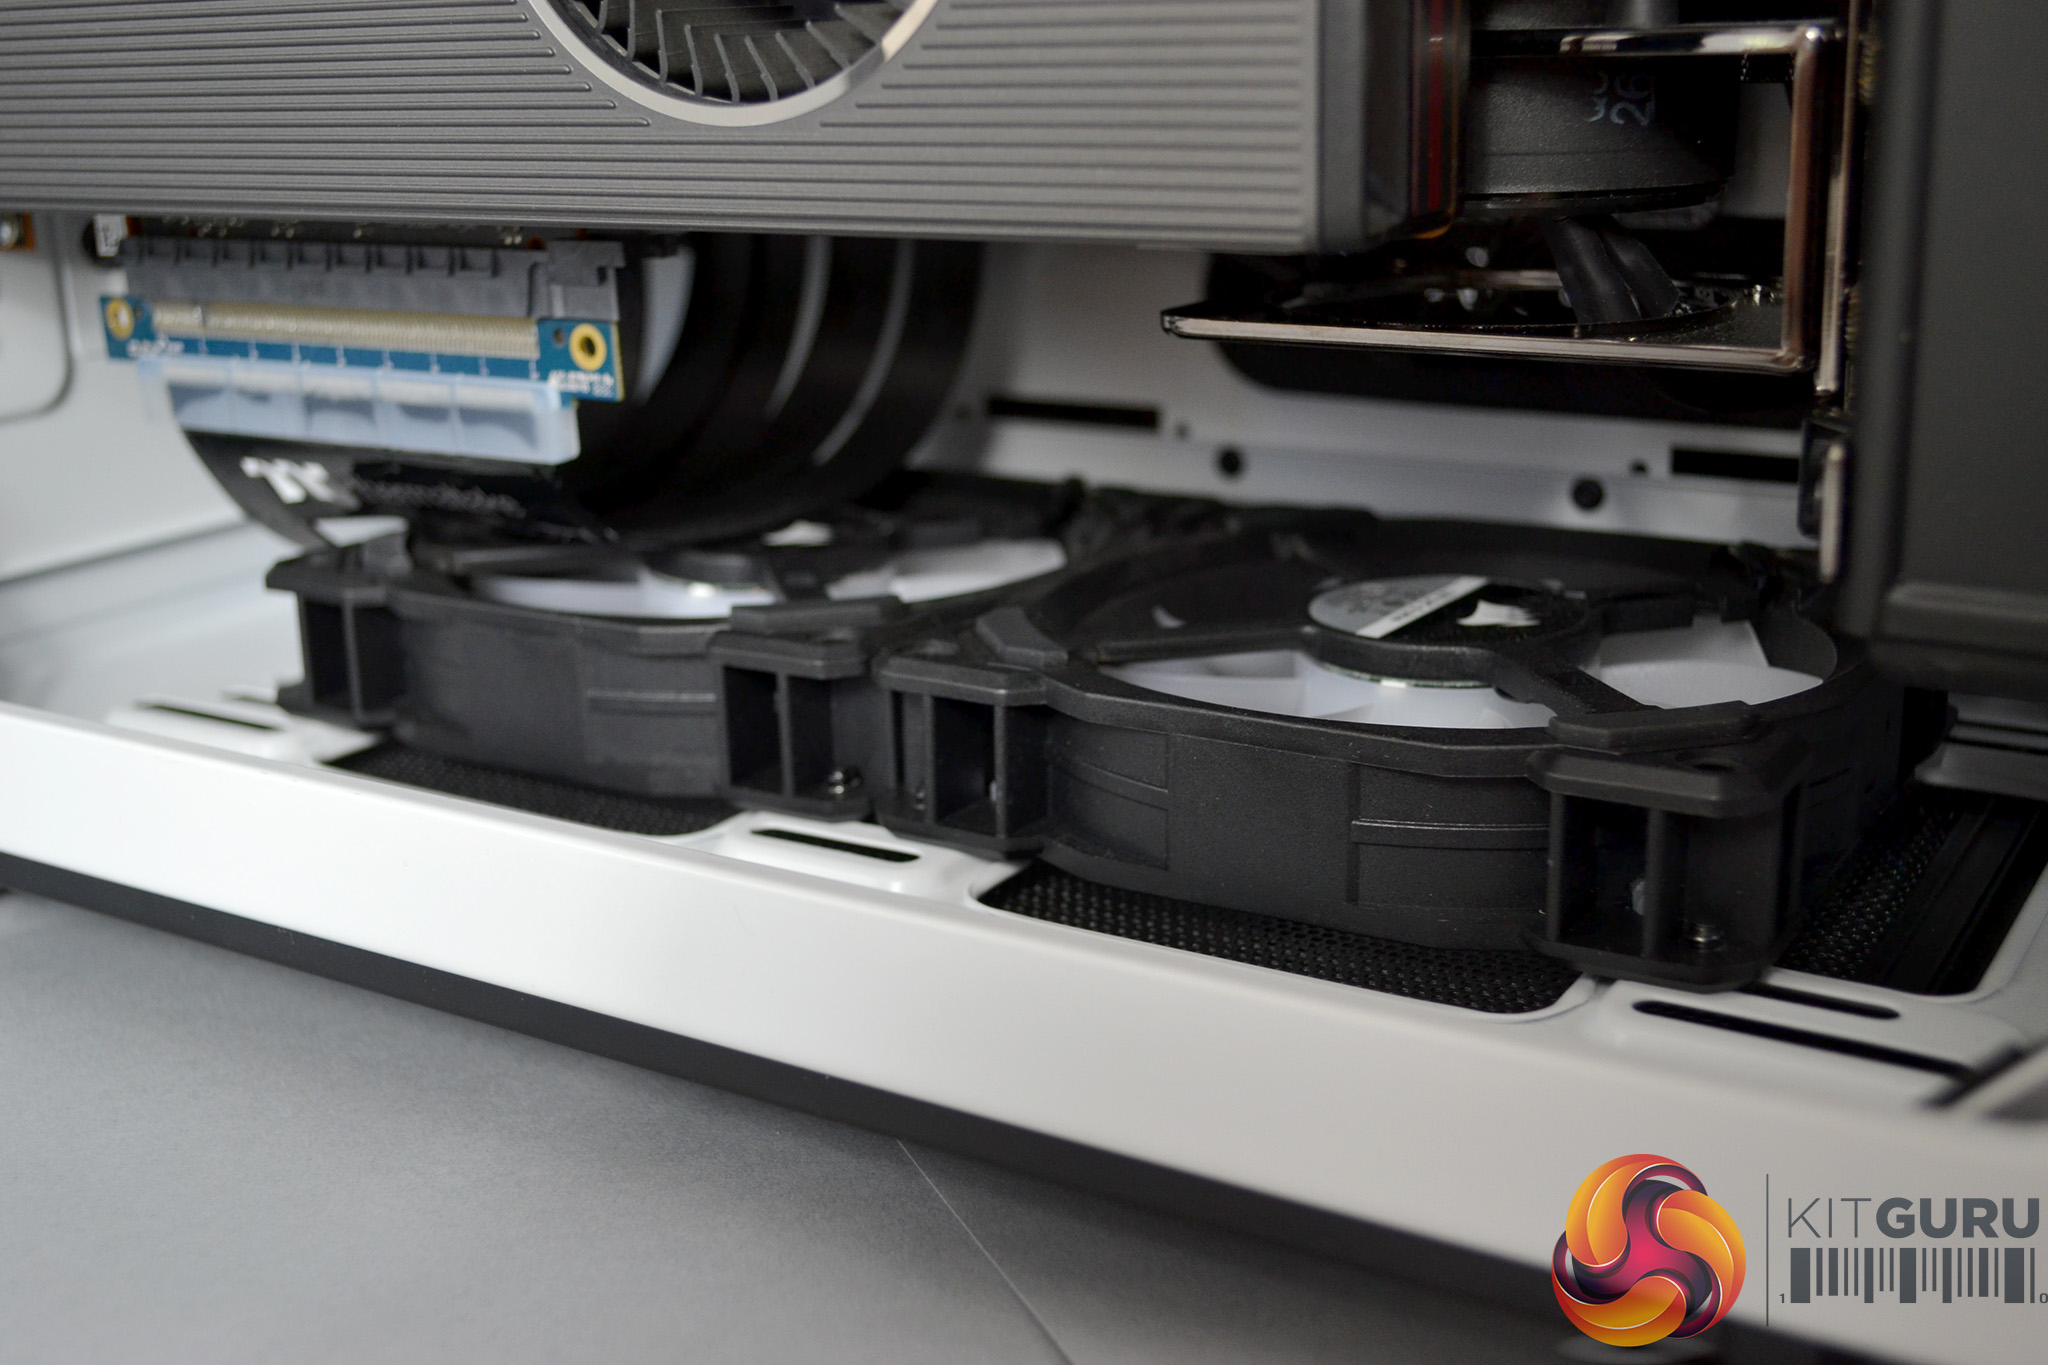
The MSI 5700XT GPU is mounted vertically in this system using a PCIe extension cable. Usually, this is for aesthetic reasons. However, if the GPU had been horizontally mounted, it would have conflicted with the water pump/reservoir, so the vertical mounting is also functional. With no support for the GPU other that the rear fixing points, we found the GPU to have a lot of side to side movement, which isn’t ideal.


One thing we must note about the vertical mounting is that we found the PCIe cable to be trailing into one of the floor fans and contacting the fan blades, which made a terrible noise on initial boot up. Potentially, this could have worried an inexperienced user. A quick adjustment of the cable cleared it from the fan and the noise went away.
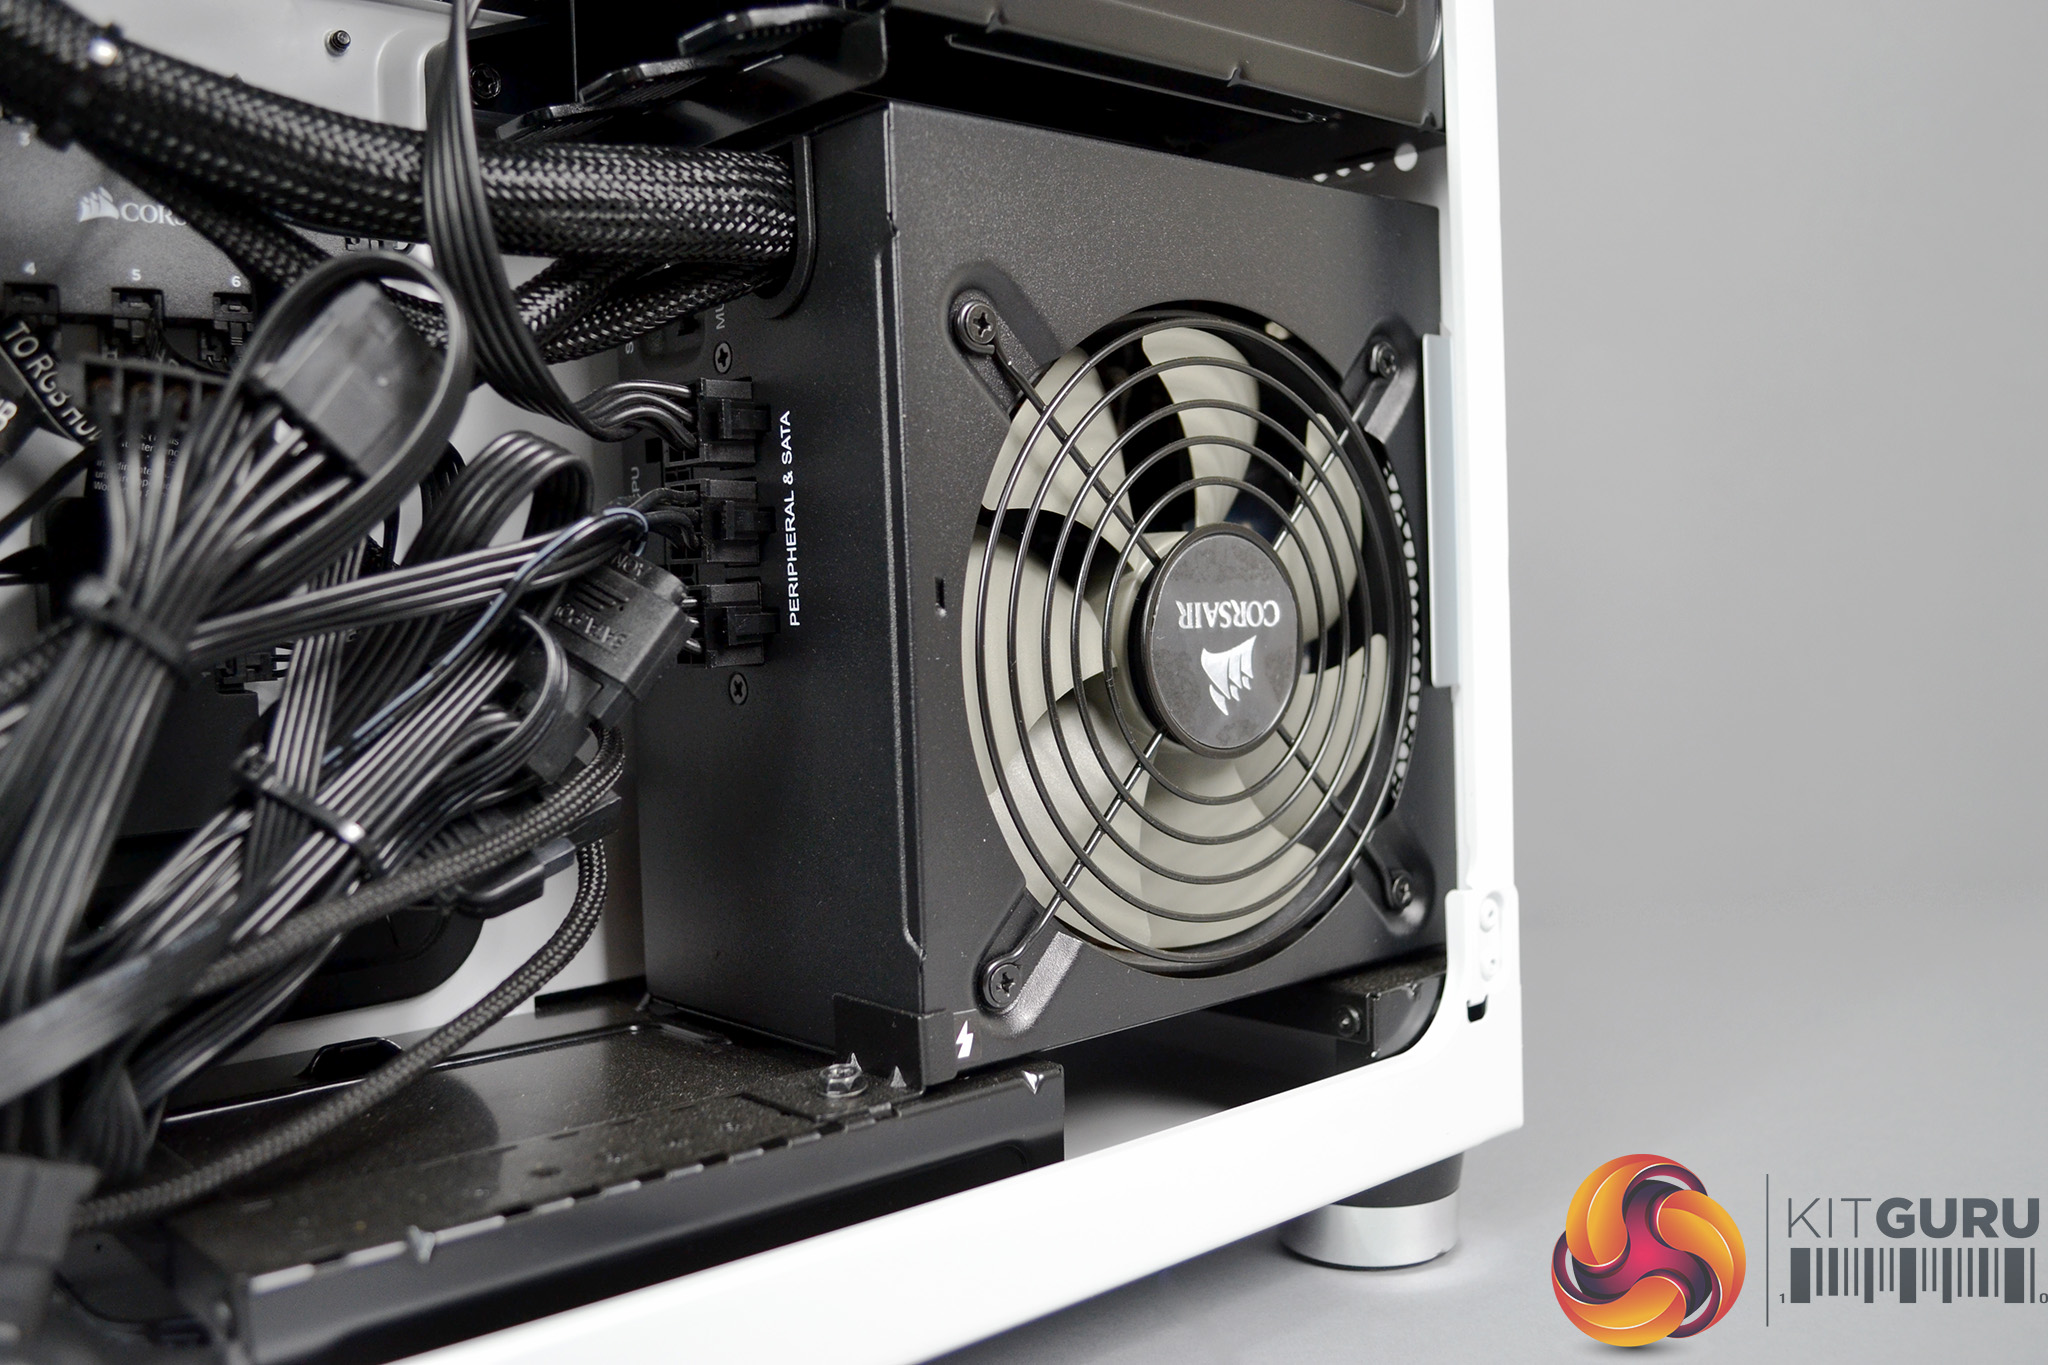
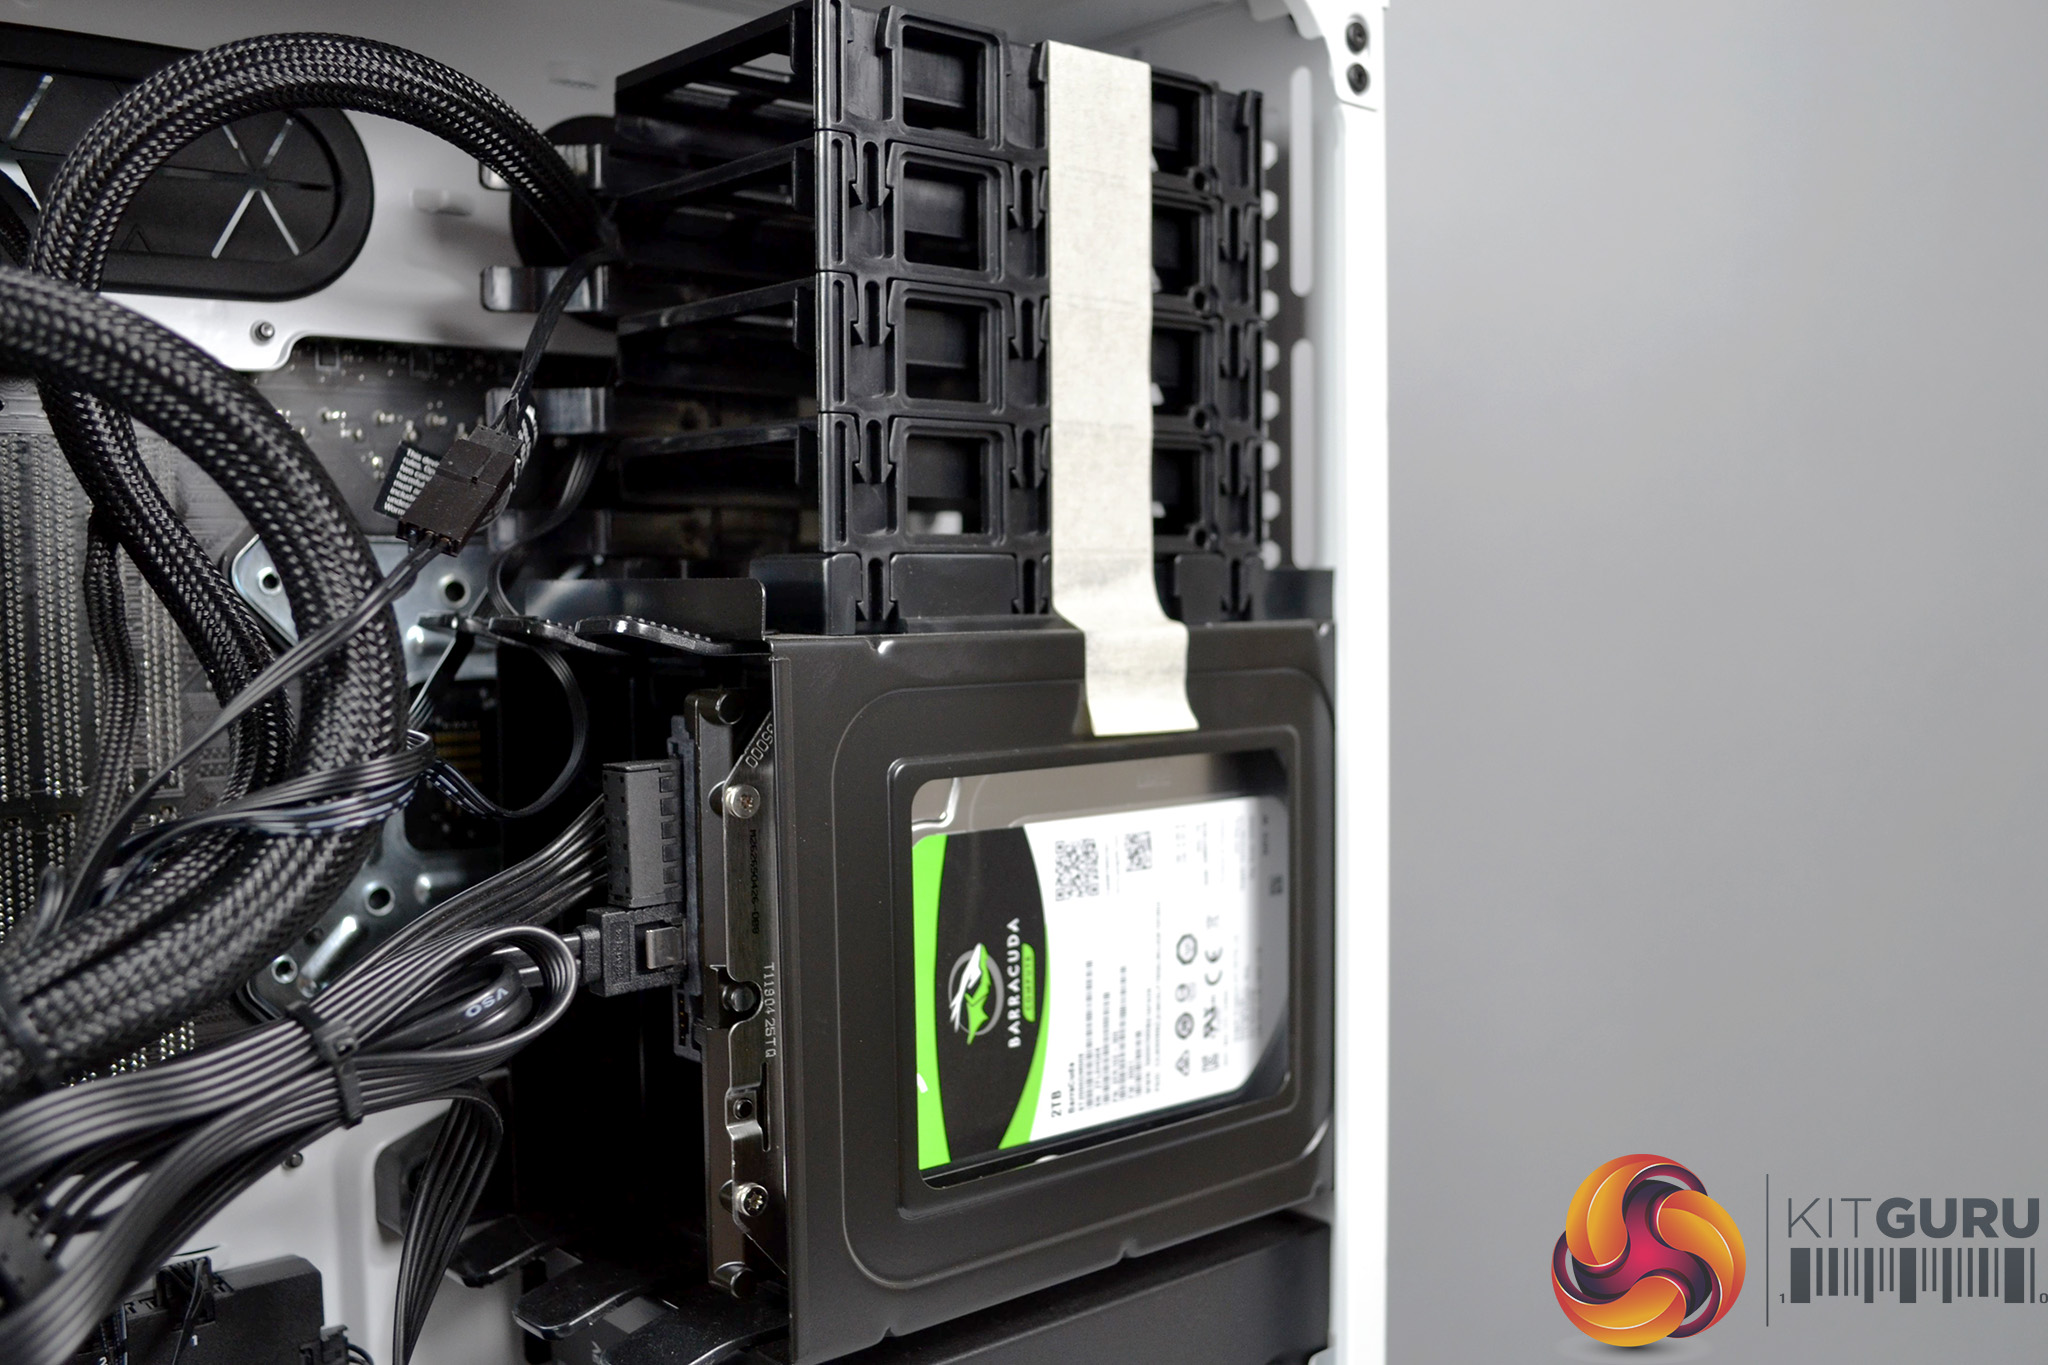
Opening the right-hand side panel gives us access to the Power supply and storage devices. We can see the Corsair Vengeance 650M power supply at the bottom, with the fan pulling in air from the side panel vent. Just above are three 3.5” HDD bays and above that are four 2.5” SSD drive bays, so plenty of room for expansion if more storage is needed.
To our surprise, there was a loose thumbscrew laying in the bottom of the case, which had either fallen out in shipping or had been dropped during installation – not great.

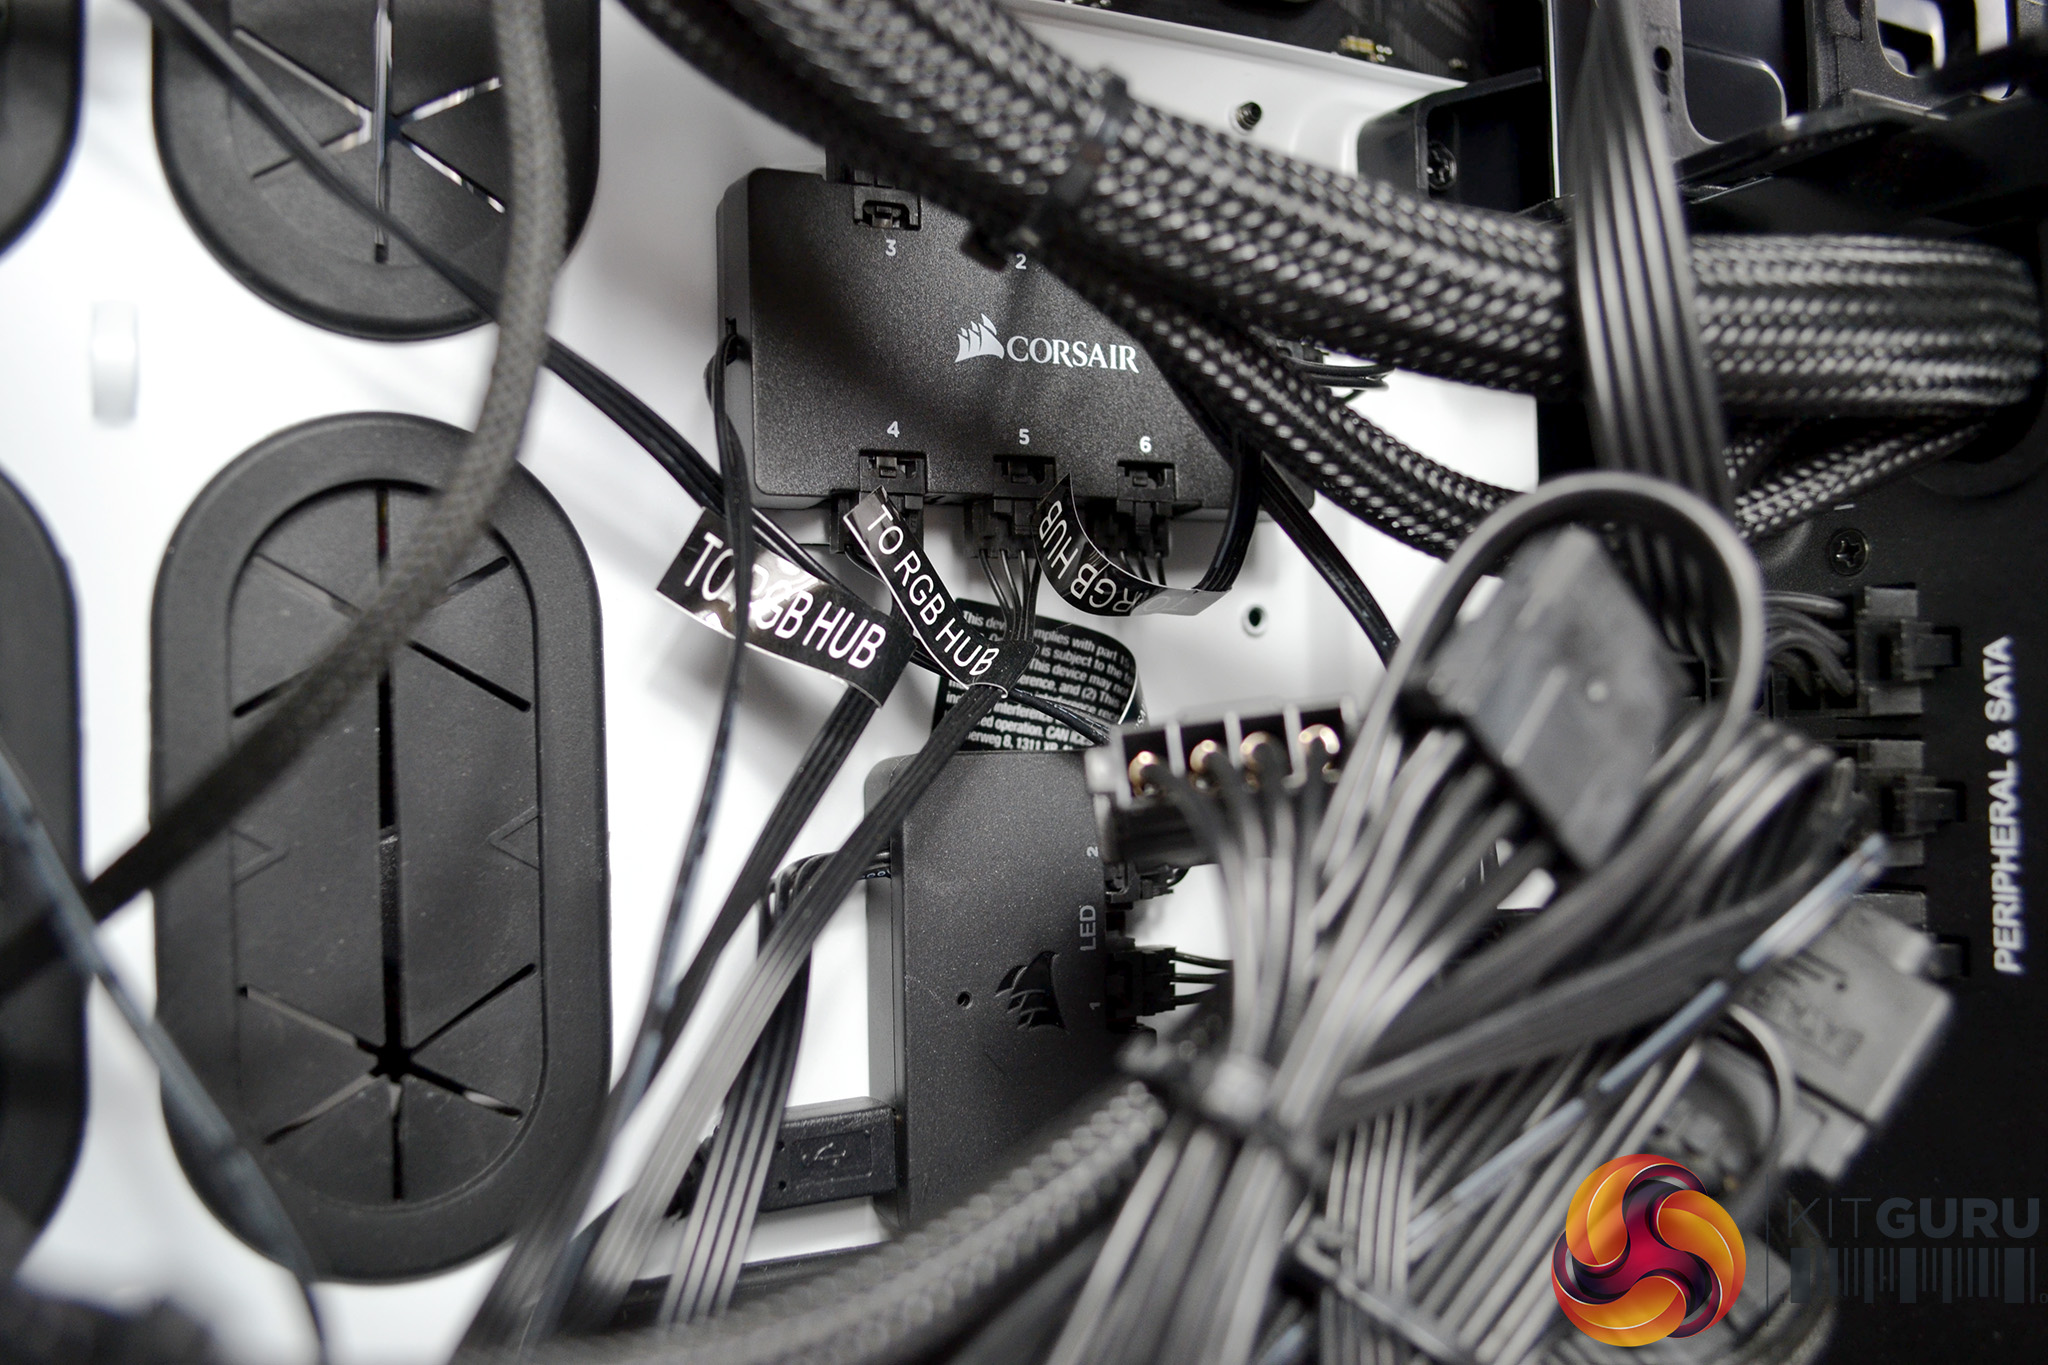
Also, situated in this section of the case is a Corsair Commander Pro module, which is used to control fans, water pumps, lighting and so on. Below this and towards the centre is a Corsair Lighting Node module, which takes care of all the RGB lighting. This can be configured through the Corsair iCUE software, where different lighting patterns and colours can be applied. You will notice many cables attached to these devices.
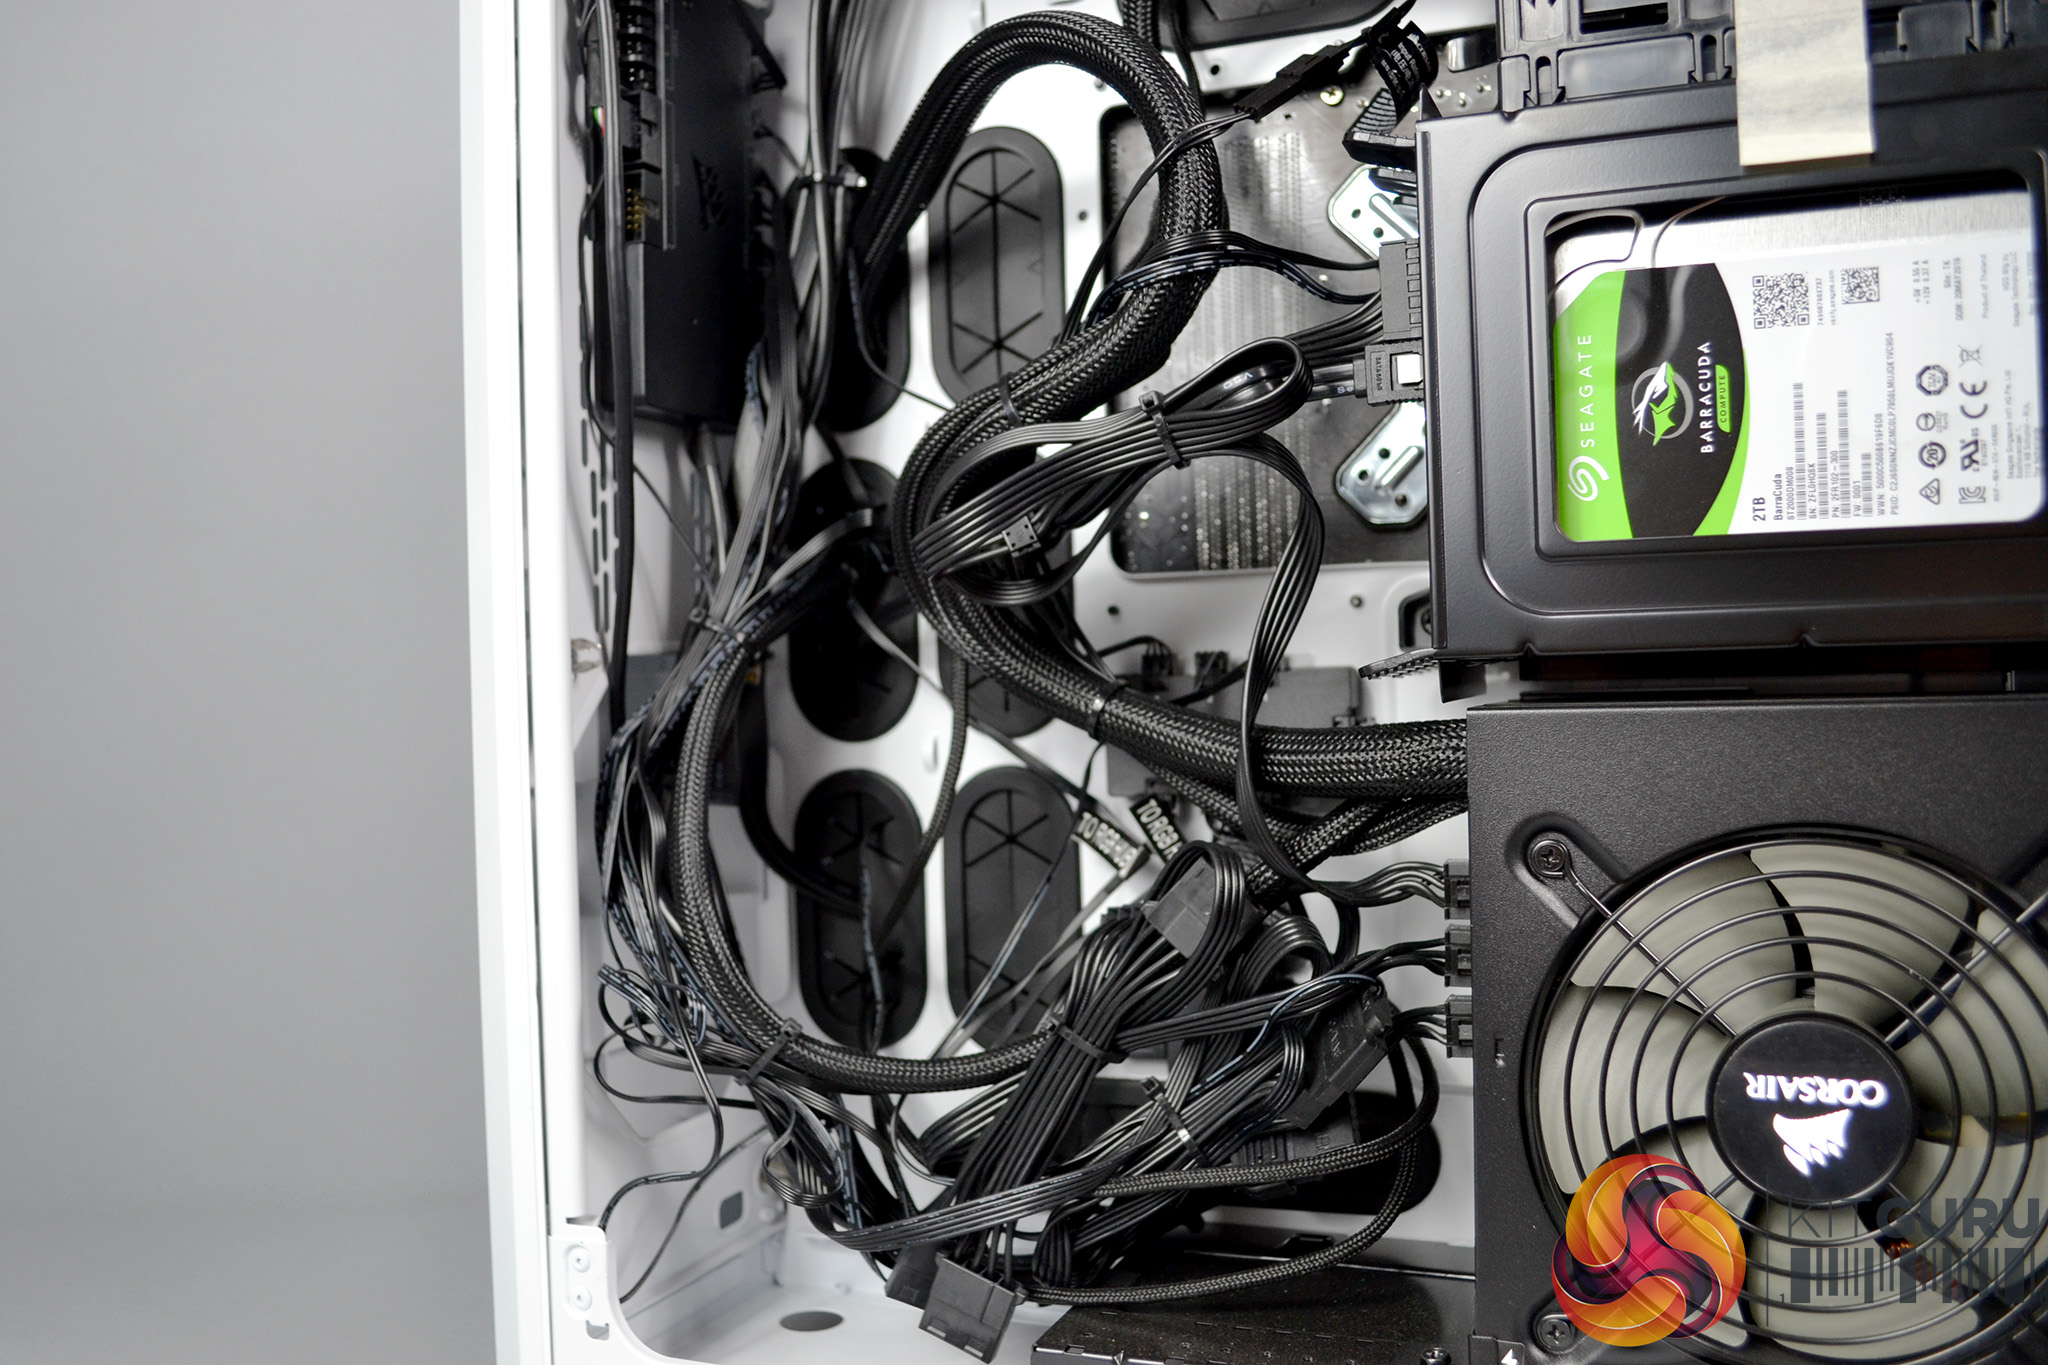
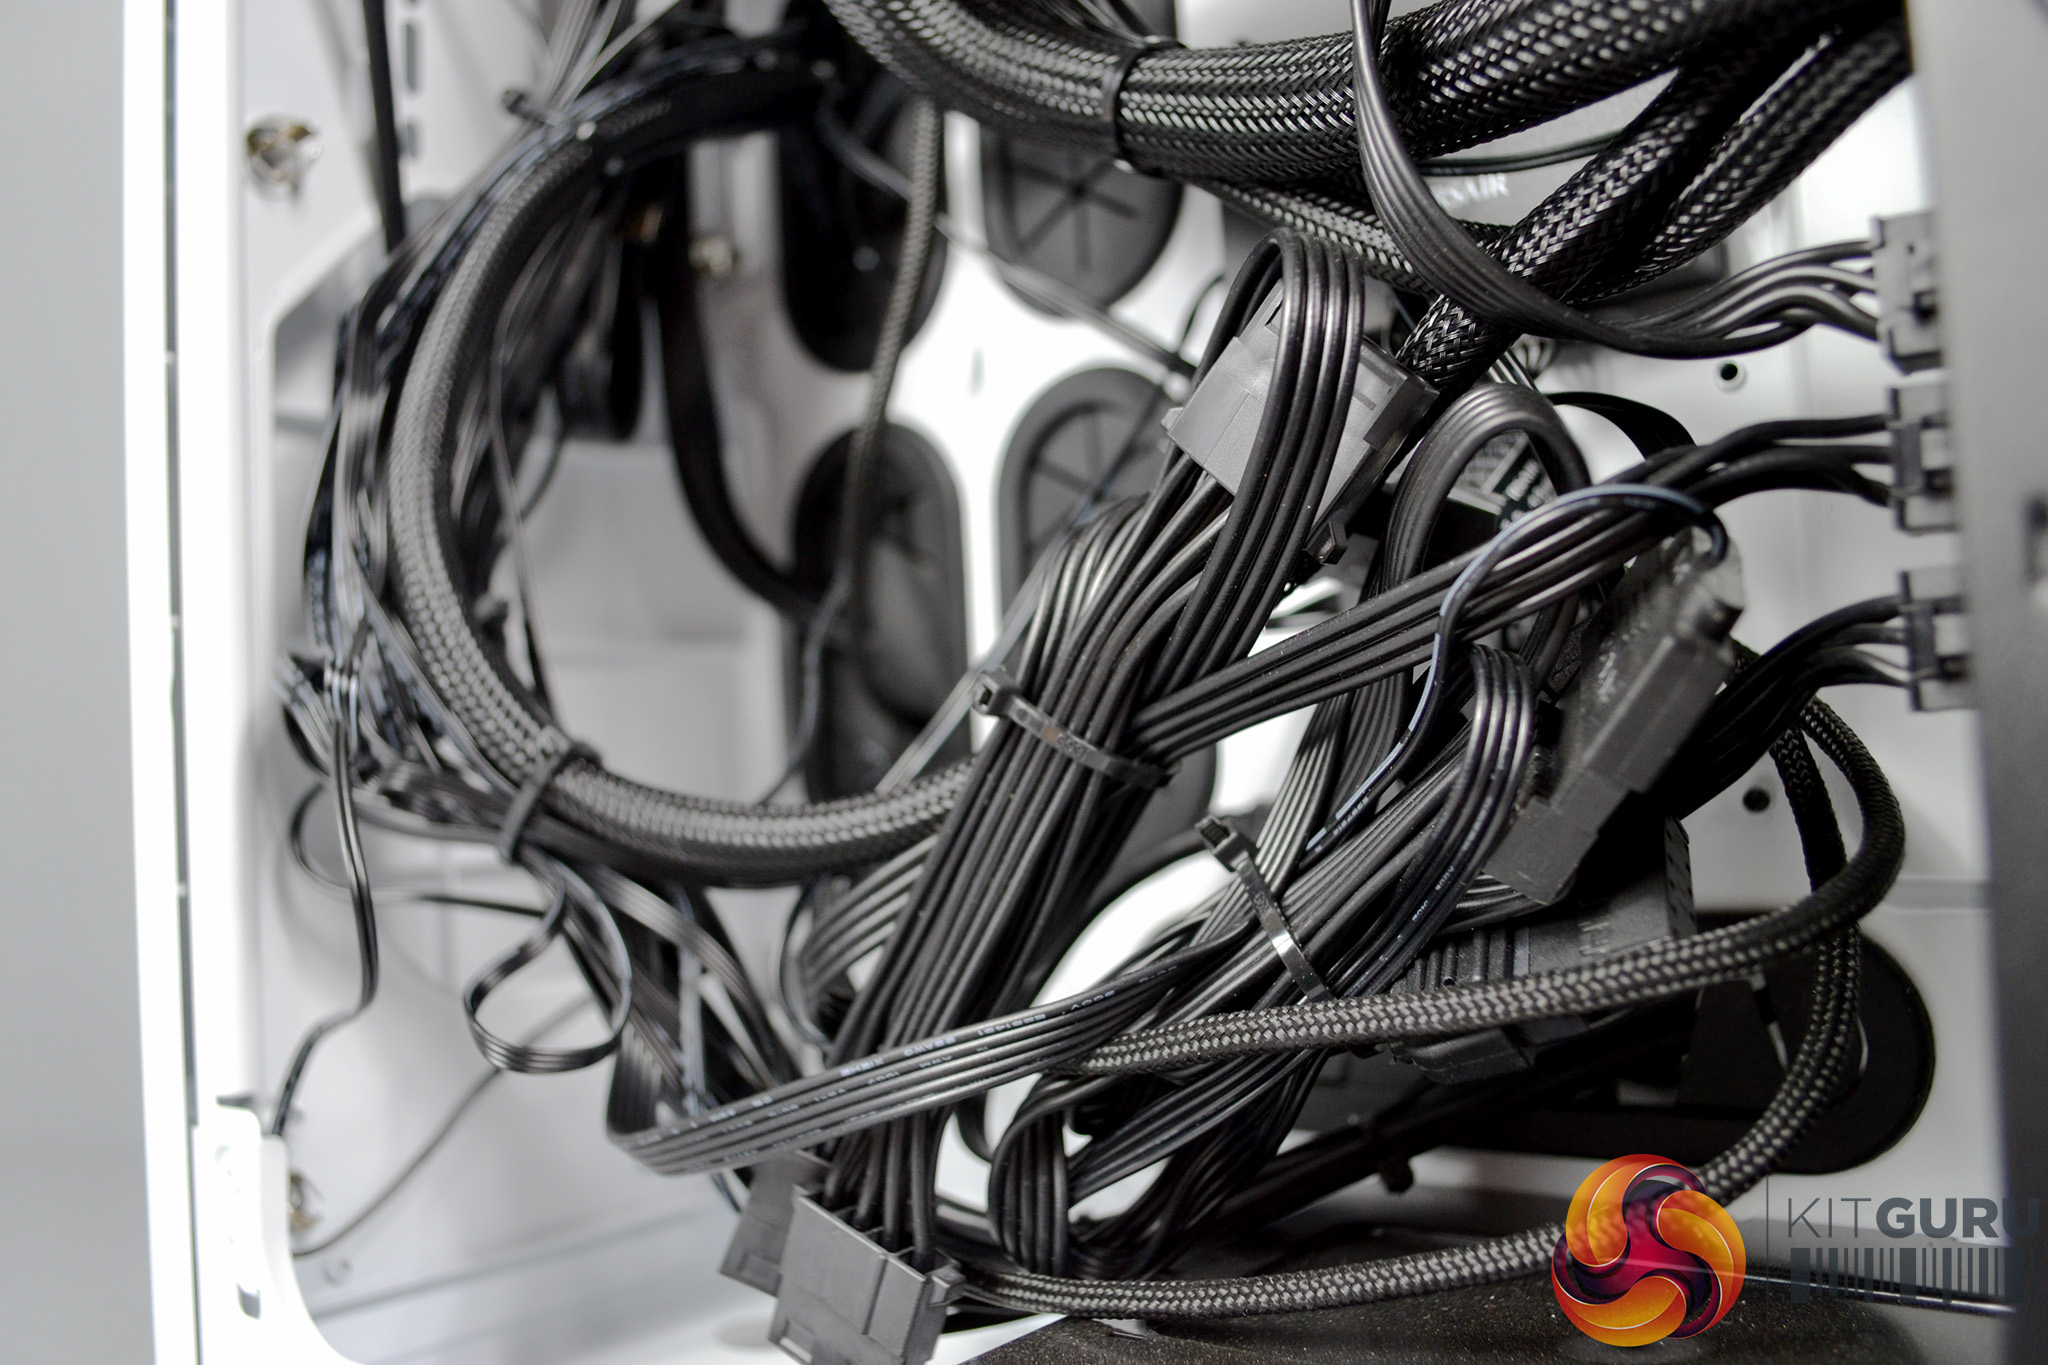
While on the subject of cables, let’s look at the cable management in the system. As touched on earlier, cable management in the motherboard section is neat and tidy. However, the other section of the case is a different story – it’s more like cable carnage.
None of the cable tie down points have been used. Instead, the cables have been bundled up and tied together. While this shouldn’t affect performance, it does look a little messy and un-professional.
Overall, the key area of the case, where all the important hardware can be seen, looks great and seems to have been installed with a certain level of care. Components have been chosen carefully to give a consistent looking theme.
System gallery