PCSpecialist ships its pre-built systems in a standard brown cardboard box with the contents protected by dense foam. Inside the PC is an Instapak style foam pouch put there to eliminate movement of the system's internal hardware components during the shipping process.
Usually, PCSpecialist does a very good job of putting together its pre-built systems, the Titan Supreme is no different. All components are fitted correctly into their respective sockets or slots and cable management is exceptionally neat and tidy, so great job overall.
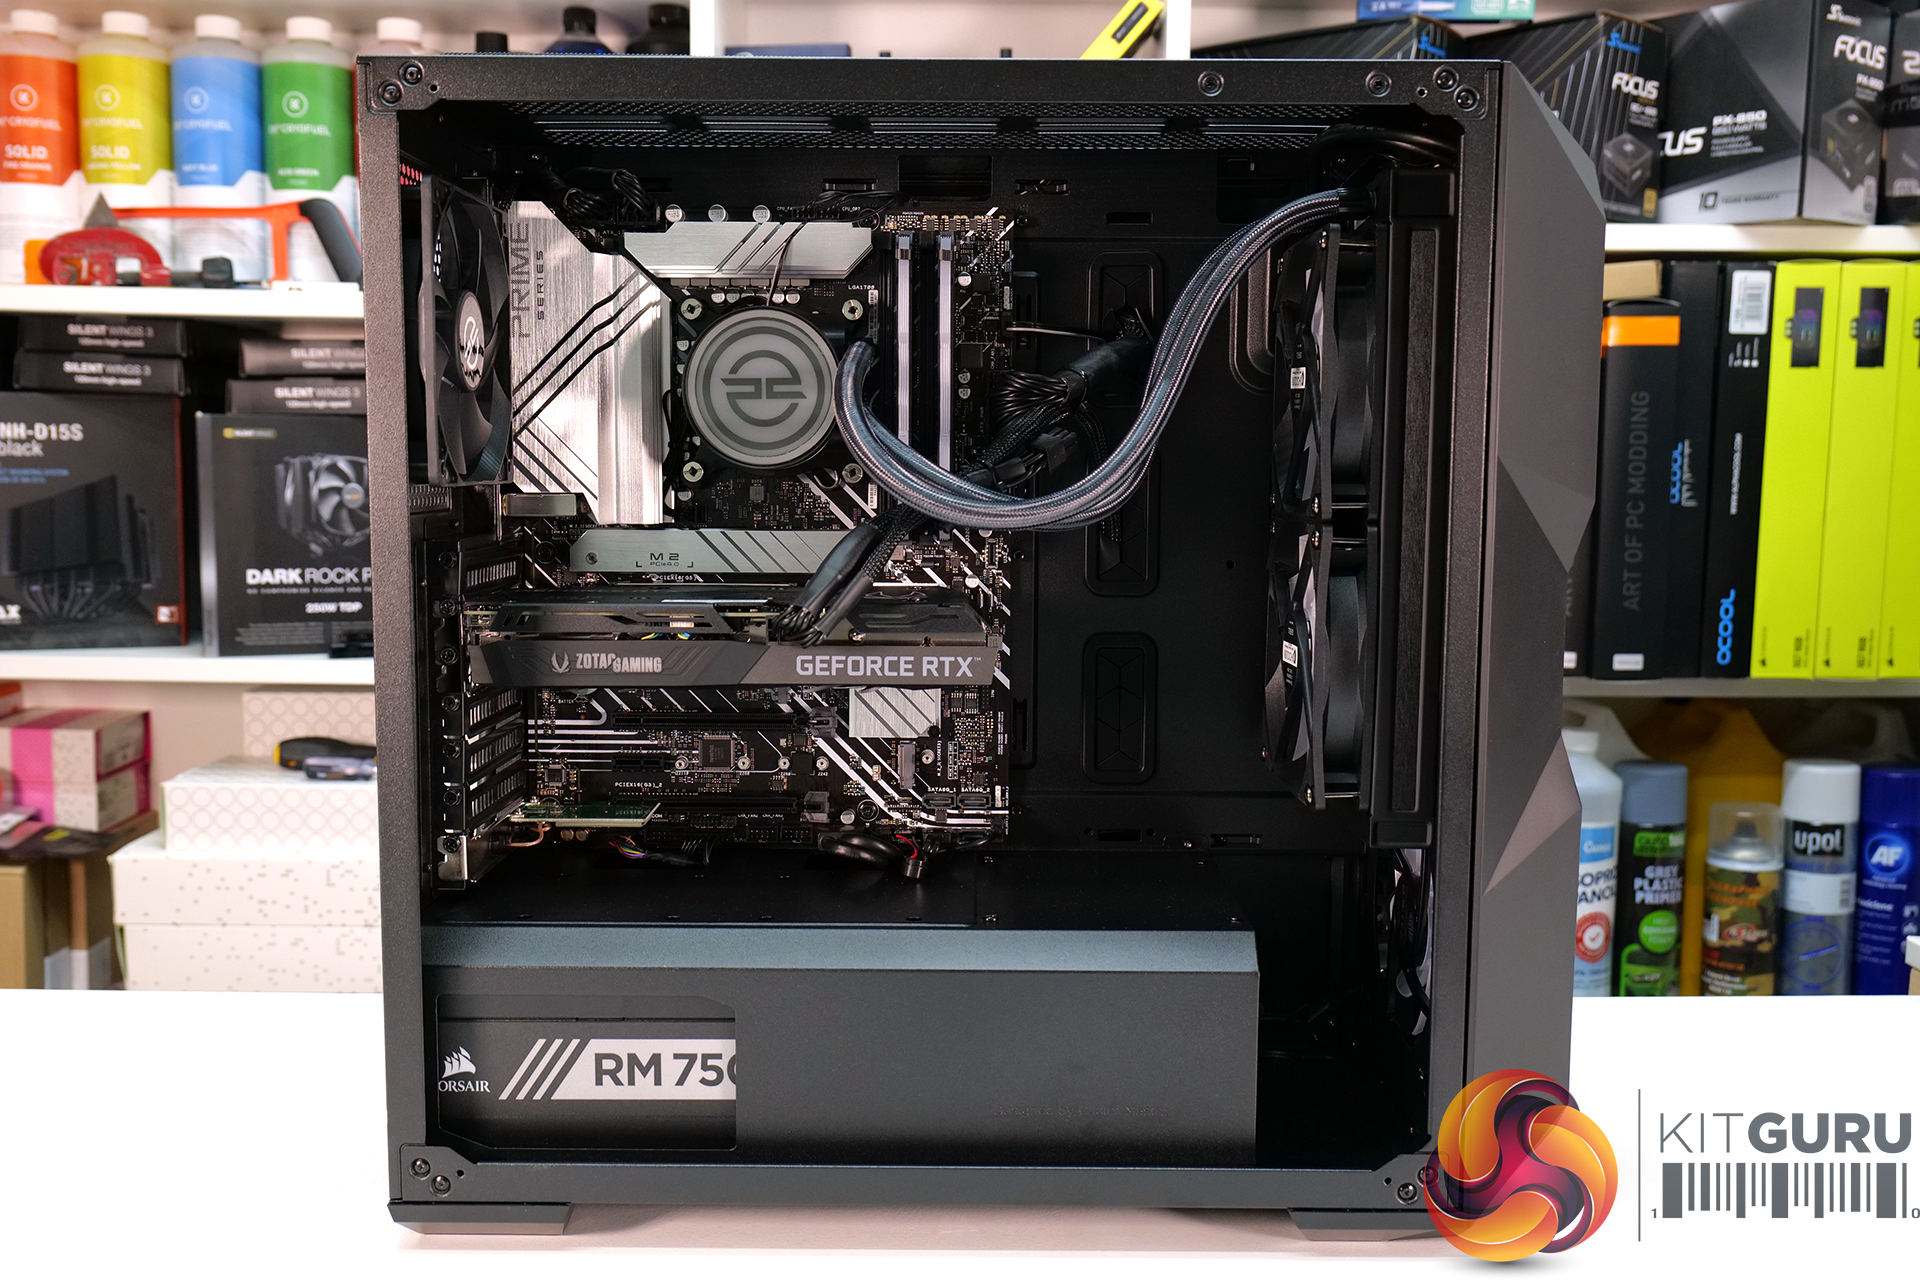

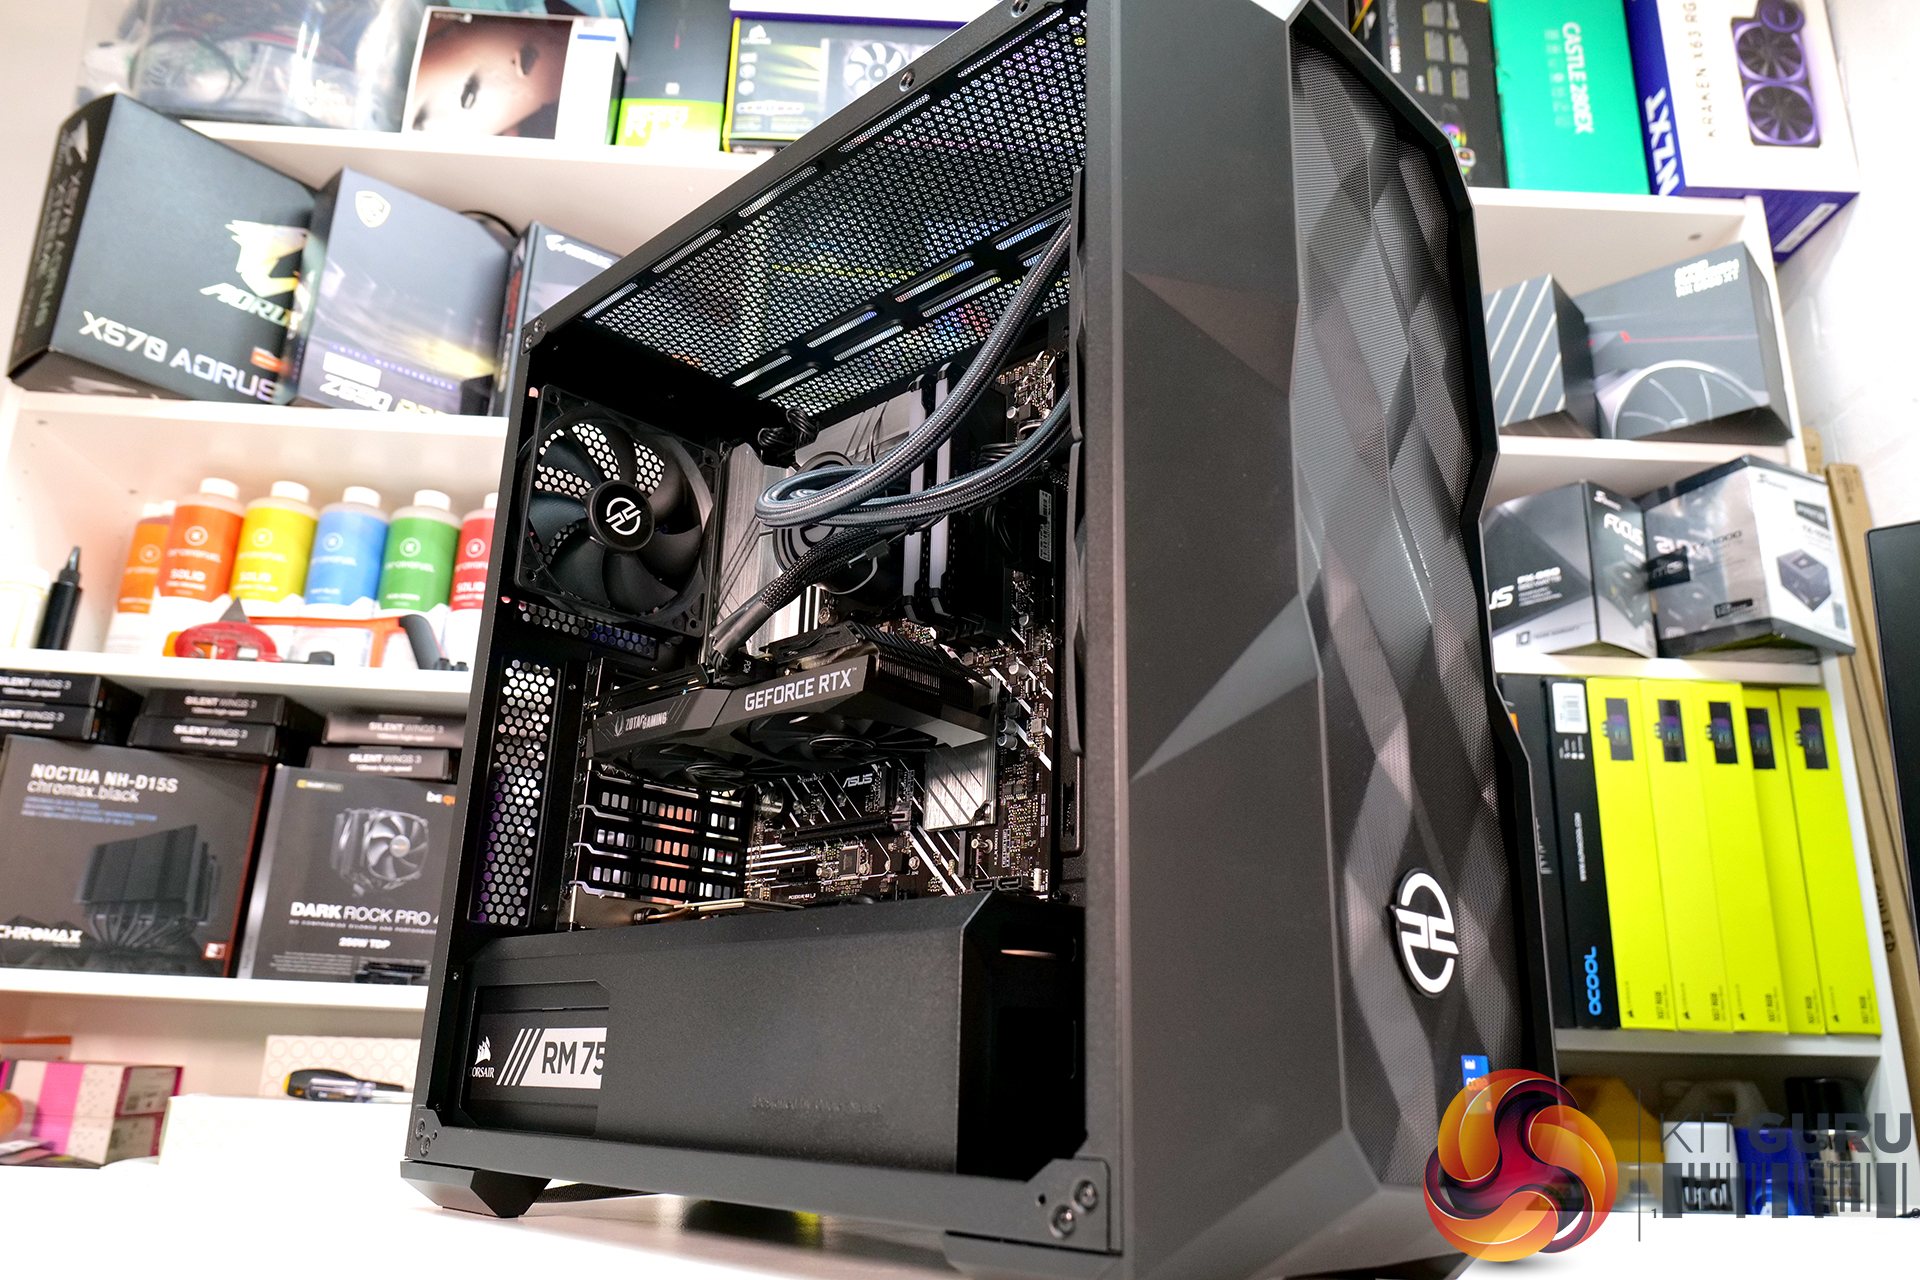
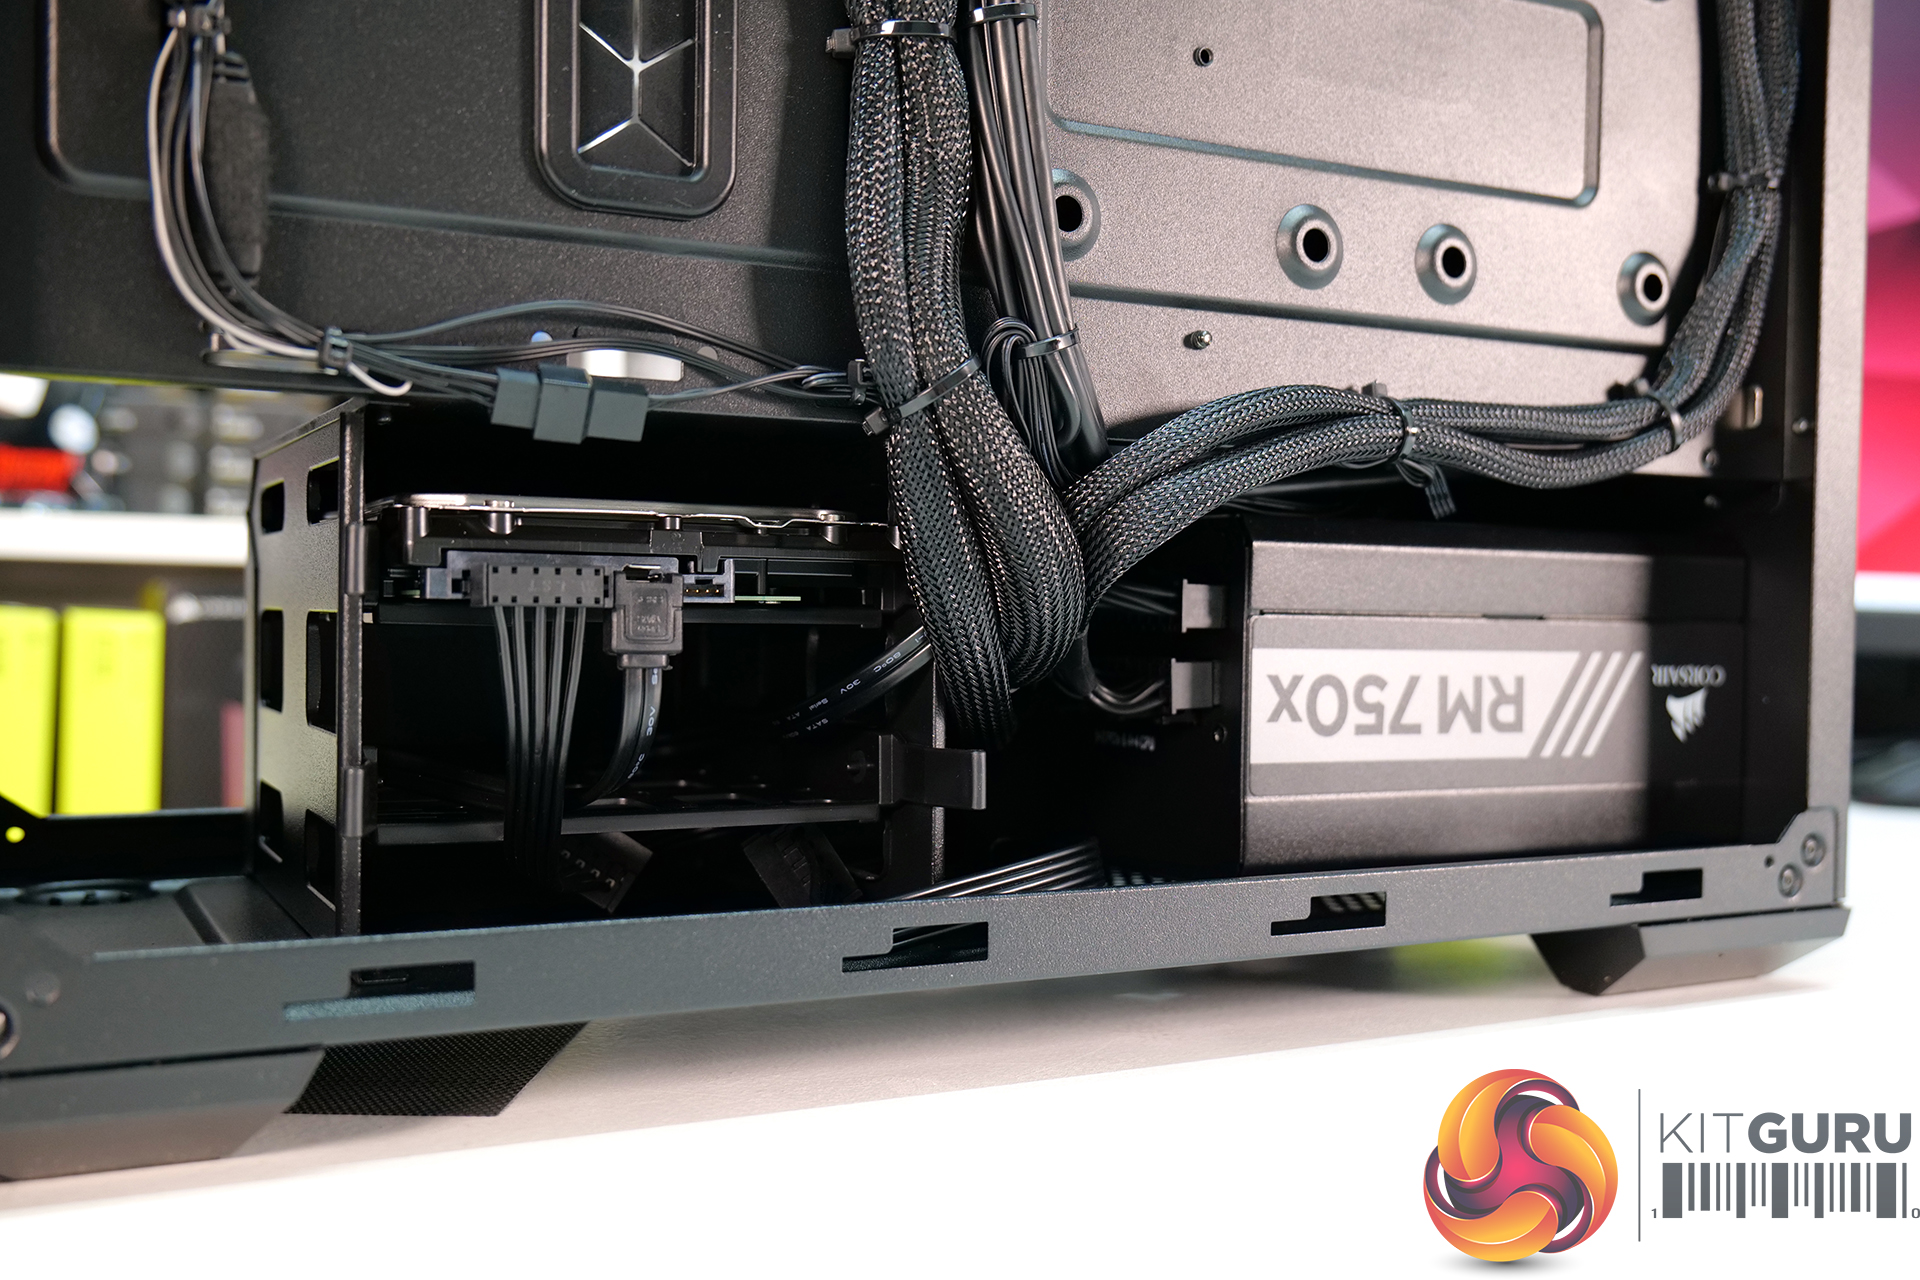
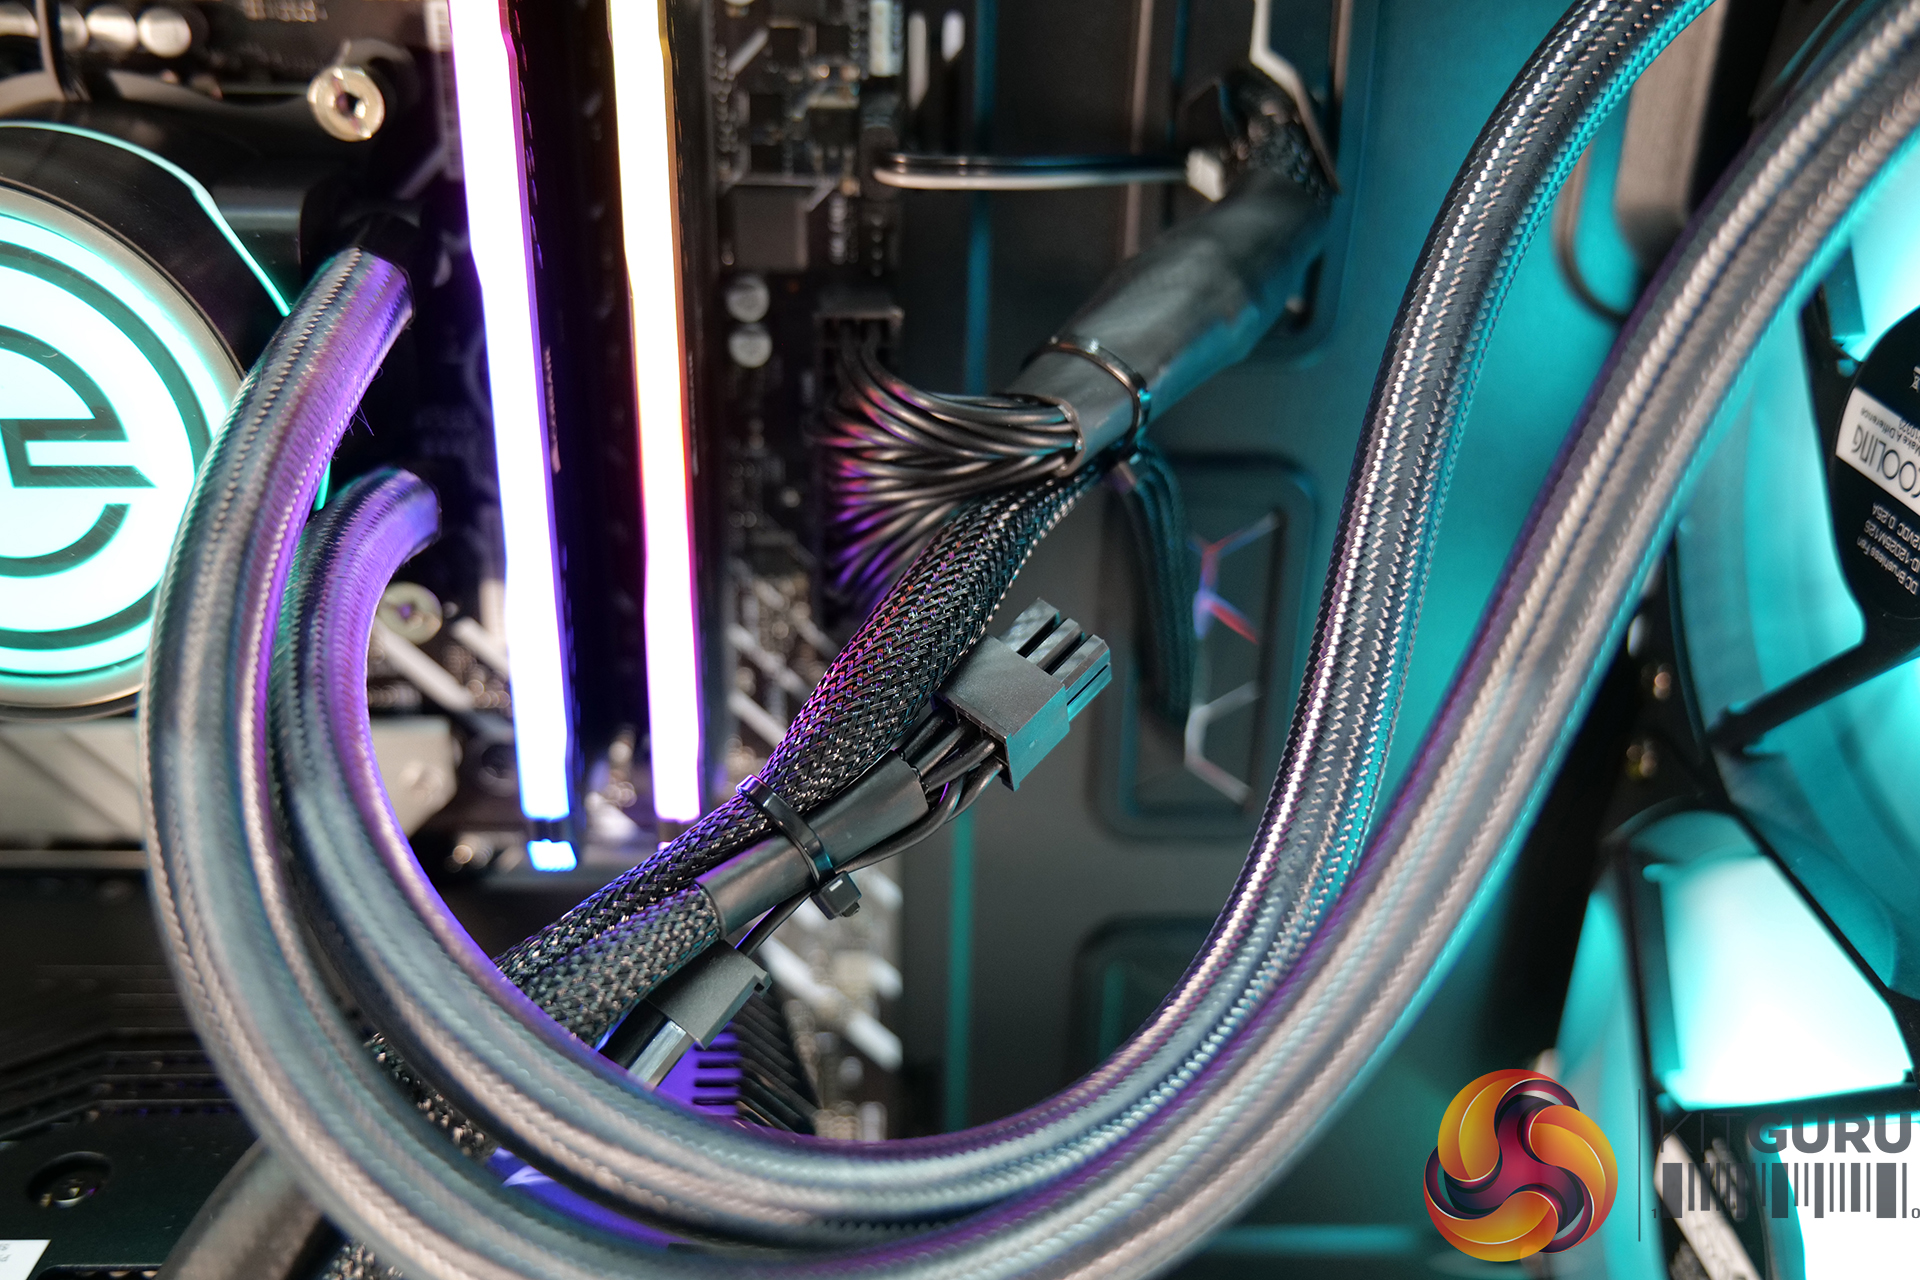
The graphics card arrived fully inserted into the PCIe slot so the Instapak foam insert did its job during shipping. There is no sign of sag in the card as it's only quite small and light and the PCIe cable from the card is zip-tied to the main 24-pin AXT power cable which looks neat.
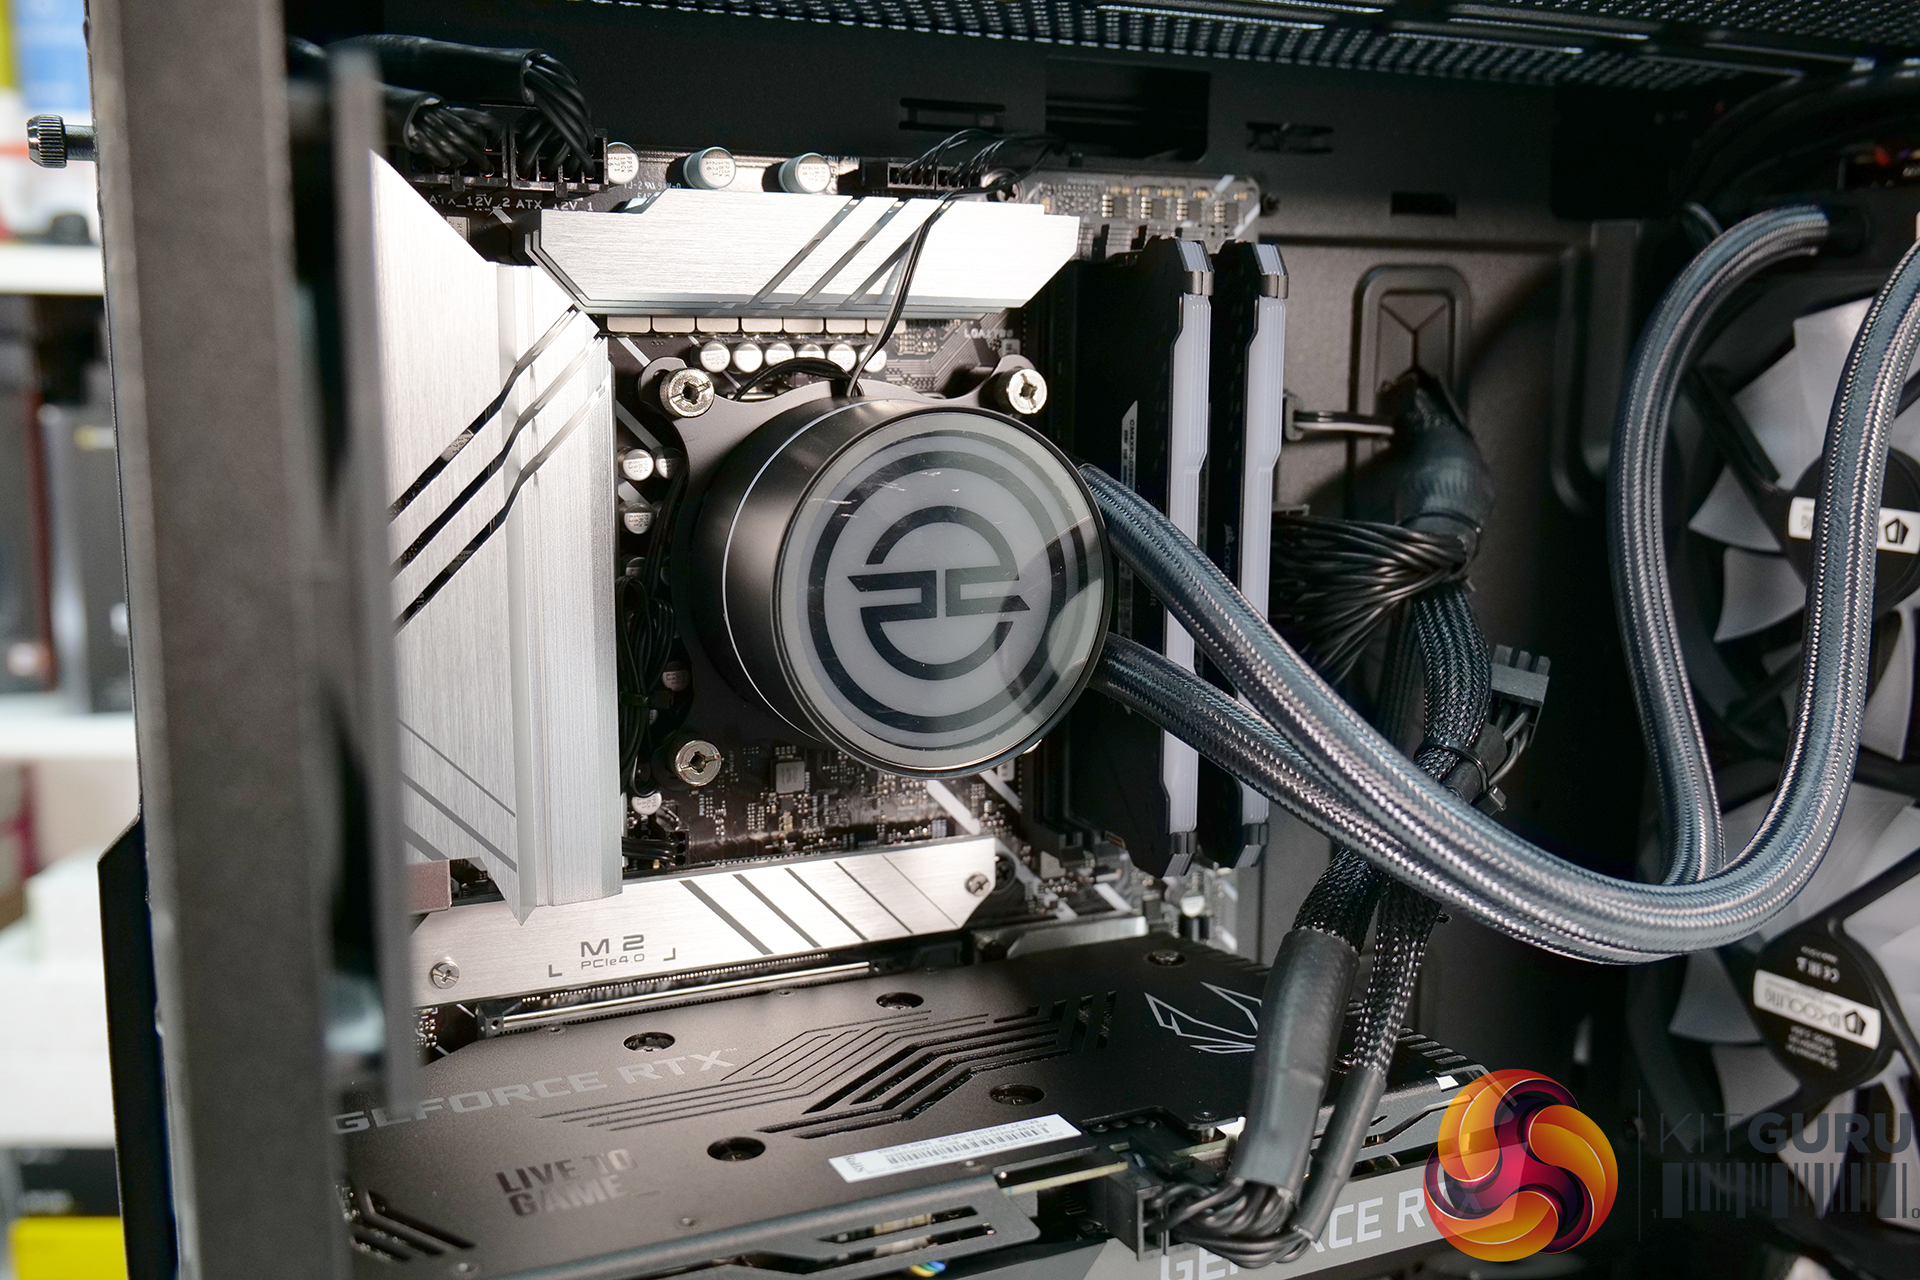
Keeping the CPU cool is a 240mm PCSpecialist branded AIO, however, we know from previous experience that the cooler is supplied by ID-Cooling which we would consider being a budget brand, but perfectly fine at its job.
There are a couple of things worth noting about the AIO installation. The radiator orientation is placed with tubing at the top which is sub-optimal in terms of potential pump/noise longevity but it should not hinder performance. However, tubing is long enough and there is space to install the radiator with tubes at the bottom, so ideally it should be installed this way round.
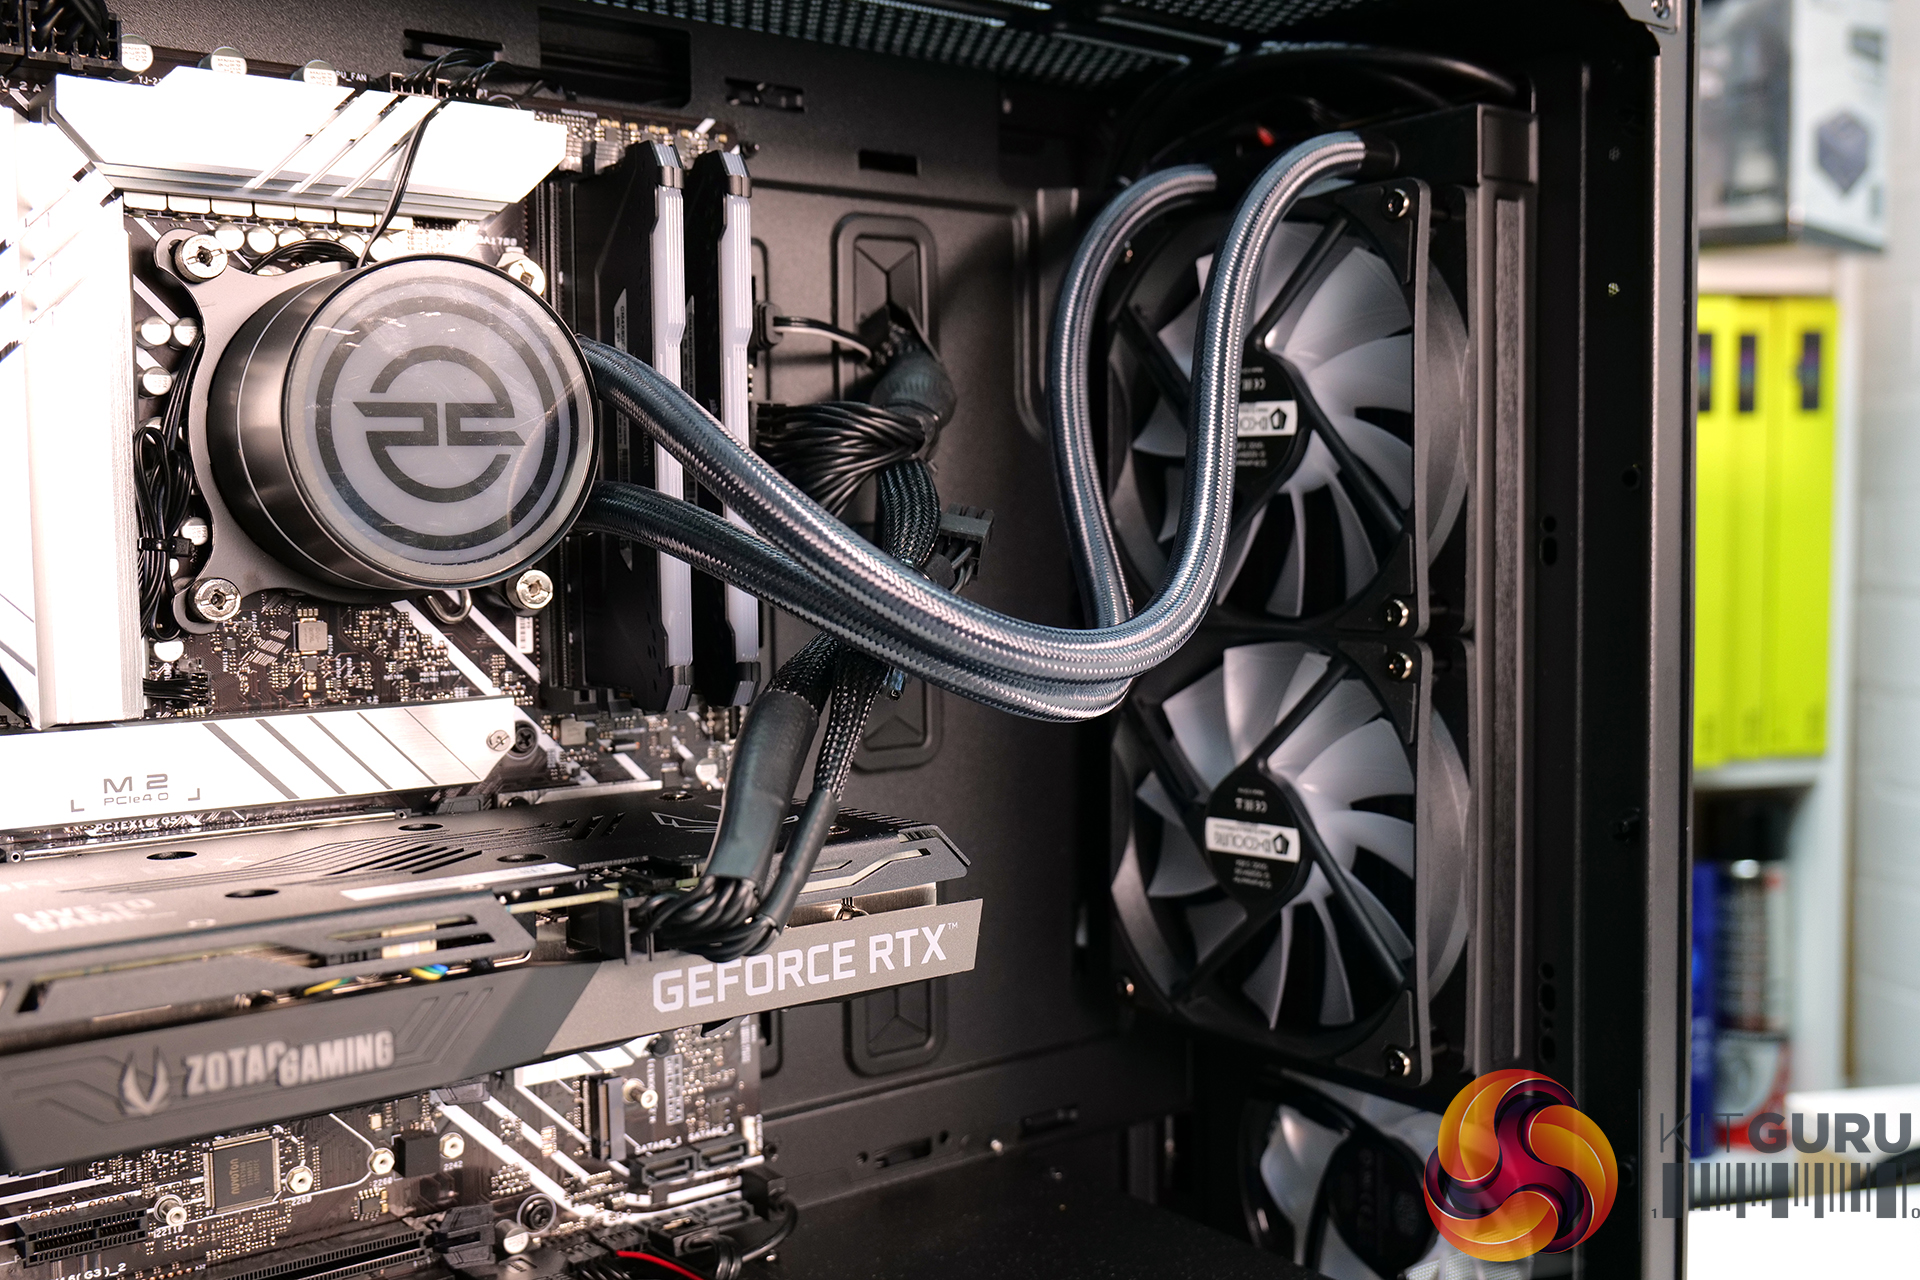
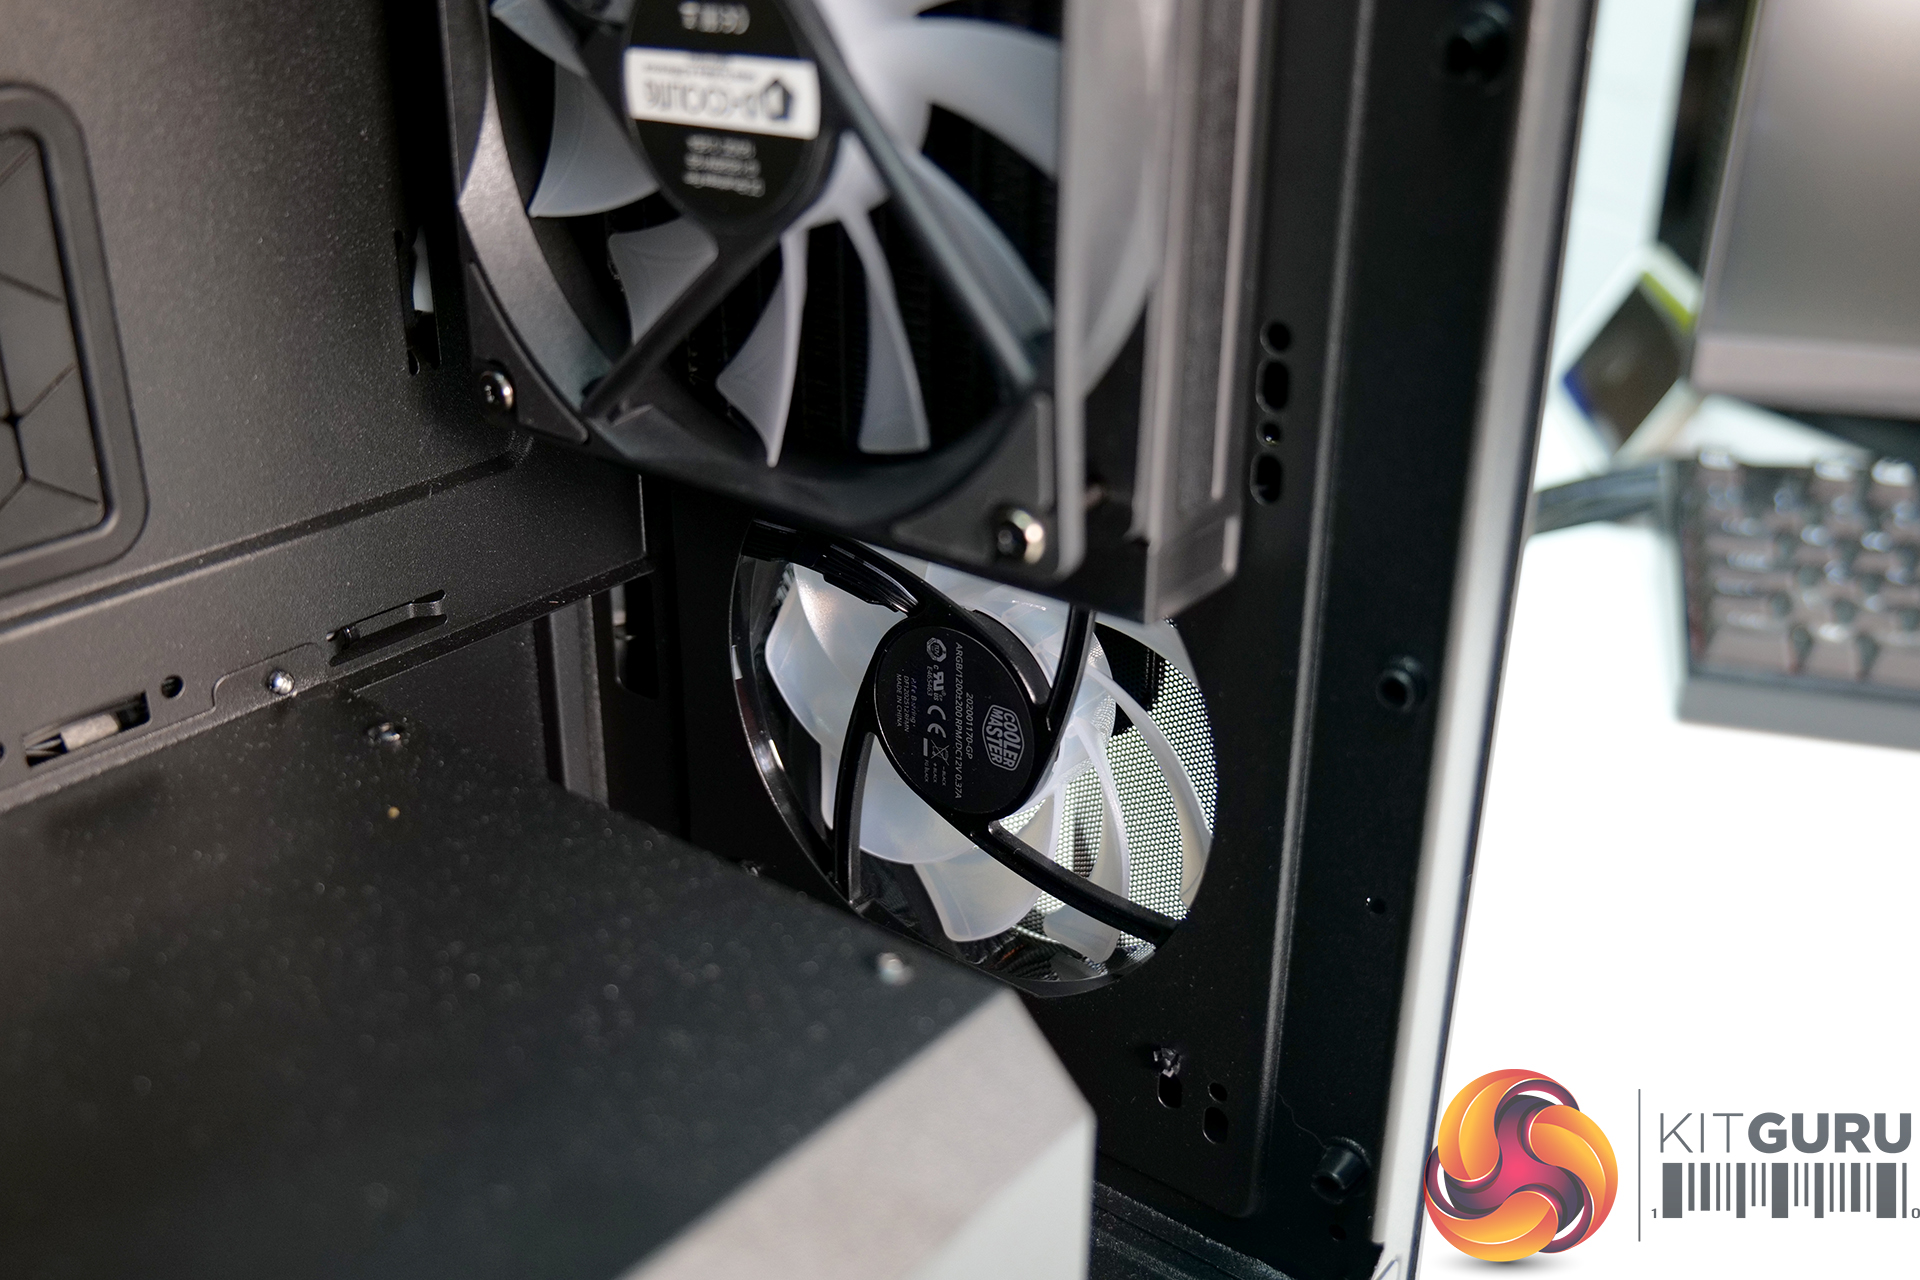
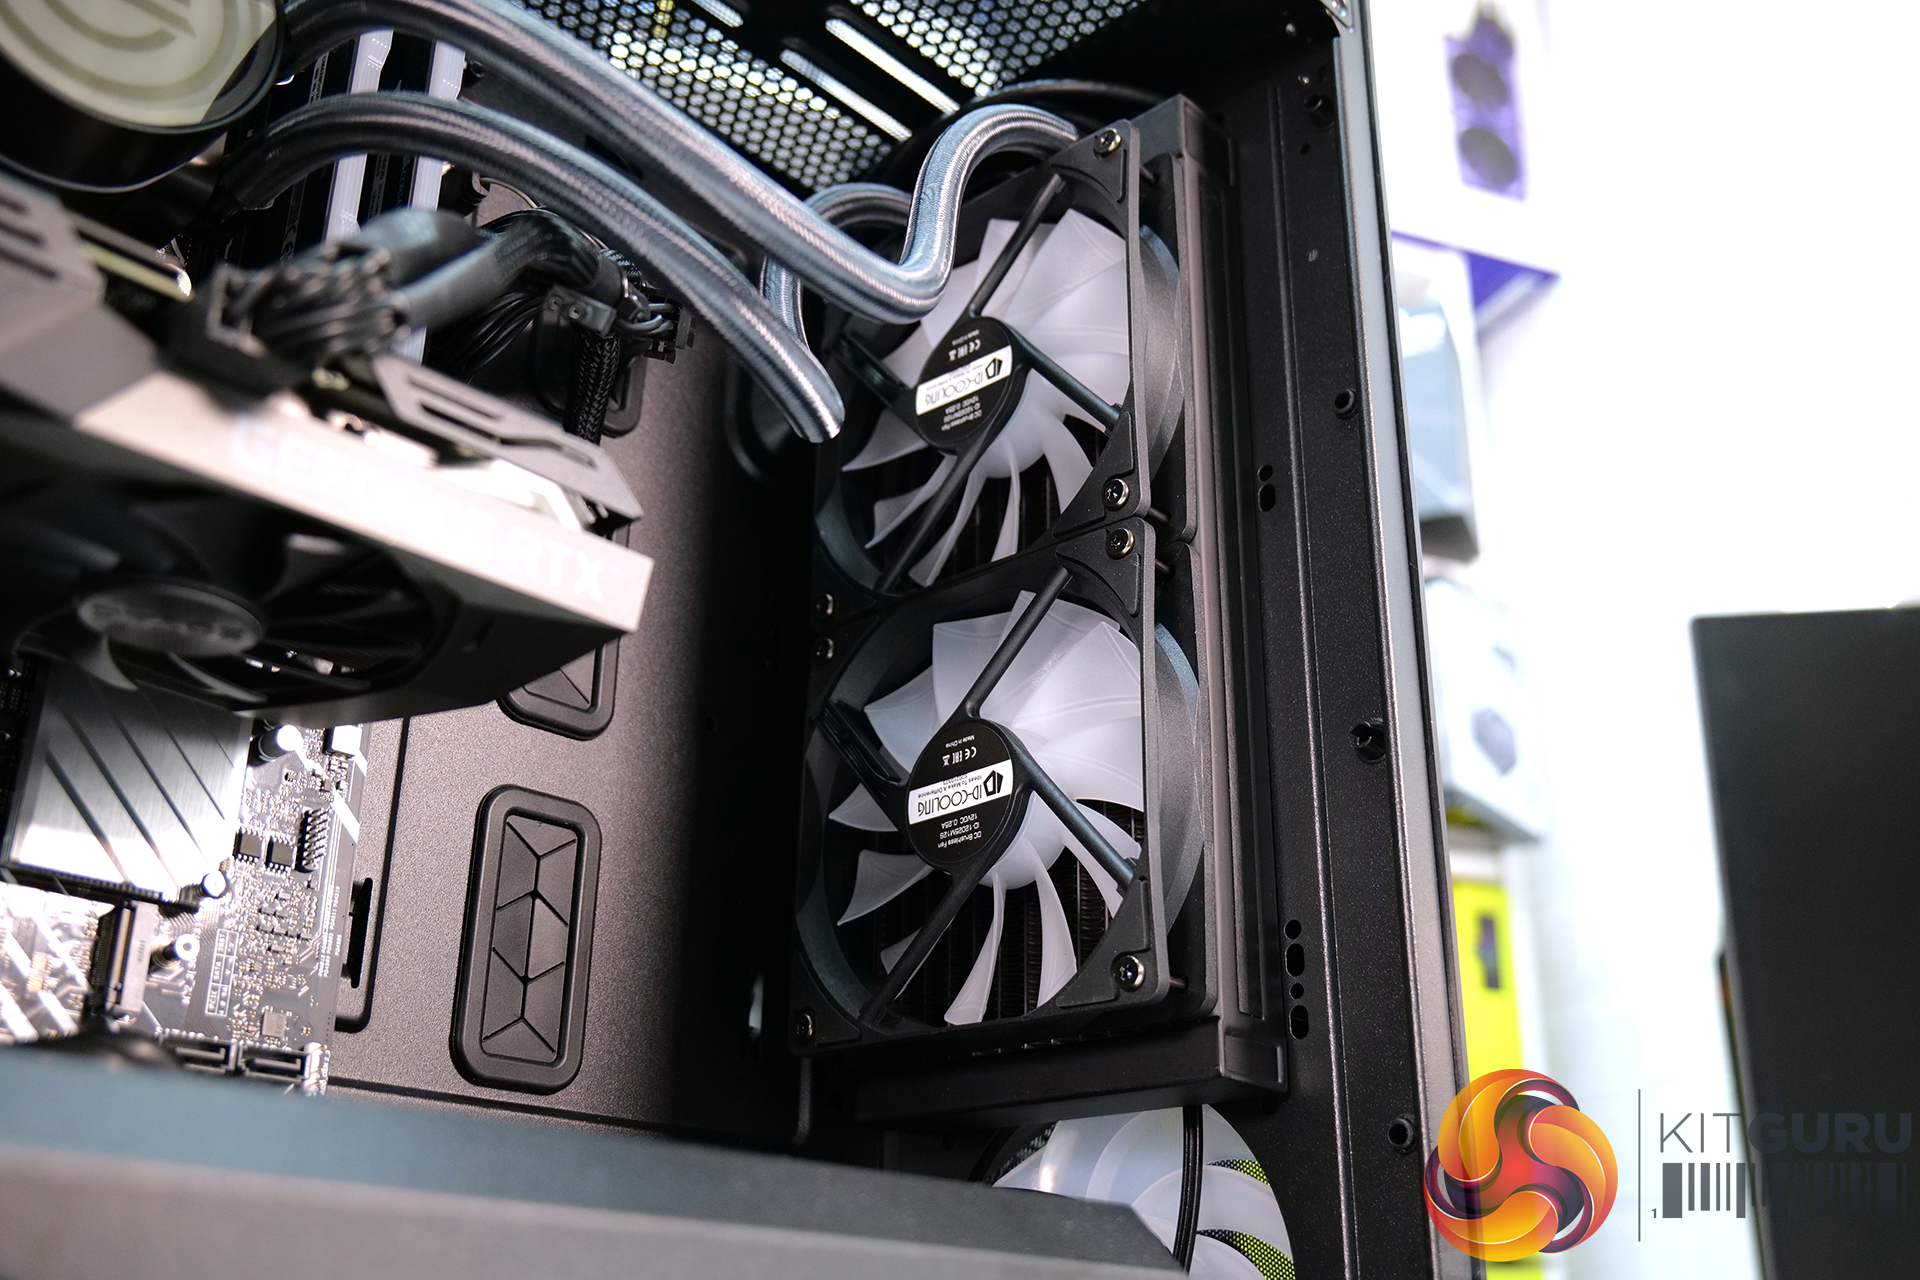
The AIO has been installed at the front of the chassis with fans in a push-pull configuration. The original Cooler Master case fans are placed in front of the radiator (push) and ID-Cooling fans are behind the radiator (pull) so this should be good for CPU cooling.
However, from an aesthetics point, I don’t like the idea as the two different sets of fans are in close proximity and the RGB lighting colours have different tones so they are not a perfect match. If looks matter to you more than raw thermal performance then the ID cooling fans might be better placed in the top of the chassis as exhausts, since the difference in RGB lighting colour might not be as noticeable with the two sets of fans further apart.
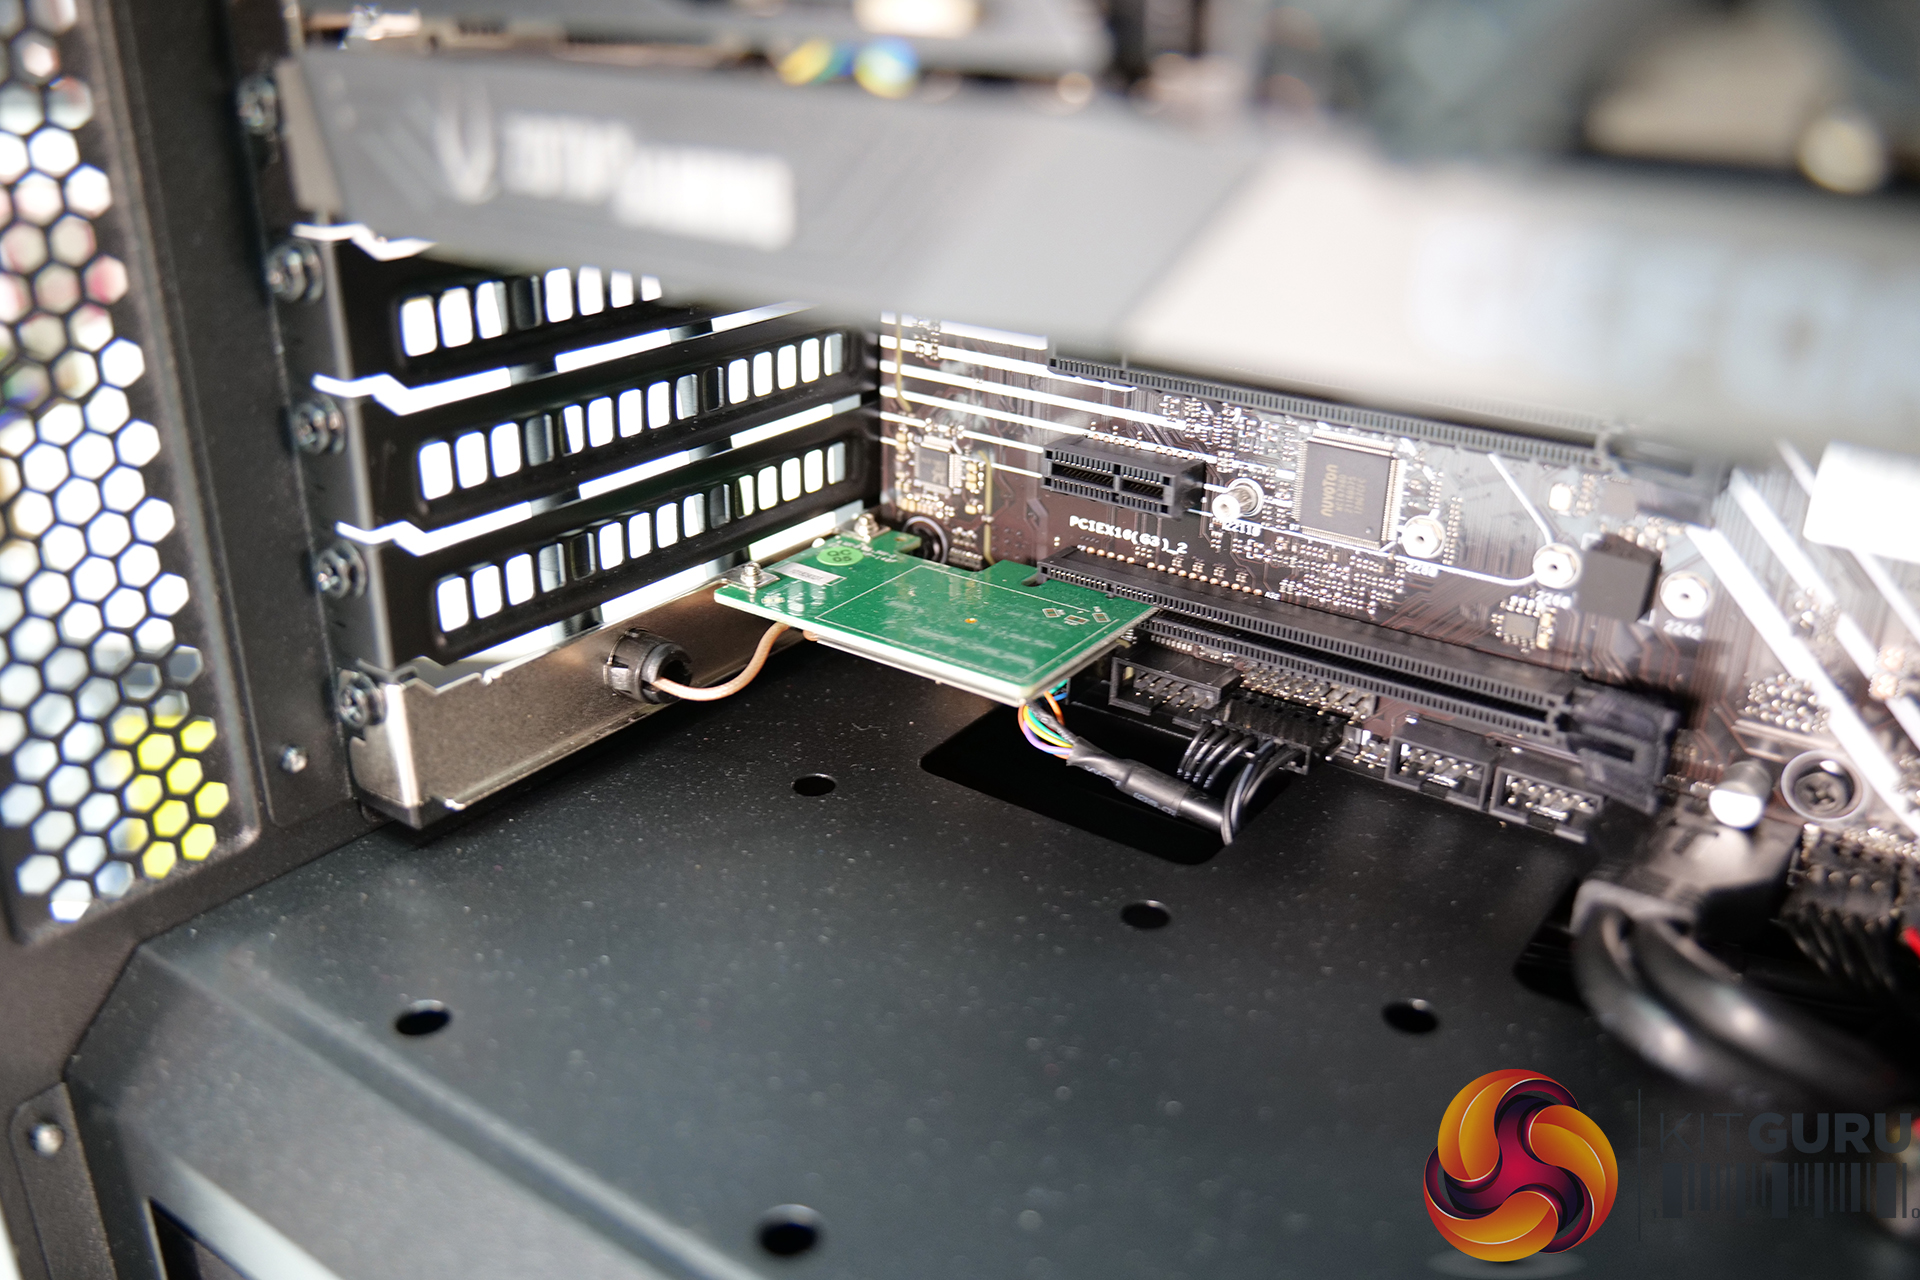
Another odd choice with the build is the addition of the small PCIe WiFi card installed in the bottom x16 slot. Not only does it stand out like a sore thumb due to the green PCB, but the motherboard has also integrated WiFI so this PCIe add-in card seems pointless and should have just been left out.
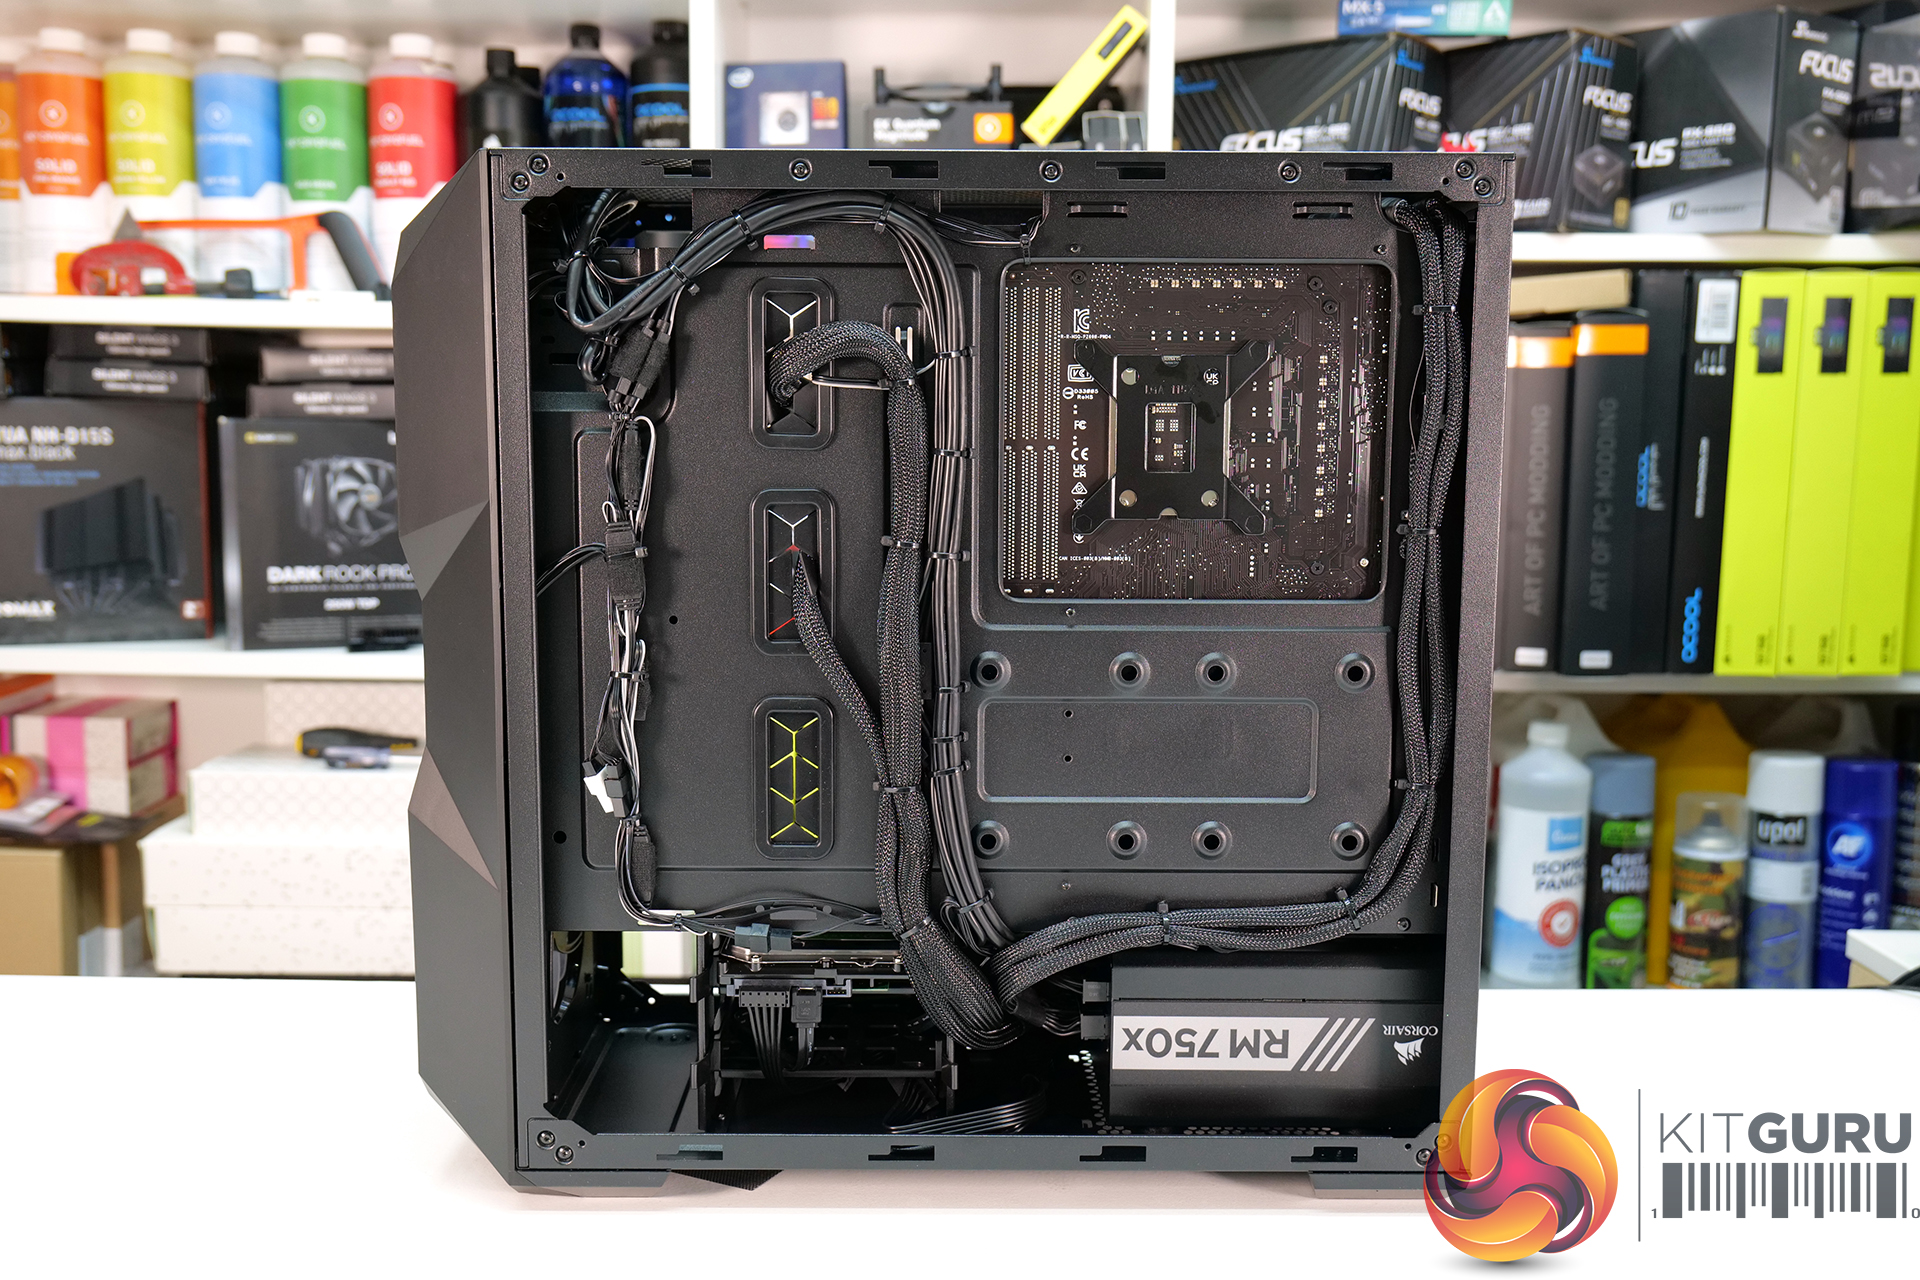
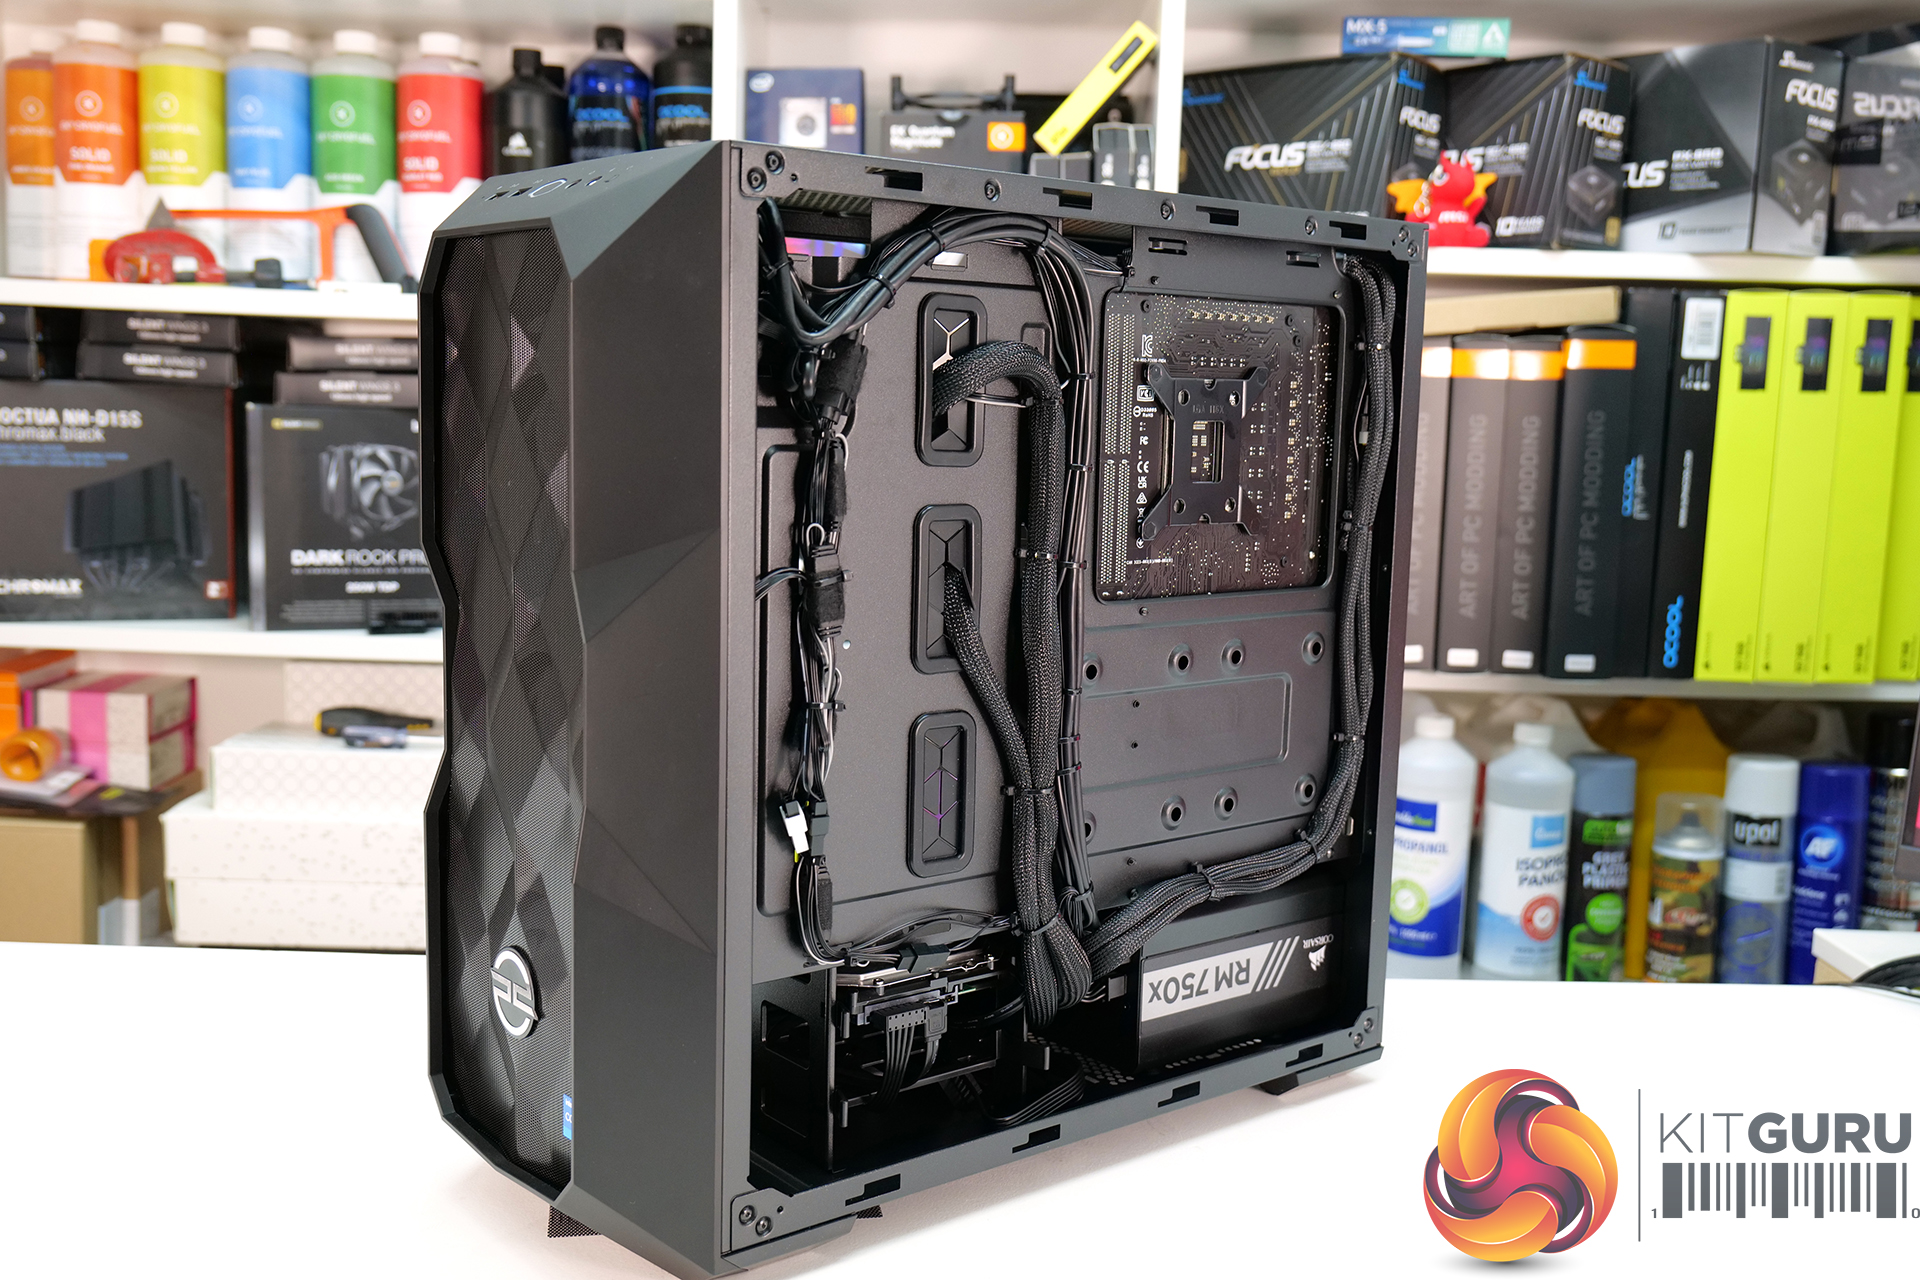
Behind the right-hand steel side panel, cable management has been dealt with exceptionally well. The bulk of the cables including the 24-pin, PCIe and front panel connections run up the centre of the motherboard tray and have been neatly fastened in place with zip ties.
EPS power cables run to the right-hand side and the fan/RGB cables are all routed on the left (front) of the motherboard tray and again are all held in place with zip ties which looks very neat indeed. RGB connections are also mechanically held together using fabric tape which seems like a good idea.
In the main compartments of the chassis, cable management looks very professional, I can’t complain at all about the job. However, cables from the front fan run between the outer plastic front panel and inner chassis frame, and one of the fan cables has been trapped by the front panel and caused slight damage to the cable PVC sheathing.

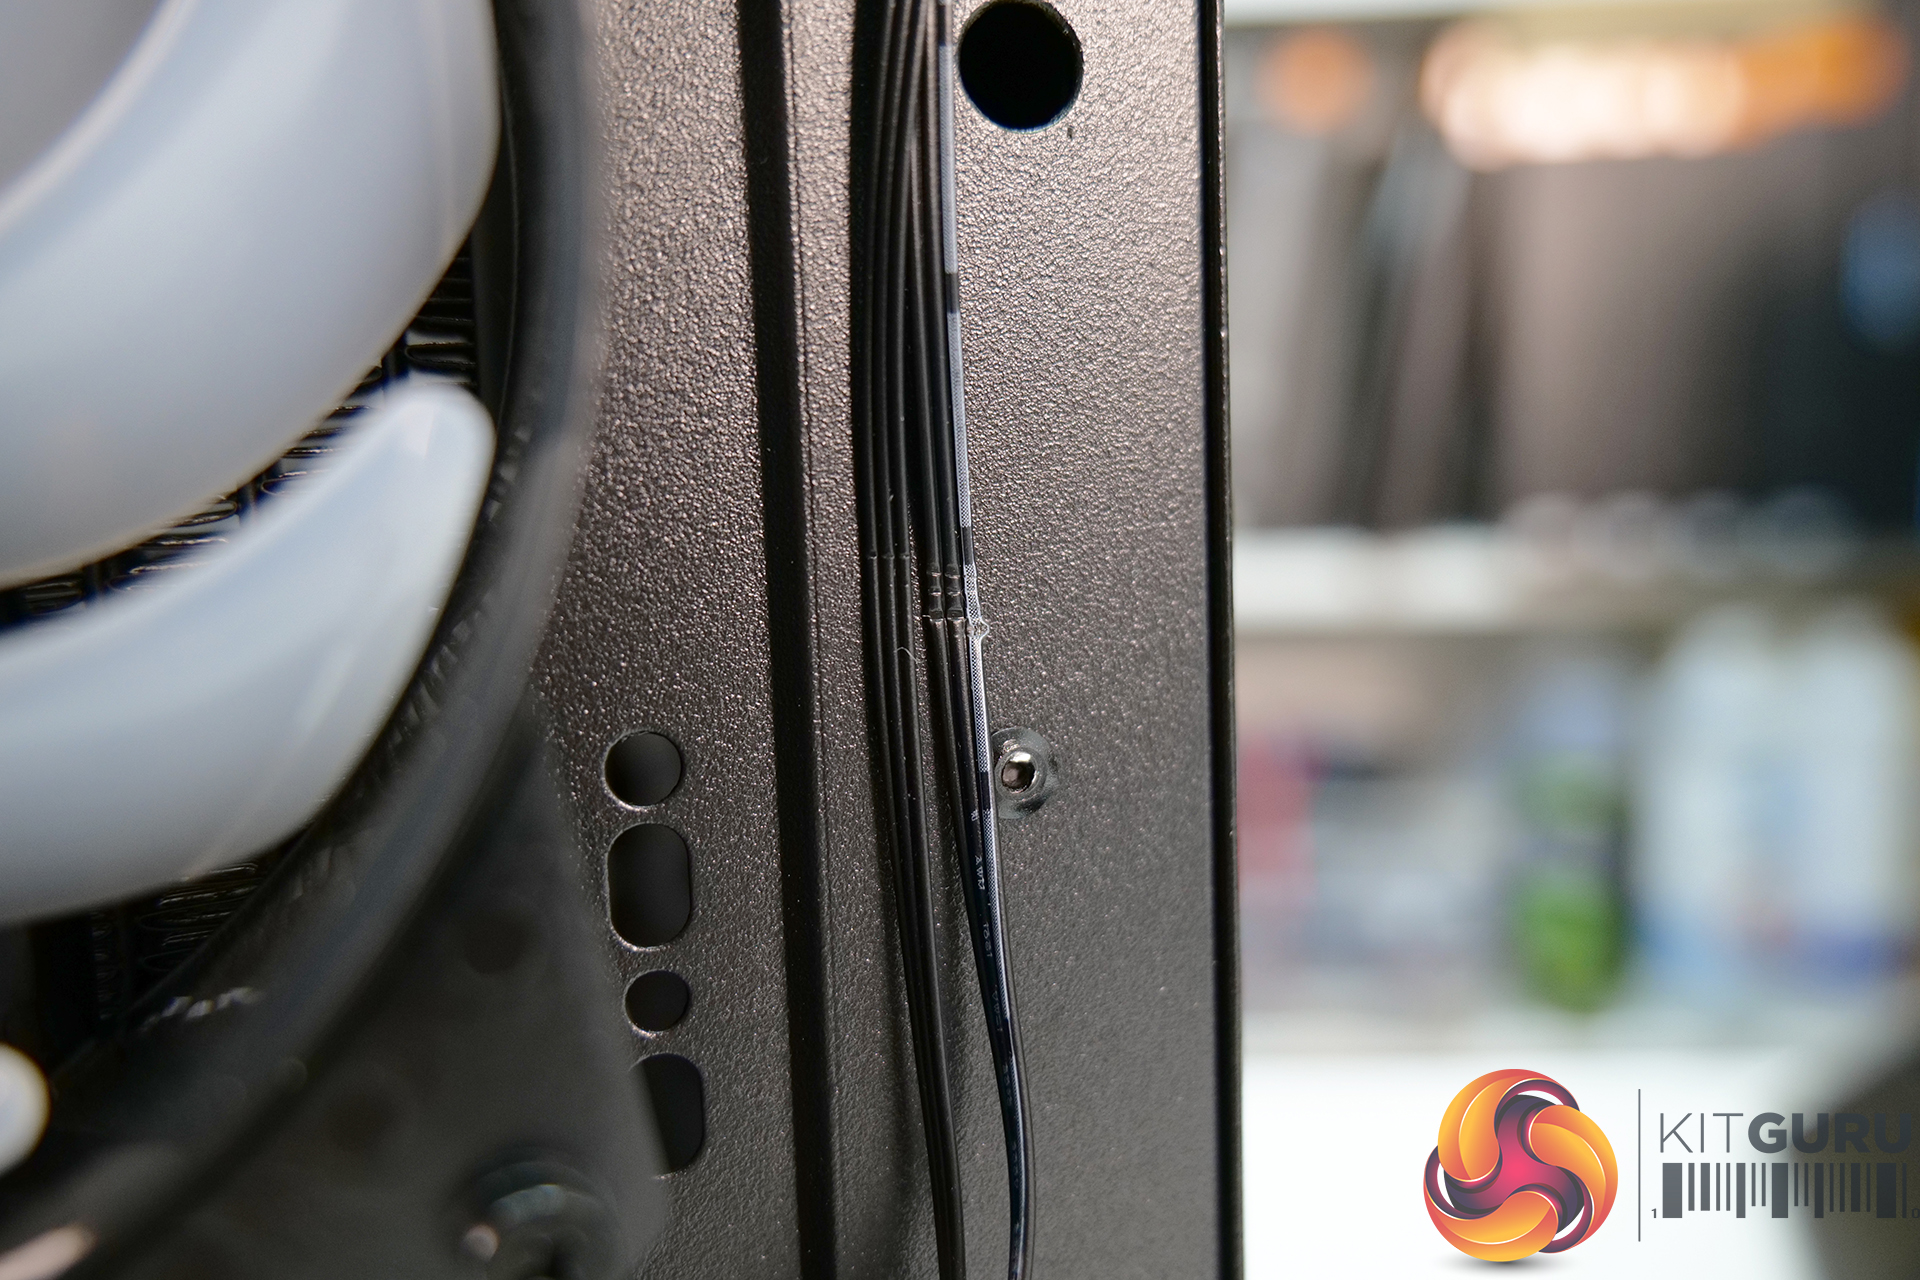
It may never cause a problem but if the system is picked up regularly and pressure is put on a certain spot or if the front panel is removed regularly for maintenance, the potential rubbing of the front panel on the wire might cause a break in the cable and the fan or RGB lighting could fail.