
We don't normally consider monitor choice to be a ‘tactical' decision, but as Gigabyte is calling its new AORUS AD27QD a Tactical Gaming screen, the company is clearly implying improvements to your strategic organisational abilities with this display. Looking at the features on offer, they could be onto something.
Although Gigabyte makes lots of peripherals and components, this is the first screen we have seen under the AORUS brand, and it's clearly a flagship model intended to break into the market with a bang. The key features that merit the tactical label include active noise cancelling, filtering out background noise from headsets you plug into it. You can also call up crosshairs and an onscreen FPS display that run on the monitor rather than in software. There's an Aim Stablizer, to help with blur when you fire a gun, and an applet called OSD Sidekick, which gives you complete control over the screen via a Windows-based OSD.
These aren't gimmicks on top of an otherwise pedestrian TN panel, either. The AD27QD uses a 10-bit IPS display with a 27in diagonal. The resolution is 2,560 x 1,440, which is sensible for a screen this size and current graphics hardware capabilities. It supports HDR 400 and Gigabyte claims the panel can display 95 per cent of the movie-focused DCI-P3 colour space.
AMD FreeSync support sits alongside a high 144Hz refresh rate, although not NVIDIA G-Sync. Since this is an IPS panel, you might expect pixel response to be the Achilles heel for gamers, but Gigabyte claims 1ms, where most IPS screens only offer 4 or 5ms. However, this is MPRT (moving picture response time) not GtG (grey to grey), and the latter is usually slower than the former. The AD27QD is also only specified at 350cd/m2 brightness and 1,000:1 contrast, which are more normal for this technology.
A full range of physical adjustments is available, including swivel, tilt, and height variation. You get two HDMI 2.0 inputs, DisplayPort 1.2, plus headphone and microphone audio jacks. There's a USB hub, but only with two ports, although one has fast charge for mobile phones.
All this comes at a cost, however, with the current recommended retail price set at £534.99. Basic 27in screens with this resolution start at not much more than £200 these days. So read on to find out if the AD27QD is a good tactical decision for your wallet as well as in specification.
Specification:
- Screen size: 27-inch, 16:9 aspect
- Native resolution: 2,560 x 1,440
- Refresh rate: 144Hz
- Panel type: IPS
- Contrast ratio: 1,000:1 (typical)
- Brightness: 400cd/m2
- Response time: 1ms MPRT
- Display inputs: 2 x HDMI 2.0, DisplayPort 1.2
- USB hub: Yes, 2 x USB 3.0
- Tilt: 21 degrees backward, 5 degrees forward
- Raise: 130mm
- Swivel: 20 degrees left and right
- Portrait: Yes
- Other: Audio output, mic input, AMD FreeSync
Retail Price: £534.99 (inc. VAT)
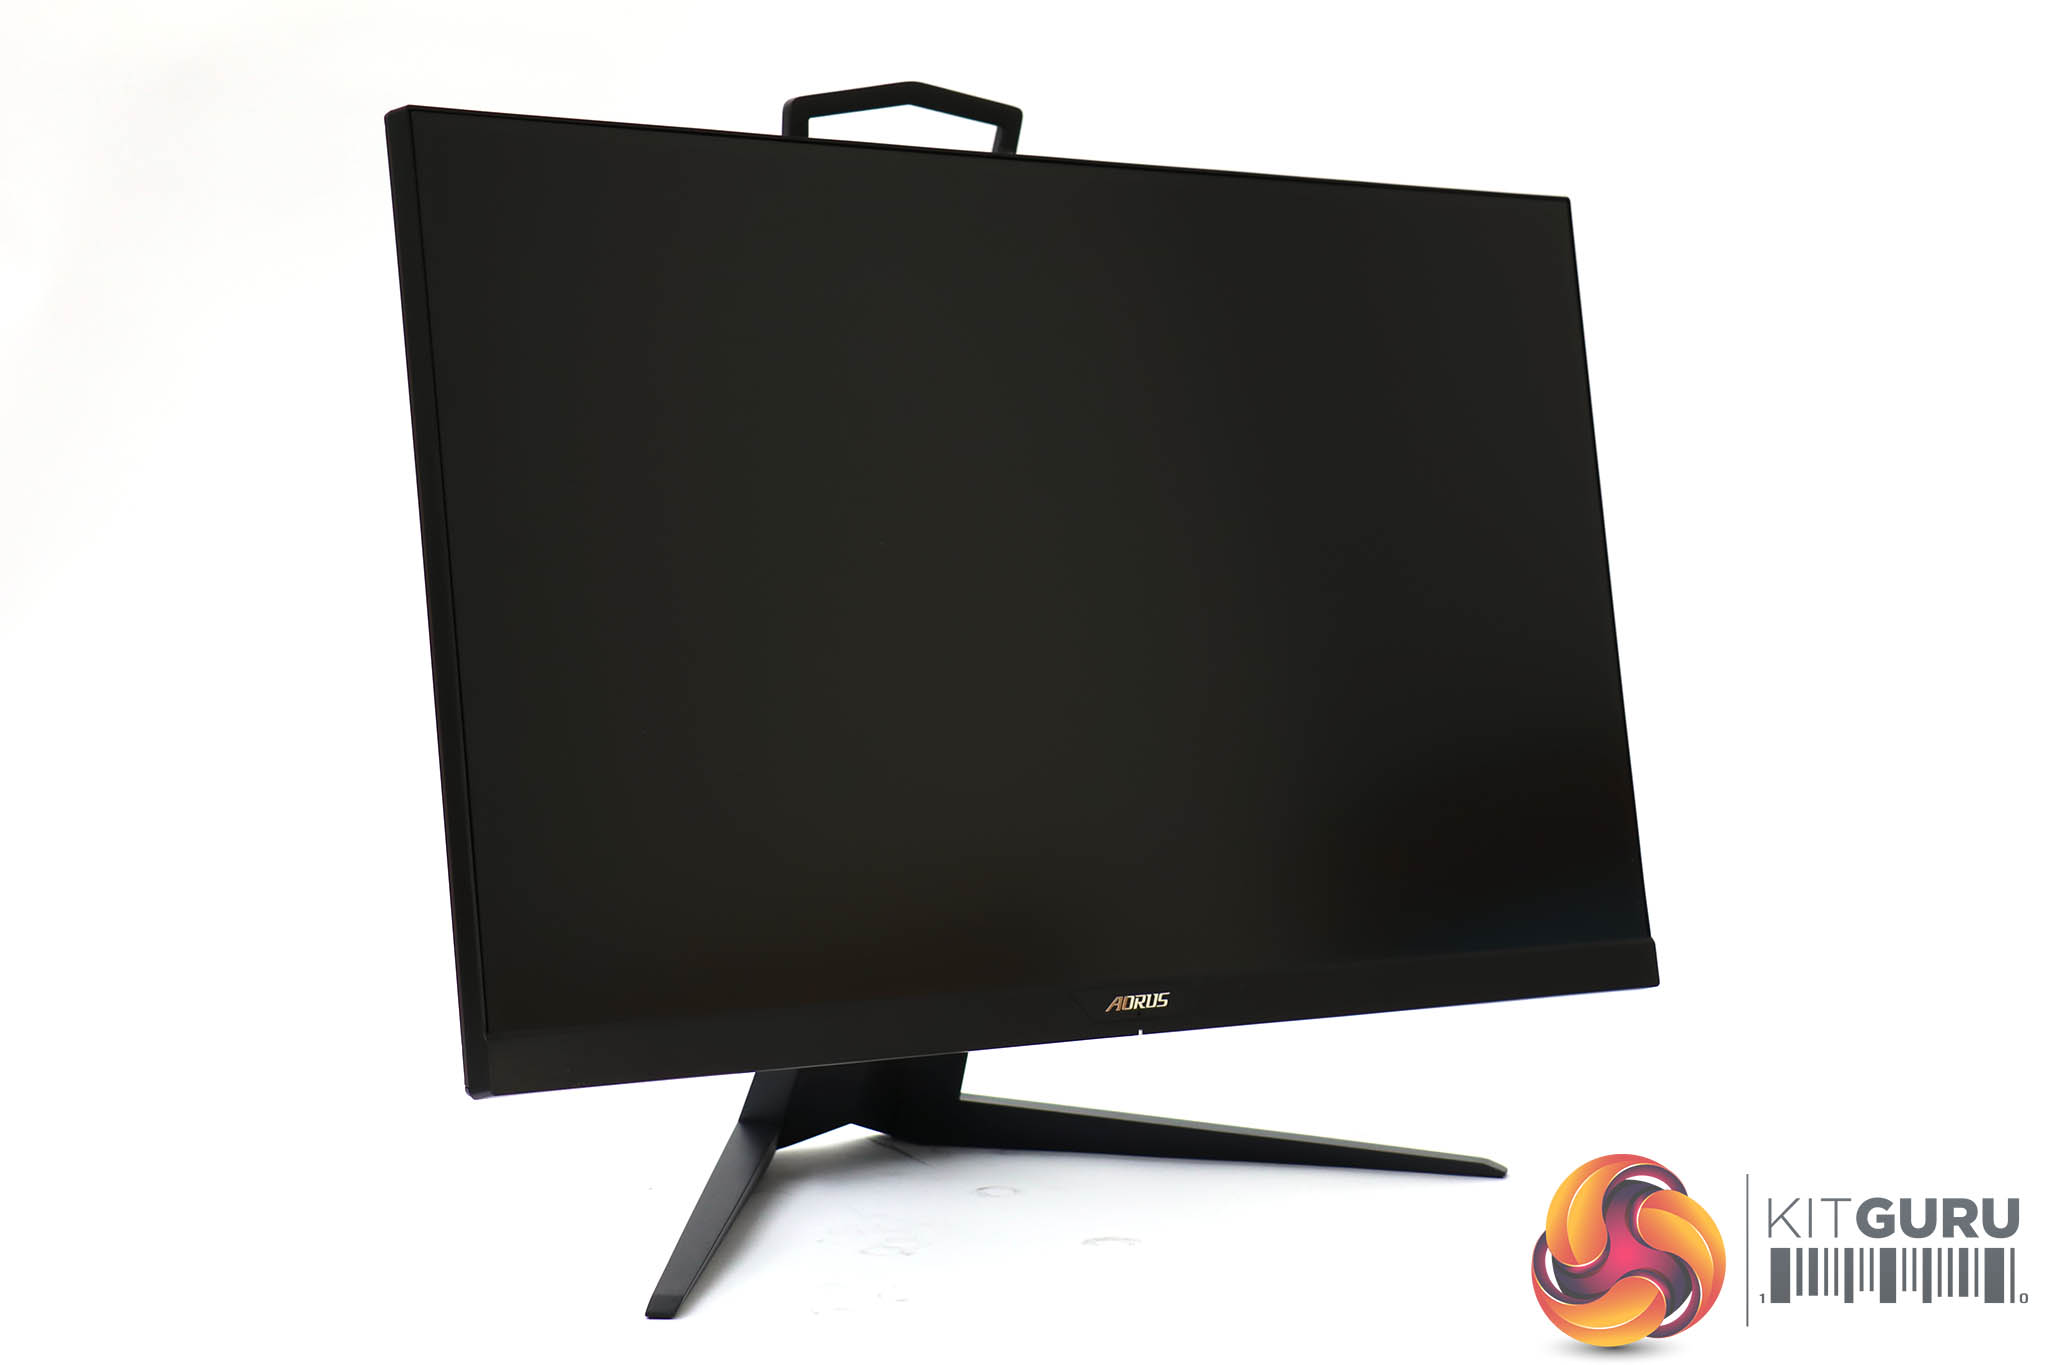
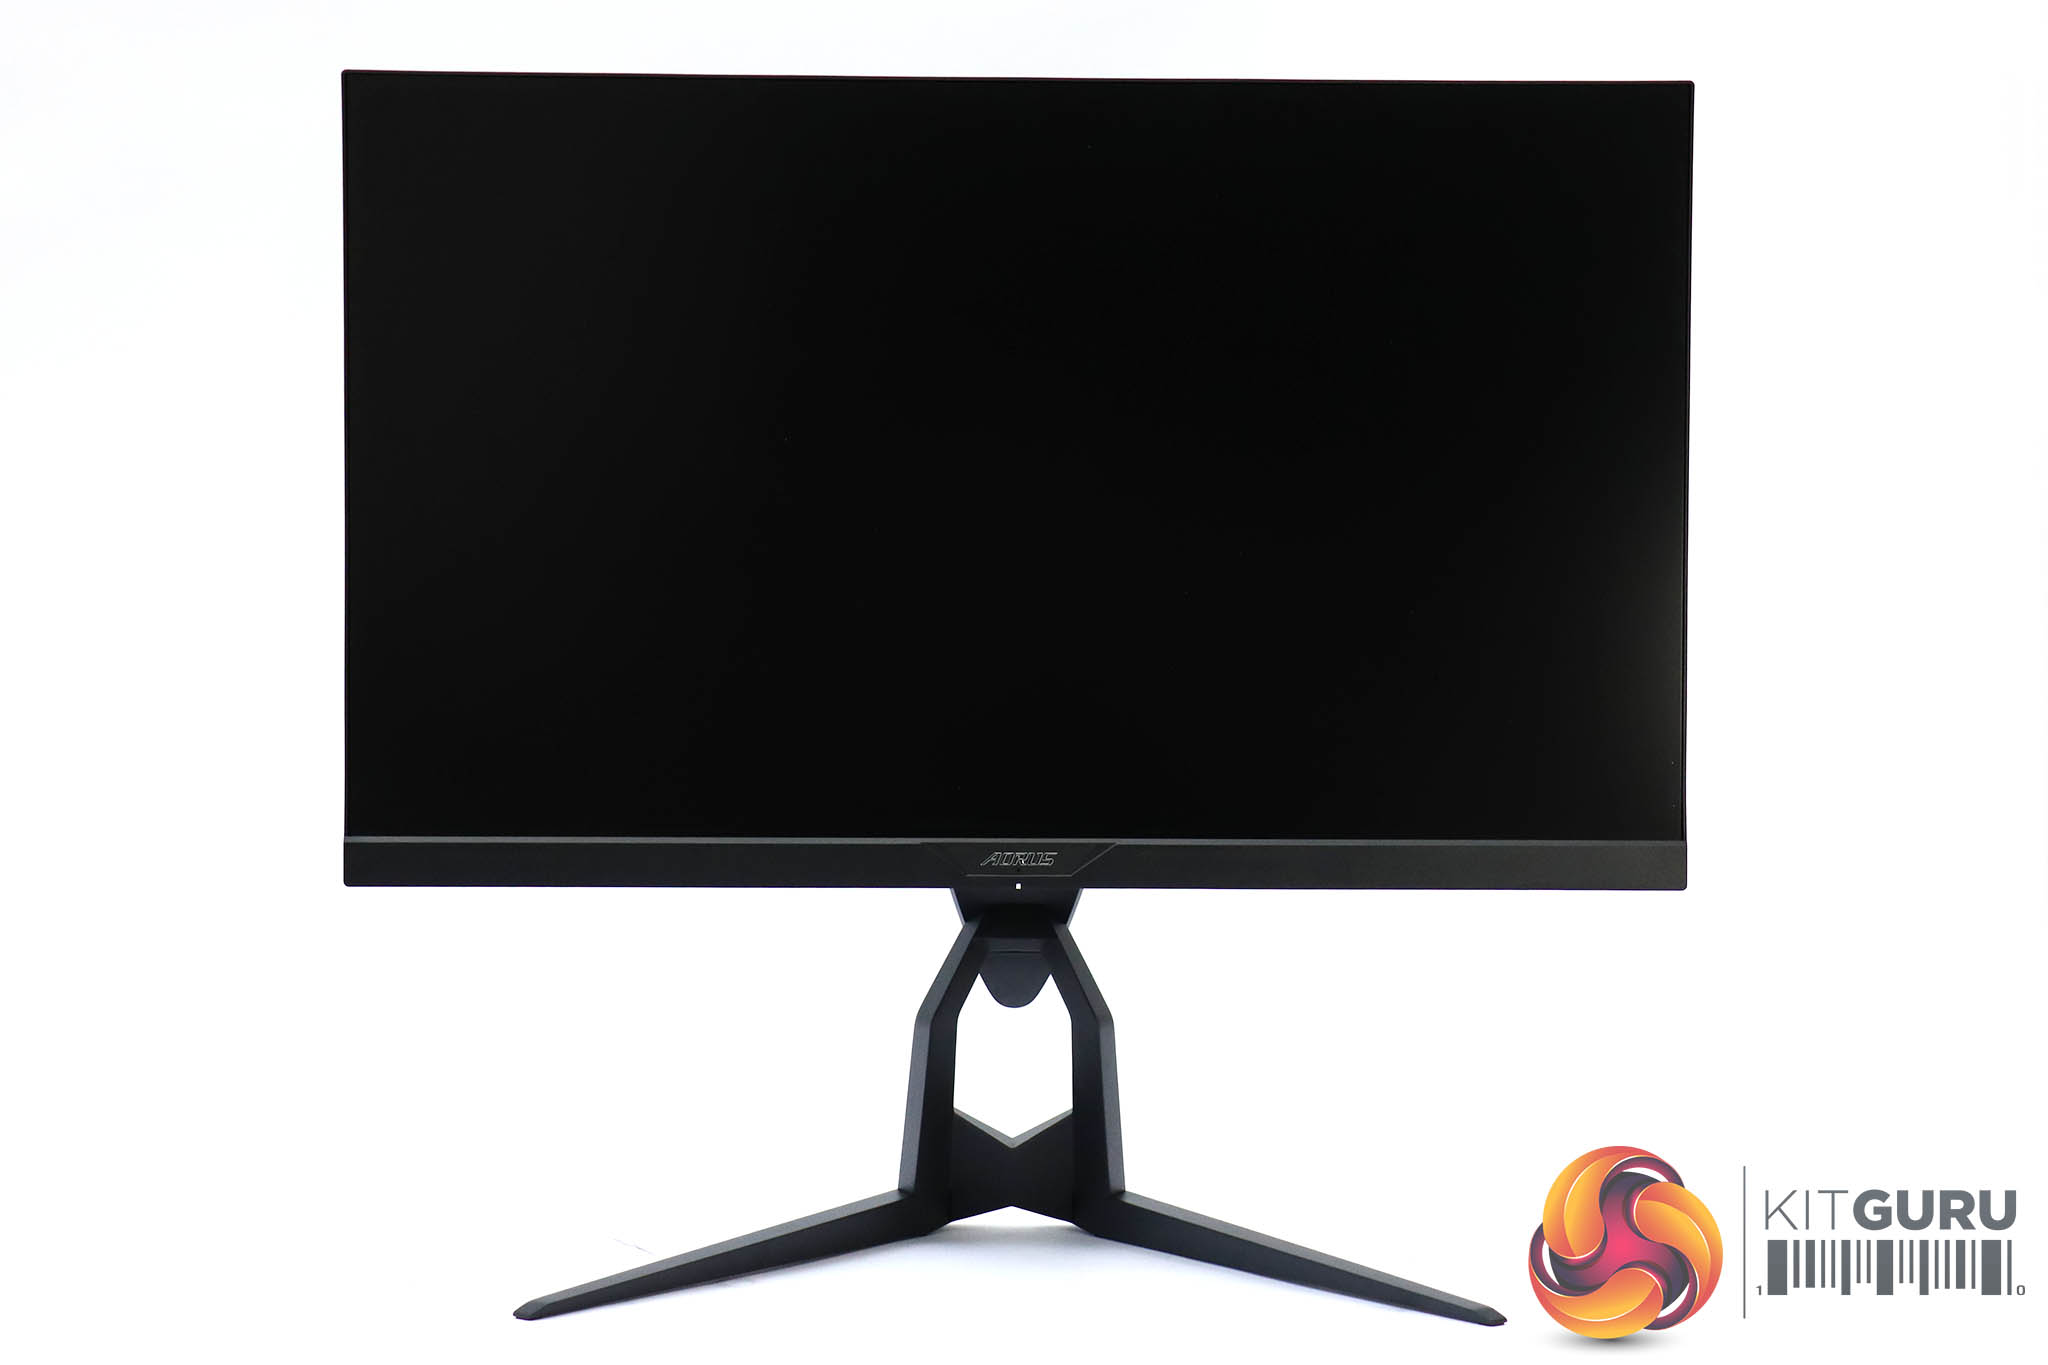
The Gigabyte AORUS AD27QD, being from Gigabyte's premium gaming brand, uses the same design cues as its motherboards, notebooks and peripherals in the range.
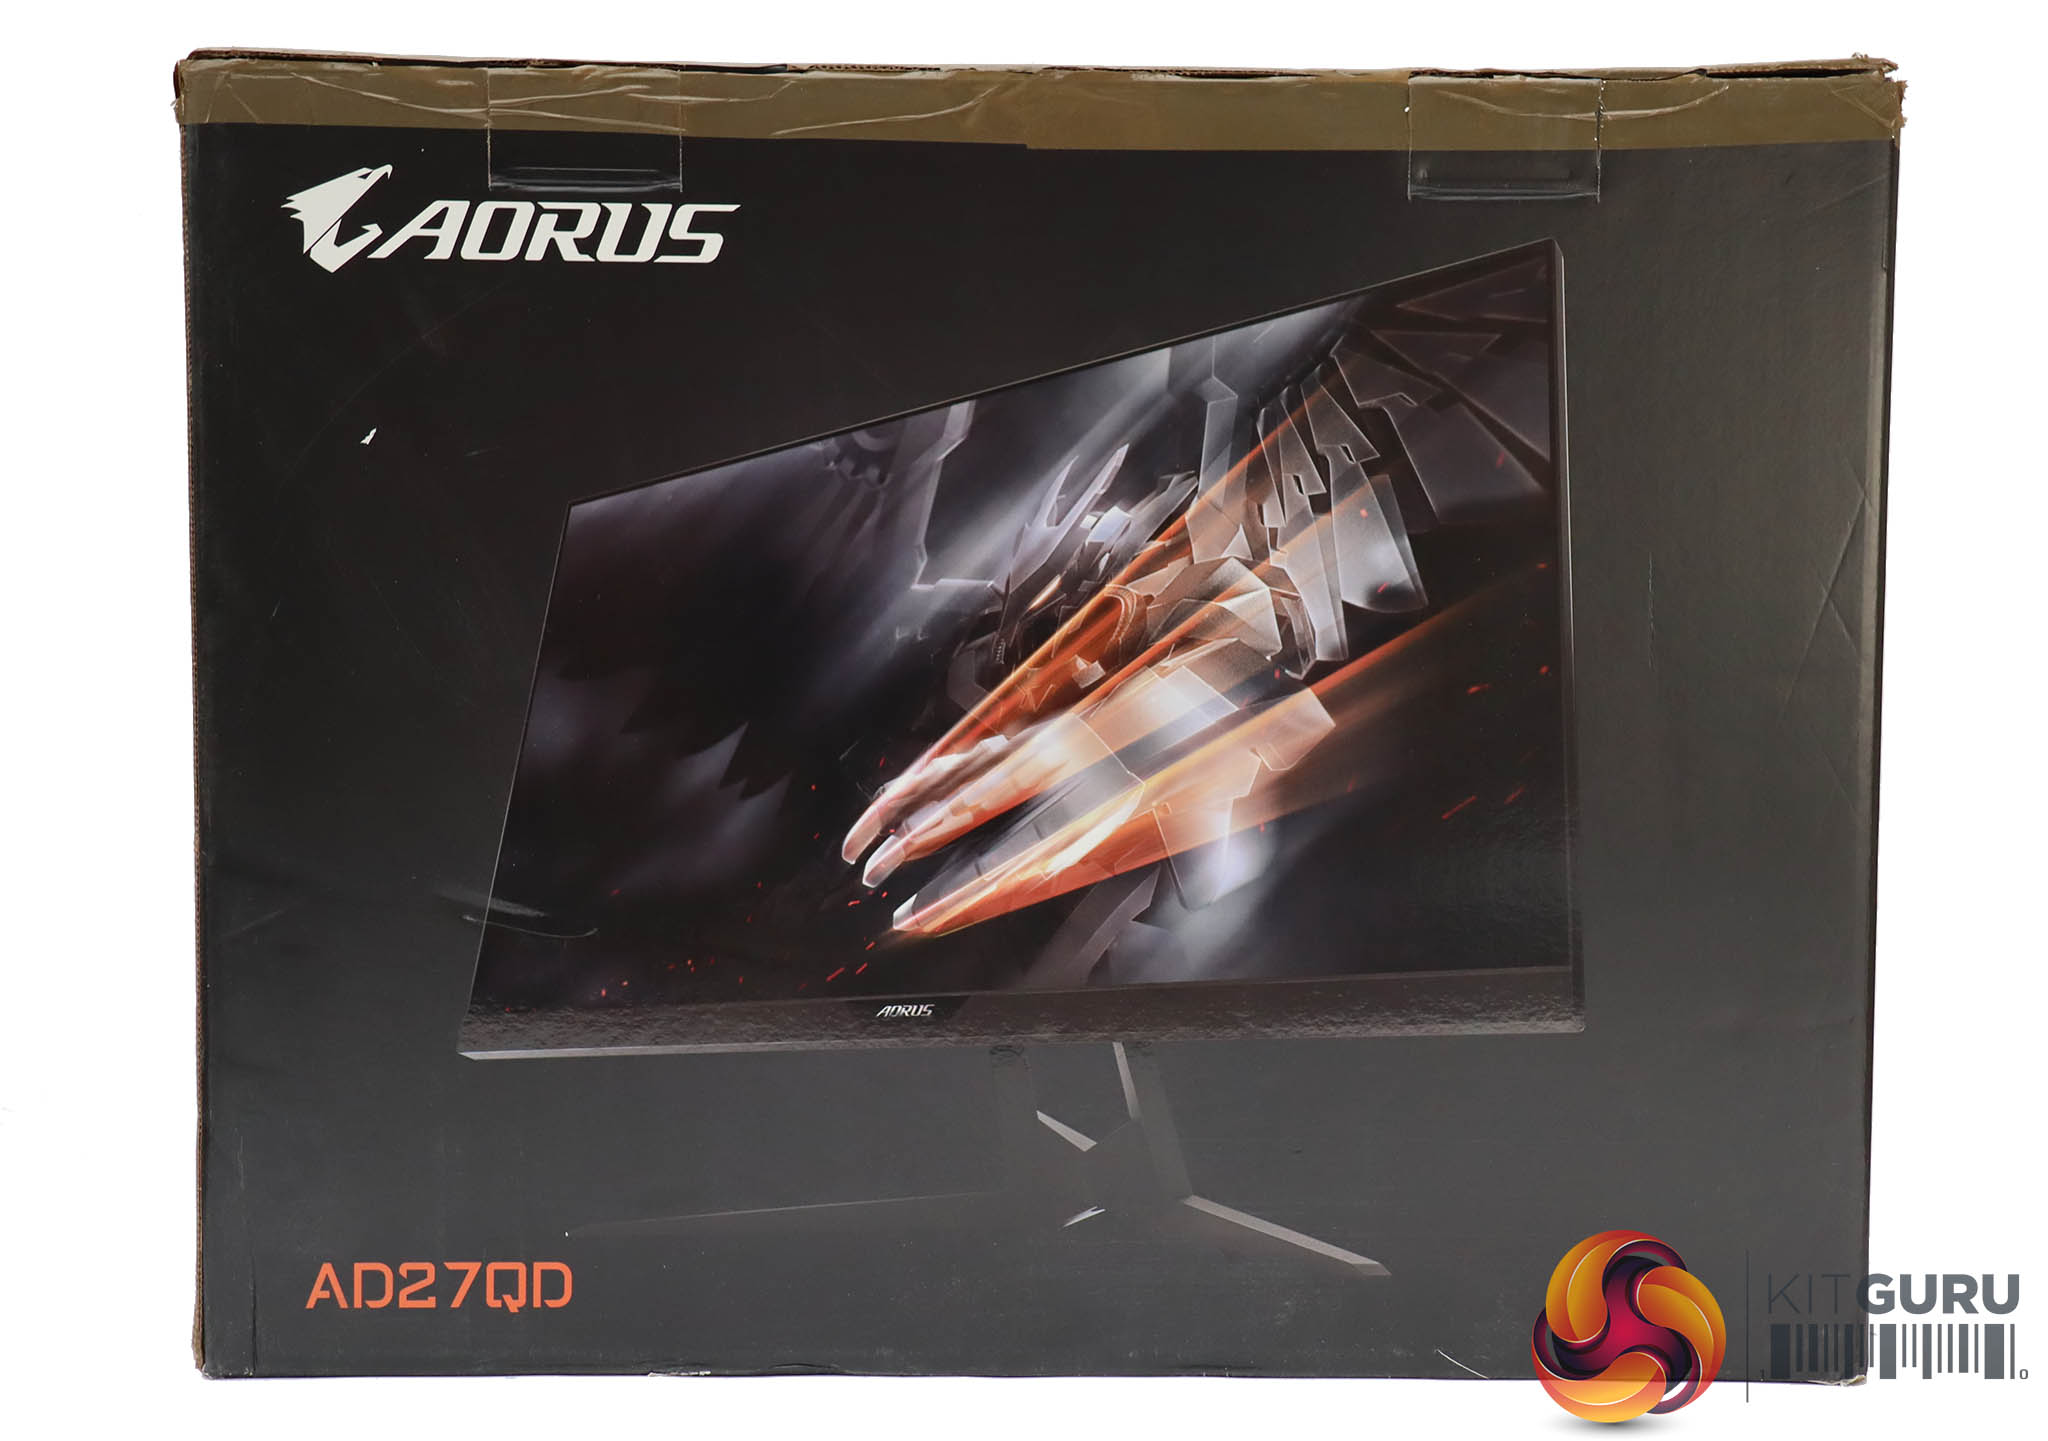
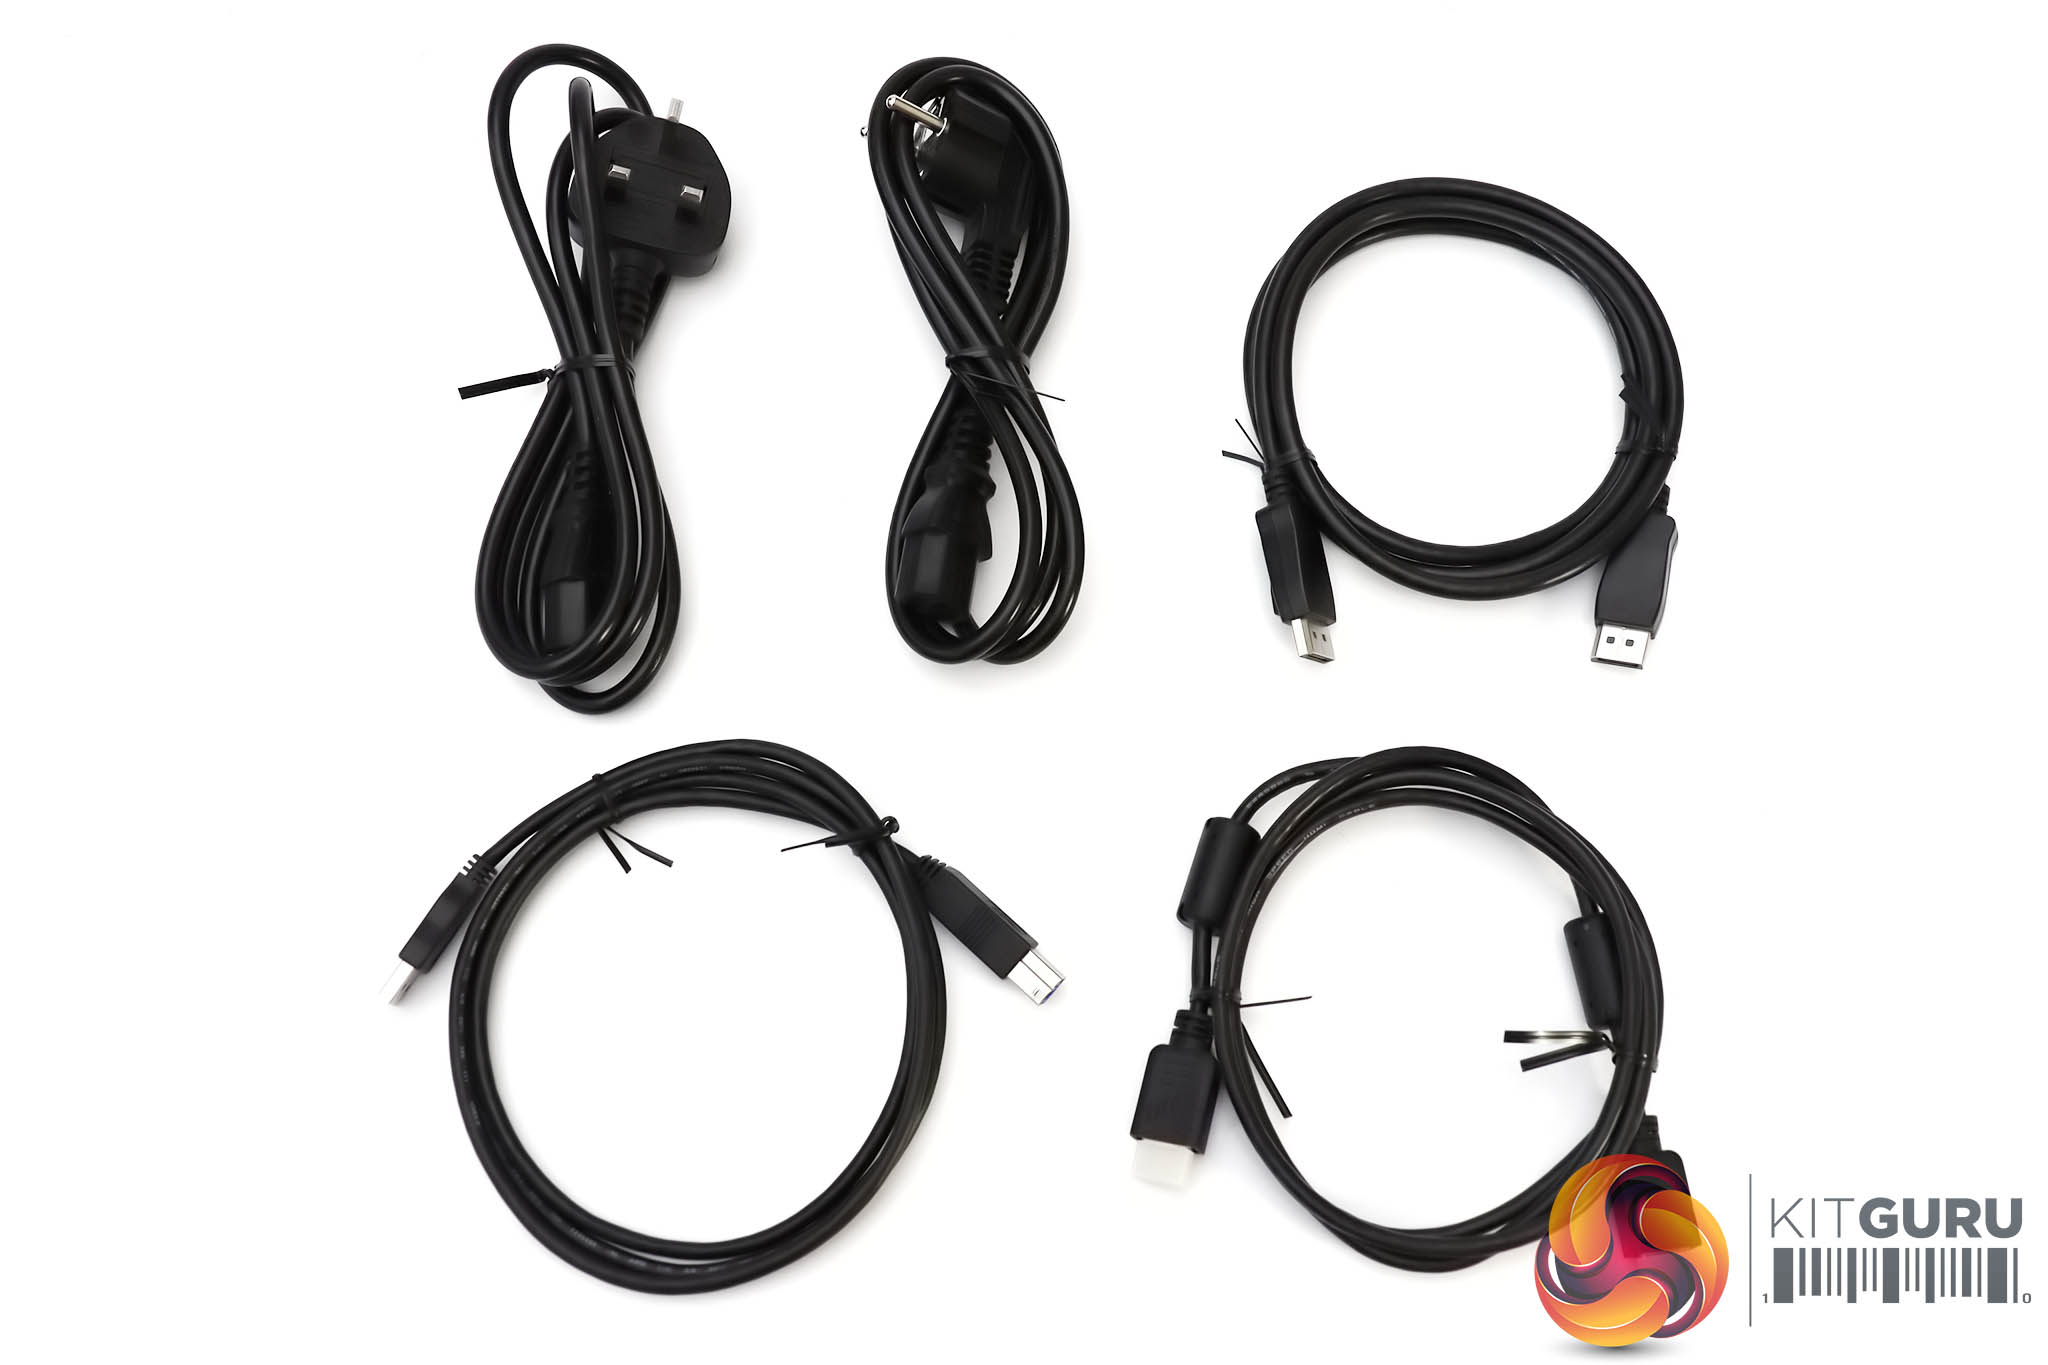
The box is black and stylish, evoking the contents. Inside you get HDMI, DisplayPort and USB upstream cables, plus power cords for the UK and Europe.

![]()
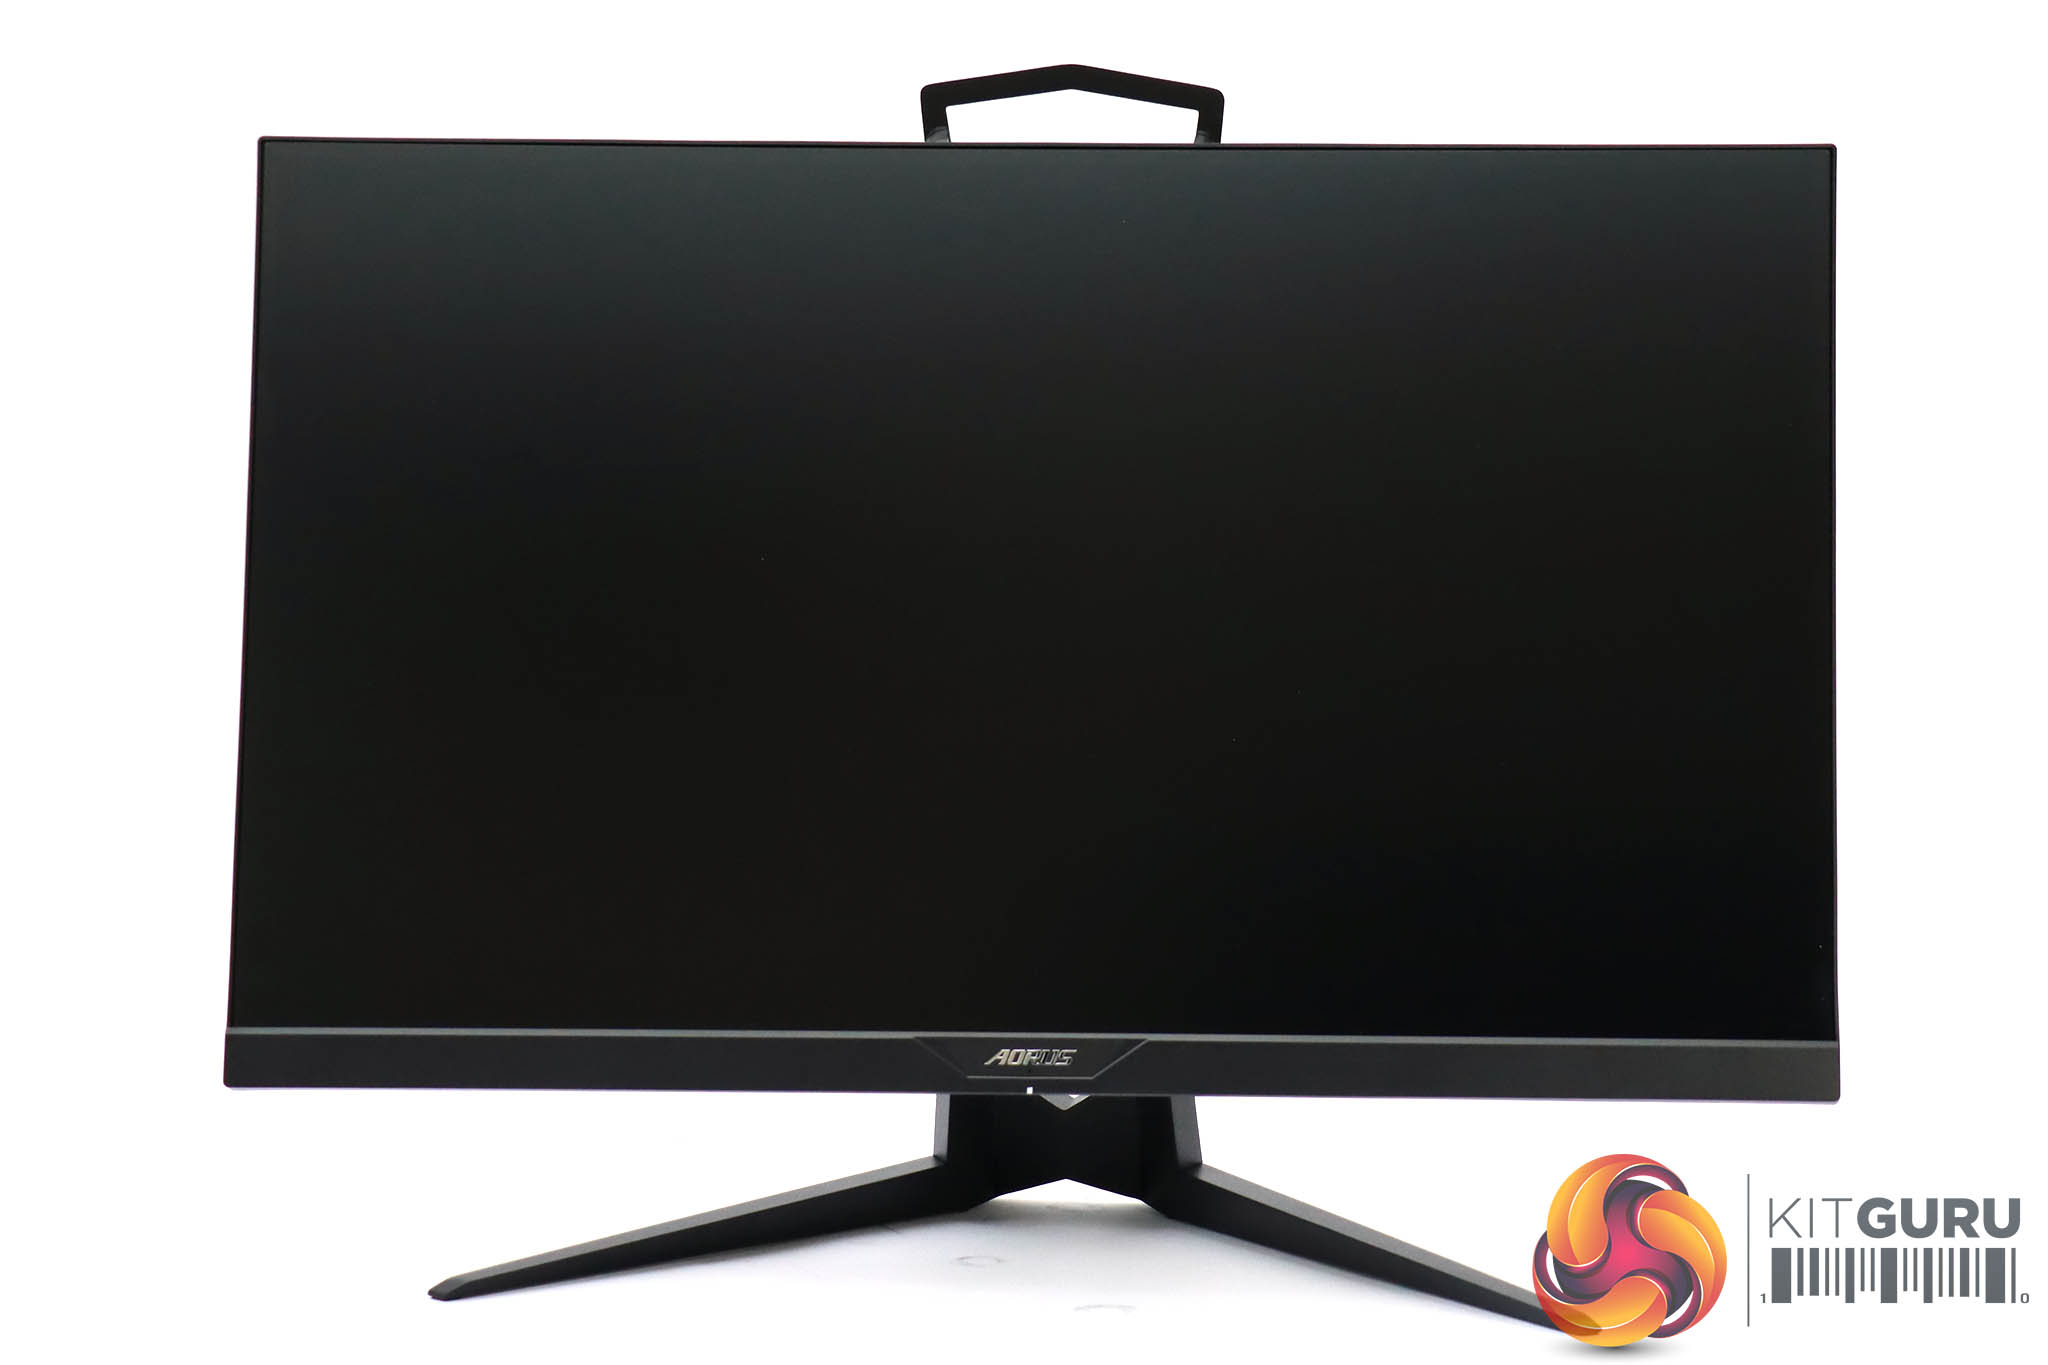
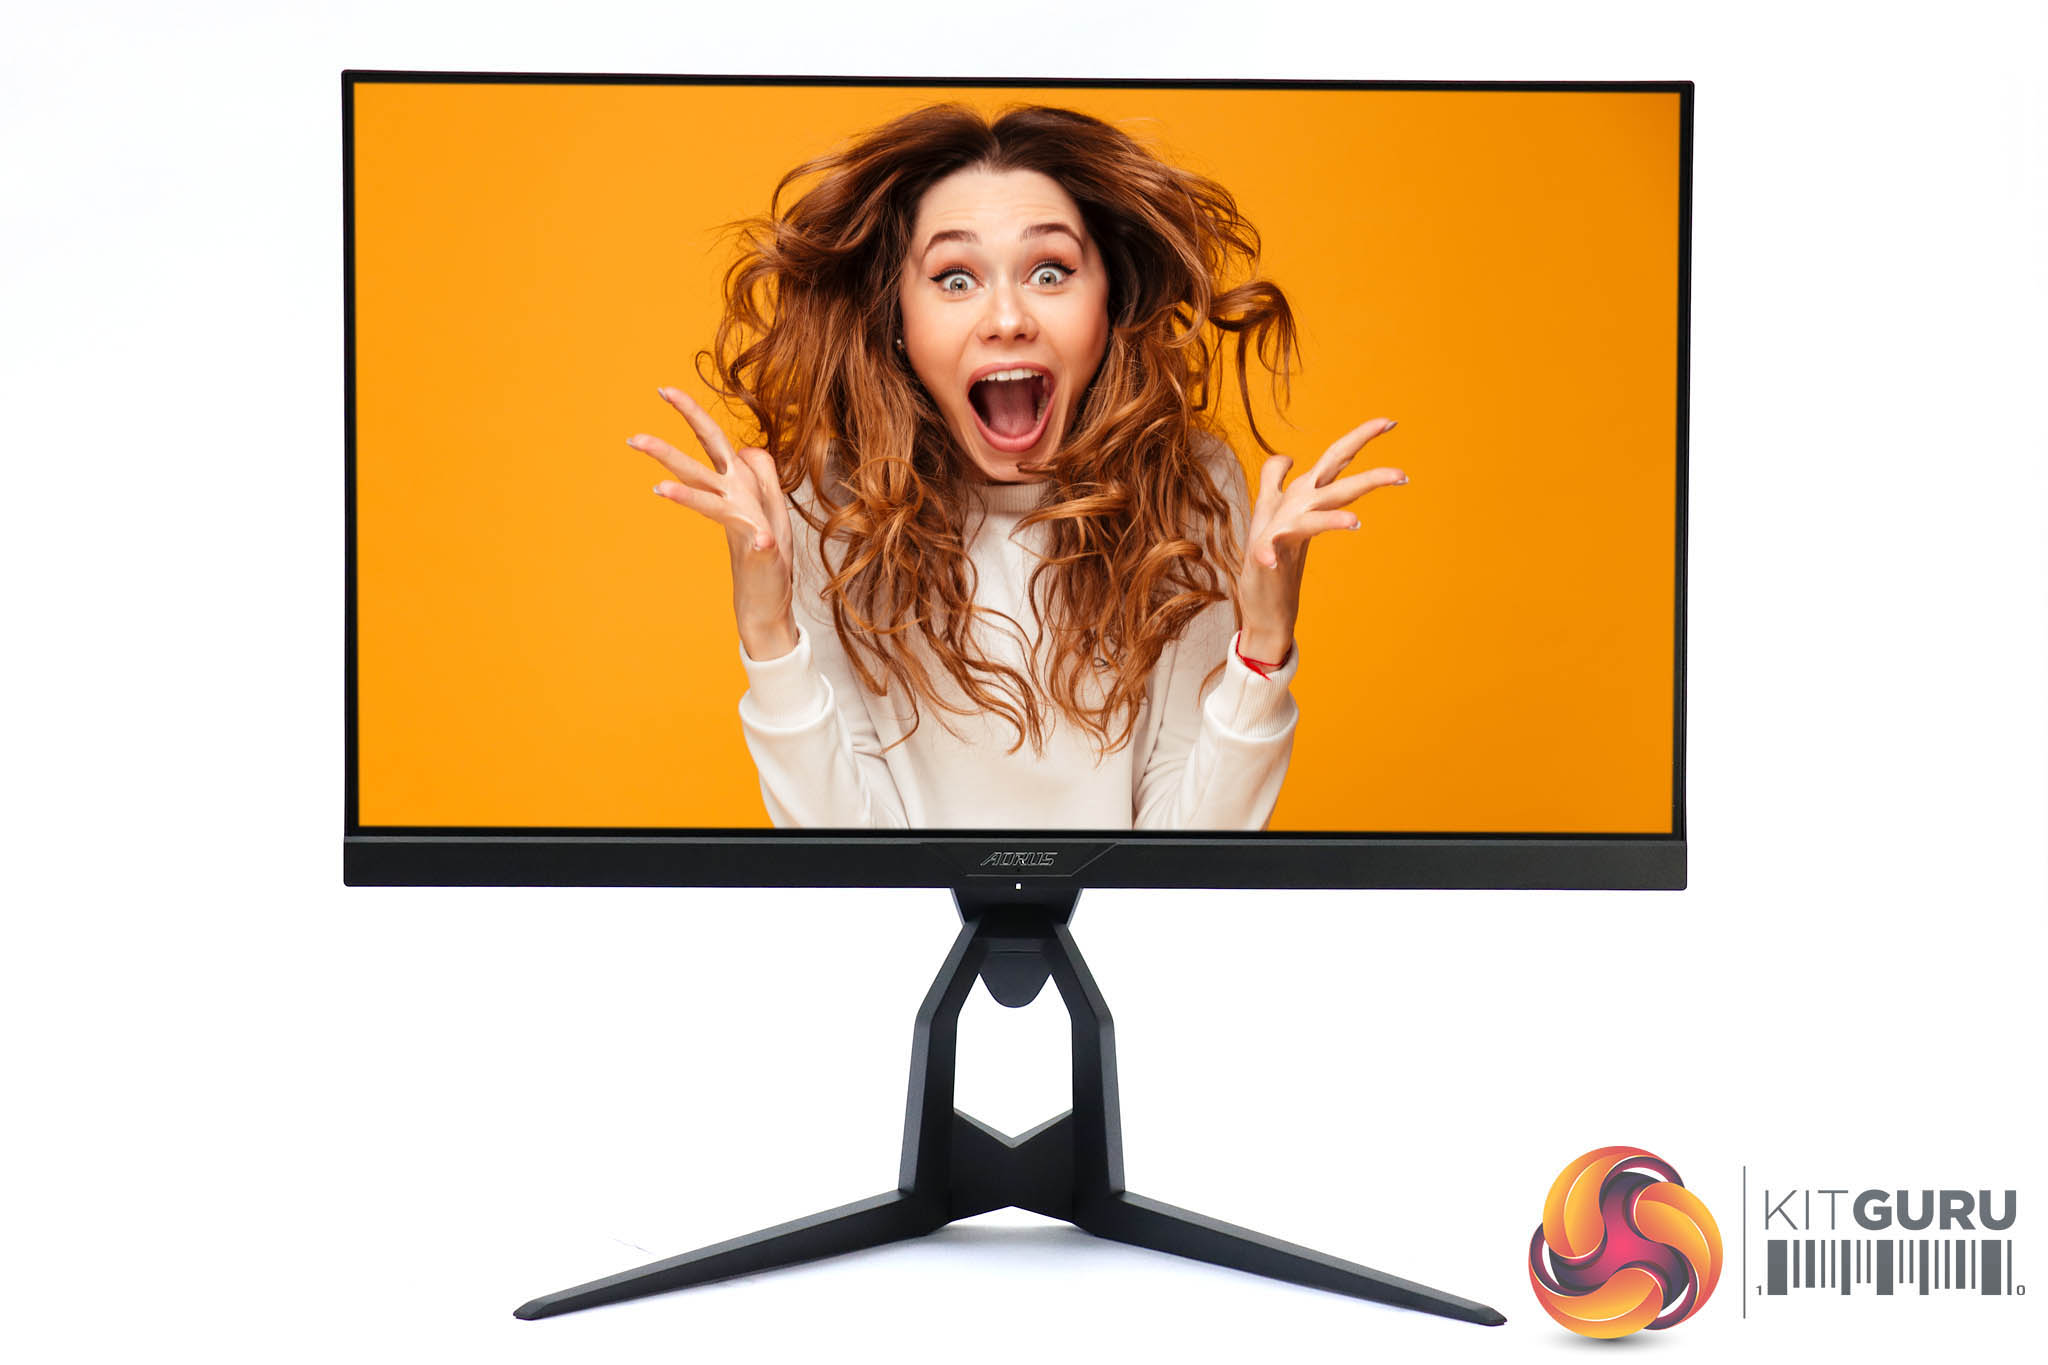
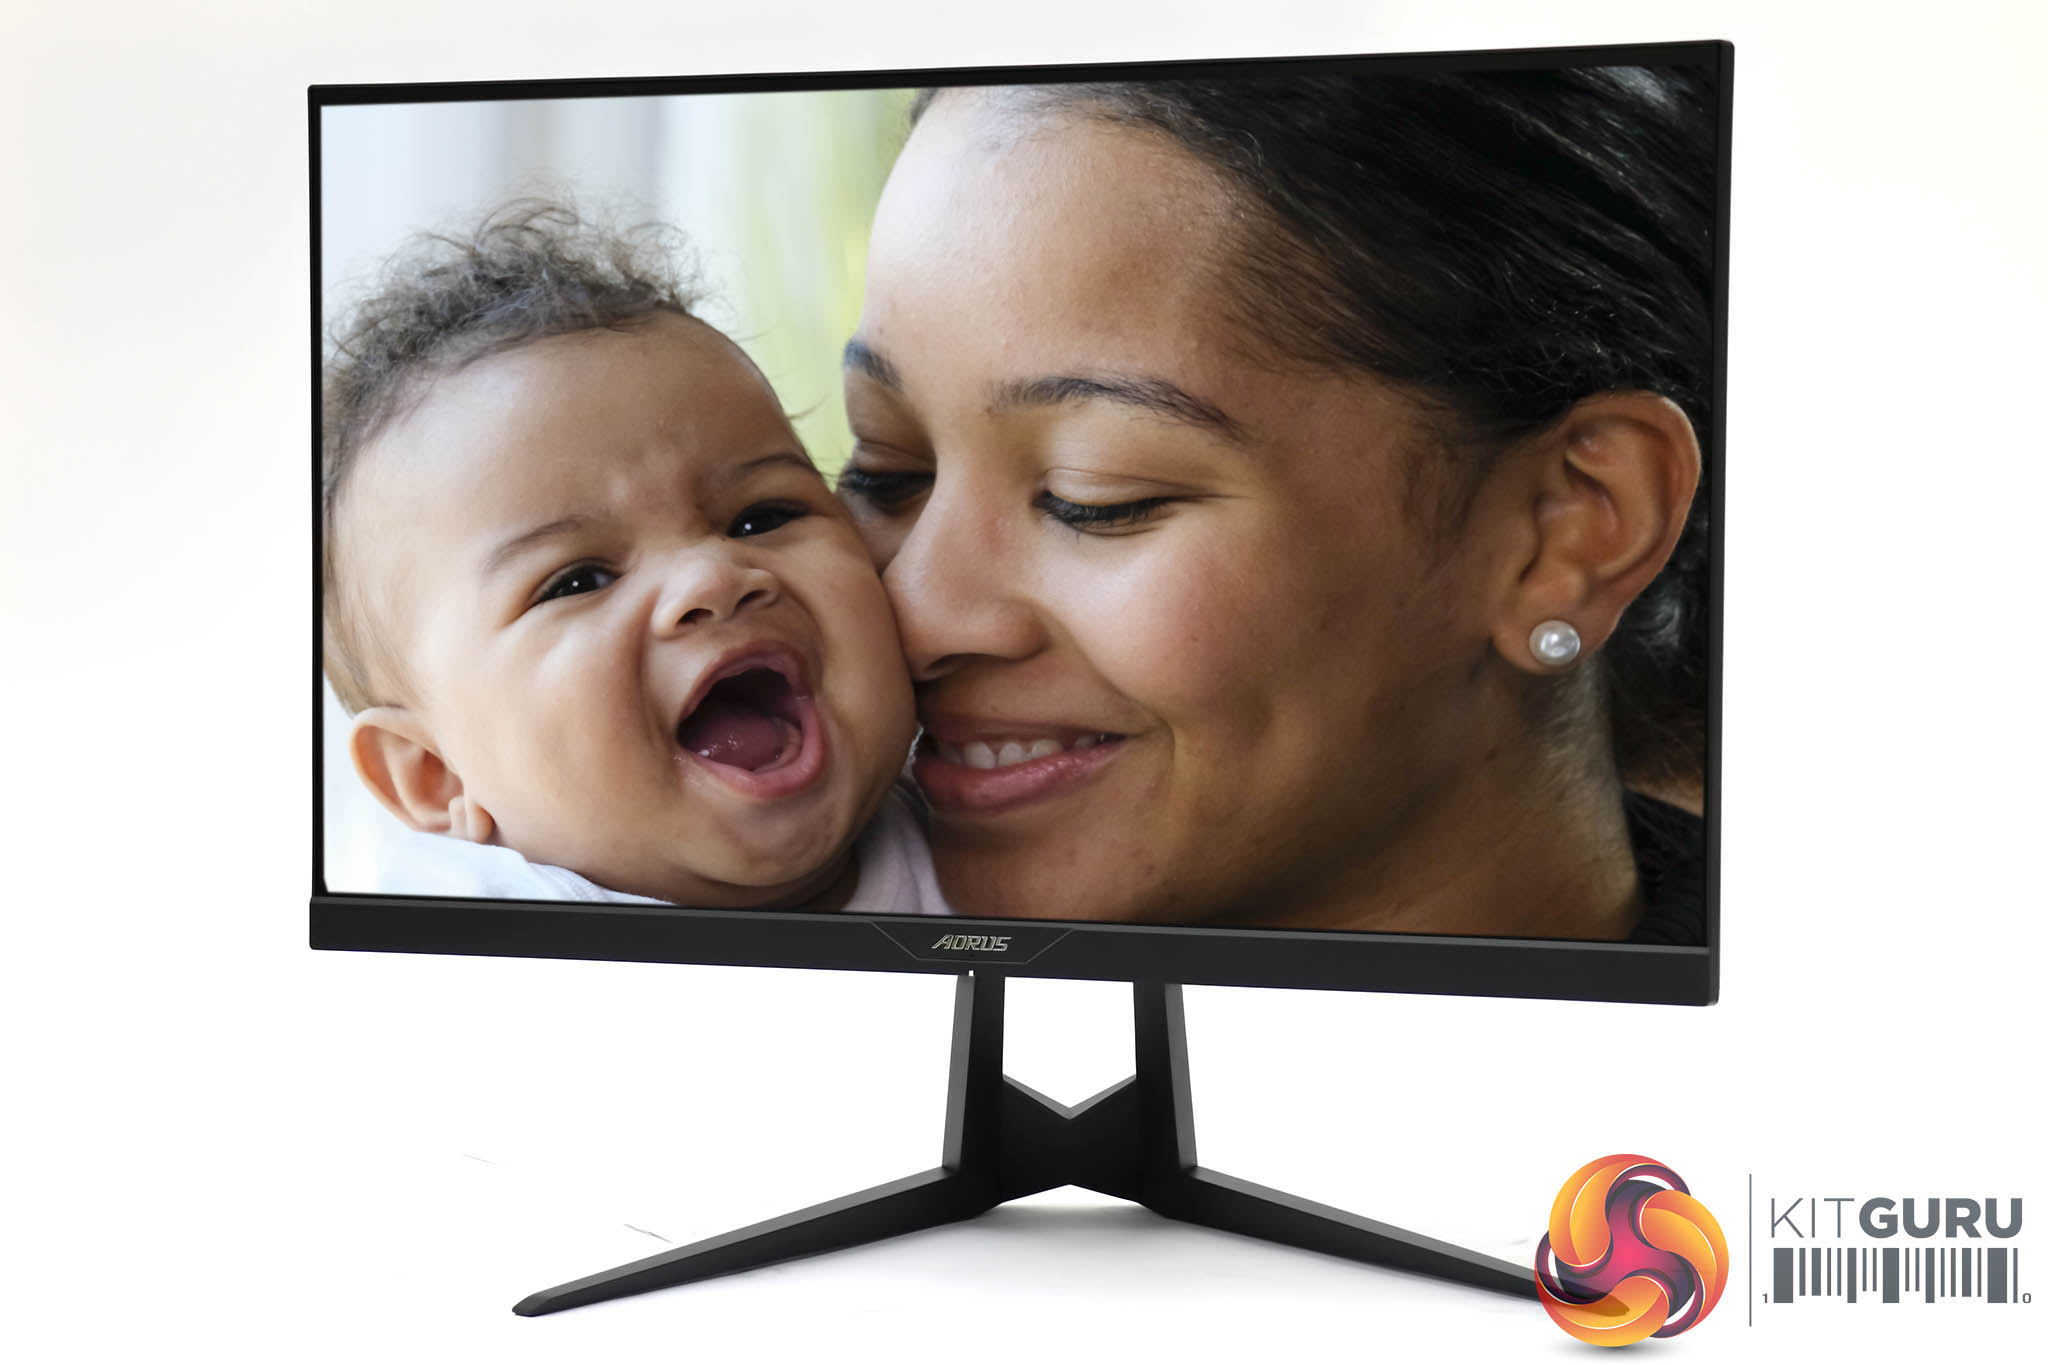
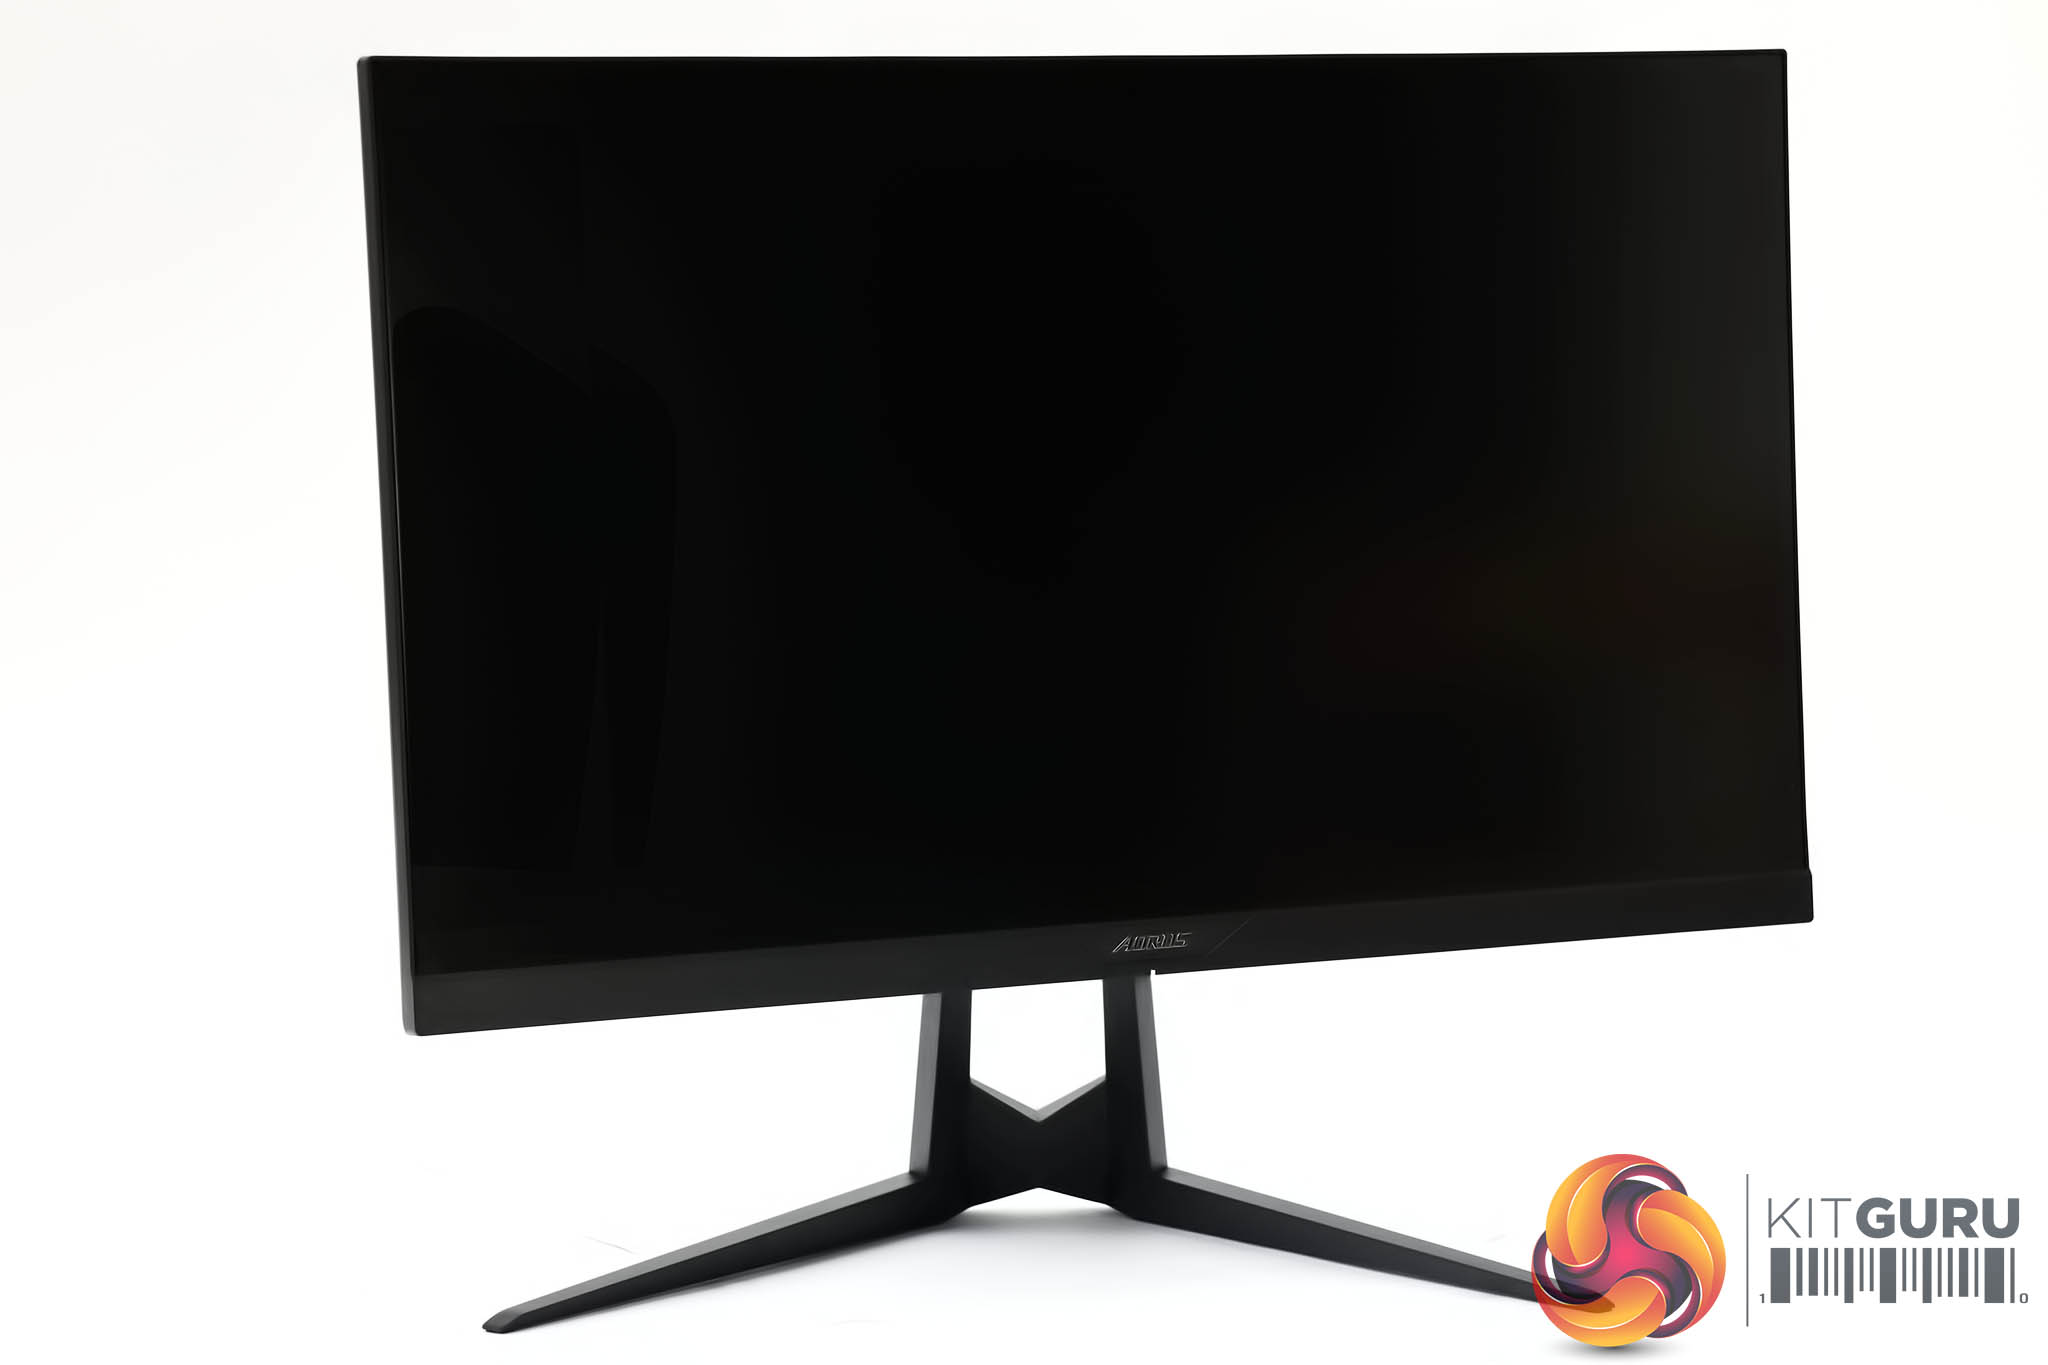
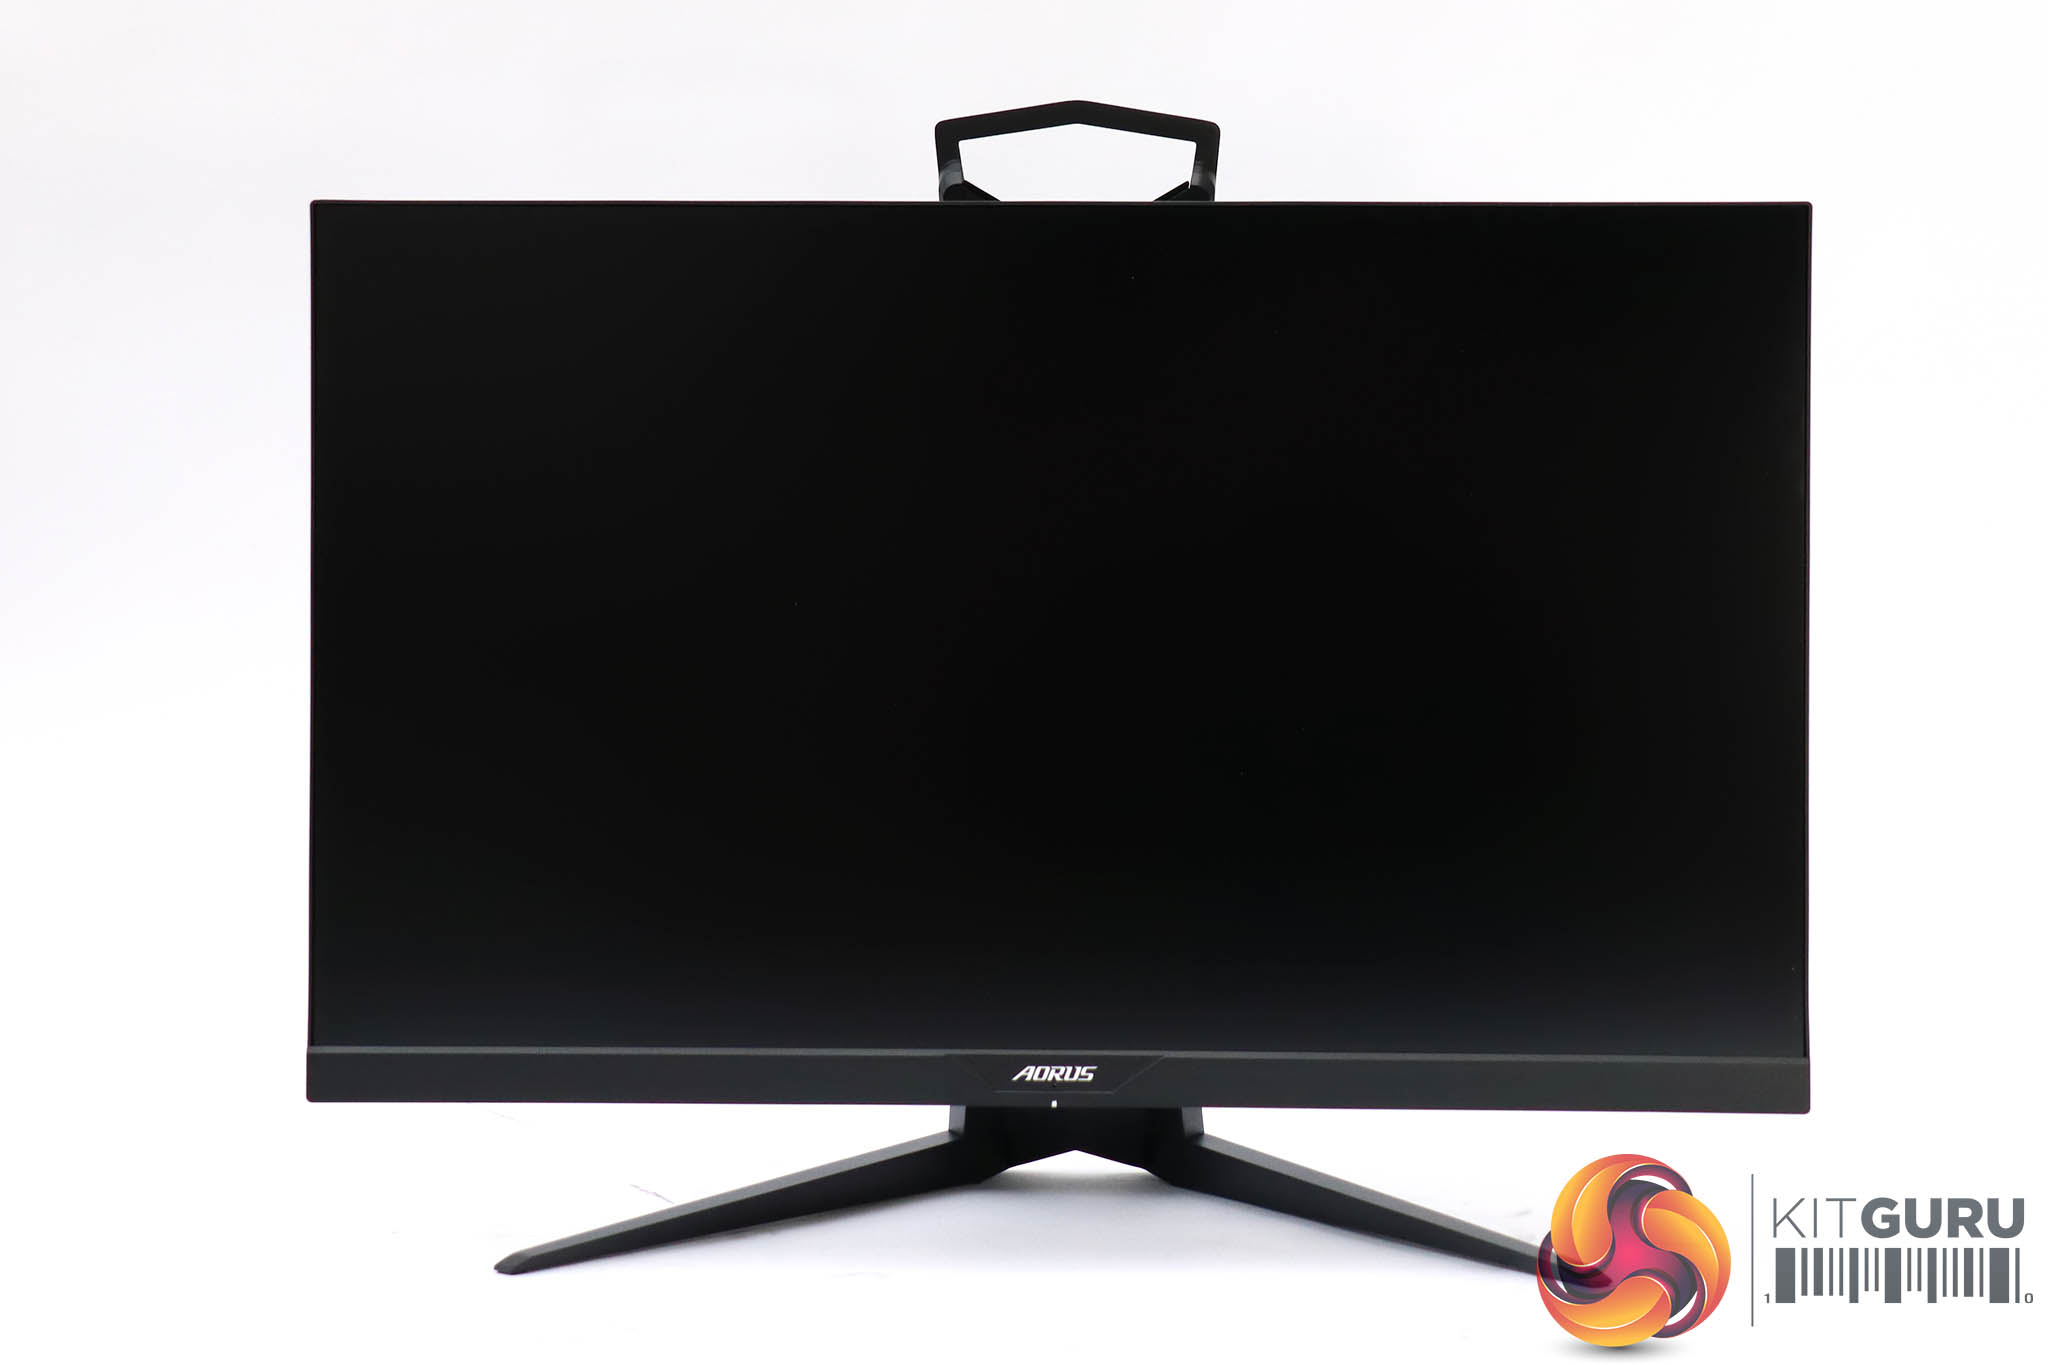
Apart from the AORUS-branded bottom edge, this screen has a very slim bezel, which adds to the style factor. From the front, only black is visible, and the rear looks decidedly dark as well. But when the screen is on, there are plenty of LED lighting options to brighten things up. The AORUS eagle logo is illuminated, as are diagonal flashes towards the top right and left corners.

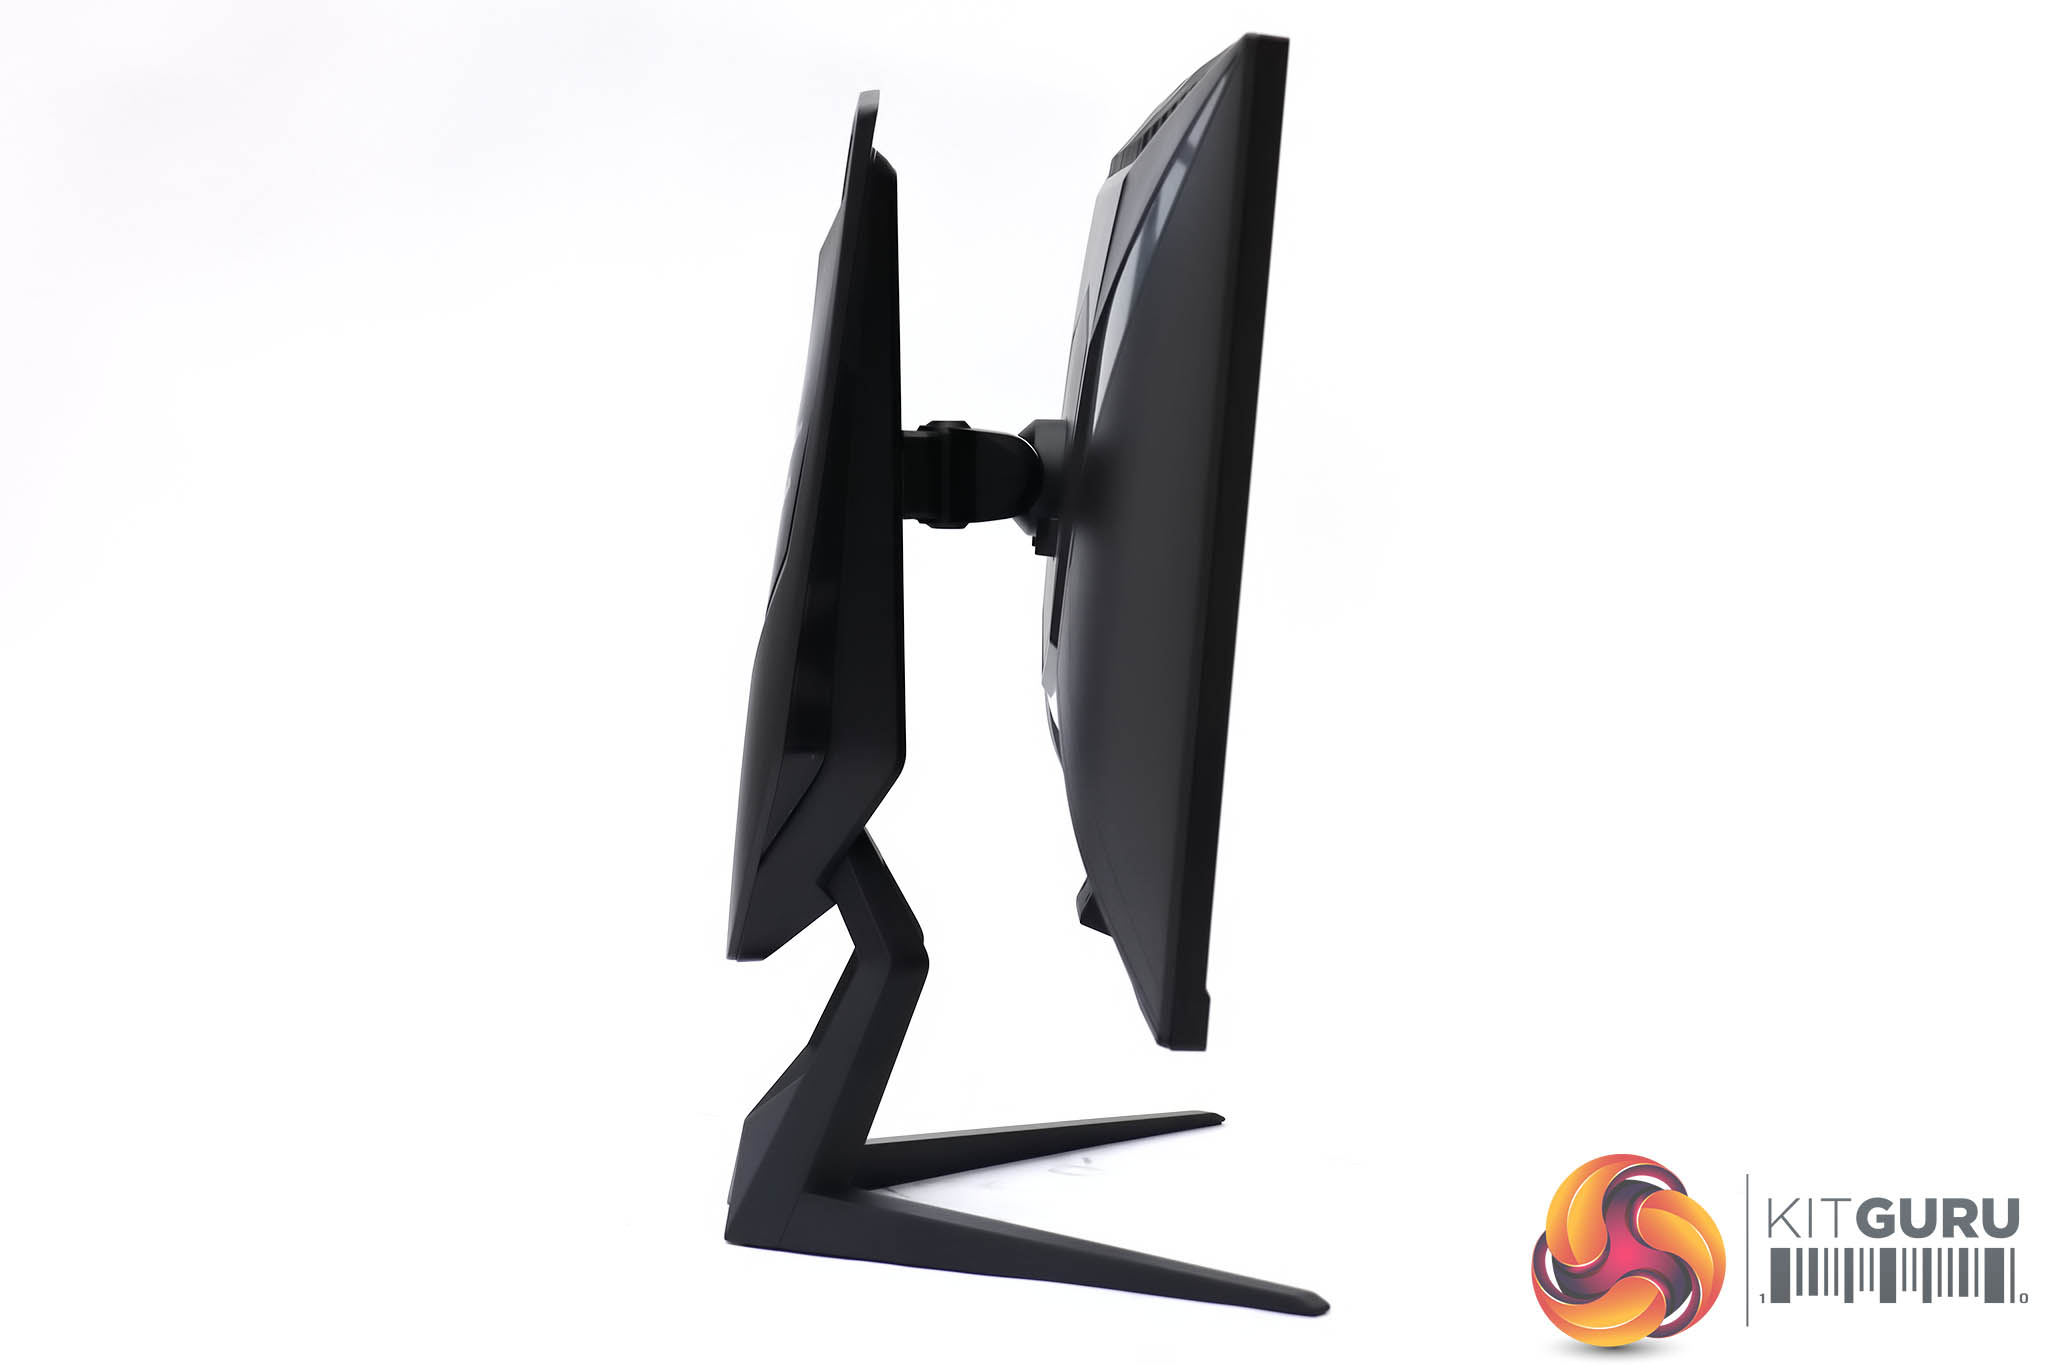

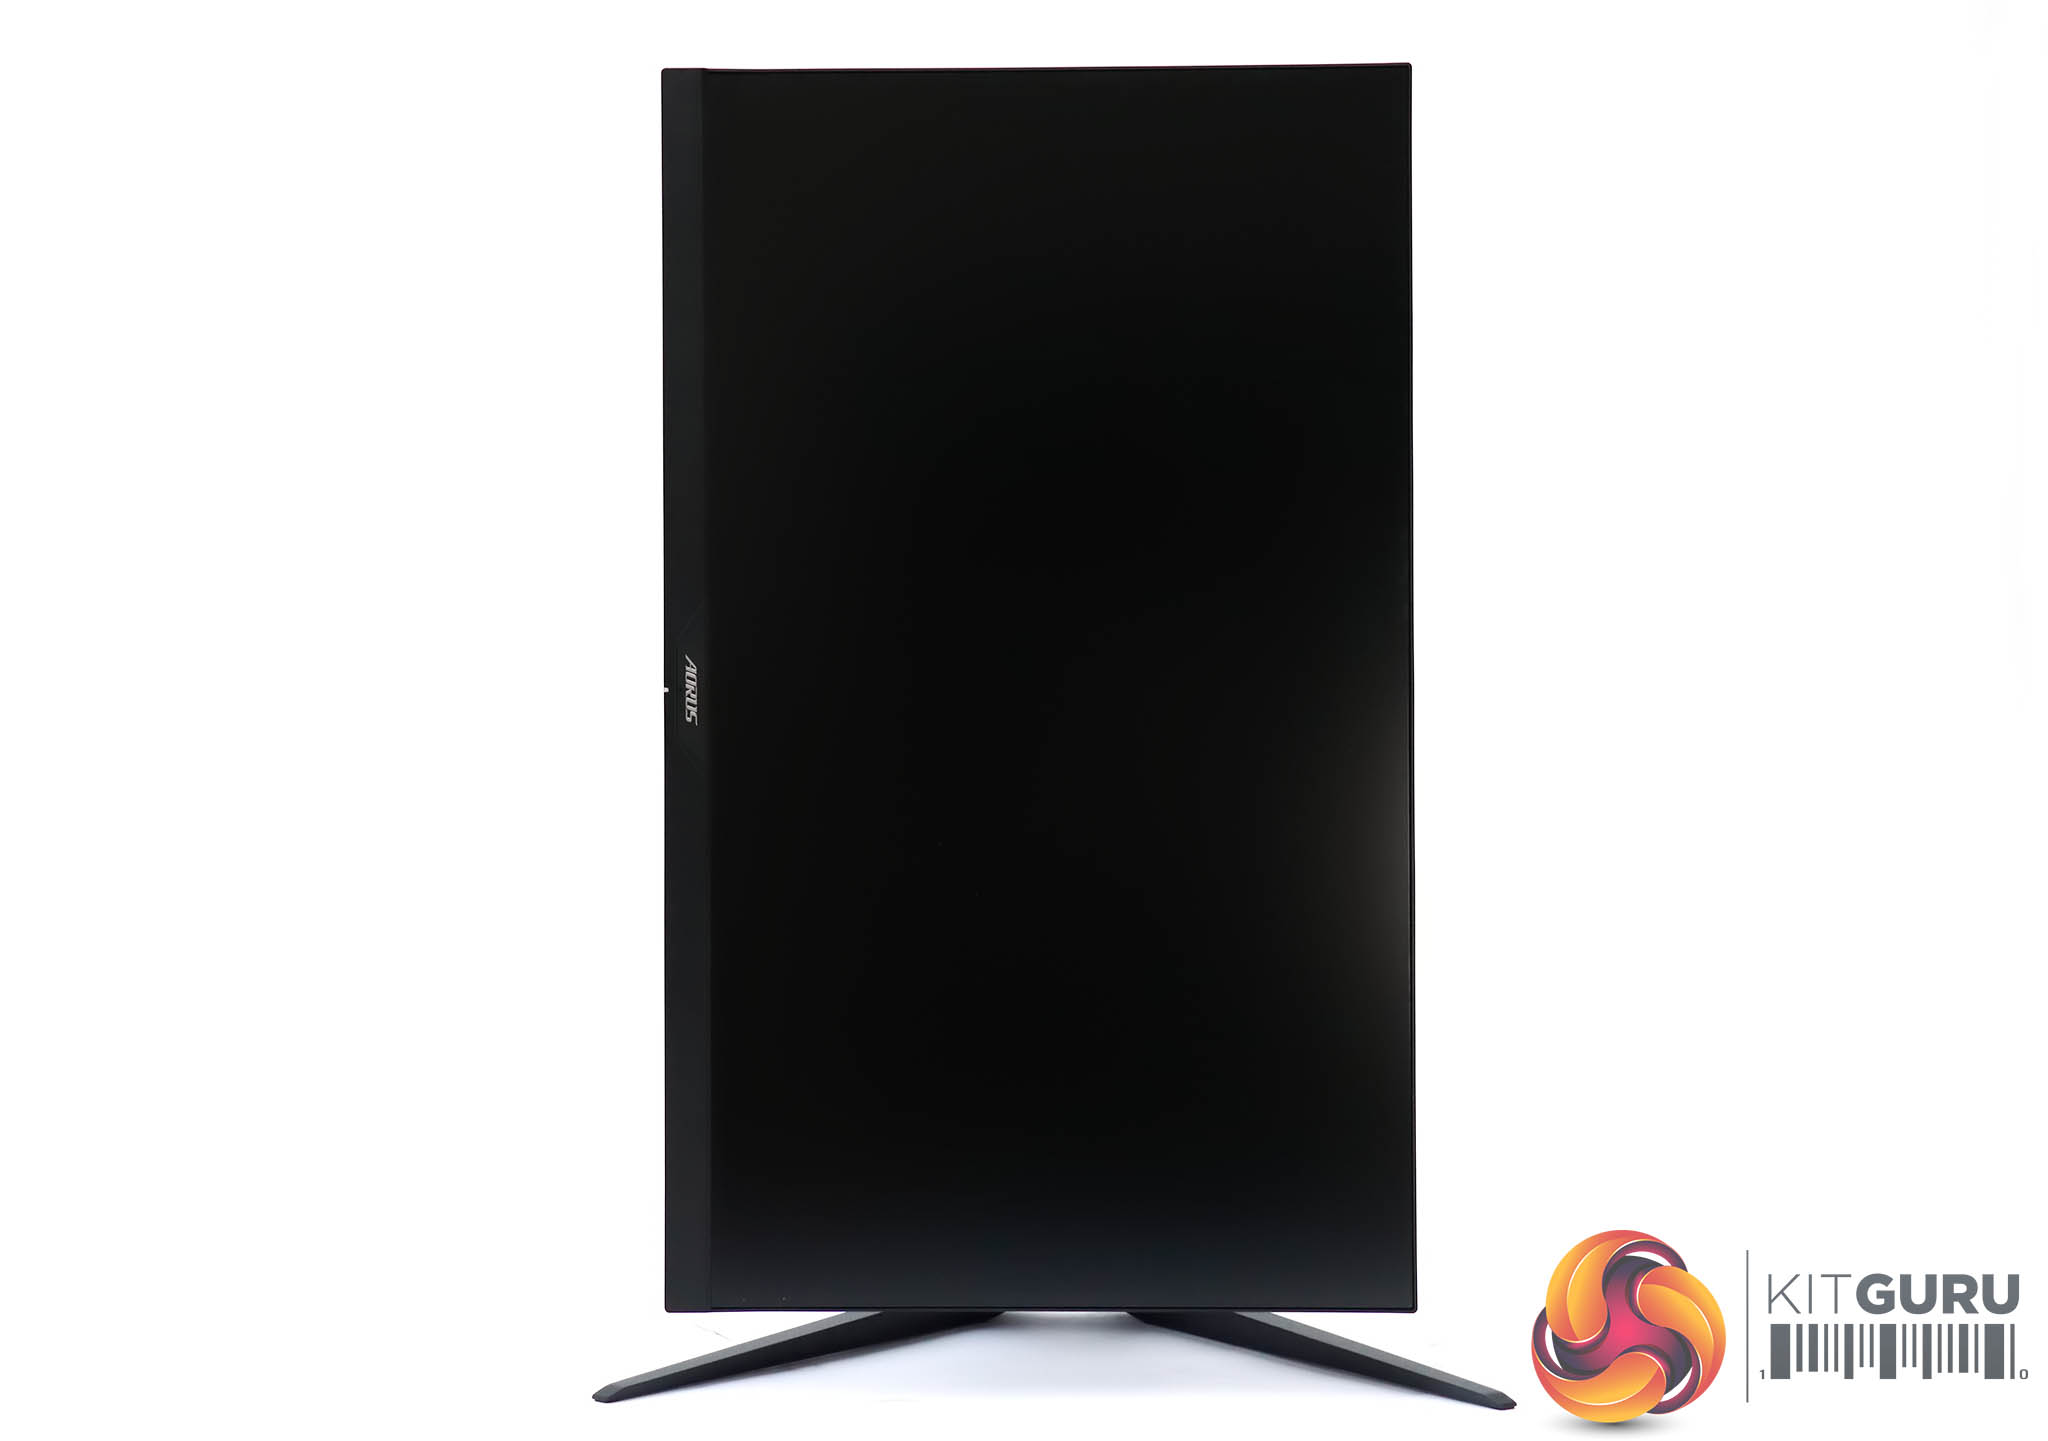
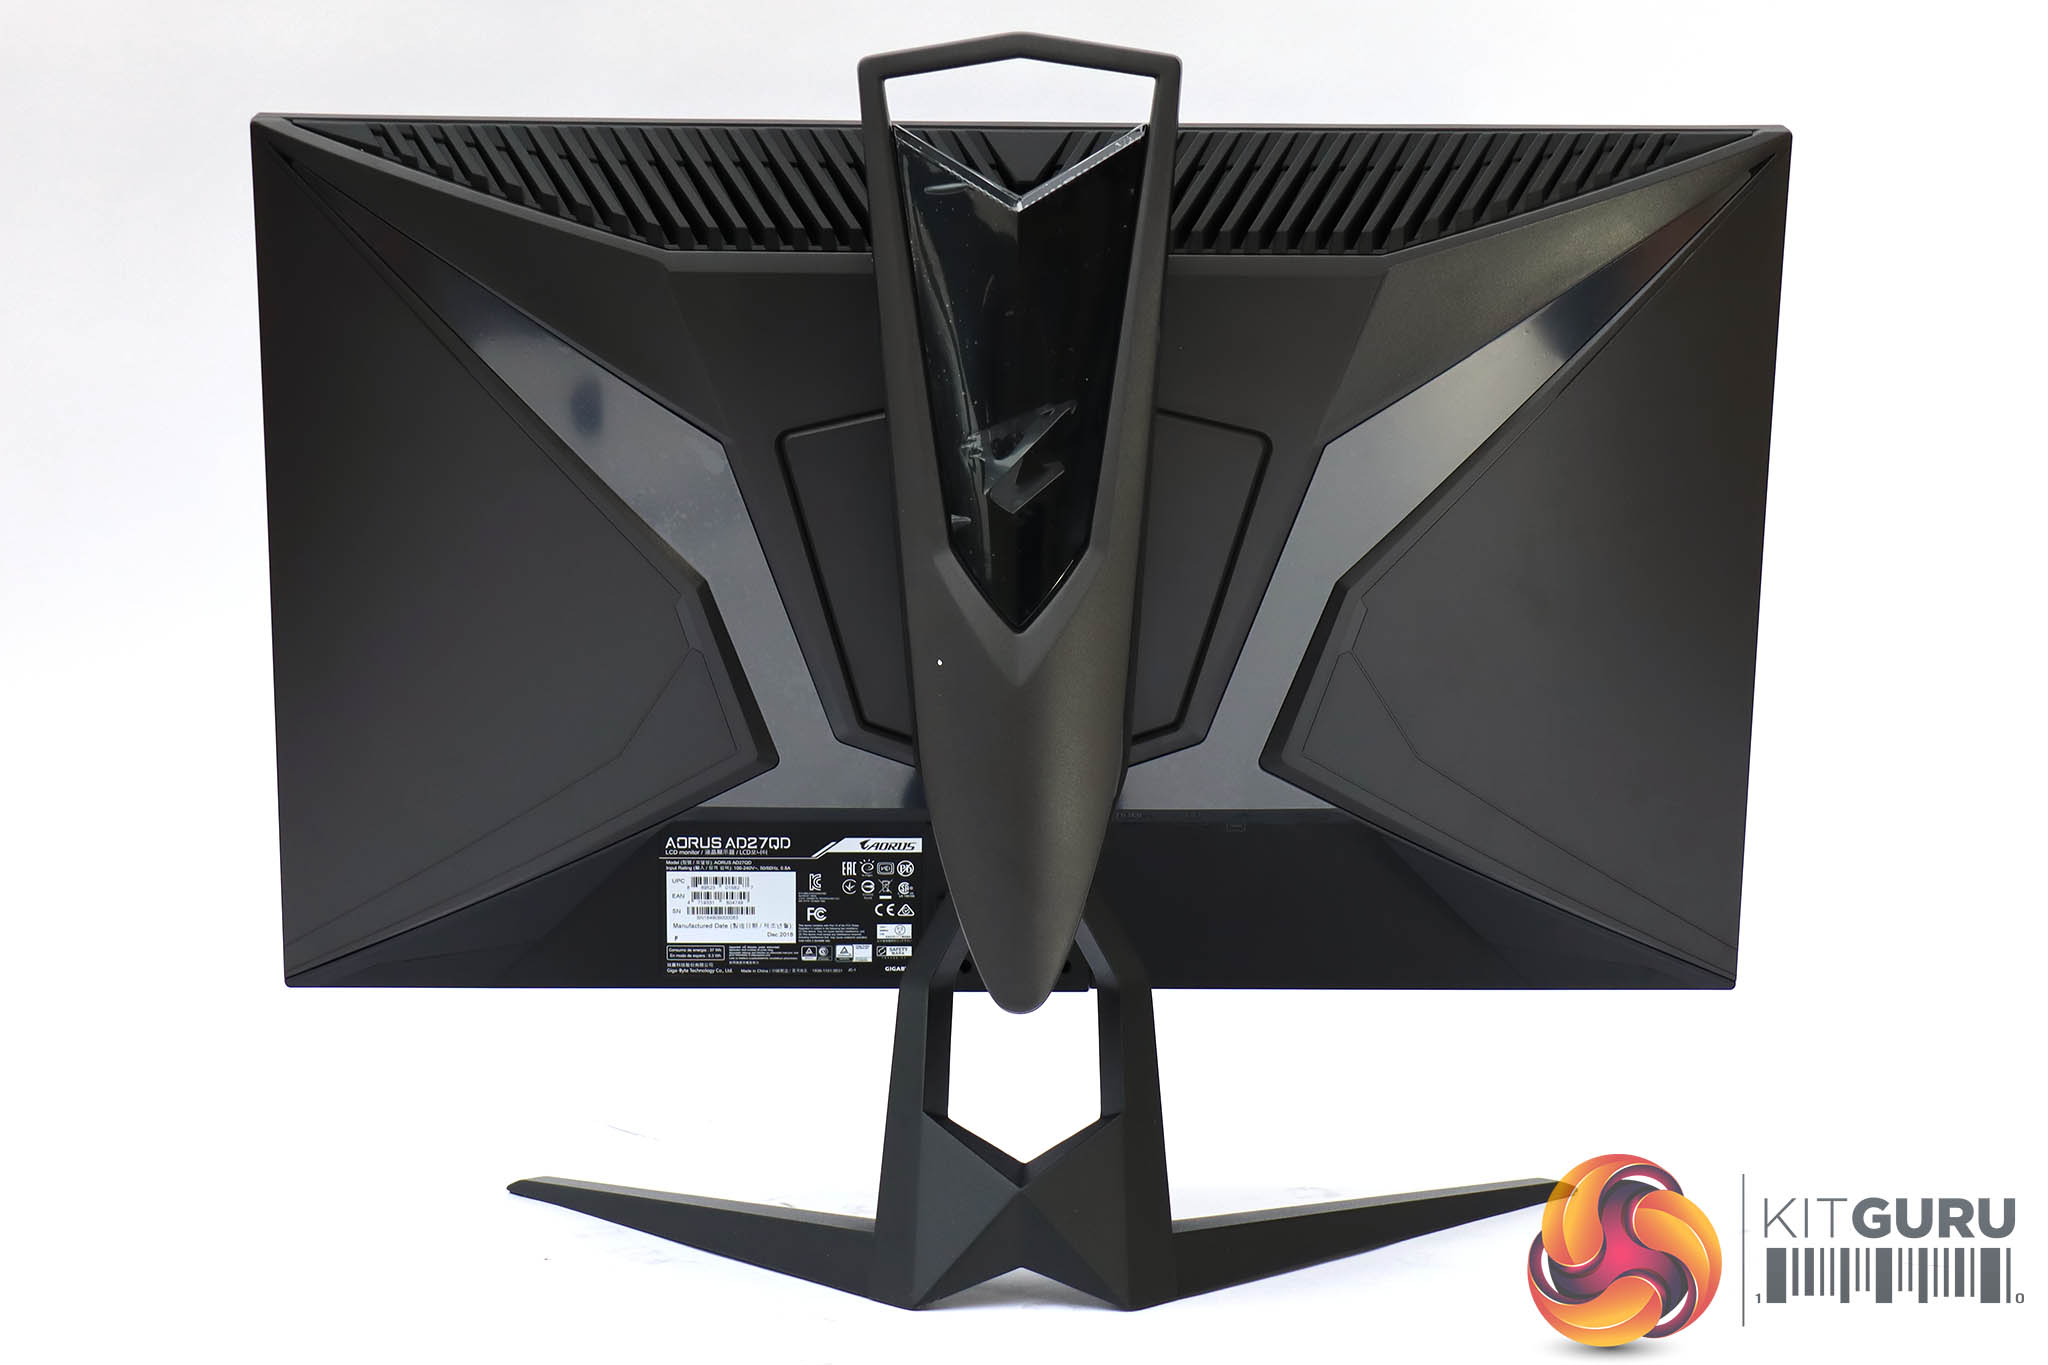
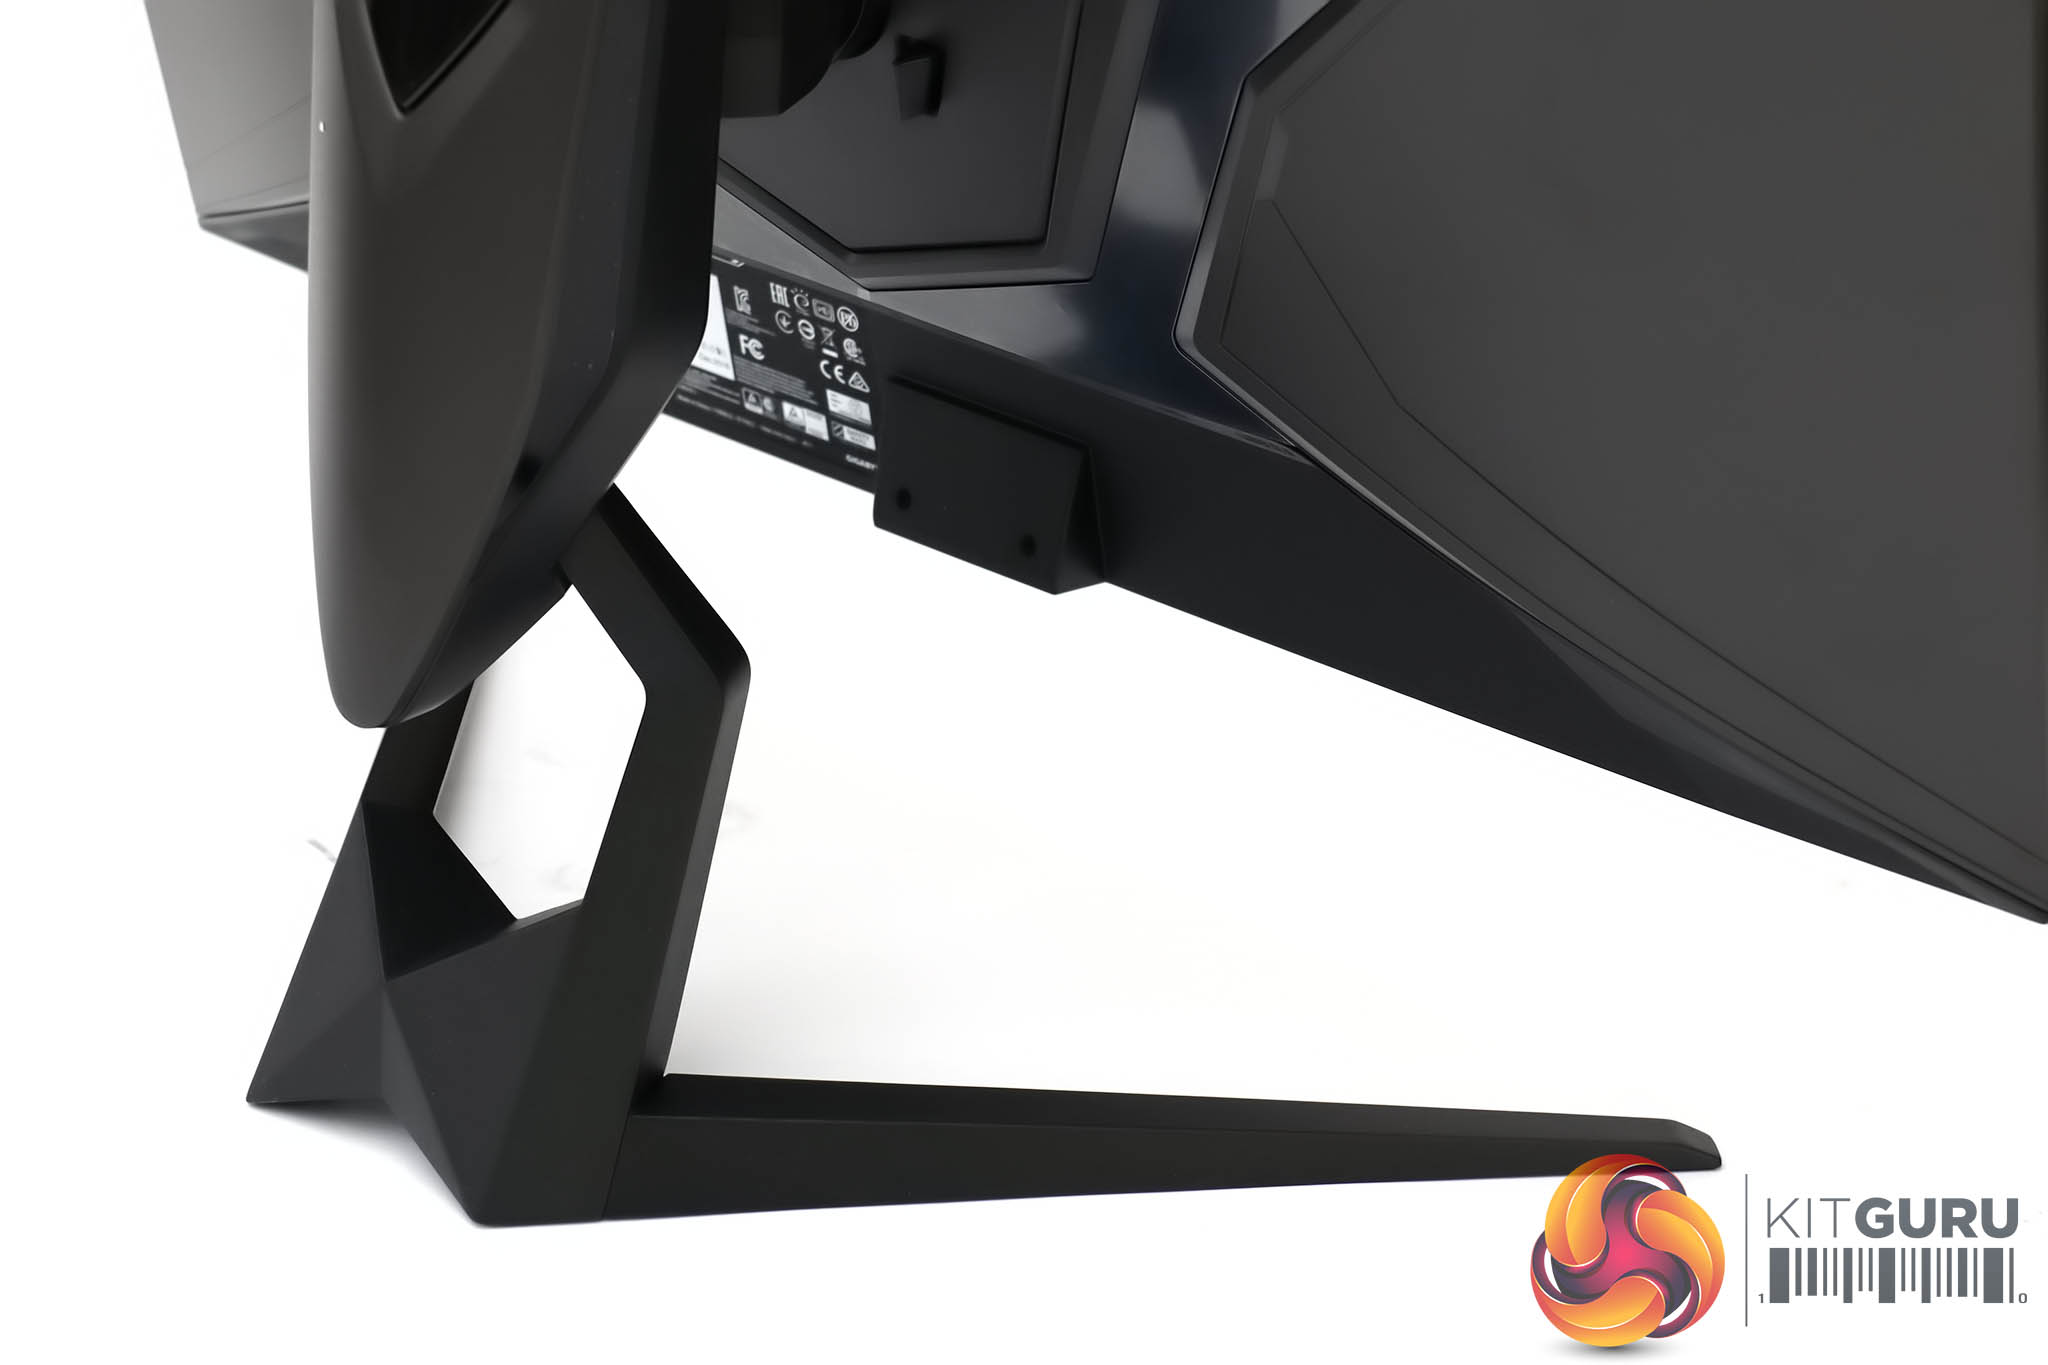
The AD27QD is reasonably ergonomically adjustable. It can be raised and lowered through 130mm, and tilted 21 degrees backward or five degrees forward. Rotating 90 degrees into portrait mode is also possible. You can swivel the screen left and right, too, although only by 20 degrees in either direction, which is a bit minimal.

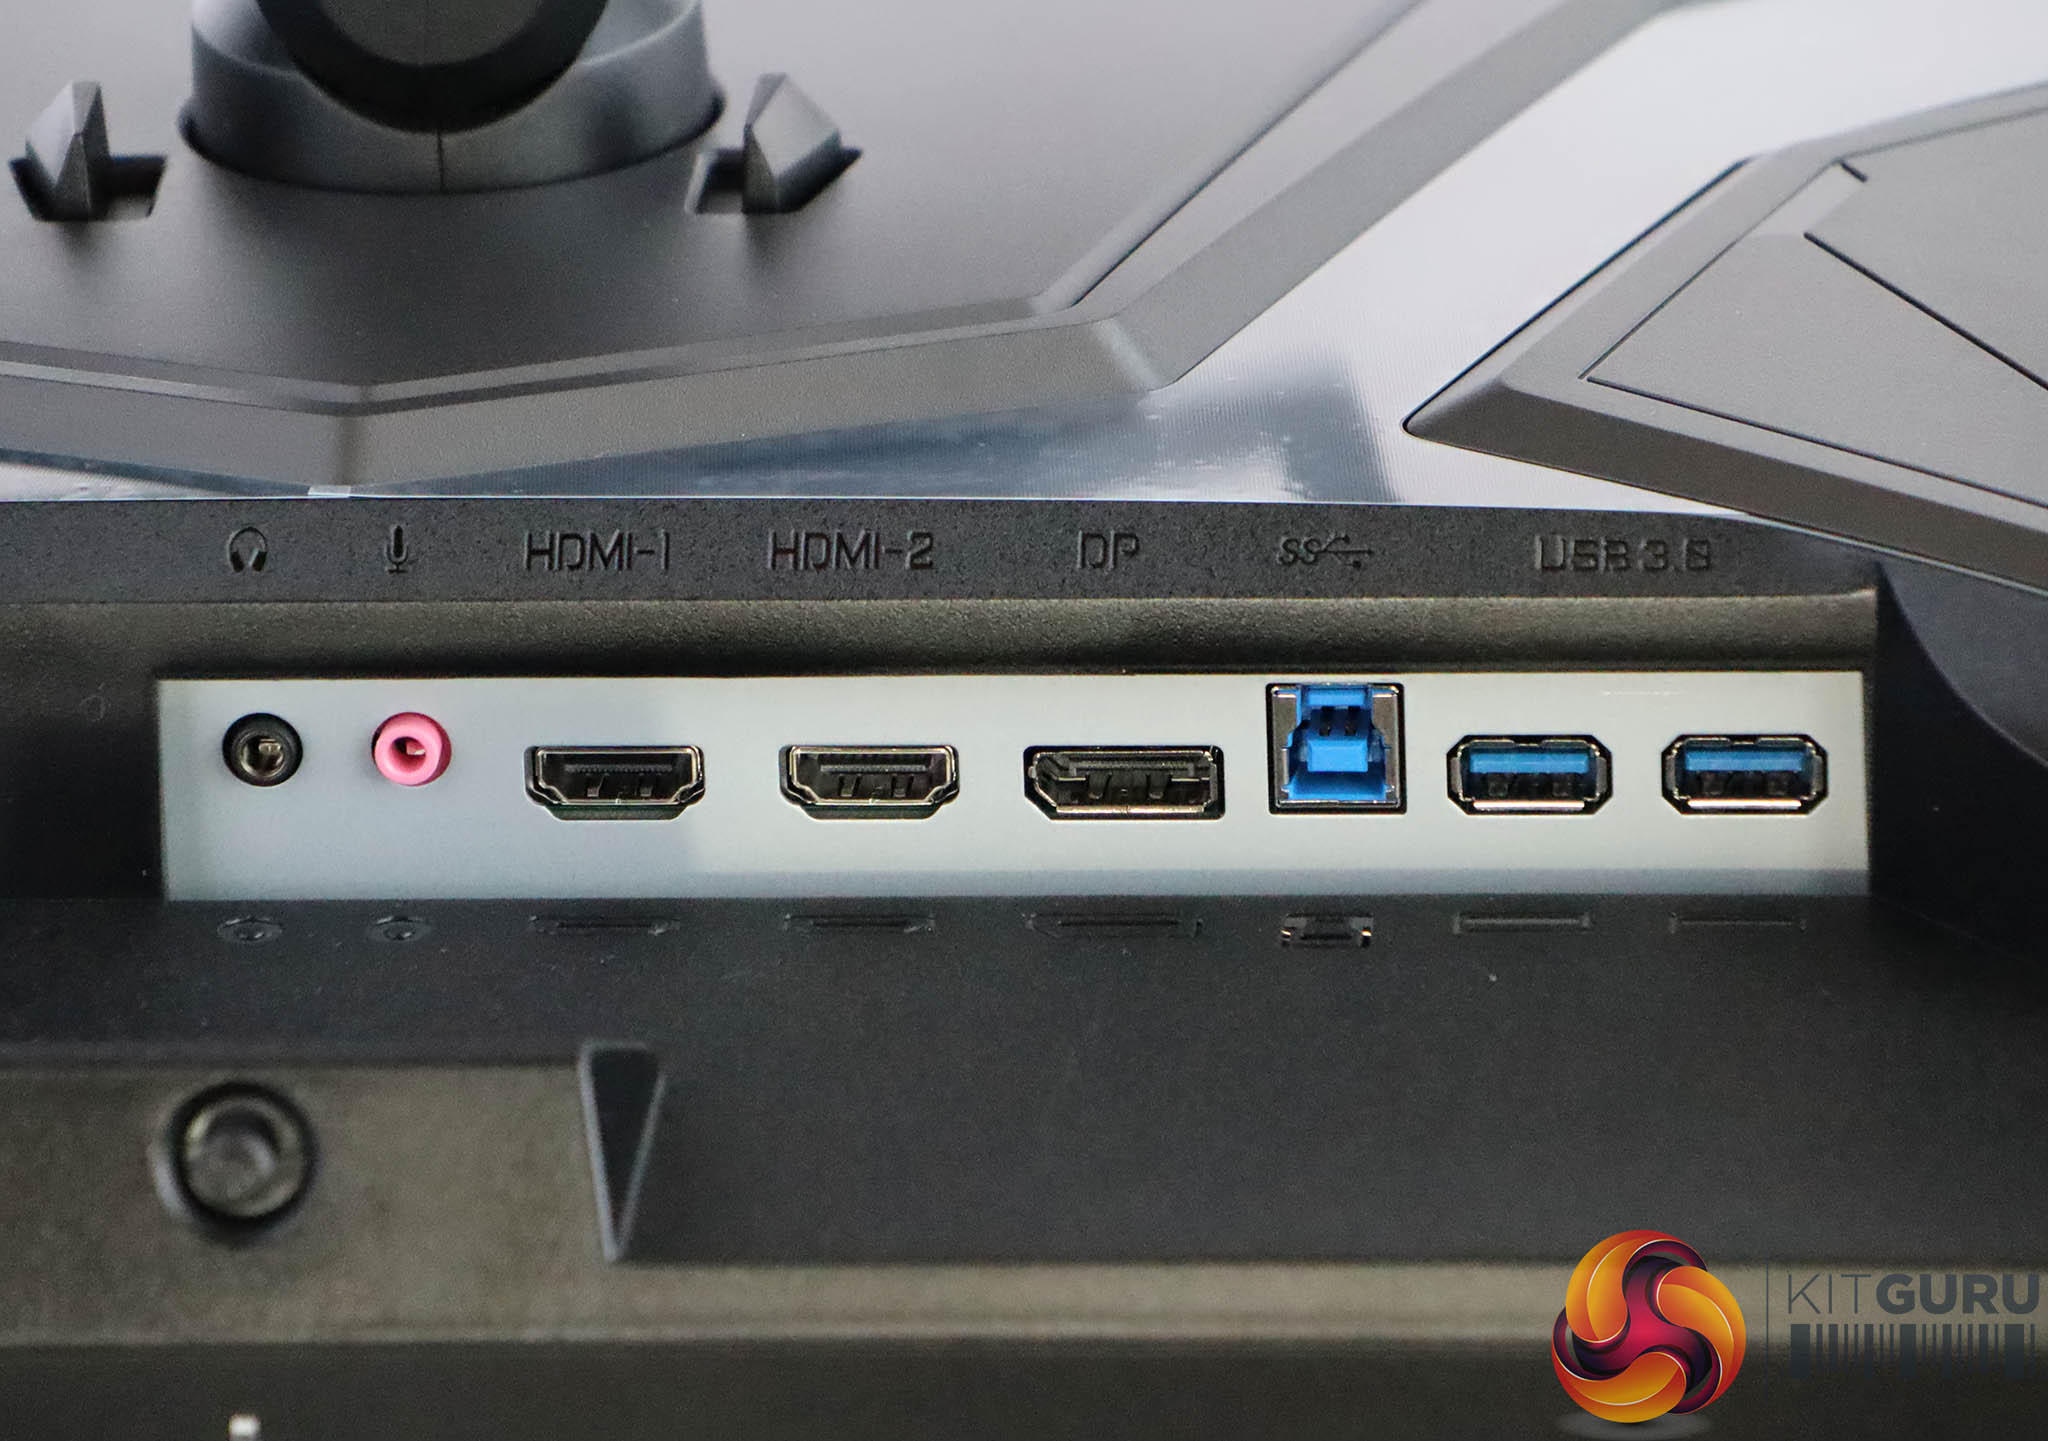
There's a decent array of connectivity available. You get two HDMI 2.0 video inputs, plus a single DisplayPort 1.2. There's a USB 3.0 hub with single upstream and two downstream ports. The latter may seem miserly, but we're guessing you lose a couple because the screen actually uses USB for audio, which is why it can offer a microphone input jack as well as headphone output.
This is essential for the noise cancellation abilities. You can feed audio to the screen via this or via the video port's digital signal. Another USB connection is also presumably taken by the OSD Sidekick software (of which more later). But at least the USB ports support fast charging of your mobile phone.

Operating the OSD directly on the monitor involves a joystick that is very conveniently placed on the bottom directly in line with the LED power light.
The joystick is one of the easiest to use we've come across, because its really obvious location means you don't have to reach around to find it at all. Just feel behind the power LED.
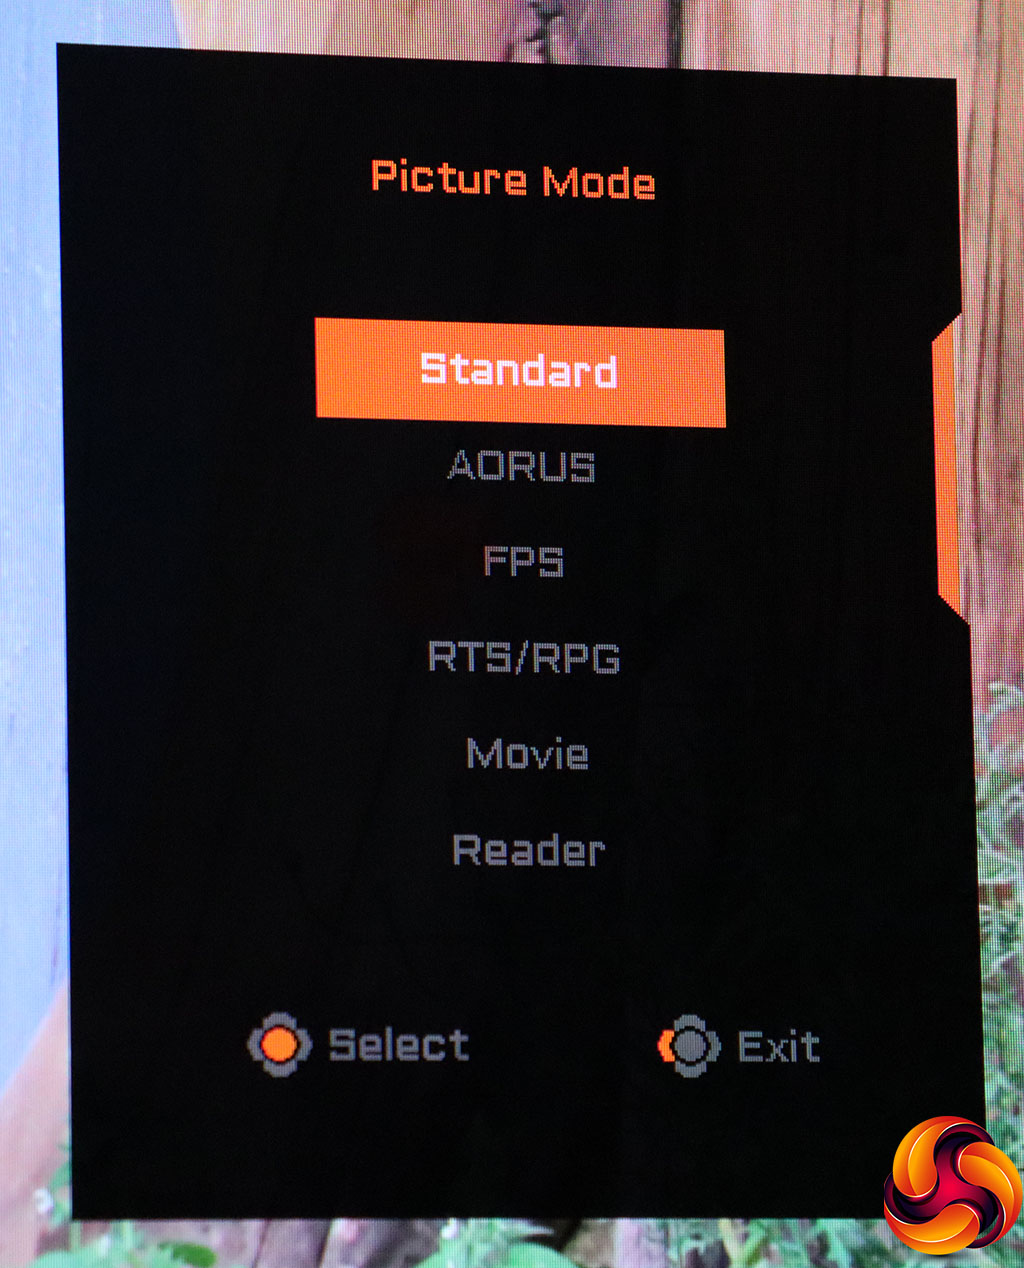
Pulling the joystick forwards reveals a quick menu of Picture Modes. Apart from the Standard option, these include a special AORUS setting, FPS, RTS/RPG, Movie, Reader, sRGB, and three user-configurable Custom options.
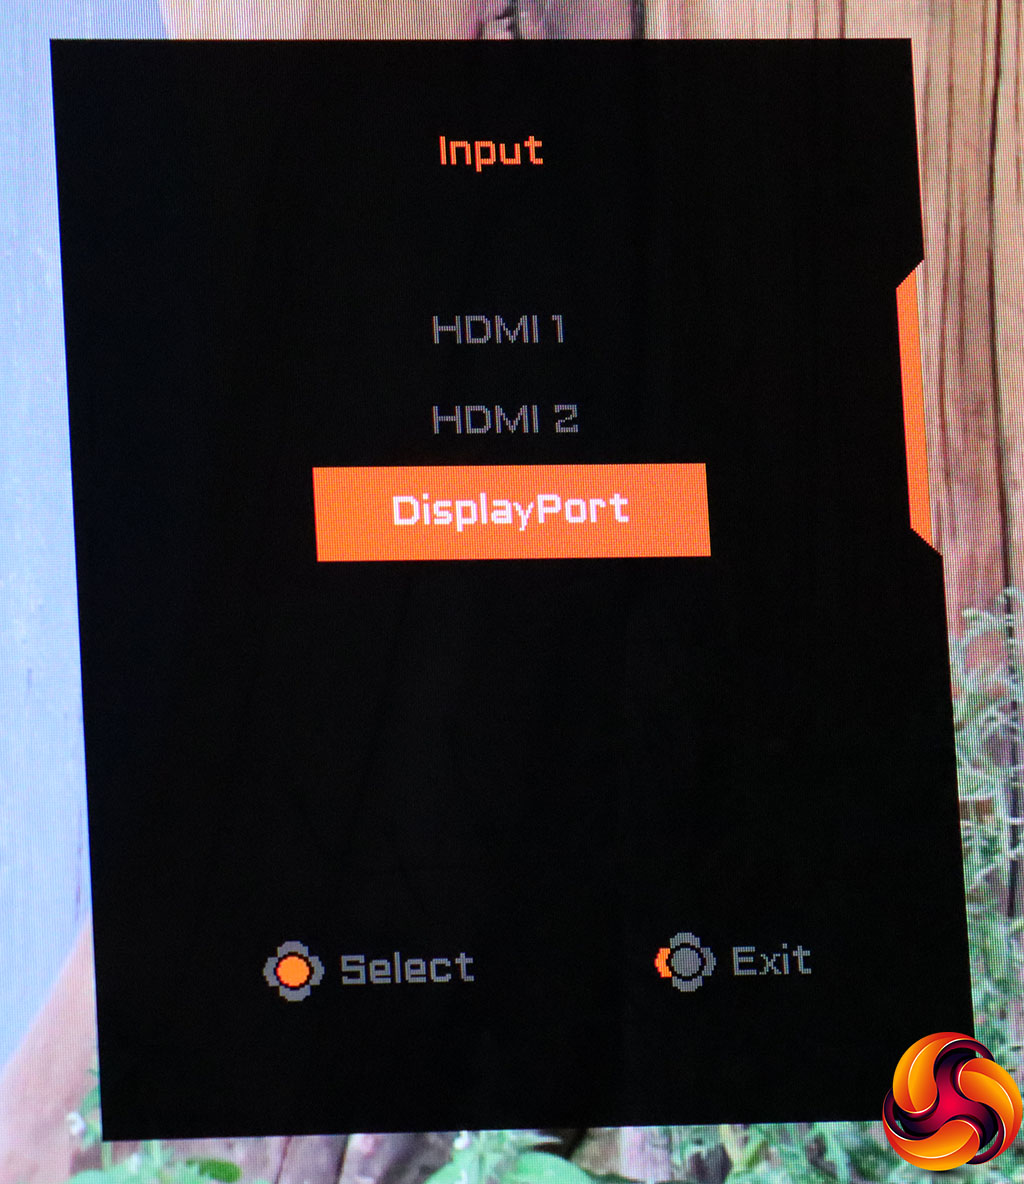
Pushing the joystick right calls up manual selection of the three video inputs.
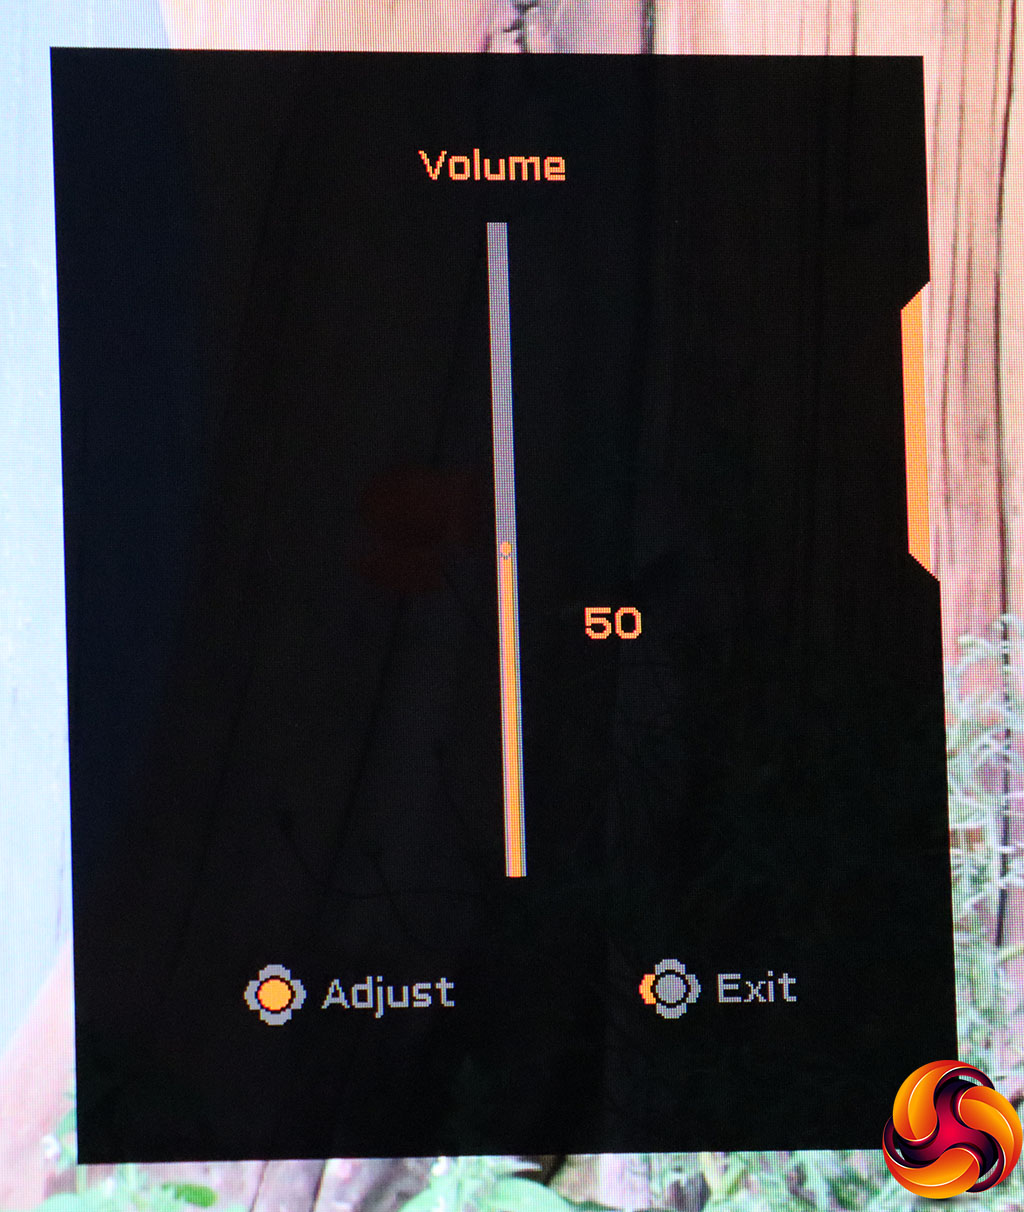
Push the joystick left and you get a volume control for the headphones.
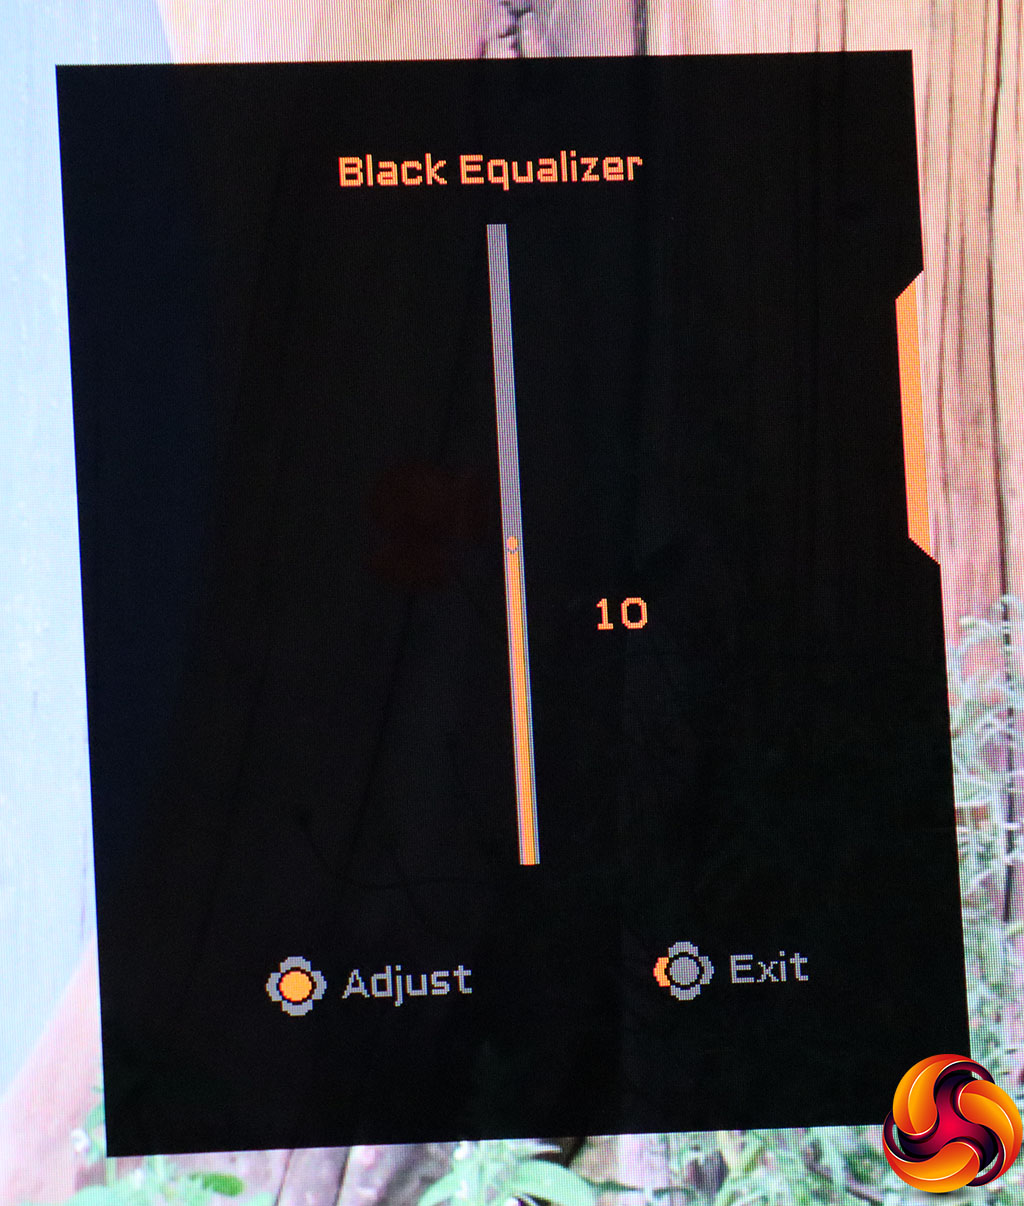
Pushing the joystick backwards lets you select the Black Equalizer, with values from 0 to 20. This is a selective contrast system that only affects black levels, rather than adjusting the whole gamma range. It's handy for bringing out detail in shadows when playing a FPS.
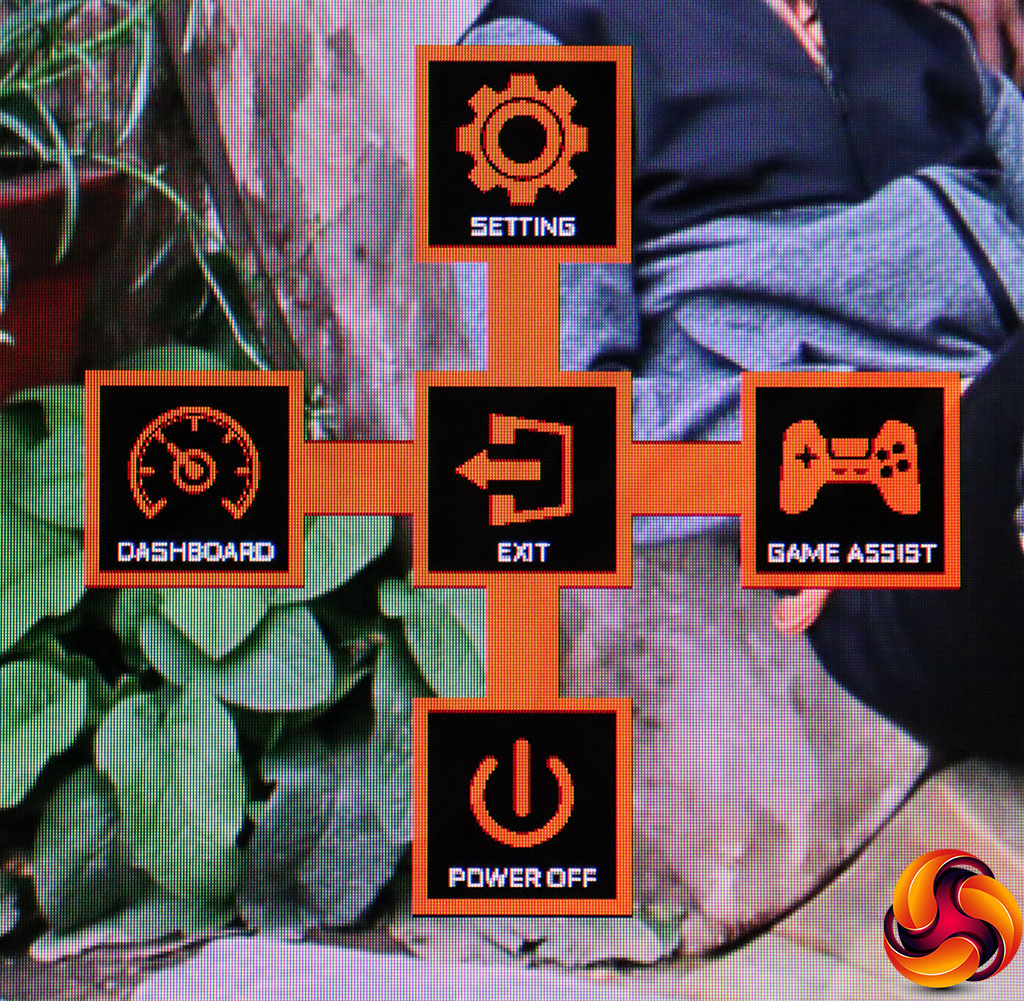
Push the joystick inwards like a button and you call up another menu of options, including the ability to turn the screen off by pulling the joystick towards you.
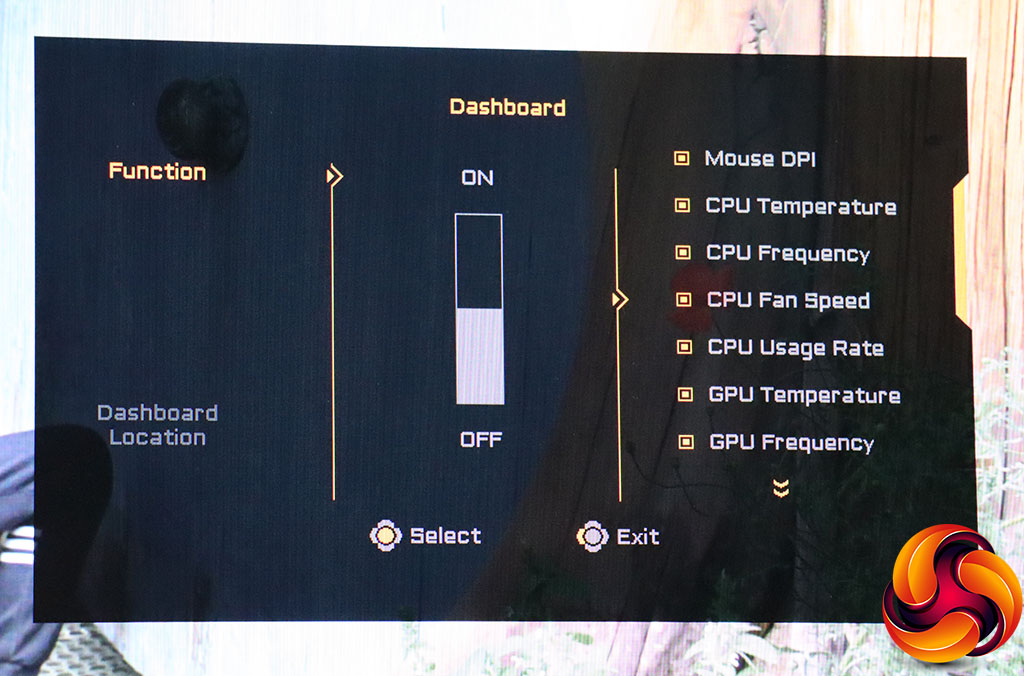
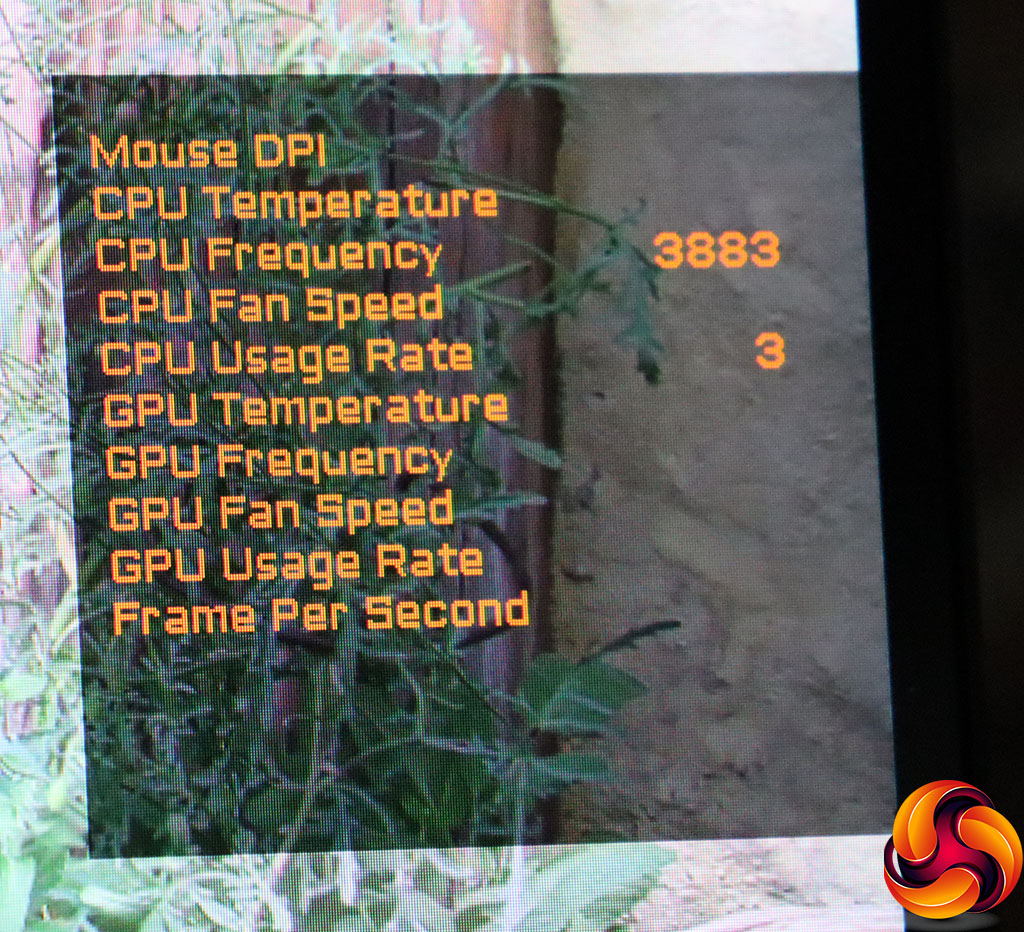
The right-hand icon calls up the Dashboard options, where you can put system information permanently onscreen, although we found that it was hit or miss what showed up here, despite selecting everything.
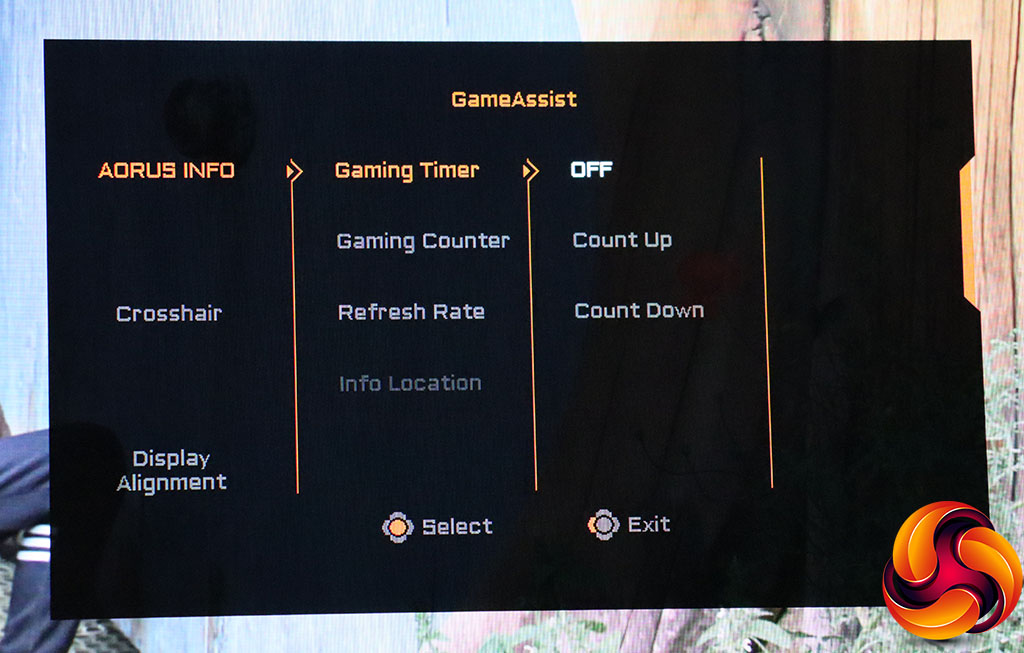
The Game Assist section is where you can put various useful graphics onscreen. These include a timer that will count up or down, a counter and various different types of crosshair. Incrementing the counter requires configuring hotkeys from the OSD Sidekick application, of which more later.
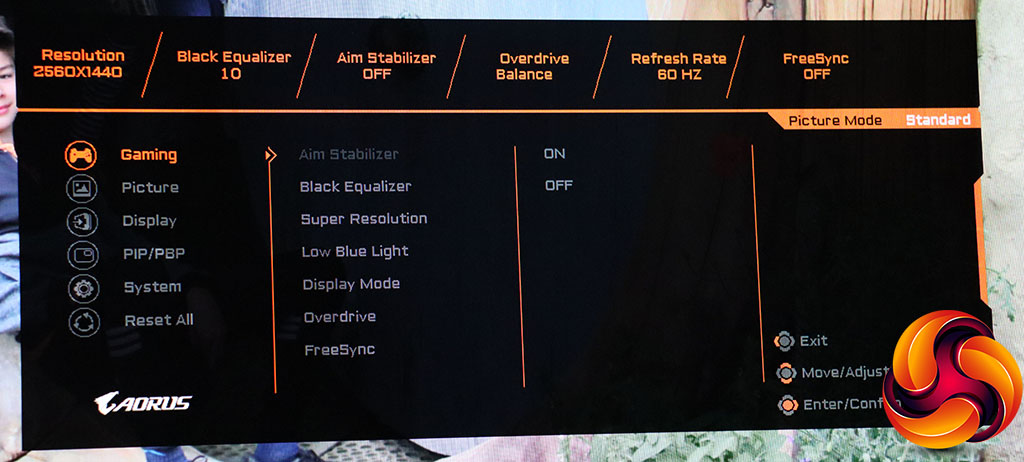
The Settings option loads the first screen of the main menu, which by default shows the Gaming settings. Along the top you get a readout of current topline settings. Within the Gaming screen can be found the much-vaunted Aim Stabilizer, which is actually a kind of ghosting reduction system that reduces the screen blur from fast motion, often associated with recoil when you shoot a gun in a FPS. However, we didn't find any way to turn this setting on in any of the modes we tried. It appears to be greyed out at all times.
Super Resolution is a hardware sharpening system, which increases perceived detail but at the expense of quality. Low Blue Light reduces eye strain and has ten levels. Display Mode lets you change the aspect and screen resolution, whilst Overdrive speeds up pixel response but can introduce artefacts. Finally, you can turn on FreeSync if your graphics card supports it, which enables adaptive refresh up to the 144Hz maximum of the panel.
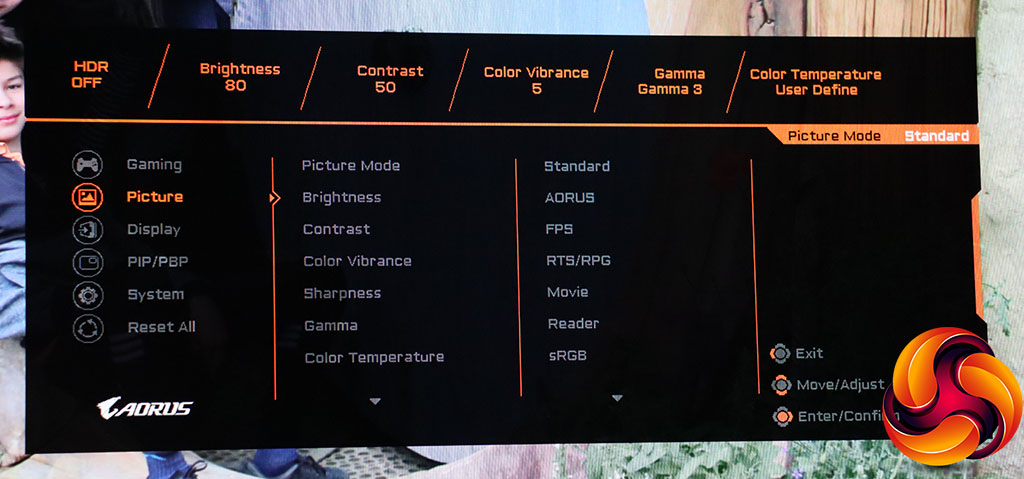
Next down in the main menu is the Picture section, where you can select a Picture Mode, adjust brightness, contrast, and colour vibrance, which is essentially a saturation slider from 0 to 20. The zero option makes your screen monochrome. Sharpness has ten levels, and there are five Gamma levels, as well as (curiously) an off setting.
The Colour Temperature options include Warm, Normal, Cool and User define, which lets you adjust red, green and blue levels separately. You can't see it in the above screenshot, but there's also the option to add up to five levels of Dynamic Contrast as well.

The Display section lets you choose your video input manually, and you can select whether your HDMI RGB range starts at 0 or 16, as well as enabling Overscan.
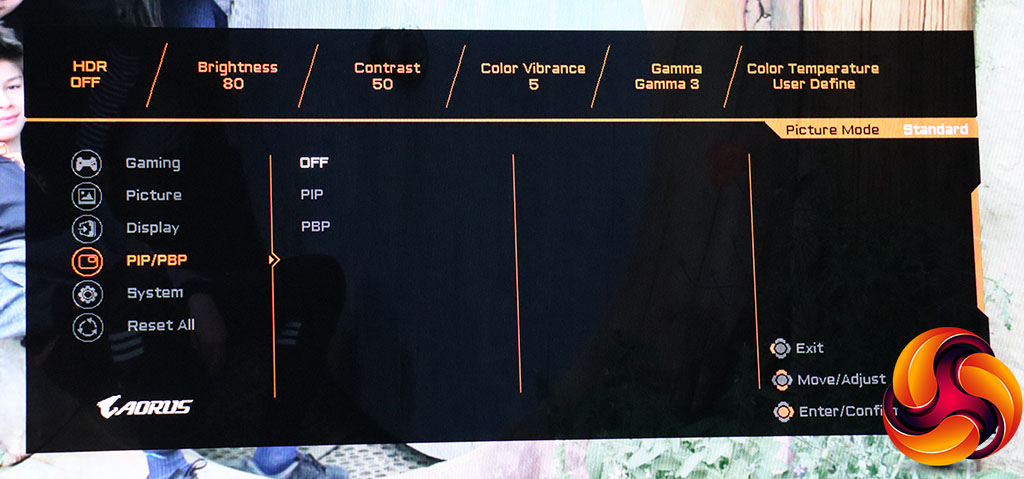
If you have multiple video inputs attached, you can choose to have more than one signal oncsreen in picture-in-picture or picture-by-picture configuration.
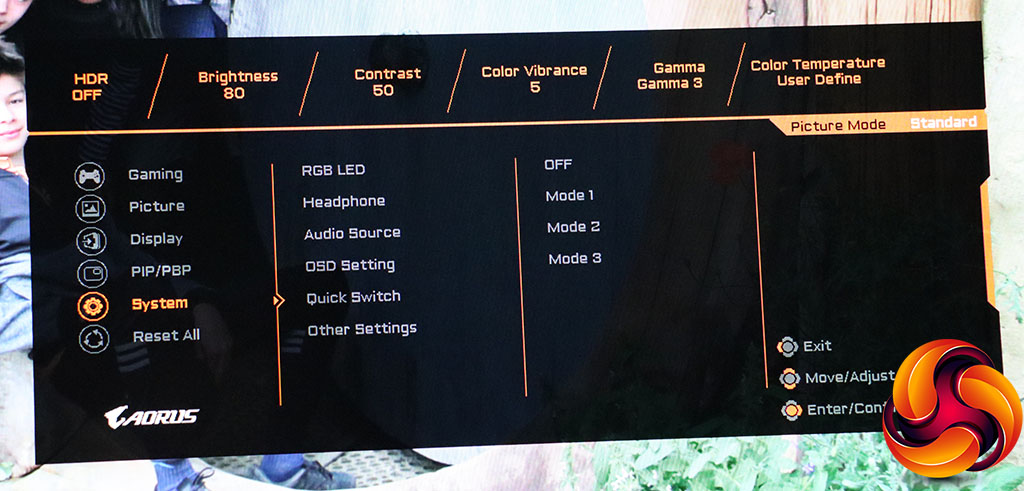
The System section lets you choose the RGB LED lighting mode, headphone volume and mute, and whether to use the USB or HDMI/DisplayPort audio. You can also select language and transparency settings for the OSD itself.
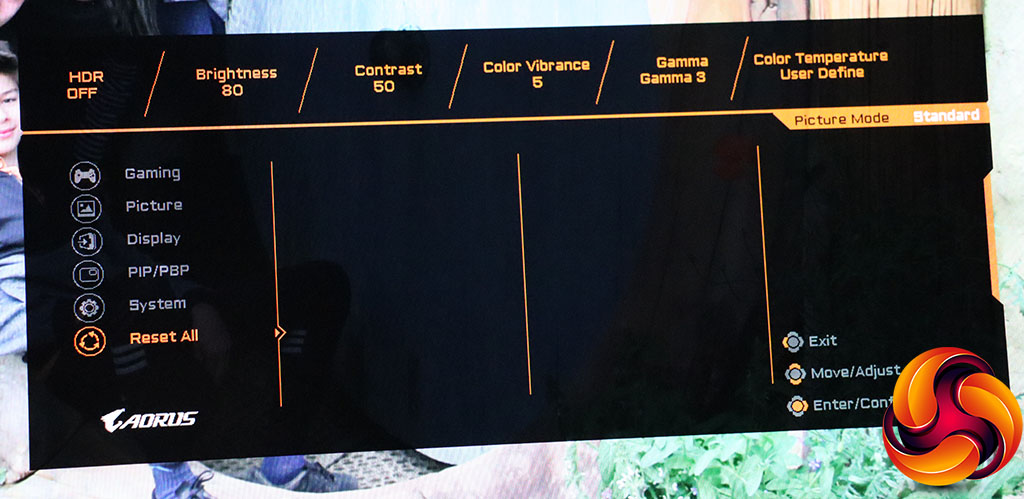
Resetting to defaults gets its whole own section on this monitor.
But this isn't the only way to control the settings on this monitor, which brings us to the OSD Sidekick Windows application.

All the same settings are available as in the built-in OSD, but they are arranged differently and not sectionalised in the same way. In fact, this is a much easier way to adjust your screen. The Sidekick only works when you have the USB upstream cable connected to your PC, but it's great to have all your options there in one panel.
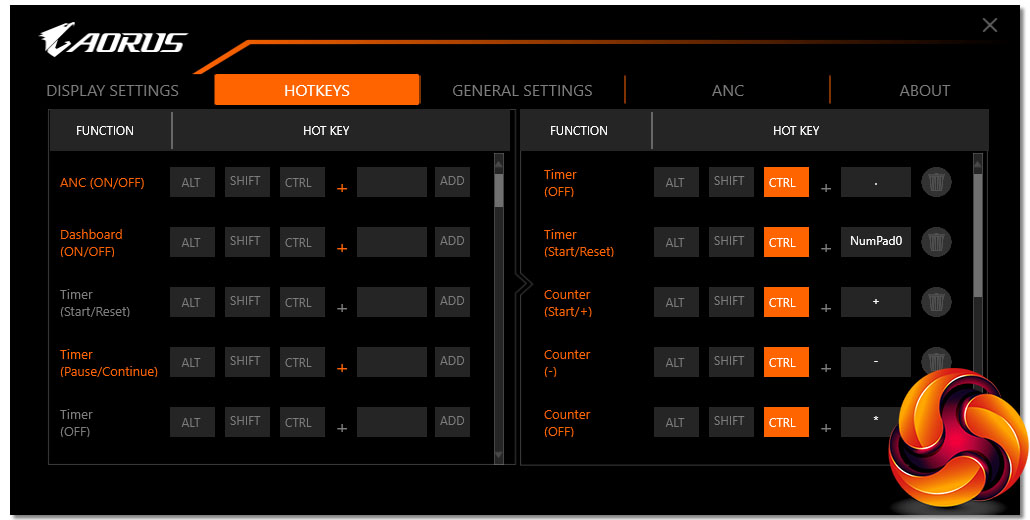
The Hotkeys section of the OSD Sidekick lets you define various key combinations to trigger screen functions, including incrementing the onscreen counter and toggling the ANC noise cancellation.
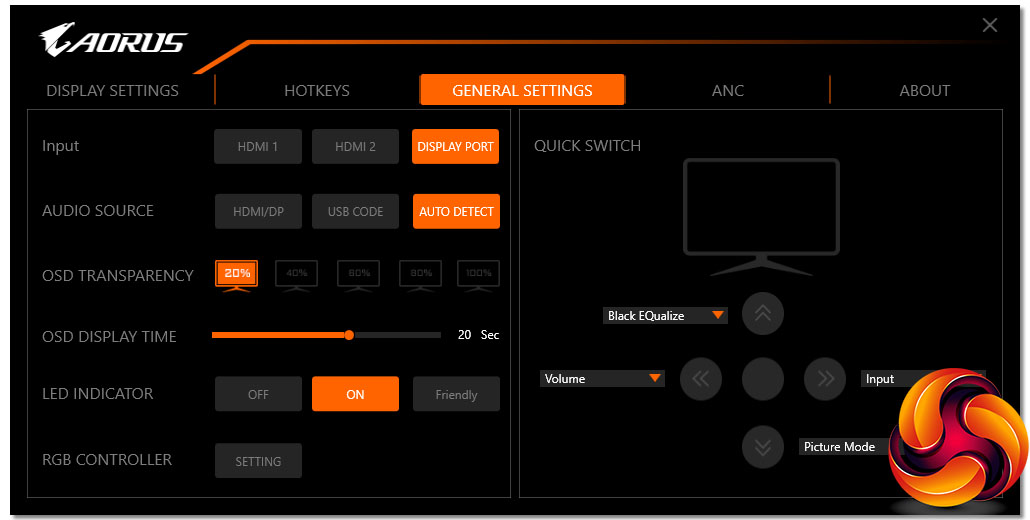
The General Settings section of Sidekick lets you choose input, select an audio source, and configure the OSD behaviour. You can also alter what the joystick calls up when you move it left, right, up or down (without pressing it in first).
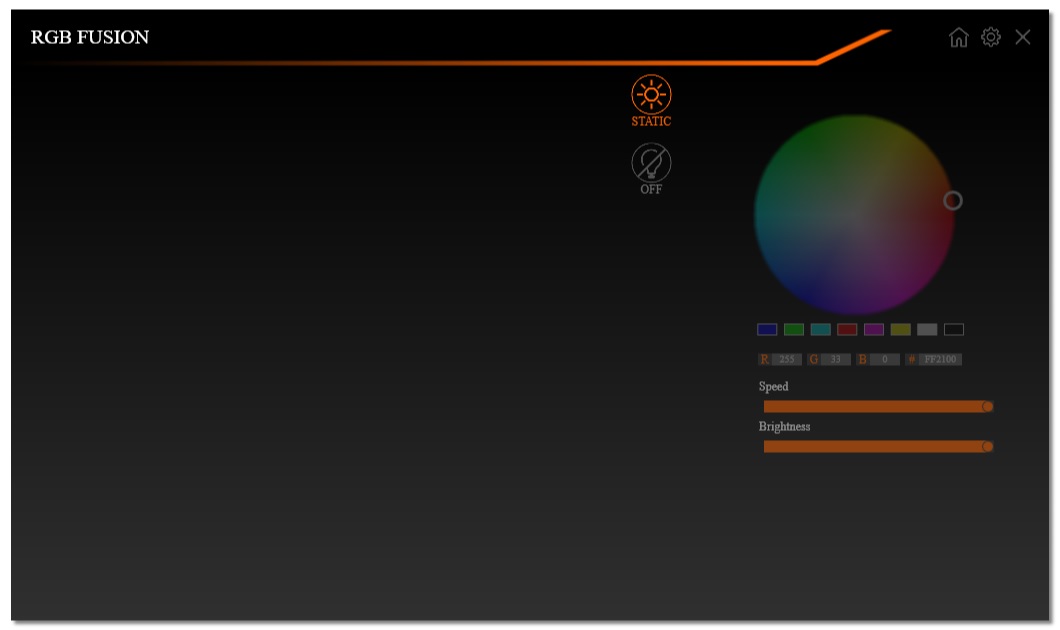
You can also access the RGB Fusion app from General Settings, although most of the options appeared to be greyed out other than turning the lighting off and on. The colour sliders were visible, but not accessible.
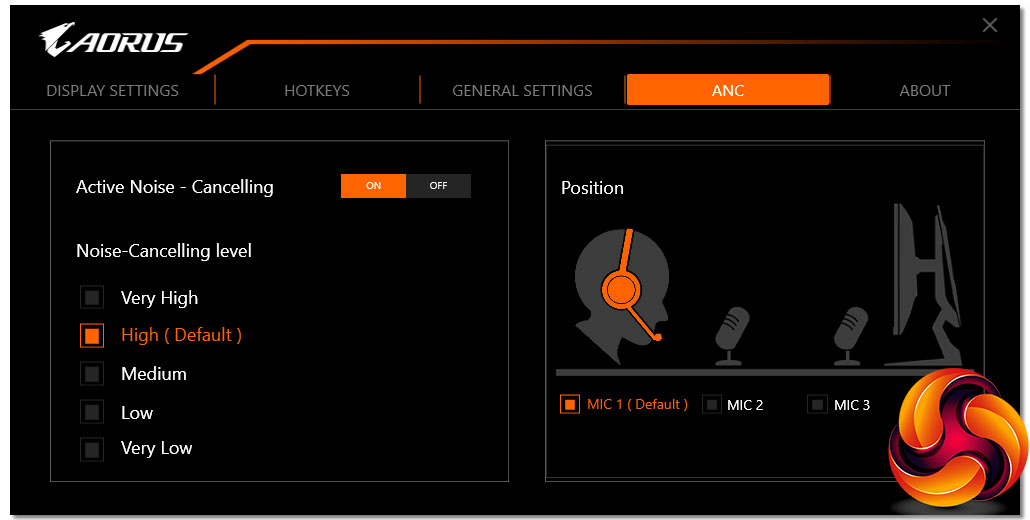
You don't get any access to configuring the Active Noise Cancelling (ANC) from the main OSD, so Sidekick is your only option for this.
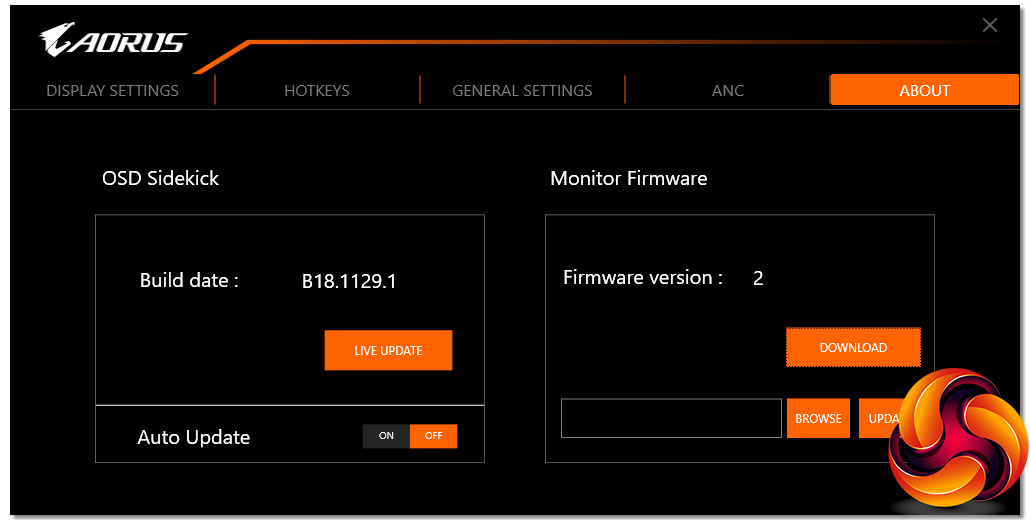
The About section, rather than being merely informational, in theory allows live updating of the Sidekick software and monitor firmware, but didn't seem to connect to the Internet when we tried it.
Overall, this is one of the most comprehensive gaming OSDs we have seen. Not everything worked quite as promised, such as the Aim Stabilizer, but there is so much here that you can really customise your monitor experience exactly the way you want it. The OSD Sidekick is also an excellent addition. The joystick is one of the best implementations in terms of positioning, but you might not bother using it with Sidekick available, because being able to adjust your monitor within Windows is that much easier still.
So, score one to the AORUS for features. Let's turn to quality assessment to see if it can do two for two.
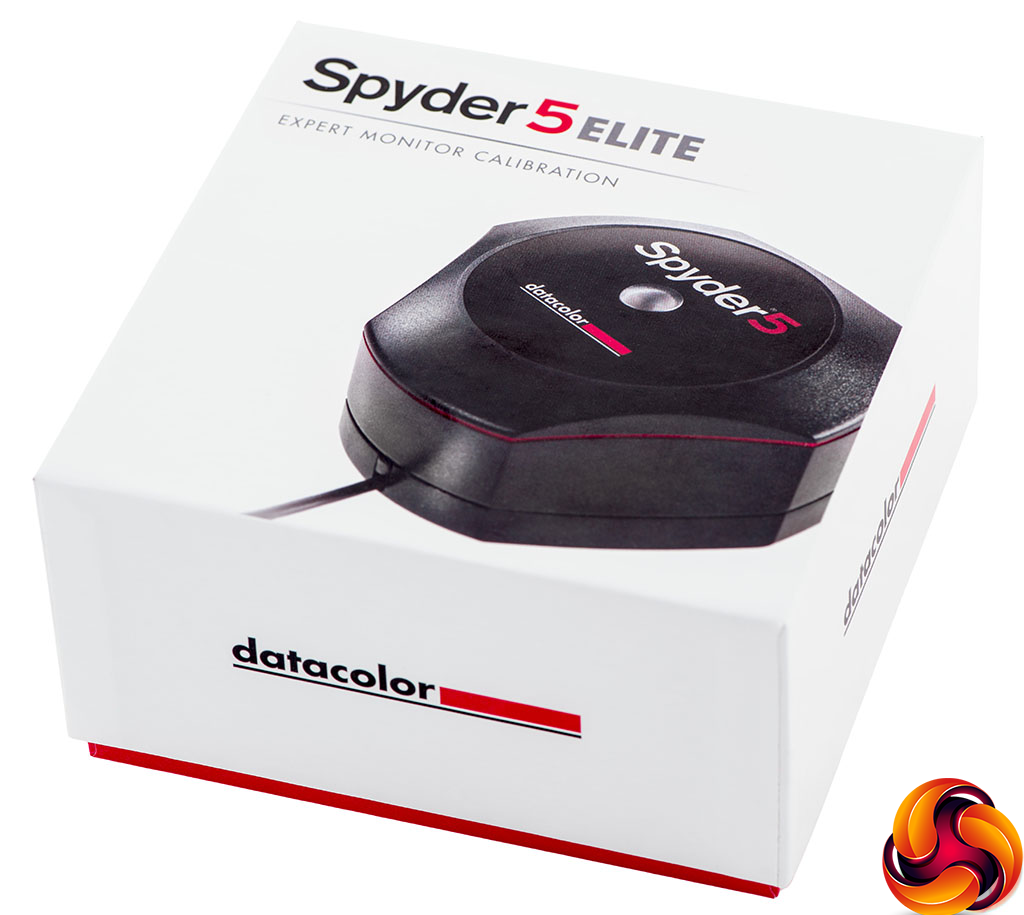
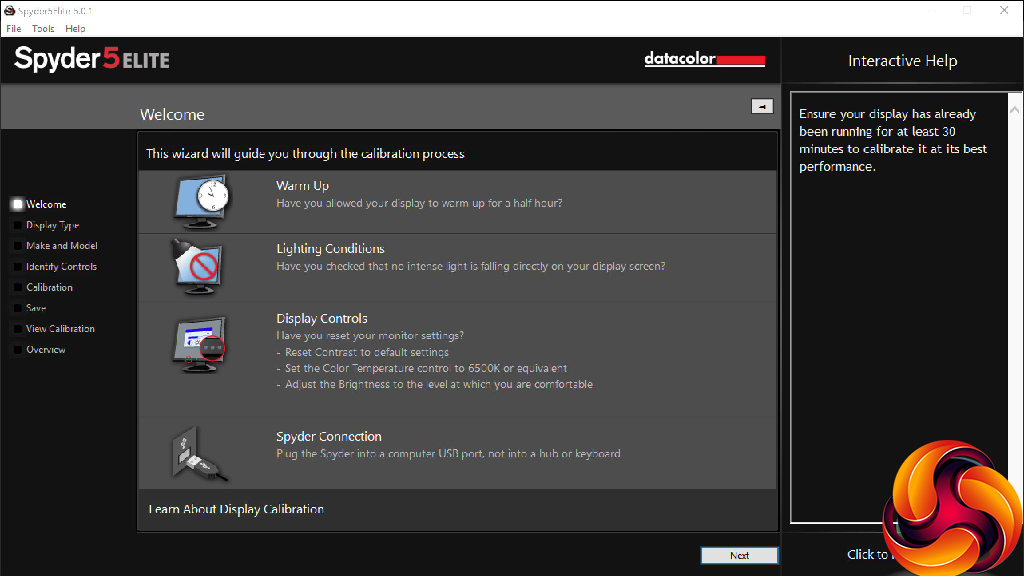
Our main test involves using a DataColor Spyder Elite 5 Colorimeter to assess a display’s image quality. The device sits on top of the screen while the software generates colour tones and patterns, which it compares against predetermined values to work out how accurate the screen is.
The results show –
- A monitor’s maximum brightness in candelas or cd/m2 at various levels set in the OSD.
- A monitor’s contrast ratio at various brightness levels in the OSD.
- The brightness deviation across the panel.
- The black and white points.
- The colour accuracy, expressed as a Delta E ratio, with a result under 3 being fine for normal use, and under 2 being great for colour-accurate design work.
- The exact gamma levels, with a comparison against preset settings in the OSD.
We first run this test with the display in its default, out-of-the-box state, with all settings on default. We then calibrate the screen using the Spyder software and run the test again.
We always test the display subjectively on the Windows desktop, using it for general tasks such as browsing and word processing, and with games as well, even if the display is not intended solely for that purpose.
We pay careful attention to any artefacts, ghosting or motion blur, and enable any gaming-specific features, such as adaptive-sync settings like G-Sync or FreeSync, using a compatible graphics card in our test PC.
We performed the quality tests at the native 2,560 x 1,440 resolution in the default mode, after resetting the OSD, which uses a 60Hz refresh. Our test system was equipped with an AMD Radeon Vega Frontier Edition graphics card, which also supports FreeSync.
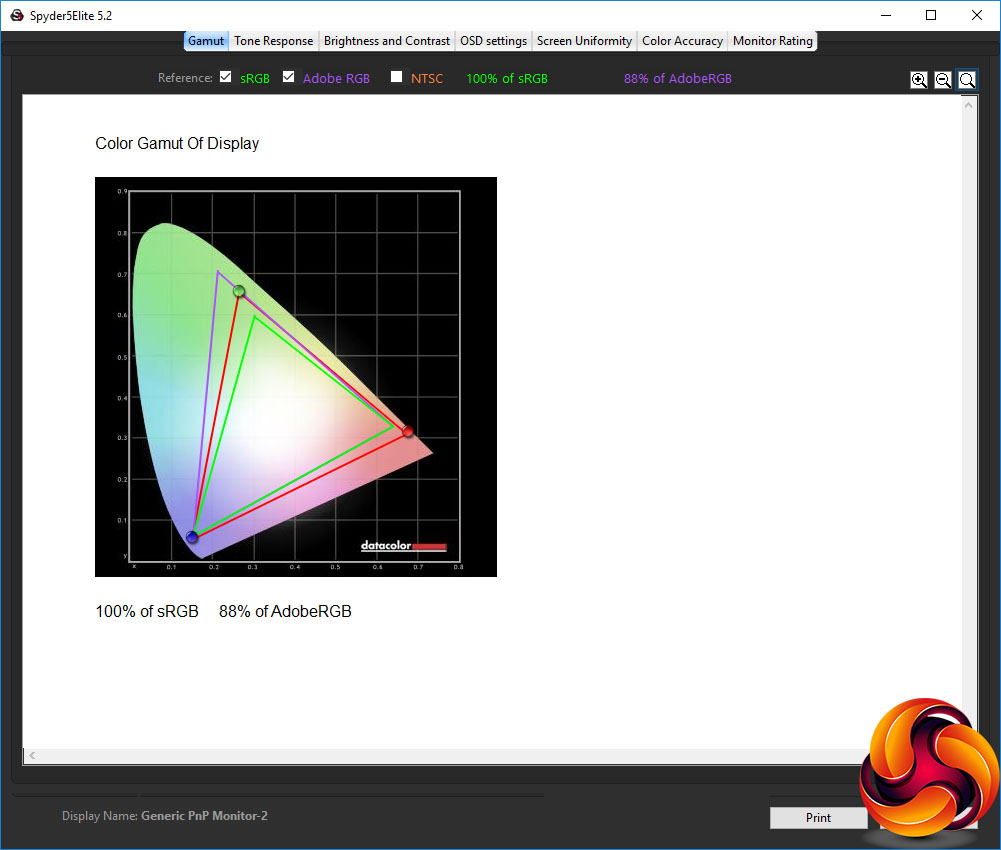
The gamut is very good, with 100 per cent of sRGB and 88 per cent of AdobeRGB.
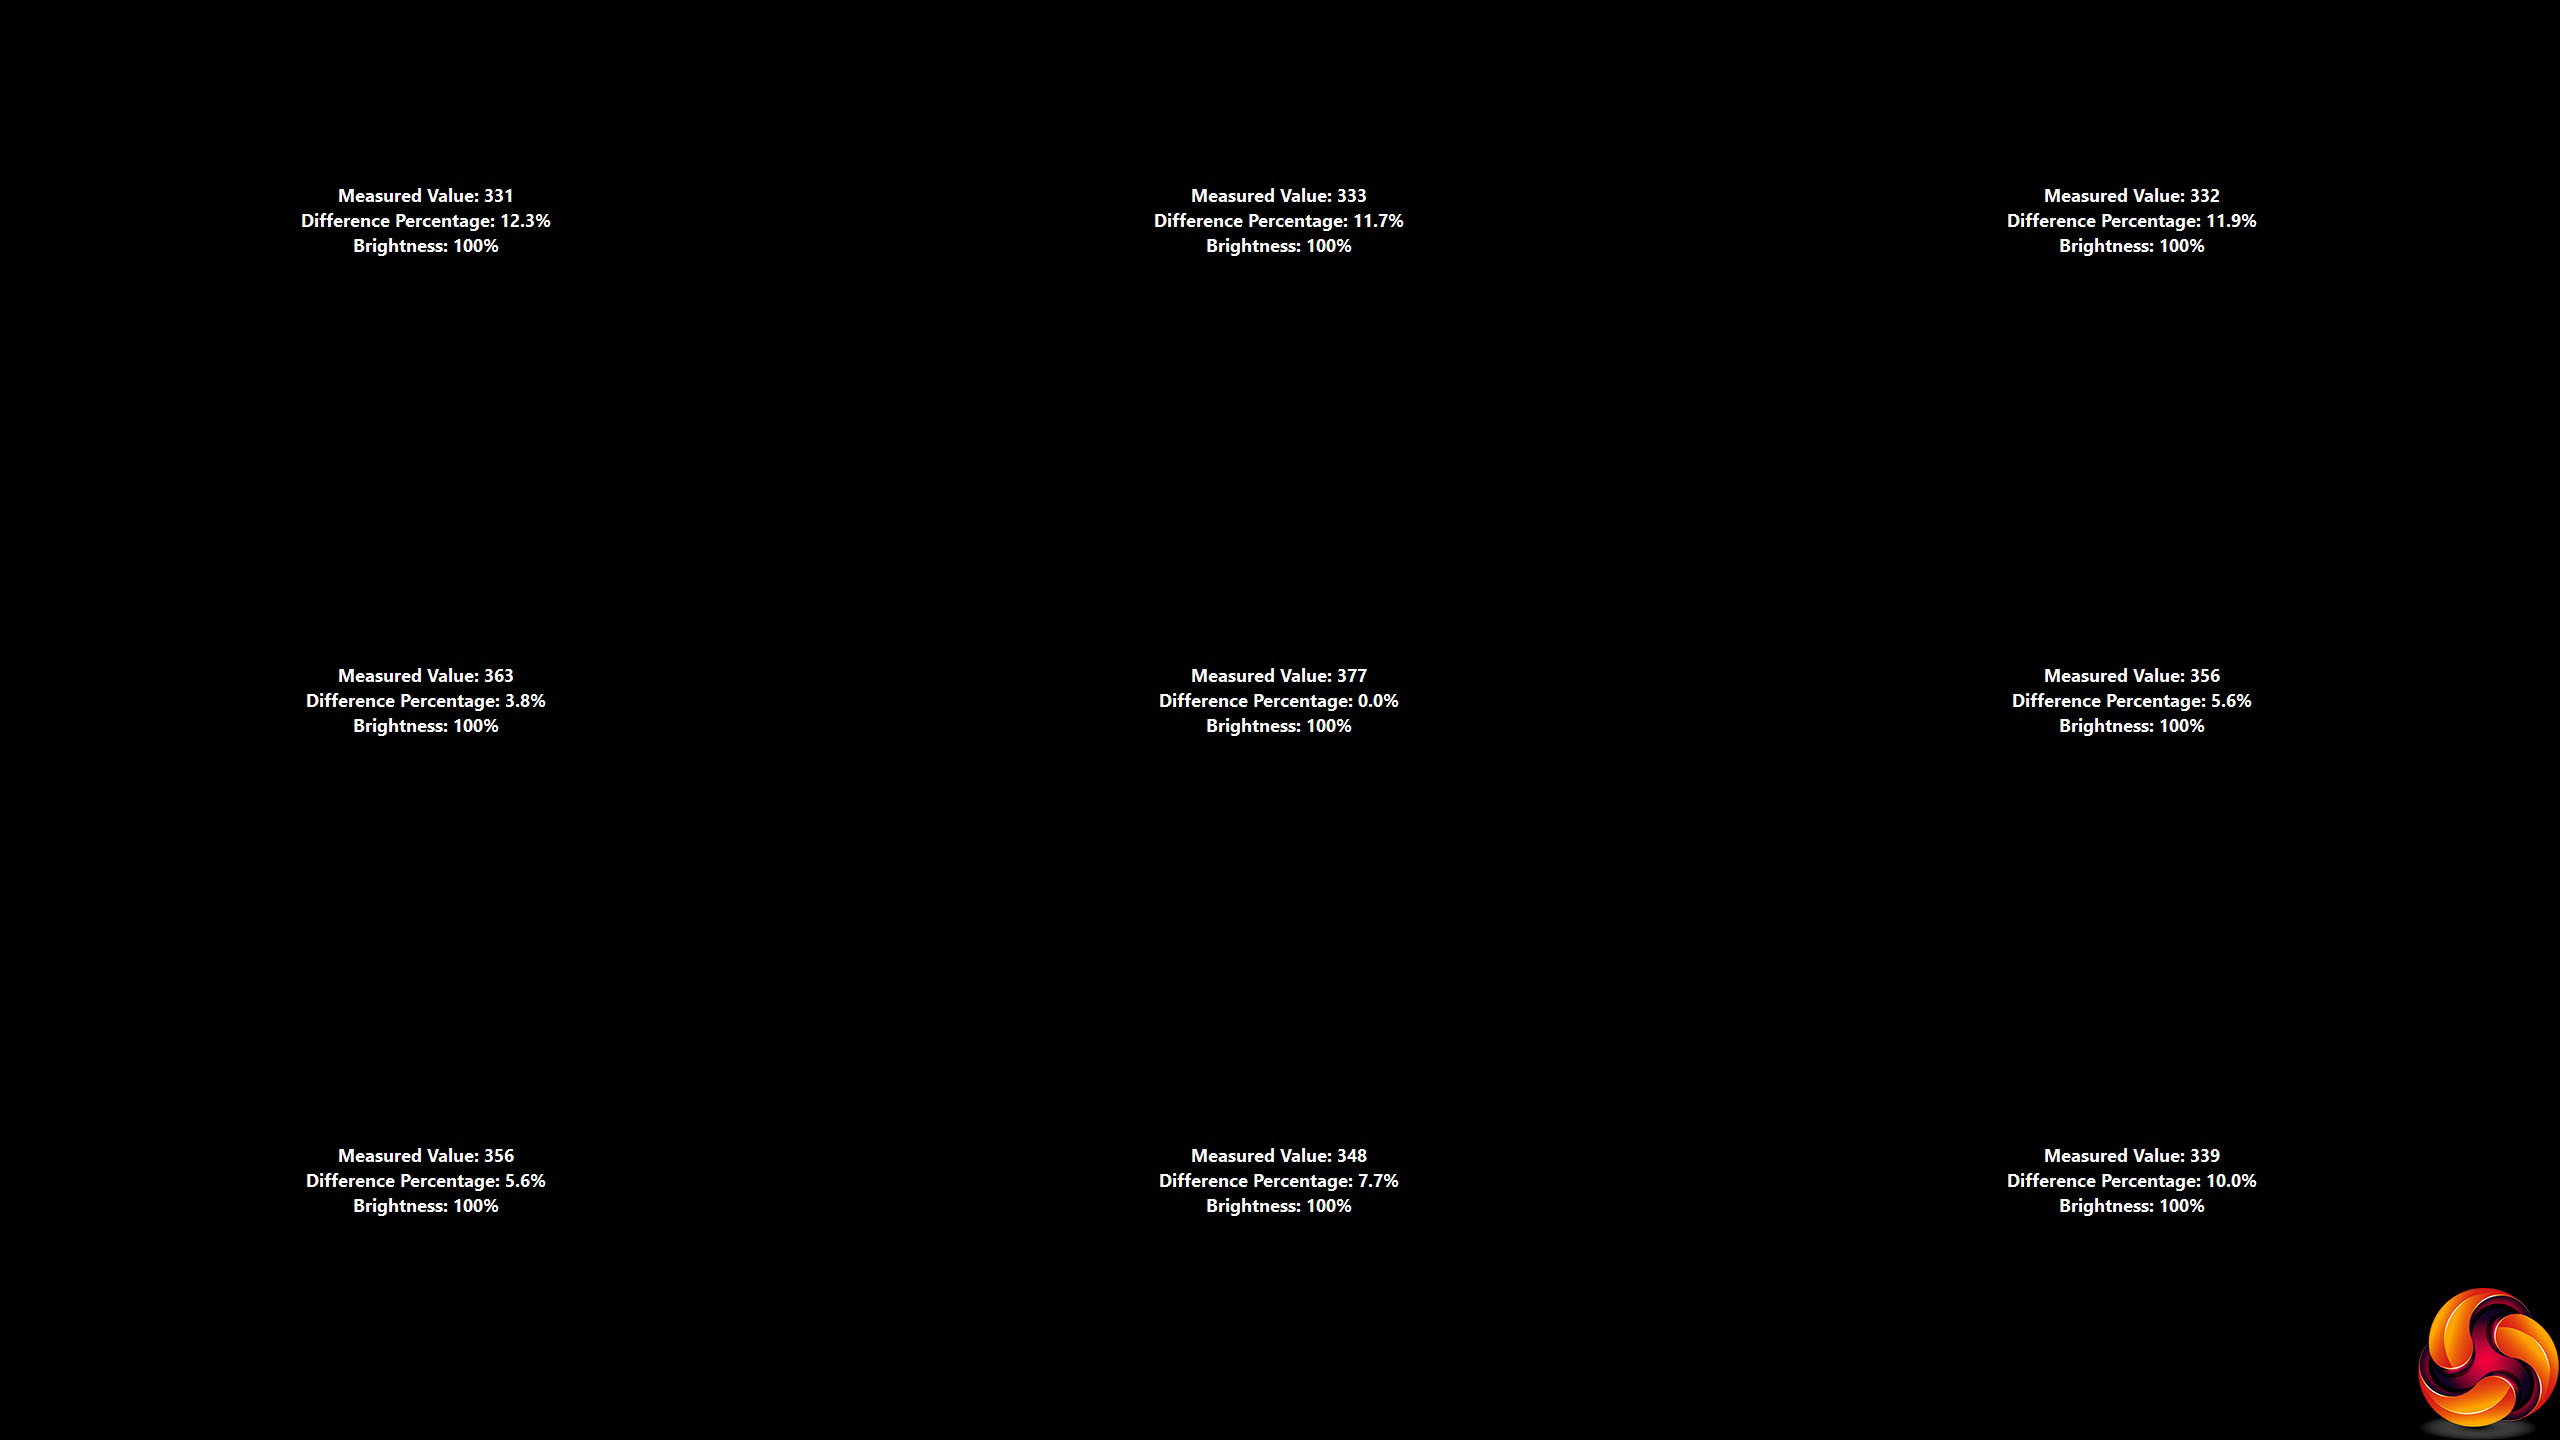
Unfortunately, brightness uniformity is less outstanding, with the top edge diverging considerably from the centre.
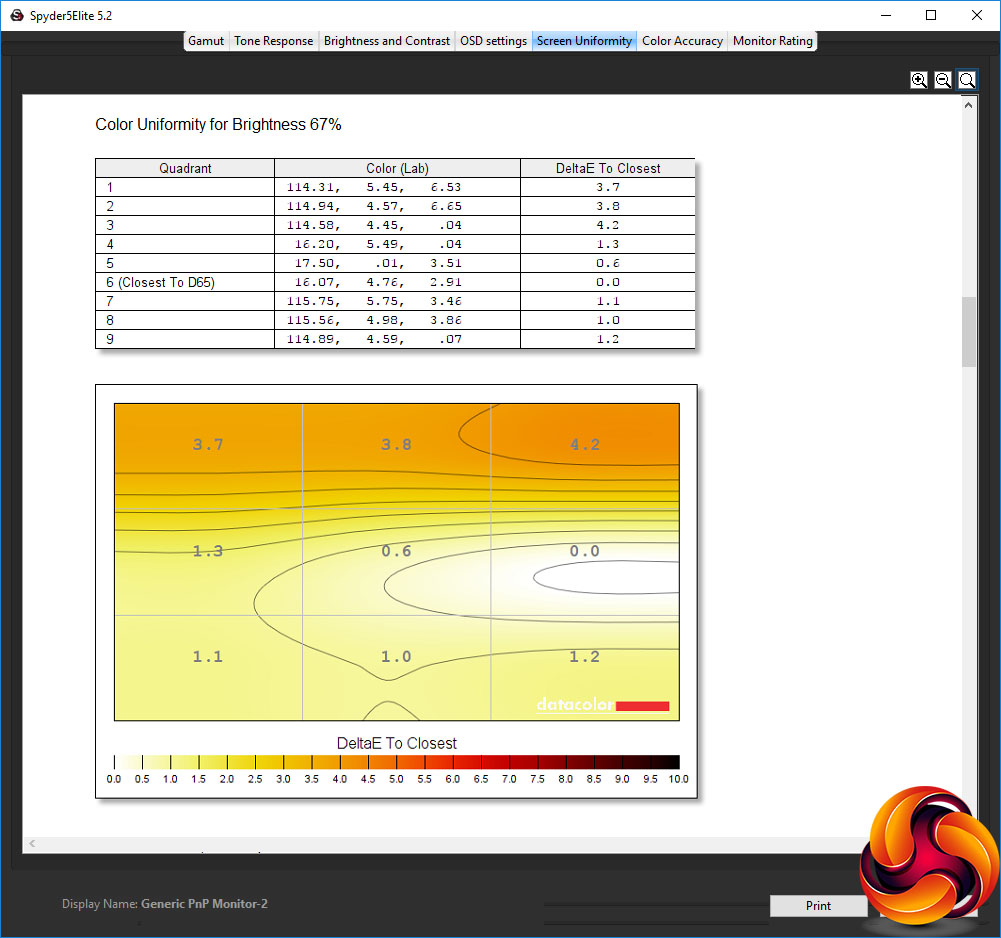
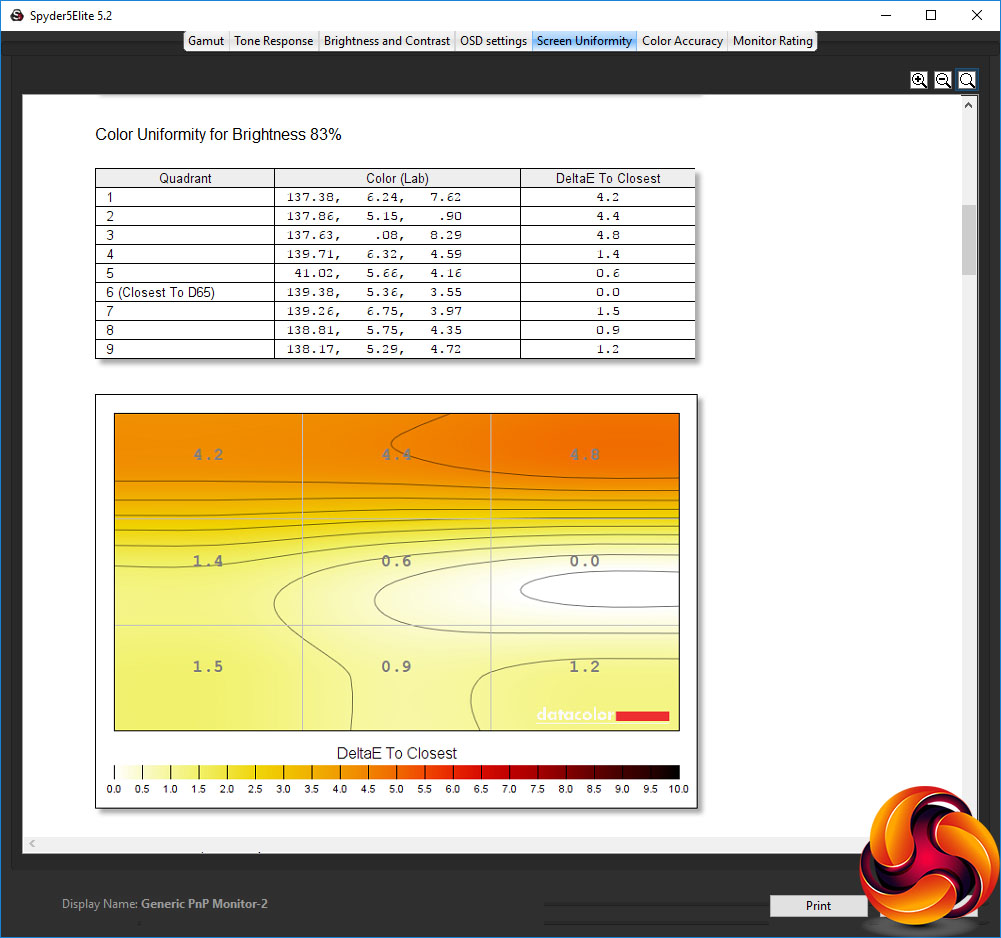
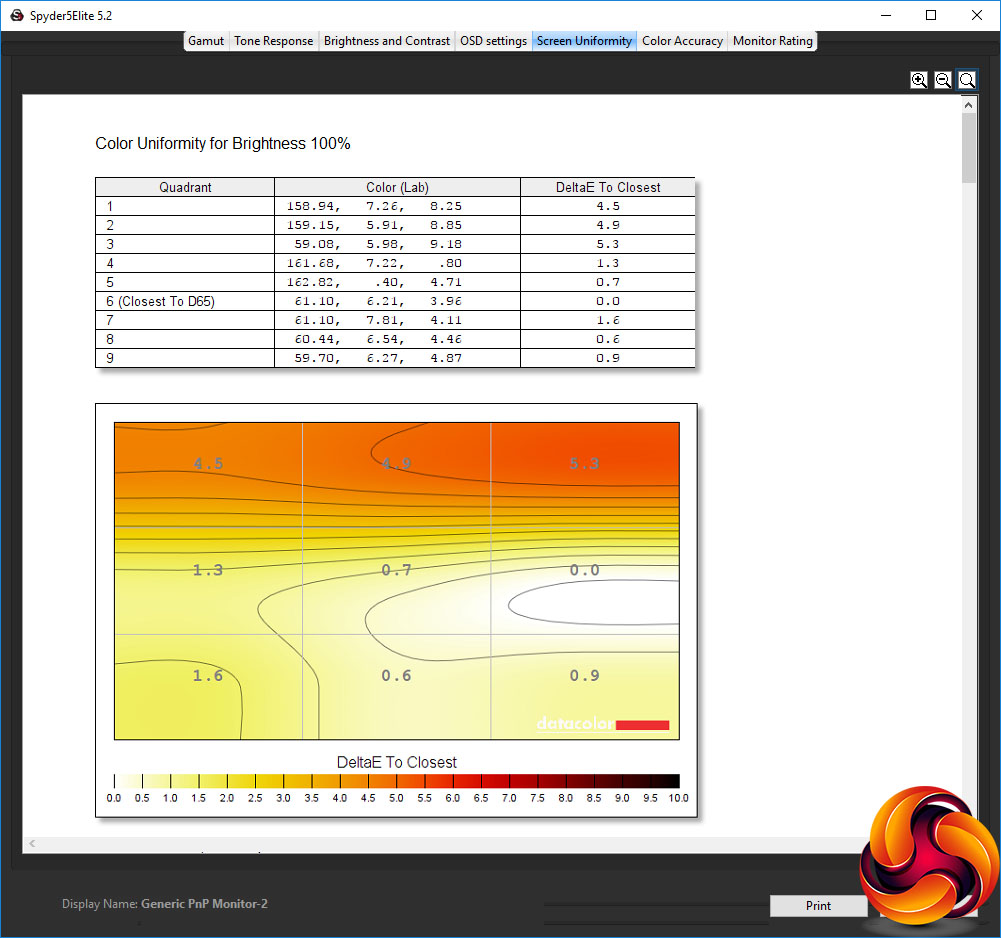
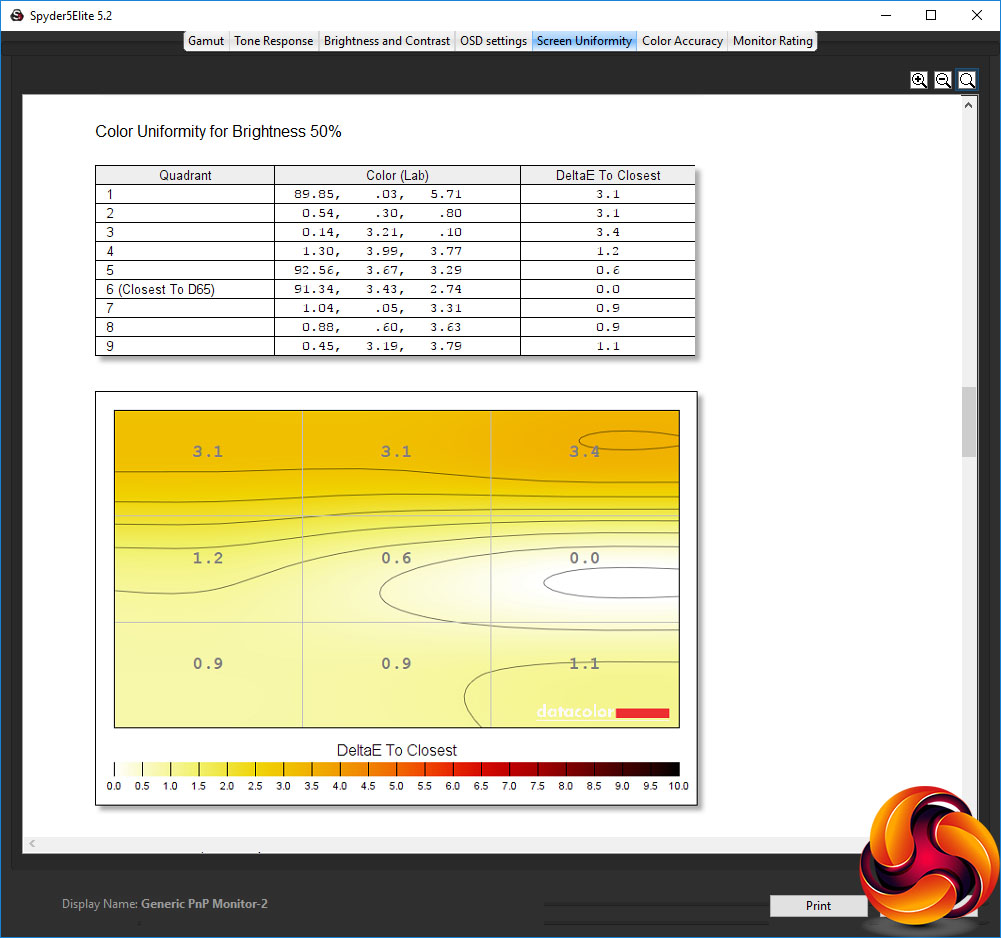
Colour uniformity also appears to have an issue with the top edge, but not so pronounced.
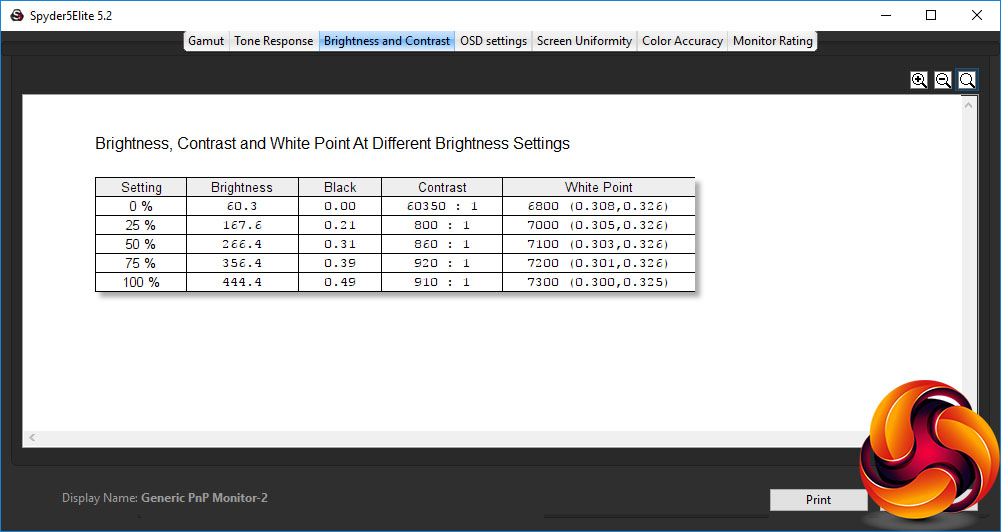
Although this screen is rated at 350cd/m2, it hits that around its 75 per cent brightness level. At 100 per cent, it achieves 444.4cd/m2, which is good for an IPS panel. The contrast is also decent for this panel type.
The 0 per cent brightness reading is, as usual, a bit of an aberration, but from 25 per cent upwards it goes from 800:1 to over 900:1. This test tends to under-report contrast, so these are decent levels. The white point is slightly variable, however, ranging from 6800K to 7300K.
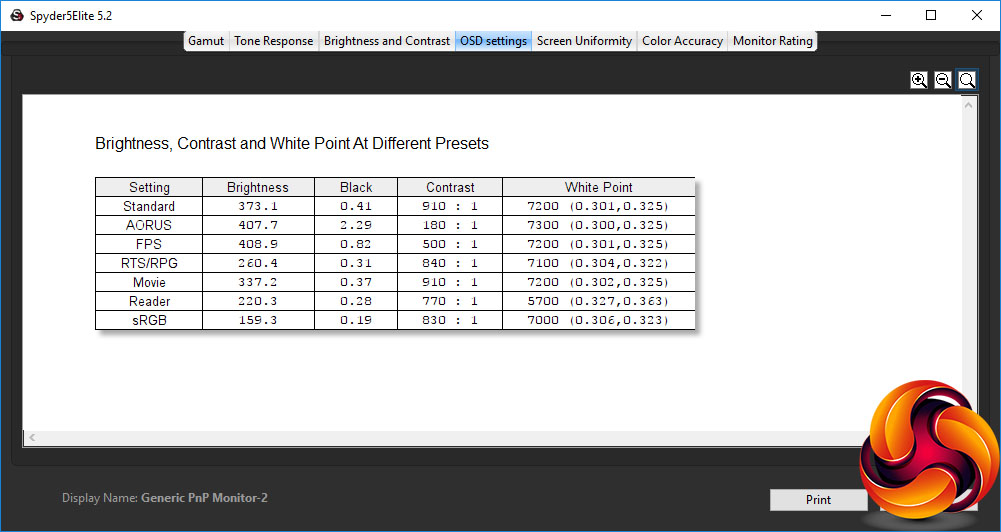
You get a good variety of options with the Picture Mode presets. The default Standard option provides a bright 373.1cd/m2 and high 910:1 contrast, with a mid-range 7200K white point. The AORUS option is brighter, using 407.7cd/m2, but with much lower 180:1 contrast and a slightly cooler 7300K white point. Notably, the black point is very high at 2.29.
The FPS mode has a similar 408.9cd/m2 brightness to the AORUS option, allied with a more normal (but still low) 500:1 contrast. The white point is the same 7200K as Standard mode. The RTS/RPG mode drops the brightness down a fair bit to 260.4cd/m2, increases contrast to 840:1, but again keeps the white point around the same level at 7100K. Movie mode uses a similar 7200K white point, reasonably high 337.2cd/m2 brightness, and high 910:1 contrast.
The Reader option follows the usual trend for this kind of preset, with a relatively low 220.3cd/m2 brightness, mid-range 770:1 contrast, but warm 5700K white point. The sRGB mode has the lowest 159.3cd/m2 brightness, higher 830:1 contrast, and mid-range 7000K white point.
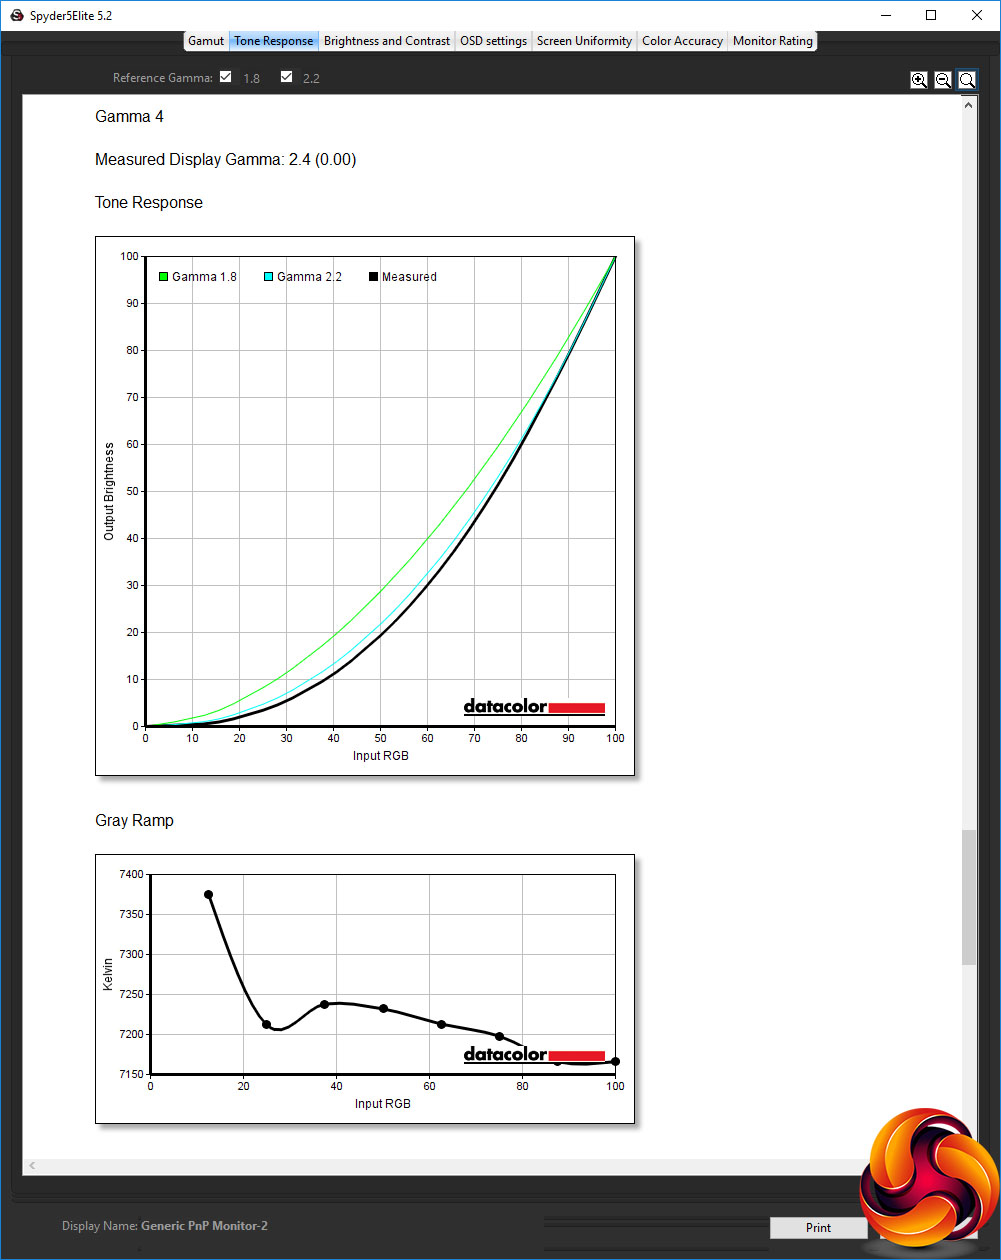

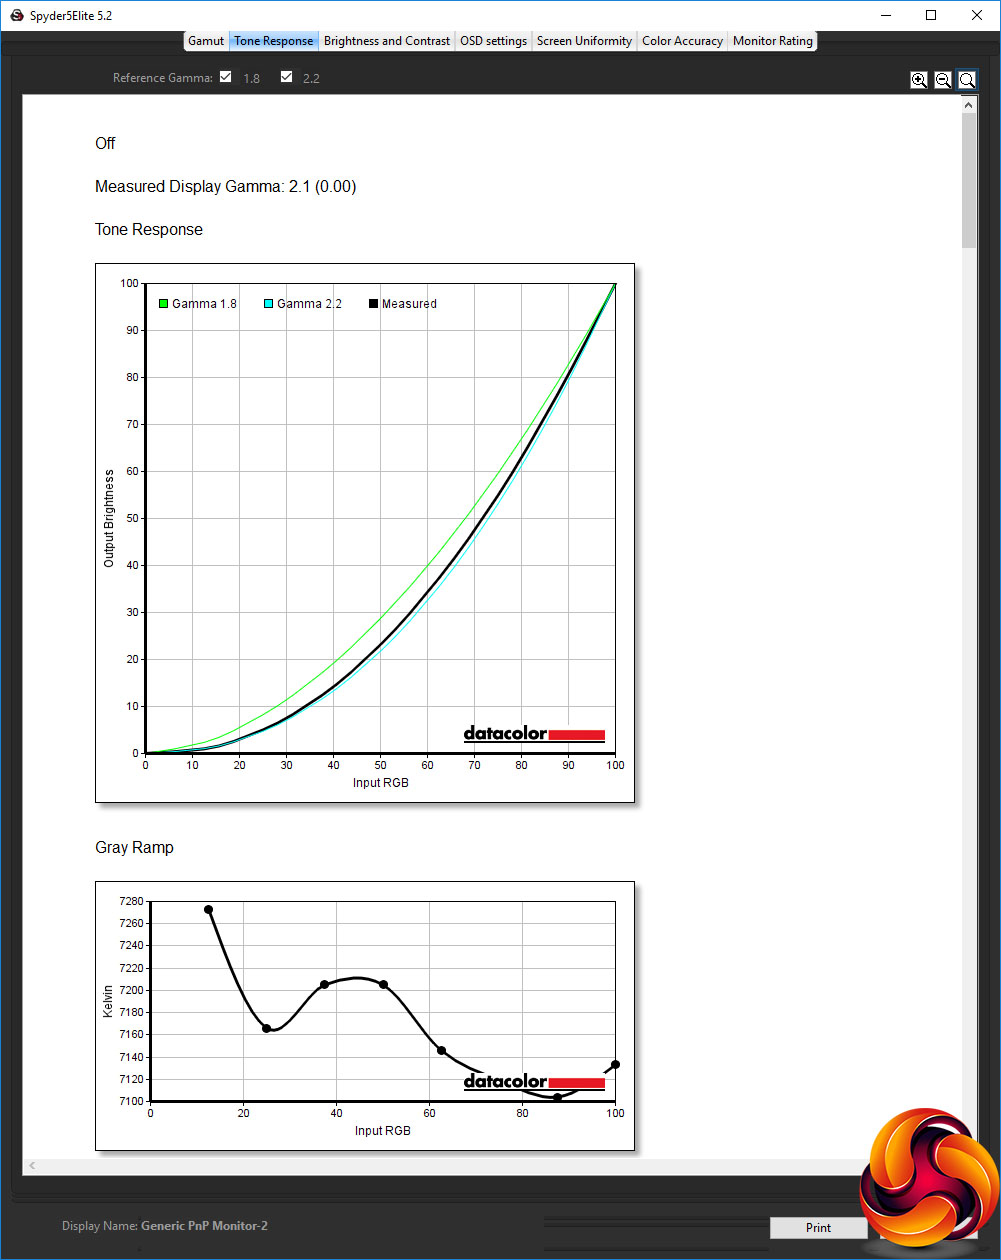
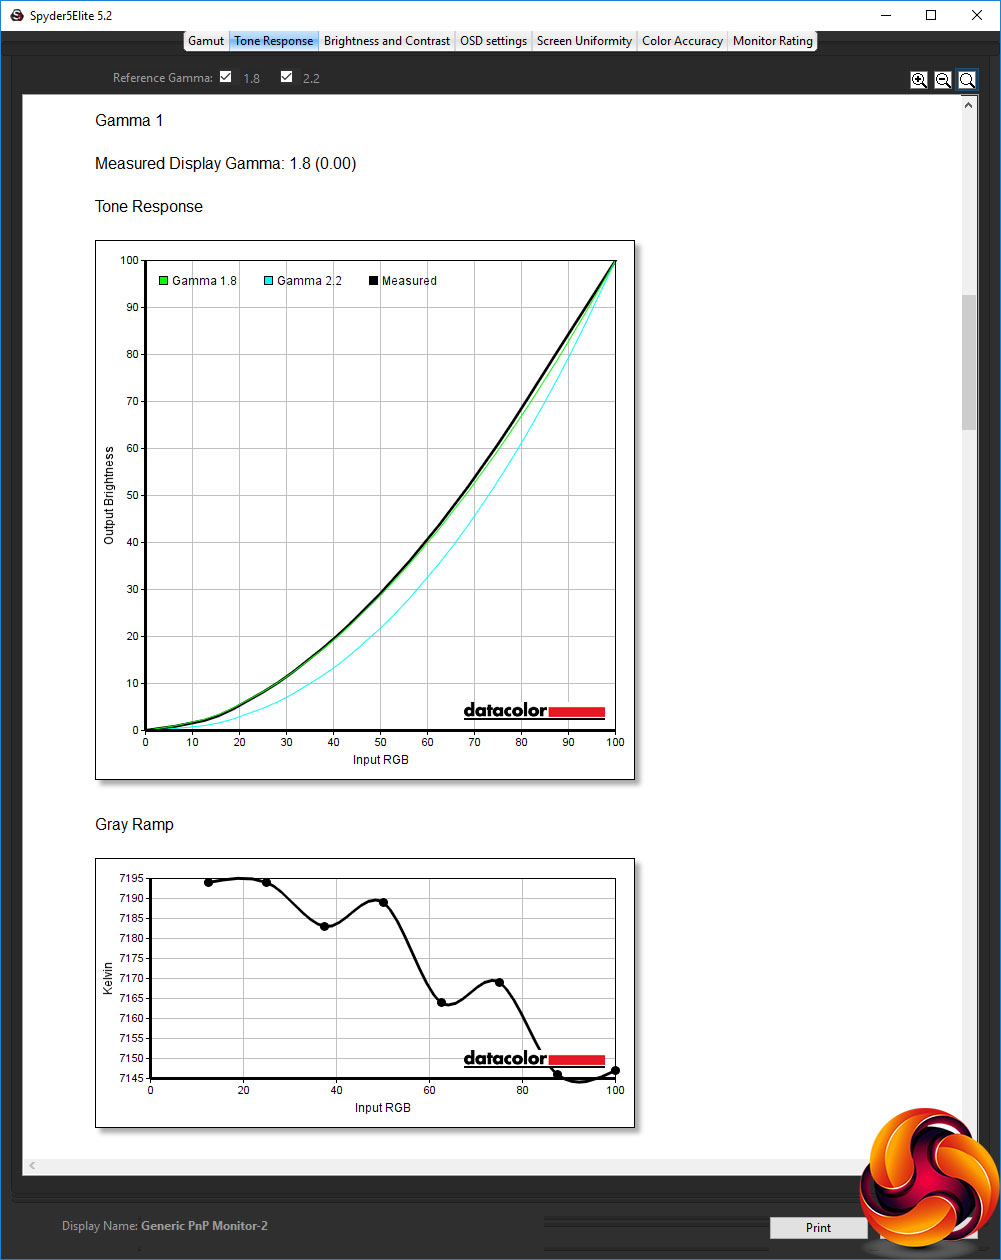
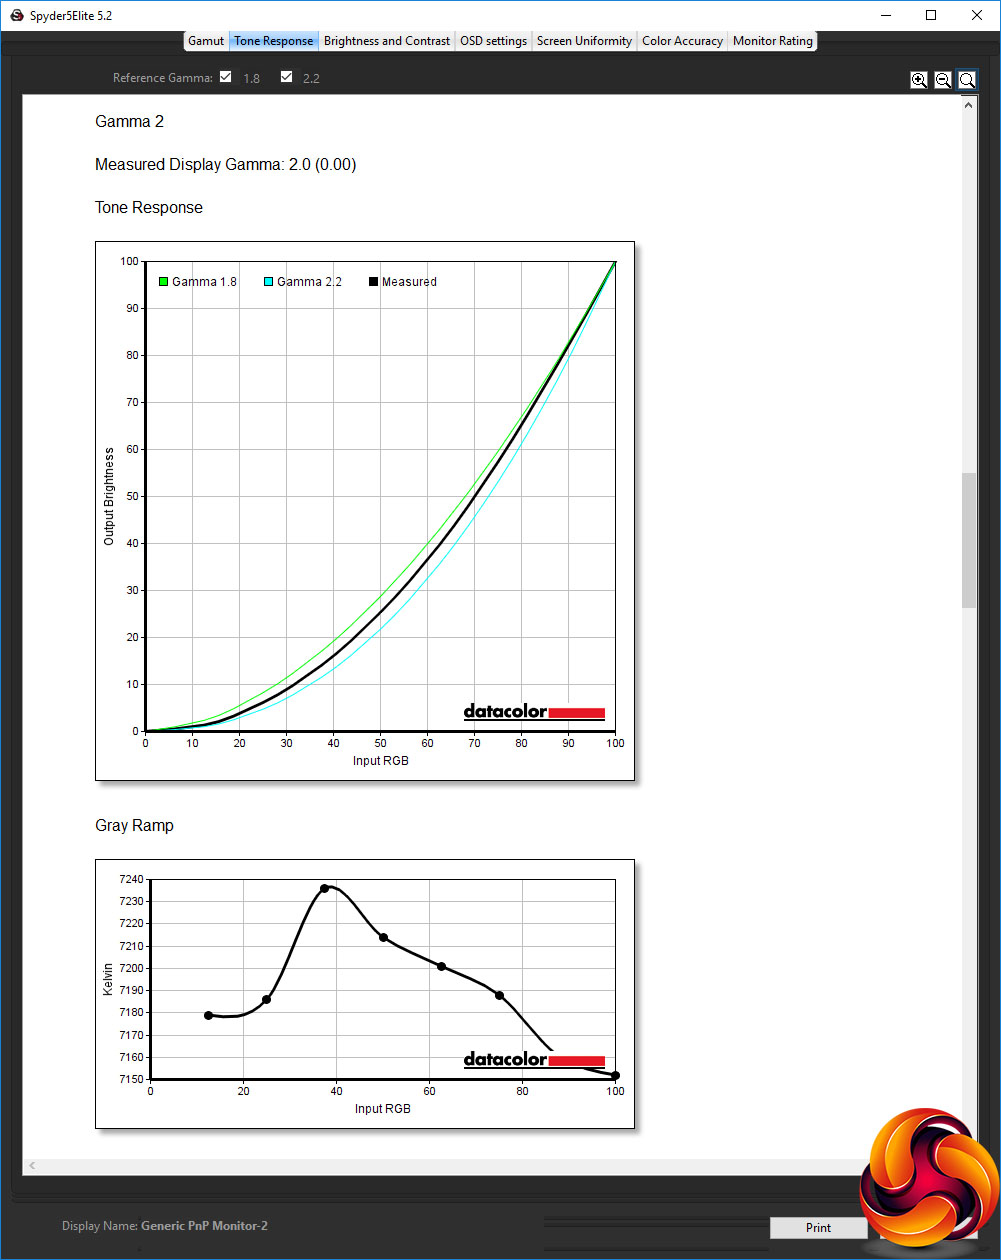
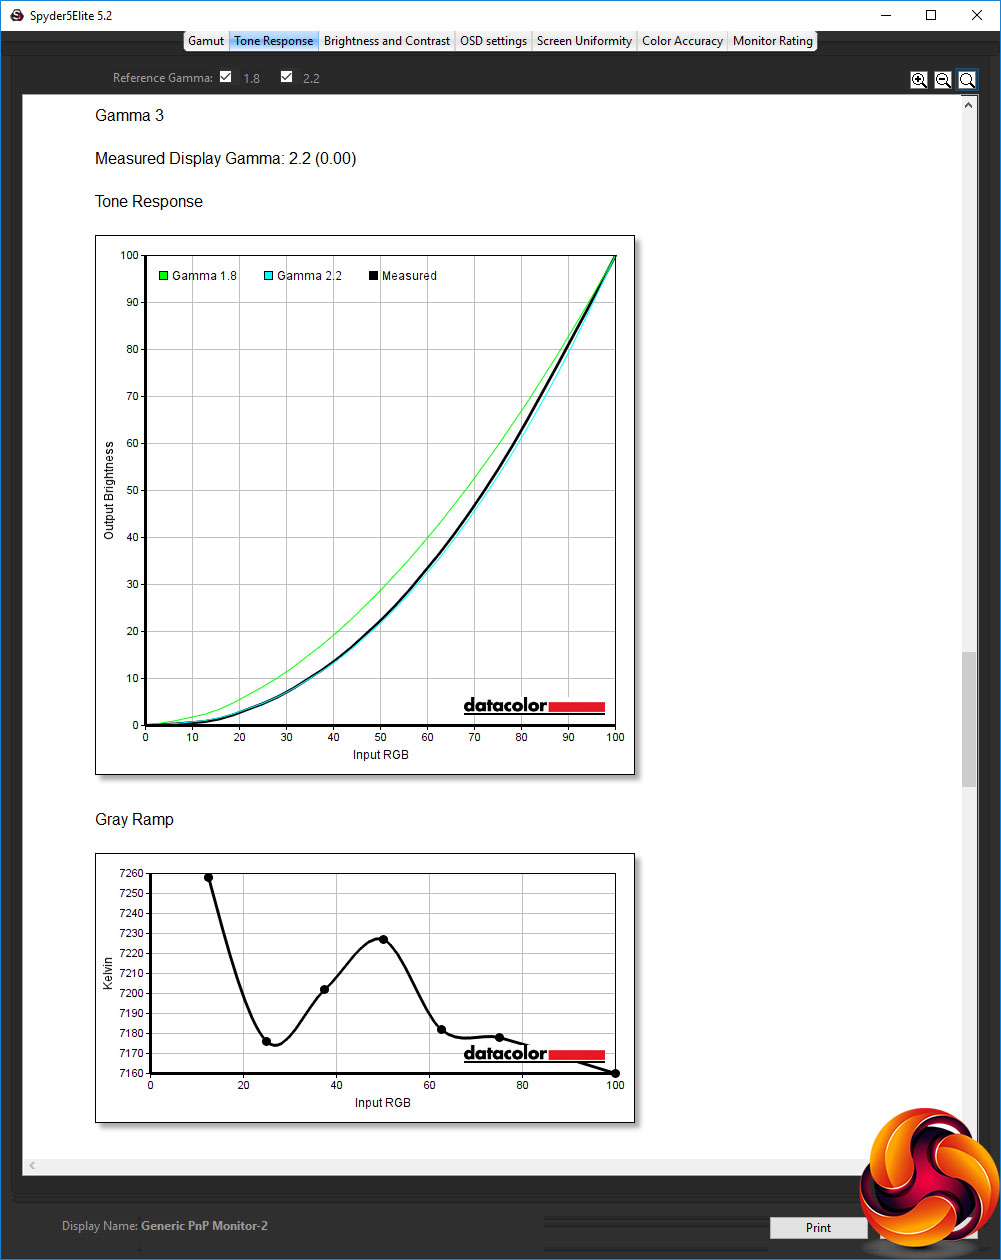
In the default Standard mode, the Gamma is set to Level 3, which is spot on what you would hope at 2.2. In fact, the gamma options range exactly from Gamma 1 at 1.8 to 2.6 at Gamma 5, which completely uniform 0.2 steps in between. The strange off option equates to 2.1.
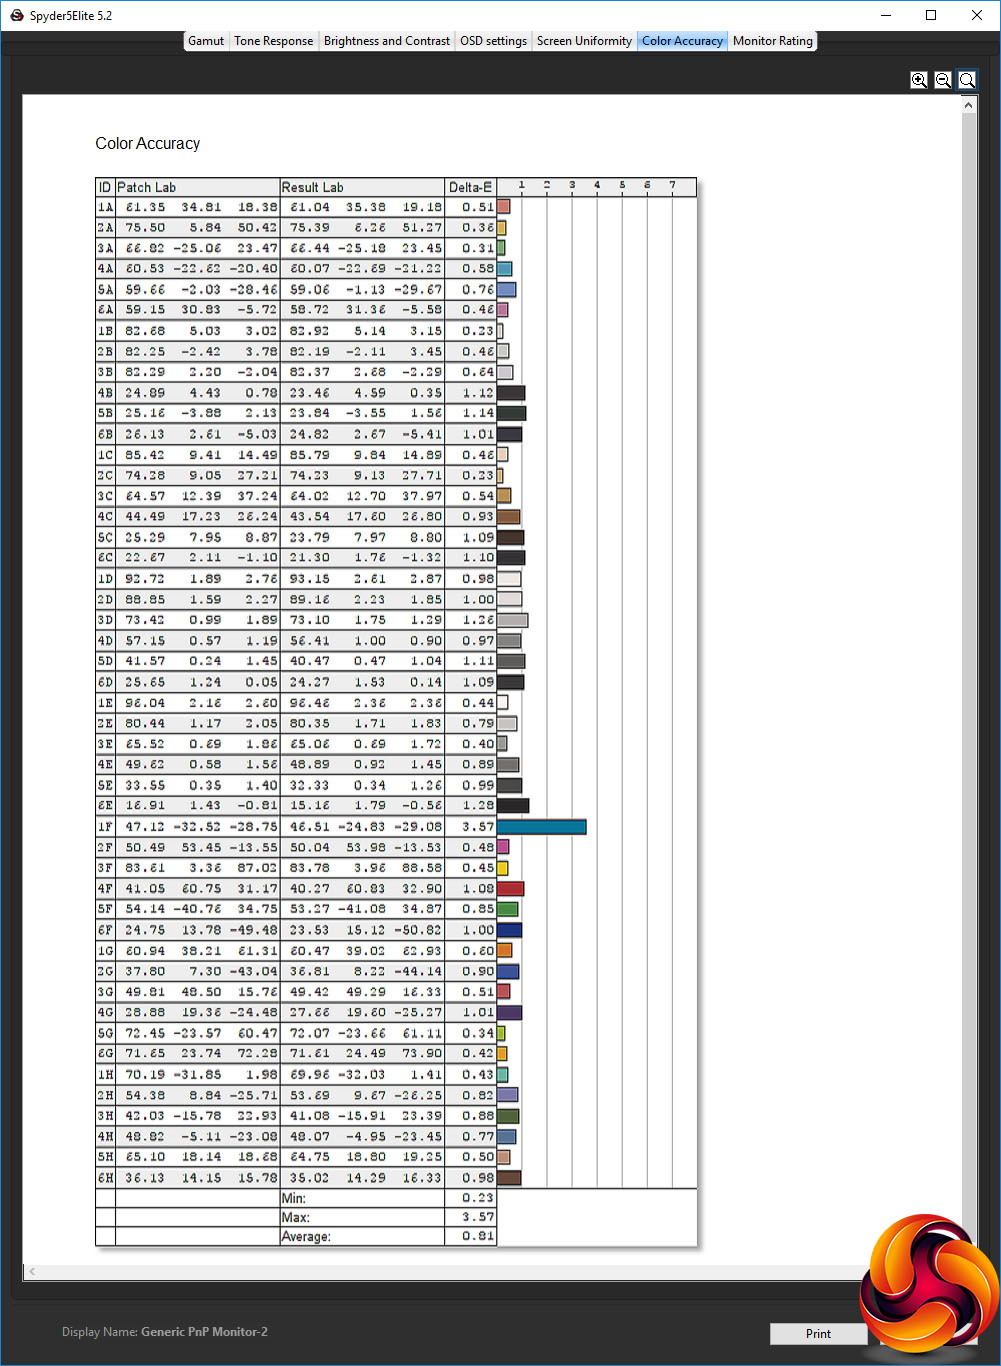
Even without calibration, the AD27QD achieves an outstanding 0.81 colour deviation. This is a very accurate screen. But, as usual, we wanted to see if we could do better, so we fired up the Spyder's calibration routine.
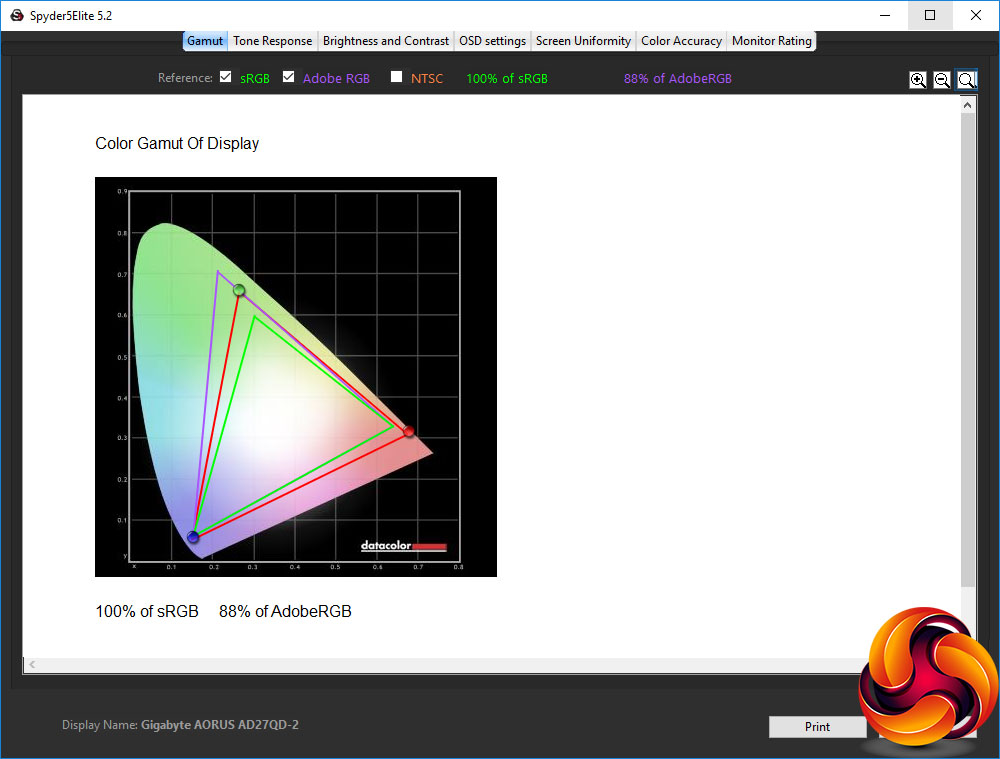
As usual, no change to the gamut.

We only retested the default Gamma 3 preset, which remains at 2.2.
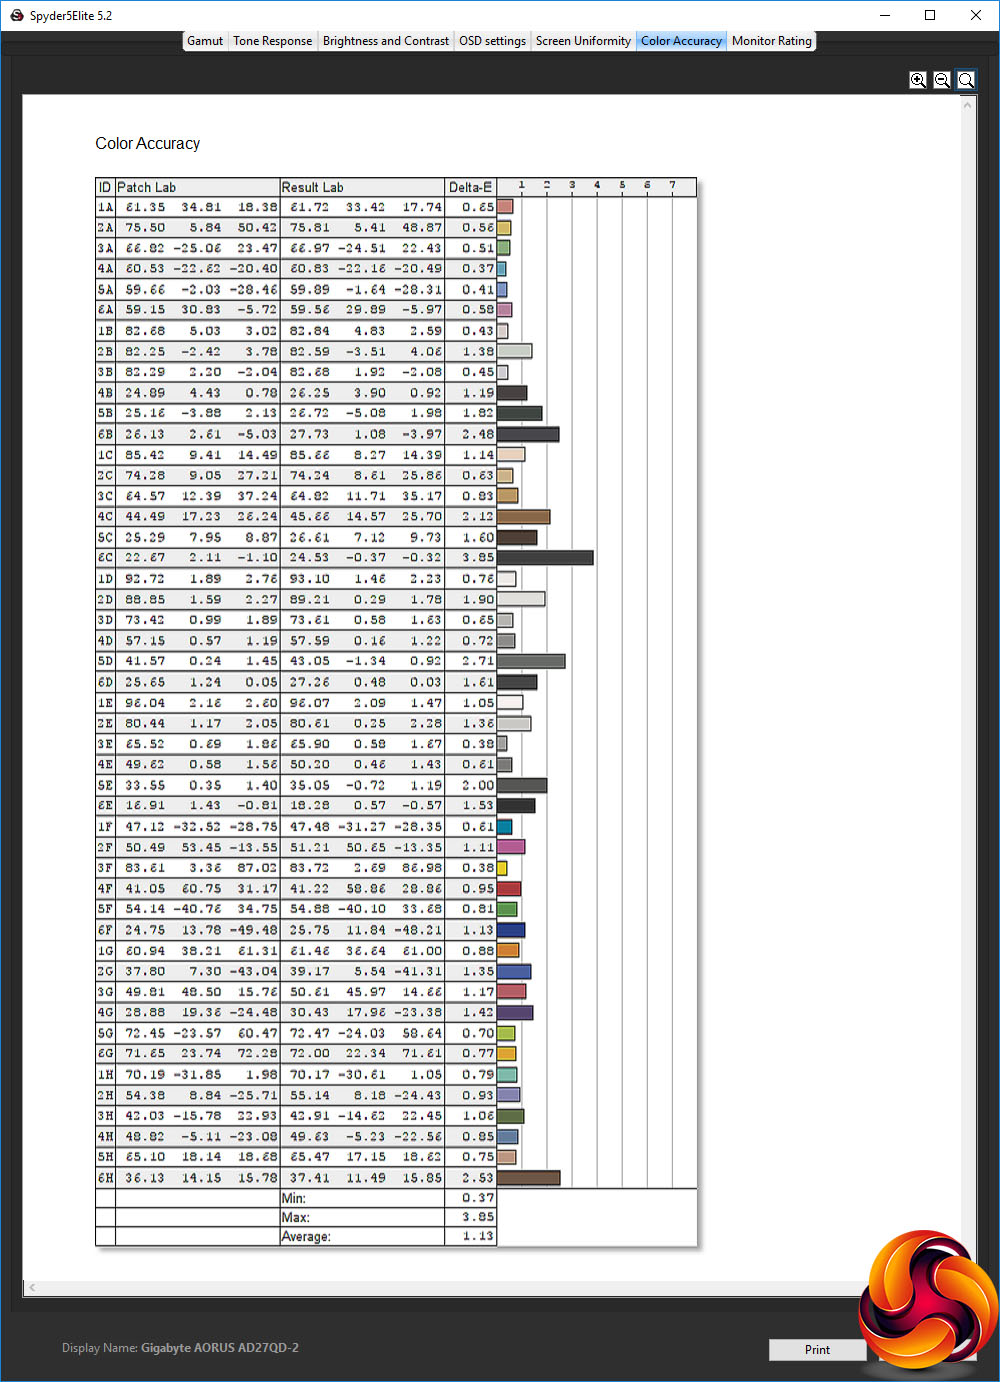
Colour accuracy has gotten slightly worse than before, but is still a very good 1.13 average deviation. Nevertheless, our recommendation is not to bother; just stick with the Standard preset if you want accurate colour. This monitor delivers great fidelity straight out of the box.
Since this is a gaming screen, we spent some time playing a variety of titles, in particular Tom Clancy's Rainbow Six Siege. It was a shame we couldn't get the Aim Stabilizer to enable, because this game would definitely benefit. But even without it, this was a great screen for this title. The hardware crosshair came in handy, and we were able to improve our experience with the FPS mode and a higher Black Equalizer setting. FreeSync smoothed the frame rates by allowing the screen to keep pace with what our system's AMD Radeon Vega Frontier Edition was delivering.
The range of presets also give this easy configurability for a wide variety of game types and entertainment uses. We also found the noise cancellation effective. If you're using this screen in a noisy LAN party environment, you will be able to hear your own audio better over the background hubbub.
Overall, performance is excellent, with just the brightness and colour uniformity to blot its copy book.
The Gigabyte AORUS AD27QD is an outstanding monitor debut from Gigabyte. It has great colour accuracy out of the box, and there are lots of high-end features, from the 144Hz refresh and FreeSync to an IPS panel.
On top of this are the unique capabilities. The OSD Sidekick Windows software is an excellent ease-of-use utility, and the USB audio with its noise cancellation adds something no other monitor currently offers in this class.

Although the crosshair plus onscreen timer and FPS options aren't so unique, they are still rare and great to have. Whilst it's a shame that the Aim Stabilizer doesn't seem to operate as advertised, and the Dashboard didn't give us all the details promised, these are niggles when the overall package is so strong.
The biggest drawback is the cost. The Gigabyte AORUS AD27QD is against some stiff competition at its price point. The excellent 32in Samsung C32HG70 is currently available for a similar price, and gives you more width as well as curves for your money, alongside the same 144Hz refresh and FreeSync. Nevertheless, this is a very accomplished first screen from Gigabyte, and well worth considering the sizeable outlay if you're very serious about your gaming. It may or may not give you the tactical edge you need, but it's a great strategic move from Gigabyte.
The Gigabyte AORUS AD27QD has a recommended price of £534.99.
Pros:
- Excellent colour accuracy.
- 144Hz refresh-rate.
- FreeSync adaptive frame rate synchronisation.
- Lots of options via well designed OSD.
- Very useful OSD Sidekick Windows software.
- Noise-cancelling USB audio.
Cons:
- Mediocre brightness and colour uniformity.
- The Aim Stabilizer and Dashboard need some work.
- Expensive.
KitGuru says: The Gigabyte AORUS AD27QD is a fantastic first screen from Gigabyte, with great image quality and huge range of useful features for the ardent gamer.