The buttons on the front have two different functions, apart from the one on the far right, which is just for power.
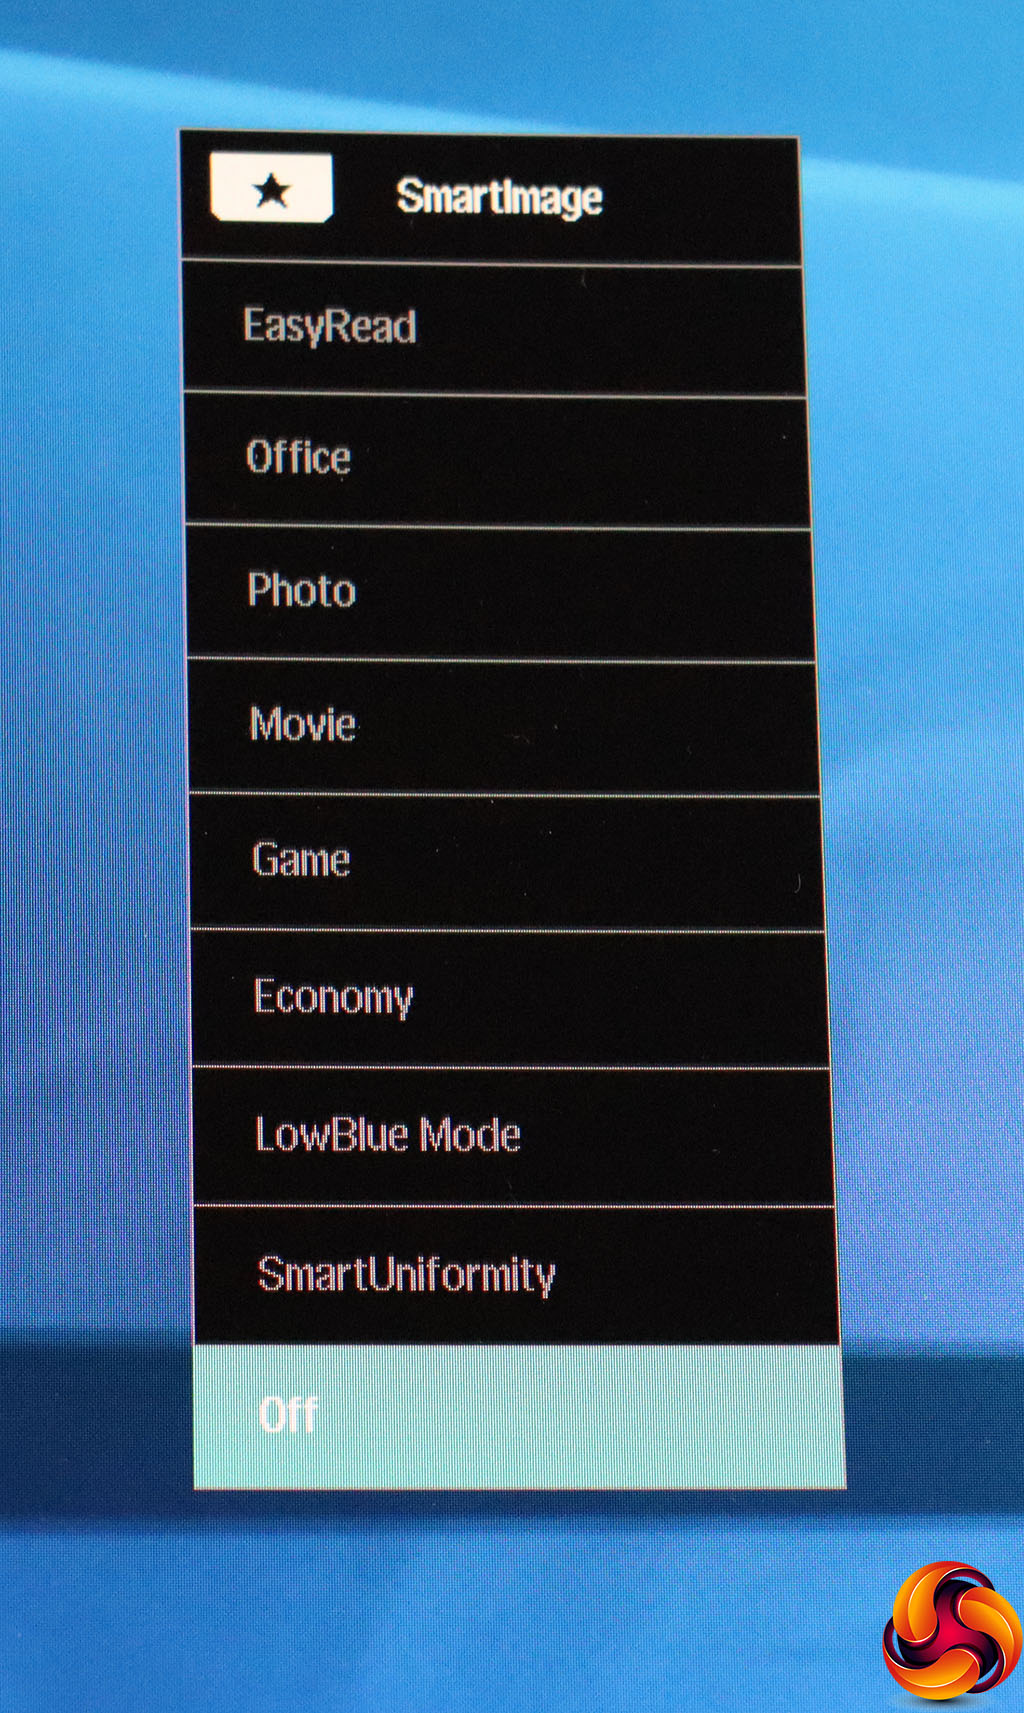
The first button from the left calls up the SmartImage presets, which include EasyRead, Office, Photo, Movie, Game, Economy, LowBlue Mode and SmartUniformity. The focus here is clearly everyday usage and multimedia, rather than gaming.
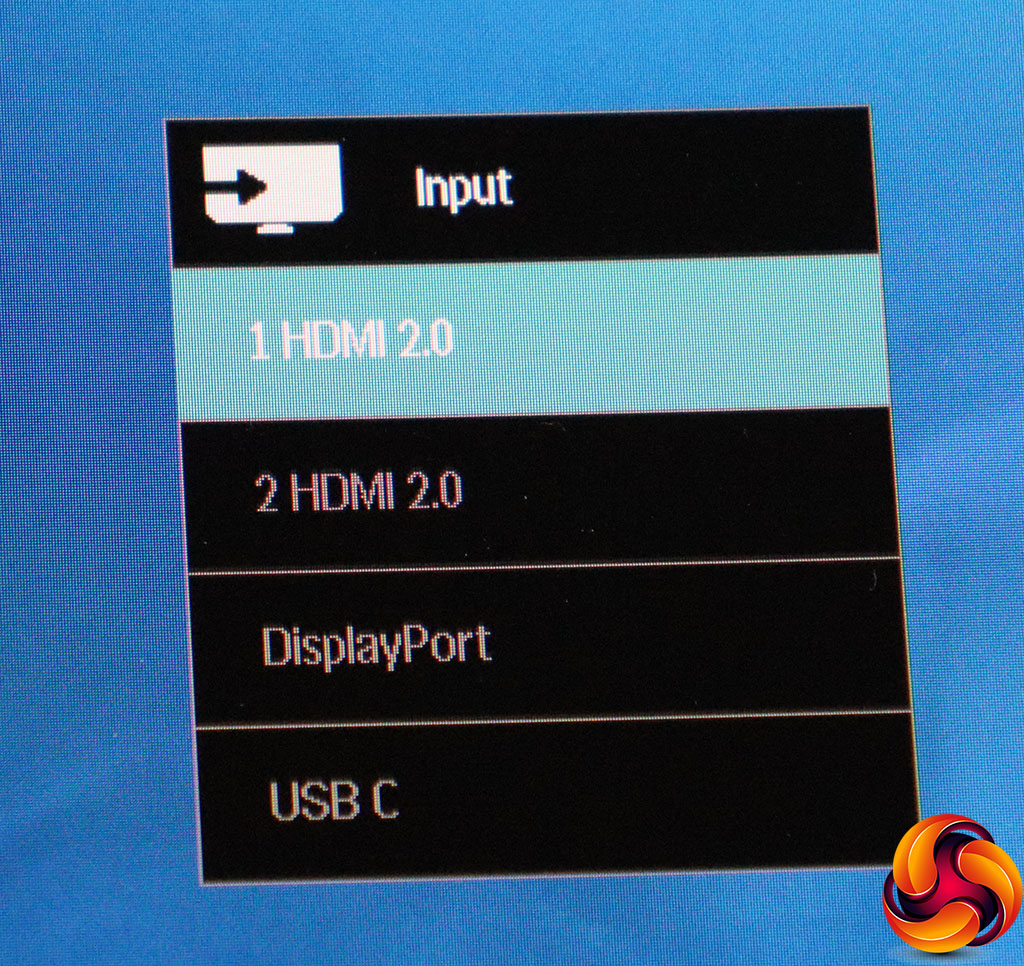
The next button along lets you manually choose which video input to use.
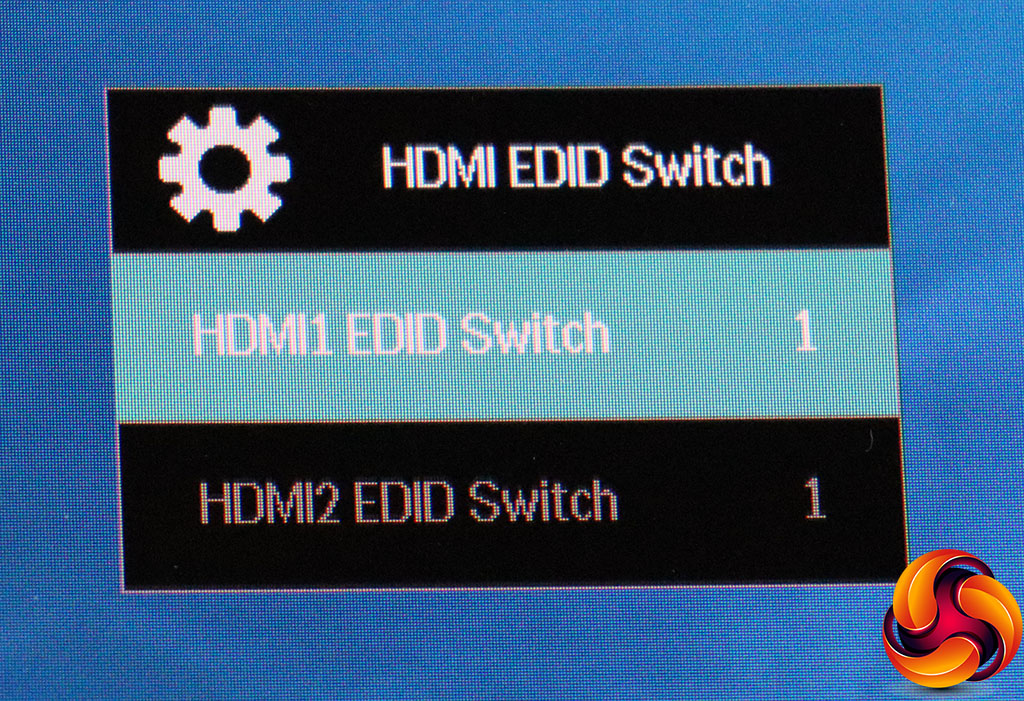
The third button from the left is user-configurable, but by default calls up something called HDMI EDID Switch. This lets you choose between two HDMI EDID profiles, which can help if your screen is not being detected properly by an HDMI video source.
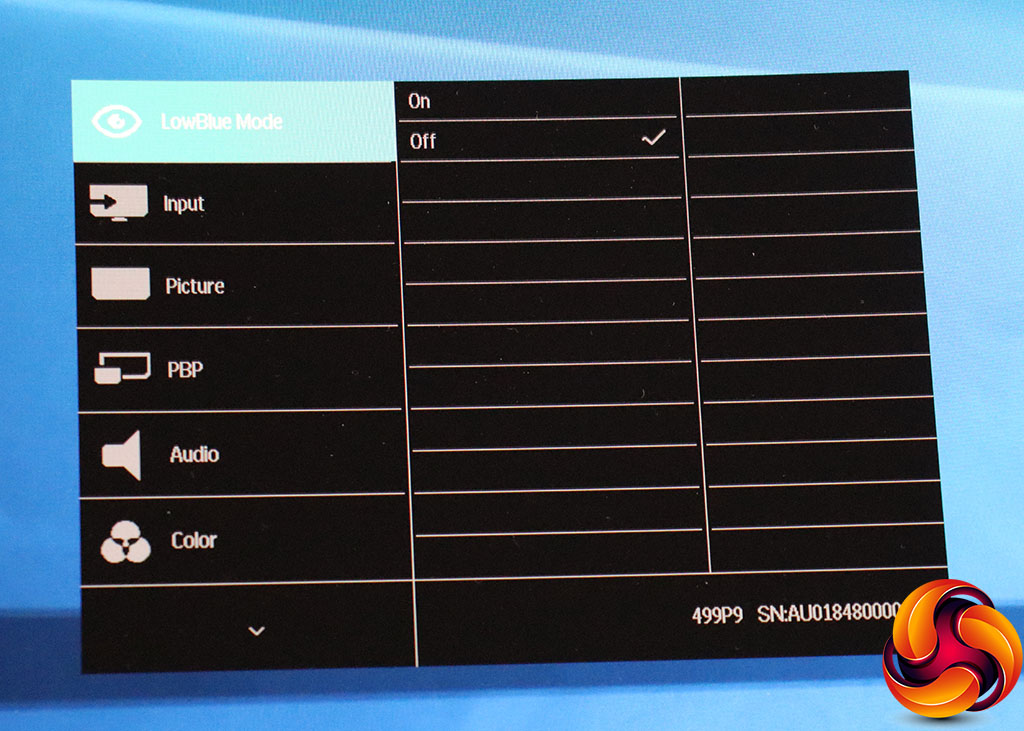
The final button before you reach the power button calls the main menu, with the default option being the option to enable the LowBlue mode and its level to reduce eye strain from long screen usage.
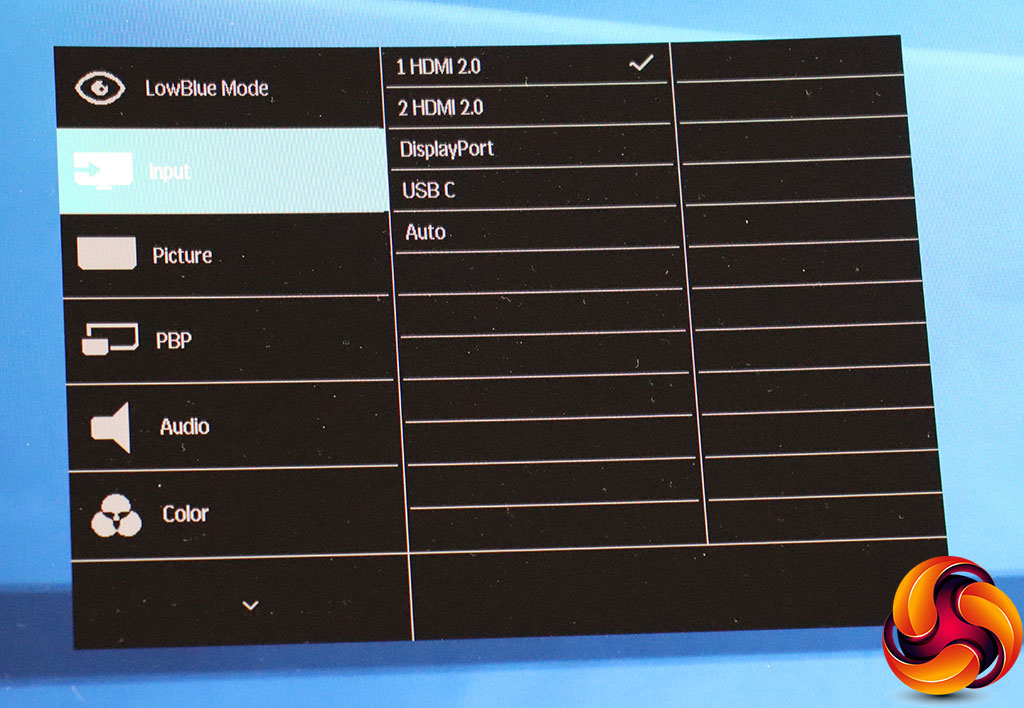
In order to navigate the main menu, the four non-power buttons now change function to provide facilities to move up and down, and between levels. The next option down is the same set of input options as the quick menu, plus auto mode.
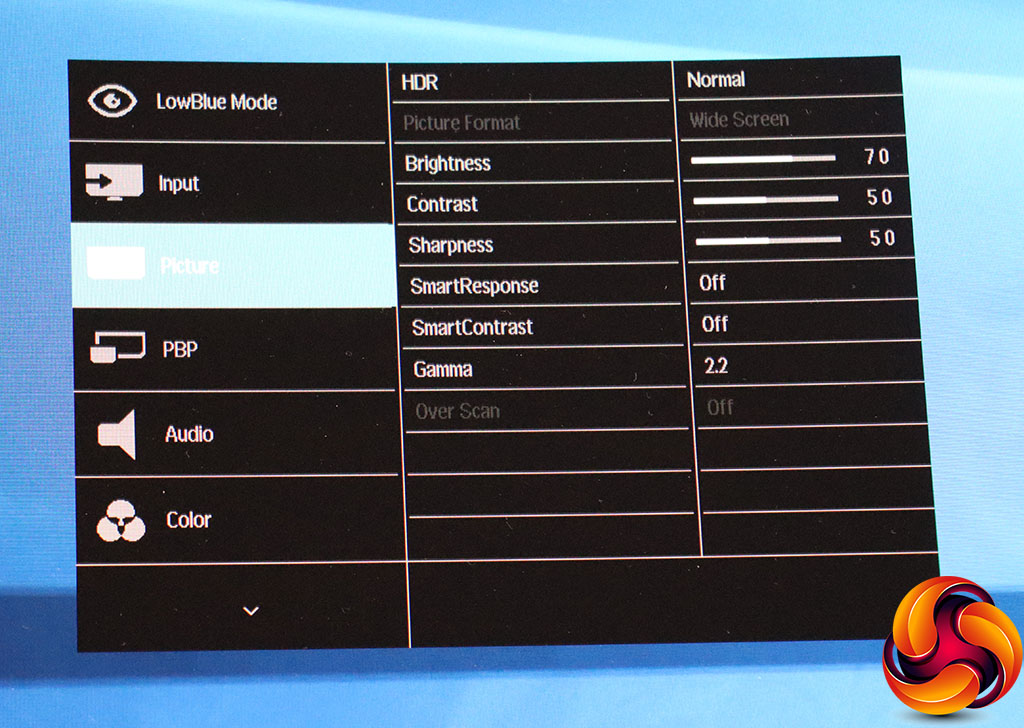
Finally, we get to a reason why you need the main menu (we're surprised this isn't the default option). The Picture submenu lets you choose HDR mode, as well as adjusting brightness, contrast and sharpness. You can turn on SmartResponse (a pixel response overdrive system) and SmartContrast (which adjusts the backlight to provide greater perceived contrast than the panel itself can provide).
There's also a Gamma option with five settings from 1.8 to 2.6 in steps of 0.2. There's an Over Scan option, too, but this will be greyed out for native resolution inputs.

The Picture-By-Picture mode makes a lot of sense with a screen offering this width. You could have two 2,560 x 1,440 inputs side-by-side and both would have native resolution and aspect ratio. For example, you could have an audiovisual source and a computer desktop next to each other.
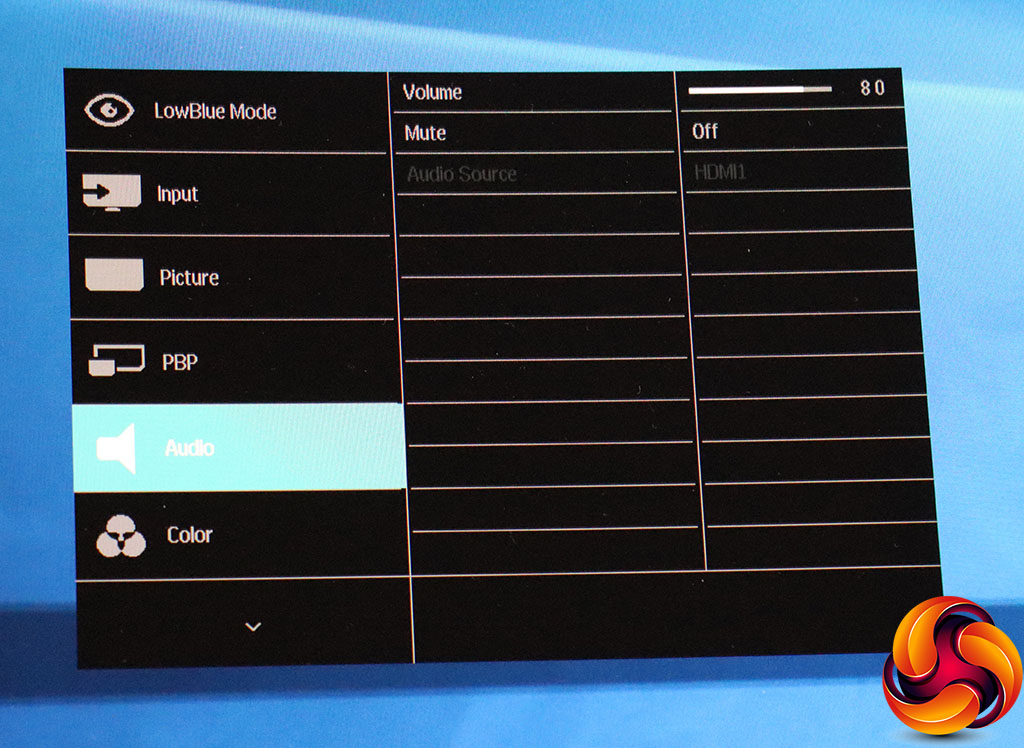
The Audio section provides a volume control, a mute option, and the ability to switch the audio source to one of the video sources that isn't the one currently being displayed onscreen.
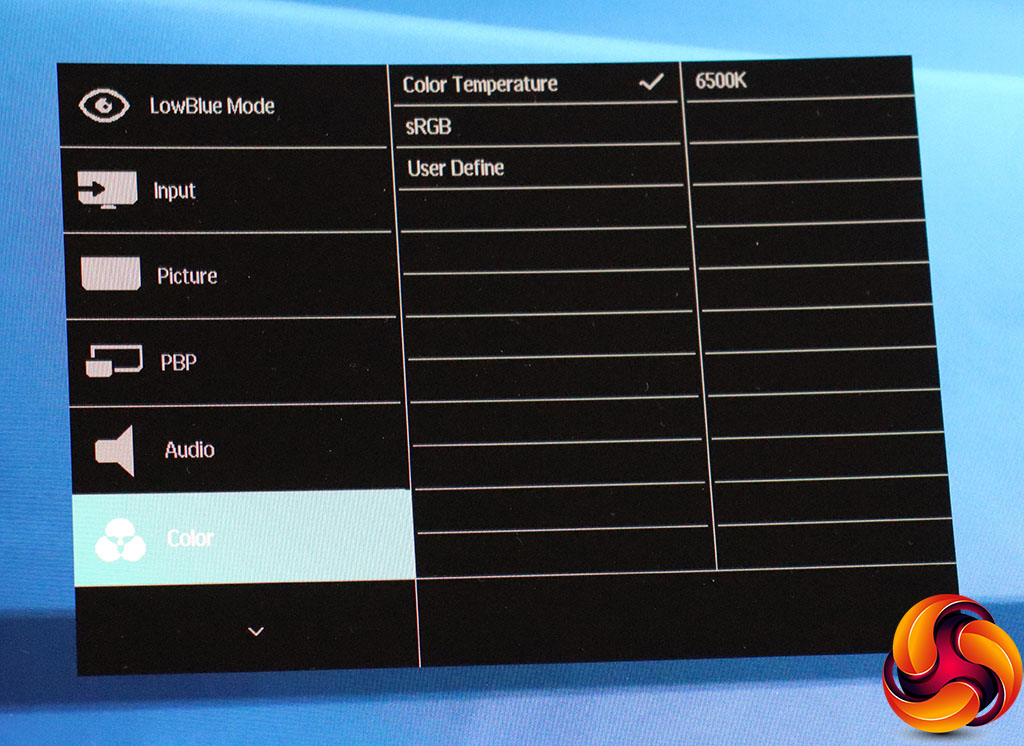
The Color sections lets you choose from an extensive range of Temperature presets including 5000K, 6500K, 7500K, 8200K, 9300K, and 11500K. There's also an sRGB mode, and User Define, which exposes separate controls for Red, Green and Blue.
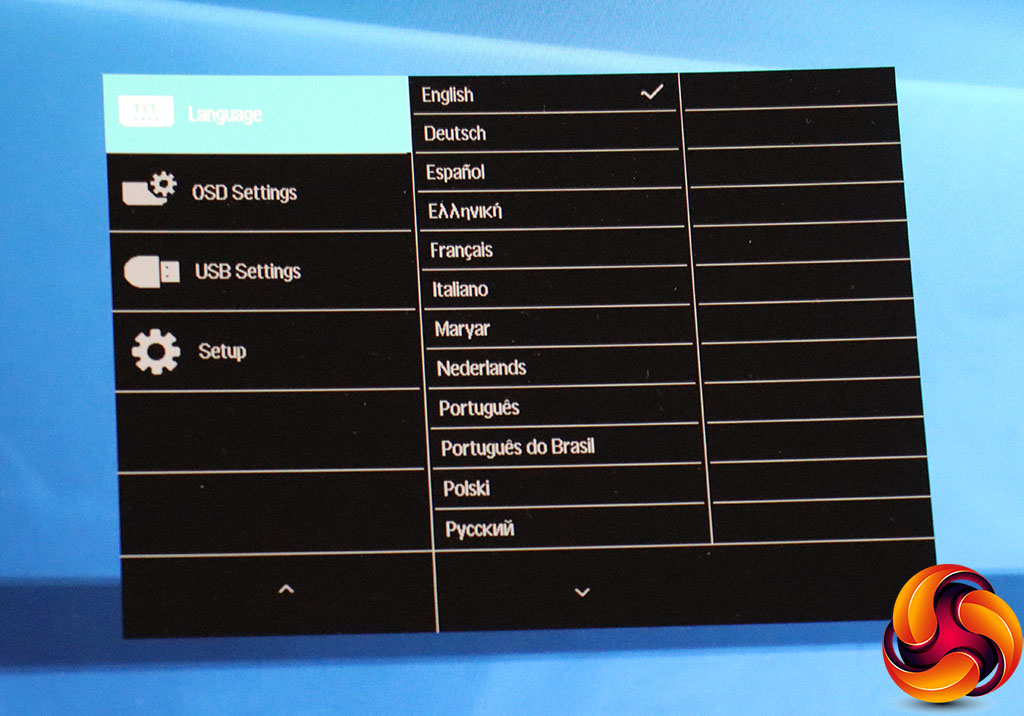
The Language section only has one job – changing the language of the OSD.
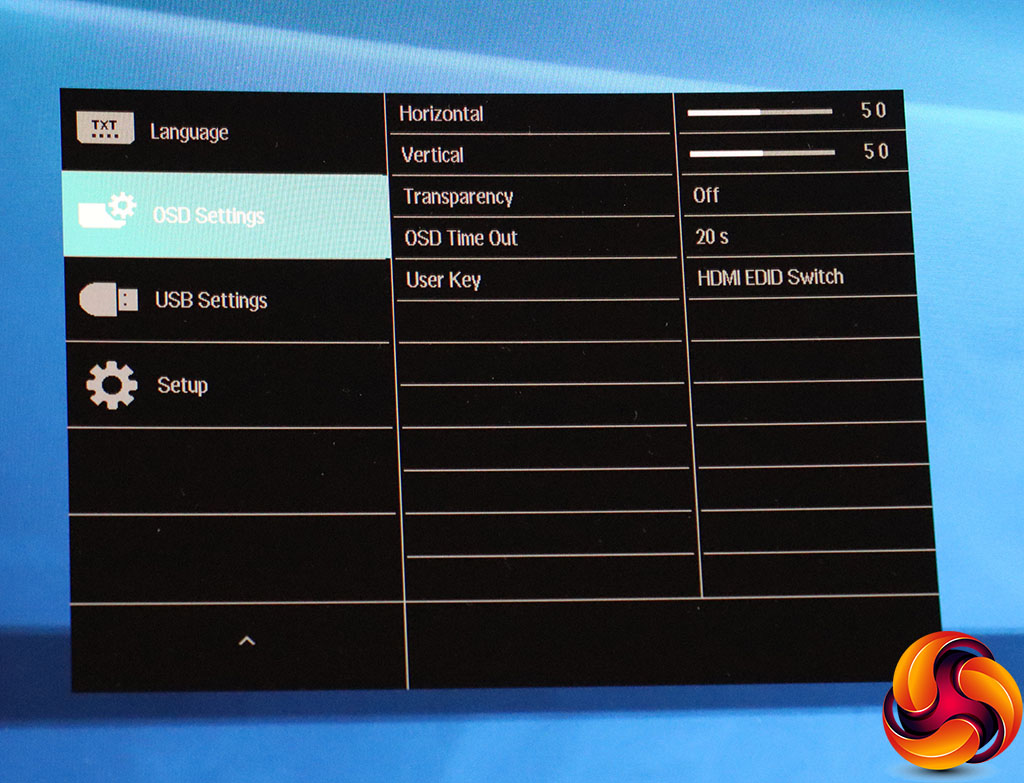
Under OSD Settings you can move where the menu appears onscreen, its transparency, and how long it remains before automatically disappearing. You can also change the function of the User key.
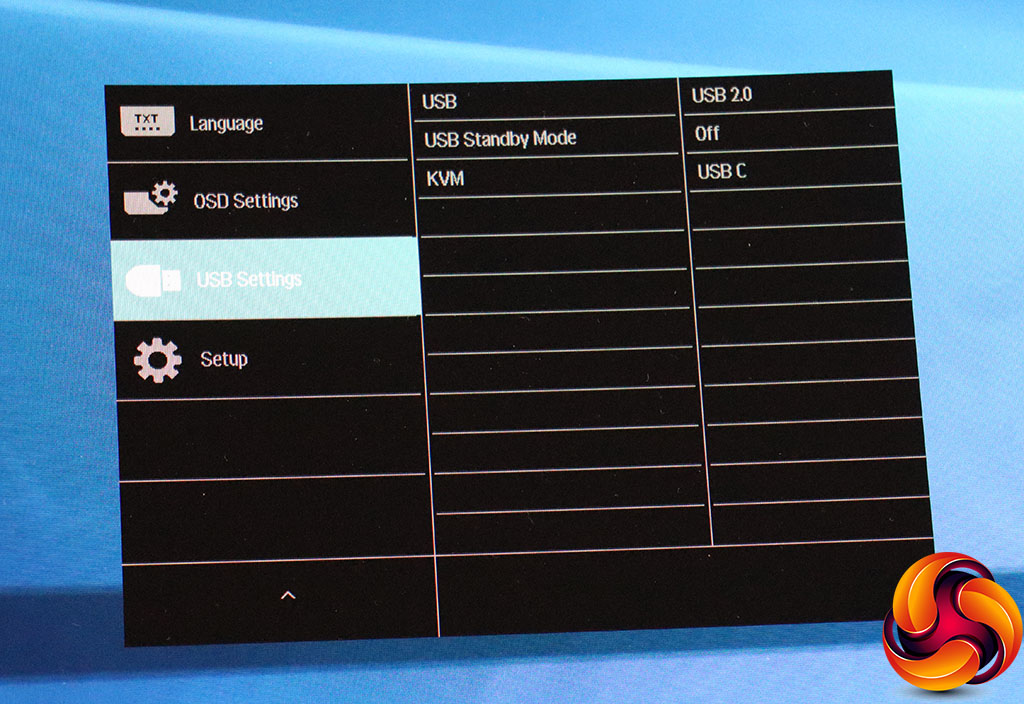
You can change the USB standard used by the USB hub ports, toggle standby mode, and allow the USB C connection to function as a KVM, so that switching to this connection allows it to transfer keyboard and mouse attached to the screen to be used by the USB C-attached system.
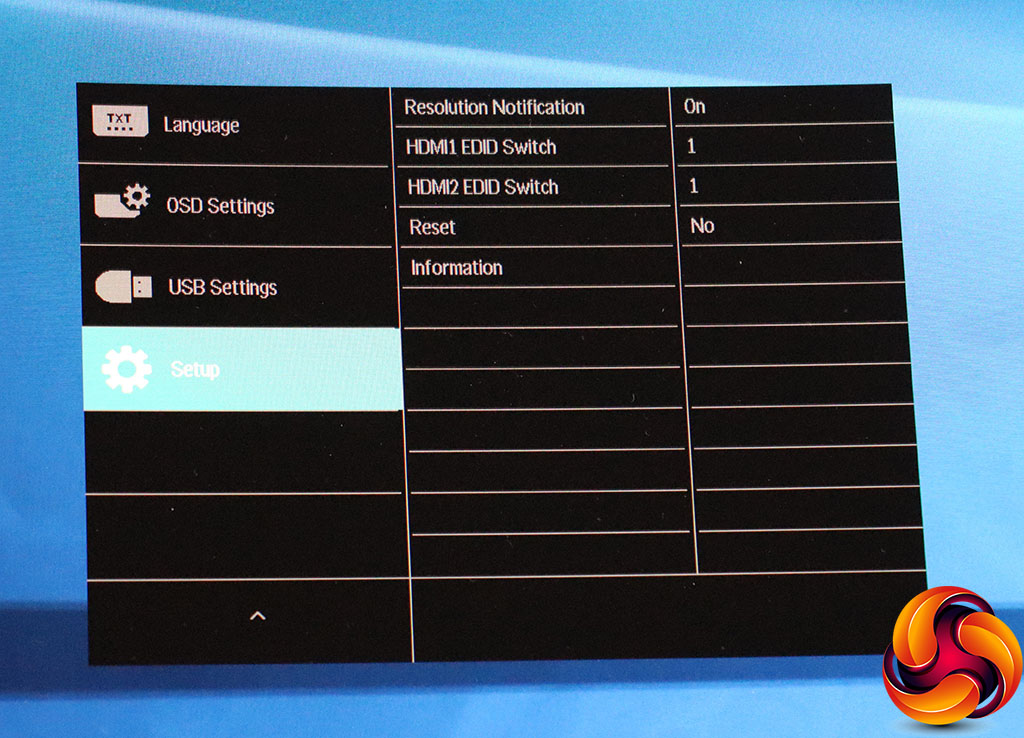
Finally, the Setup section lets you change the HDMI EDID, reset to defaults, or show information for the screen.
Overall, there's enough here for the intended usage, although we're not sure about the menu organisation. We would have thought that, since there is a quick menu already for inputs, the Picture and Color options should have been first on the list, with Picture as the default.