

Acer has stuck with a simple input system for its OSD. There are no touch buttons or mini joysticks here but instead just five normal buttons that sit on the underside of the frame, next to the power button.
Simple it may be but it’s also effective. For a start, Acer has thought to make the power button slightly larger than the others and illuminate it, so you’re less inclined to accidentally press it and turn off your display.
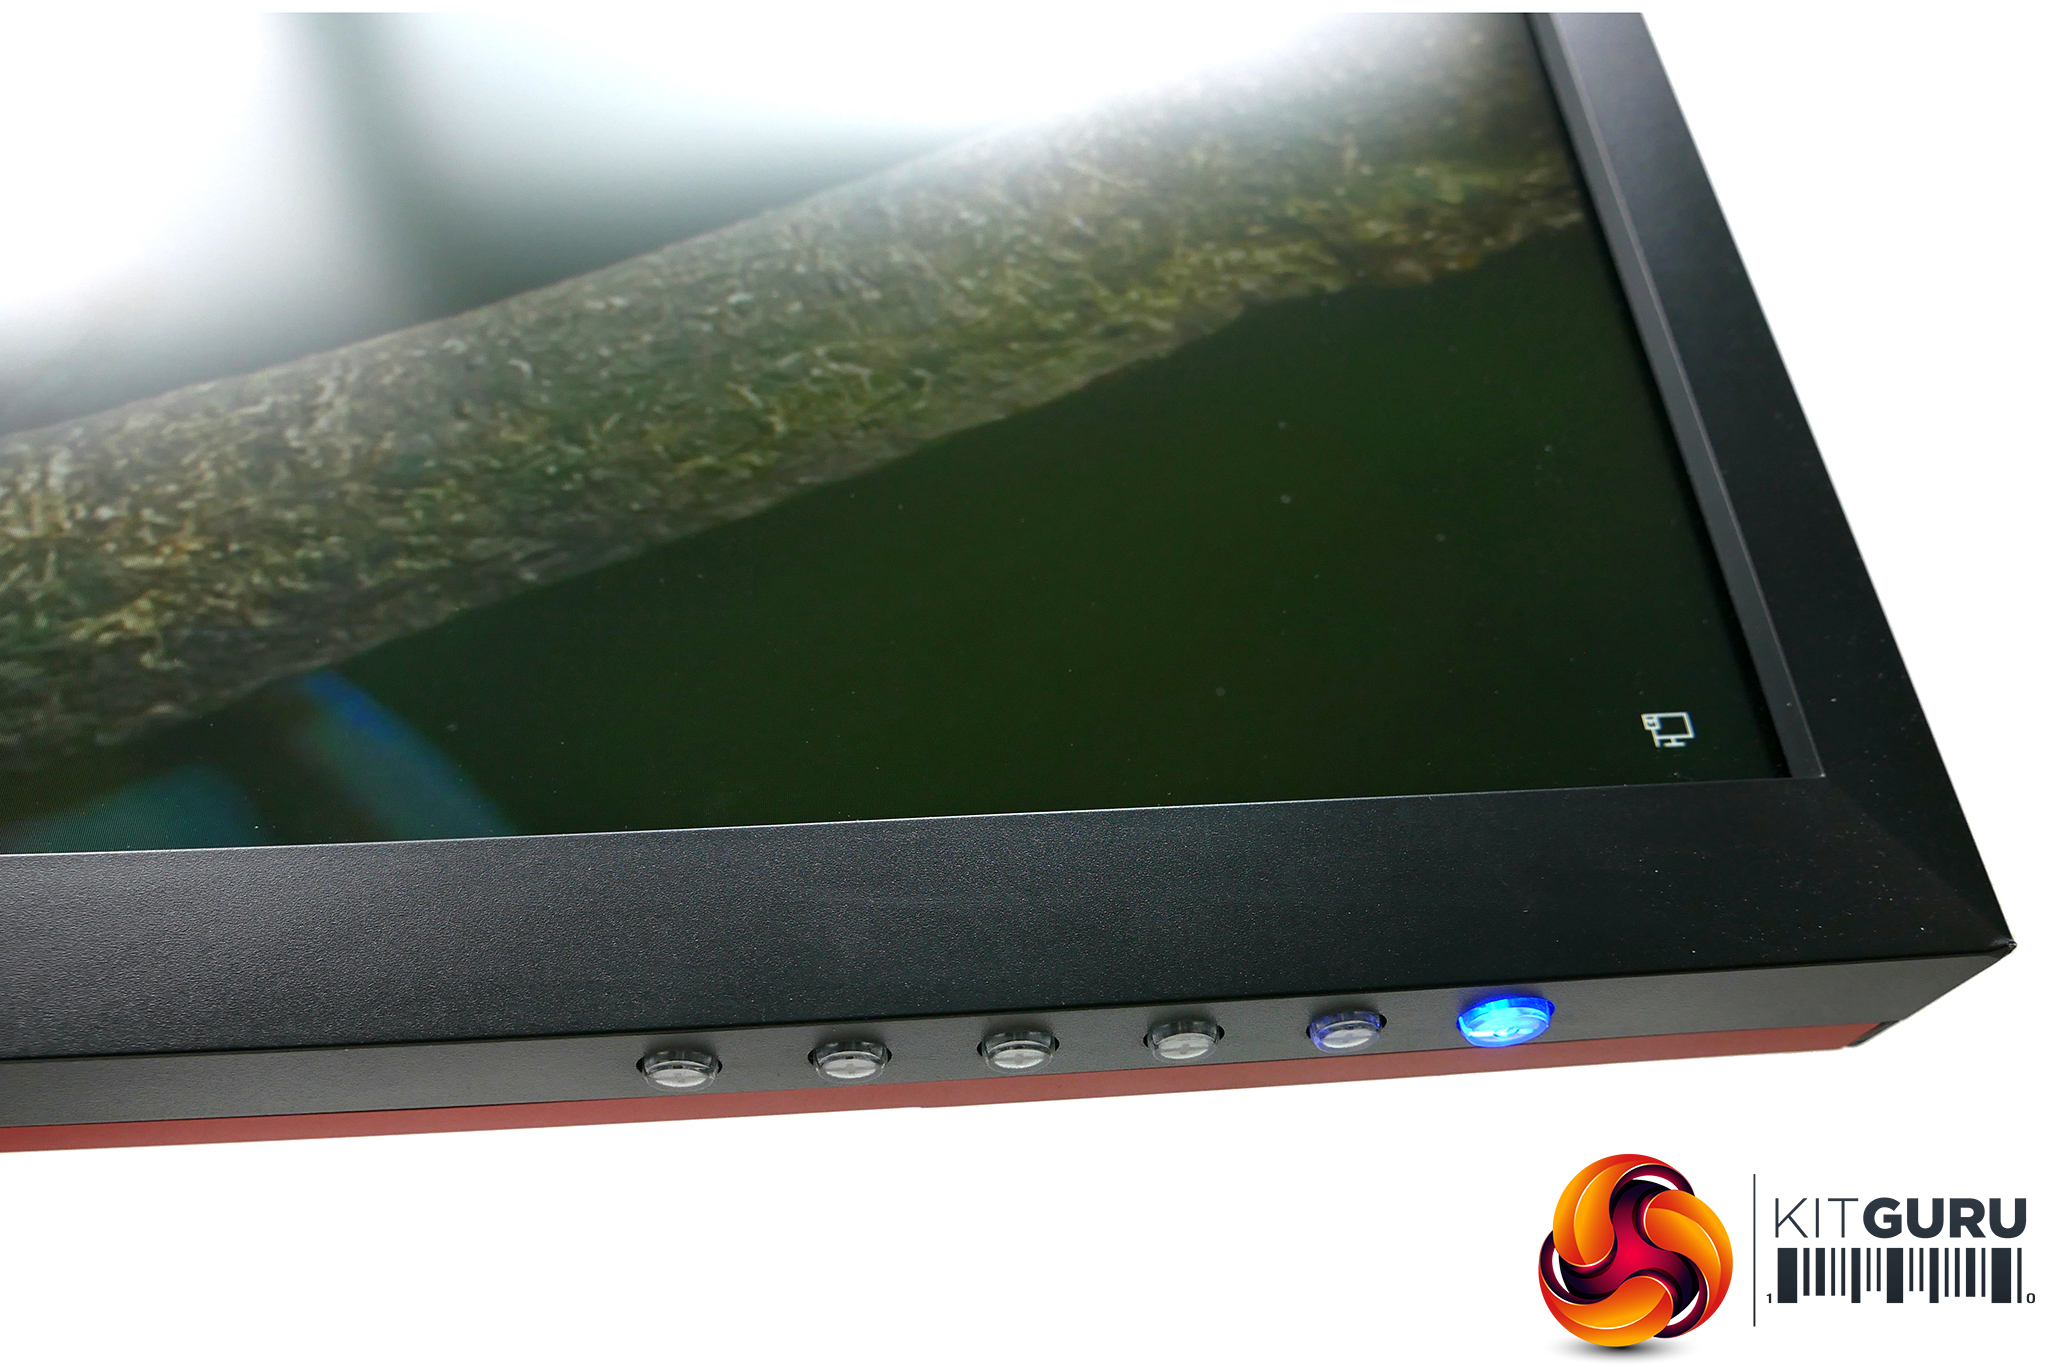
Also, the buttons have a nice positive action so, unlike some OSD controls (touch-buttons in particular), you’re always sure when you’ve hit a button.
But mainly, the system works because the menus are intuitively laid out and the controls line up properly with what’s on screen so it’s just quick and easy to get where you’re going.
As to the menus themselves, tap any of the five buttons and five choices appear. These provide quick access to different display modes, brightness, volume, video input and the main menu.
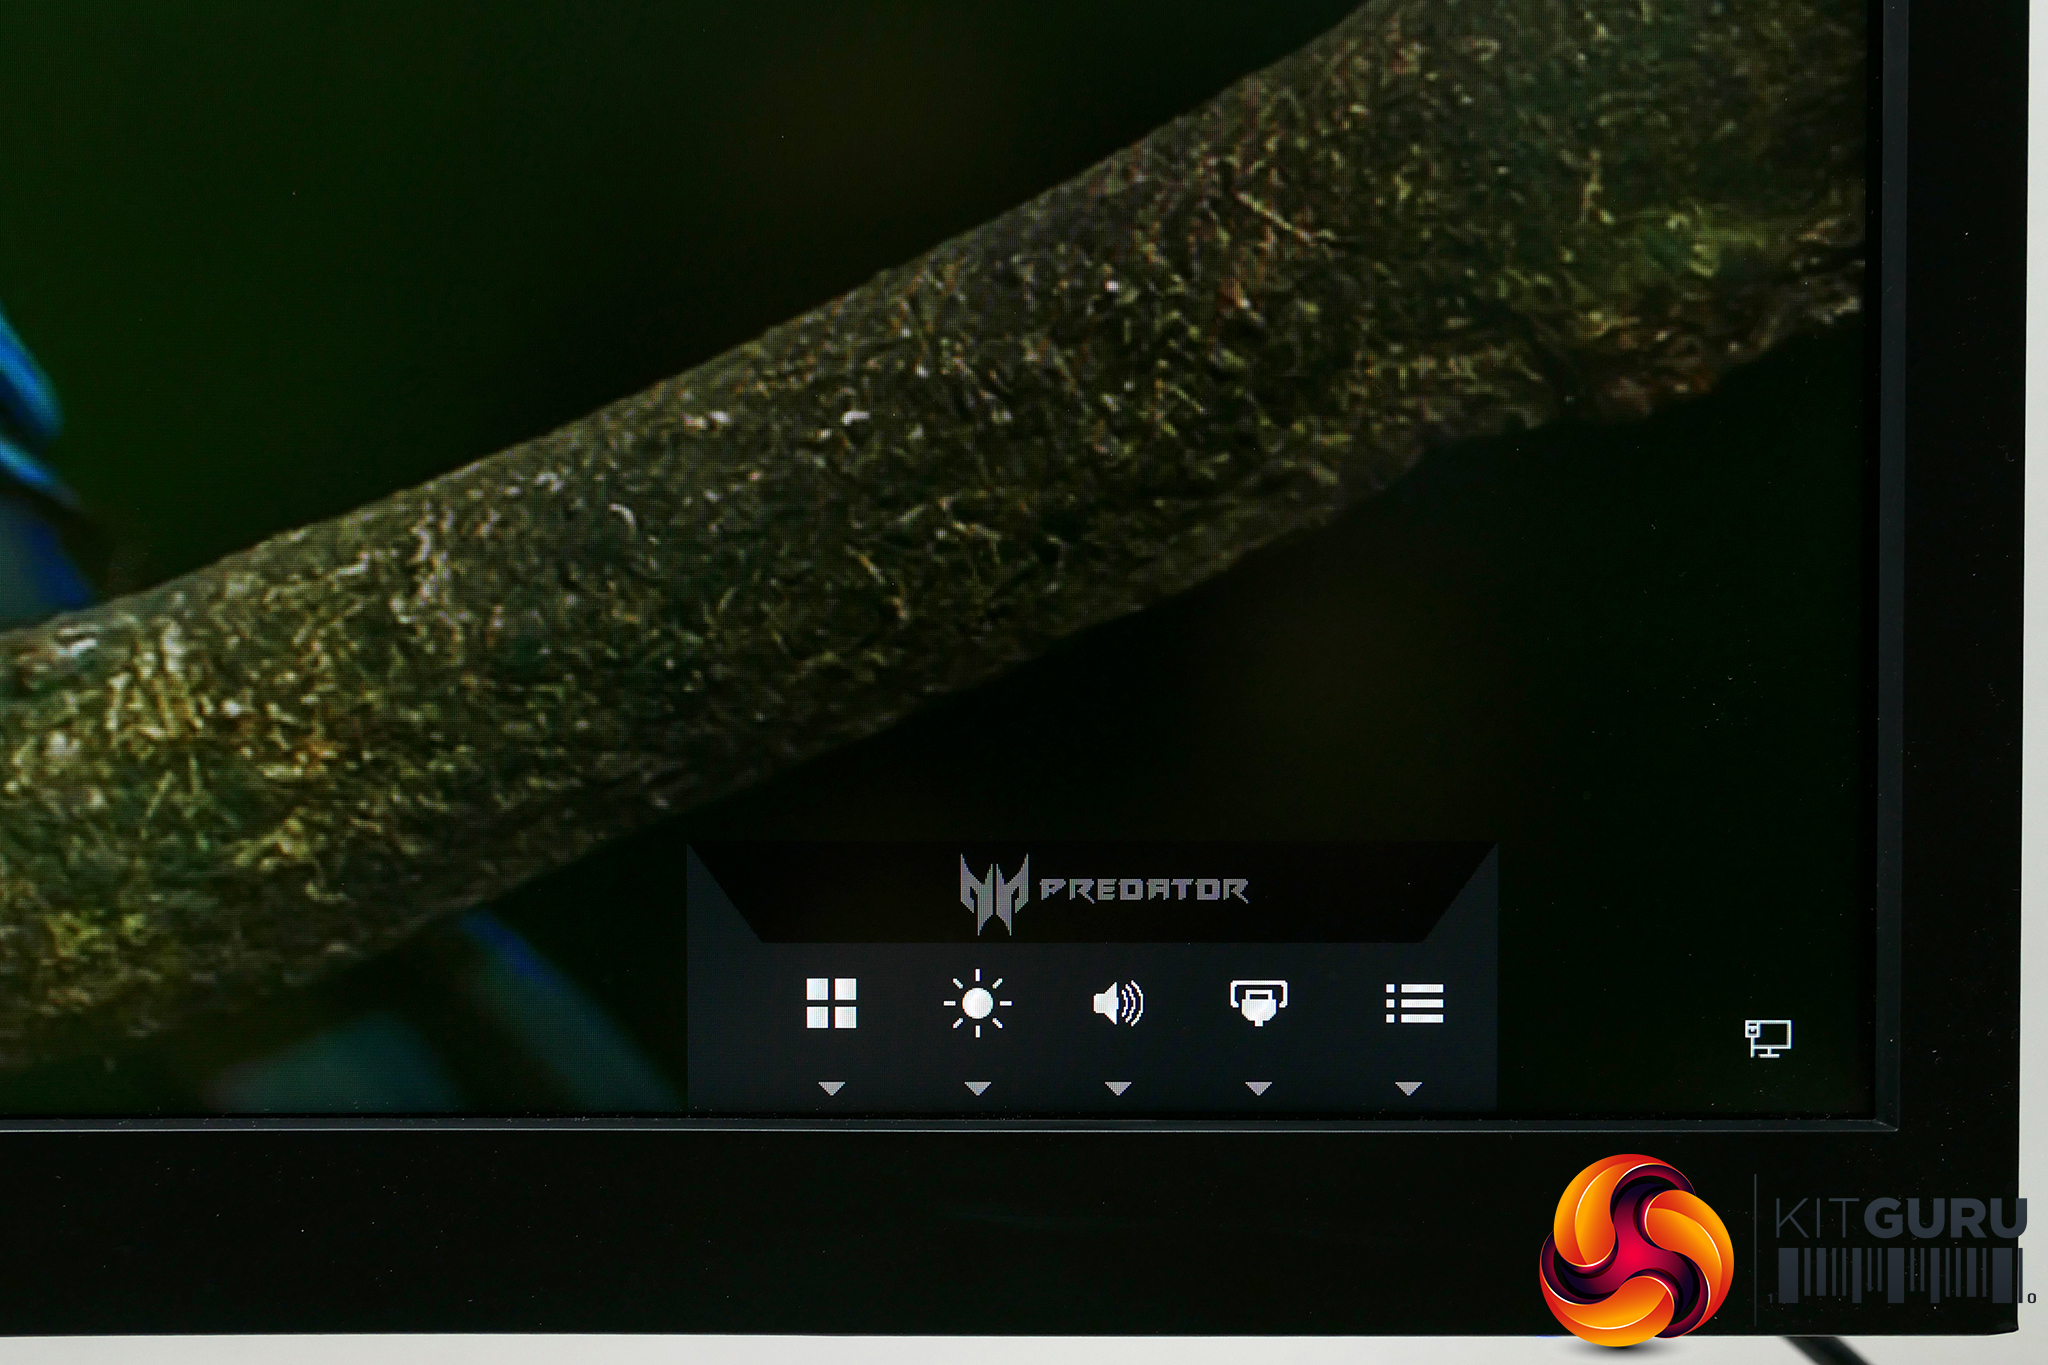
The display modes include three user defined options as well as predefined ones consisting of: Standard, Eco, Graphics, Movie and User. Most of these are likely to be of little use other than the user defined ones. Set the monitor up to your liking for gaming, desktop work and video and you can quickly switch between your preferred modes.
Jump into the main menu and Acer has done a great job of splitting things up into clearly defined and intuitive sections.
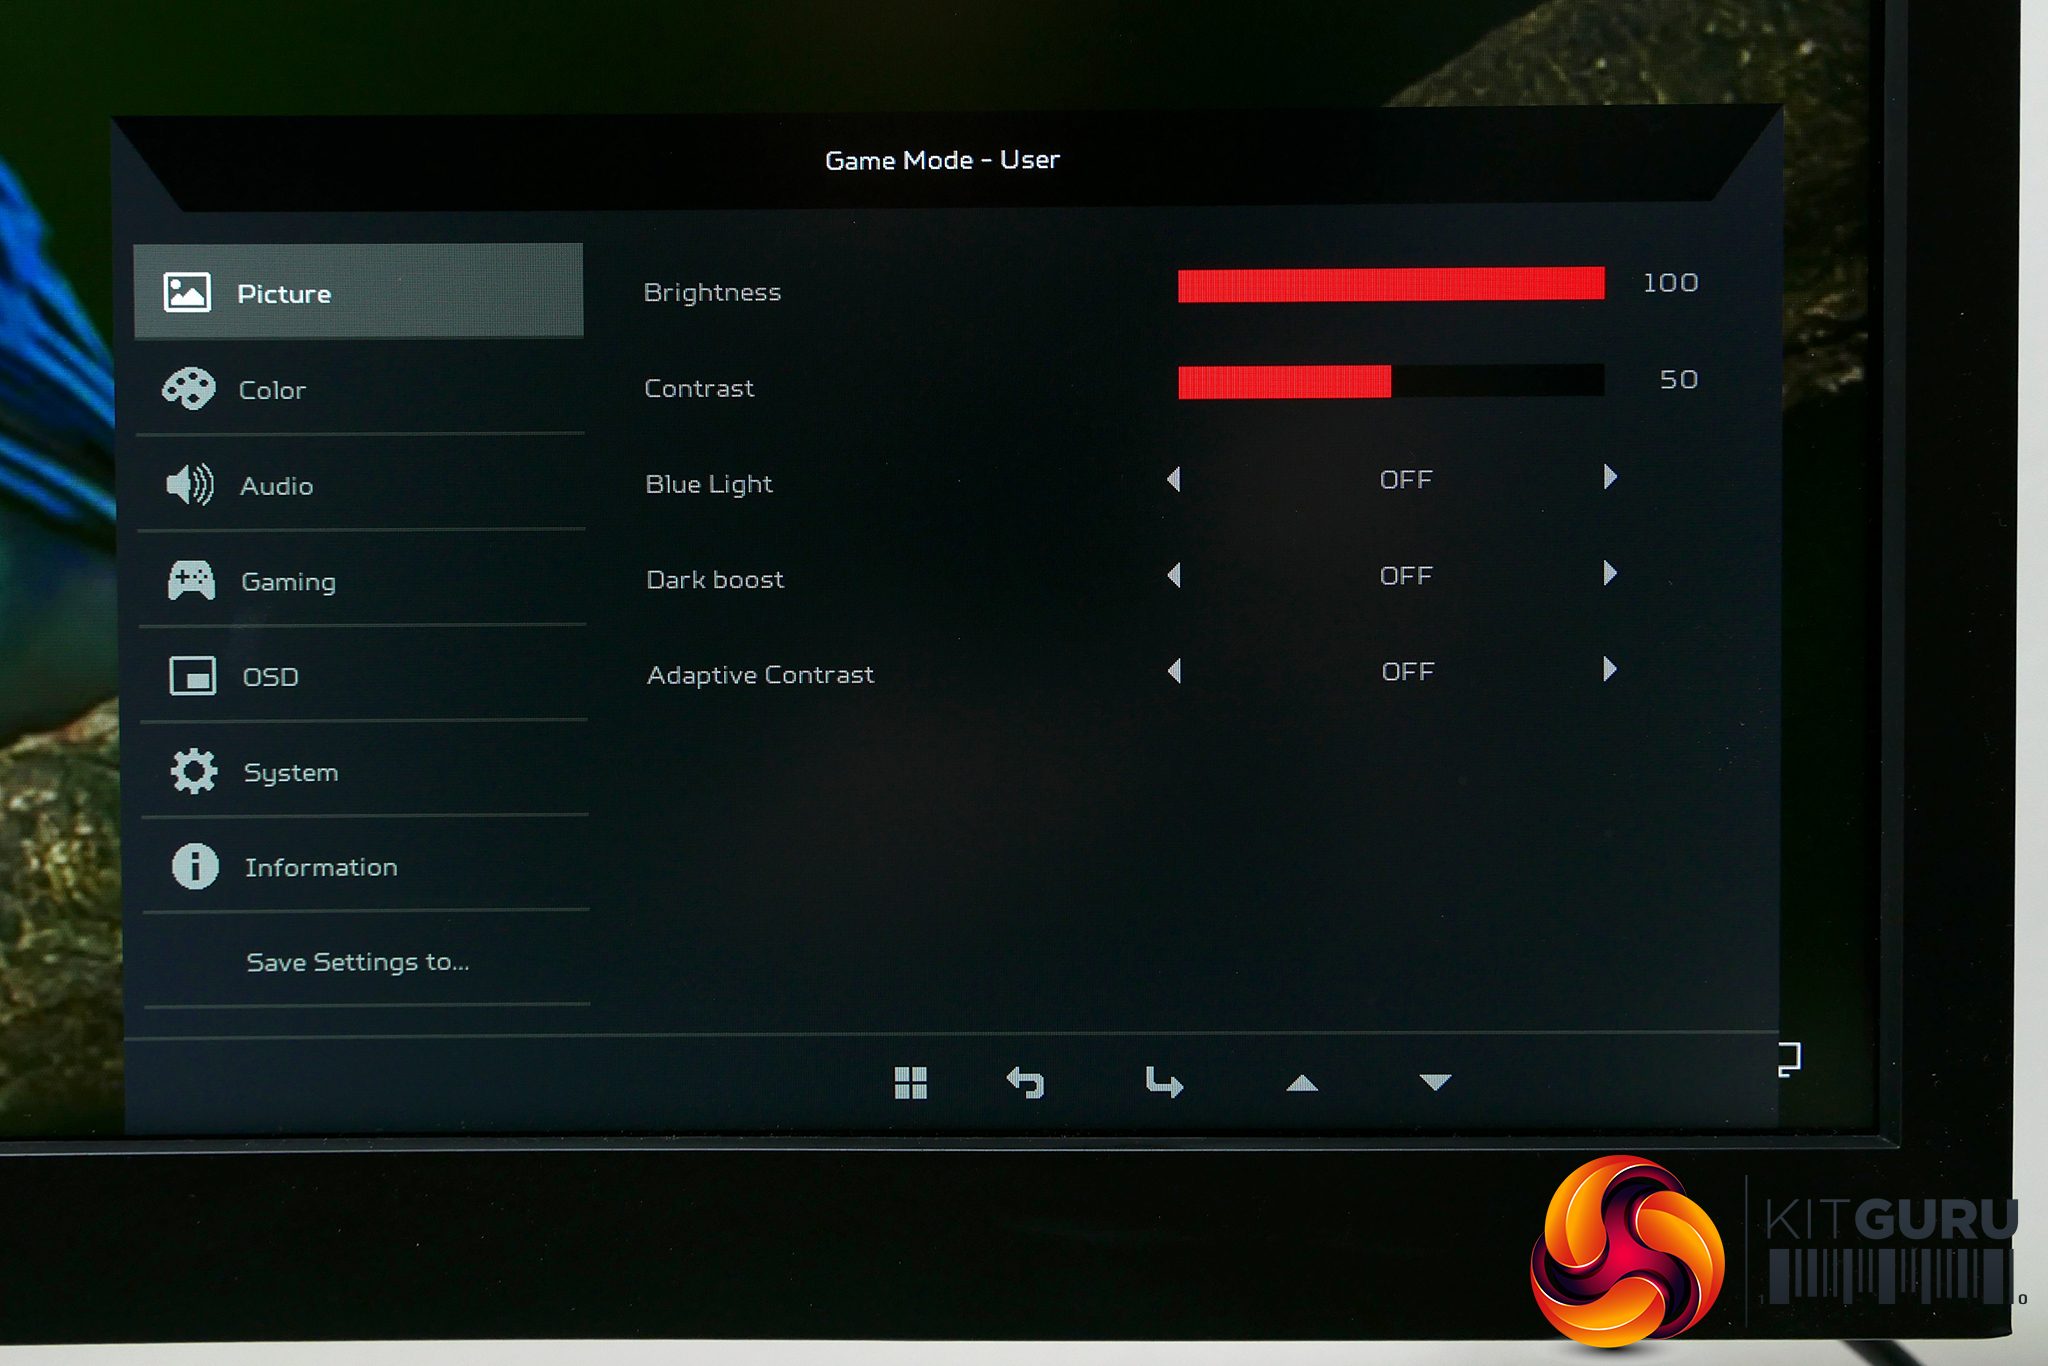
Starting with Picture, this is where you adjust basics like brightness and contrast plus it has options for a low blue light mode, dark boost and adaptive contrast.
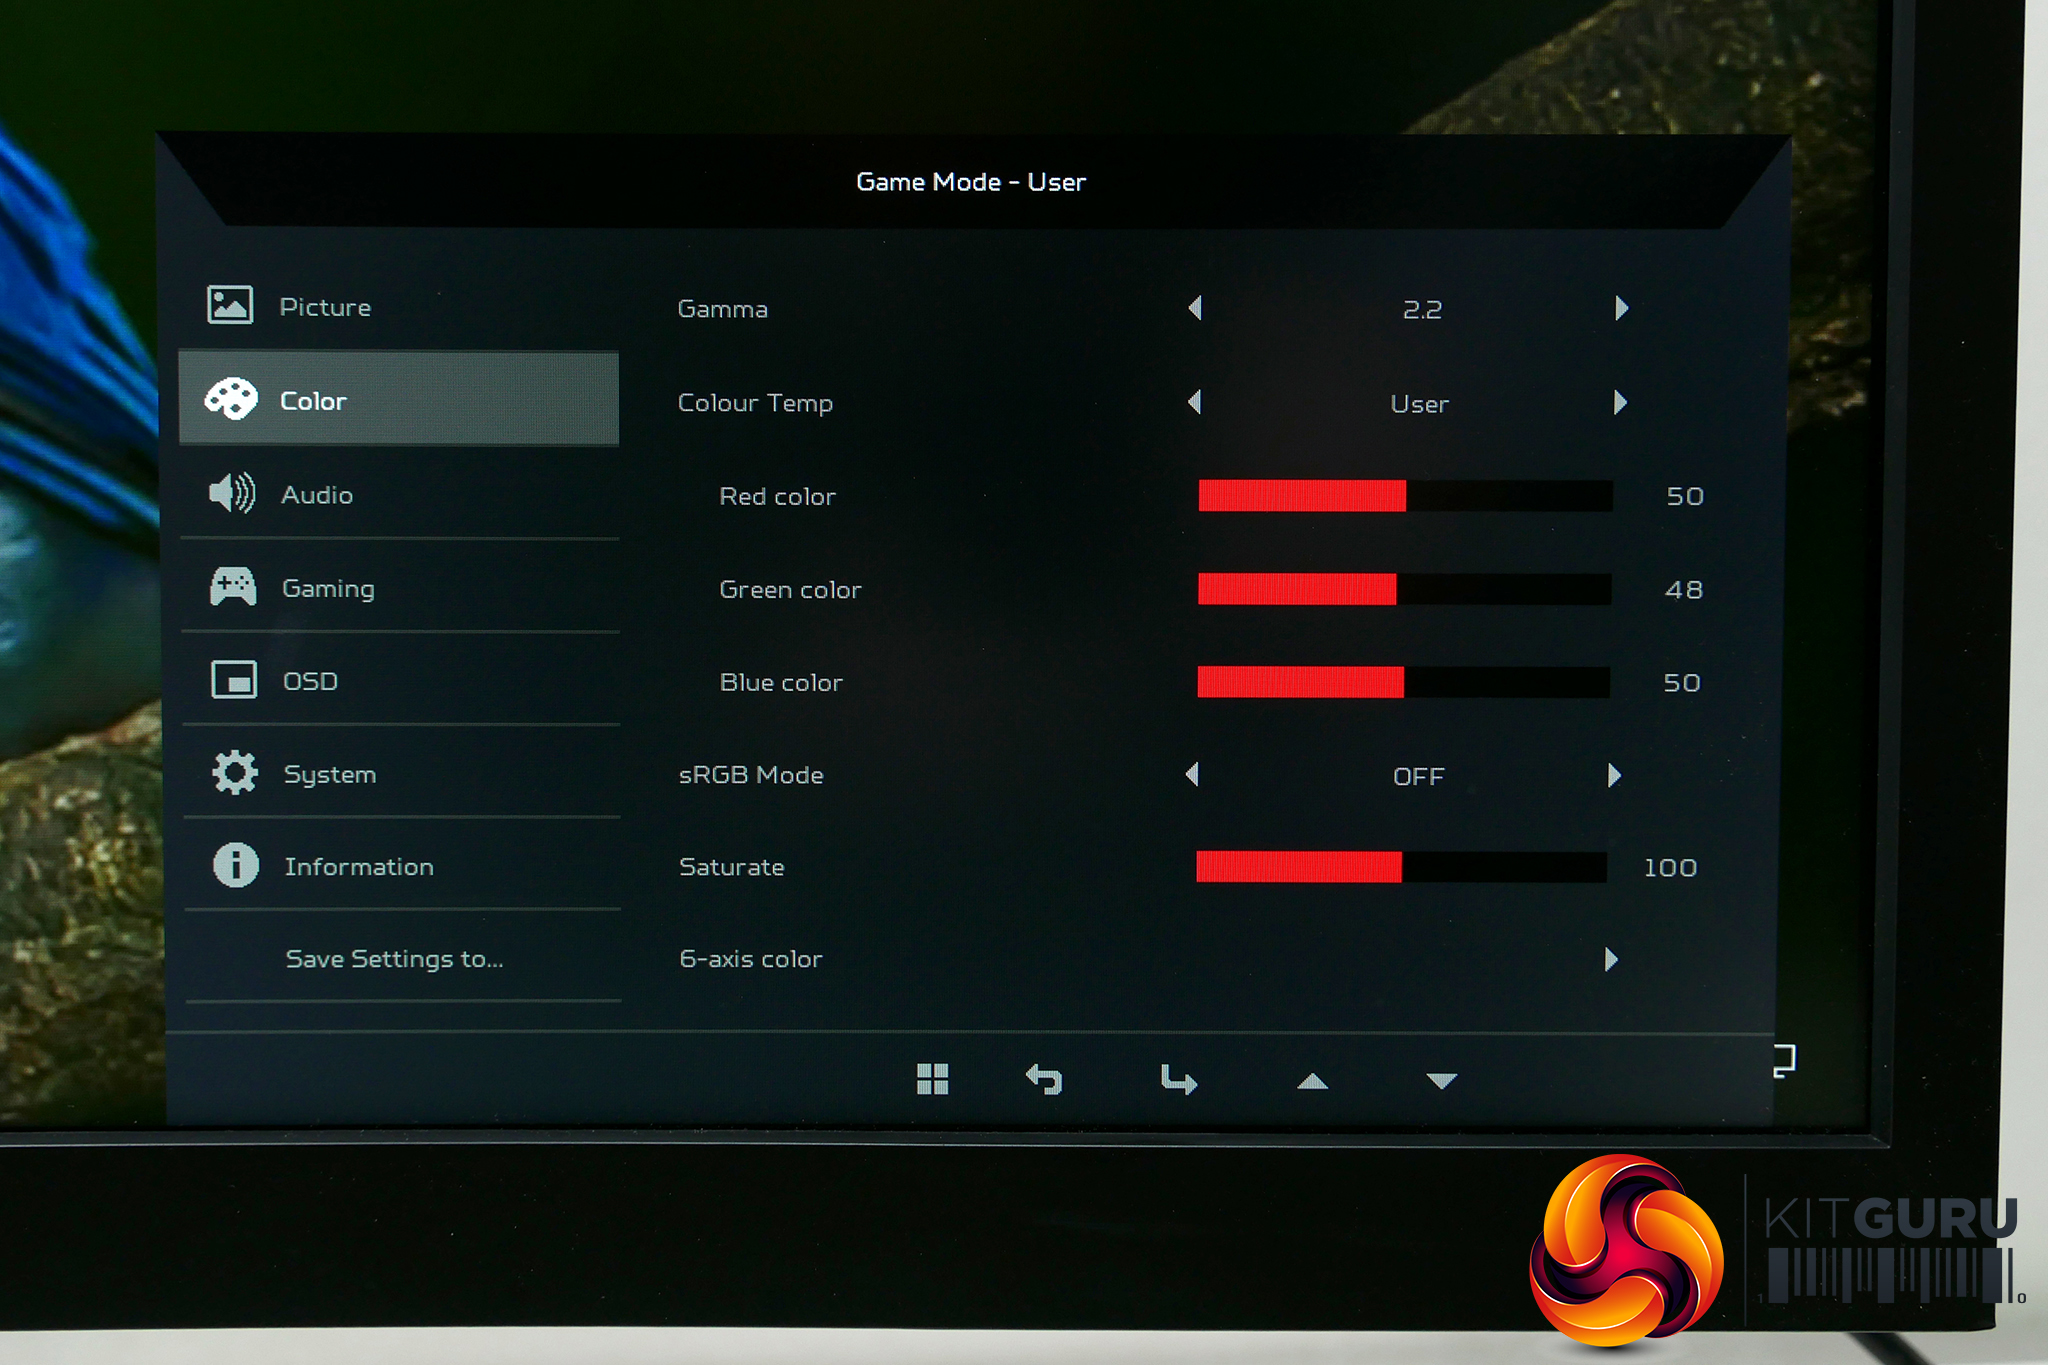
Move onto the Color tab and here we get options for the gamma curve, the colour temperature, sRGB mode, colour saturation and 6-axis color balance that provides yellow, magenta and cyan colour balance options to go along with the more typical red, green and blue options.
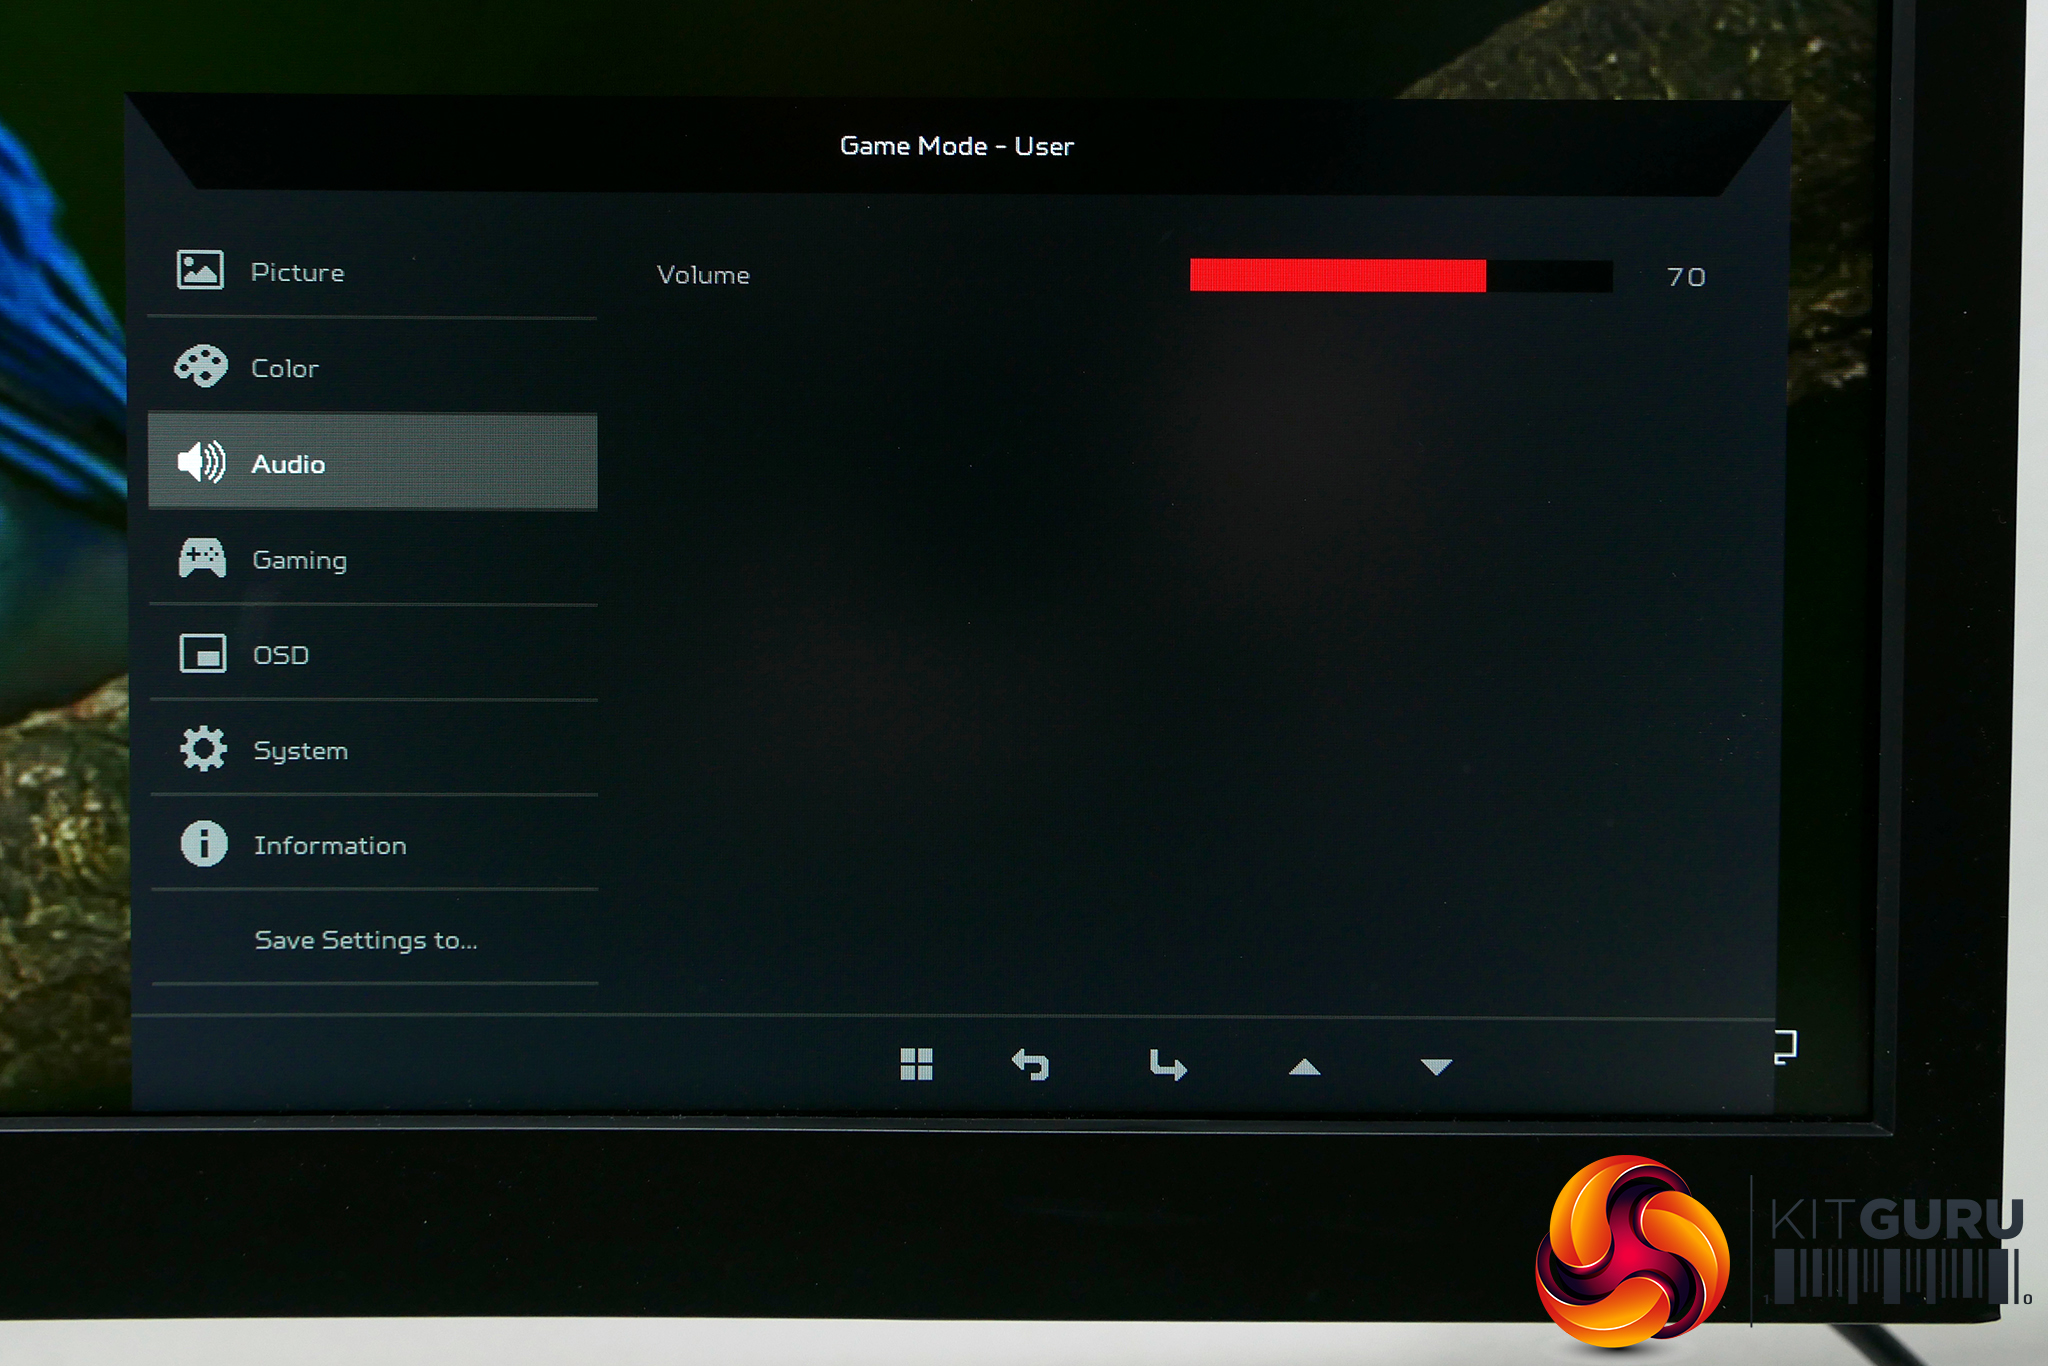
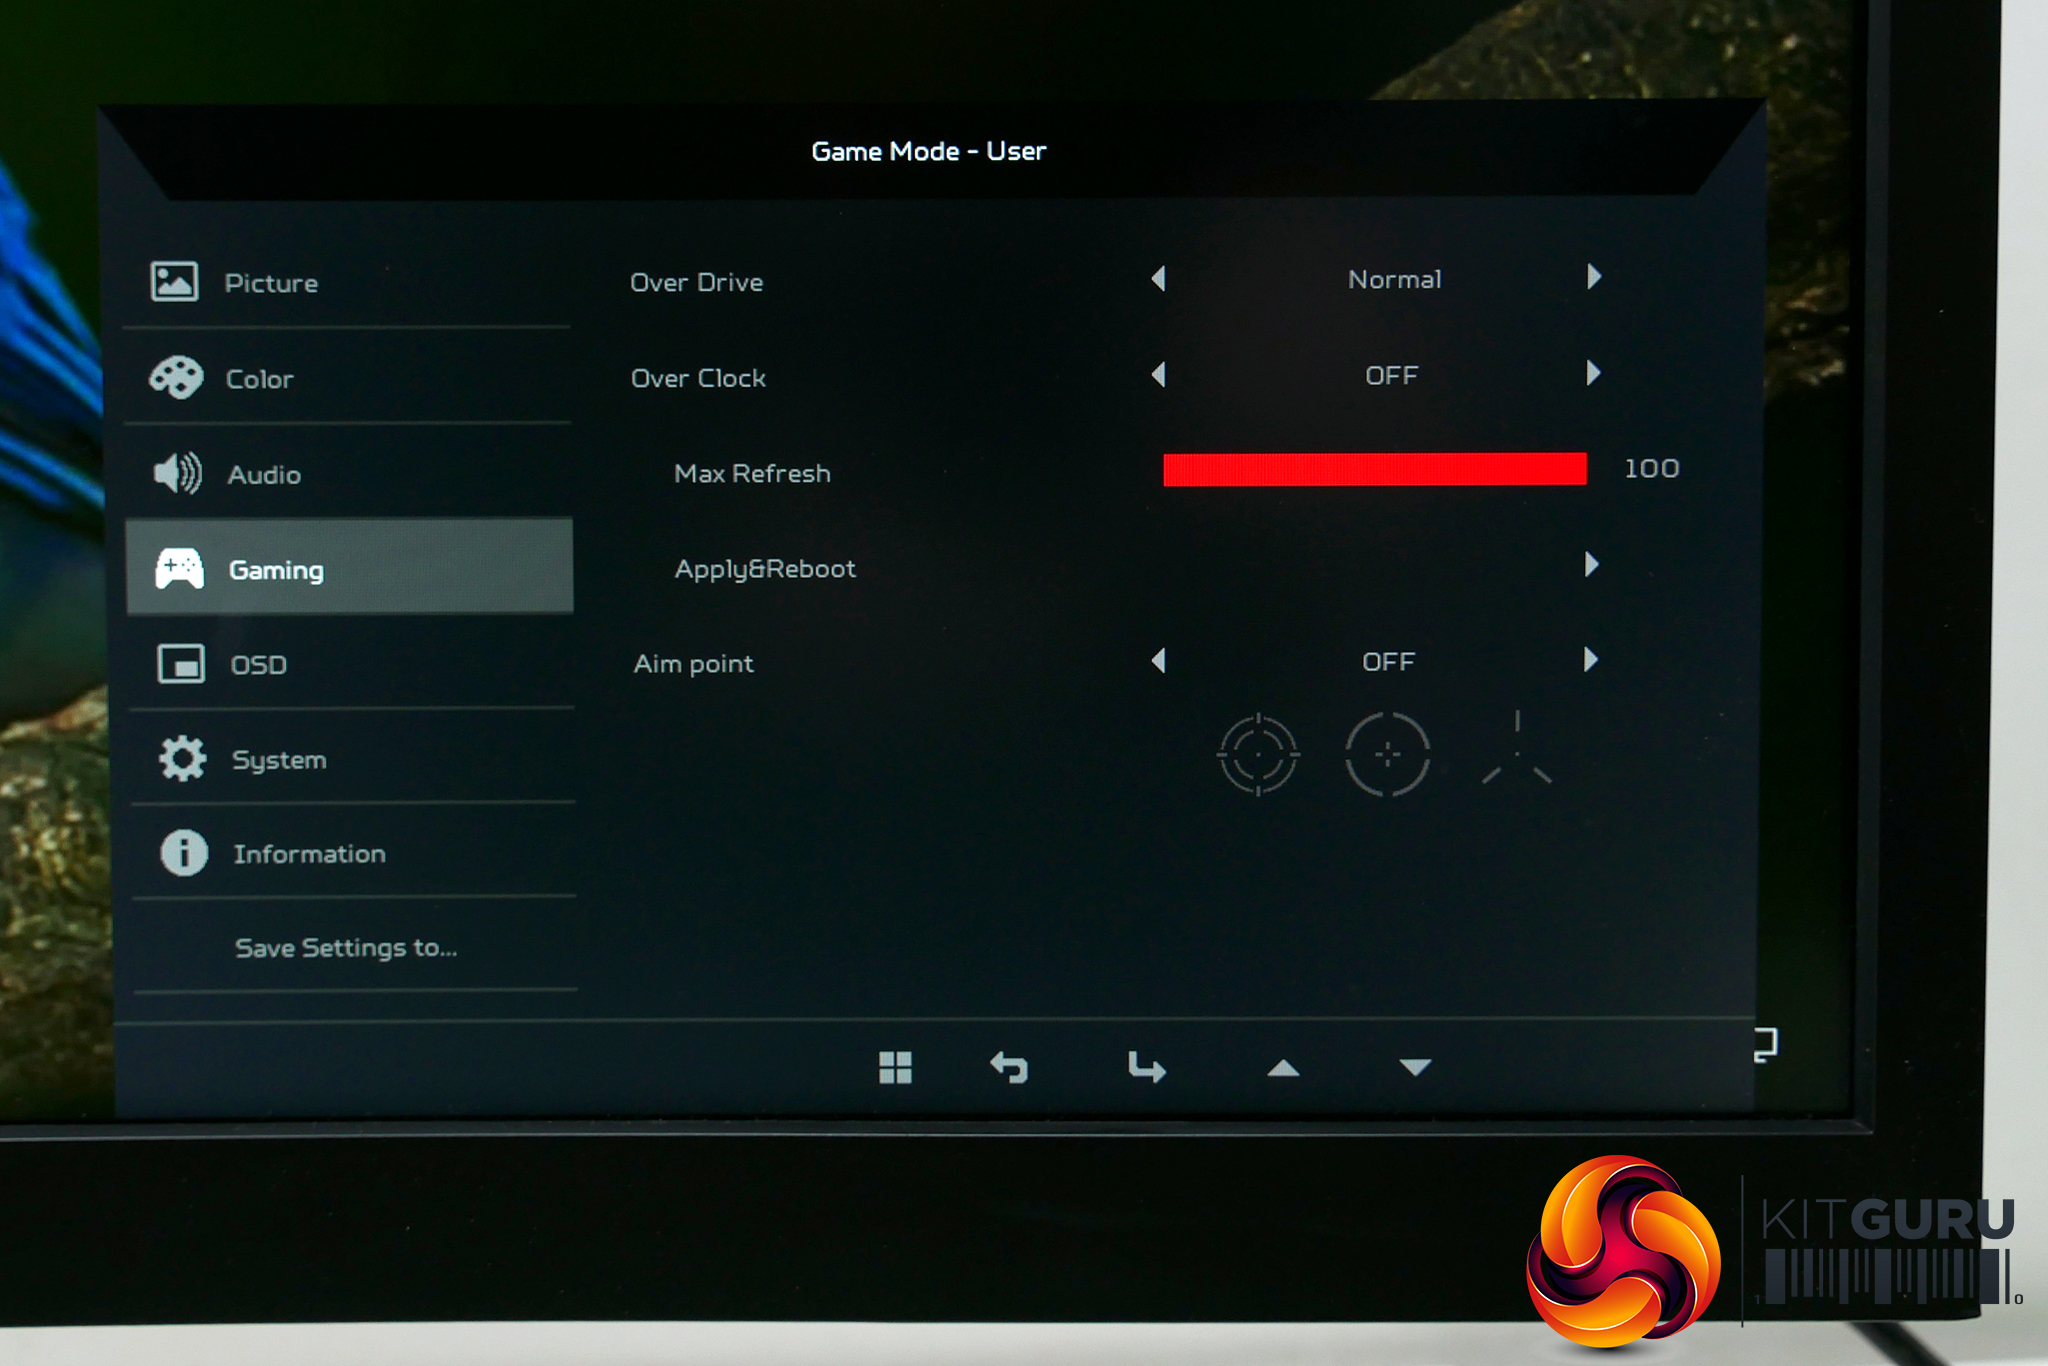
The Audio tab is dedicated solely to adjusting the volume of the speakers, or any attached headphones, while Gaming provides options for overdrive and overclocking the display. The former allows for four levels of overdrive while the overclock option lets you boost the display up to 120Hz.
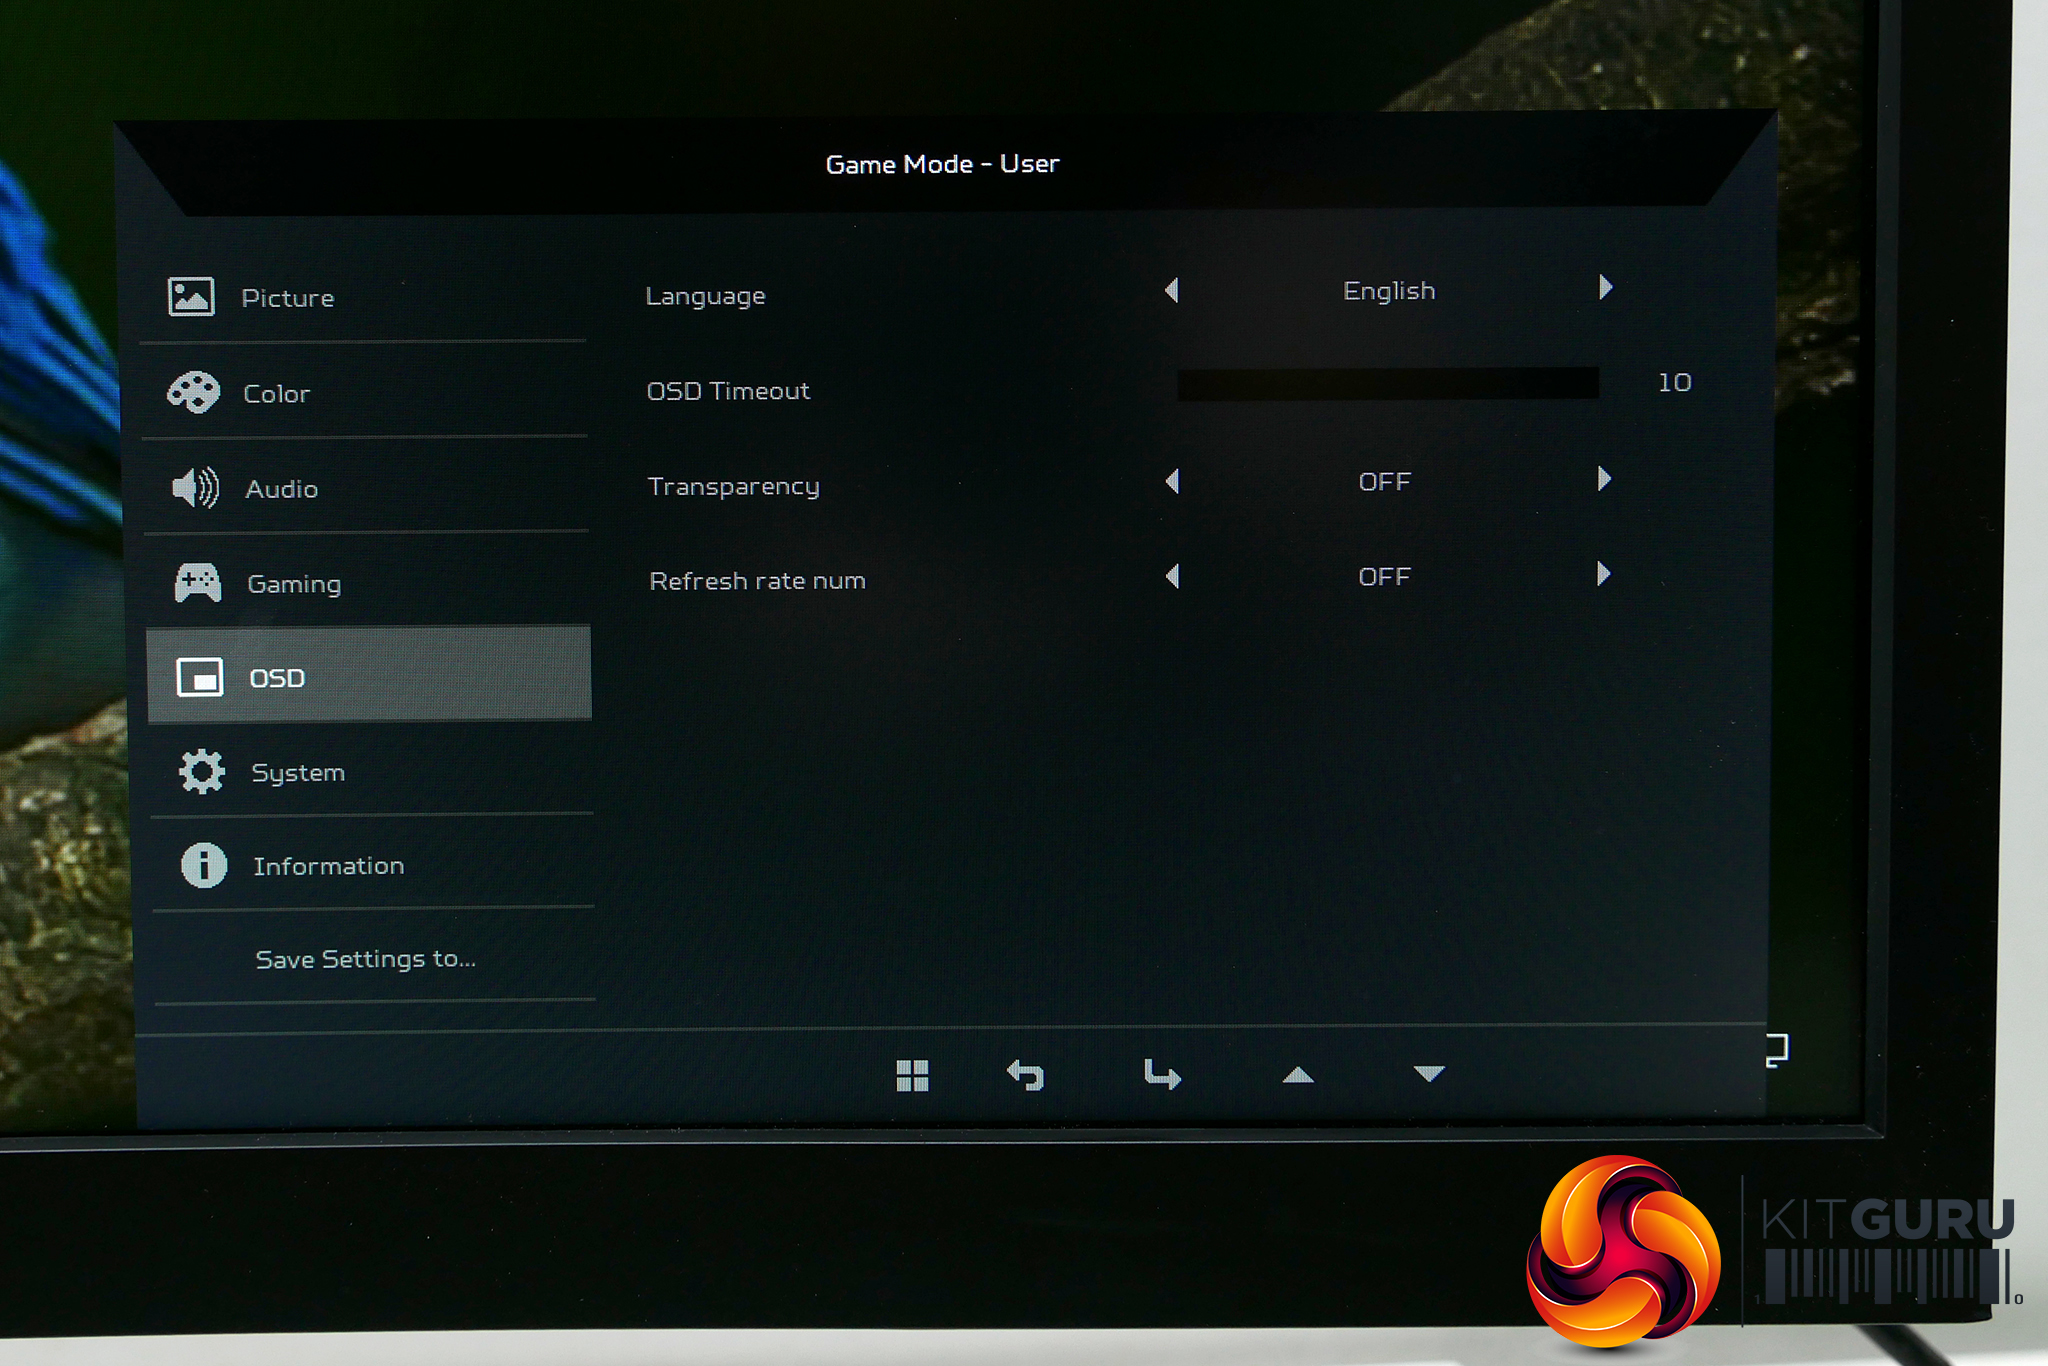

The OSD tab lets you change the language of the OSD, the timeout for it, as well as the transparency. System has optoins to change the input and aspect ratio as well as change the sleep mode and turn off the LED that illuminates the power button. Finally, the Information tab shows what resolution and refresh rate the display is running at as well as whether G-Sync is on.
All told, it’s a comprehensive but not overwhelming selection of options that means you should be able to get this display setup just as you like in no time at all. Perhaps most crucially, there's actually very little reason to change anything other that brightness from the defaults anyway.
I have the x34a.
Do the corners have light bleed?
My x34a is terrible for light bleed when viewing a black screen. I’m starting to wonder whoever I have a dodgy one or not.
Also the buttons are a pain on the x34a. The back button changes position depending on which menu you are in and drives me nuts!
Is this different on the new one as it appears to be the same?
Also is the stand different?
I had to get a desk mounted arm for my x34 as I couldn’t get the monitor close enough to me as the keyboard and mouse got in the way of the stand.
I was hoping for OLED gaming monitors now.
Ultra widescreen is awesome for FPS games but if you try and watch a 21:9 film in powersdvd, it won’t fill the screen for you!
Wooden leg movies in MPC do though!
There’s forum posts on the cyber link forums complaining about it.
Looks like I’ll wait for the proper next gen displays as this feels like a stop gap to me.