

The OSD has many useful features in it including full adjustment of the Red, Green and Blue values. The front buttons don’t make it especially easy to navigate. During testing we hit the power off button more than a few times.
The three buttons on the left perform different functions depending on whether the OSD is on the screen or not. When the OSD is off, the far left button selects the display input. The next button along activates Clear Vision, an image-enhancing feature that we preferred left turned off as it introduced some pixelation around images.
Again, with the OSD off, the next button adjusts volume. However, there are no built-in speakers with the Q2778VQE so this adjusts the volume if you’re using speakers connected to the 3.5mm output.
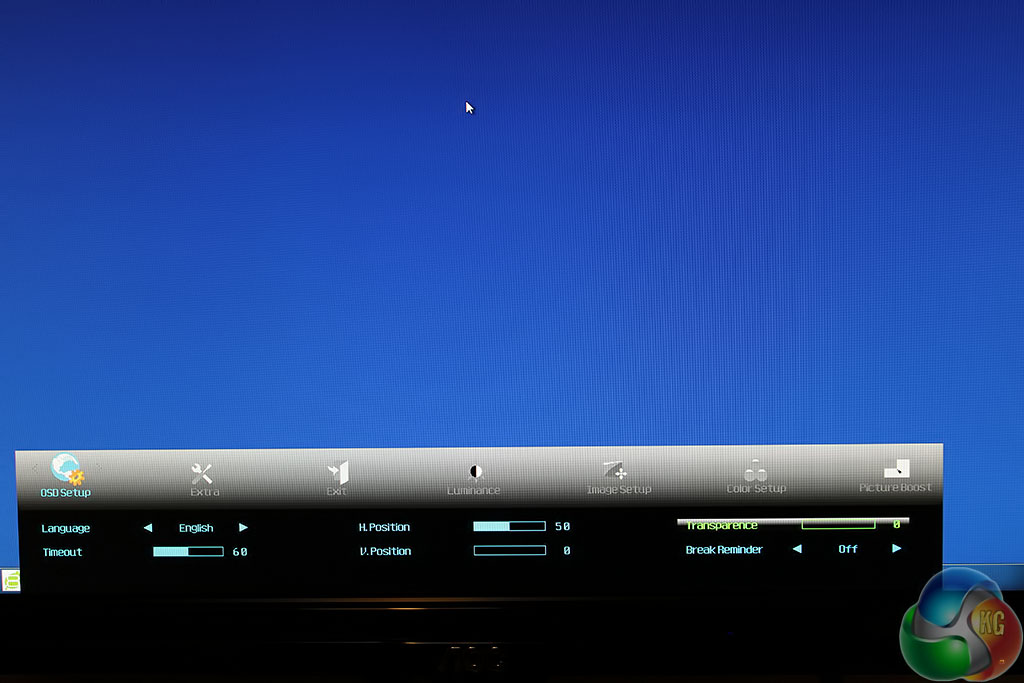
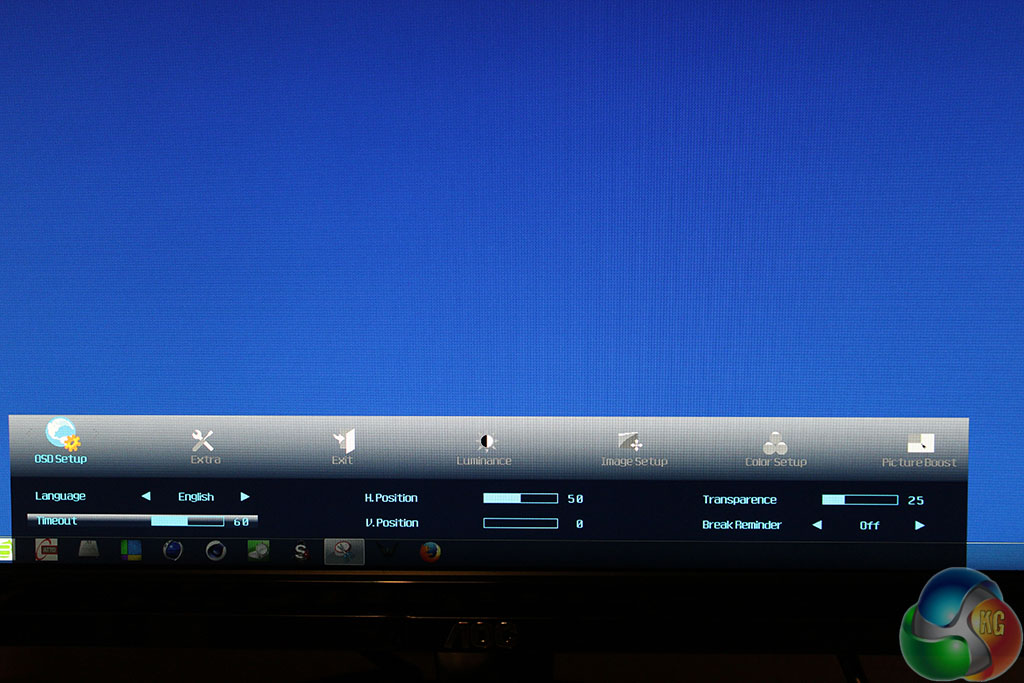
The button to the left of the power button brings up the OSD. By default, it appears right at the bottom, with a slight transparent effect that can make icons from the Windows desktop show through it. This can be changed in the OSD setup menu.
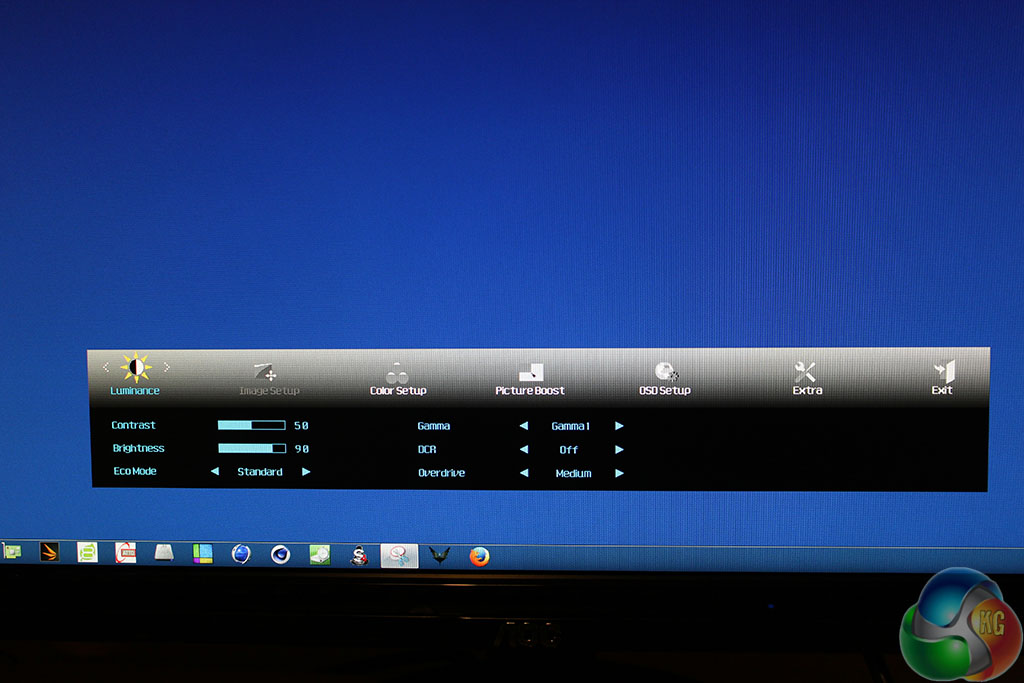
Brightness and contrast controls are in the Luminance menu, along with different gamma settings and an ECO mode. The ECO mode is a range of brightness and contrast presets for different scenarios, such as Sports, Text and so on. Higher brightness values means more power consumption. The default setting is Standard, which we used for testing.
The three gamma settings are labelled Gamma 1, Gamma 2 and Gamma 3. Our Spyder4 Elite Colorimeter identified these as 2.1, 1.8 and 2.3 respectively.
The DCR setting enables dynamic contrast ratio.
The Overdrive setting adjusts the response time, with four options (Weak, Medium, Strong and Off). We loaded up the Battlefield 4 test range, moved about a bit and tried each setting and couldn’t spot much ghosting regardless of the setting.
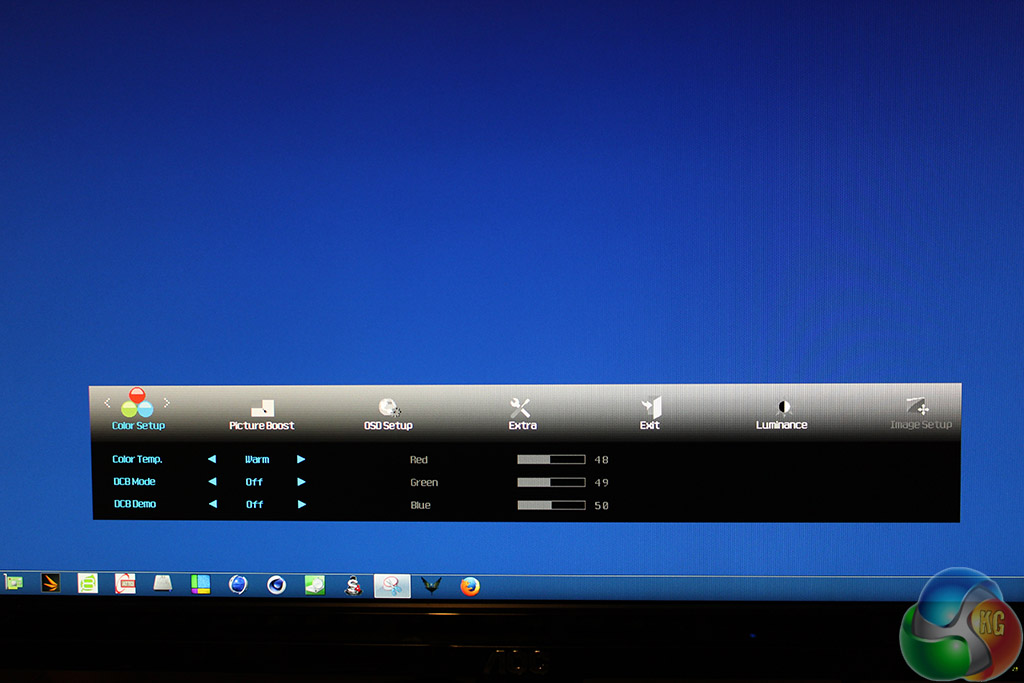
In the Colour menu are RGB sliders and a colour setting ranging from warm to cool, with a normal setting to turn the effect off. By default this setting is on Warm. When it is set to user the Red Green and Blue sliders are enabled.
The DCB mode adjusts colour with a demo mode splitting the screen in half.
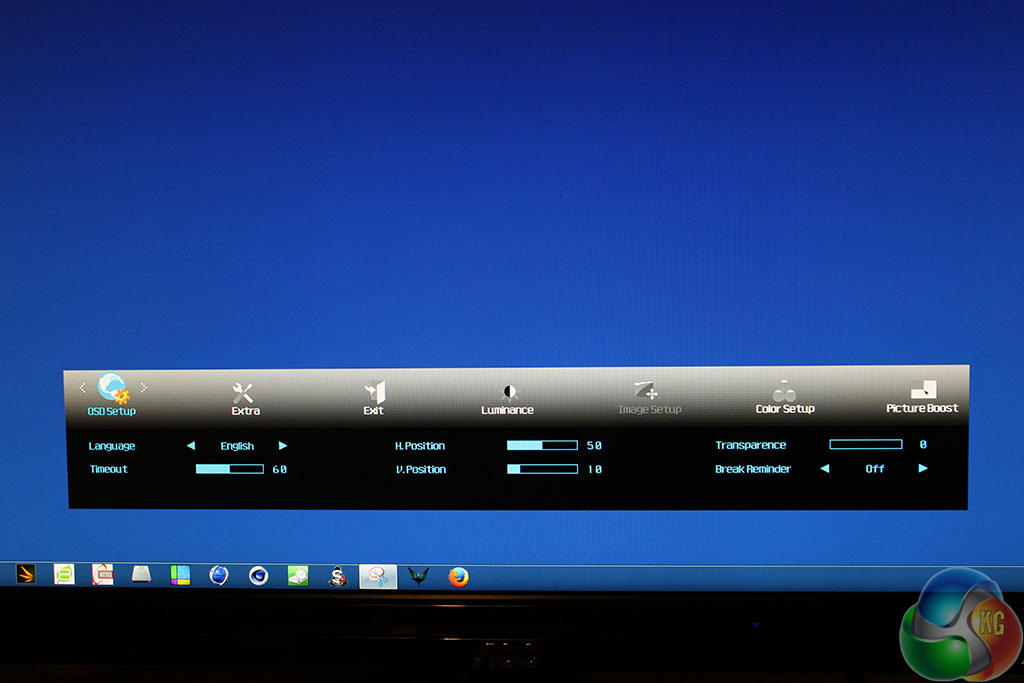
In the setup menu you can adjust the transparency, move the OSD from the bottom of the screen and change the timeout. There’s an amusing Break Reminder option that displays a warning on the screen every hour the display remains on, suggesting you go and stretch your legs.
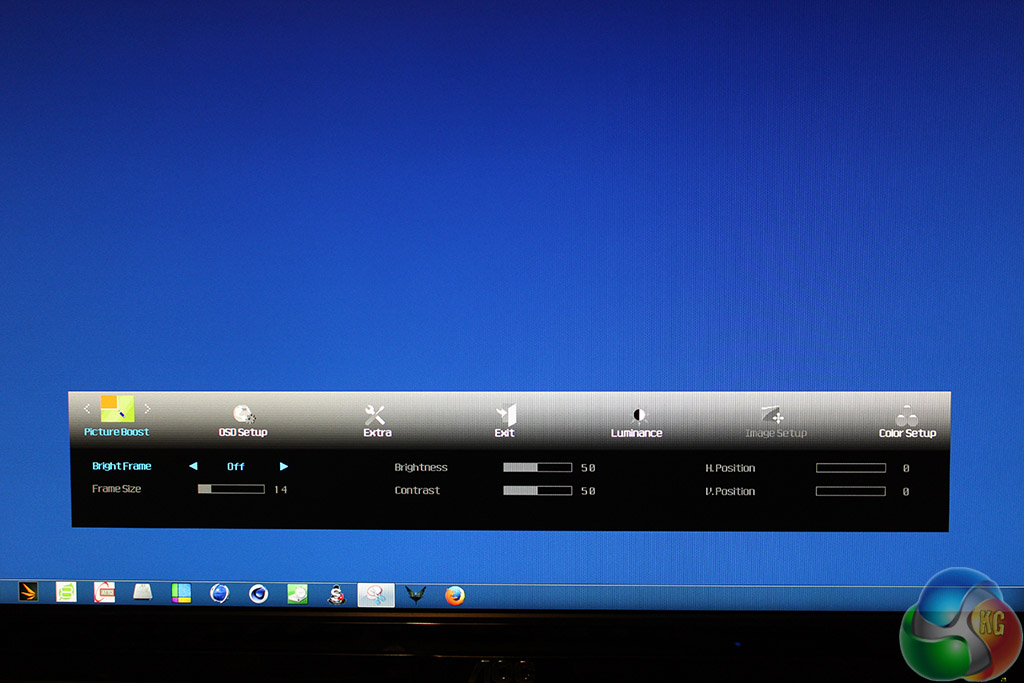
The Bright Frame setting illuminates a small rectangle on the screen, with the size and position adjusted with the other settings. This could possibly be handy with a map in an FPS or even in the centre of the screen, although we left it turned off.
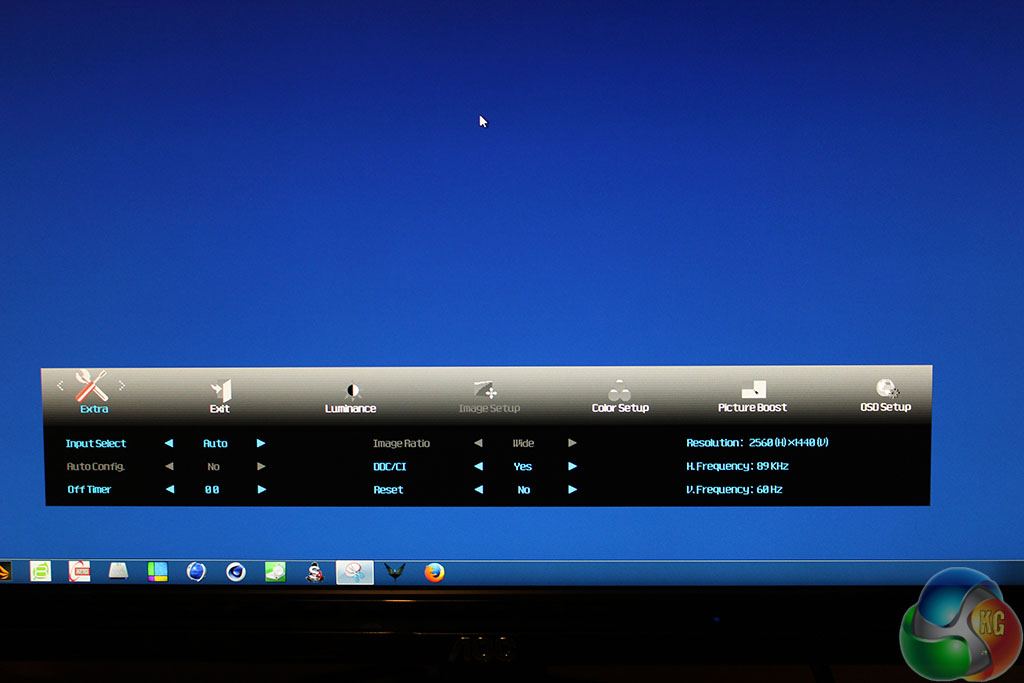
The Extra menu provides another way to select the video signal. AutoConfig resizes a display to fit. There’s support for DDC-CI (Display Data Channel Command Interface) for connection to external sensors. There’s also a reset button.
With the help of kitguru < I didn't believe …that…my brother woz like truly making money part time at their computer. . there aunt had bean doing this 4 only seventeen months and resantly paid the dept on there apartment and bourt themselves a Lotus Elise .
see this her CLICK FOR MORE INFO
➧➧✥➧➧✥ $73.. per-hr @mi36//
,,
➨➨➨http://ChaTeamViewerData.com/supperb/Catcher/2O15…
Good monitor, worth the price 🙂