NETGEAR follows the norm and focuses on its smartphone app for basic setup. A card inserted into the box prompts you to install this, and then guides you through the process to configure your router and satellites.


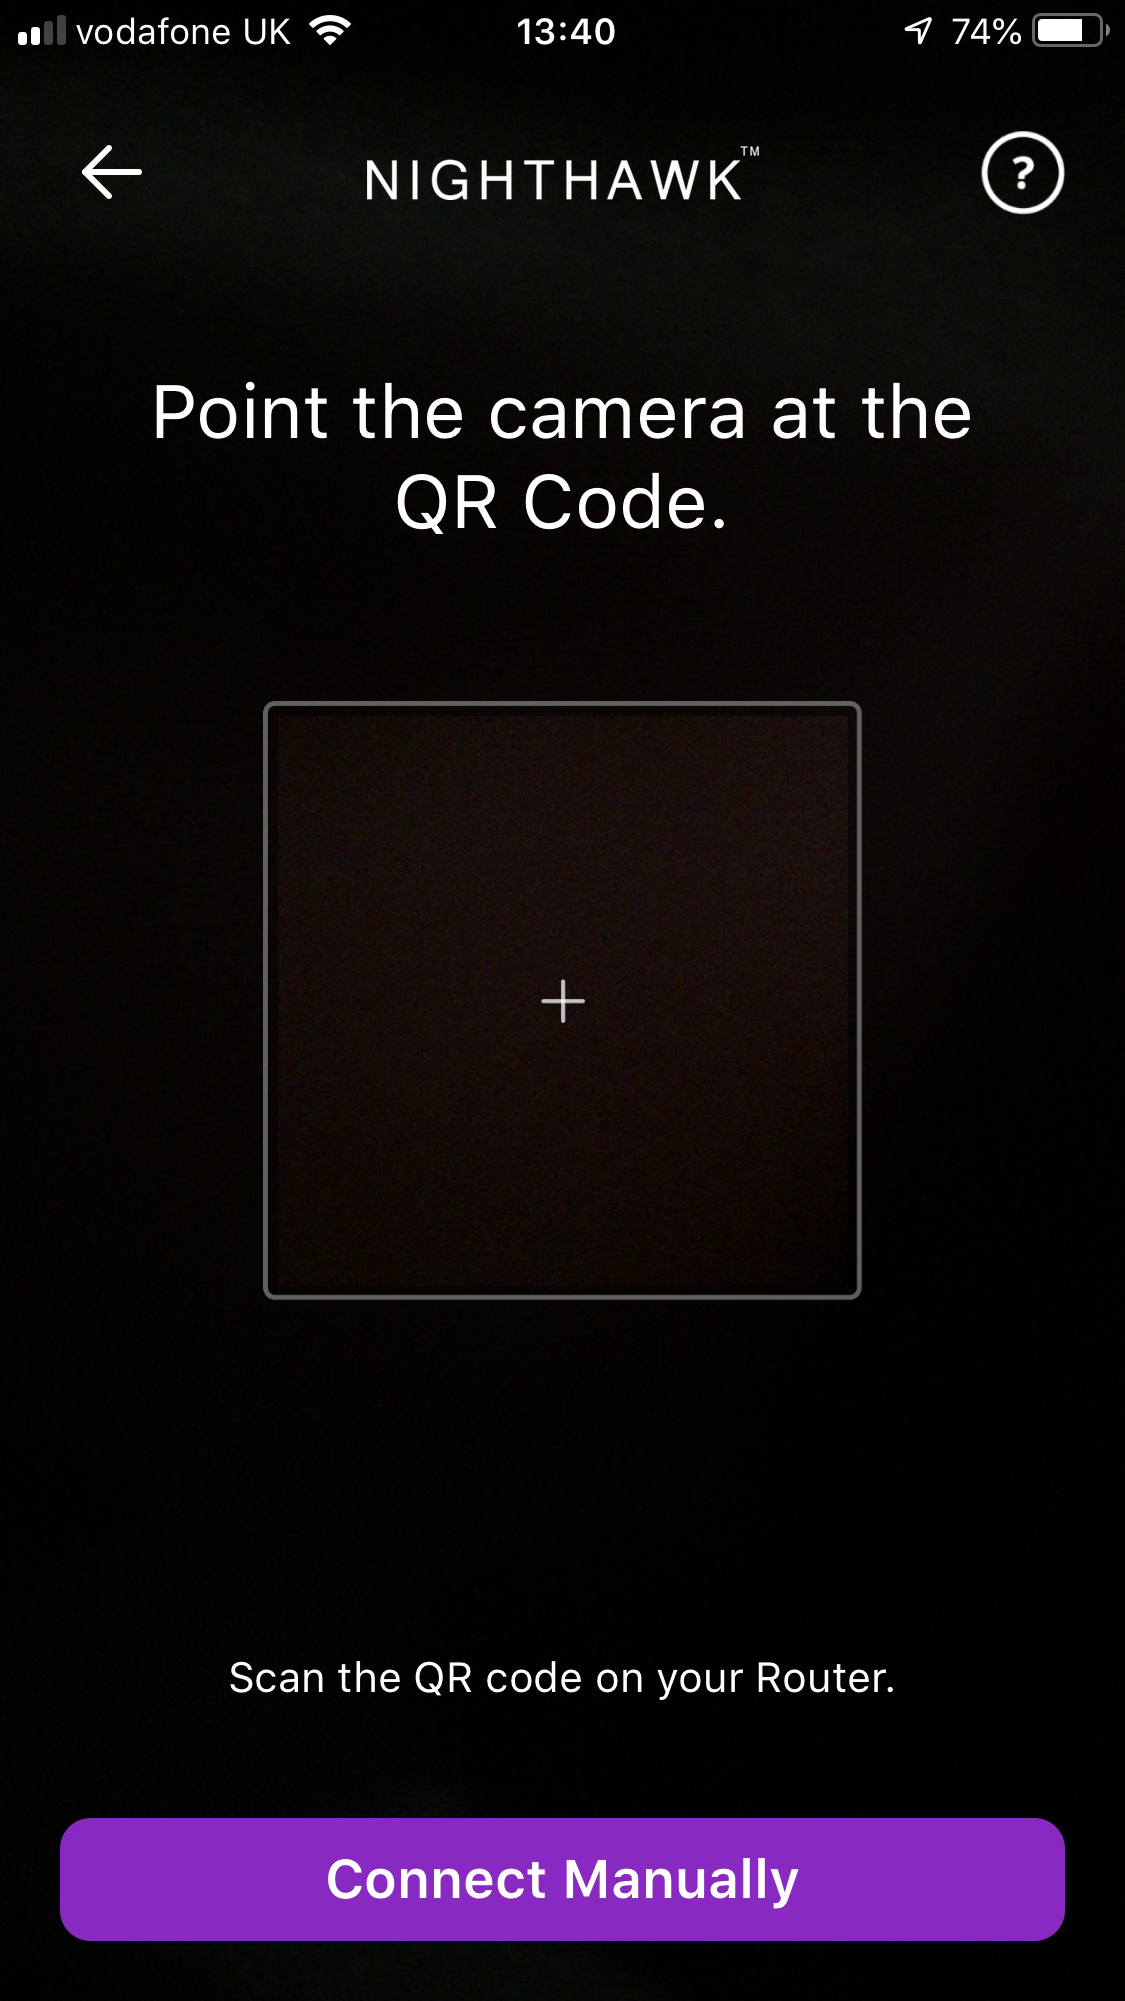
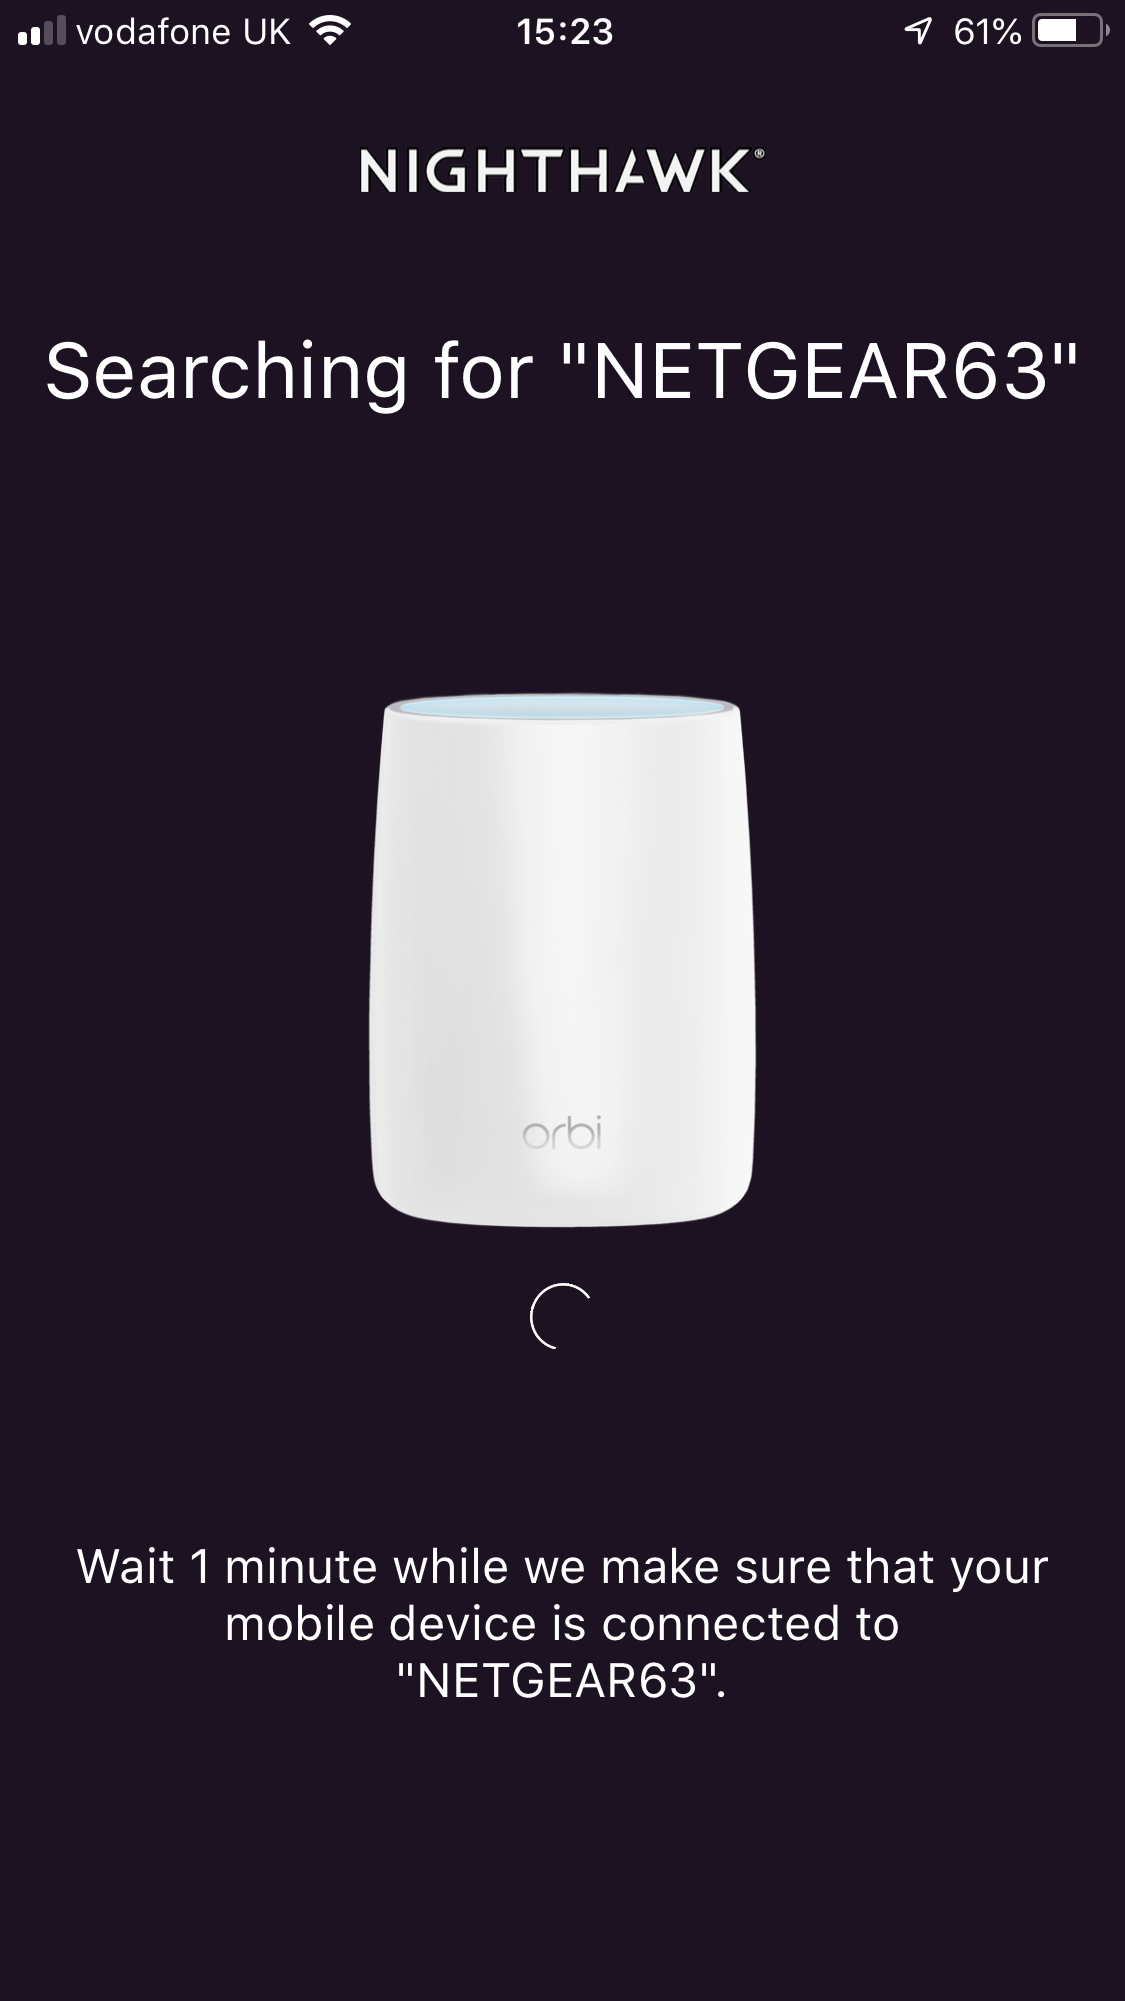
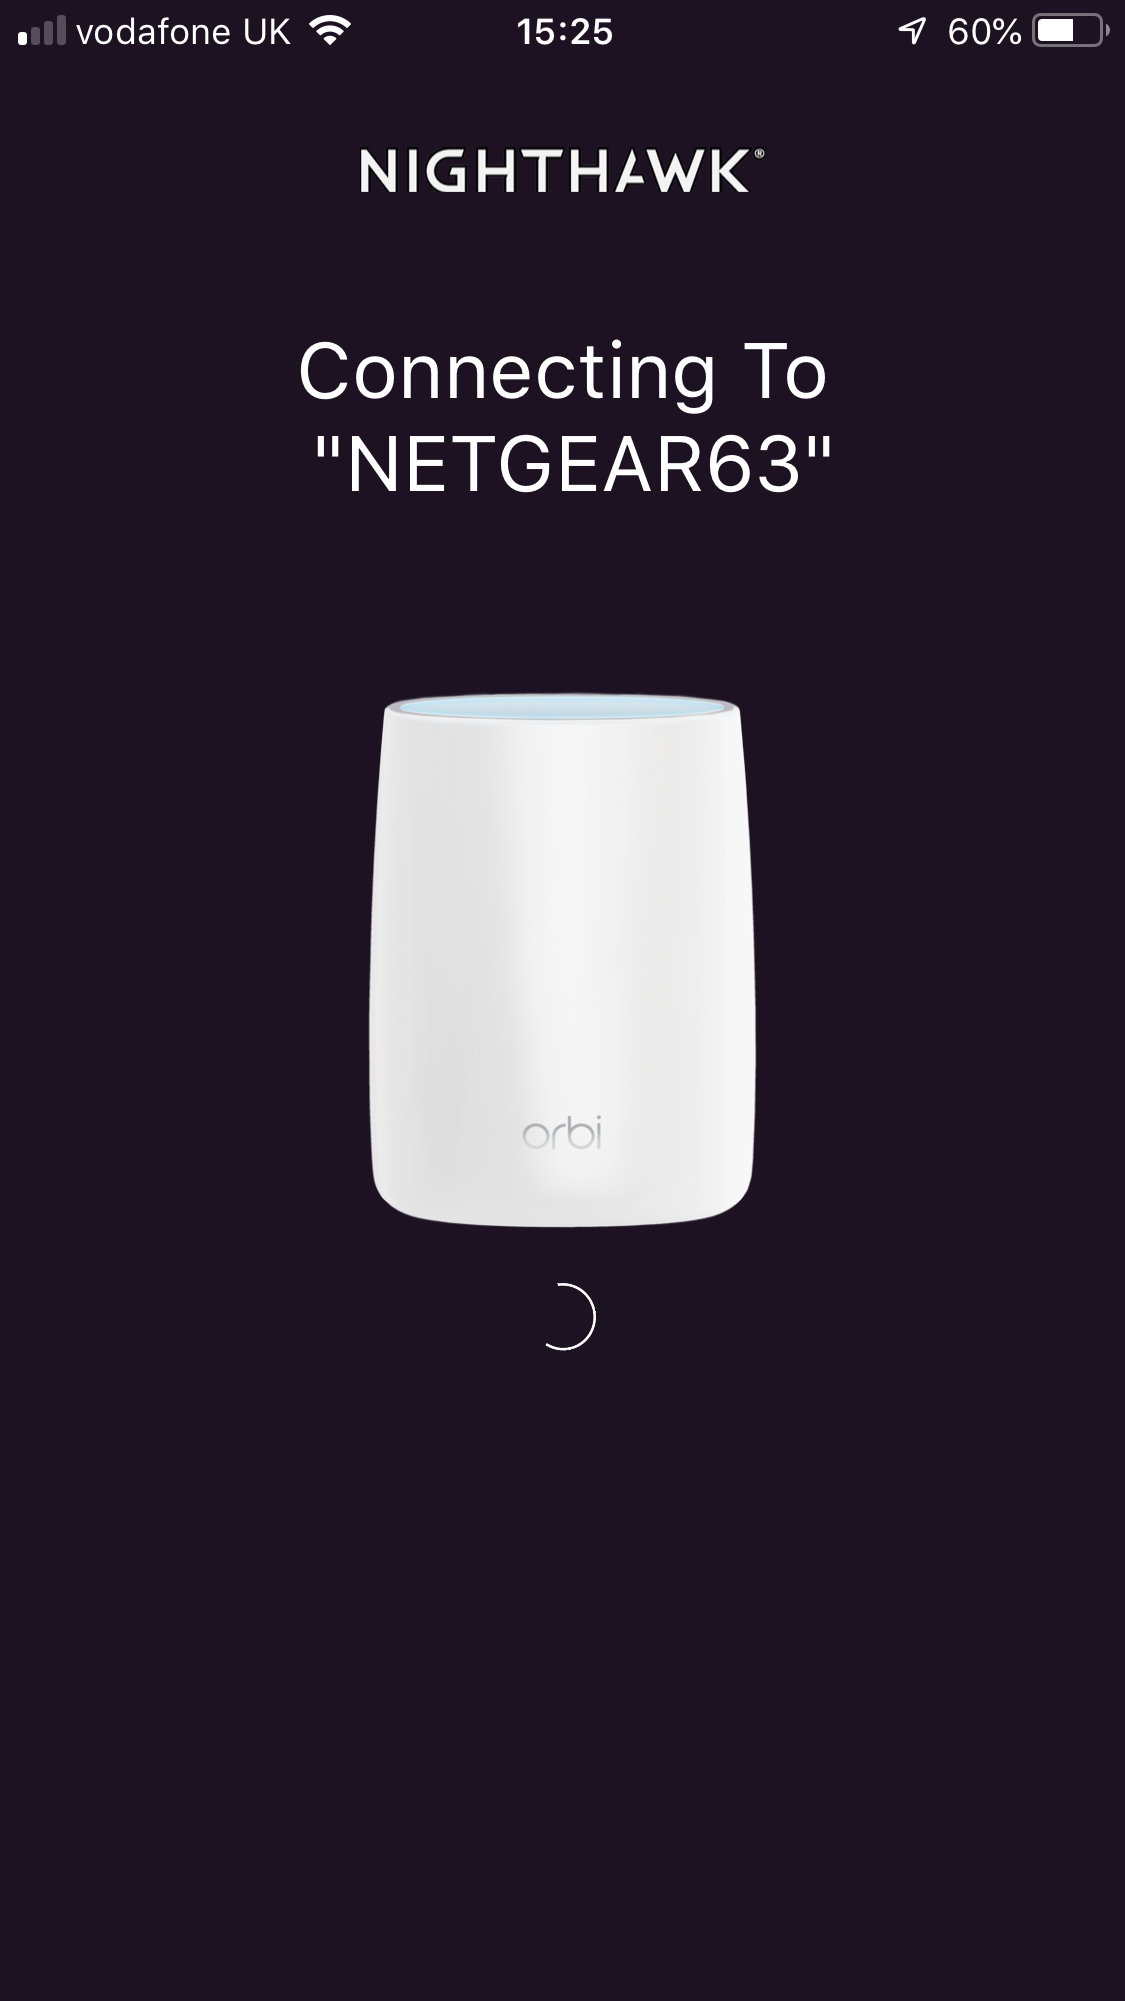
The smartphone app wizard first sets you up with a NETGEAR account, or you can log into an existing one. It will then prompt you that your router isn't set up, and will guide you through the process, starting with scanning the QR code on the bottom of the device. This is very small and took us a little while to get the distance right so it would be scanned correctly.
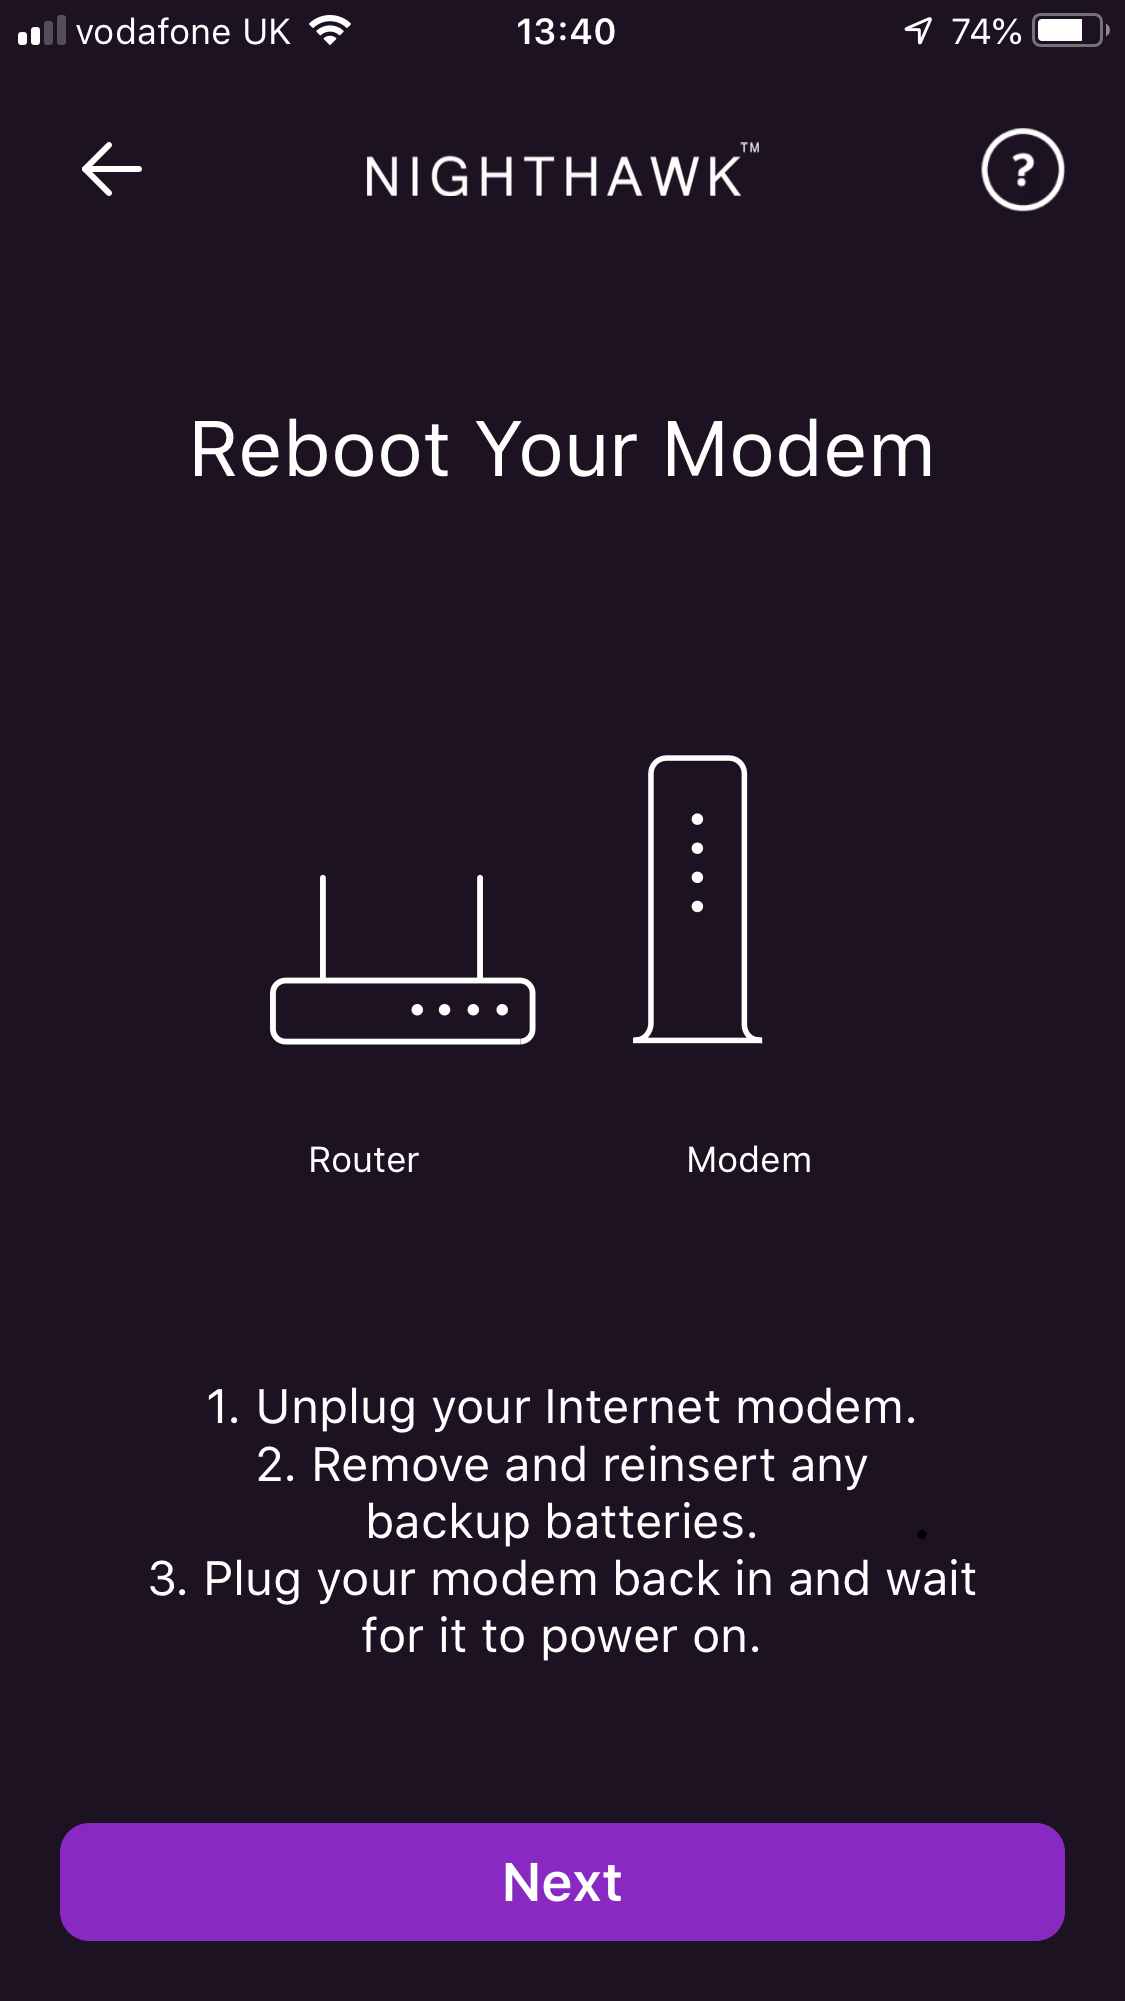
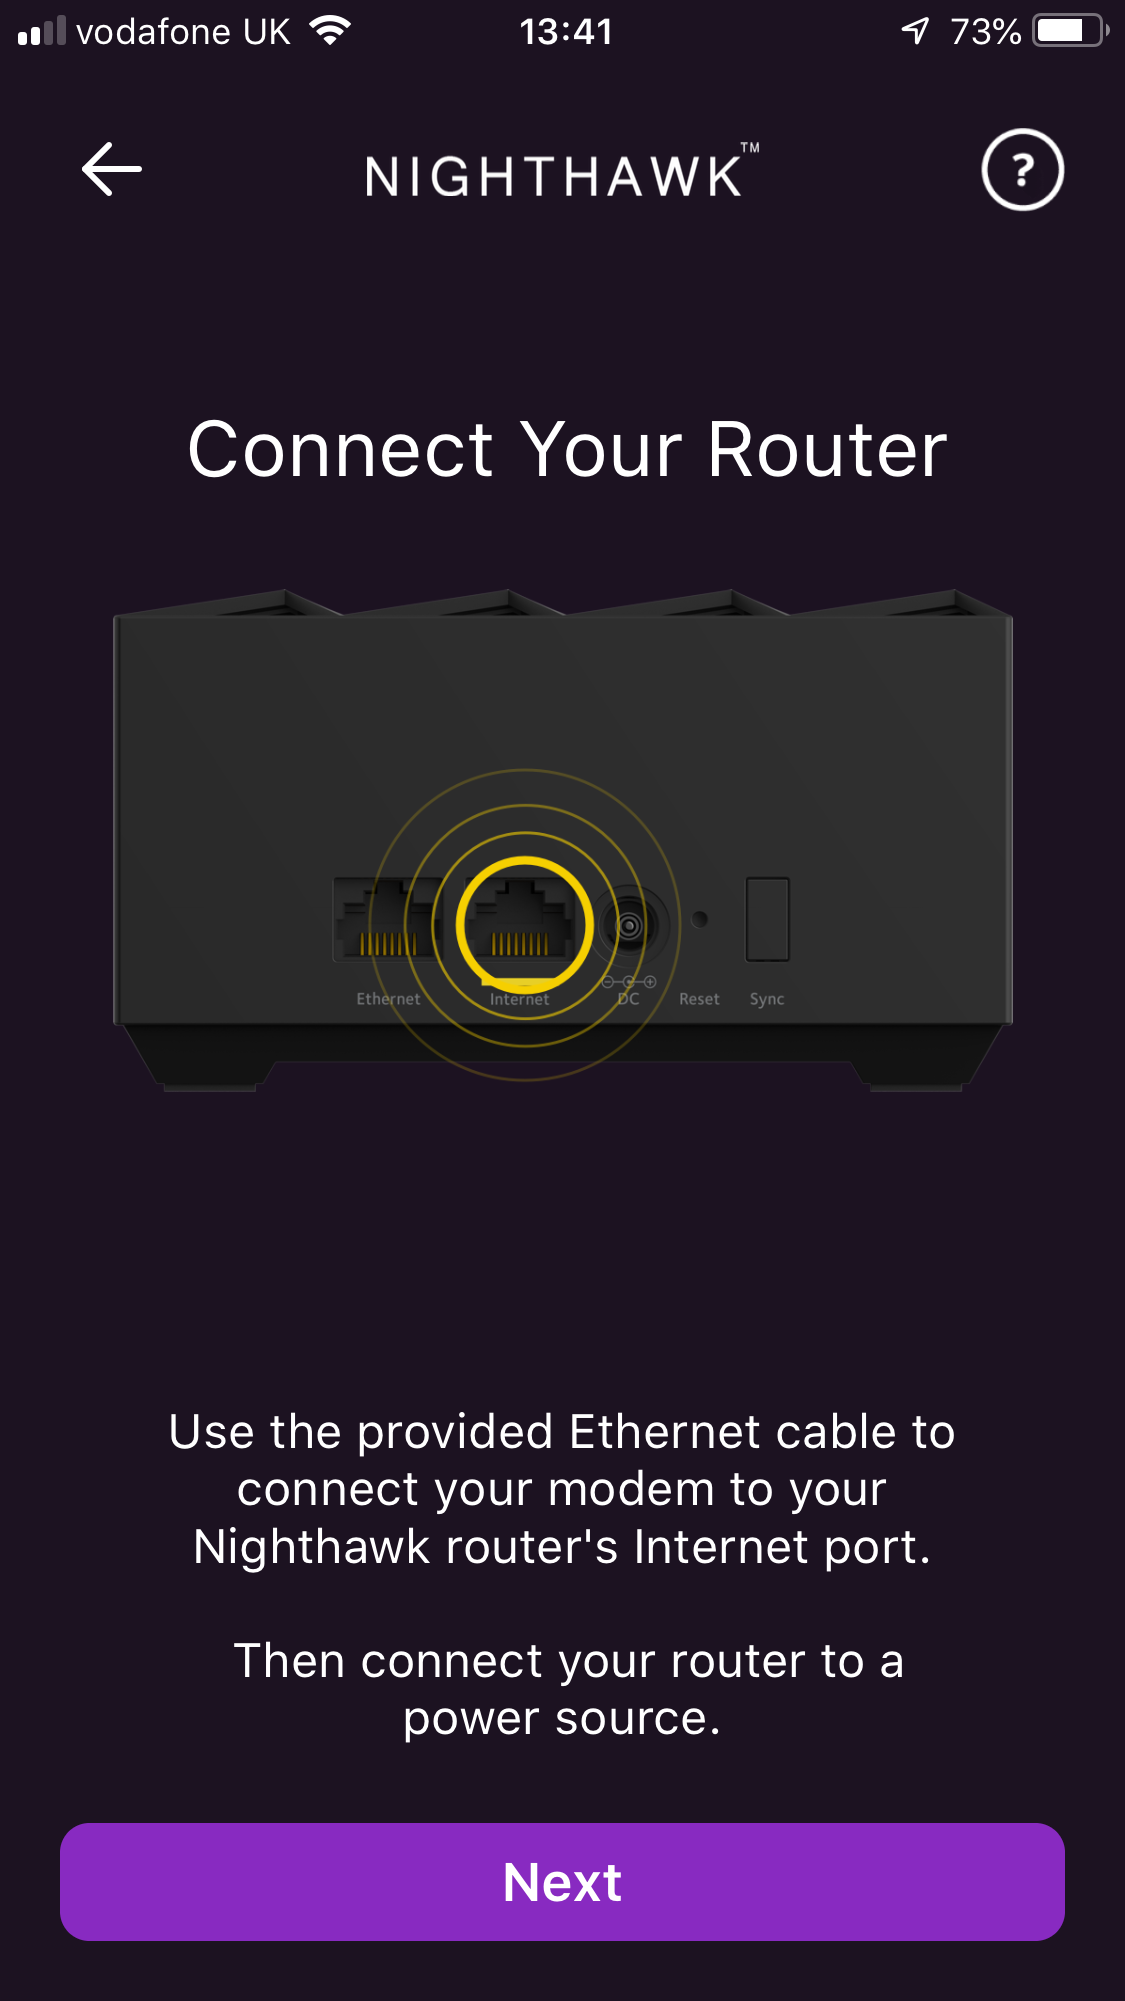
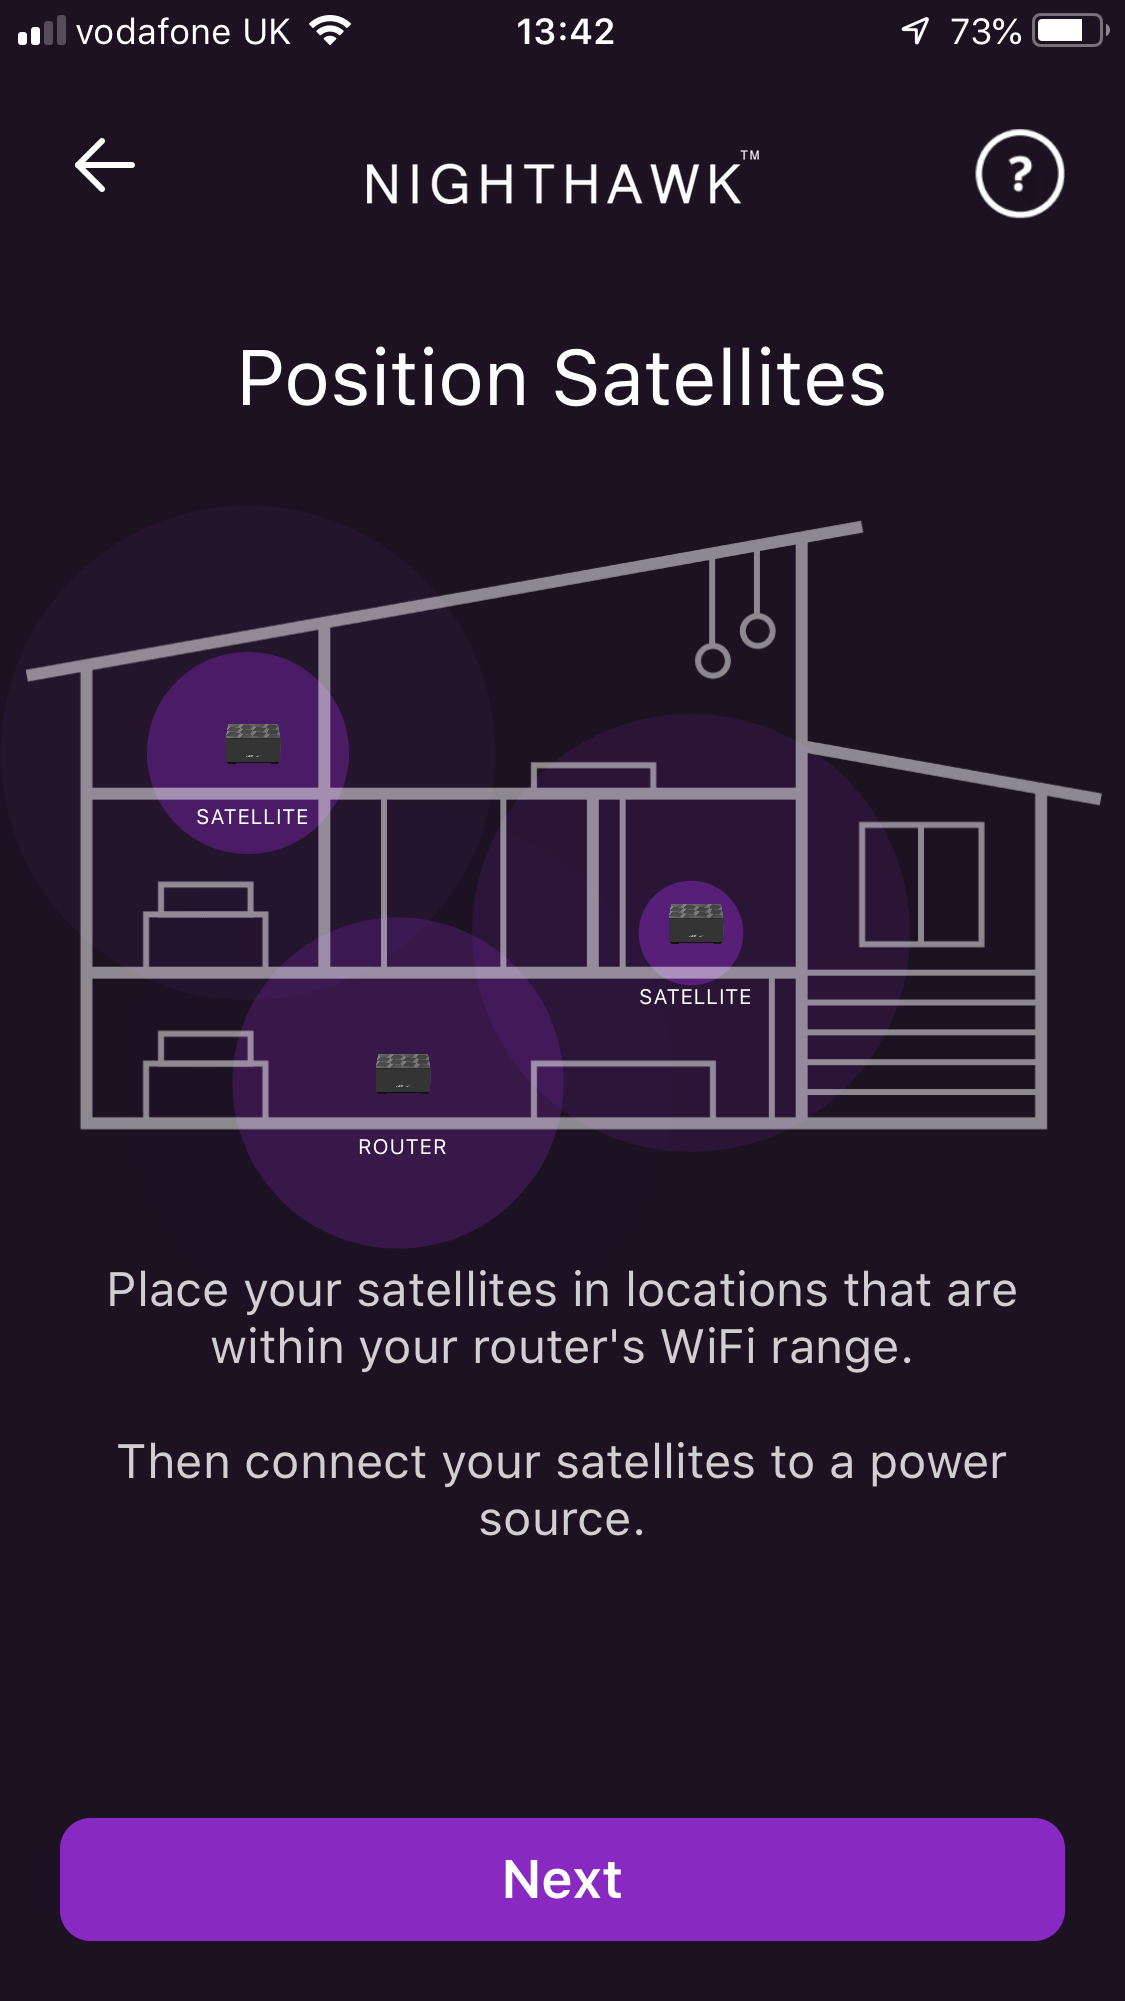
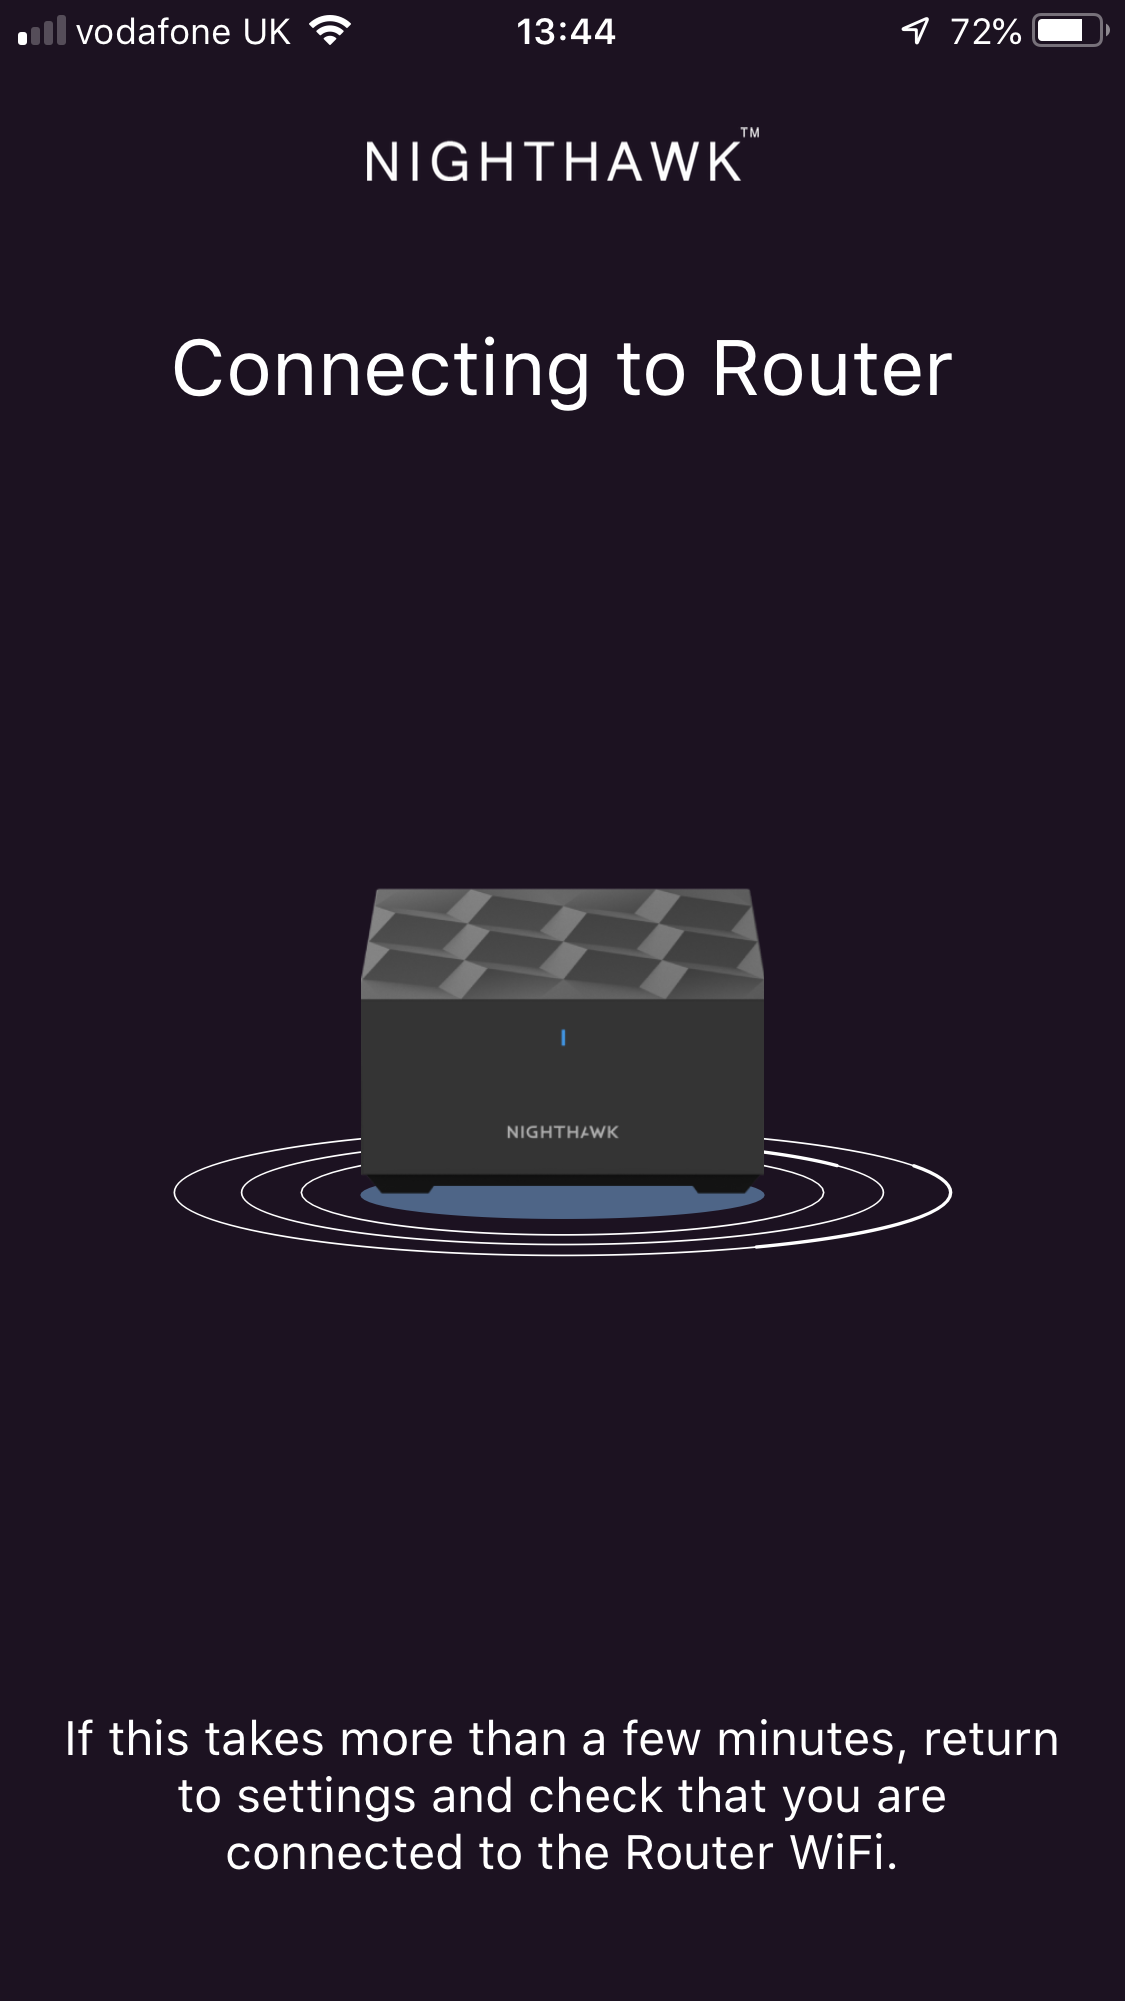
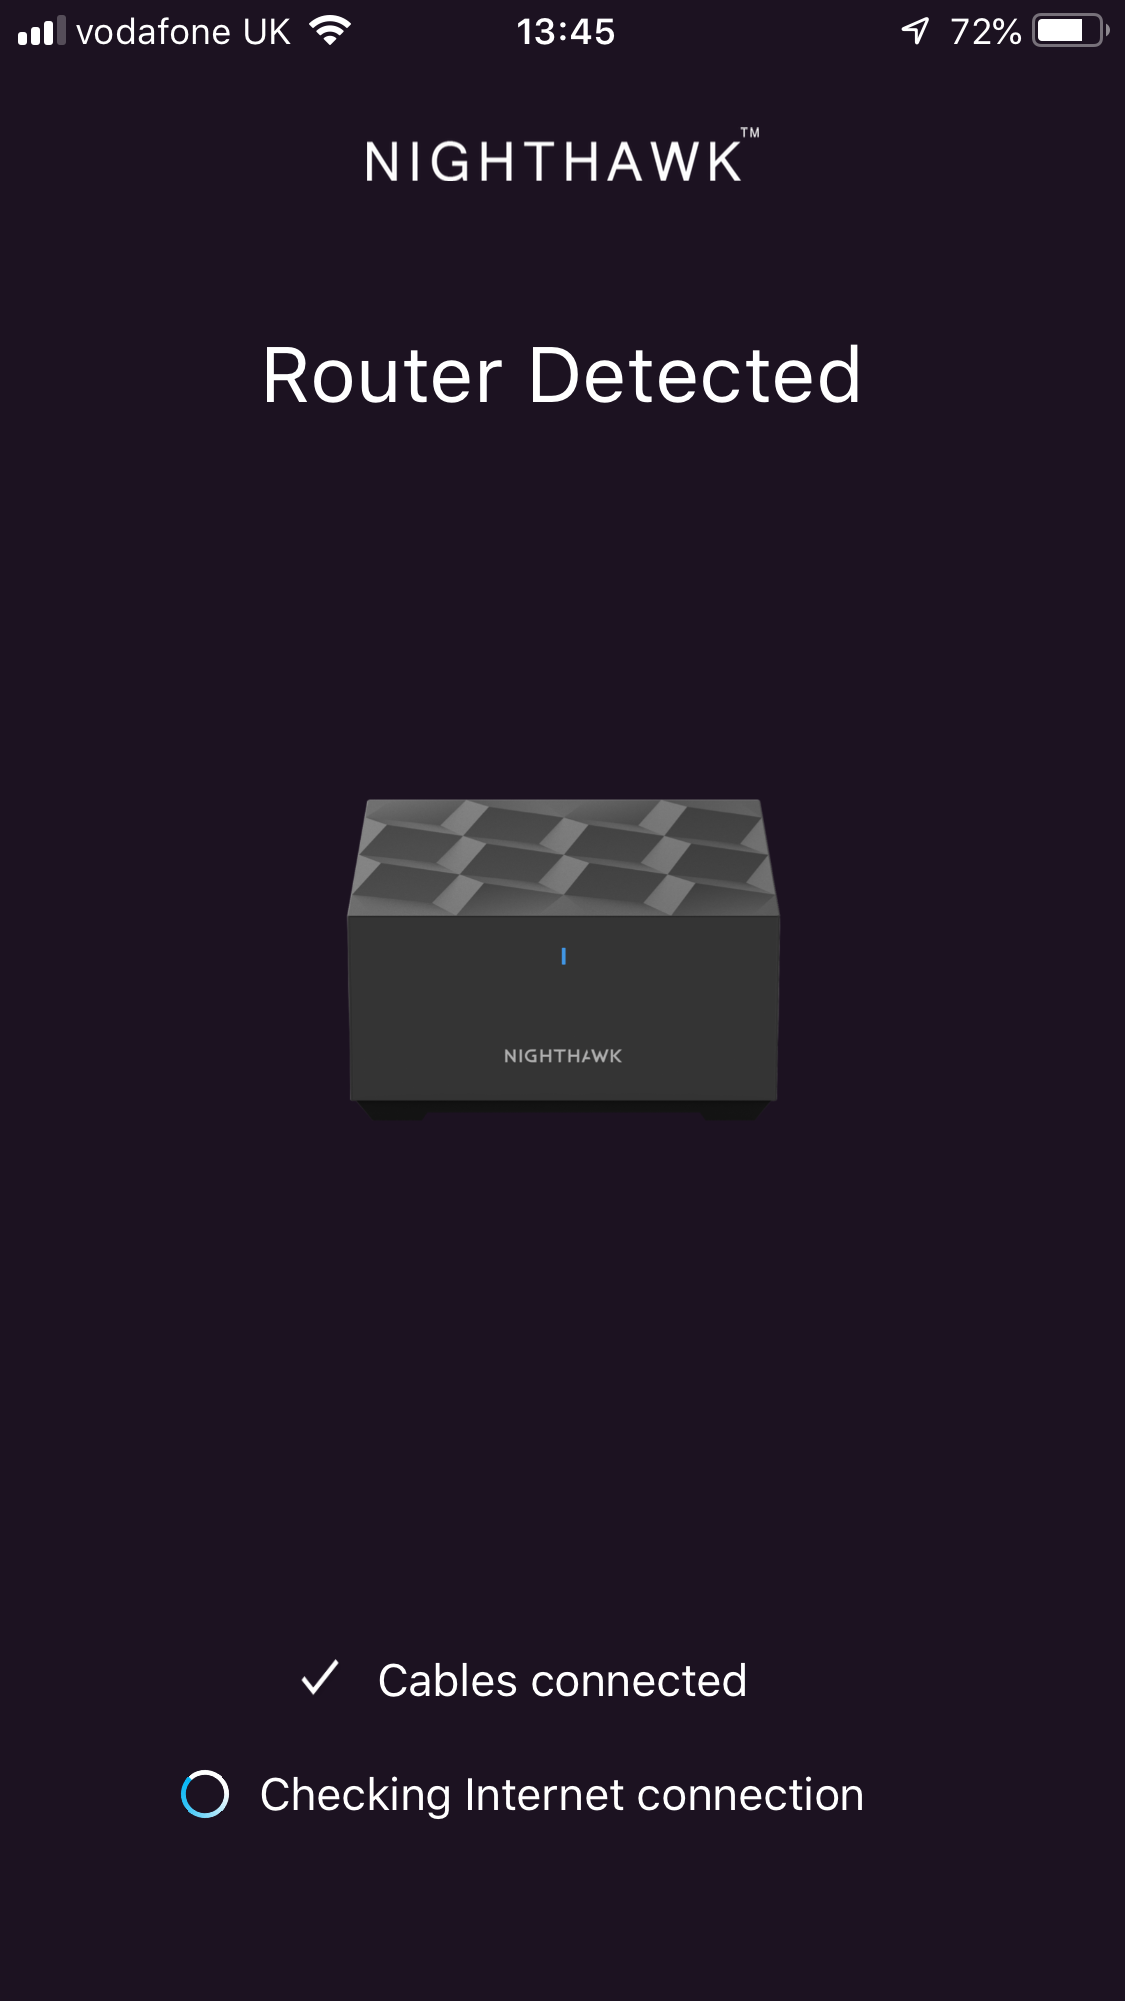
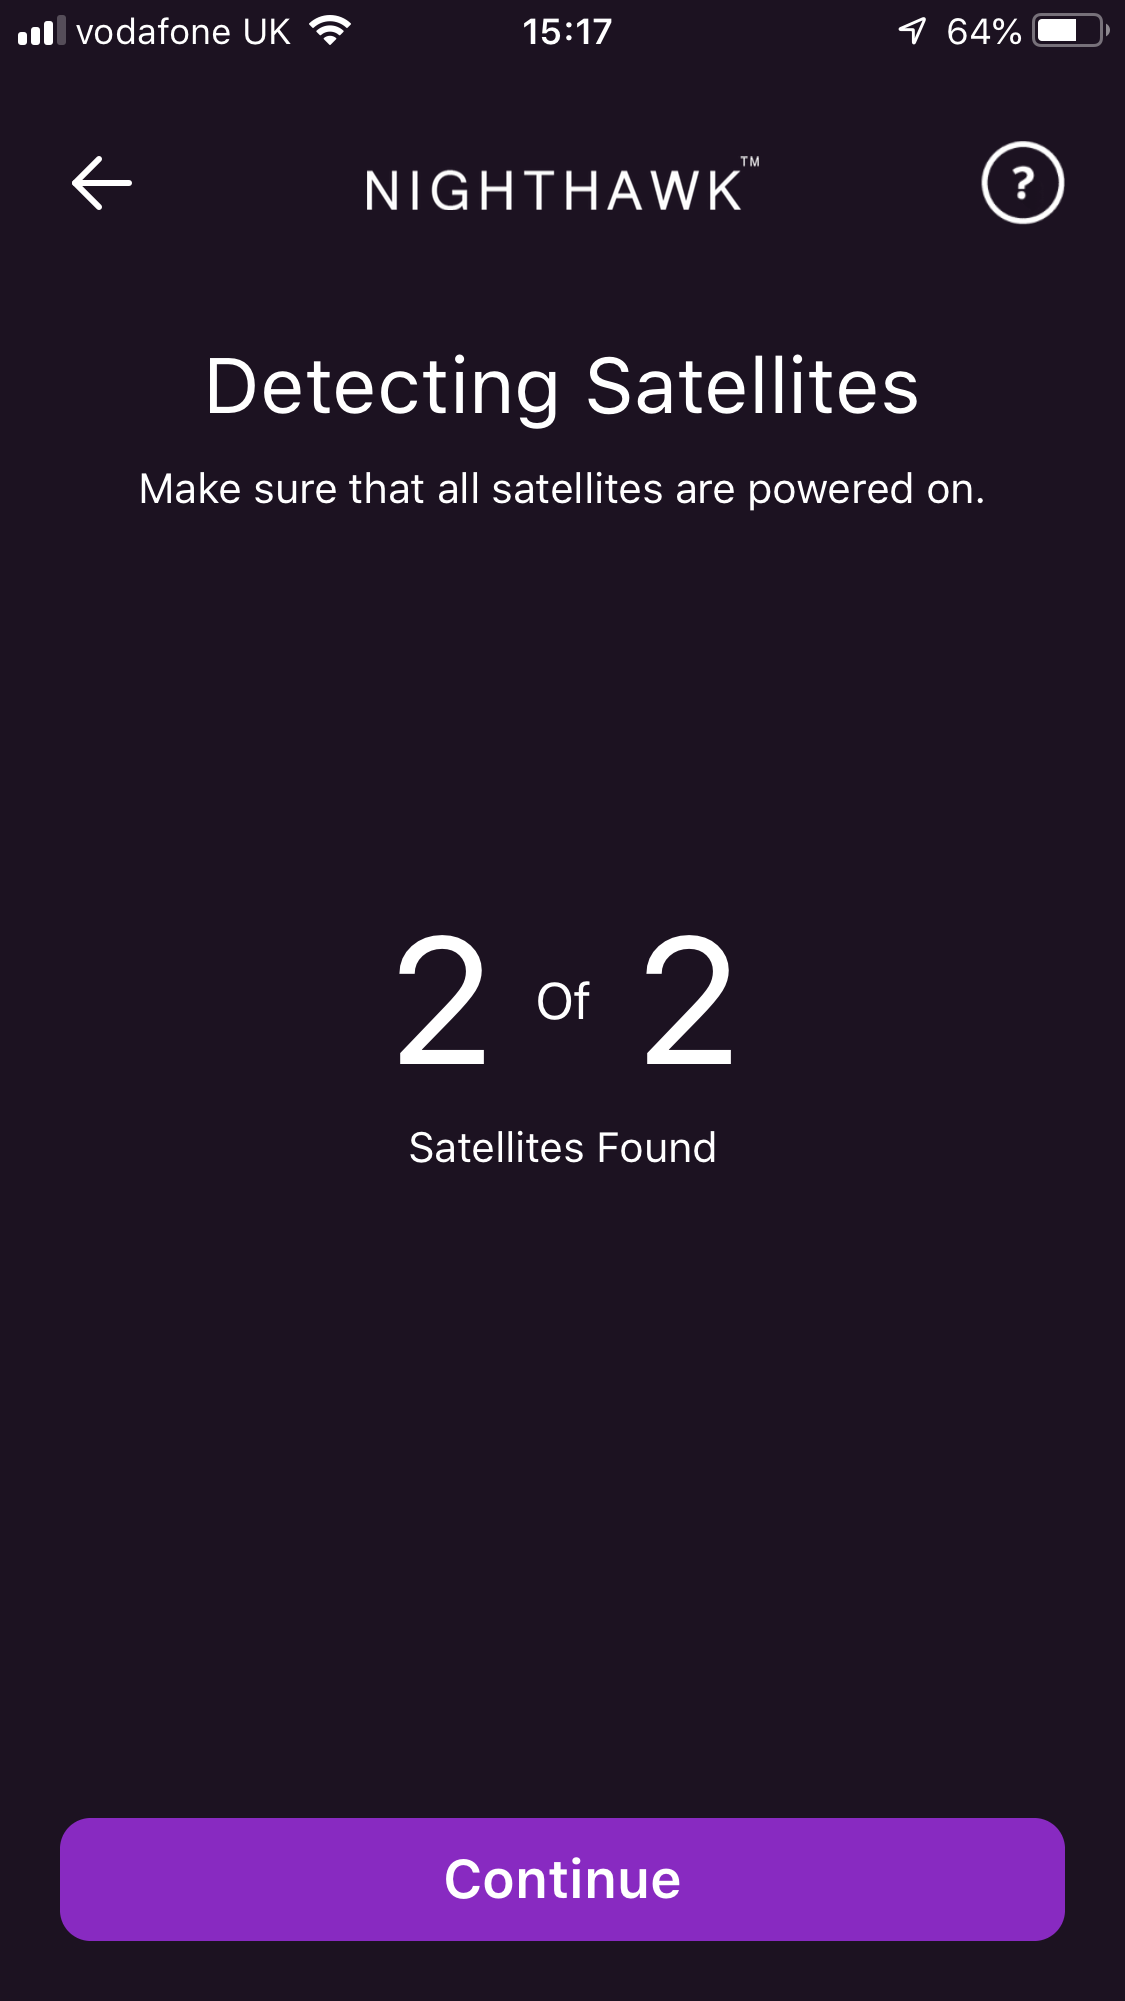
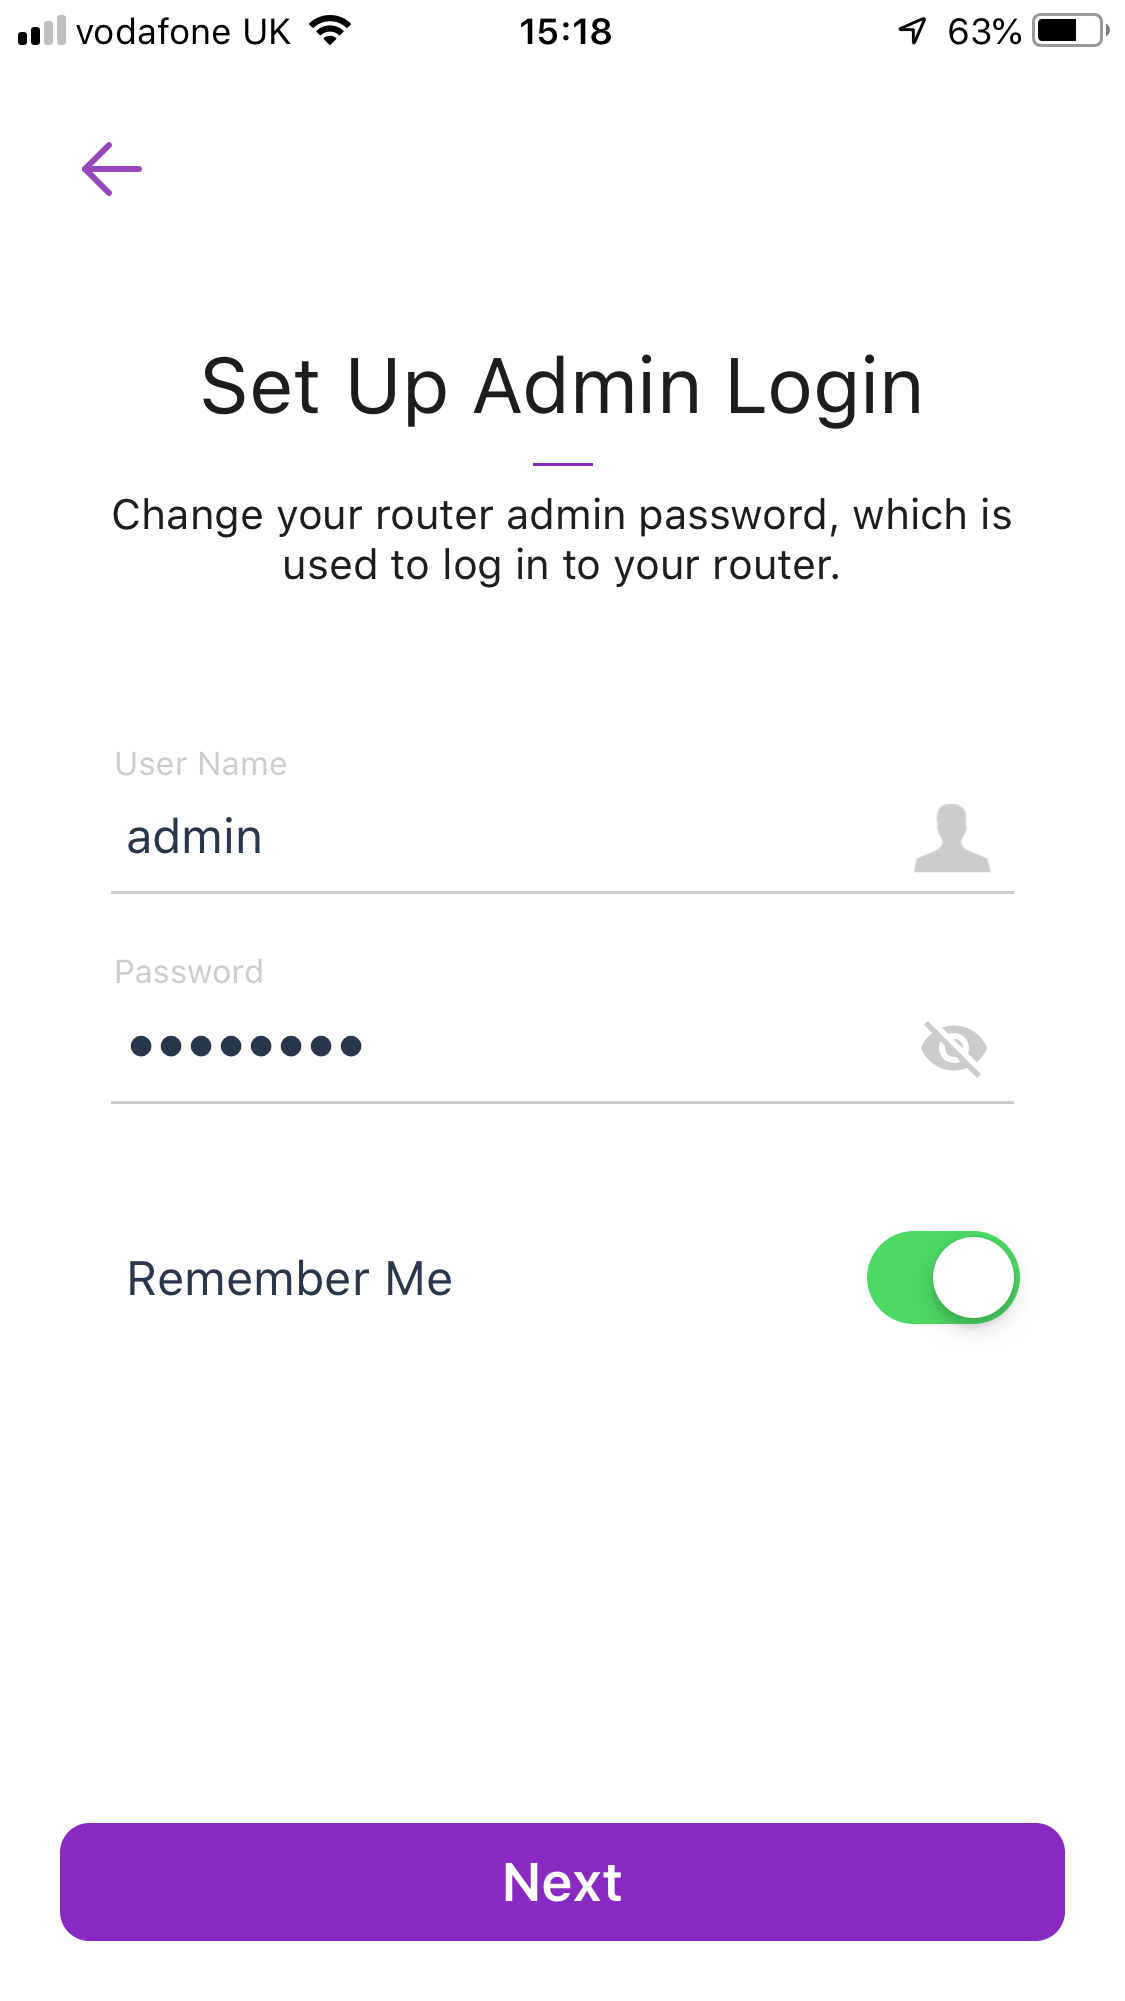
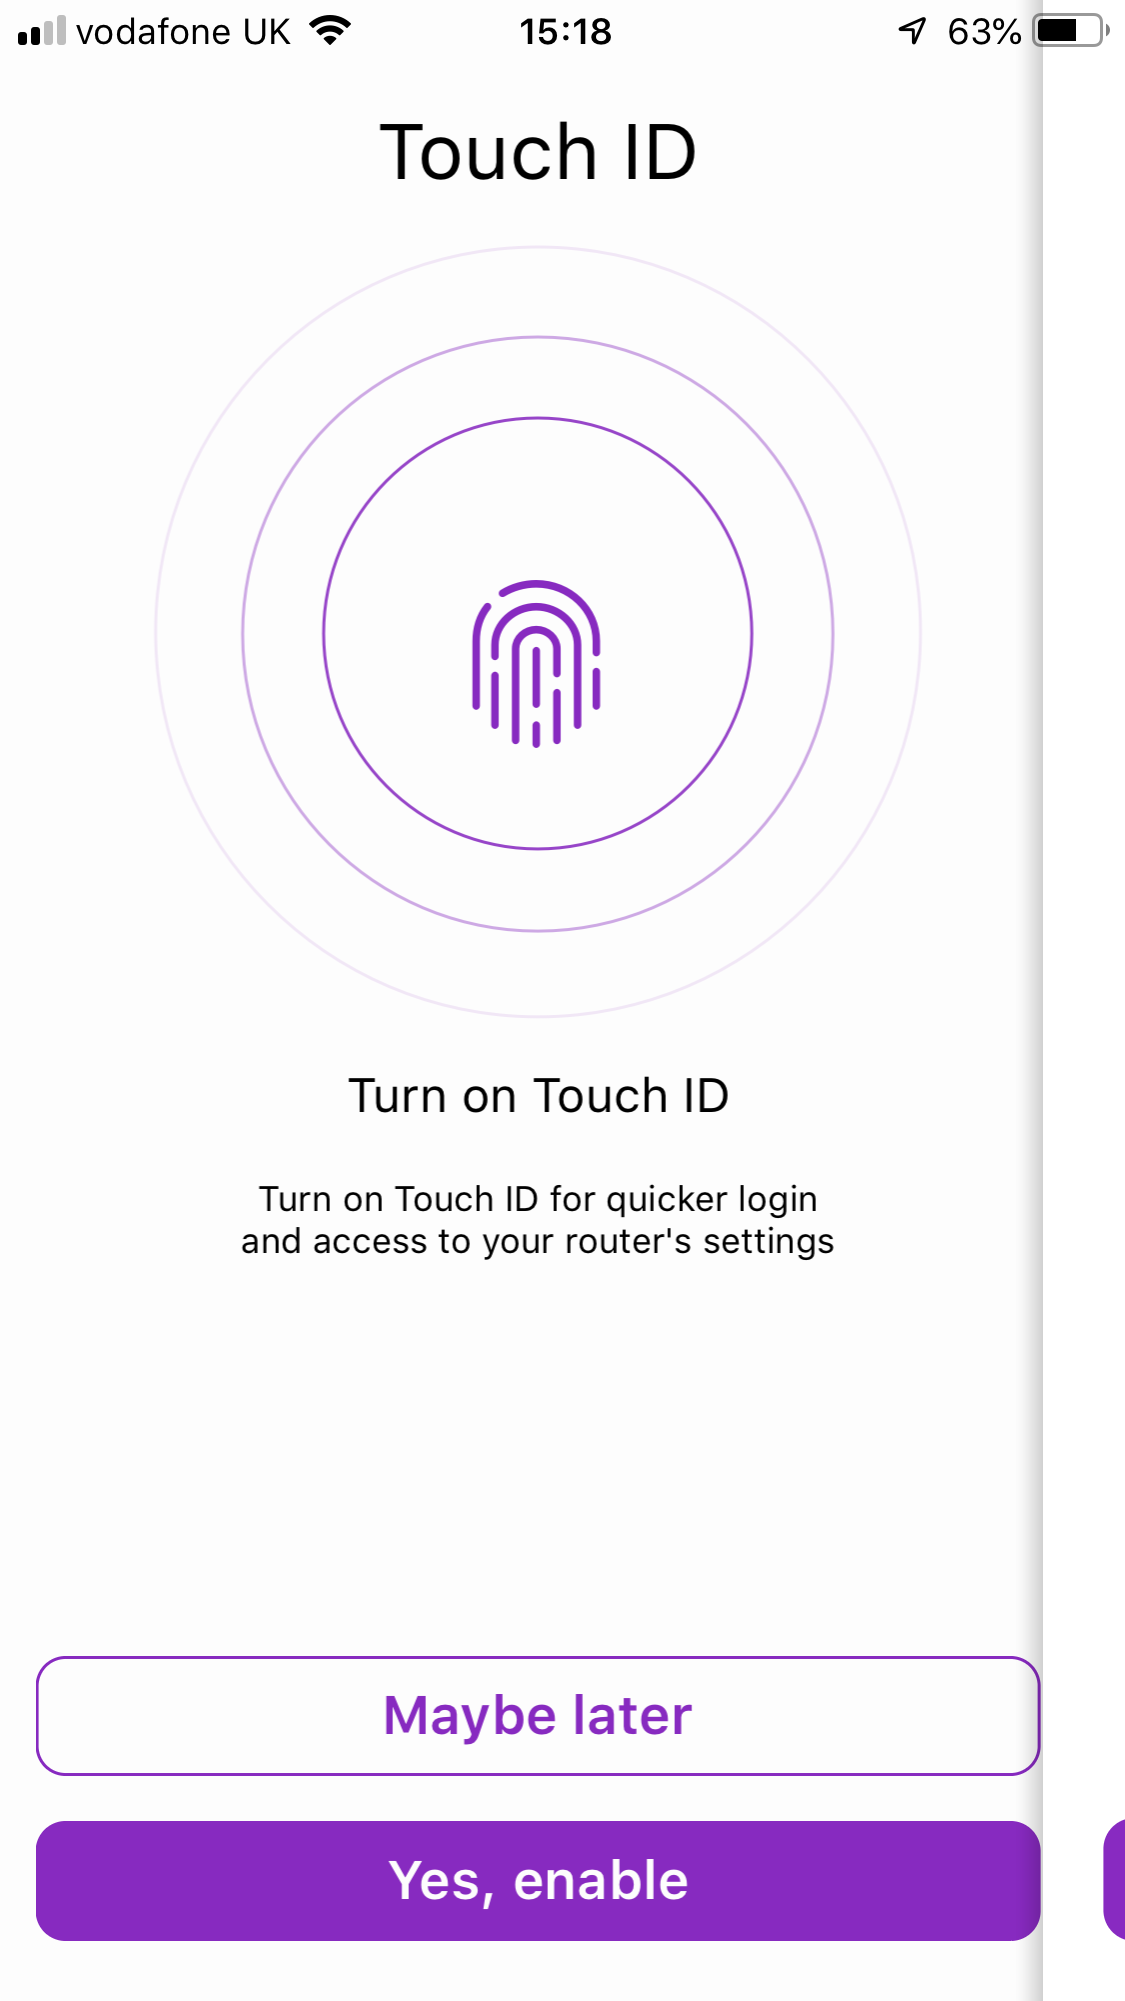
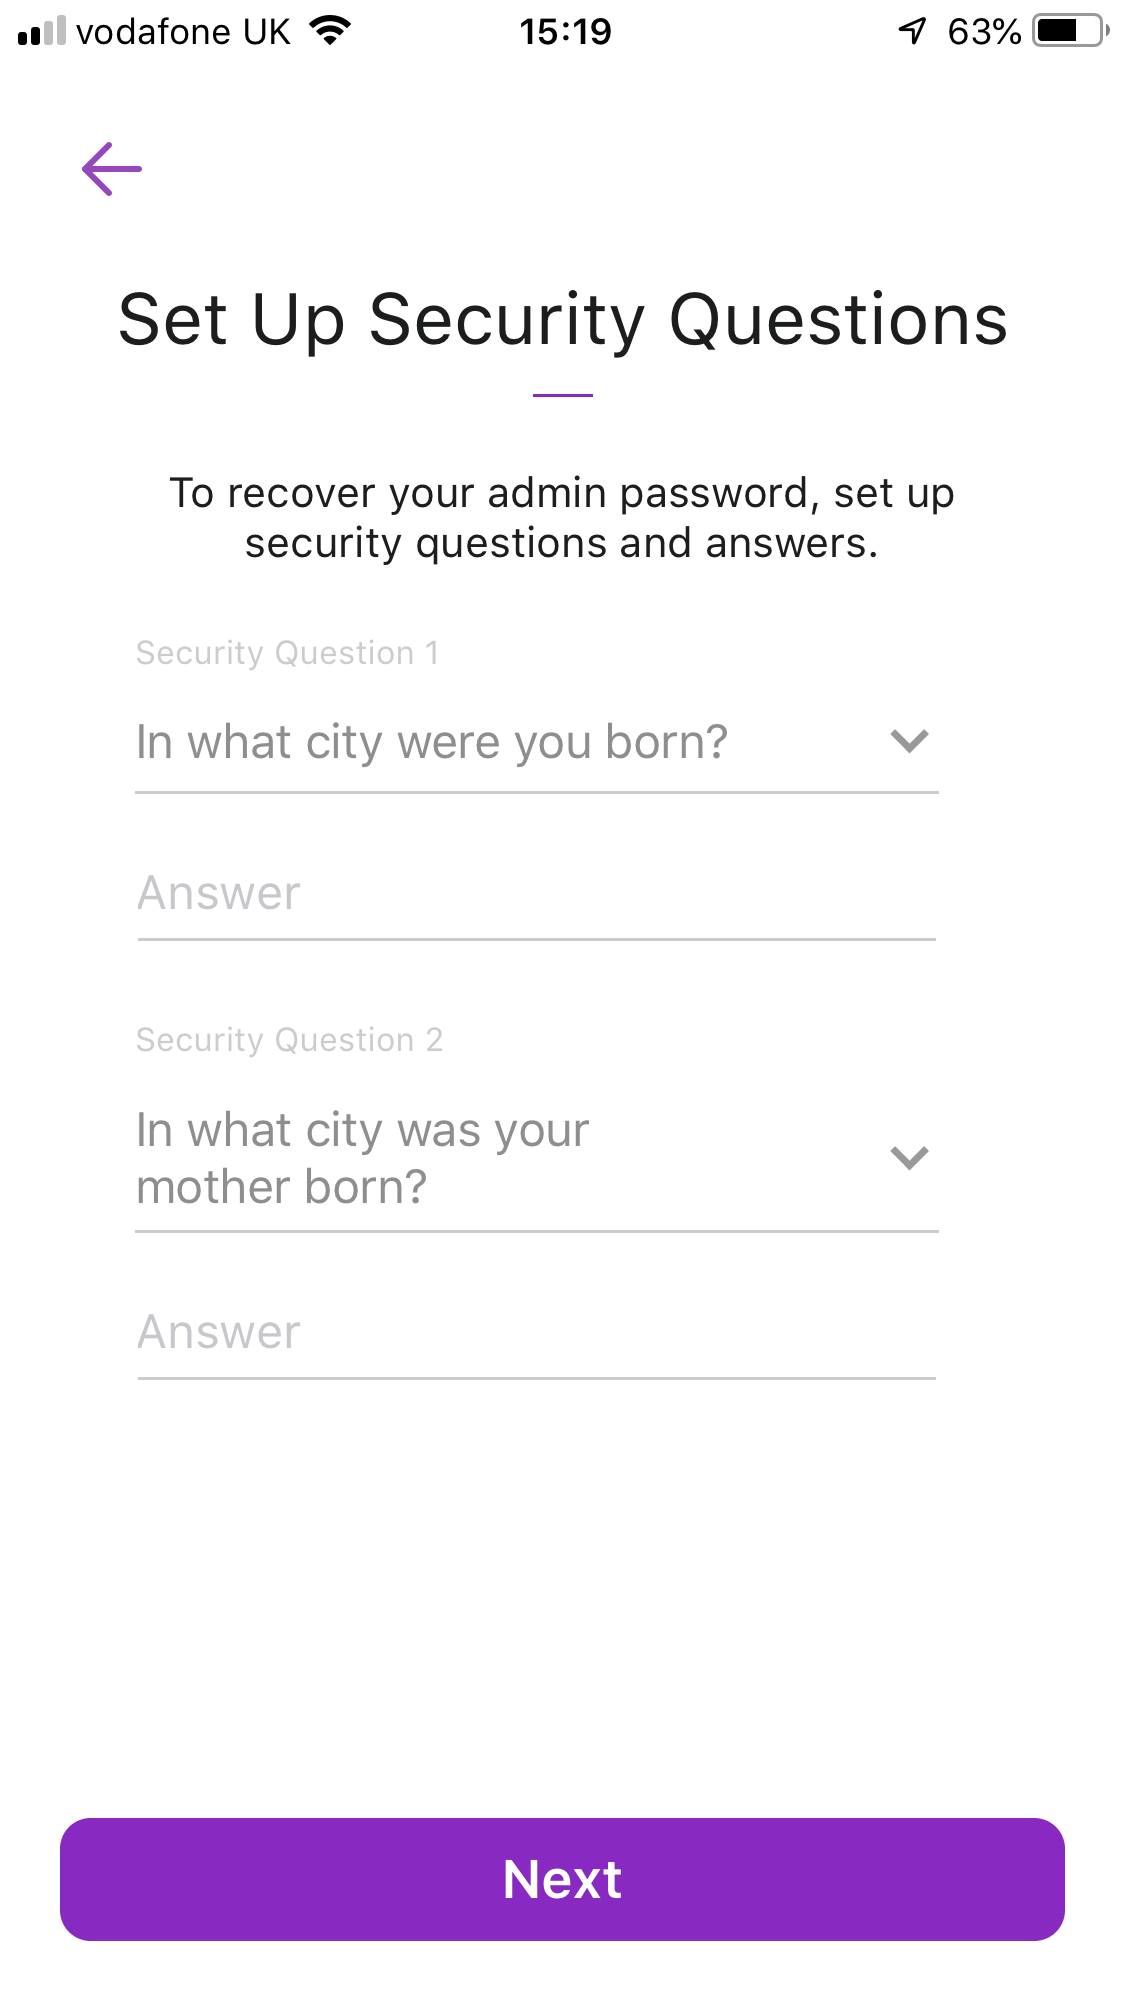
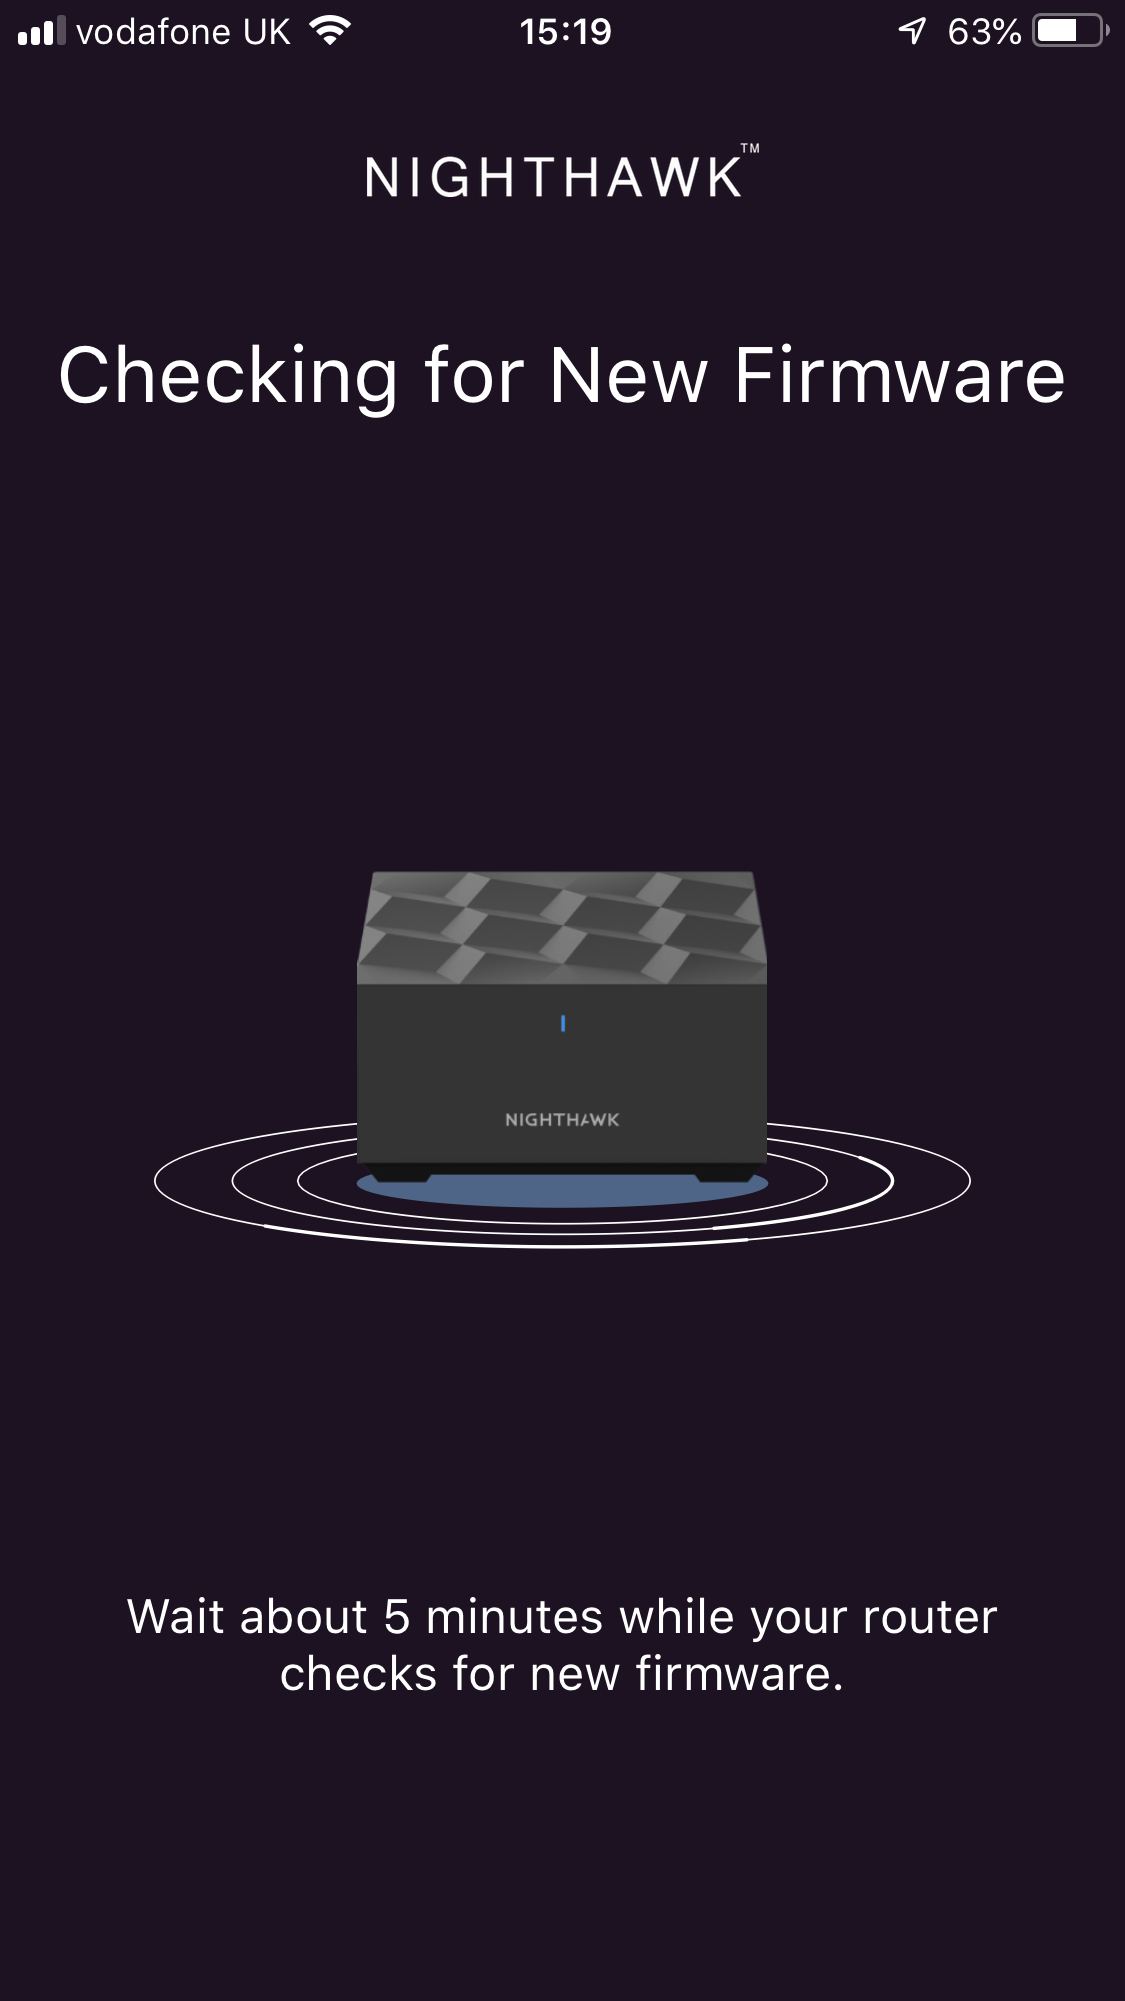
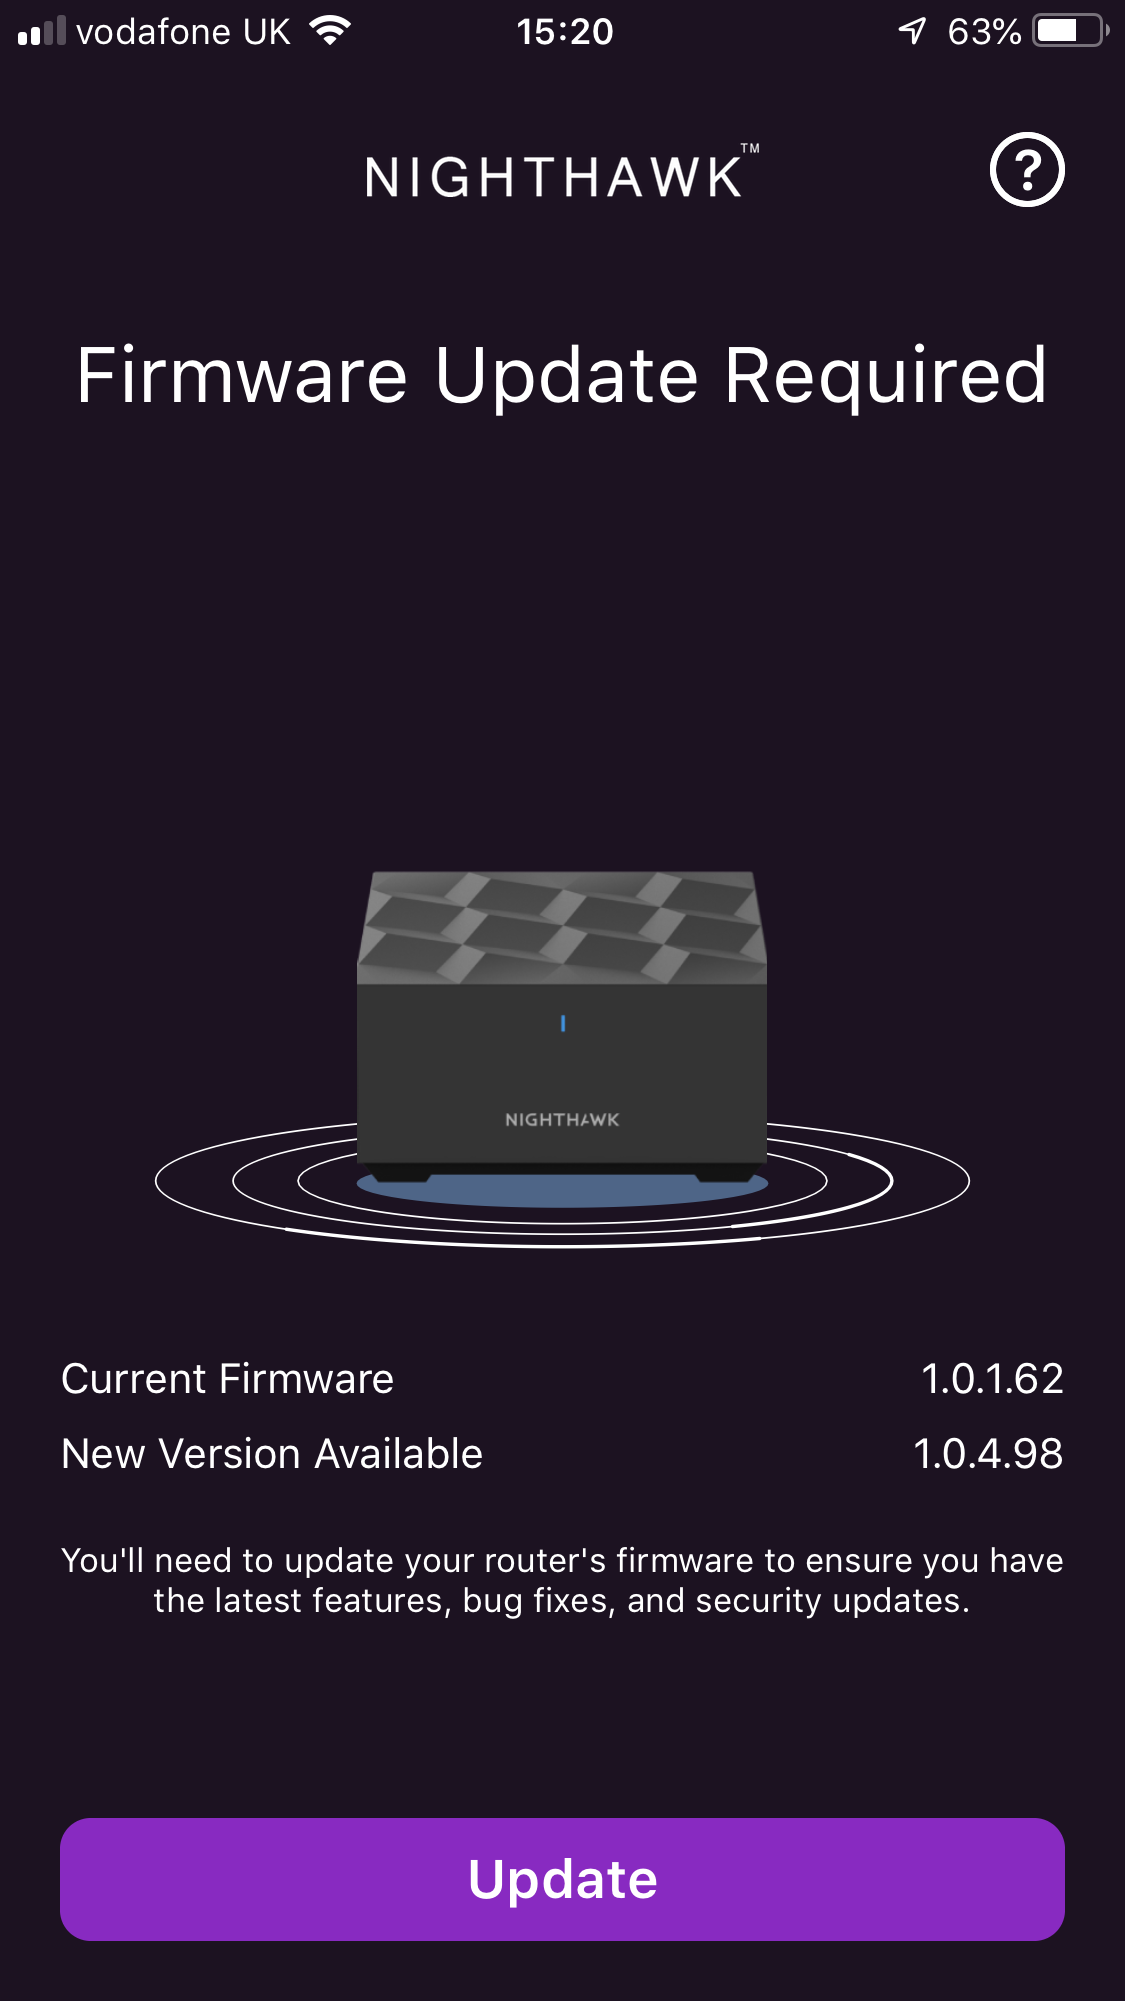
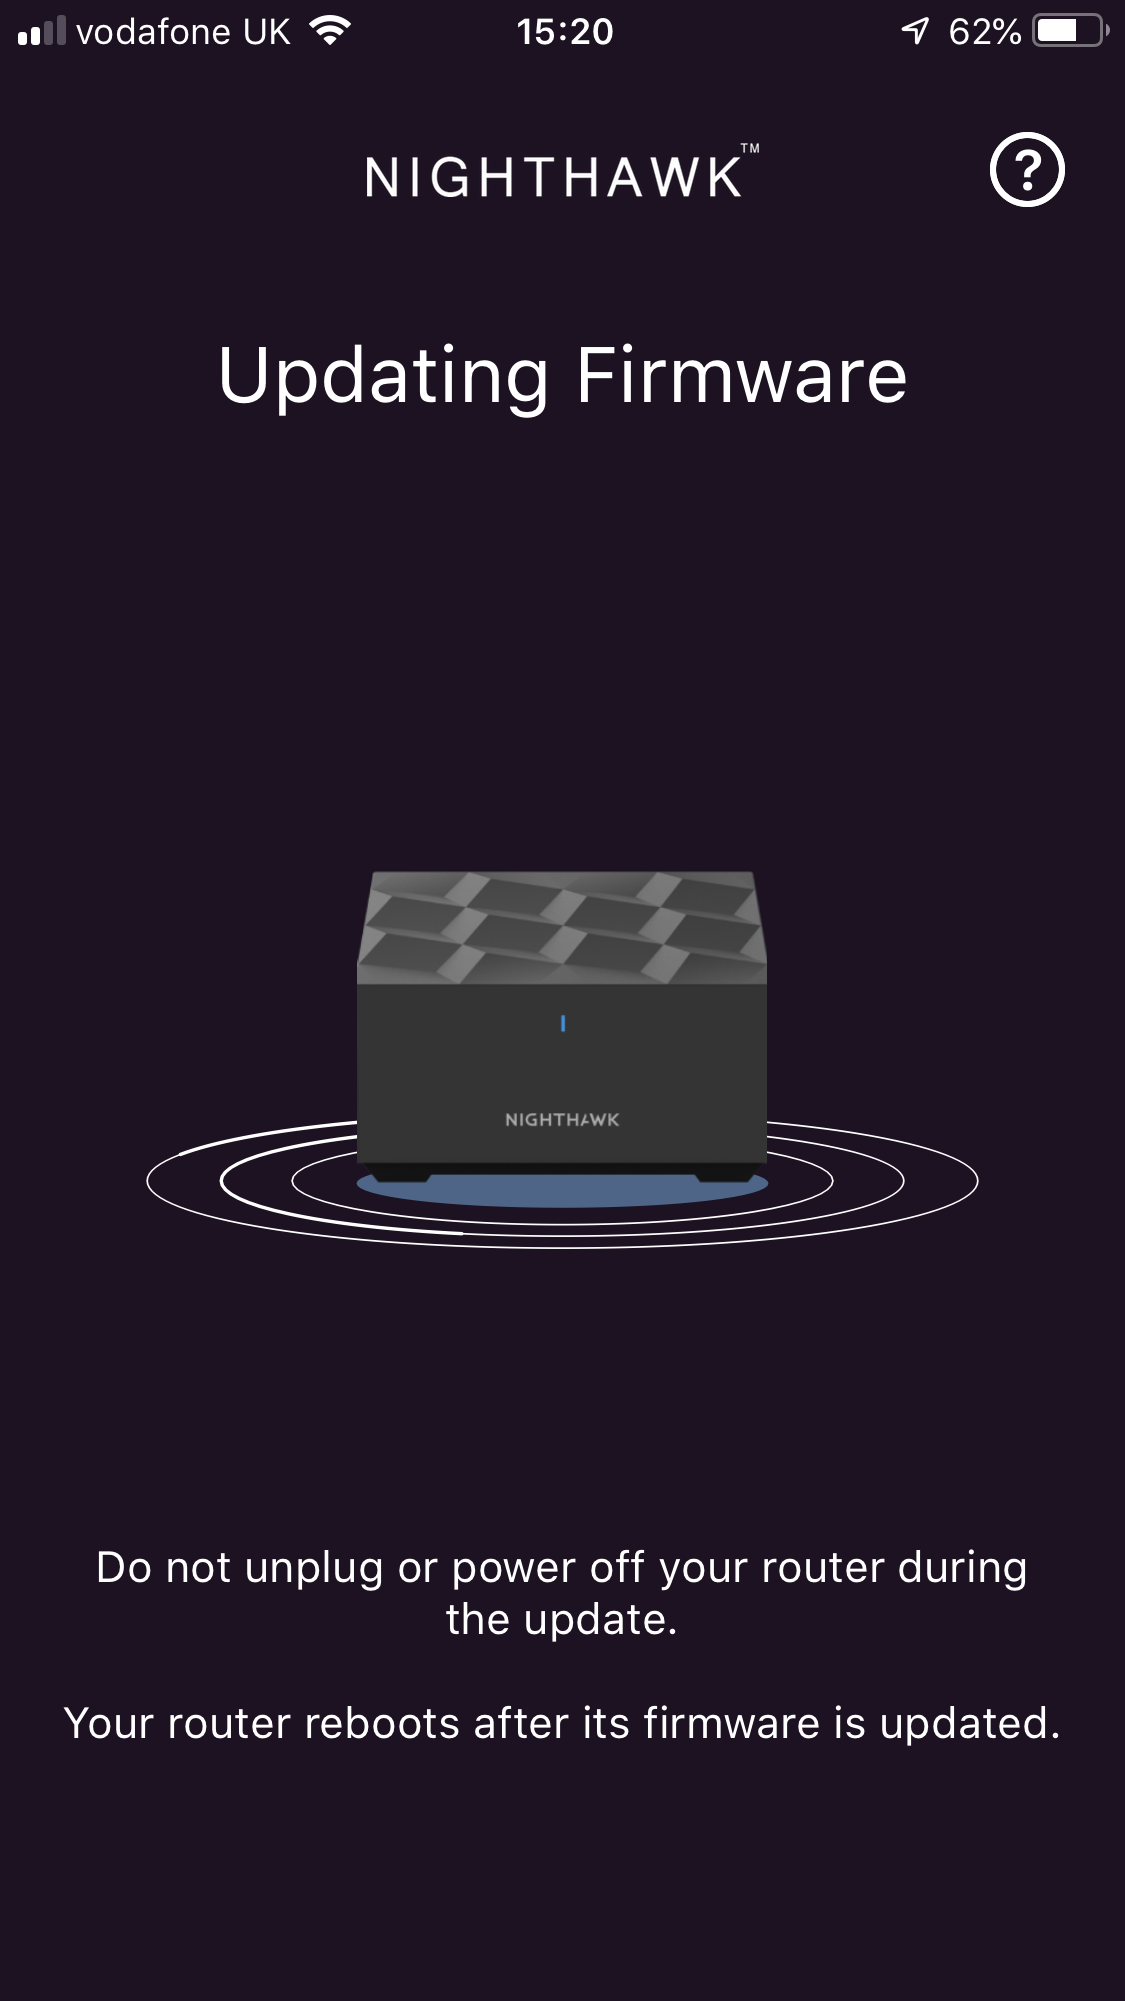
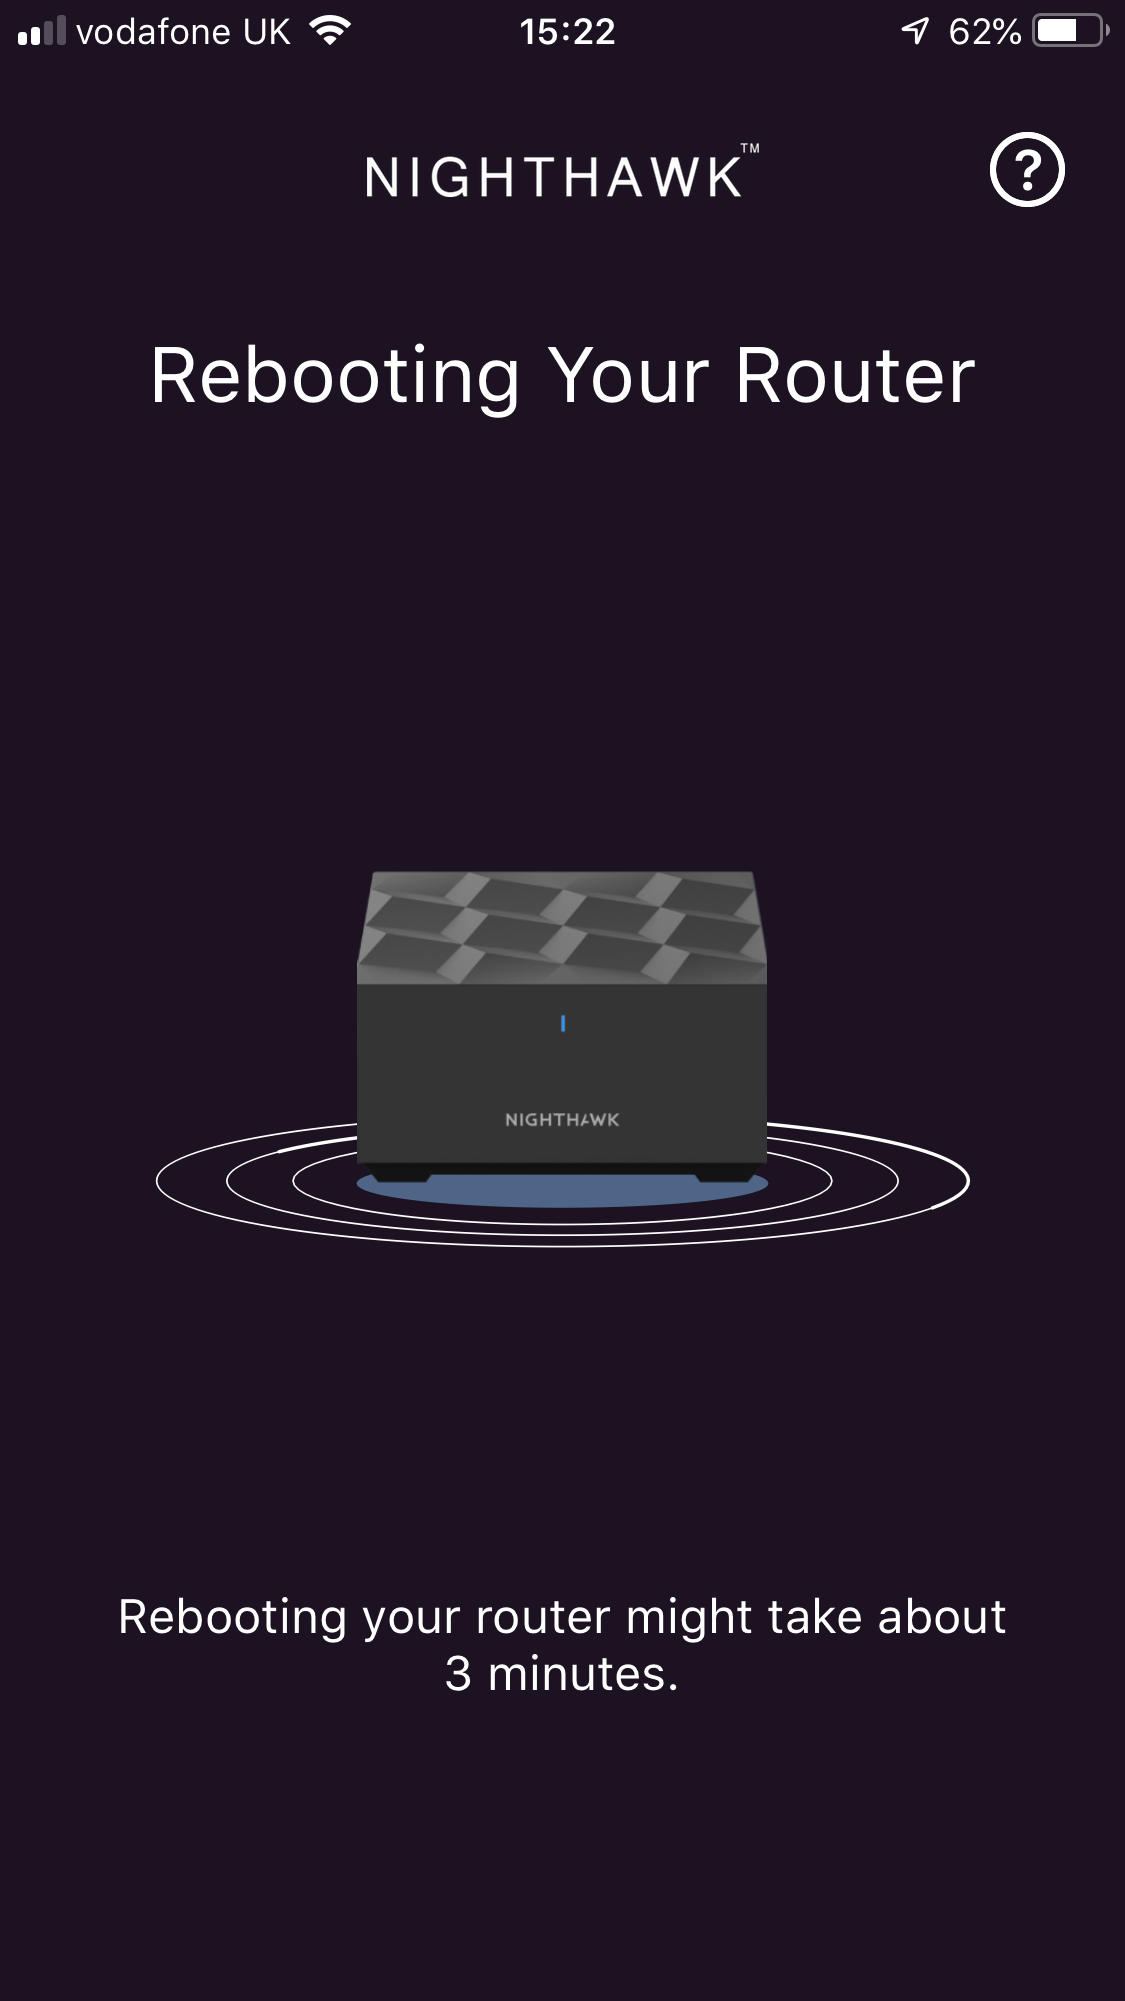
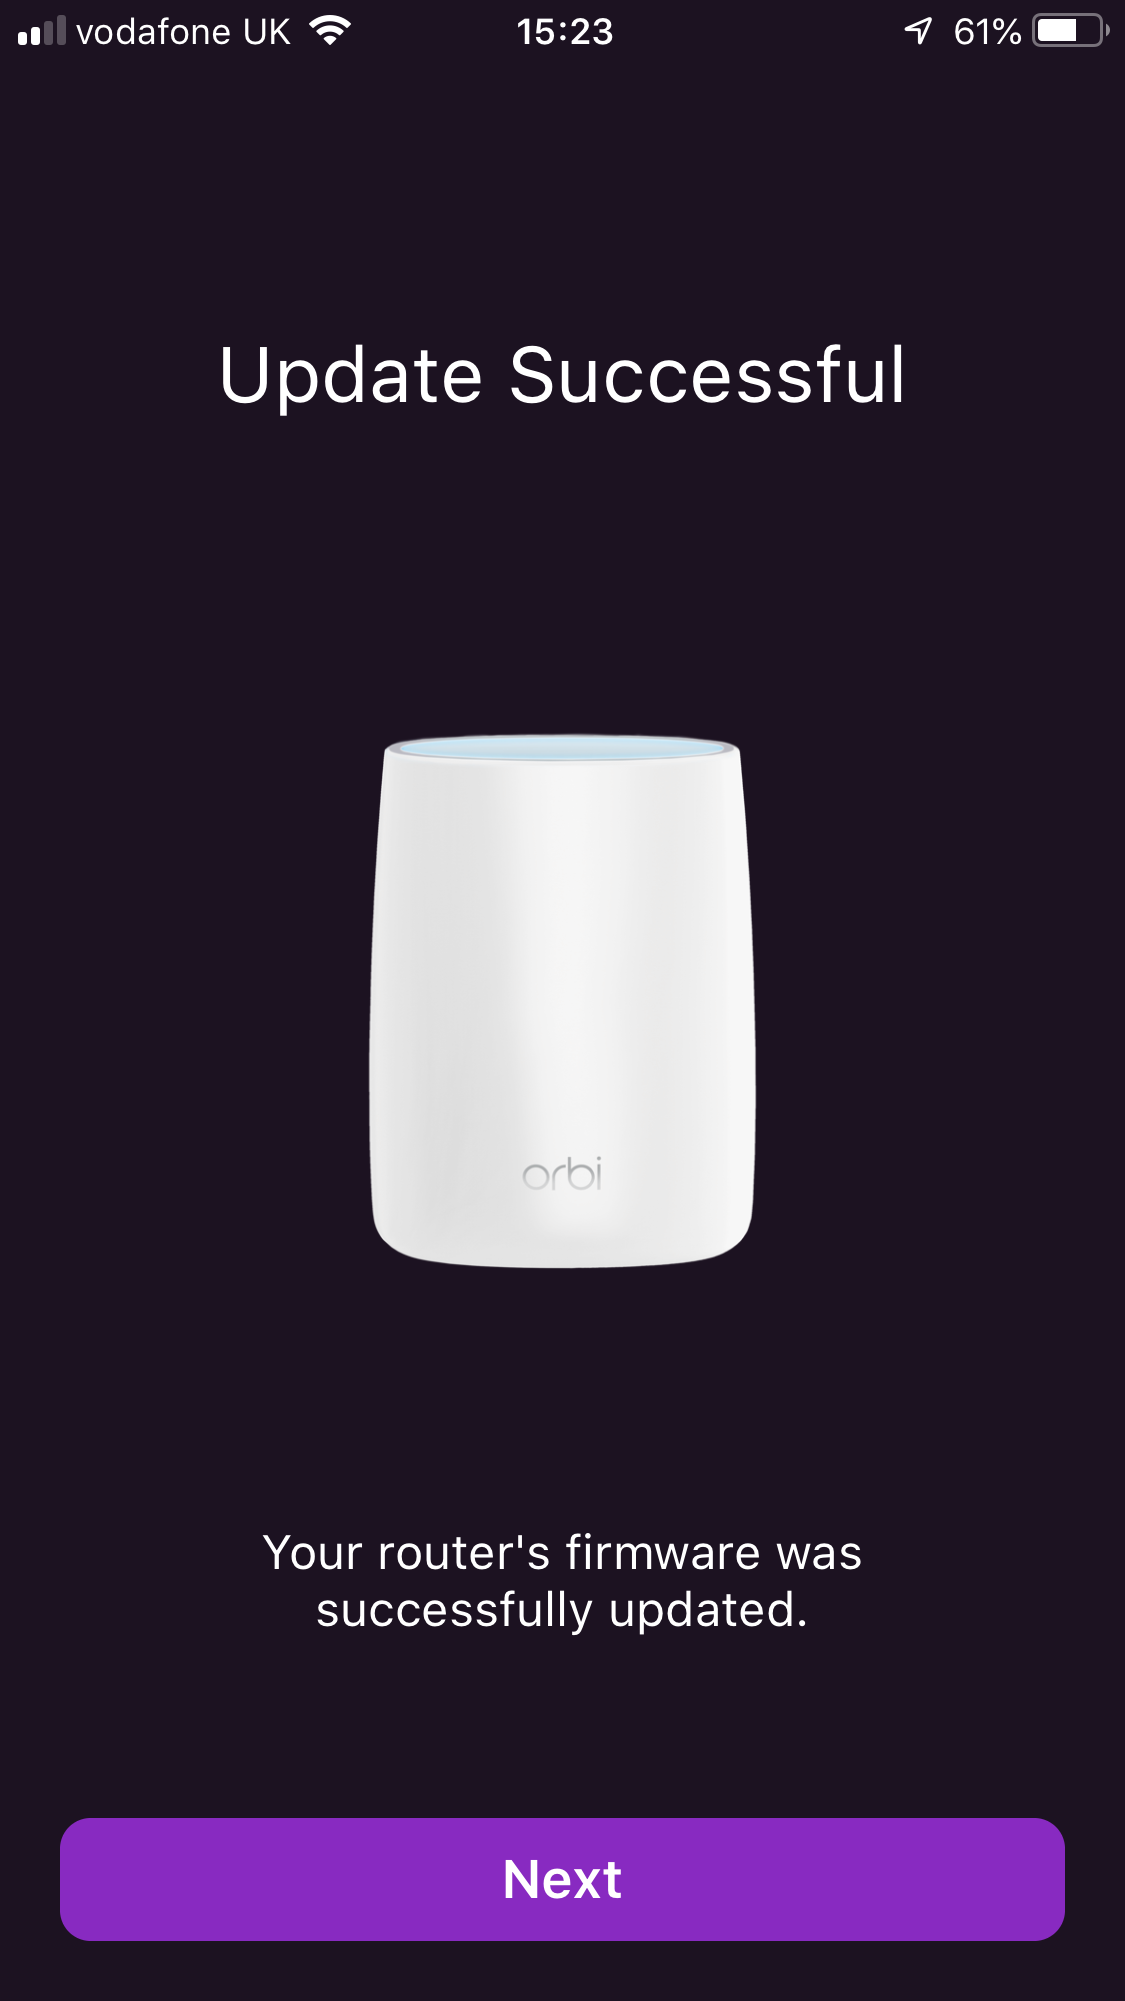
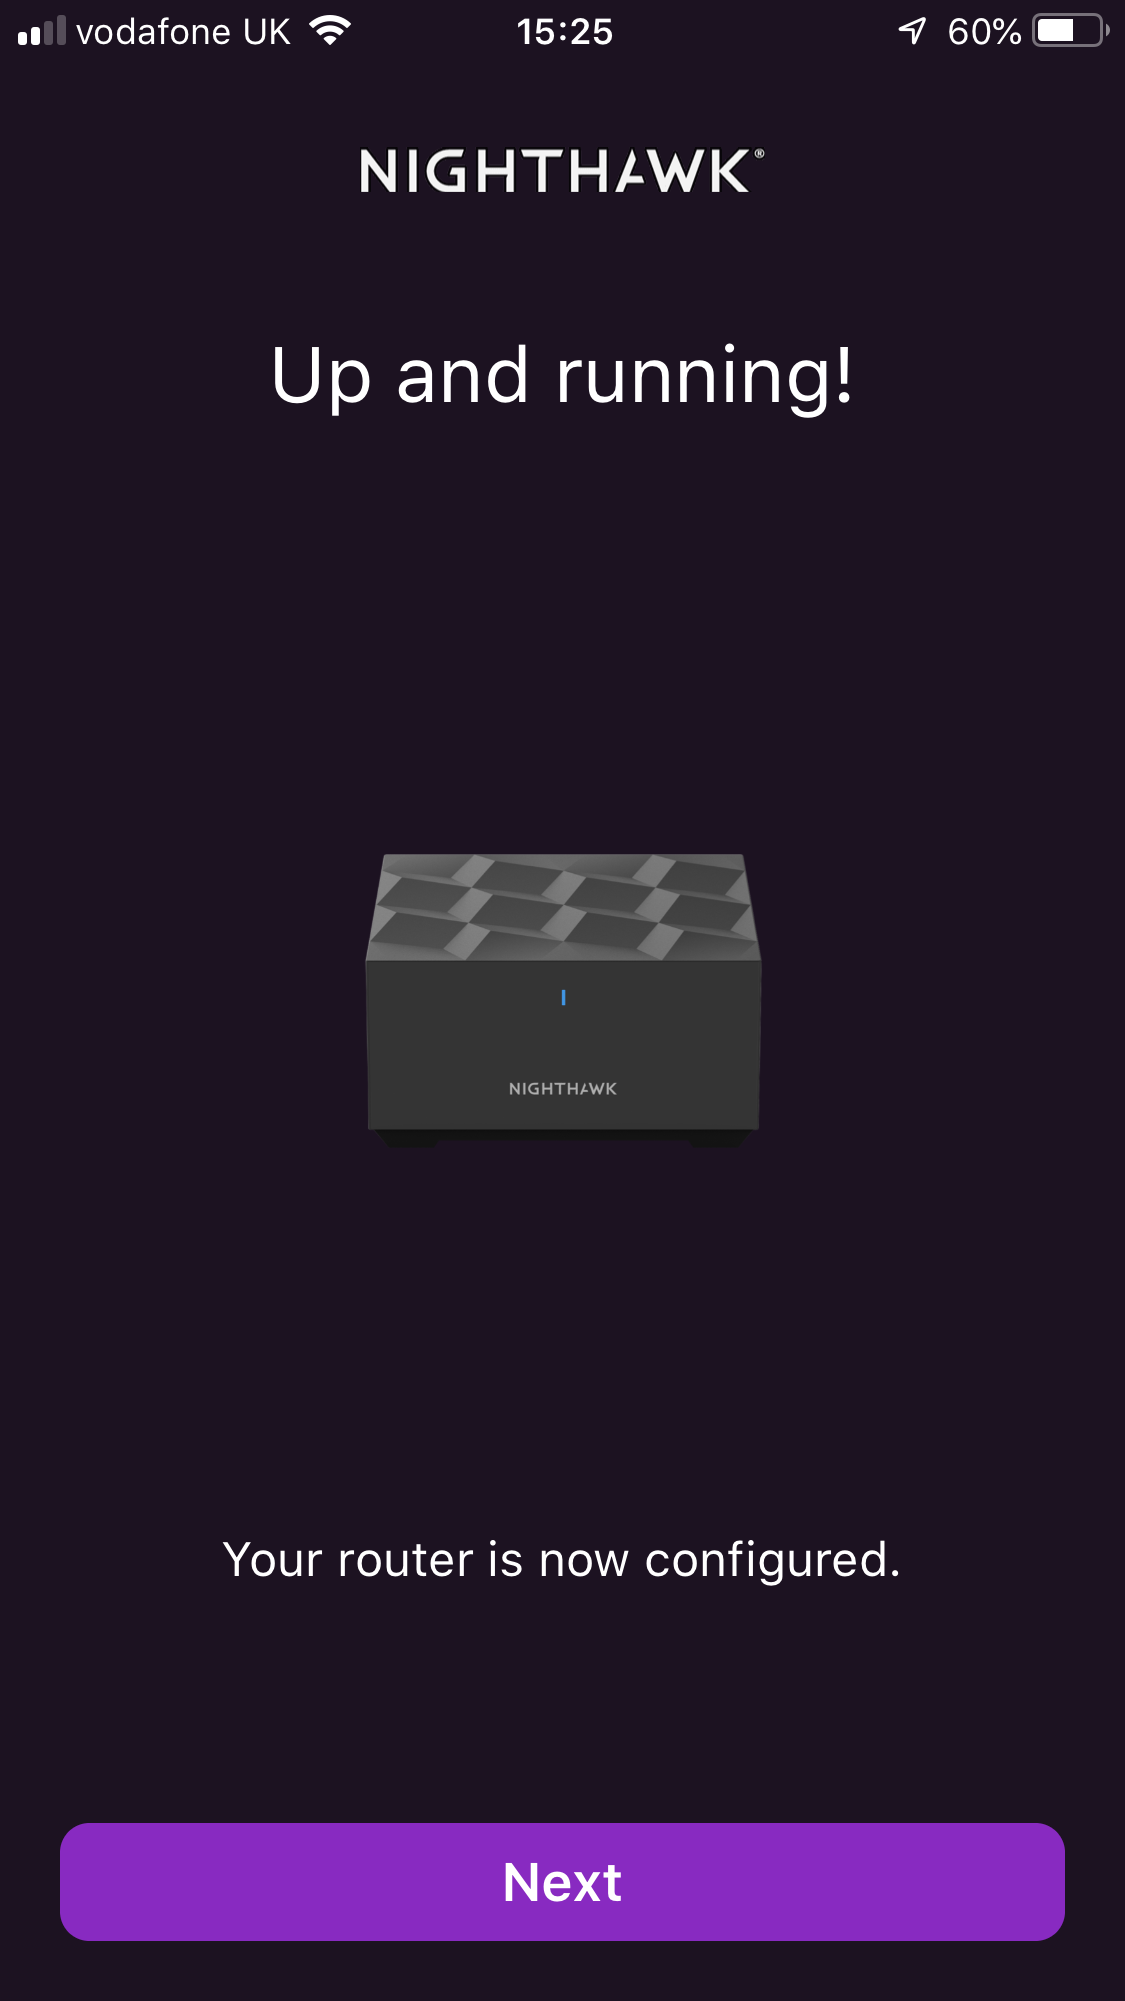
The process then asks you to reboot the modem and connect it to the Nighthawk Router, as well as positioning the two satellites. The setup will detect these automatically, ask you to set up an admin password, configure Touch ID if your phone has this, plus some fail-safe security questions. Finally, it will update the router and satellite firmware, if necessary, before rebooting, after which you're up and running.
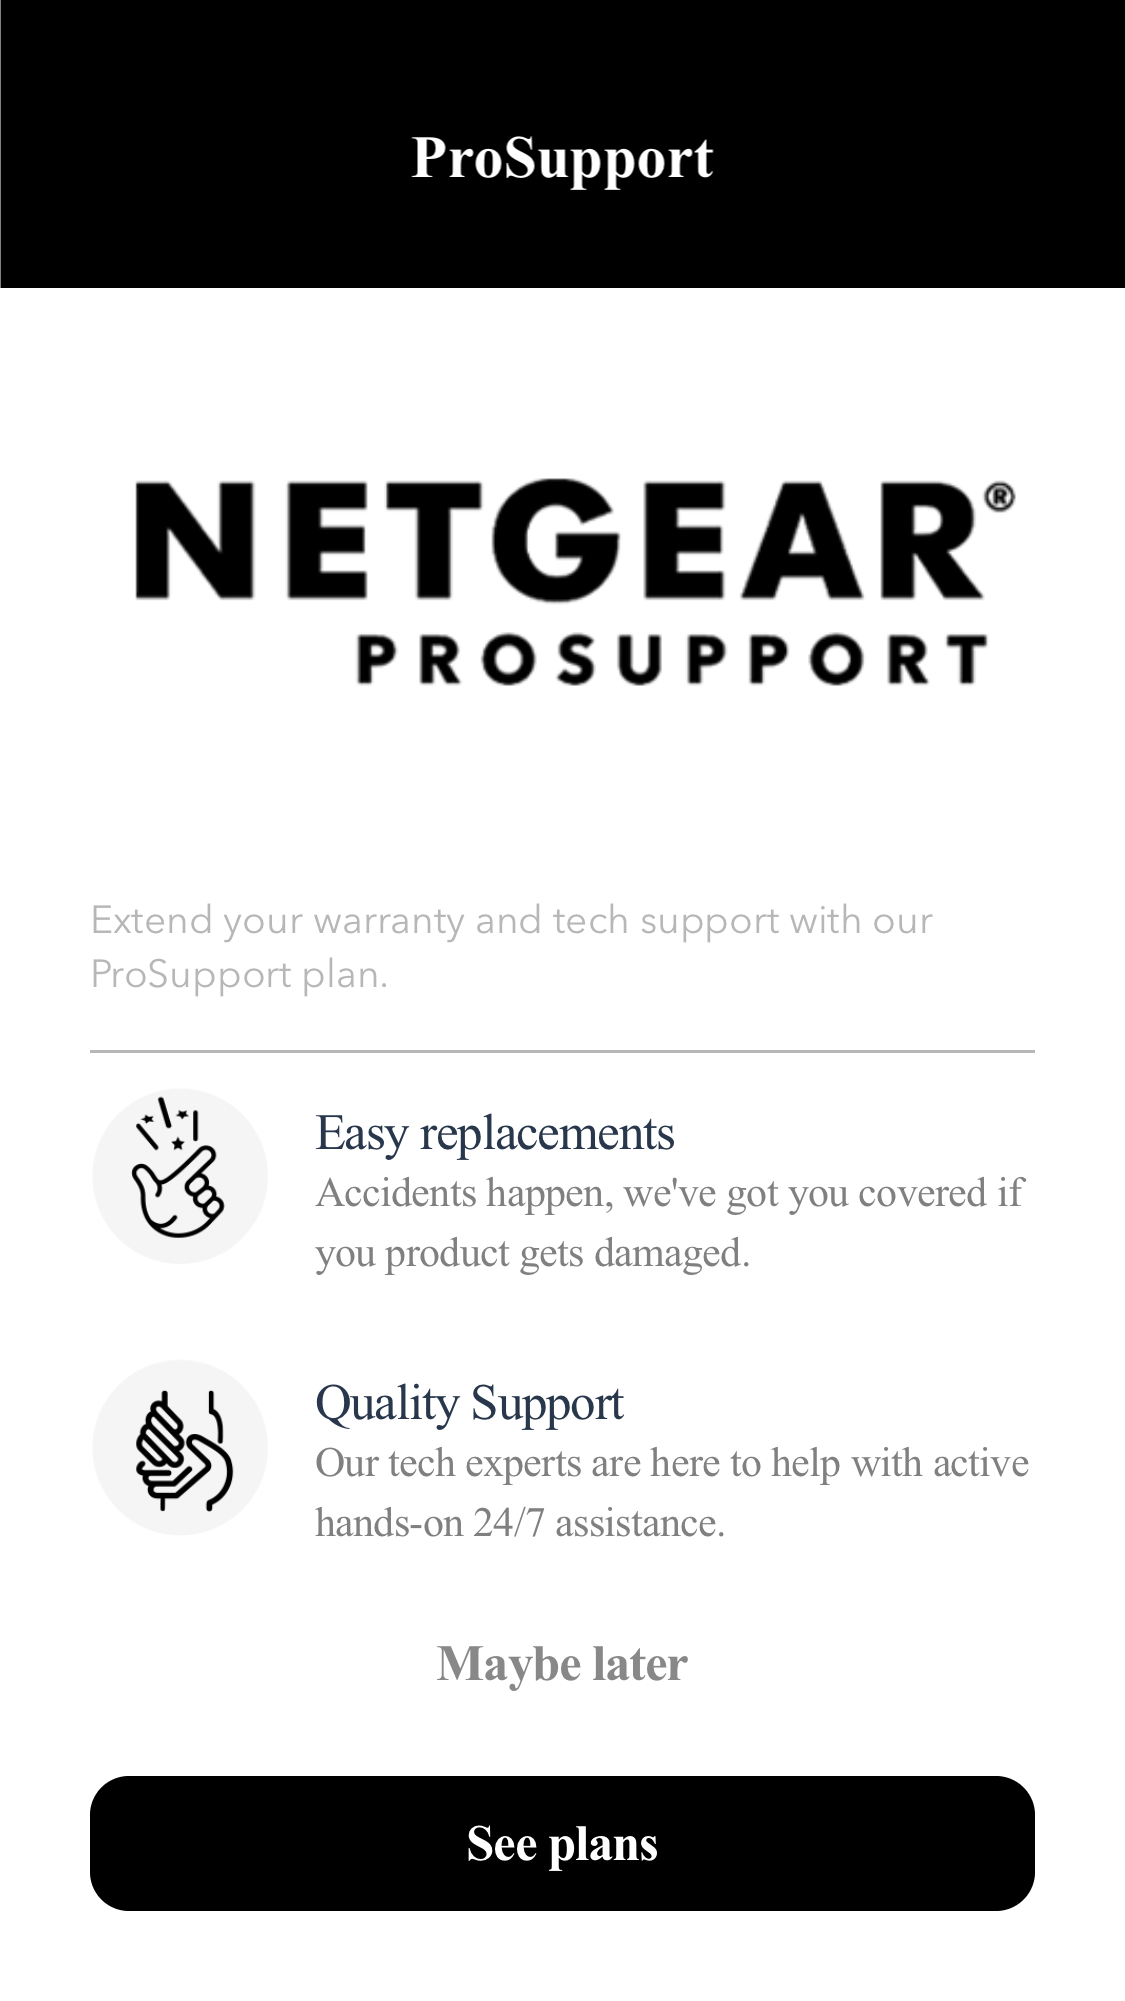
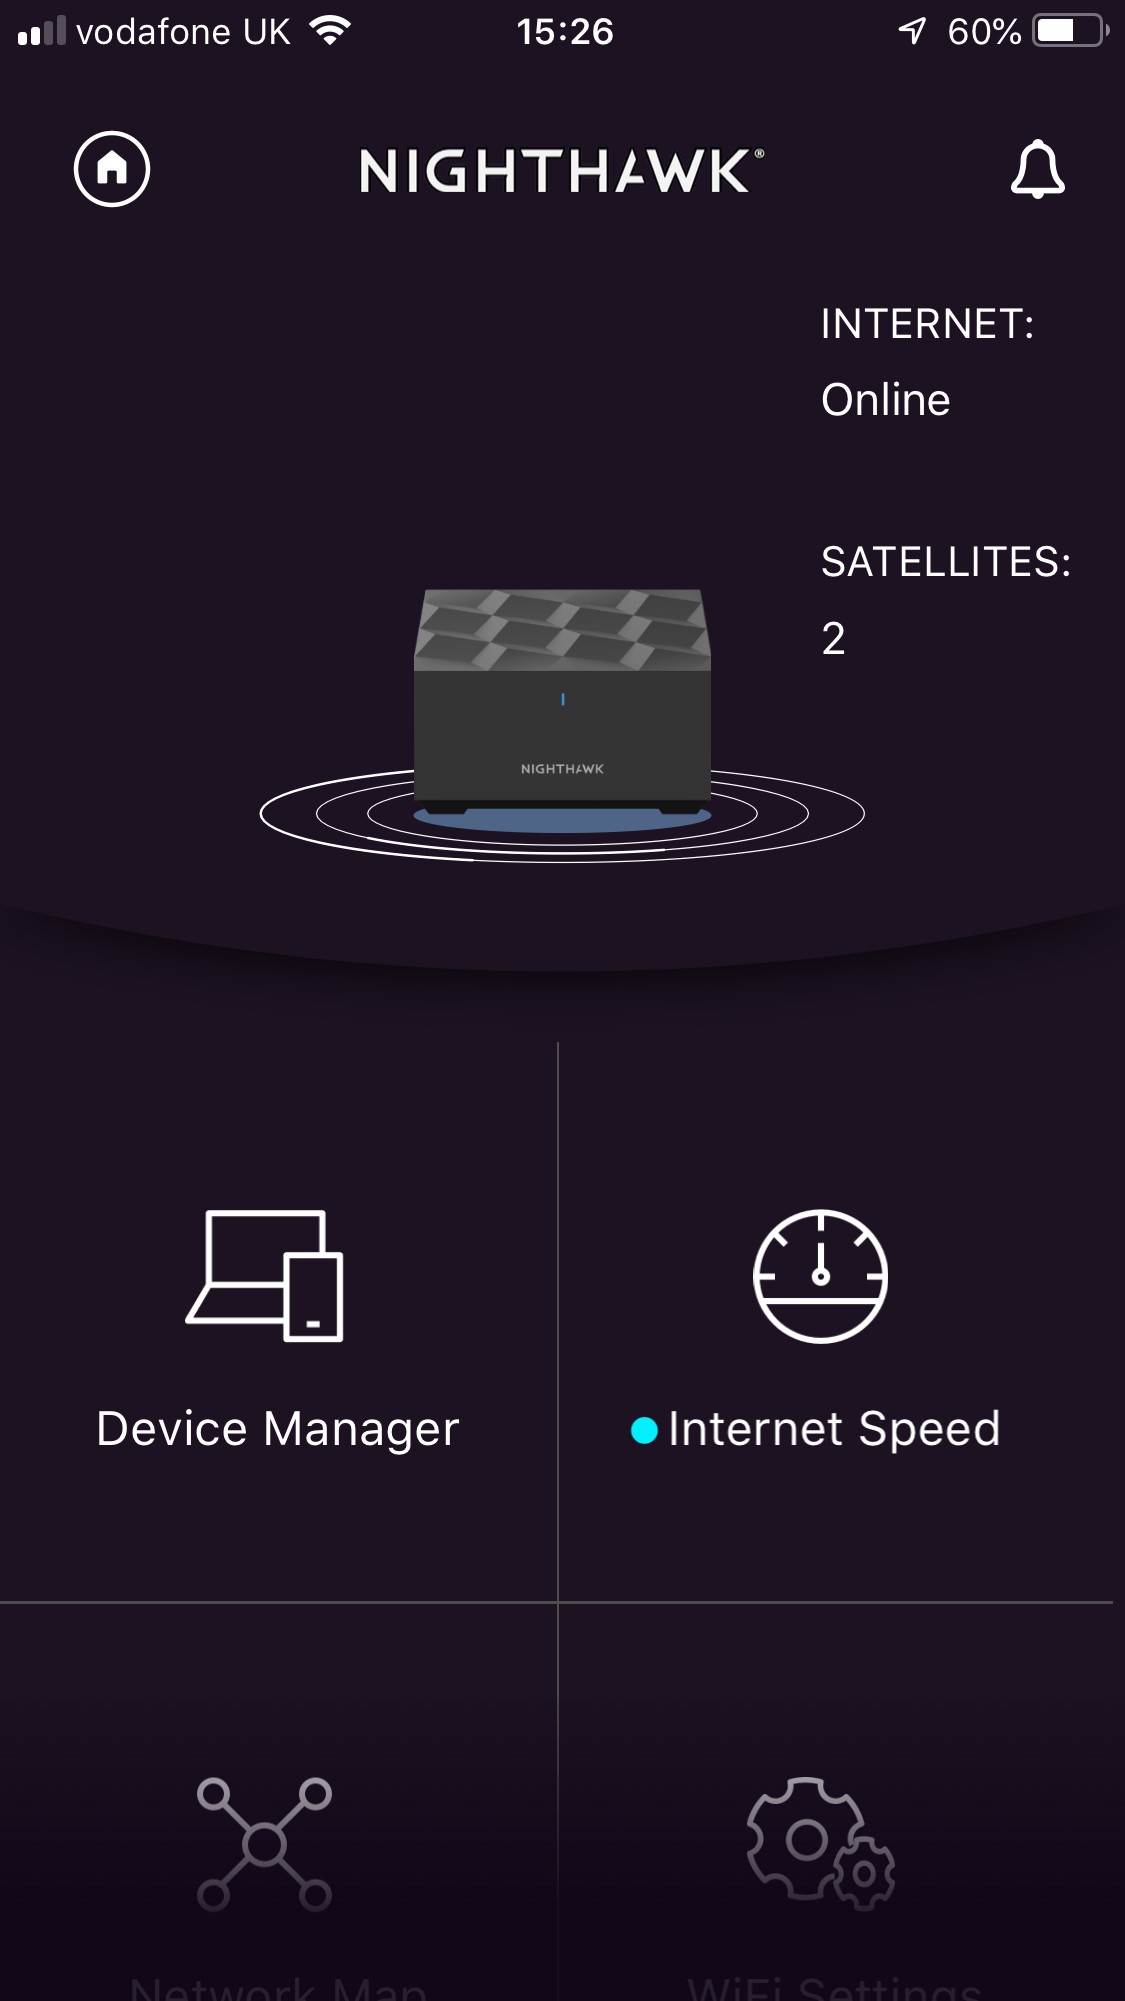


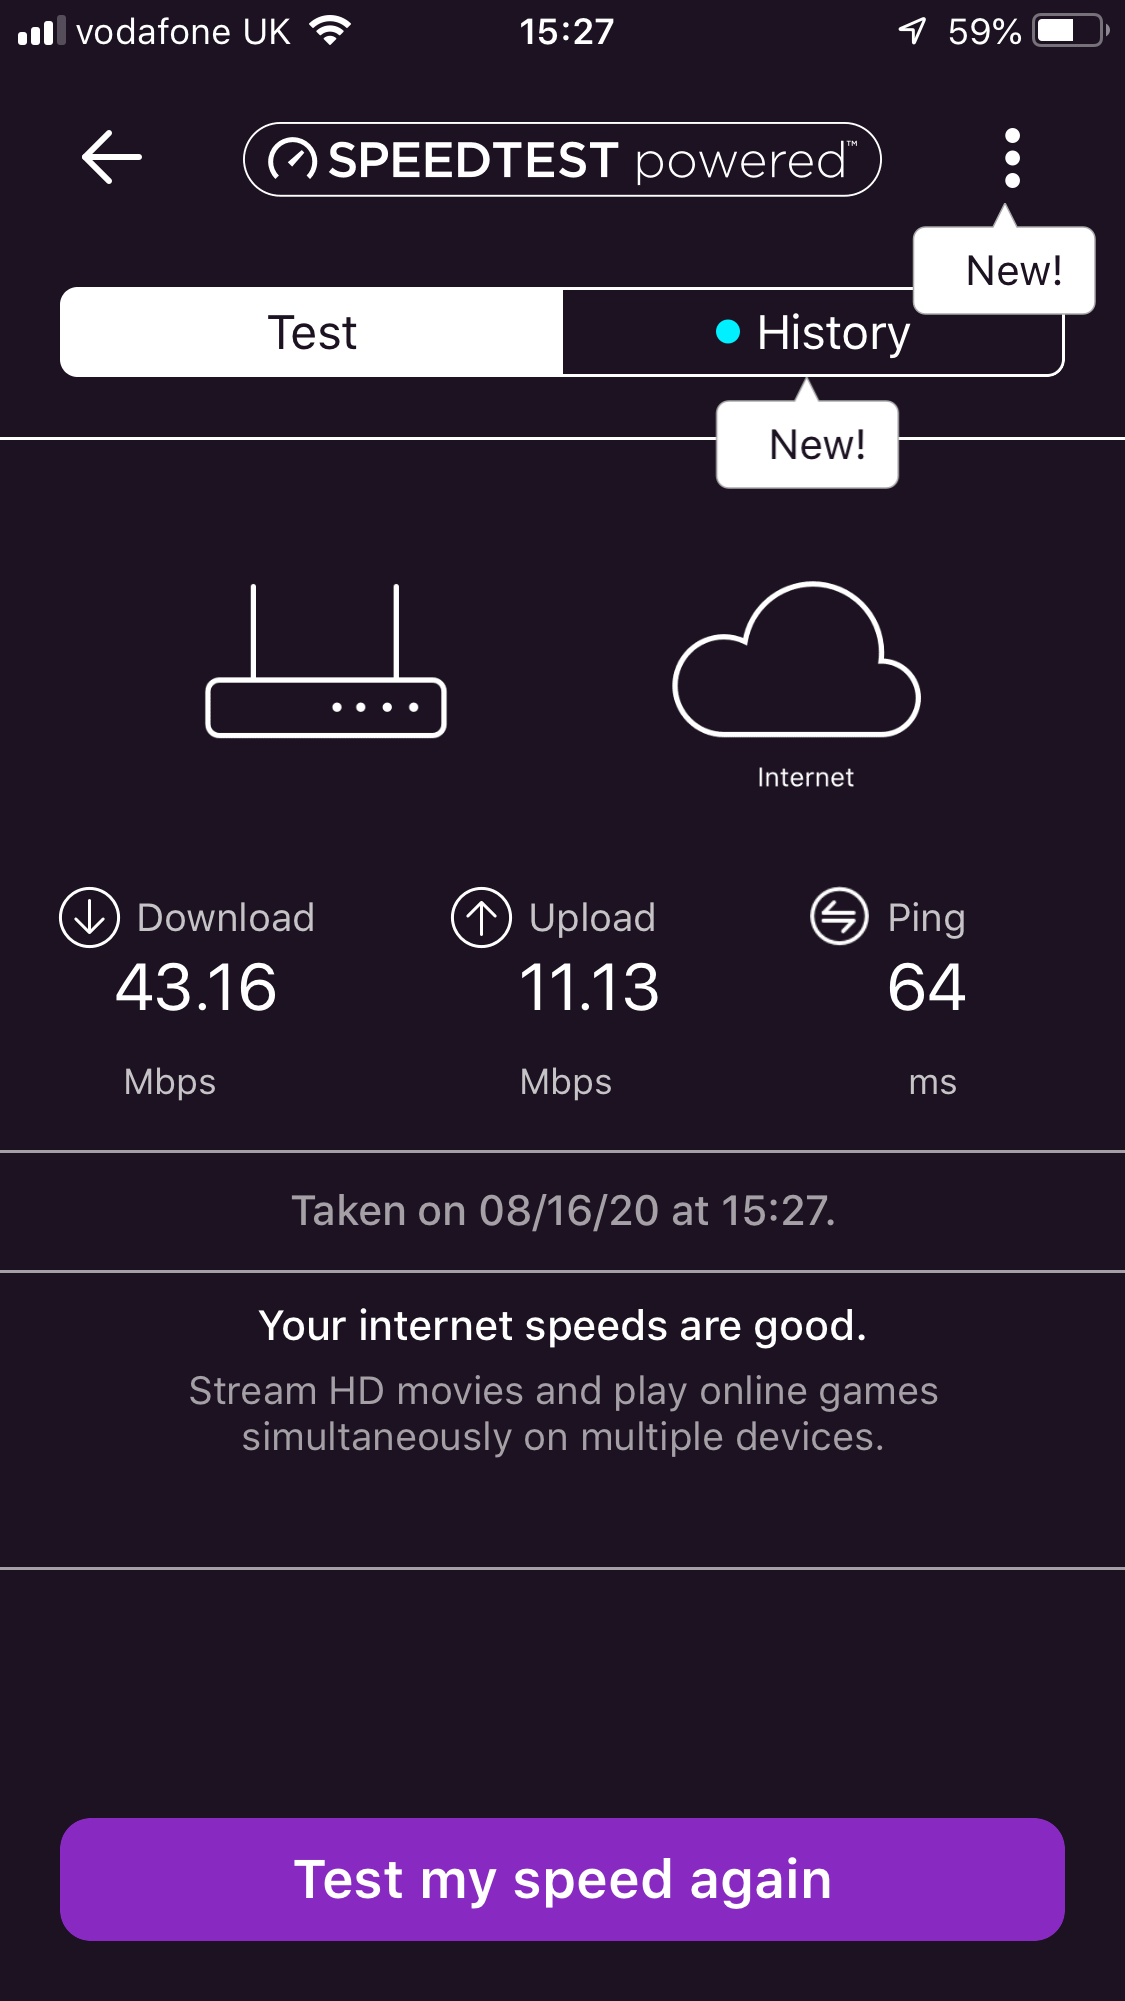
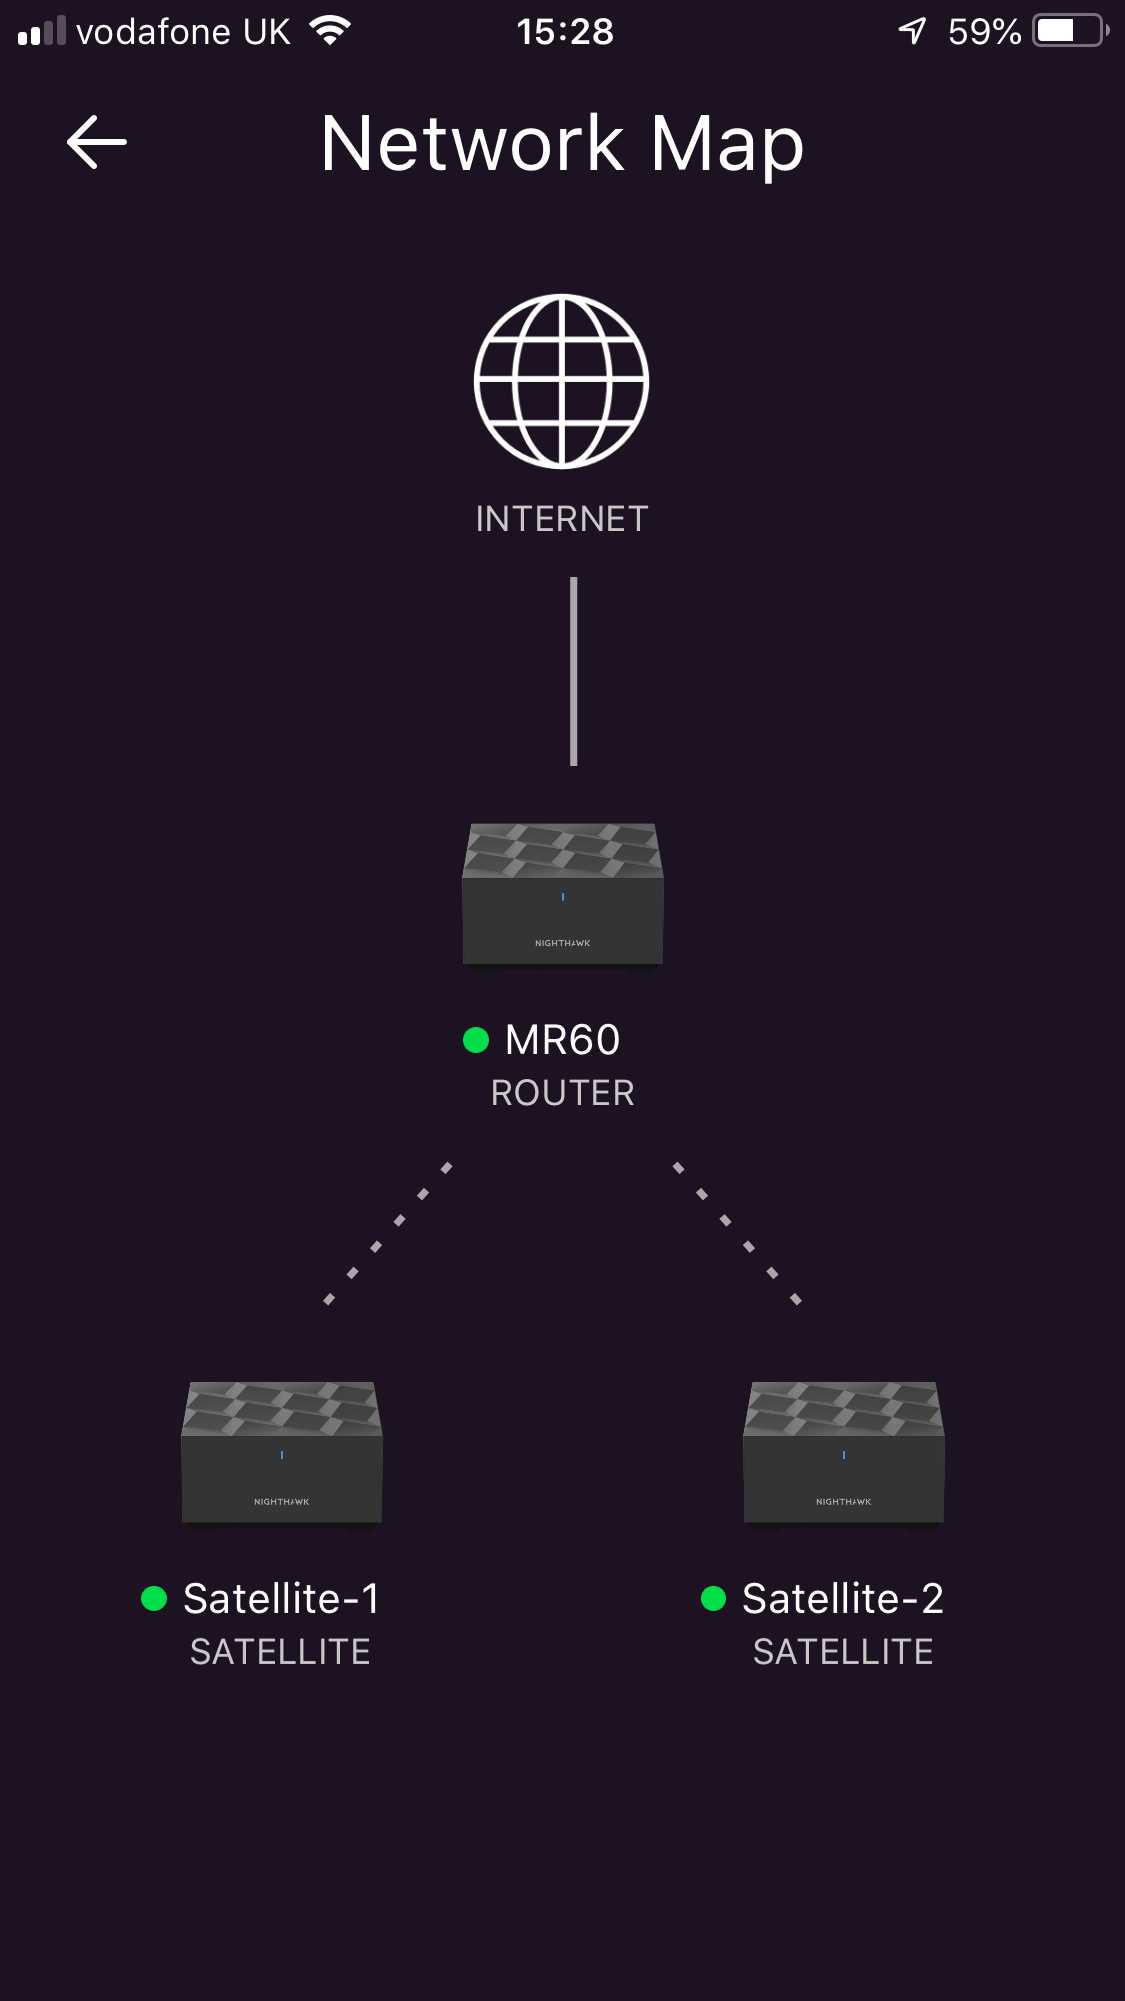
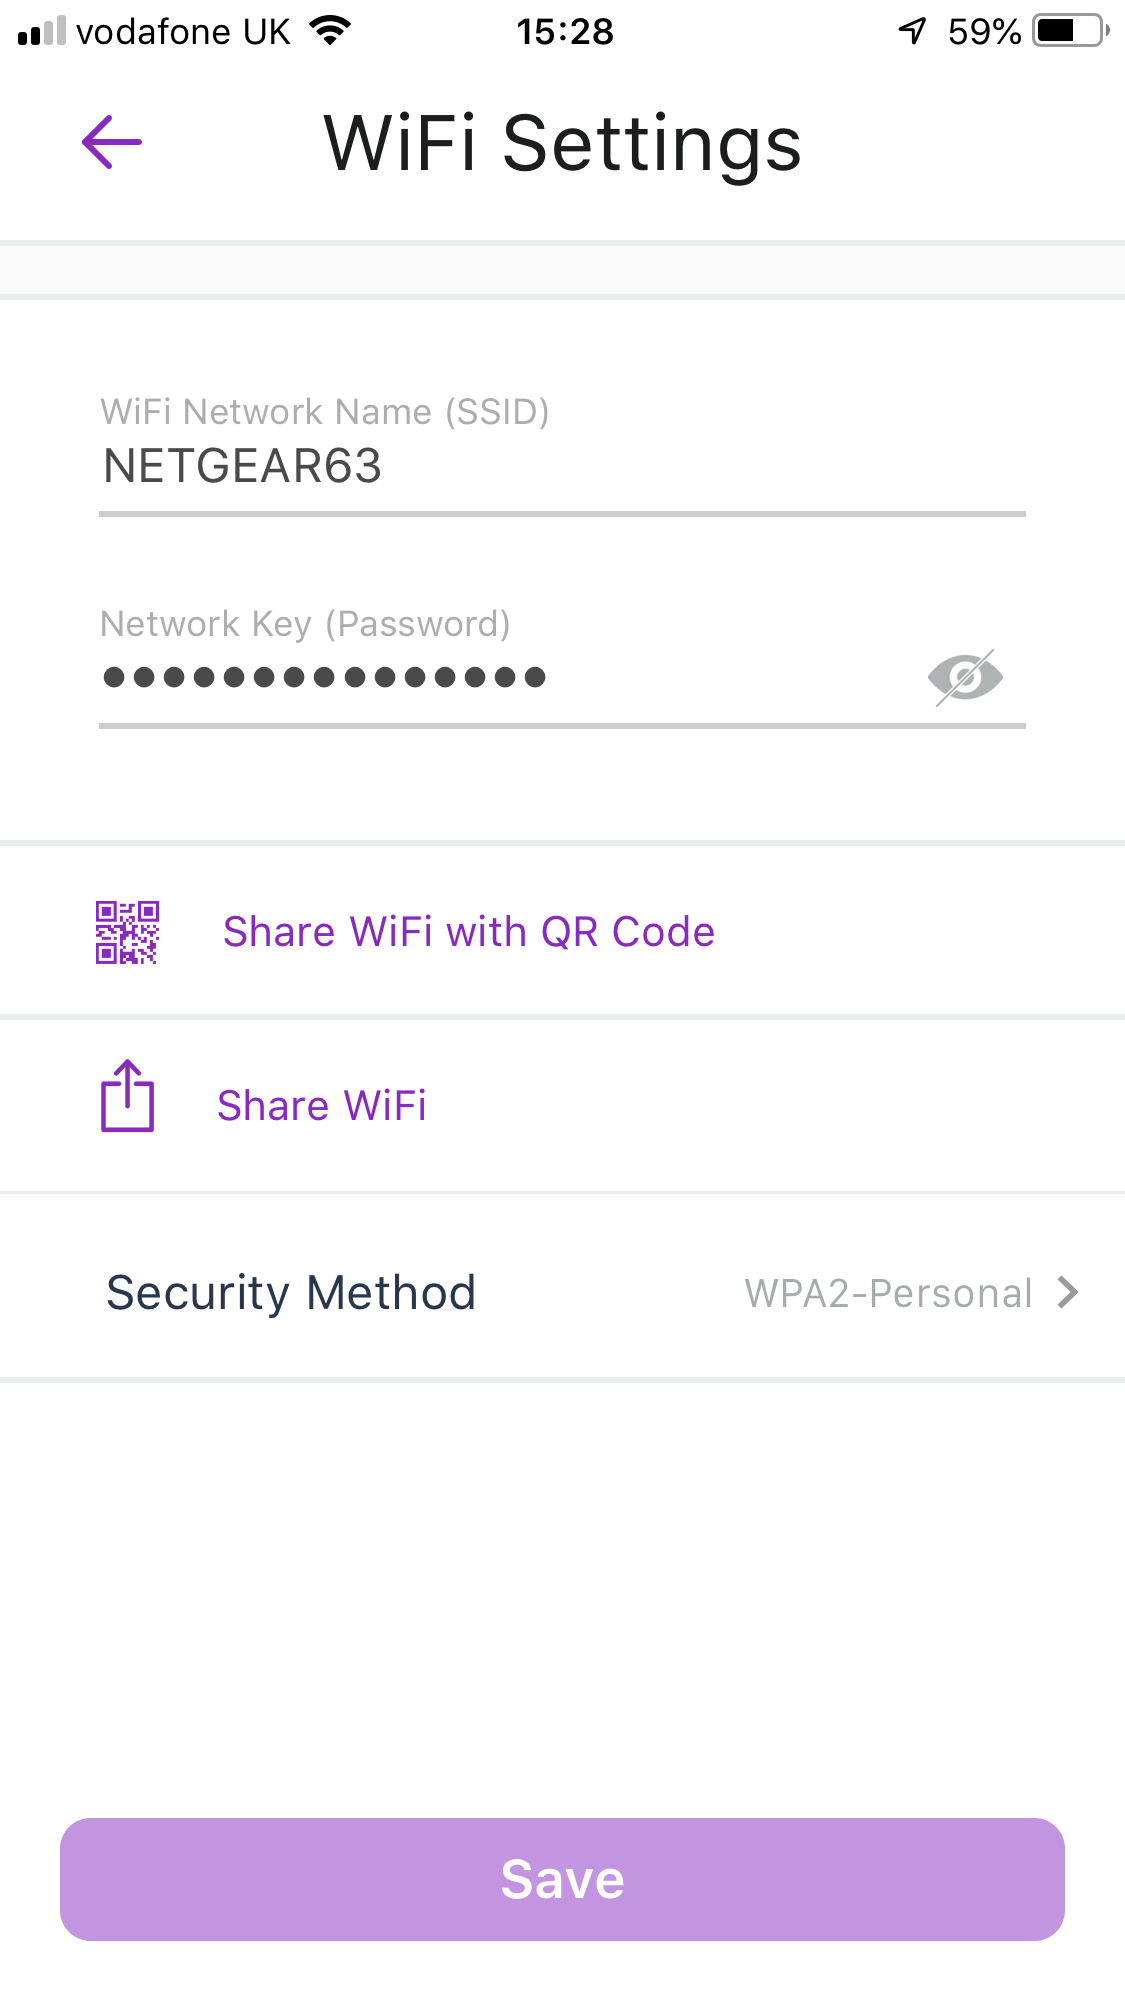
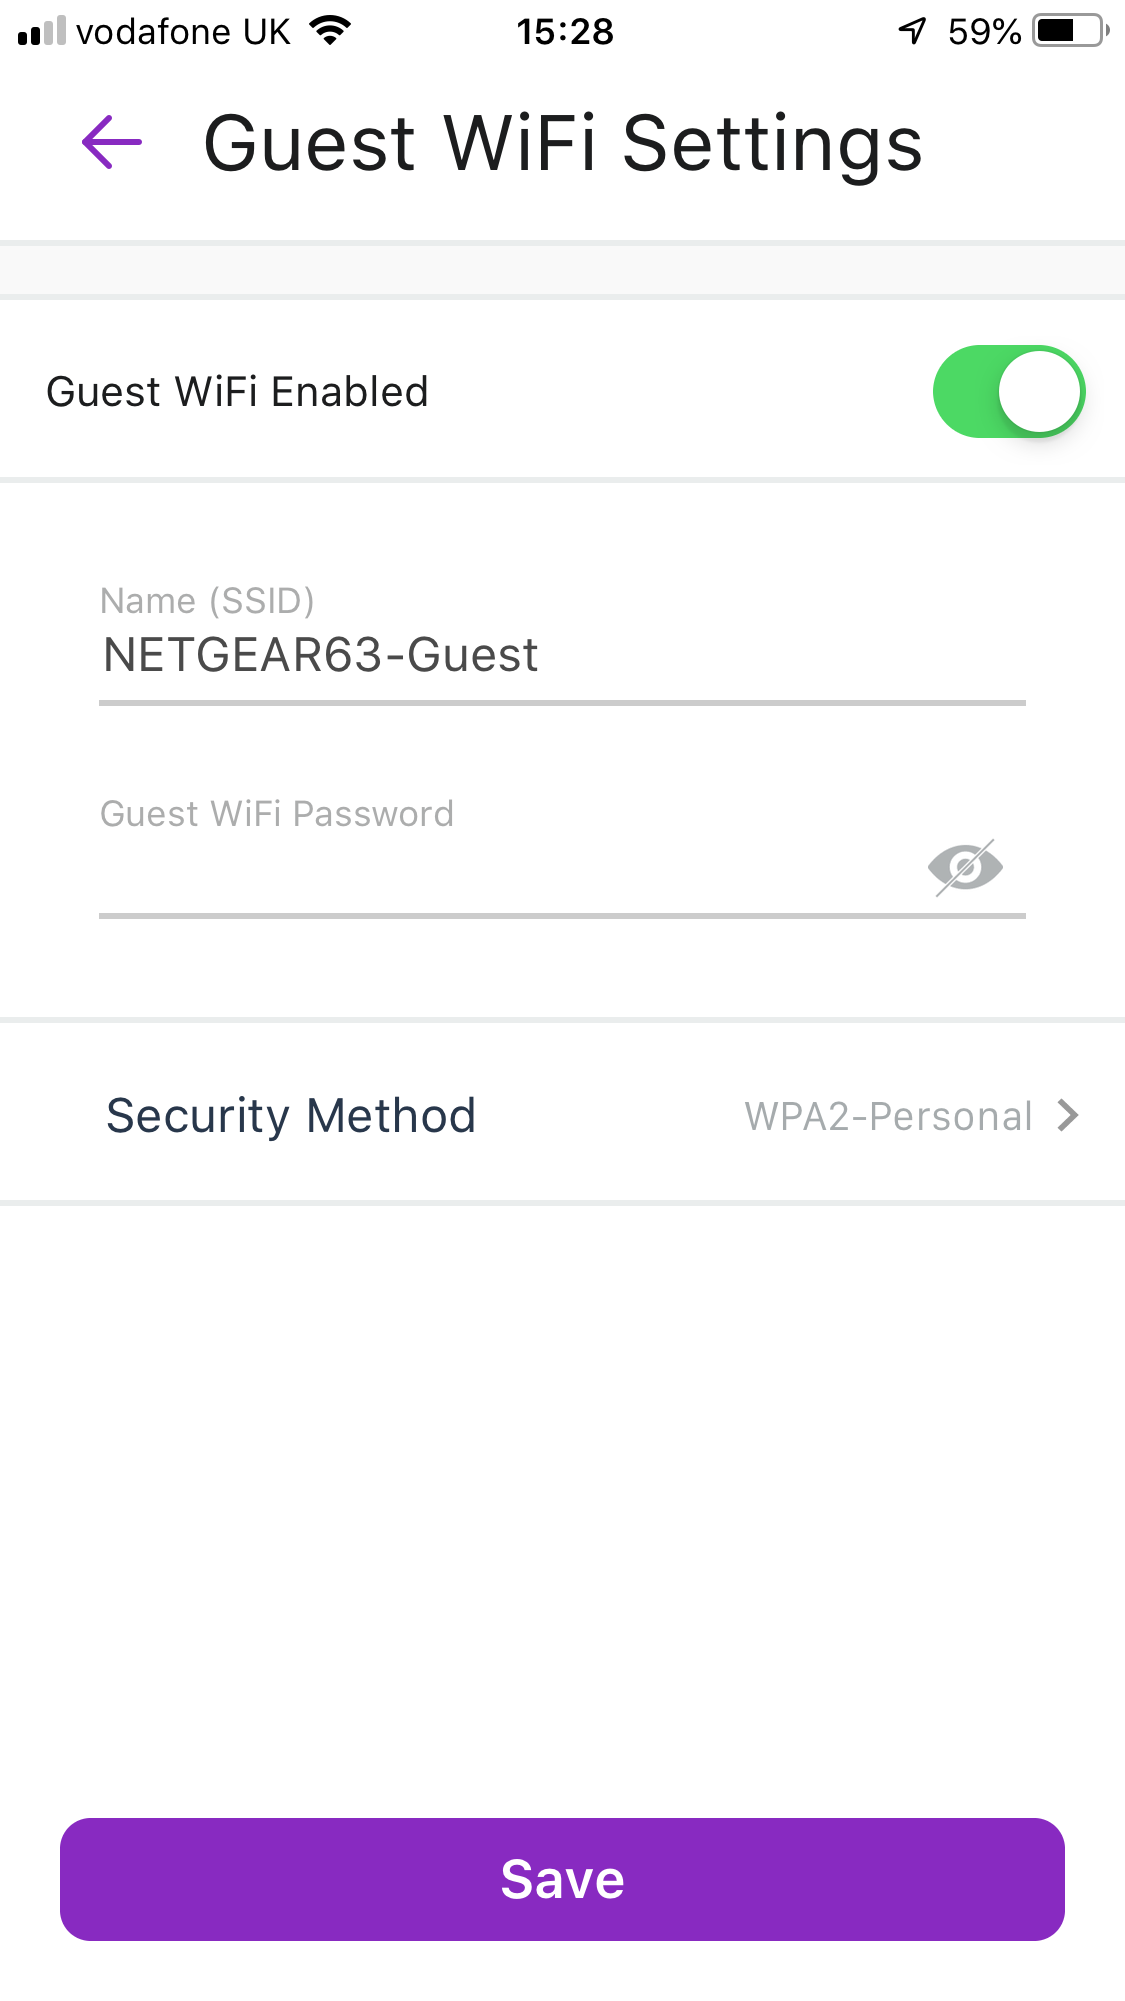
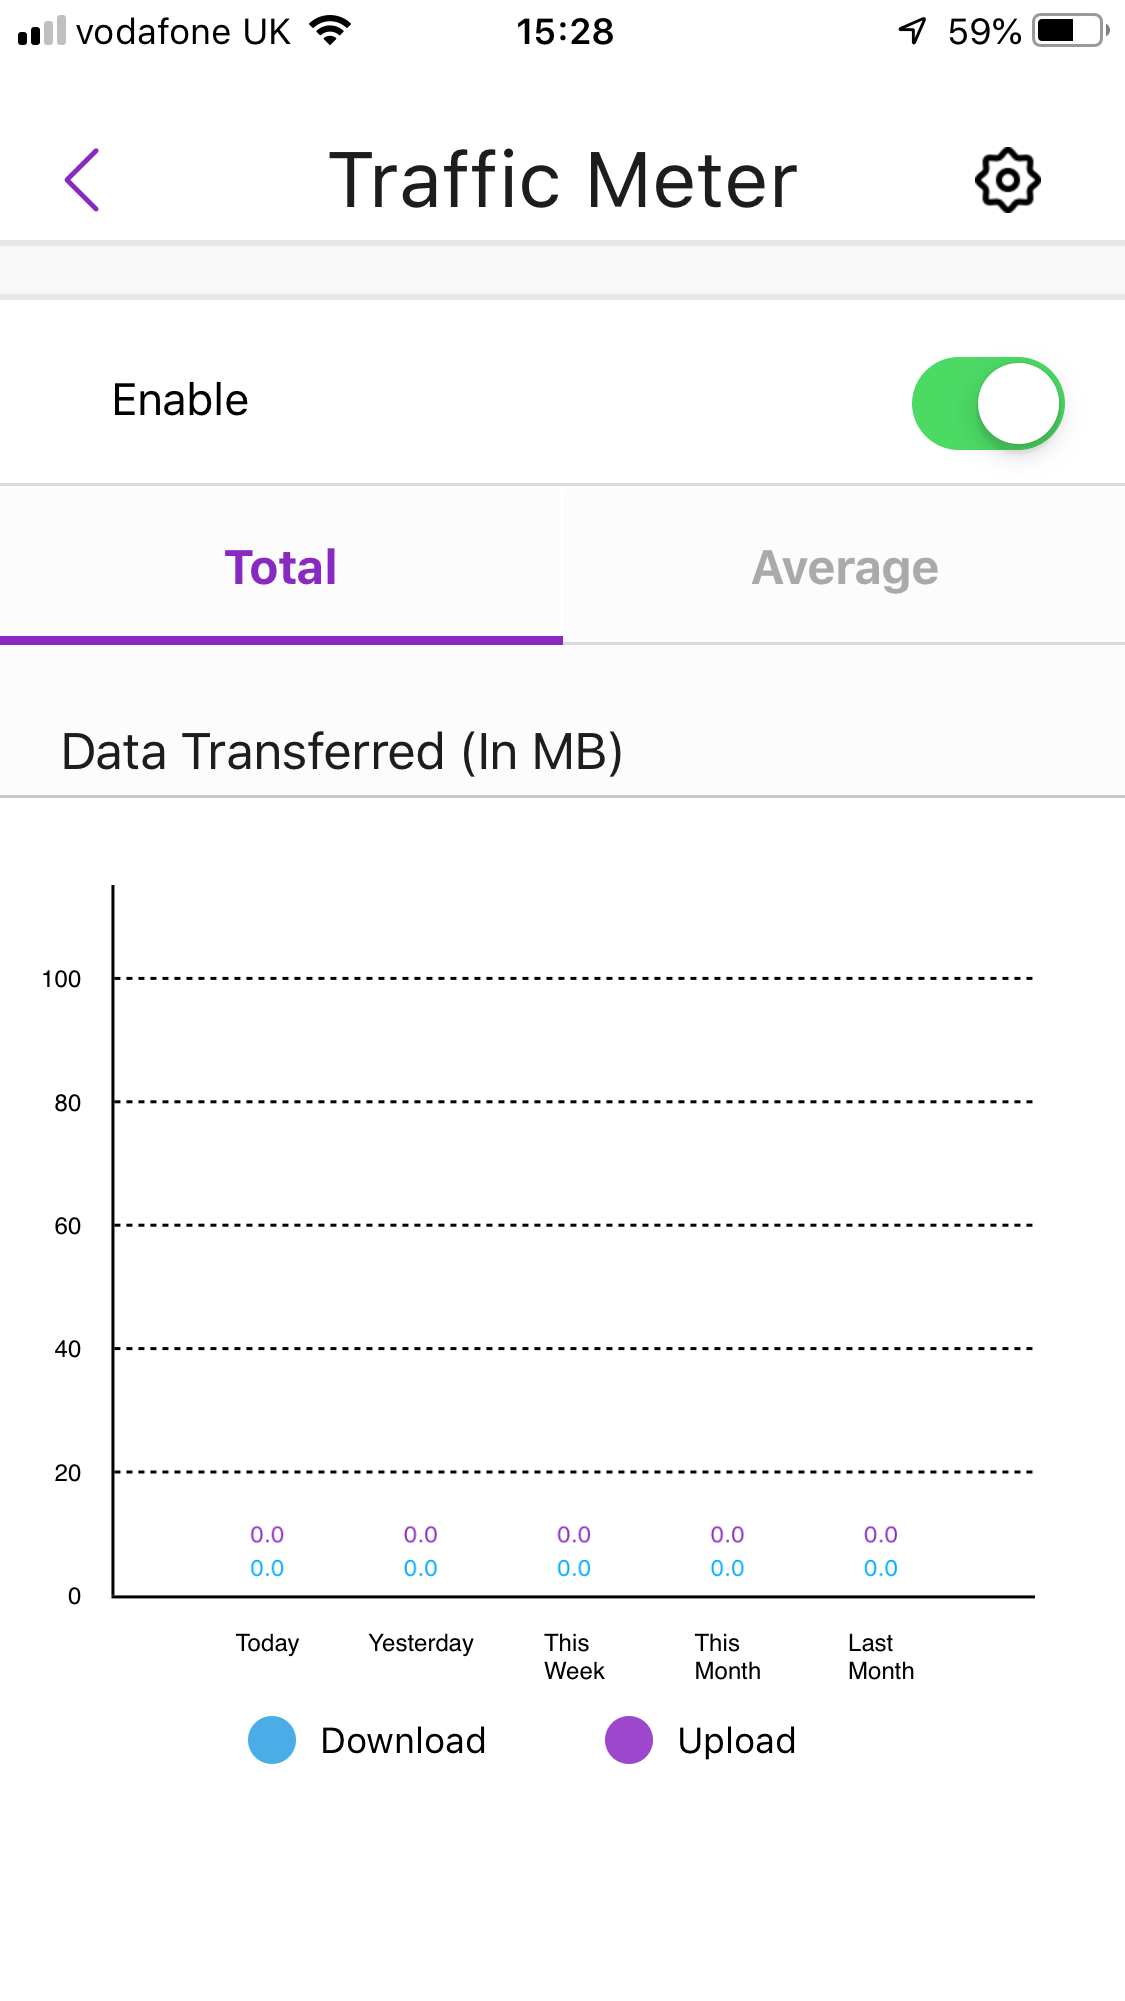
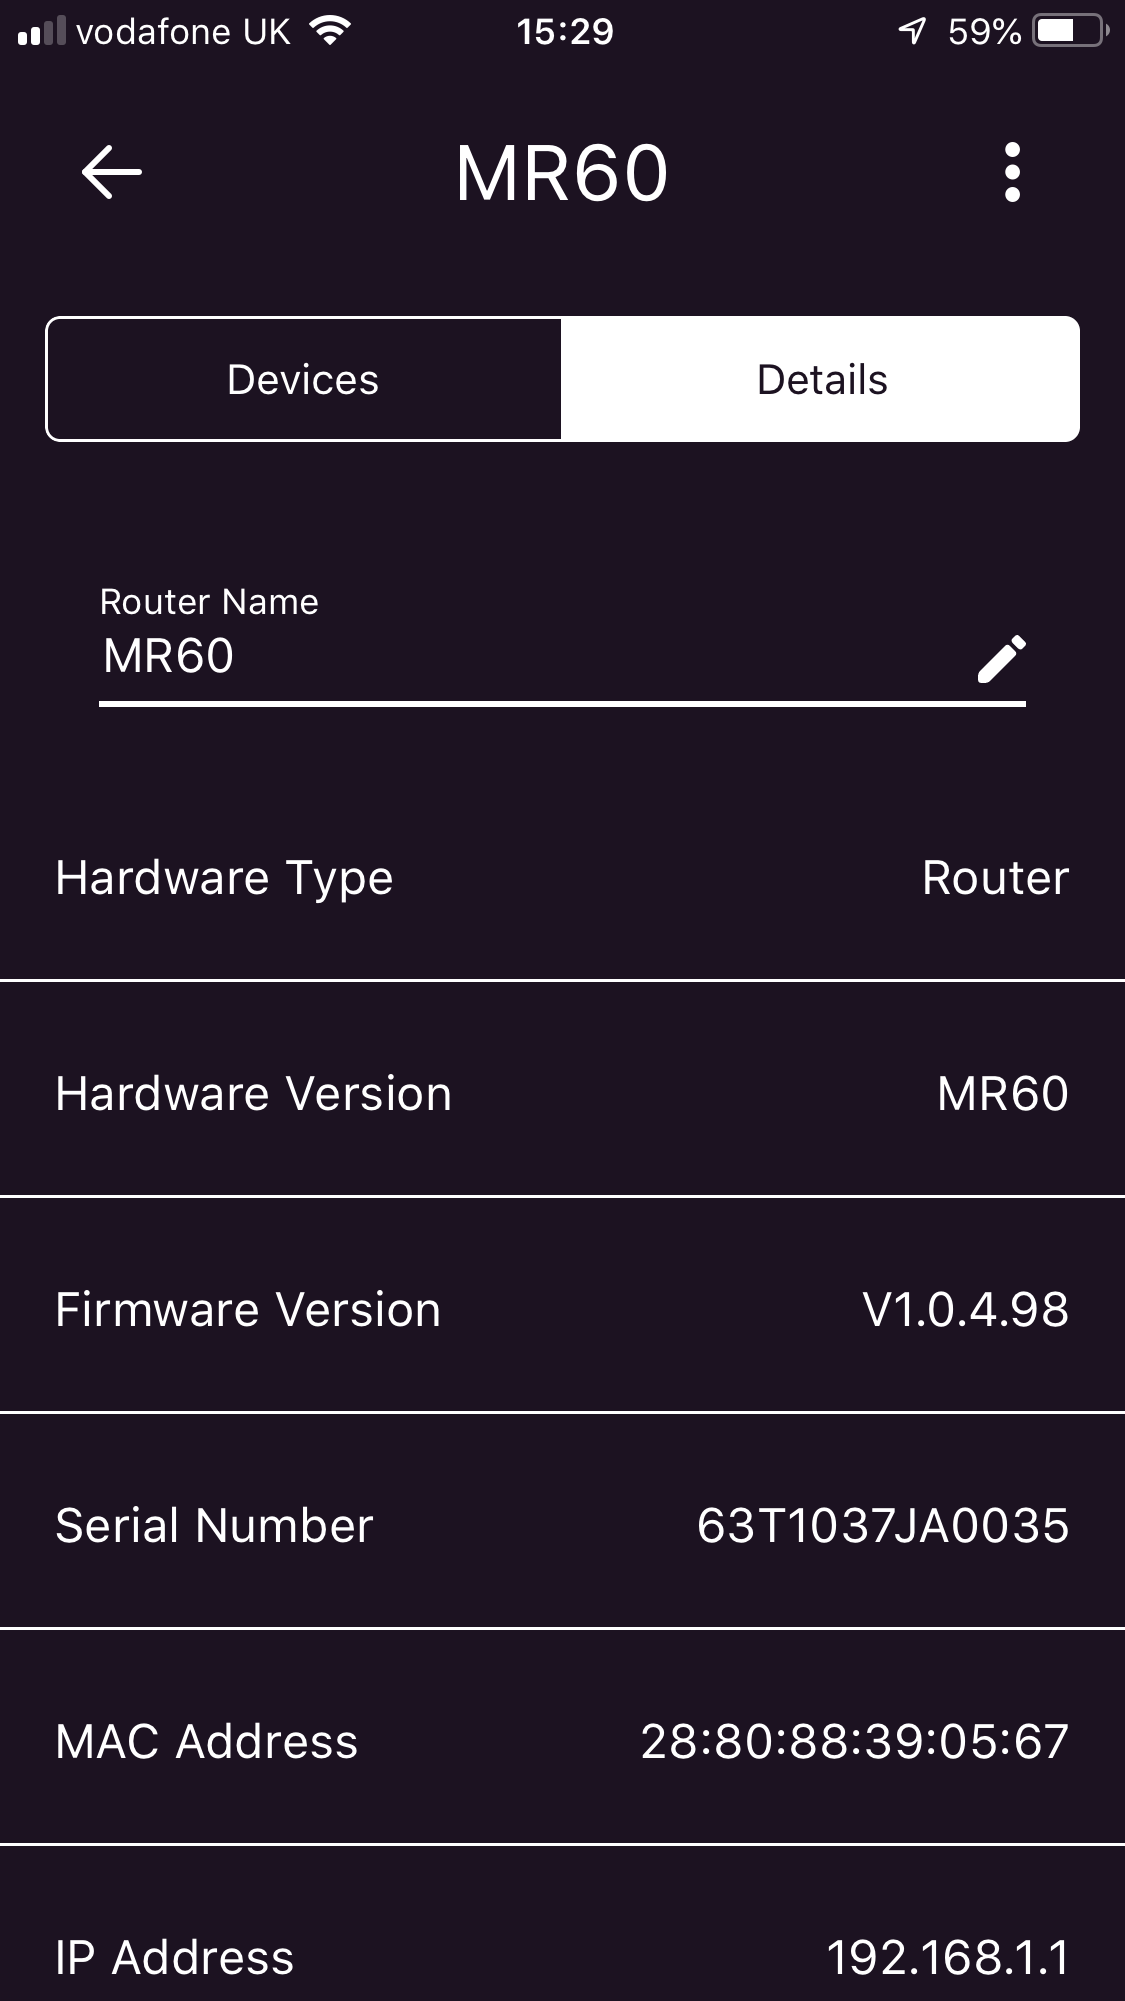
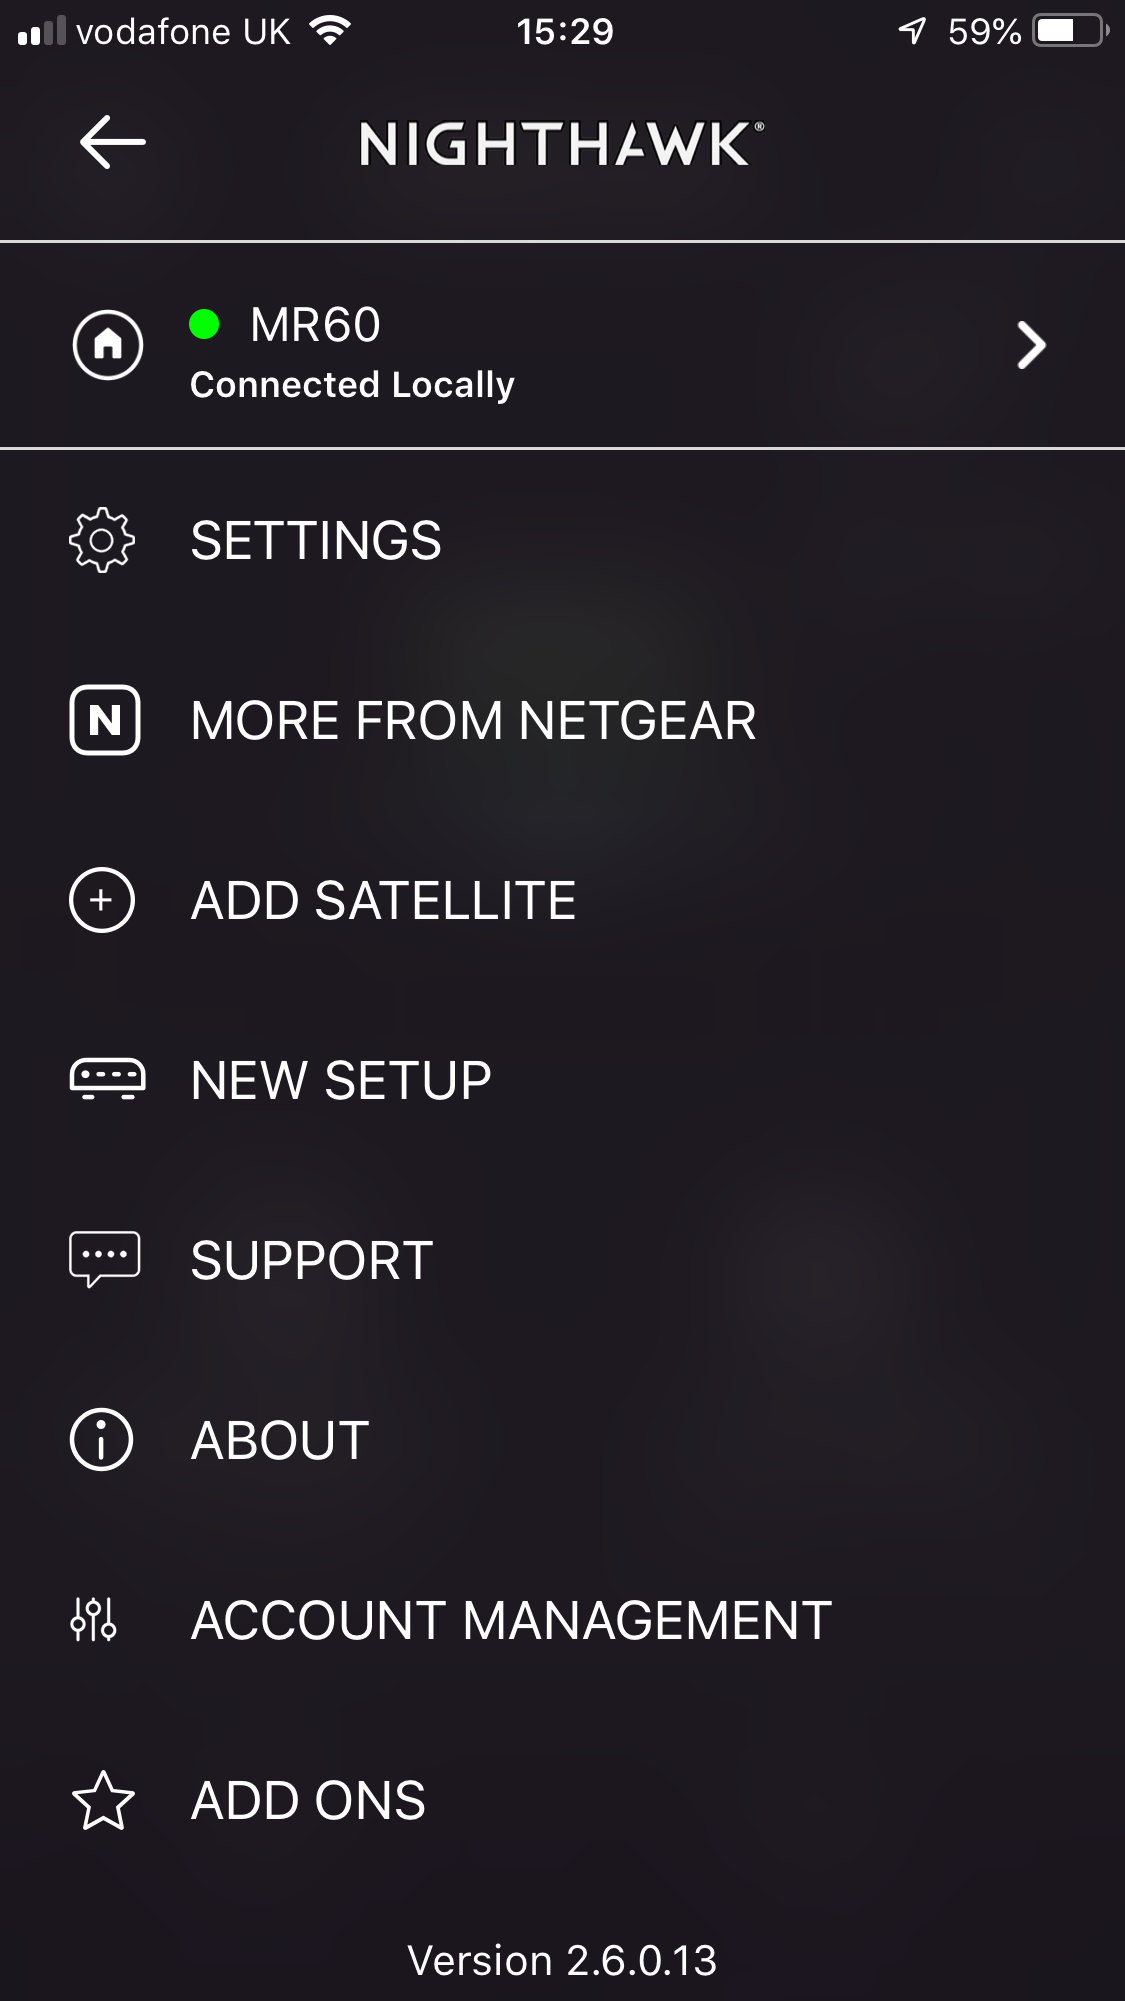
Once your system is operational, you can get into the smartphone management interface. NETGEAR first tries to sell you a support plan, before you reach the simple interface. Unlike the smartphone app for ASUS's ZenWiFi, there's not a huge amount of functionality here. You can see what devices are on the network, test your broadband speed, review the topology of your mesh, change the WiFi SSID and password, set up a guest network, enable traffic metering, and peruse the details of your router and satellites. Apart from the ability to add another satellite hidden in the setup menu, there's not much else here.

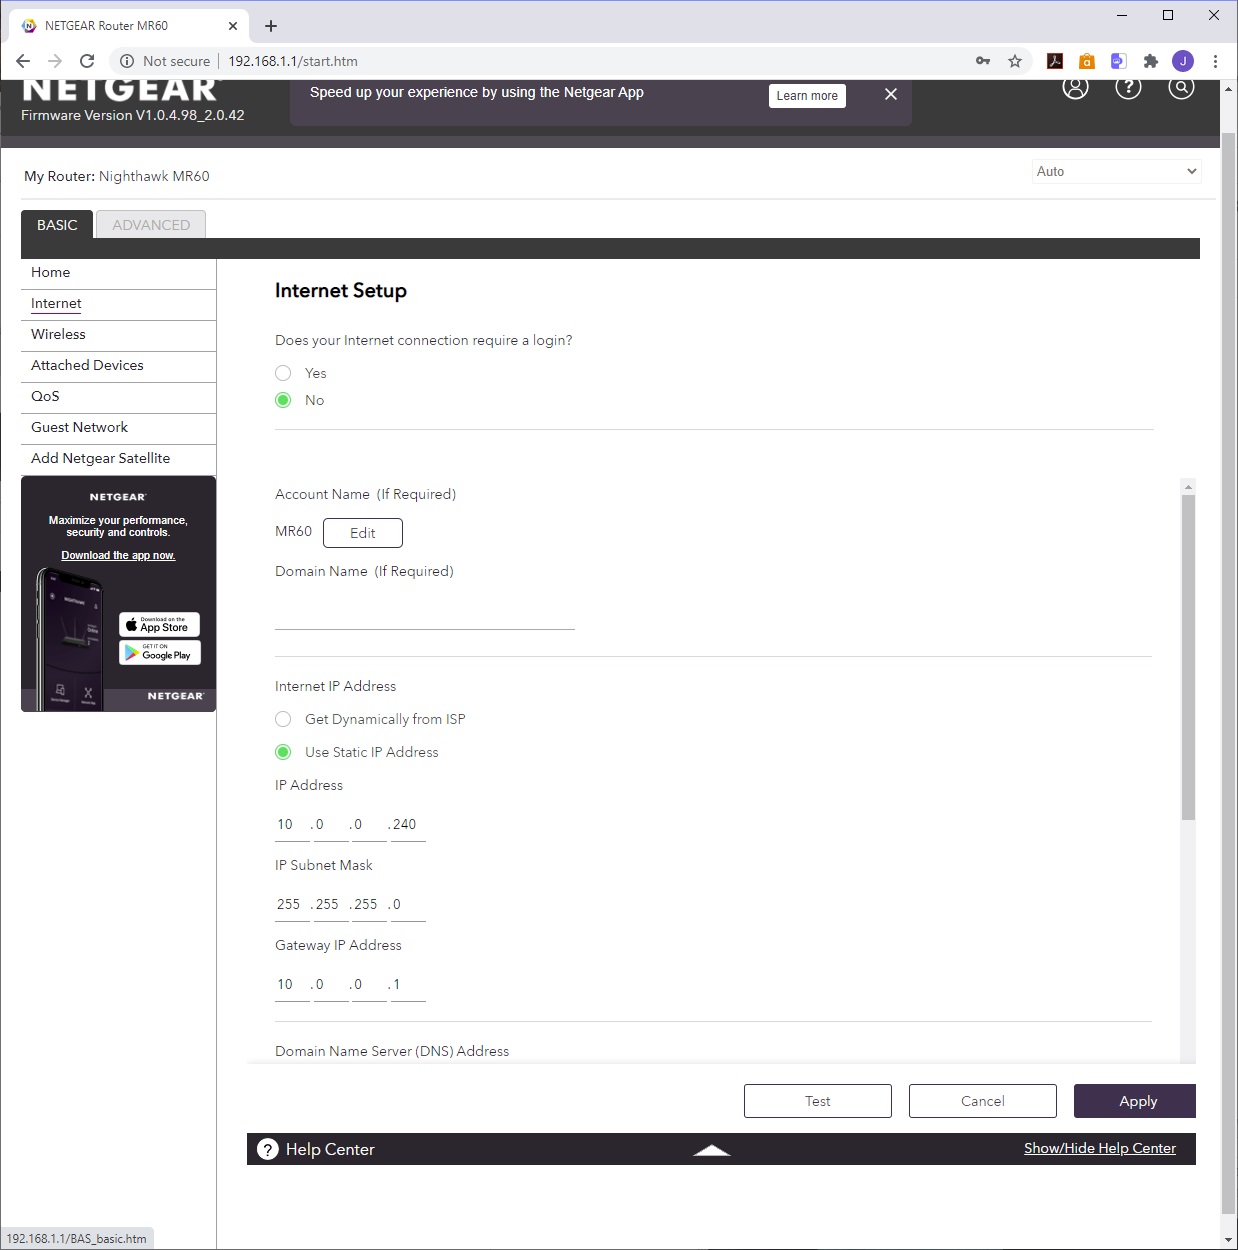
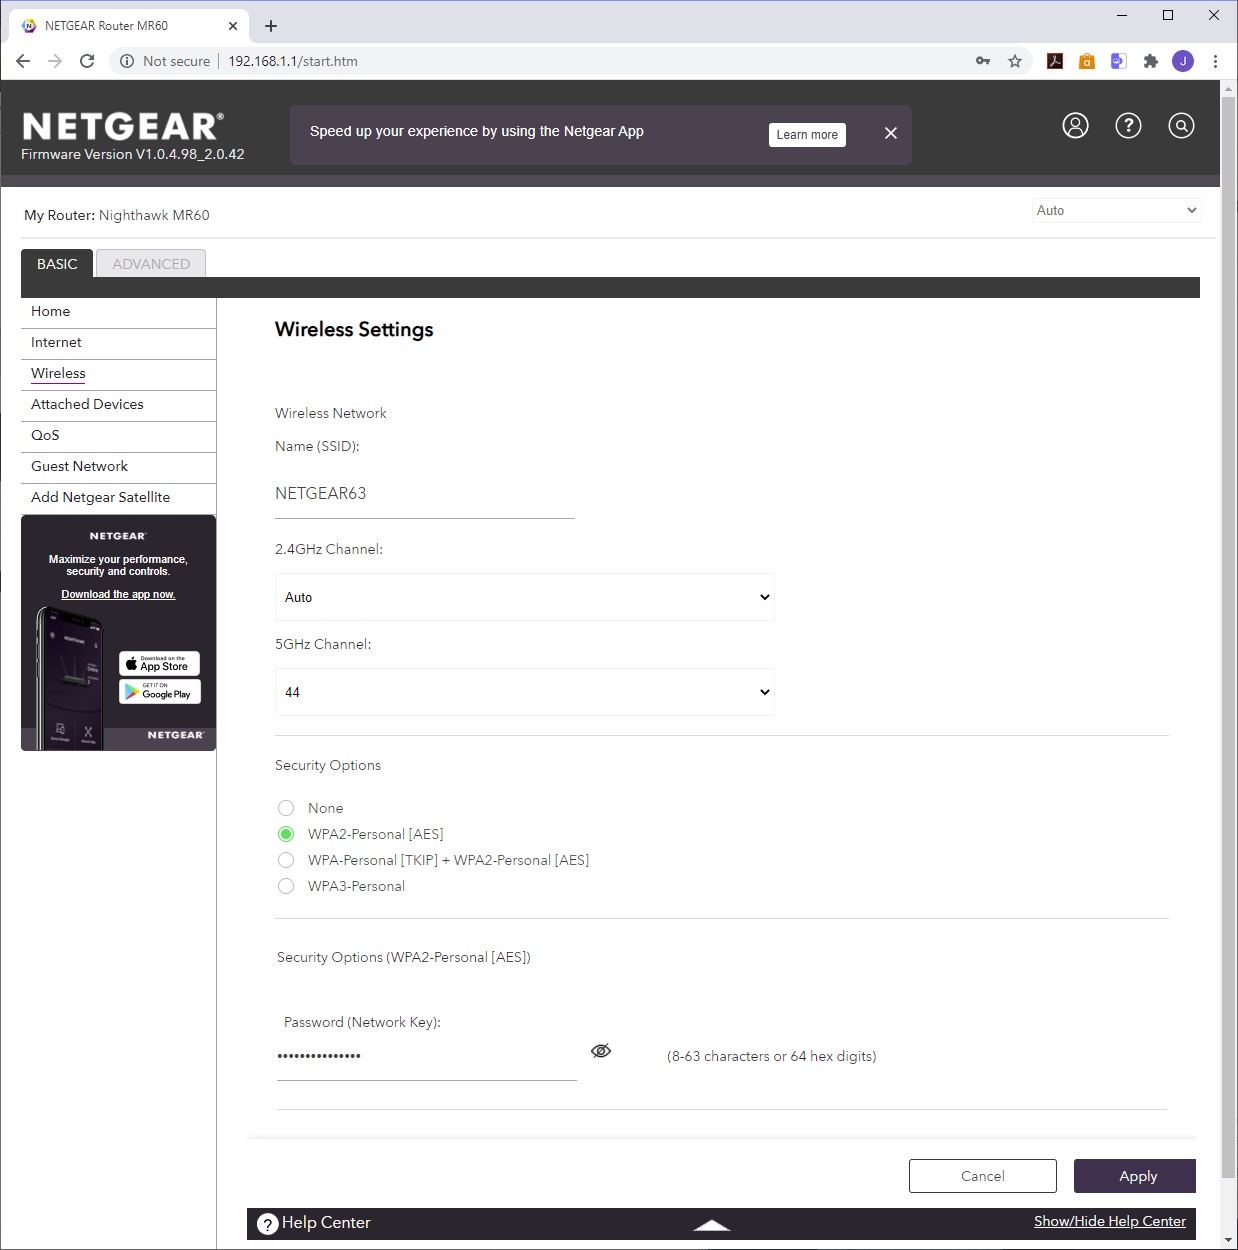
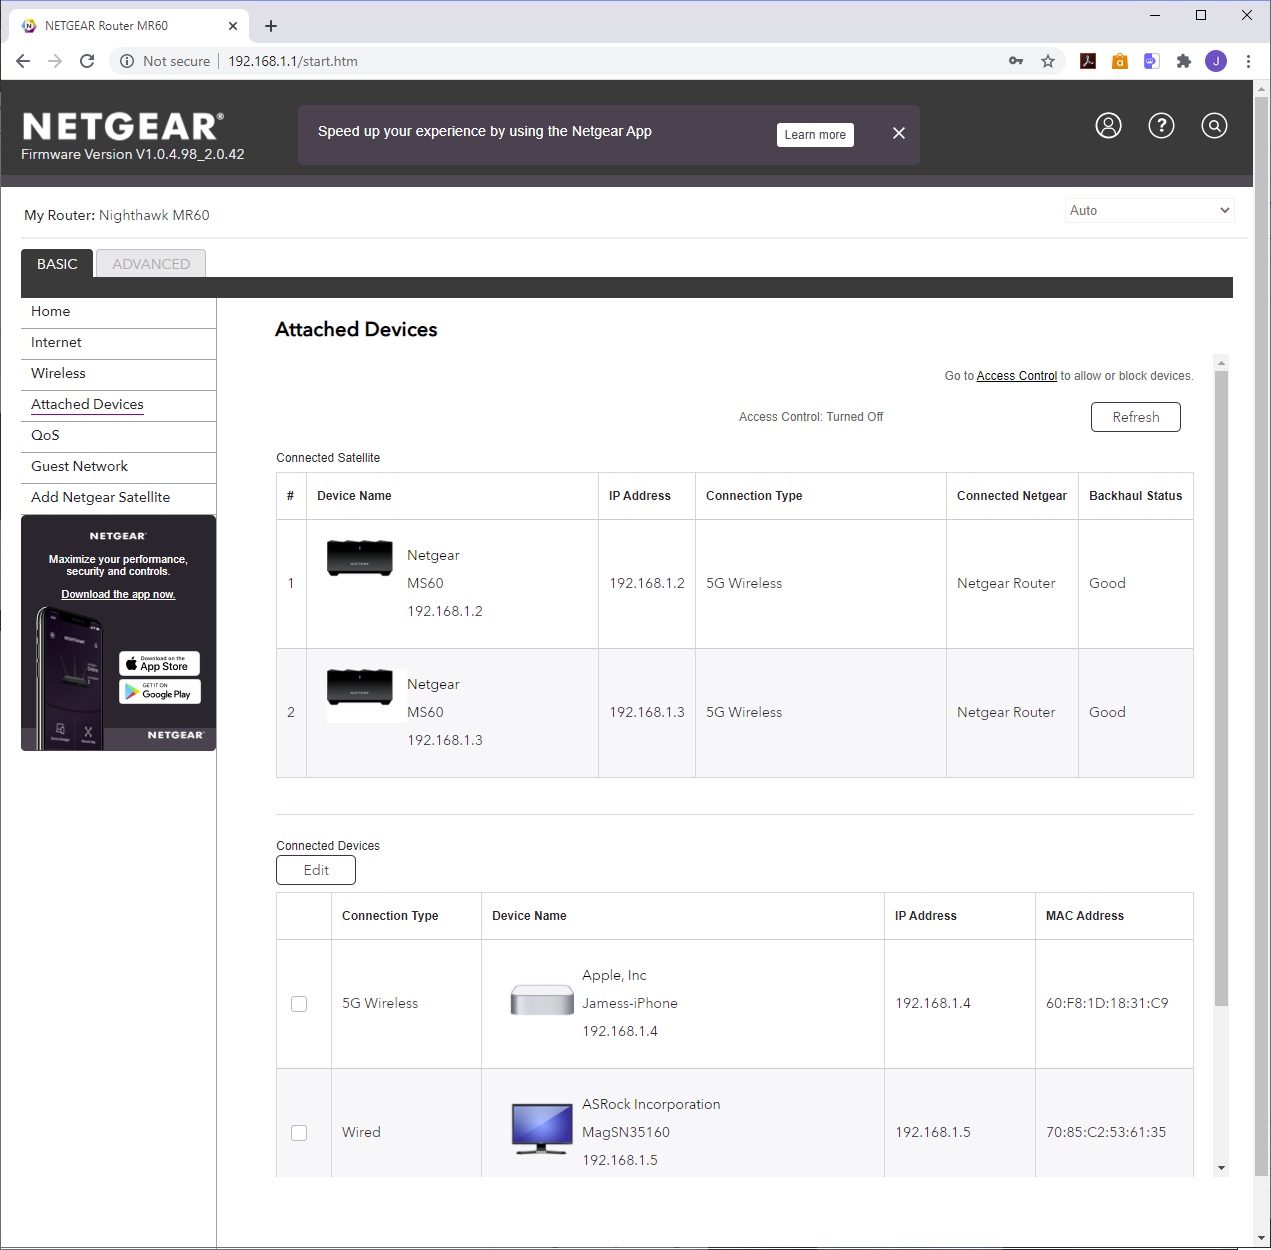
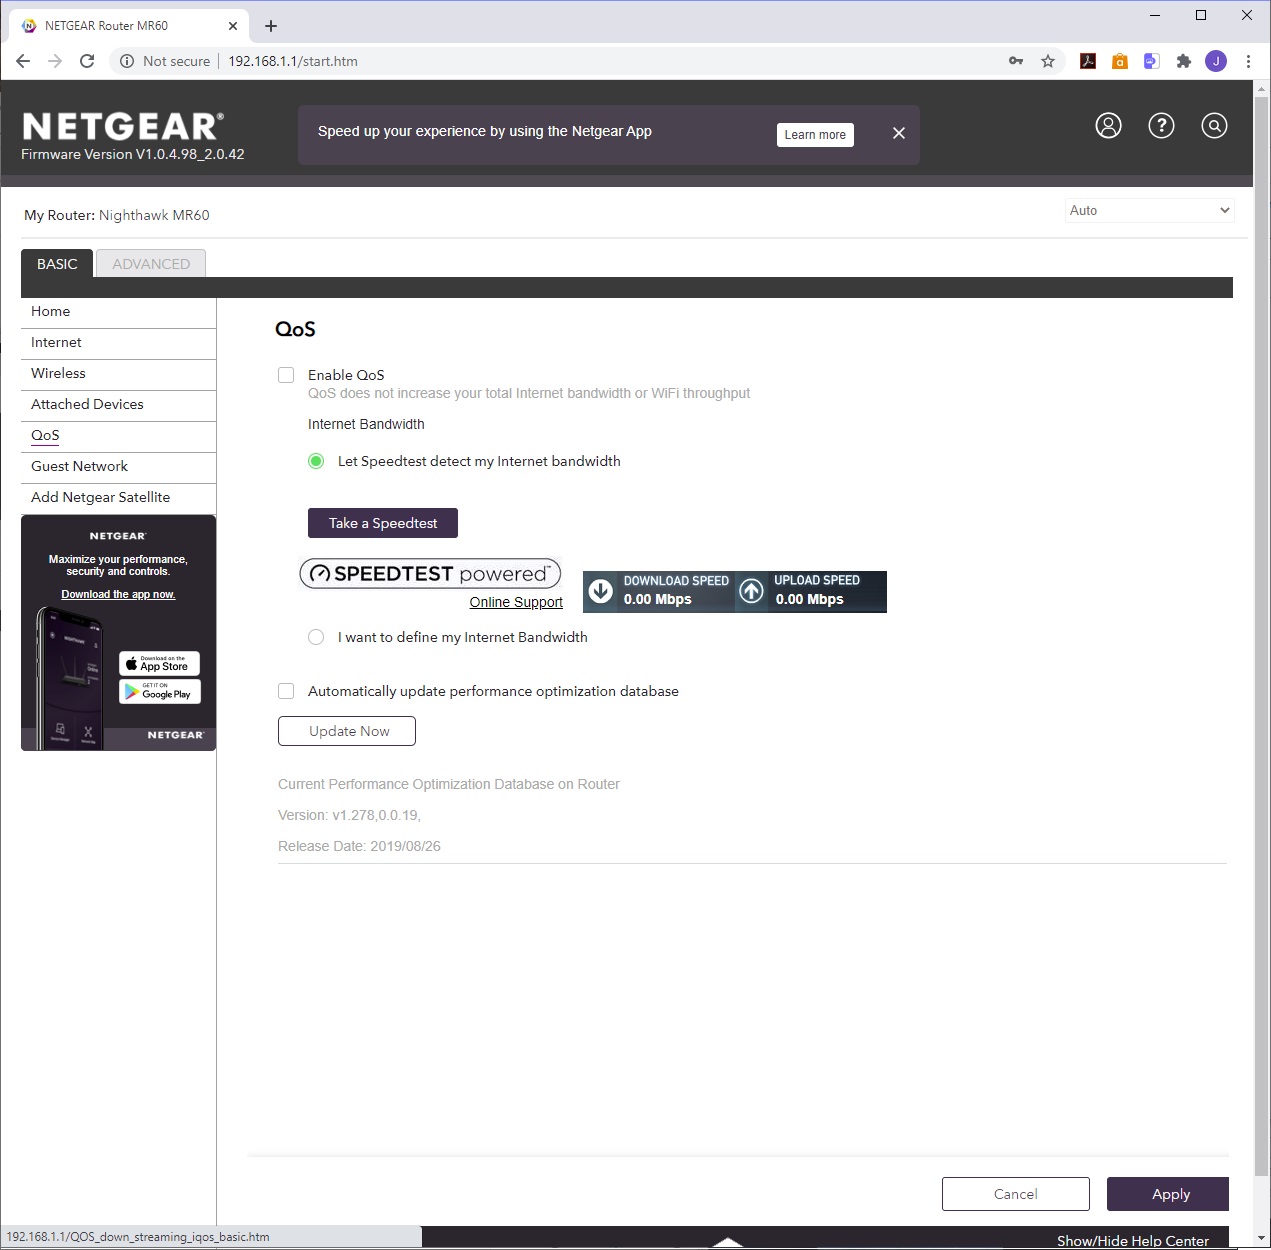
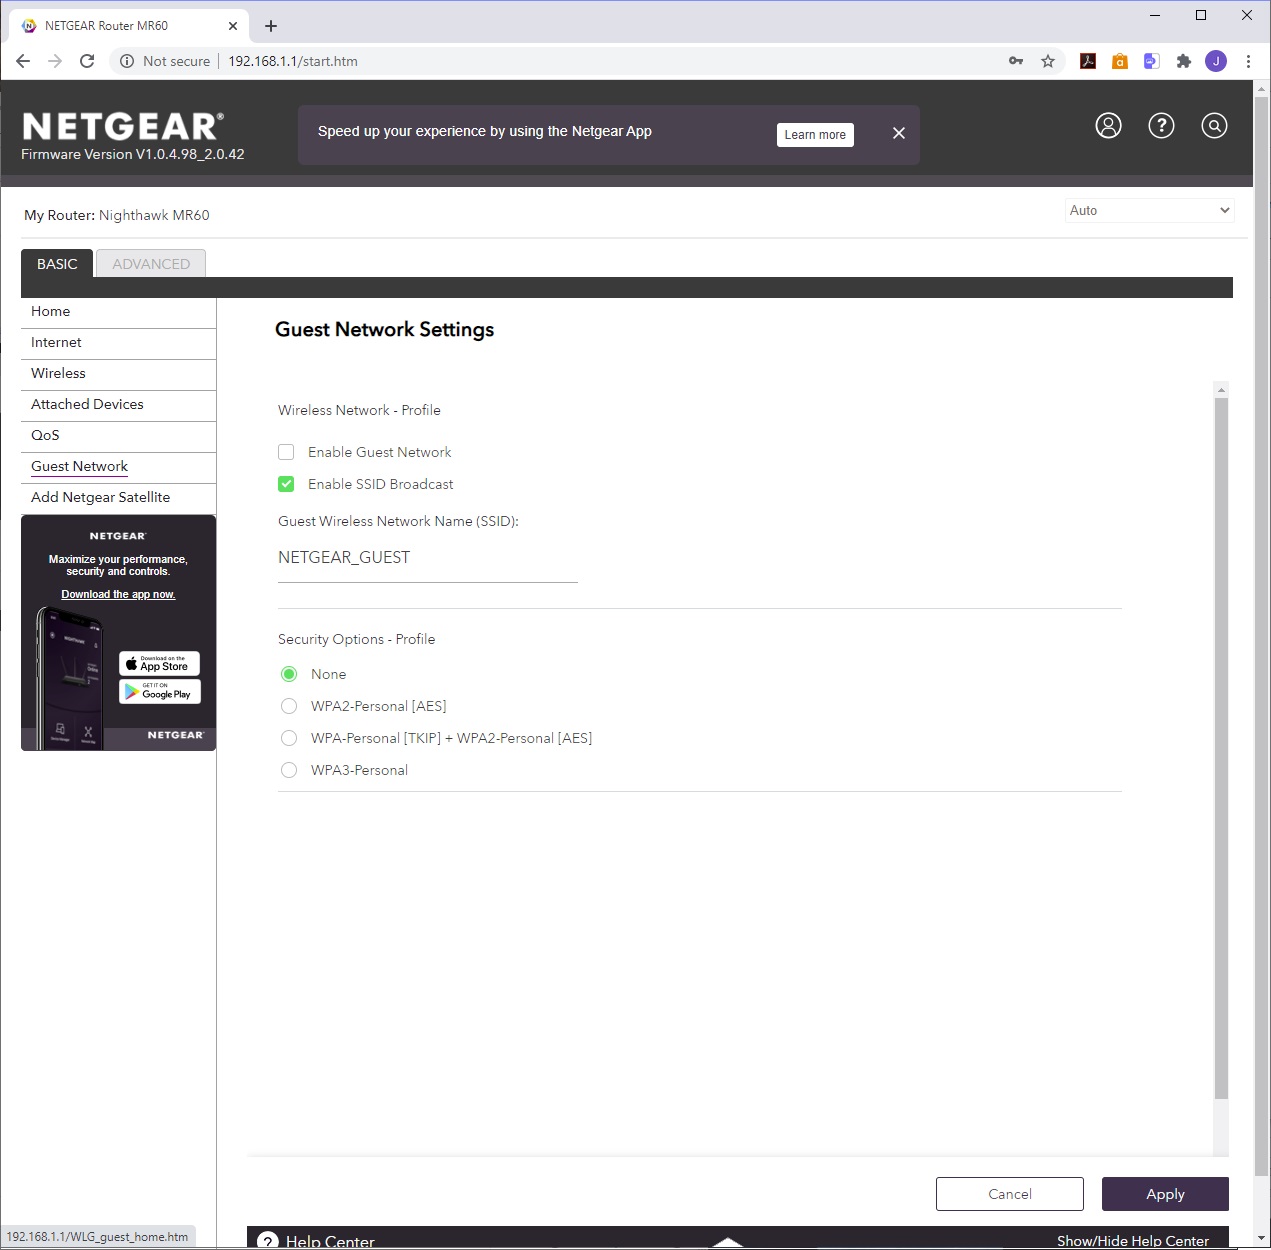
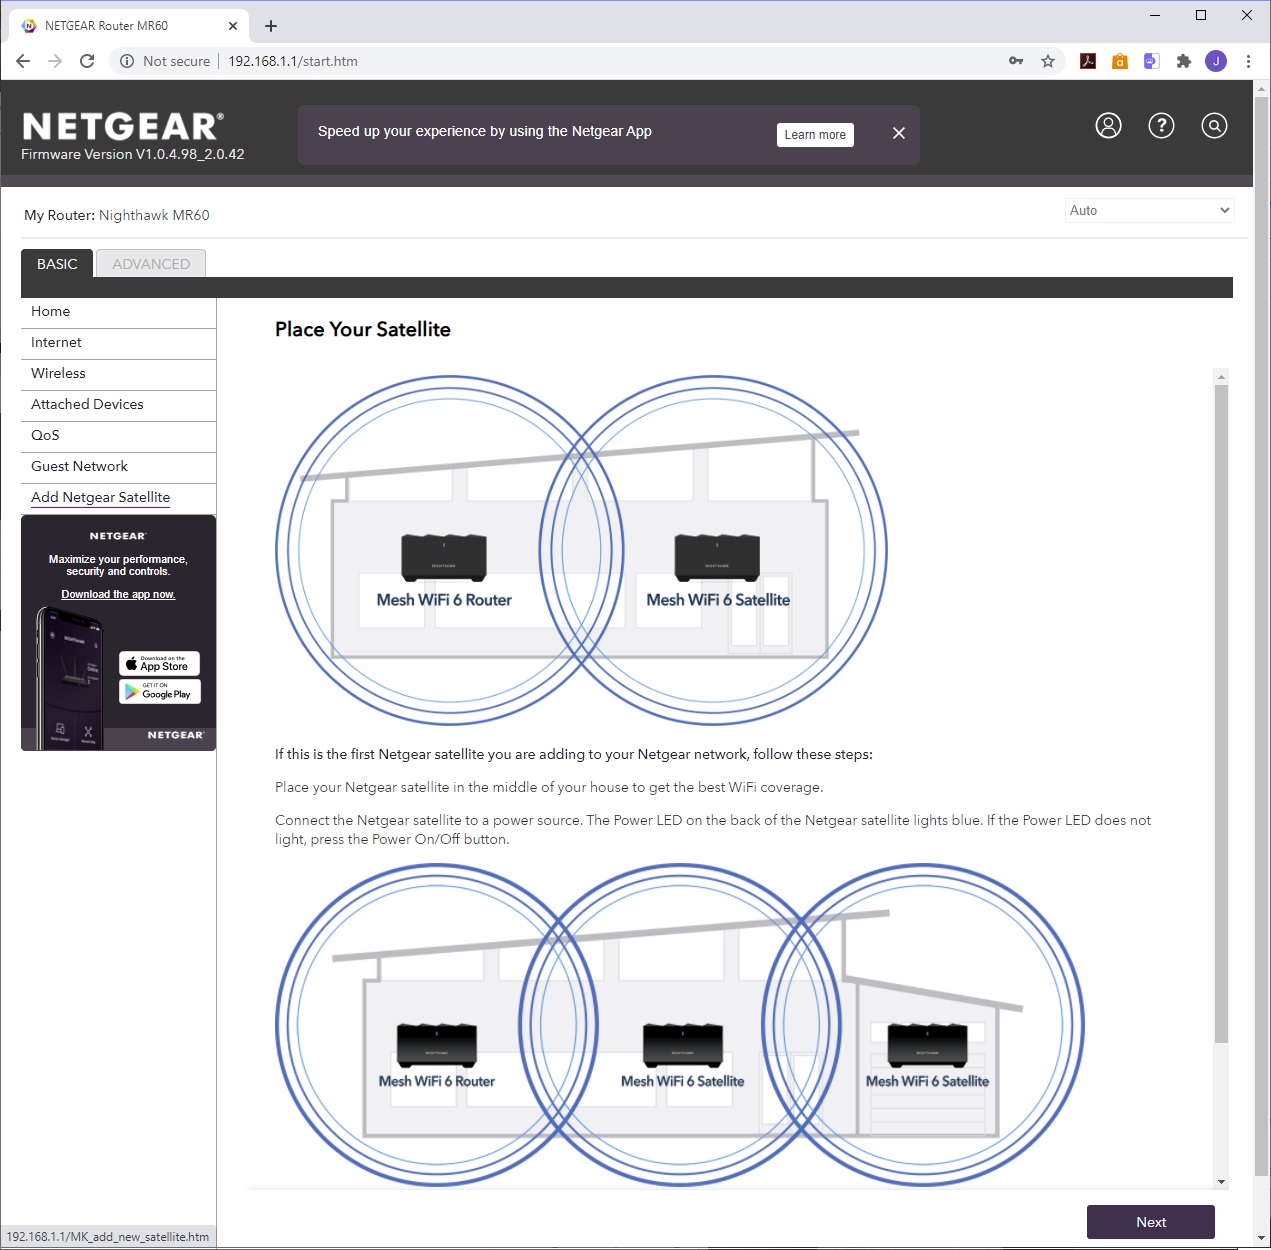
There's a lot more available if you log into the standard Web interface, however. The opening Home screen in the Basic section provides an overall view of WiFi status. Under Internet, you can reconfigure your broadband connection. You can alter the WiFi settings under Wireless, and view devices on the network via Attached Devices. The QoS system, when enabled, isn't as elaborate as, for example, ASUS's or NETGEAR's gaming devices empowered with DumaOS. You can set up a Guest Network for wireless visitors, and trigger the wizard for adding extra mesh satellites.
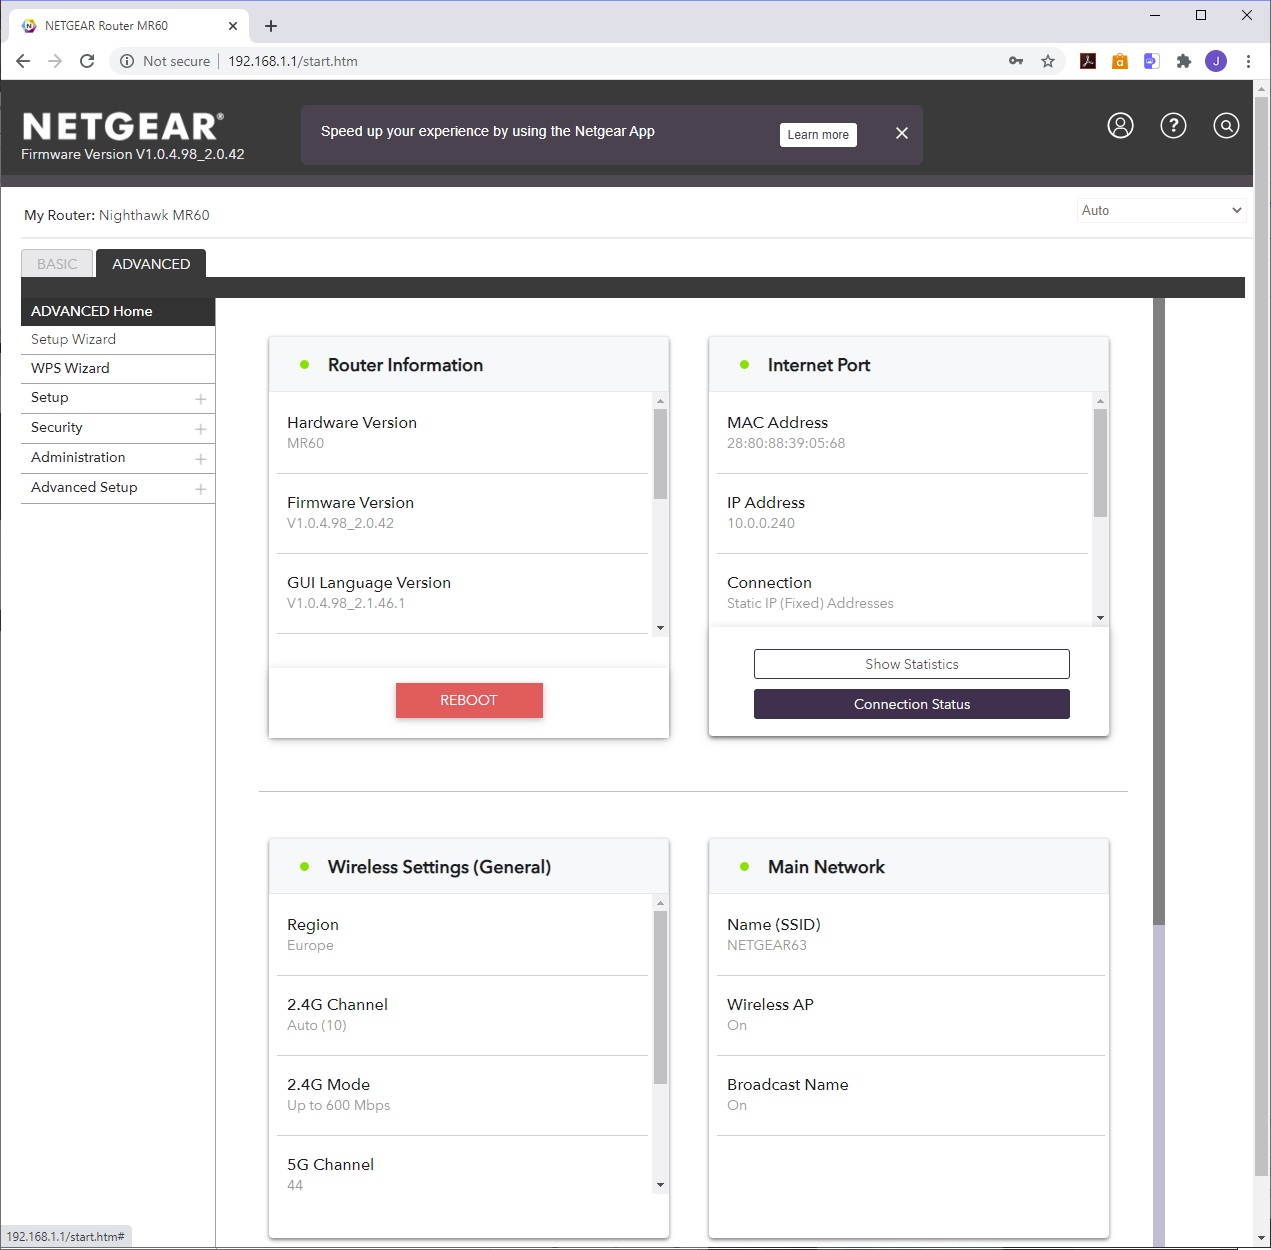
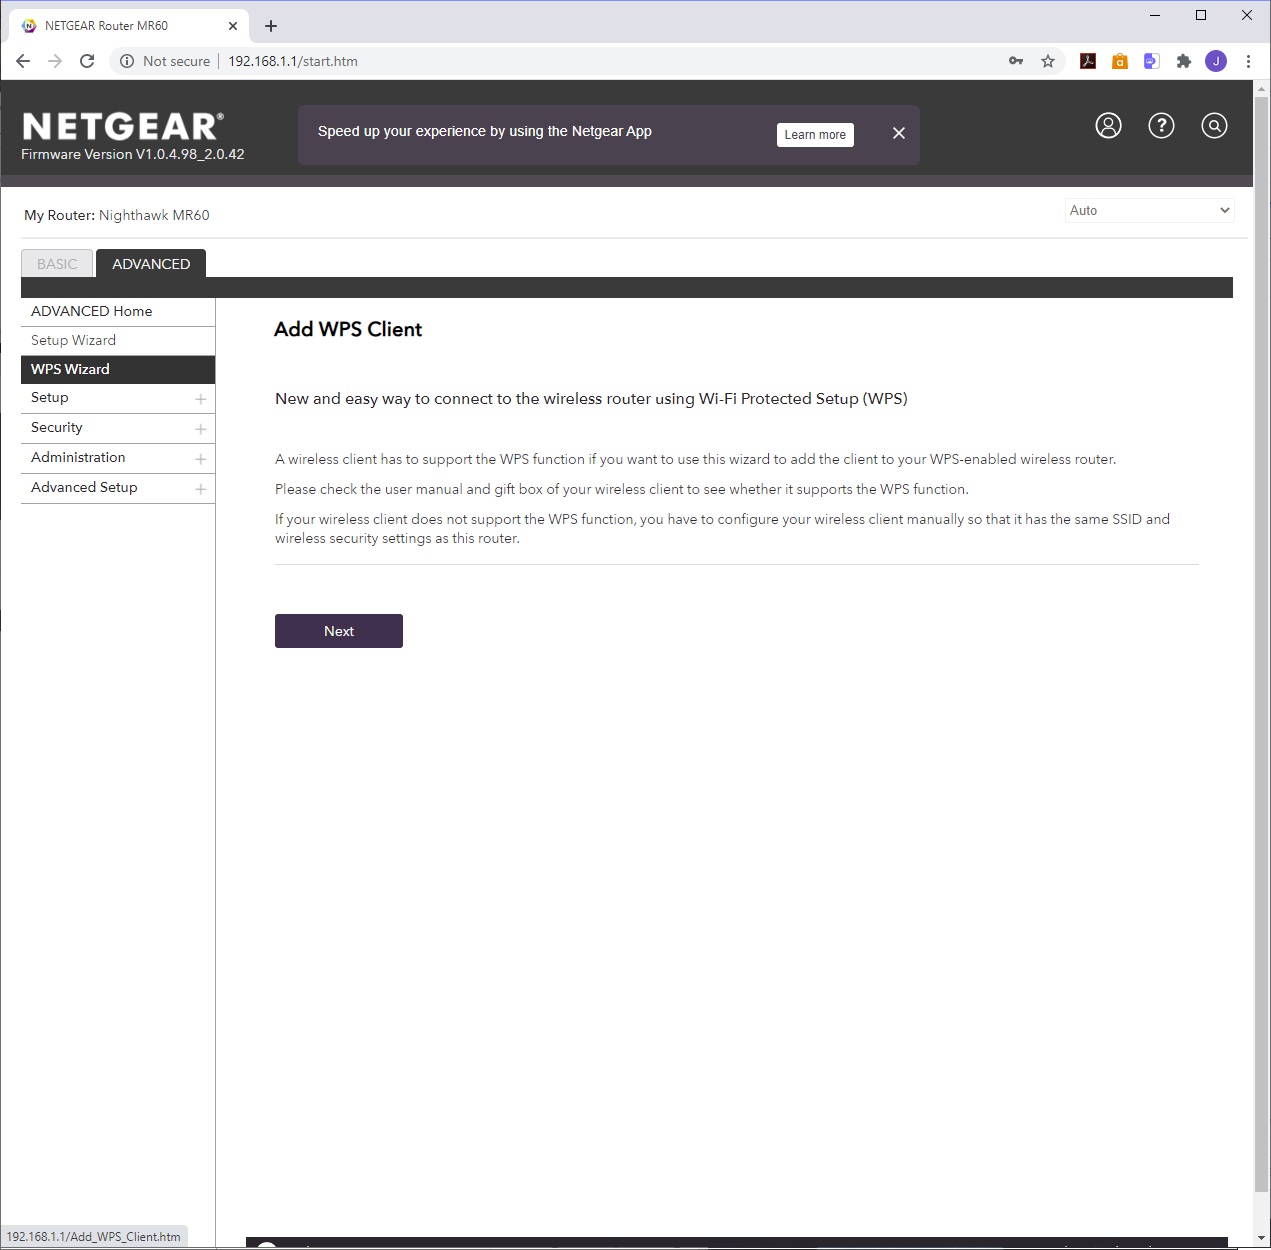
The Advanced section has a Home screen with more information than the basic one. Further down is an option to attach clients via WPS.

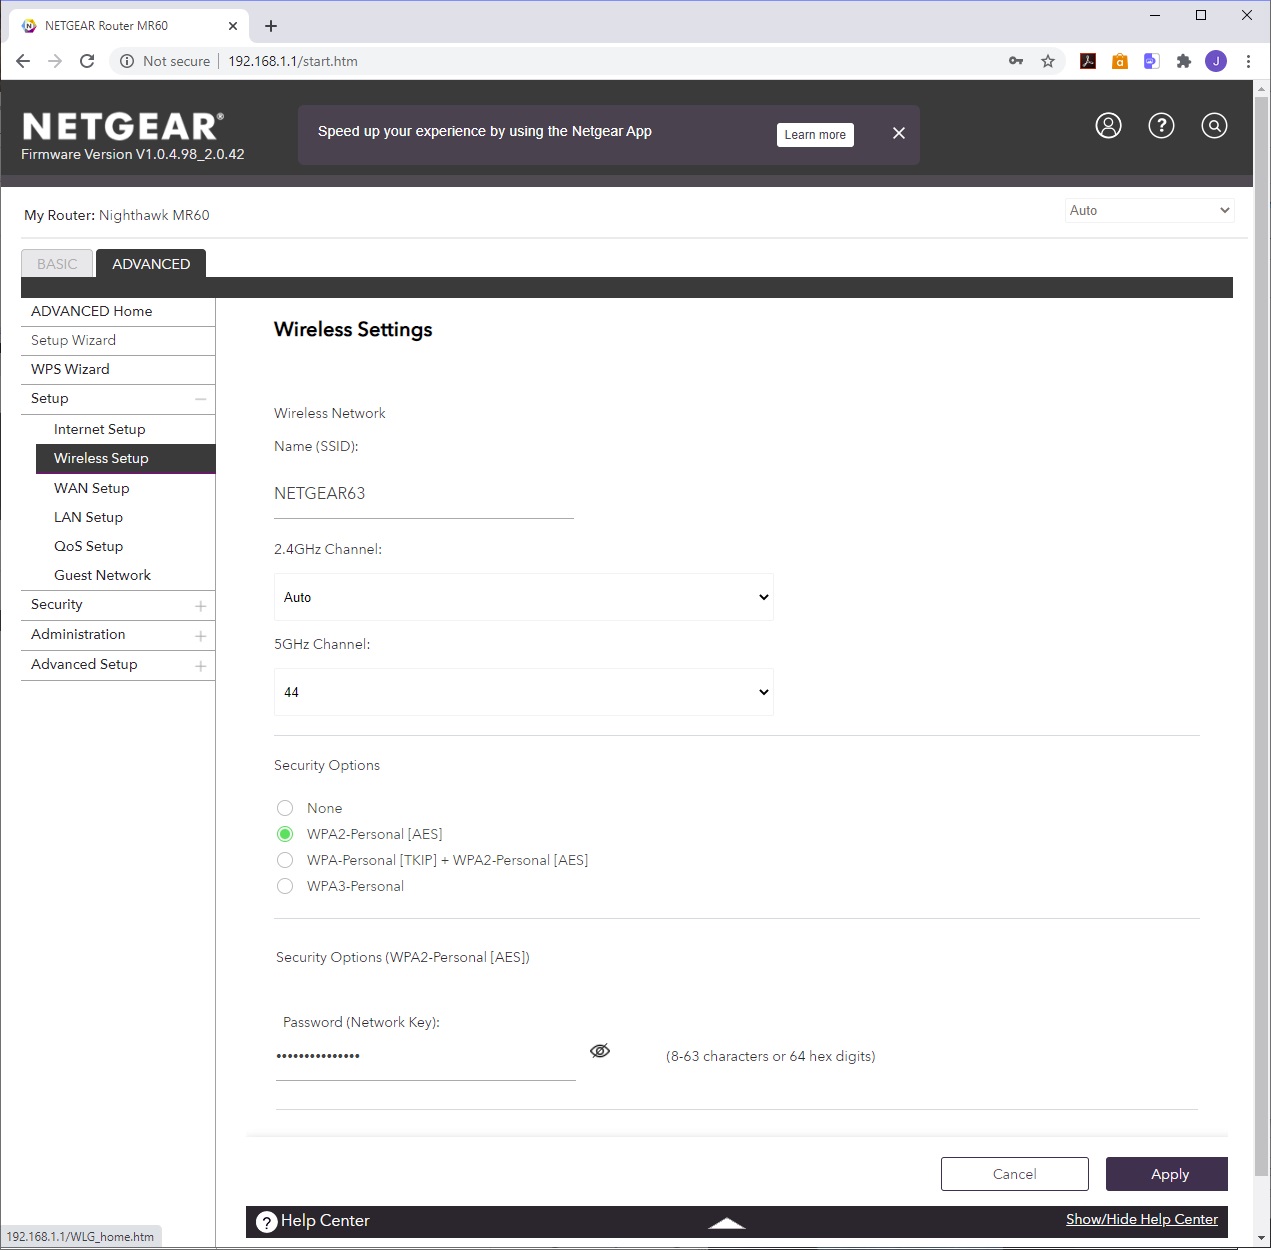
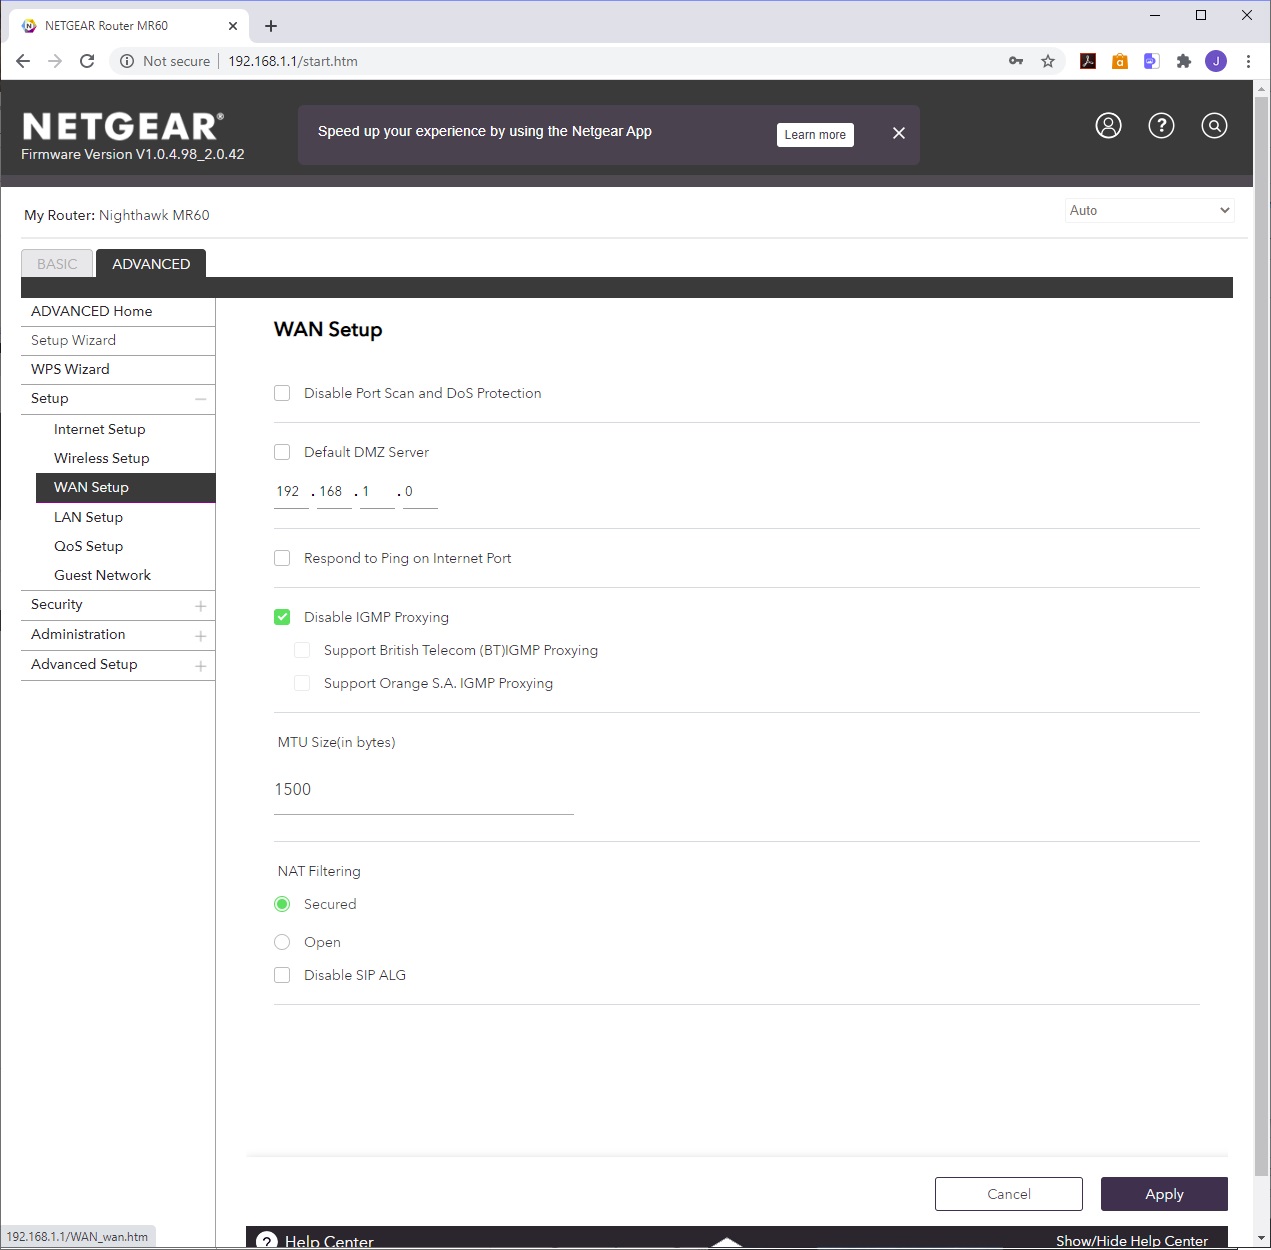
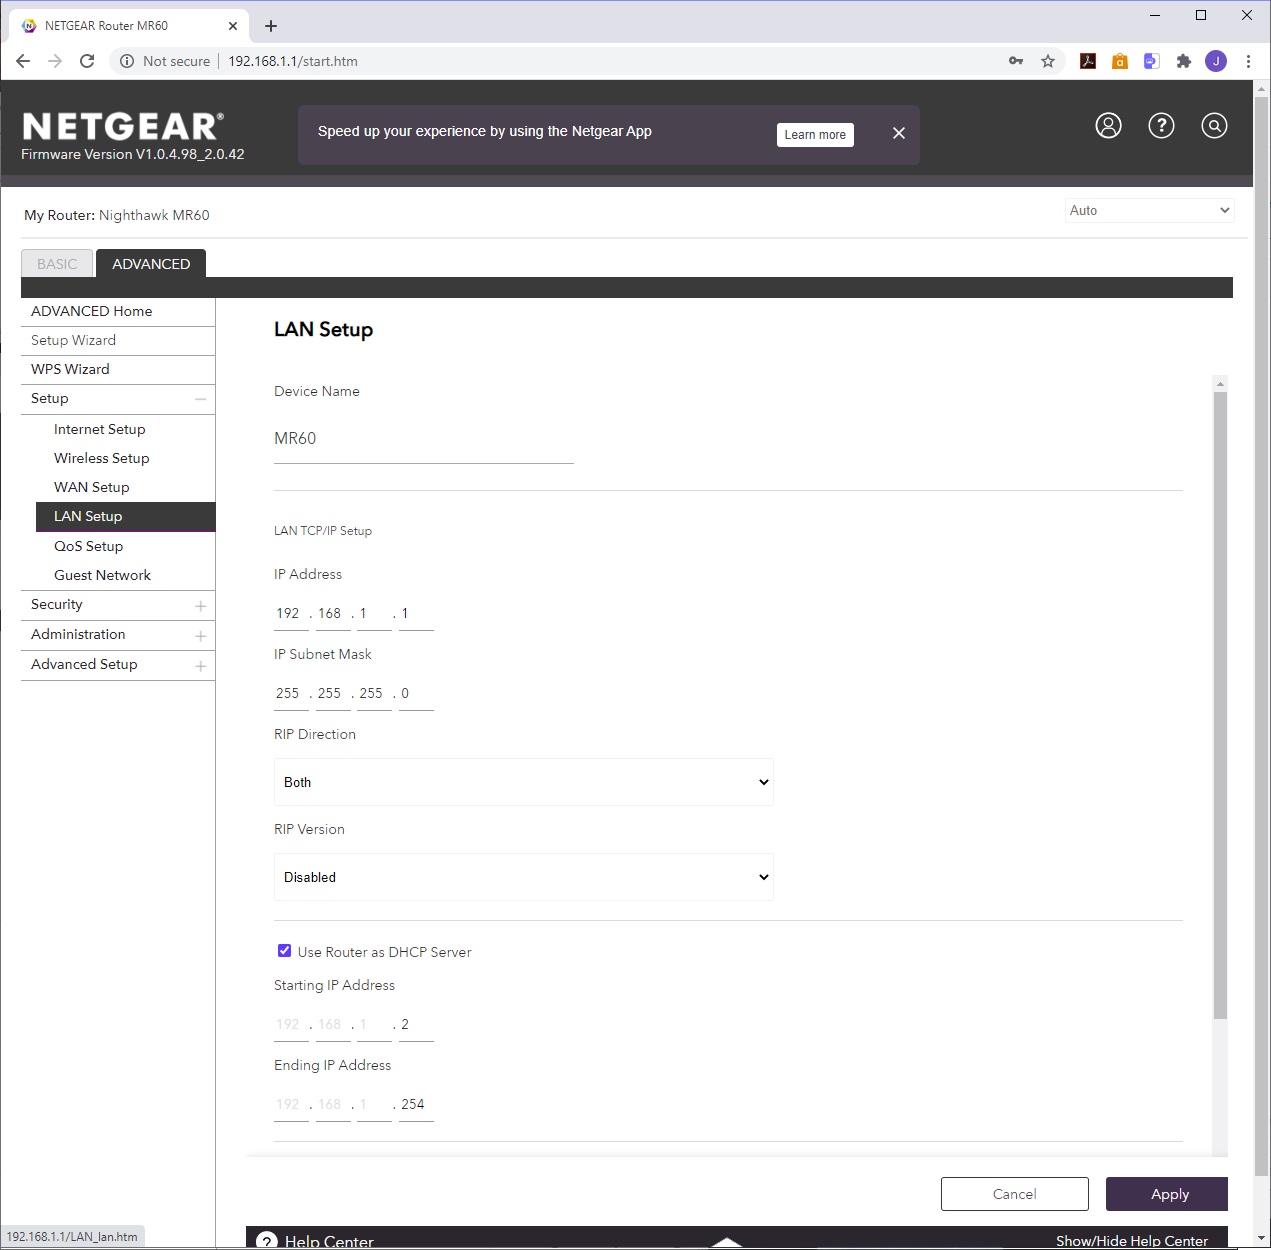
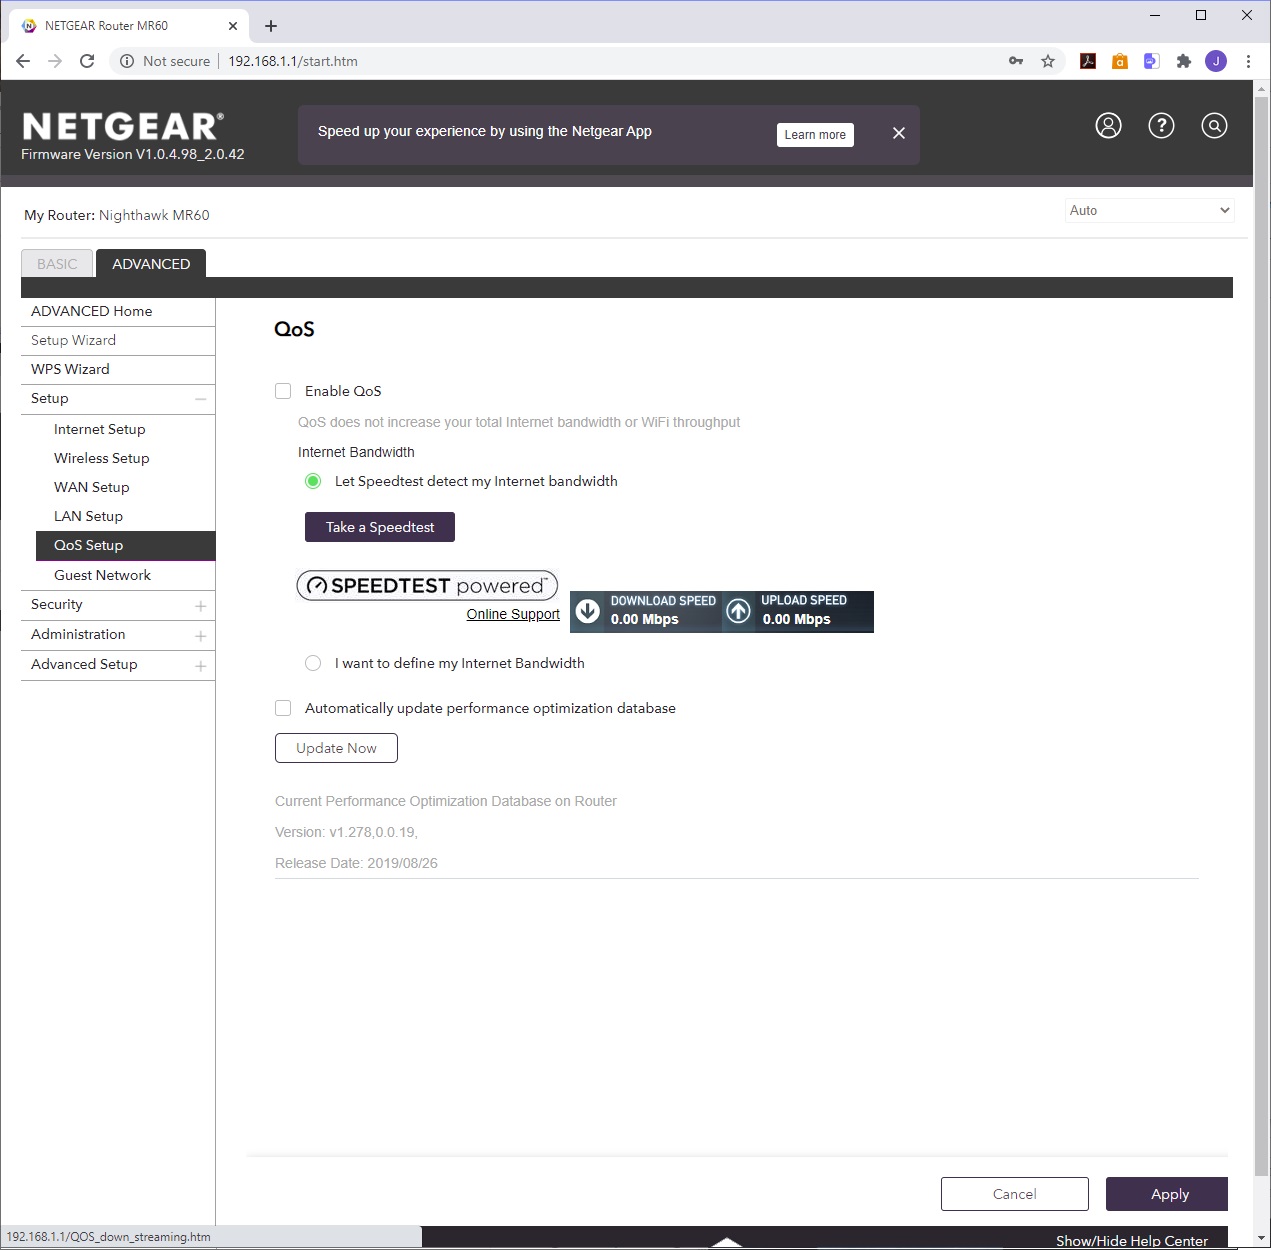
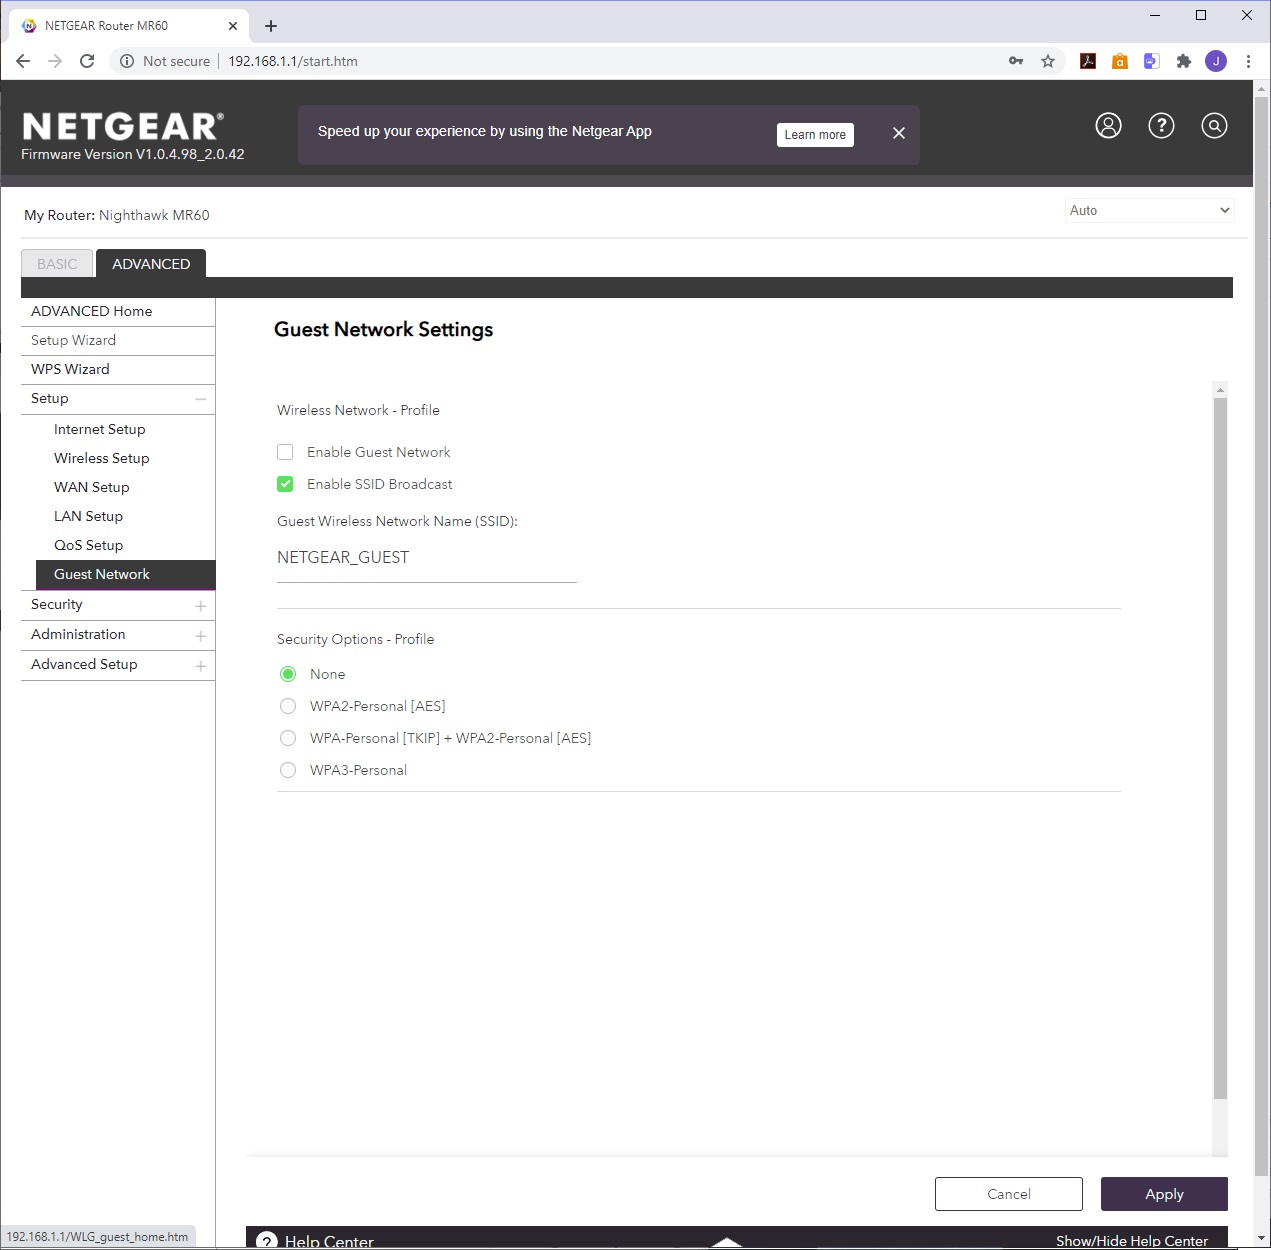
Under Setup, you can configure the broadband connection and WiFi, using the same interfaces as in the Basic section. However, there are more detailed settings for the broadband WAN available, and you can configure how the LAN DHCP server operates, including the IP range used. The QoS section is as disappointingly minimal as the Basic version. The guest WiFi options can also be found in this category.
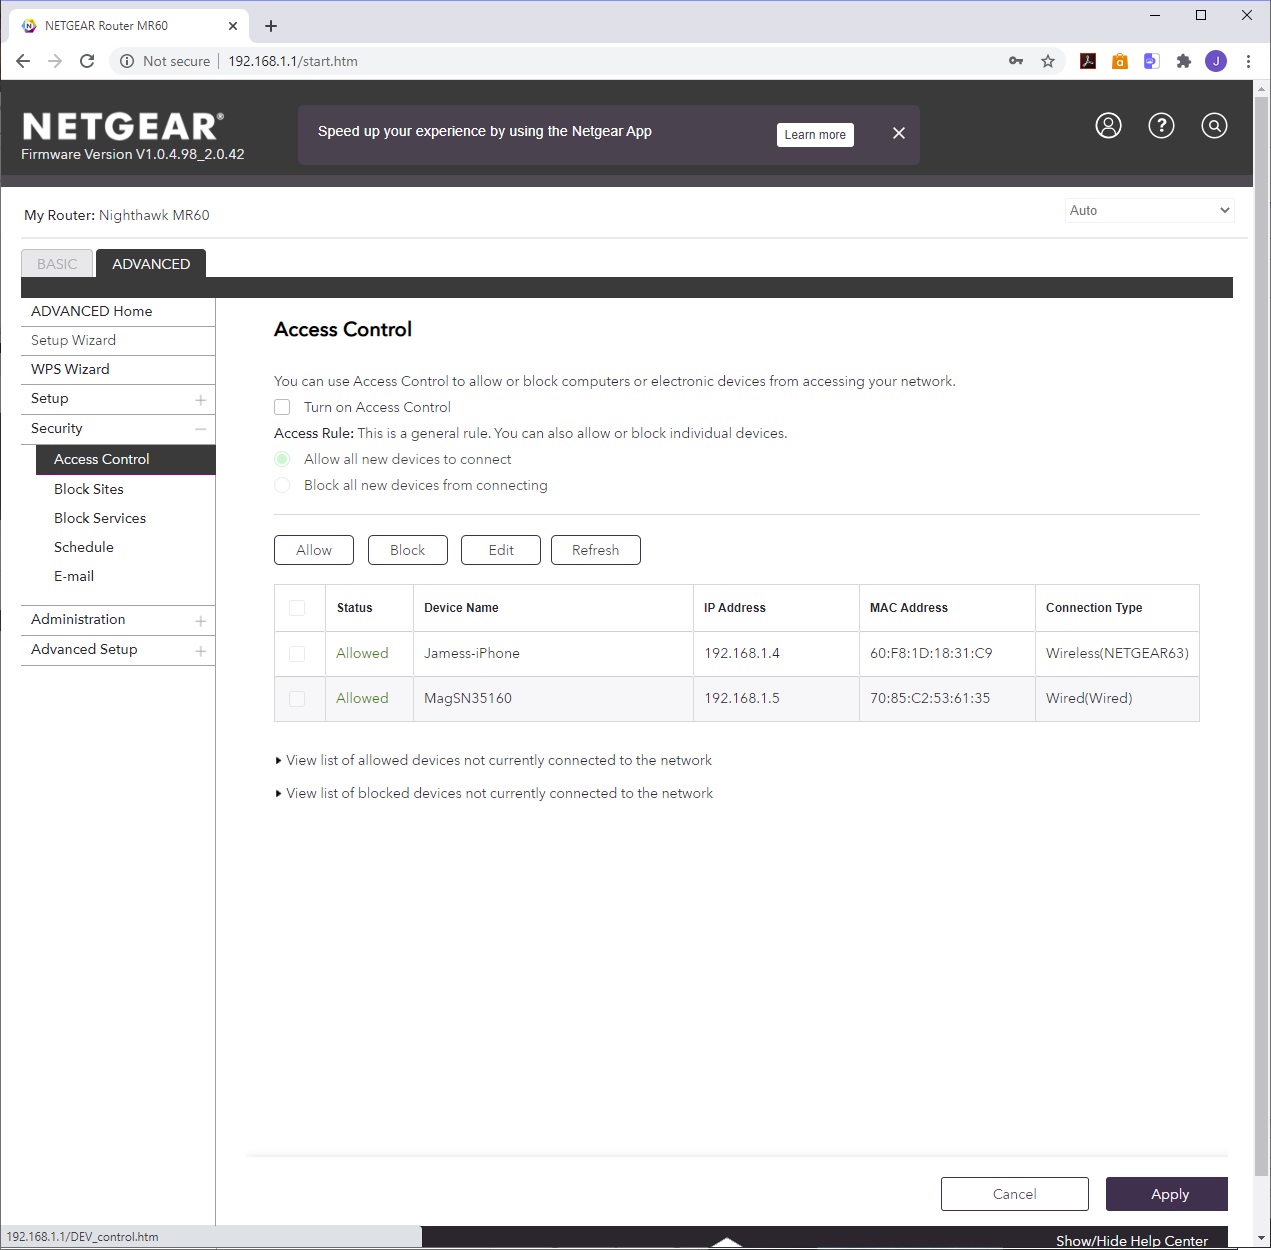
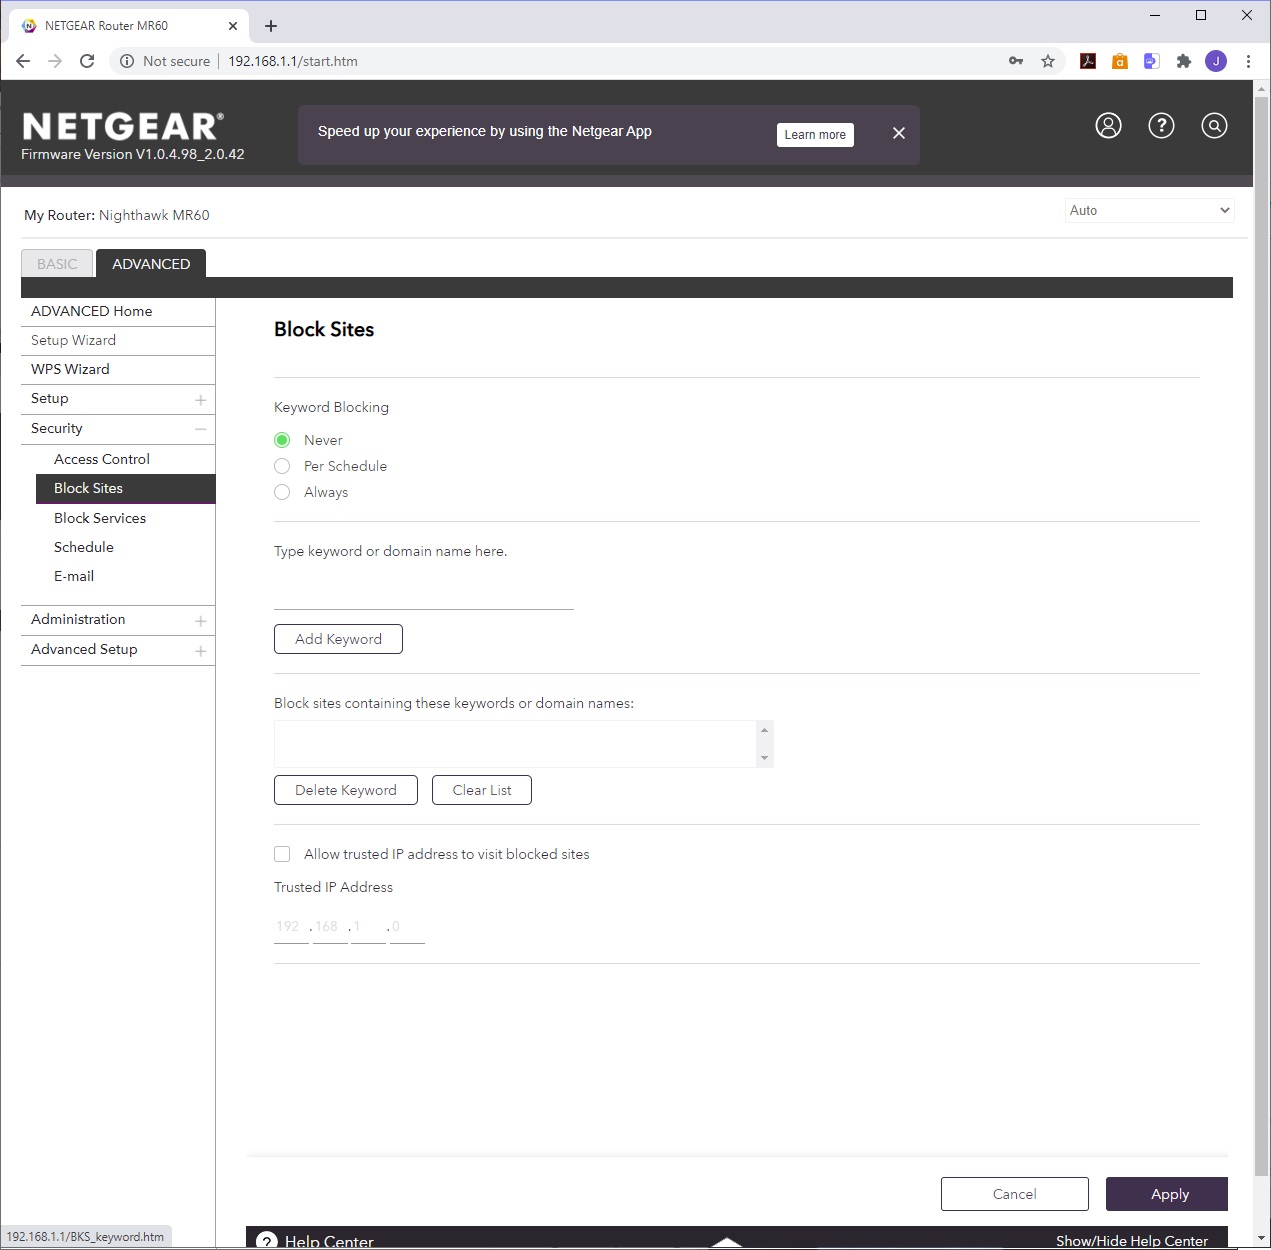
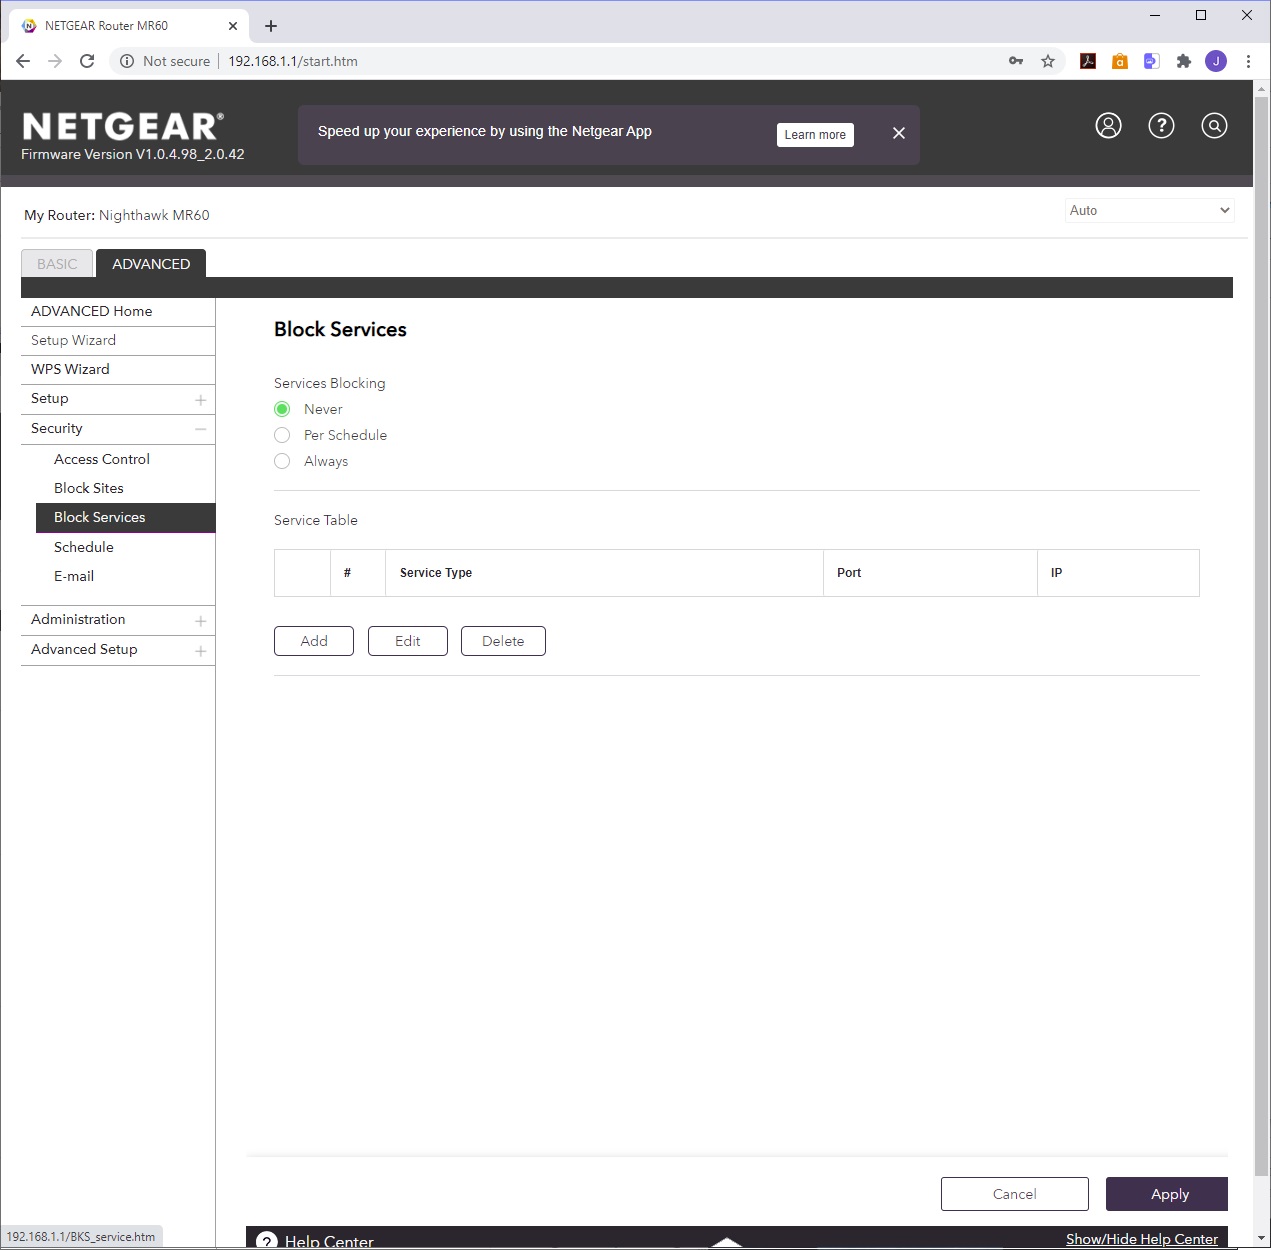
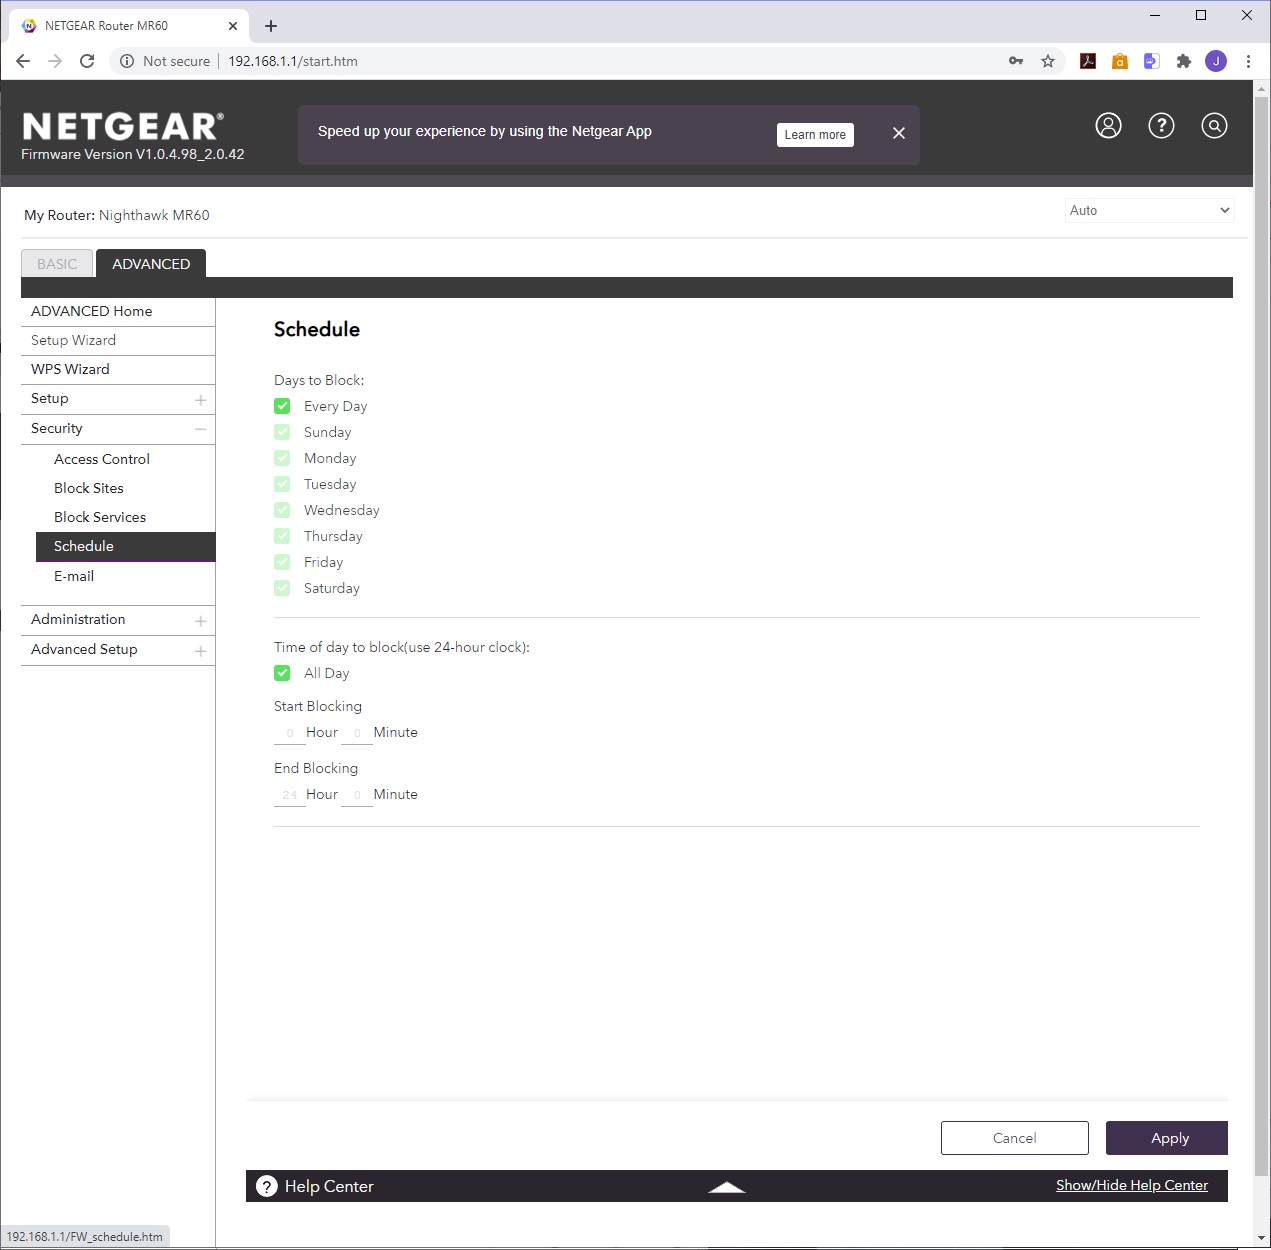
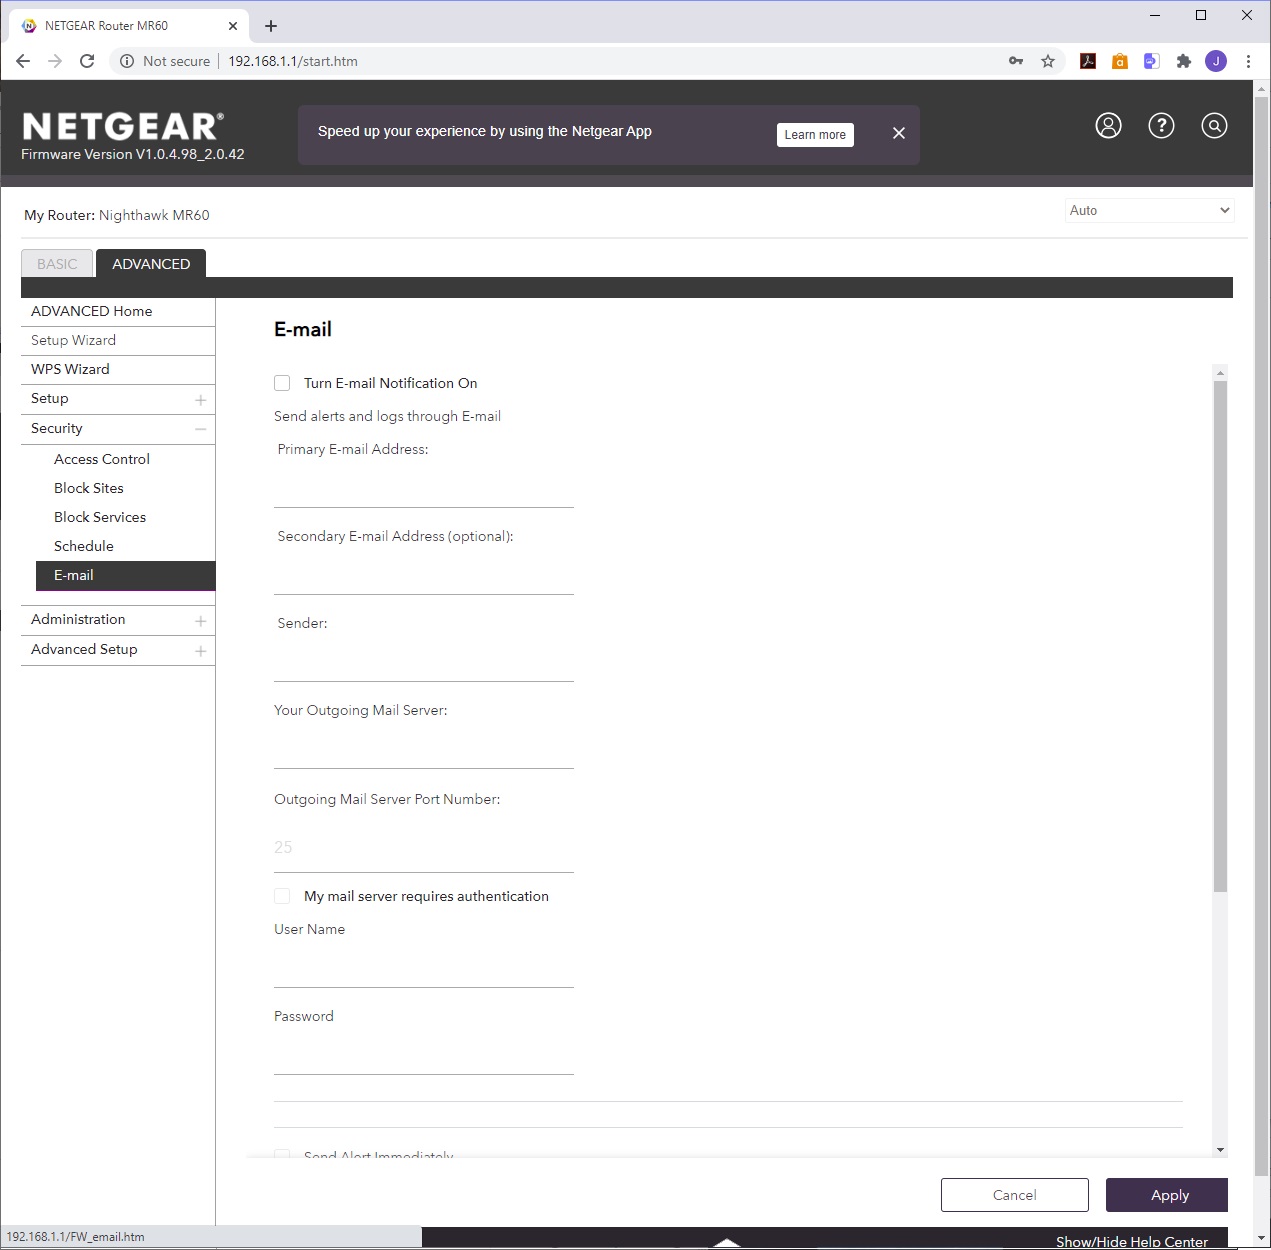
Under Security, you can allow or block individual devices on the network. You can also block websites via keyword or domain name, as well as whitelisting a trusted local IP address that can bypass this. You can also block services via a schedule – for example, stopping Minecraft ports when your kids should be in bed. You can also schedule access to broadband in general via time and day of week. Finally, you can set up an email address to receive security notifications.


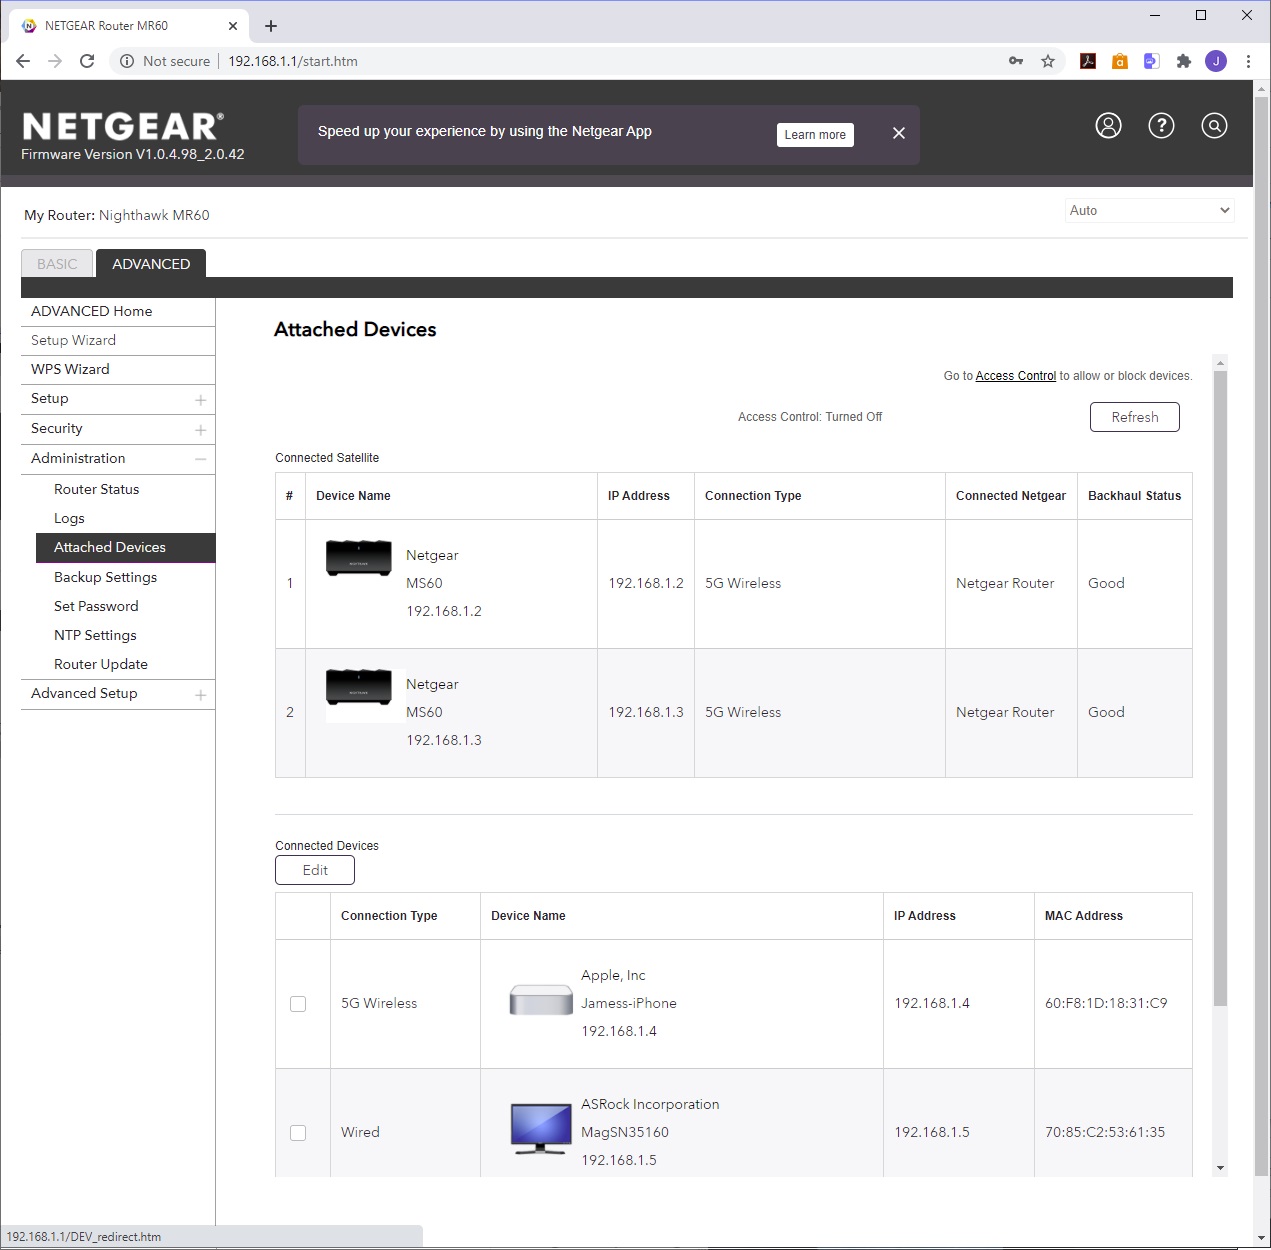

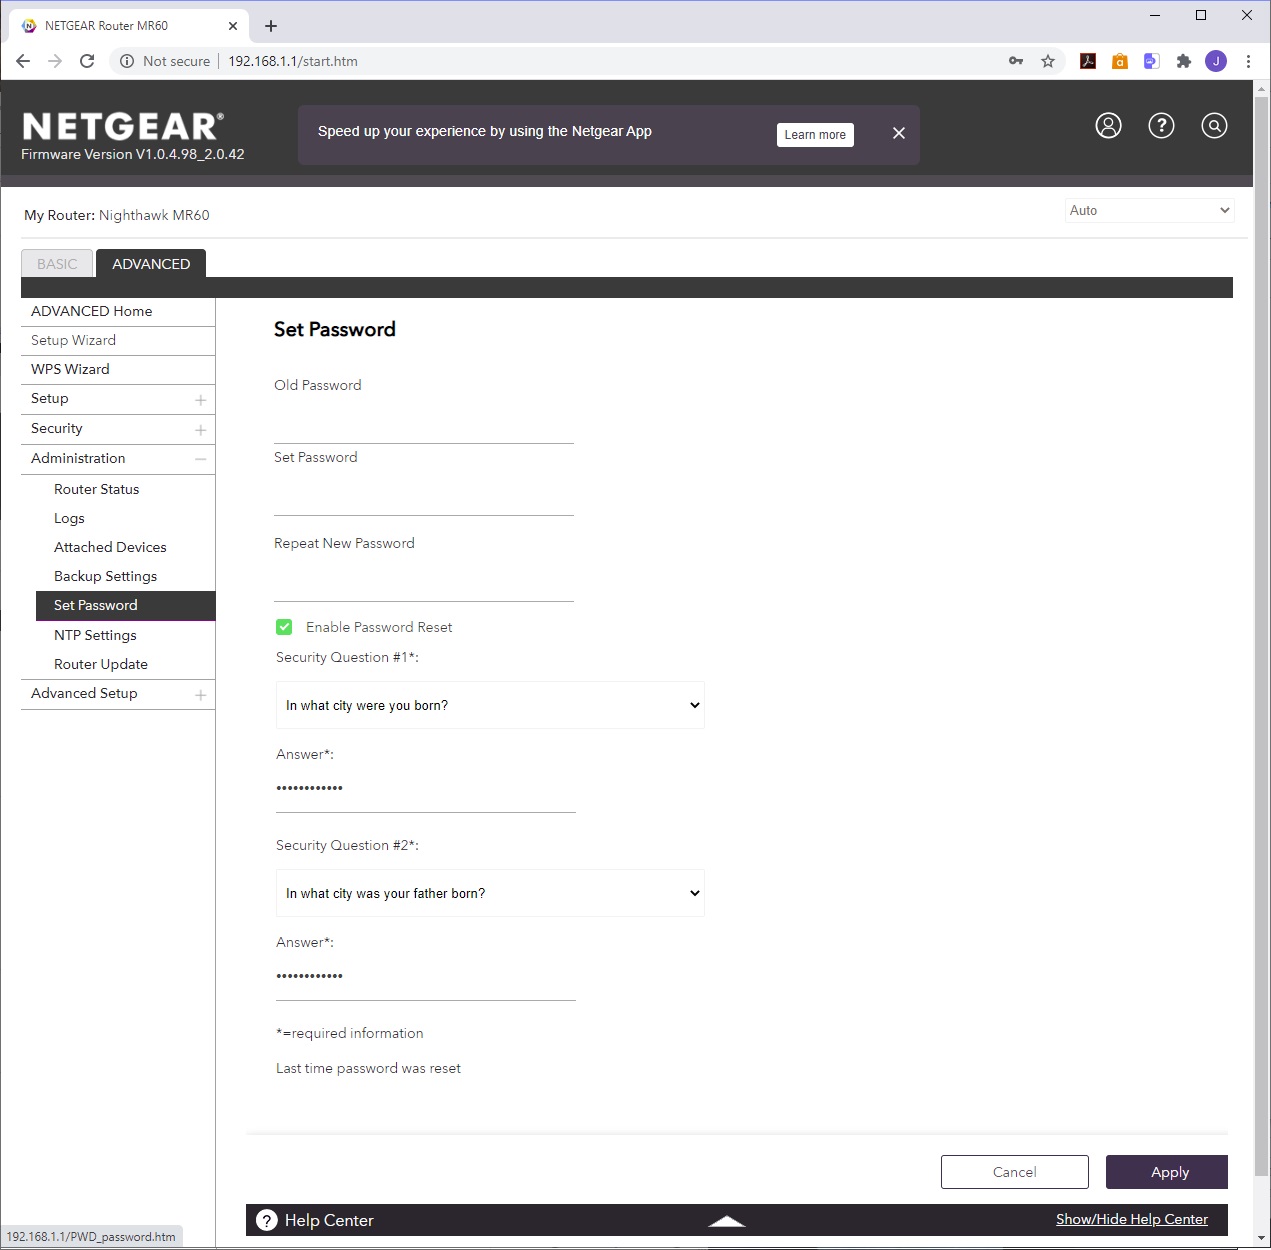
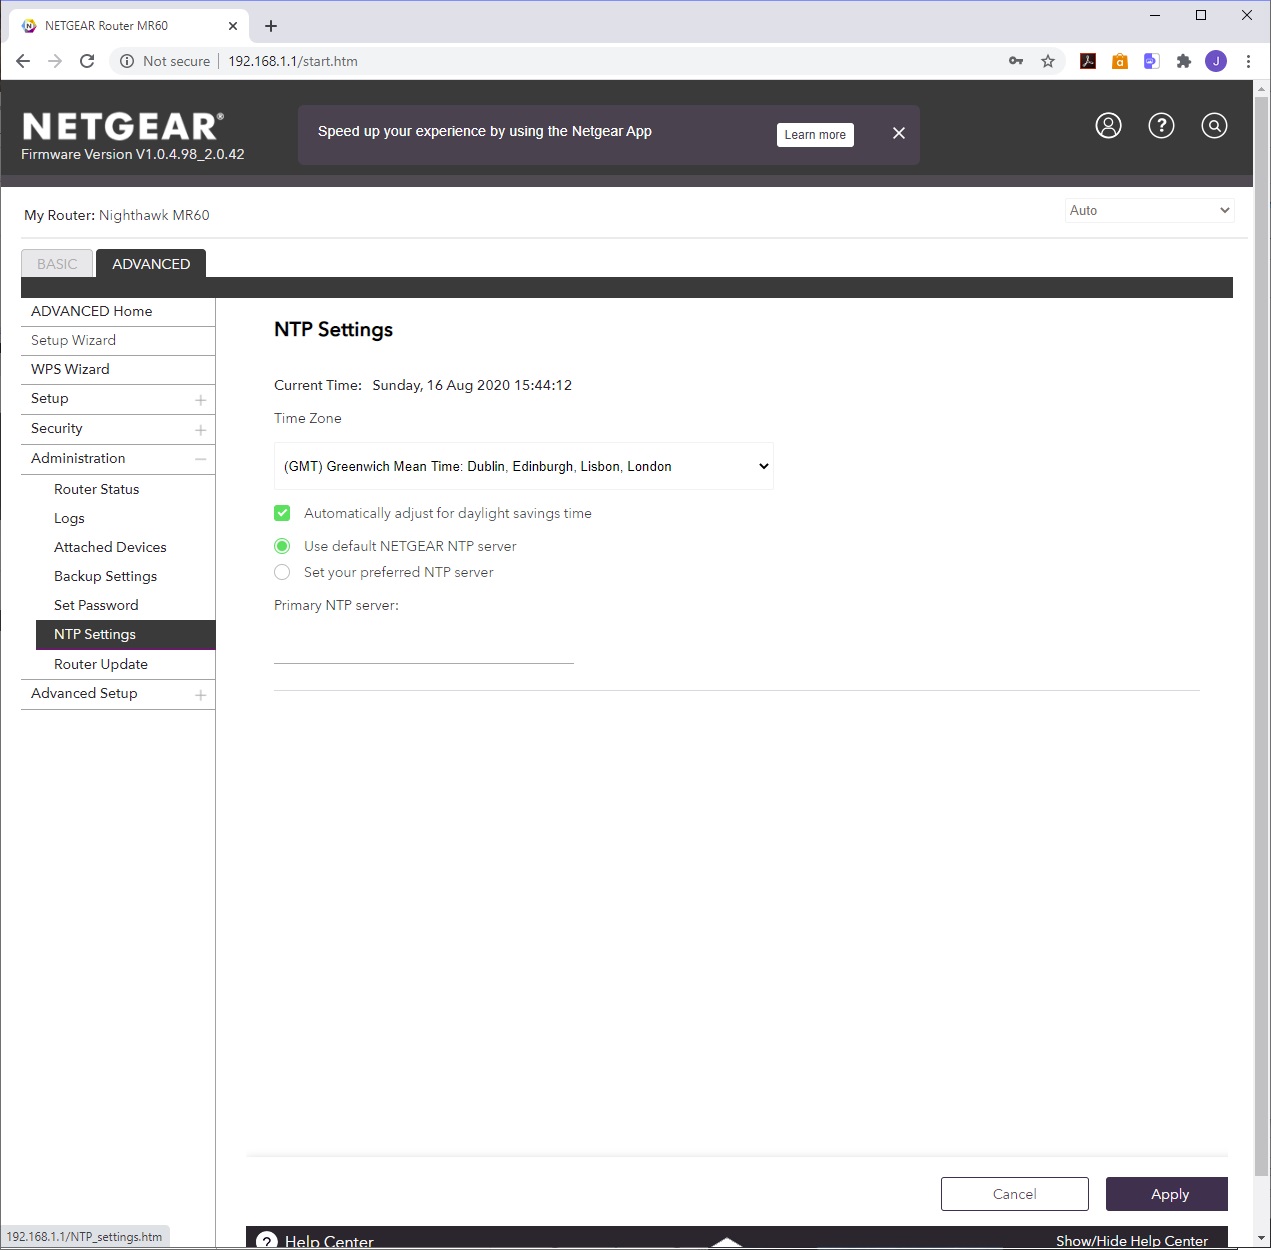
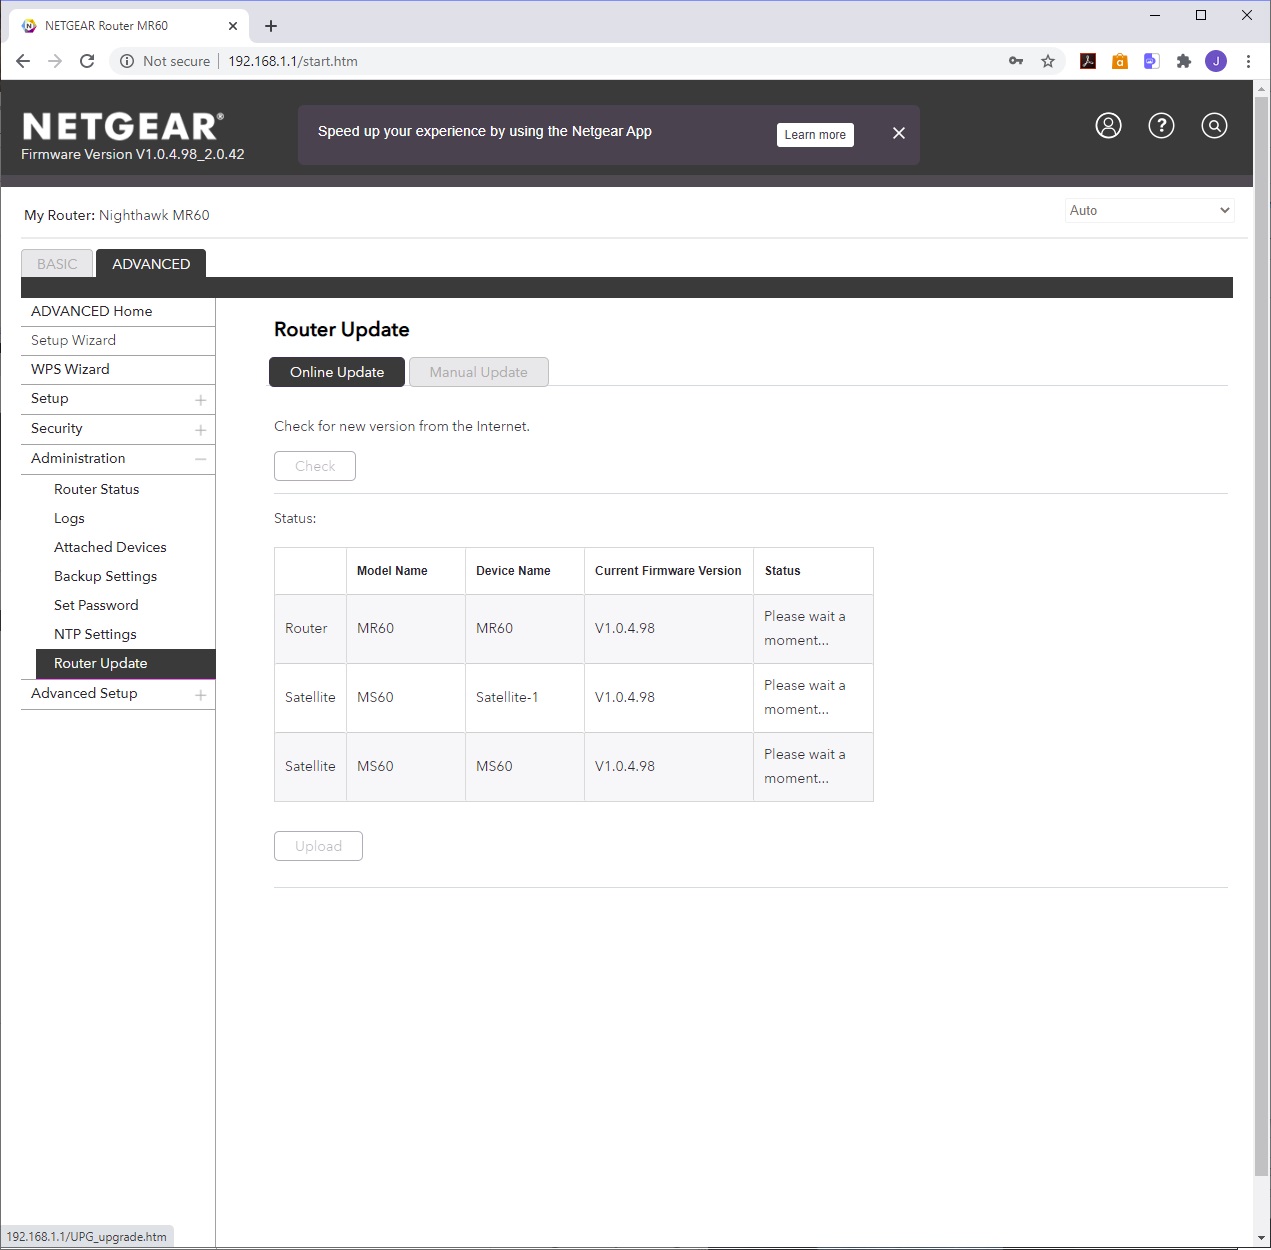
Under Administration, you can view the Router Status, as well as activity logs. You can also see a listing of attached satellite and client devices. You can backup and restore the router settings, and set the admin password. You can also configure the timezone and which NTP server to use to retrieve the time automatically from. You can also use this section to update the firmware on the router and satellites.
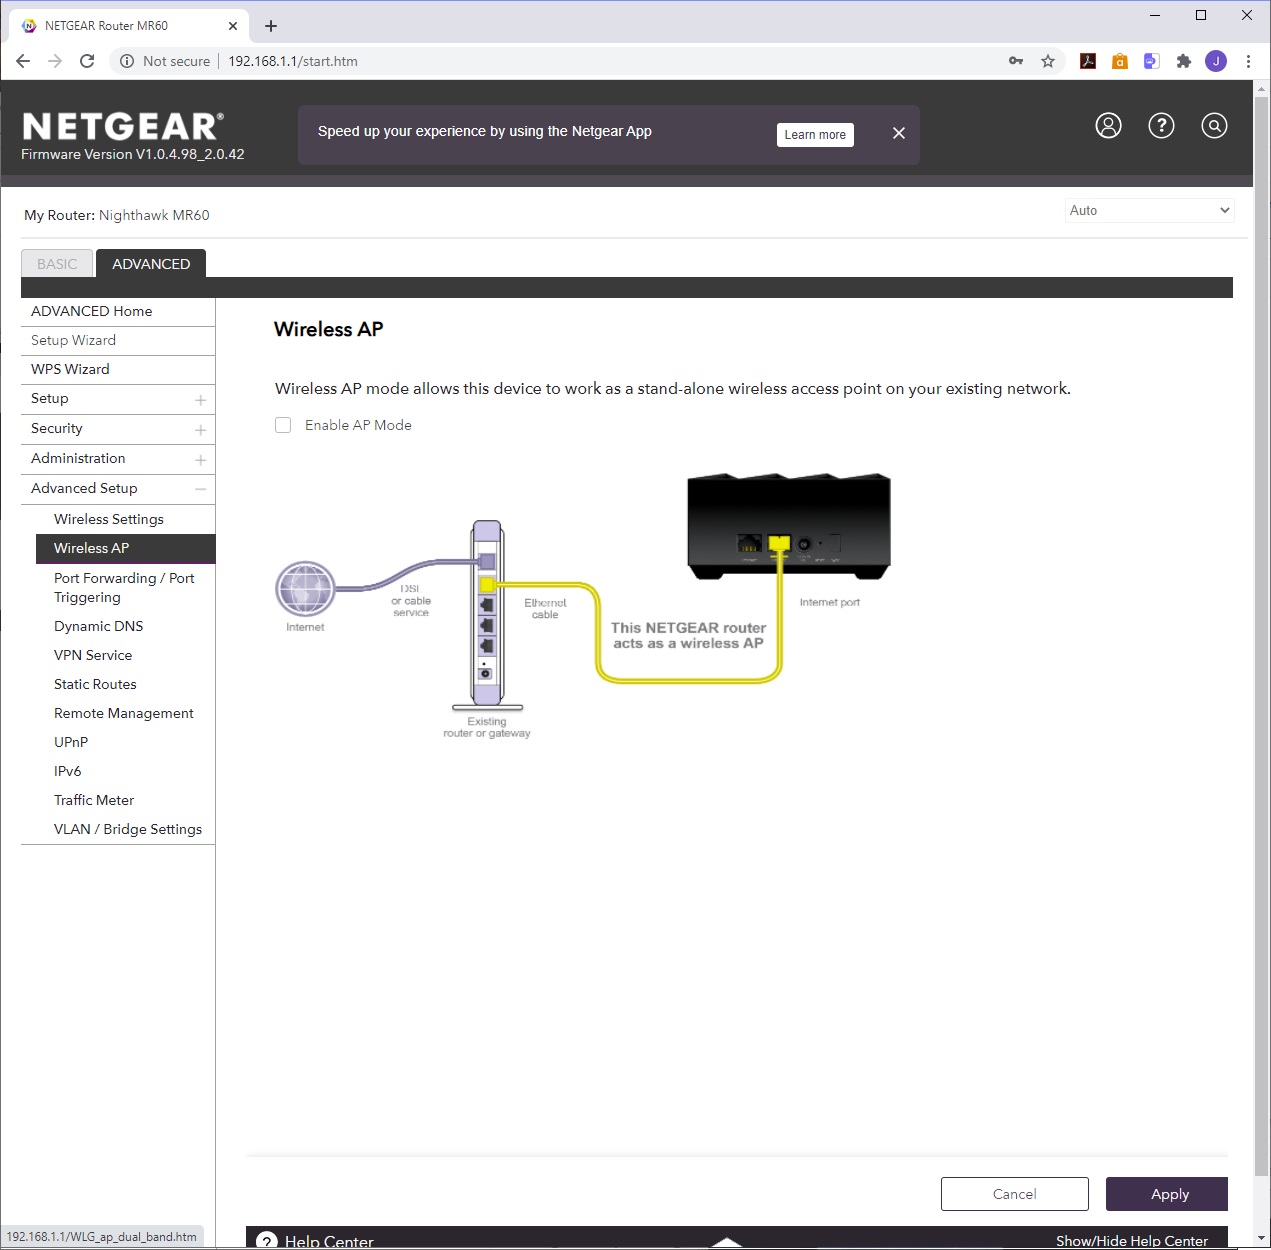
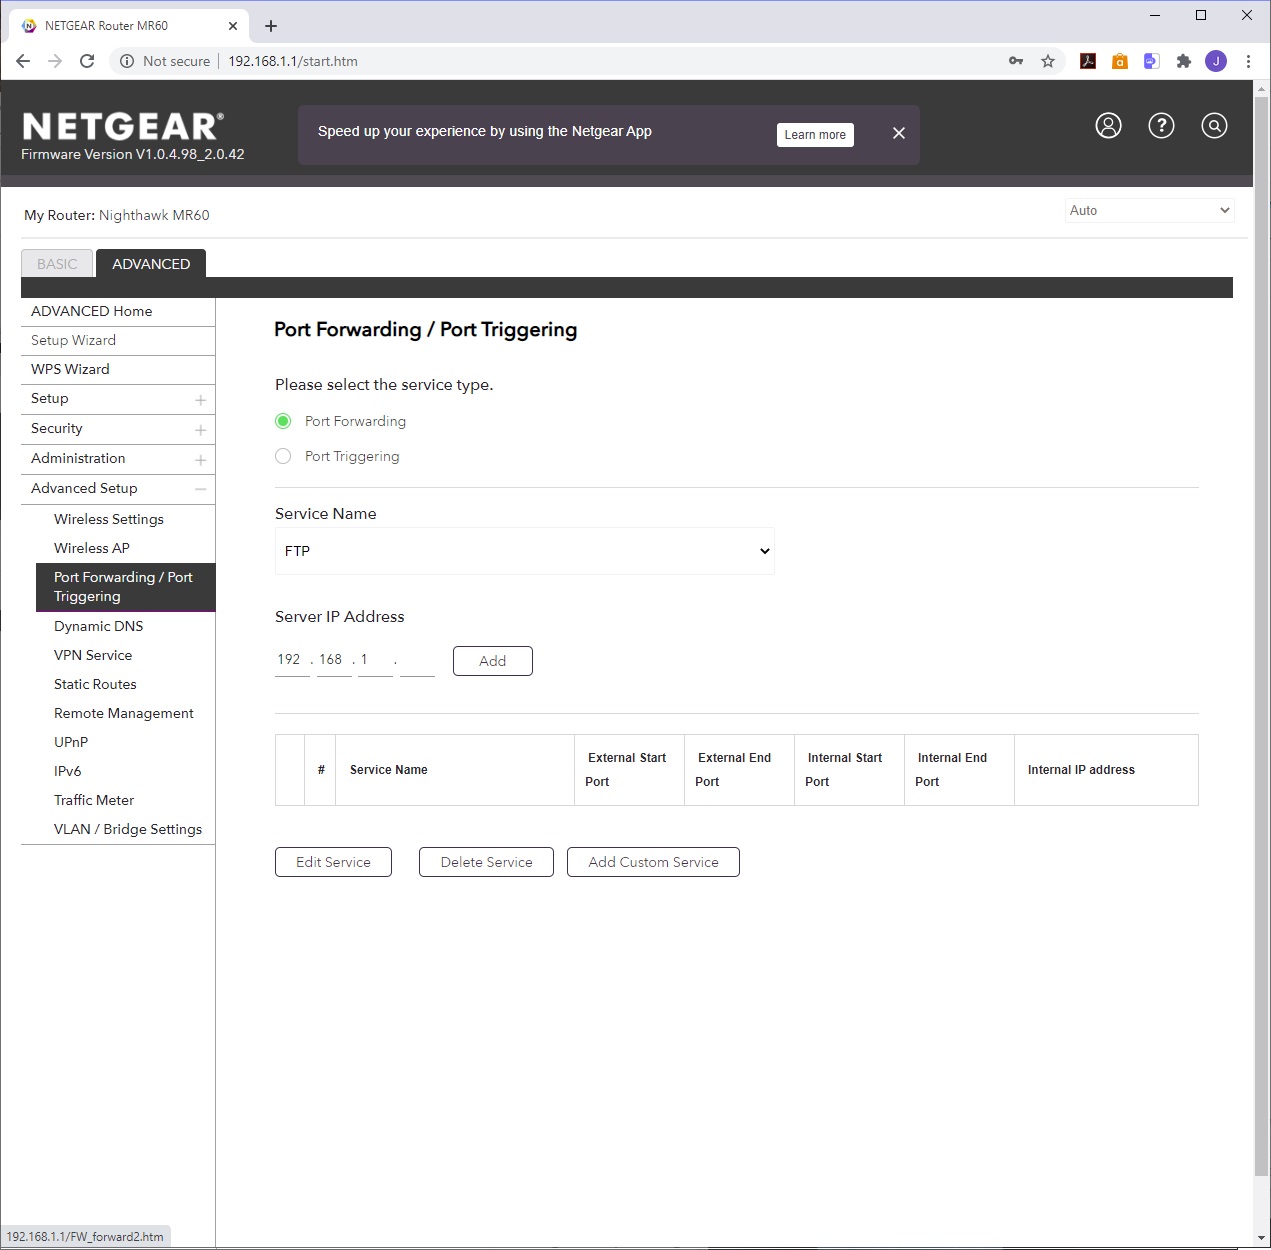
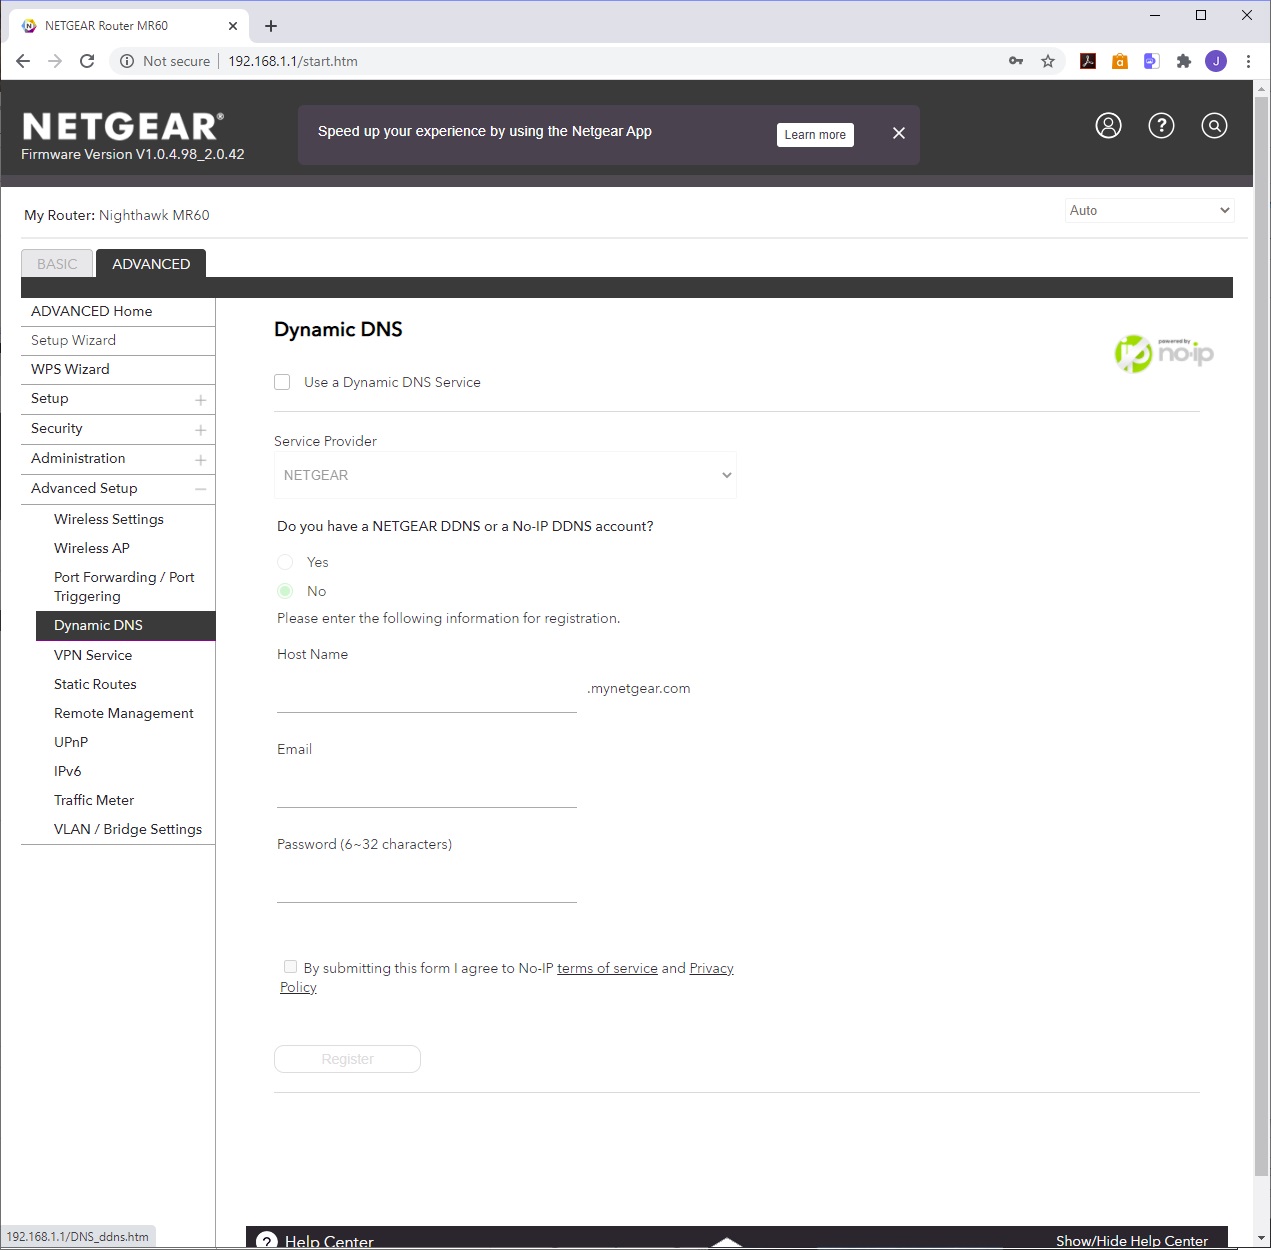
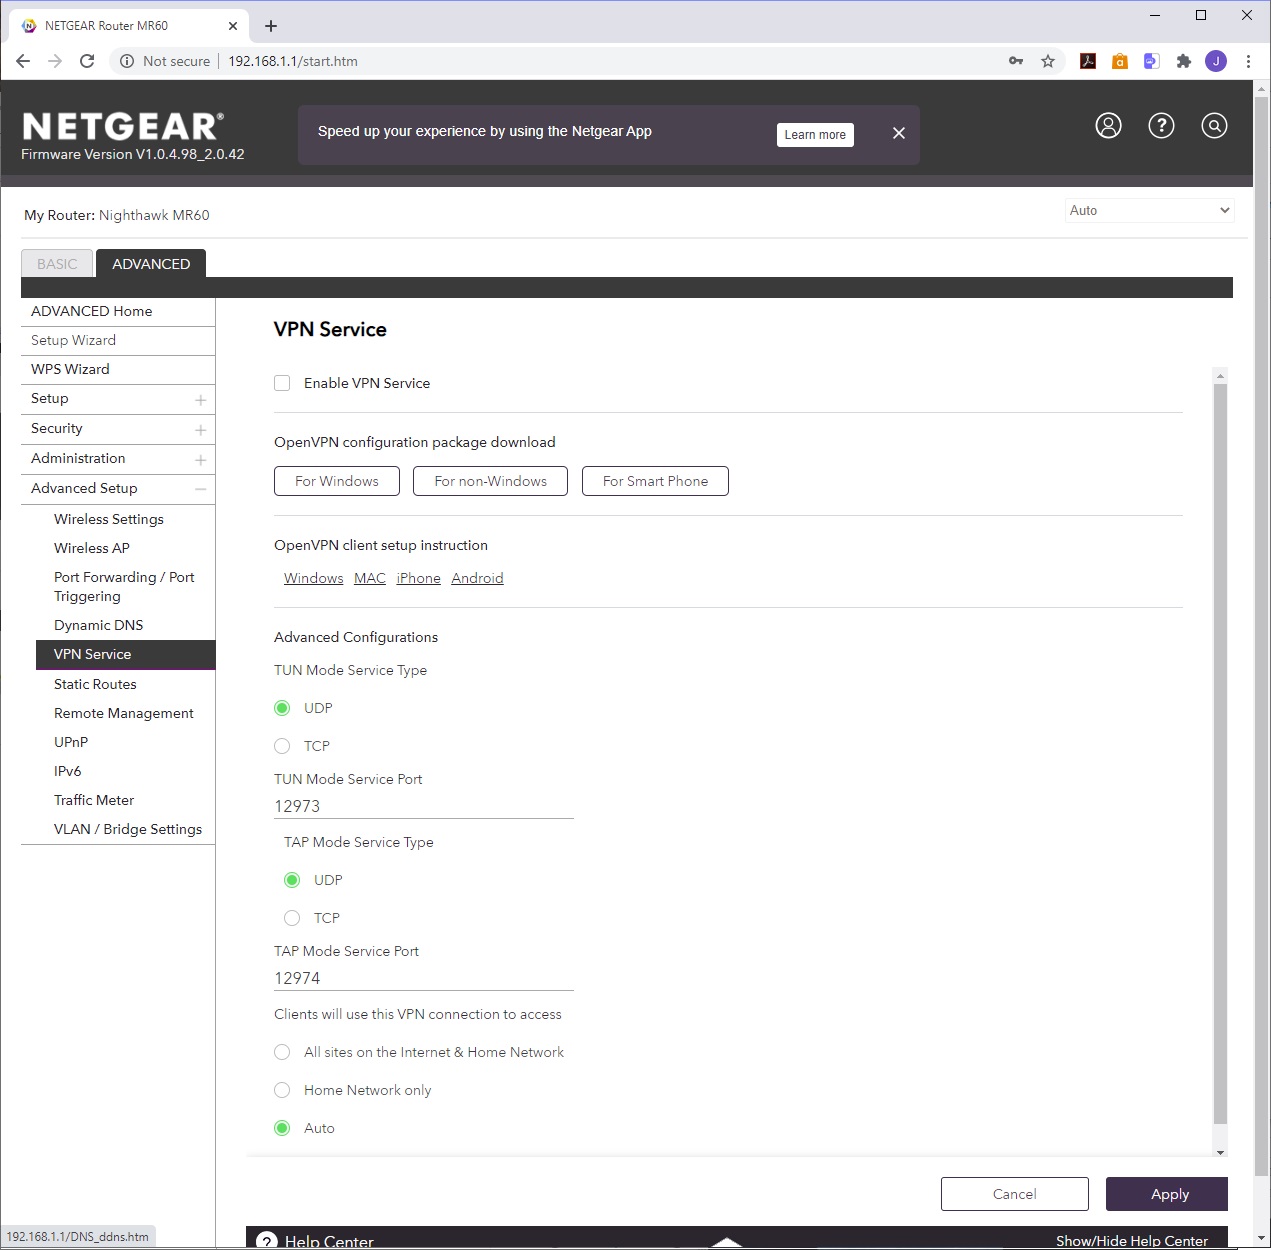
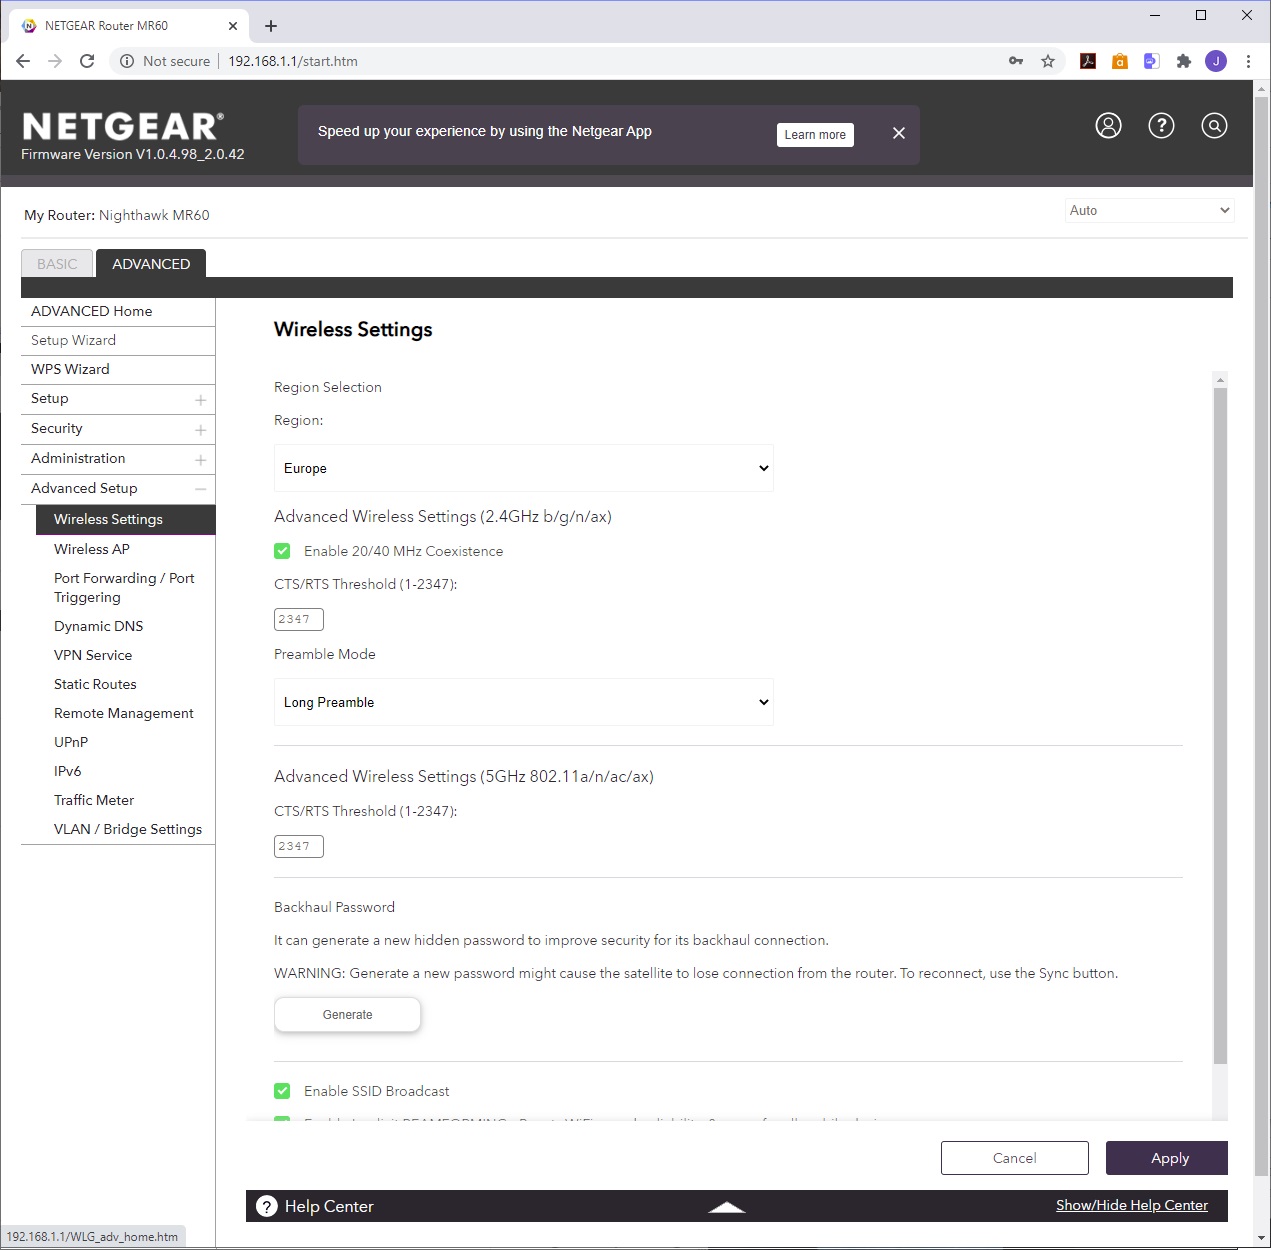
There are many more detailed adjustments available under Advanced Setup. You can fine tune your wireless radio signal, including CTS/RTS Threshold. You can switch the router to AP mode, if it's piggybacking on top of another router. You can set up port forwarding and triggering to provide services from machines on the internal network to the Internet. You can make use of a Dynamic DNS service, with NETGEAR's own, DynDNS and NoIP supported. You can set the router up as a VPN server, although only OpenVPN is supported.
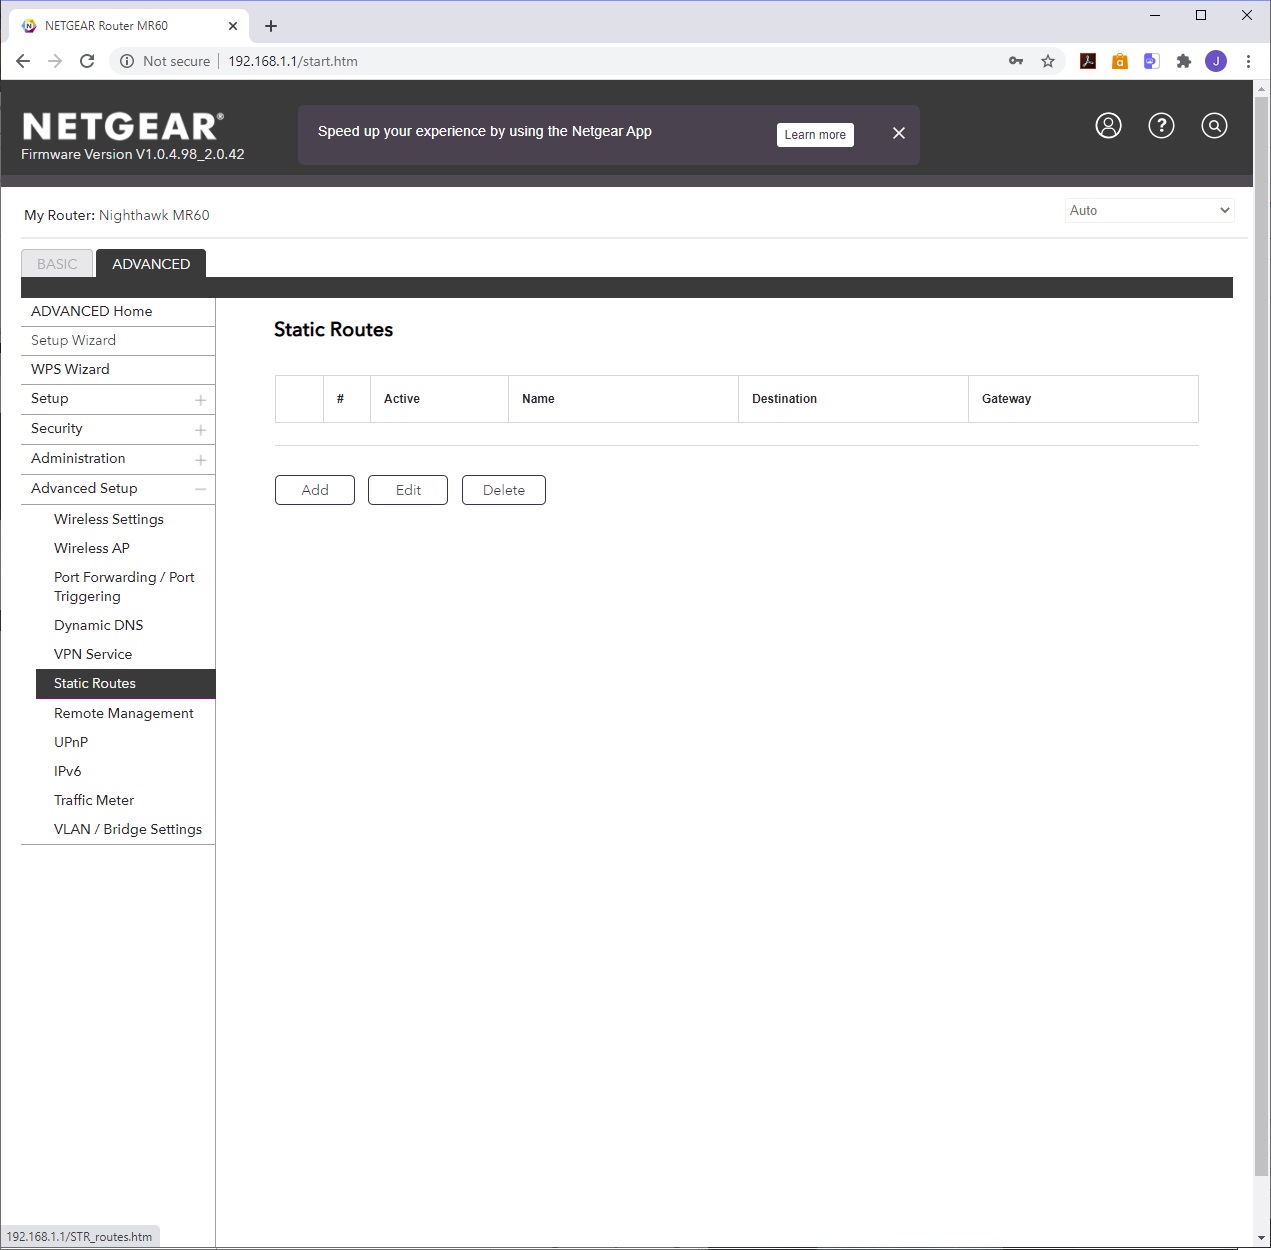
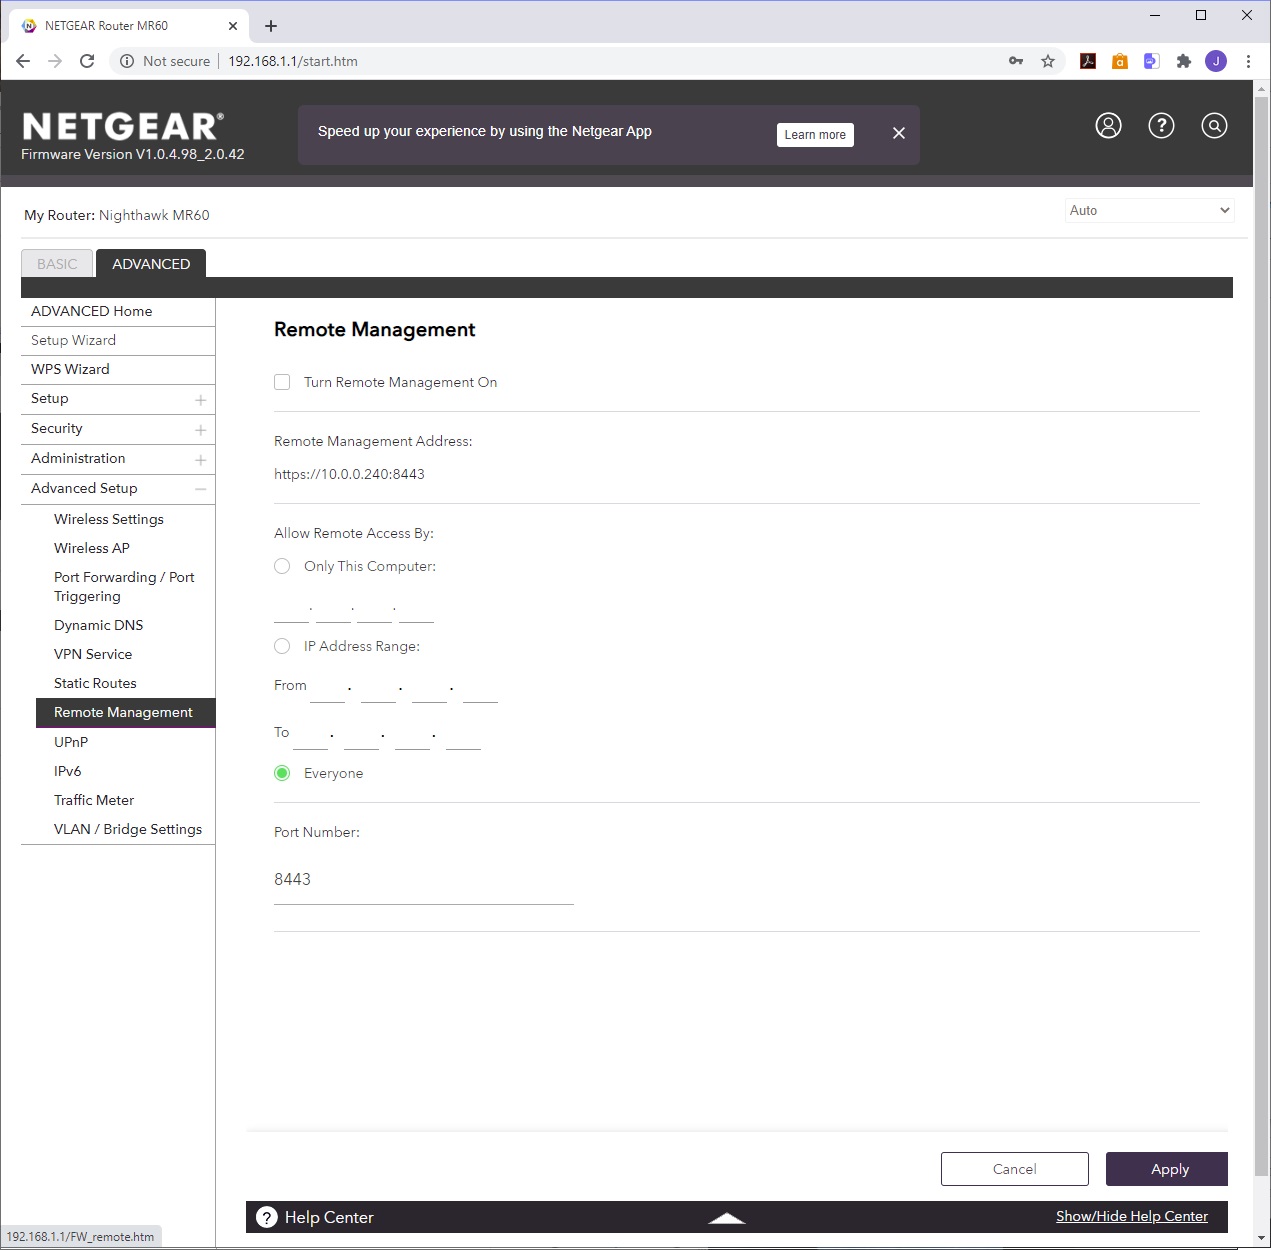
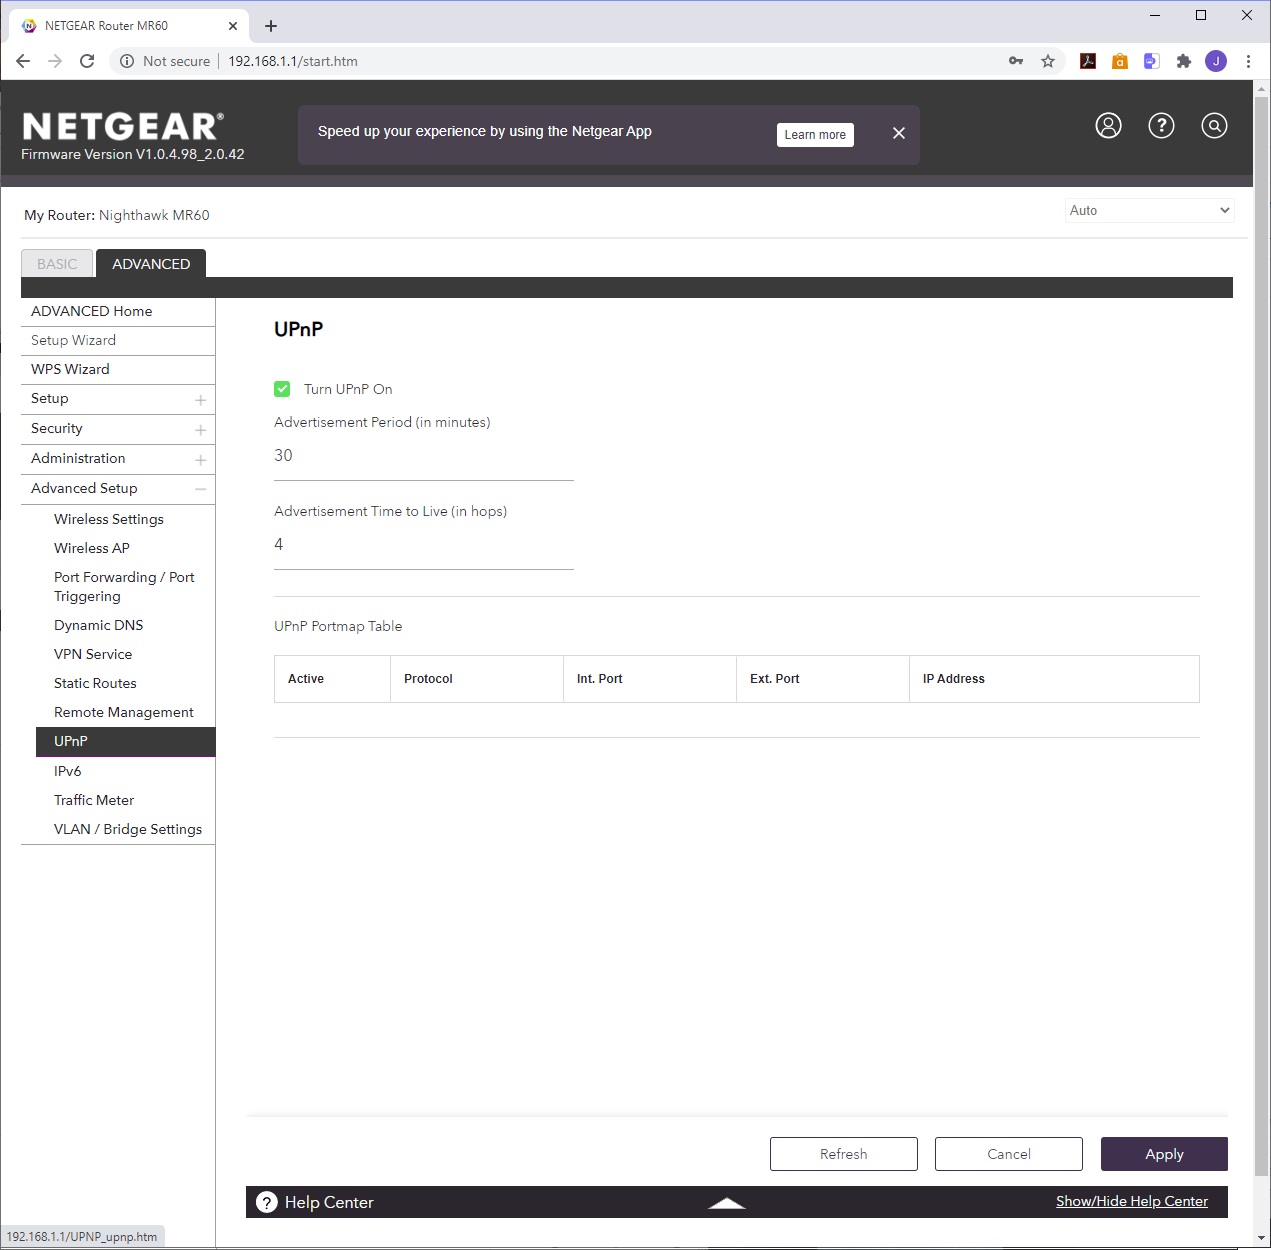
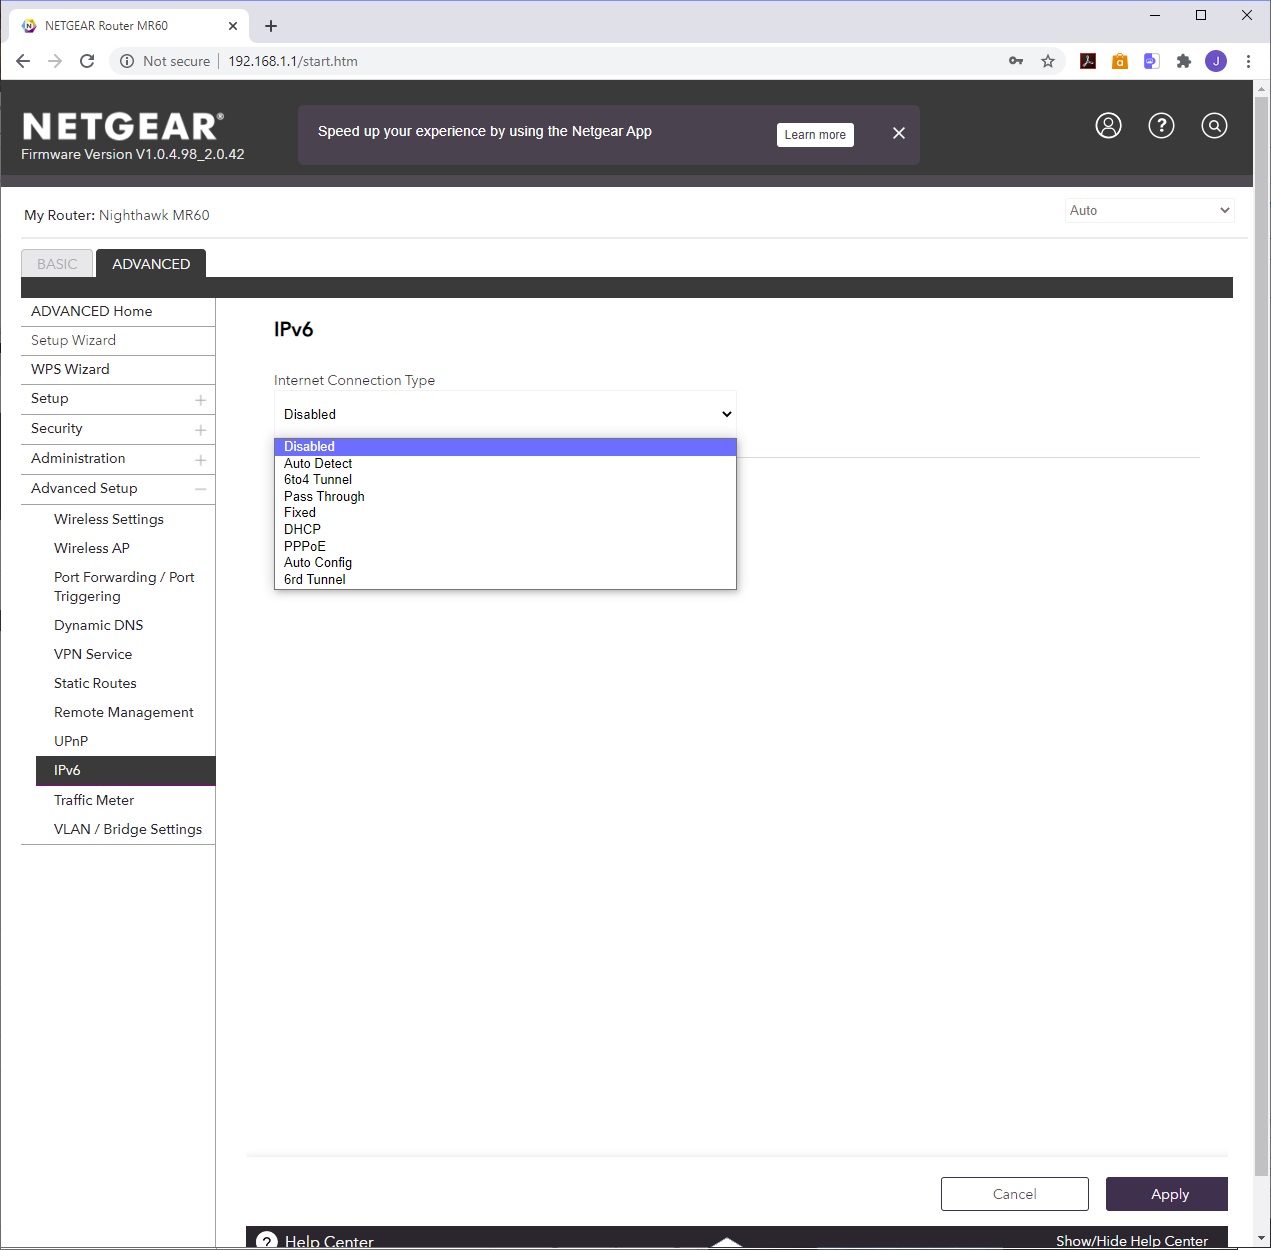
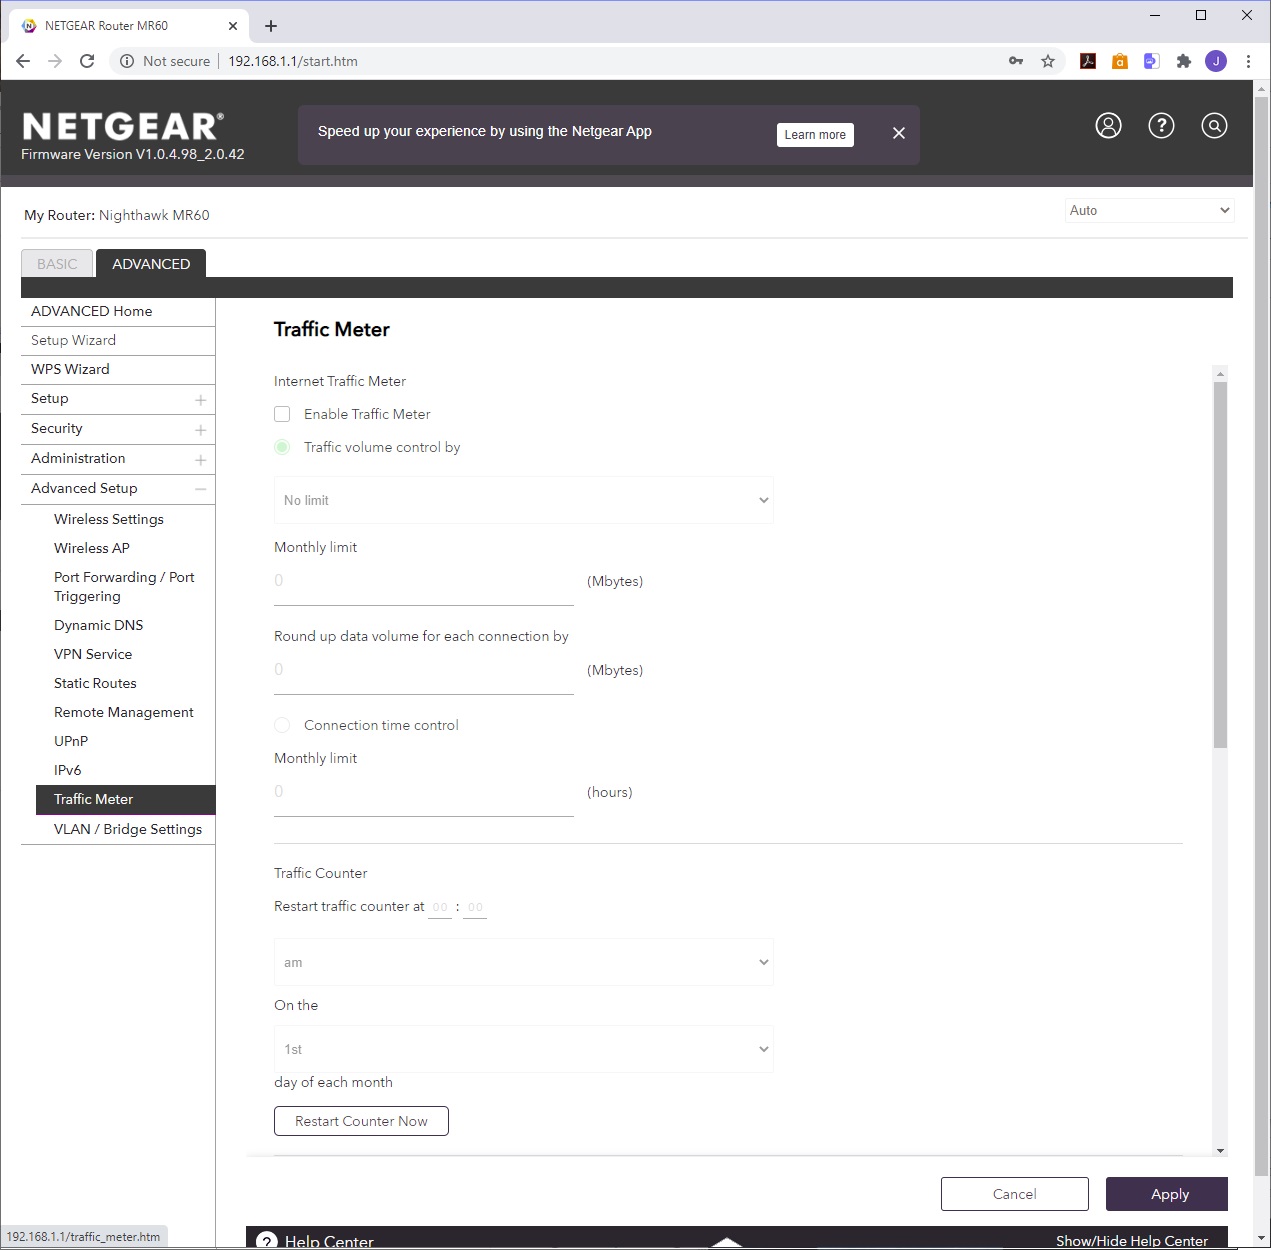
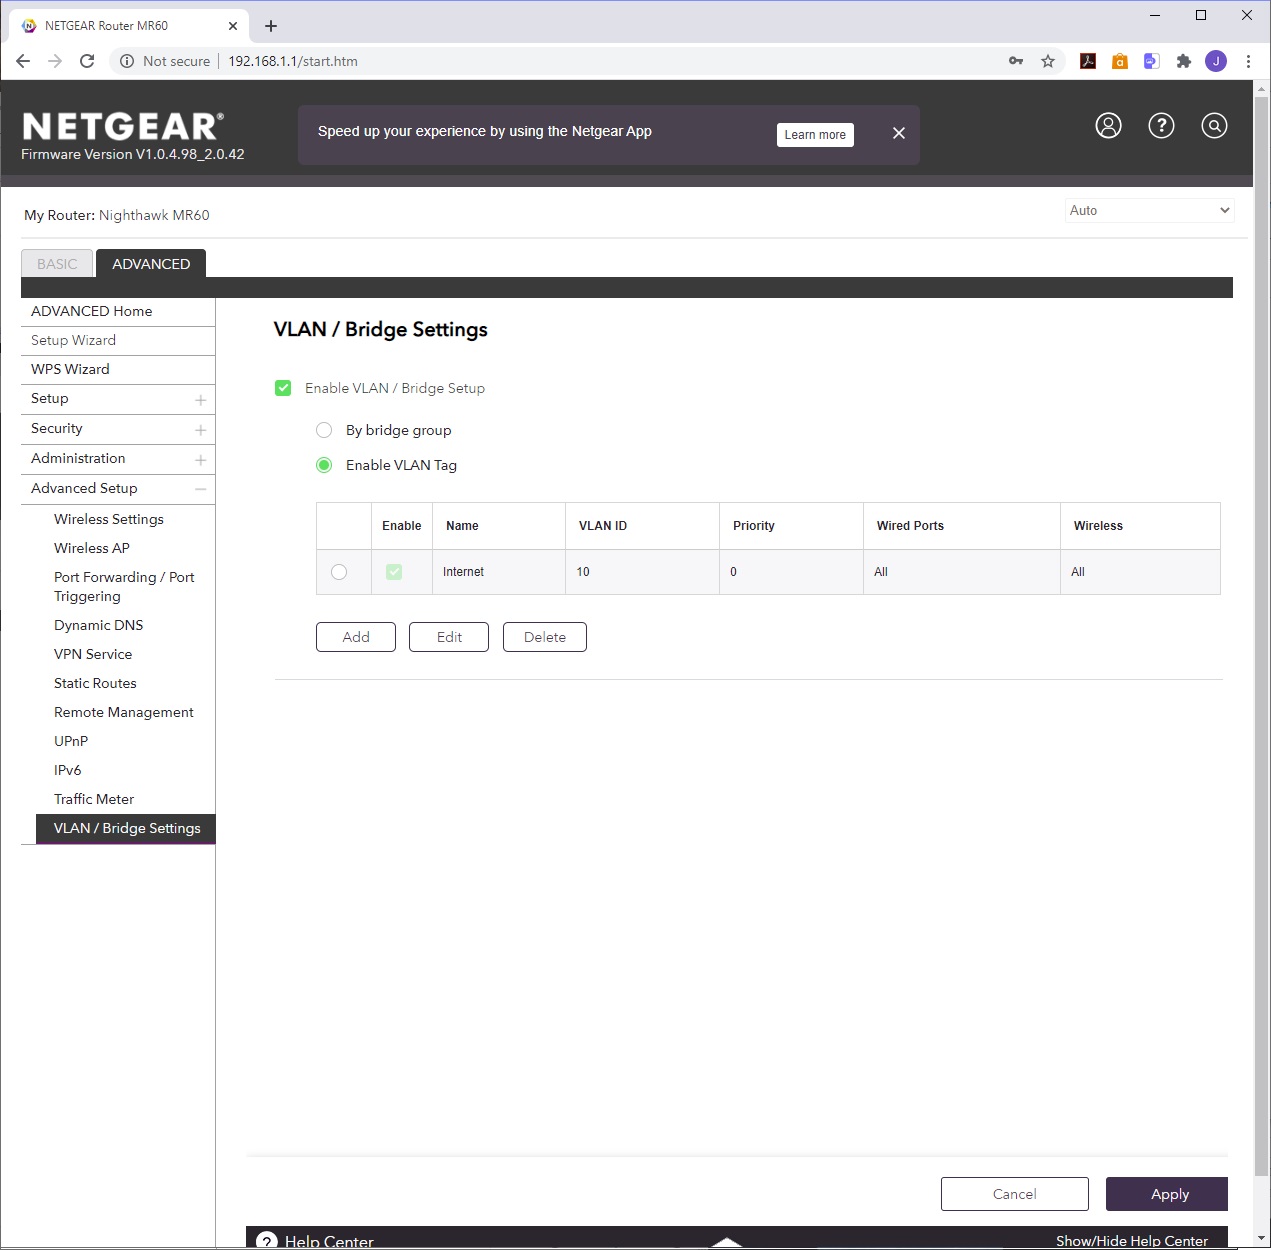
It's possible to add static routes, and turn on remote management access to the router from the Internet. UPnP is enabled by default, but IPv6 isn't, although there's comprehensive support for different flavours of the latter. The traffic meter we saw in the smartphone app can be found here as well, and finally a VLAN or Bridge can be configured.
Overall, while the smartphone app is rather limited, there's plenty in the Web interface. We would have liked to have seen service-specific QoS abilities, but this is a general-purpose mesh system rather than being gaming focused, so the lack of features for the latter is understandable. Although ASUS's ZenWiFi offers more, there's plenty available with the Nighthawk to achieve most everyday things you'd want with a router, and you won't feel the need to attach it to a standalone router from a software perspective – although you might find the number of Ethernet ports available a bit limiting.