

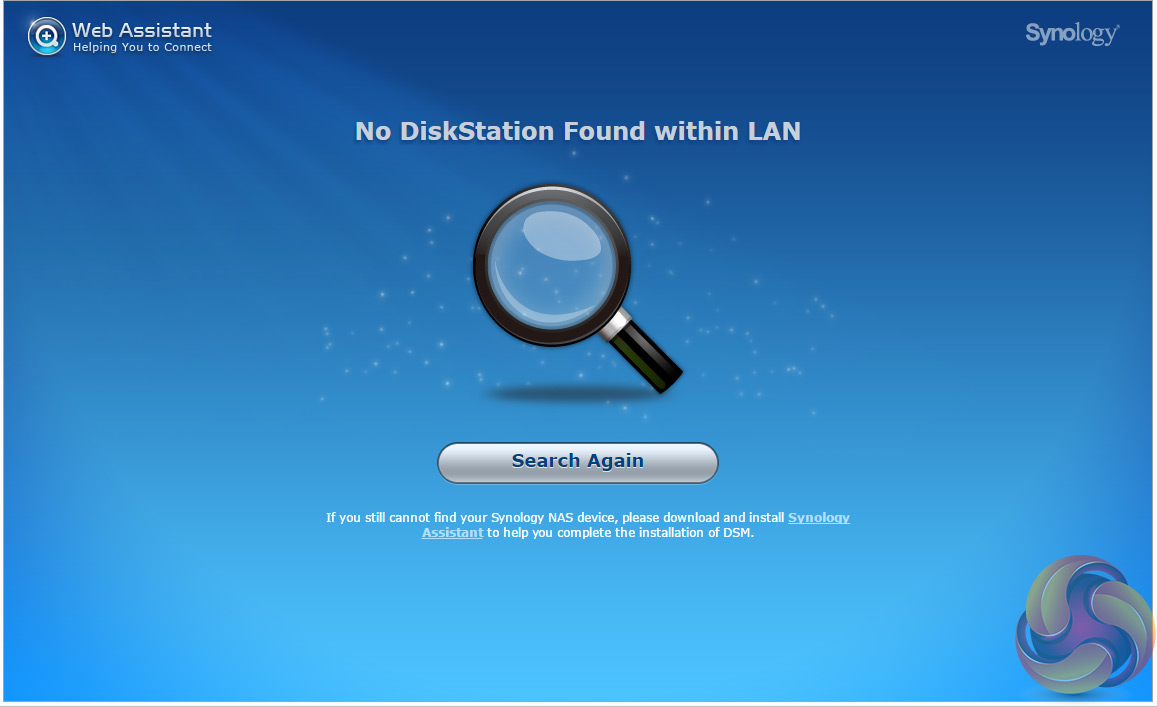
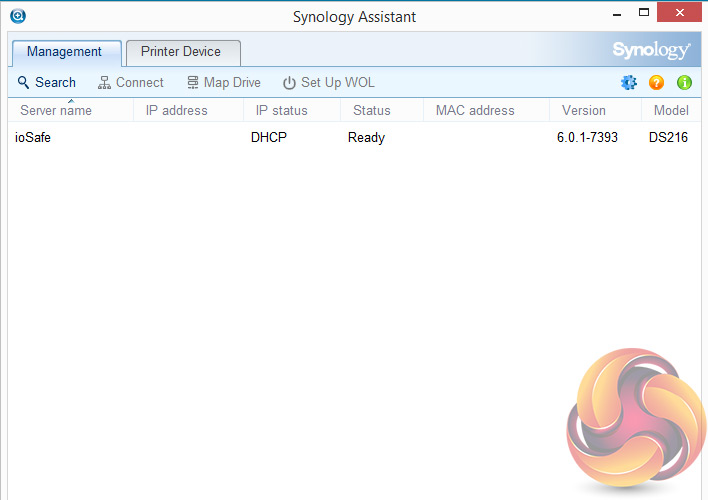
The first part of setting up the ioSafe 216 is to go to http://find.synology.com which launches Web Assistant. This app searches for all DiskStations on the network so you can begin the install. If this method fails to find the NAS, the App has a link to the Synology Download Center where you can download the Synology Assistant to your PC to search again for the NAS.
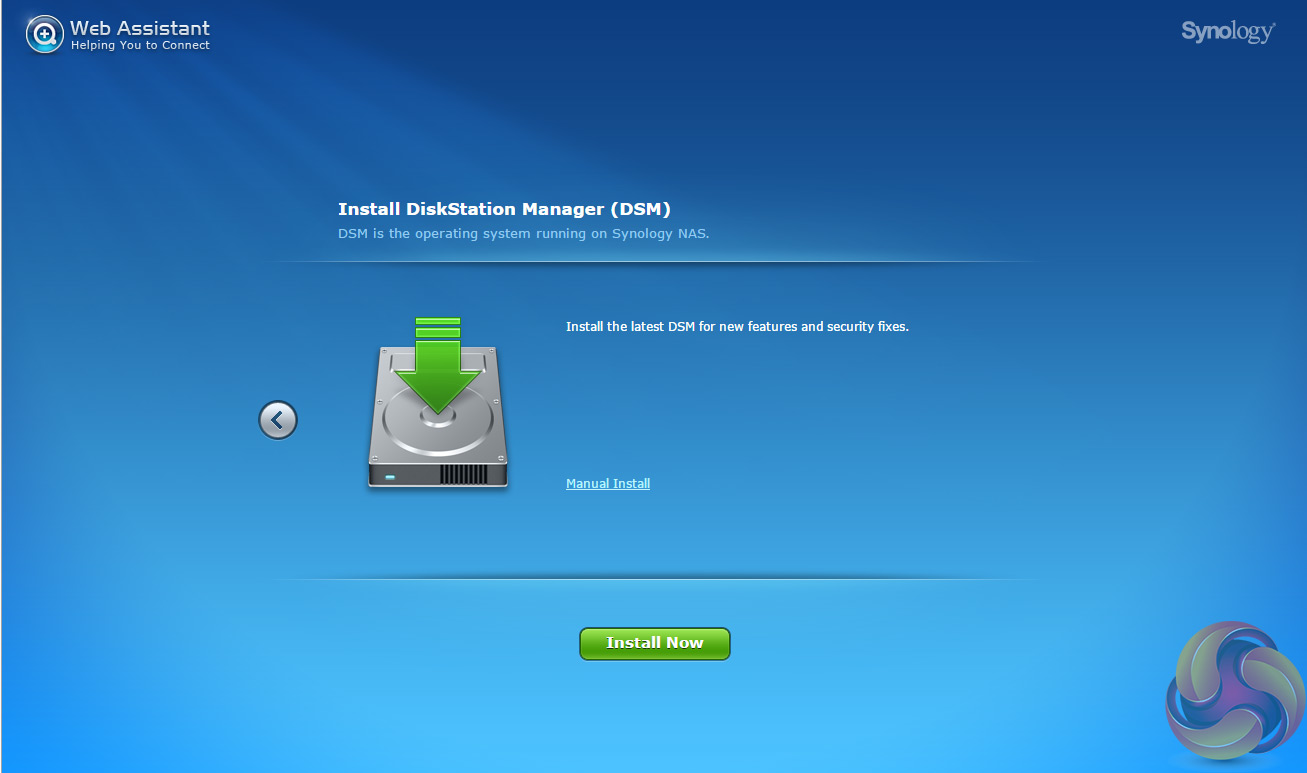

Once the NAS is found, the first window of the DSM setup wizard appears. Pressing install (there's also a manual install option to install a downloaded instance of DSM ) automatically downloads the latest version of DSM and starts installing it after reminding you that any data on the hard disks will be deleted.
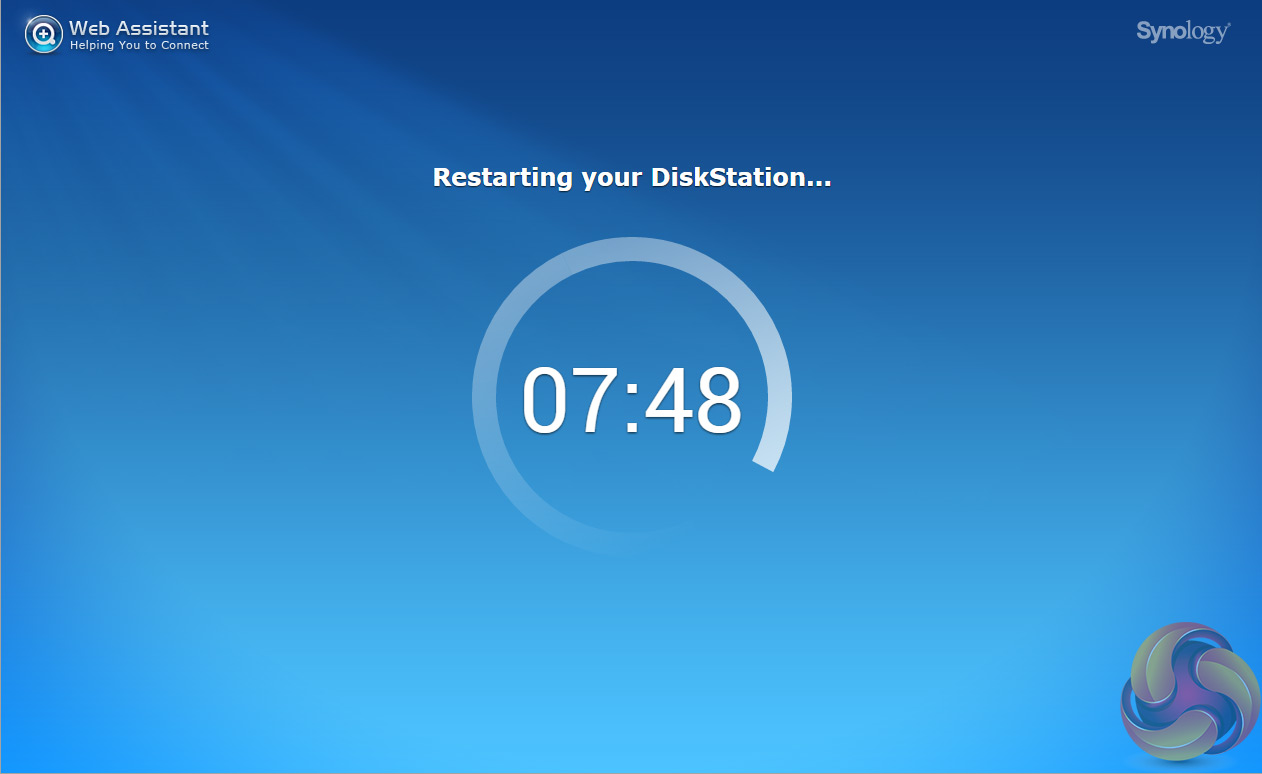
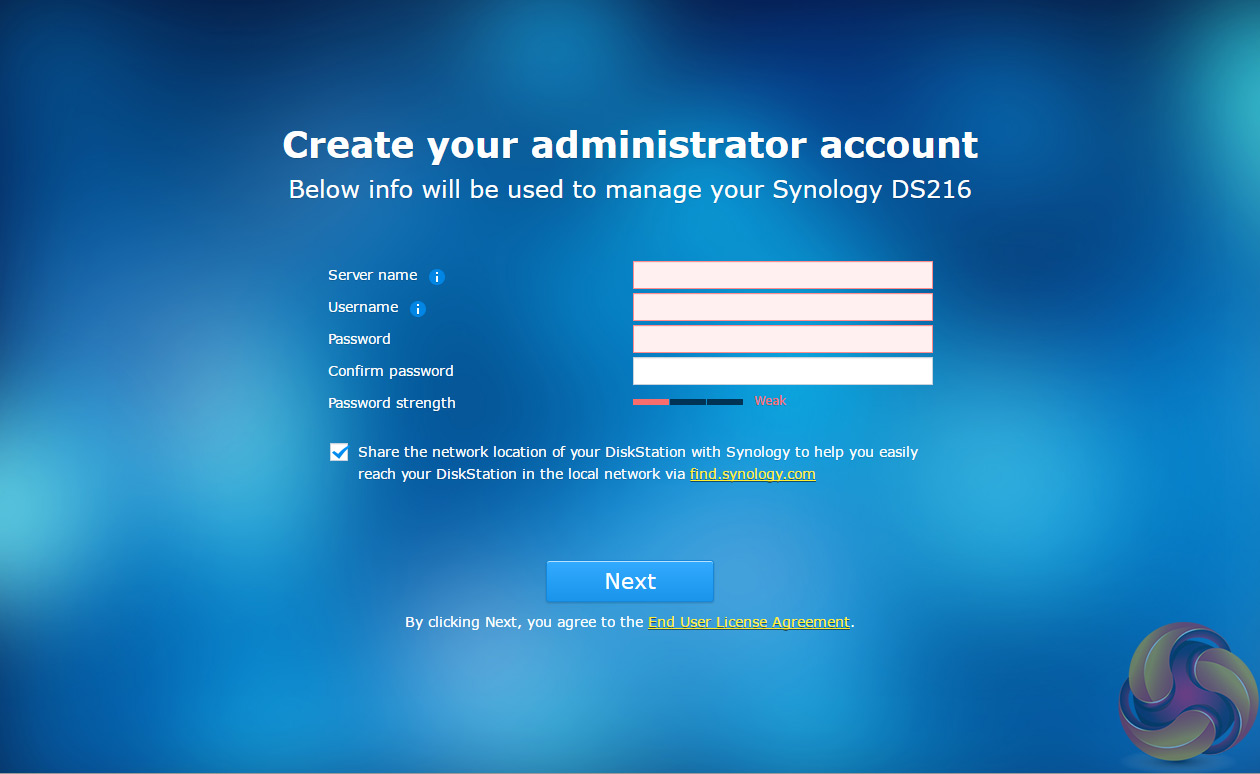
After the basic install has finished, the NAS is restarted and next up comes the setting up of the NAS management, where you assign a server name, admin user name and password.
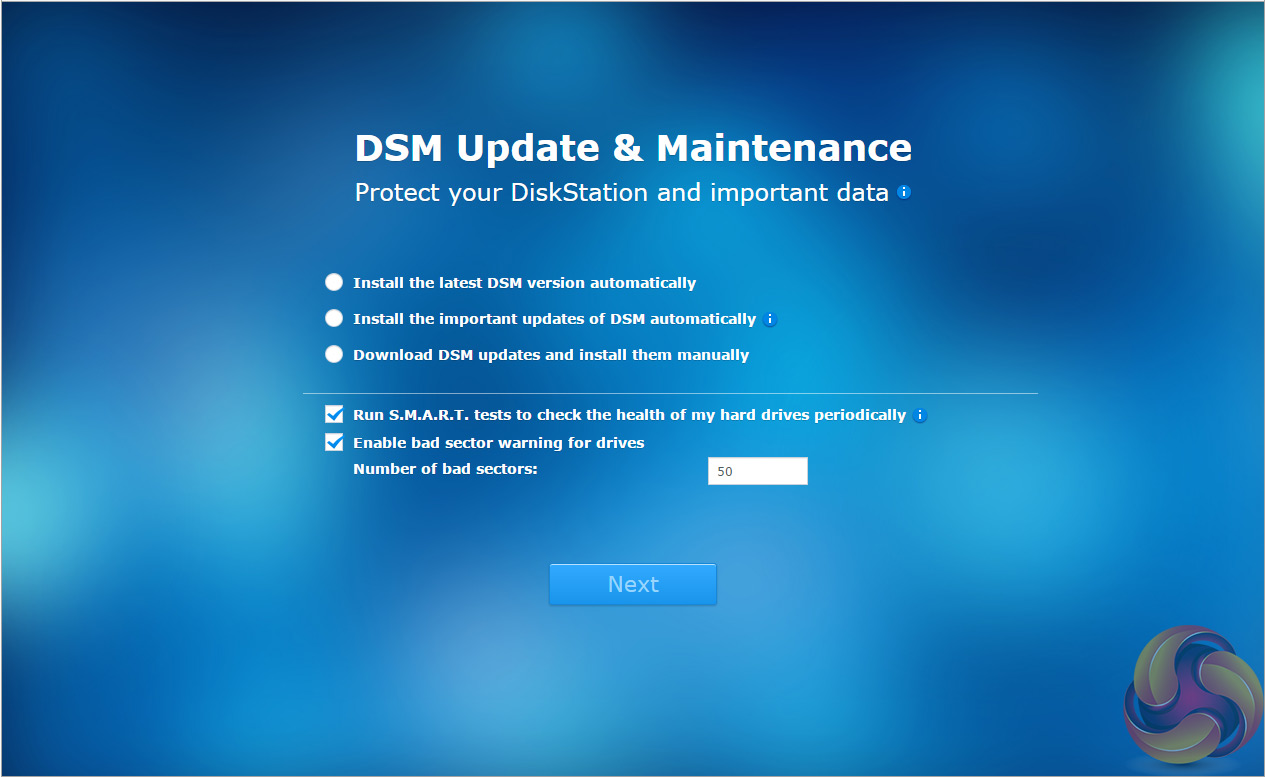
The next stage of the install is to set up the DSM update settings.
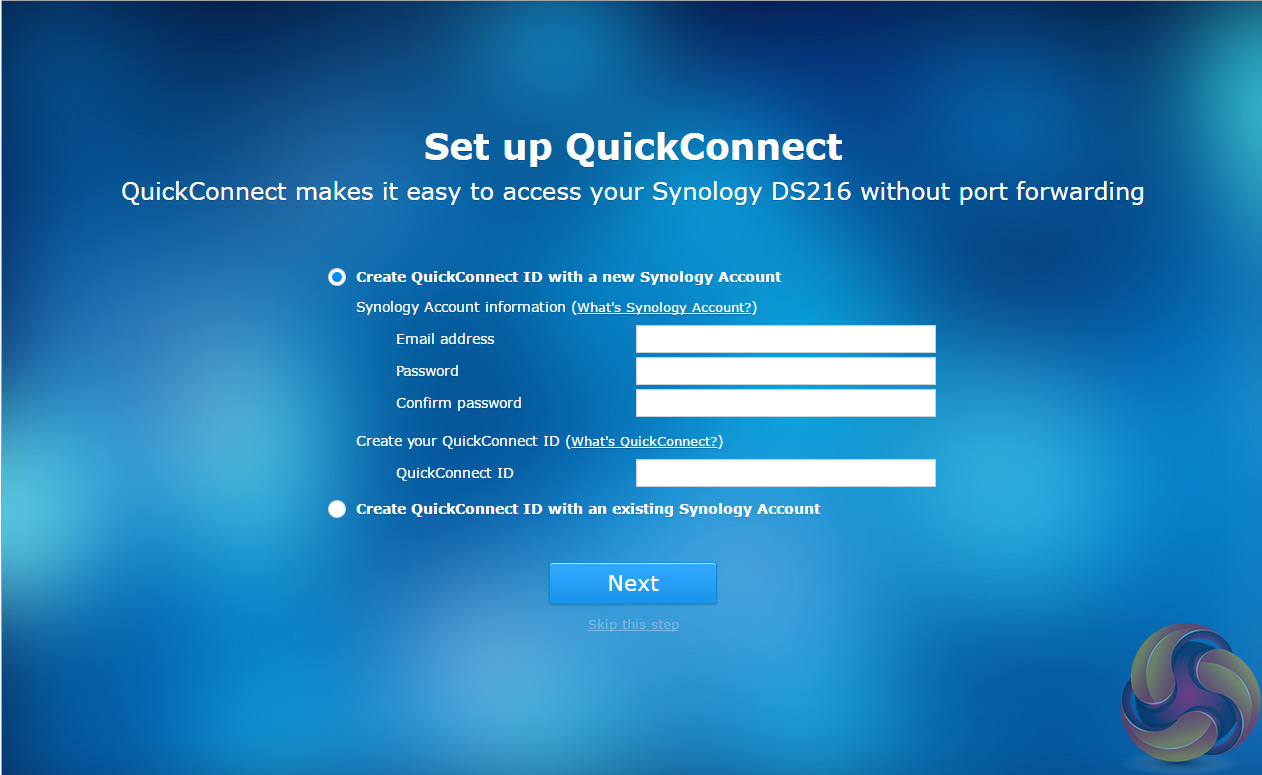
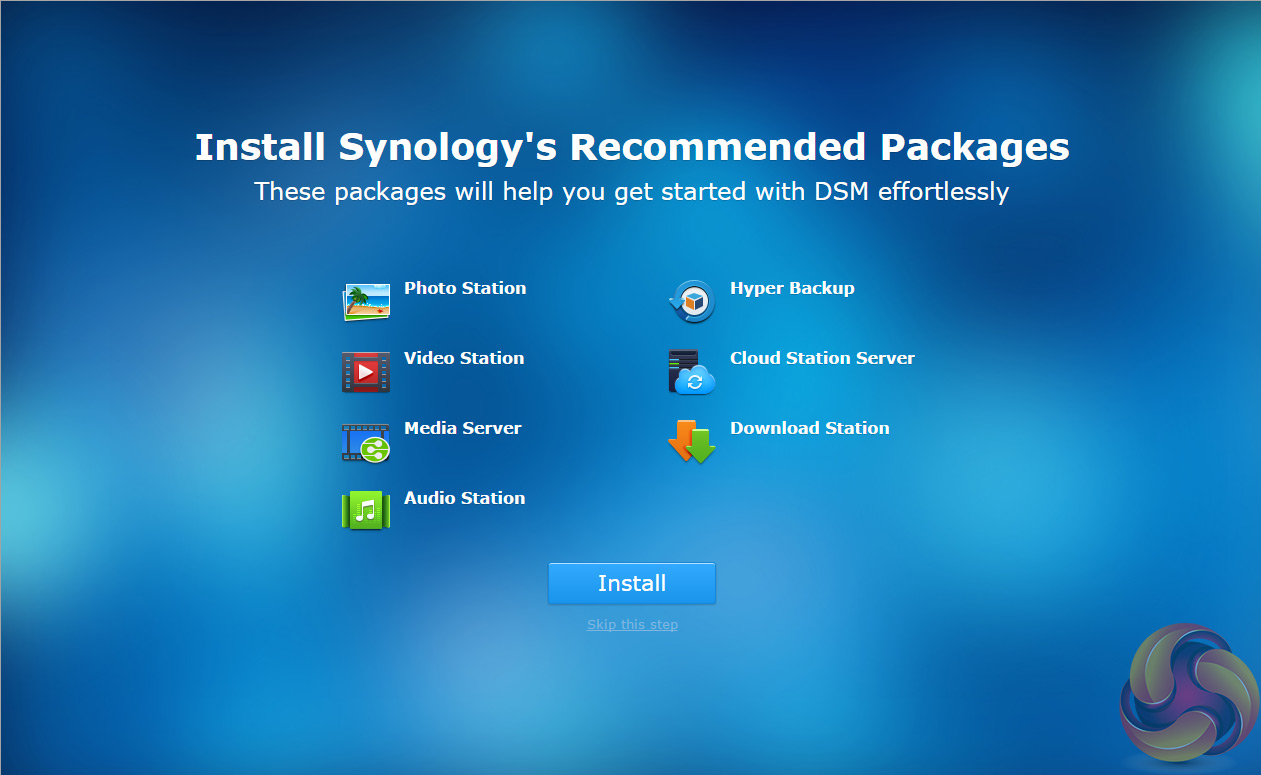
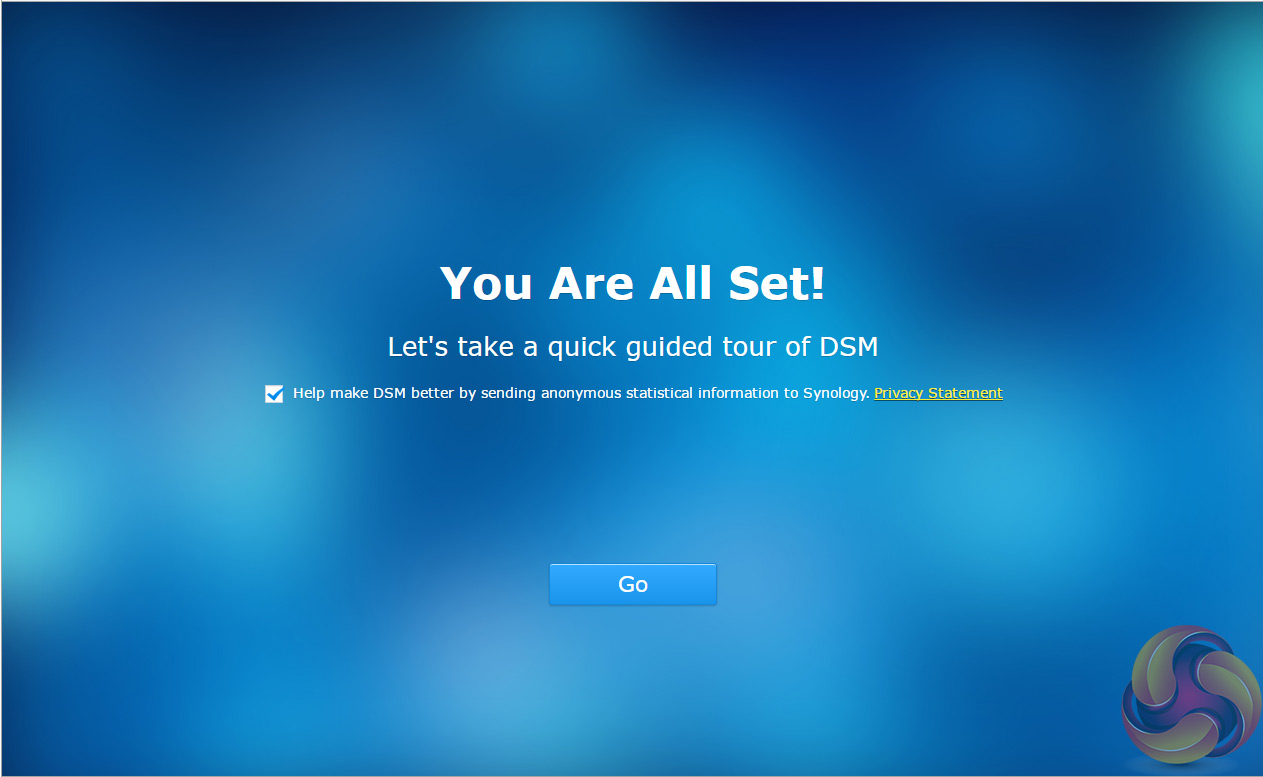
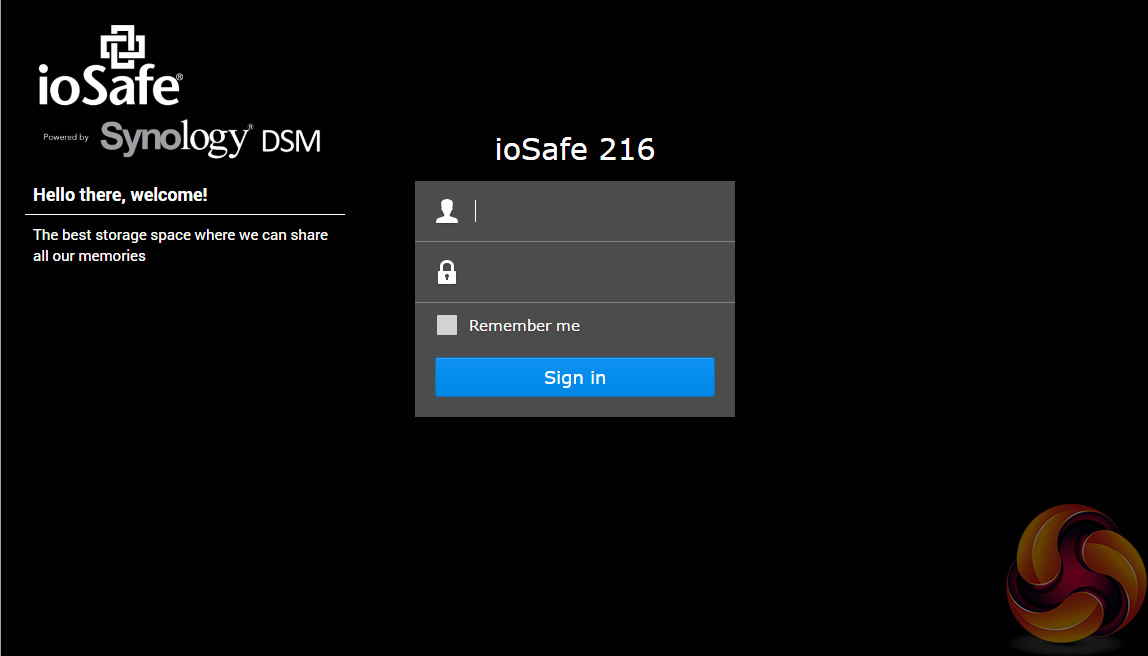
The final two jobs are to set up Quick Connect (remote access to the DiskStation) and to install Synology's recommended packages; Photo, Video, Audio and Download Stations and Media and cloud Station Servers as well as Hyper Backup. Both of these stages can be skipped at this point and dealt with later if needed. That completes the setup and the ioSafe 216 is now ready to use. Instead of the usual DSM login screen there is a custom ioSafe one.
I guess with global warming and me living below sea level this is potentially interesting. But then, for that kind of money I can probably take the risk that my house won’t be flooded by an unexpected tsunami :/
I have a question: how would this unit perform in streaming files, like decoding and watching a movie? would it be able to handle 4K videos as well? what about VR staffs?