

Here we present some pictures of our fully-built system, as well as a discussion of the pros and cons of building in the Sapphire RGB.
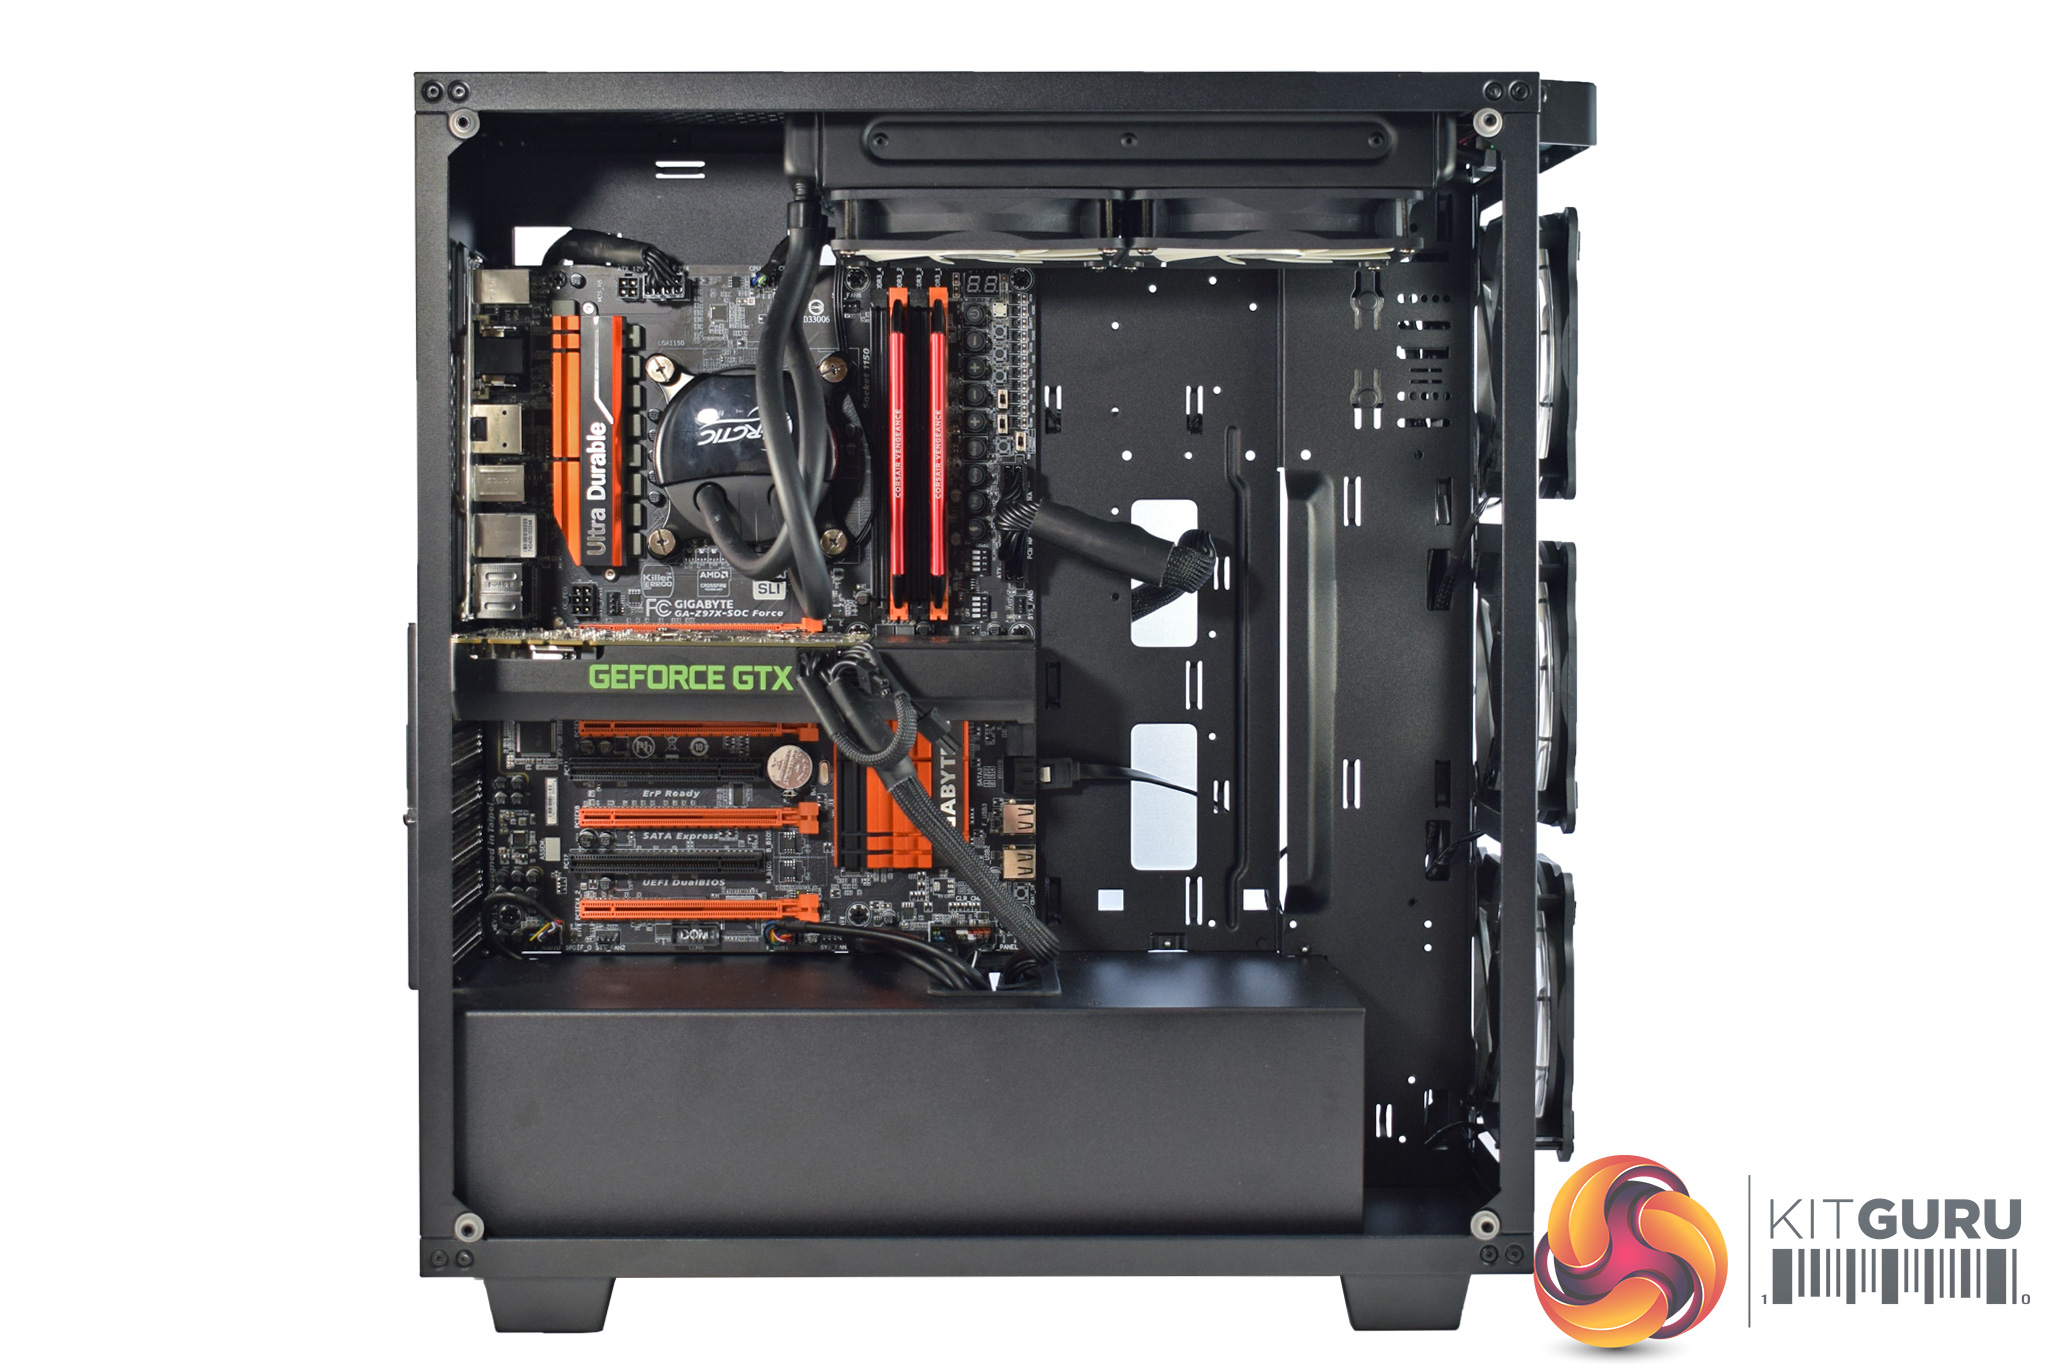
All-in-all, I was pleased with how the build turned out, and building in the Sapphire RGB is enjoyable and pretty easy.
You may be wondering about the radiator placement, as it is certainly ‘unorthodox' to say the least, so I will address that first. Right from the off, I wanted to put an AIO liquid cooler in this case, as I would imagine most people buying a £150 tempered glass case are either going for an AIO or custom loop.
However, the only liquid cooler I currently have on-hand is the Arctic Liquid Freezer 240, and that is slightly thicker than other AIOs, measuring 38mm in thickness. This meant, once the CPU 8-pin power connector was installed, the radiator did not fit in the furthest-left mounting position. Thus, I moved it over to occupy the middle and furthest-right 120mm mounting positions.
However, I would not say this is a fault of the Sapphire RGB. A more conventional AIO, such as the Corsair H100i or NZXT Kraken X62, would fit in the roof just fine. It was my fault for not properly looking into the radiator height-limit for a roof-mounted AIO.
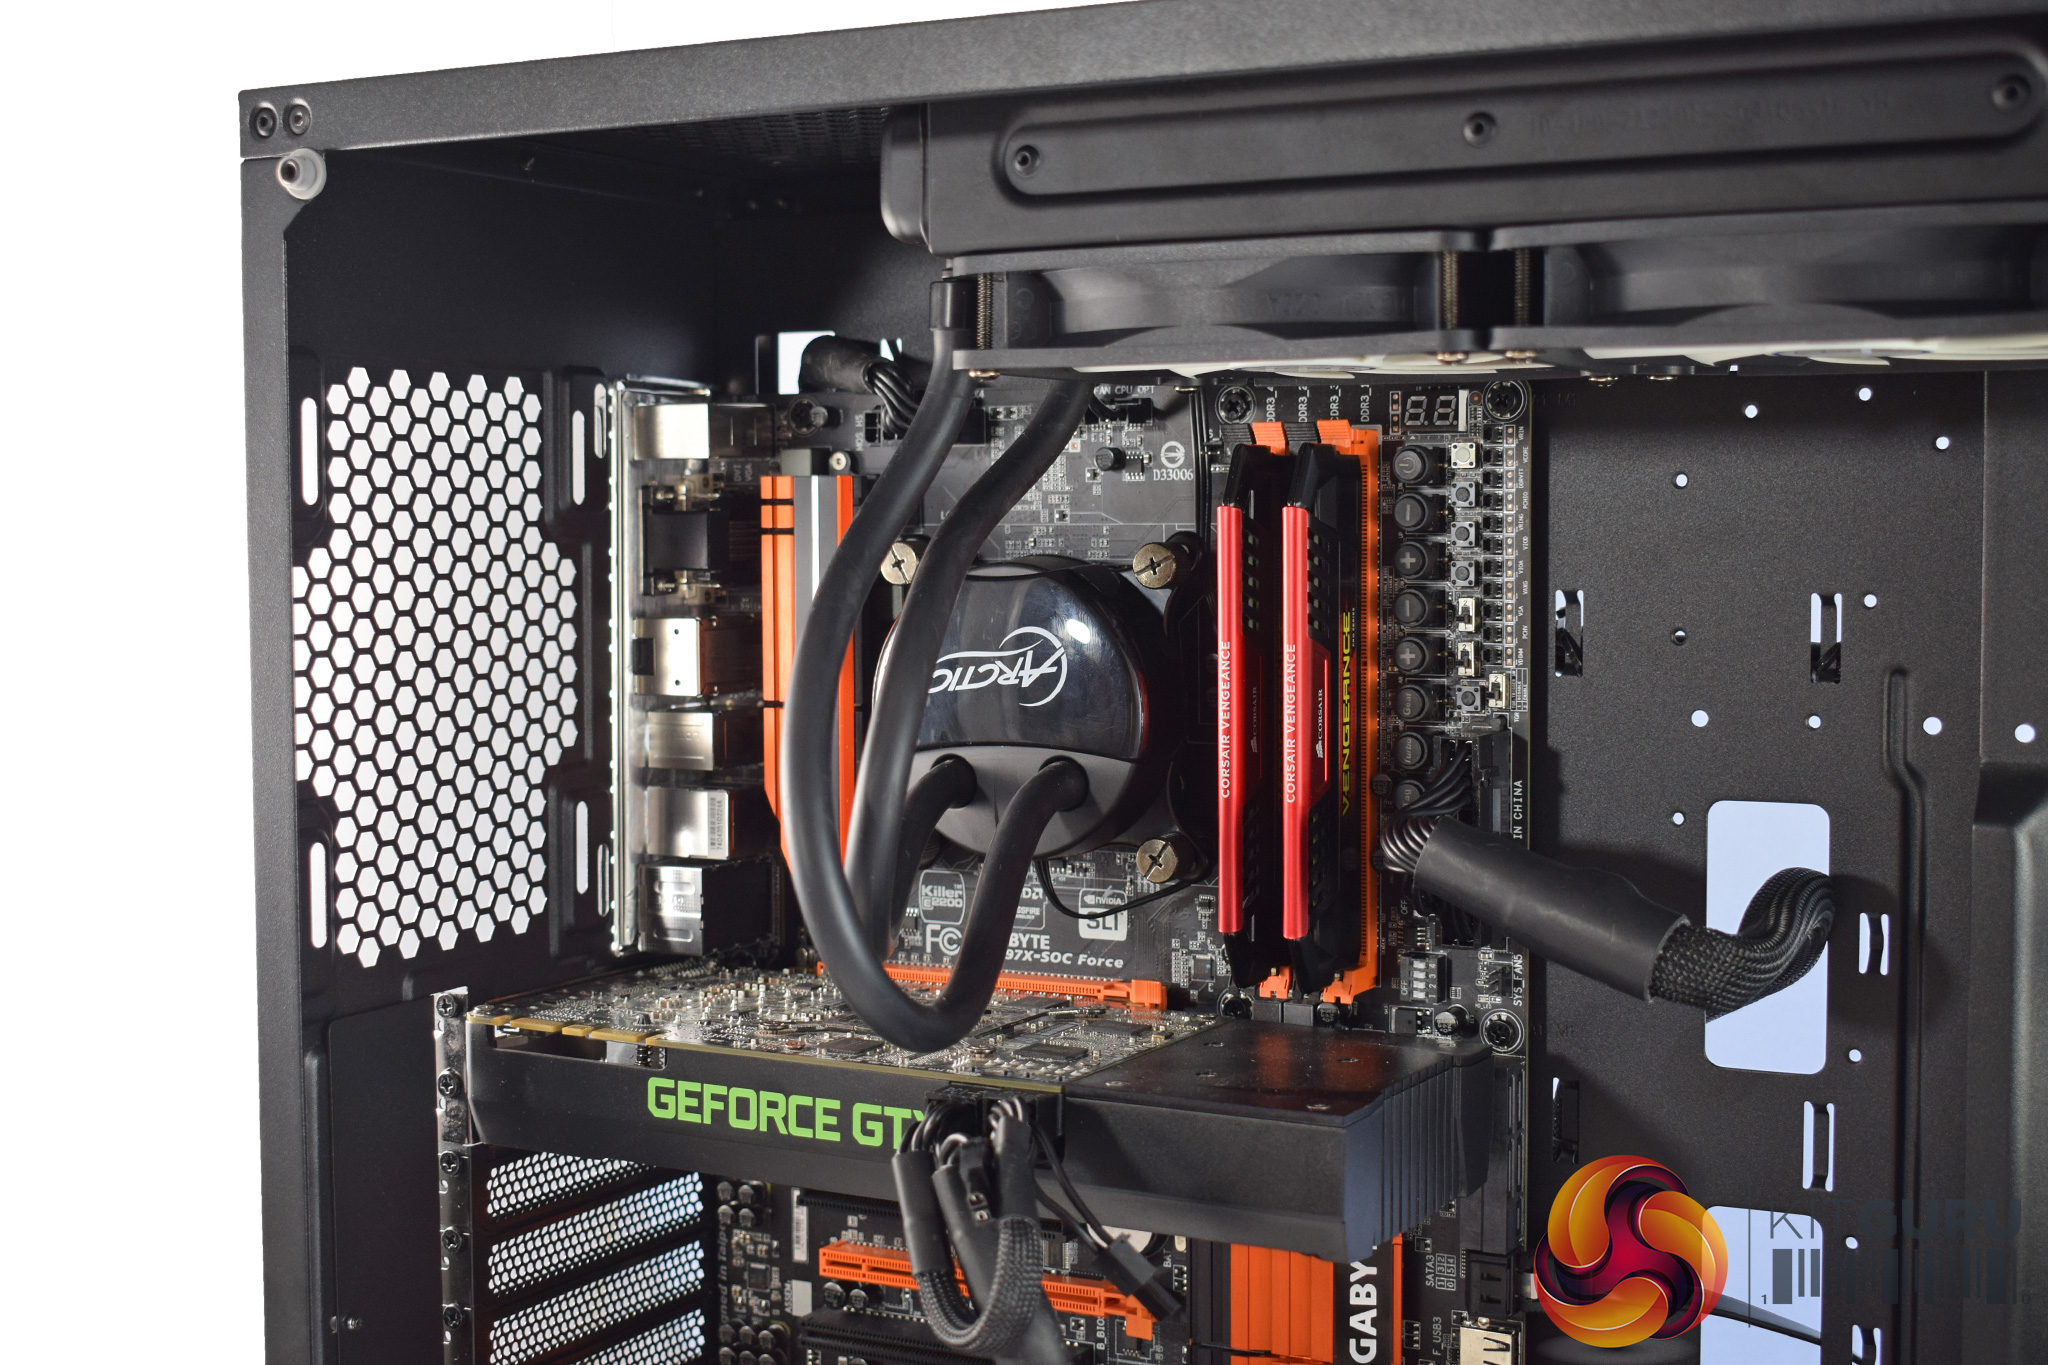
Elsewhere, I removed the GPU support bracket for two reasons: 1) the GTX 760 I used did not actually reach the bracket, rendering it pointless, and 2) it covers the two cable cut-outs, making it harder to route a 24-pin power cable. However, once it was out of the way, my cable came through fine and things were still nice and tidy.
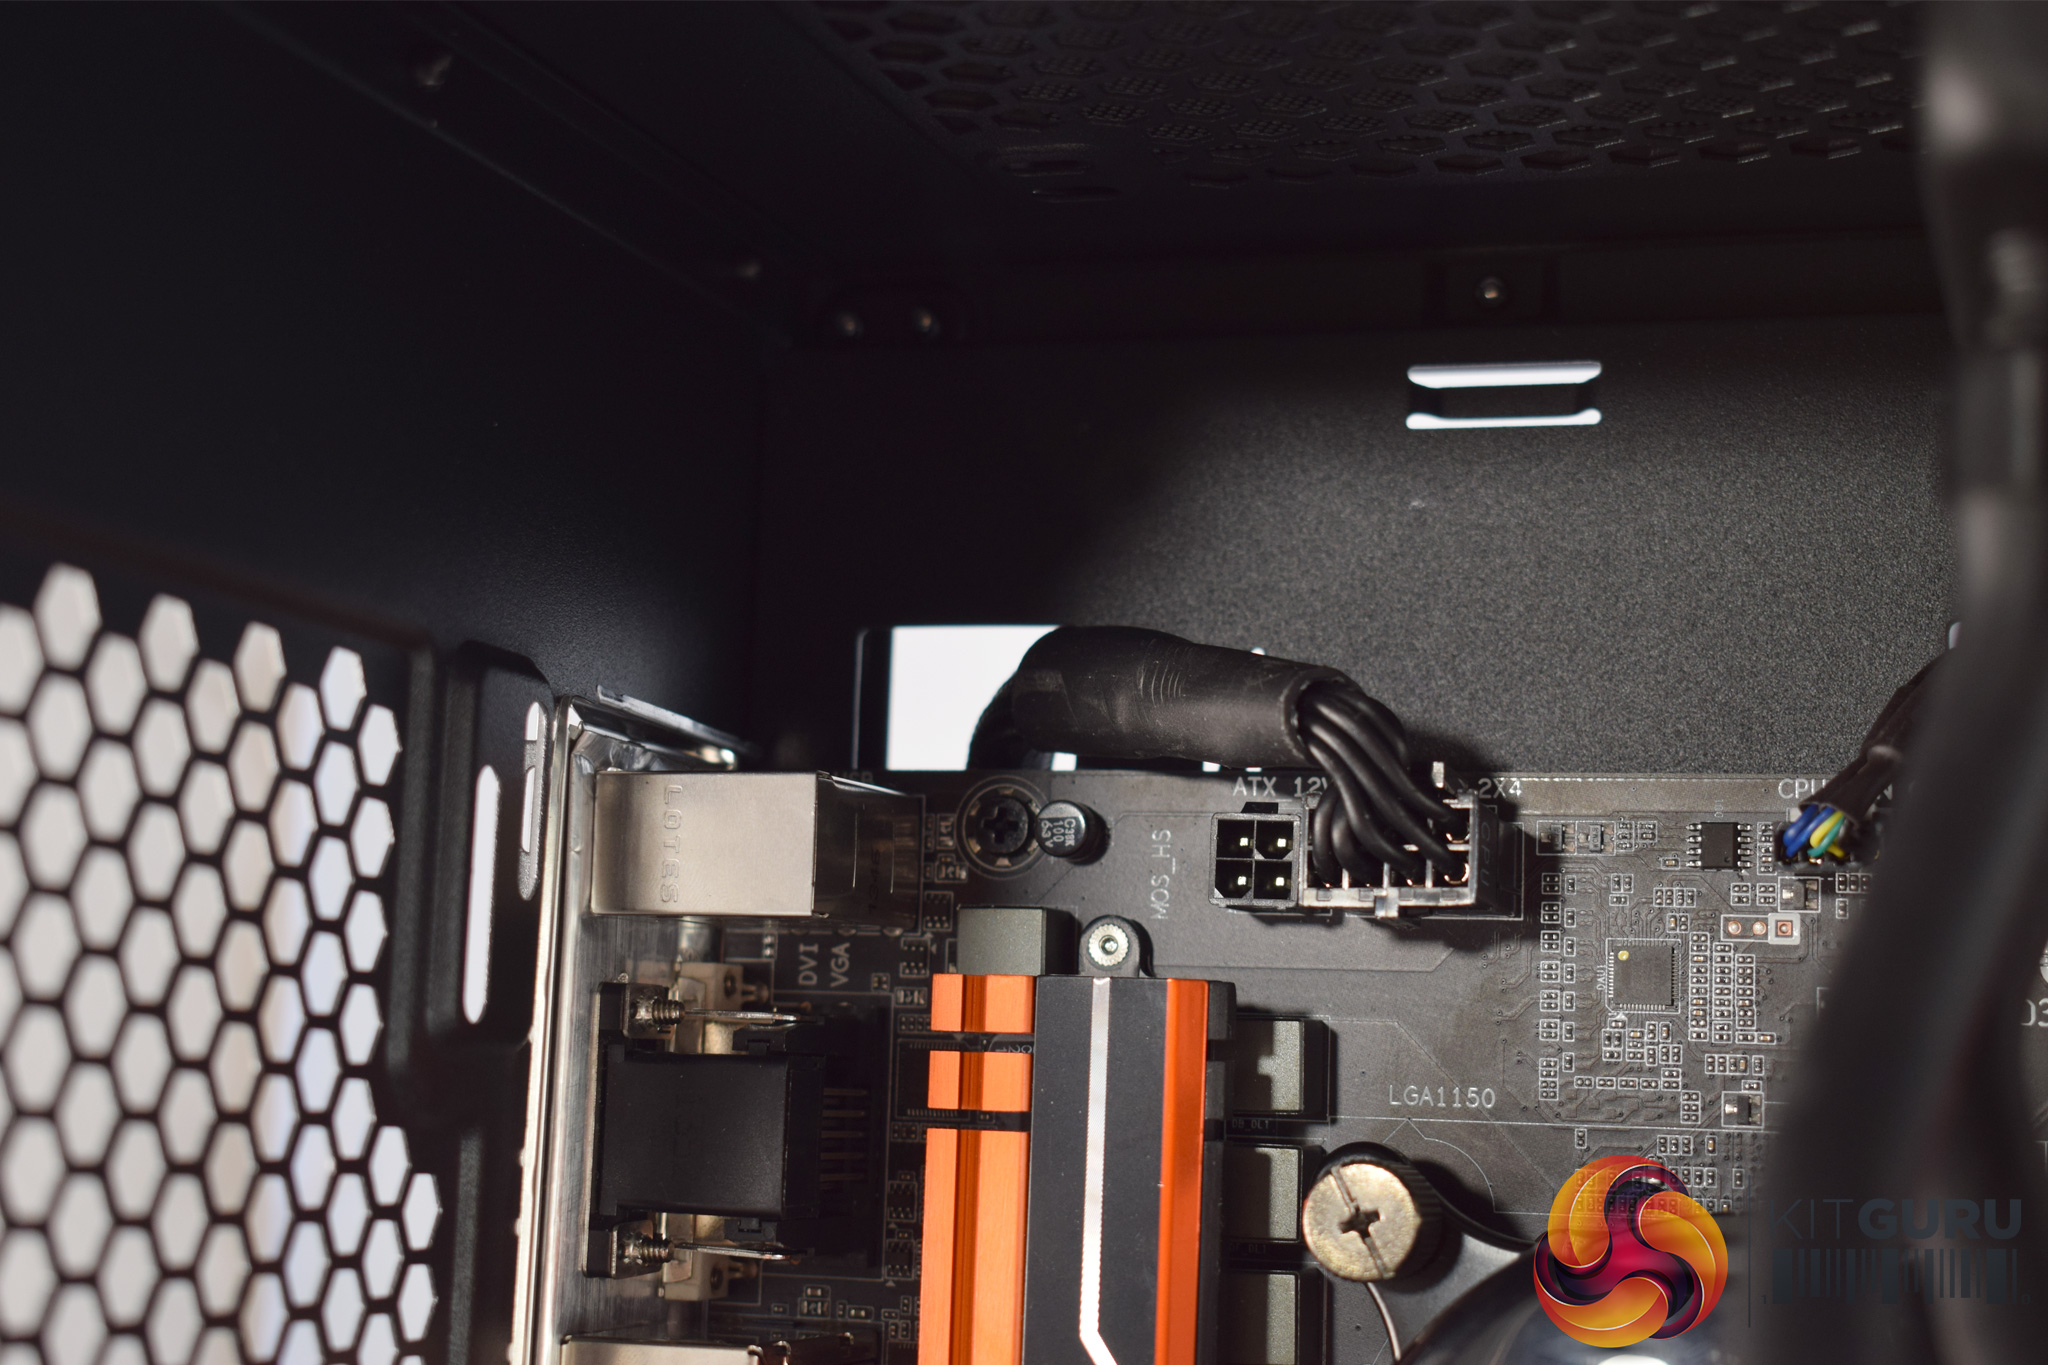
There is also a perfectly-positioned cut-out in the top-corner for your CPU 8-pin connector, which also keeps the system looking tidy. However, as I mentioned on the previous page, there really should be some rubber grommets covering these cut-outs.
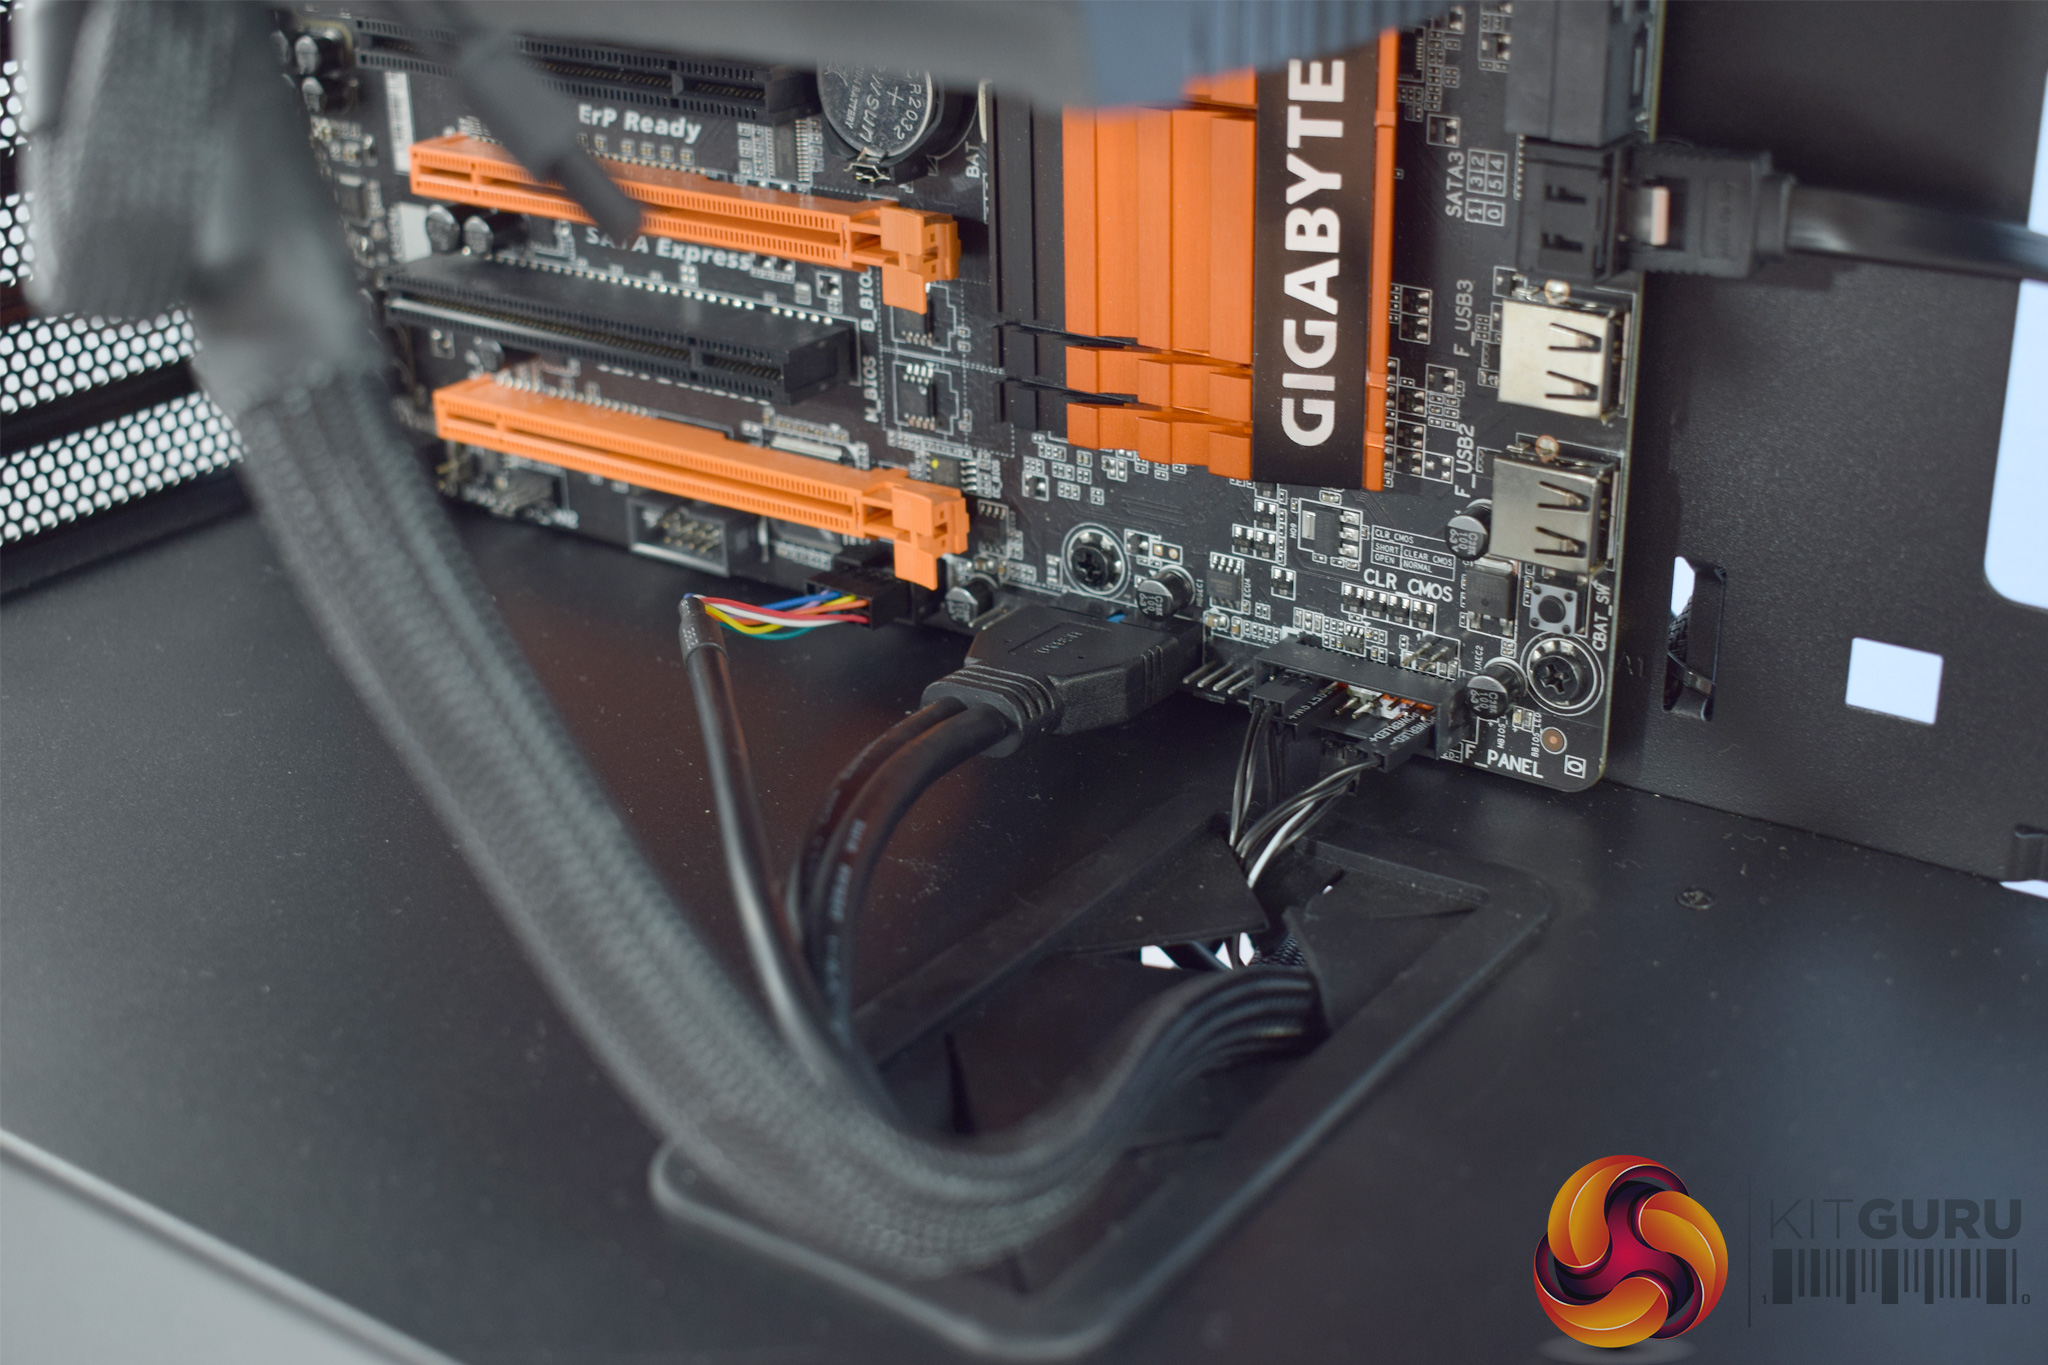
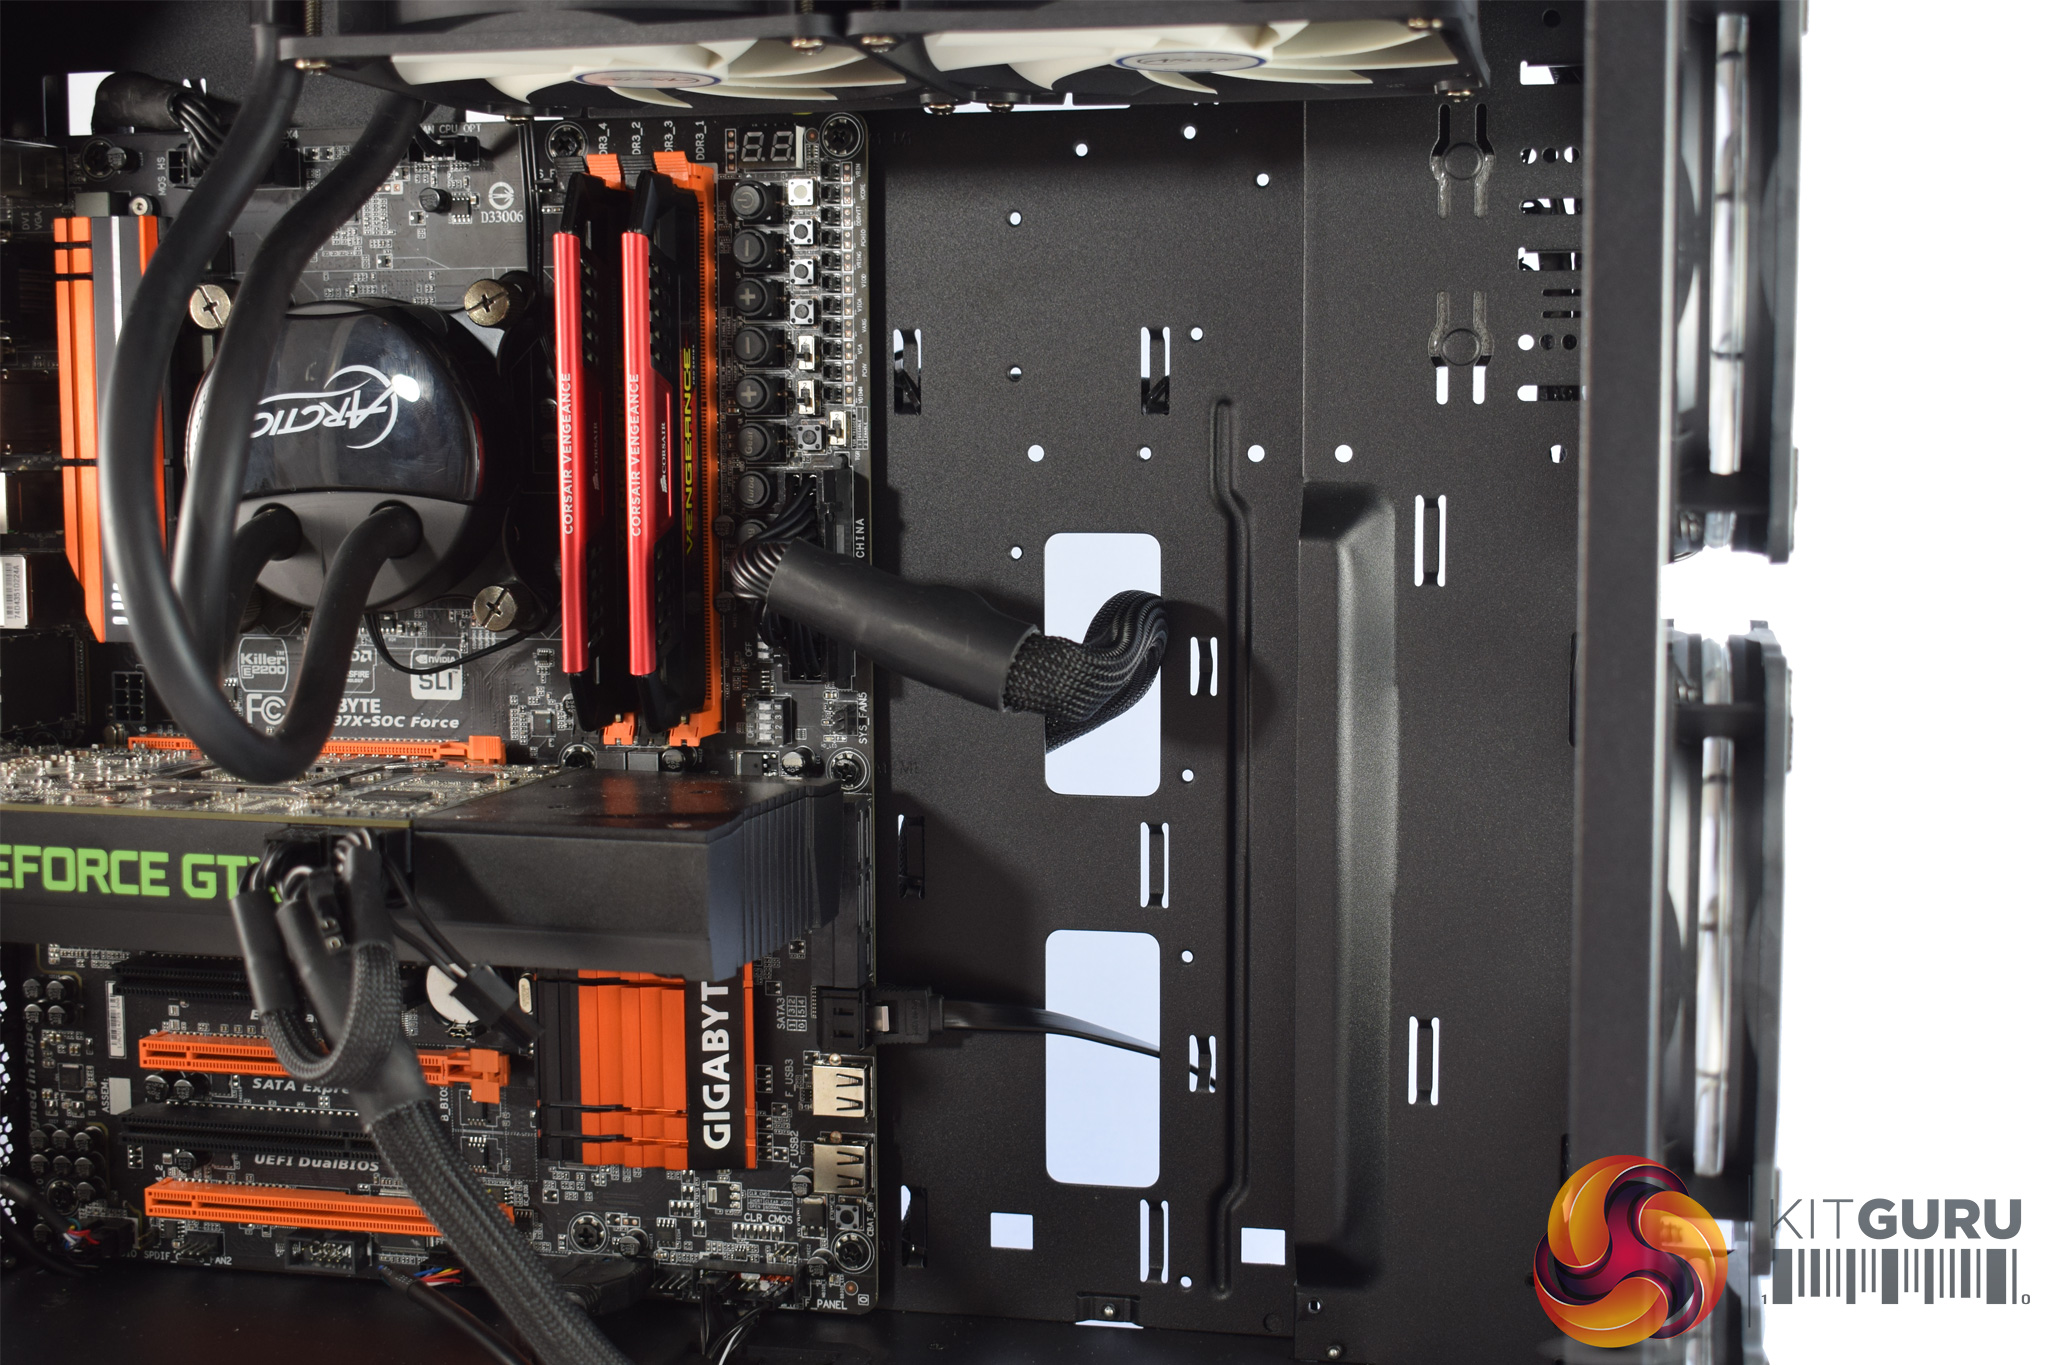
The only real issue I have (at the front of the chassis, at least) is with the front-panel connectors. There are only two cable cut-outs in the PSU shroud, and one is right in the corner, meaning it is only useful for the HD Audio connector. That means everything else (USB 3.0, USB 2.0, power button, HDD LED etc) has to come through the larger cut-out. It is only a minor issue, but I would have liked another cut-out in a more central position, as this would mean the USB 2.0 cable in particular would not have to trail as far as it does currently.
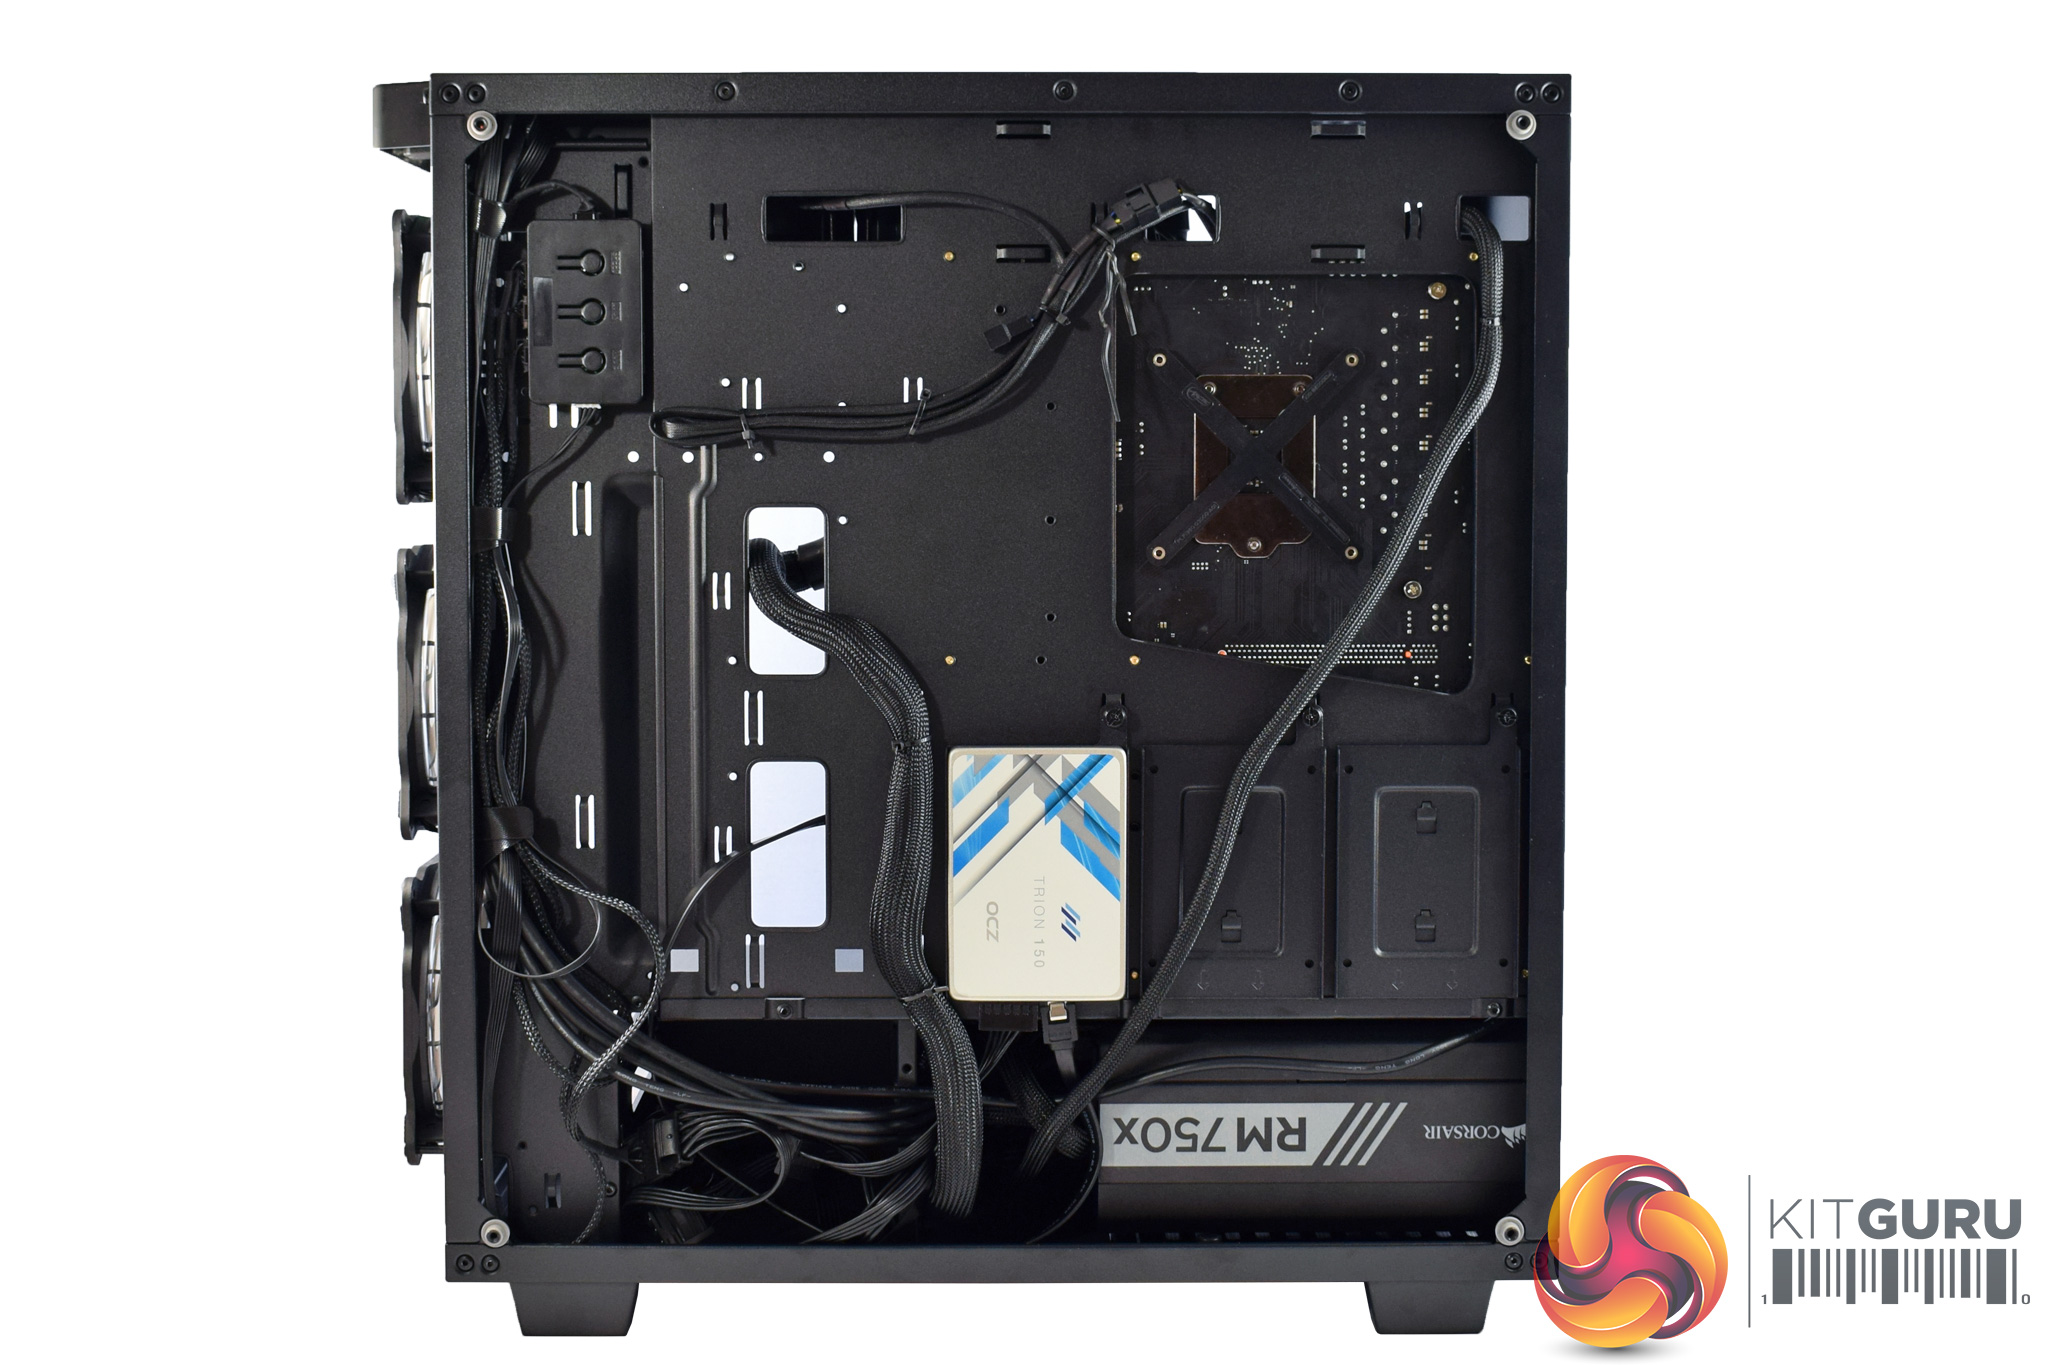
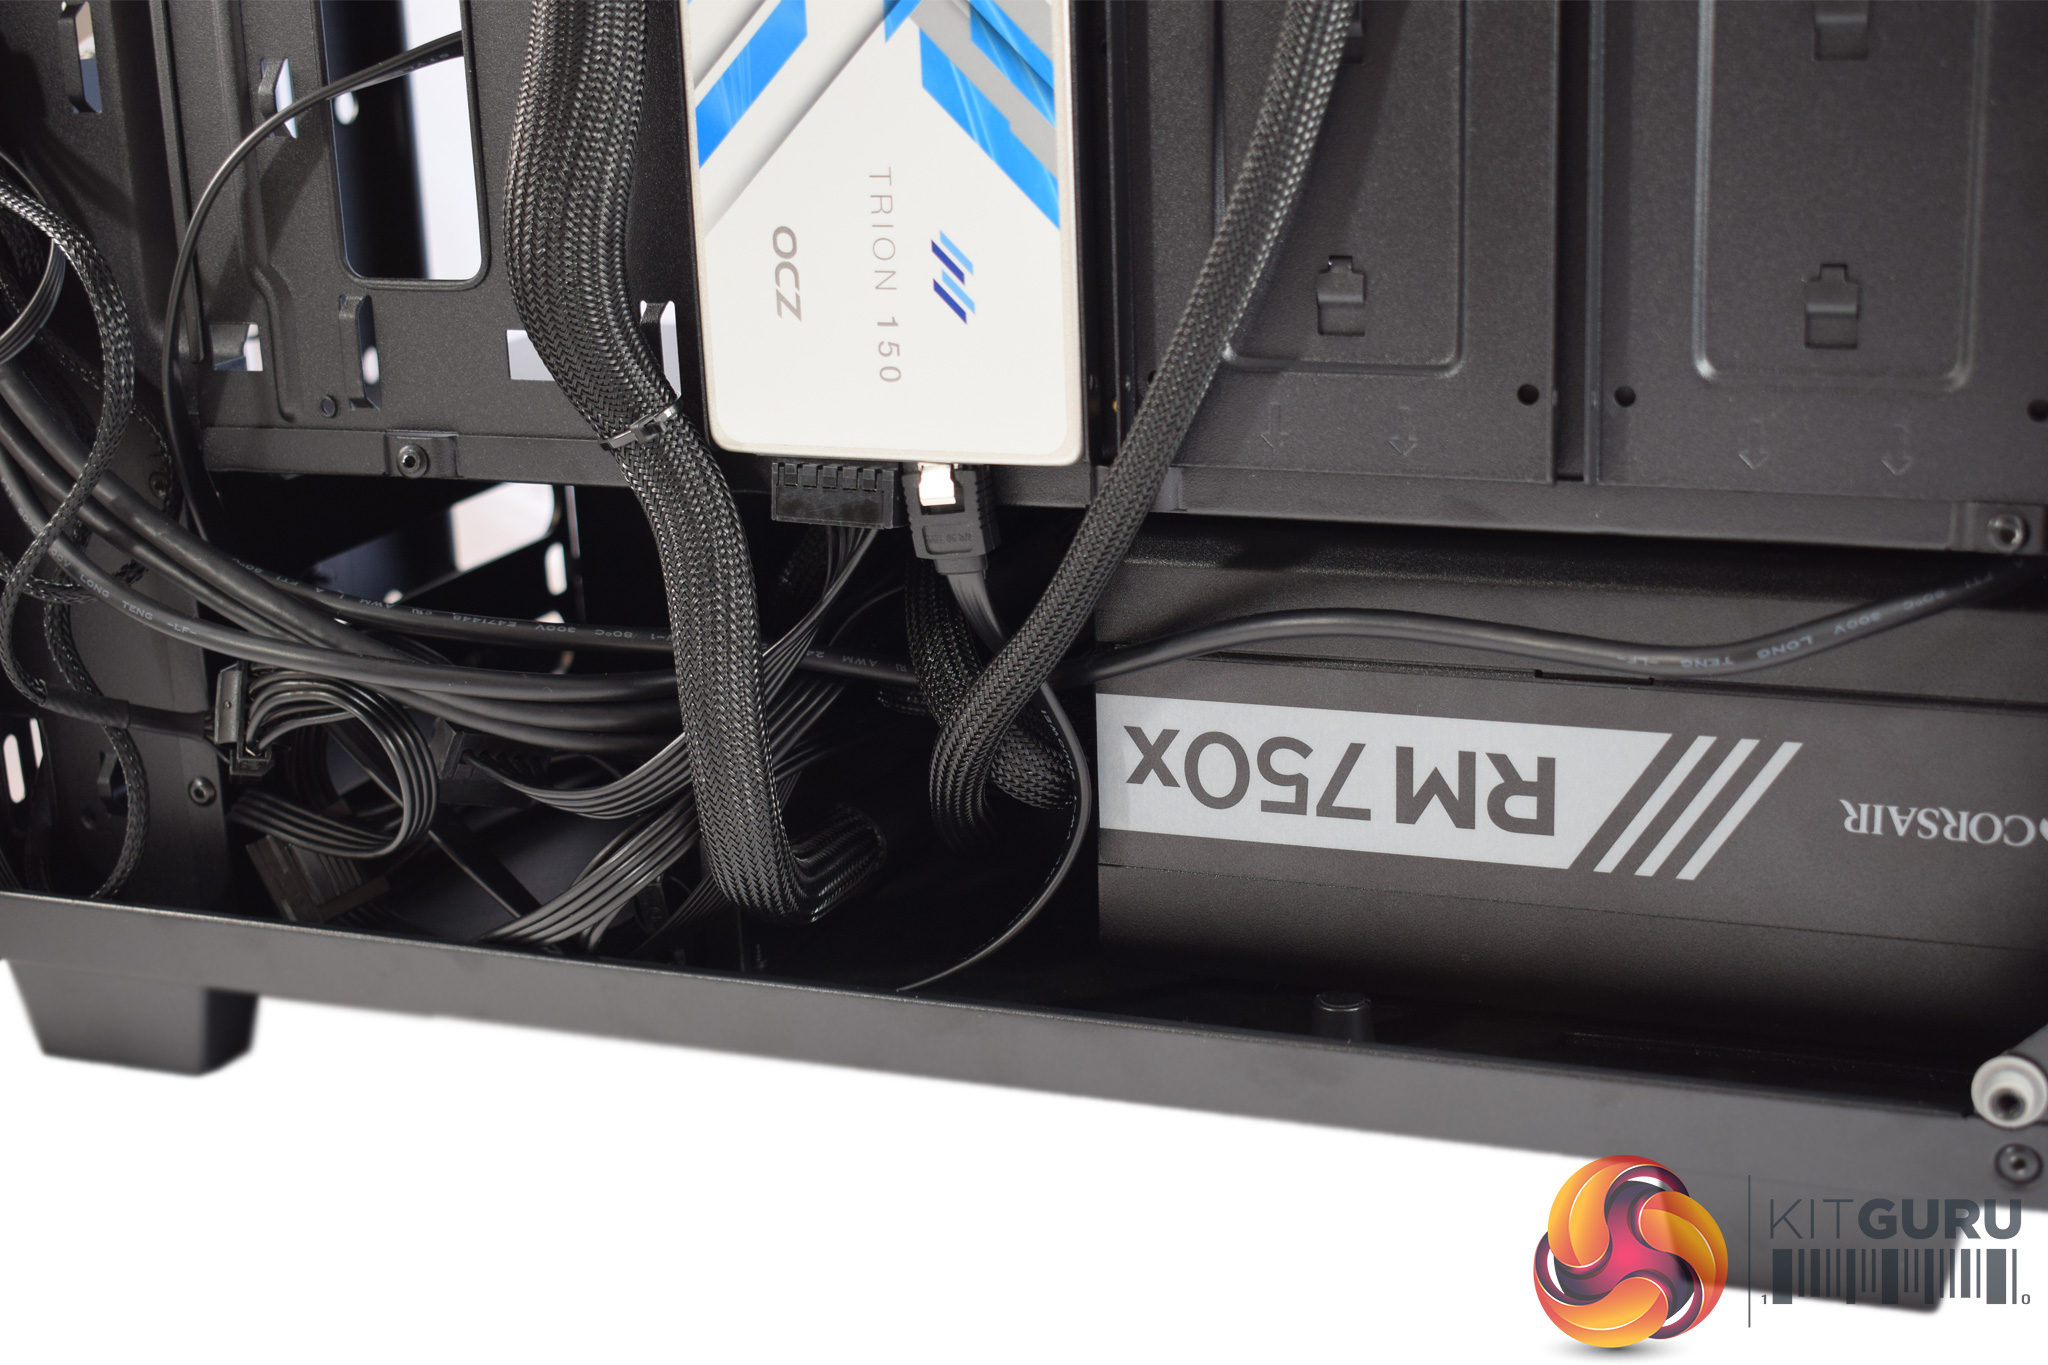
Moving round the back, I was also quite pleased with the rear cable-management. There are plenty of cable tie-down points, in a variety of positions, which makes things easy, while the pre-routed front-panel cables are also appreciated.
The only real issue I had back here was with the drive cage. Simply put, it is not removable, and although it is not a huge issue, I would have preferred a removable drive cage for two reasons. The first is that it restricts the length of your power supply, as my 180mm unit was a very tight fit – any bigger and it would not have made it. Many people probably won't have a power supply that long, though, but I would still have liked the drive cage to be removable as it would also open up more space in the basement for hiding spare or loose cabling.

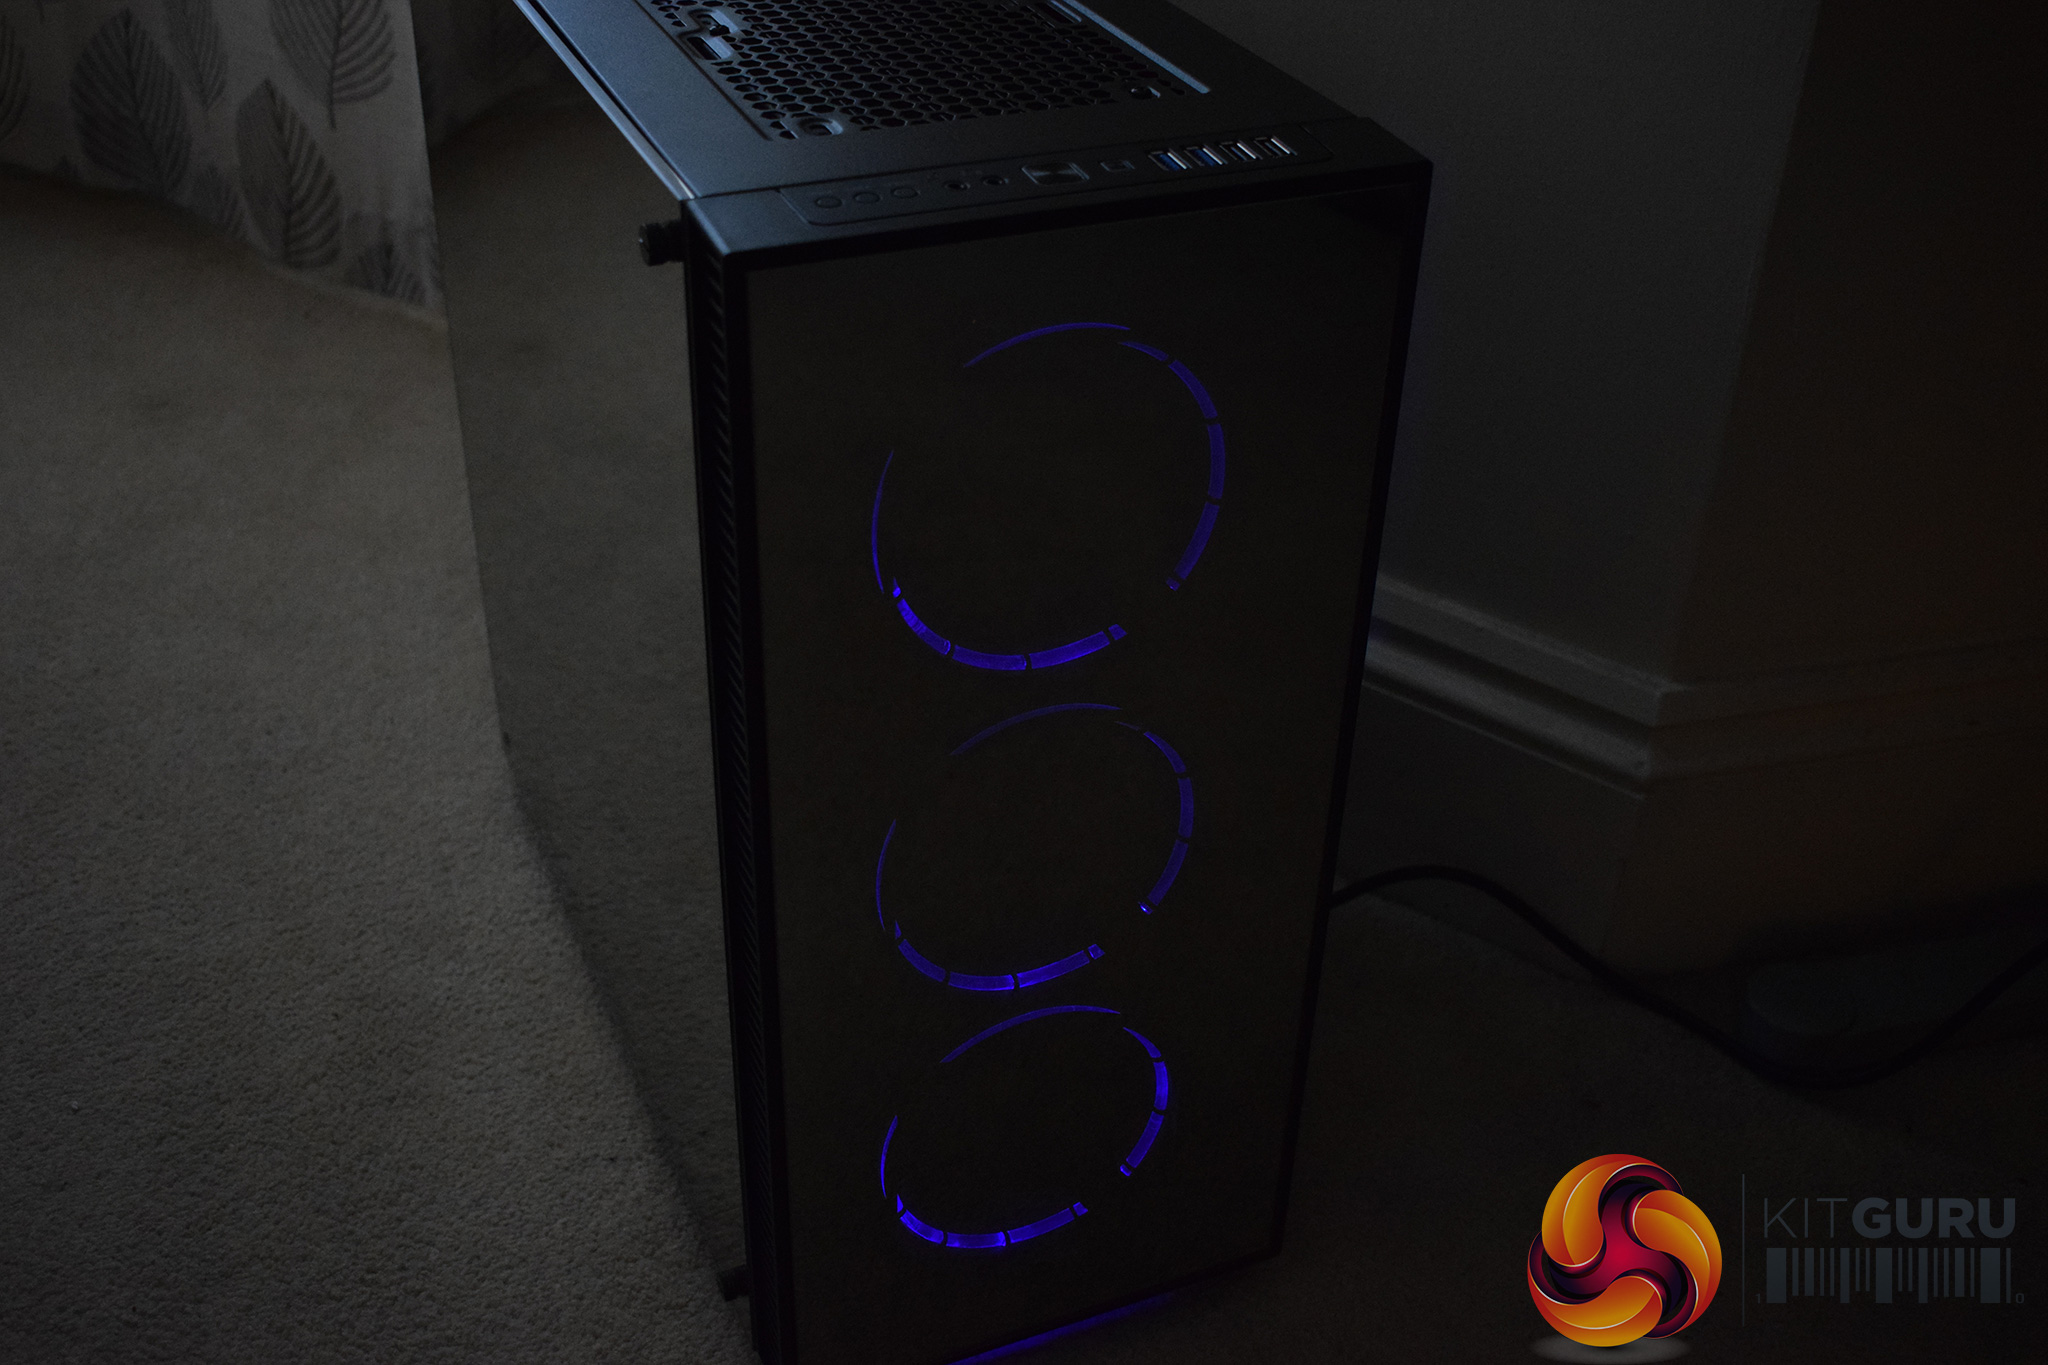
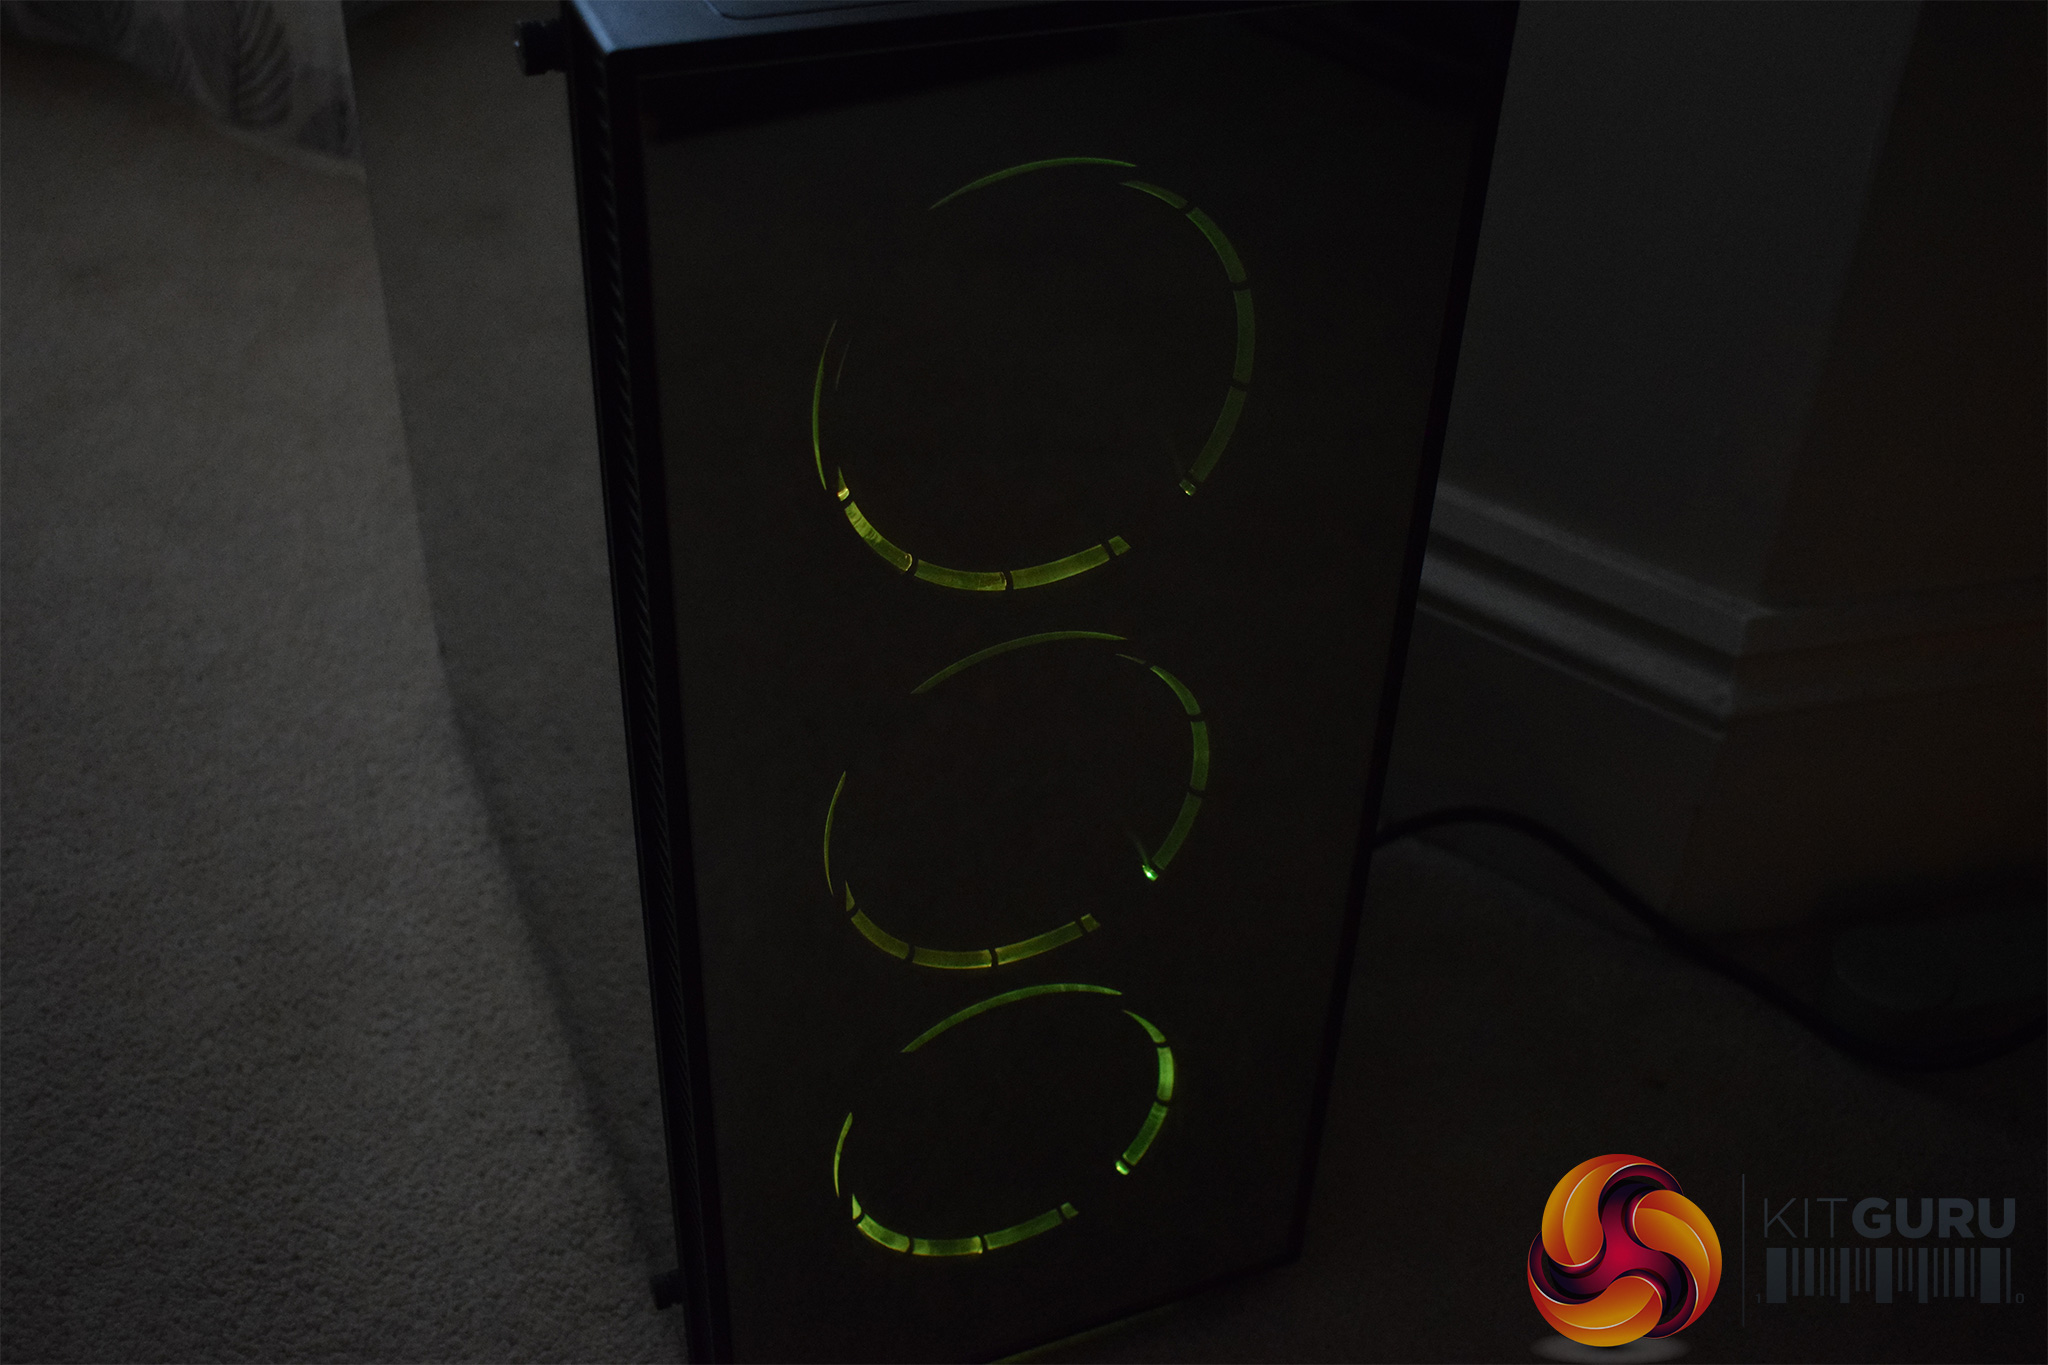
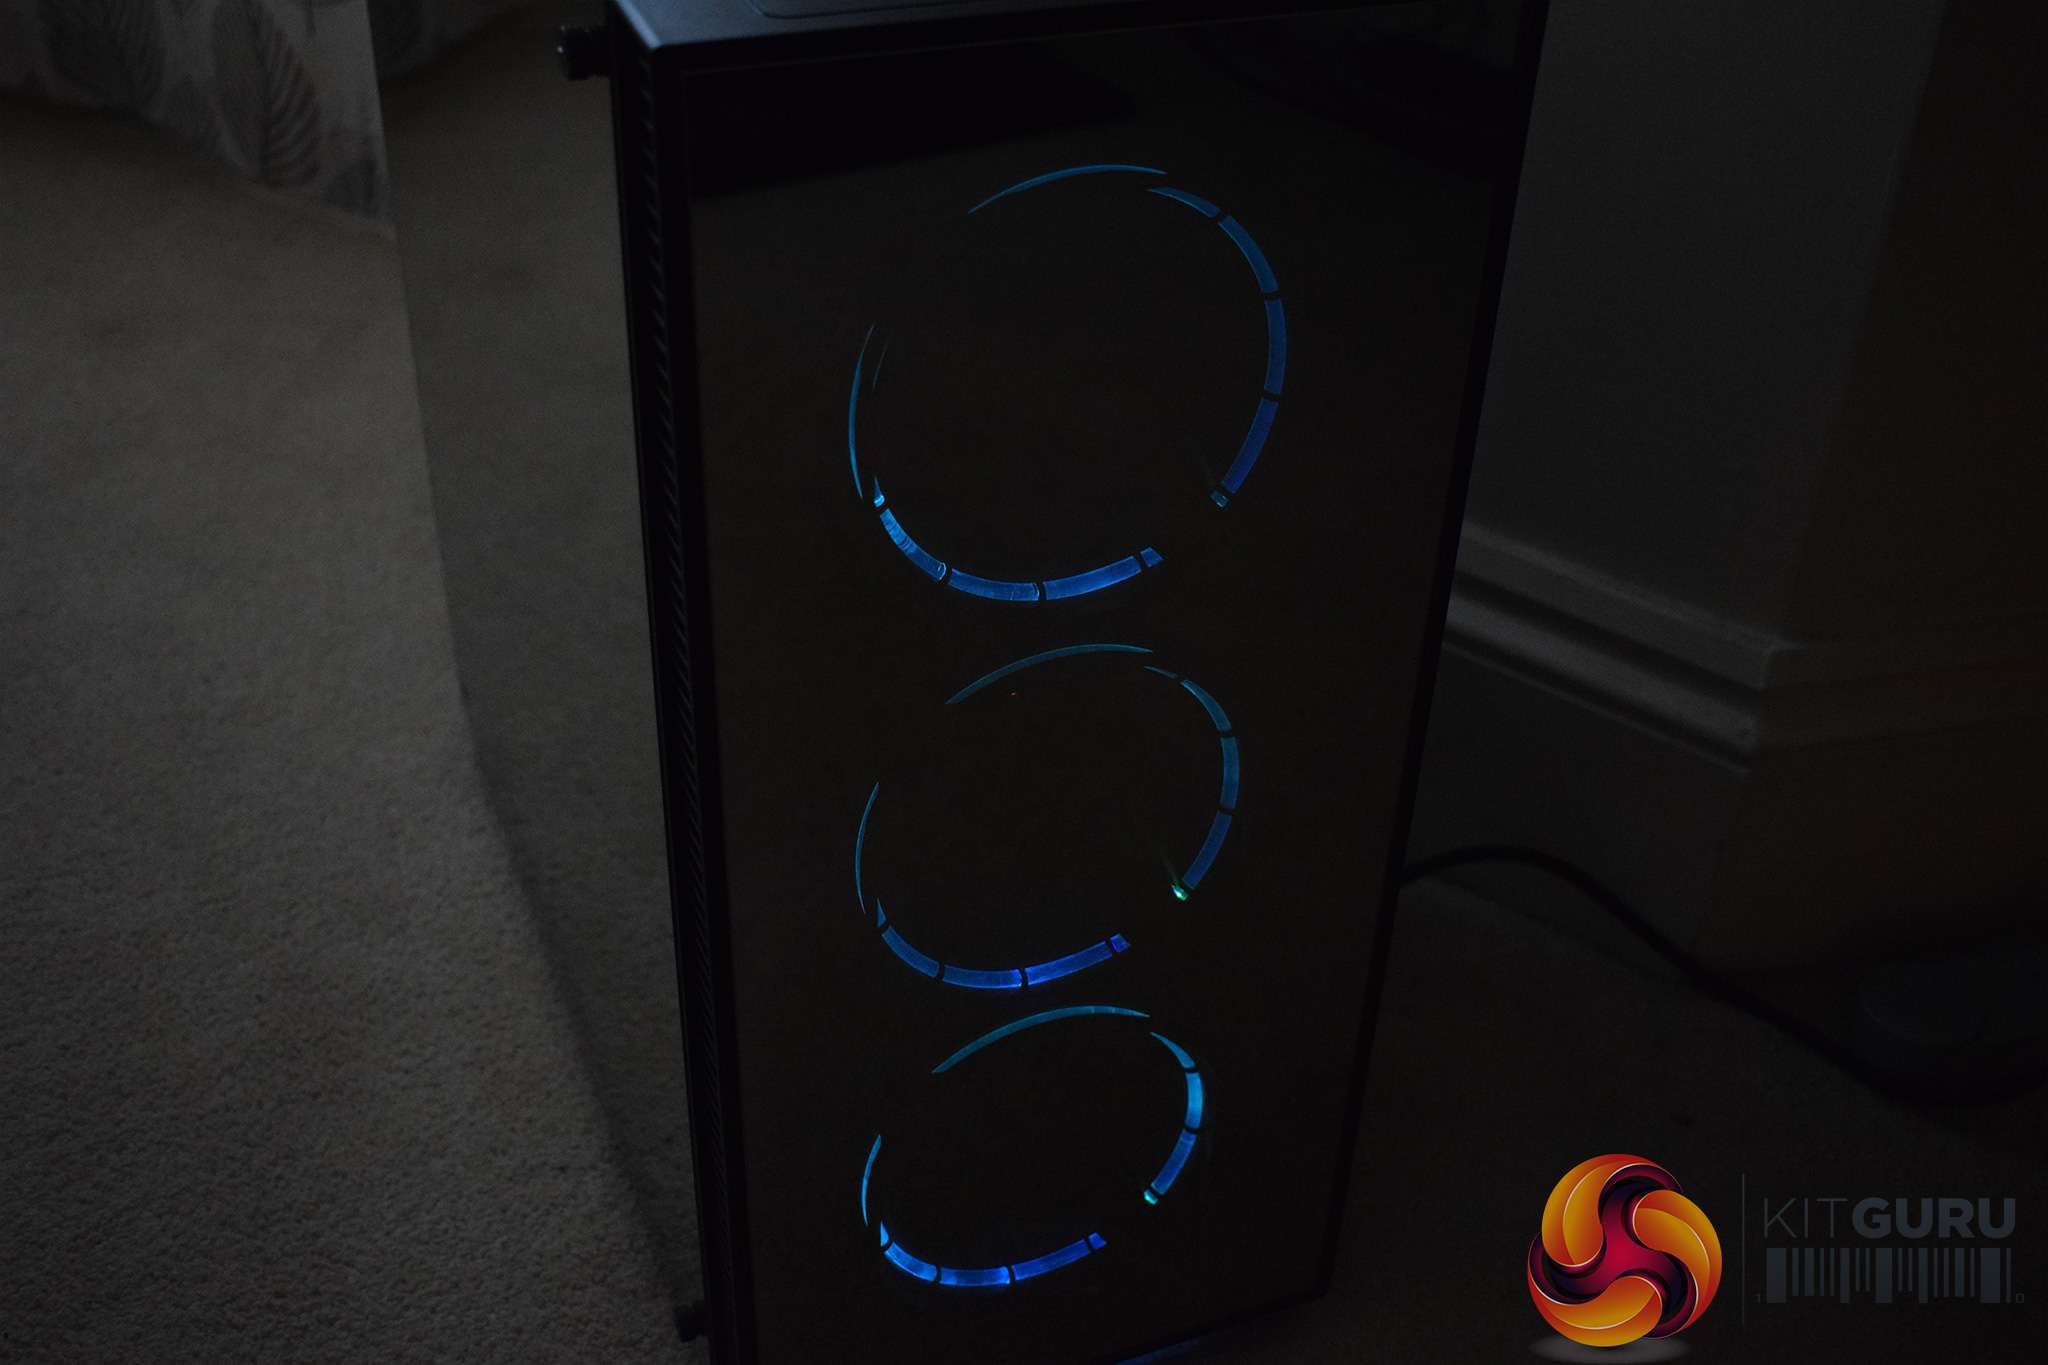
Once the system was built and powered-on, I also took some photos of the three 120mm RGB fans that are positioned in the front of the case.
I must confess I was a bit disappointed with the lighting – the LEDs are very dim and they did not illuminate the innards of the chassis at all. If you do buy the Sapphire RGB, I would recommend a couple of good-quality LED strips to really show-off your components.

This suspiciously looks just like the https://youtu.be/WqnvbWySNt4 Coincidence?
Its Worth buying………but would you buy it? “hey isn’t that one of those Game Max cases, my local pc store normally has them for £19.99, how much was it?”. THUD. Seriously you have to decide what end of the market you are aiming for and leaping from weekly special with a thrown in PSU to Phanteks/ Corsair prices, thats crazy.
My last paycheck was $22500 for working 12 hours a week online.Start earning $97/hour by working online from your home for few hours each day with GOOGLE… Get regular payments on weekly basis… All you need is a computer, internet connection and a litte free time… Read more here
!wr189c:
➽➽
➽➽➽➽ http://GoogleFinancialCashJobs189SolutionWork/GetPaid$97/Hour… ★✫★★✫★✫★★✫★✫★★✫★✫★★✫★✫★★✫★✫★★✫★✫★★✫★✫★★✫★✫★★✫★✫★★✫★✫★★✫:::!wr189u:………
Also looks just like the Fractal Design Define series:
https://uploads.disquscdn.com/images/8ccb129268bbebec56e96828904cd47942f6b51e17488cb2d337de962da70655.jpg
When I first saw the article, I thought Game Max must be a system builder. Either Fractal are selling their designs or these other case manufacturers may have a lawsuit on their hands. (Or maybe not, Fractal seems to go for a very generic look by design.)