

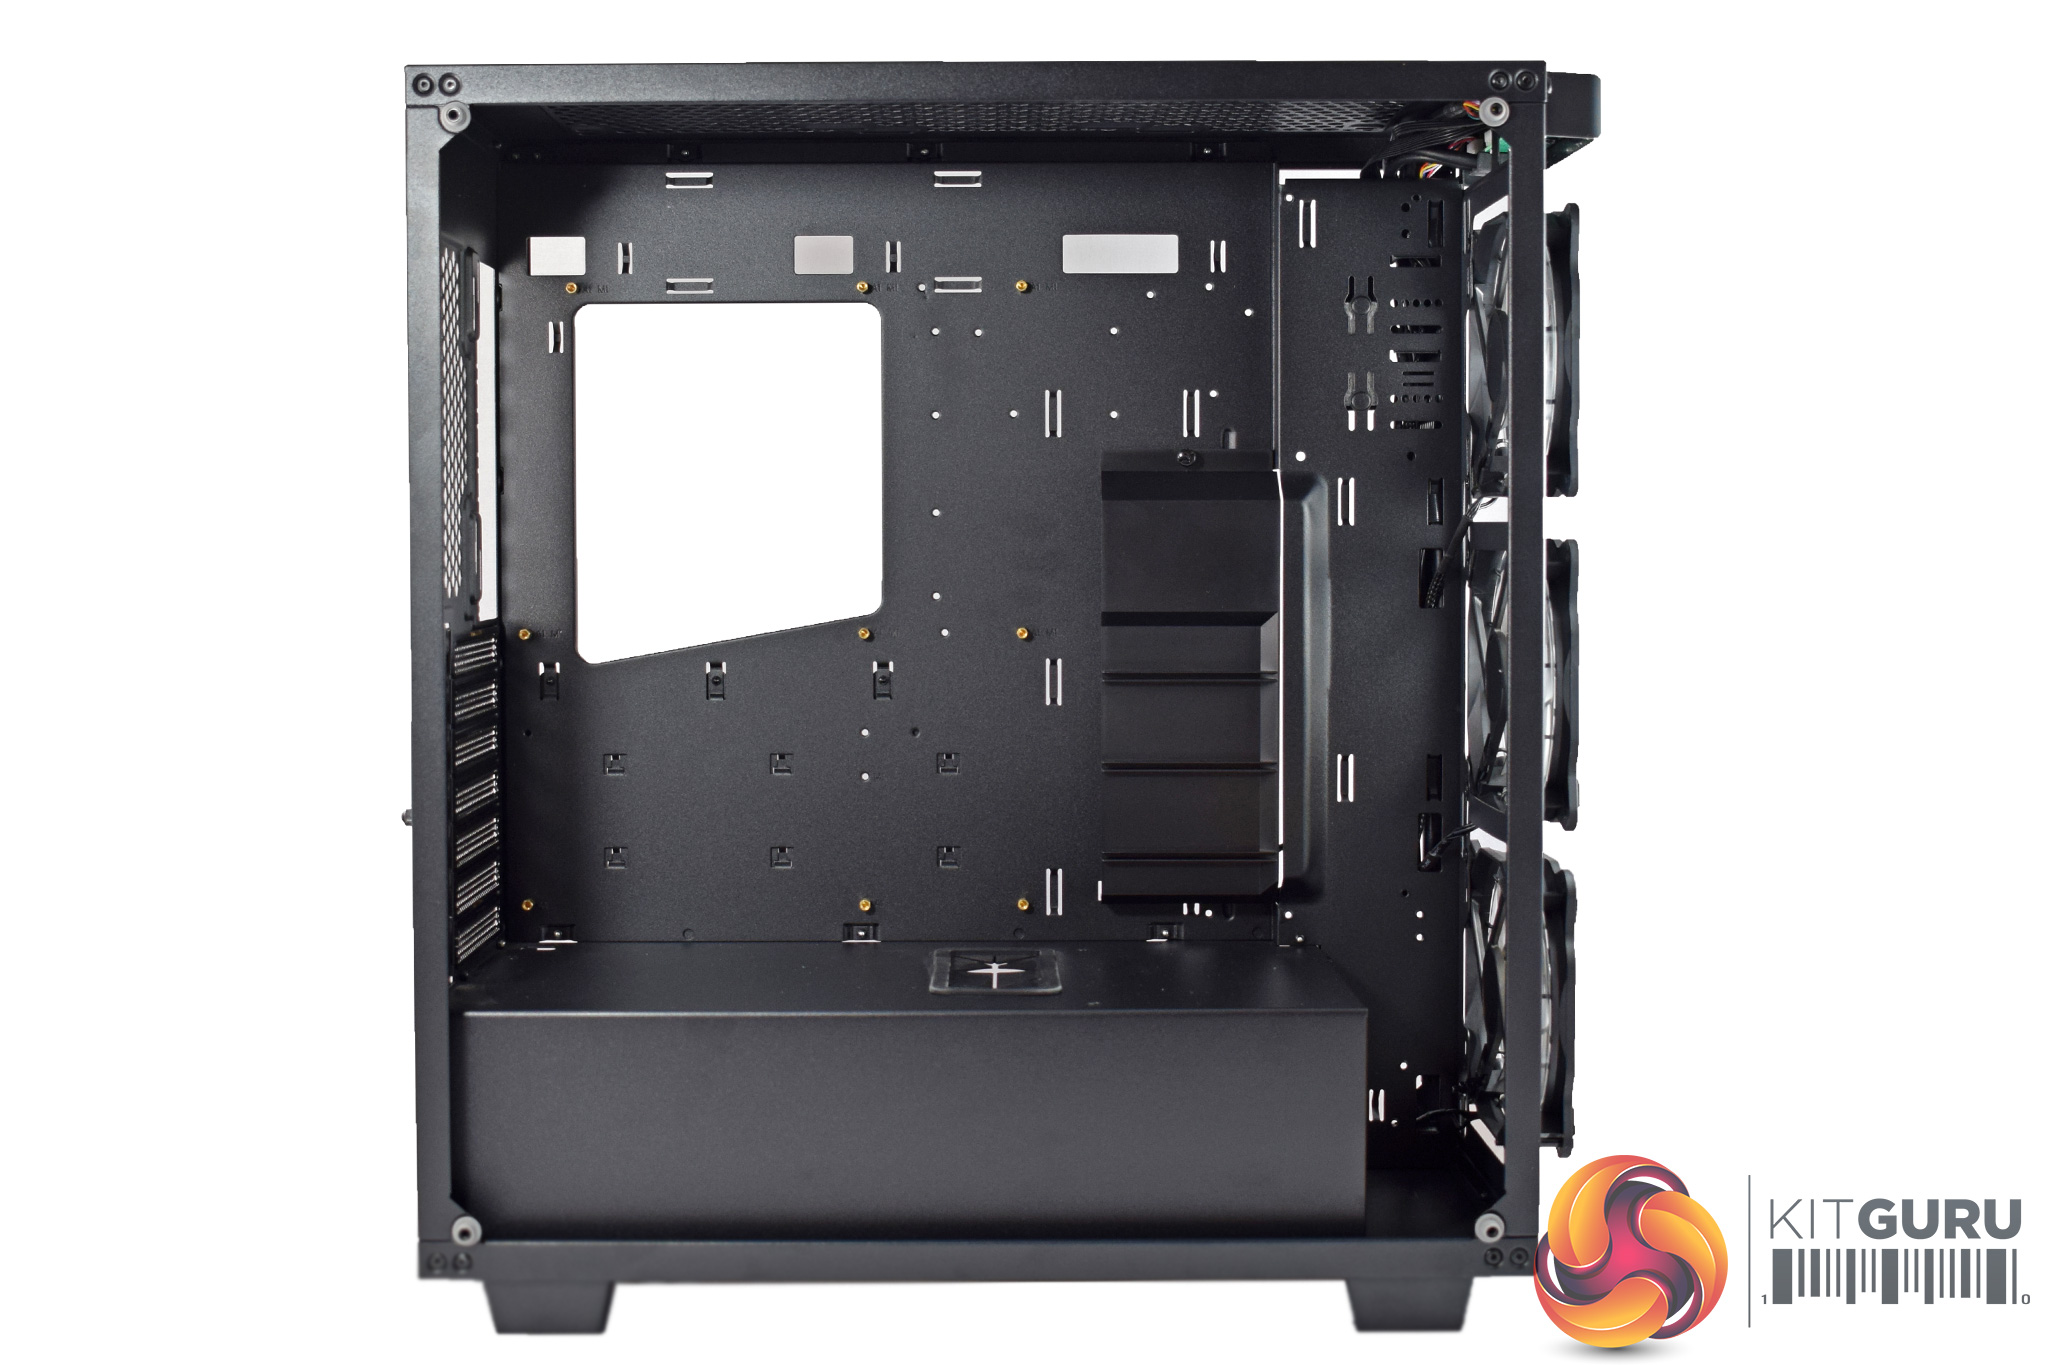
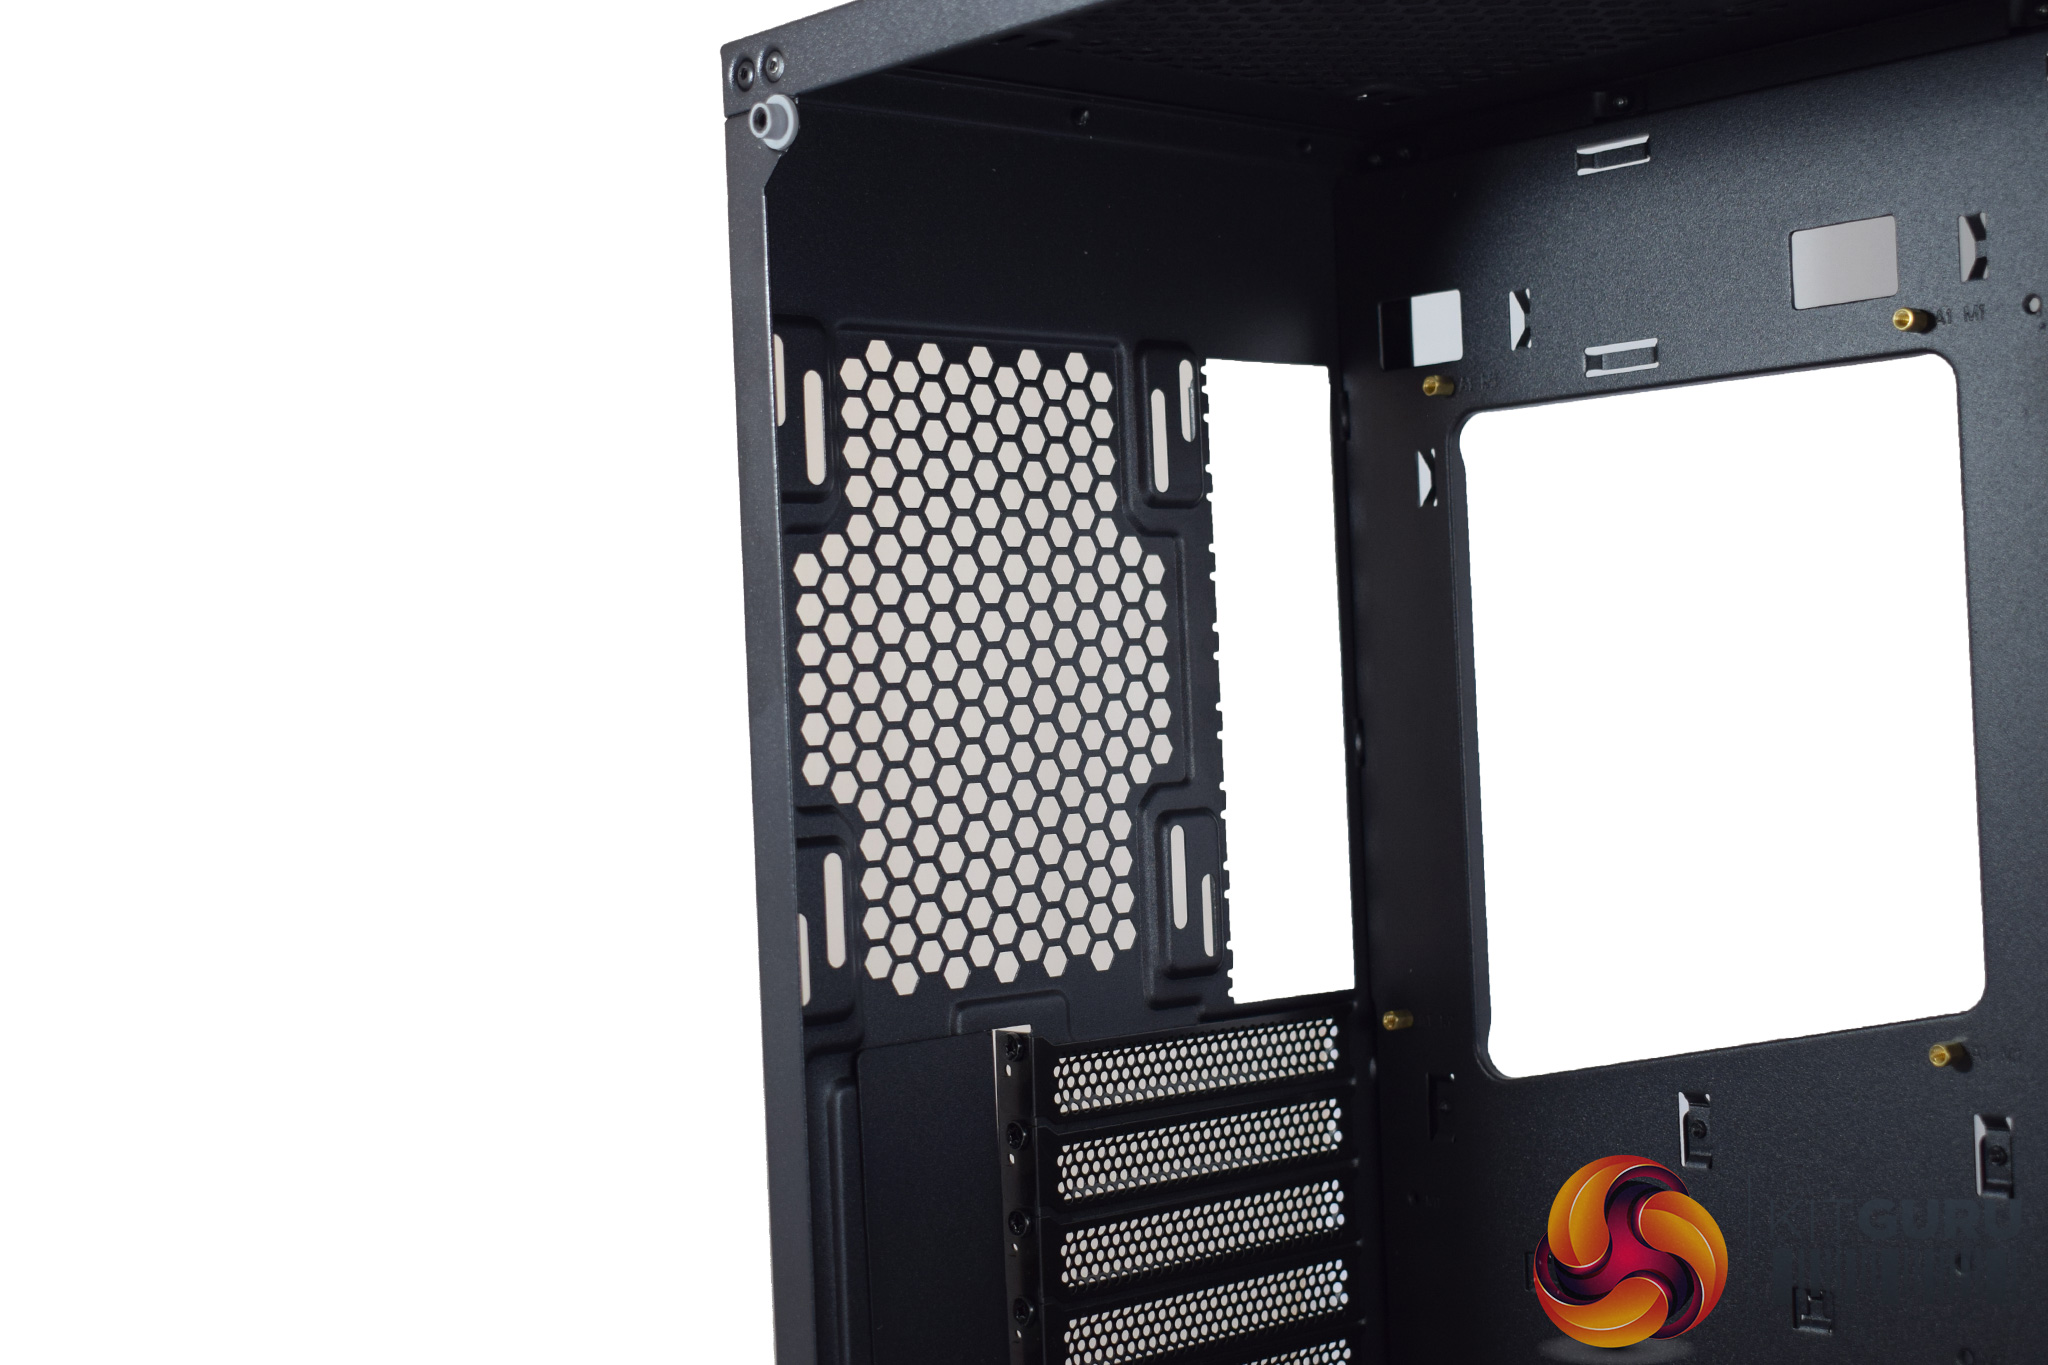
Once the 3 tempered glass panels are off, we get a good look at the internal chassis. As far as I can tell, it is made exclusively from thin steel, so the chassis itself is actually quite light. That is good to see as it instils a confidence in the quality of the case, and I am happy to see the all-metal chassis.
Inside, it is also good to see that the motherboard standoffs are pre-installed, while the large power supply shroud should help keep the system clean.
However, I am disappointed to see a lack of rubber grommets used. There are plenty of cut-outs to route your cables, but these have been left bare – in a £130+ case I would really expect some rubber grommets, as it looks a lot better and is also kinder on your power supply cables.
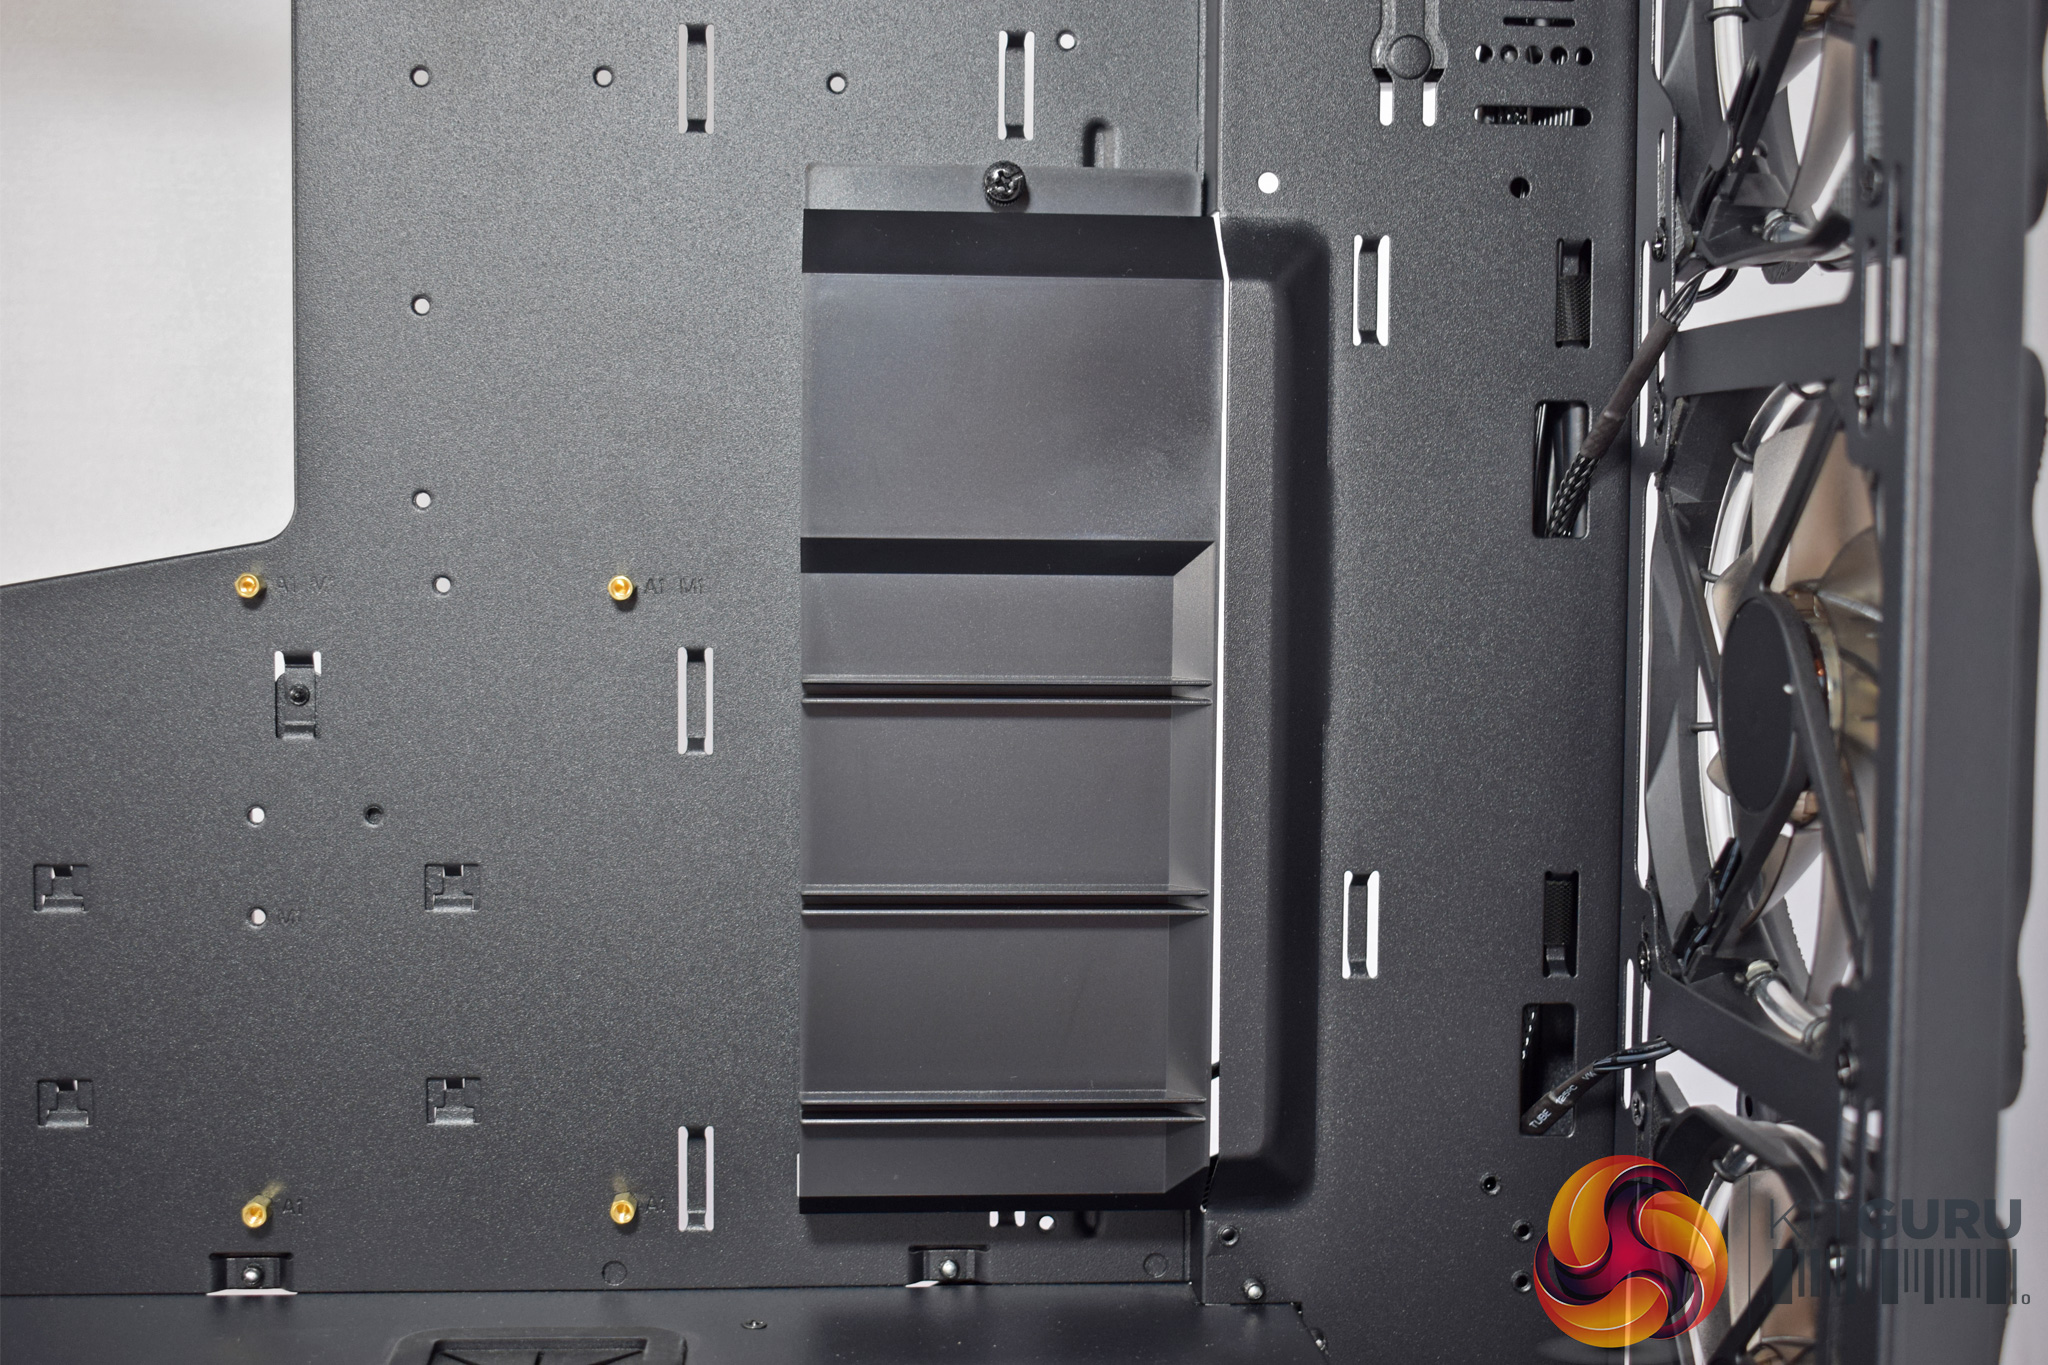
One other interesting feature to point out is the GPU support bracket. The idea is that longer, heavier graphics cards are likely to sag, so adding in a bracket (which should hold the edge of your card) will keep it nice and level. This bracket can be removed, though, as it is only held in-place with a single thumbscrew.
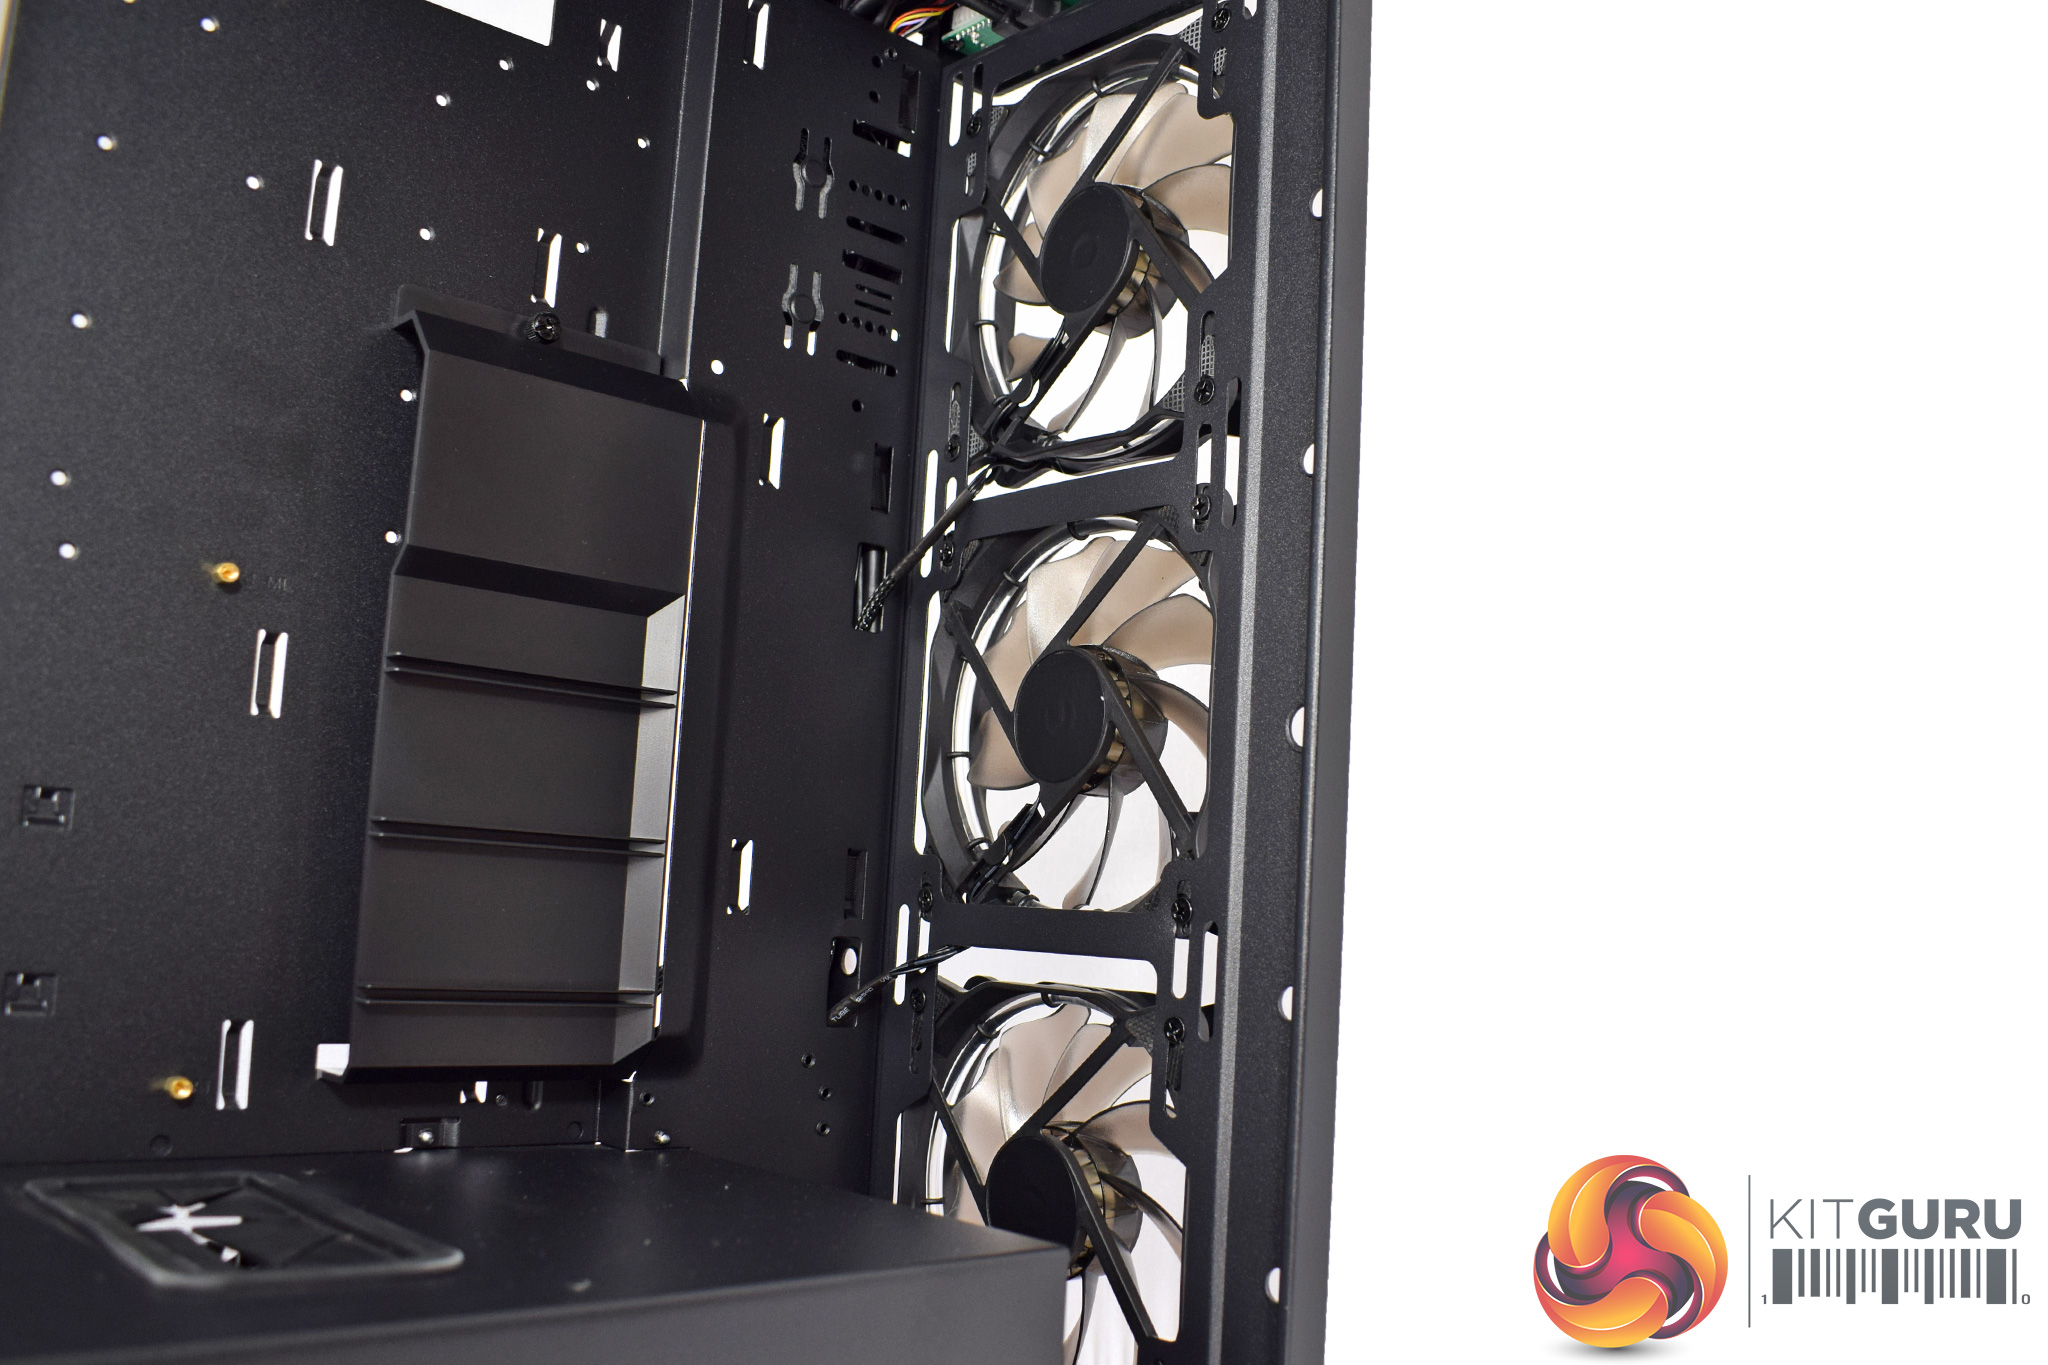
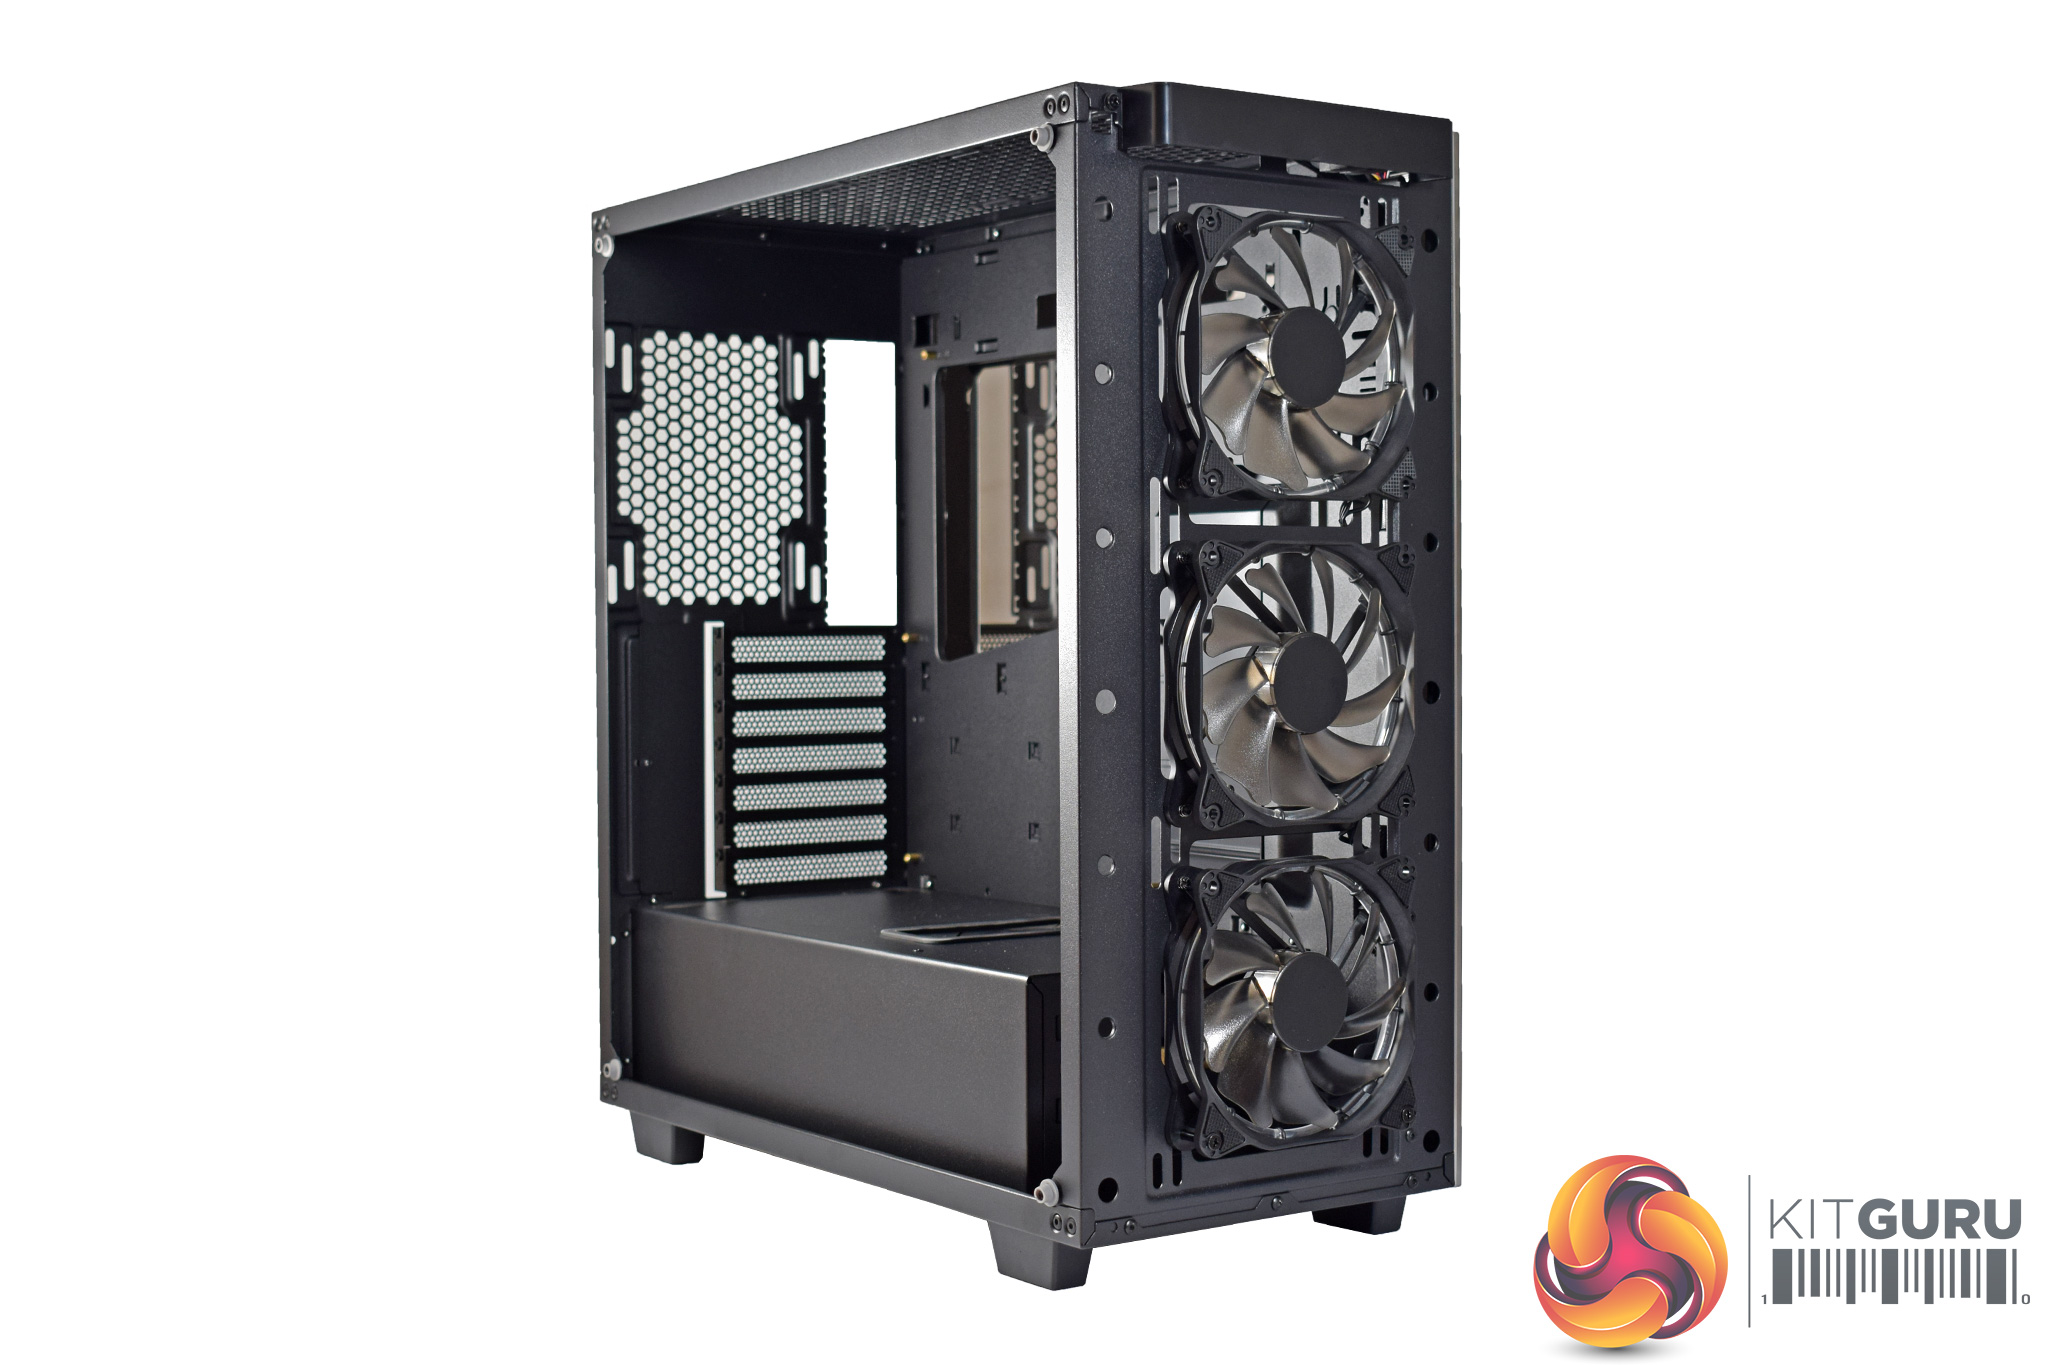
At the front of case, we find 3x120mm fans, pre-installed. These are RGB fans and actually arrived already hooked up to the front-panel fan controller.
The front of the Sapphire RGB is also a great place for a radiator if you are planning a custom waterloop – it can hold radiators up to 420mm (3x140mm) in size, and it looks like you may even be able to fit some 60mm-thick rads in there as well, although Game Max have not actually specified maximum thickness.
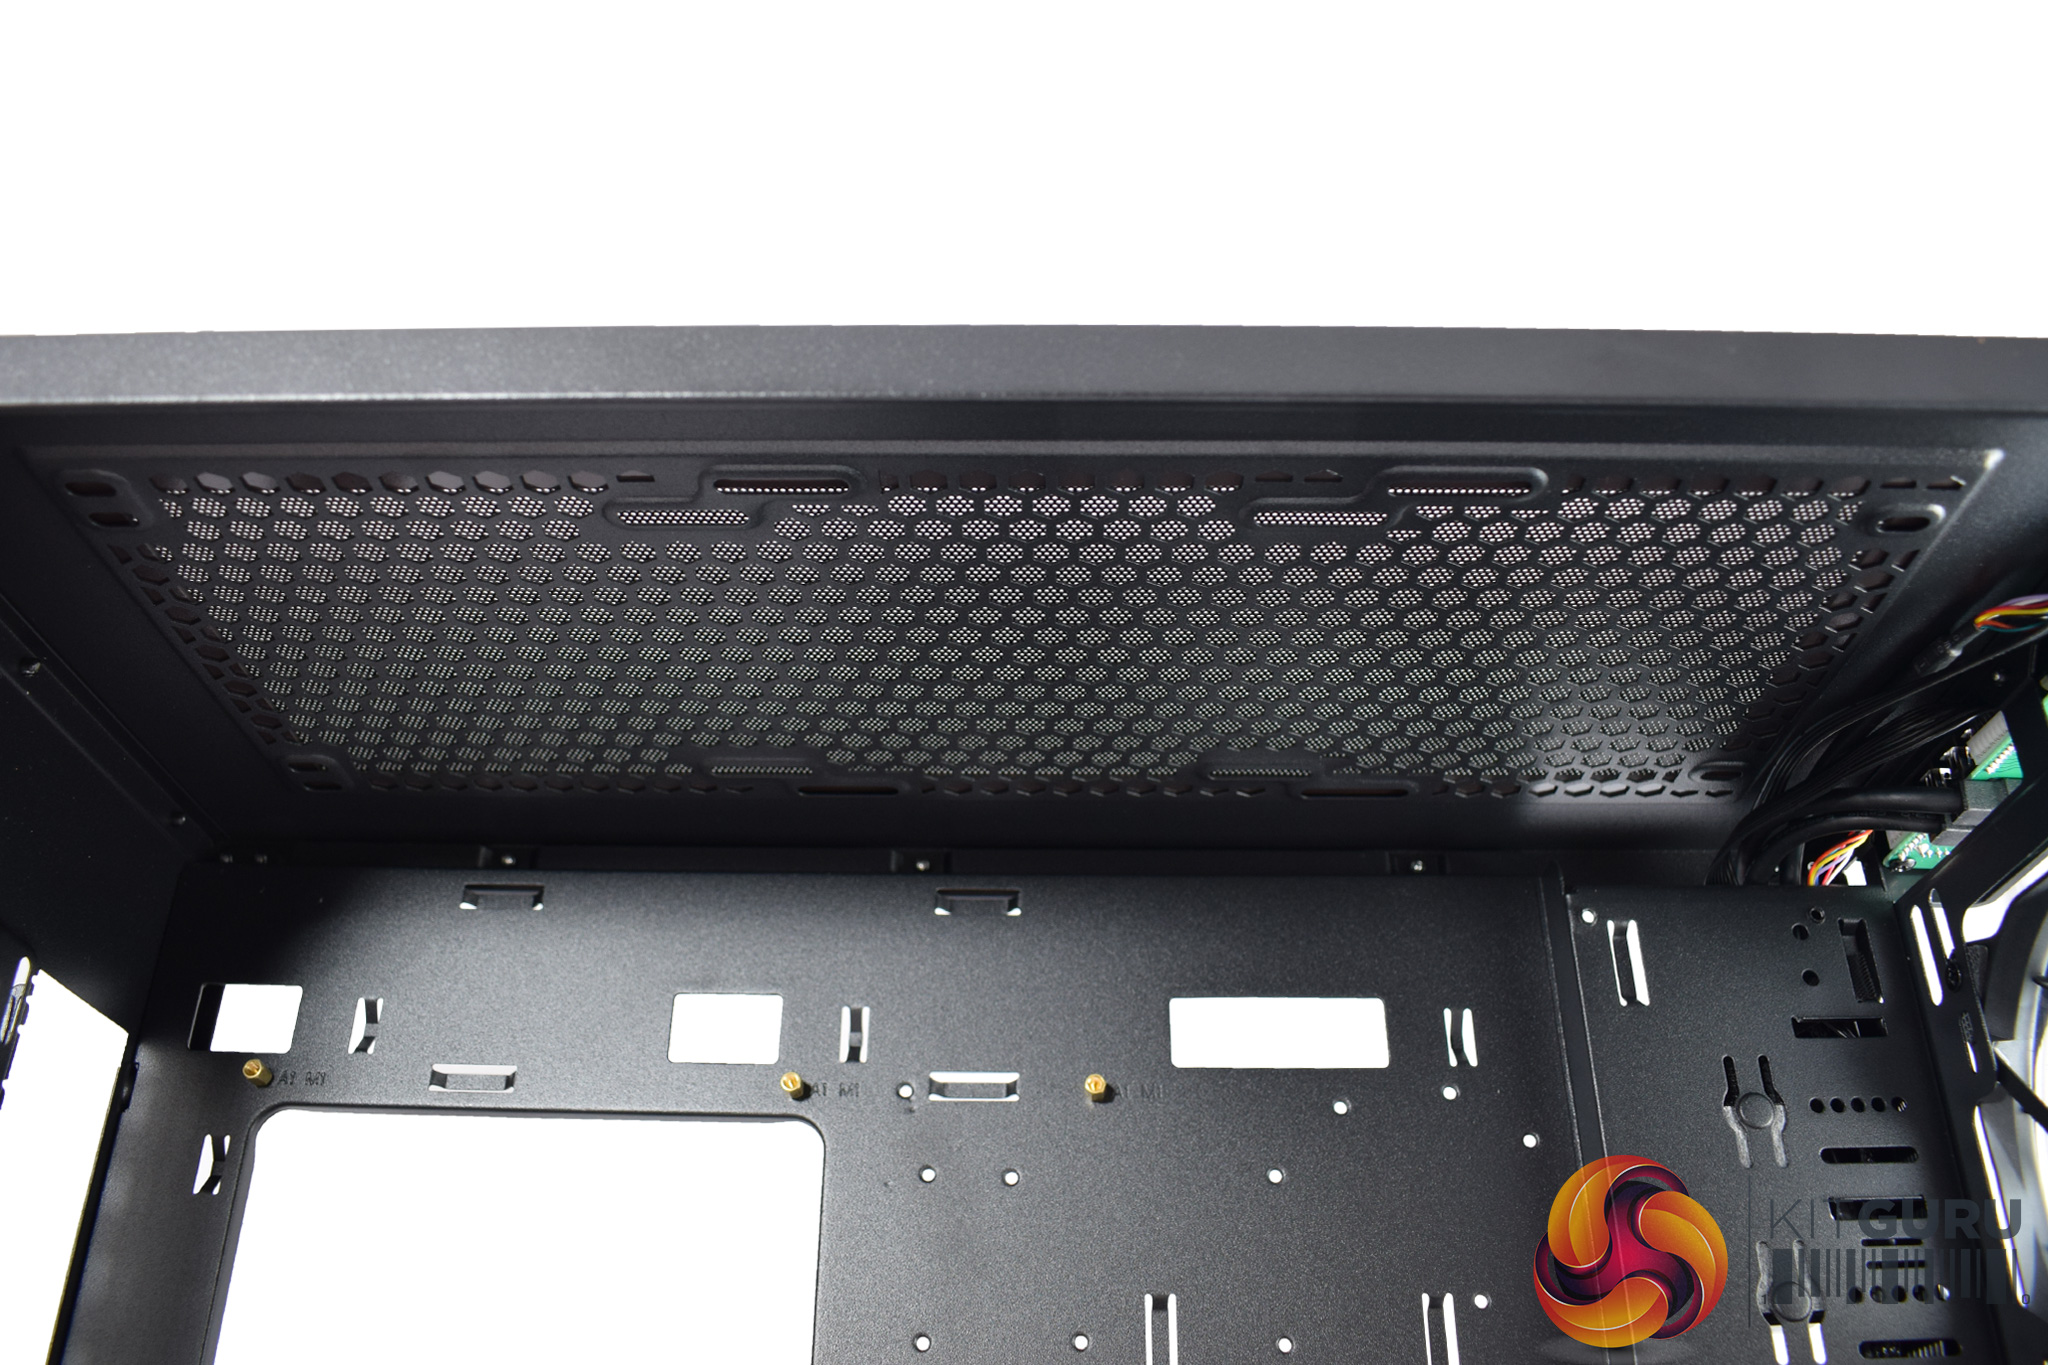
The roof also offers more space for fans or radiators, with 3x 120mm fans, or 2x 140mm, supported. A radiator could also fit up here, though you are restricted to slimmer models (something I learnt the hard way, as you will see on the next page). A 30mm radiator, plus fans, will fit no problem, though.
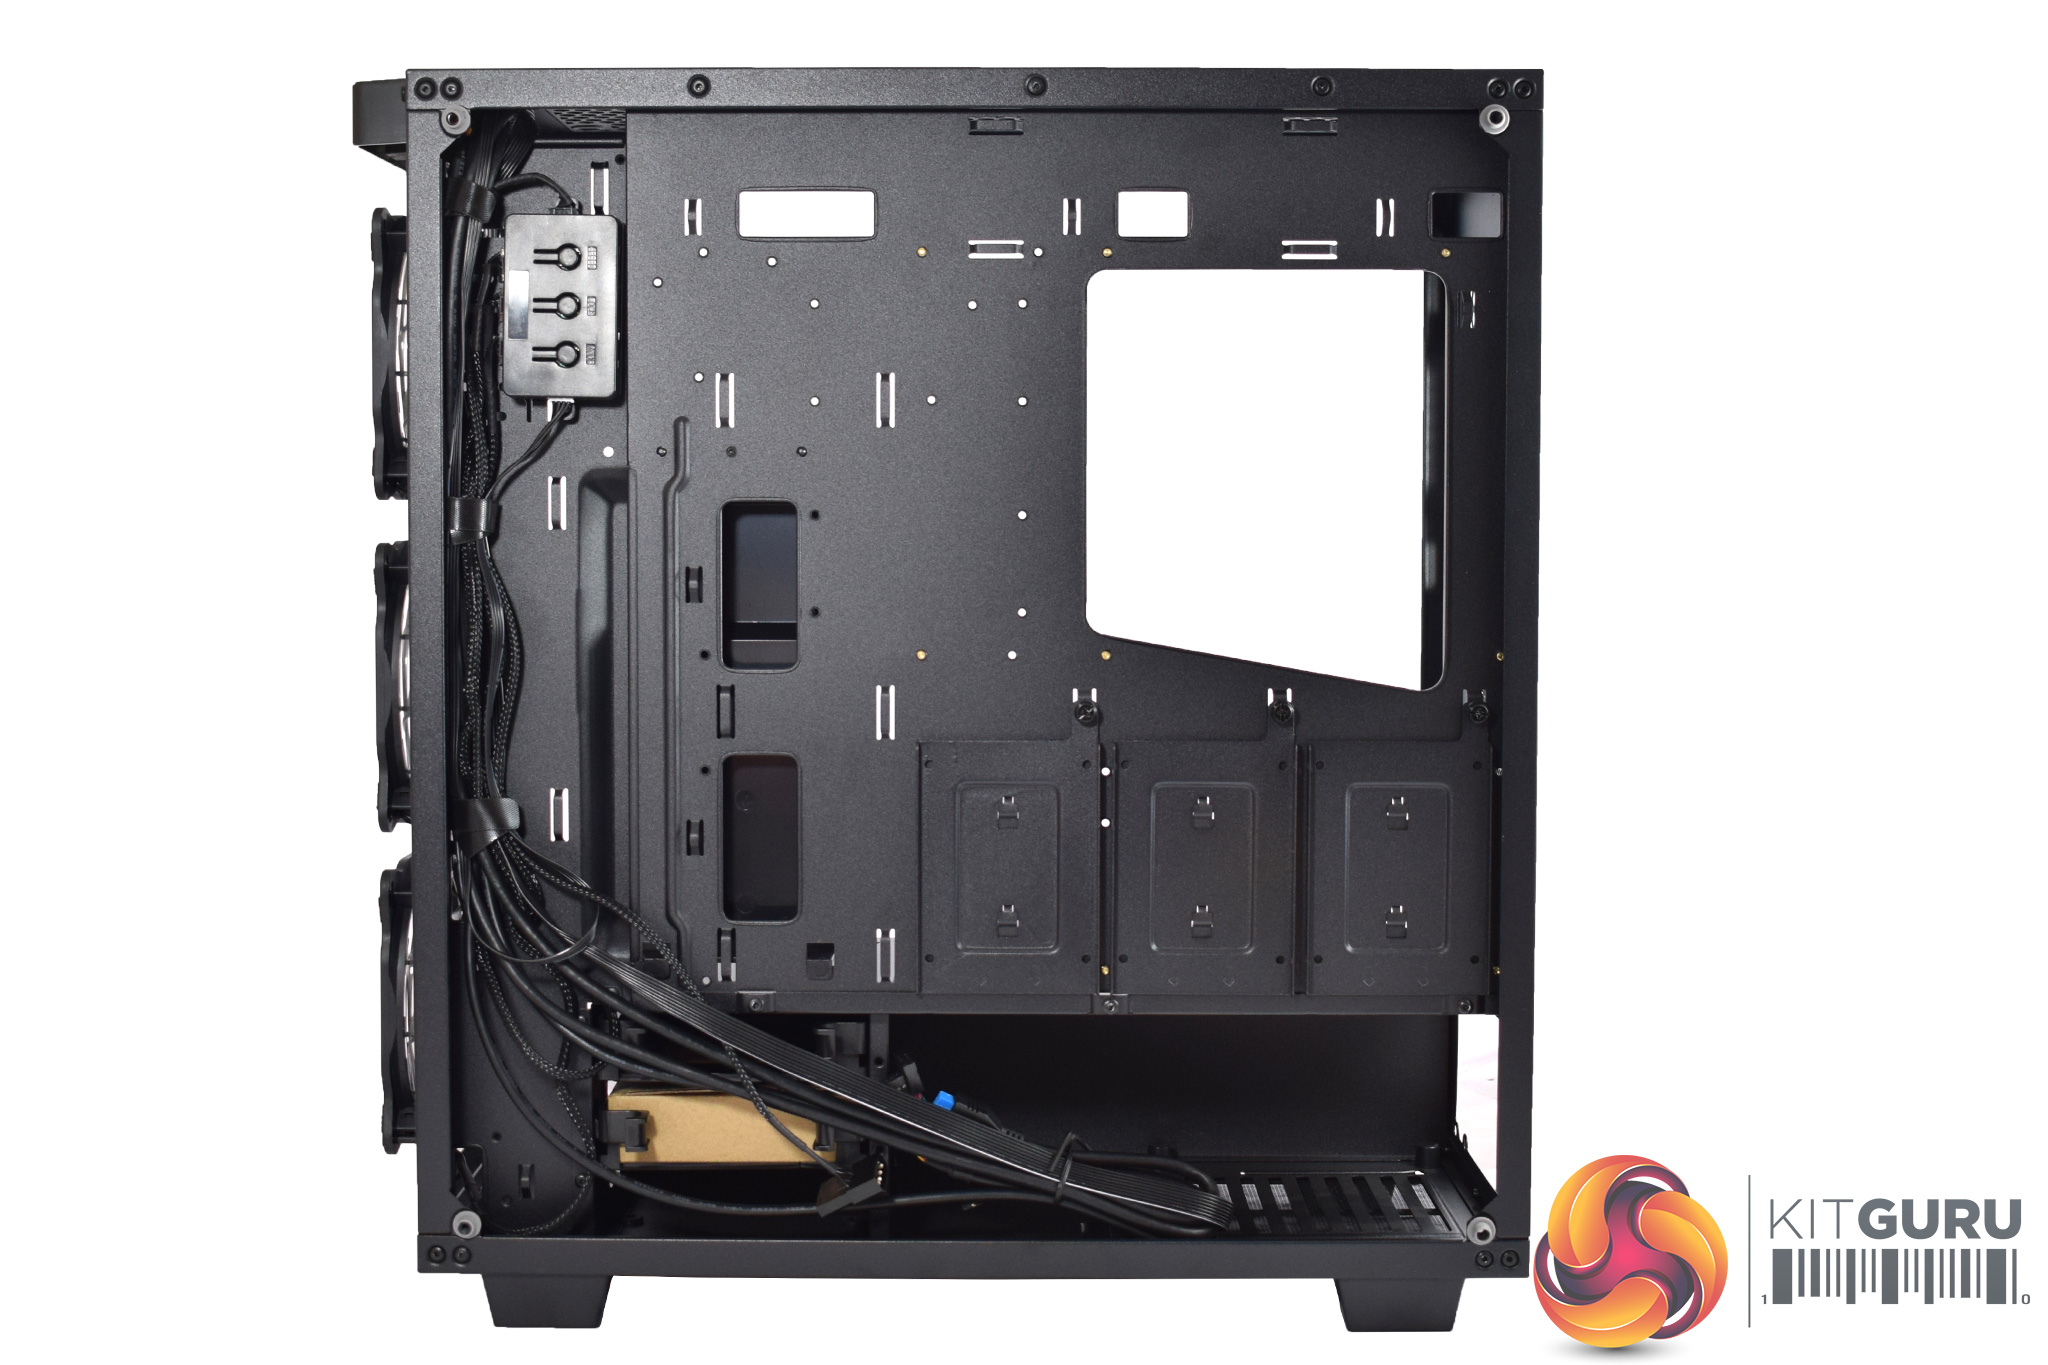
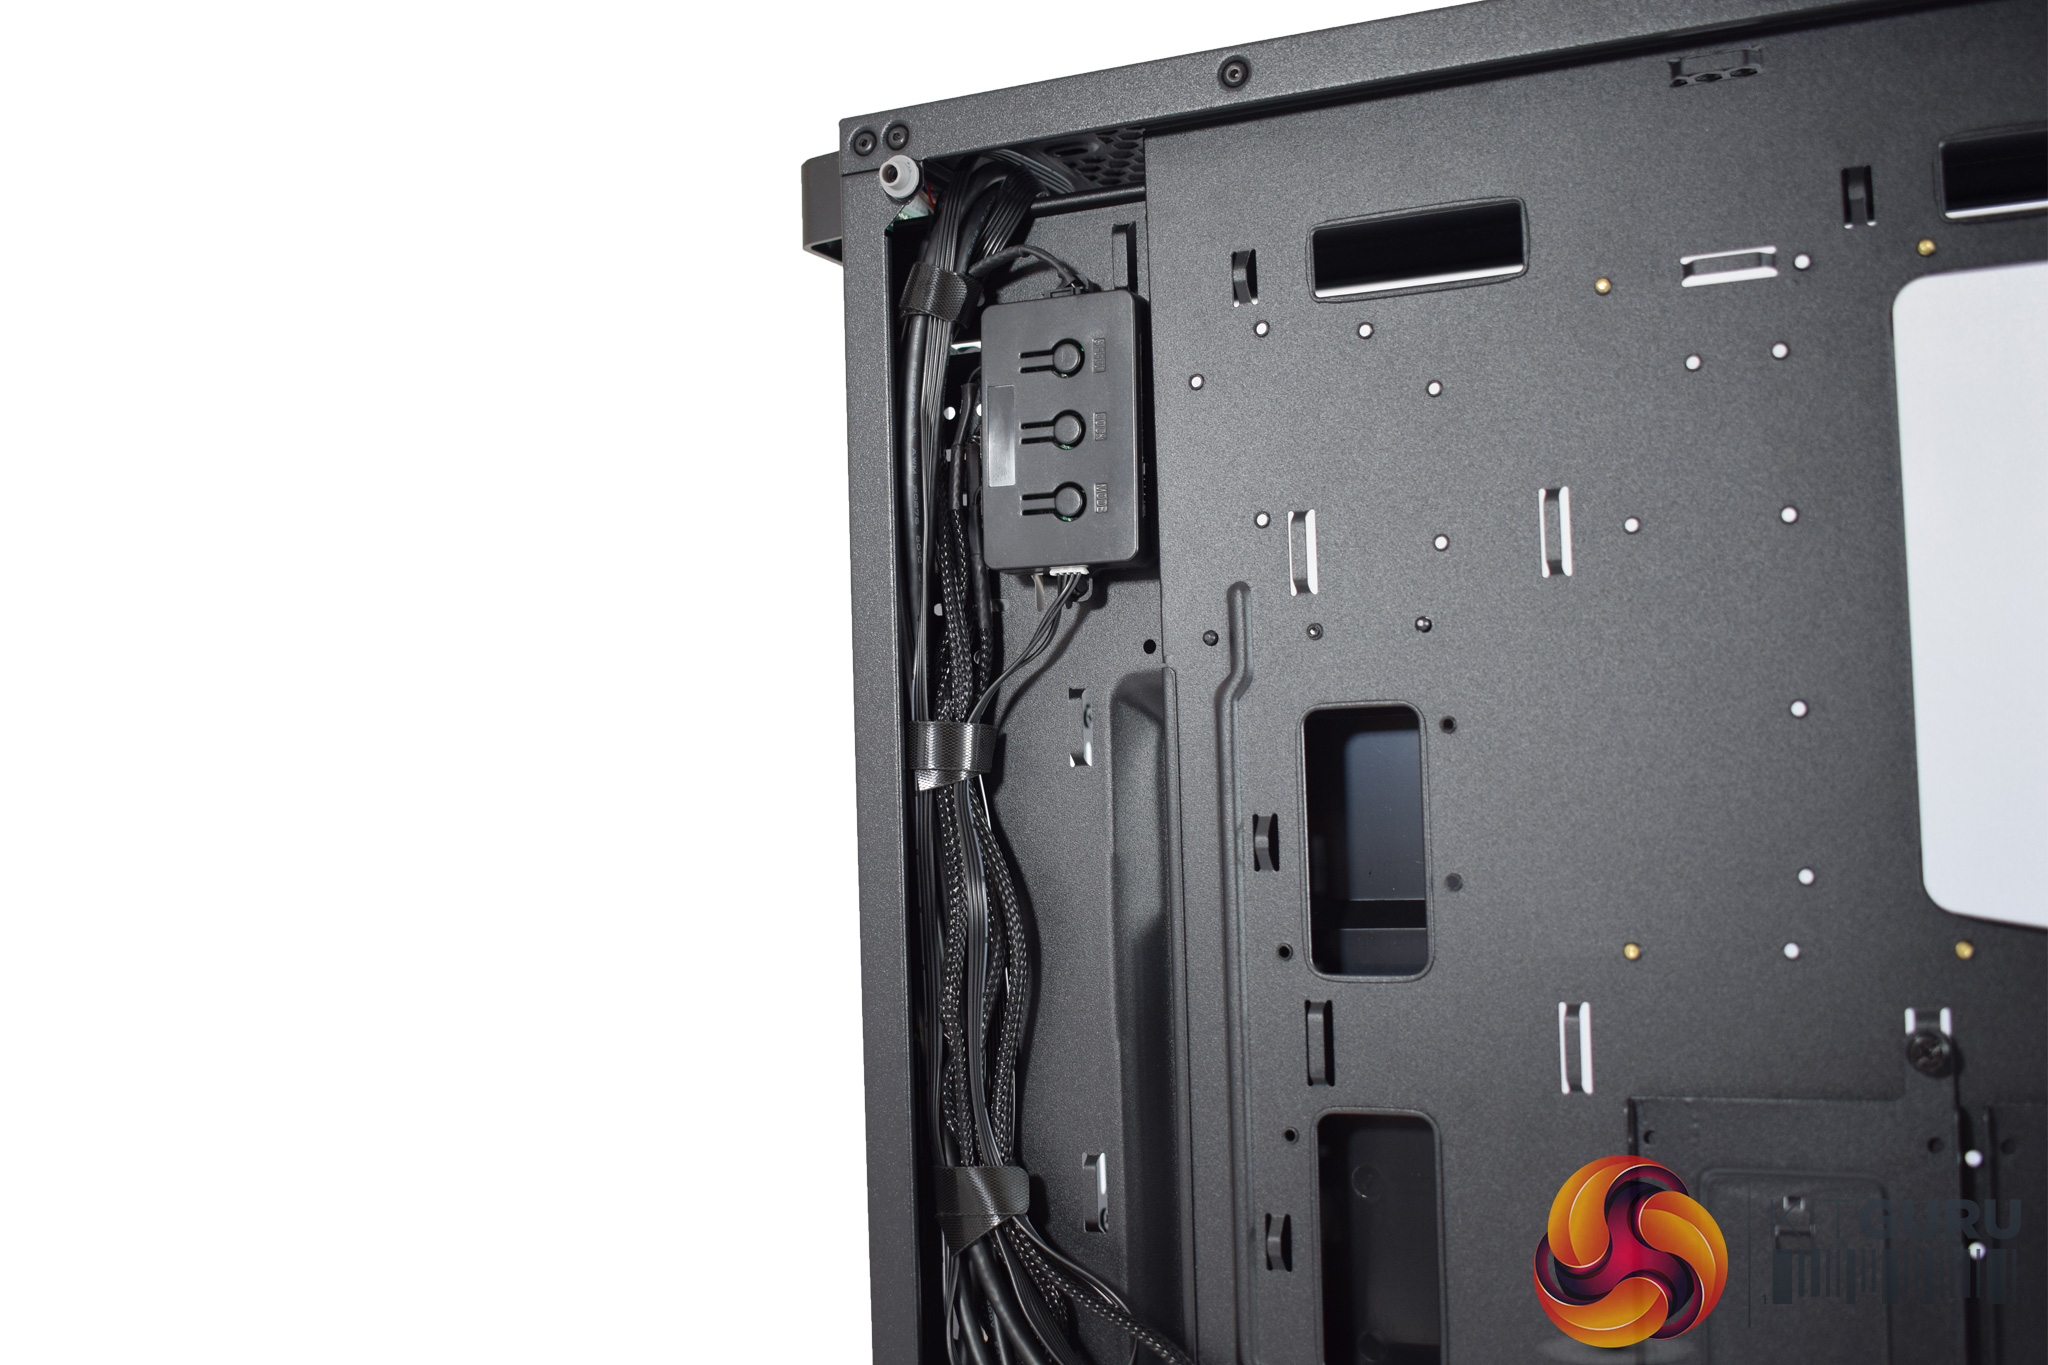
Moving round the back, it is good to see that Game Max has pre-routed the fan and front-panel connectors, and this should help when it comes to building in the chassis. Incidentally, the fan controller can also support up to 6 fans, so you can add your own and still have them controlled from the front panel.
There are also 3 SSD/2.5-in drive caddies positioned behind the motherboard tray, held in-place with a single thumbscrew.
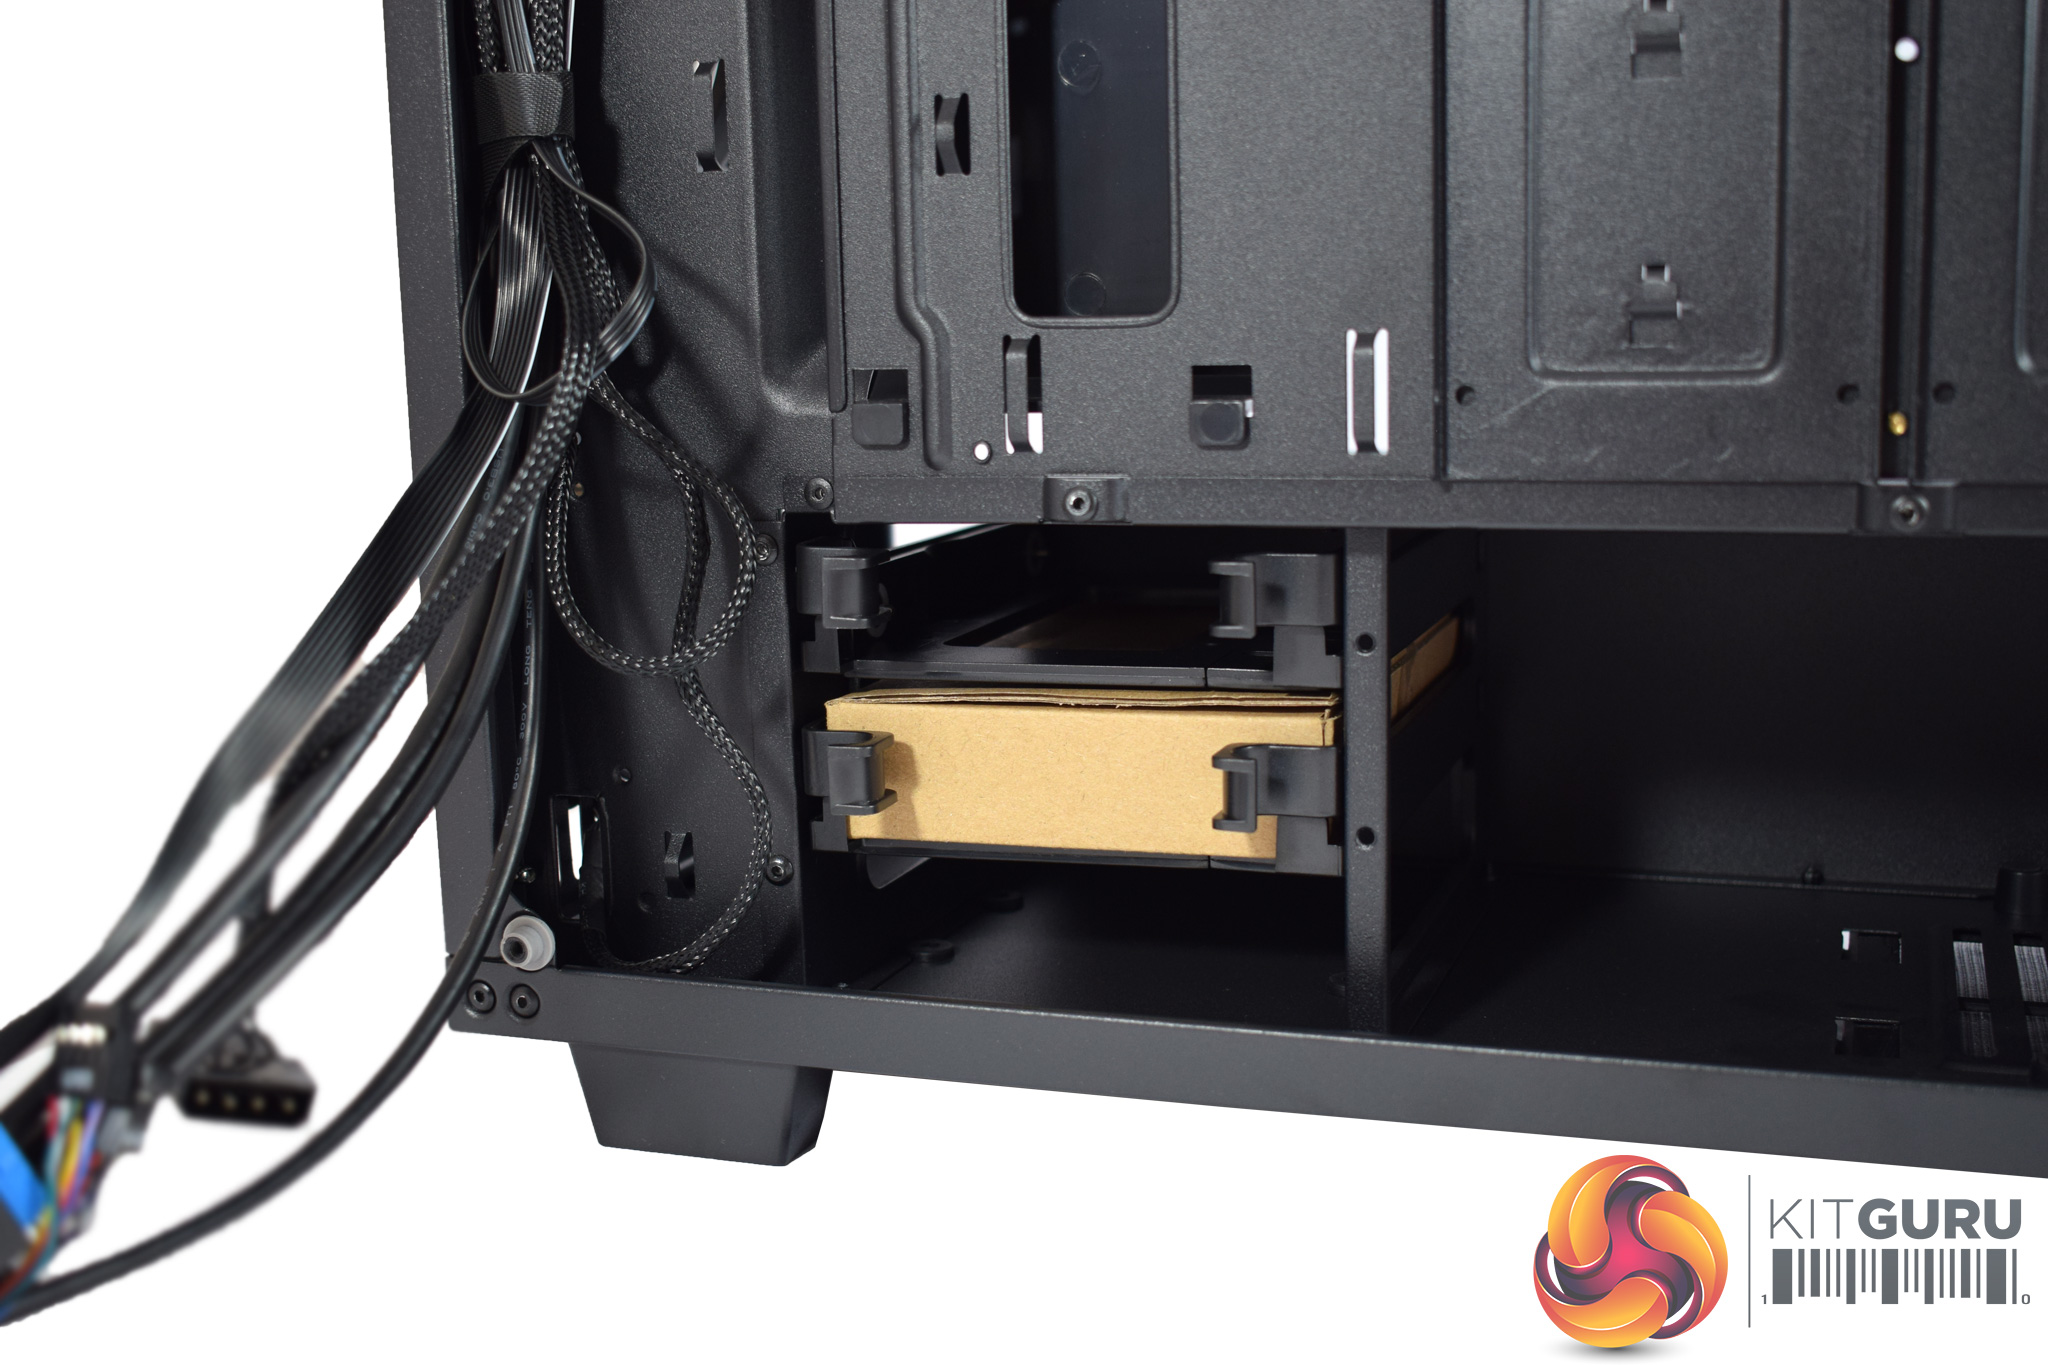
In the bottom-left, underneath the PSU shroud, is a small drive cage, capable of housing 2x 3.5-in HDDs. The drive caddies are easily removable and installation is tool-free, something I always appreciate.
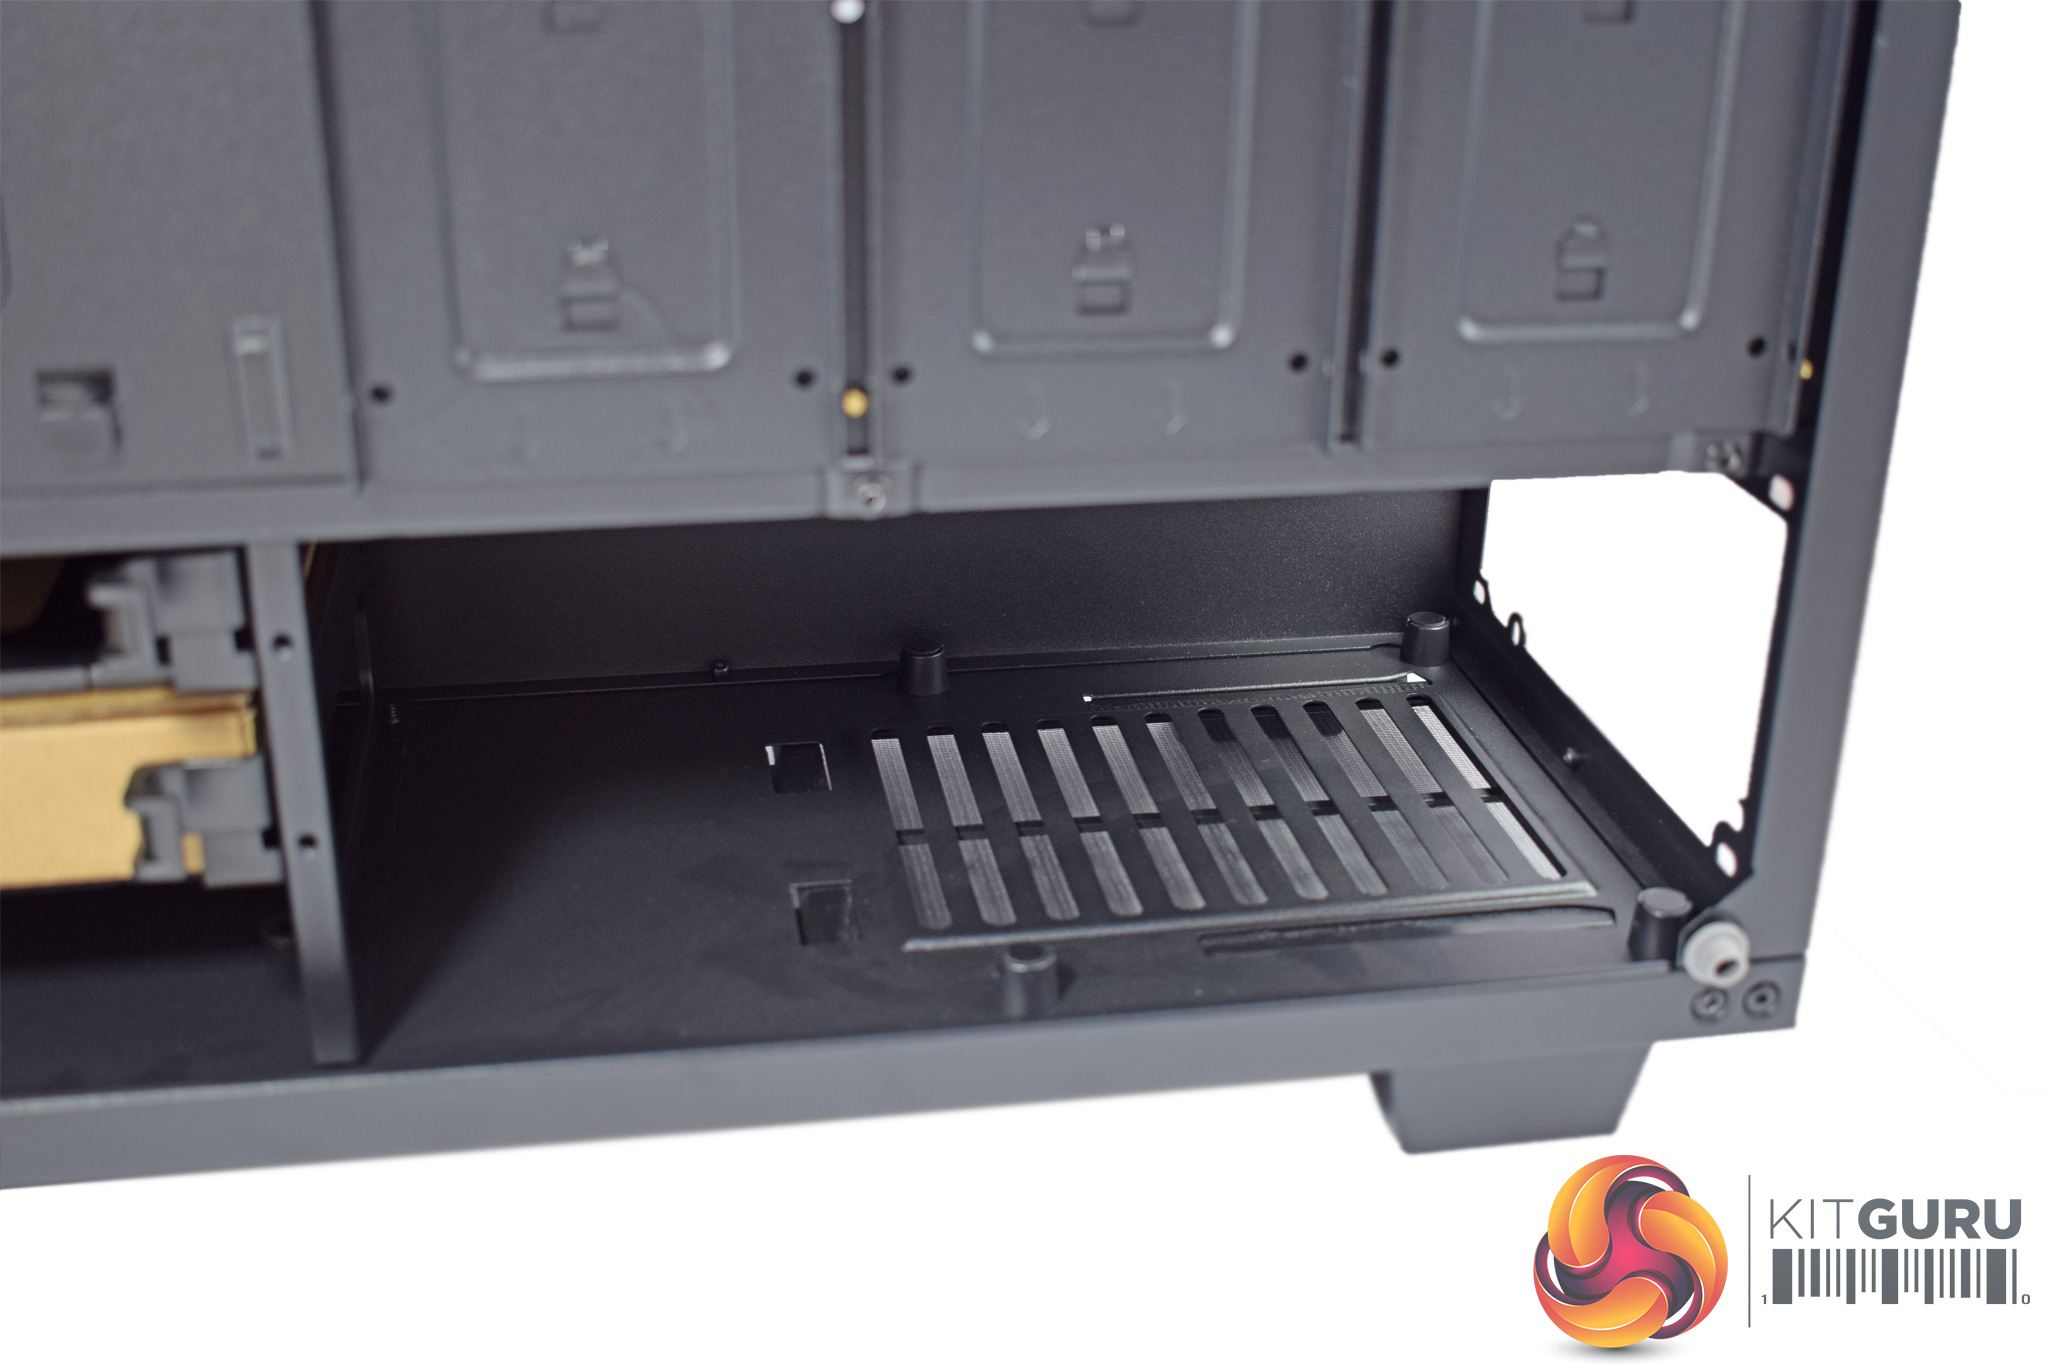
In the bottom-right corner there is also a well-sized PSU dust-filter that can slide out for easy cleaning access.

This suspiciously looks just like the https://youtu.be/WqnvbWySNt4 Coincidence?
Its Worth buying………but would you buy it? “hey isn’t that one of those Game Max cases, my local pc store normally has them for £19.99, how much was it?”. THUD. Seriously you have to decide what end of the market you are aiming for and leaping from weekly special with a thrown in PSU to Phanteks/ Corsair prices, thats crazy.
My last paycheck was $22500 for working 12 hours a week online.Start earning $97/hour by working online from your home for few hours each day with GOOGLE… Get regular payments on weekly basis… All you need is a computer, internet connection and a litte free time… Read more here
!wr189c:
➽➽
➽➽➽➽ http://GoogleFinancialCashJobs189SolutionWork/GetPaid$97/Hour… ★✫★★✫★✫★★✫★✫★★✫★✫★★✫★✫★★✫★✫★★✫★✫★★✫★✫★★✫★✫★★✫★✫★★✫★✫★★✫:::!wr189u:………
Also looks just like the Fractal Design Define series:
https://uploads.disquscdn.com/images/8ccb129268bbebec56e96828904cd47942f6b51e17488cb2d337de962da70655.jpg
When I first saw the article, I thought Game Max must be a system builder. Either Fractal are selling their designs or these other case manufacturers may have a lawsuit on their hands. (Or maybe not, Fractal seems to go for a very generic look by design.)