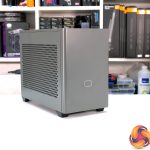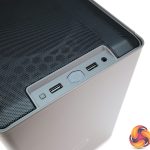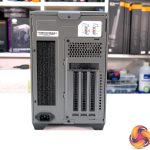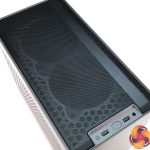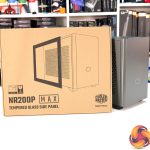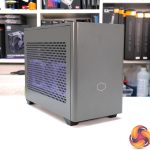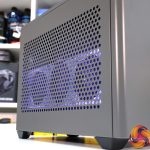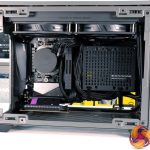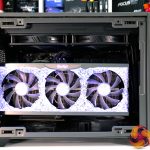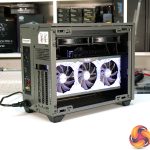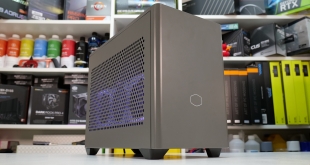
Anyone who owns or has used the Cooler Master NR200P mini-ITX case will think it is near impossible to be improved upon. Well, Cooler Master has other ideas because we've been sent a new, updated version of the MasterBox NR200P and this time Cooler Master isn’t playing around. But can they really improve on the already brilliant small form factor chassis? Surely not I hear you say… well, let’s find out!
Timestamps
Cooler Master's NR200P is one of the best small form factor PC cases currently on the market. The case has already been revised from its original version, the MasterBox NR200 became the NR200P. A tempered glass side panel, custom length PCIe riser cable and two bundled 120mm fans were the difference between the NR200 and NR200P. This time around Cooler Master has gone not one, but many steps further with the brand new MasterBox NR200P Max, there’s even more bundled with the case this time.
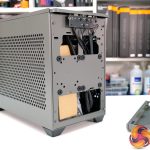
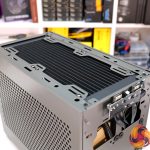
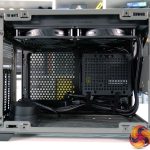
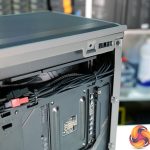
Cynics amongst us (me included) will probably think this is just an NR200P with a 280mm AIO and power supply pre-installed. While that is true, it's not the whole story. Cooler Master has also made changes to the chassis layout, partly to allow for the top AIO installation but also to make life easier for the user when installing a system inside the NR200P Max. The modular design of the NR200P is improved further with a new removable rear panel to aid GPU installation and the storage mounting options have been jiggled around a bit.
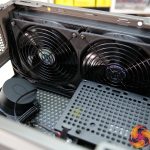
The main changes to the chassis design compared with the previous NR200P include the orientation of the rear panel – there's no horizontal GPU mounting and the power cable plugs in at the base. Previously, fans were mounted to the plastic top panel, in the NR200P Max they mount to the top chassis frame. The side radiator/fan/HDD mounting bracket is gone and 3.5 inch HDD mount has been located on the chassis floor. The motherboard tray sits lower down in the chassis to allow for the roof-mounted AIO and there is limited space for floor-mounted fans.
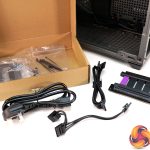
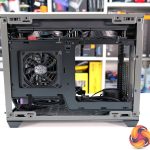
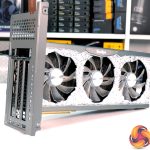
As well as these chassis modifications, Cooler Master includes a custom version of one of its 280mm AIO’s with 3rd generation dual-chamber pump and custom length tubing for optimal routing from the radiator to CPU block. There is also a Cooler Master 850W 80+ Gold rated V850 power supply bundled with the NR200P Max, this is a standard V850 unit but with custom length cables specifically designed for the NR200P Max. Cooler Master also includes a PCIe Gen4 riser cable which will be needed since vertical GPU mounting is the only option in the NR200P Max.
Cooler Master MasterBox NR200P Max Features:
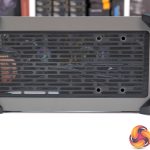
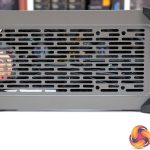
- Vented side panels for optimal airflow allow for vertical GPU mounting without the worry of overheating the graphics card. A tempered glass side panel is included for those who want to show off the inside of their system.
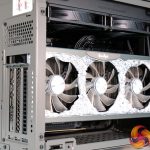
- Compact 18.3L chassis with features of larger form factors, such as versatile 2.5” and 3.5” storage drive mountings, up to 280mm AIO (included) or 2 x 140mm roof-mounted fans. An additional 2 x 120mm slim fans can be floor mounted.
- Designed for high-end small form factor builds with space for up to 336mm long, triple-slot graphics cards. The included 850W power supply and four 6+2 pin power cables provide enough juice to power any current generation GPU.
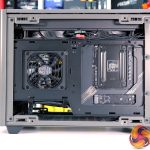
- Building a small form factor system inside the NR200P Max is simplified due to the pre-installed AIO and PSU, meaning cables and tubing are pre-routed saving the installer time. Simply add a motherboard, CPU, memory, storage and a GPU to complete your build.
- A quick install GPU rear panel makes the installation of large graphics cards even easier. The removable floor panel creates unrestricted access to the PCIe riser for fast GPU installation.
- The included premium shielded PCIe Gen4 riser cable ensures complete compatibility with all current-generation PCIe 4.0 specification graphics cards.
- Motherboard tray features a large cutout for easy access to M.2 drives mounted on the rear of ITX motherboards. A vented right-hand side panel means that the rear-mounted M.2 can quickly dissipate heat.
- Modular chassis design with complete panel removal provides the user with almost unrestricted access to hardware components, for improved cable routing. The chassis frame components can be removed for more advanced access for custom builds.
Technical Specifications:
- Dimensions (L X W X H) – 377 x 185 x 292mm (incl. Protrusions), 361 x 185 x 274mm (excl. Protrusions)
- Volume – 18.30L
- Motherboard Support – Mini-ITX, Max. size: 170 x 180mm
- Storage Bays – 1 x 3.5-inch (Max. 2) 2 x 2.5-inch (Max. 3)
- Fan Support – 2 x 120mm / 2 x 140mm (top), 1 x 120mm (max 15mm, with 3.5″ HDD at the bottom), 2 x 120mm (max 15mm, w/o 3.5″ HDD at the bottom)
- Radiator Support – 240mm/280mm (top)
- Max CPU Cooler Height – 67mm
- Max GPU Size – L: 366mm, H: 160mm (inc. power connector) W: 75mm
- Supported Power Supply – SFX, SFX-L
- Warranty – 2 years (Case), 2 years (Thermal Solution), 10 years (Power Delivery)
System Installation
As suggested by Cooler Master, building a system inside the MasterBox NR200P Max is easy. The pre-installed AIO and power supply with tubing and power cables pre-routed slashes a chunk of time off the build process, since mini-ITX motherboards generally speaking have all the main connections in similar positions. However, to ease motherboard installation some cables need to be moved out of the way.
I was genuinely surprised by how quickly I managed to get the system built, but also how much space there seems to be inside this chassis. I often find myself struggling to make connections, cutting myself on sharp panel/chassis frame edges and such like in mini-ITX builds, but this wasn’t the case (excuse the pun) with the NR200P Max. There is ample space to plug in cables, the only slight difficulty was plugging in the EPS power, but this was a minor inconvenience.
GPU installation is very simple too. The removable rear panel disassembles by taking out four screws, the graphics card is then mounted to the panel and installed to the chassis as a complete unit, just be sure to route the PCIe cables before installing the graphics card. The removable chassis floor makes it easy to connect up the PICe riser cable to the GPU too.
The installation consists of building up the motherboard, CPU, memory and any M.2 storage drives out of the case and then screwing the board into the chassis. Connect up power and front panel cables to the motherboard, install and connect power to the graphics card, then it's just the simple task of re-fitting the case panels and you have a complete small form factor build.
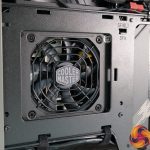
It is worth noting that even though Cooler Master states that only slim 15mm thick fans can be installed on the chassis floor. I found that with the hardware configuration I used in this review, I could fit a full size 25mm thick, 120mm diameter case fan on the right-hand side of the chassis floor under the PSU, but only a 15mm slim fan could fit below the graphics card and riser cable.
System Specification:
- CPU: AMD Ryzen 9 3900XT
- Motherboard: B550i Aorus Pro AX
- Memory: 32GB kit (2x16GB Modules) Corsair Dominator Platinum RGB DDR4-3600
- Graphics: Palit GeForce RTX 3070 Game Rock
- 1st Storage Device: 500GB Corsair MP600 PCIe Gen4 NVMe M.2 SSD
- CPU Cooler: Stock Cooler Master 280mm AIO
- Power Supply: Stock Cooler Master V850
- Case: Cooler Master MasterBox NR200P Max
- Operating System: Windows 10 21H1
Thermal/Noise Performance Testing
To simulate thermal demand we run the Cinebench R23 multi-thread benchmark and Heaven Benchmark simultaneously in a loop for 30 minutes to fully load the system. This should give the CPU and GPU enough time to reach constant steady-state temperature. With this data, we can compare how the system handles the thermal demand and measure peak noise levels.
We first measure the thermal performance with the case in its default configuration, so all exterior panels are installed and fans in the default locations. The system is then left to fully cool down before changing configurations to measure how the change affects thermal performance and noise output.
During testing, only stock case fans are used unless otherwise specified. All water pumps are set to maximum RPM and fans are set to a fixed RPM by the Motherboard software/BIOS. Fan speeds will be specified in the charts. Any additional case Fans will also be set to a fixed RPM.
All temperature measurements are presented as Deltas – meaning the ambient temperature has been deducted from the CPU temperature giving us a Delta. Data shown in the charts represent the average component temperature over the length of the test as measured by HWiNFO and then calculated to get the average. Ambient temperature during thermal tests is between 22-24⁰C.
Noise levels are measured by placing a noise meter 300mm from the front of the chassis while the stress test is running and the peak noise level during the test is recorded. The noise floor (ambient noise level) in the room is 36dBA.
Thermal Performance Overview
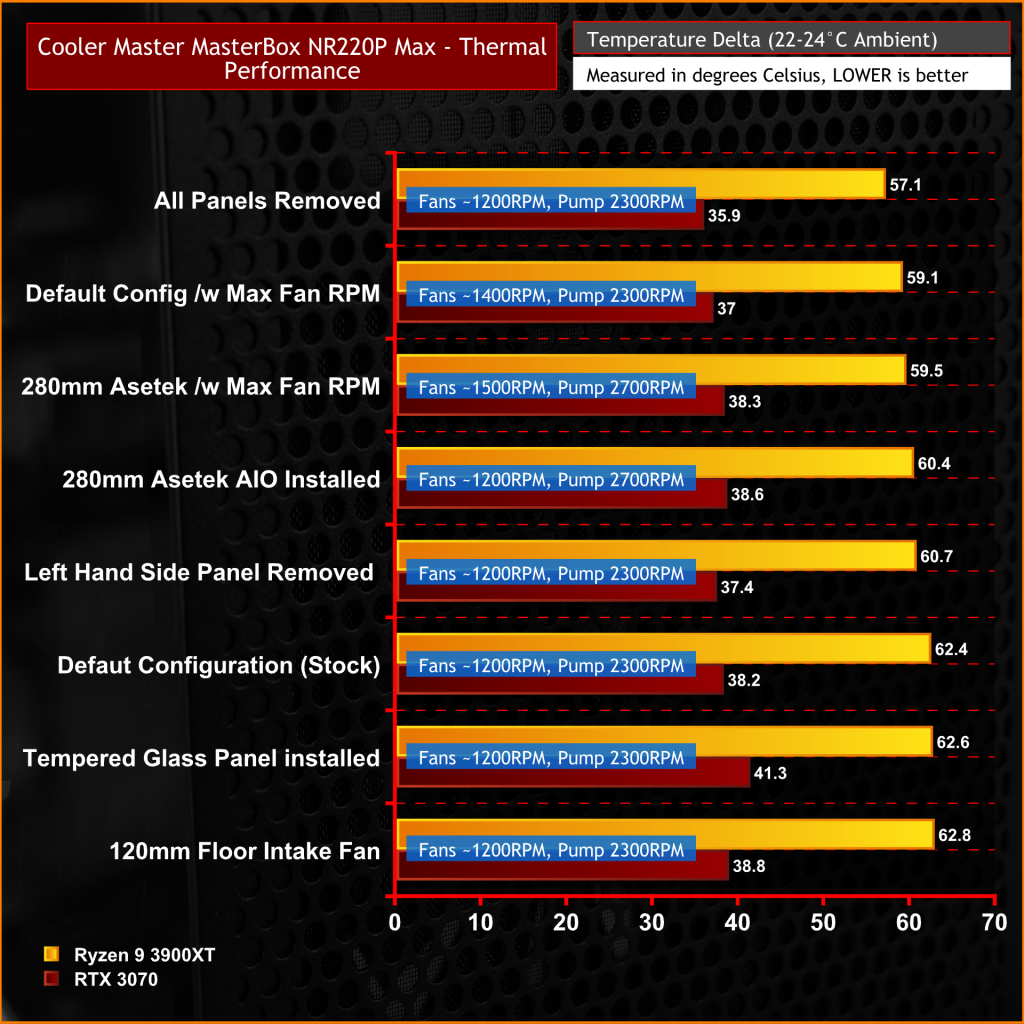
Unsurprisingly the thermal performance of the Cooler Master MasterBox NR200P is at its best with all outer panels removed, but no user would wish to run the case like this for obvious reasons. However, after testing the case in various other configurations and with an alternative Asetek 280mm AIO installed, we found that the default configuration with the Stock Cooler Master AIO was probably optimal.
I wasn’t blown away with the thermal performance but with our high spec system installed inside this tiny chassis, the CPU temperature is well within AMD’s spec and GPU temperature was perfectly acceptable. In actual fact with the vented side panel installed, GPU temperature was quite impressive, although heat soak from the GPU does affect CPU temperature using the roof-mounted AIO.
Noise levels Under Load
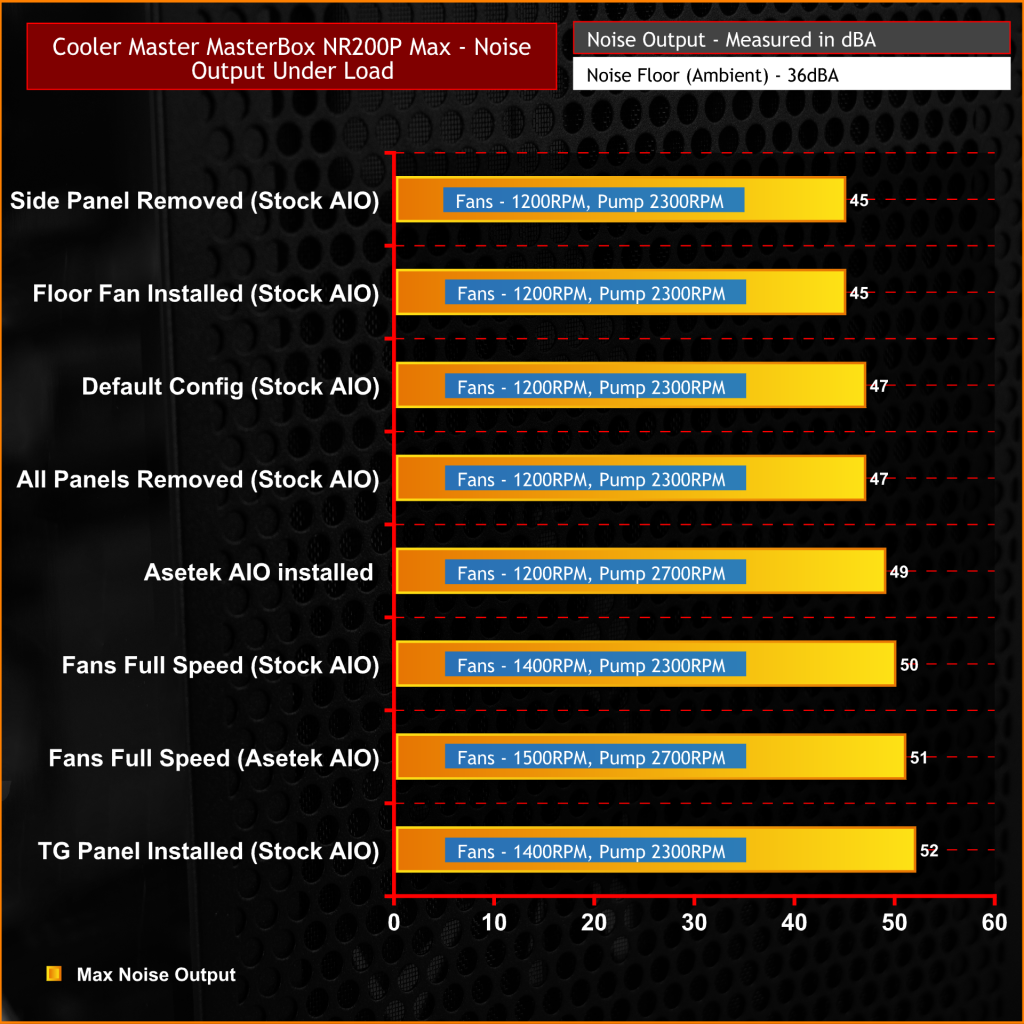
At idle the system is whisper-quiet, we didn’t measure idle noise levels as it was below our noise floor range so impossible to measure. In most configurations with the fan speed at 1200 RPM, noise levels were comfortable and not distracting.
As we usually find with case noise tests, when the panels are removed it actually makes the system quieter as the GPU fan will not need to ramp up as much to keep the temperature under control, but in the default case configuration noise levels are perfectly acceptable.
Closing Thoughts
When the original Cooler Master MasterBox NR200 launched it was a very good small form factor chassis, the arrival of the NR200P and its revisions made it great. I’m not sure the MasterBox NR200P Max is an improvement in terms of thermal performance over the NR200P but it certainly makes the task of installing a system quicker and more user friendly since Cooler Master has already done some of the hard work for you.
It really is a breeze installing a system in the NR200P Max, this build was by far the quickest small form factor build I have ever done and it was an enjoyable experience too. Usually, there are parts of a small form factor build that can be annoying like routing and managing cables, installing graphics cards and CPU coolers in the tight spaces etc, not with the NR200P Max. It is uncanny how there seems to be so much space inside such a small chassis.
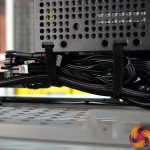
Even with the system installed there are gaps and paths for airflow, cables neatly route around the PSU shroud to get to where they need to be. Cable length seems perfect for the EPS power, 24-pin and PCIe, the modular power supply allows any unused cables to be removed and you are not left with an excess of cable that needs to be bundled up or hidden away which is difficult when space is at a premium.
You can see that there has been a lot of thought put into the design of the NR200P Max when you build the system. As well as the cable length, the AIO tubing is the exact length needed to route around the power supply and to the motherboard CPU socket. Storage drive mounting options are ideal too, up to three 2.5-inch drives or a combination of two 2.5-inch and 3.5-inch drives can be installed together without compromising on GPU size etc.
The only thing I wasn’t blown away with was the NR200P Max thermal performance. However, it wasn’t poor either since it was able to cope with the thermal load of a high end 12-Core AMD CPU and an RTX 3070. I have seen ATX form factor cases struggle with heat from this kind of high-end hardware configuration before. Throughout our testing, the CPU never throttled due to overheating and was always well within AMD’s spec.
It would be interesting to do a side by side thermal test using the exact same hardware specification in the original NR200P to see how the Max compares. But at the time of writing, I didn’t have an original NR200P on hand, maybe we will save that one for another day.
But, overall I am mightily impressed by the NR200P, the package price of almost £320 might put some buyers off but when you factor in what it would cost you to buy a case, AIO and power supply separately, and the difference in price between a PCIe 3 and Gen4 cable (which is included with the NR200P Max) it actually turns out to be pretty good value, saving approximately £40.
The package works exceptionally well together, a 280mm AIO is good enough to cool any mainstream desktop CPU and the included V850 Gold rated power supply will power any consumer graphics card on the market. I would like to see Cooler Master offer the NR200P Max chassis as a standalone product, so users have more choice of the type and size of cooler and power supply to tailor the system to their needs. But as a whole package, it is brilliant.
The Cooler Master NR200P Max is currently available to order exclusively through Scan.co.uk in the UK, priced at £319.99 HERE.
Pros:
- The Pre-installed AIO and PSU speed up build time.
- PSU custom cable length is great for neat cable management.
- Surprisingly spacious.
- Good Storage drive mounting options.
- Stock 850W PSU will handle anything you can throw at it.
- PCIe Gen4 riser cable included.
Cons:
- CPU cooler Airflow may be compromised by the GPU heat soak.
- Could be a little over-priced for the average enthusiast.
KitGuru: I would love to see Cooler Master offer the case as a standalone product so you can put in your own CPU cooler and PSU, but if you buy the MasterBox NR200P Max as the complete package, you will not be disappointed.
Be sure to check out our sponsors store EKWB here
 KitGuru KitGuru.net – Tech News | Hardware News | Hardware Reviews | IOS | Mobile | Gaming | Graphics Cards


