

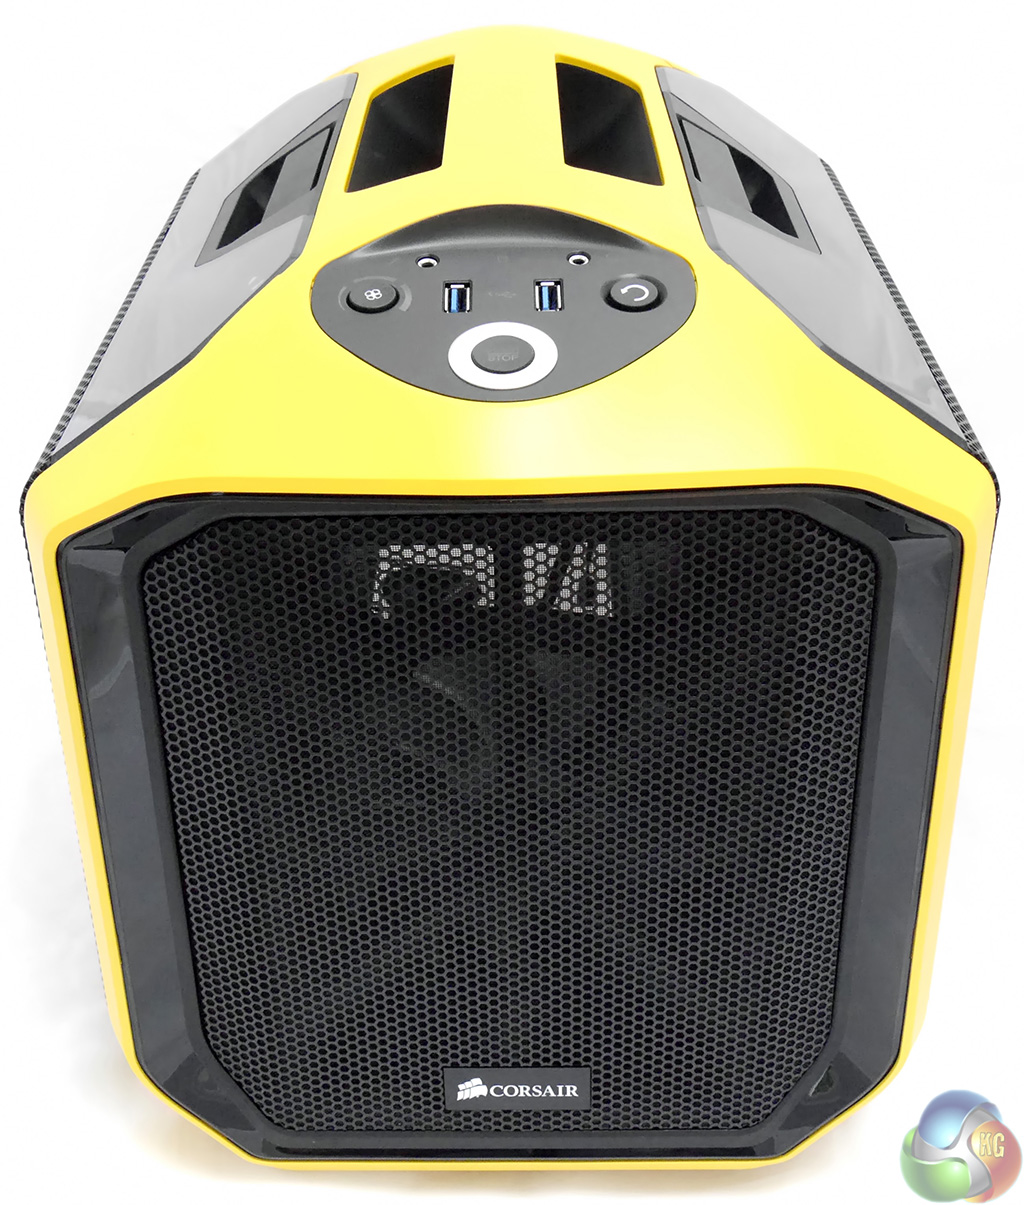
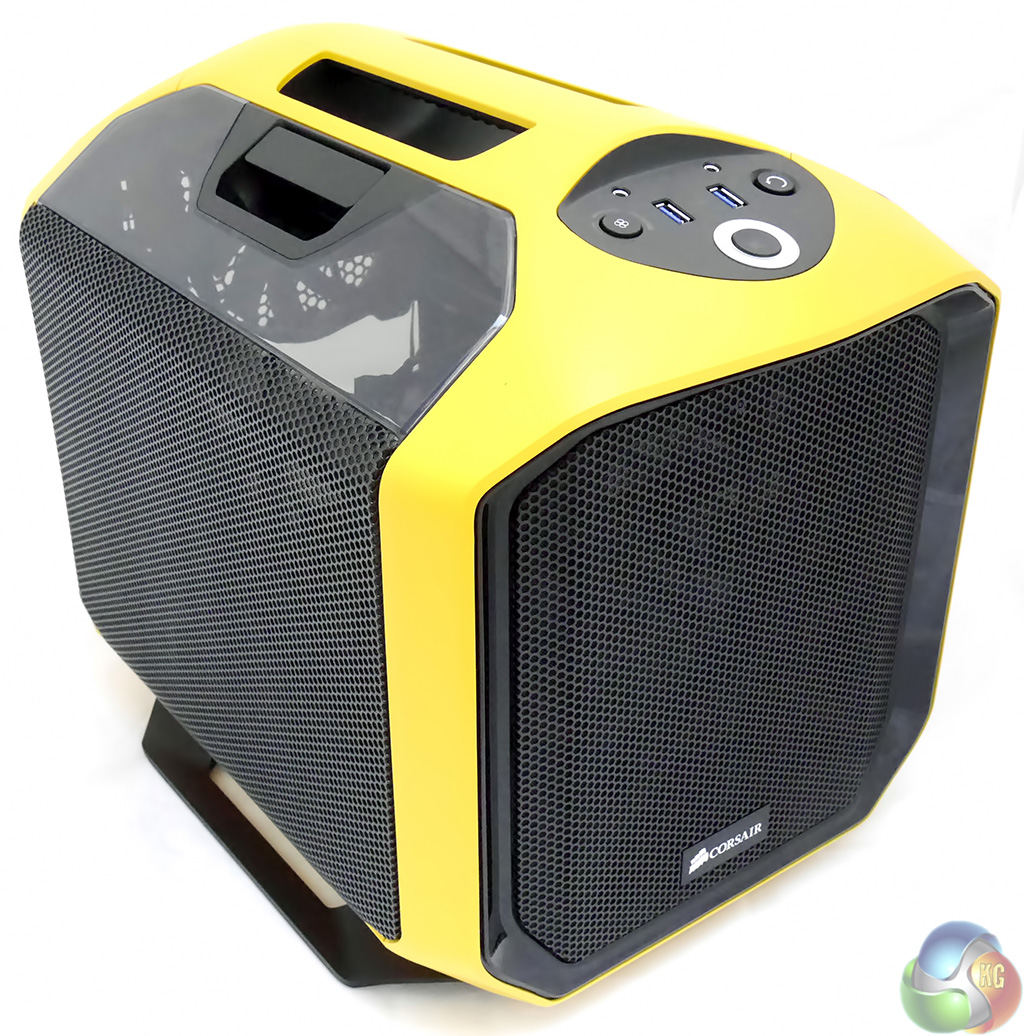
The front of the Corsair Graphite 380T is heavily perforated to assist airflow through the case. It would be more accurate to say ‘entirely perforated' as the illuminated 140mm front fan is clearly visible through the mesh panel. You will note there are no optical drive bays.
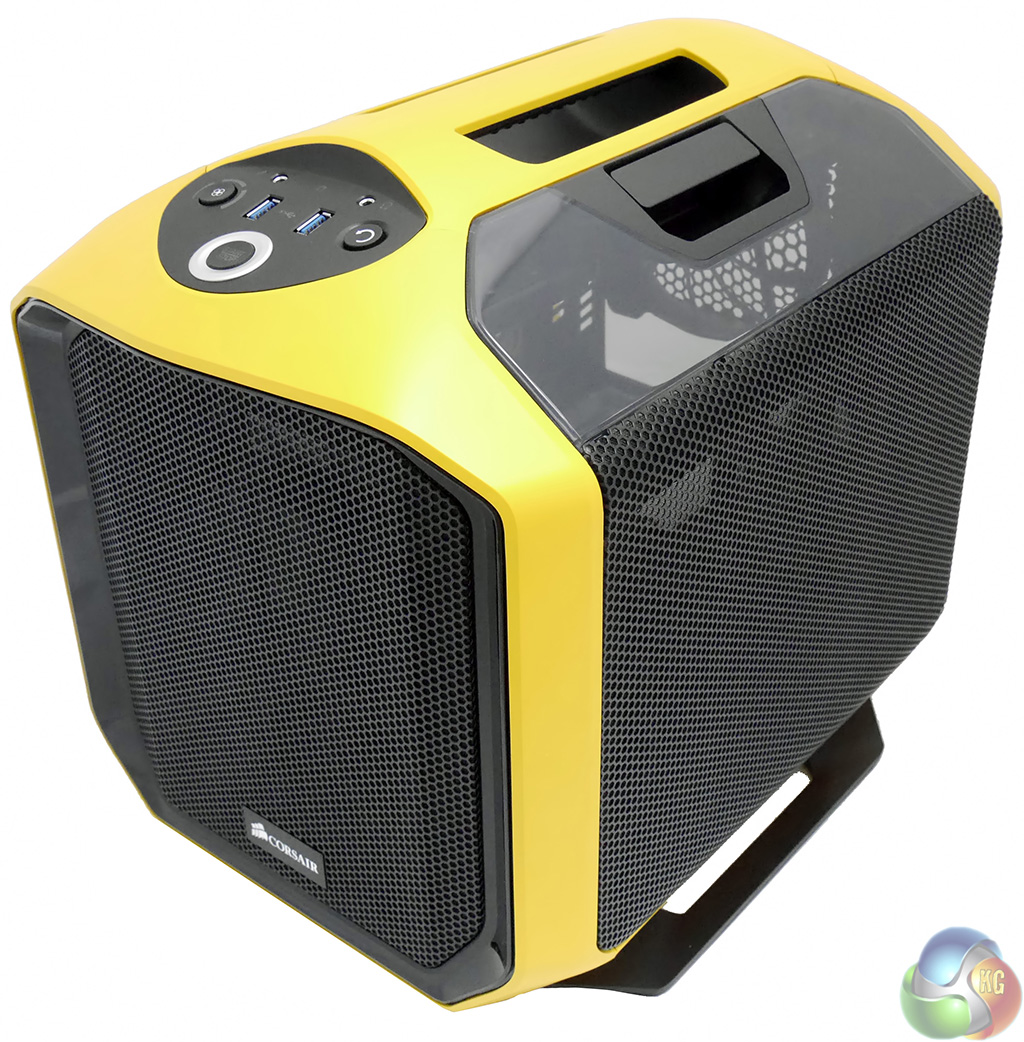
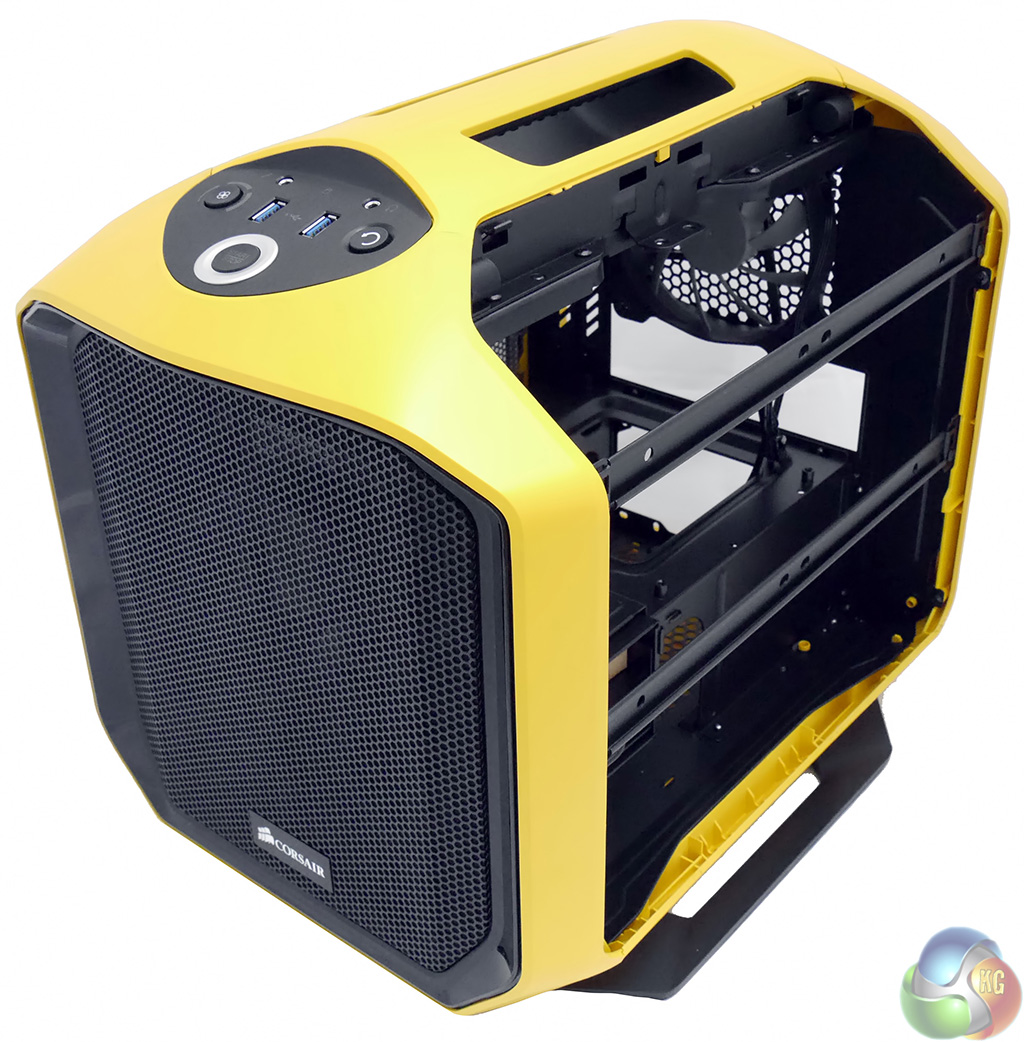
Both of the interchangeable side covers are perforated and held in place with a latching handle. This gives instant access to the innards however you need to take a certain amount of care when you replace a cover to ensure it sits correctly in place, otherwise it won't be locked securely in position.
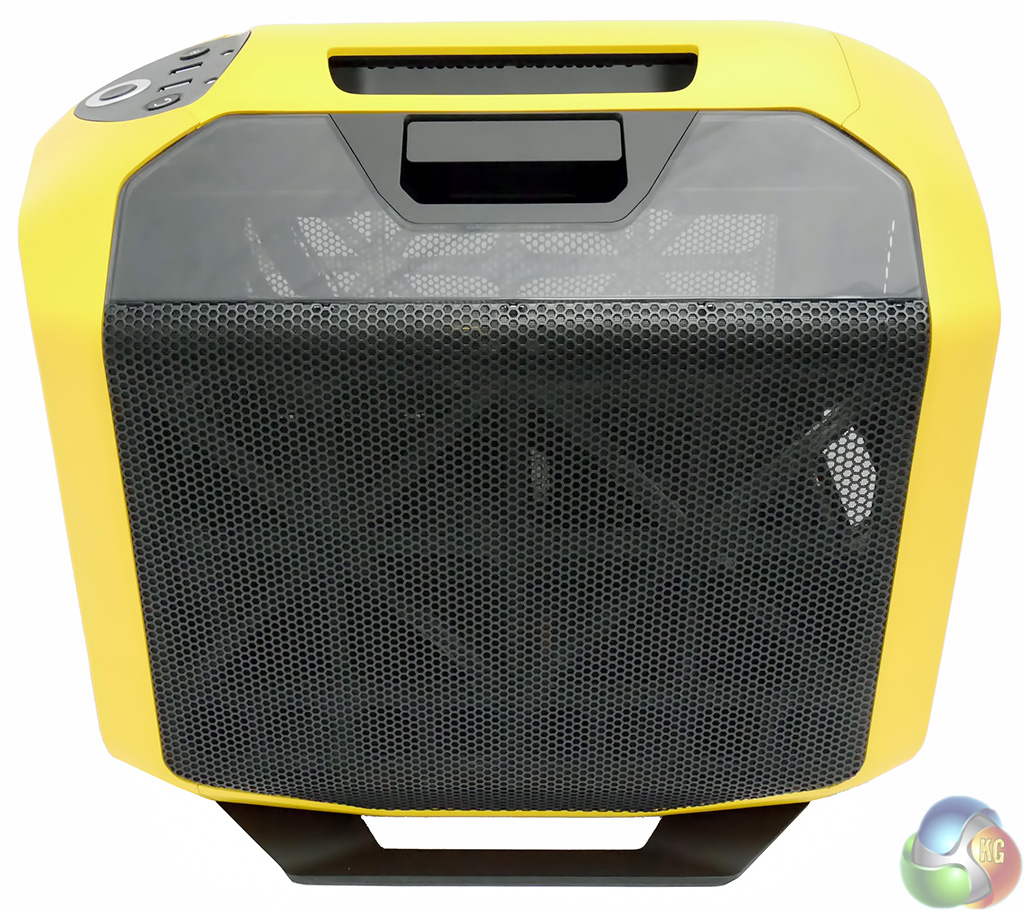
When you look directly at the side panel you can see just how much emphasis Corsair has placed on airflow i.e. plenty.
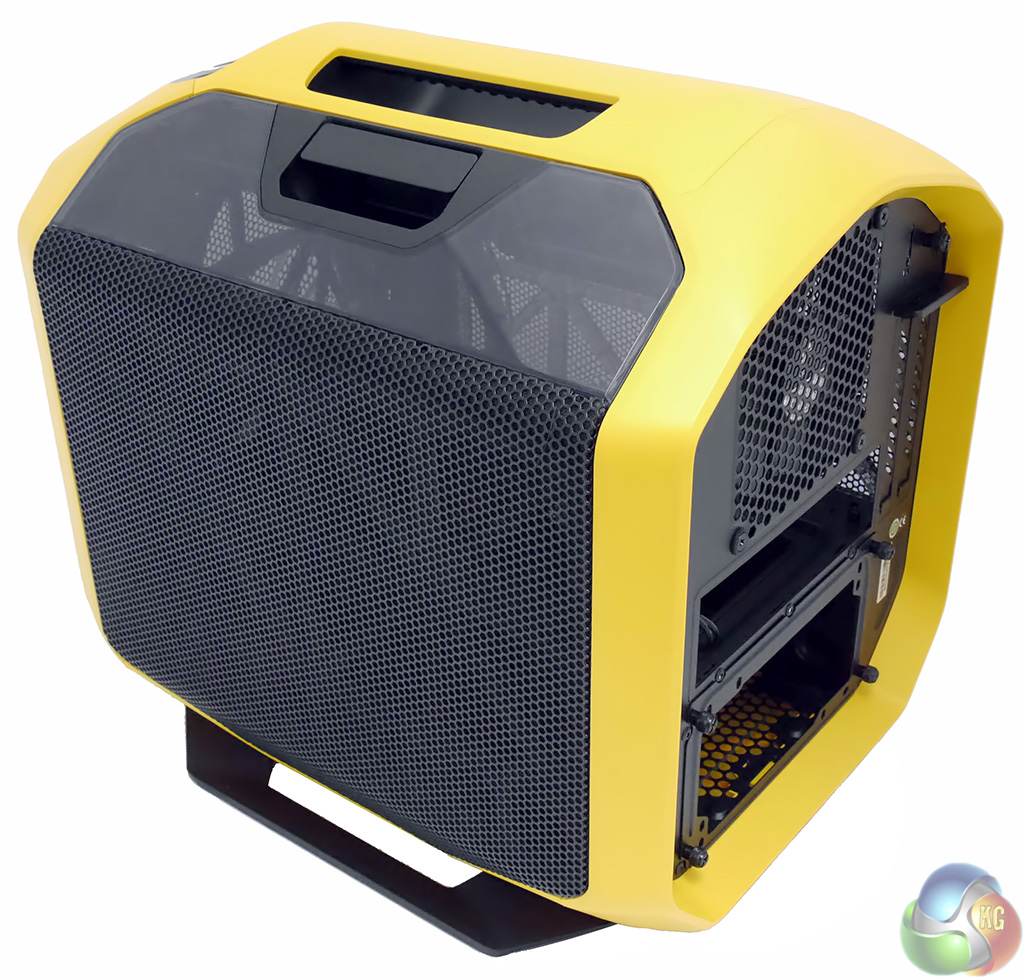
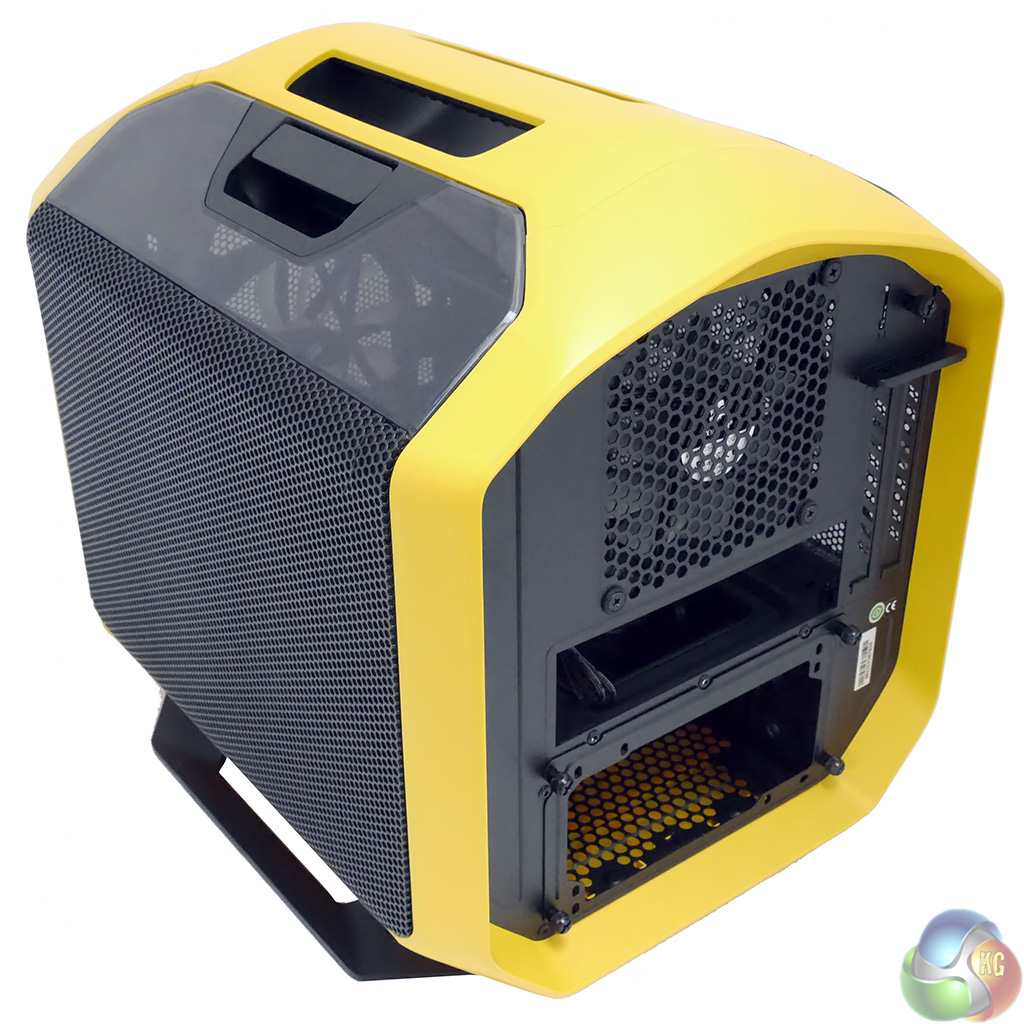
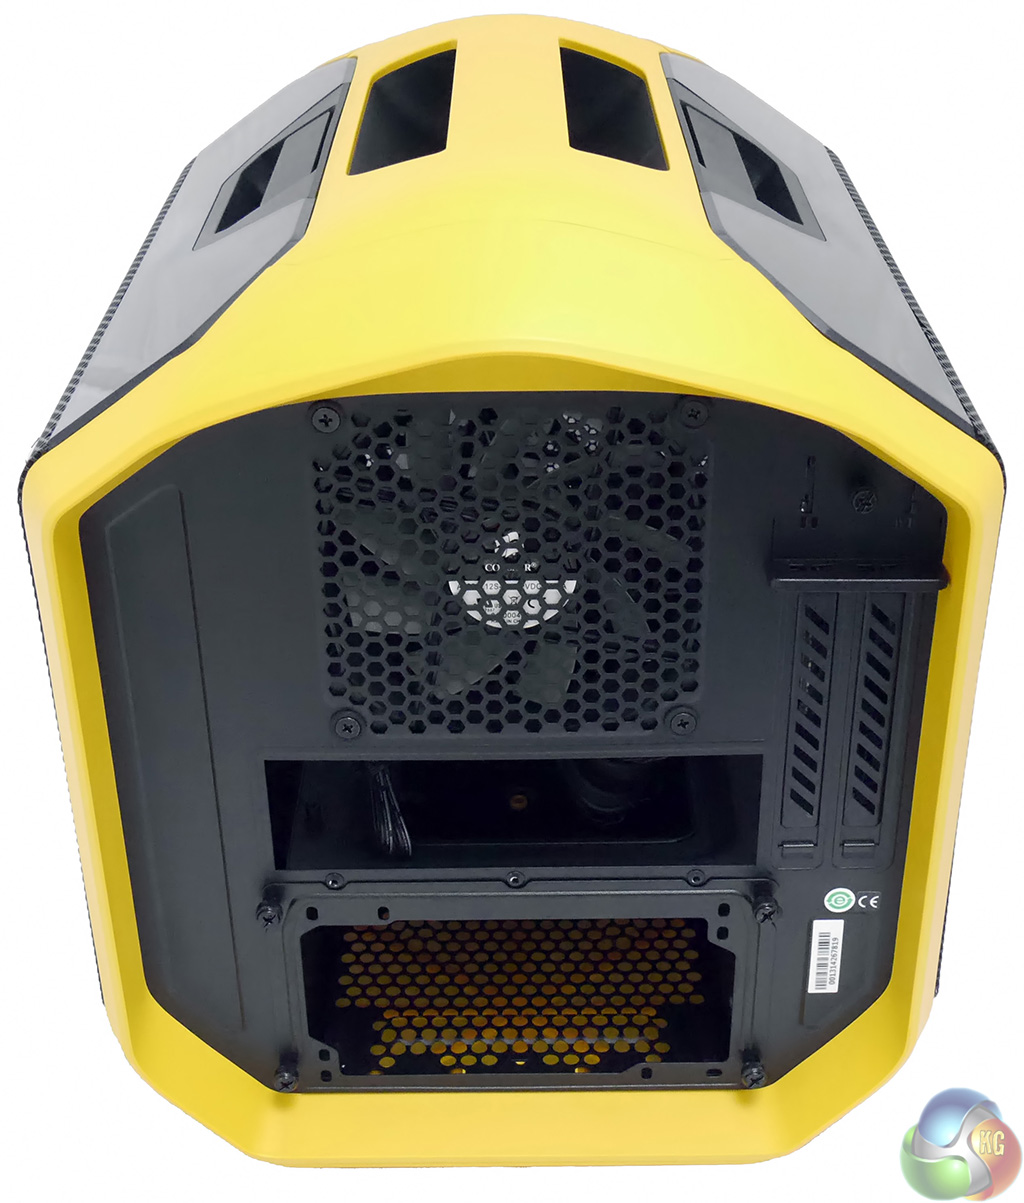
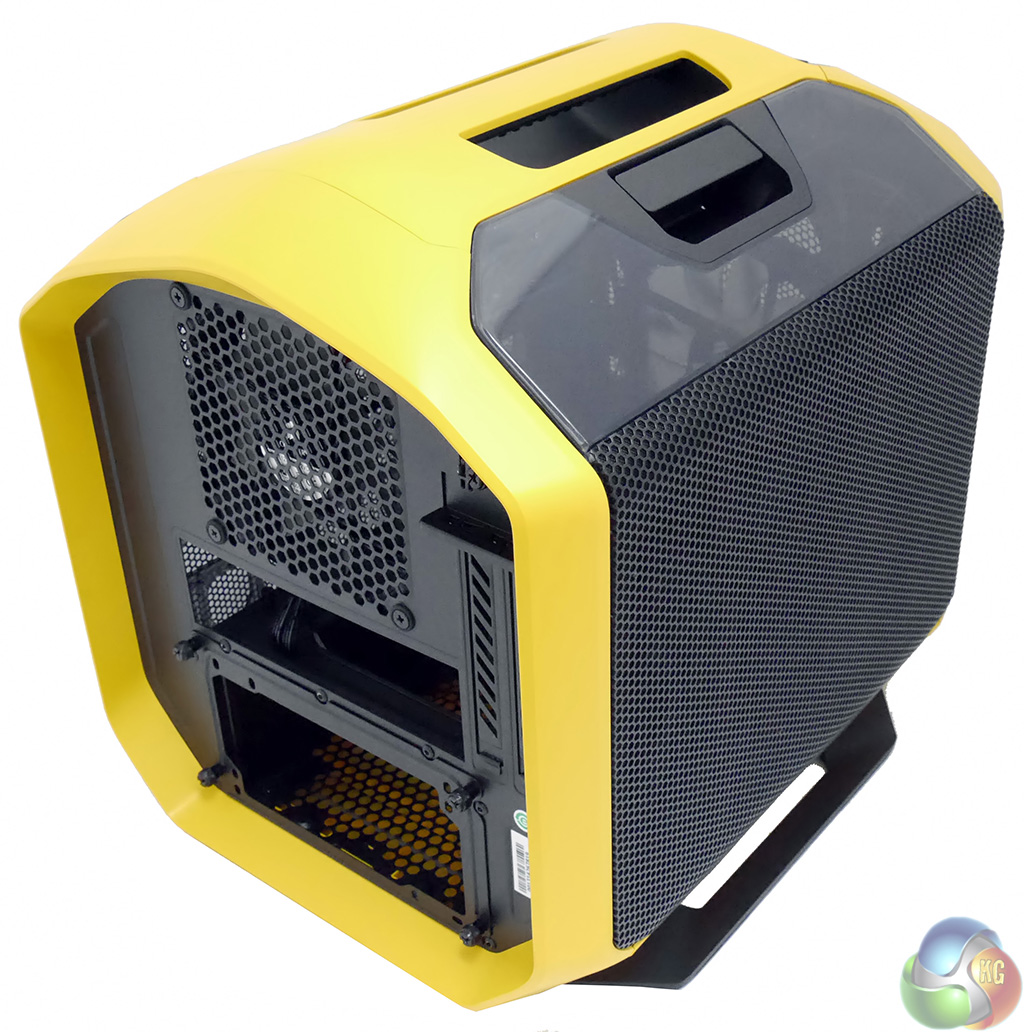
At the rear of the case there is more perforated mesh, this time over the 120mm exhaust fan. Below the fan you can see the horizontal I/O panel and below that you have the mounting plate for the power supply.
Look to the side and you'll see the two expansion slots which accommodate a dual slot graphics card up to 290mm in length. That is 11.4-inches which means you can forget about using one of the larger 12-inch gaming cards.
Above the two expansion slots there is a locking bracket that slides up and down to retain your graphics card and to ease installation.
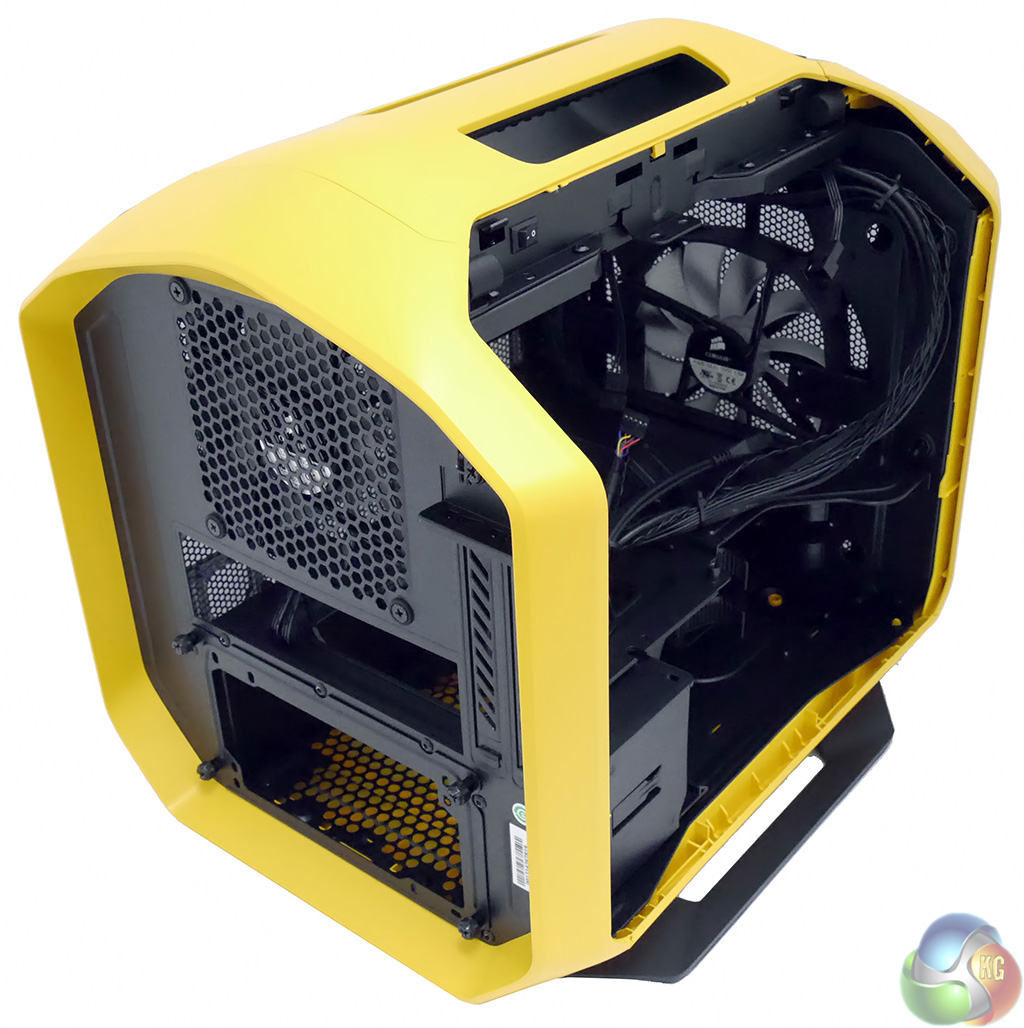
As we move round to the left hand side you can see the side cover is identical to the other side and with the cover removed you see the straight run for the cooling air from that front 140mm fan.

This photo of the side panel shows the skeleton of the case, even with the side panels in place.
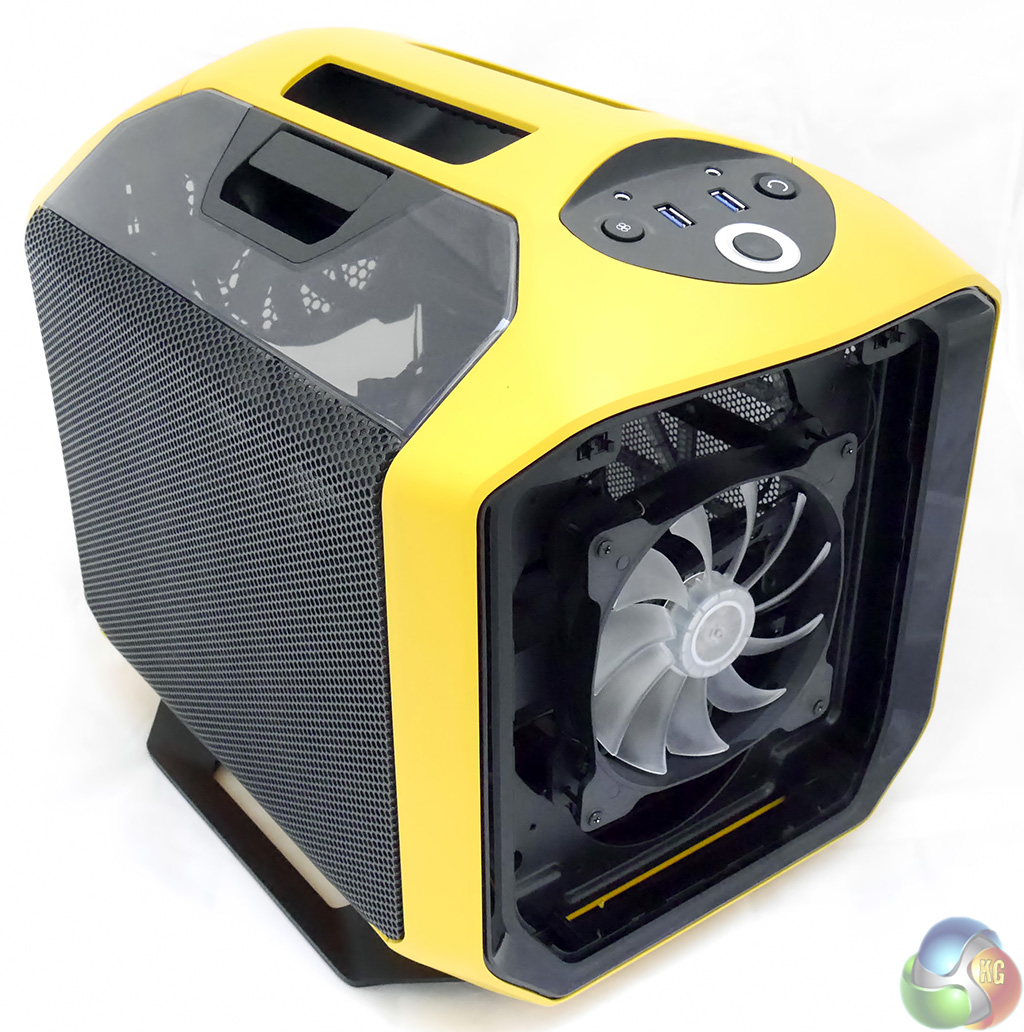
The perforated front panel pops out for easy cleaning and gives easy access to the 140mm fan that is illuminated by a white LED. If you choose you can replace the 140mm fan with one 200mm fan or a pair of 120mm fans.
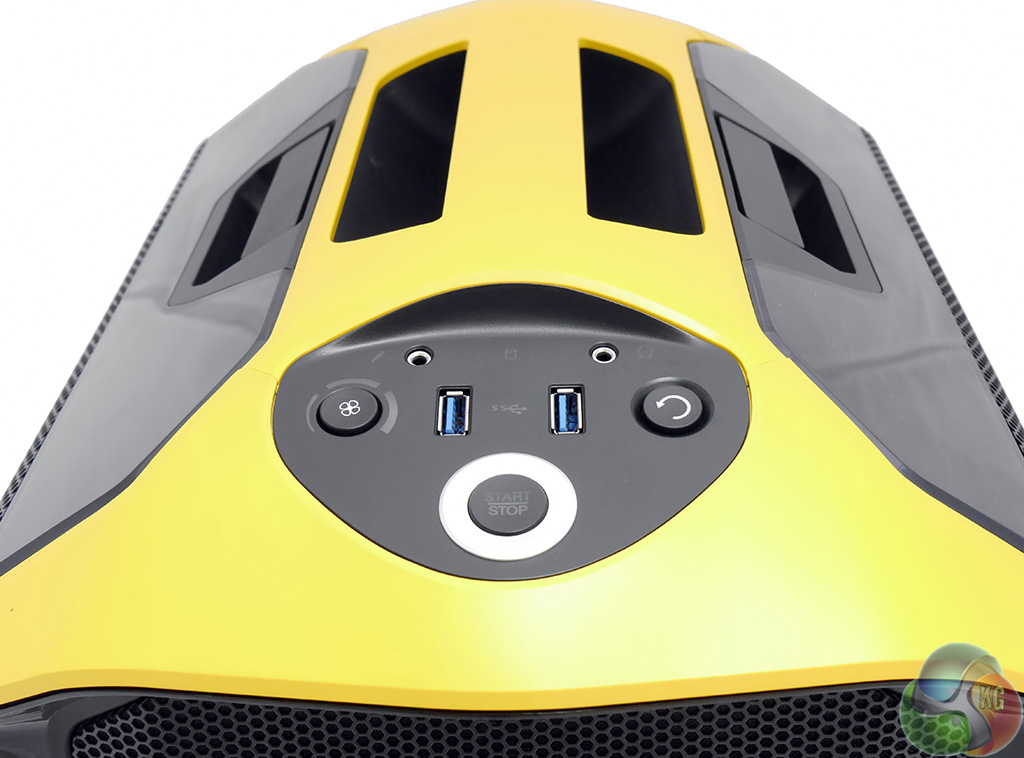
The control panel has an interesting symmetrical layout with the headset jacks at the top, two USB 3.0 ports below that and the large power button at the bottom. On the right you can see the reset button and on the left there is a fan speed controller which has three speeds that you toggle through.
Around the outside of the button there are three illuminated segments to show which speed you have selected. Corsair gave no information about the fan speeds but to my ear they sound like slow, medium and fast.
After I had built the PC I found the power button was faulty and had to jump the motherboard into life using a screwdriver. Clearly if I was a retail customer I would have put in a claim for a replacement case.
